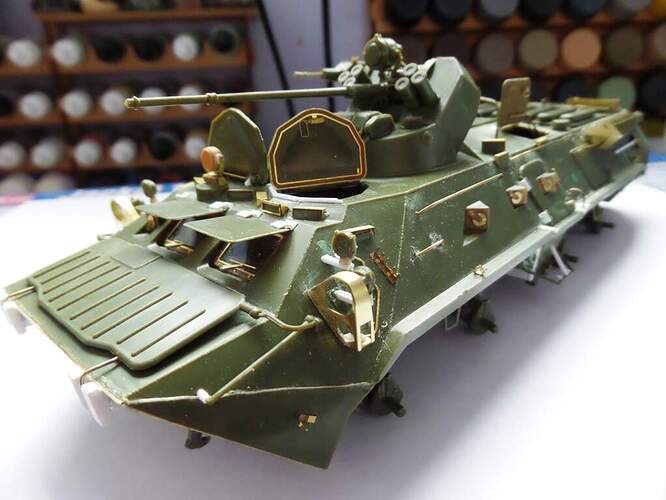
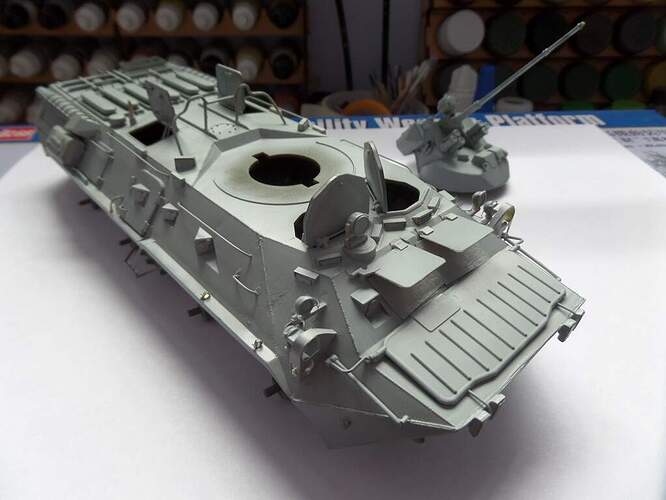
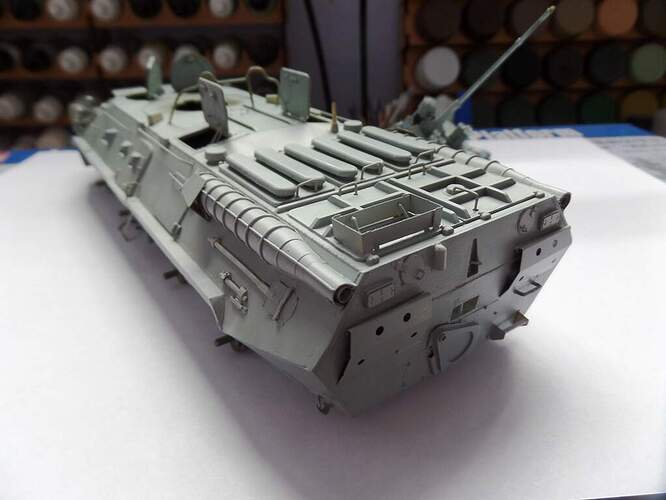
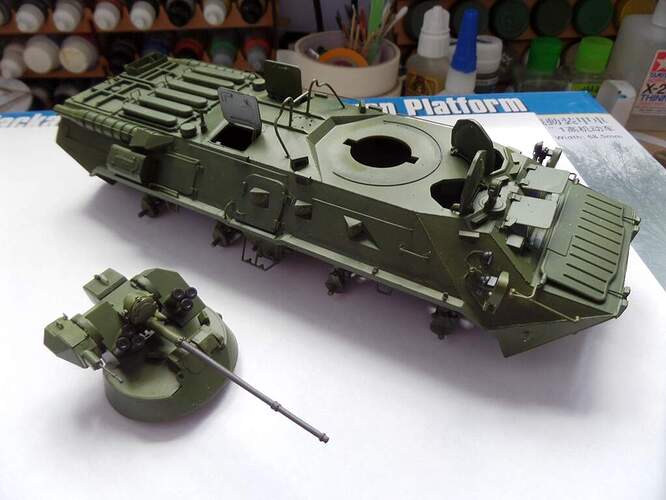
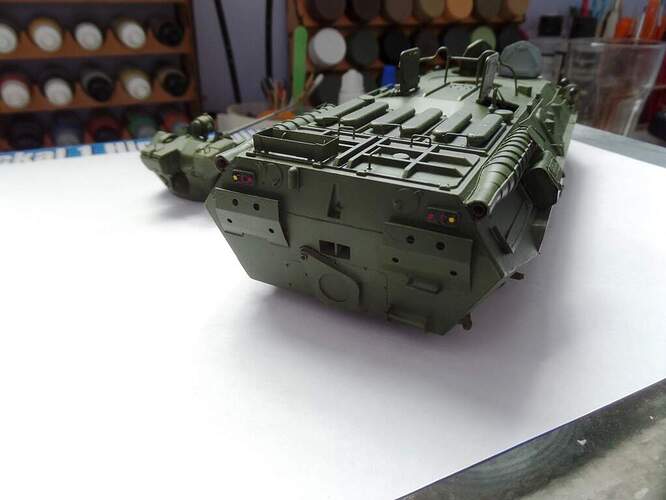
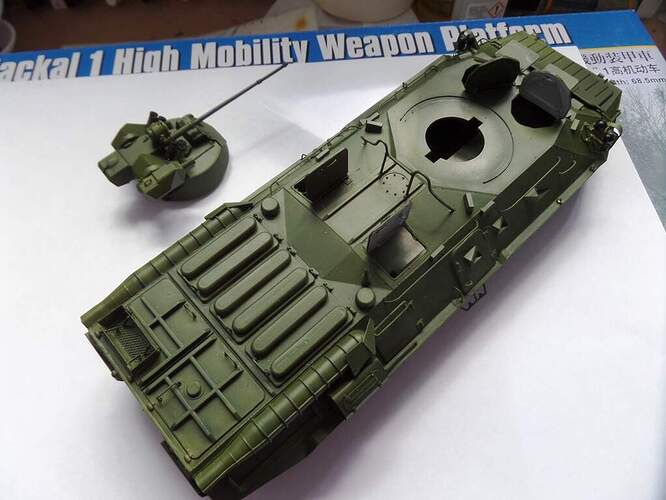
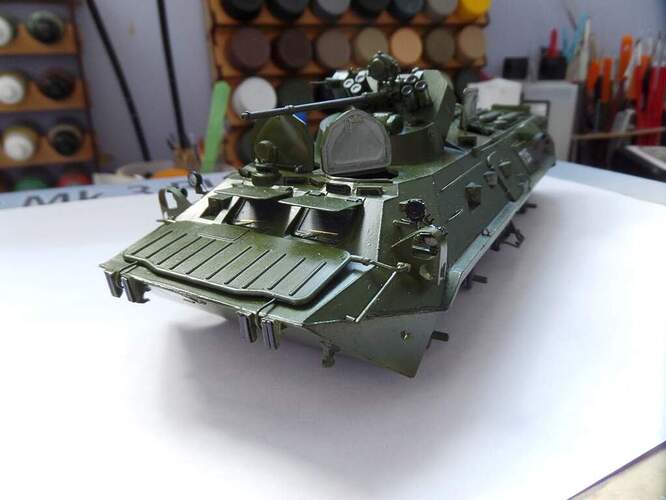
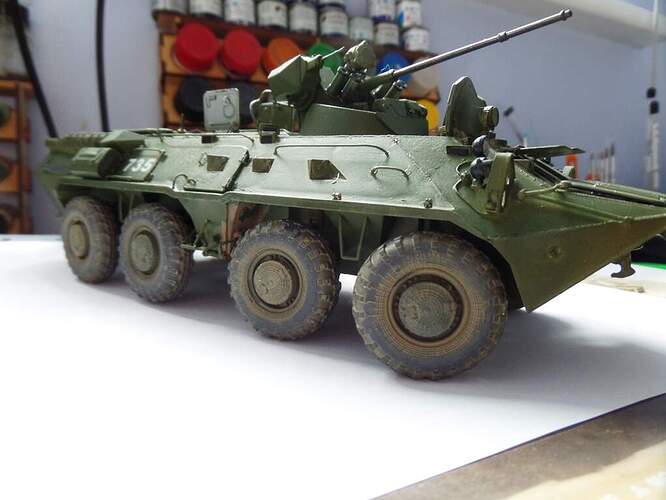
Well a coat of primer has been added after doing the last few bits of etch and adding a turned brass antenna base. I must say first though that I am done with Vallejo primer! All it has done is bung up my airbrush. Not sure what I have done wrong this time around as I have used it for years with few problems. Maybe the bottle I have is too old! I’ve resorted to a rattle can car primer from the garage. I know some people don’t prime their models and I’ve skipped that in the past also, however I have added that many different bits onto this I thought it best to try and tie it all in together first.
Looking good mate. Now its all one colour its settled down nicely. I only use Halfords rattle can primer now, Black, grey and primer red and never had an issue with any of them.
I agree on the primer. The Vallejo bottle is now in the bin. I’m going to do it as a captured Russian vehicle and probably plain green with a rough Ukranian flag painted on it over the Russian Z’s.
Looking good mate- you really have upped the detail level to a fine level! I would agree that it is a good practice to prime a piece of there is plastic, etch etc on it. I don’t like Vallejo Primer either- if there is a lot of etch and/or resin I will usually go for Tamiya Primer from the rattle can. However, if its acrylic your after then Mig AMMO ‘One Shot’ primer is worth a look.
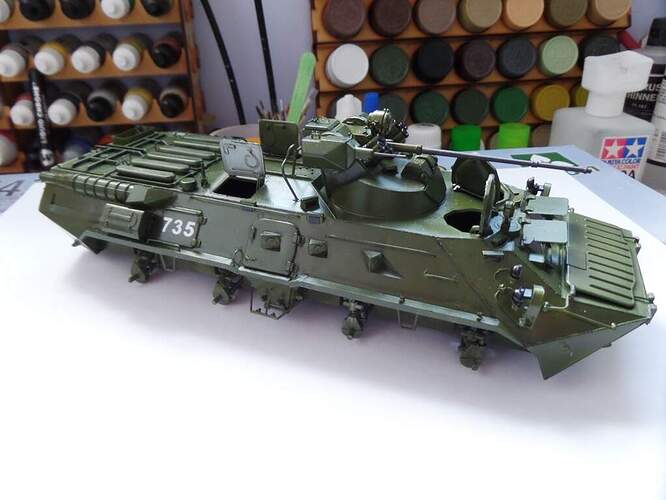
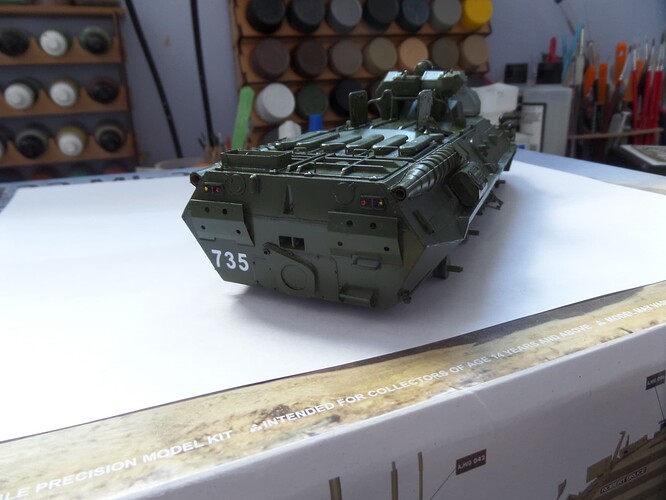
I think I’d have had trouble with coverage on the add on parts without a primer Karl. Well a couple of coats of Vallejo 71.017 Russian Green are on and I’m doing a little detail painting. Painted the headlights black as there are pictures of new and worn vehicles both with black headlights, it adds a bit of visual interest in my opinion. Hatch interiors Russian interior grey which again is from photos. I find this unusual as most western armoured vehicles have hatch interiors in the vehicle colour. MG and cannon barrel are painted in Tamiya XF84 Dark iron.
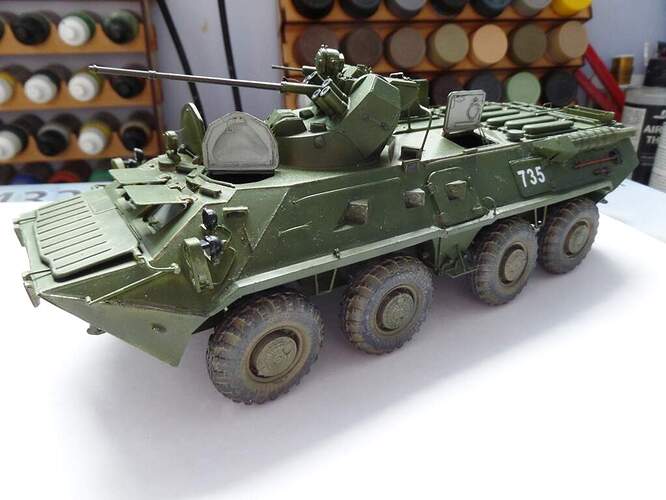
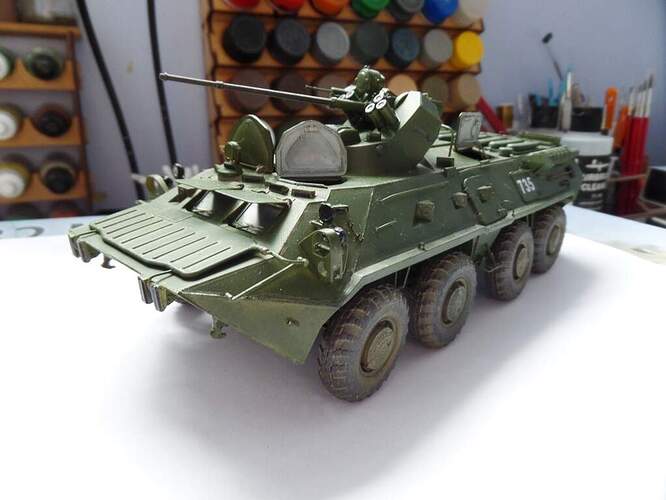
Not much happened, first coat of clear on and a black pin wash done on the welds and panel lines. Added left over decals from the BMD2 build I did a while back. I thought I could literally put anything on there and it wouldn’t look wrong. They are sealed in with a second clear coat and I’ll be doing a dust wash over the top. I’ll either print blue and yellow decals for this or make a template and airbrush Ukrainian flags onto it. I think painting them on will look the better of the two options, be interested in opinions on that.
See, I told you it would look the dogs with the paint on ![]()
If its a flag flying I would do a simple homemade decal and put it a backing of kitchen foil and roughly shape it after from an antenna or similar like I did for the RTR Regt flag on NOMAD … if its for the side, defo paint it on but I would brush it on to give it a more natural hand done effect, with some drips…
Shaping up very nicely. Looking forward to the weathering phase. ![]()
![]()
Going to do a Ukrainian flag on the sides and front methinks, probably over the top of a roughly painted out Z or V.
Looking great now- painting the flag and the crossed out Russian symbols should really add a nice touch to it as well.
looking great so far!,thats exactly how i made my trumpeter BT80-A ,a captured russian with green blotched out russian insignias,and ukranian flags painted over it,mine does nothave as muchphoto etch detail/scratchwork as yours.
Fantastic job on this. Great build; loads of detail and great start to the finish.
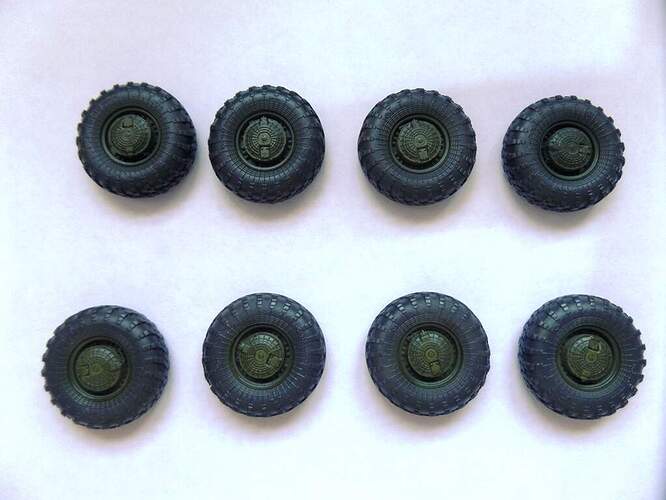
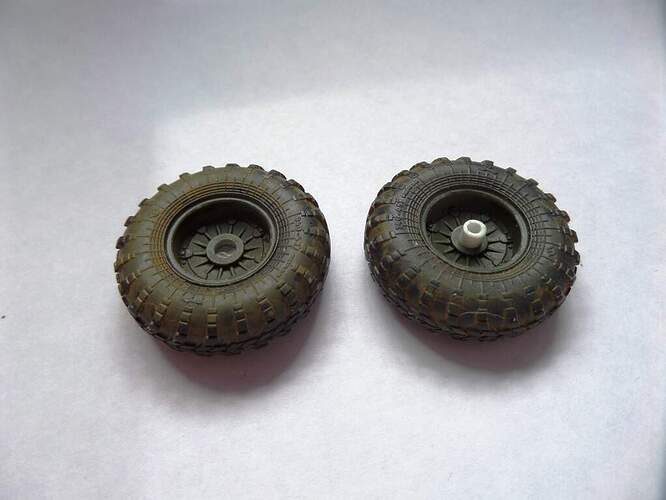
The Trumpeter kit is far more detailed than this old Zvezda offering so I would imagine doesn’t need the etch. The hatches on the Zvezda were all made to be able to open and so the hinges bore absolutely no resemblance to the real thing. The wheels and tyres are also not very detailed, the wheels having the old smooth hub covers on them. I have the Panzer Art spiders web resin wheel set to go on. They are painted and sealed with Klear and I’m starting to add mud/dust etc. to them.
Thanks Metalhead, i do like a challenge but at times I did wonder what I had started!!!
yes the trumpeter is a very good kit,even has a partial interior around drivers compartment,i made all my hatches closed though.
It’s took some time to get to here but the wheels and tyres are finished. They are dry fitted at the moment as weathering under the wheel arches needs completing. The kit axles were too slim to fit the Panzer Art wheels so I drilled a 3.2mm tube internally to 2MM which slipped over the kit axles. Then the hole in the rear of each wheel was drilled to 3.2mm and the wheels fitted to the increased diameter axles.
Looking very good mate. Wheels are especially nice with the weathering and dust effects.
Clever fix with the axles as well…worth the effort, although it took up time… Great job ![]()
Man you sure turned a real dog of a kit into a winner.
Thanks guys. Still got the overpainted Z or V letters to do and then add Ukrainian flags over the top pf those. Then weathering over the top of that. It has turned out better than I expected. The basic shape is good, it just needs the add on’s and details.

