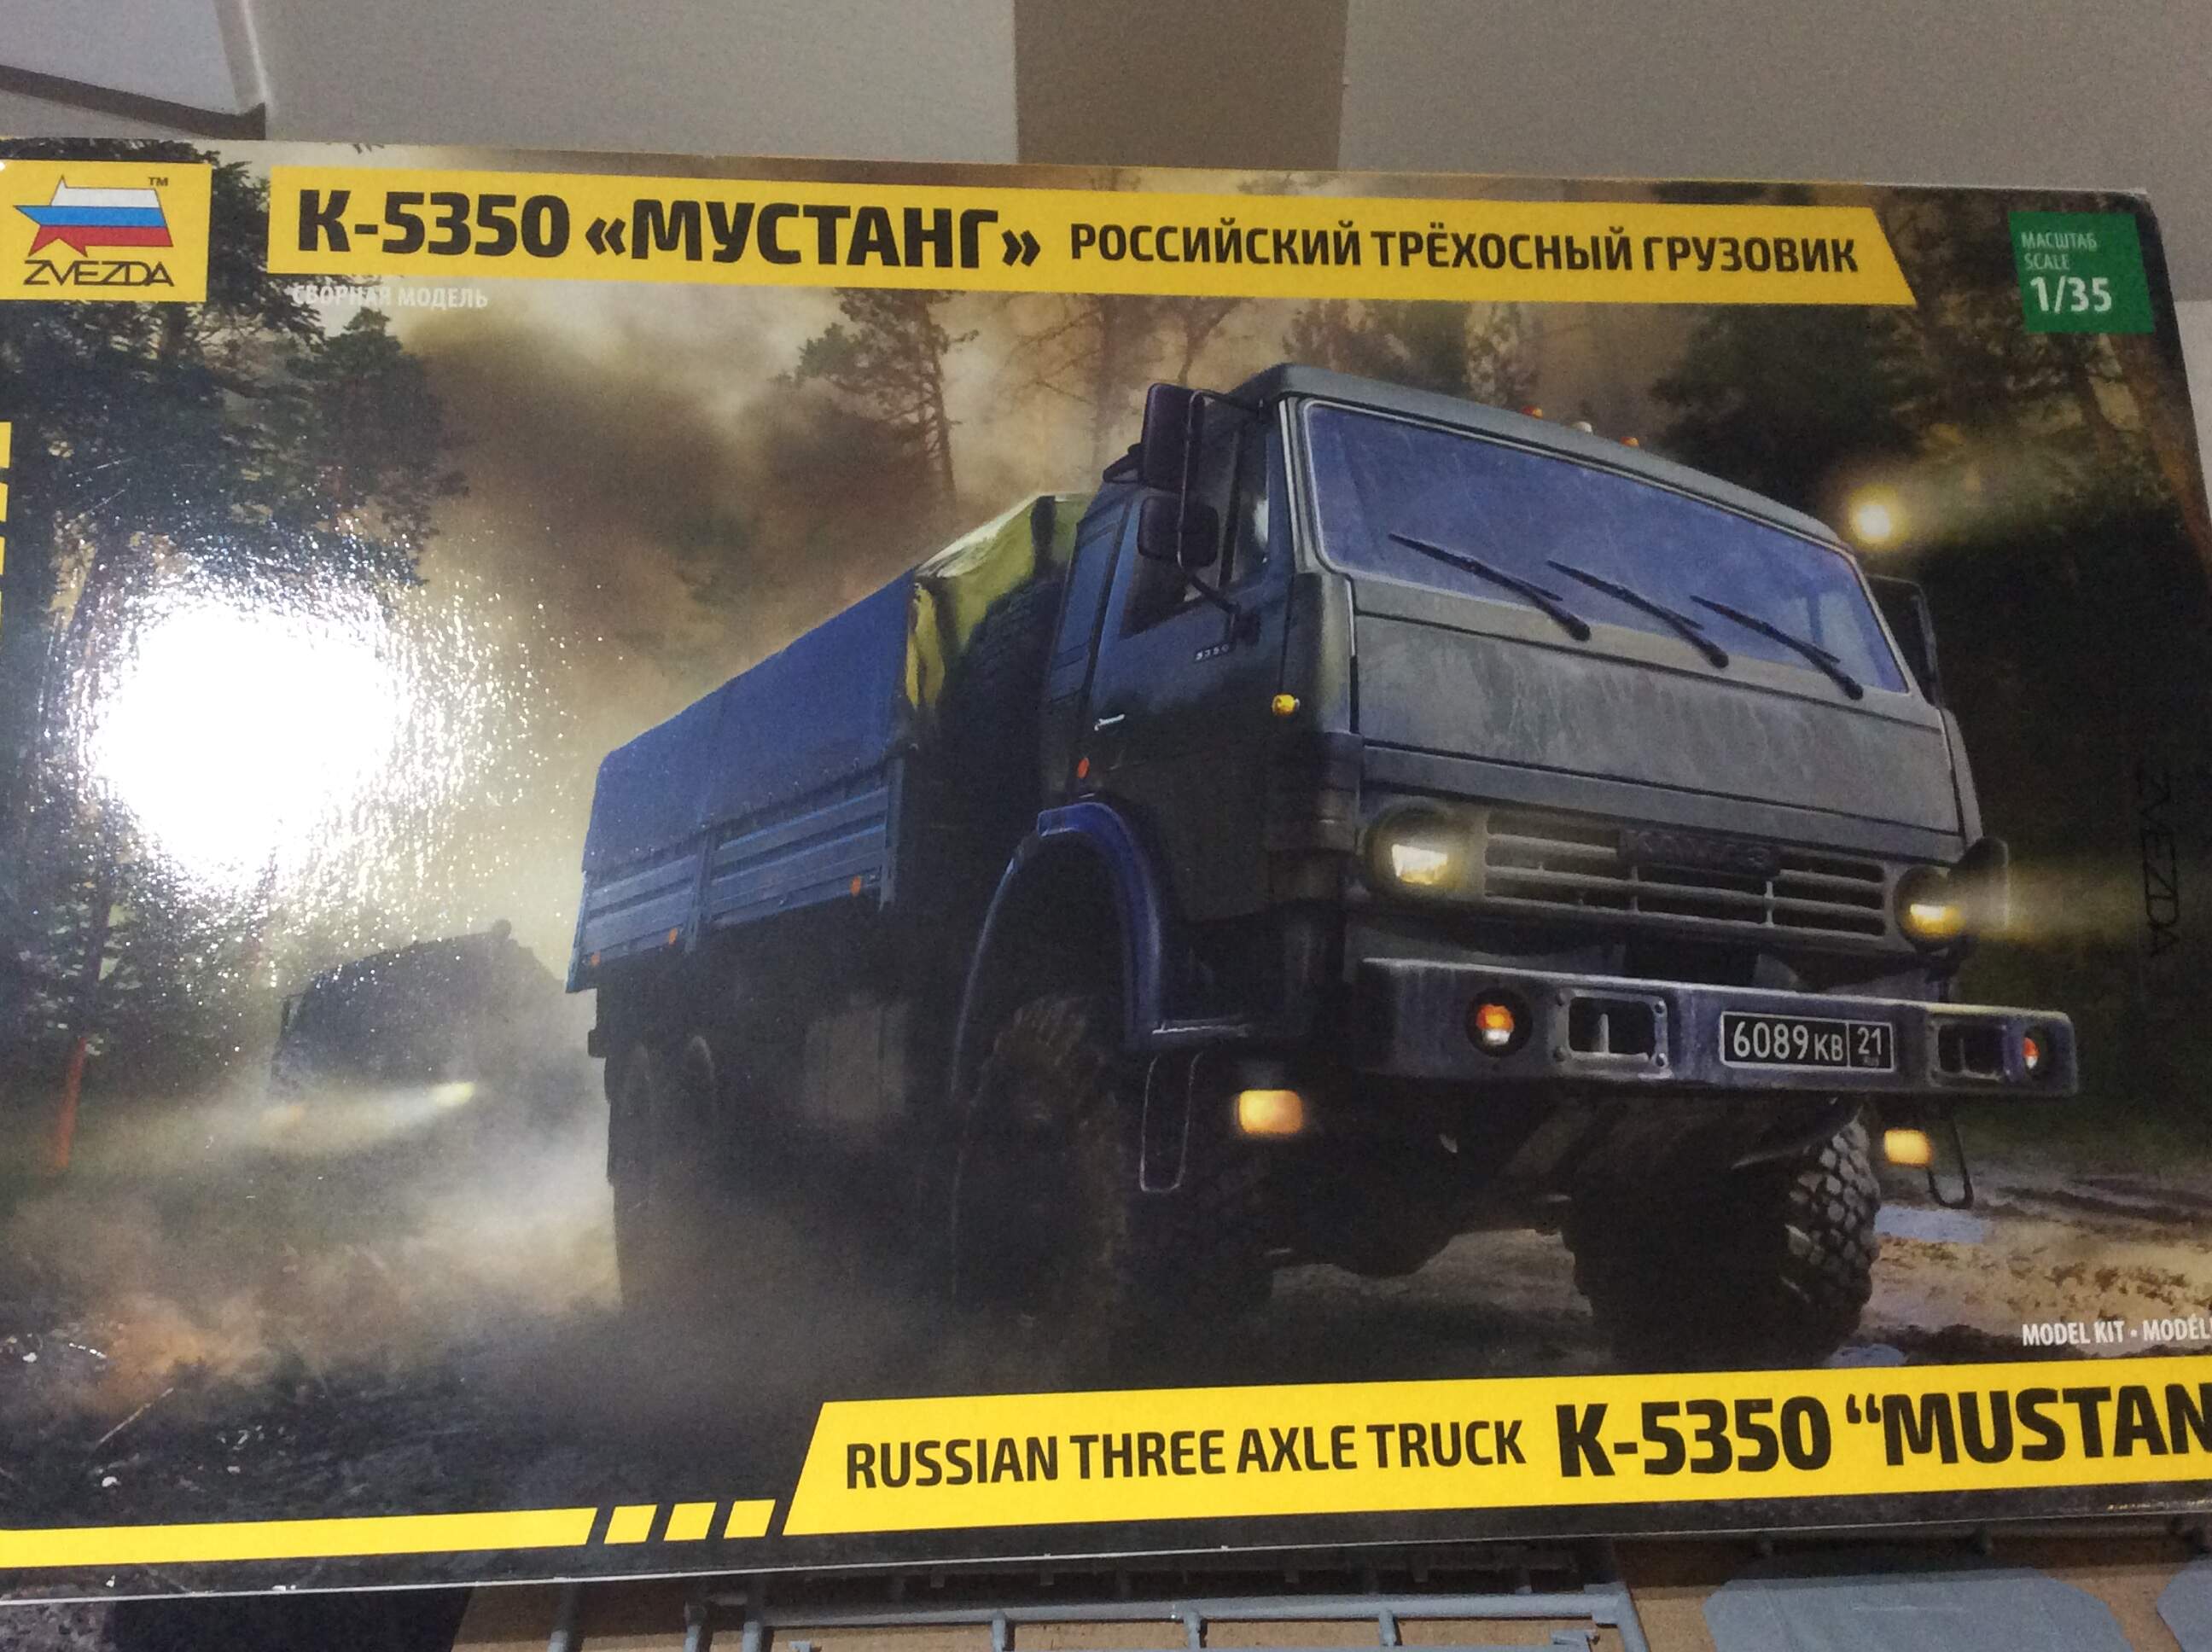
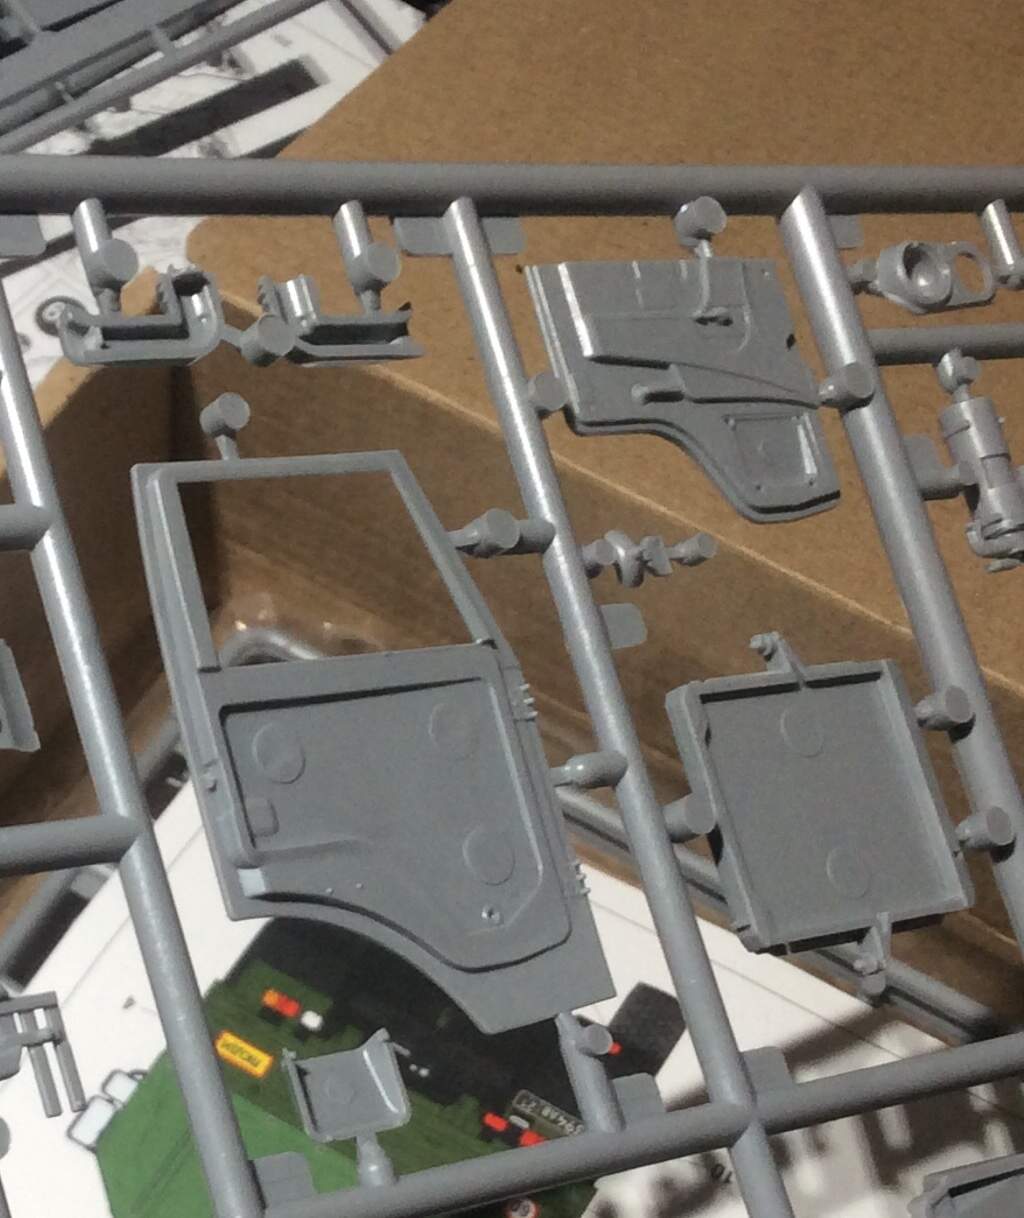
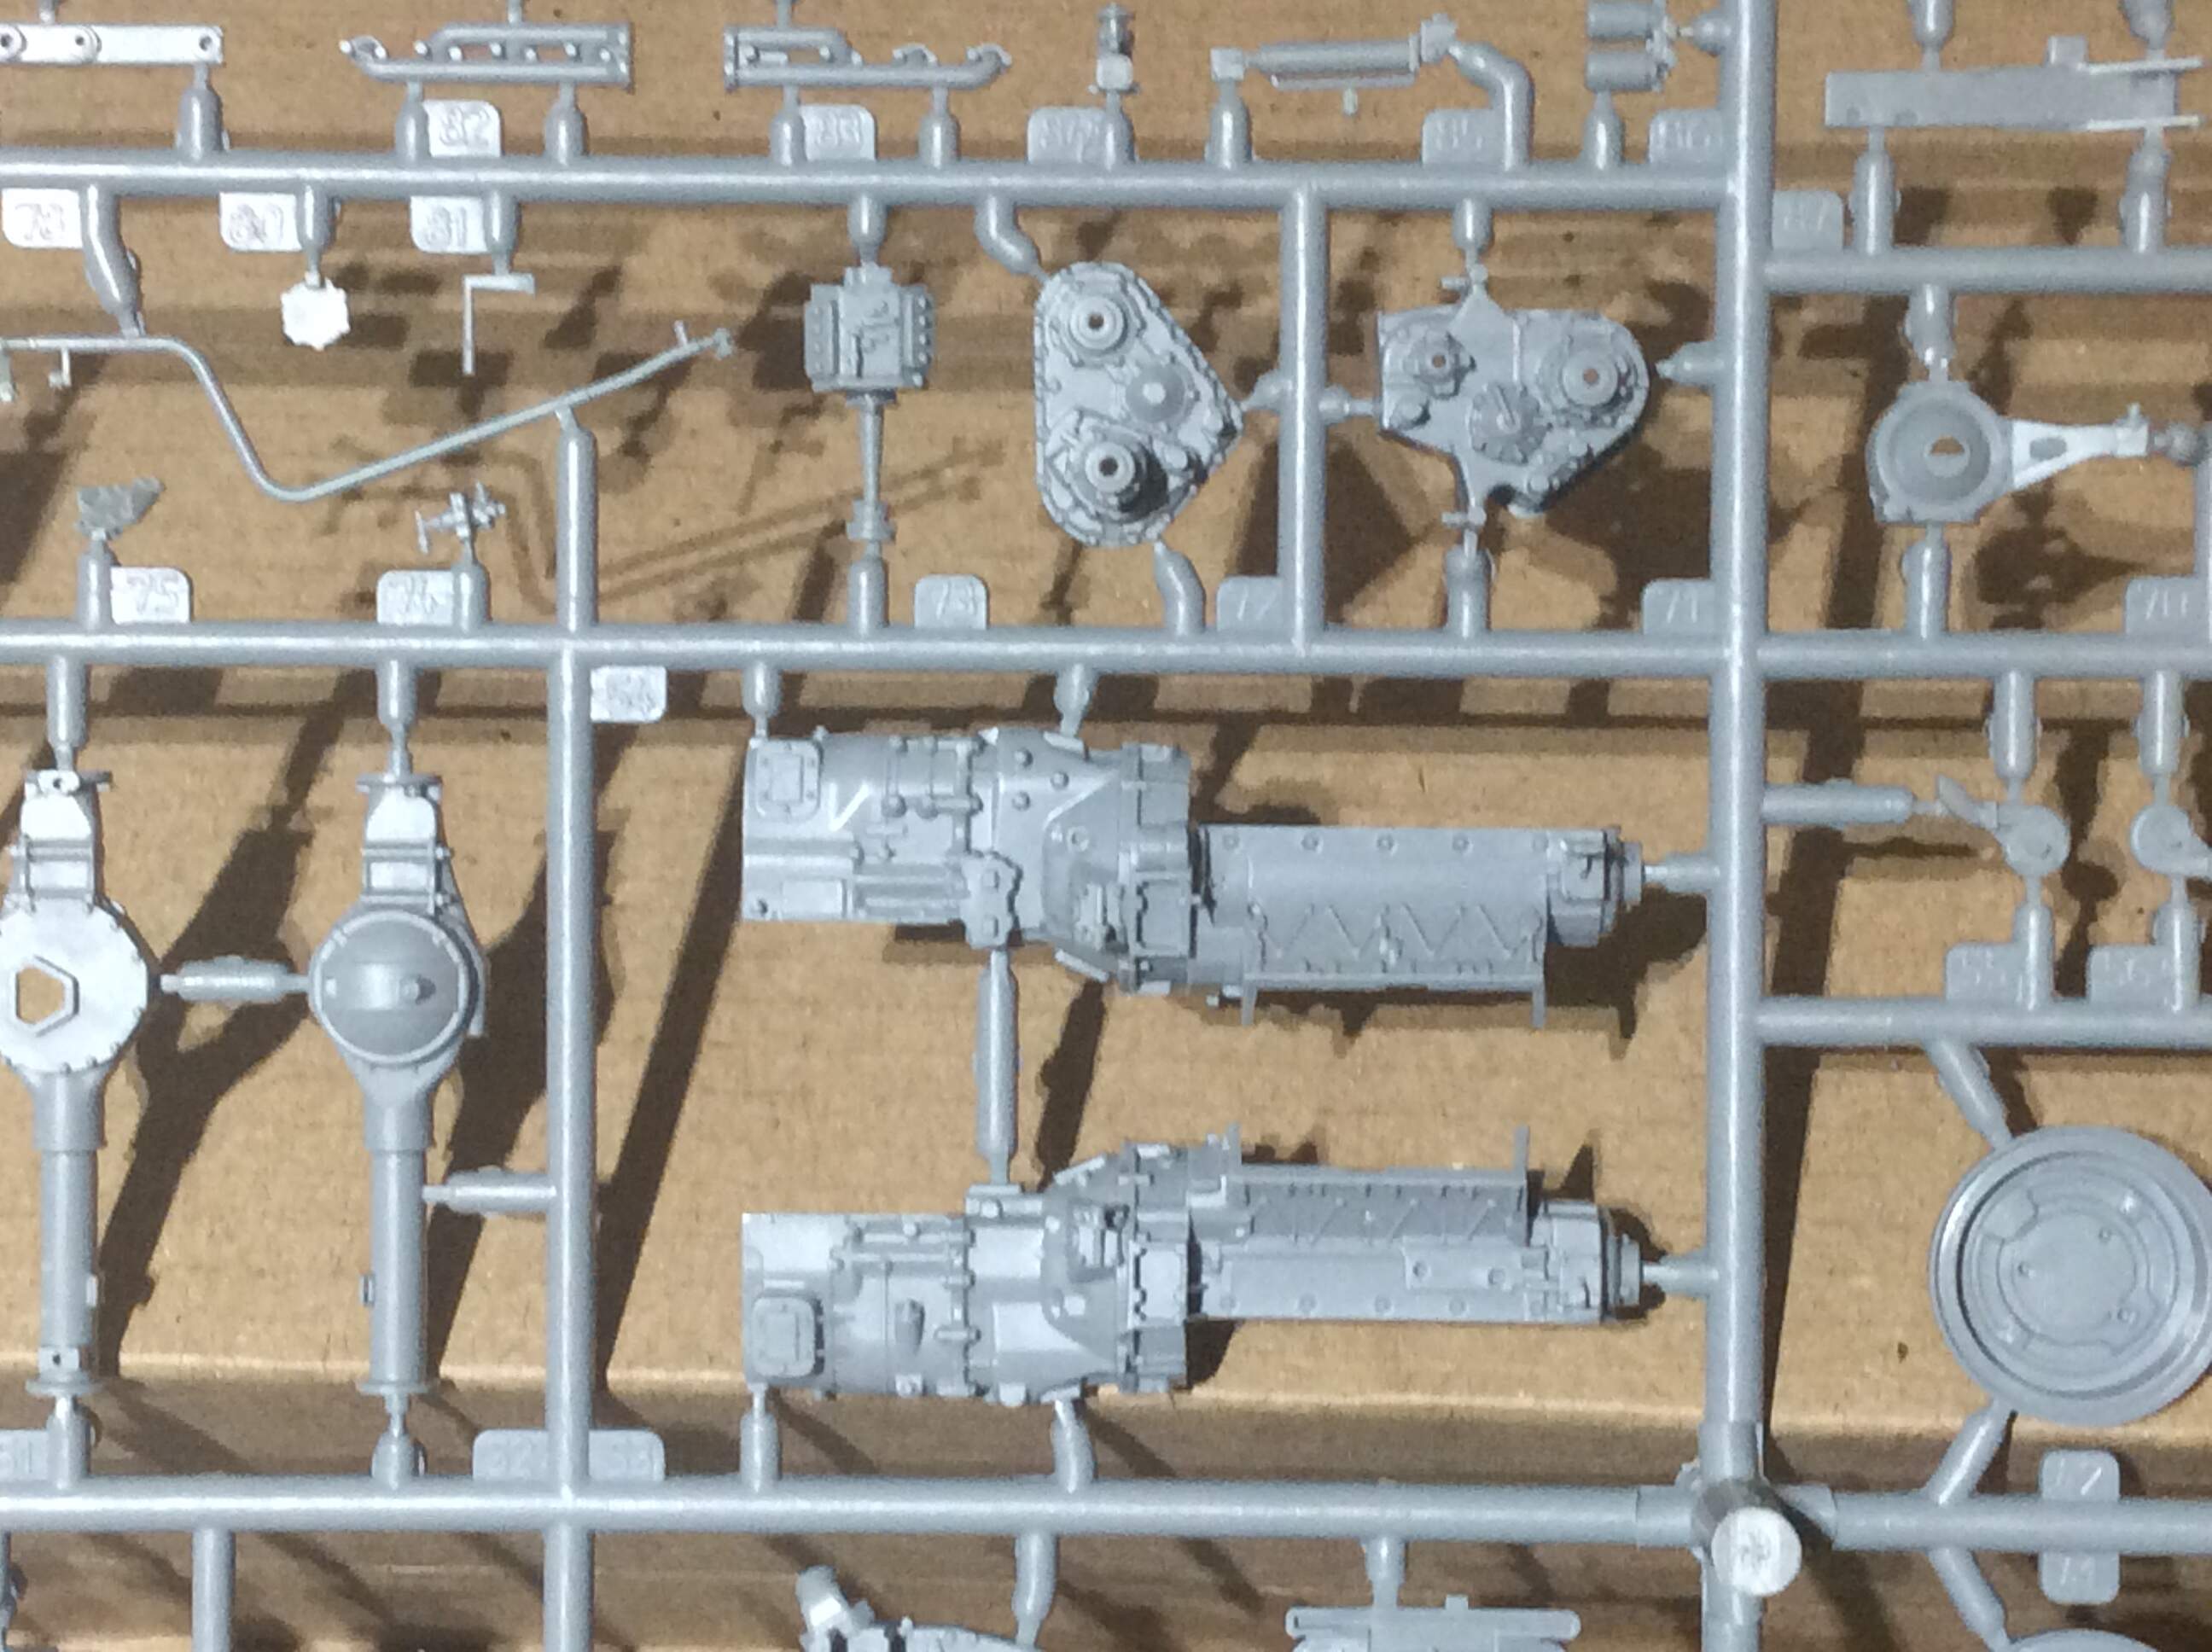
I’ve the Zvezda Kamaz 5350 kit to build, and might I say before I go any further, it is a beauty, too.
The plastic is crisp, and there is plenty of it in the box. I’m impressed at the execution of the kit, which looks to be complex, with a few options. The doors can be open, there is detail on the inside edge, there is a top hatch, this can be open, too, and the entire cab can be modelled tilted forward, showing off a fairly complete engine.
The rear bed comes with a nicely textured tilt, and complete seating for troops, if you wish. Of course, these seats can be left off and the bed of the truck filled with a cargo of your choice. Given the layout of the bed being separate from the chassis, there may be other versions coming.
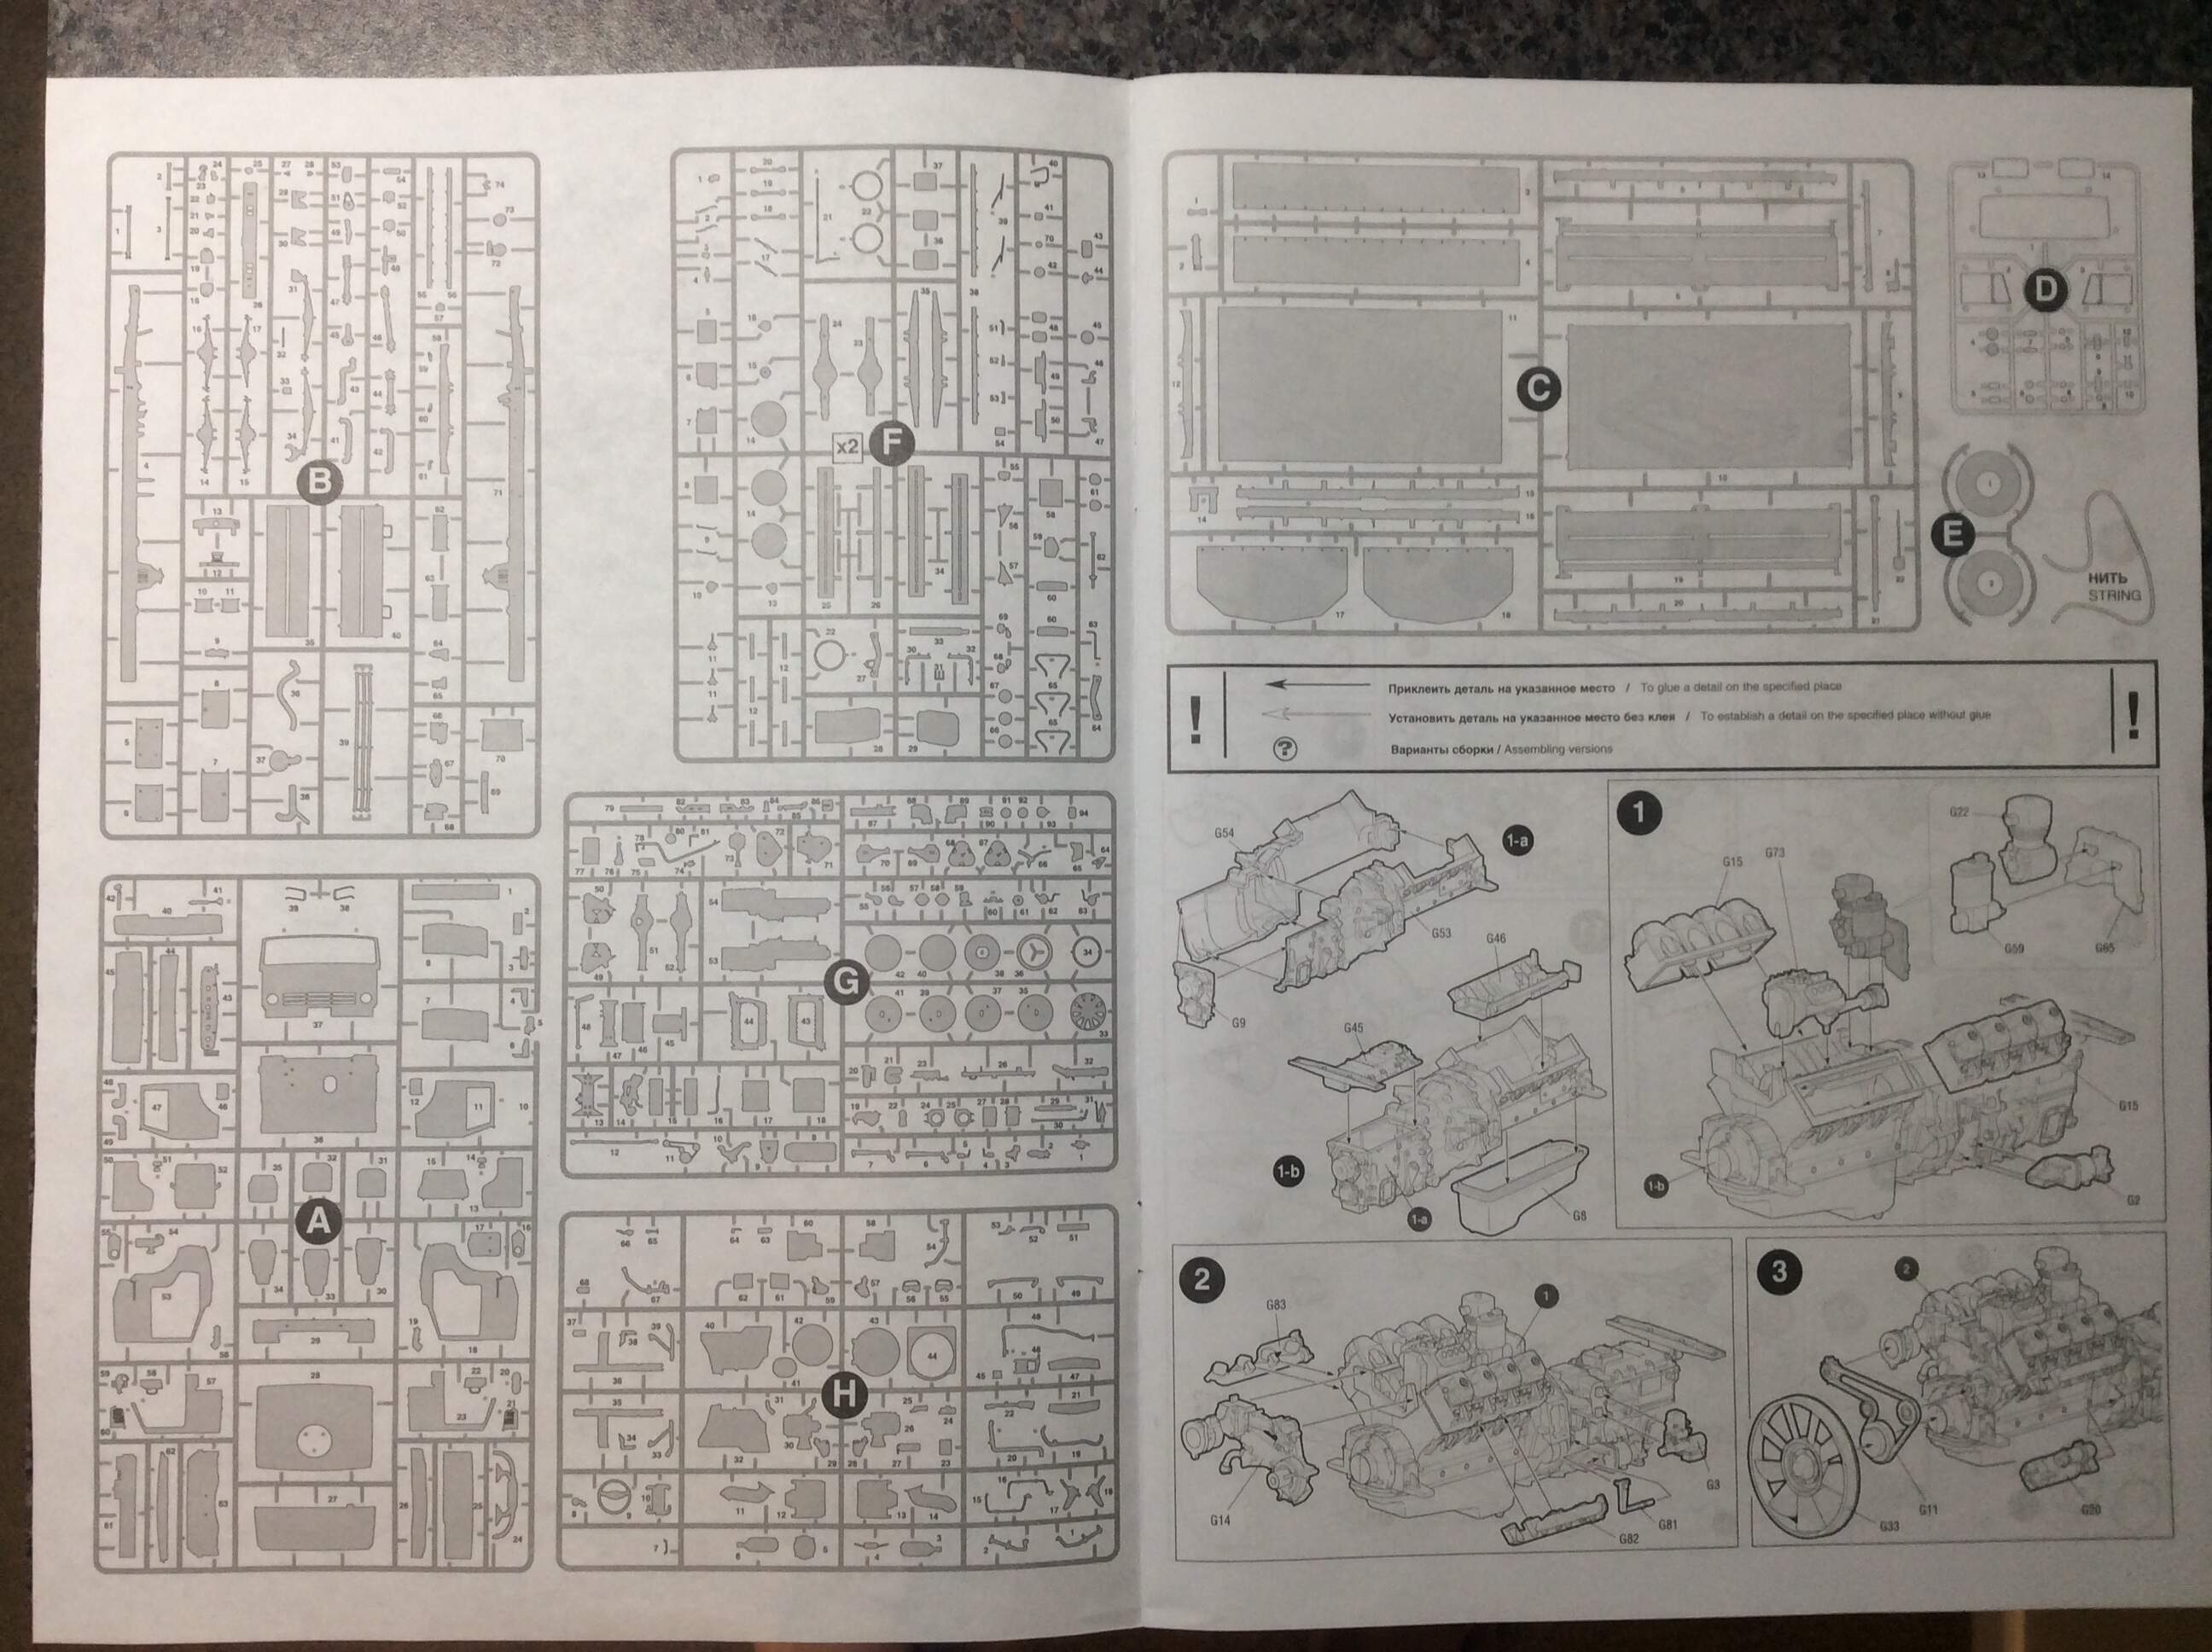
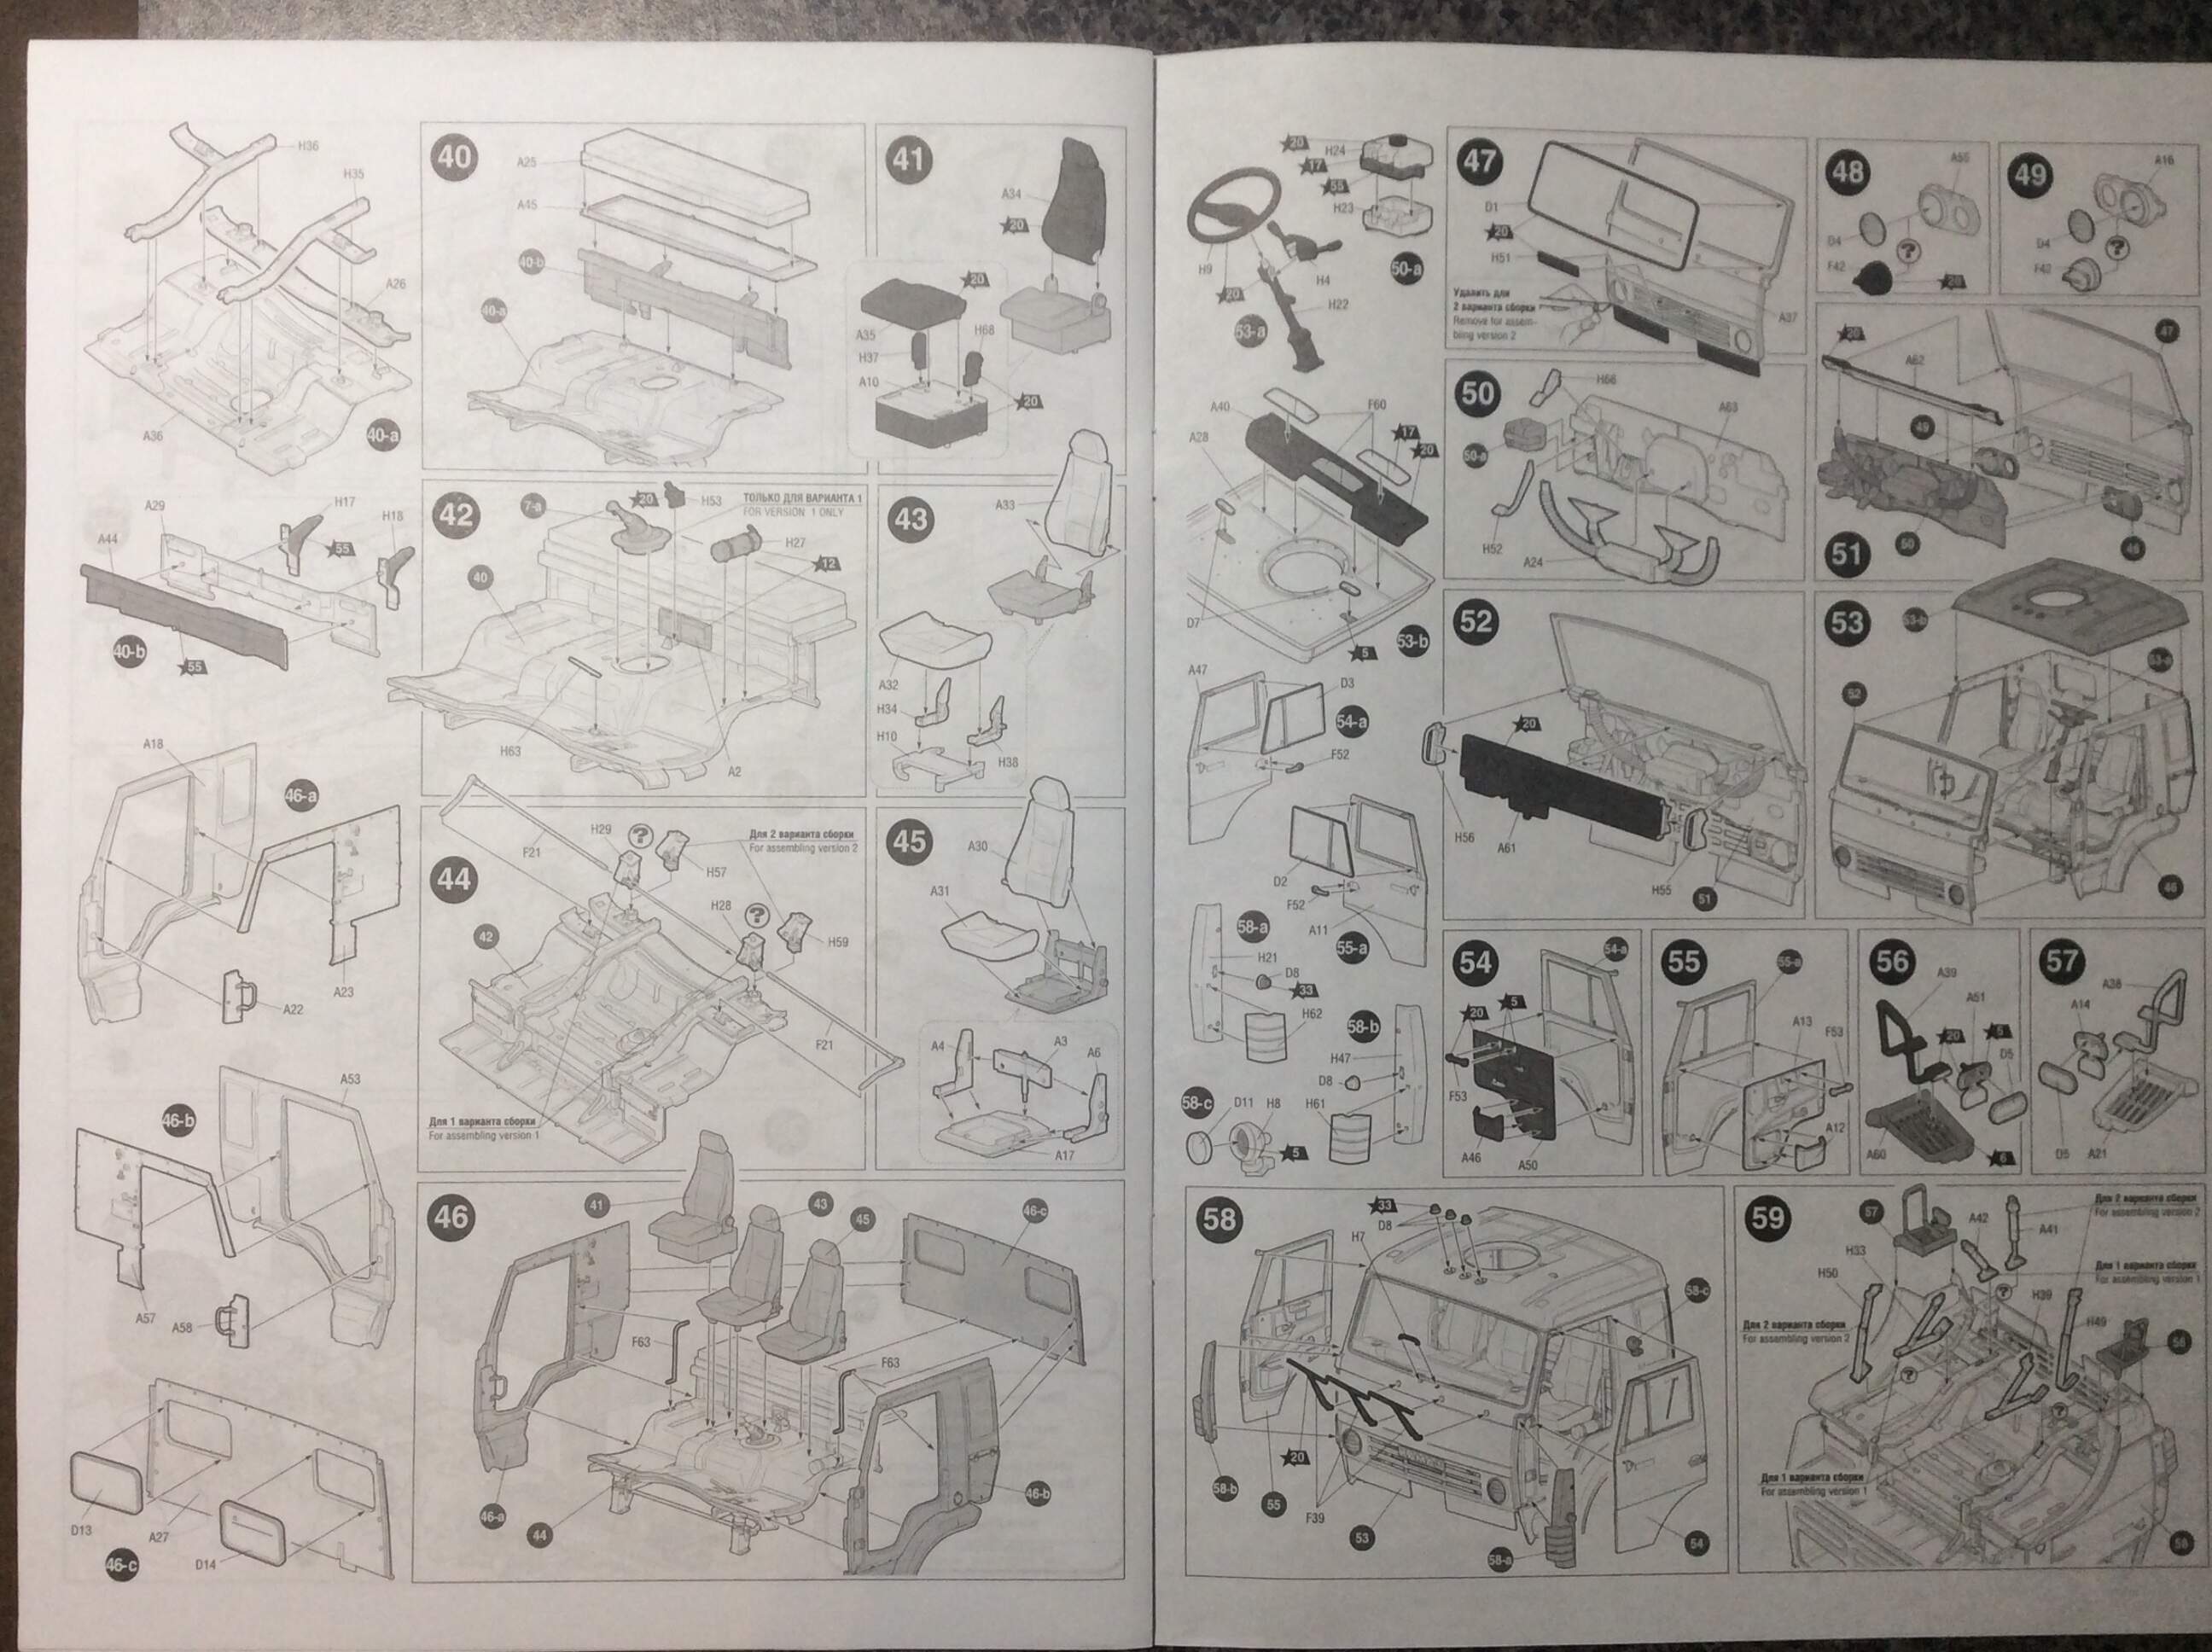
The instructions run to several pages, and numerous steps. These are busy, and consist of numbered line drawings. Nothing fancy here.
Ok, enough reading, time for some pictures
3 Likes
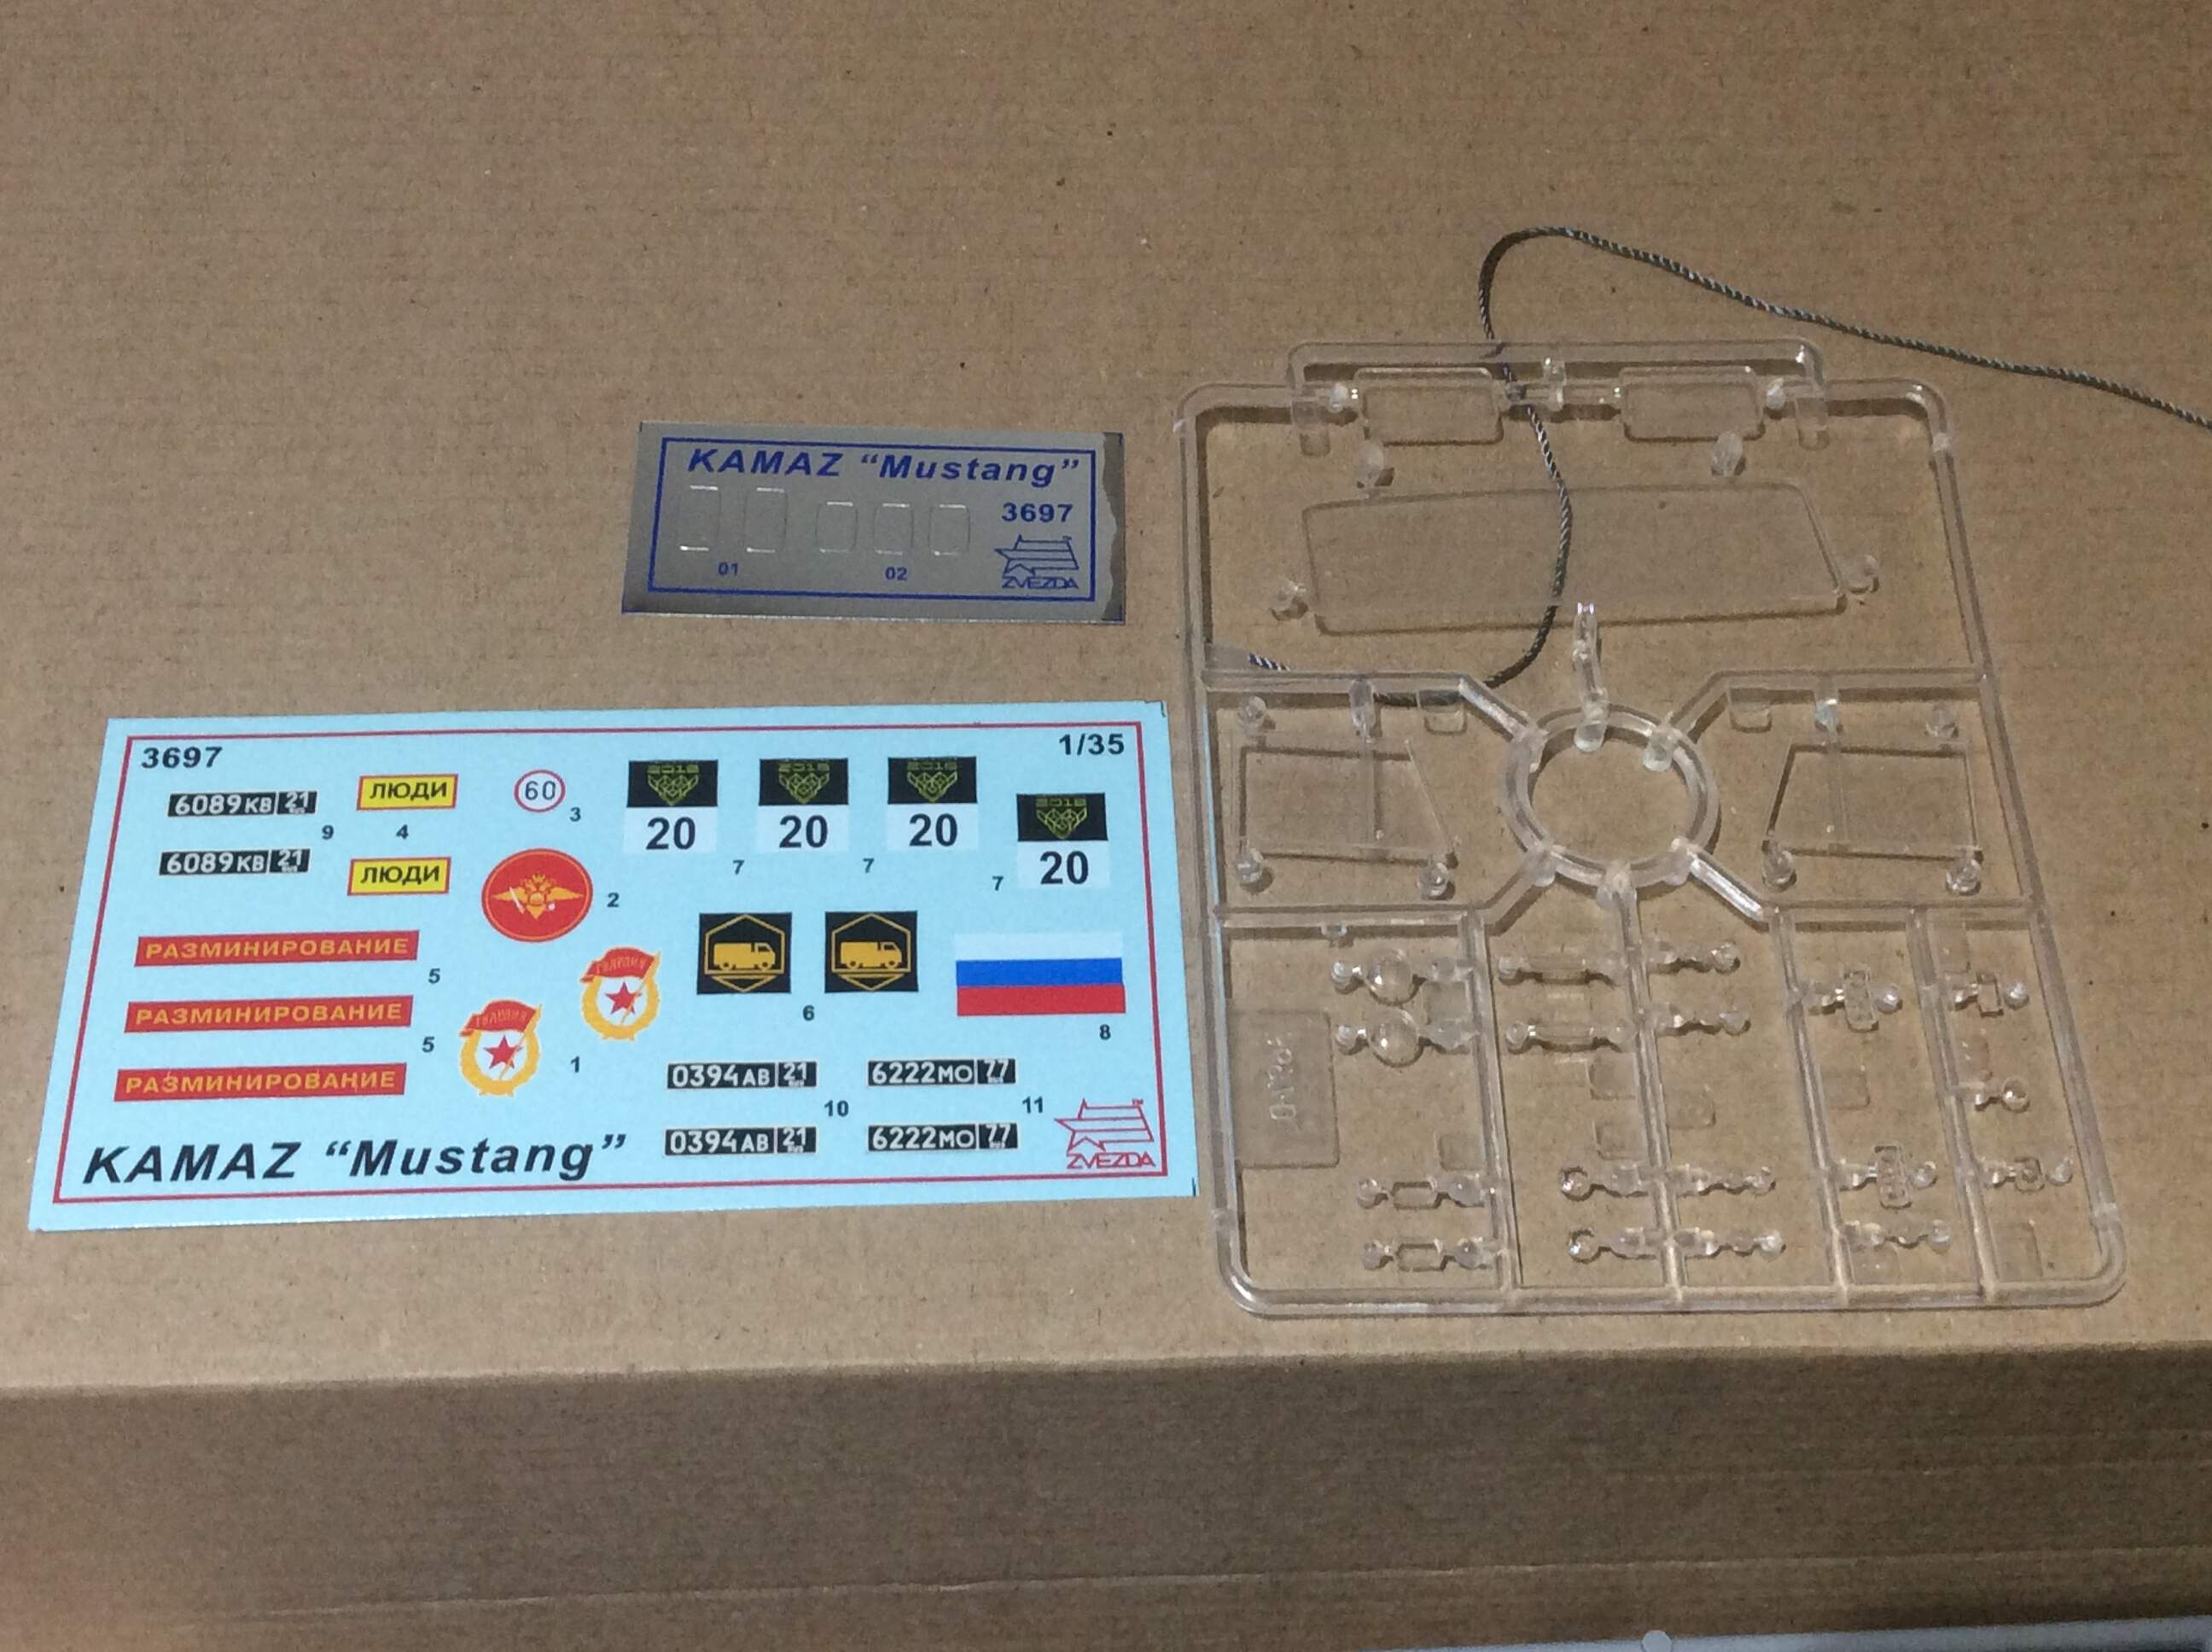
The decals are for a couple of green vehicles, and there are stickers for the mirrors, which I don’t mind, having used them on the Zvezda Bumerang to good effect.
If you’re looking for camo options, and this is being used today, here are a couple of options I’ve found…
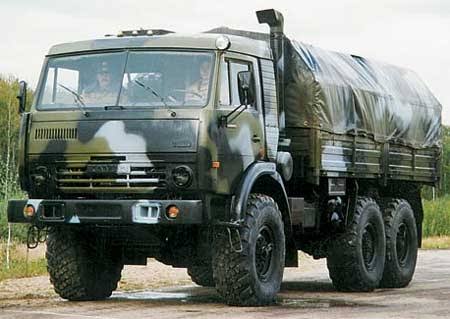

There are also completely white trucks ferrying aid from Russia, as another option.
1 Like
I intend to add Miniarm wheels and “air filter box”, and 3D decals from Quinta Studios, which are amazing. Truely amazing. The relief is difficult to show in images, but it’s there.
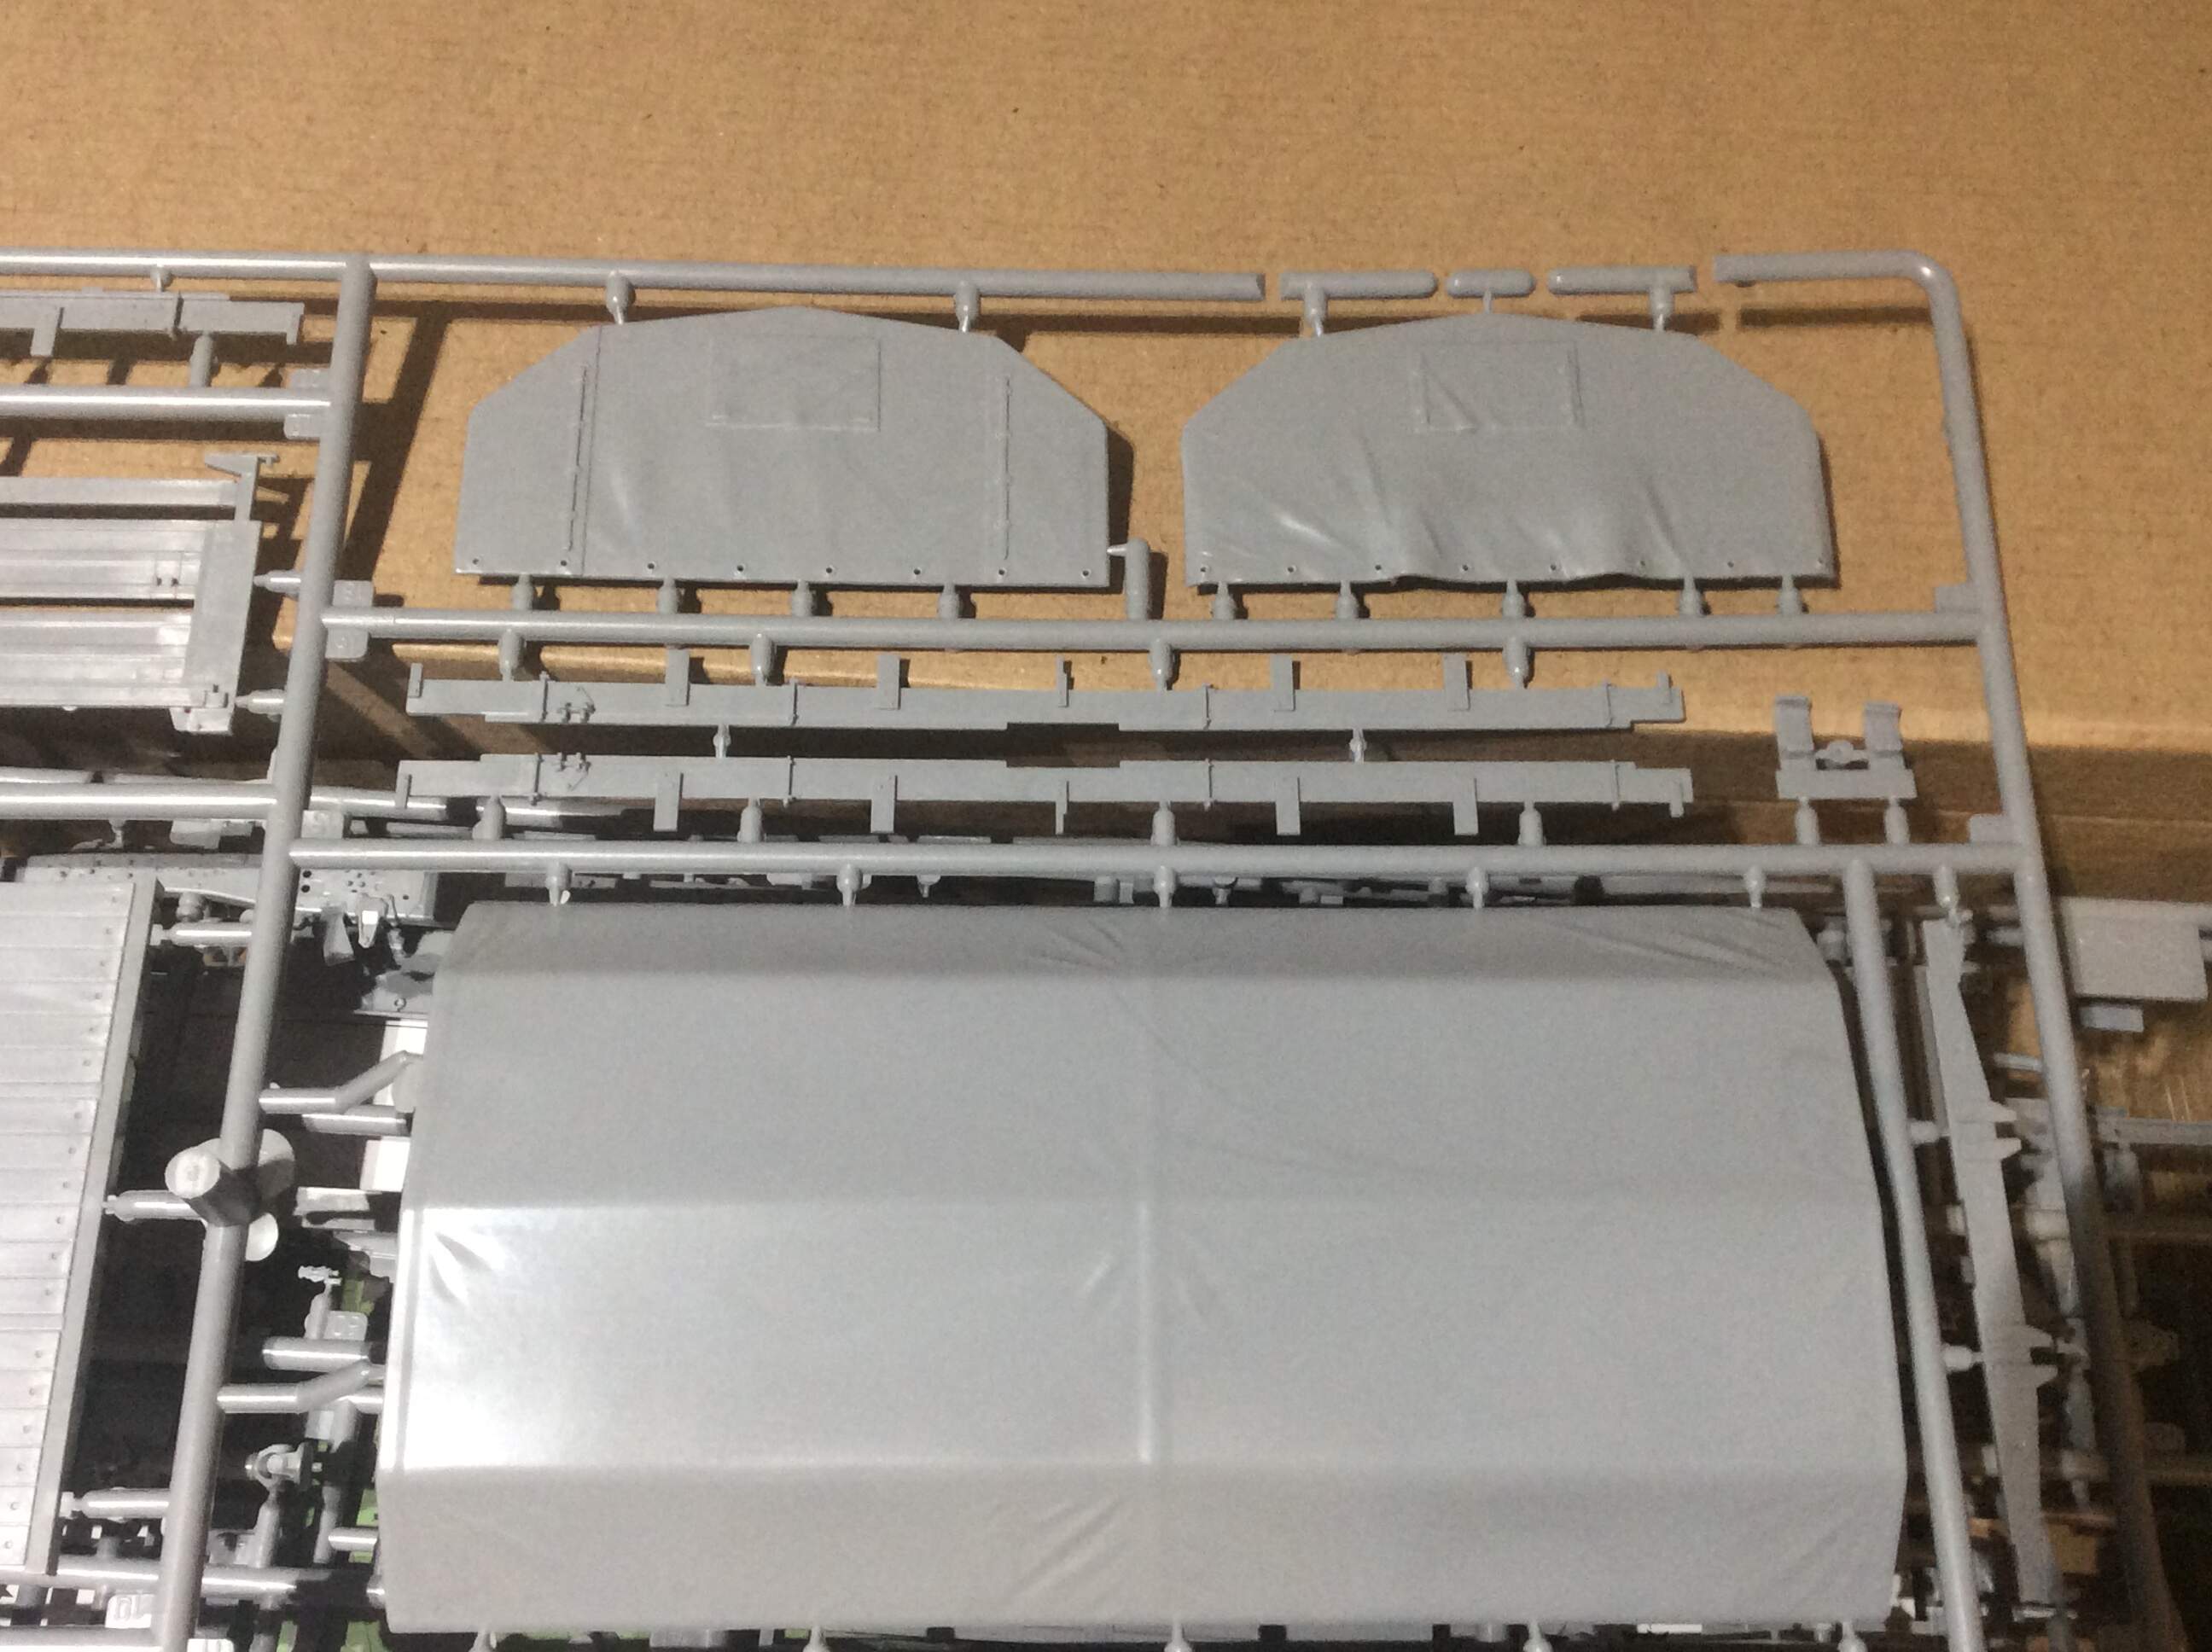
Wow, who said trucks were simple to build? Lots of parts there, a pity most of them will be probably covered on the final model…
Look forward to see it done, Quinta Studios are producing some nice items.
The instructions DO look busy! I’m looking forward to seeing your progress on this one, so please keep us posted.
This is about an hour and a half work, the first three steps… ok, my eldest was talking to me, too.
I am impressed at the detail and engineering of the kit so far. The fit is very good, too. Yep, a lot of this will not be seen, either.
2 Likes
Zvezda have really raised their quality level and are on a par with many of the major companies. The instructions can be tricky and require a thorough reading before starting the assembly. But you get cost effective models.
Enjoy your build.
Olivier
1 Like
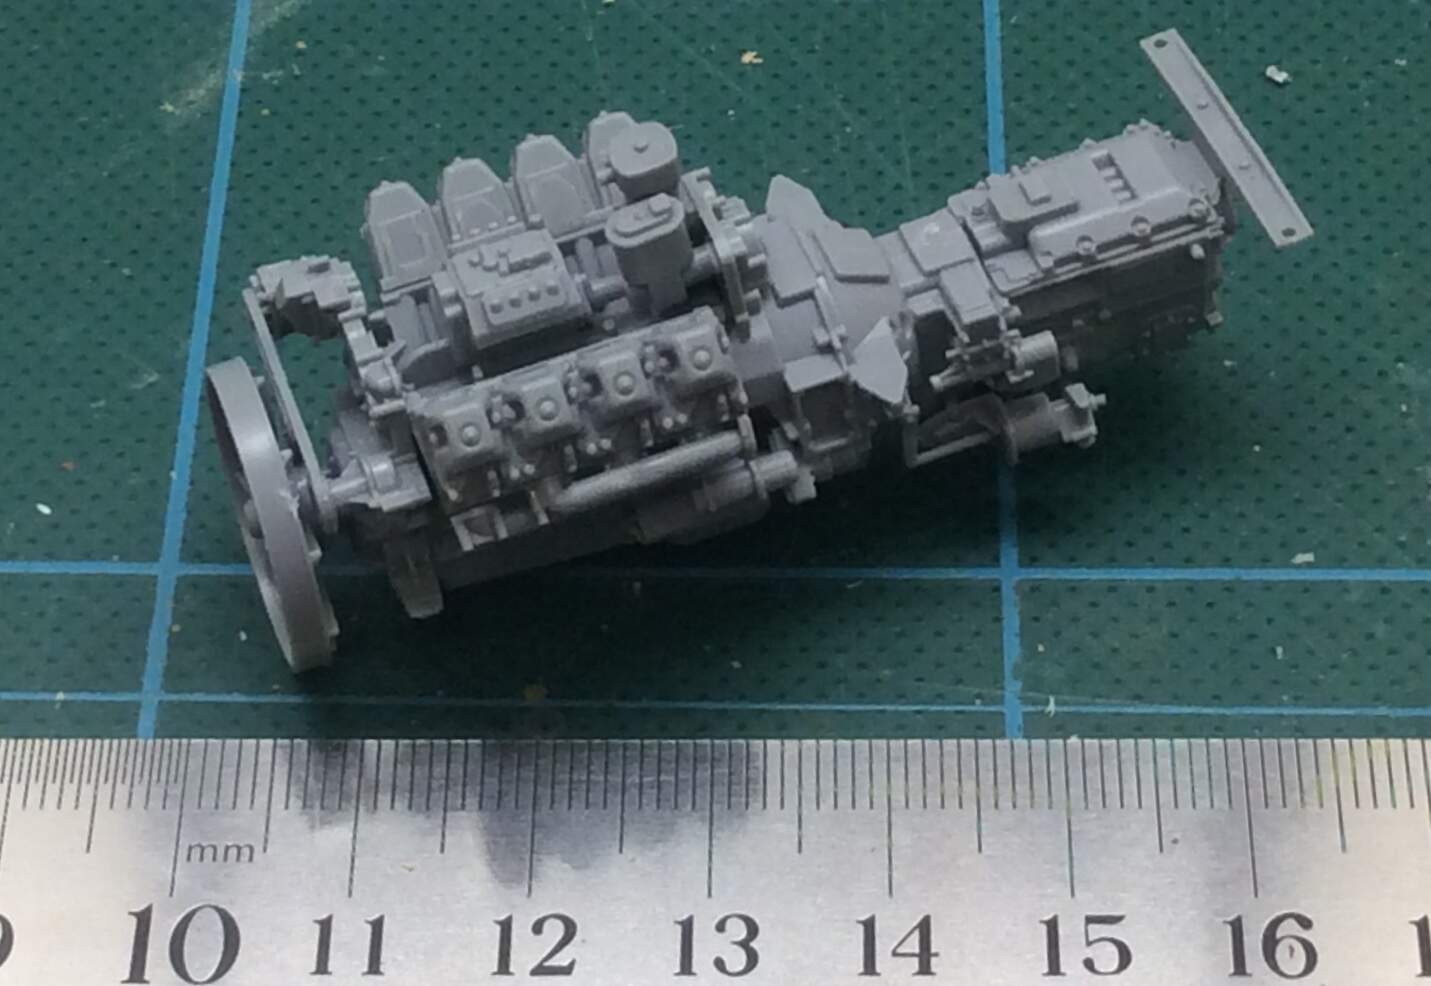
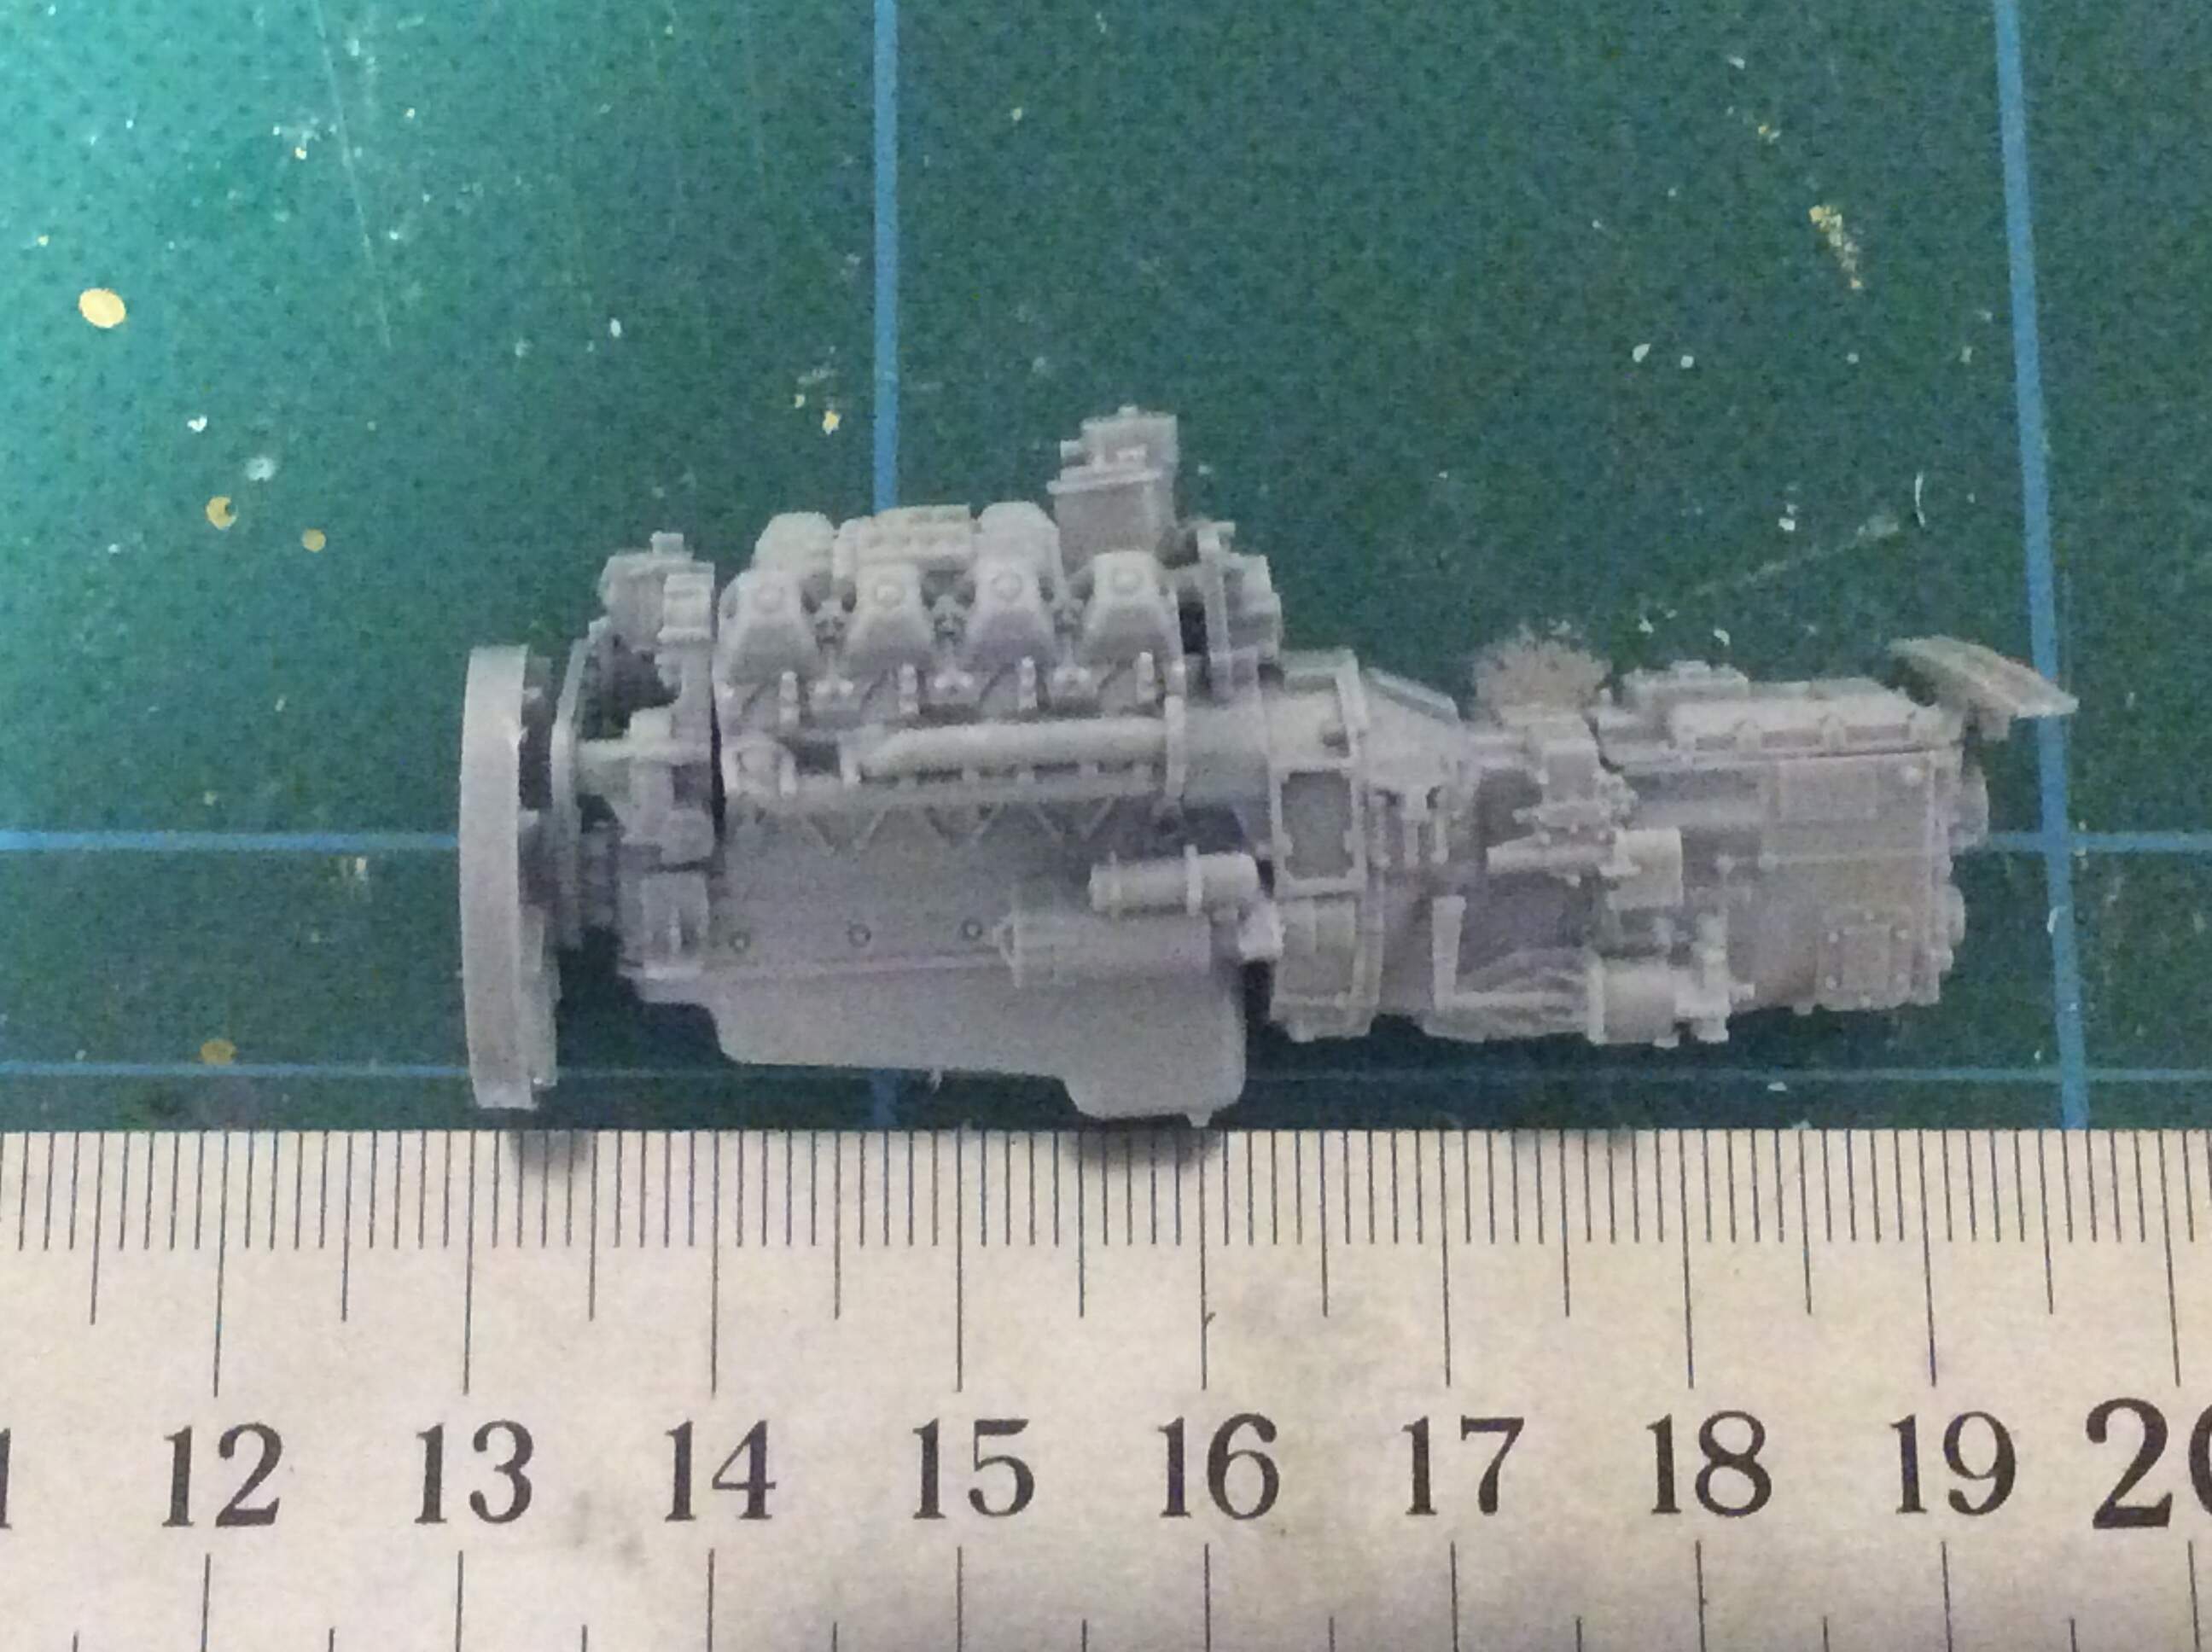
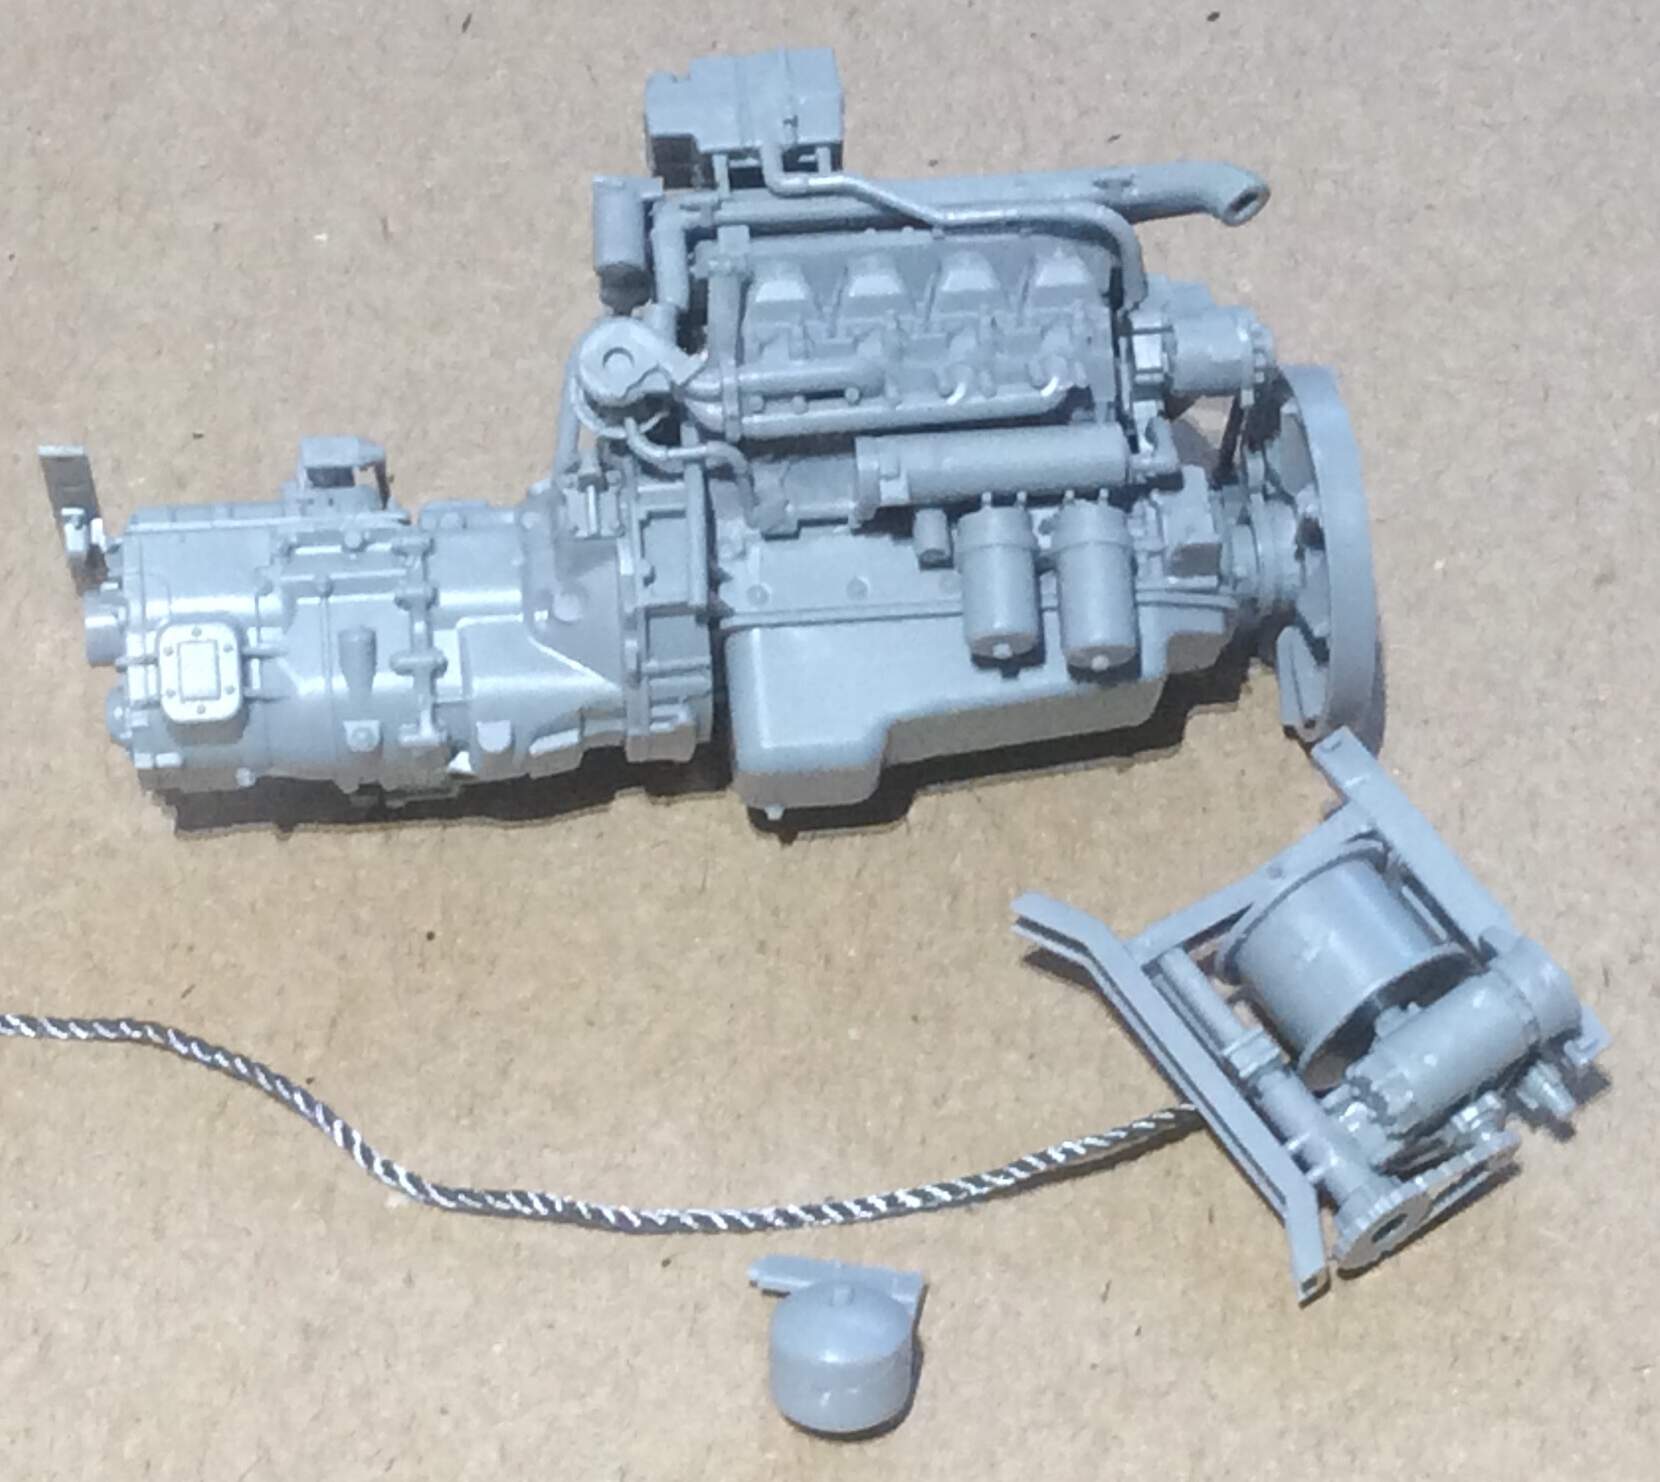
Cheers, Olivier; I will. I’ve added more to the engine, and again, fit is very good for a complex subassembly.
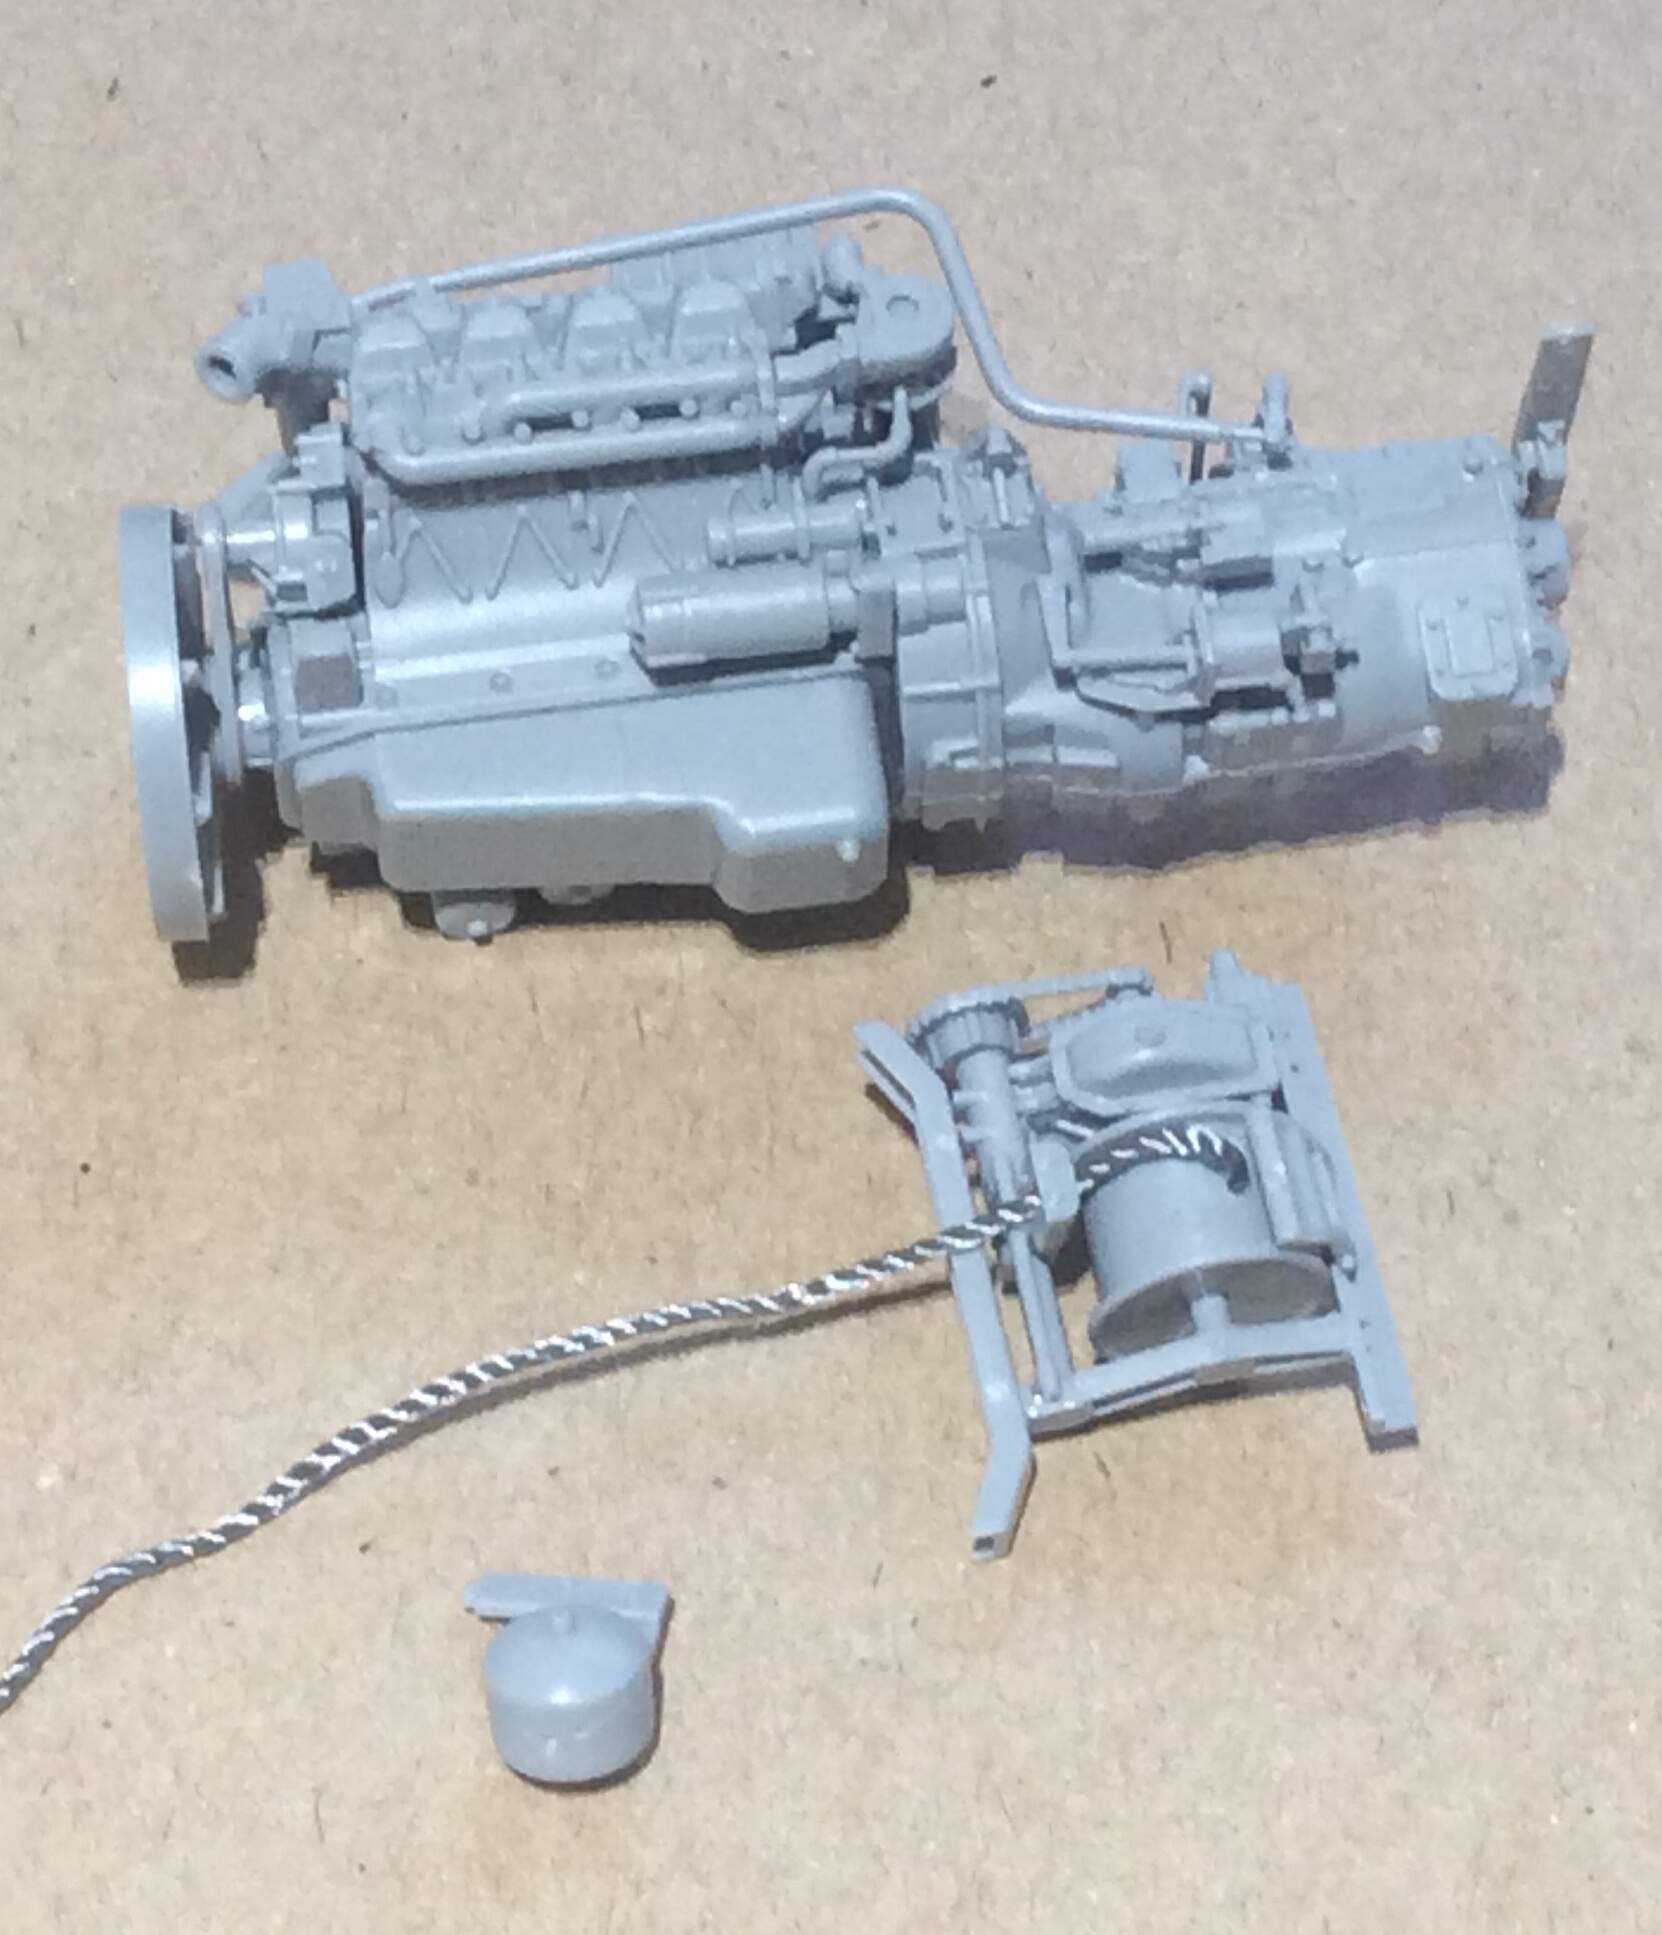
I’ve done up to step 12A and 12B, which is the engine complete, and the winch… the string was a real challenge getting through the feed rollers. I ended up trimming the rollers back a bit. Did anyone notice?
How dare you! You have ruined the model.
Nope, still cannot tell what you did. 
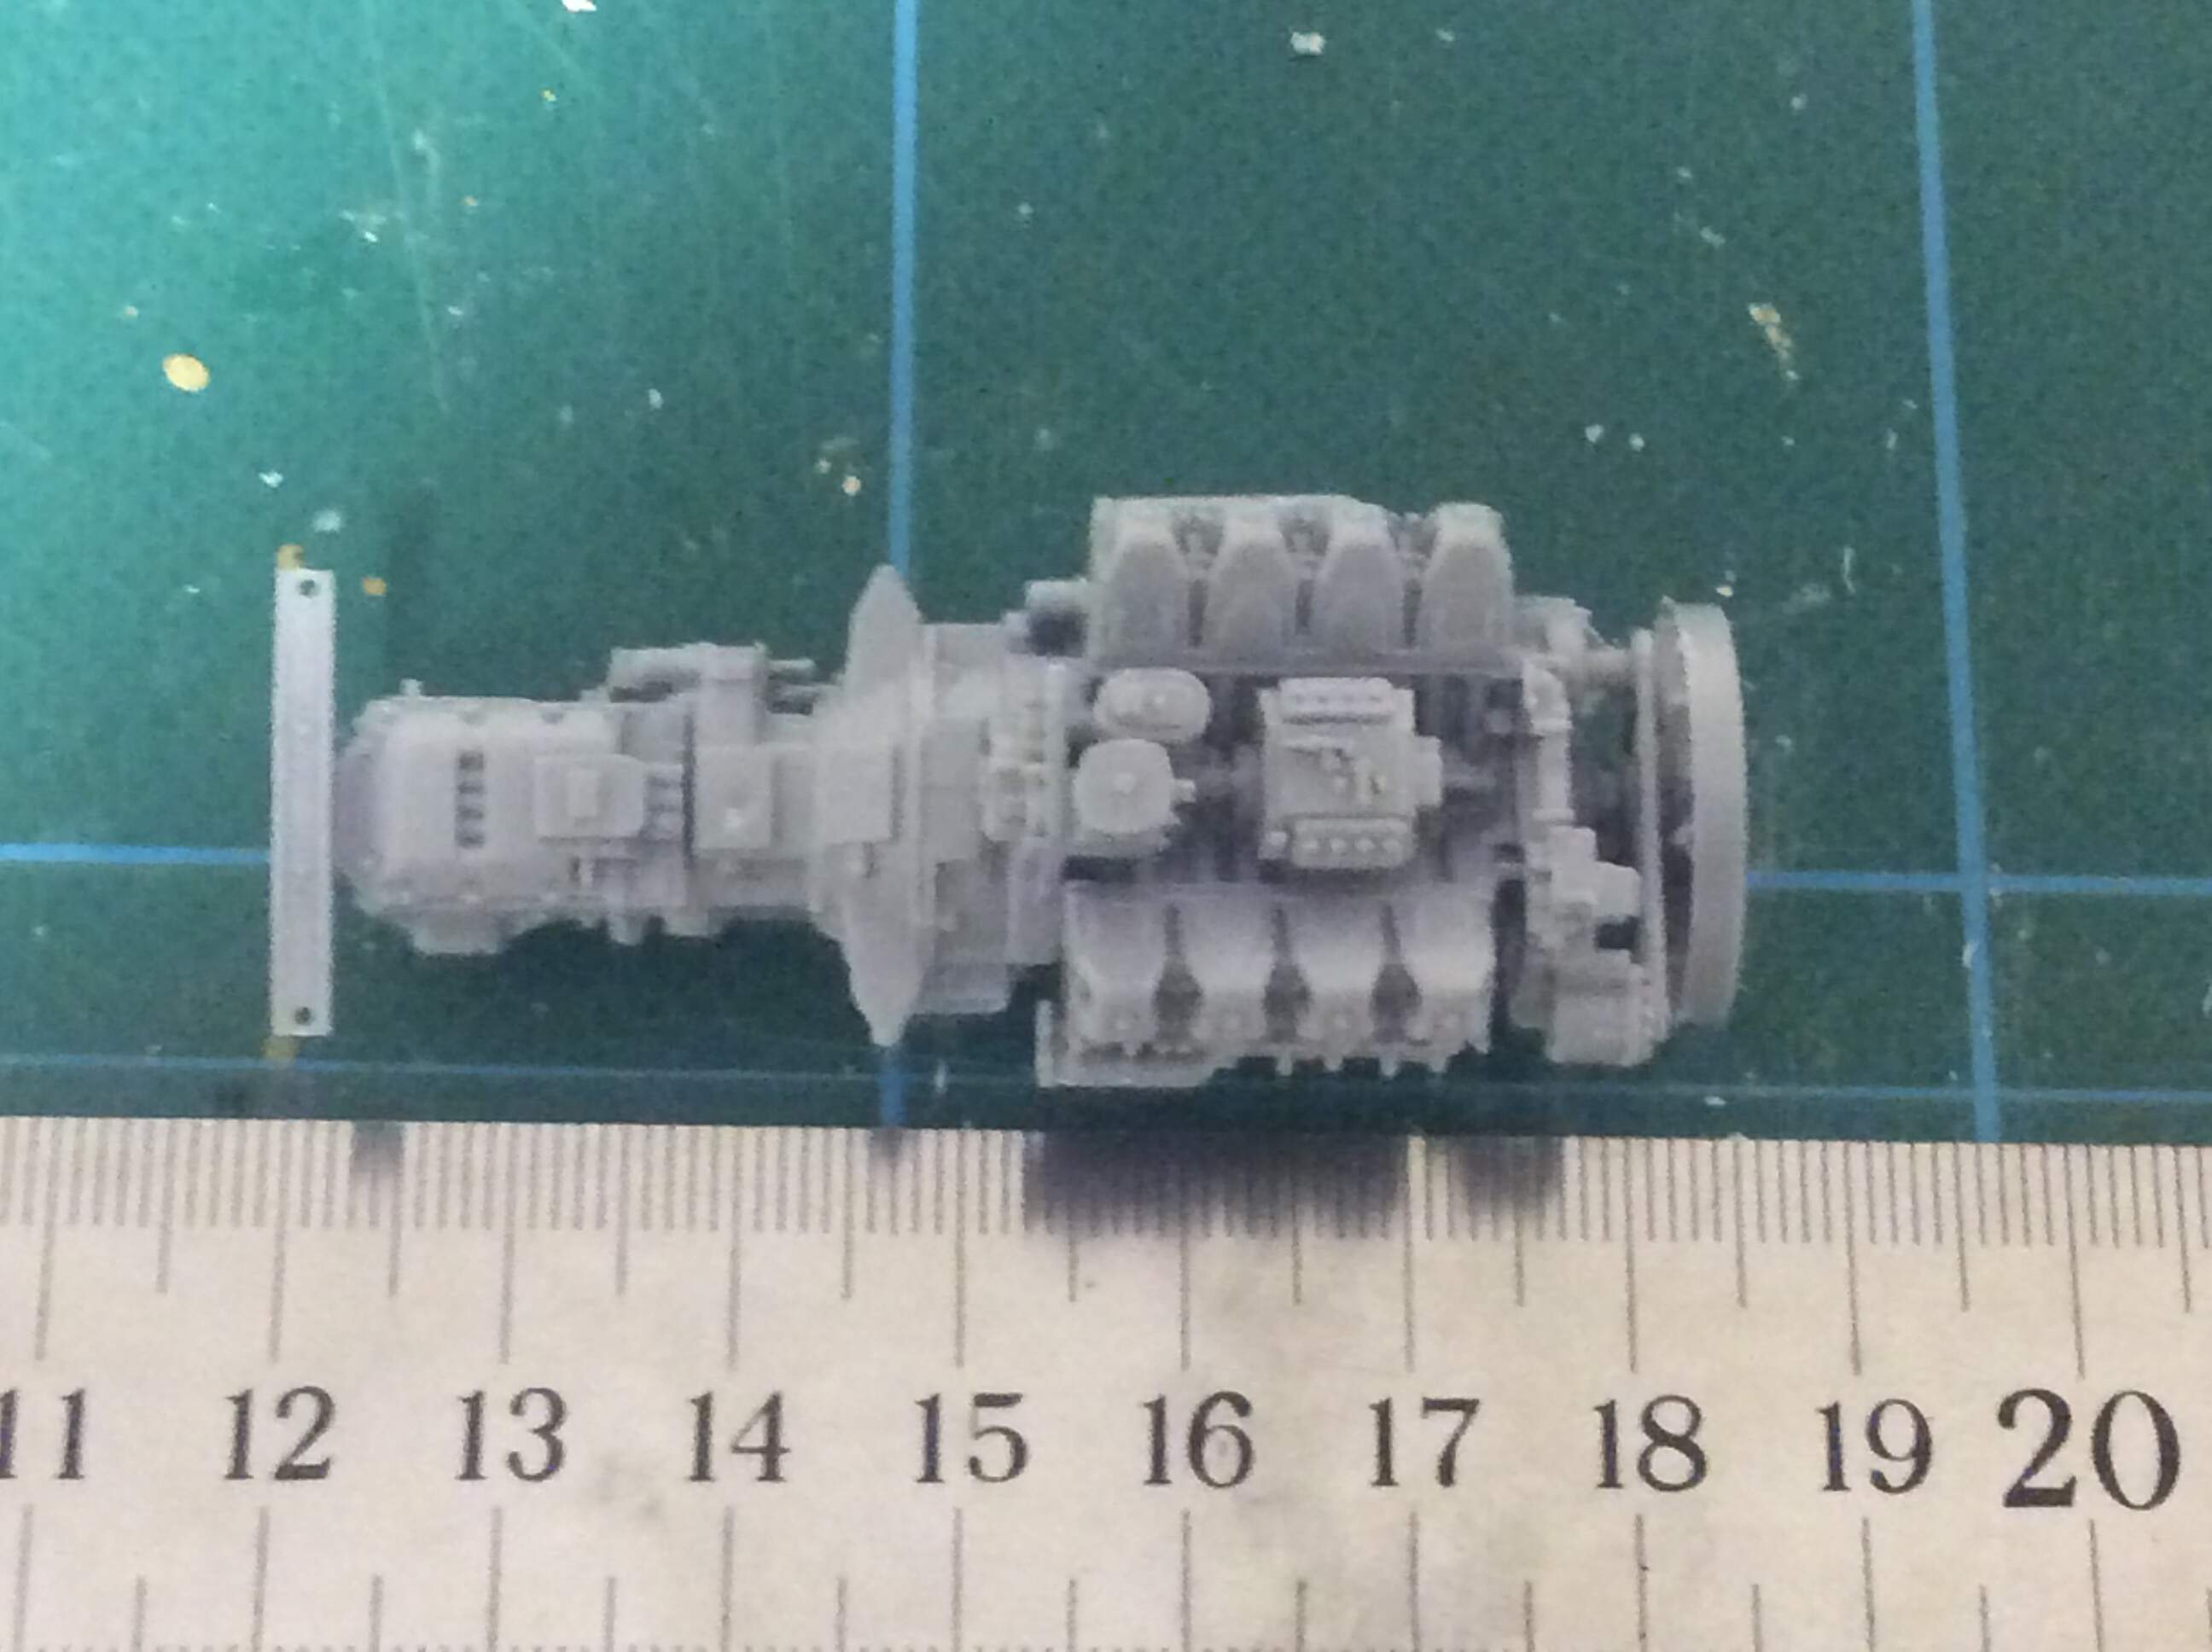
In the first pic it appears a mold line is showing where the transmission parts come together and in the second pic the support bracket that is perpendicular, the angle seems off. Don’t know if it’s supposed to be that way, a funky image thing but it might impact seating the engine later.
Keep up the good work.
Next time you can rub wax over the string this can help.
Noce job in the engine.
Olivier
Tank, thanks for that; I have checked the angle of the brace, and it works. As for the seam, I may leave it where it is for posterity.
Hi Olivier, great tip, I’ll be sure to give it t a go next time.
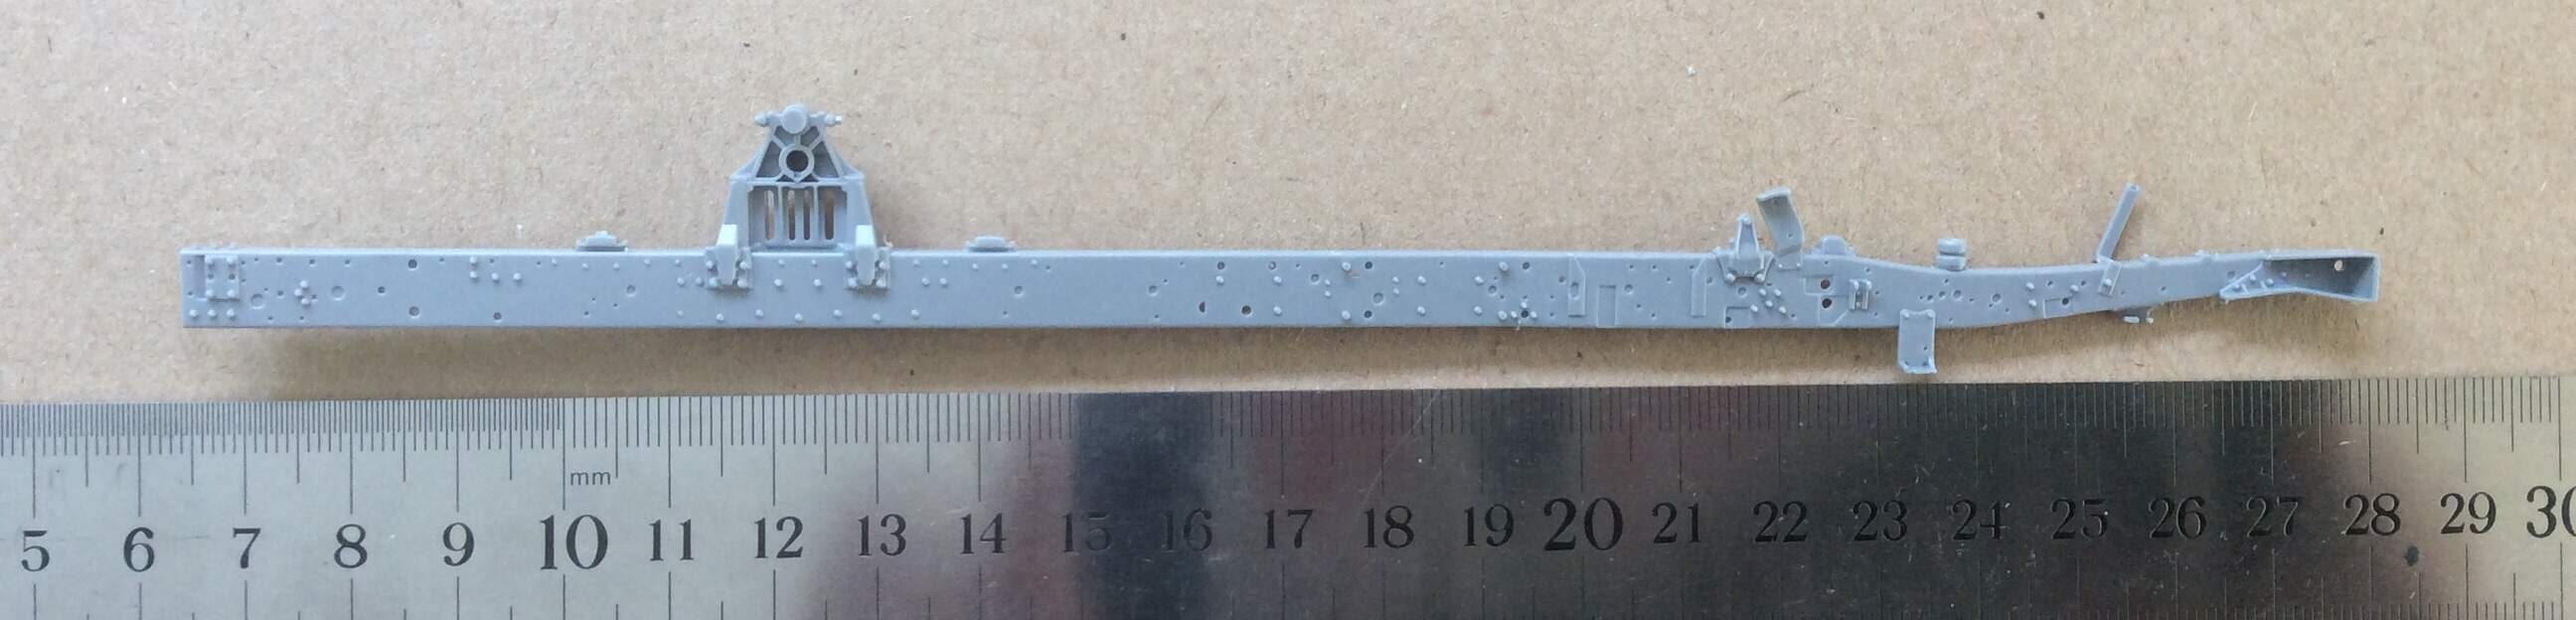
In preparation of building the chassis, I just want to dwell on the frame for a bit and admire the engineering effort that’s gone into it…
It really is very well done.
1 Like
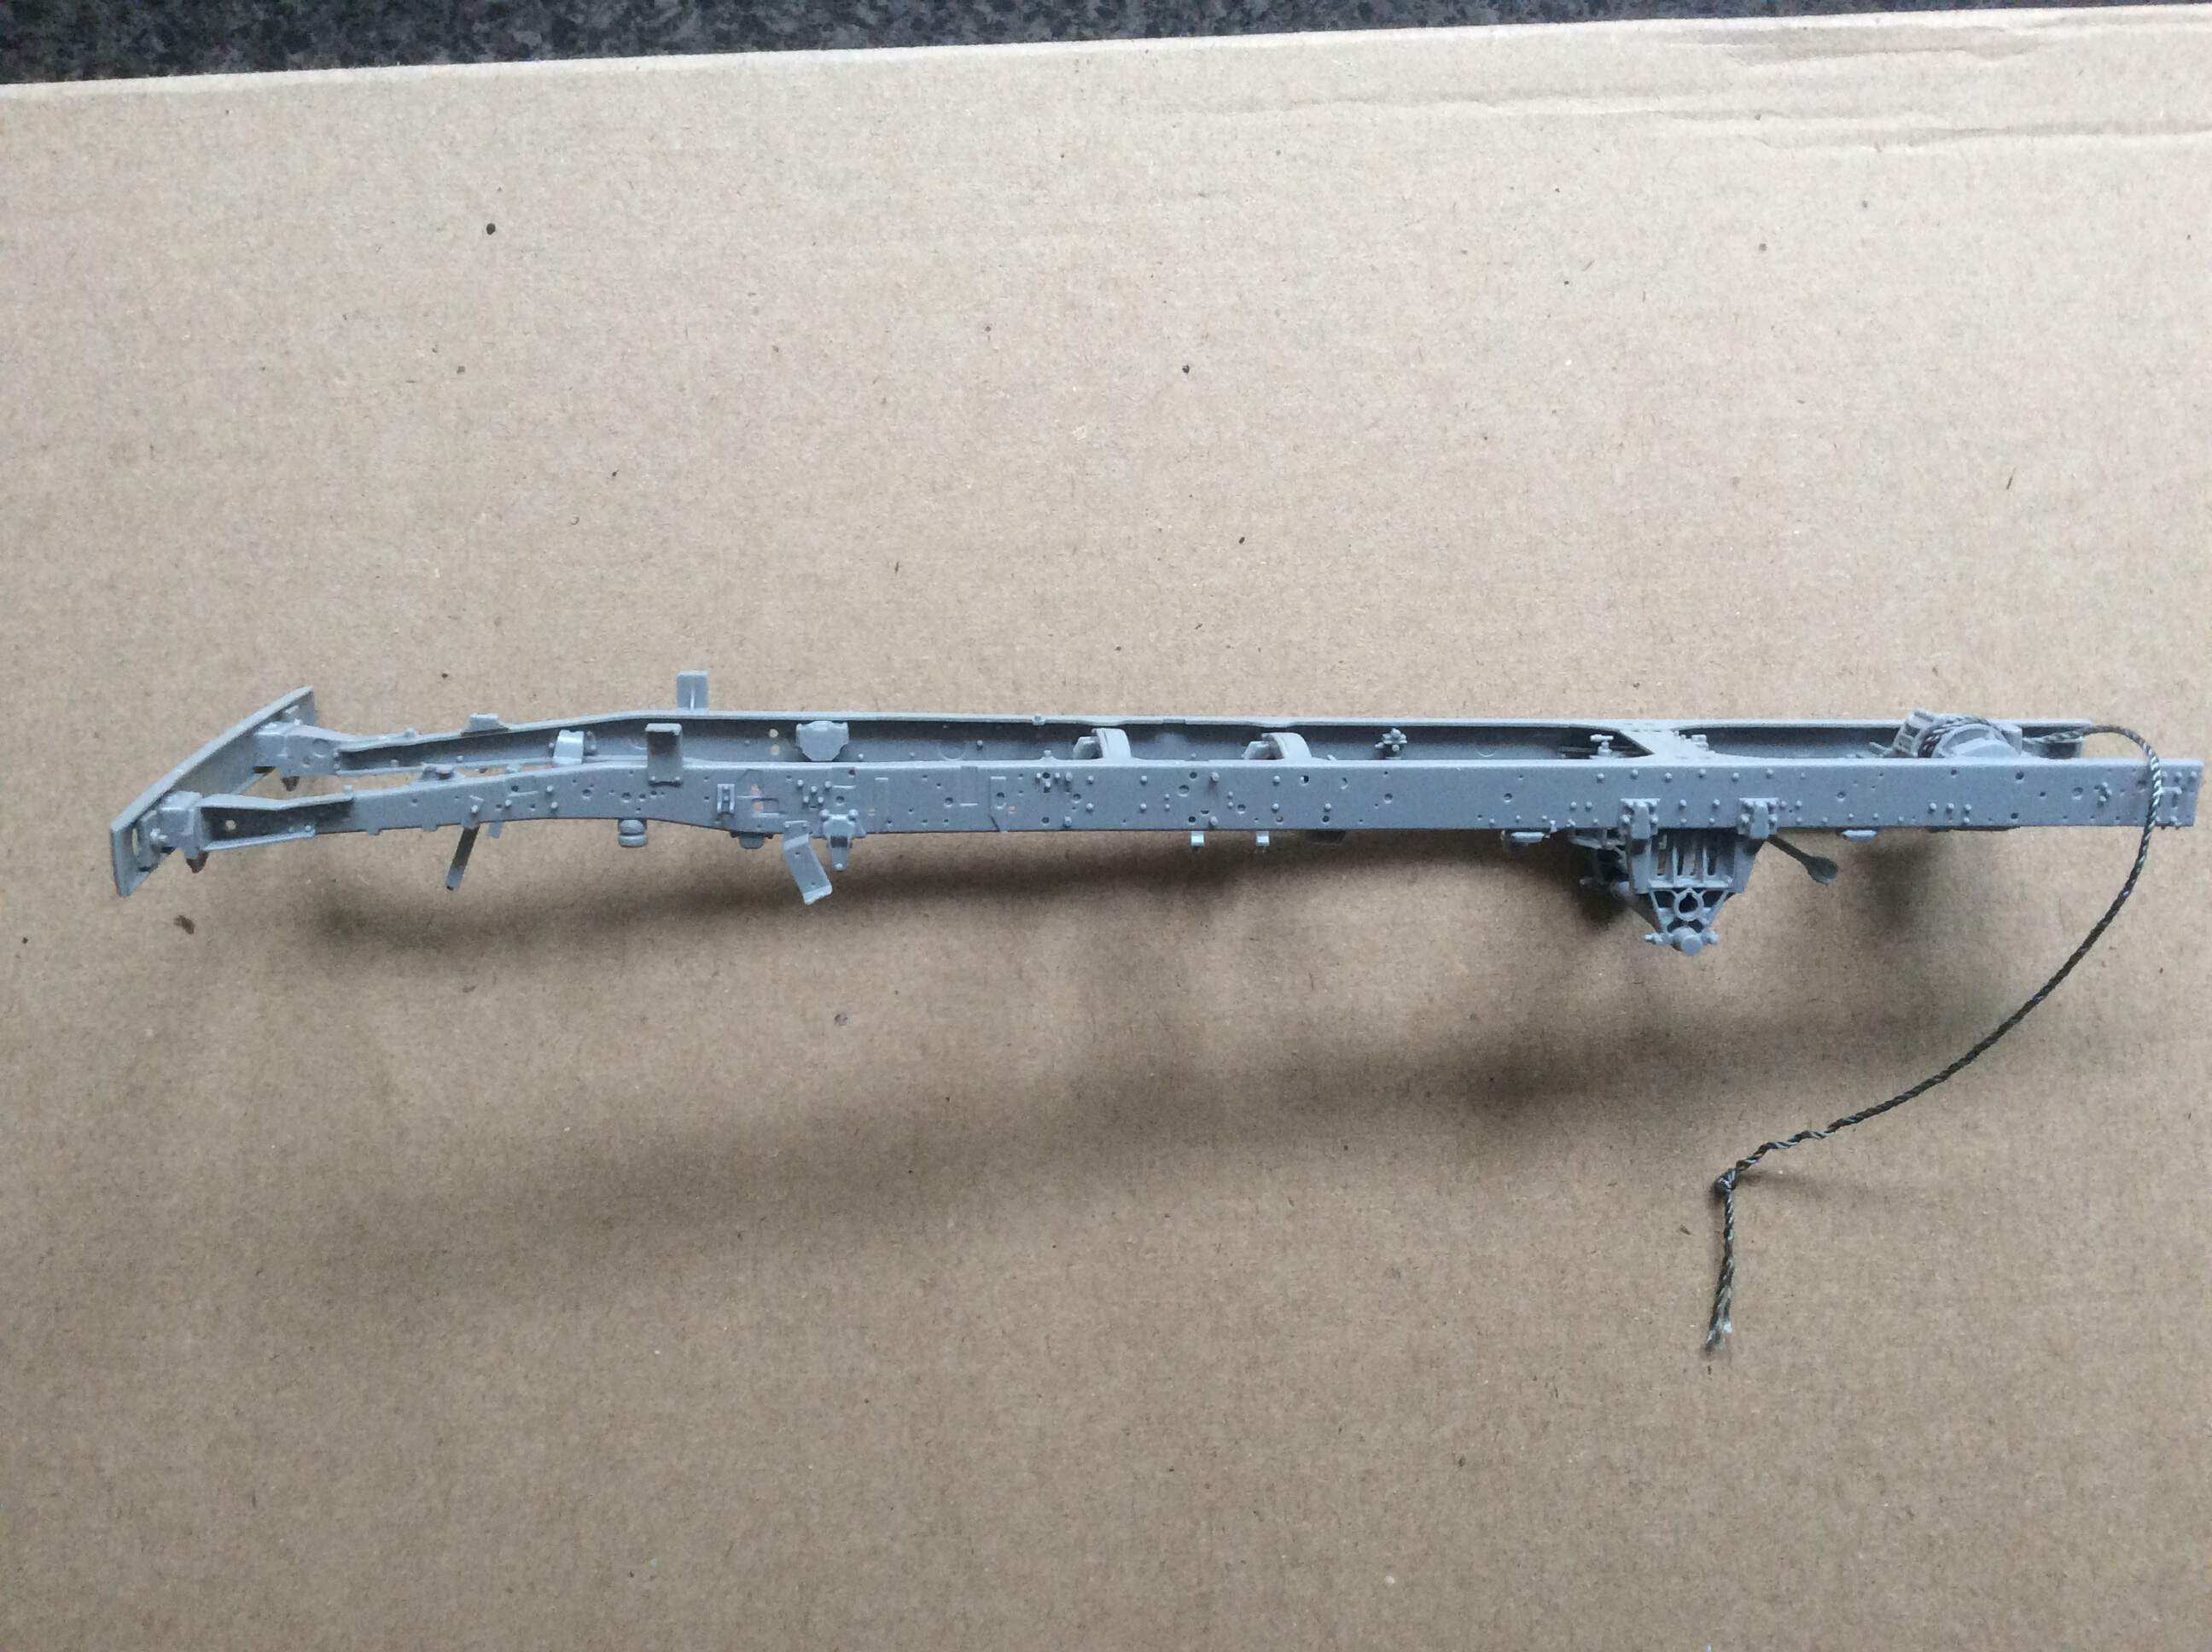
Having completed step 14, there are two subassemblies: the engine (see above), and the chassis, here:
This consists of two rails with numerous cross members that need to be correctly located for the chassis to be square. I started at the top, the front front bumper and worked my way down, making sure all points seated correctly.
This is a complex kit that has been well engineered, and a pleasure to build so far. The detail is incredible, only lacking the finer wiring.
1 Like
Good job. This is exactly what I hate t odo with vehicles based on truck chassis.
The detail looks really nice and crisp.
Olivier
That is good to hear. The frame is looking great. Are you going to try to added the wiring?
Do you think one can prepaint the chassis parts and then assemble or it is more a post assembly paint process?
I had looked at adding the wiring, but need to balance that with finishing it this year against an exercise in madness… plus, I’d need to find reliable references, too. The detail is good enough that the nipples and junctions are there to add the wiring to, if you know where the wires go.
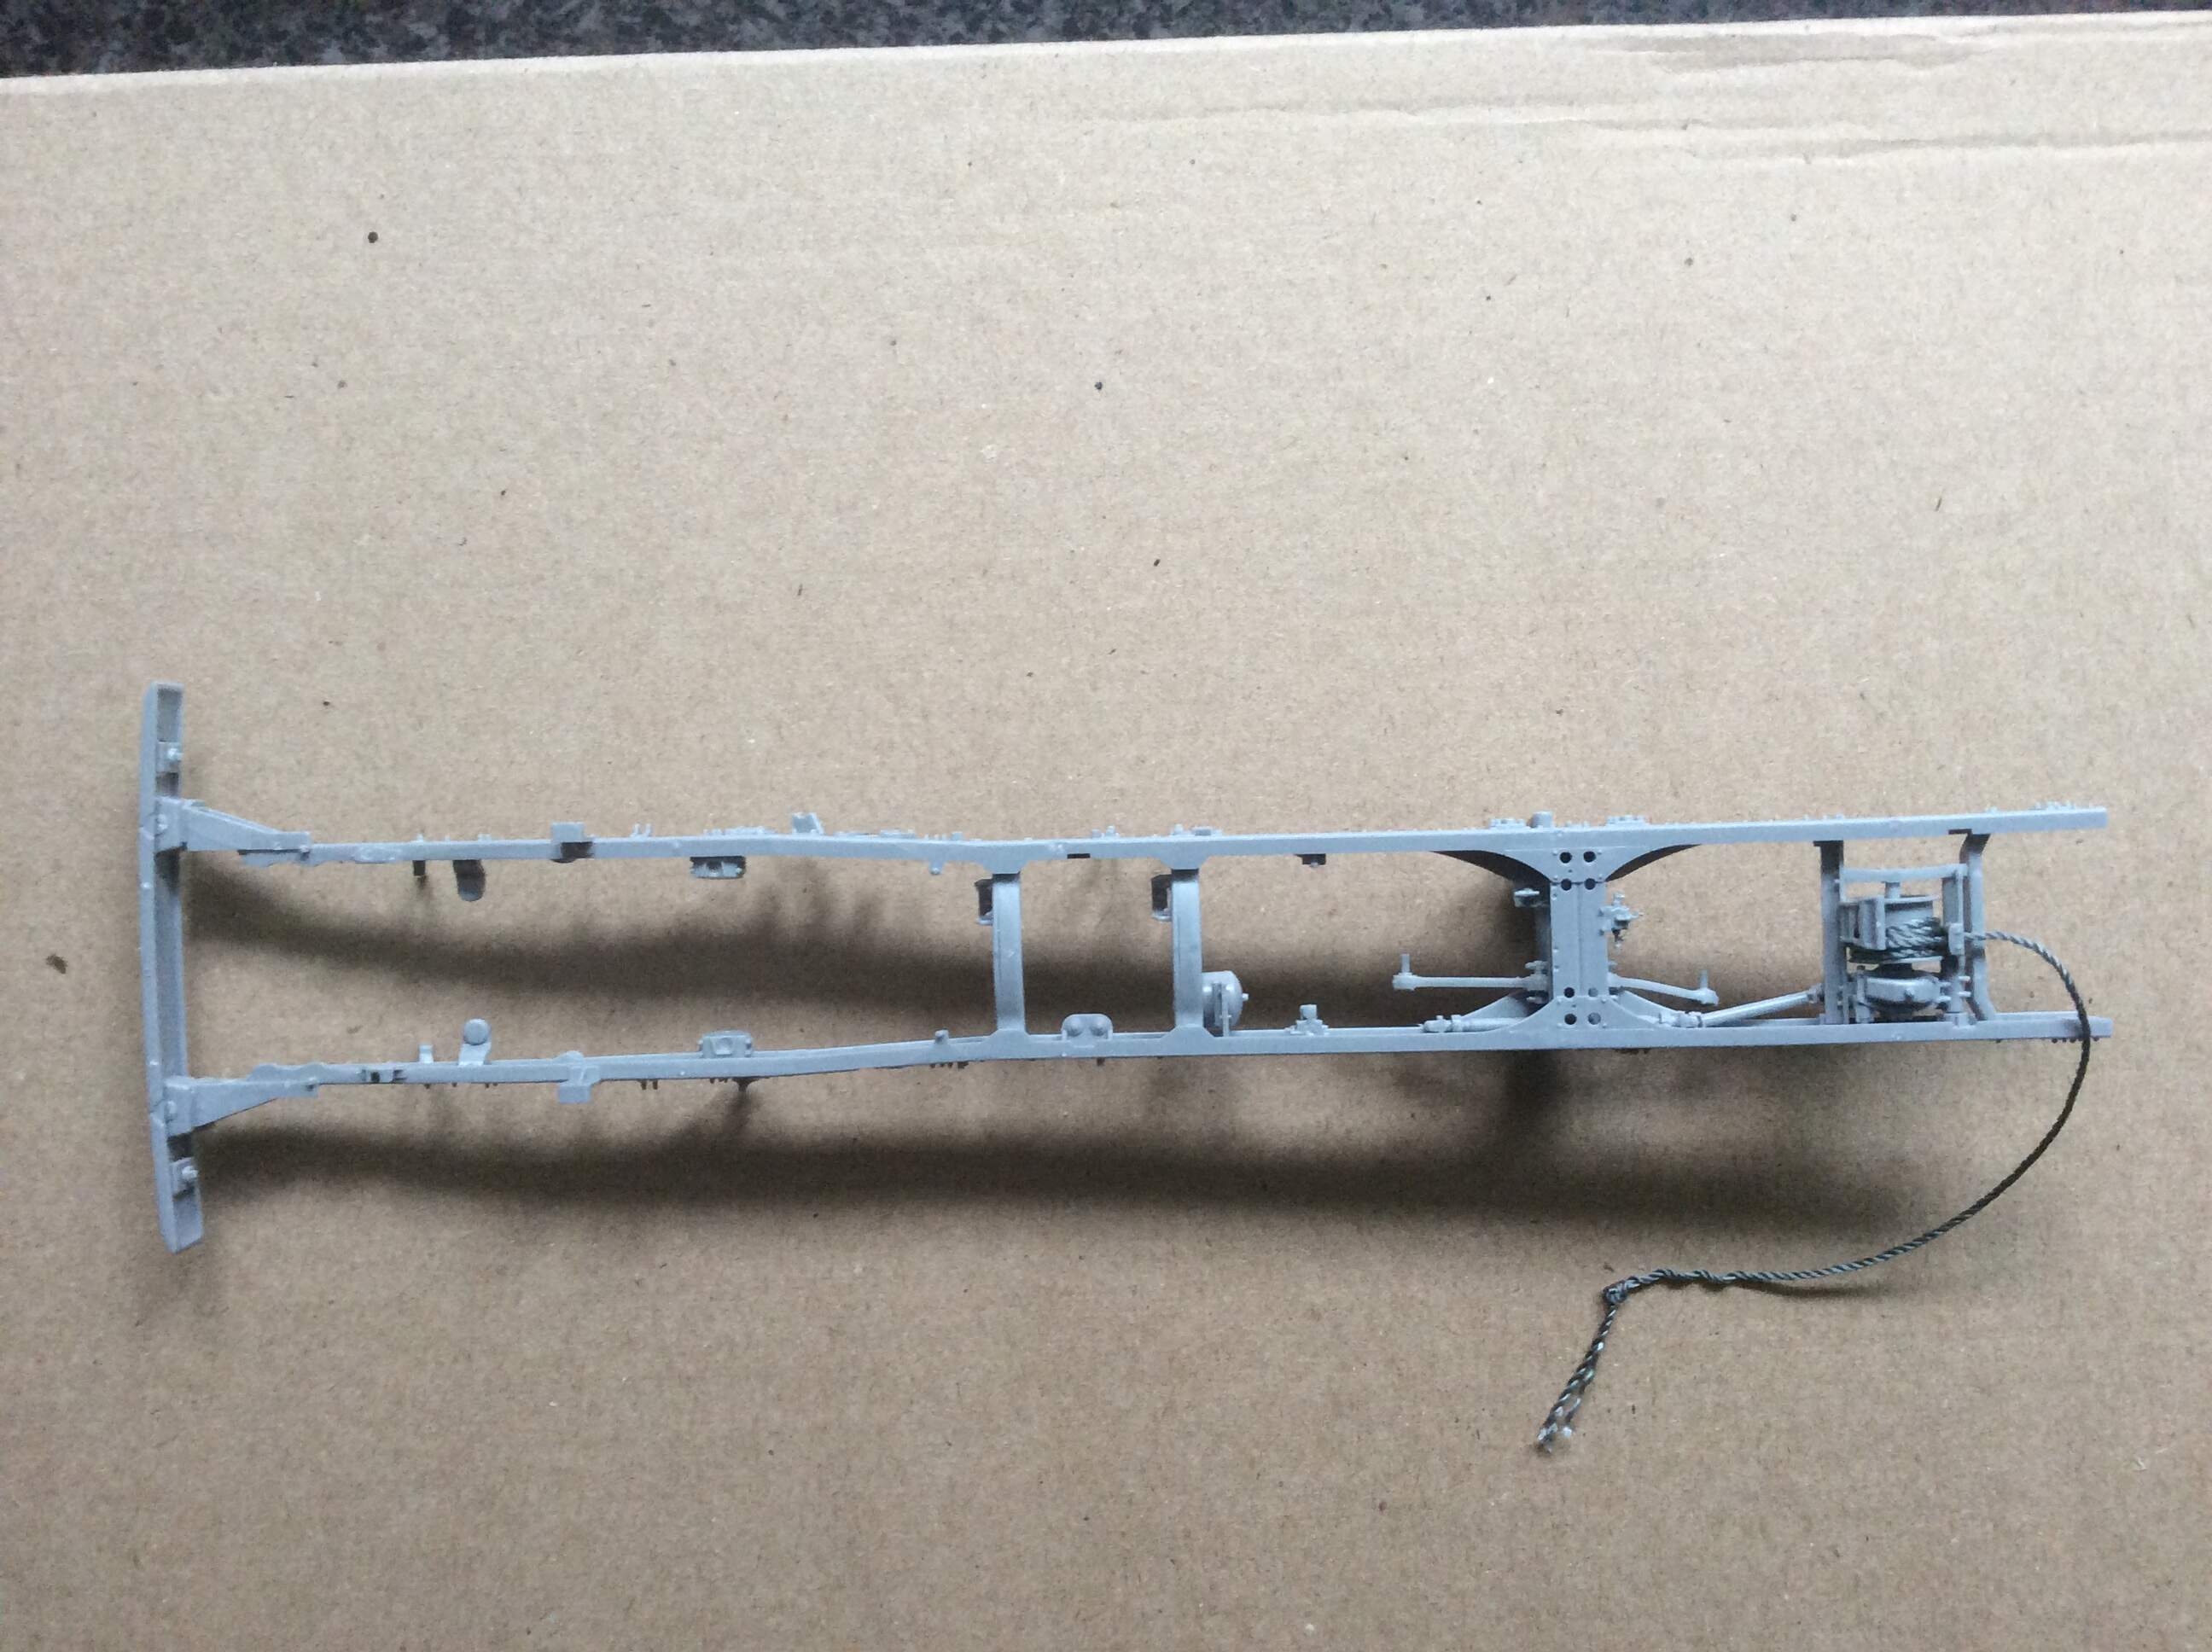
It is a complex build, but it goes together well…
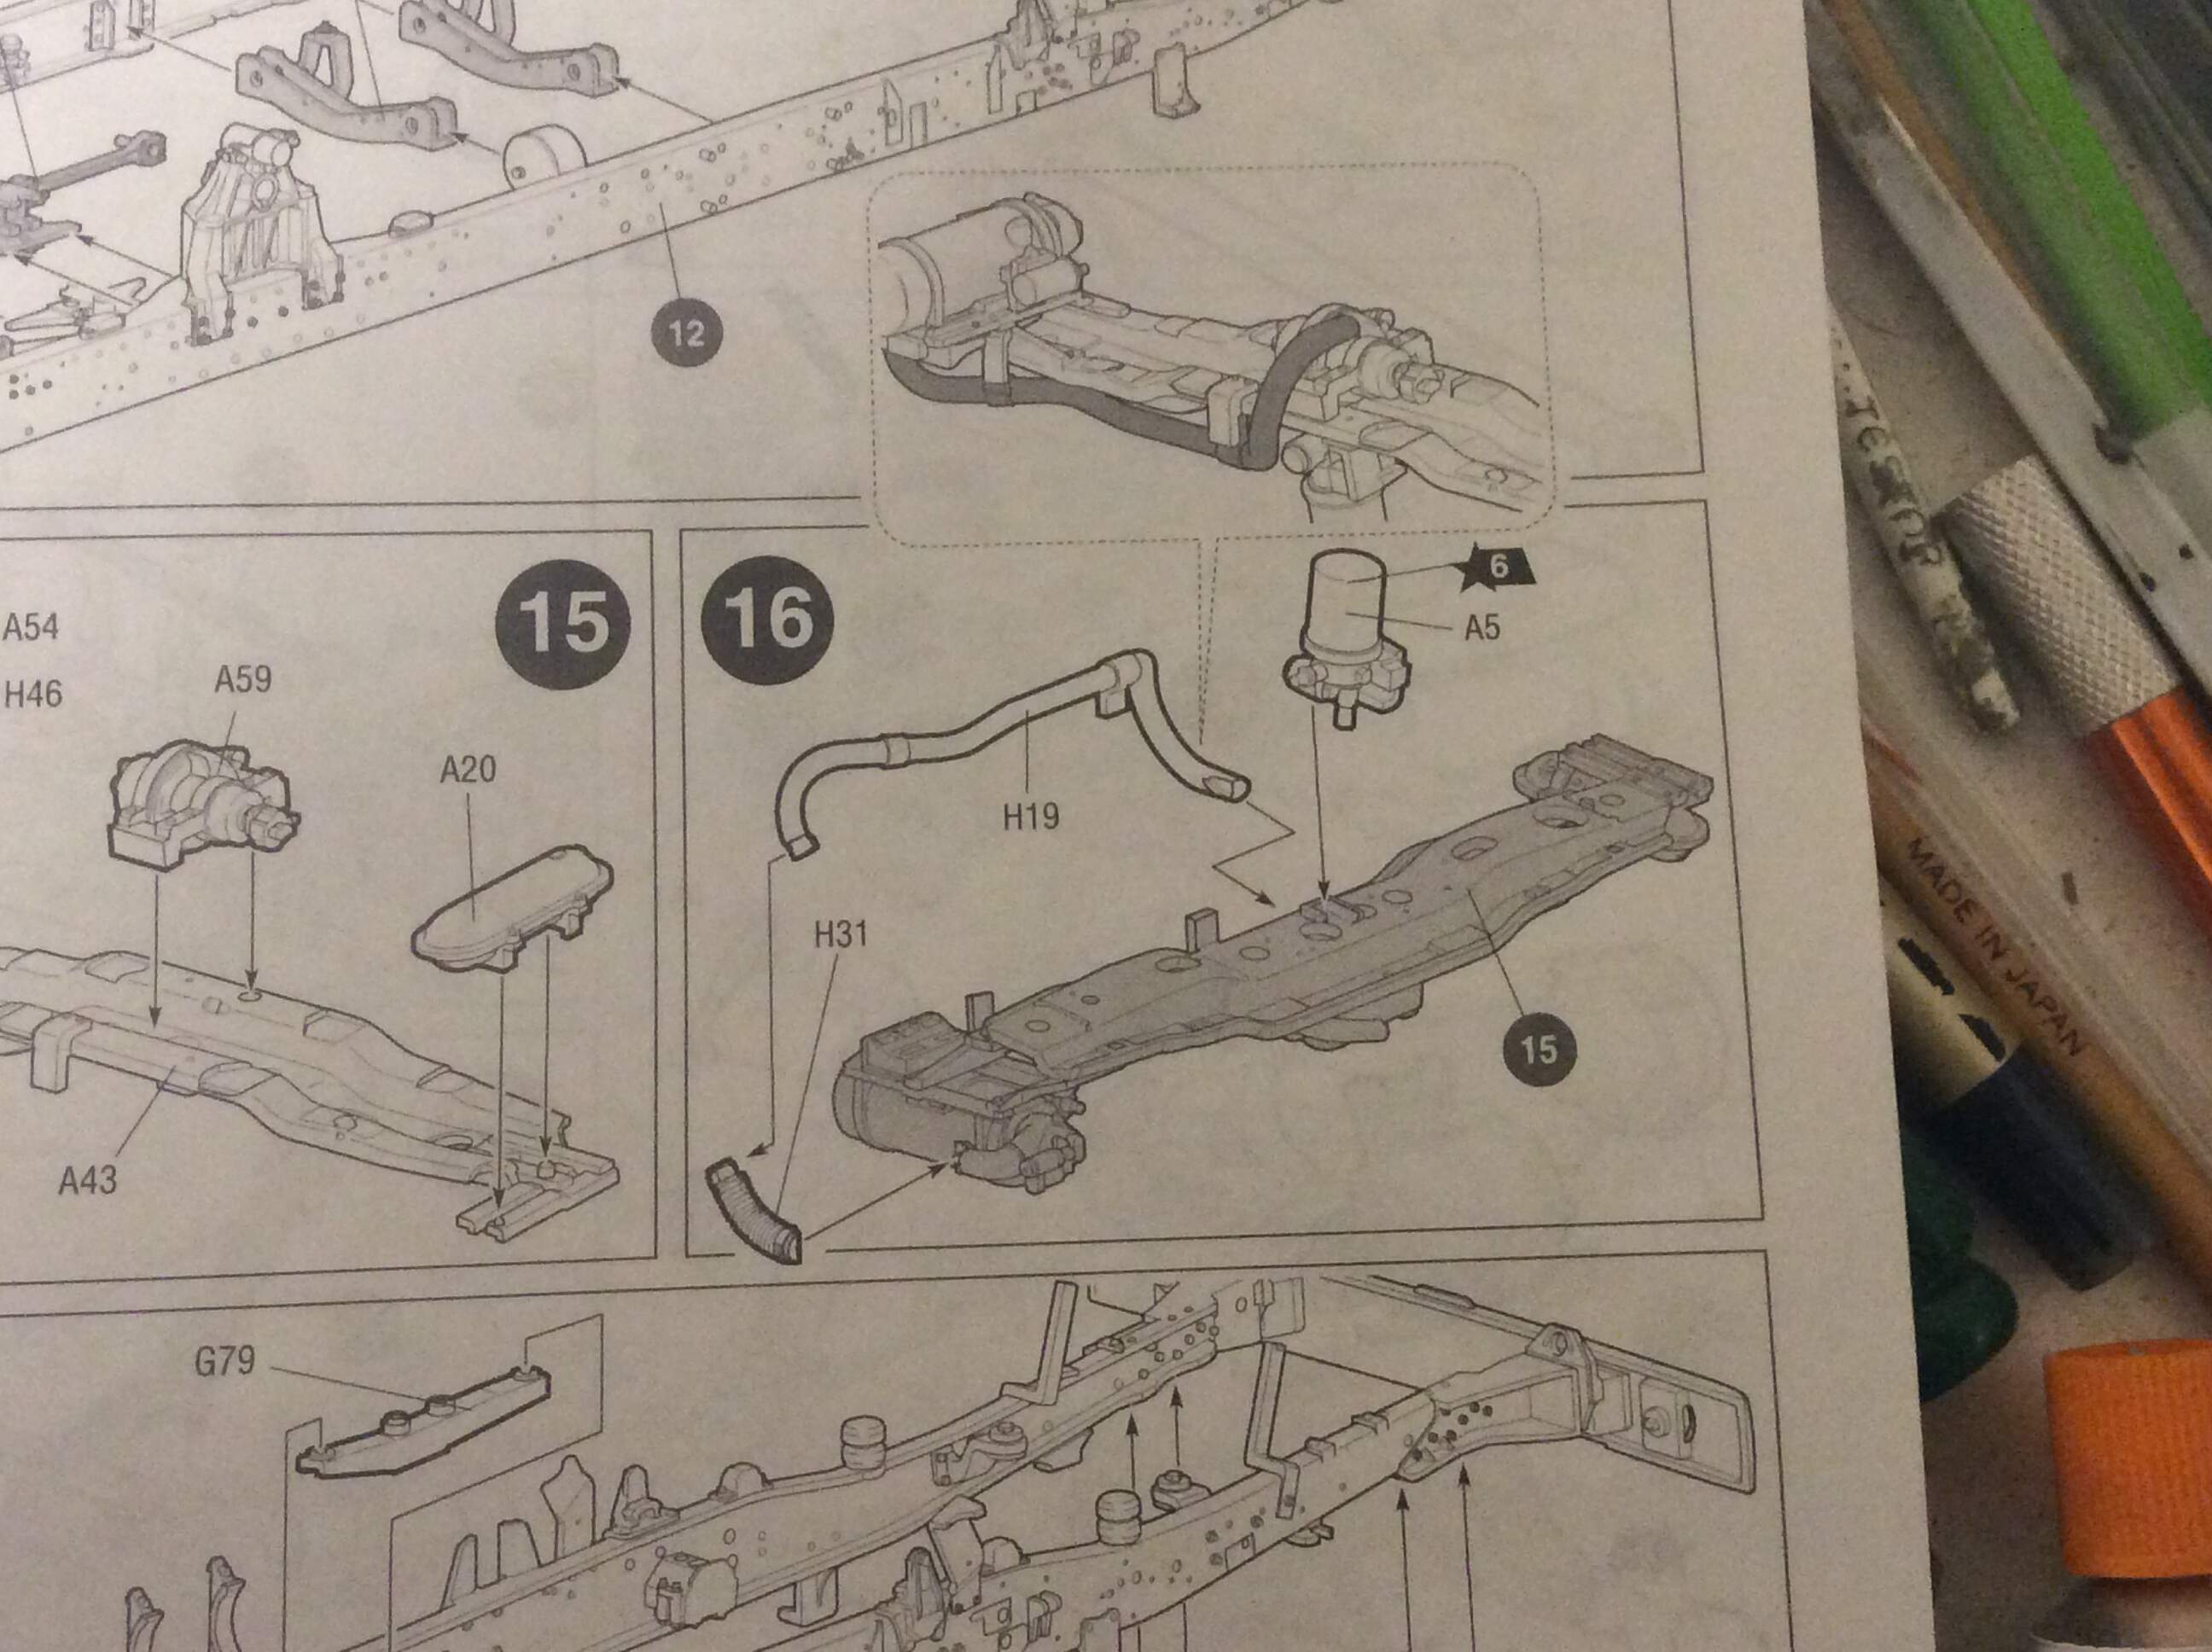
Joining H31 to H19 onto subassembly 15 worked a treat. Sure, it required a bit of pushing before the glue cured, but nothing too difficult. And it looks great.
I understand that, I would like to wire a truck up one day but that day is not today so I get it. Keep up the good work.
Cheers, Tank; back to the bench tonight.
1 Like
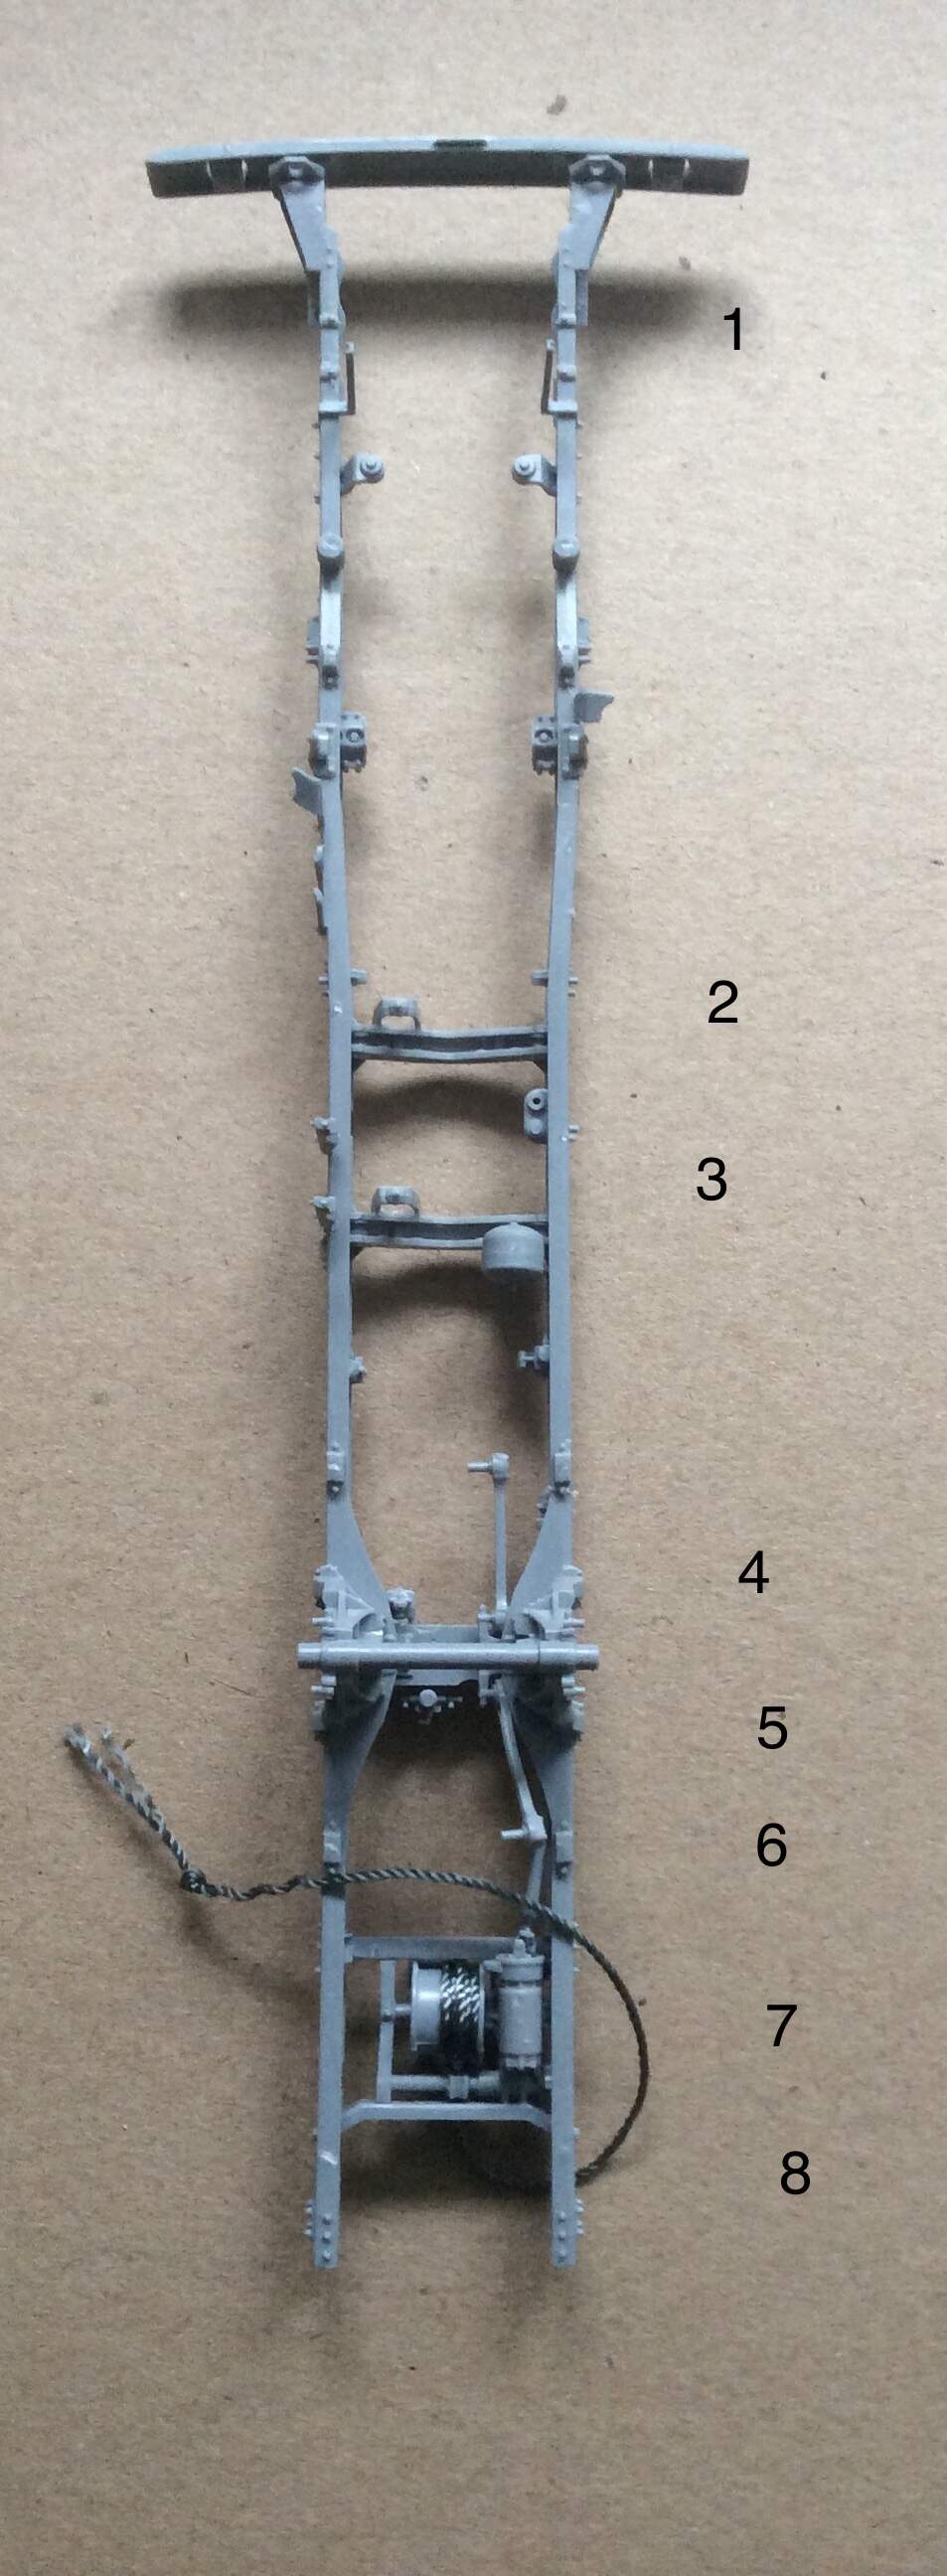
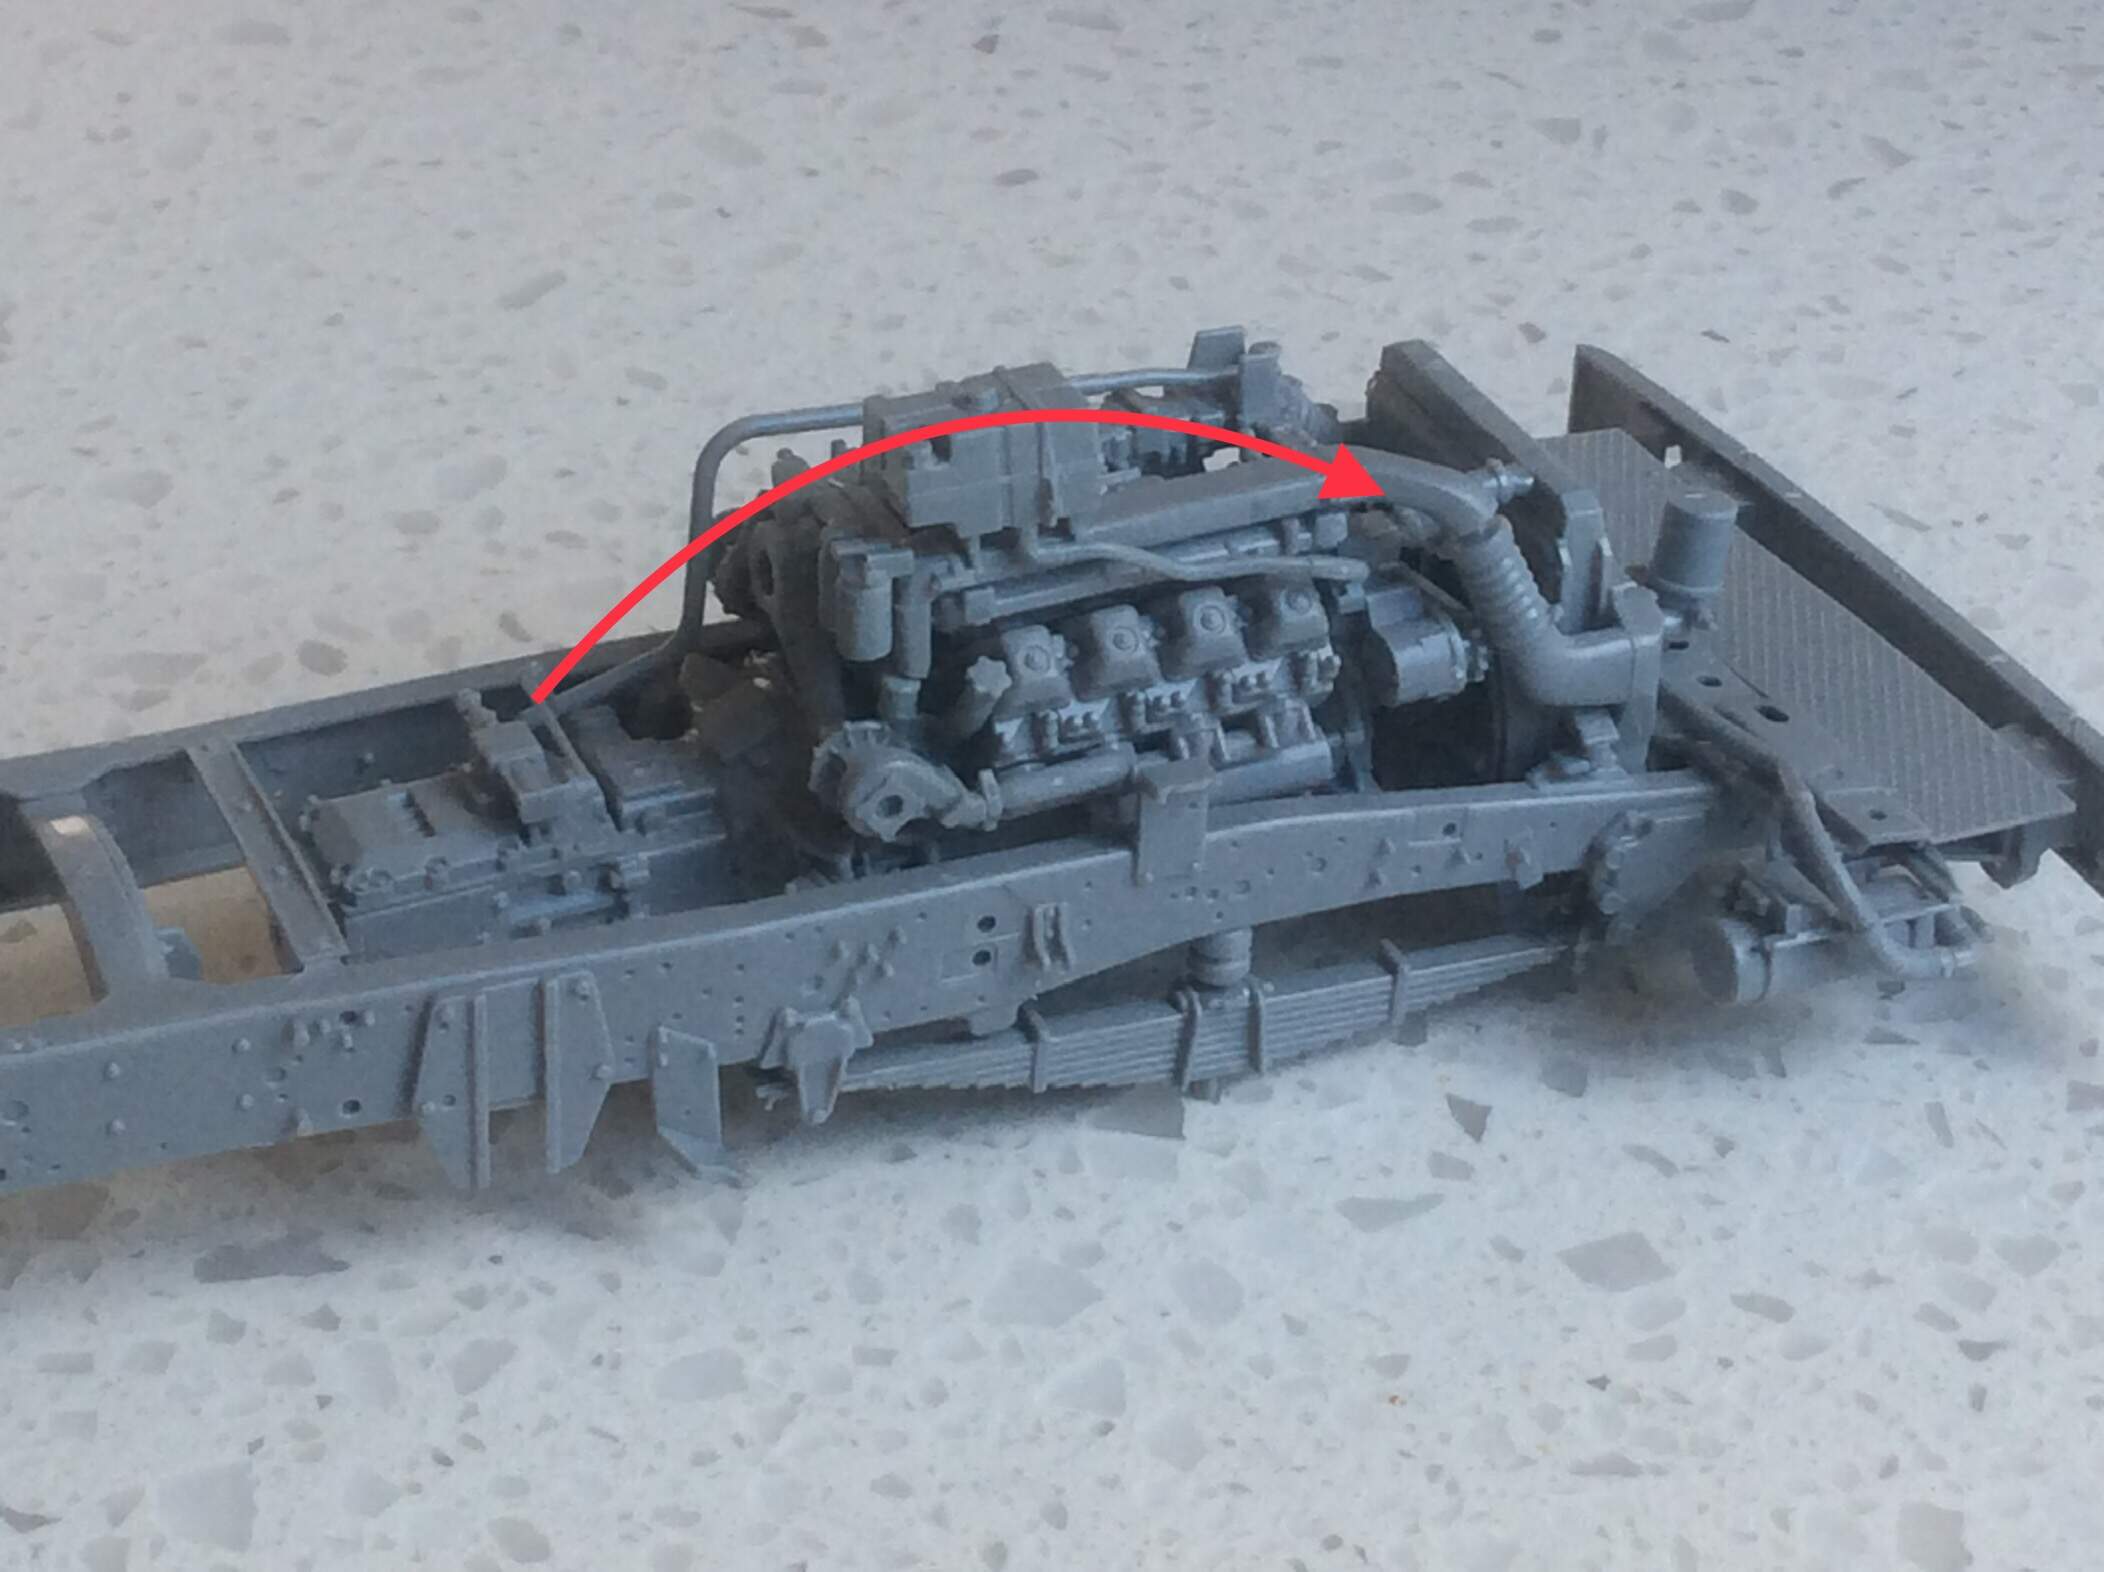
Steps 20-23, this is not a fast build…
The red arrow shows a gap from poor fit that I can confidently put down to operator error, maybe. No, really. The same fitting on the other side is near perfect, which is pretty good considering this represents several subassemblies that build on each other to reach this point.
Back to the bench
3 Likes
Thanks for those last images… it gives a feeling of just how detailed this kit is, actually. Nice one!