Hi Bumblebee,
It’s not finished yet, there is more to add. And the images don’t do the kit justice, either. More tomorrow.
Hi Bumblebee,
It’s not finished yet, there is more to add. And the images don’t do the kit justice, either. More tomorrow.
If it was you, do you know where you might have gone wrong? Can you bend the hose down to connect better? Still like your build.
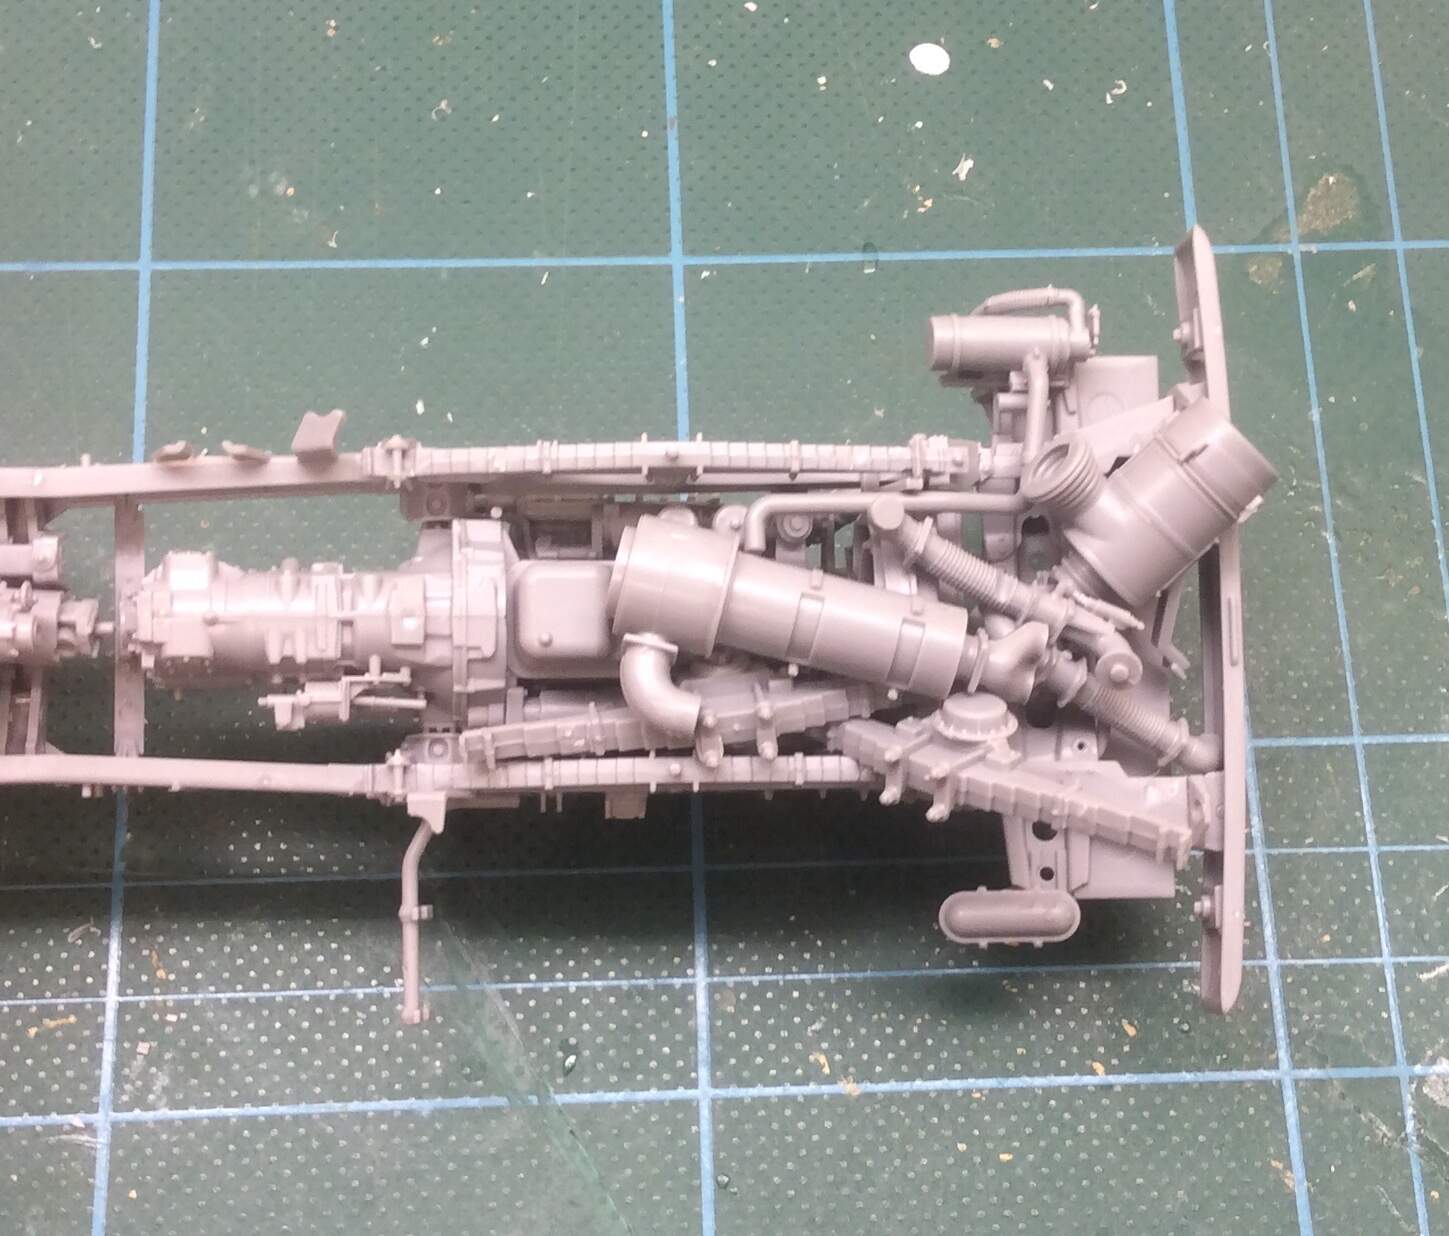
Given the number of sub-assemblies and parts that go into making up the engine and chassis, I’d be hard-pressed to identify any particular any for care and attention to prevent this happening again. Thankfully only you and I know about it, and it will be covered by the cab…
As long as you keep posting in progress posts in case I get the kit your secret is safe with me. ![]()
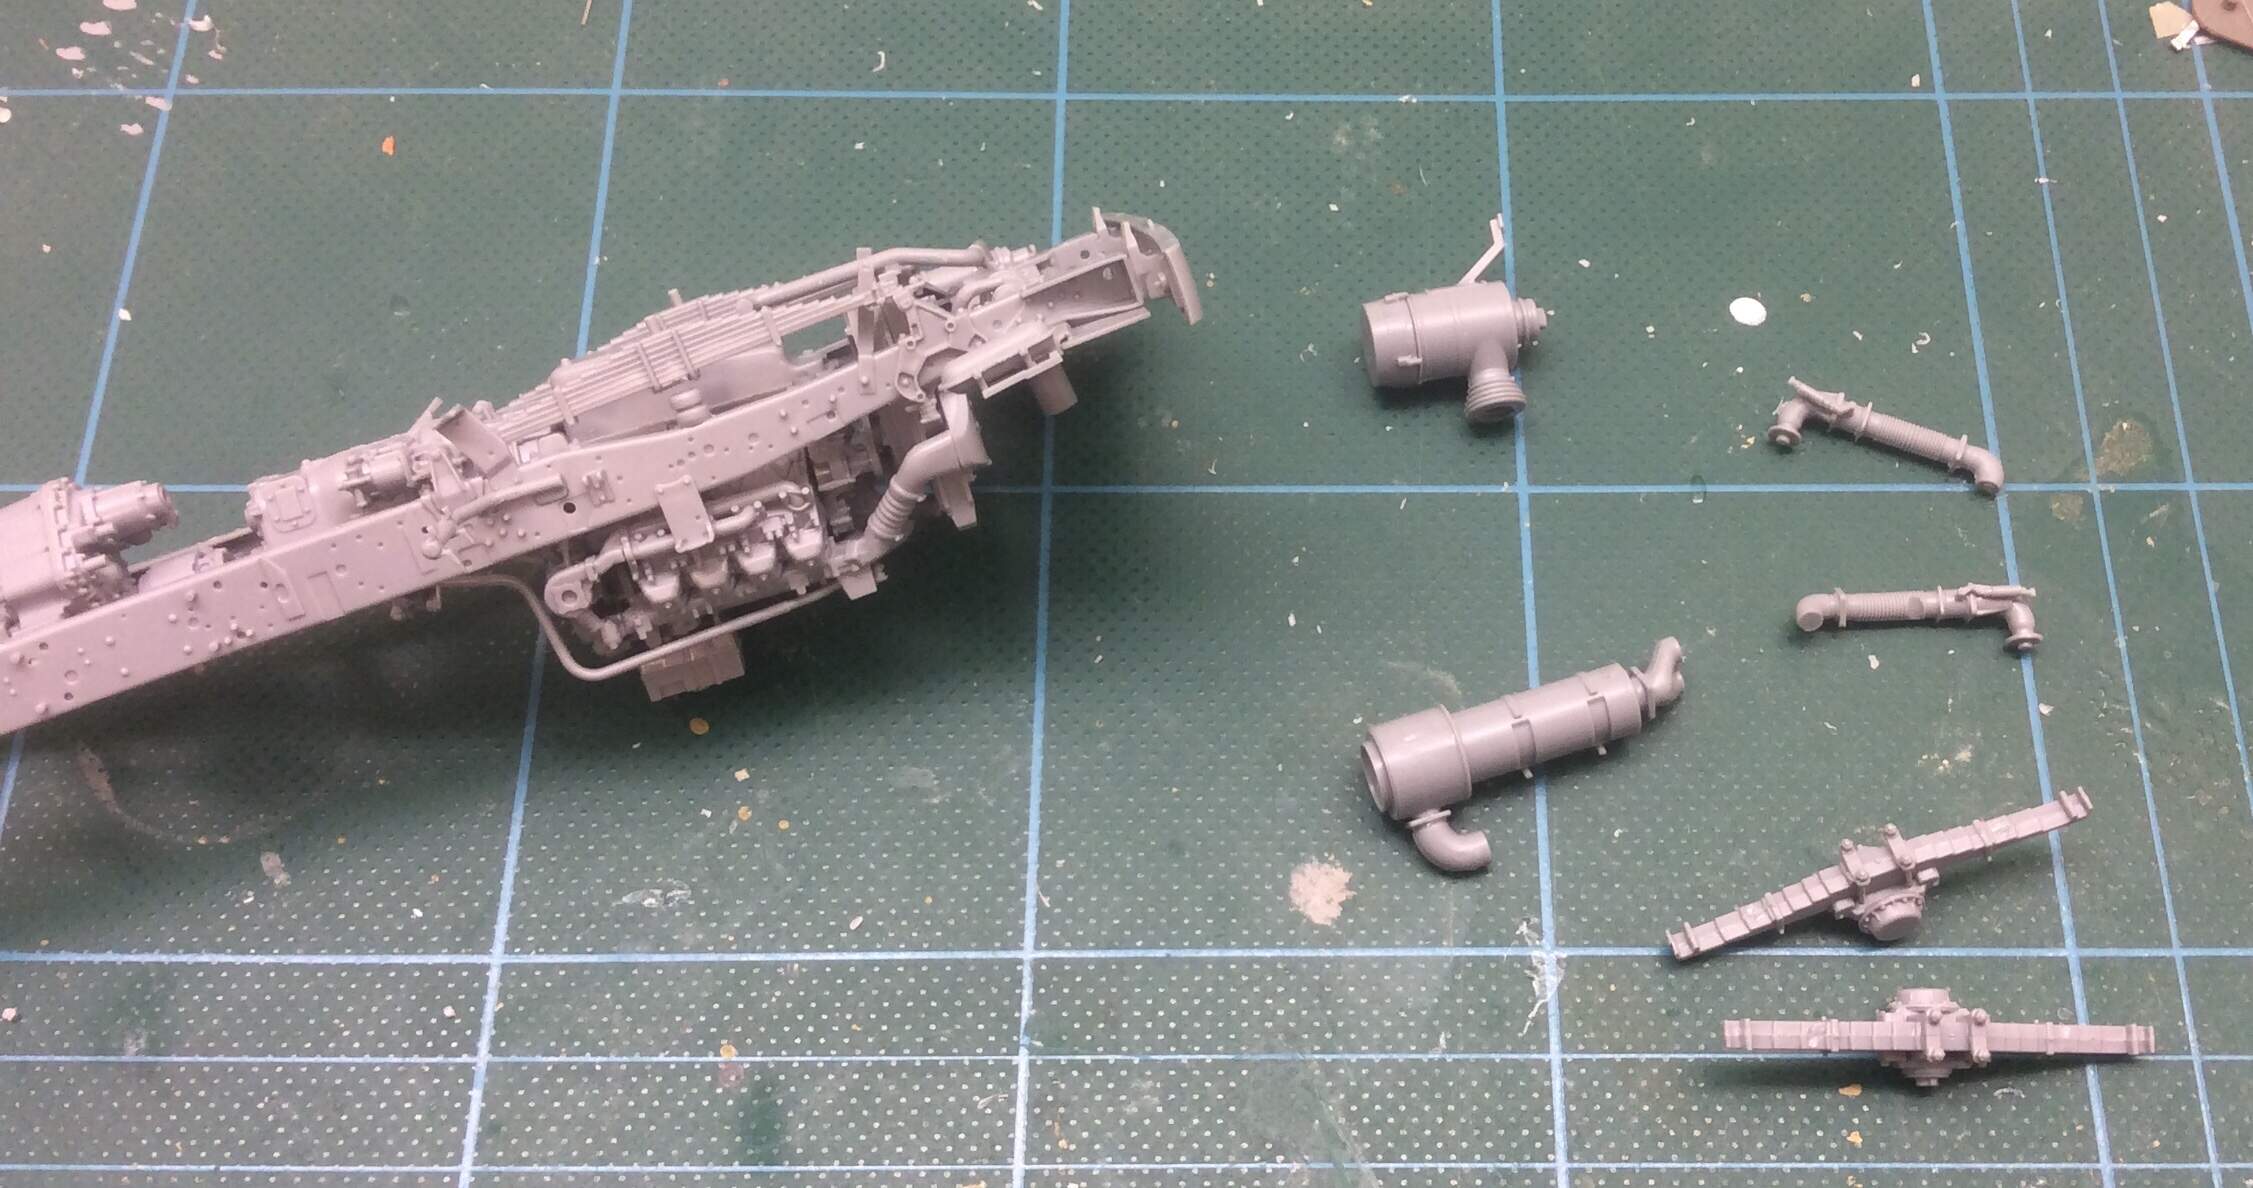
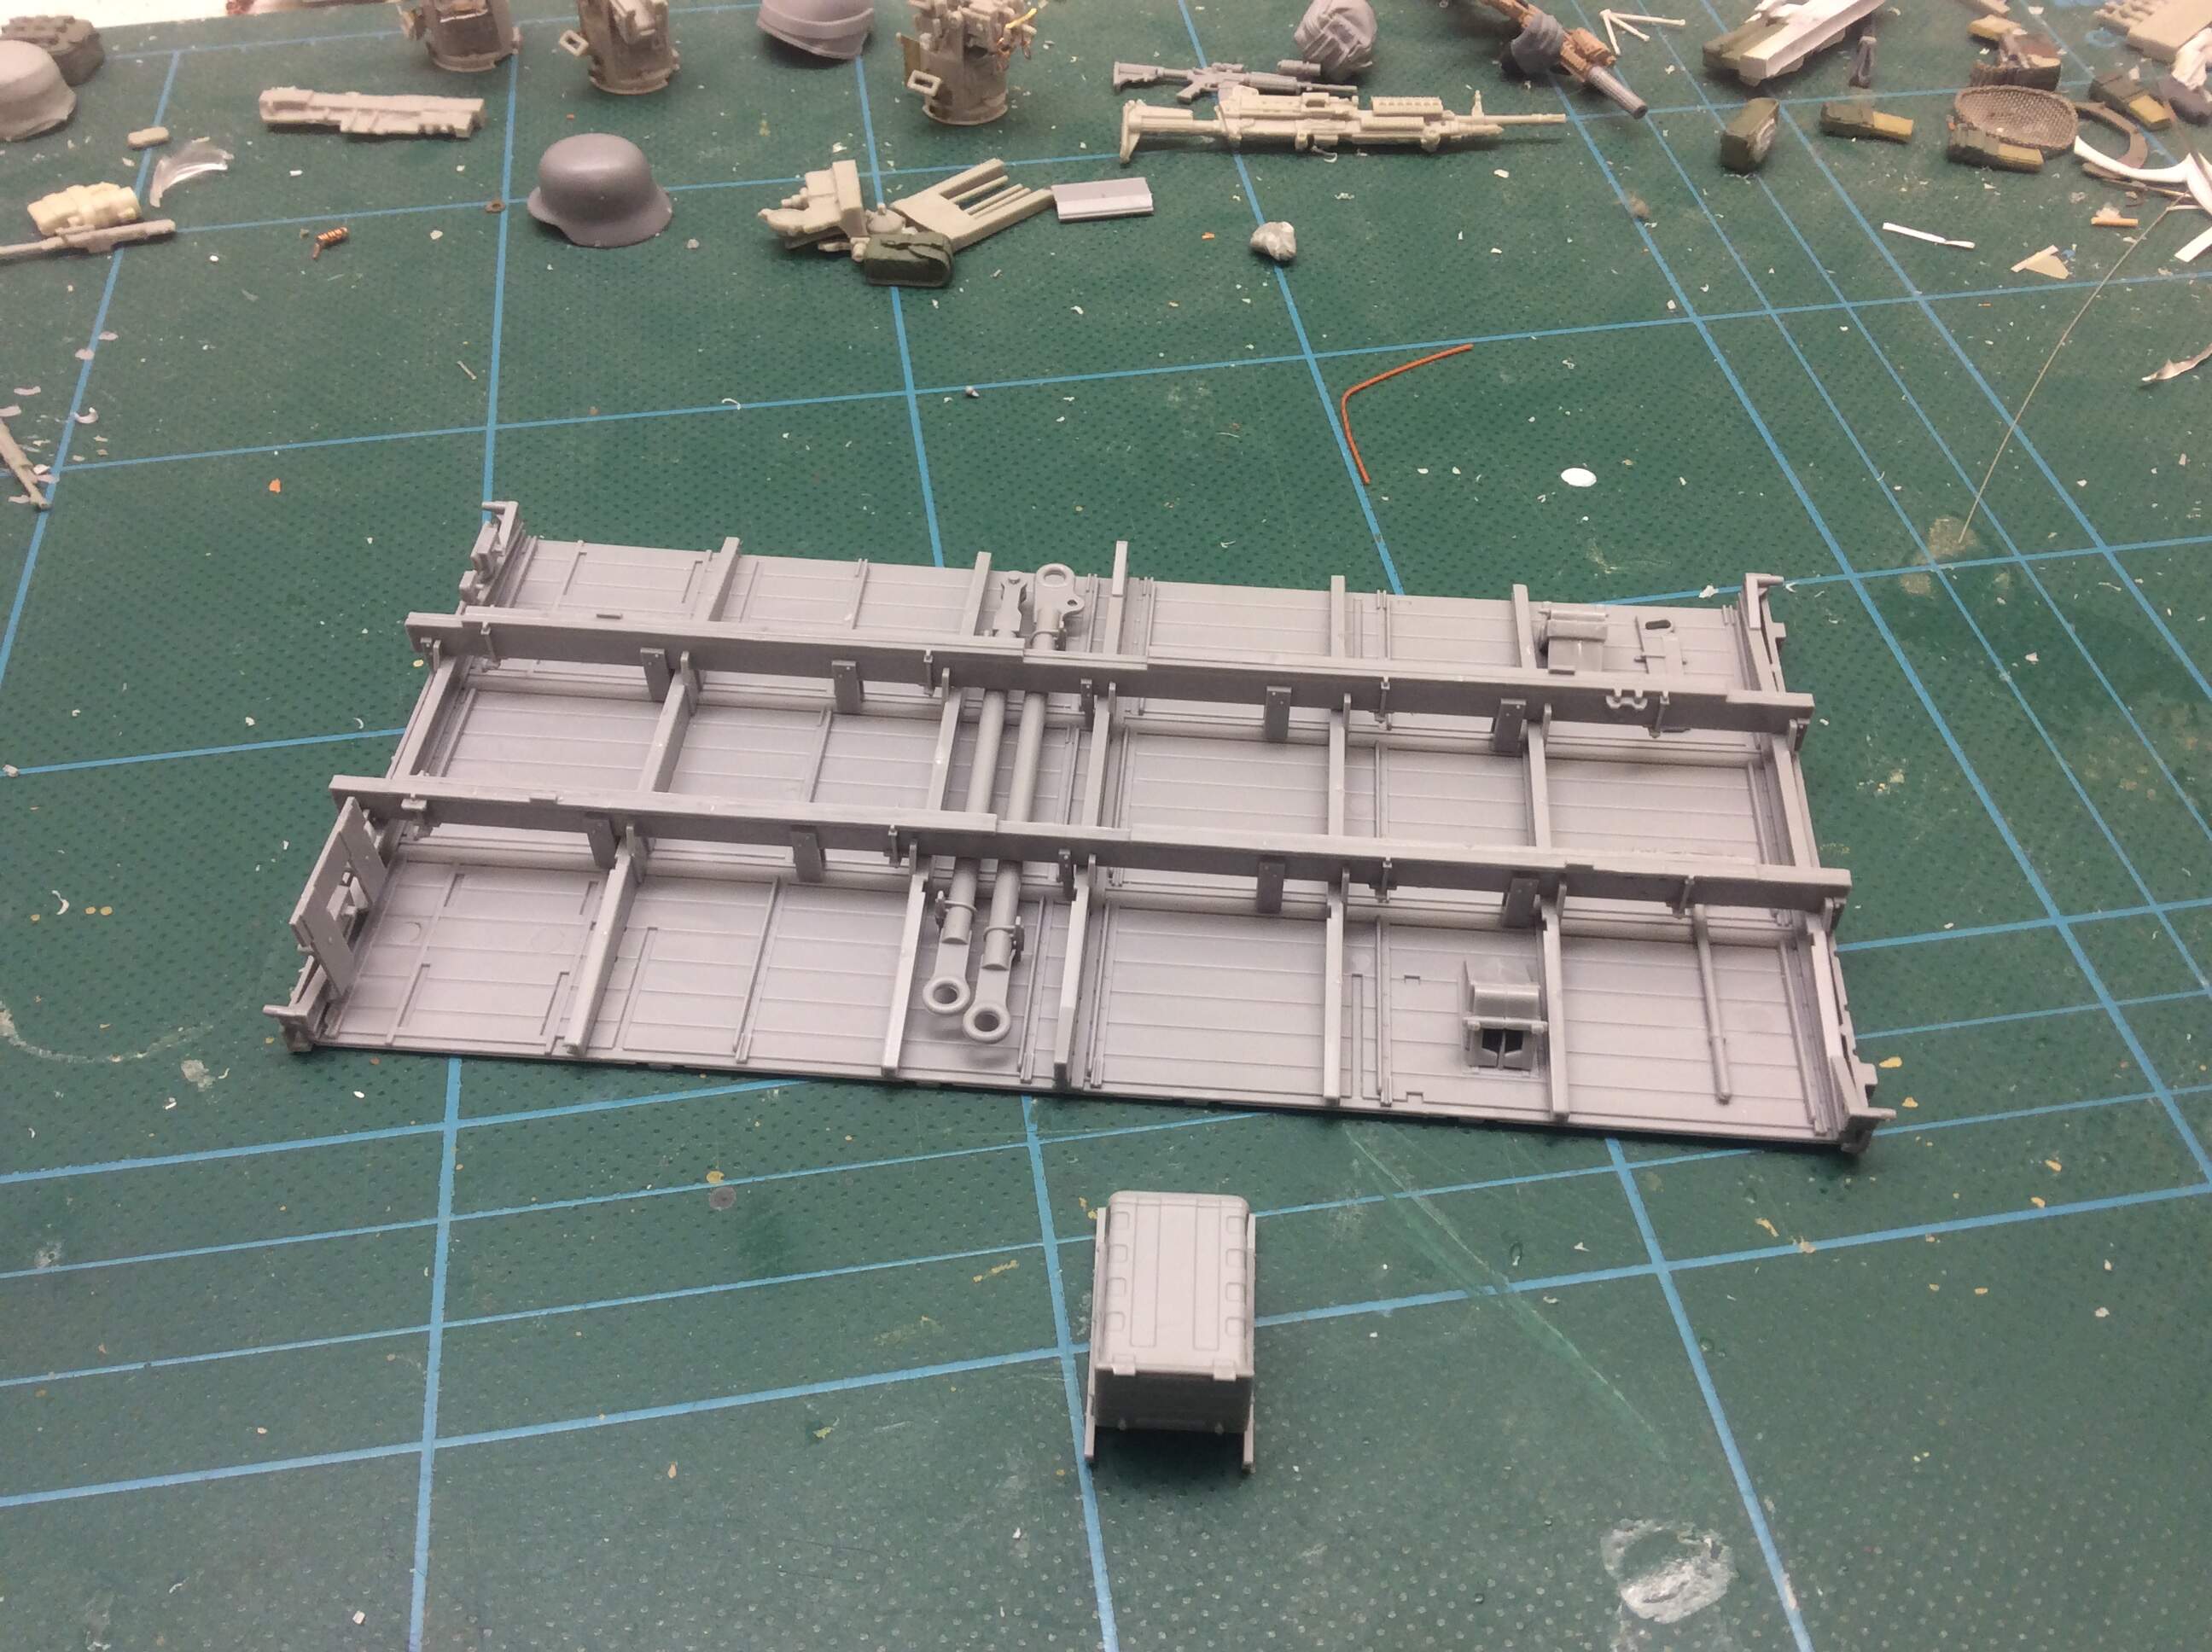
To complete Steps 21 & 22, I need to fit the subassemblies on the right, to the chassis on the left.
This is not a weekend build, I’d better put my drink down.
Looking good ! Have you seen this build log ? Форум
Sean
Great wiring photos for your build @Newtonk. 
Affirm that, I just need to translate the pictures into English! That is an incredible effort with the cab!
That photo made me cross-eyed… and I’ve only got one. Lol! ![]()
—mike
That’s what my Tamiya kits plus glue look like and they come out fine after a shake or two. Are you saying we cannot do that with this kit?
[/quote]Are you saying we cannot do that with this kit?[/quote]
Yes,
If you like your sprue cutter
And cutting through the pain
If you’re not into yoga
If you have half a brain
If you like modelling to midnight
Using glue and some tape
Then this is the kit your looking for
Buy one to escape
Keep up the good work, what is the total number of steps?
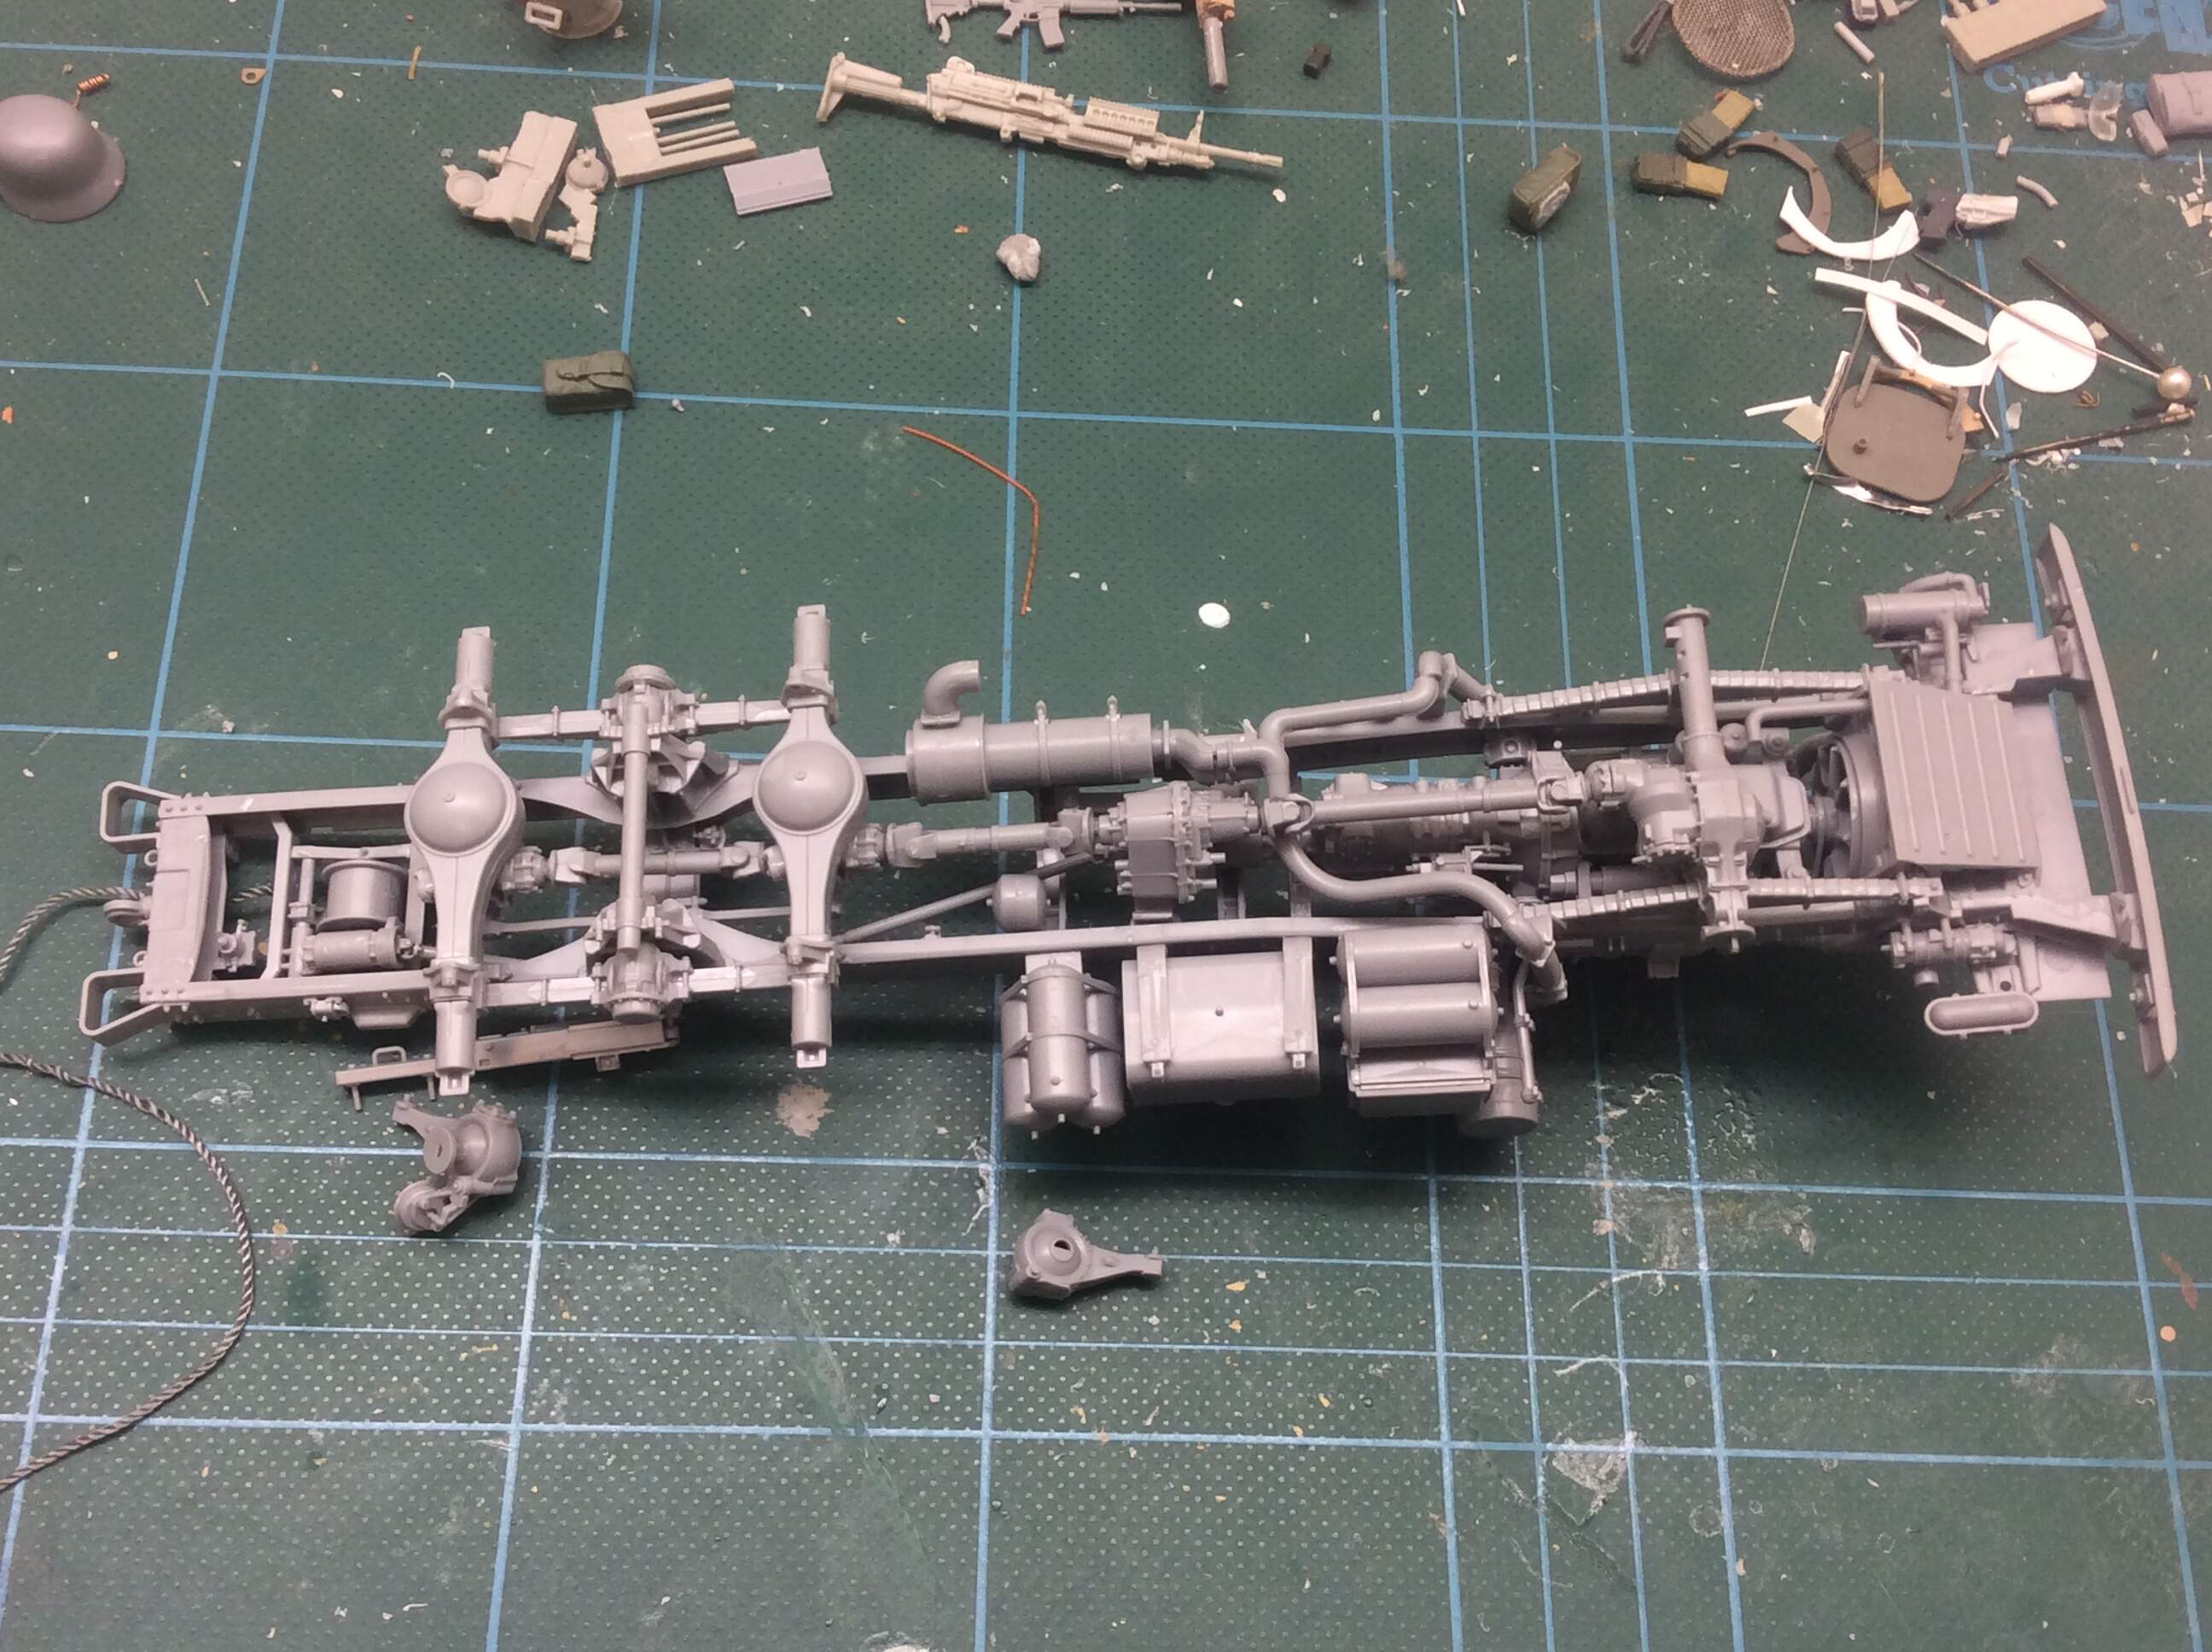
Very clean build so far. I don’t see any noticeable gaps, sprue marks, flash, or defects although the parts fit and instructions may be suspect.
Thanks Trisaw, you may need to look away at this point…
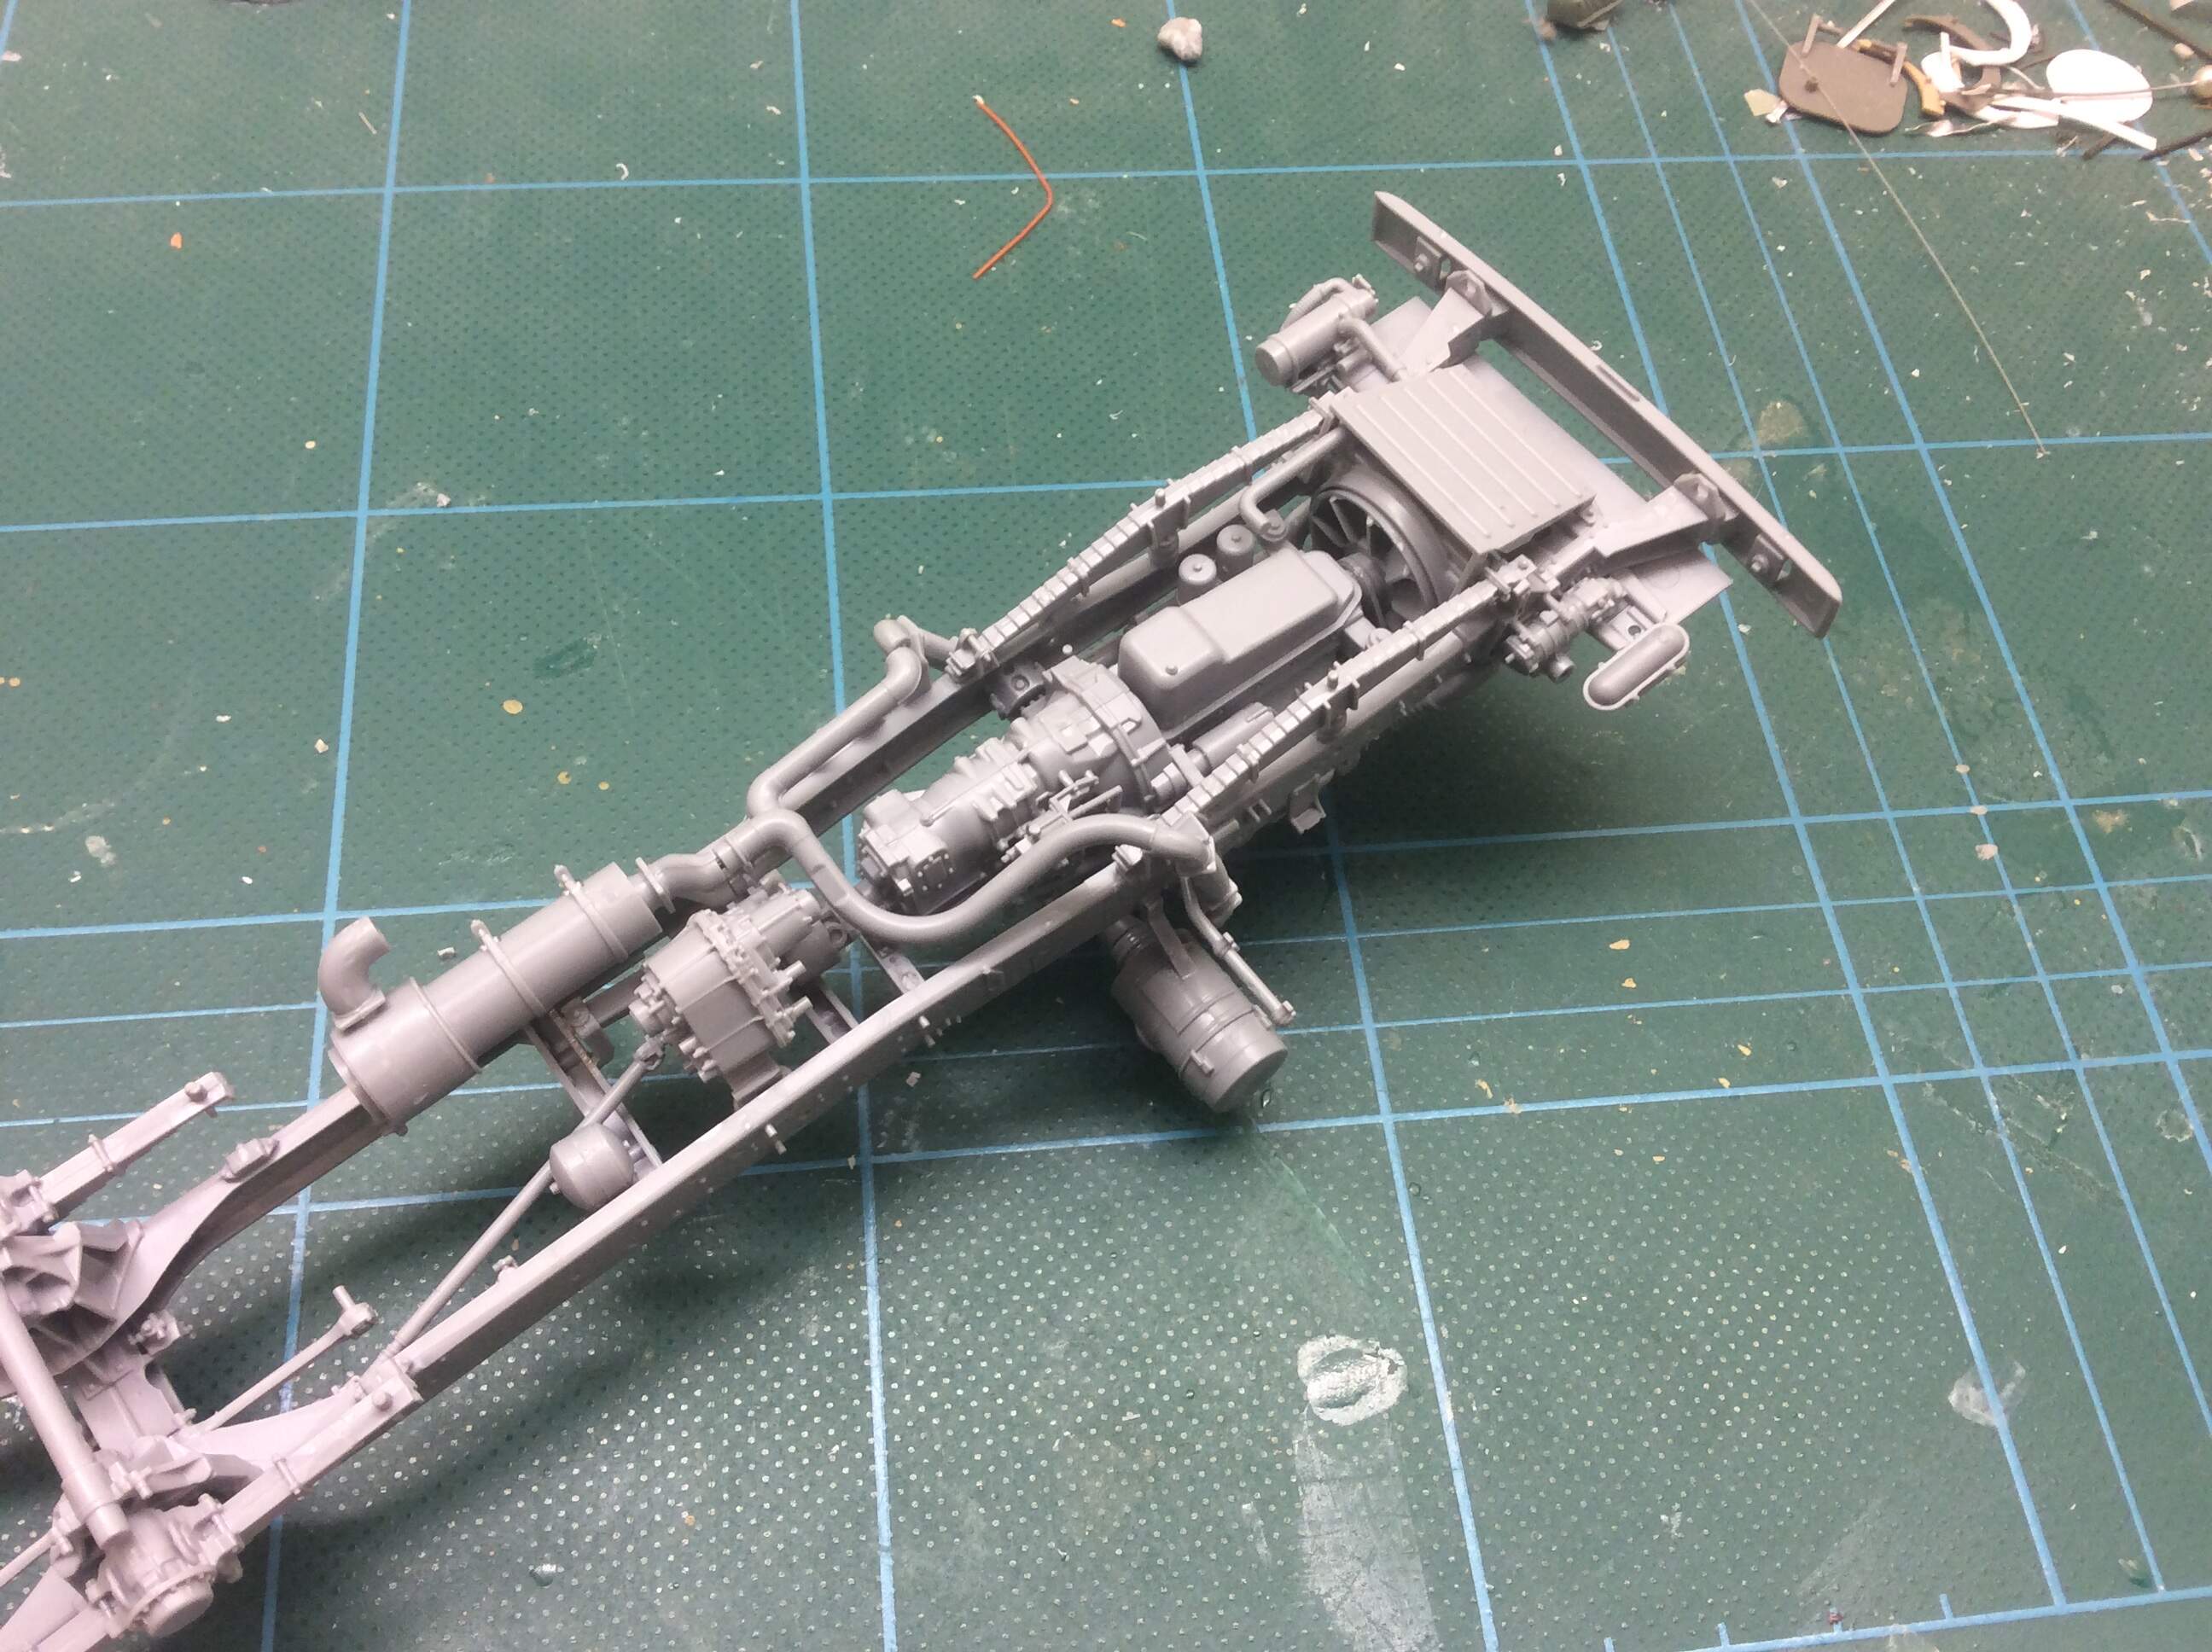
I’m using the new Tamiya super thin cement which dries fast, but the plastic takes a while to truely cure.
@tank, there are 69 steps, not even a half way through! I had thought of jumping ahead and doing the bed of the truck, but I’d rather concentrate on getting the chassis squared away first. I’ve the Quinta decals for the cab, and want to take my time on that.
Thanks, I was just reviewing the instructions on scalemates. You are almost to the bed. Are you going to do the tilted cab to show the engine off? I think that would look cool and help highlight the Quinta decals by giving you better angle to see in the cab. Keep up the good work.
The Quinta look like next best thing in the hobby. I don’t have any yet but I could easily drop few hundred on their current offerings for kits I have. Look forward to another non review build use of the product.
the long story about KAMAZ, and last page KAMAZ 5350