Step 34, done.
3 Likes
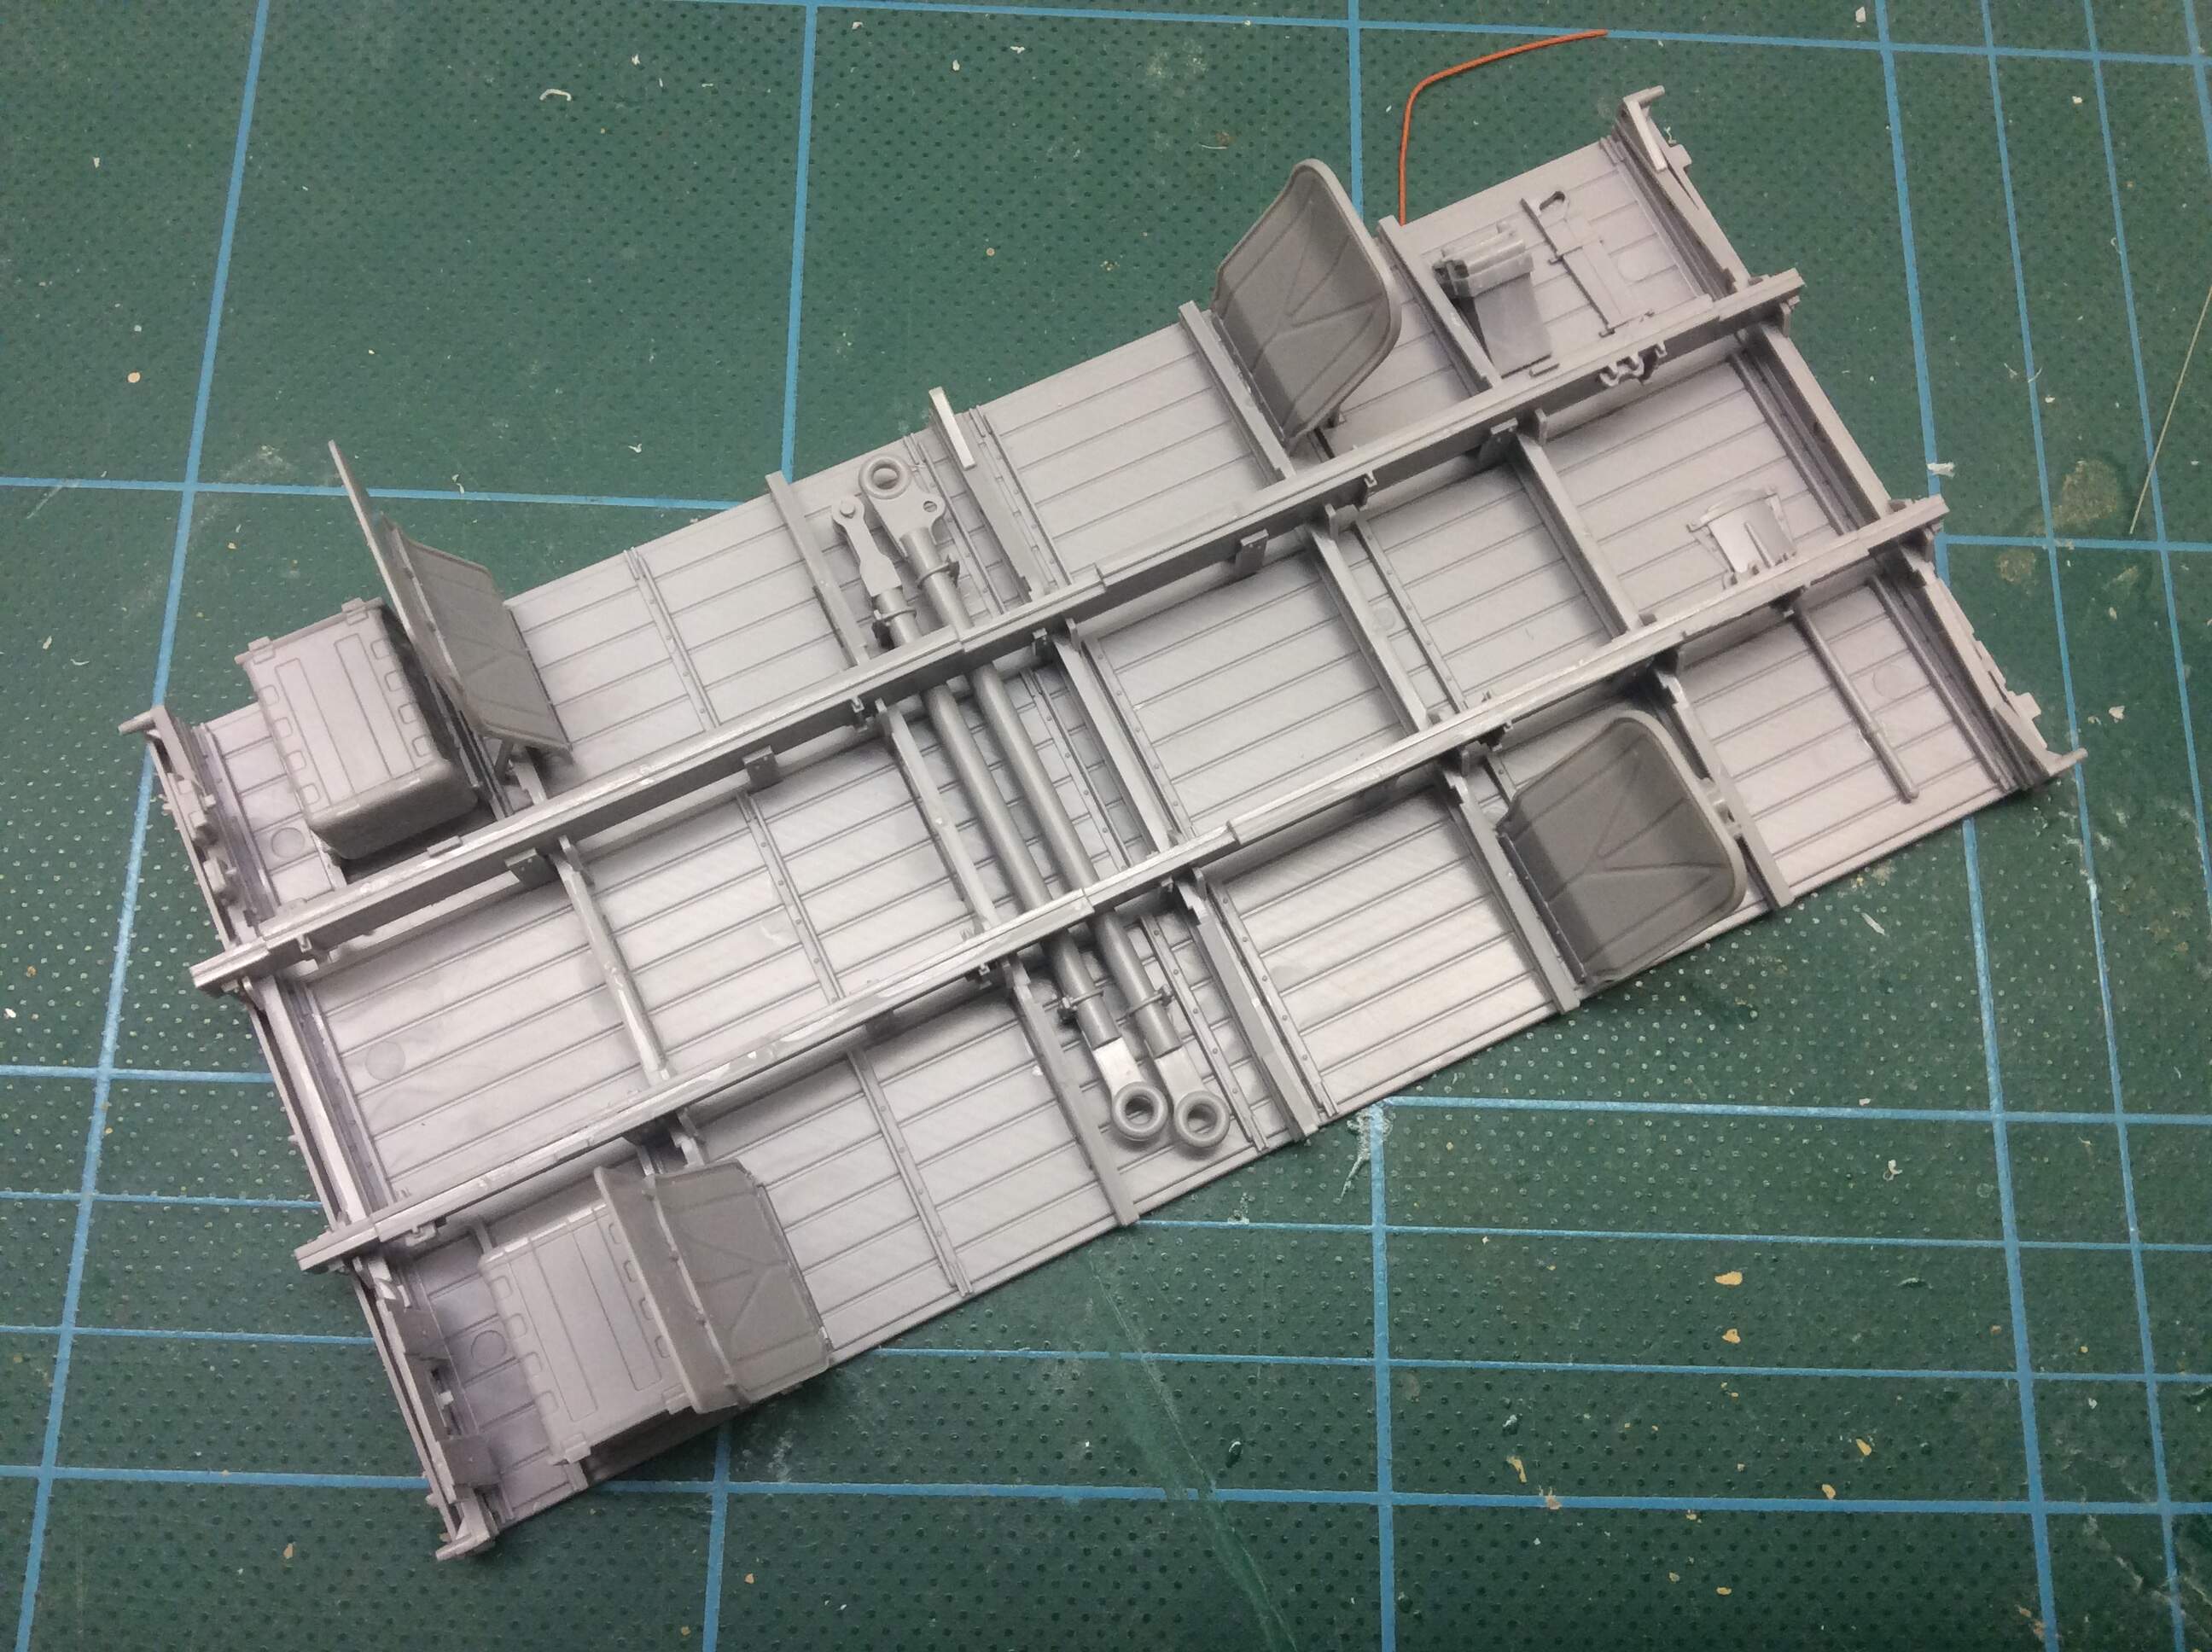
That is a nice looking bed bottom.
It sure is. If you zoom in, you’ll see some knock out marks, these will not be seen once complete and the truck is sitting on its wheels.
I have seen one. Maybe contact the seller about just getting the figure or the contact to the company
Ok, after a brief break for Christmas / New Year period, this is the rear bed in its component parts…
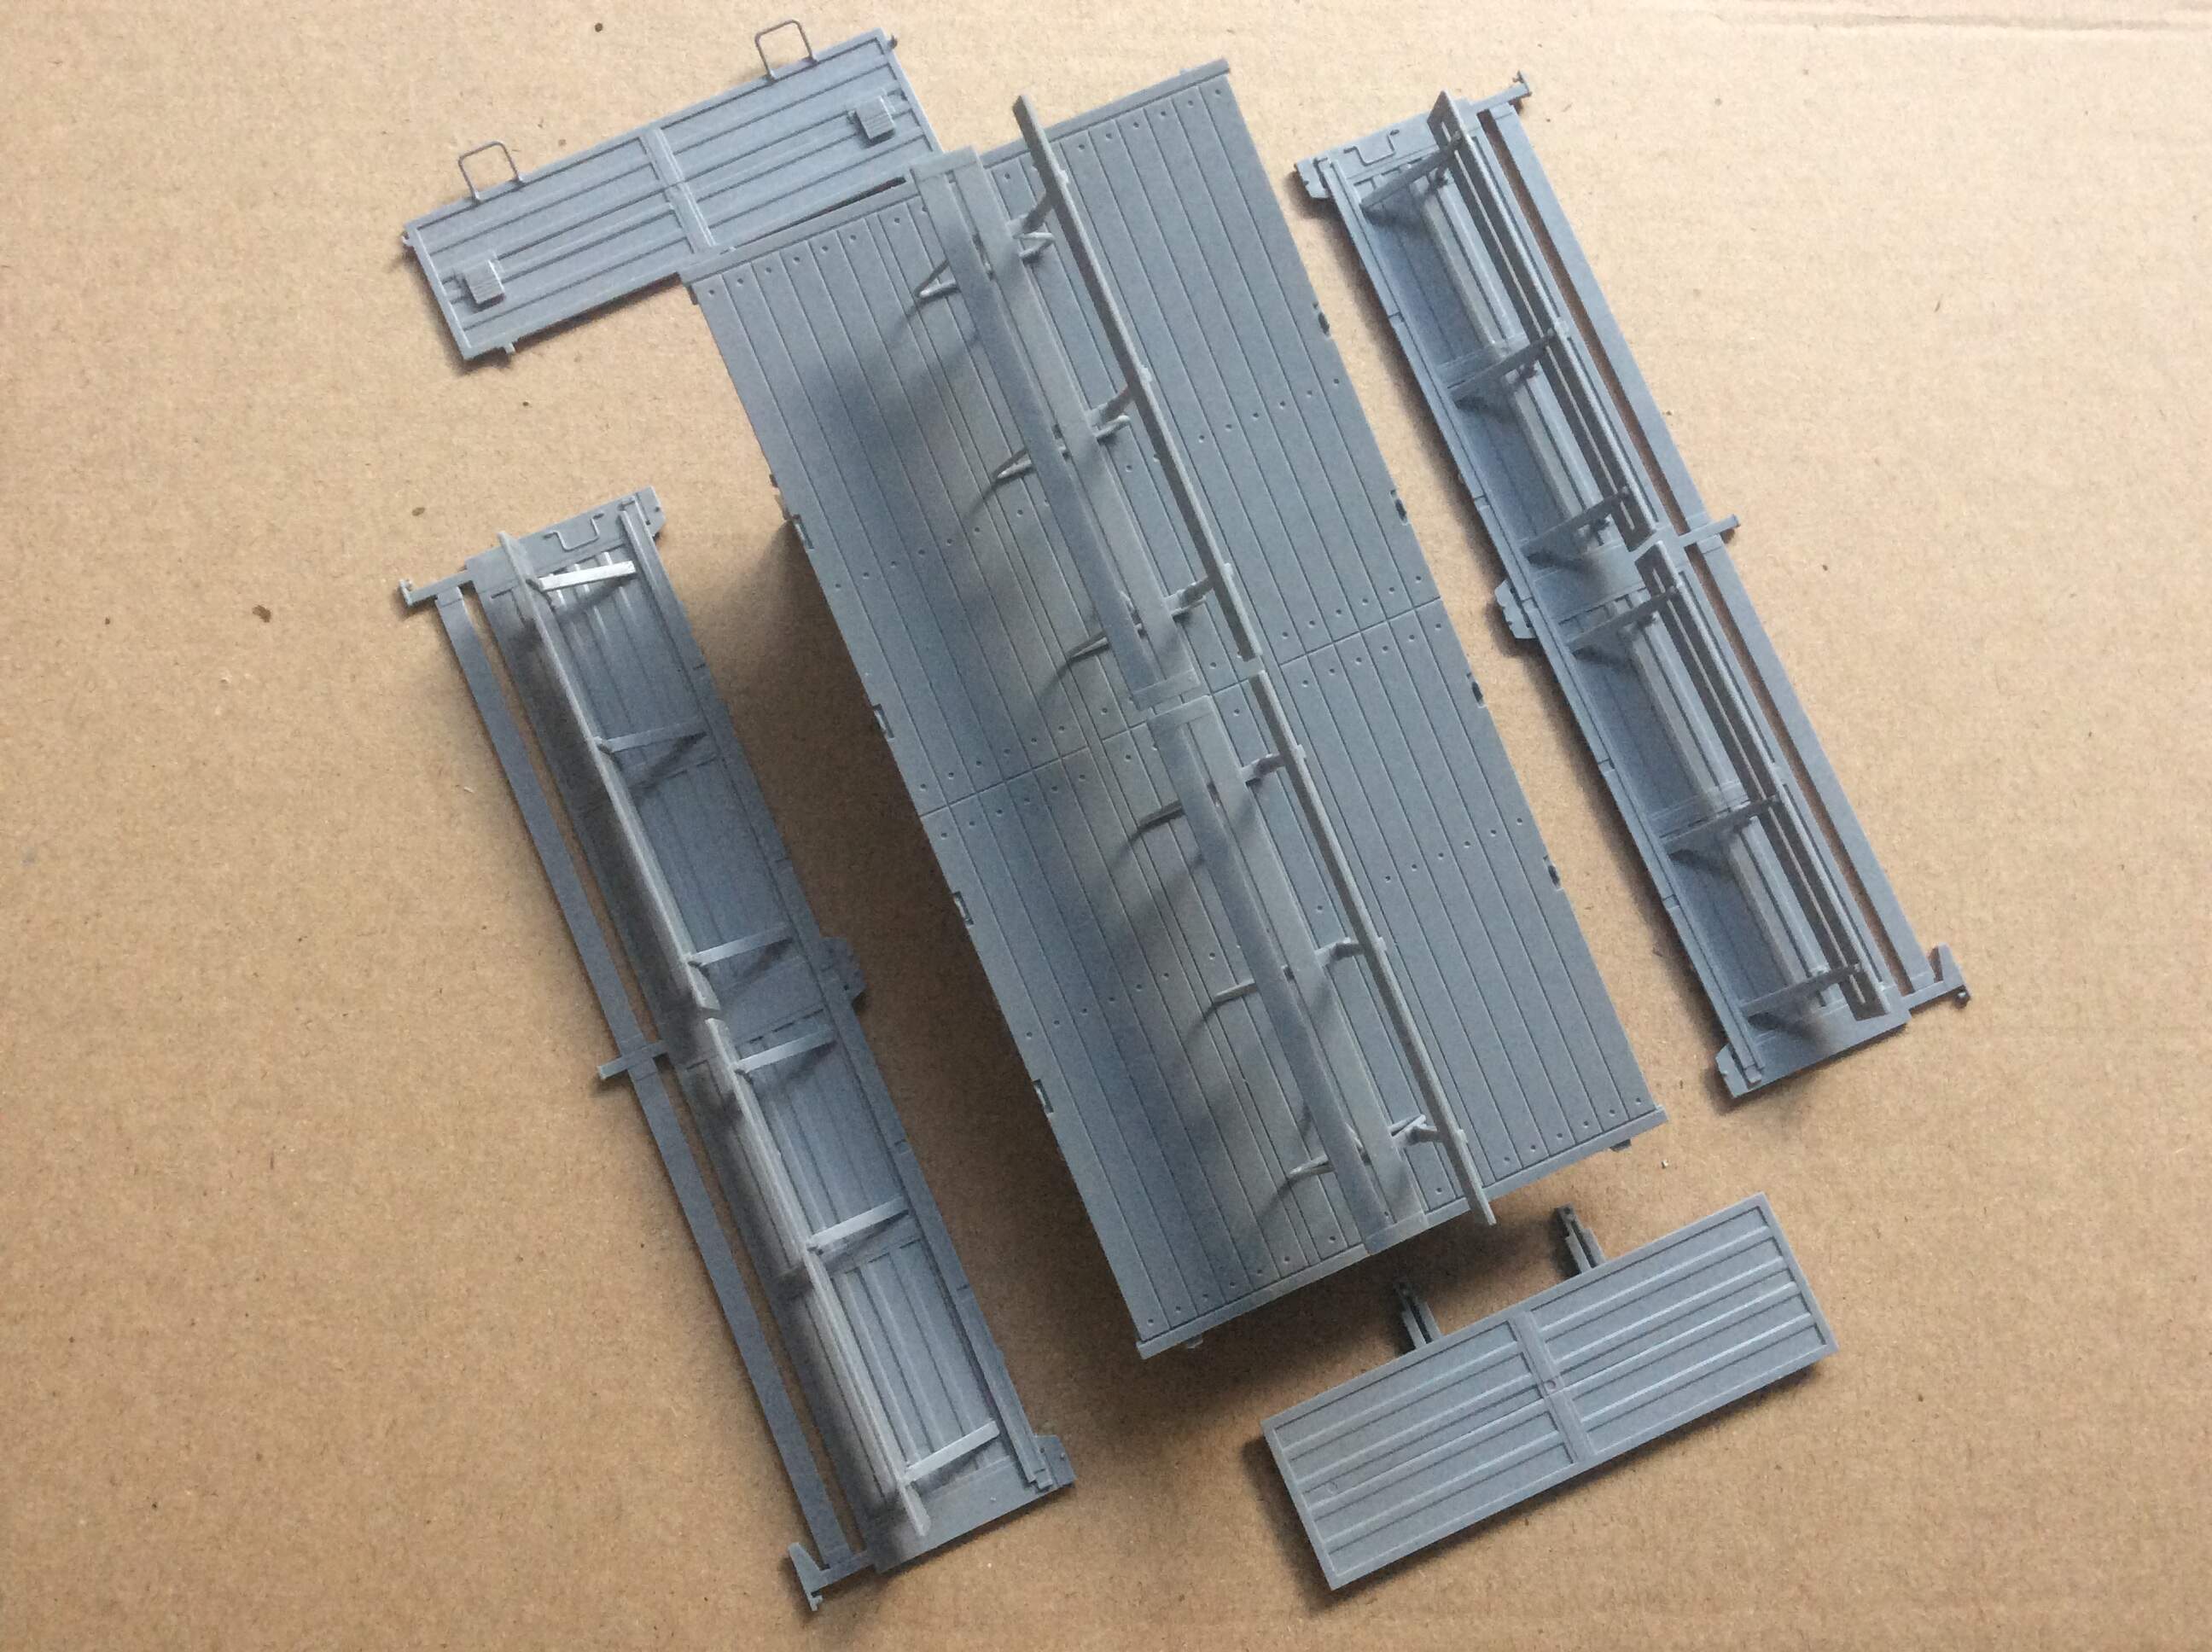
Ready for priming and paint, whilst I pause before engaging with the cab this weekend.
The truck is finished up to step 38 and is in two parts, being the chassis and the rear bed. It’s been a challenge, but a worthwhile build to date.
3 Likes
You have done good to this point.
Thank you for, that, I just see mistakes!
You may be forcing me to change my mind about Zvezda kit quality. Looking forward to seeing the rest of the build.
The artist is always their hardest critic. They know what they wanted to achieve, everyone only sees what they achieved.
Hi Camshaft,
This is my second zvezda kit, and it is great. I’m impressed with the engineering, detail, and accuracy of it. Yes, building a multitude of subassemblies and bringing them together has its drawbacks around minor fit issues and gaps, none of which will be seen once the truck is on its wheels, but the kits today are a world away from the nasty Tamiya clones I remember Zvezda for. Definitely recommend one.
Thanks, Tank; best I keep at it!
1 Like
And construction of the cab starts with… subassemblies! Spot the differences in these two side by side comparison photos
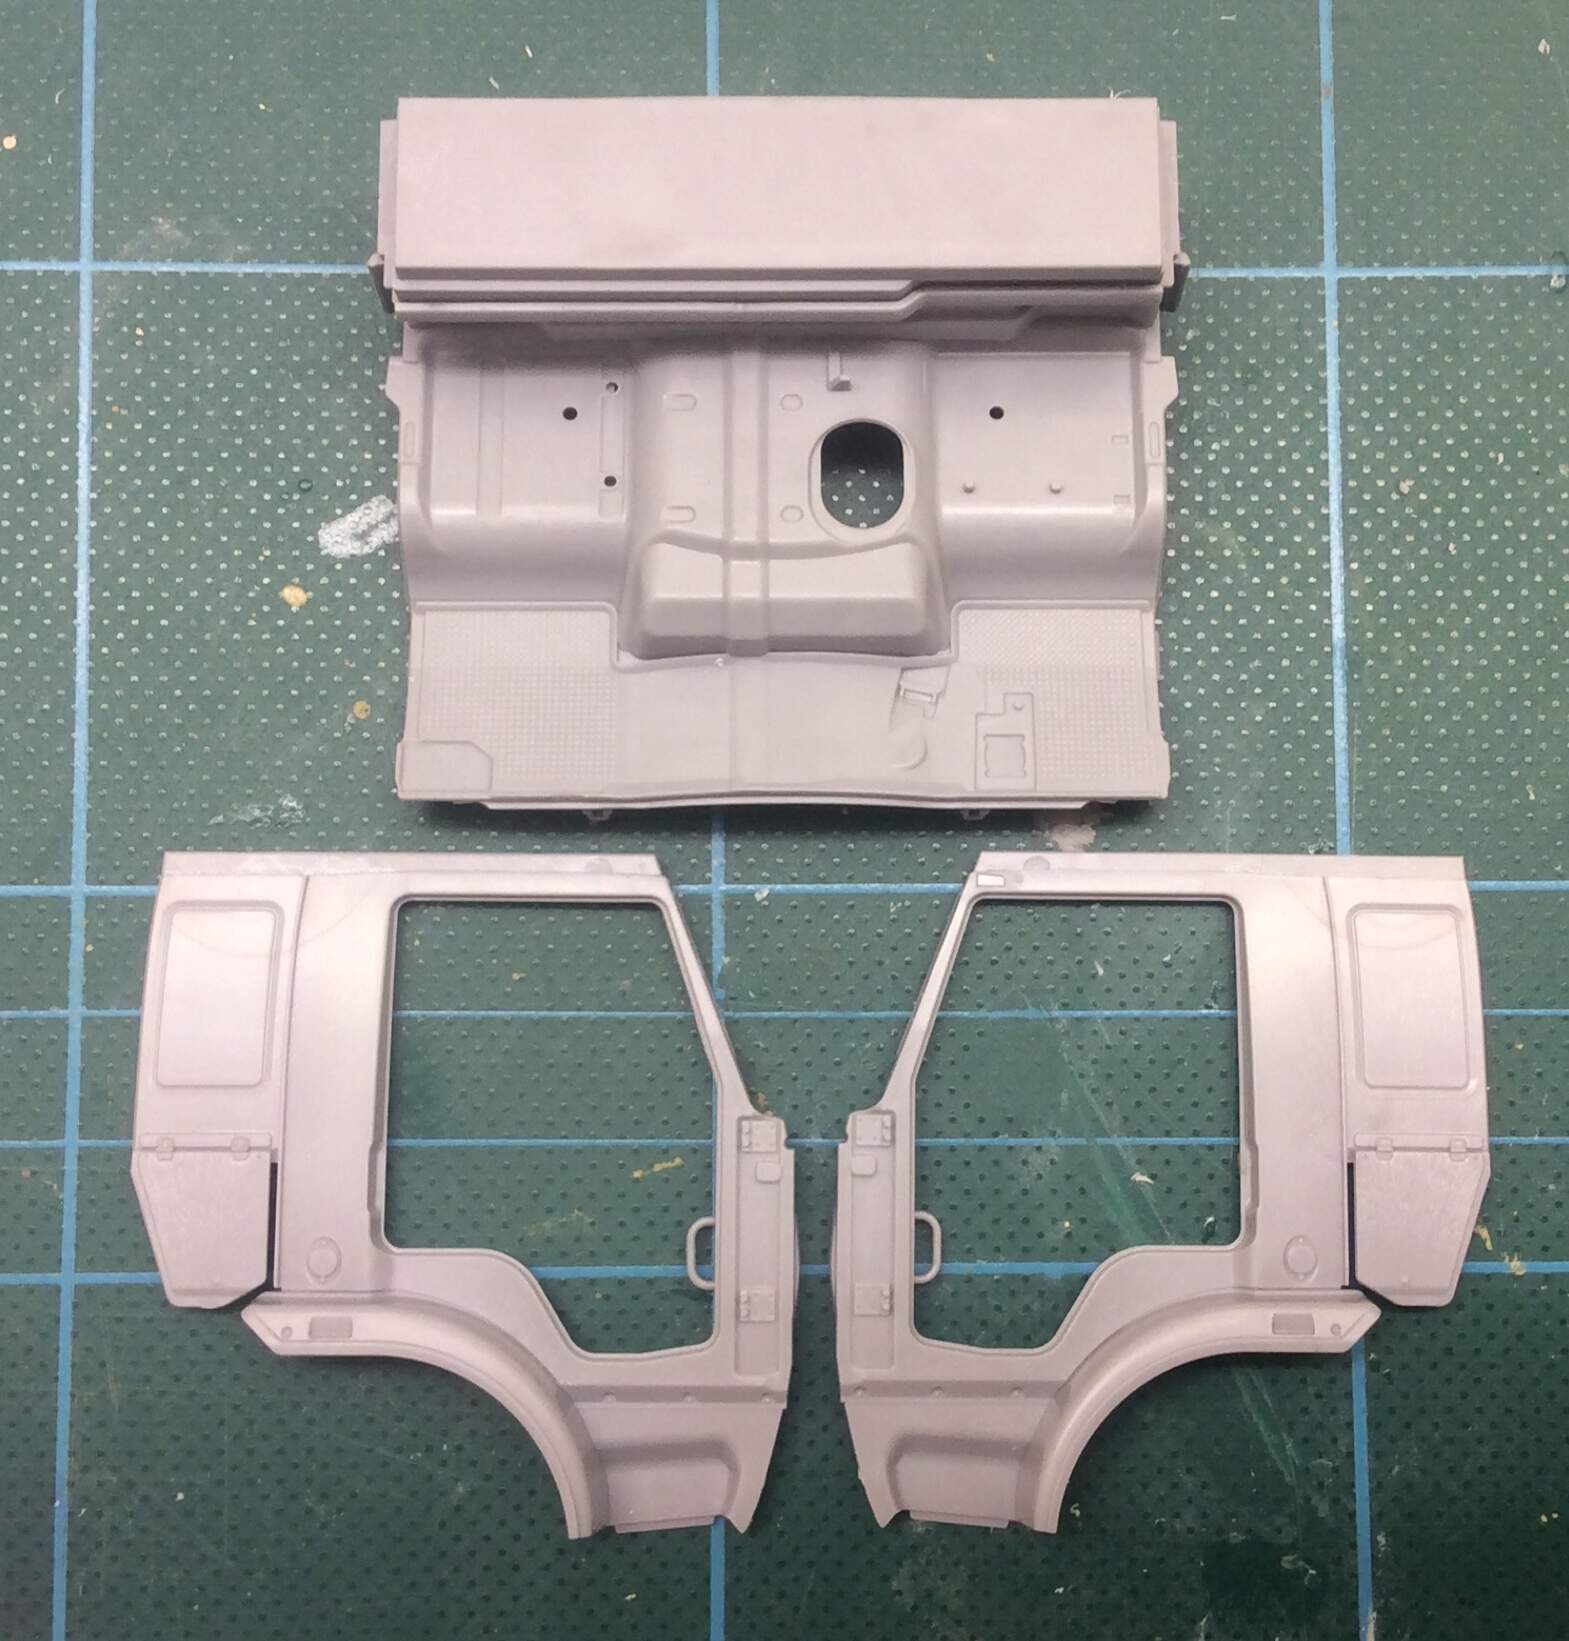
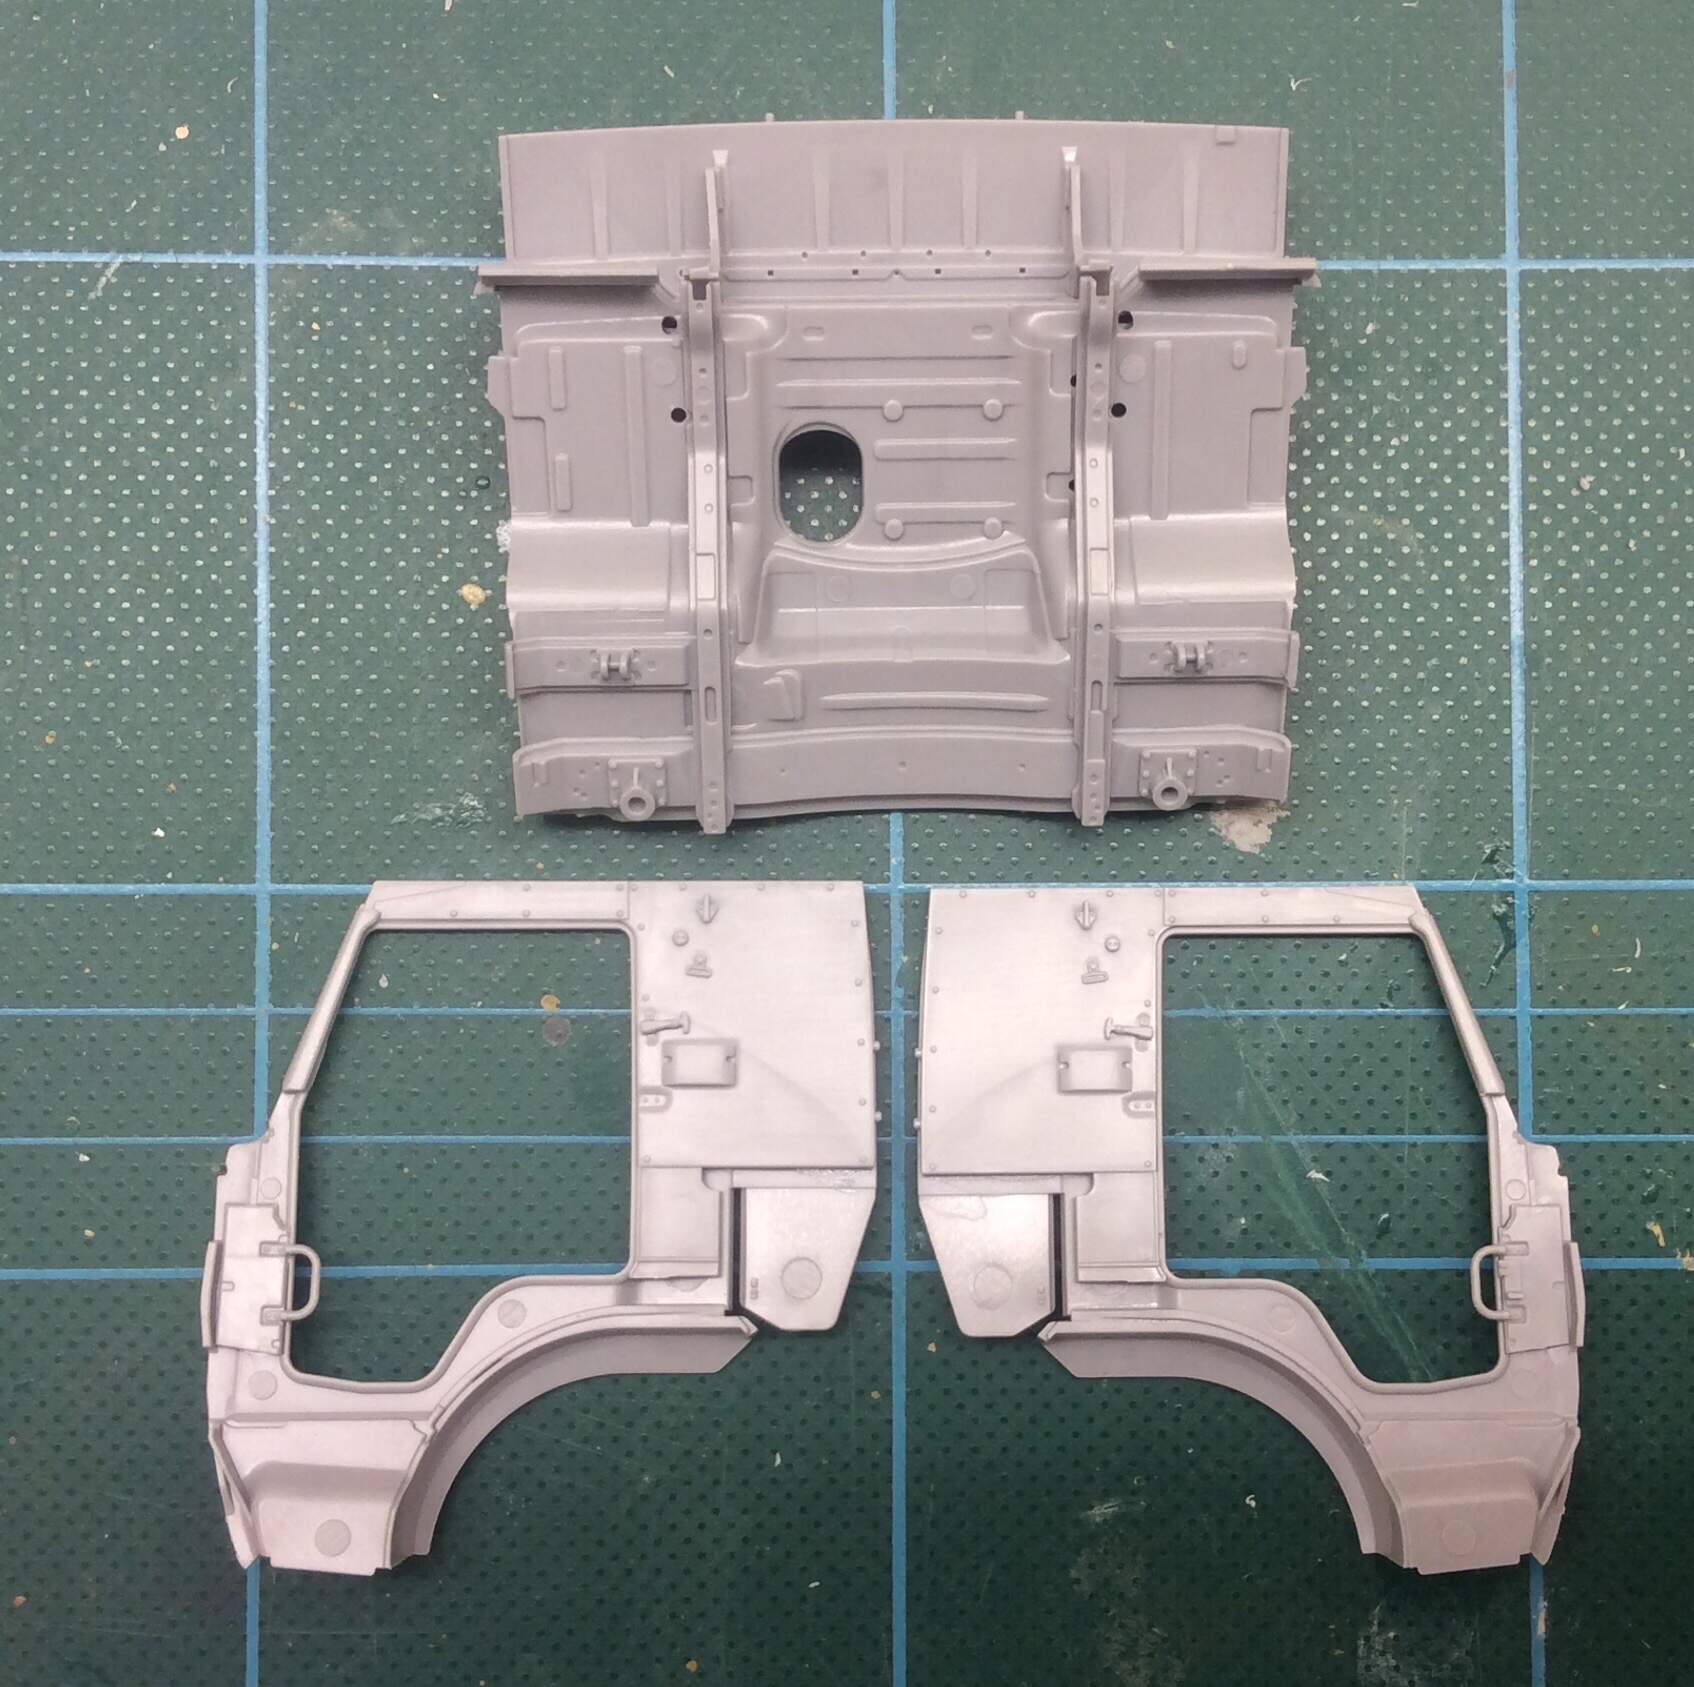
Yes, these are the inside and outside of the cab sides, along with the floor pan inside and rear. There is some great detail here, with more to be added over the rest of the week. Stay tuned for more updates.
2 Likes
There are three parts to each door frame at this sage, and the floor pan is made up of seven. There were no fit issues, and minimum clean up. When I say minimum, I’m talking scraping a seam line here and there.
In the second image, looking at the reverse of the floor pan, the left hand support is slightly off in that it leans towards the outside of the piece. I did that. Boy, I’m glad I got that off my chest. Moving on…
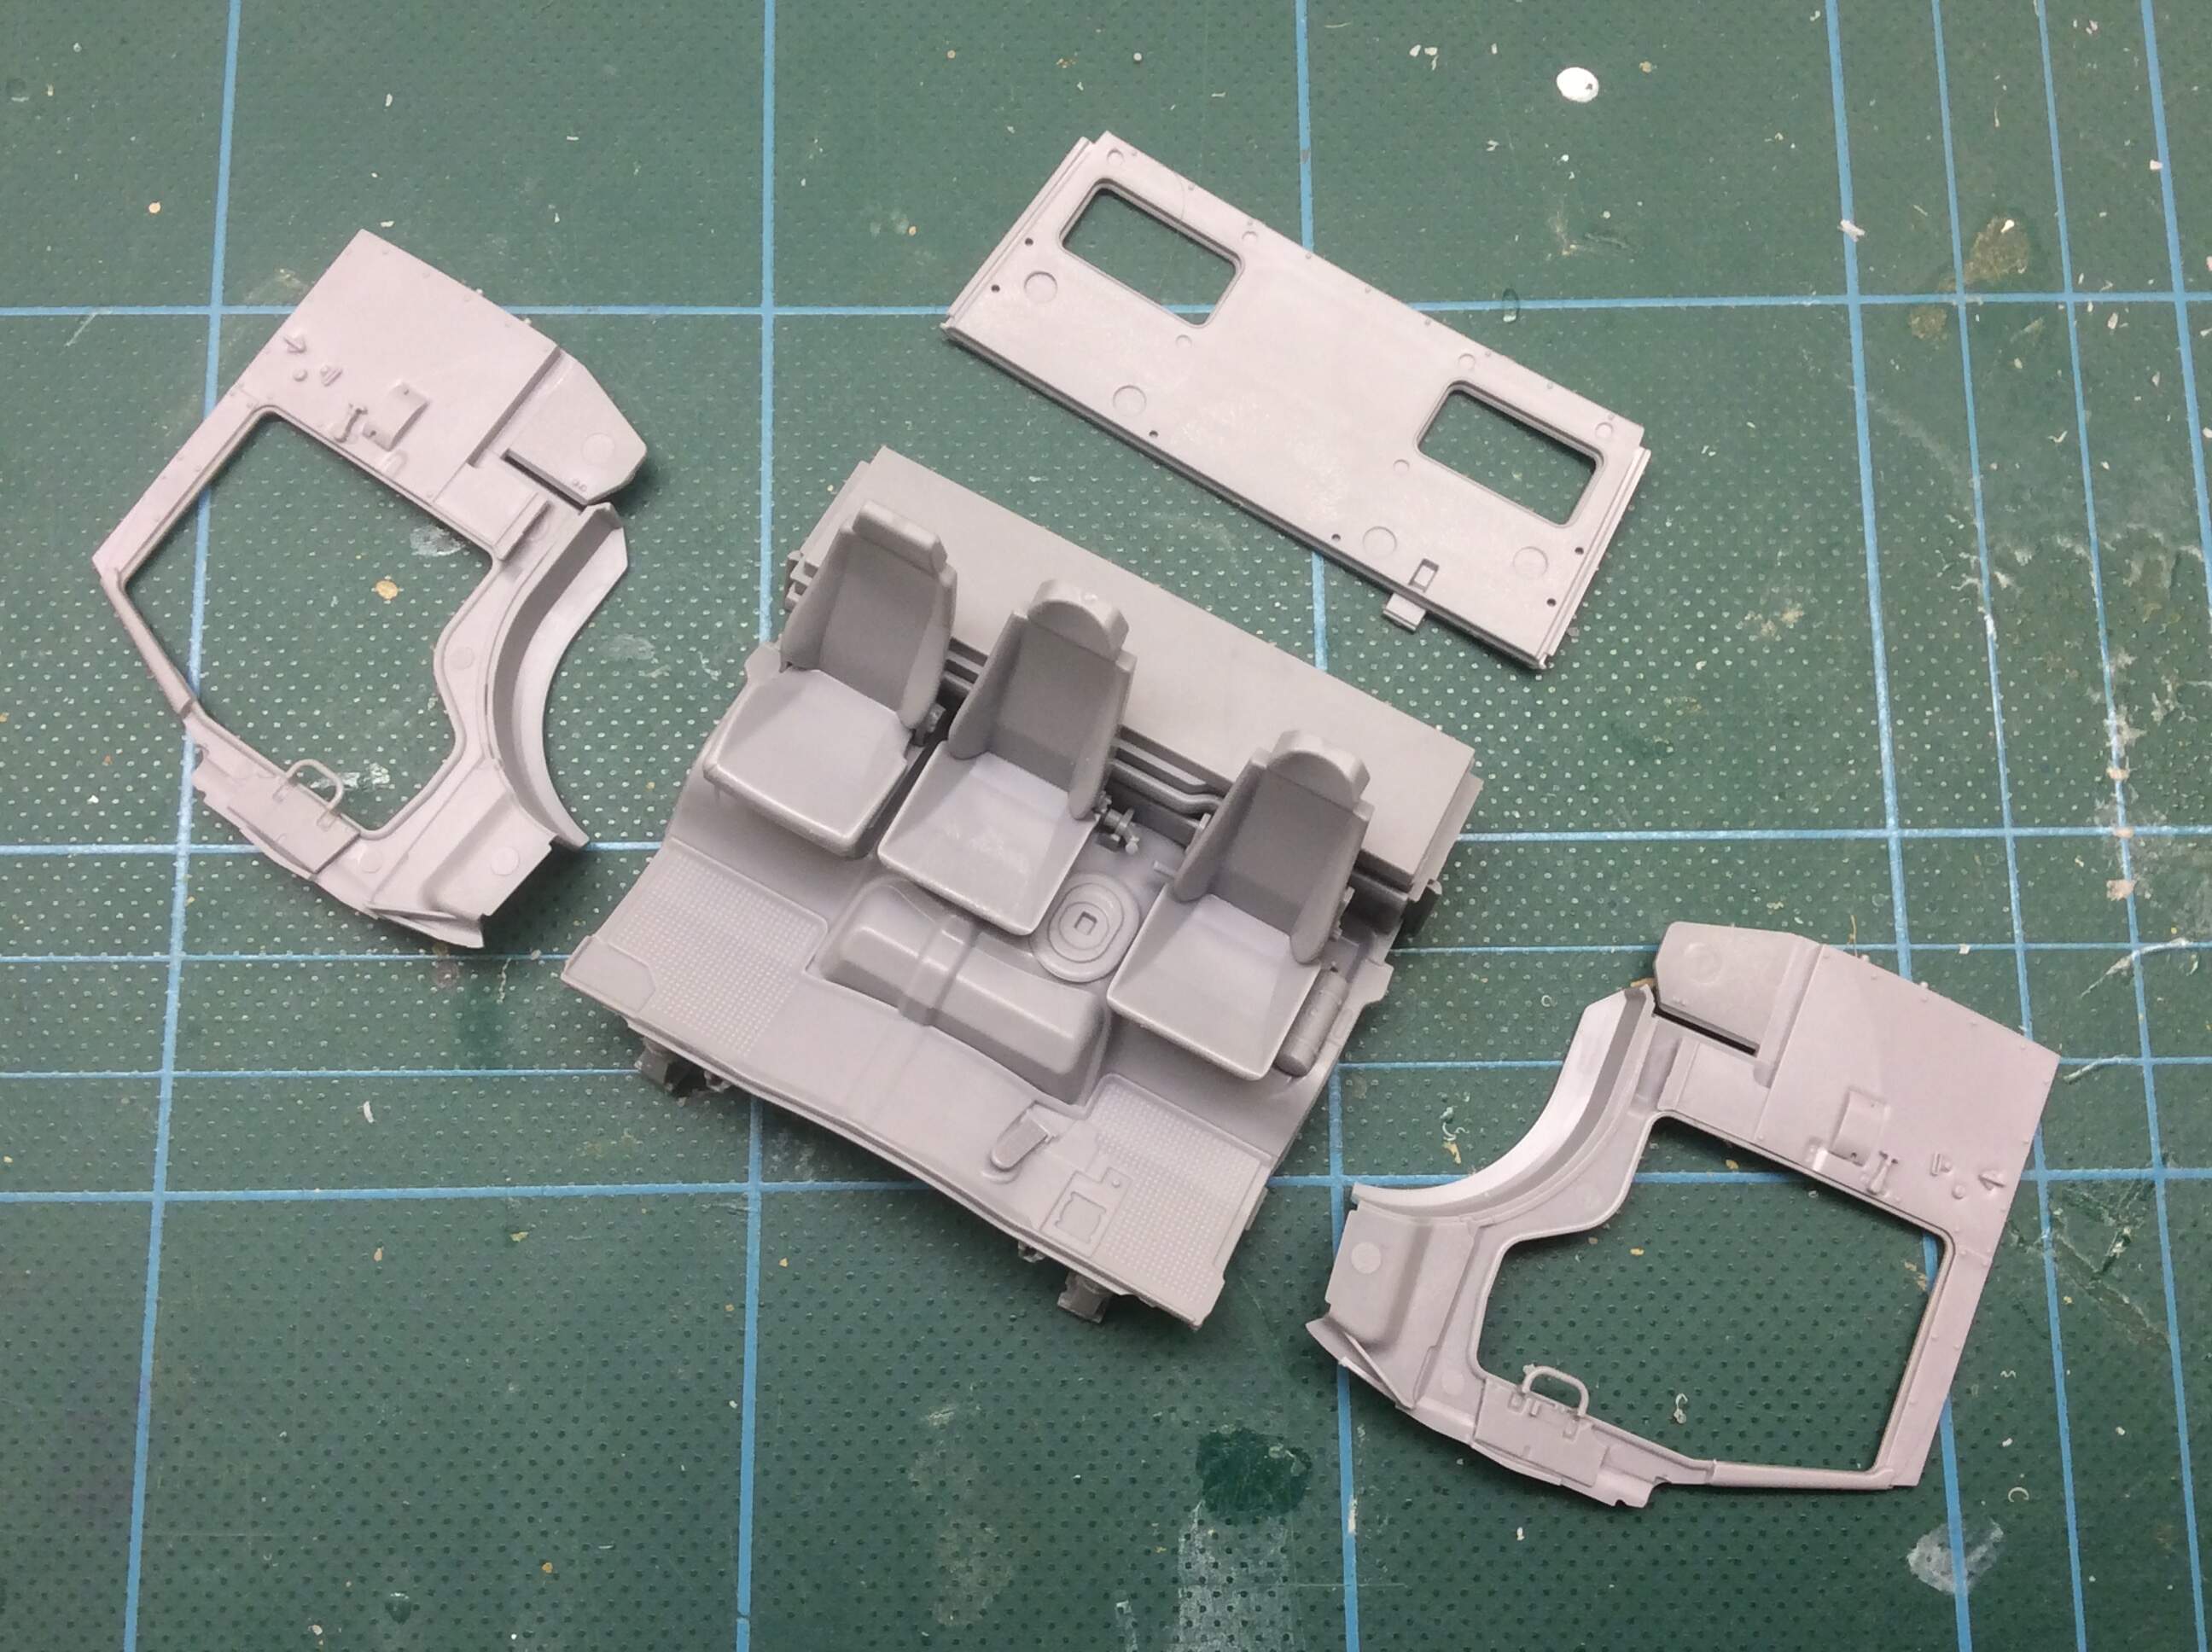
Here we see the cab sides glued in place, with the rear wall dry fitted as a check… I sure am glad I had three hands to do this.
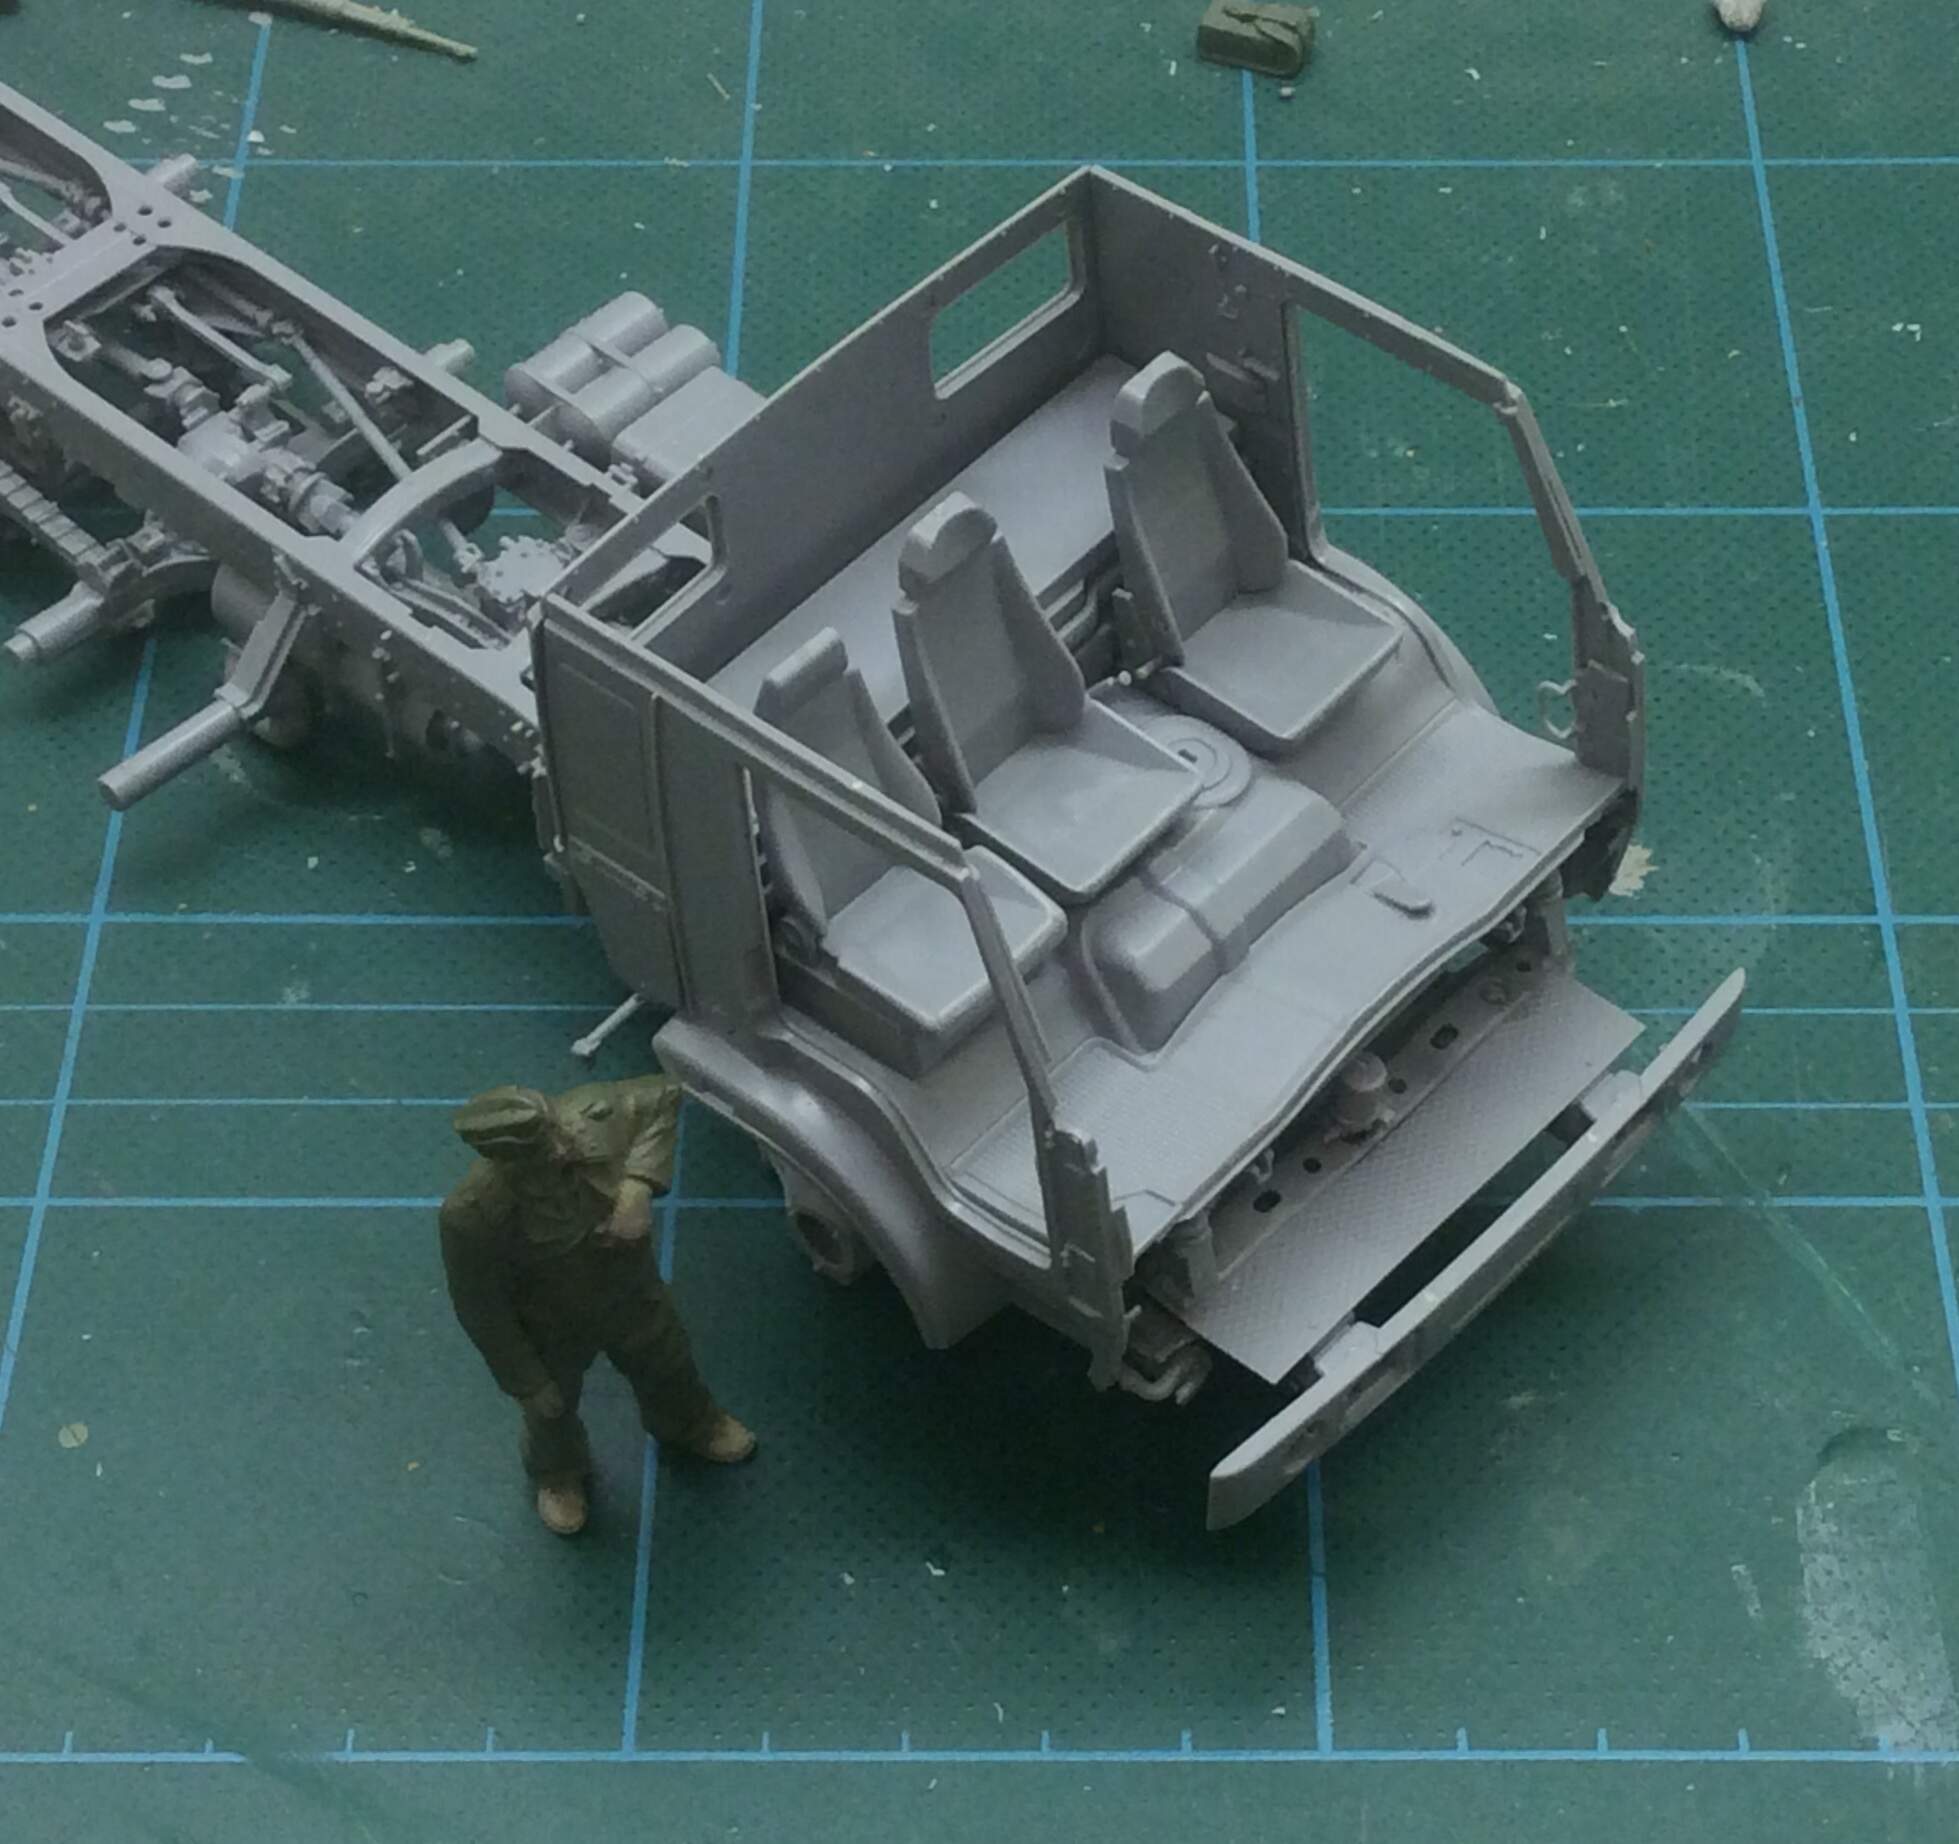
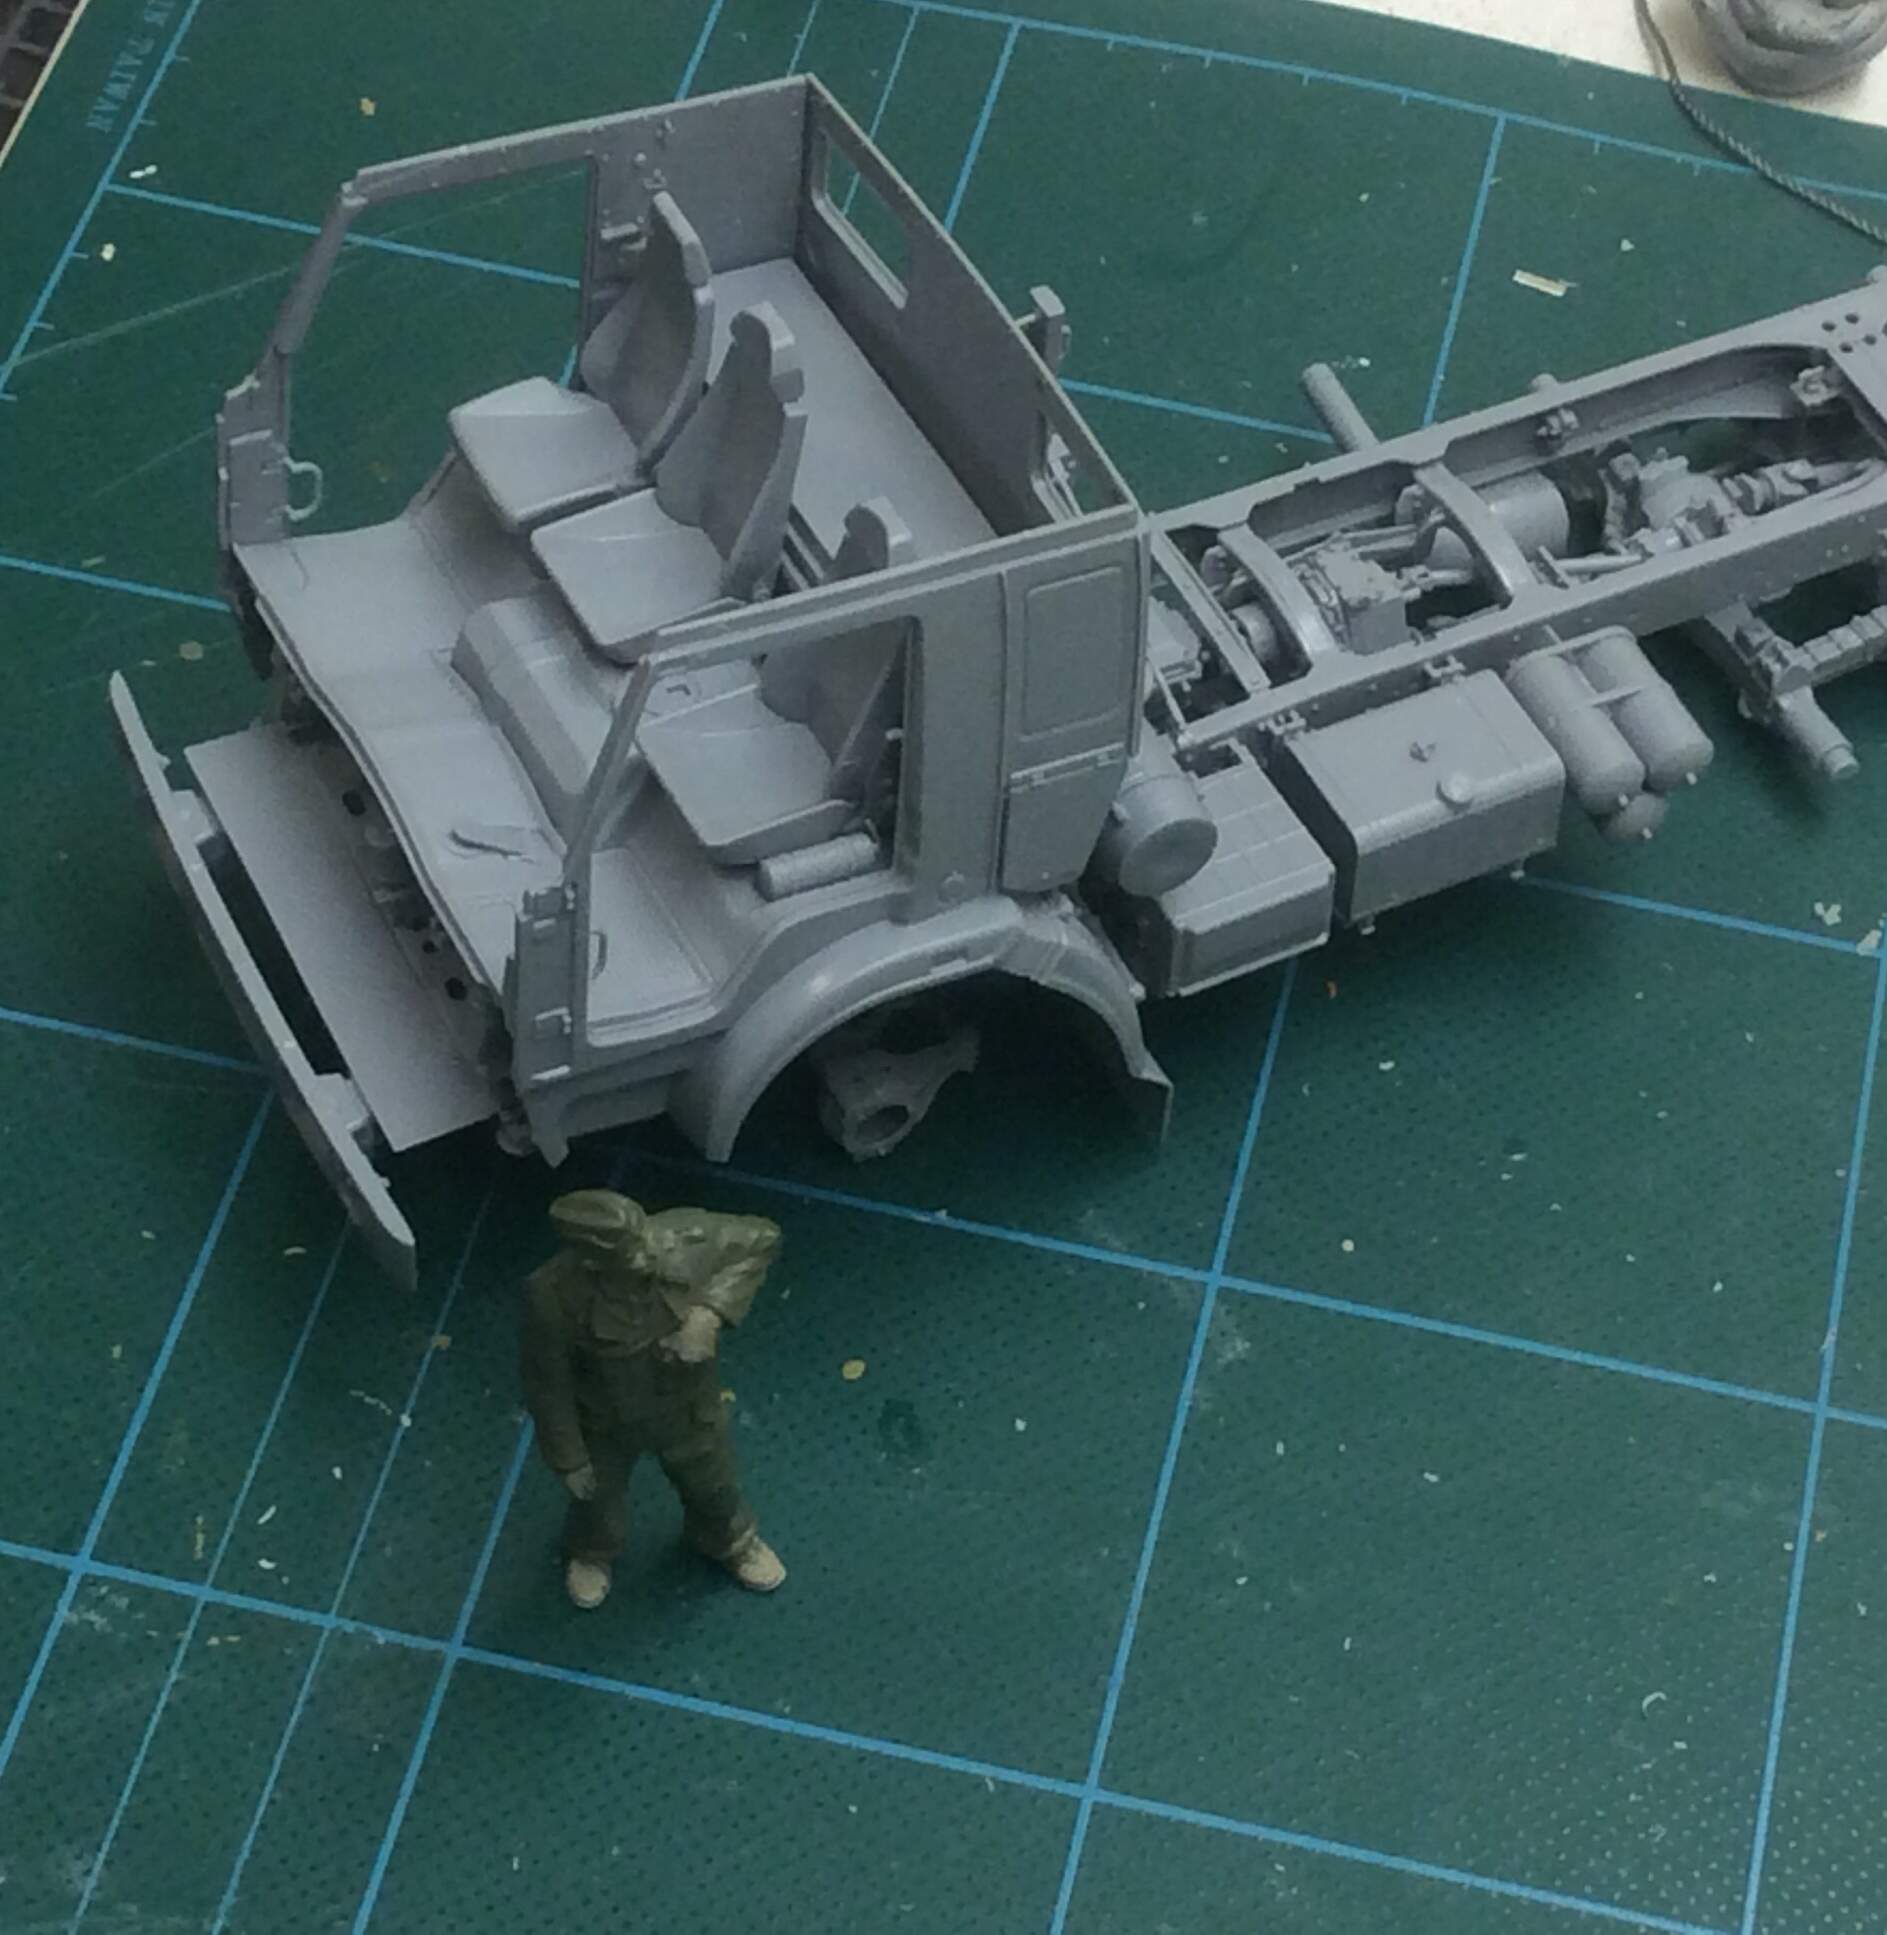

The entire cab is resting on the chassis, and the German is there for scale. Germans make everything look gooder.
2 Likes
Three hands are helpful. It is me or is the cab leaning to the left in the last photo? Keep up the gooder work.
Good morning from New Zealand, it’s coffee time here. Yep, the cab is resting in place, final fitting is still a way off yet.
1 Like
GTG, it was coffee time when I viewed the cab and wasn’t sure. Keep up the good work.