After a busy week plus, I’ve managed to fight my way back to the workbench… I was to take tomorrow off work, but, as usual, something came in. I’ve started on the wheels, and using the Miniarm ones, see below. The top left wheel has the kit hub in it, whereas the bottom right has the Miniarm wheel and rim. Both are a good fit, but I’ll be going for the resin option.
It’s raging here in NY lol, almost 4:30am and I’m driving to the city to work ugh!! Supposedly getting 1 foot or more of snow, already 4inches…Would rather be home at the modeling desk for sure lol !
Those wheels look great! Keep up the good work!
Ok, the plan according to the man is… bust out a big day tomorrow getting chores done, rest Sunday and then crack on with the build Sunday afternoon until Monday. I need to have this wrapped up this month.
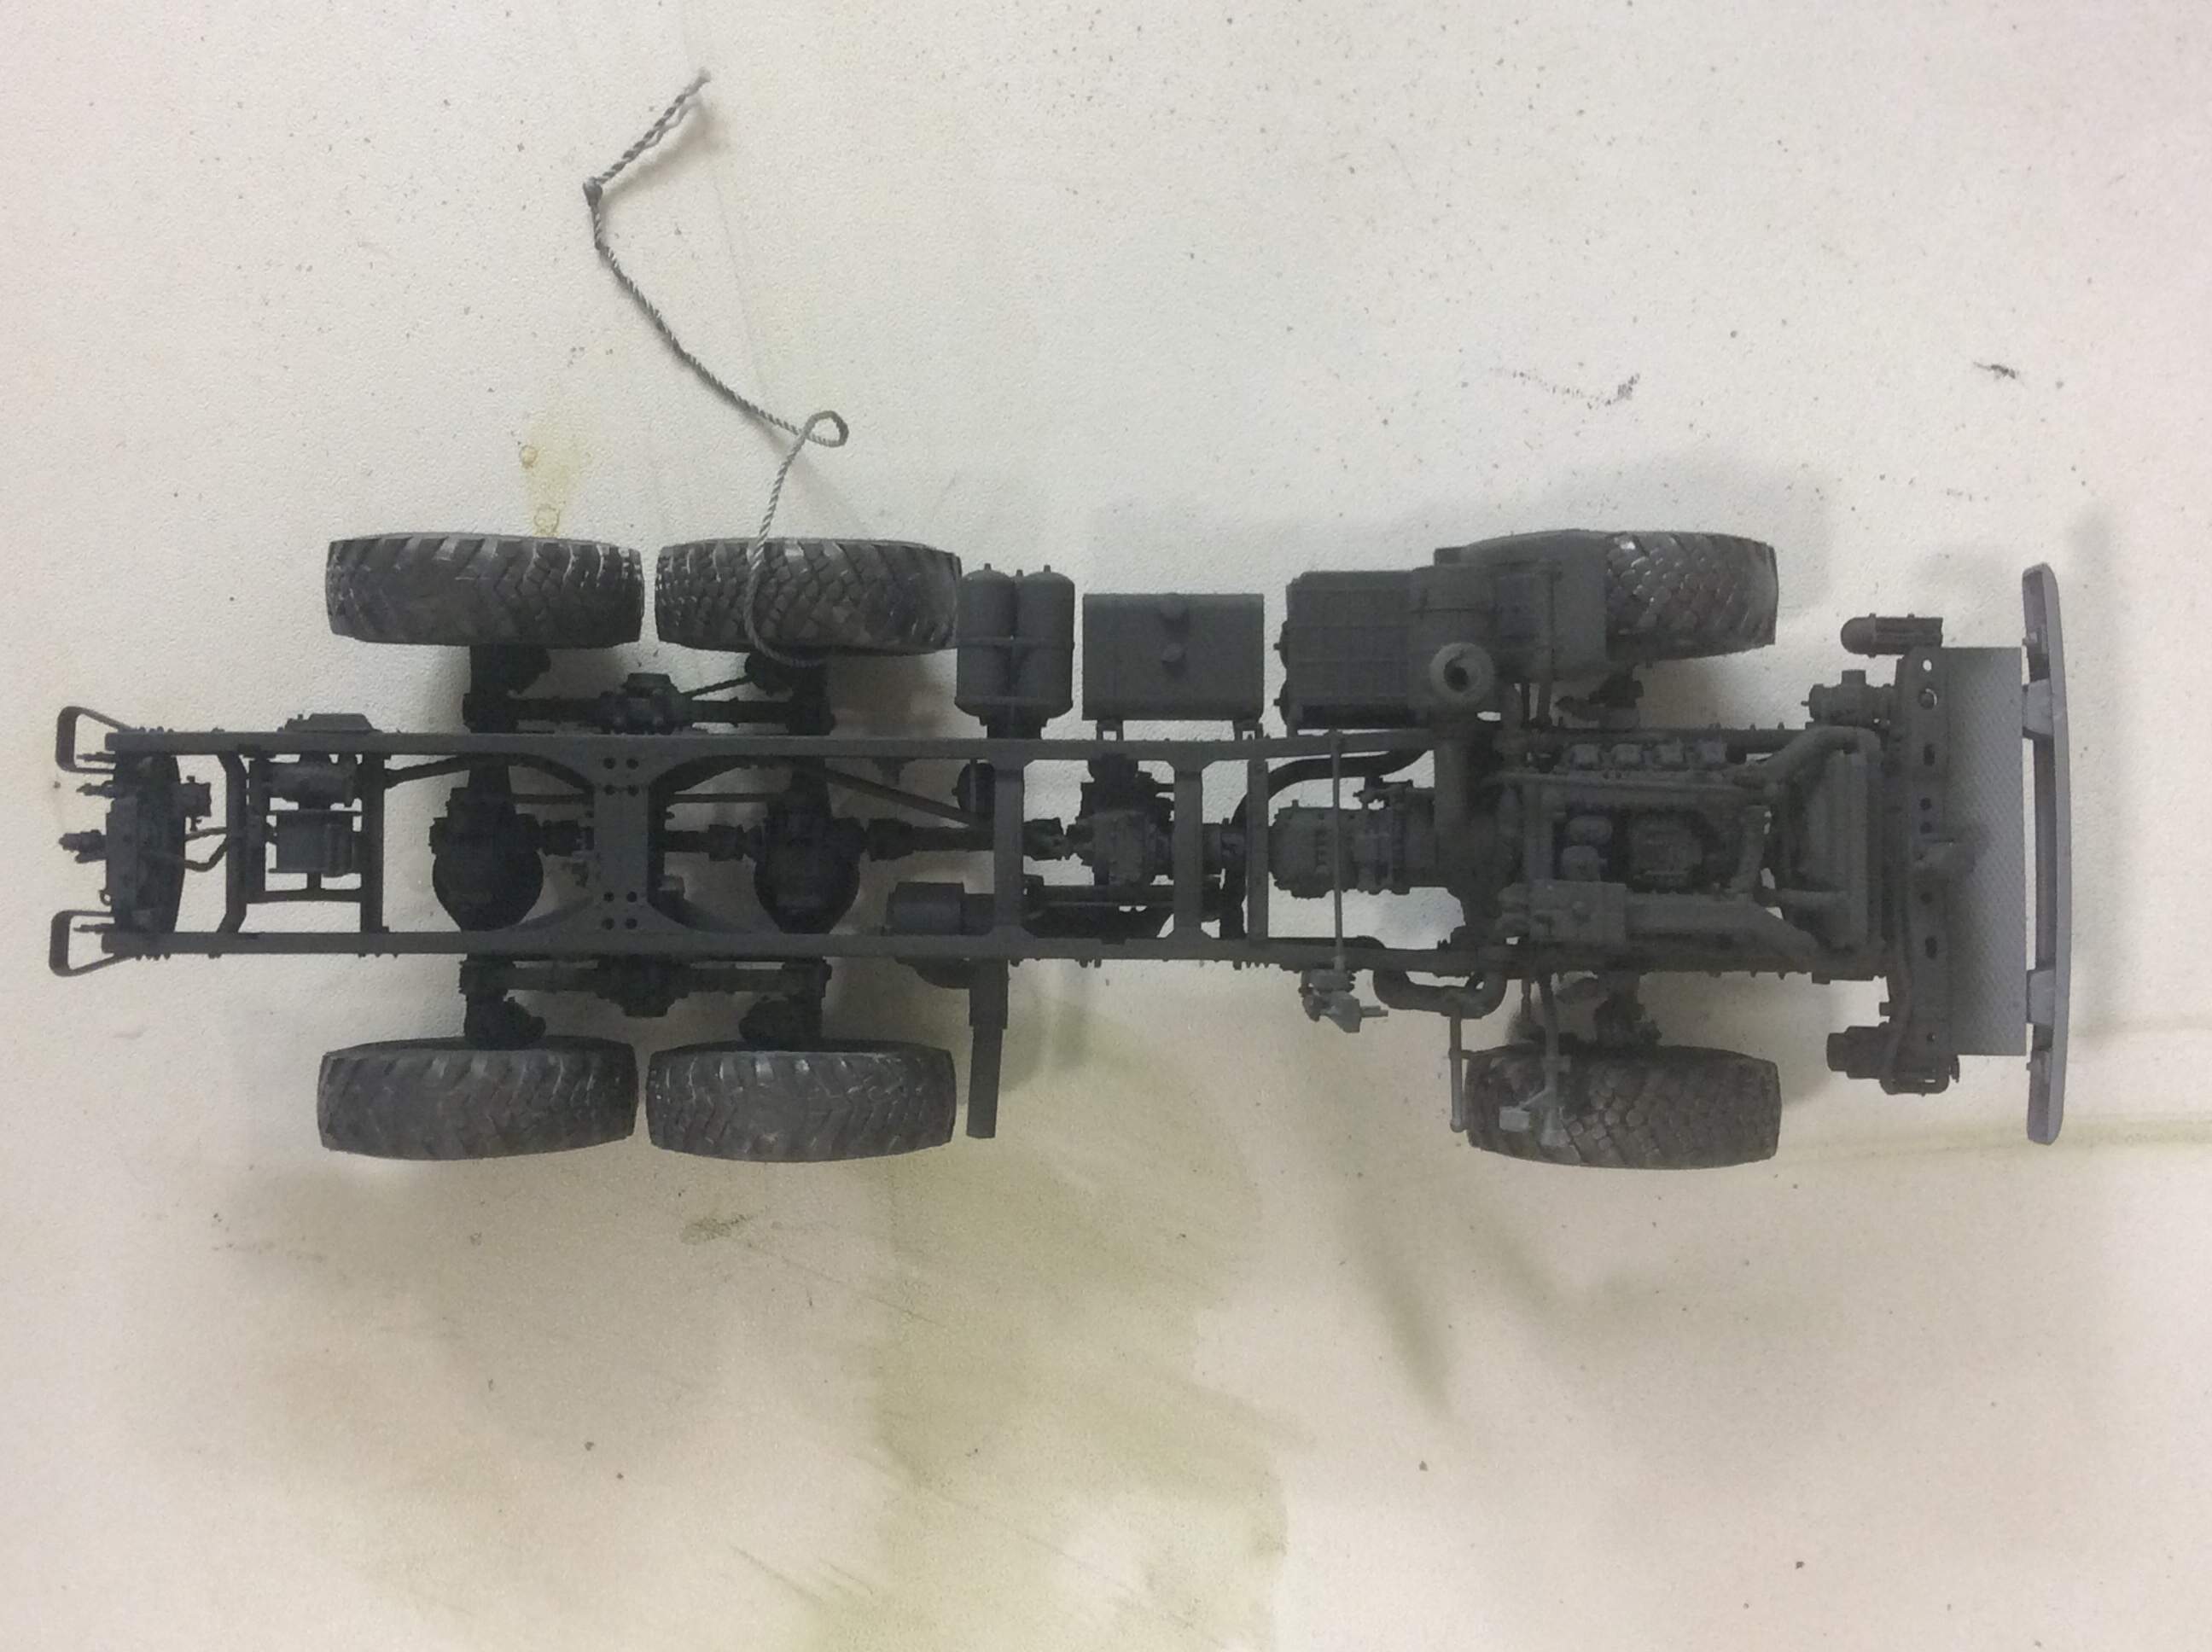
The front two are glued in place, the back four are held in place by friction. The fit of all parts is great, about the only trap for young players is mind your bald spot. Yeah, pay attention to where the pour plug ends up, if using replacement wheels like I have… it shouldn’t be visible once the tray is on.
The wheels have the resin replacement hub front and the kit hub rear, which fit perfectly into the resin wheels. Tomorrow is painting day. No excuses, either.
Is this what AOC meant with the Green New Deal? Between the black on the chassis, and green on everything else, I emptied two full paint cups to get to this point*.
And, what’s modelling without a little drama… the more observant among you will notice the front left wheel missing… it just happened to detach itself whilst I was trying to change angle and reach the more difficult corners of the chassis. Thankfully I was over the bench at the time, and it dropped a very short distance onto the bench top.
*with a little down the sides, too. I now need to clean my airbrush while this dries.
The side panels, sans doors, are glued in place. The windscreen and rear wall of the cab are held in place by the roof. The frame for the windscreen will glue into place. I’ll do more tomorrow.
I have been working on this, but time has not been on my side… I’ve been given the hard word I need to pack up the workbench by the end of this week, as the house has sold and I’m on the move. Uh-oh, I don’t want to see this go onto the shelf of shame!
Right-oh, I need to wrap this up, and have been busy in between painting and packing… I came home early from work as I know the other half is tied up in court for the afternoon; thus, without further ado, I present decals… yes, I have brown carpet
The Quinta Studio decals are a pleasure to work with, as are the kit supplied ones. Oddly, on one of the 2018/20 black over white decals, it separated at the join and took a bit of work to line up again. A splash of MircoSol next, a coat of flat paint, a bit of weathering, and it’s hotdogs for dinner.
Cheers, Tank; I appreciate the feedback… the rear bed fully marked up. With tailgate down. I’m not sure what the watermark is from, I will touch that up later.
The “mirror” stickers are convincing in scale, but don’t meld very well to a complex curve, hence one corner is lifting. Maybe thinner decals / stickers are in order? Or paint?
This is a great kit that I thoroughly enjoyed building. It is not without its challenges, namely the numerous subassemblies that come together sometimes several steps apart. The engineering is great, and the detail right up there. I’d go 90% as about the only thing missing is the finer wiring on the chassis. It under-sells itself and you could really go to town with this kit, and the options available. Recommend.