The kit appears to be well made but it’s full imprecisions, like wheel arms not automatically aligning with the wheels of the other side, had to manually twist them while the glue was fresh forcing the pre-made holes which were all wrong.
Also, the wheel placement is definitely asymmetric, don’t if this is intended (my second model!) but the wheels are in different places.
Also, many “holes” for the pieces were clogged by thick melted leftover, I needed hand drill intervention more than once.
However, what is really grating on my nerves is the abundance of “pointless” details.
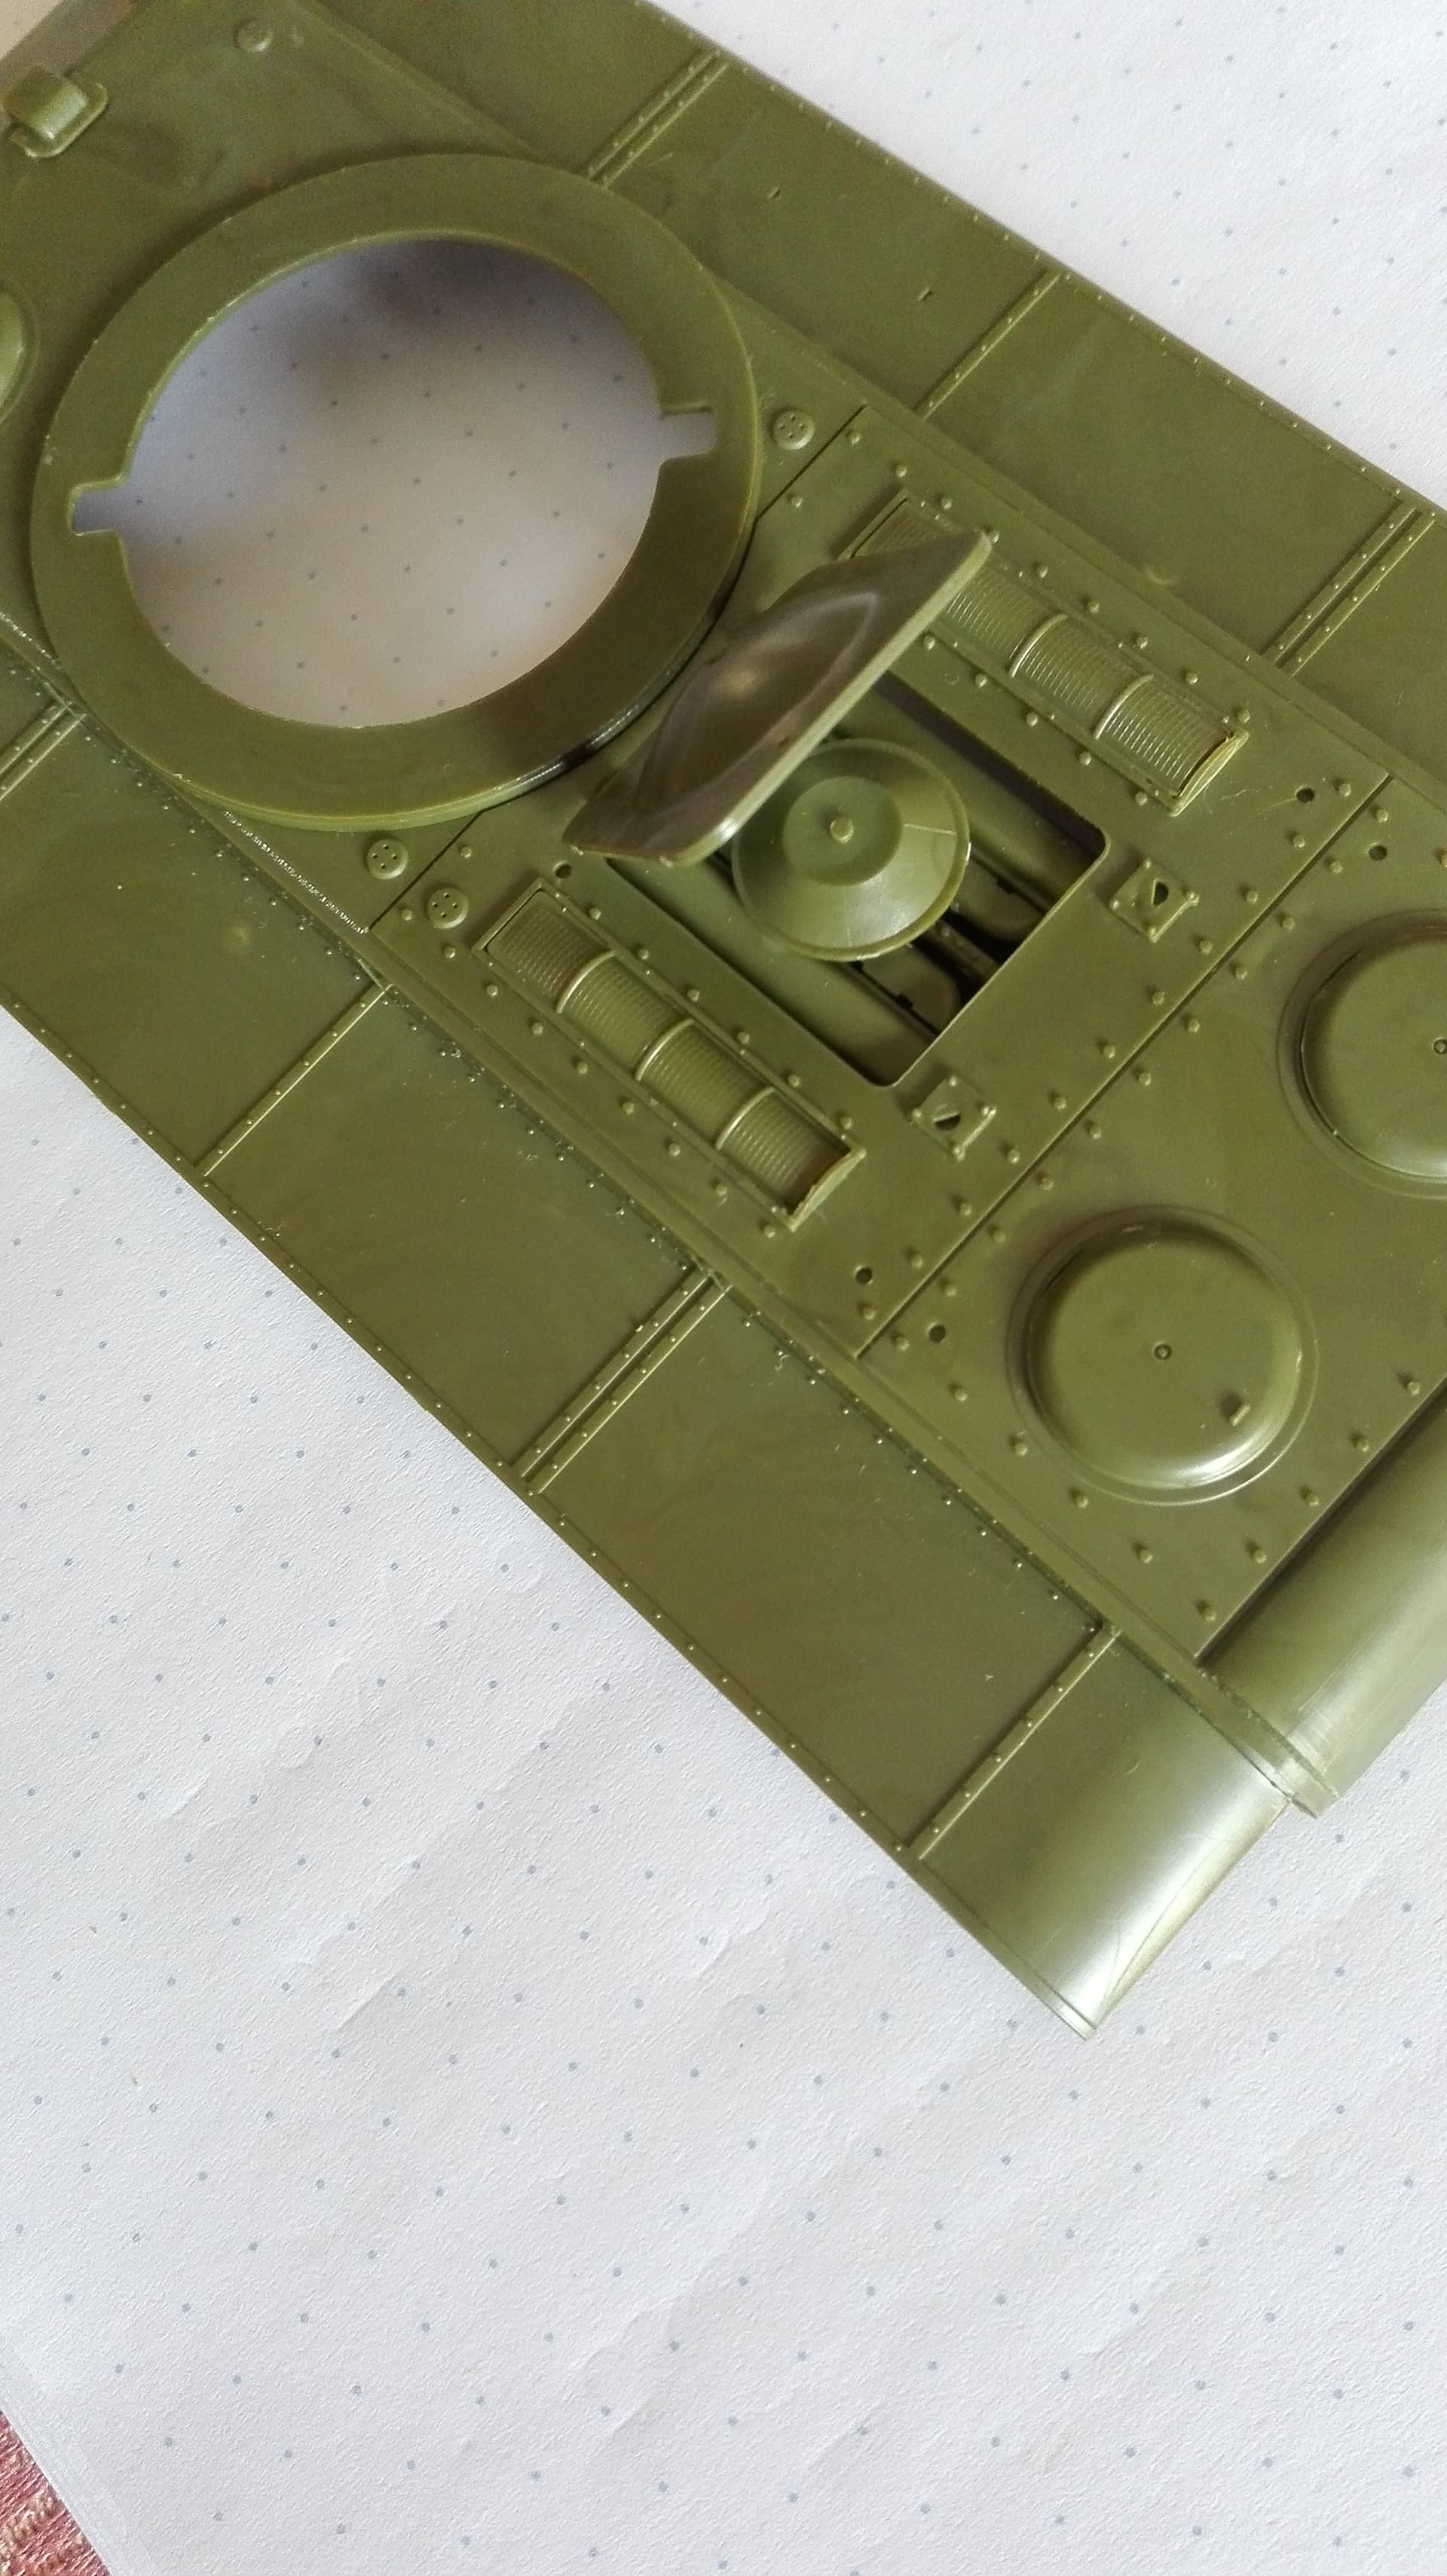
The kit is a closed one with no interior. Then why adding an internal periscope? I glued that without even realizing it. All hatches are openable, but the hinges cannot hold the hatches firmly in place, so they “dance” around. I decided to glue them shut and get on with it.
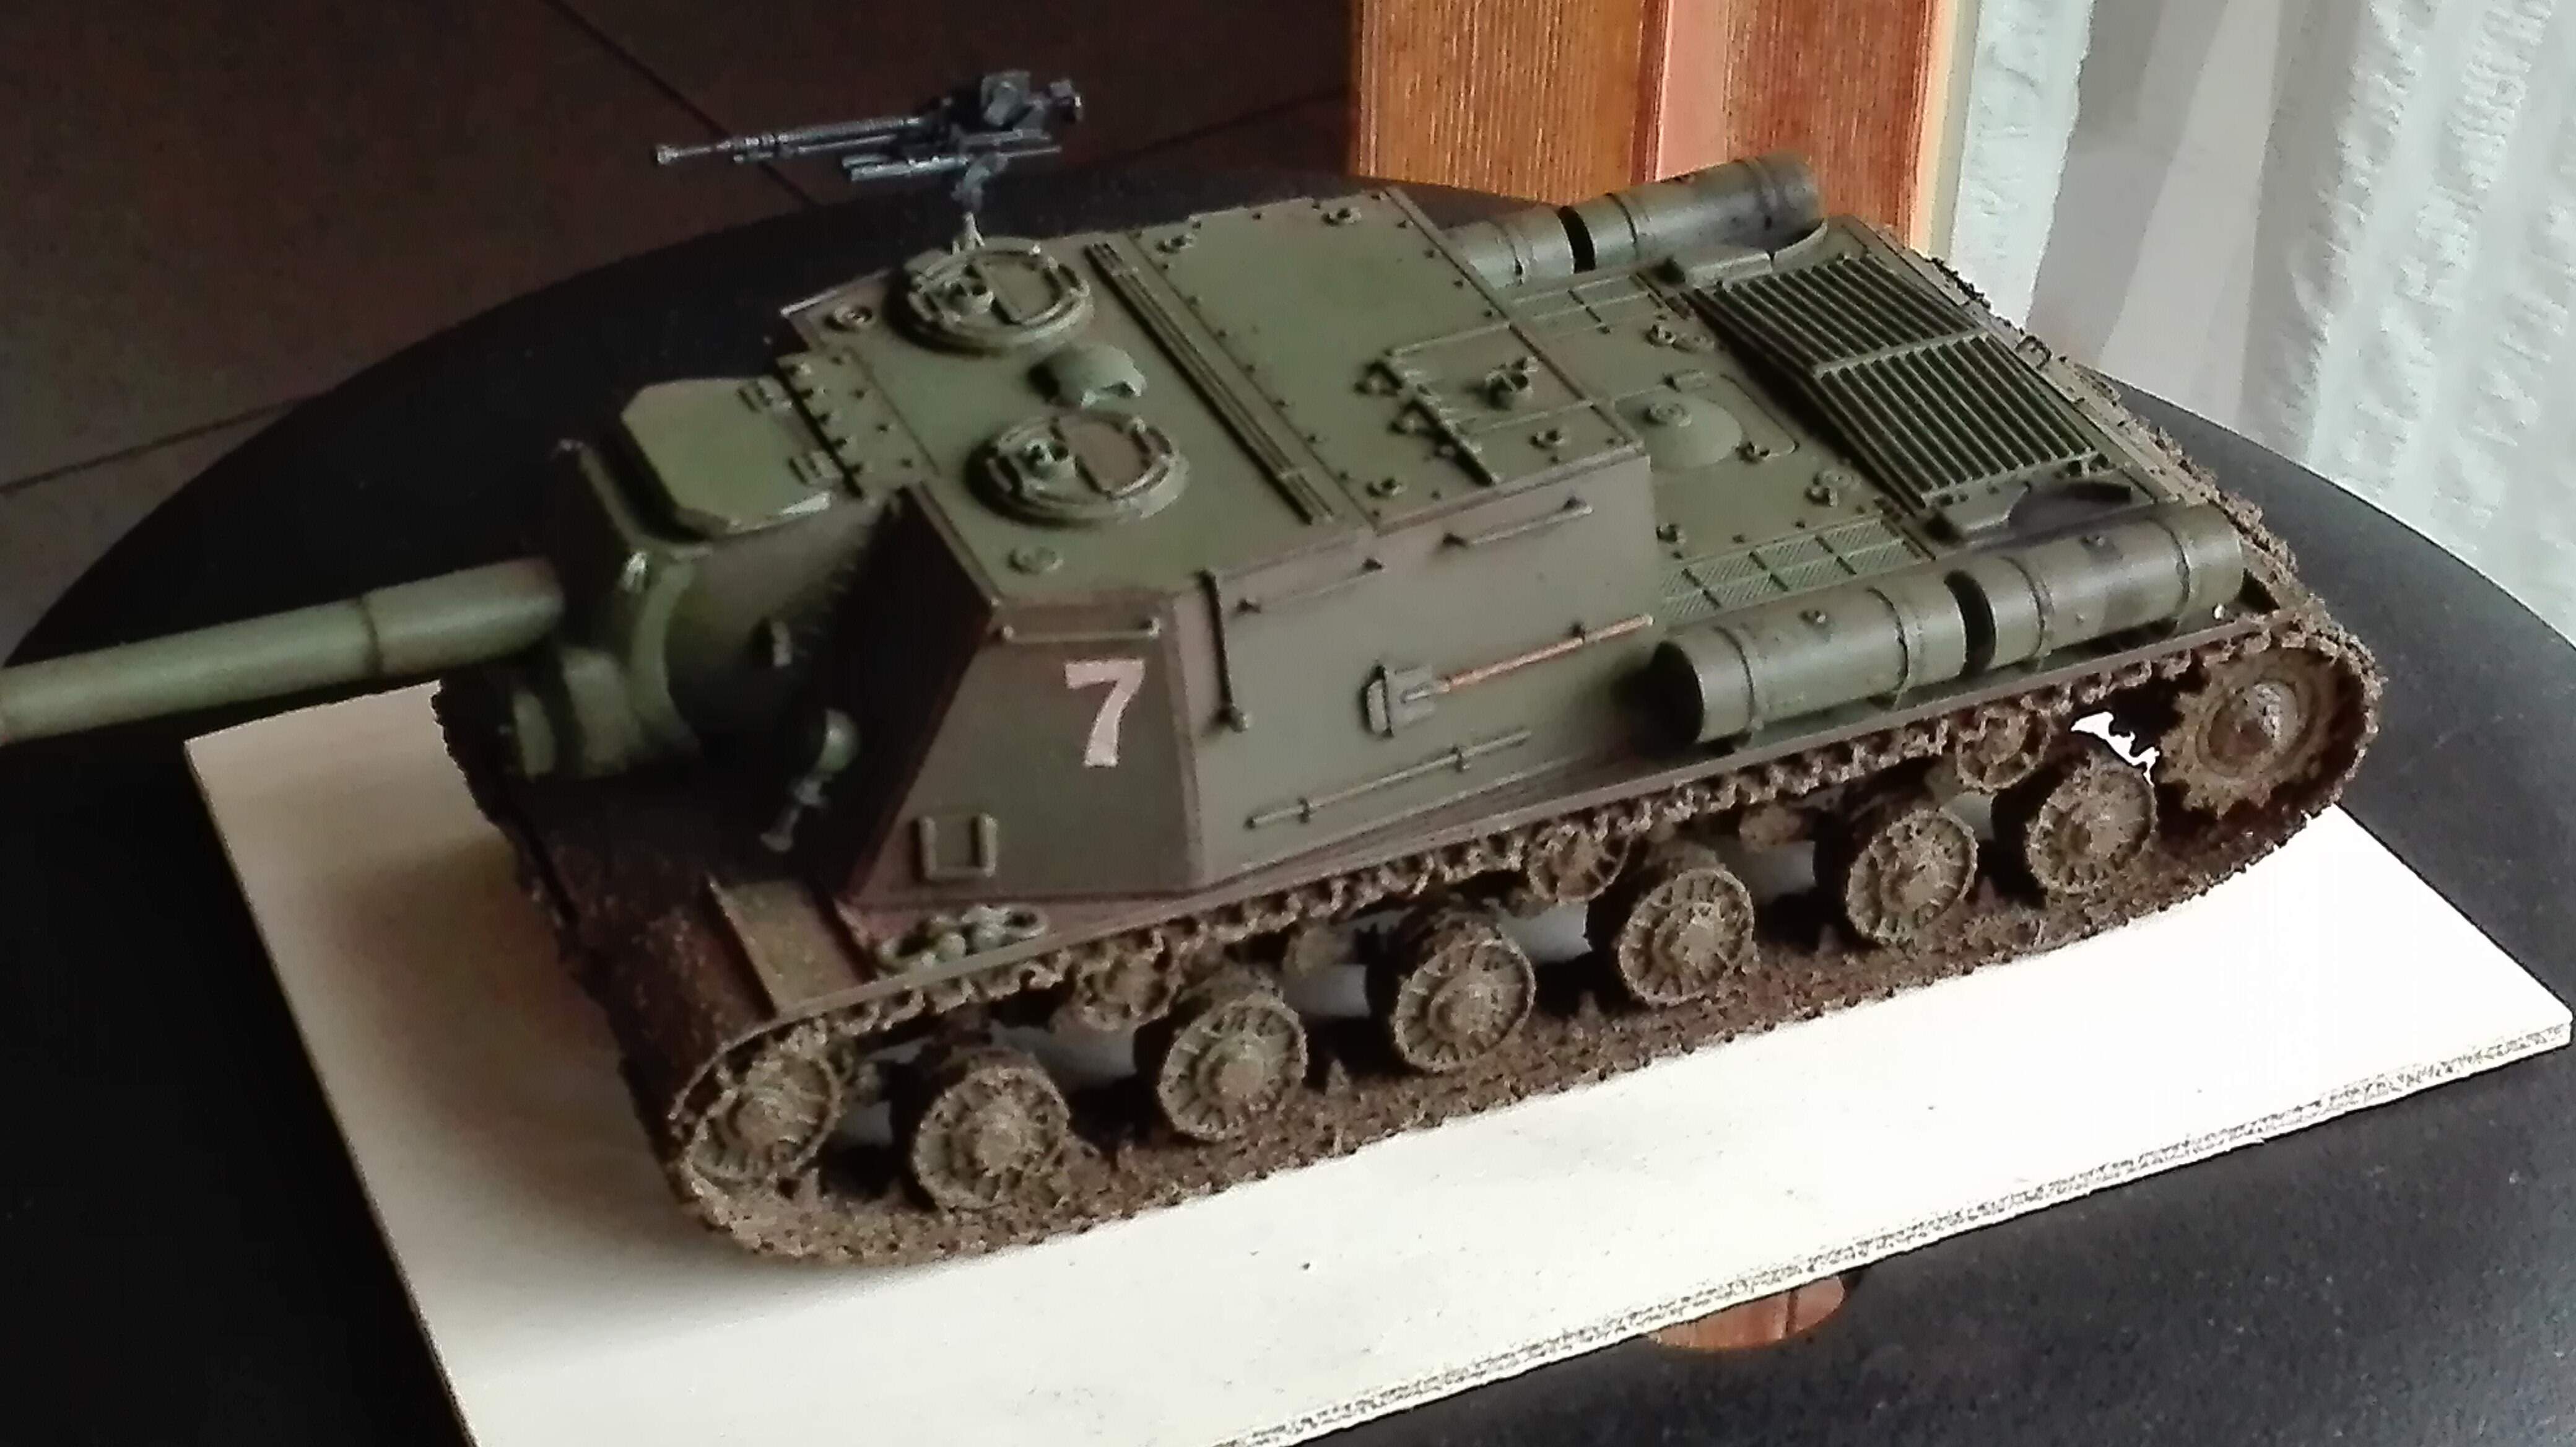
There’s a fully modeled machine-gun while only the barrel point shows up, mounted on a mobile ball bearing making stuff more complicated.
Instruction explicitly tell me to glue the hatch by the hinges. Won’t this basically make it stuck?
Then why did I even assembled and mounted that engine block?
May that was just added for people who want to have a permanently opened engine compartment?
I tried to add it without glue, it holds, but barely.
A lot of these details are there for people that choose to leave the hatches open, so there is something up give a little life to the model.
All these things grinding your gears are pretty standard on modern kits. I believe the KV-2 had torsion bad suspension which is why the wheels are asymmetric. You see this on all kinds of Russian vehicles. If you can look at a side profile of the t-54 the wheels are quite asymmetric.
Looking forward to your build, I like the look of the kv-2
Most likely you swapped the roadwheel arms from side to side. They are usually handed and if you are not careful, you can mix them up, causing the angles to be off due to the handed keying on them.
Yes, it is intended. On tanks with torsion bar suspensions, the wheels are offset to allow the torsion bars from the opposite side to attach across the hull. They can not be aligned or the torsion bars would hit/overlap.
The hatches are positionable so that they can be glued open or closed as the builder wishes. The partial interior parts are also there in case the builder want to add more details.
It sounds like you are just having new modeler frustration. As you build more kits, you will see most come with these “extra” features. You will also get a better feel for what you want to add or leave off to build it how you want to.
Thanks, was really getting frustrated, the ISU was an older kit and was much more straight forward.
About the engine compartment, what do you think is best? I plan to have the hatch closed but it would be fun to try painting the engine…maybe should I leave it hanging without glue?
I am quite sure I paid great attention, there was just one way to fit them, attempting to mount the wrong arm would have it hanging upside down. Also, the other side had all wheels at the intended height.
However, I noticed that the arms were really moveable once glued, because it melted the “keyhole”…maybe that was another customization option for people who wanted to simulate an uneven terrain?
That is up to you. I personally like lots of interior details and would leave it loose and paint the engine up. I have been known to build/scratch build partial or complete interiors on my kits.
When tackling things like painting the engine I use it as a learning opportunity. Try painting the engine and learning new techniques on it. If you miserably fail then button up the hatch, but if do a good job you’ll add interest to the model, and you’ll have learned some new skills
Nice to see the build thread to chronicle adventure in scale modeling
Positional hatches, rudimentary interior details like periscopes, engine etc are all part of the option menu manufacturers like to provide. Depending on ones building style it’s a nice touch or an annoyance. However, as @Mead93 mentioned, practice on items that can be hidden by closing the hatch if they don’t work out is an excellent skill building practice.
Torsion bar suspension is normally offset in tanks etc as mentioned.
I’m not first hand familiar with the Zvezda kit so this is a very interesting build for me to follow. Looking forward to see the kit build.
Best wishes & happy modeling
I can definitely see me pick up a Zvezda JS/KV something or other as a fun build at an AMPS show.
Not much “visible” progress for today, had to glue so many TINY things.
I really couldn’t believe how tiny some parts were, even with tweezers it was a challenge. This model is really another league compared to the ISU-152 I have.
Also, I still wonder why they bothered adding interior details that simply cannot be seen.
Even if you open every hatch there’s no way you can see that machinegun, you literally would need a probe to see it! They only way they could be seen would be in case of a wrecked tank model with holes in the sides! Anyway, that’s nice details, except maybe for the machineguns which look a little “crude”.
I’ll post a picture tomorrow, lower carriage (without tracks) and top hull should be almost ready.
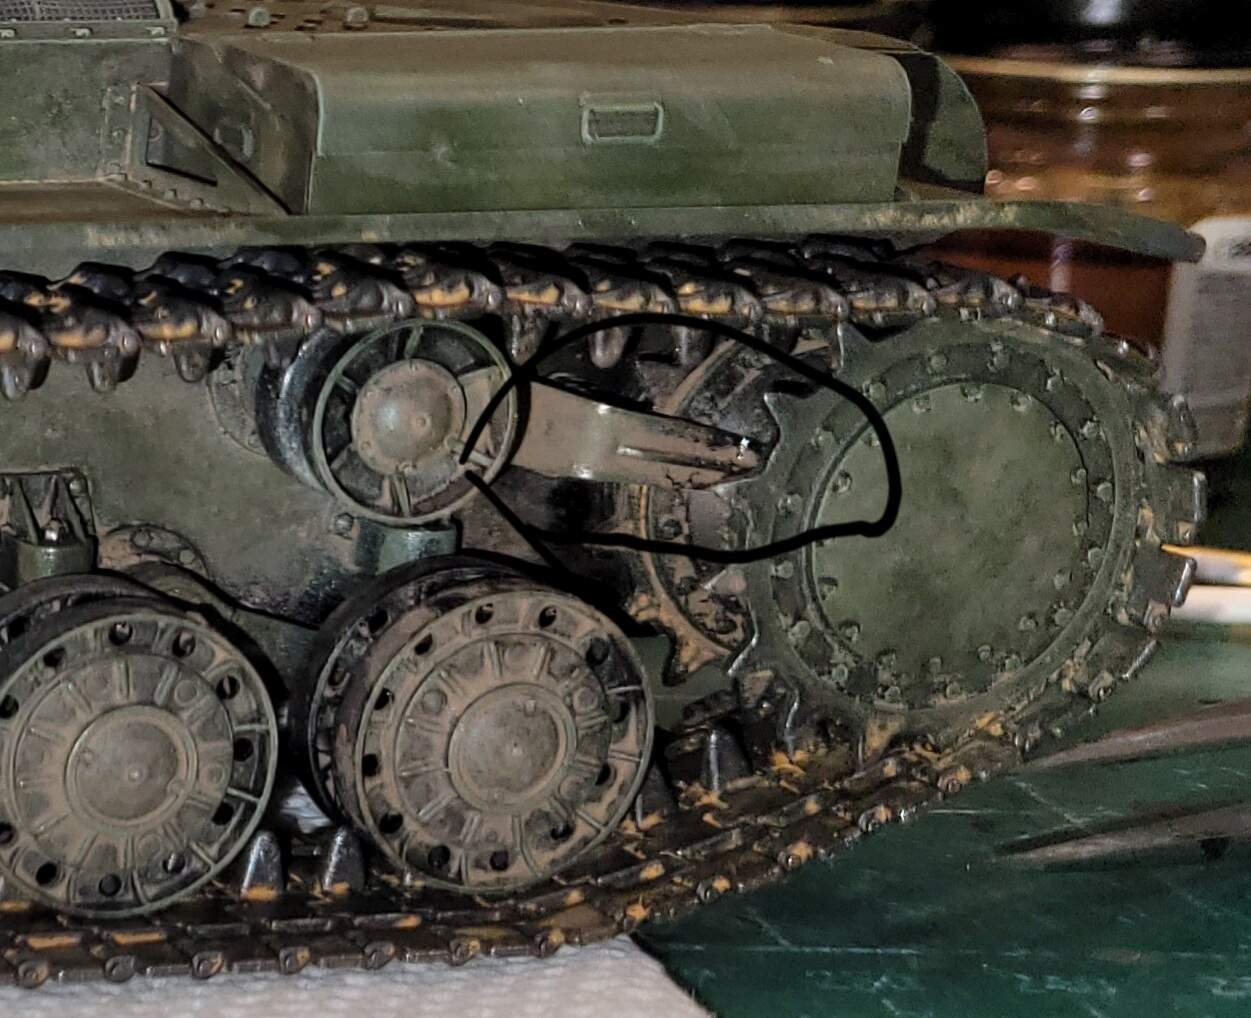
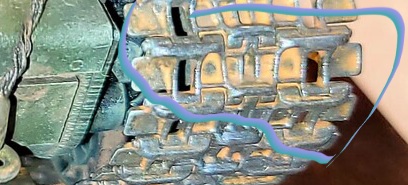
By the way, I was wondering what is that tiny “arm” that closes on the biggest toothed wheel, is that something gear related? Or the brake? Looks a bit tiny for a tank brake …
I don’t recall the swing arms on the KV being different on each side. I just attach them in any order and have never noticed any difference between them with the Trumpeter kits.
The ‘arm’ that you describe, if it’s the part mounted on the lower hull side with an outer end which sits between the two toothed rings on the sprocket, is a mud scraper. The idea is to prevent mud buildup between track and sprocket as that could cause a track to be thrown.
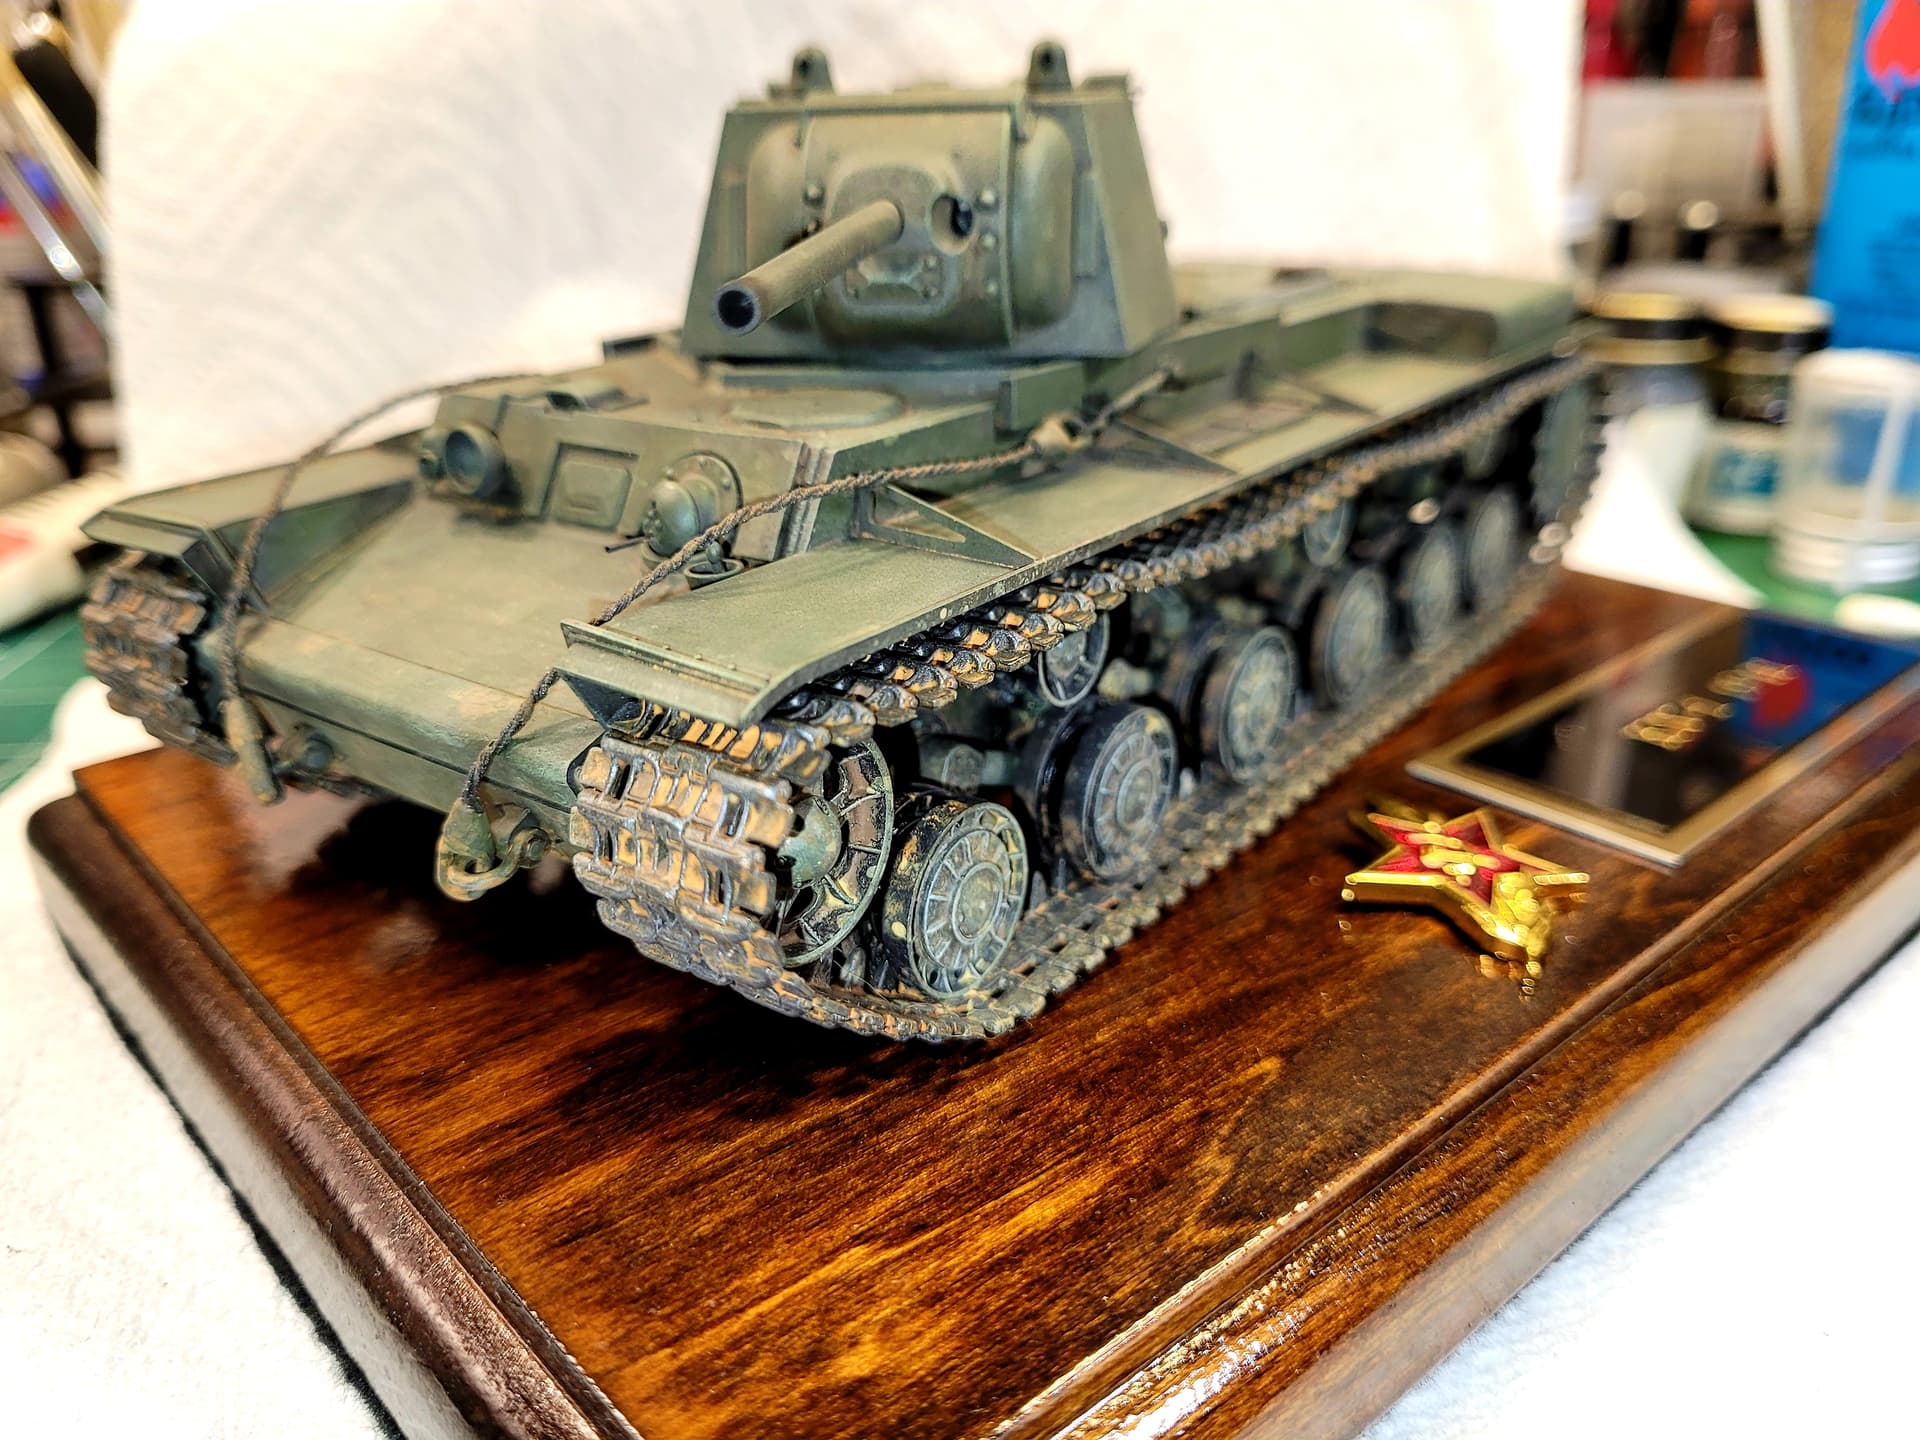
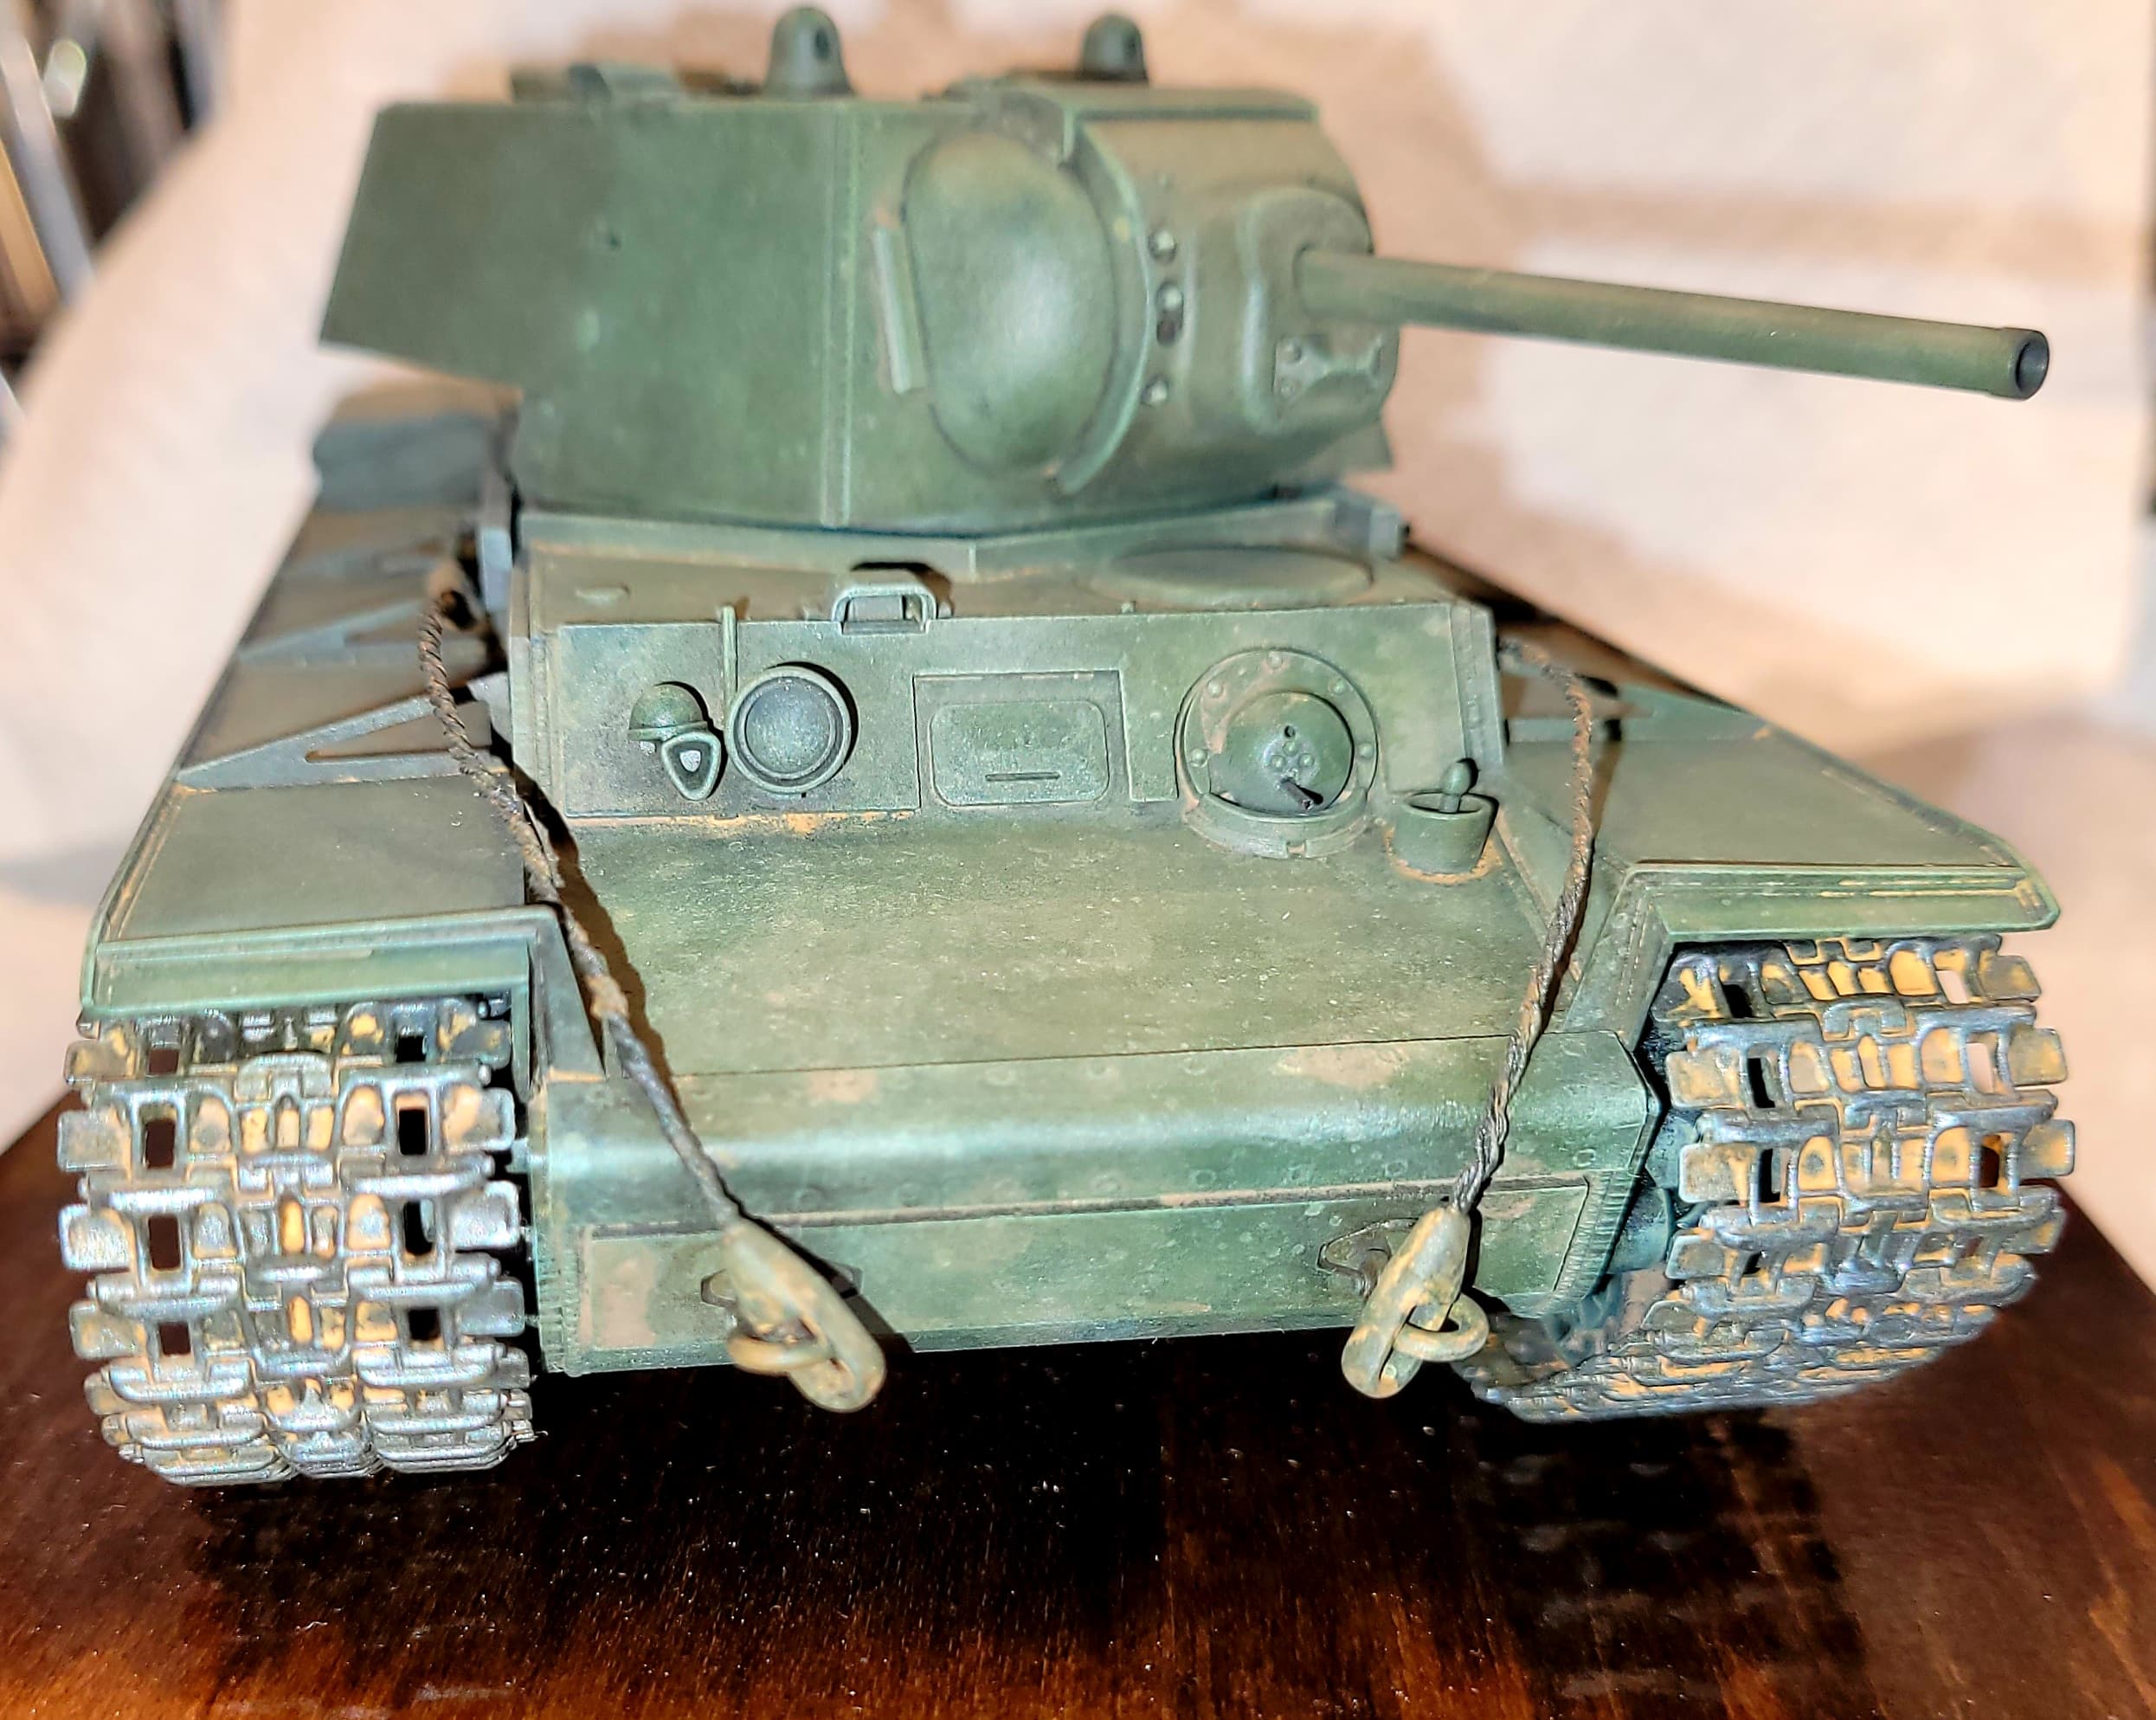
No pigments, just a little ground up pastel chalk dust. The weathering a combo of techniques like oil wash, enamel wash of Floquil Dirt, pen wash of Floquil Rust, oil dot filter, several stages of drybrushing, flat coat, filter of Floquil Dust applied with airbrush.
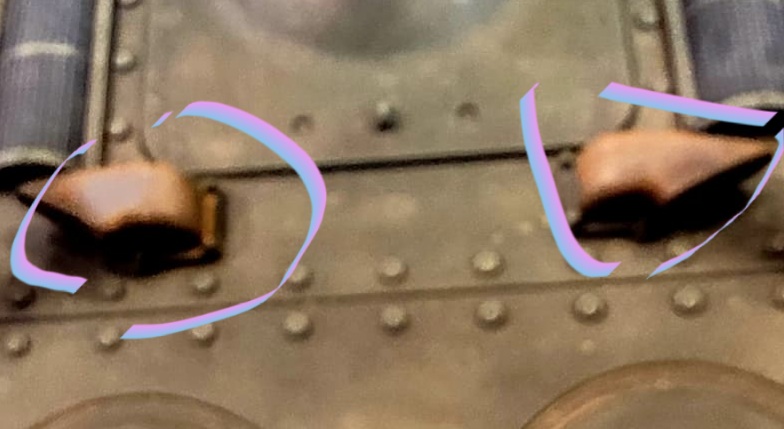
None of the effects circled in blue are pastels. That’s all basically a wash applied with a paint brush. I used an enamel paint Floquil Dirt and thinned it with lighter fluid. It can be done with oil paints and lighter fluid or quality mineral spirits.
I’m sure AK has a similar 3rd Generation dirt color lacquer paint that could be used in place of the ancient Floquil Military Colors “Dirt”.
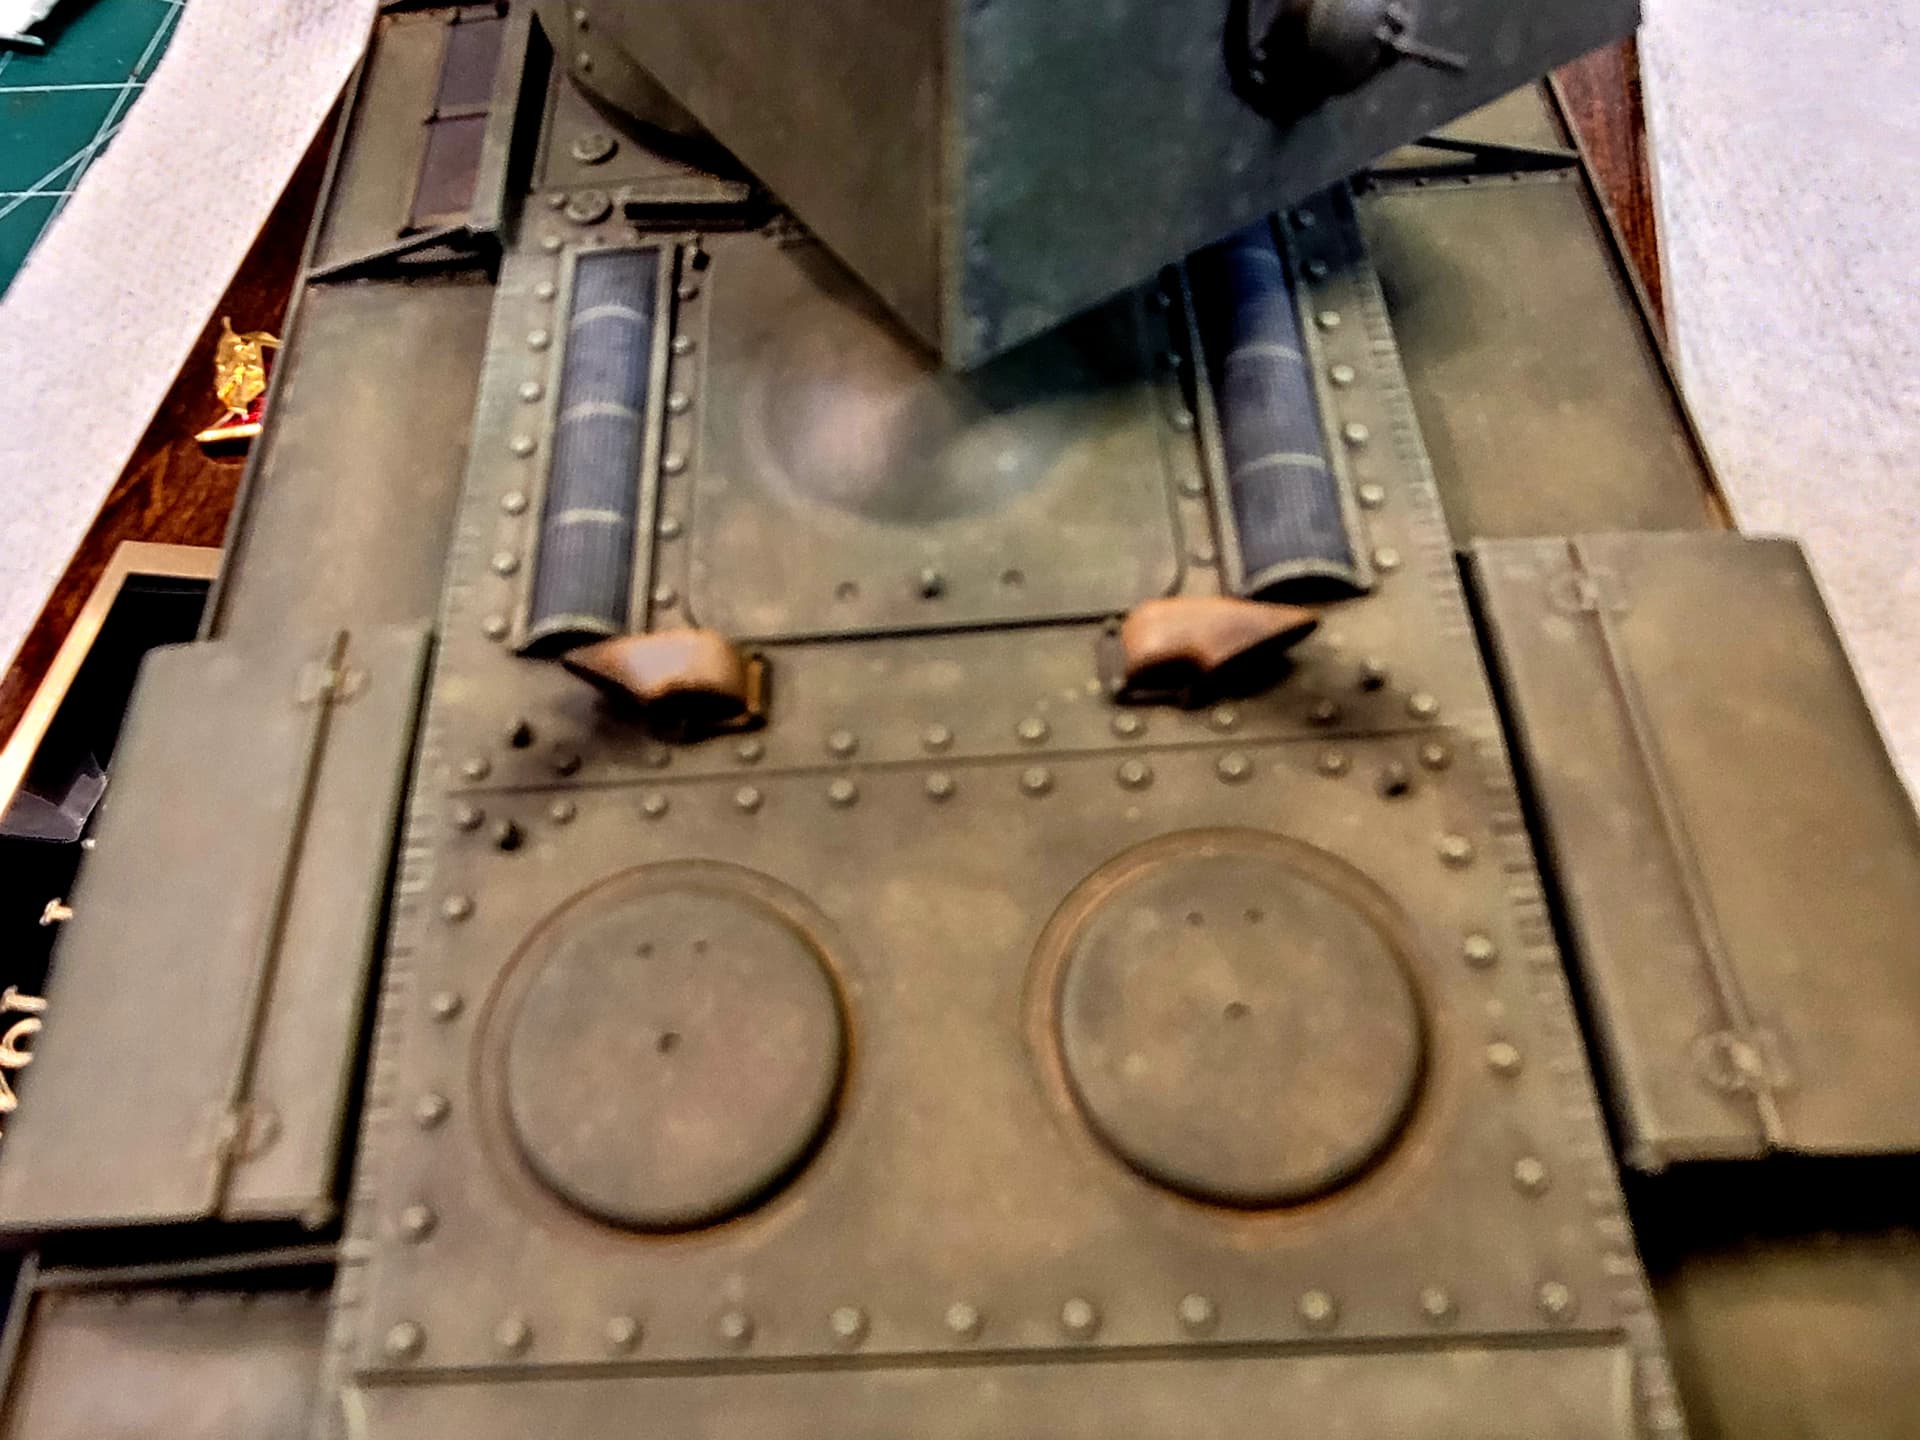
The exhaust pipes were painted Panzer Gray, given a wash of Floquil Rust and touched up with ground pastel chalk dust. Most orange and orange mixed with brown. Likewise the black feathered on the edge is ground up pastel chalk dust. Applied with an old paint brush and gently rubbed with excess blown off.
There’s a little chalk dust elsewhere on the model like the end of the main gun etc. Bit on the lower hull front, sides & rear.
It’s an inexpensive craft store base that about $6. I sanded it, stained with Minwax Walnut then a clear coat with Polyurethane Minwax. Bee using the same two cans of Minwax since 1996 so very inexpensive all in all.
I like using a base with a model and mount the model to the base. A base makes it easy to pick up and move the model without touching it. Some folks like to add ground work etc too and the base helps with that too etc.
The end result is exceptional and really worthy of standing on such beautiful base.
That actually costs more than the model itself, I don’t think I will make models worthy of that for quite a long time (if ever) but it surely makes for an outstanding display piece worthy of an elegant living room.
I do have bought some “bases” too for the same ease of handling reasons , but they are plywood sheets, and unless I paint/add some landscaping, they look extremely cheap, you can see one under the ISU link I added to the first post of this thread.
You can have a working base to help with handling and what not and a finish base for your models.
I do think it’s easier when doing some weathering to have the model mounted to the base so both the terrain and model match. You don’t want a dry looking model and a wet looking base or desert dust with a jungle setting. You can also apply some techniques to both so the colors are the same and compliment the overall project.
Yes/no, if using that product it can be used just in track trails and grass or other items outside the track trails. You can also make your own recipe for mud that can be applied to both model and base.
End of the day, it’s your project and you can do as you choose, no real right or wrong answer IMO.

