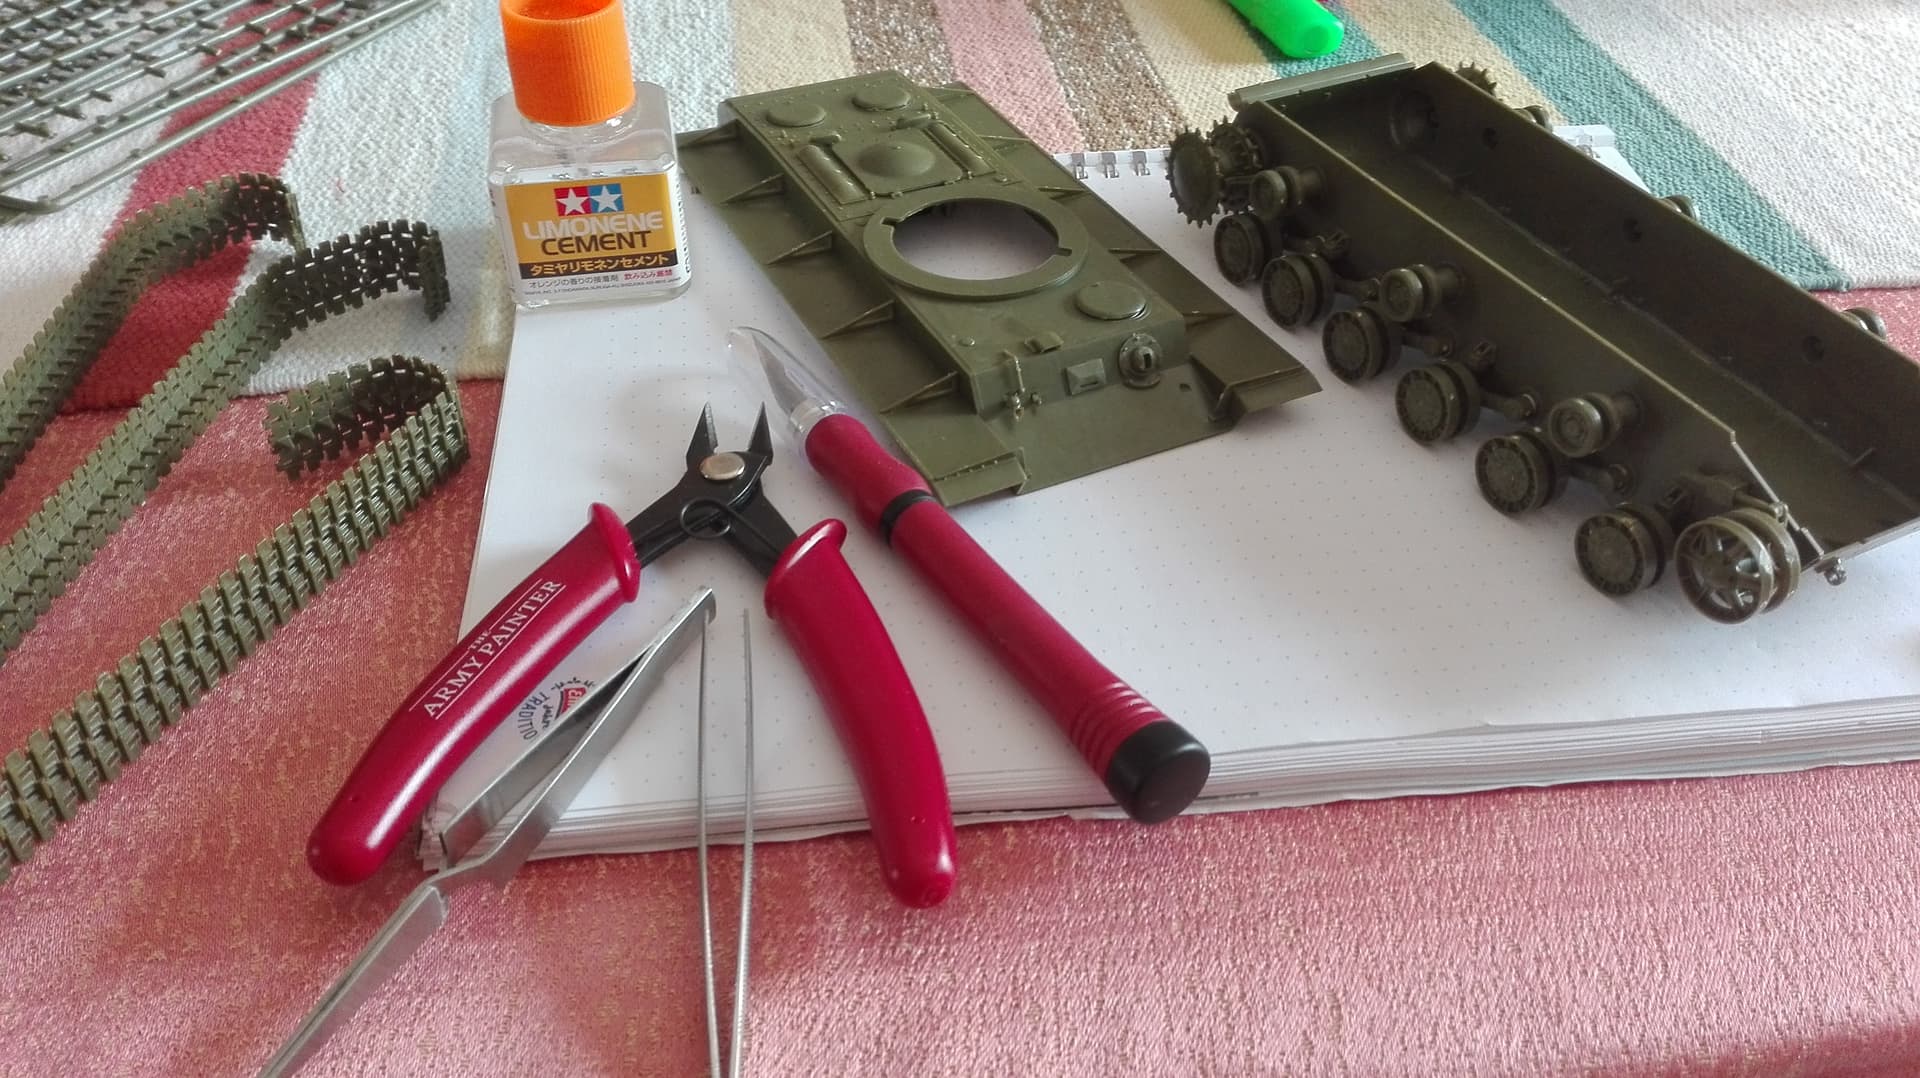
Here’s the promised picture with all the stuff done so far. I also added the tools I’m using.
I really recommend the glue, it’s very slow and newbie friendly, smells of orange and it’s not toxic. By comparison, Revell cement was literally killing me.
Also, yes I need a proper workbench and maybe a cutting mat!
4 Likes
Thank you.
LOL - Guilty as charged of depicting the eco-terrorist USSR in an environmentally friendly manner ![]() I should do a Chernobyl Exclusion Zone diorama some time to atone.
I should do a Chernobyl Exclusion Zone diorama some time to atone.
Let’s see more of you’re new KV-2 build. The Zvezda KV-2 build is the star of the show here.
I apologize for drifting away from directly discussing your KV-2 because the KV-2 is what’s important. My last off topic comment below regarding bases and other stuff.
You’re on the right track with the plywood base, plywood can work too. With a few more projects and a little time you will exceed my skill level quickly. The JSU you built has excellent basic construction and you’re well on the way! Plus you’re motivated and there is a whole forum of knowledgeable modelers to help with improving. It’s like @Tank_1812 said there’s no one right or wrong way, it’s really about practice and learning new techniques to apply ![]()
As for display, my fiance tolerates a book shelf with model tanks in the spare bedroom as long as the door stays shut ![]()
![]()
![]()
![]()
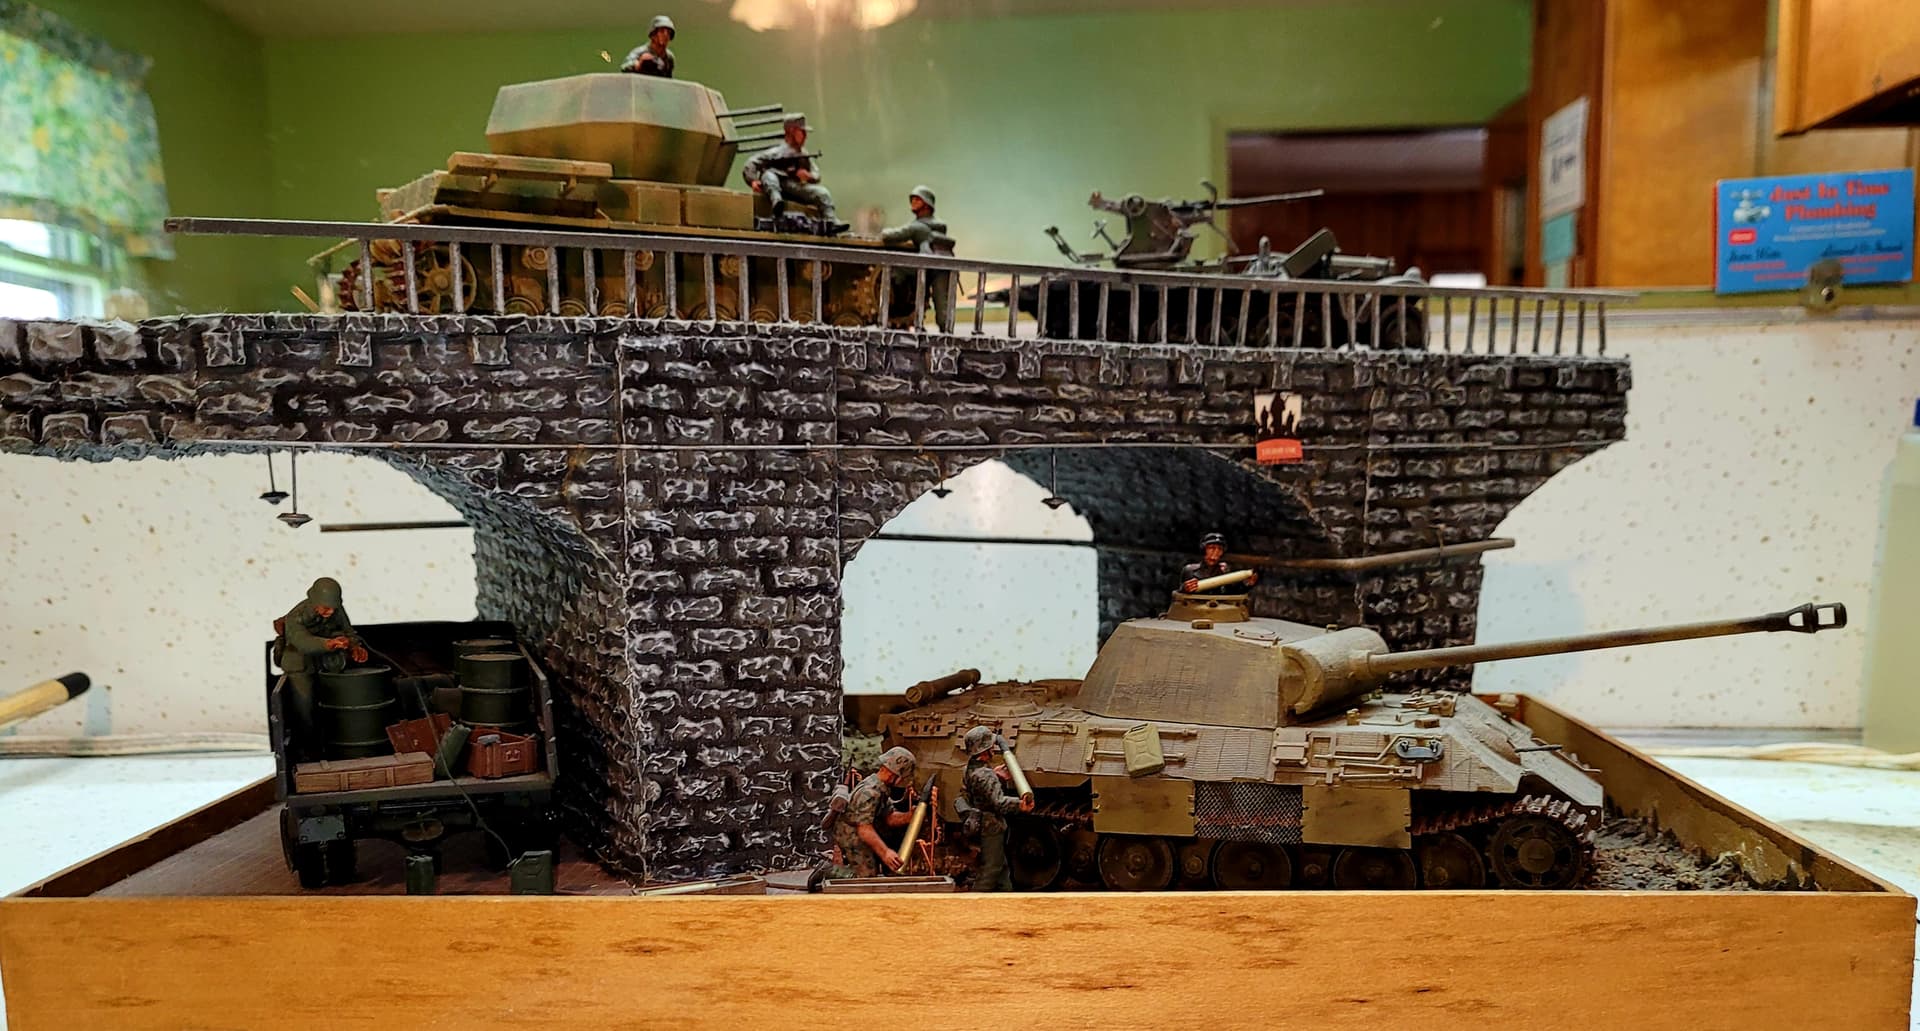
I’ve used plywood before too. Used to trim the sides of the plywood with balsa wood. Sand the balsa, stain & clear coat. The sides can look pretty decent. With a mix of inexpensive CeluClay, crushed plaster, plaster and dirt on top for ground work. Painted and weathered ground work. Here’s one of those early bases from long ago.
5 Likes
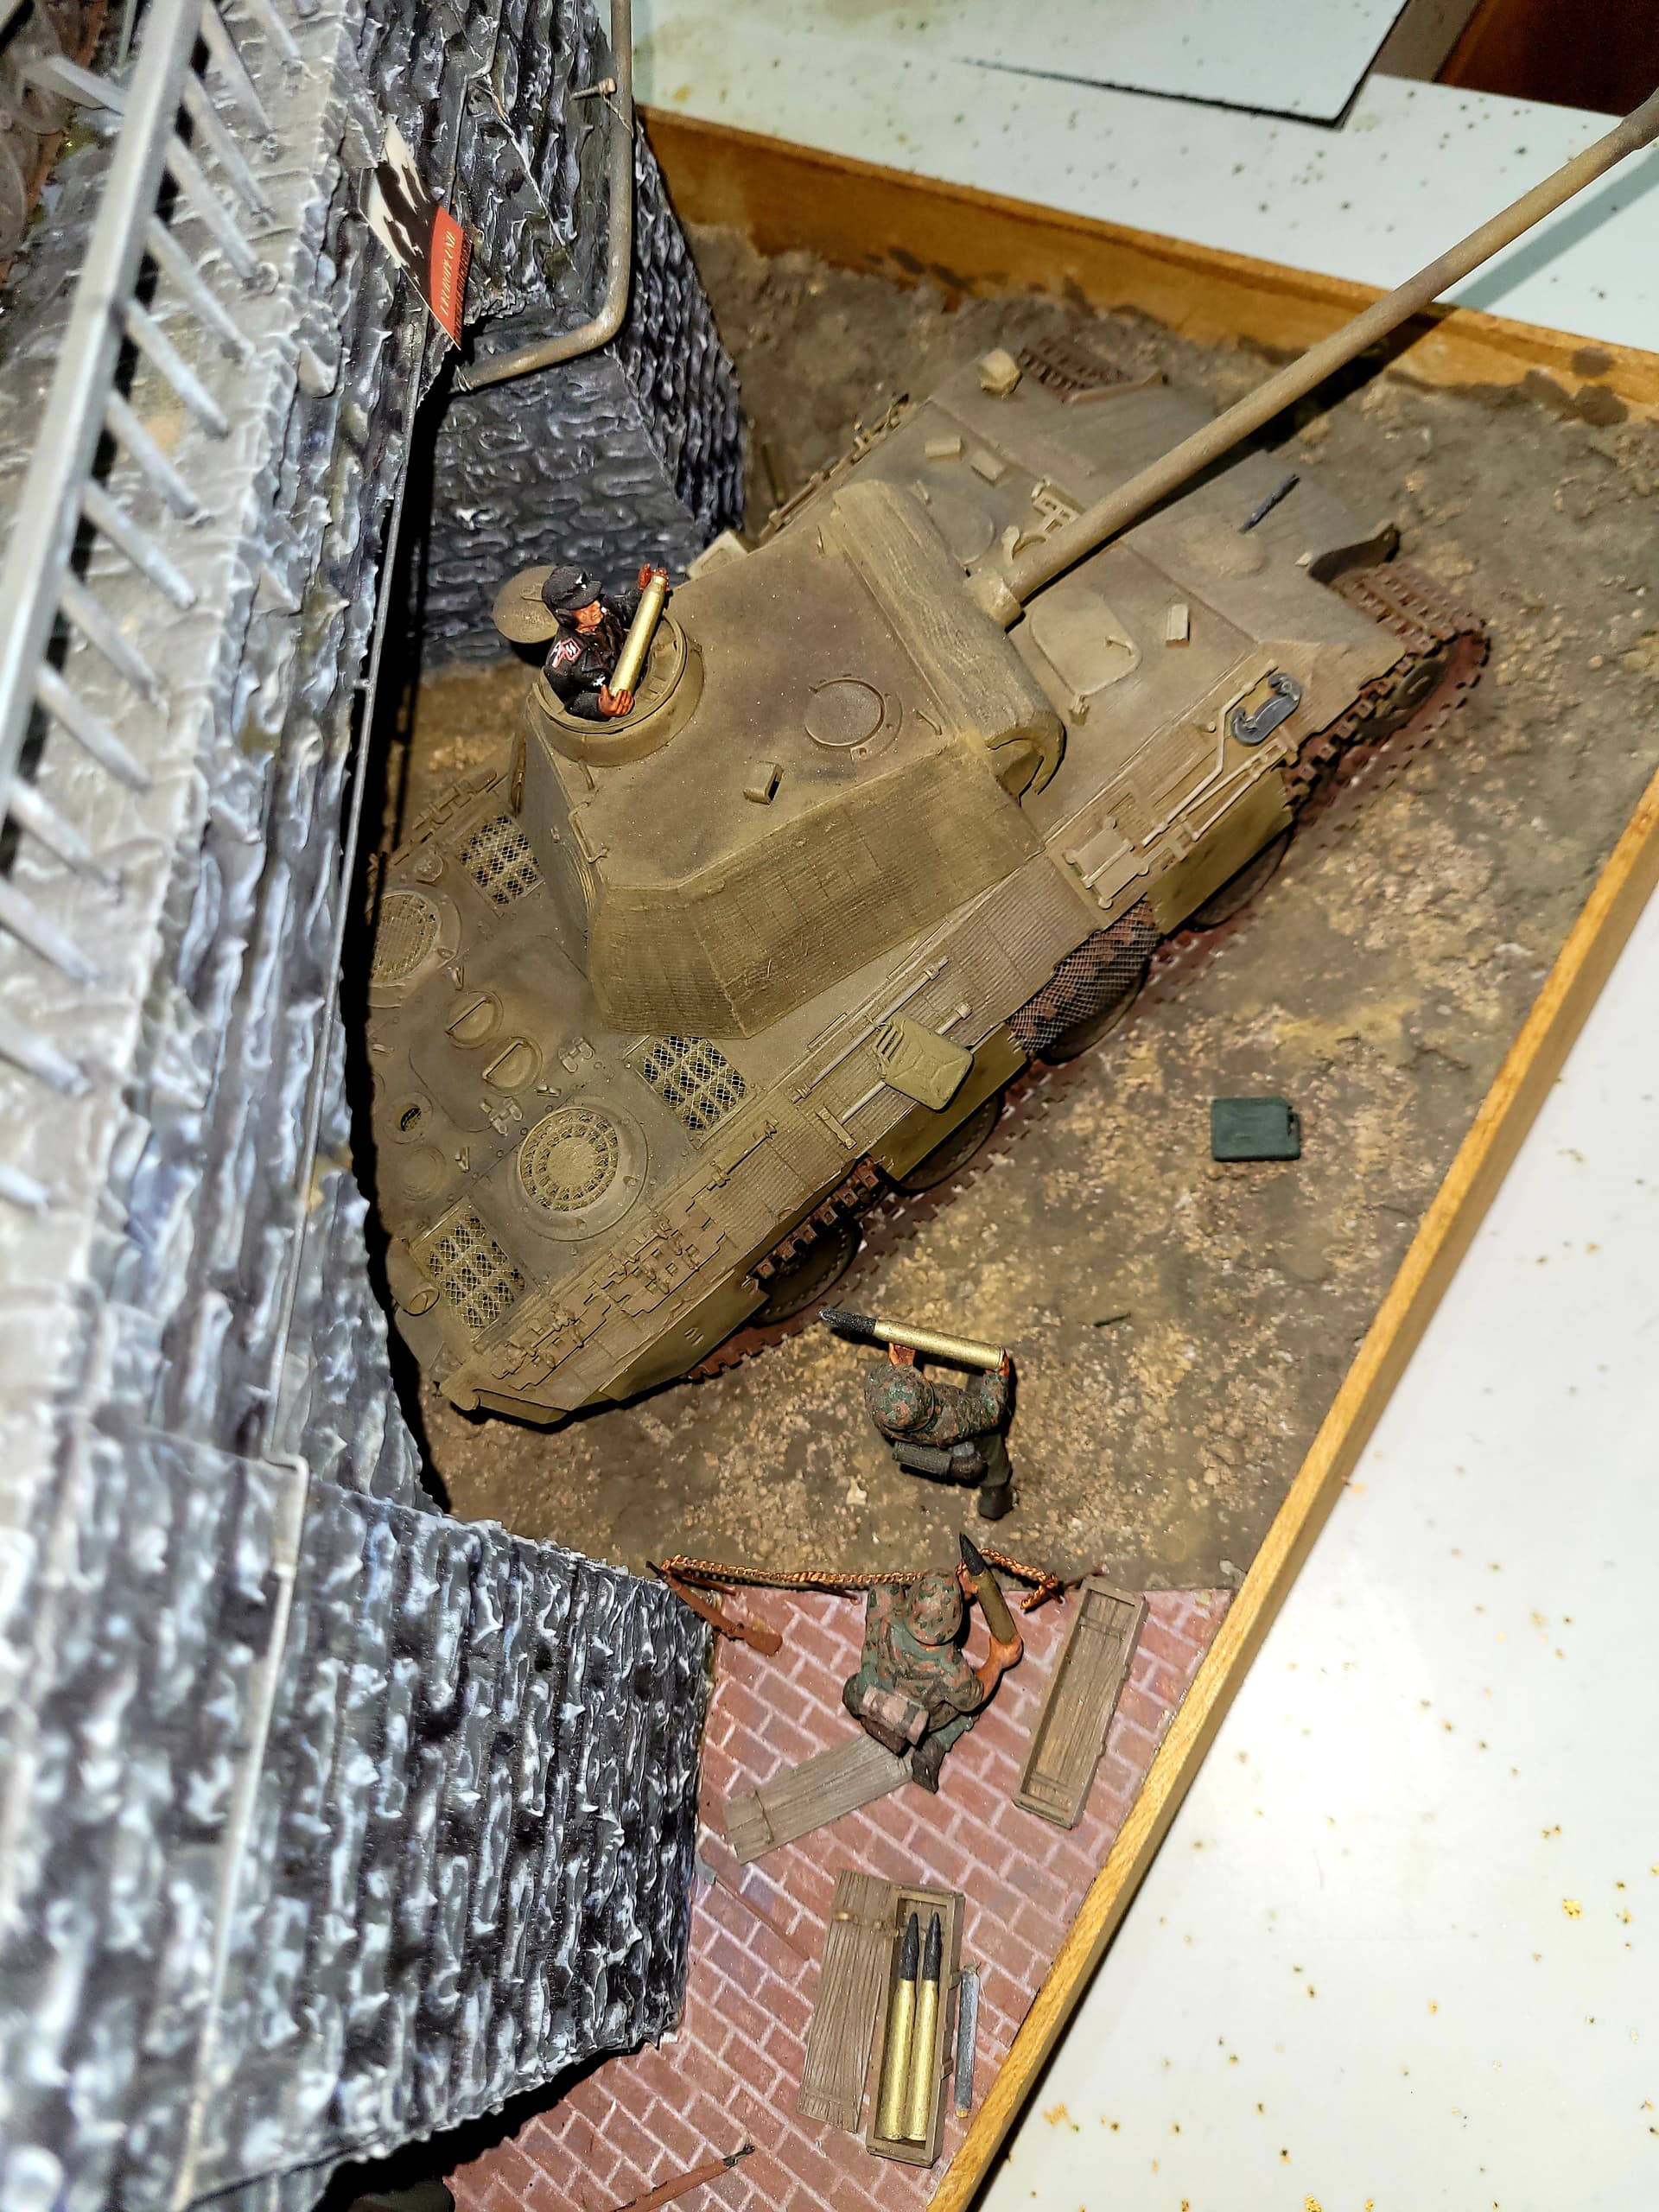
Really nice, I especially like the bricks! And that Wiberlwind, always had a soft spot for mobile AA vehicles!
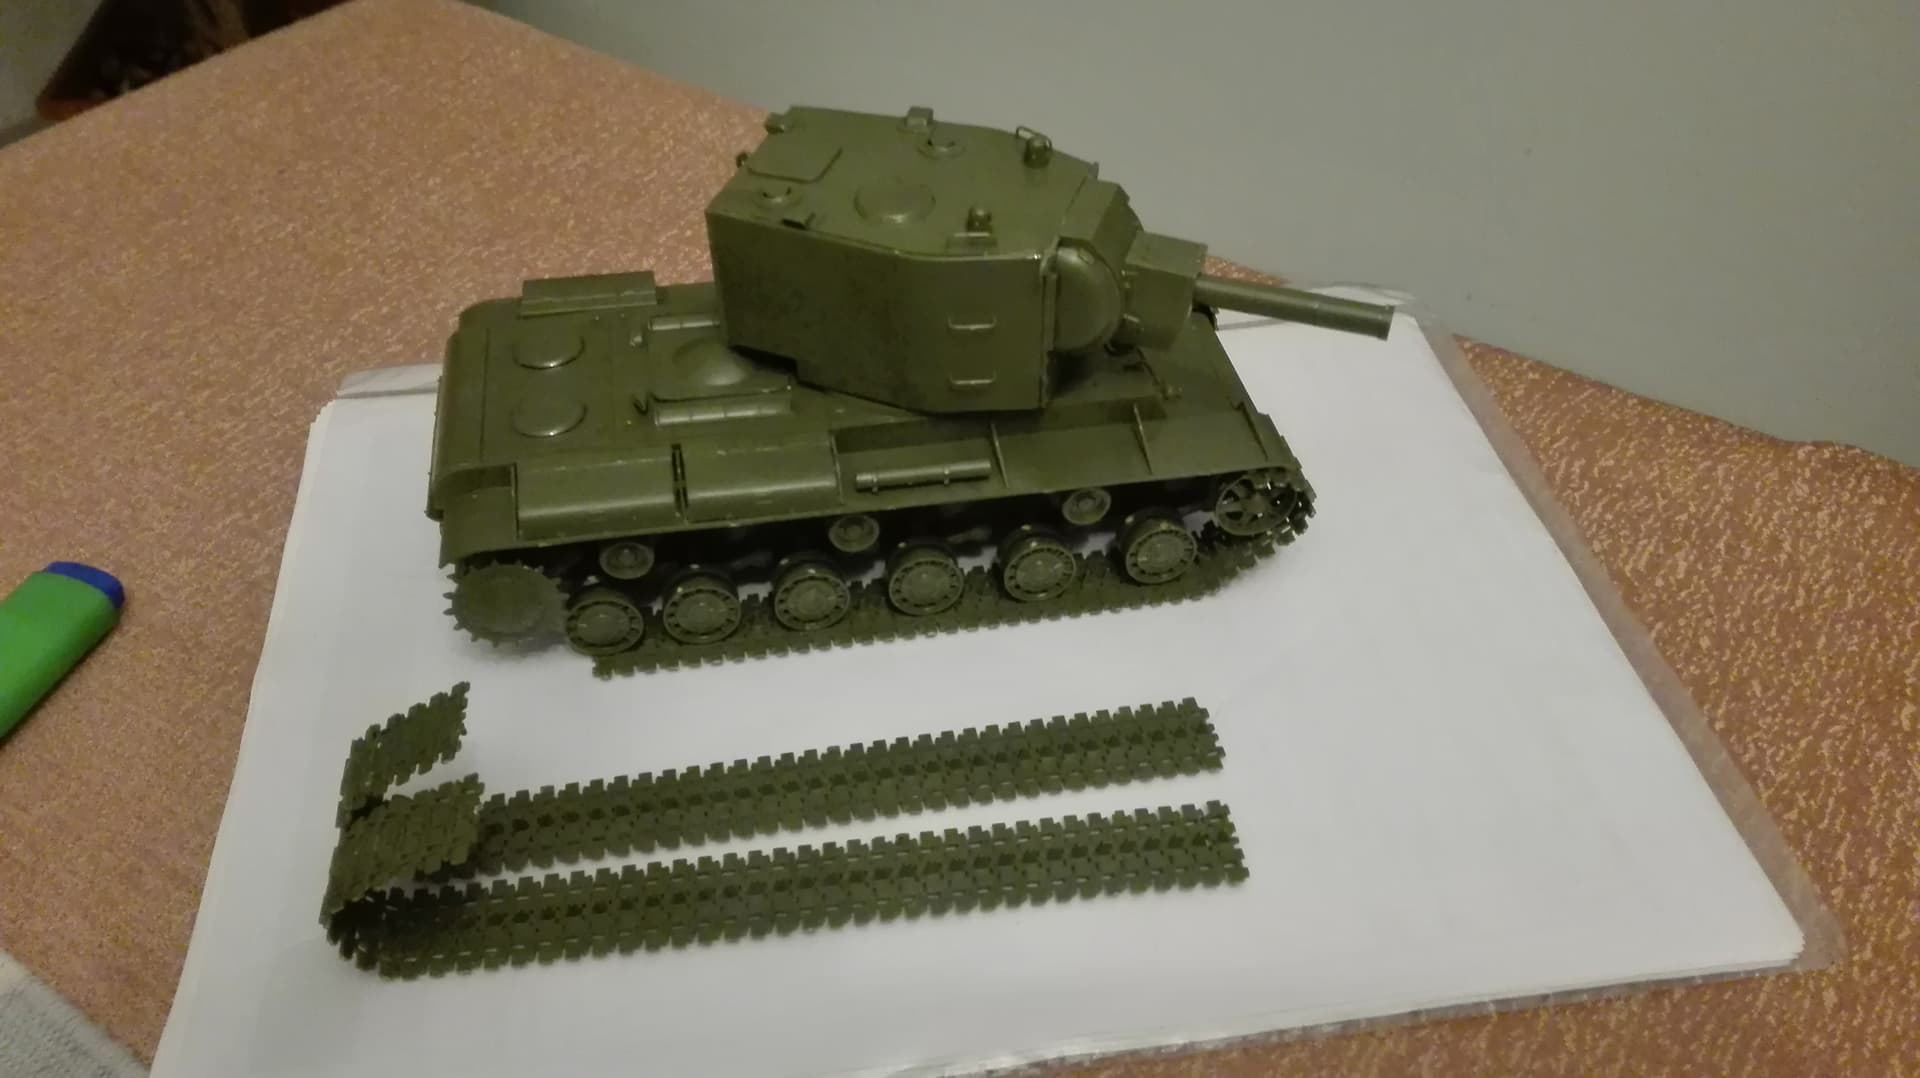
As for the KV-2, the picture up there is the latest work I did.
If I recall correctly, next step is the turret.
I marked all the “accessories” than need to be painted differently on the instructions as I want to paint and mount them separately, like that big cable (towing I suppose?) and several little details.
Unfortunately, I didn’t realized that those grilles behind the engine are going to be painted differently from the vehicle, but now they are glued so I’ll probably have to learn to use masking tape or use a brush and be really careful.
1 Like
Big boy is growing up just fine
I toyed with the idea of painting the interior, but considering it will just sit under glass and the low quality of the interior details I decided to avoid this further hassle. I did mount every detail though. Machine guns are extremely low quality I had one of them snap while gently placing it and had to cement it back.

3 Likes
a suggestion I need:
I see, with much delight, that this kit has a transparent cover for the headlight.
The box says that the bottom of the light should be painted “polished steel”.
Do you agree or are there better options?
I don’t have any “polished steel”, but my Italeri Gunmetal essentially looks like that:
1 Like
By bottom do you mean inside? I generally paint the inside of headlights a bright metal color as it reflects light nicely and makes the headlight pop.
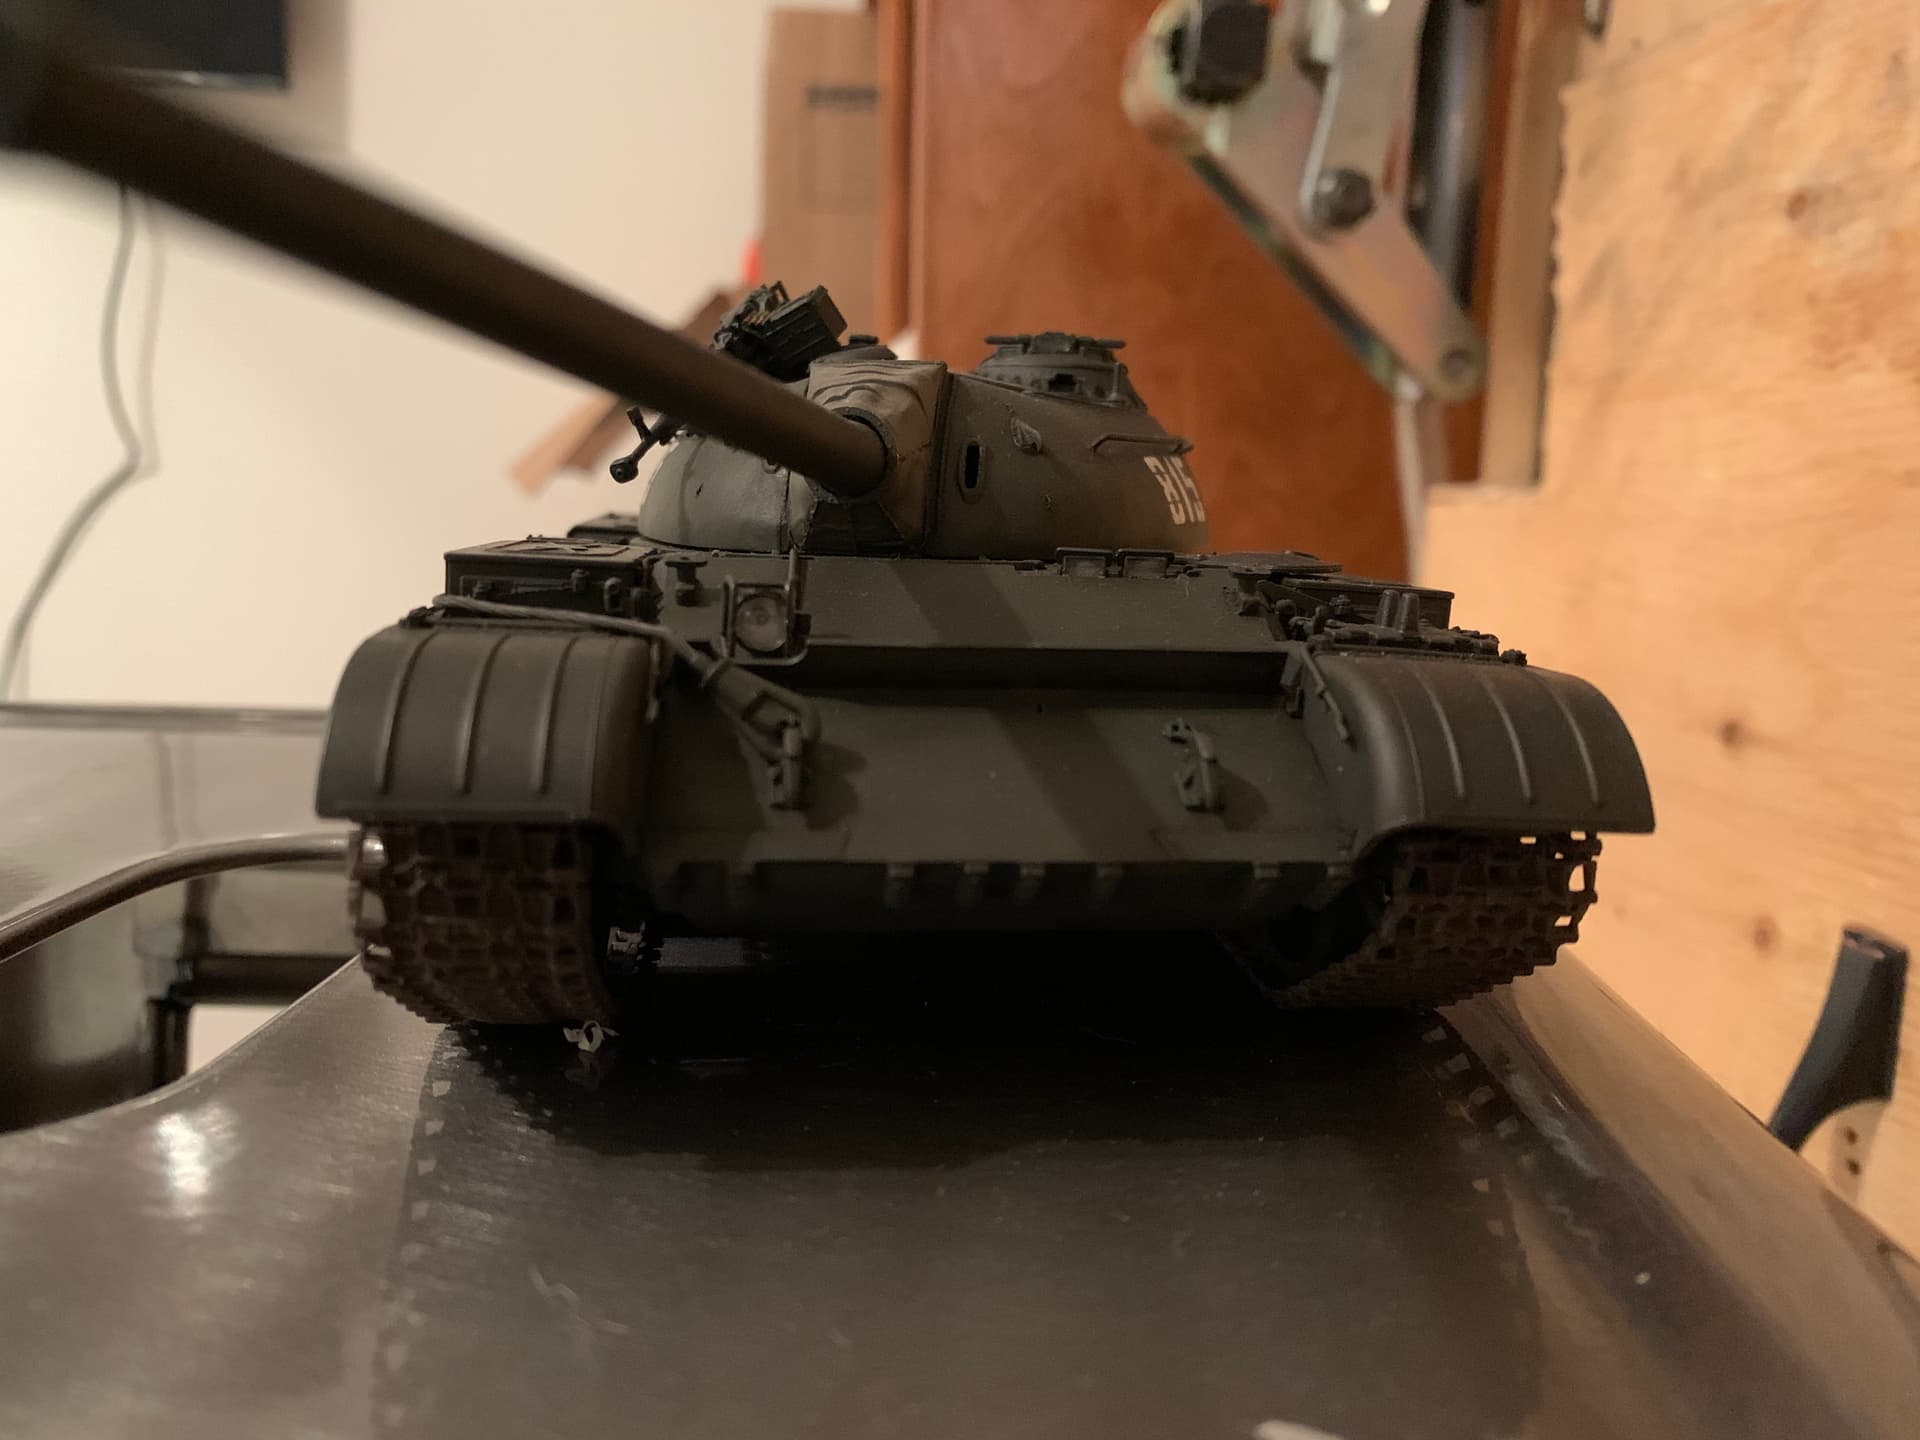
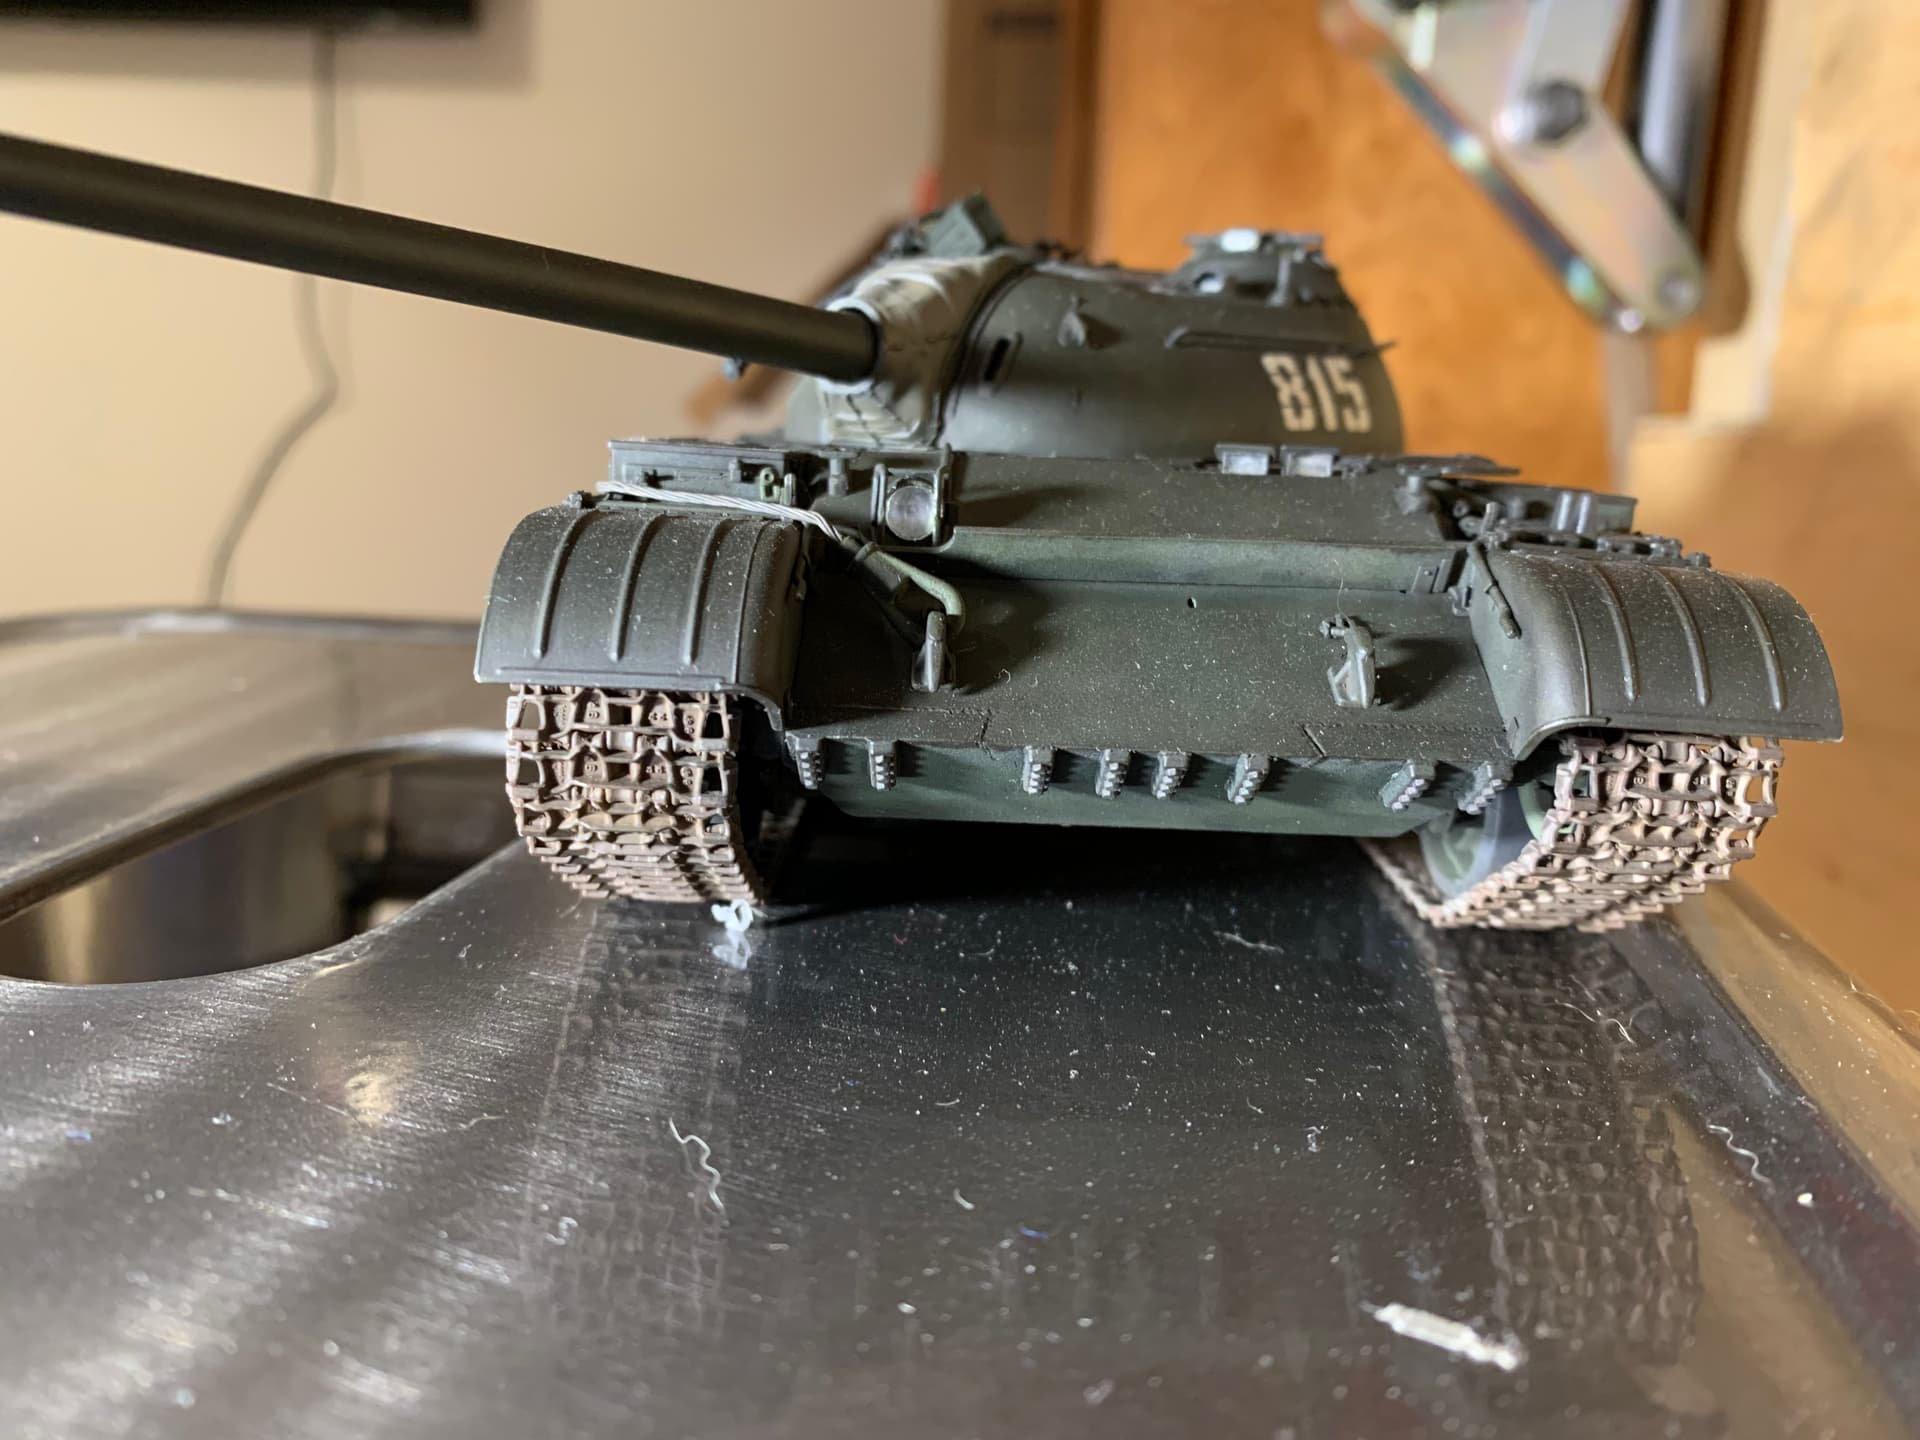
Here is the one from my recent t-54
2 Likes
I use either Tamiya Chrome or Hannants Oily steel. Gun metal is probably too dark.
Important to remember that if you want absolute accuracy, the insides of these light fittings rust - particularly around the bulb housing.
1 Like
And I am (almost) done. I just need to glue some remaining little stuff that has to be painted differently from the base color, like the headlight.
Turret is not glued, neither hull.
I was wondering, right now my country is in the middle of an African heatwave with temperatures approaching 40 Celsius.
Would it be wise to start priming with Tamiya fine surface primer outside? Do I risk bad stuff happening? Humidity shouldn’t be too high.
Cannot do it indoor.
3 Likes
As long as the humidity is not bad you should be OK. DO NOT work or leave it sitting in direct sunlight. Paint it in the shade. Direct hot sun will craze the paint and may damage the plastic of the model.
I would test it by painting a small bit on the belly of the tank hull and see if it dries OK, then try on a larger portion.
You can also try painting in the early morning or late evening when the sun is down and the air is cooler.
Ken
1 Like
Too hot and humid today for priming…or pretty much for doing anything!
I was wondering, what’s that tube I had to glue next to the two toolboxes on the chassis?
Thats a real good question. I can think of a few different things it could be, but I am not an expert on the KV series or Soviet WWII stowage in general. Hopefully, someone who does know will tell us!
Ken
I am fairly sure it is the container for barrel cleaning equipment like rods and such
1 Like
Looking at 4BOgreen site Neil says on the KV-1 it’s a “stowage tube for the gun barrel cleaning rods and the cylindrical stowage tube for the gun barrel cleaning rods was seldom seen by the late summer of 1941, but check your references for the vehicle you intend to model.” Not sure it would also apply to the KV-2.
http://www.4bogreen.com/kv-series/plastic-and-resin-kits/1-35-scale/zvezda/3539-kv-1-soviet-heavy-tank
1 Like
Interesting, thank you.
1 Like

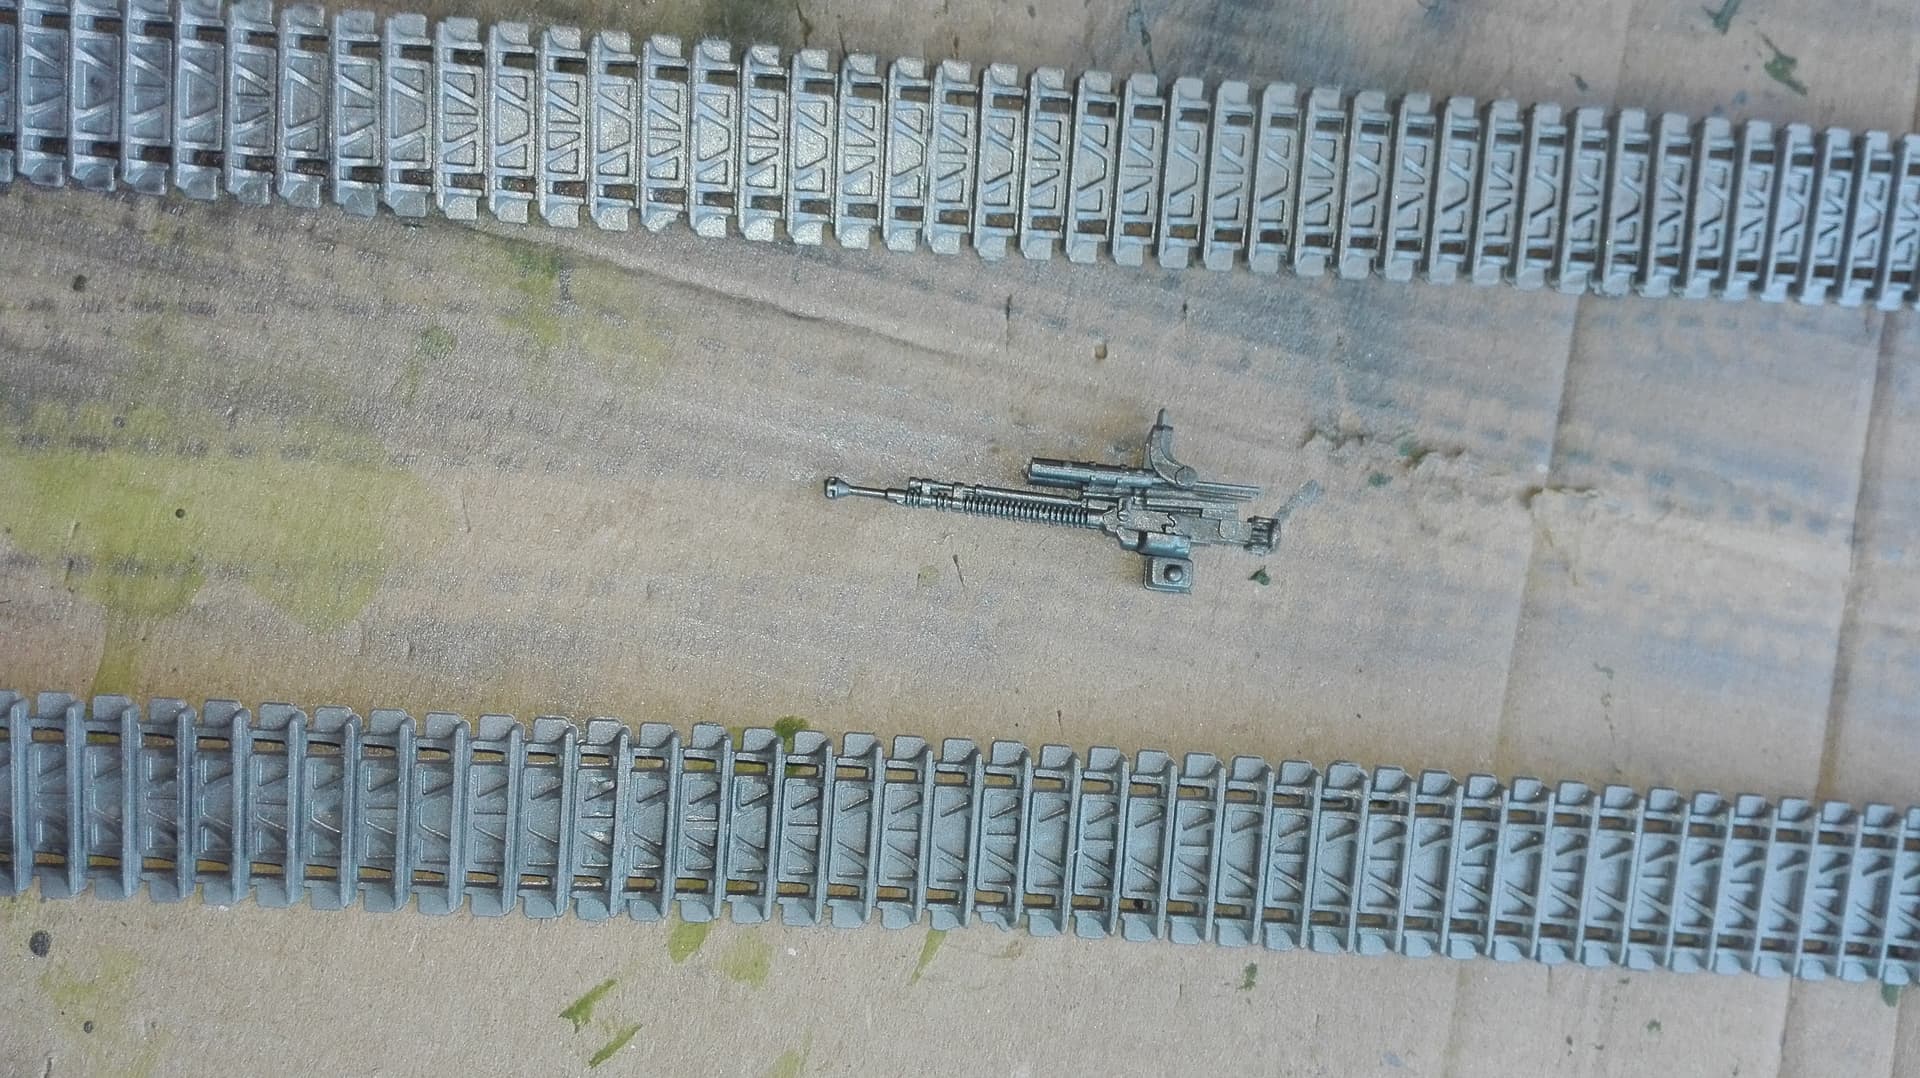
Finally got some time to paint the tank.
I used Vallejo air Russian green, with half part thinner, and some flow improver.
Didn’t have a single blockage, but the mix was a little runny and had some incidents.
Overall, it looks fine.
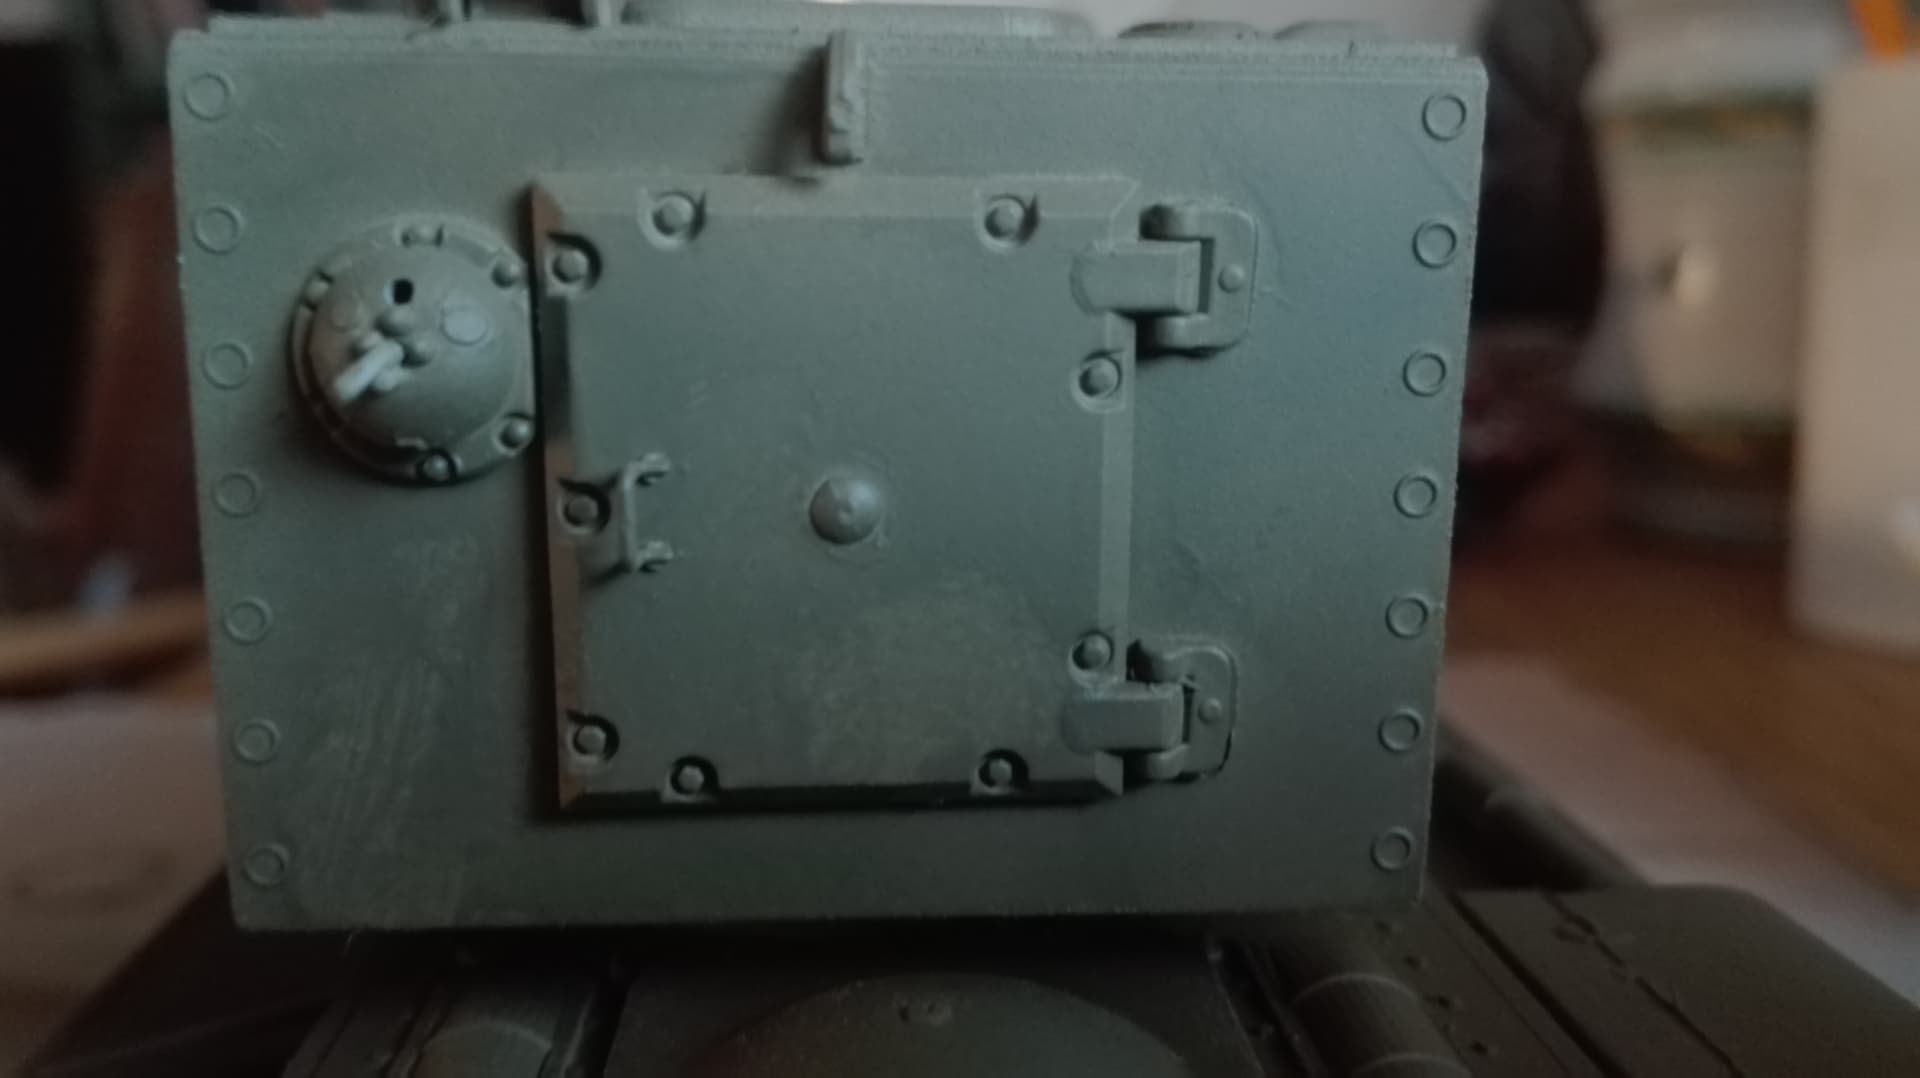
My only gripe is the rear hatch that ended up a little botched because of the excessively low density of the paint.
Do you think I could could mask it with some dirt pigment?
Or as alternative, what can I do?

4 Likes
I would simply re-paint that area. Probably the best solution so you will have a uniform base color that helps the later highlights and weathering steps.
1 Like
Yeah, I was thinking the same, I’ll just paint over it and add some pigment to mask the “waves”.
About the tracks, I was thinking of using the same pigment for the hull (natural umber) and add some metal drybrush.
However I really don’t know which base color to use…would black be fine?
It actually probably looks more realistic like that!
1 Like
There is a nicely building T-54 (?) in the Miniart campaign with superb tracks. I would fcheck it out as refernce and ask the builder dude what colors he used. One of the latest posts.
1 Like