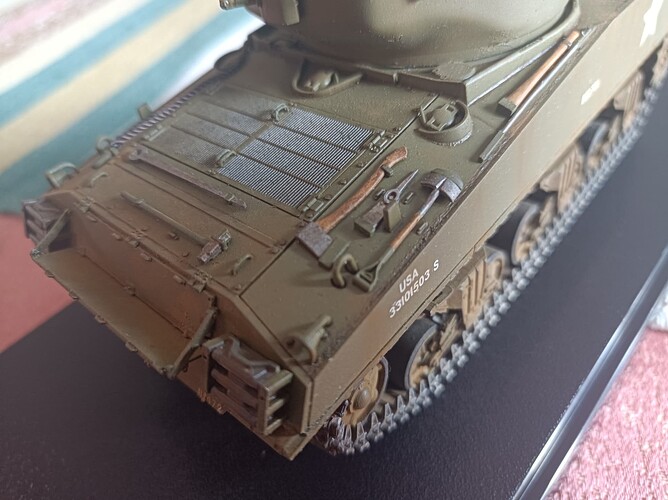
Nice decal, you can’t really tell that part of it it’s paint.
That looks great!! Really nice work! When I first start masking and painting markings I would get frustrated about that rough around the edges issue but if you look at sprayed marking on actual vehicles you can see over spray, rough edges and splatter, so to me it adds to the effect!
Again outstanding work
Looks like the real thing.
Ken
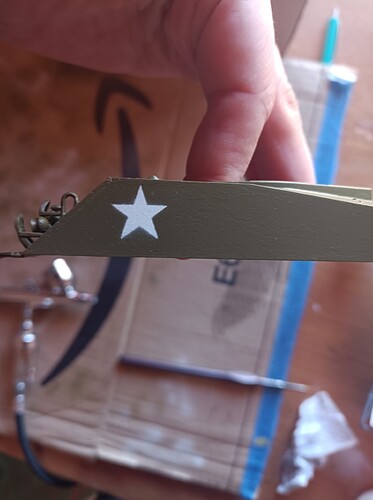
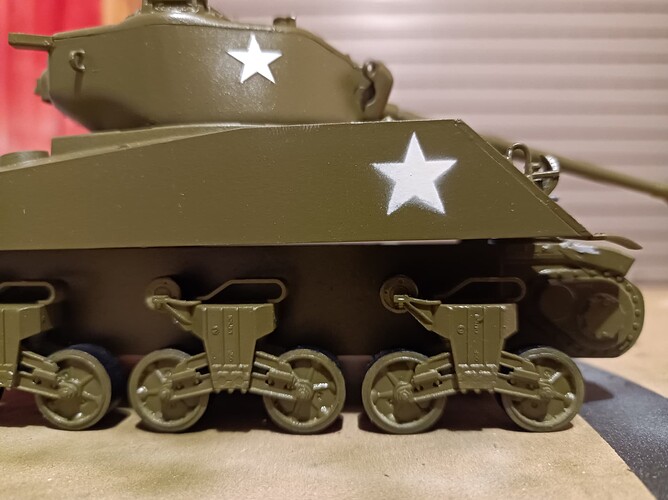
The second star ended up a little rougher.
And to think that this time I was much more careful…
I could attempt a fix but I was thinking that some “strategic” dirt pigment could easily mask the mess in the lower part.
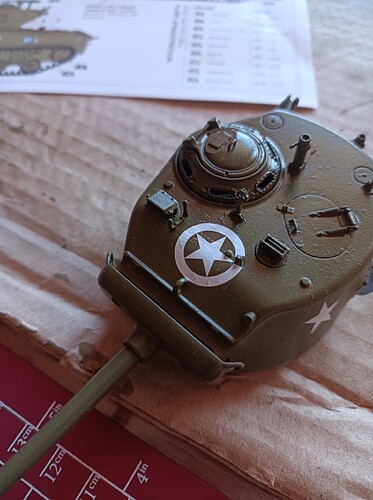
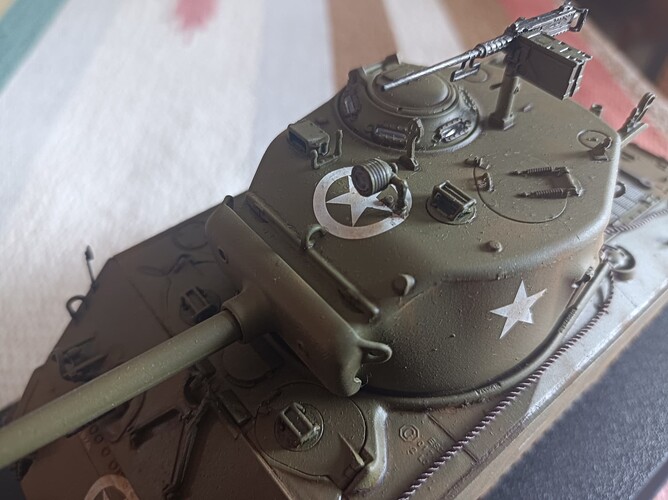
At this point, I would like to try to set the top turret circled star decal too. I was hesitant because I will need to pierce since the searchlight support is located in the middle of it.
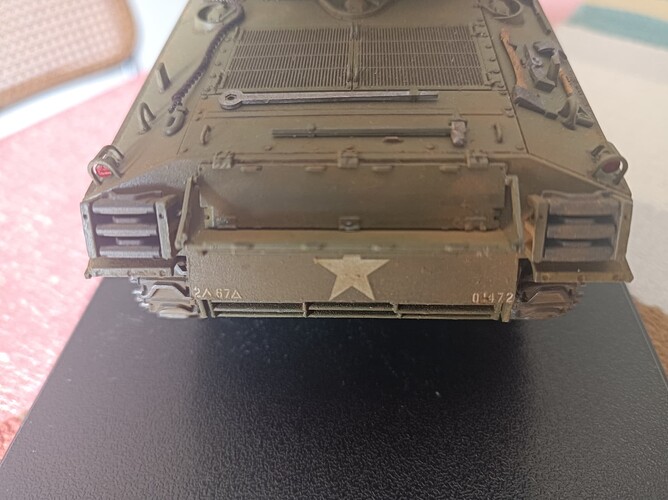
I also need to finish the license plate decals, each number is a ridiculously tiny decal and it’s a nightmare to move them around and get them right.
The star just looks like it was spray painted using a stencil mask that was not held tightly against the tank body so there was some slight over spray. Very common in real life.
Tomorrow I’ll try to place the circled star on the top of the turret.
To do this, I need to remove part of the decal because it goes on top of the searchlight support.
I think that removing part of the transparent film between two of the star points will be fine, but I was wondering what’s the best and safest way to do it, as it’s going to be extremely close to the actual decal.
Done it, not bad I think.
I wonder if it’s worth to retouch the cut part around the searchlight support or just leave it be.
I finished the decal setting and I realised I made a huge mistake.
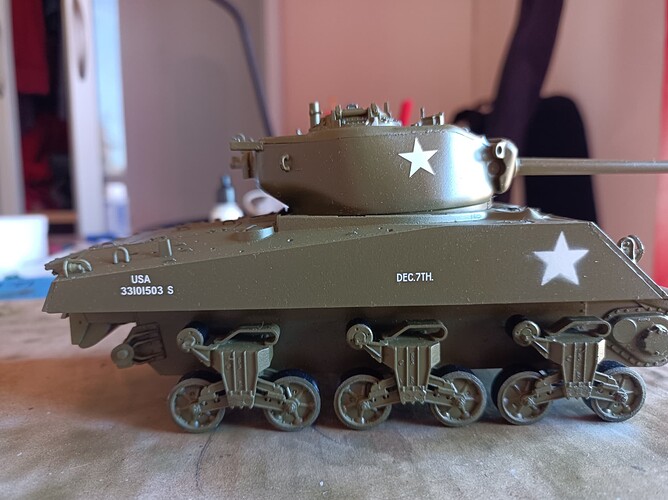
The stars on the turret, I set them according to the turret border, not realizing that the border is curved, so now I have this unpleasant look when you look at the model from the side:
Is there anything I can do to correctly re-set them? They are not sealed yet.
I wonder if it’s even worth it.
EDIT: ok, it’s not as bad as I feared, the turret wasn’t properly seated and the star looked way off.
I wanted to know something, the model comes with big radio antenna and it will never fit inside the plastic display cases I usually use.
How does fare a model left outside the case? Do you dust them periodically? How?
This one is going to have some light pigment smearing on the hull and I fear that even a gentle dusting could mess that up.
If they are outside of a case then you have to dust them off at some point. You can use a soft brush, like a make-up brush; or you can use “canned air”, used to clean computers and stuff.
If you want to keep it in the case, simply leave the antenna off, or make it removable. Many people leave the antenna off to store their tank in a case or low shelf.
Ken
Yes, probably I’ll have to remove it, I plan to weather with pigments and they would surely fade away with continuous cleaning.
Plus, the dust I have to deal with is very sticky (and probably the models too with all that varnish) and it would require significant scrubbing to remove.
One thing I’d like to learn is to work with plexiglass sheets to make custom cases.
It would be much cheaper and most importantly it would allow me to make cases specially made to fit for the vehicles thus saving space on the shelfs.
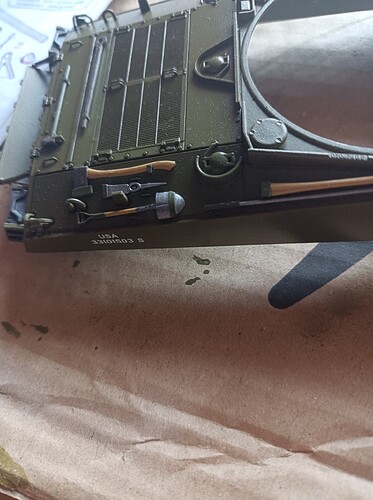
Totally unrelated, here’s some tools I just made:
You can clearly see the dust that got into the gloss varnish despite being stored under a clean shoebox.
The plastic steel cable that comes with the model is extra frail and broke in 2 points while handling it. I’ll try to fix it with cement but I think I could get an even better results using thread.
If you wrap a rag (old tee shirt, etc.) around your fingertip, you can rub a lot of that off. Then when you put on the final matt coat, it blends into the surface. Just be careful you don’t knock other bits off while rubbing.
Ken
Will do, thanks.
Apologies if I repeat myself but . . . .
Give the entire vehicle an overcoat of Matte Clear sprayed on very, very dry to give the surface a rough tooth. (I suggest Tamiya TS-80 rattle can)
Now apply your weathering pigments. I think you will find that you can “scrub” your pigments into this rough tooth with a short stiff brush for an almost permanent FINISHED affect. No further protective overcoat will be necessary and with limited handling the affects are essentially permanent.
Also I don’t grab my models like picking up a can of Coke. Rather I use my fingers of both hands to pick them up like two fork lifts one under each end on the model.
(Would your girl friend want you to run your hands all over her face makeup right at the beginning of the evening?)
p.s. As a very famous model railroader once said “dust is weathering - do not disturb.”
If you are going to do pigment weathering anyway then what is a little more dust going to matter on your model?
As in my case only the pet hair needs be removed.
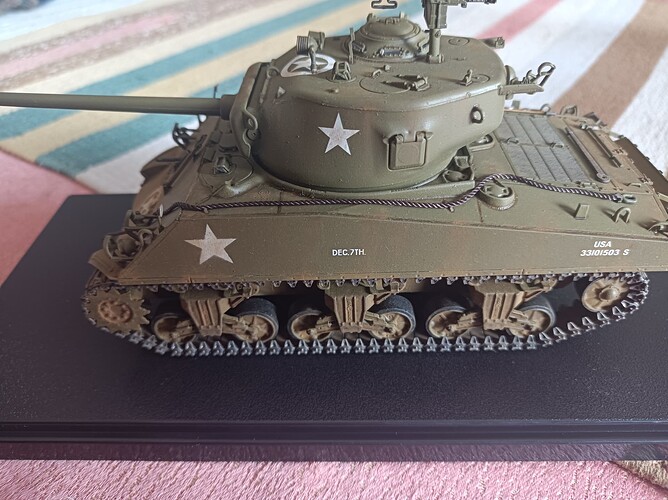
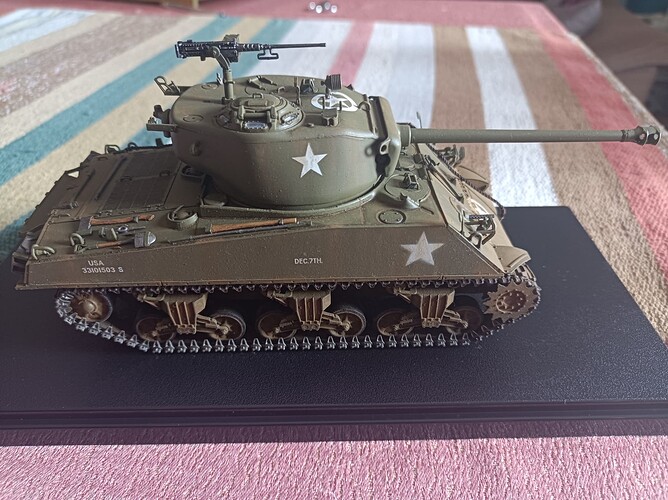
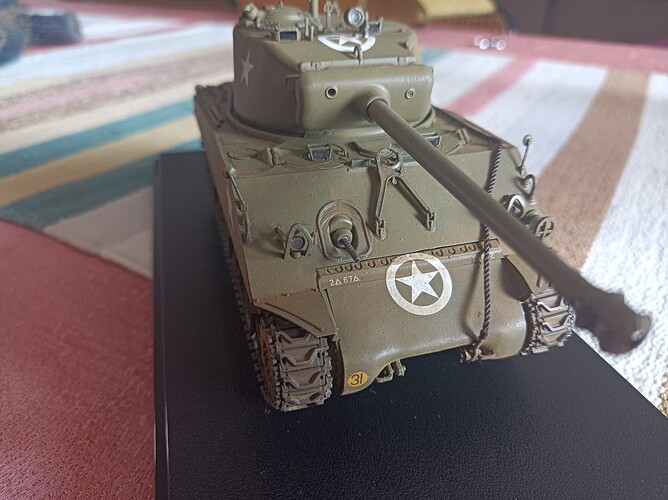
Got some sick days and finally managed to wrap up this kit.
As beginner, it was a really tough kit, while the quality seems ok, I had many troubles along the way, with many parts requiring brute force and slight filing to actually fit. Worst of all were the front and rear wheels, I have never seen such wobbly and sloppy fitting.
Anyone with good eyes will notice that tracks aren’t 100% fitting, there’s some very slight unalignment that I had to carefully mask, I believe this was ultimately caused by the front and rear wheel not being 100% aligned with the rest of the wheels. Anyway, none but a seasoned modeler will notice, so it’s fine for me.
I also broke the original towing cable, for some reason it was extremely flimsy compared to other similar parts, I had to replace it with some cloth wire.
I also managed to lose a couple of engine handlebars to the carpet monster, after shooting them from the pliers I was using to set them. Had to rebuild them with some metal wire, ended up rather shoddy but it’s such a small detail that none will notice.
Also, as some of you already know, the side stars are not decals, I had to spray them with a custom made stencil. Again shoddy, but it also looks realistic.
Weathering it’s just a very light dusting with natural umber. Next model I think I’m going to use something different as this one ended up looking rather cartoony, I already ordered a European earth bottle from AK.
Overally , I am happy with the final result and I will proudly display it, but it was really no fun and between being tired and constantly procrastinating, it took almost a full year.
Here are some pictures, apologies for the bad quality and angles:
Turned out quite nice!! I really like the tools
I have a question:
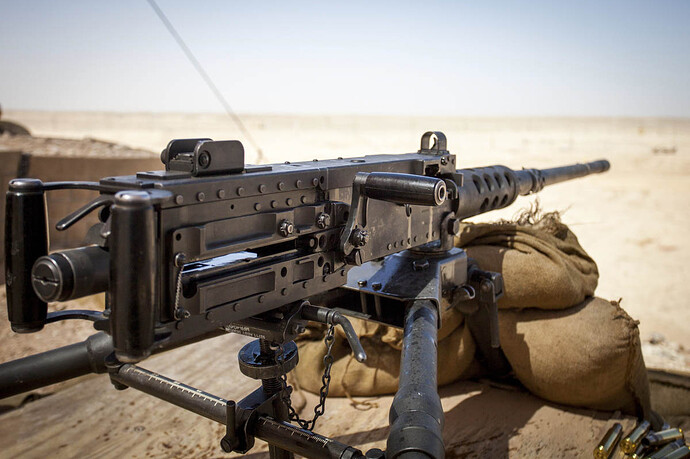
Looking at other models, I just noticed that my 50cal machine-gun is missing a tiny piece: that’s that small handlebar on the side opposite to the magazine (I don’t even know if it’s an handlebar or something else).
I wonder if it’s missing or if I snapped it during handling or sprue cutting.
The instructions clearly reference it, specifying “brown” as color, the same as you the actual handlebars on the rear.
Now, was that thing mounted on all the 50 cal. or could I get away not mounting it?
I suppose it should be very easy to kitbash one from all the spares I have.
If you are referencing the bar shown here
It is a charging handle for stripping a round off the belt when a new belt is fed in and seating it in the chamber. Also sets the firing pin I believe. Can also be used to open the chamber to help clear jams. Should be easy to scratch or even simulate from a piece of sprue. This one looks like plastic or rubber, but they may have been wood in WW2. The M2 machine gun has been around for a long time
