Unfortunately I had the other one already placed, but I could remove it with microsol.
What do you think about putting the spare circled star instead?
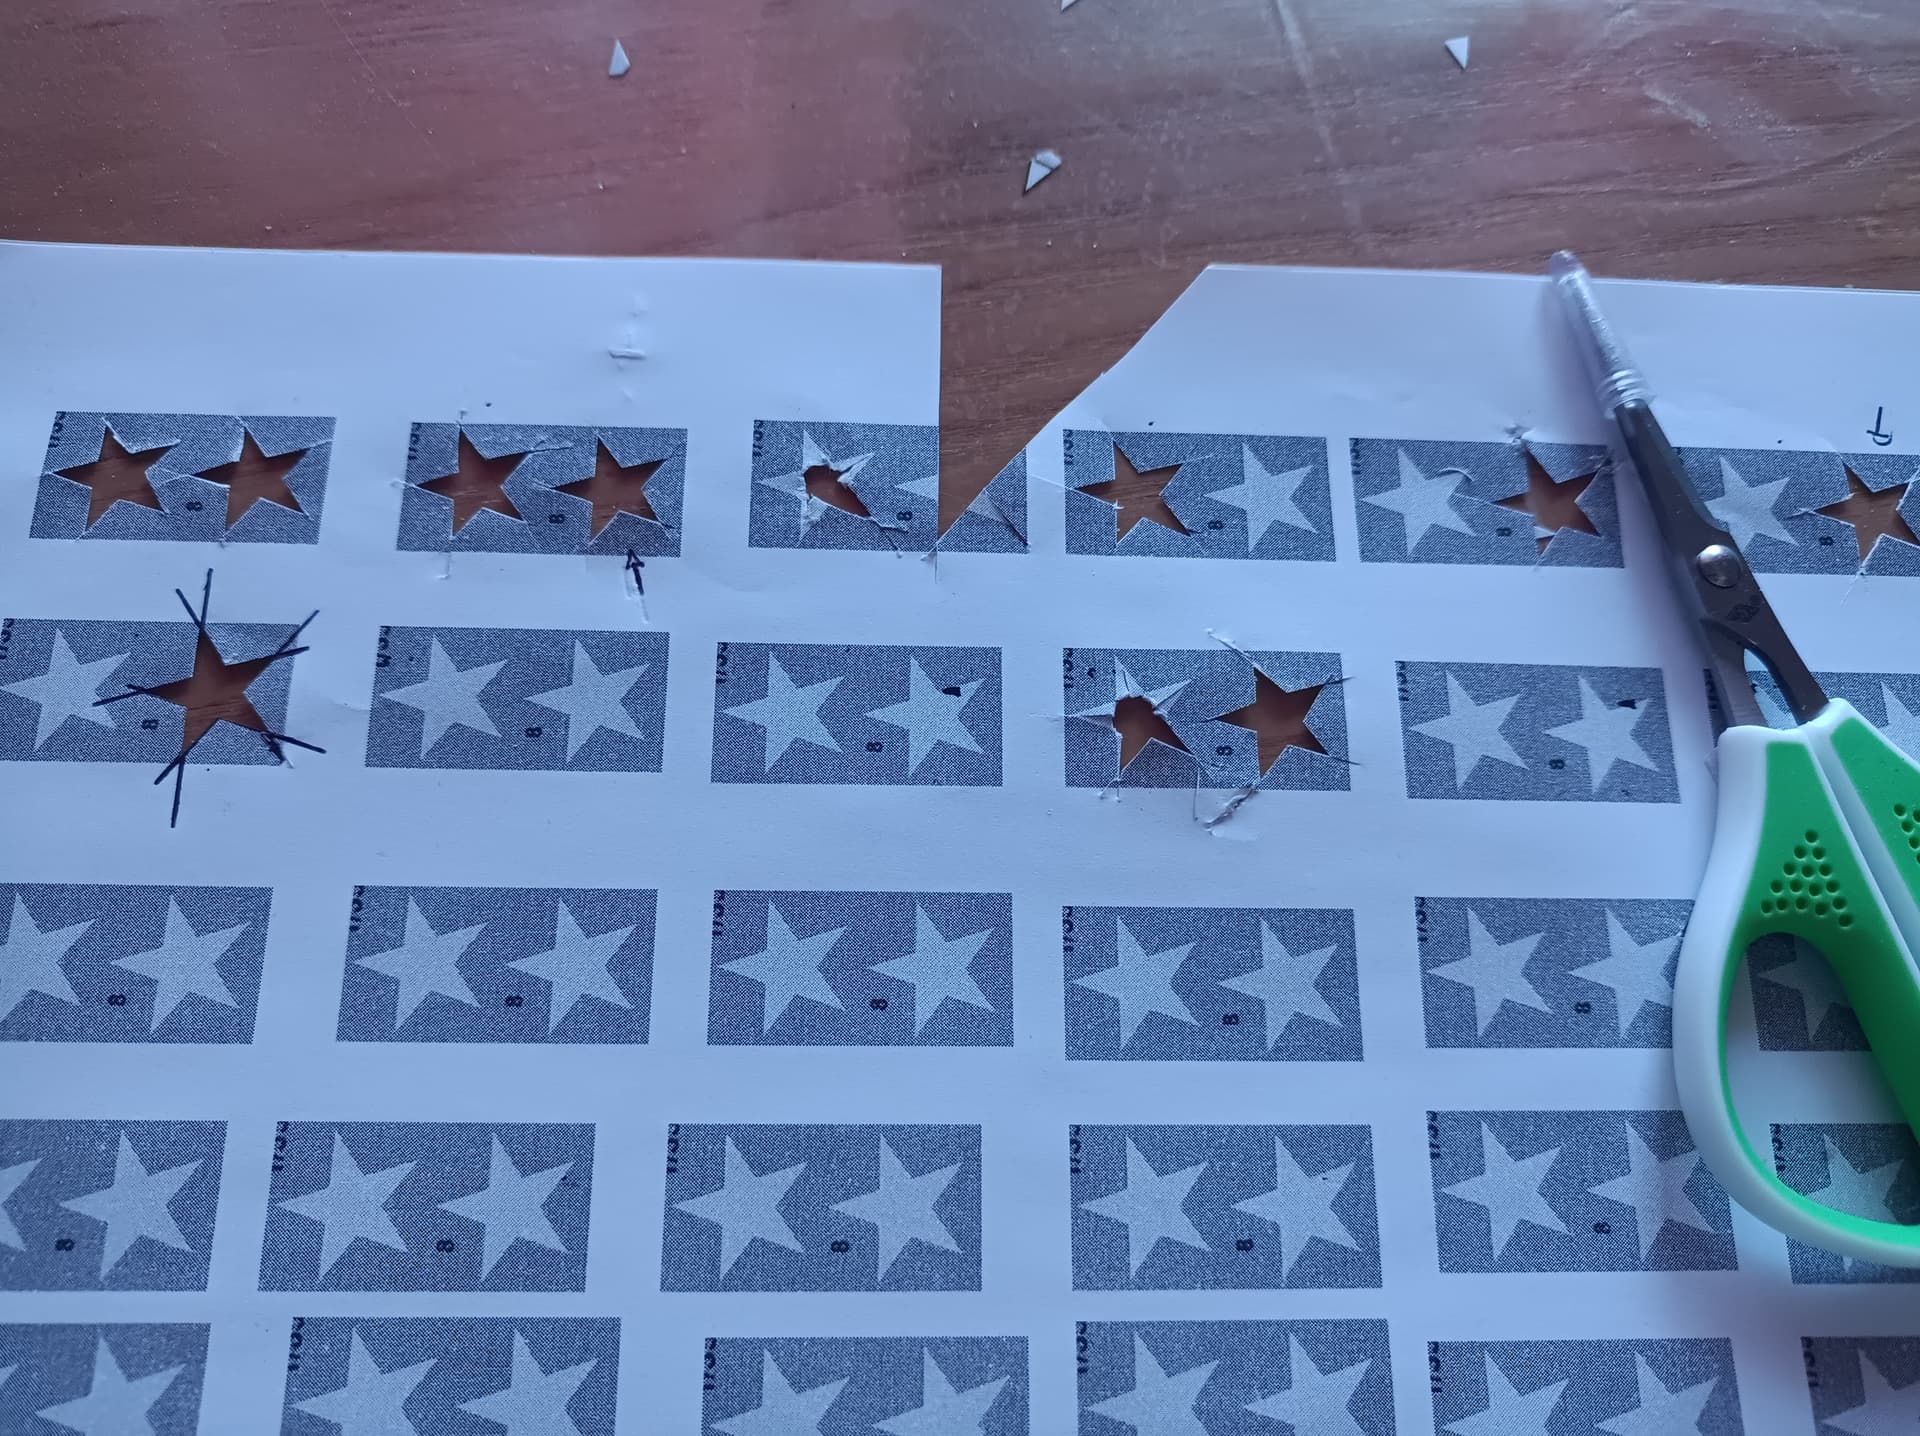
Anyway, your suggestion to create a “stencil” is growing on me, I can try it on the underside and see what happens.
Luckily, I had the decal sheet scanned before using it so I can easily print it. I was even thinking of buying some A4 decal sheets to print it again, but I really don’t know which brand would make fine modeling decals.
I don’t personally recall too many Shermans w the circle and star so personally I would steer clear unless I had a specific example I was modeling. I’d stick to the solo star.
Not that it helps now, but if a decal doesn’t move with minimal effort then it isn’t ready to be applied. In those cases flood the decal with water using a wet and clean paint brush. After flooding let it sit for a minute or so and try moving it again. Never dip decals in the water more than once. If they are close to lifting and you dip them the water can lift the decal off the paper and float it into the water creating a mess
Decaling is easily one of my least favorite things to do. I am not great at reducing silvering/decal edges. I spray most large markings now
Well, the problem solved by itself, the other star I had applied broke down while I was building a masking tape stencil. Apparently a very tiny part of the tape (Tamiya, not regular tape) caught it and when I removed the mask it broke down.
It also left a huge mess, I tried to fix it with paint and made a bigger mess, so I came to the point where I had to strip clean the whole sides.
It was a nightmare.
I swear I’ll never be anywhere near a decal until it’s sealed with gloss.
I also think that part of this happened because microset made them so frail.
I wonder what I did wrong.
Funny part is that I screwed up the two easiest decals of the kit, while the hardest one (lower hull, covering details) when fine.
Yep, that’s usually the way it works.
Once you have the sides all cleaned up and repainted, you have two choices. You can try to add the stars again, if you have any left. Or you can just leave them off. Both choices work.
Ken
You can still find Archer dry transfers for the US stars, there’s a set that even gives you the choice of using a stencil if you want to airbrush the star in rather than the transfer.
Thanks everybody, but at this point I’d rather leave it without stars, I already got them on front, turret and rear.
To be frank, I grew sick of this kit and I just want to move to the next, unlike the previous ones I incurred into so much issues.
Now I got to re-paint the sides, re-gloss them, applying the rest of the decals (they added the tiny plate numbers separately, which while very cool for customization, makes for some frustrating work) and then I’ll pin wash.
I would lean towards the blade not the paper being the issue. Also a ruler is not a straight edge, it’s for measuring. I would use some type of metal as it prevents the blade from cutting it.
#11 xacto blade and a steel rule. Use successive passes with the blade. Do not try to cut through all at once. To do this sort of work cleanly you MUST use a fresh blade. (You can return you cruddy old dull blade back to the knife handle after you have finished with this fine work. ~ that"s what I do to get more use out of the blades.)
If you angle the blade even slightly, left or right, while cutting the blade is going to follow. Which is why you have to use a steel rule for this as you will automatically tend to angle the blade somewhat towards the rule and as you found out, a plastic rule will get cut therefore making it useless for such work in the future.
(Doesn’t have to be an actual physical ruler - it can be the straight side of a file or even a piece of small cookware you might have laying around. Just something that has a fairly thick and straight metal edge. I caution against using a thin metal ruler as you run the risk of the blade coming up the thin rule and right across your finger tips. ~ Yes, I have done it!)
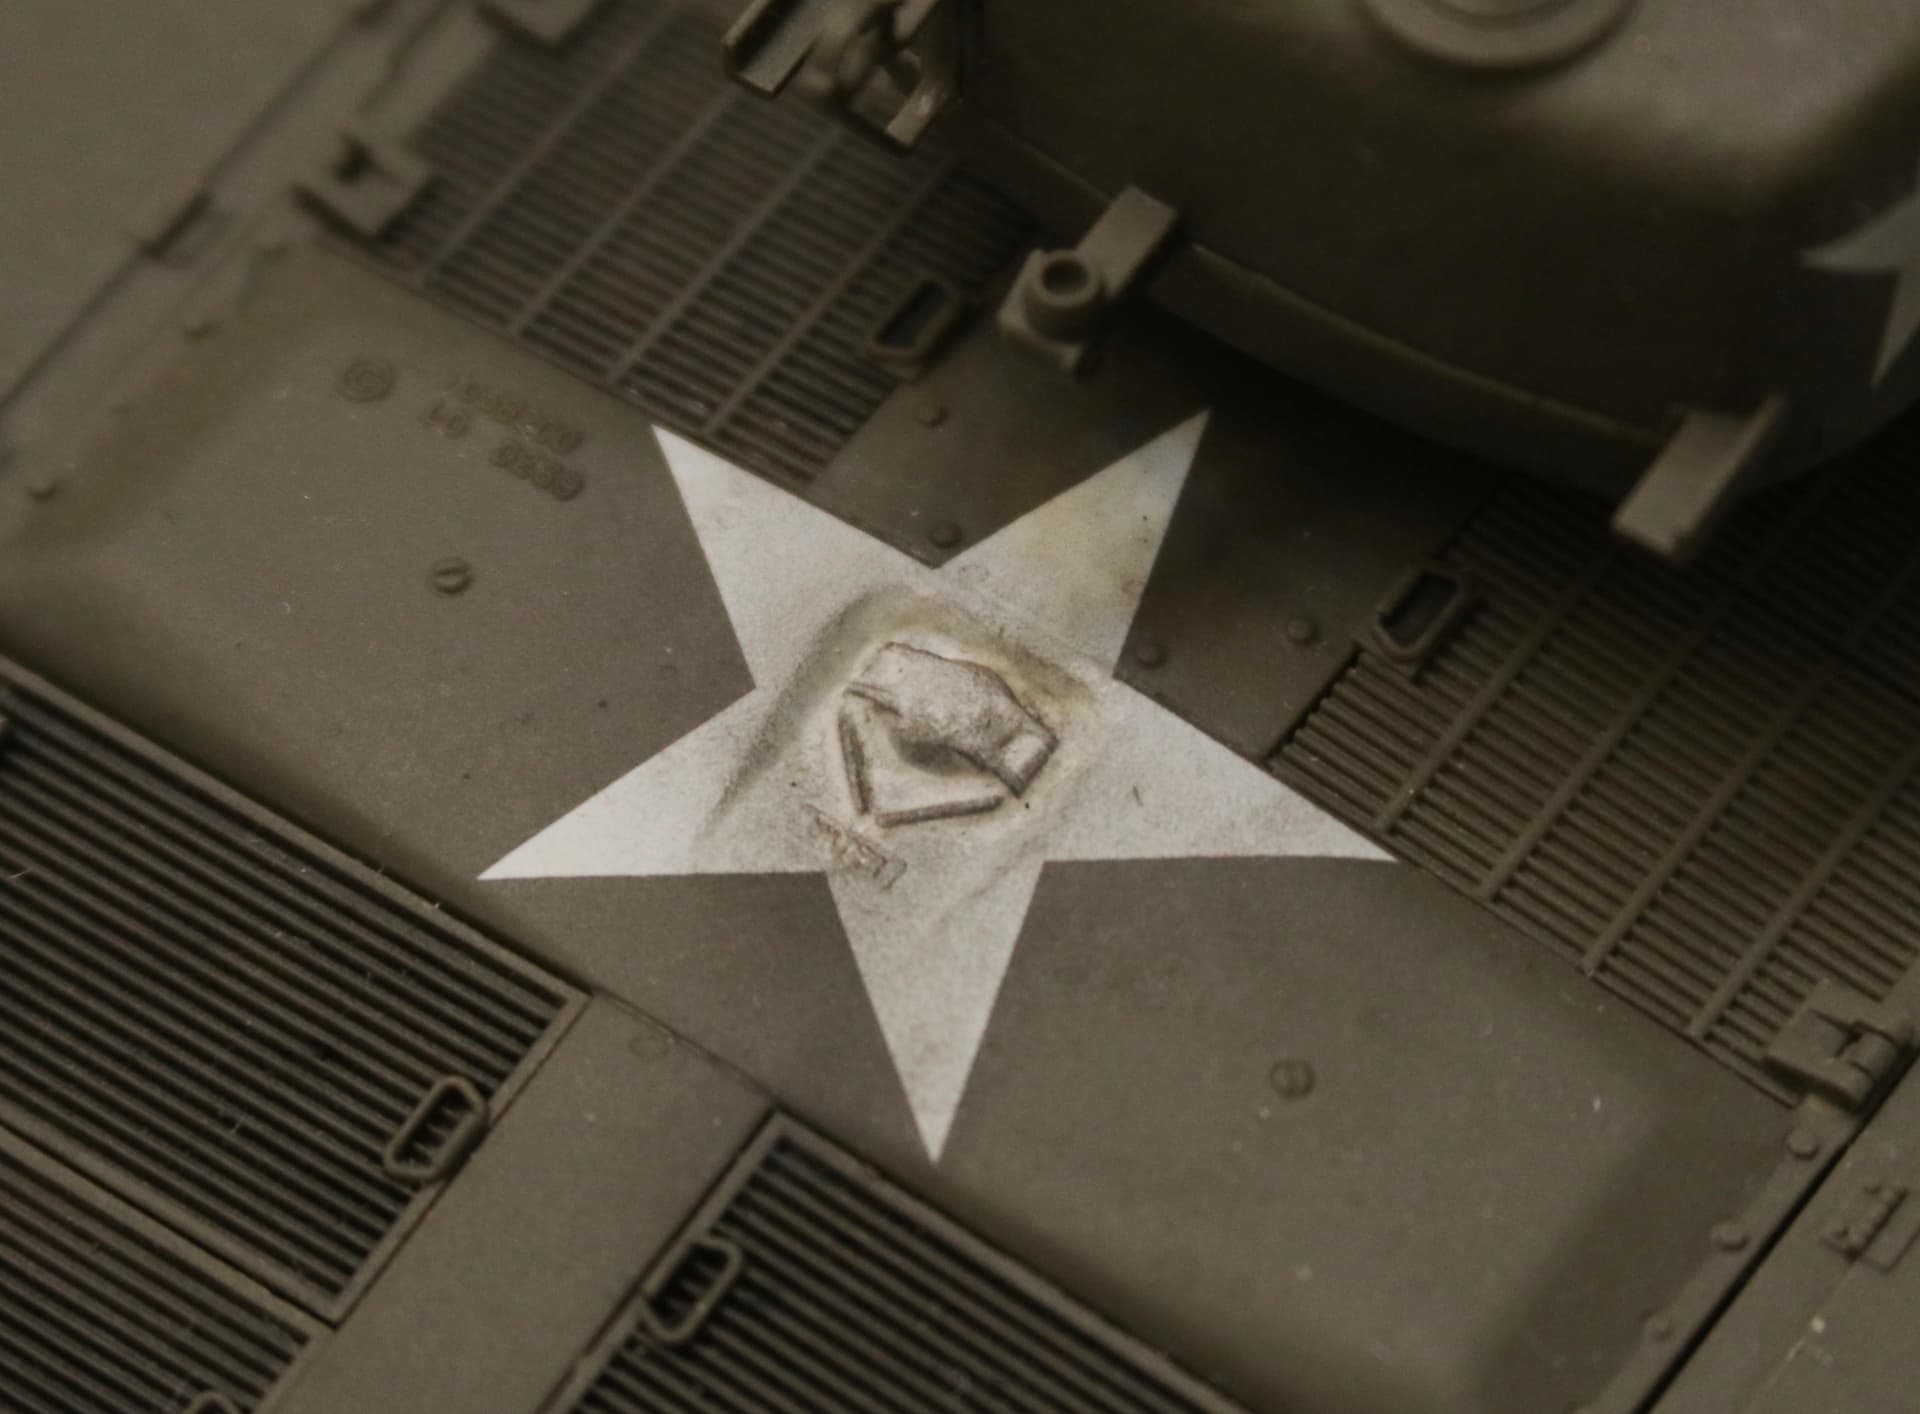
As to the star decal where it passes over the transmission cover bolt heads:
Poke around with your #11 and actually break up the decal in this area. (This rough area was rarely perfectly painted anyway.) Then apply more setting solution. Let dry and then finally go back with a little Tamiya white acrylic using a fine tipped brush to touch up the breaks.
The two white color shades won’t match perfectly but applying a bit of weathering pigment (or cigarette ash) here later will blend the colors together nicely.
Thanks, precious suggestions, I’ll use a new blade and I can certainly find a straight metal thing to use as ruler.
About thew other decal, frankly I’d rather not touch it, it already feels a miracle that I managed to set it right, the screw up chance is way too high for my skill level and not worth risking it.
Understood. However the “breaking up and repaint” decal trick is a very easy one, especially with the area in question being right on the edge of the part.
But if you have already put the top on the tank body then this operation, I admit, becomes much, much more risky.
Except perhaps for purposes of wood carving I don’t understand why Xacto even bothers to make anything other than the #11 blade. The rounded, spoon shaped blades definitely do not work (for me) in plastic modeling or paper cutting.
The decal actually comes with a big hole in the middle and you are instructed to paint the gas cap white either before or after applying the decal.
I chose to paint it afterwards for fear I might get the white paint out too far from the cap without actually having the decal applied.
However, after applying and painting the two shades of white did not match. So a little black pigment to dirty up the place a bit and the two shades came together.
This black pigment, in my opinion, tones down the stark contrast of the super clean white stars against the olive tank so I ended up giving this treatment to all the decals on the entire tank.