Zvezda Sherman M4A3(76)W

So, time for a new model!

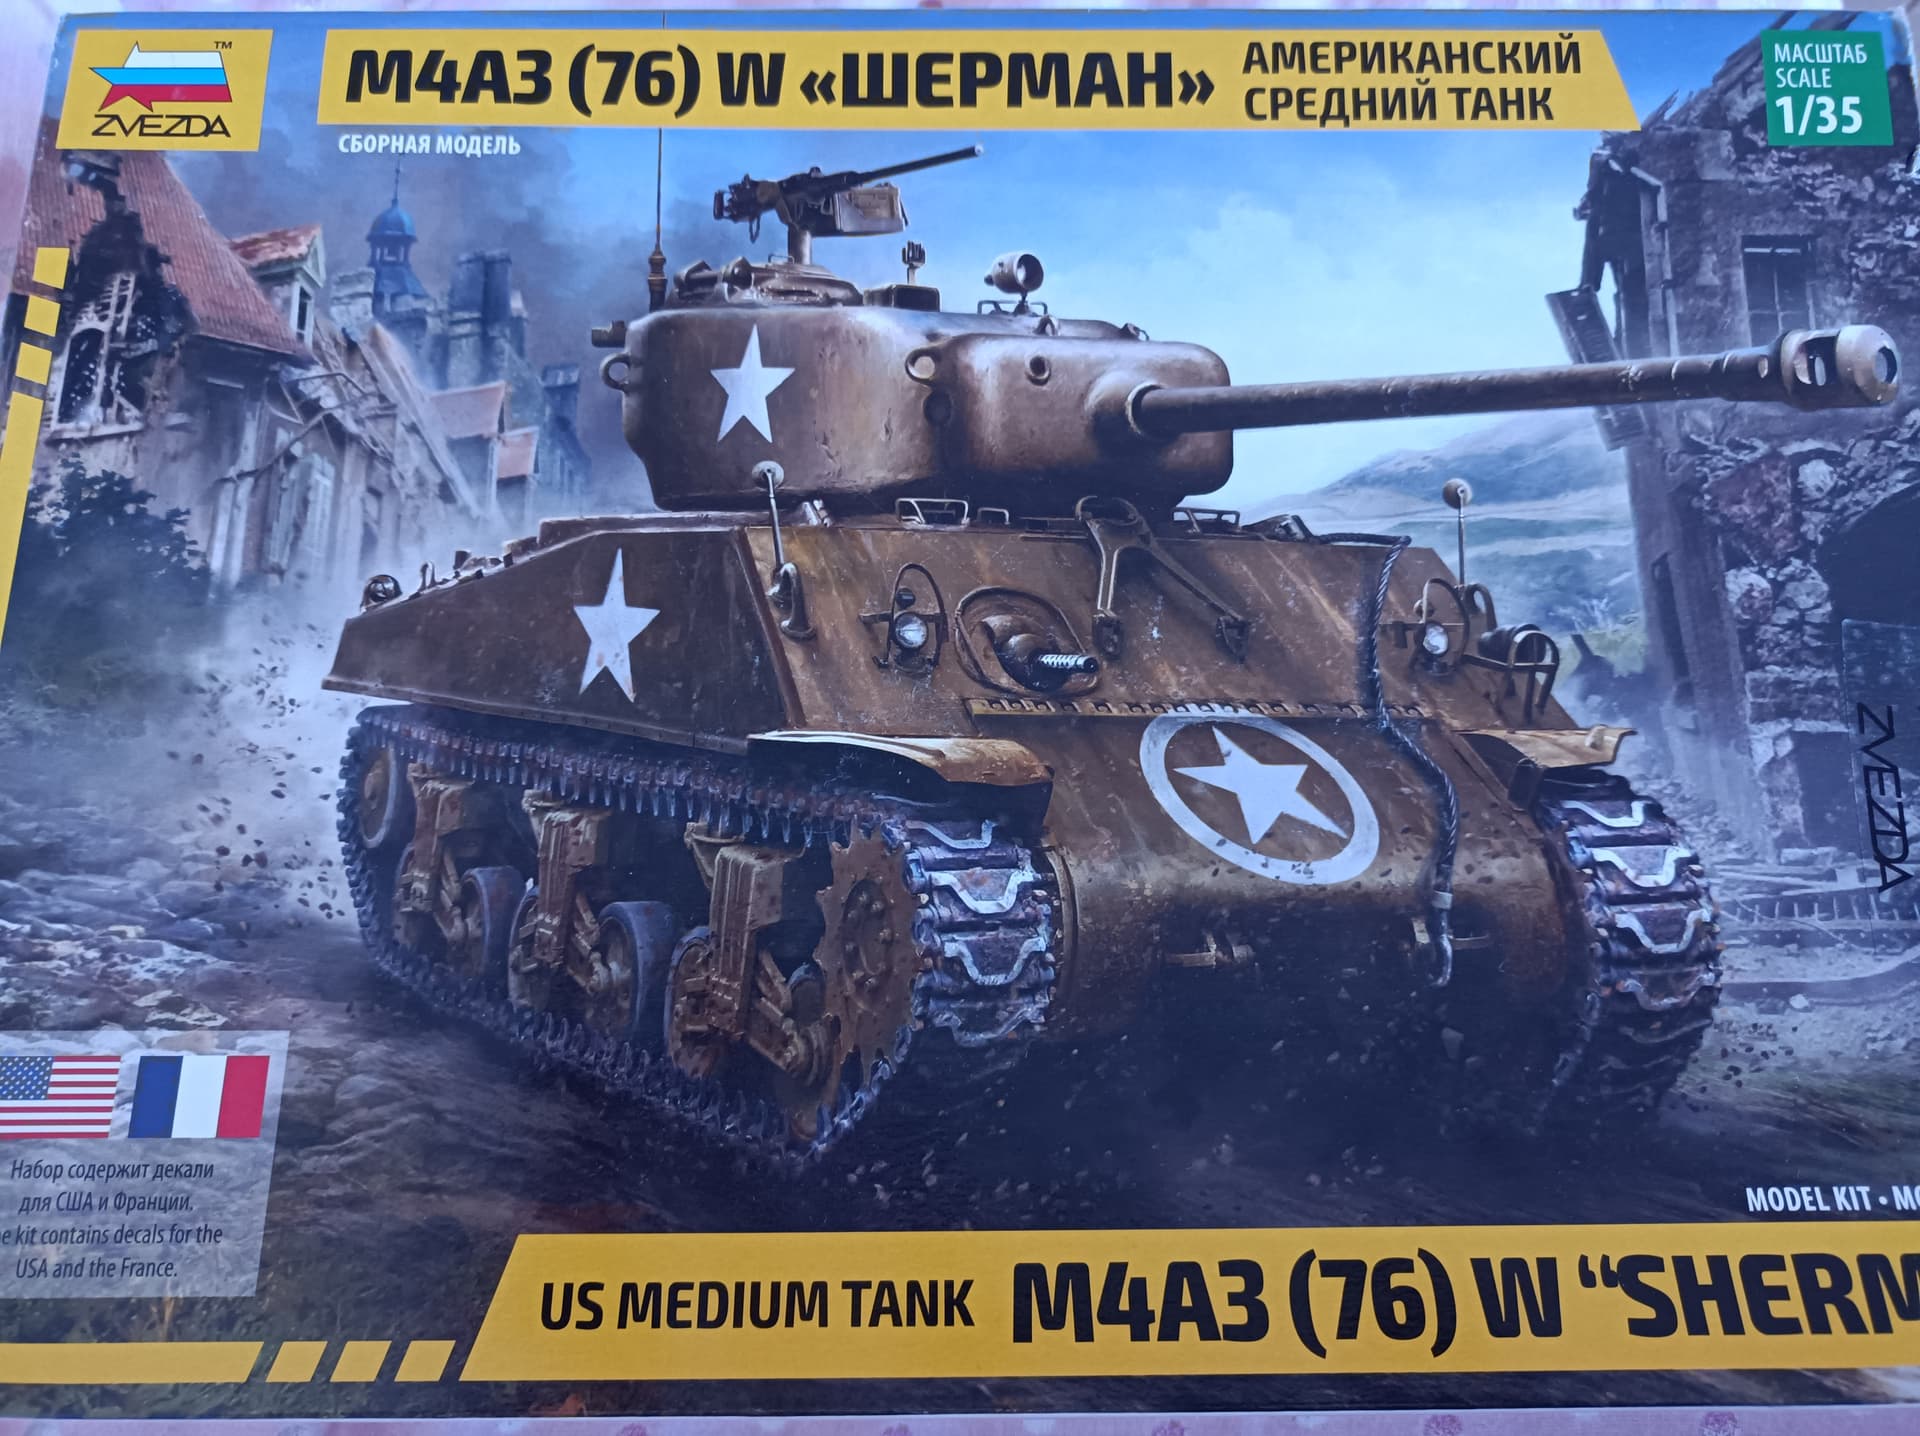
I bought this off Amazon, about 25 €.
It looks like a new kit, it has lots of clear plastic bits for periscopes.
Instruction booklet is big and very detailed.

It allows you to build either an early or later version:

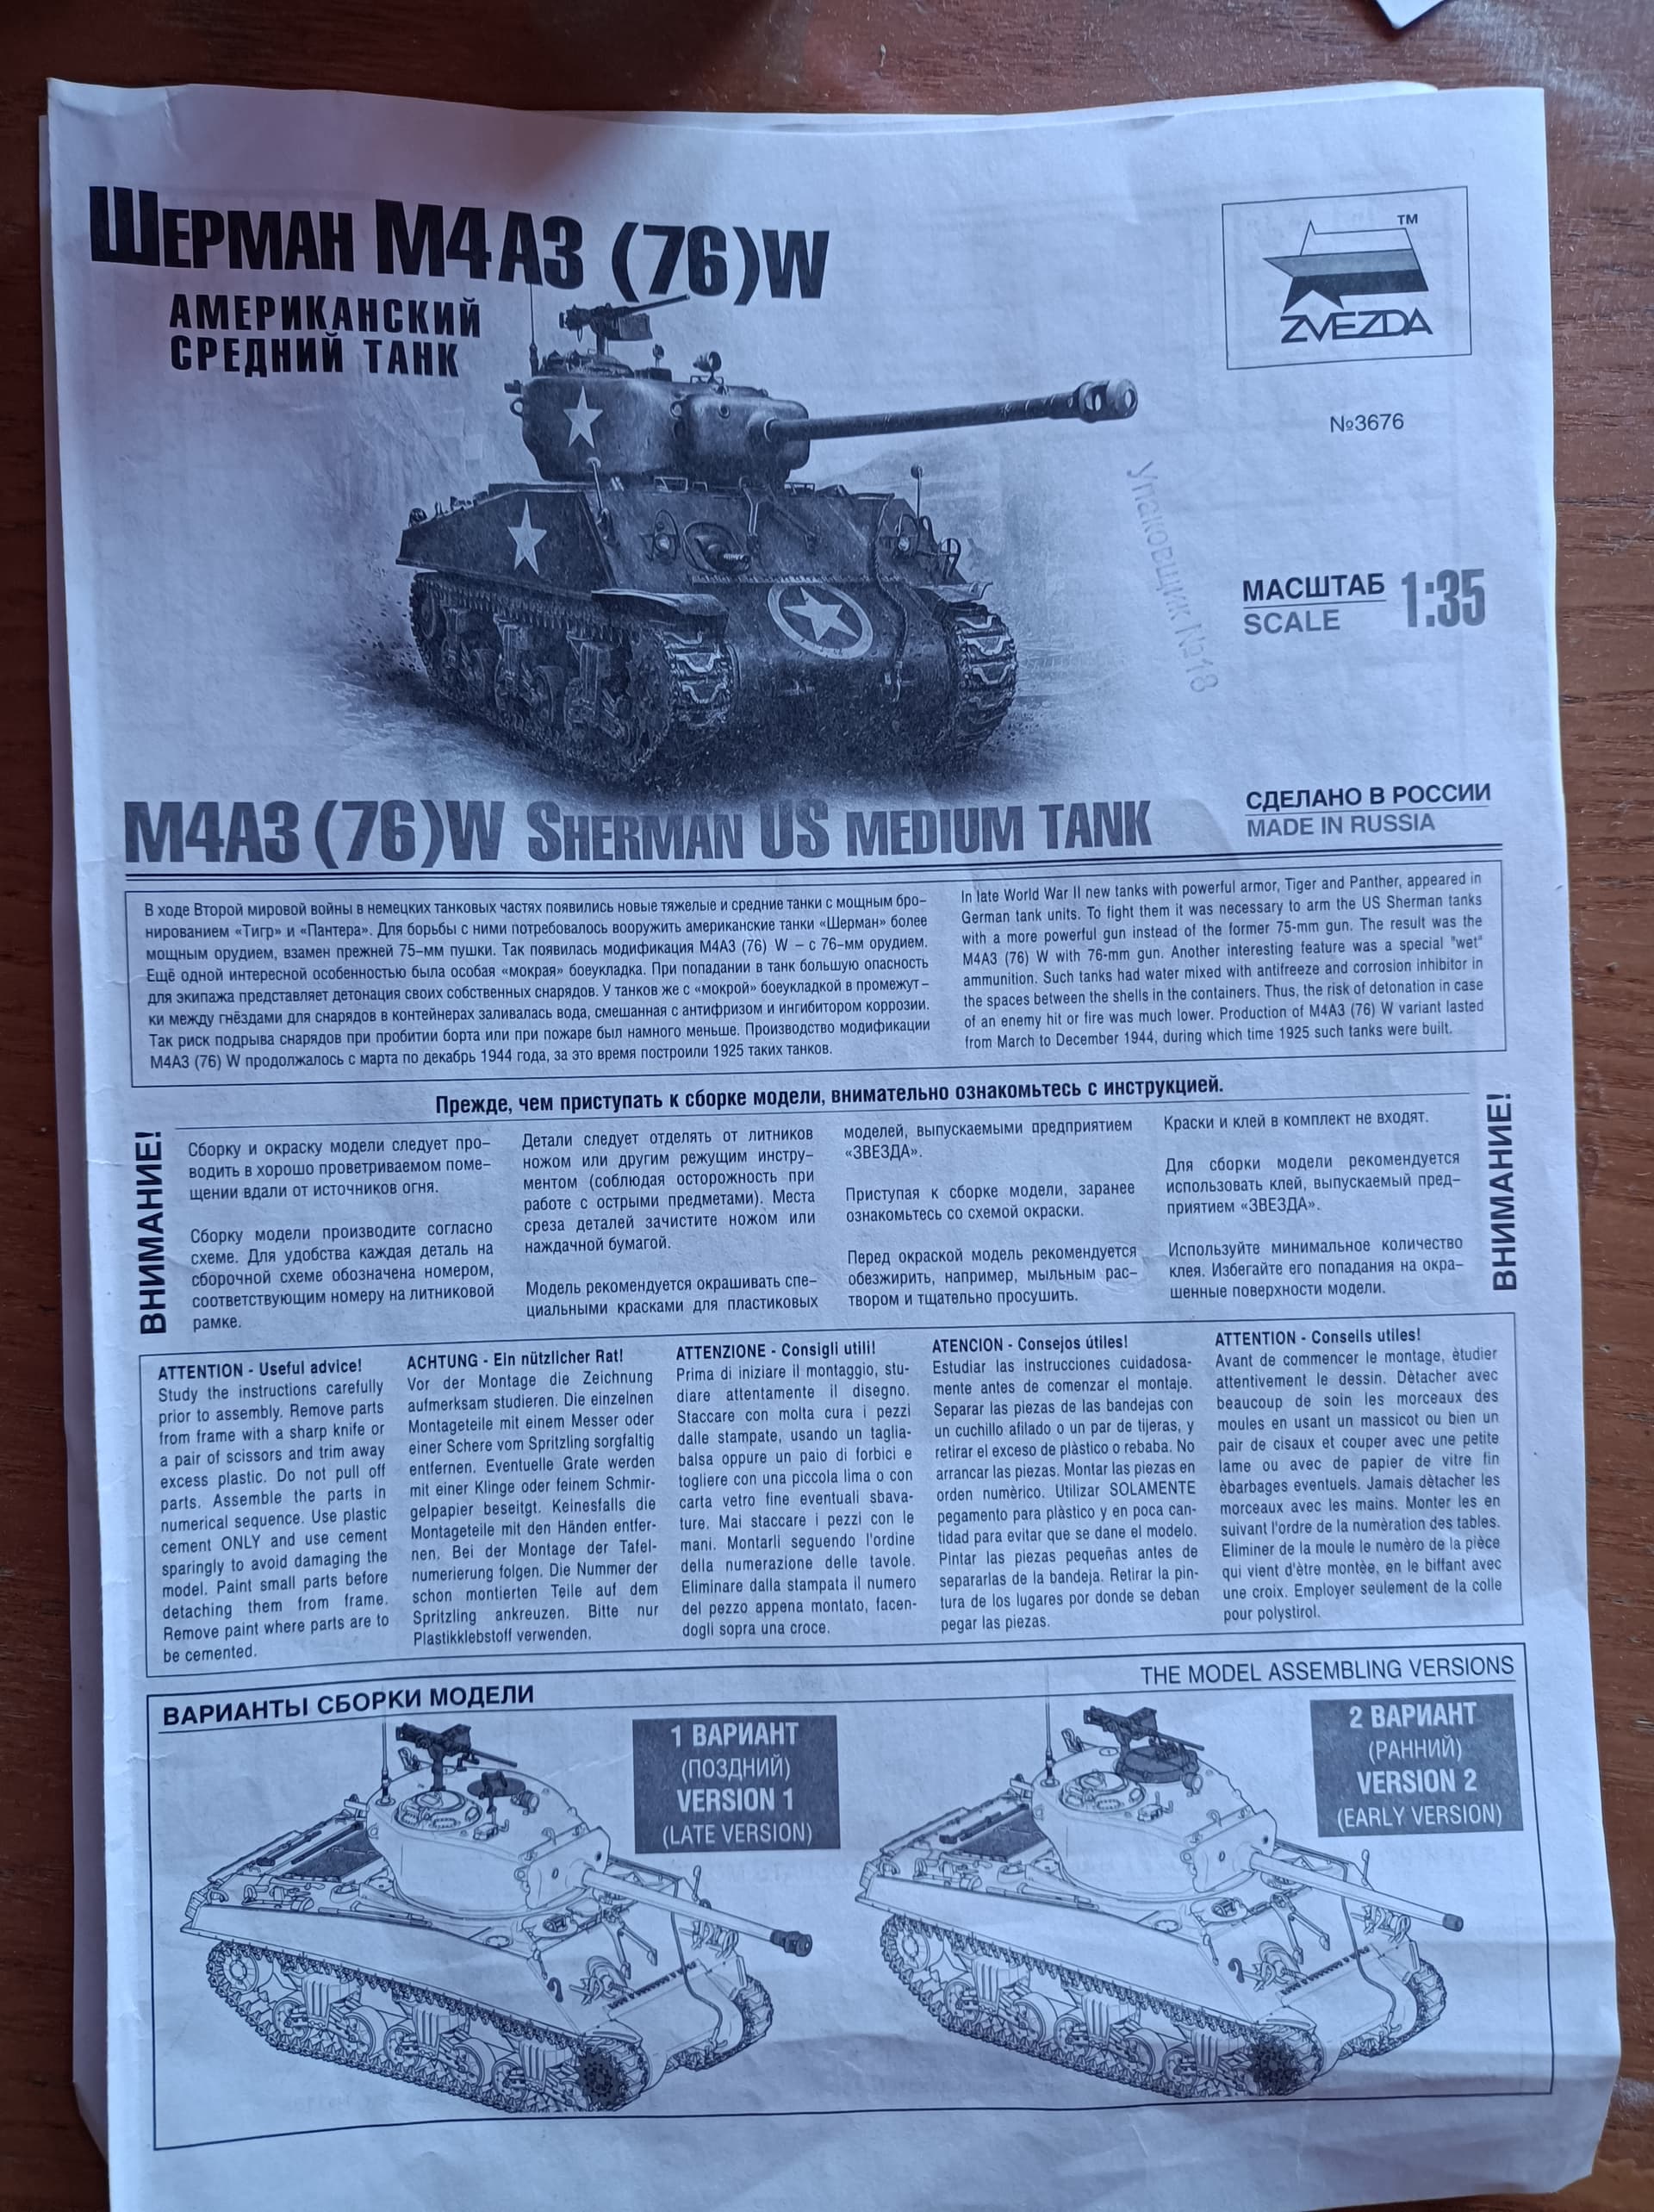
Naturally I went with the later model because I am a kid and just cannot say no to a big gun.
It also allows you model an American or a Free France version by having 2 sets of decals. I went for the US one.

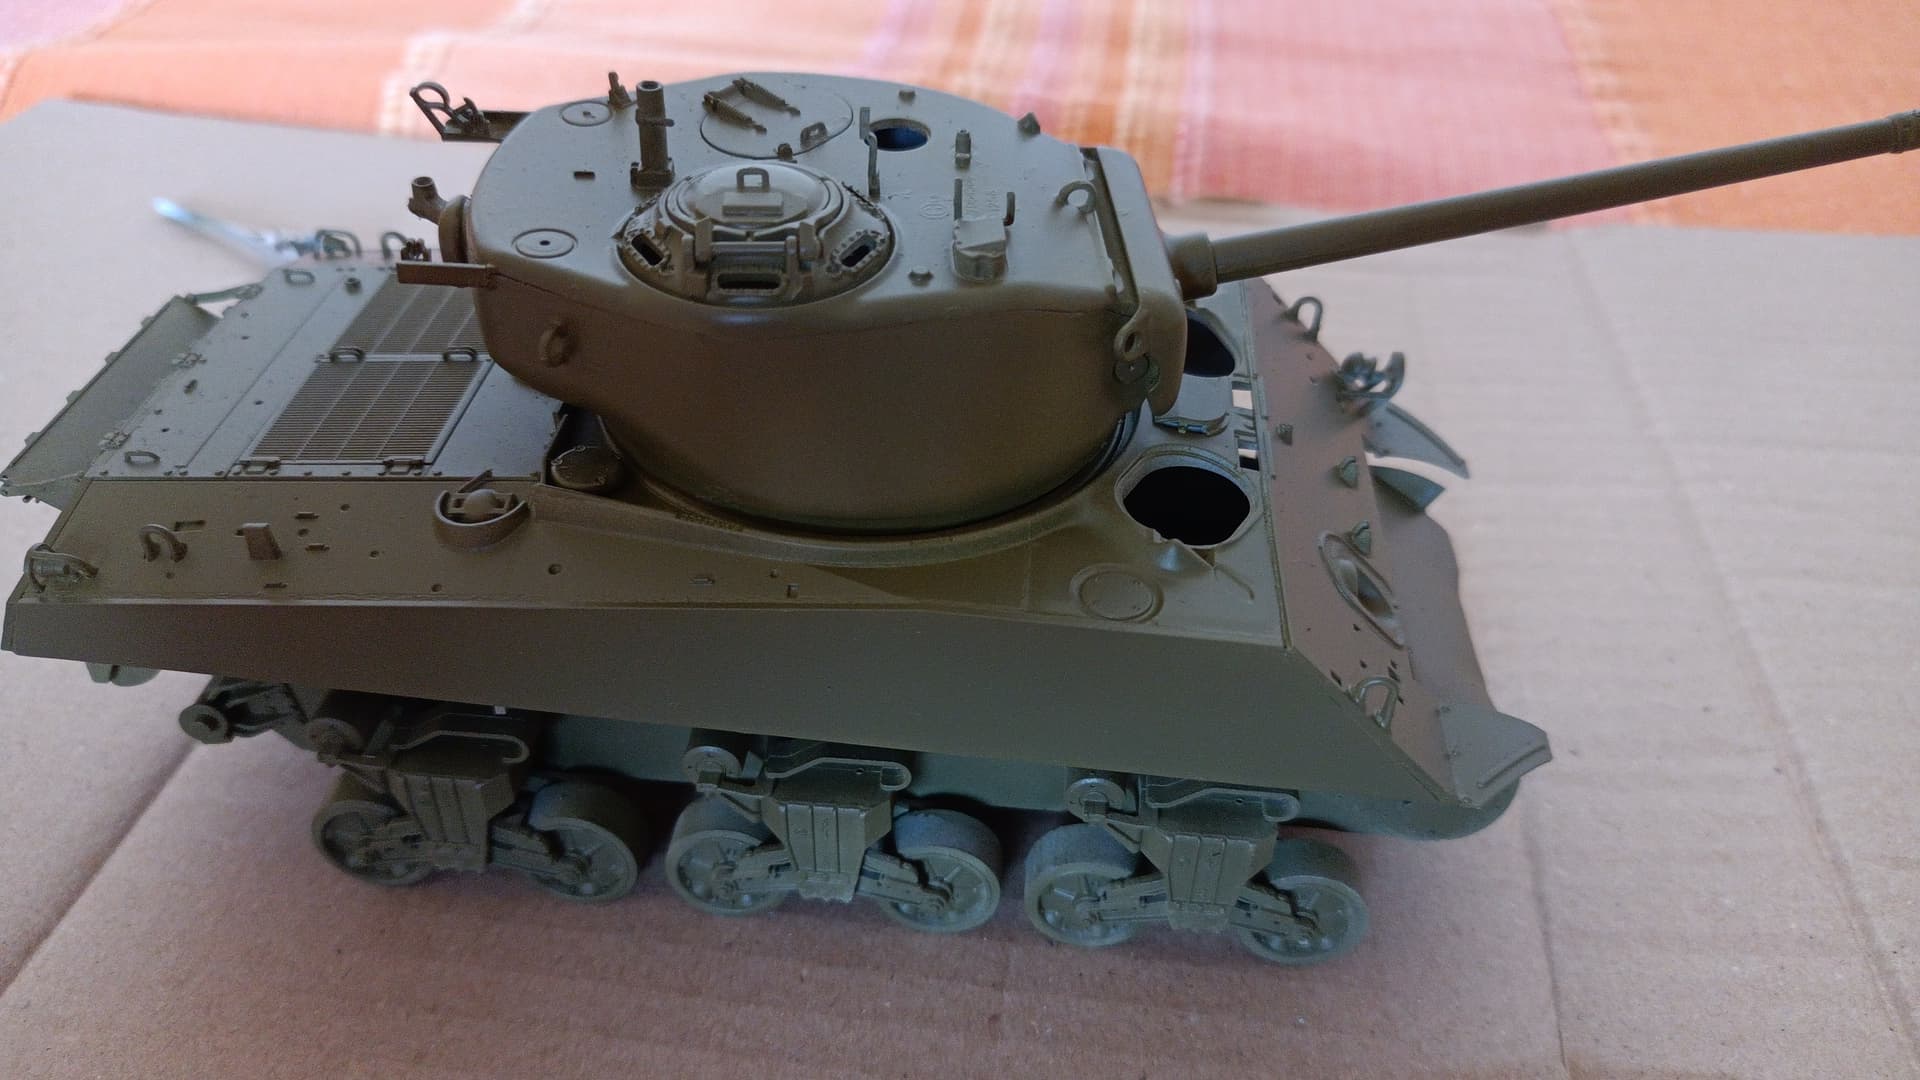
The build session went really smooth and everything fits nice (for now). I also completed the tracks.

I just left out all the tiny tools and bits that need to be hand painted and of course I left out all the clear plastic parts to avoid getting primer/paint on them.

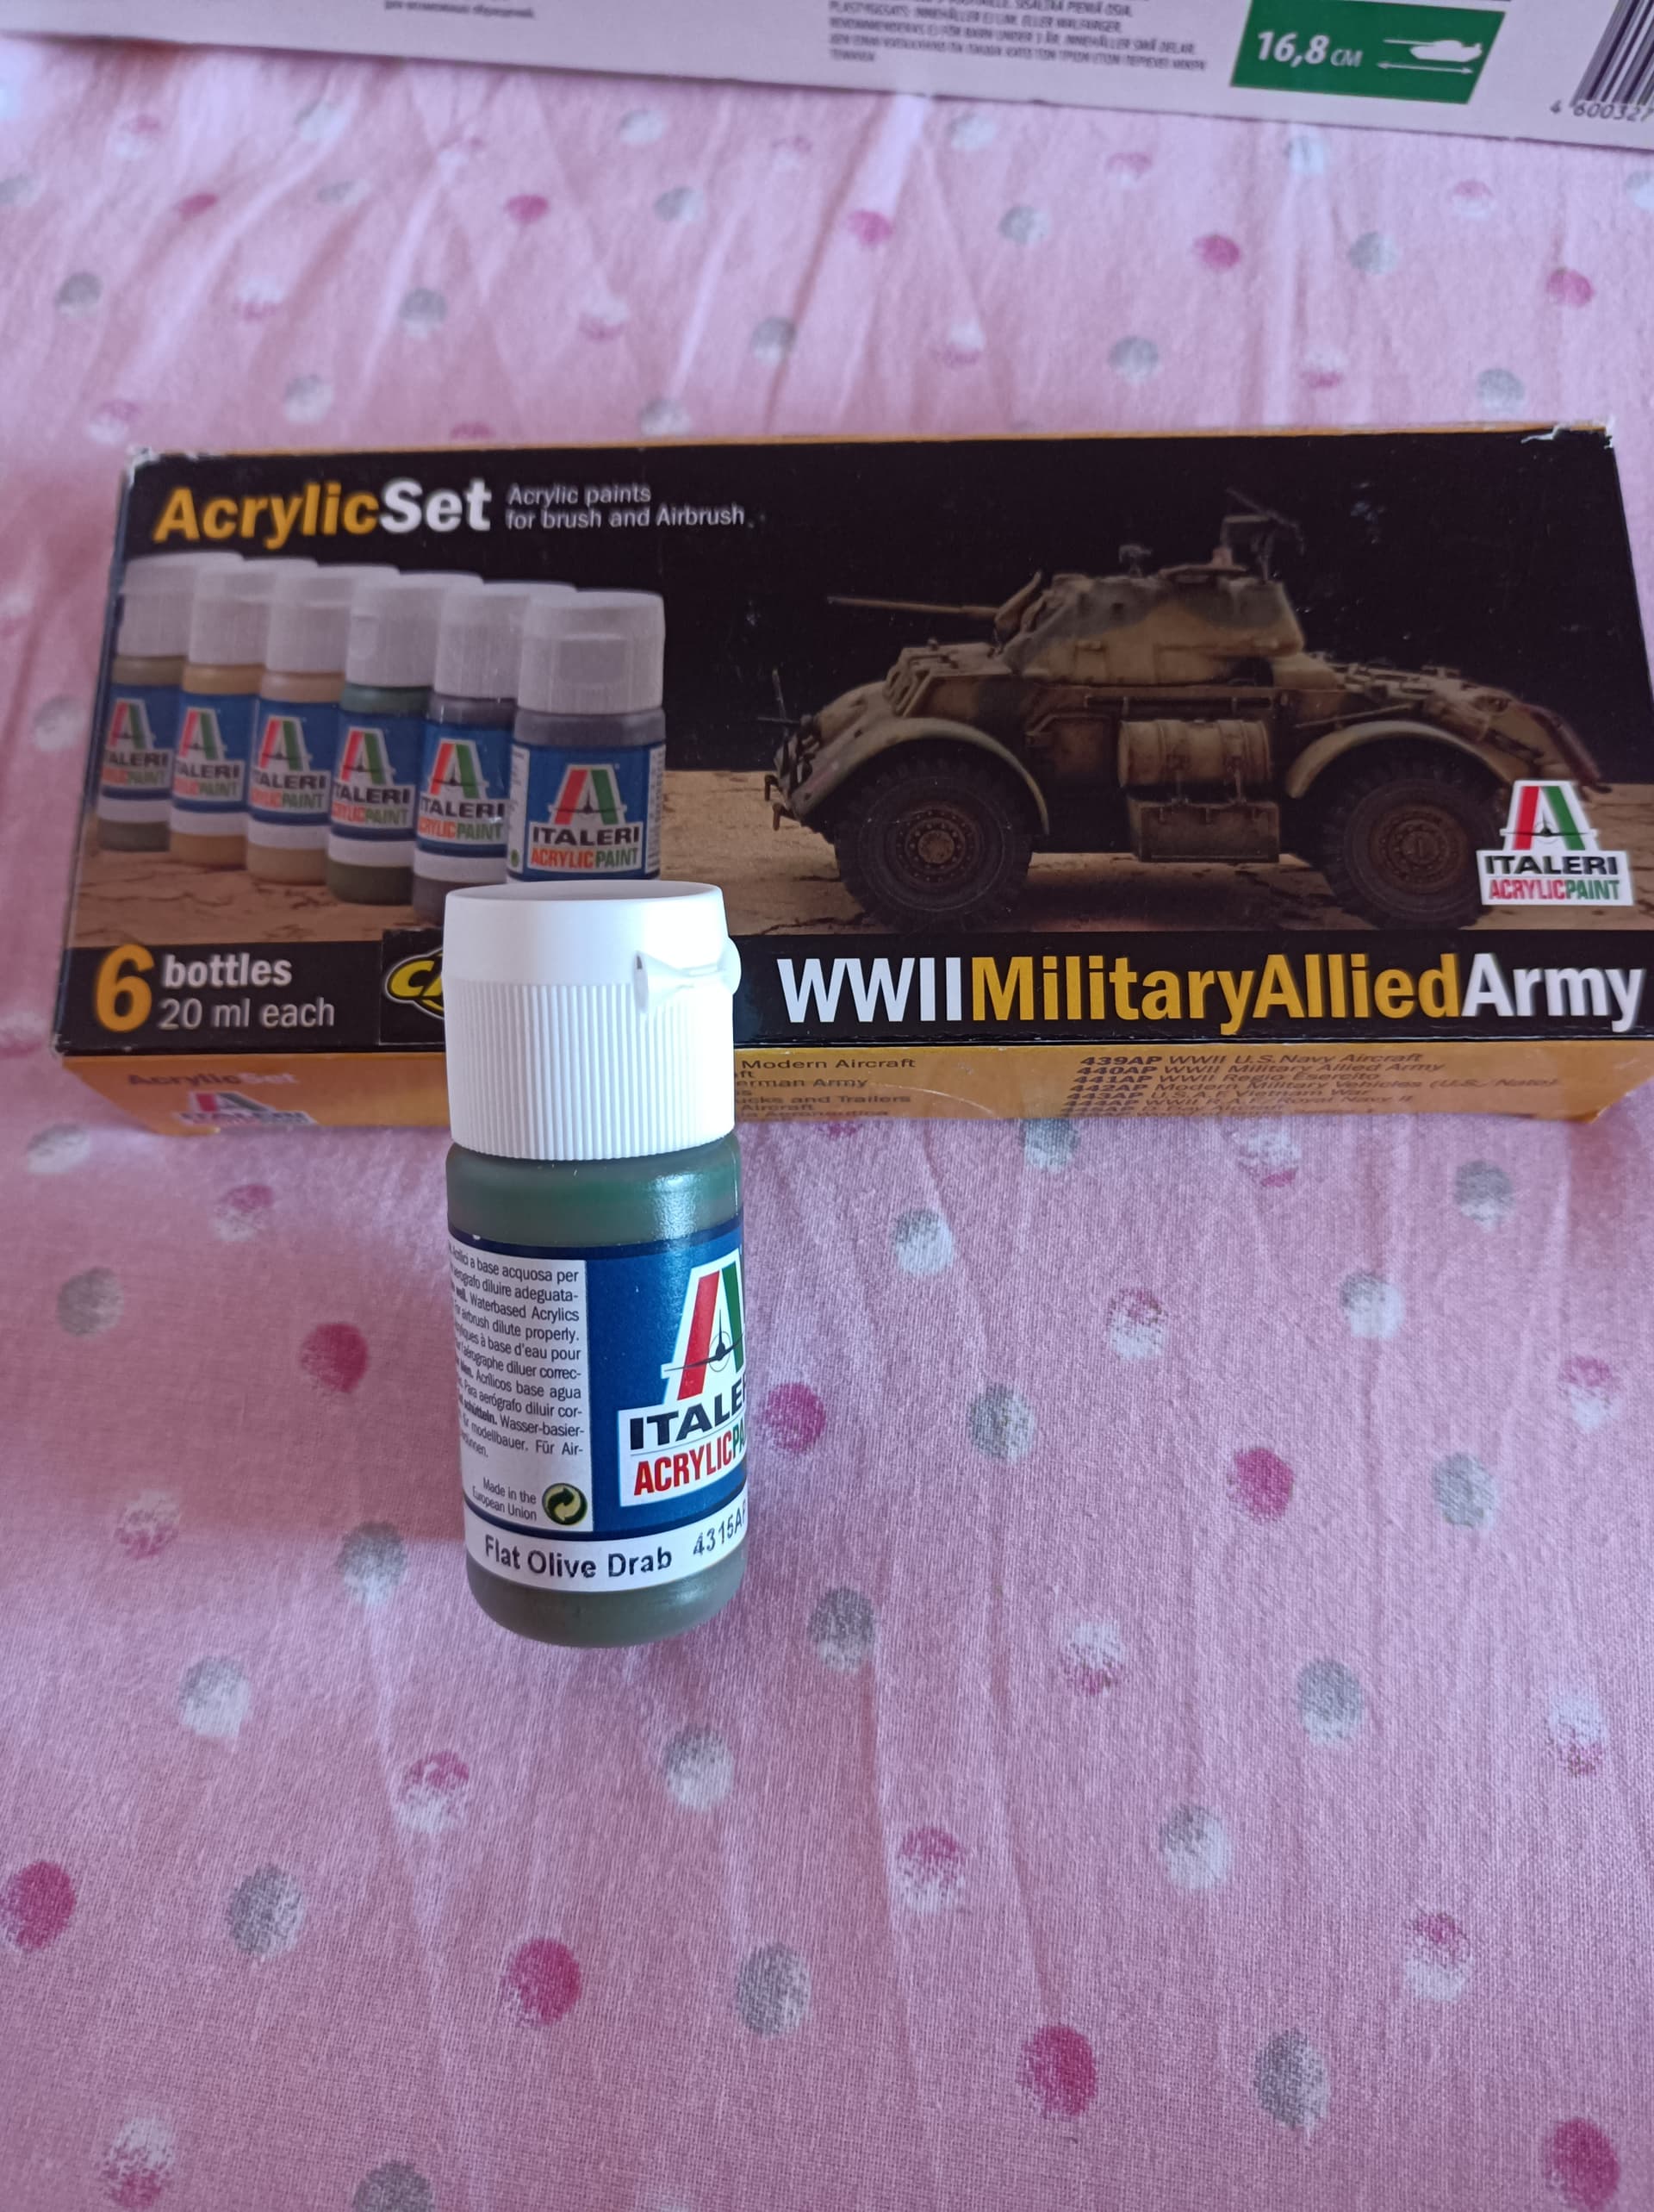
Now, my idea is to make a very simple model, olive green with minimal weathering and perhaps I could try some new things like chipping.
I saw many videos about chipping techniques but they were way too advanced/labor intensive for me (like using specific fluids) , I would just like to simulate it with some paint. I am open to your advices on the matter.

As for the base color, I think this should be fairly accurate, am I right?

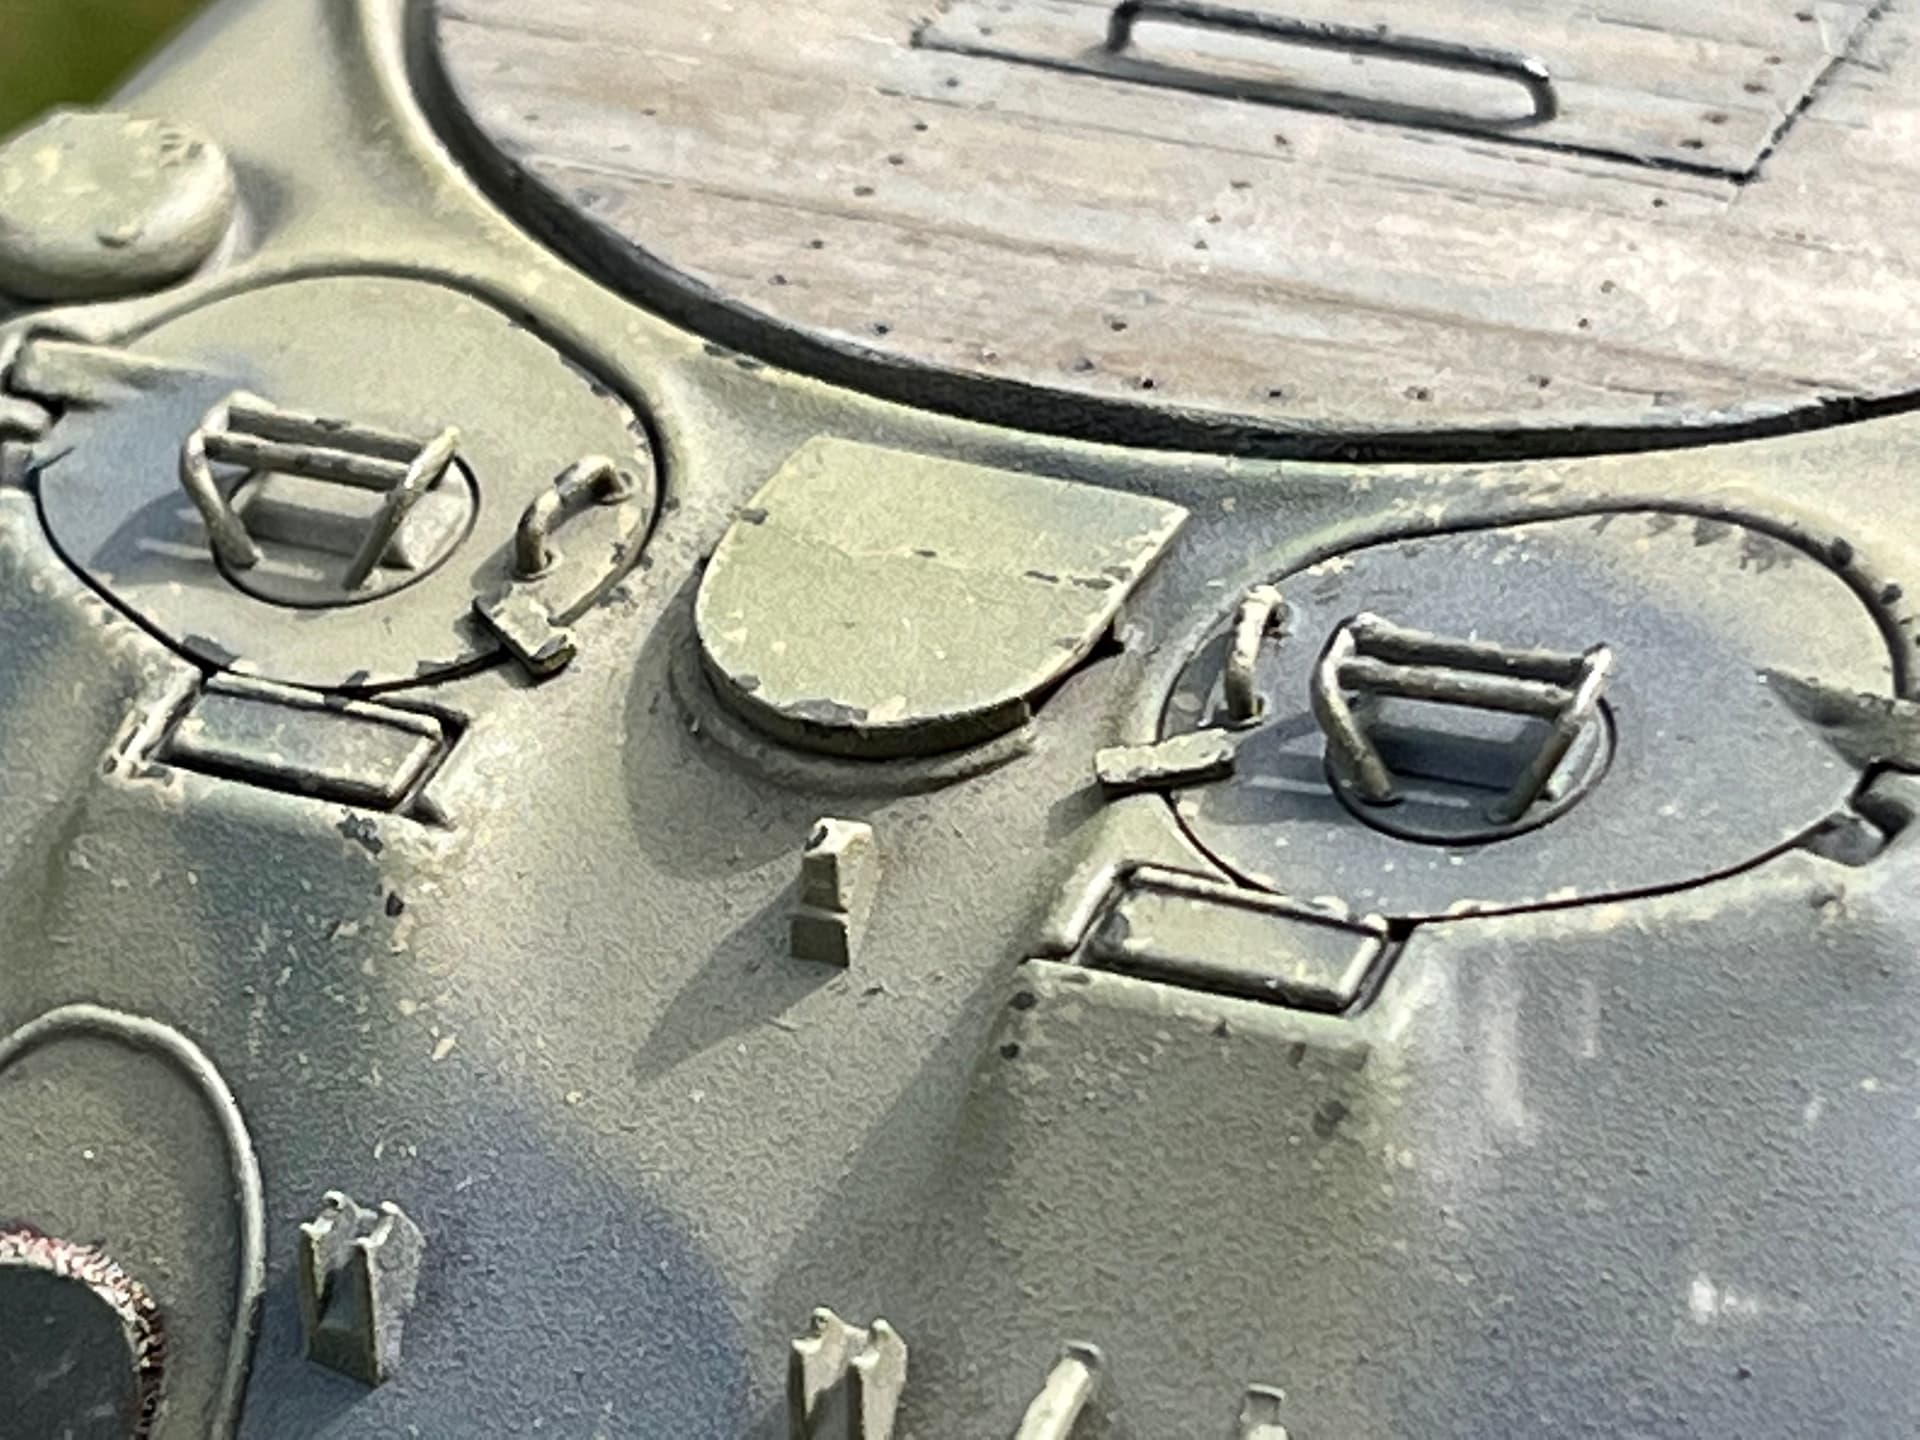
In the end, an issue:

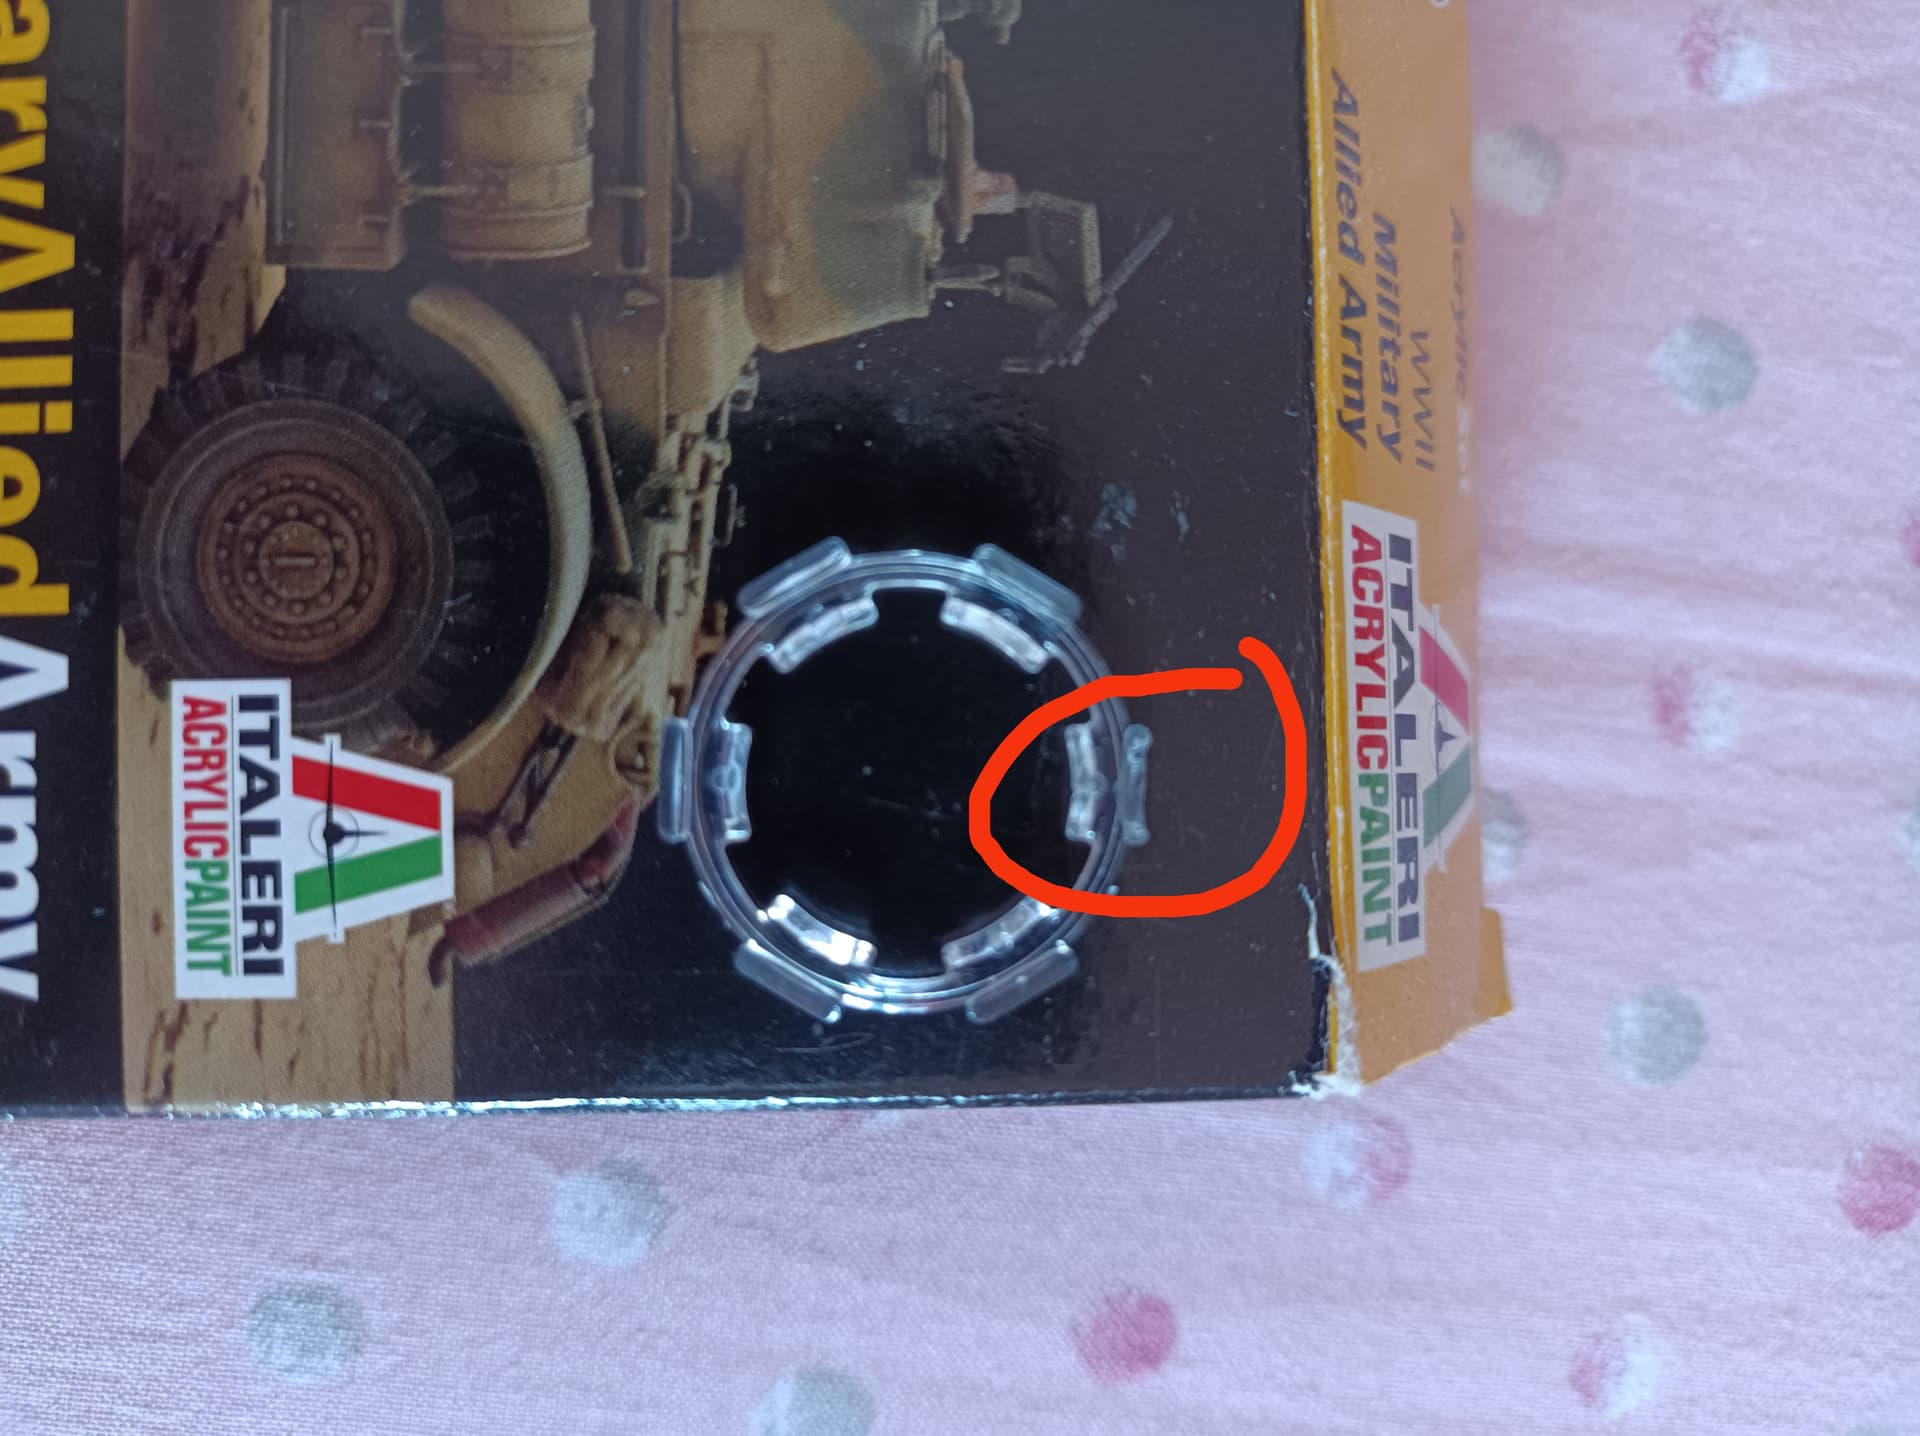
This piece goes under one of the hatches and provides the glass effect on the viewports around it.
As you can see, the circled bit ended up a little mangled.
Maybe it was a factory defect, or it was me being careless while removing from the sprue, it don’t know.
I was wondering how to fix this best, as it will be noticeable on the finished model.

I think I have at least one spare periscope bit, I could carefully cut a piece and glue it on the mangled part.
Or maybe I was thinking of fixing it by adding some transparent tape behind the viewport to simulate the glass. Or maybe just leave it as it is pretending it to be broken in battle.

5 Likes

Actually, in my experience, it probably wont be noticeable unless you’re really looking for defects. In 1/35 scale, the reality is that attempting a fix, unless you’re absolutely hell bent on it, is a waste of time.

1 Like

Actually the gun is the same. The only difference being that the later version was fitted with a muzzle brake, instead of having the thread protector on the end of the barrel. The muzzle brake or thread protector could be fitted to the 76mm gun. The later turret with the smaller single piece loaders hatch was seen armed with and without muzzle brake main guns.

1 Like

Here’s some info-

http://the.shadock.free.fr/sherman_minutia/manufacturer/m4a376w/m4a3_76w.html

2 Likes

Oh yes, I knew it was the same gun, still, the muzzle brake makes it look bigger and I liked it more :smiley:

@Khouli , yes I think that trying to glue a piece of periscope on that plastic bit it’s going to be way out of my capabilities, I’ll try to put a bit of clear tape and see what happens, at worst I can remove it.

About the color, is that Olive Drab accurate enough?

And assuming I am attempting some light chipping, I suppose I should get some plain steel color, right?

I would consider adding a bit of light yellow, buff, or flesh to the green to lighten it

For chipping, start with a color lighter than the base vehicle color. Apply with a scrap of sponge or a very fine brush. Then go back and fill in some of the lighter chips with a dark grey. Leave a bit of the light color around the edge of each darker chip. This simulates a layer of fresh paint chipped down to bare steel or primer. Supposedly olive drab didn’t chip much so you can keep it restrained. Artistic license applies here!
Here’s a pic of my recent attempt and I think it came out pretty well.

4 Likes

It’s a very beautiful and realistic effect, it really simulates the paint flaking.

But I was thinking of making something simpler, like making some plain steel showing. I don’t want to make a super realistic effect by using fluids and sponges, that’s way out of my league, a very soft touch with steel colored paint could do good enough for me.

@Mead93, I don’t think it will be necessary, the Italeri paint is extra thick and needs lots of thinner to be sprayed, that olive drab will end up much brighter.

Thinning it won’t change the color of the paint, you’ll just need more layers to build up color density. It will still be dark

1 Like

Primer day.

I used my leftover bottle of Tamiya Fine surface primer.
Cleaned the parts, dried them and dusted them with a brush for good measure.

However, I was forced to do it in the yard and no matter how quick I did it, some dust particles got on the top of the turret leaving some nasty bumps.
I suppose that with paint on top it will be less noticeable, but it is still annoying.

Any tips to remove them? I remember that gentle sanding was an option but I really don’t know which kind should I get for the job.
I think I could also try to nibble them with the hobby knife, I suppose.

I’d post a picture. Little bumps could just as easily derive from paint drying before it hits the model as dust

Sure, here it is:

There’s also some major mess under the smaller hatch’s handle, that was the outcome of a huge cement drop falling right on top of it…considering the mess it initially made, that was not so bad. I hope that airbrushing the paint will fill the grooves and smooth it out a little.

As usual, the picture seems to enhance the grainy effect, it’s not really that bad.

1 Like

I strongly advise against using silver to simulate paint worn down to silver. Iron oxidizes almost immediately. In 1/35 that would appear very dark brown or black.

1 Like

This is a good point that I had not considered.
I have “rust” paint and also two shades of pigment rust that can be easily applied with a brush once wetted.

Here’s the first coat.

As I remembered, spraying the Italeri paint was a nightmare, had lots of clogs, spidering and other messes.
Luckily they all ended up on the undercarriage so I can mask them with weathering.

In the end, the best compromise I found was:

1 drop of paint + 6 drops of thinner, spray until finished then repeat. Loading any more paint/thinner caused clogs.

I missed several spots and some need another pass, hopefully Tuesday I will have some more free time.

2 Likes

The tank you’re depicting was built at Fisher Defense Arsenal in Grand Blanc, Michigan, between September and November, 1944. Most, but not all, had the concave, dished road wheels. Fisher used the plain, solid drive sprocket rings–the fancy ring with the scalloped cut-outs was a Chrysler item. The cupola hatch should open diagonally to the right rear on wartime M4A3 Shermans. The decision to reposition it so the hatch opened directly to the right happened sometime between World War Two and Korea. That said, it could be modified in the field, if the commander really wanted to–one tank in the Pacific had the hatch oriented to open forwards (presumably as a sniper shield).
With the usual four-month turnaround between factory floor and front line, these tanks appeared at the front from January, 1945. They turn up randomly in photos, usually as replacements, though a few late-arriving divisions had them. They were used interchangeably alongside the “Easy 8” Shermans produced by Chrysler.

1 Like

I have a question.
I just airbrushed the treads with Tamiya Dark Iron.

Now, suppose that I would like to add a very light rust hue to those tracks…I have rust and burnt umber pigments and also some burnt umber color from Vallejo Air.
What would be the best course of action?

Typically, tracks on a vehicle in use don’t rust. You’re better off using earth/mud effects over the base colour.

1 Like

Looking good so far!

If I may, I would suggest you either don’t chip the paint at all or limit it to a few tiny chips. US paint was baked on at the factory and evidence of chipping is pretty rare. Chipping does make a little plastic model look like real metal if done well, so it’s tempting, but US equipment was of very high quality.

I also agree with the suggestion not to rust the tracks. Consider painting them dirt color instead, and hit the high spots with a bare dark metal color.

You can see in these original color photos that the main color of the tracks is dirt.


M4

1 Like