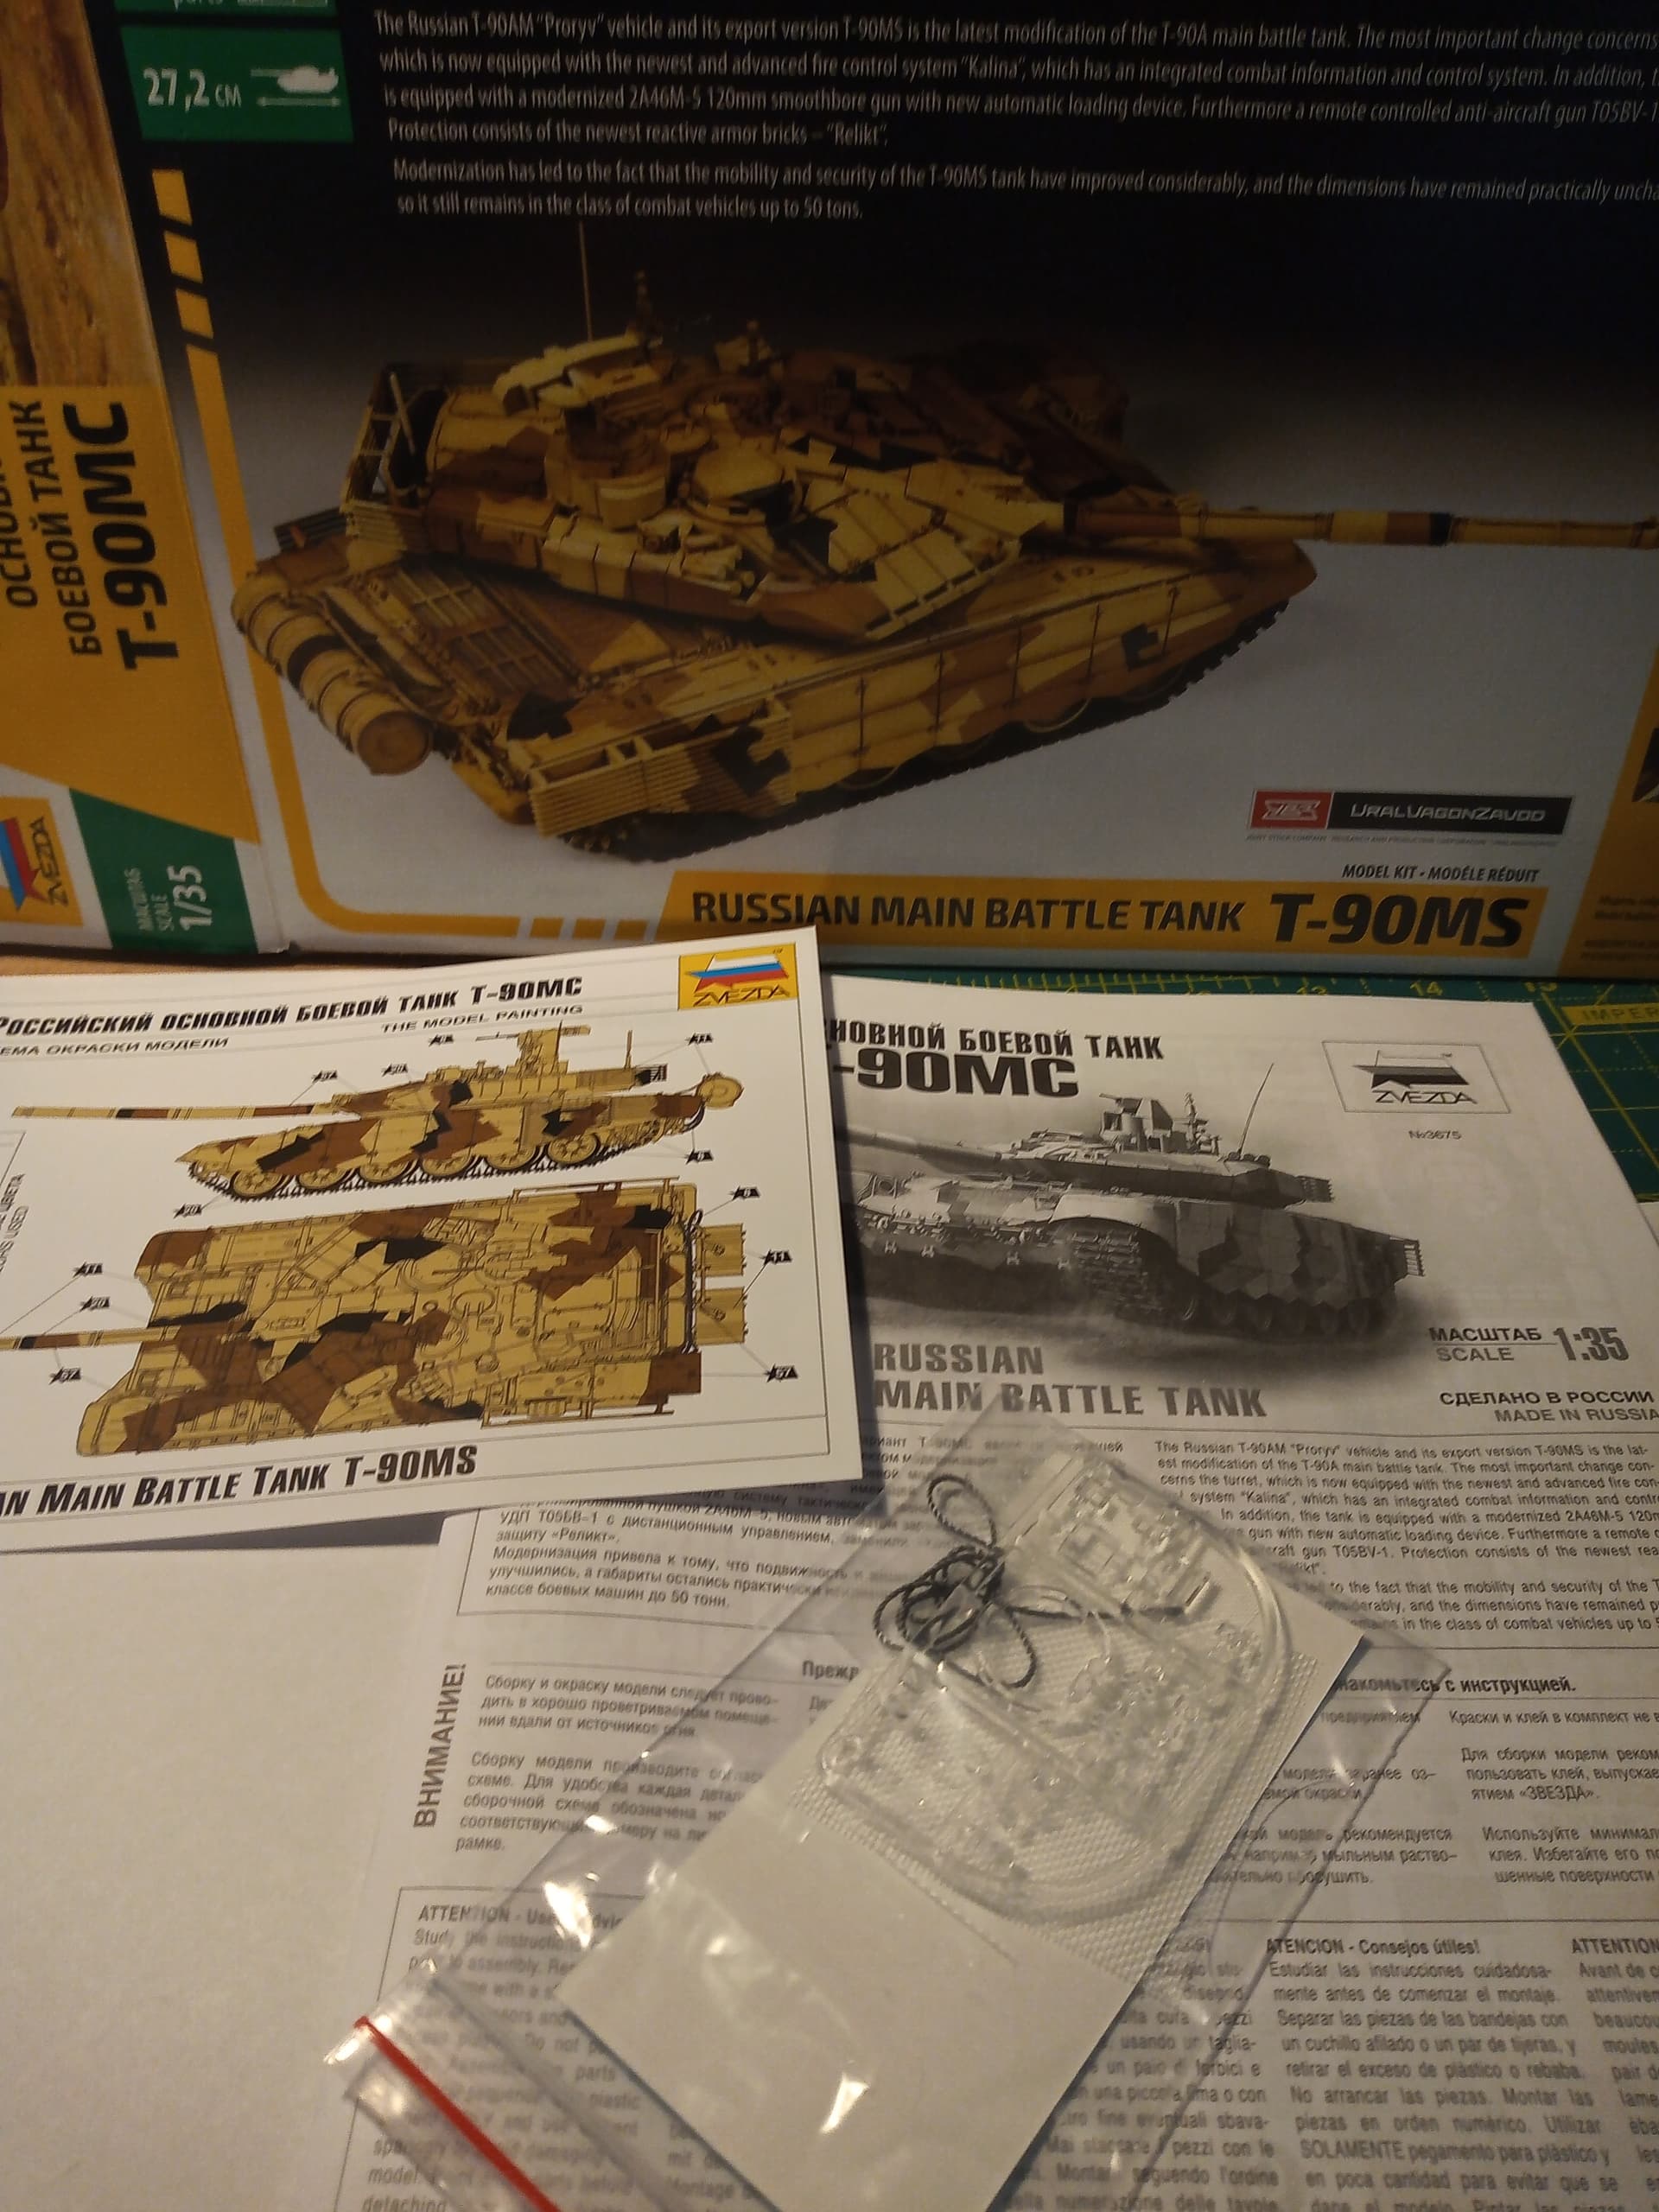
This is going to be my next build.

Probably going to be straight OOB and it’s my first Russian MBT from any period.
More to follow.
This is going to be my next build.
Probably going to be straight OOB and it’s my first Russian MBT from any period.
More to follow.
I’m looking forward to seeing this one- have you decided on a setting or a scheme yet?
I’m thinking of just going down the box art route and trying the geometric/ splinter type … or a green black white winter scheme in the same type of pattern.
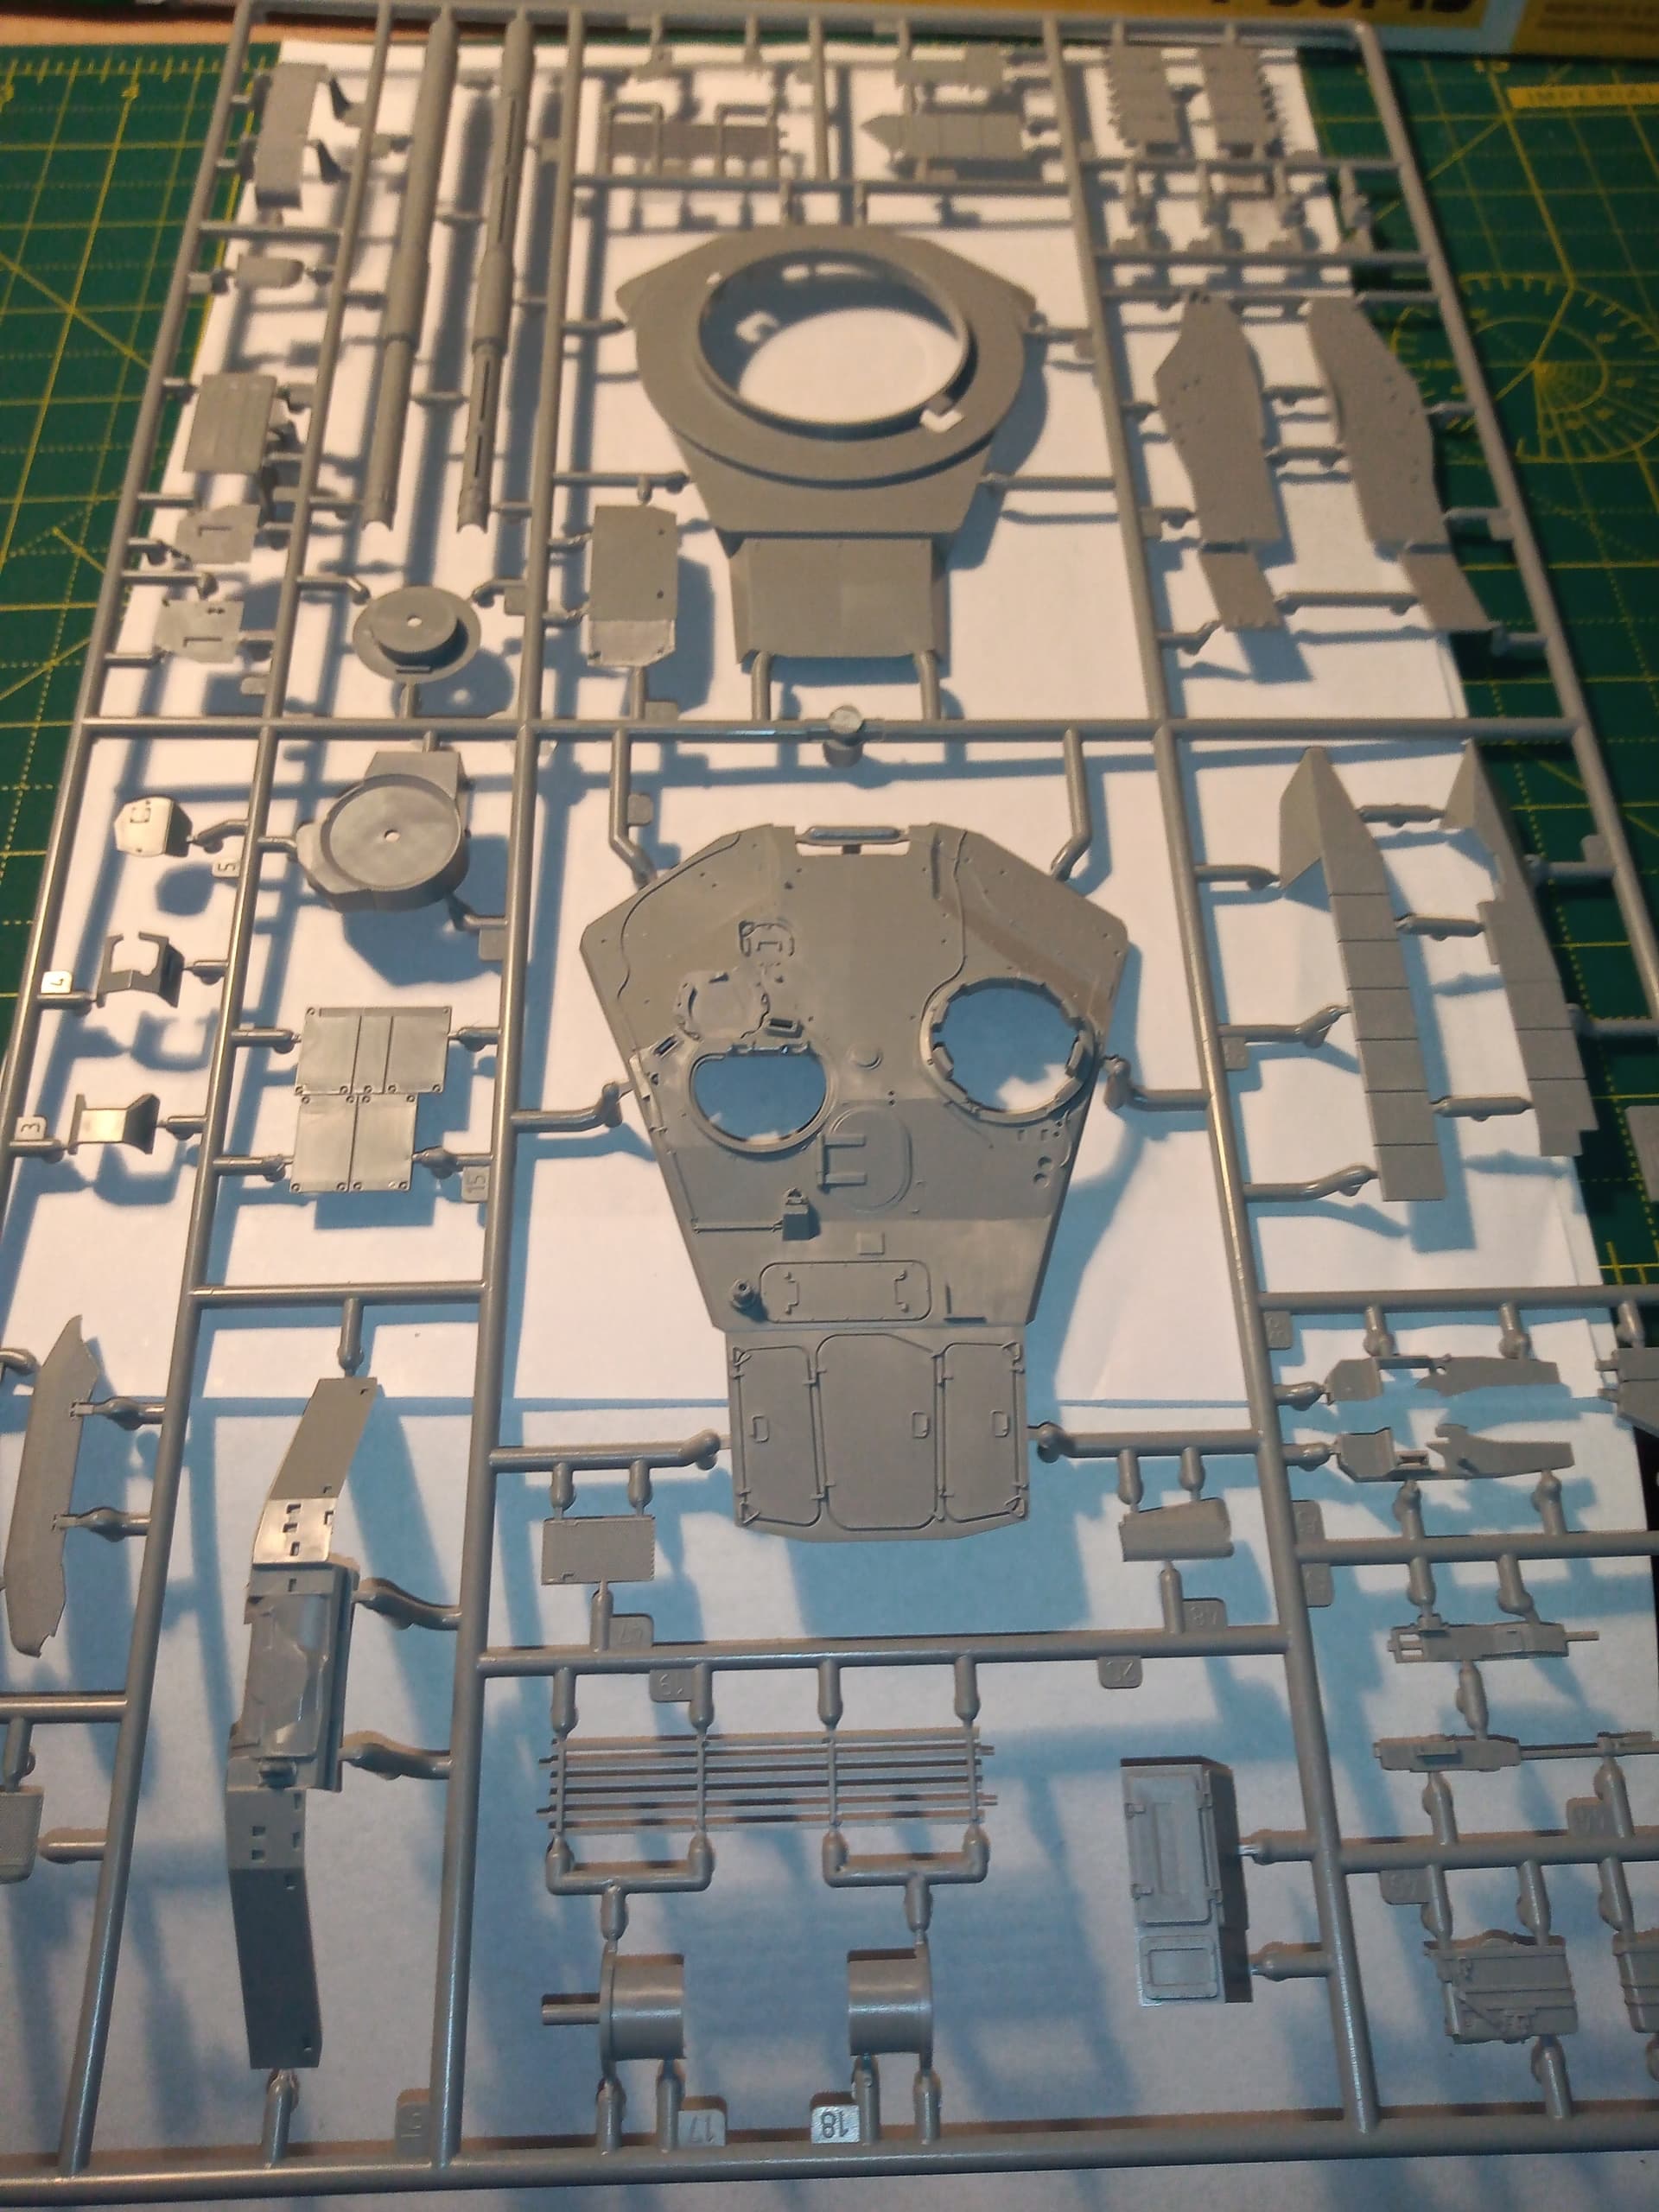
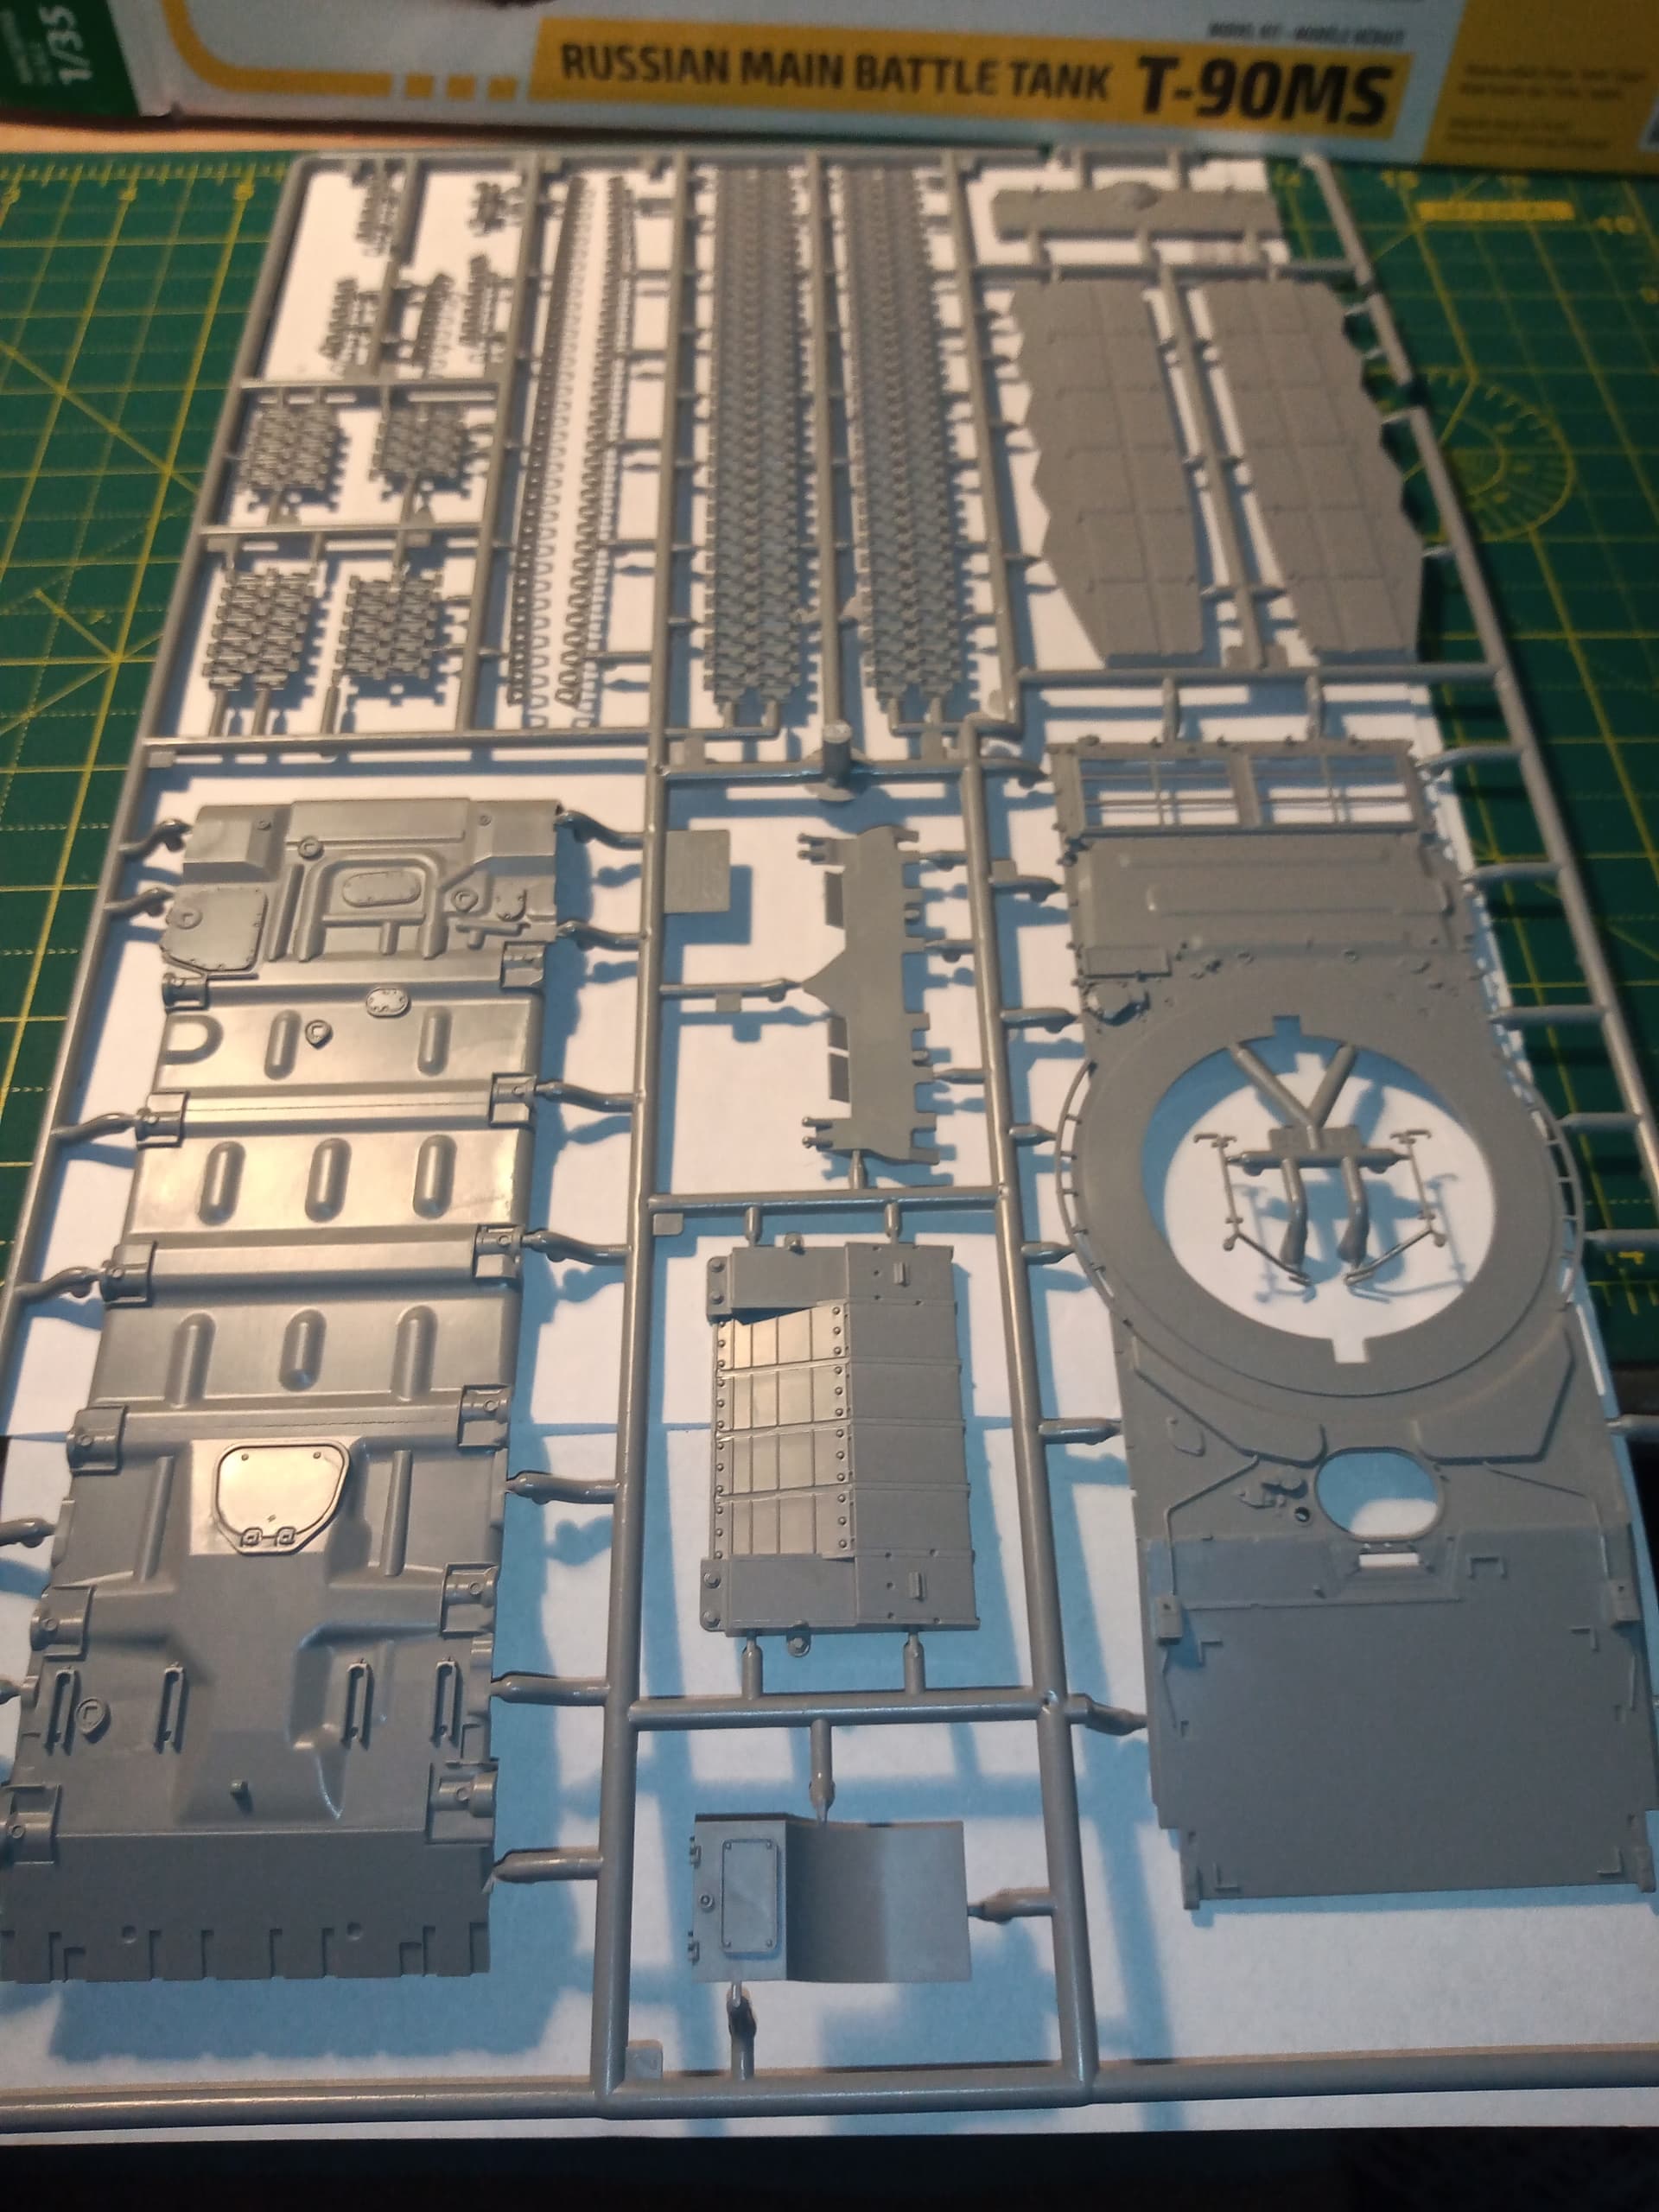
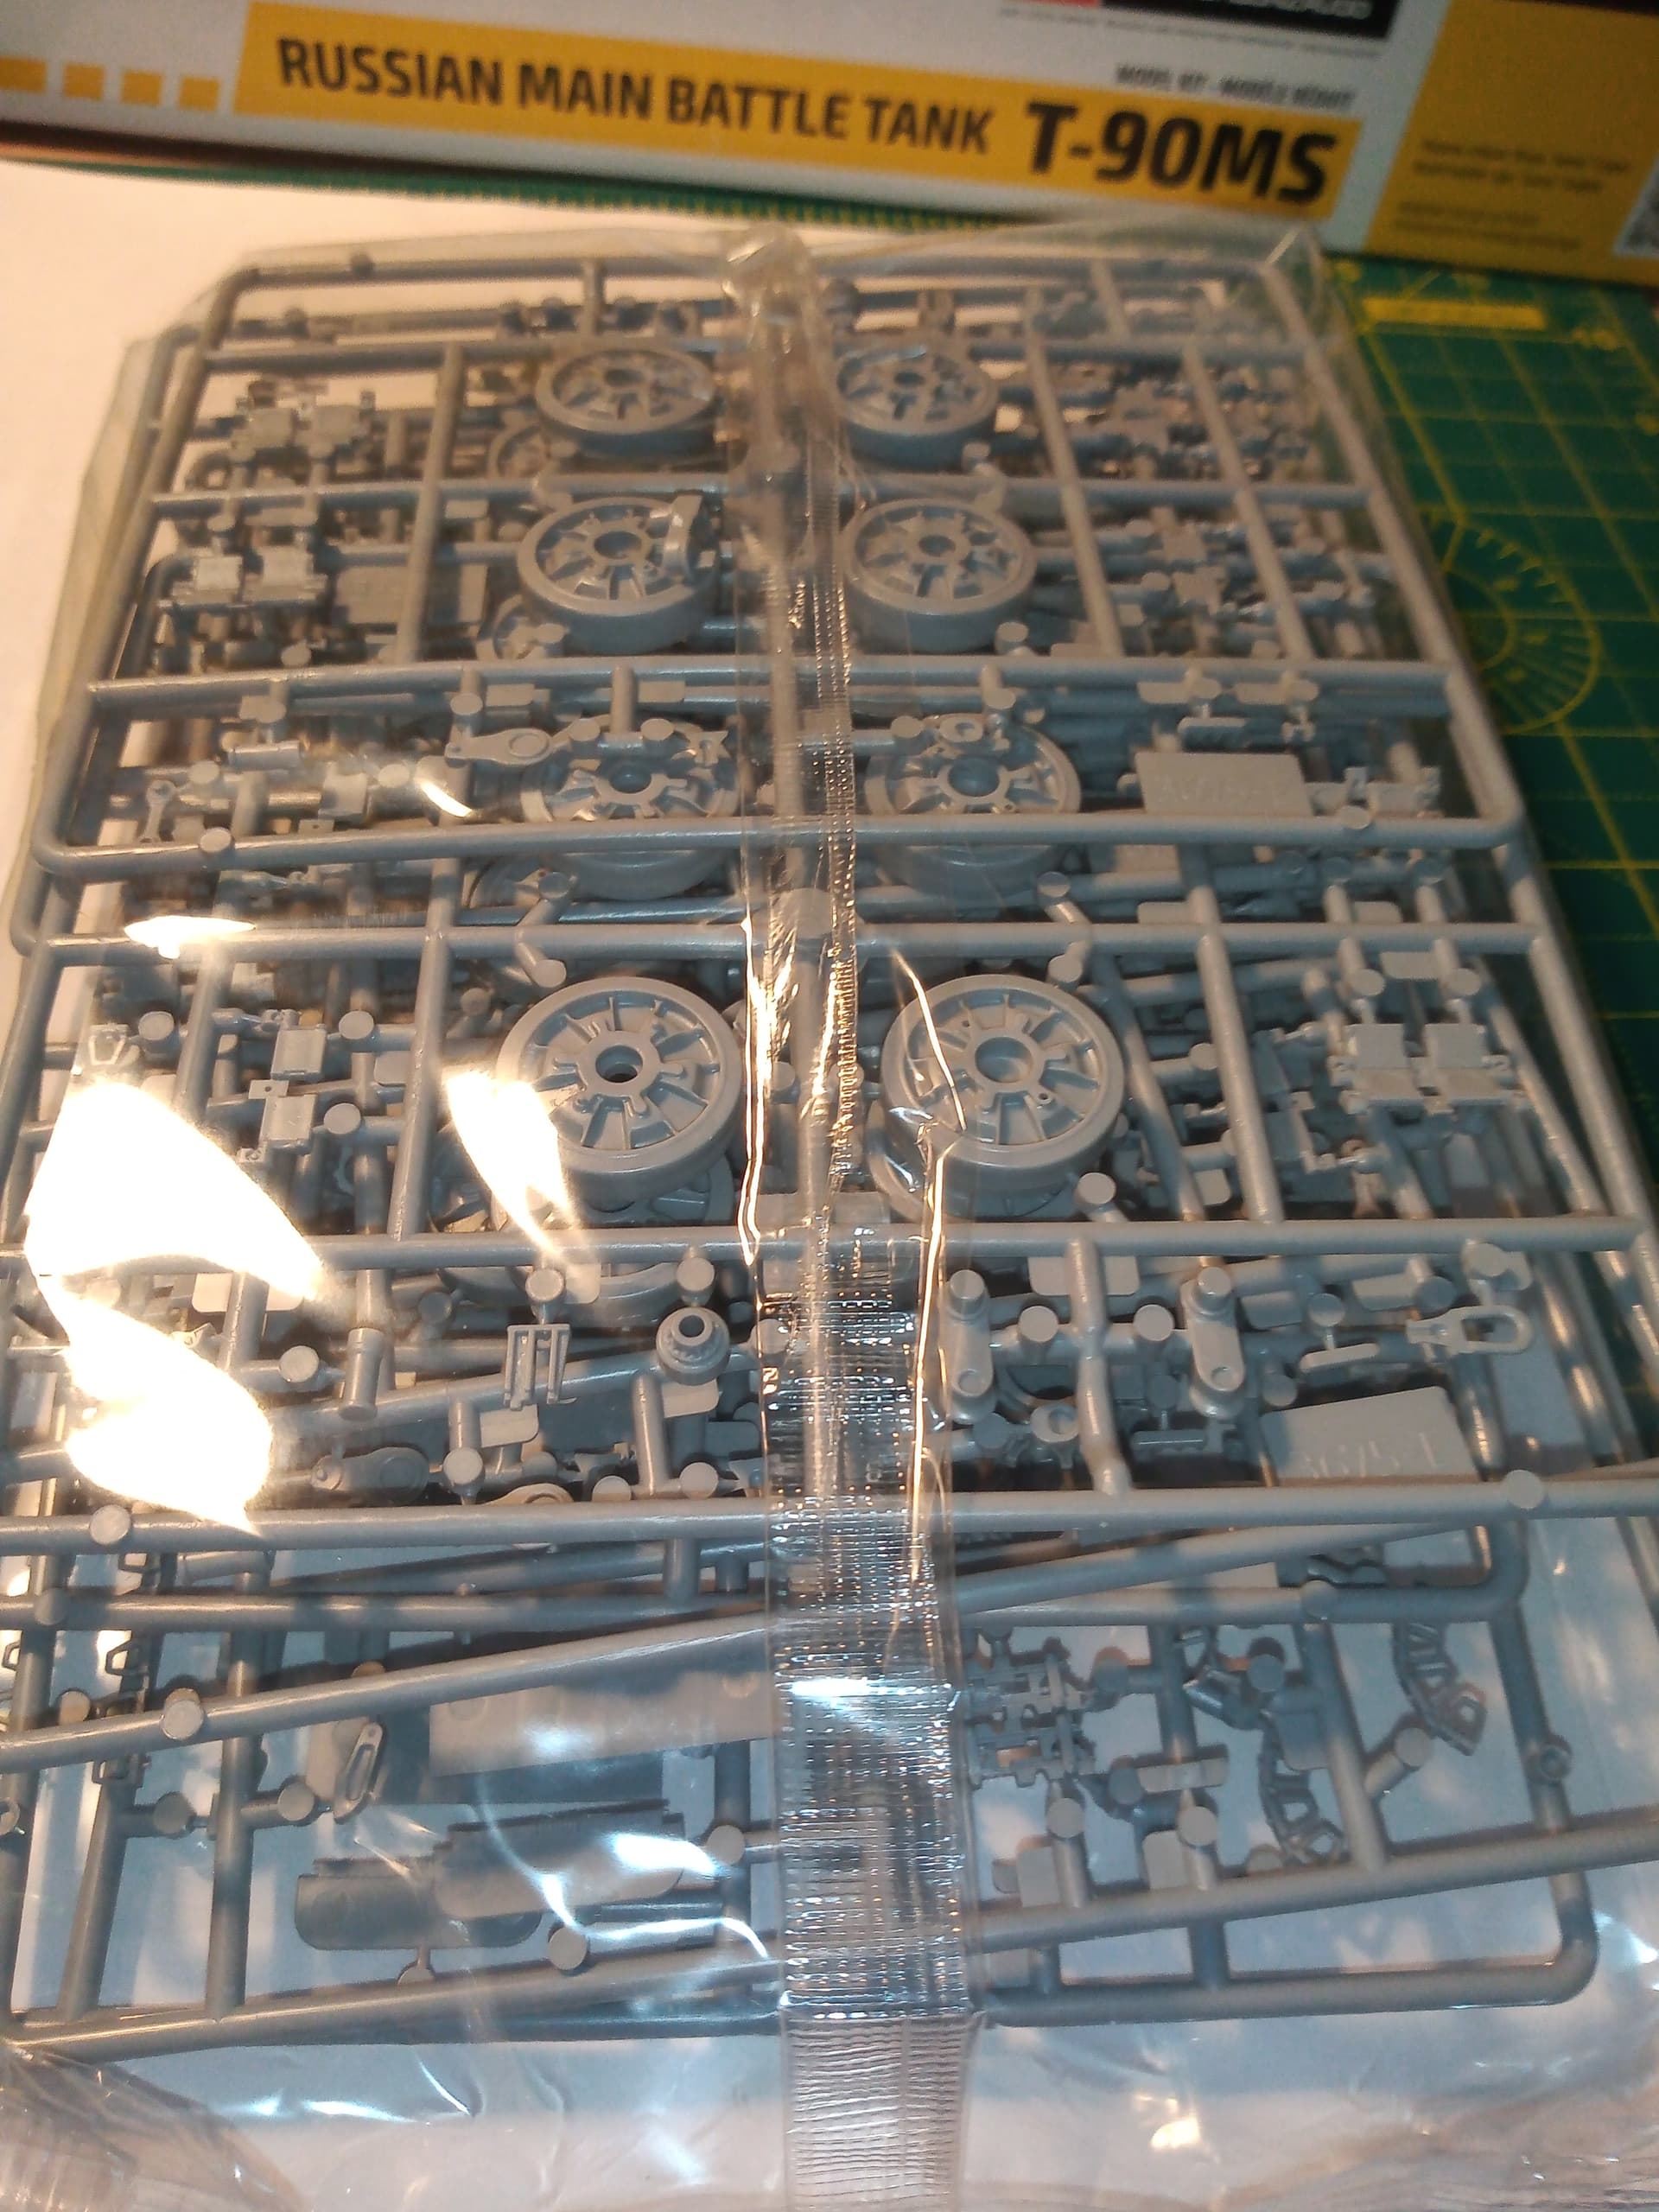
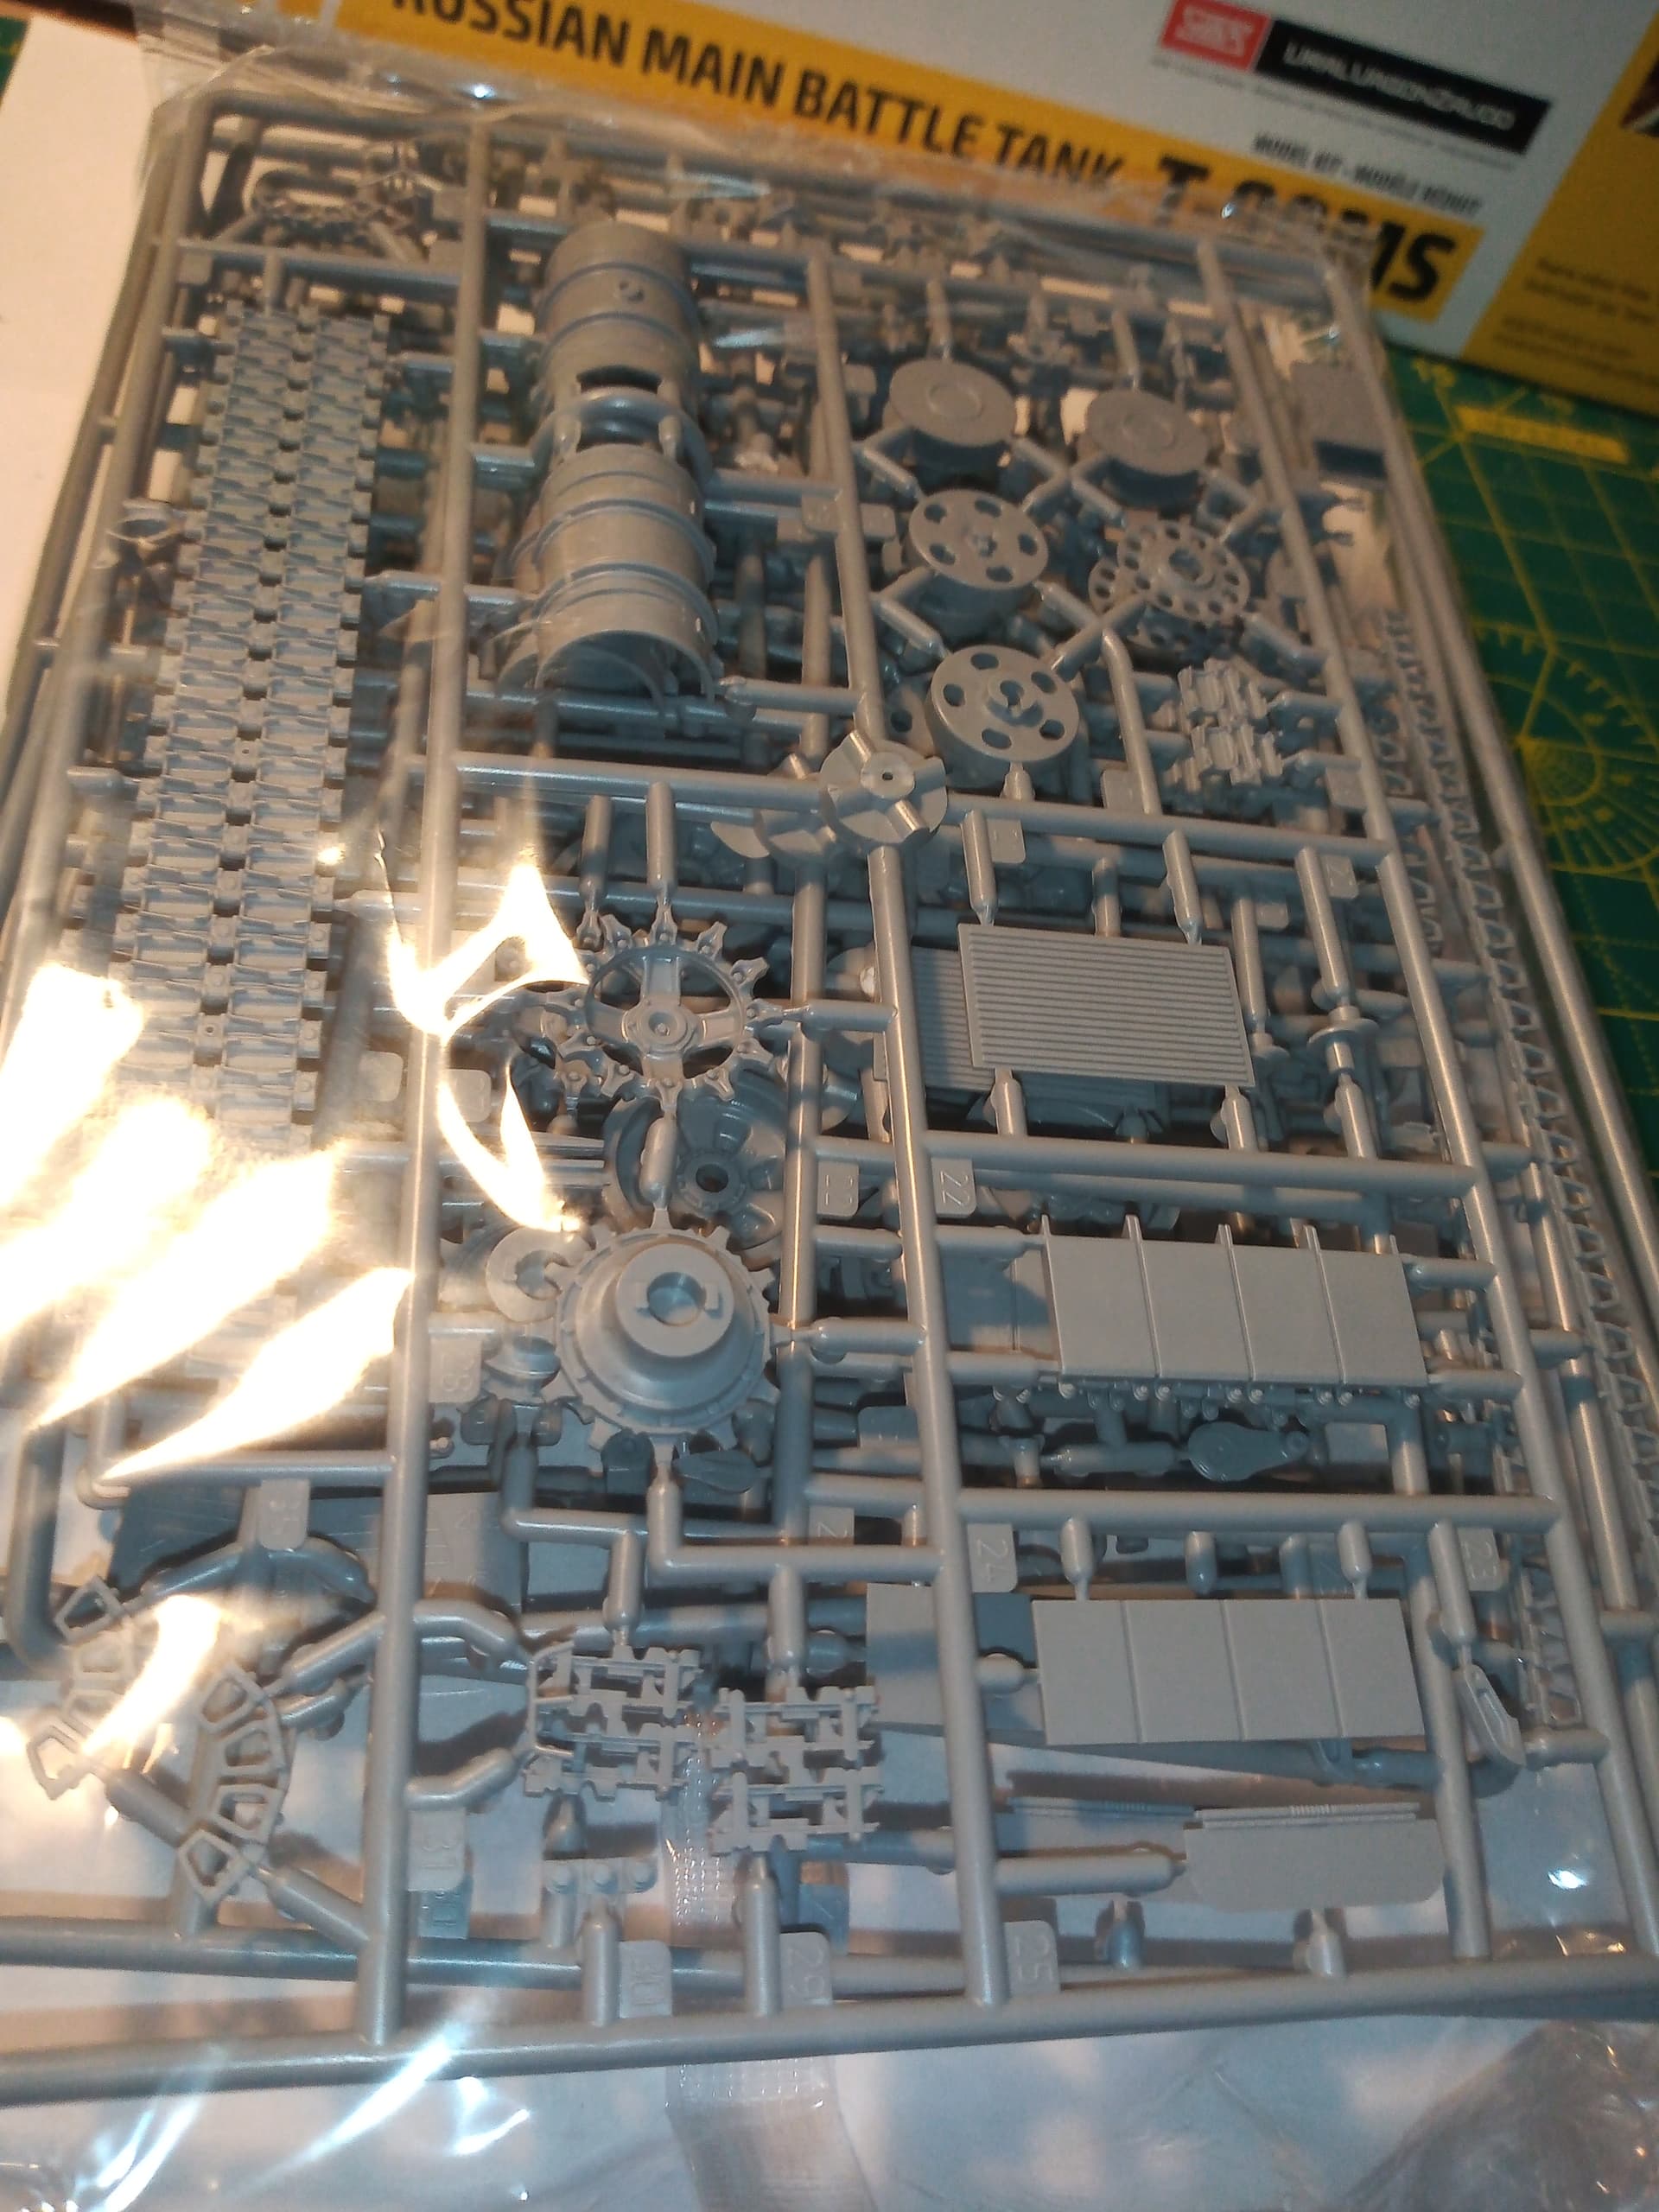
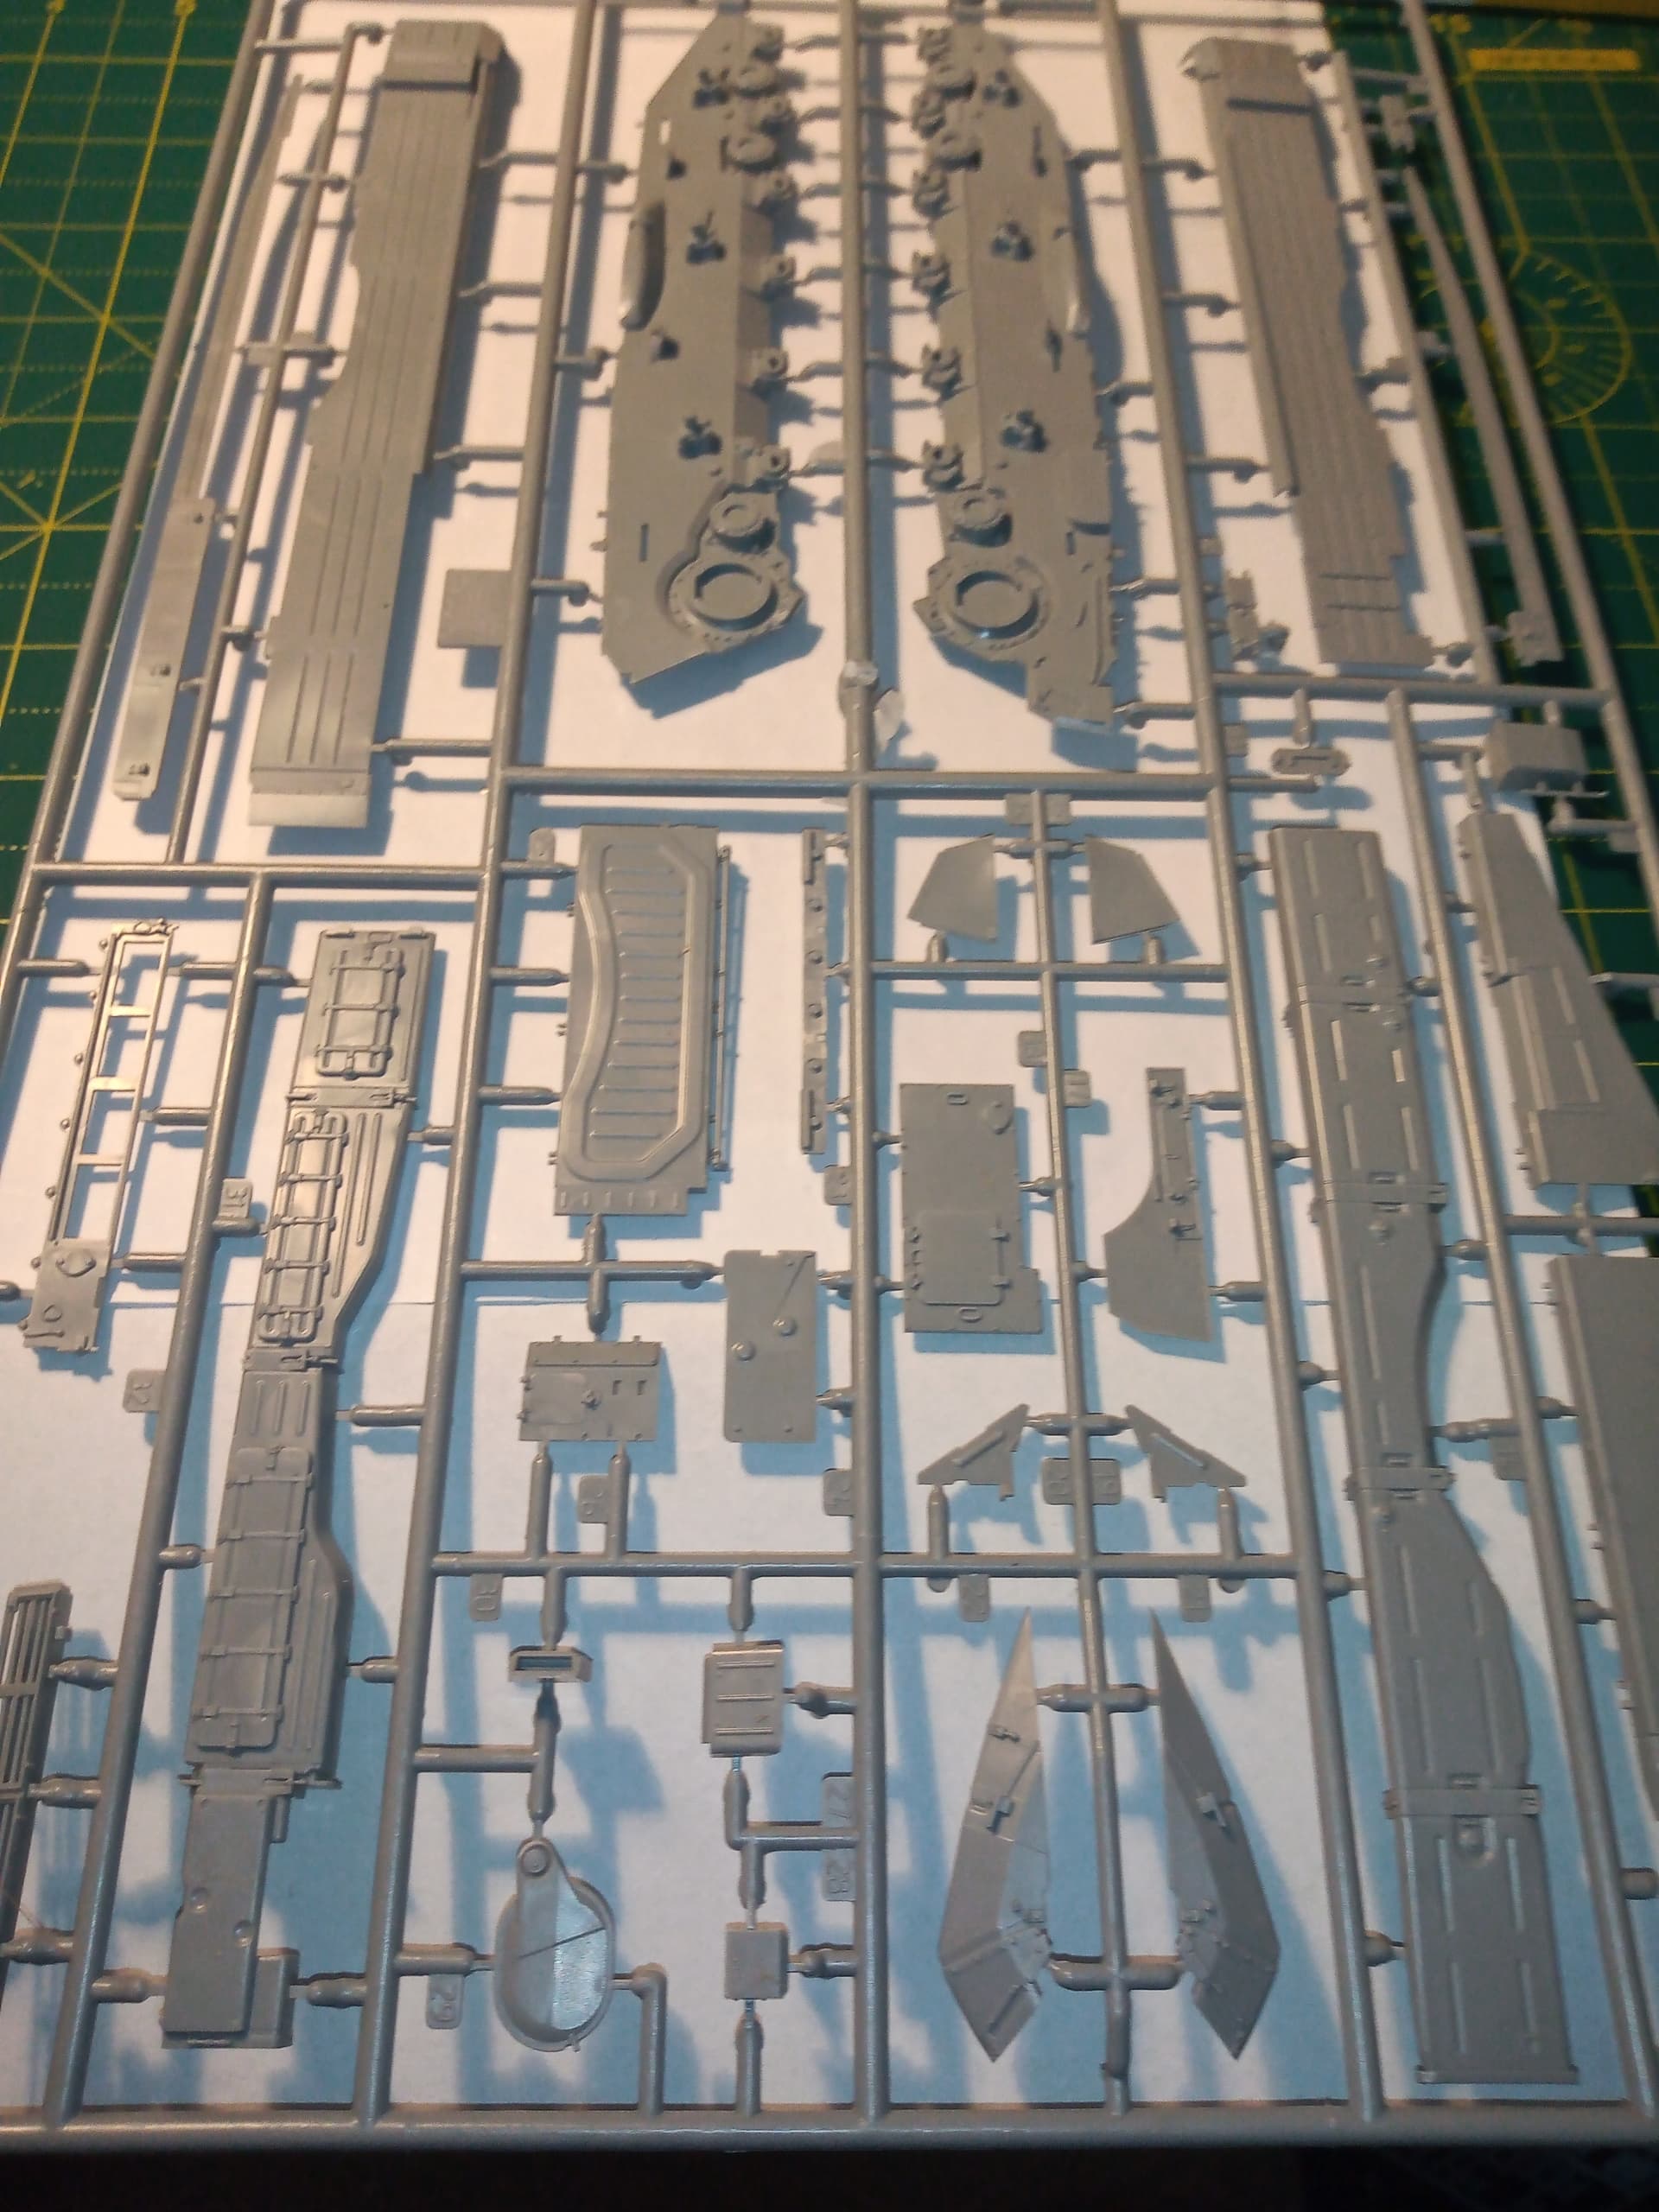
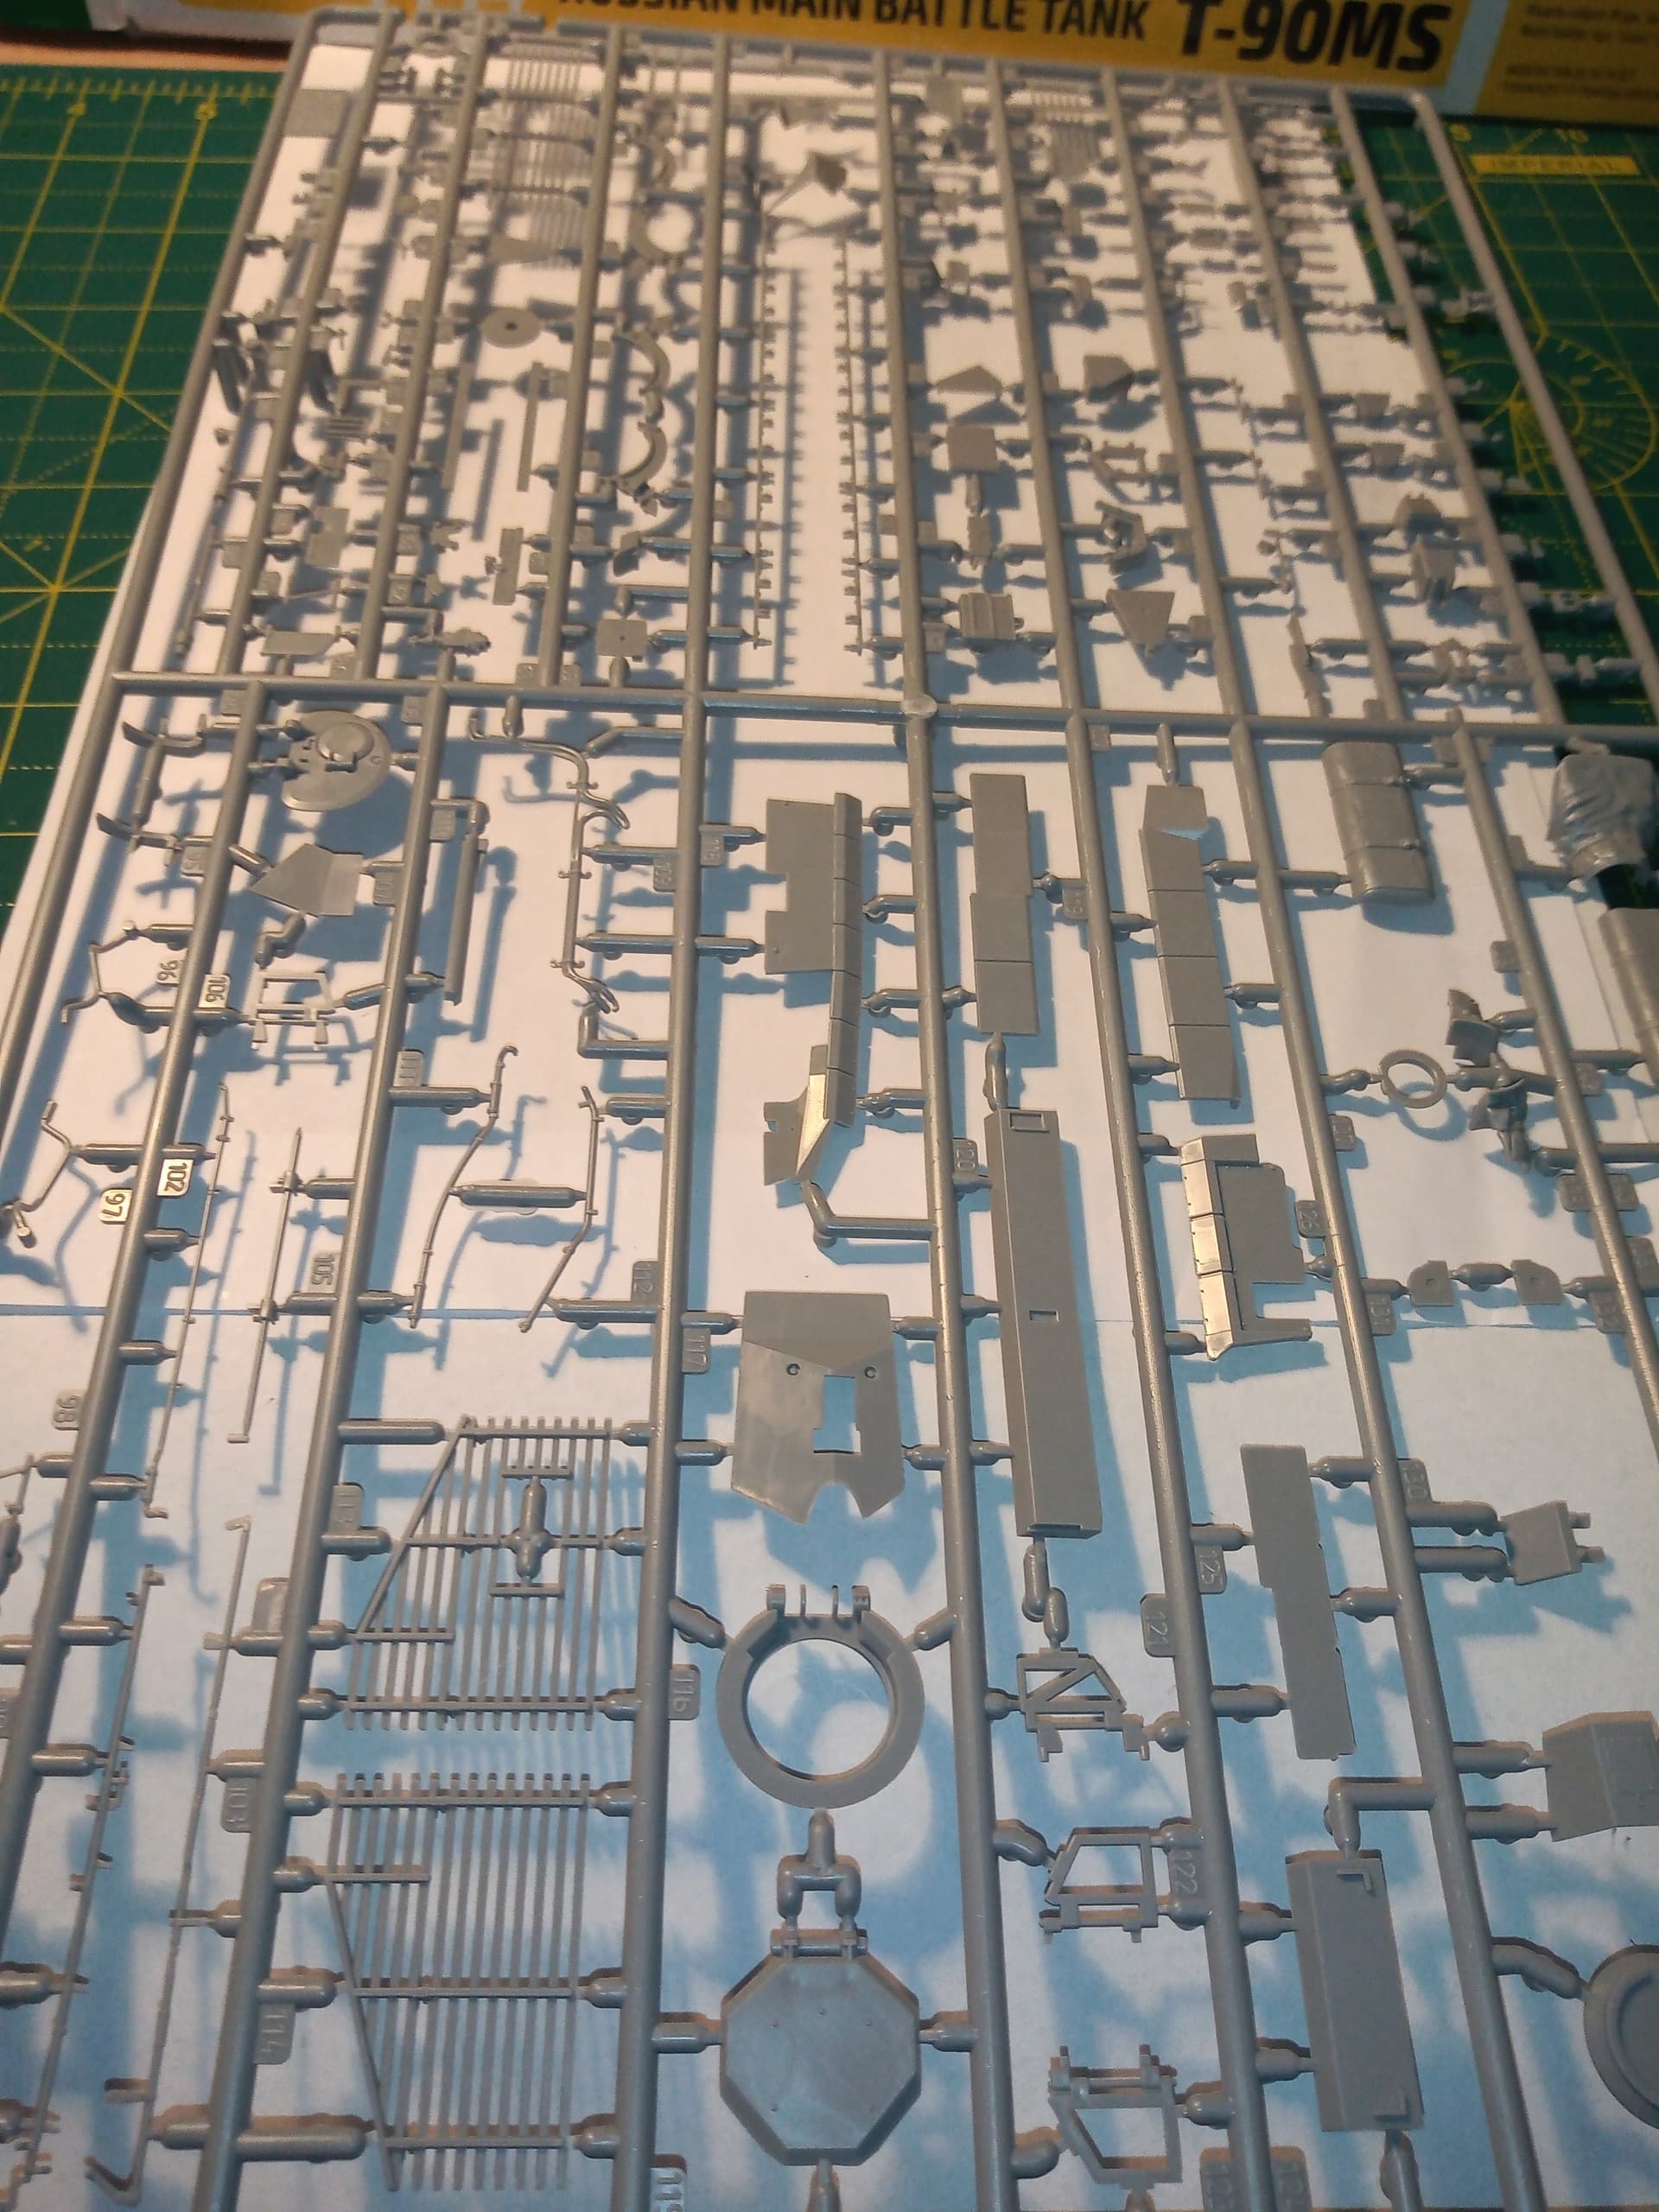
Altogether you have 12 sprues, some doubled up in a grey plastic. You also get a clear sprue and 2 types of netting instead of PE grill, and string for the recovery ropes. Details look crisp and well moulded; like the Pantsir though, there do look like some thin and delicate parts which will take some care getting removed.
6 of these
2 of these
Comes as link and length track as well.
Will cut a bit of plastic to get the ball rolling later.
Looks very nice. I have the first one they came out with. Can’t wait to see what you do with this one Johnny. I’ll be following this
Looking forward to the build & aling for the ride.
Zvezda have upped their game in recent years in terms of fit and quality. This should be streets ahead of my BTR80A.
Hopefully the fit and quality will be the same as the Pantsir…or if even close I’ll very happy
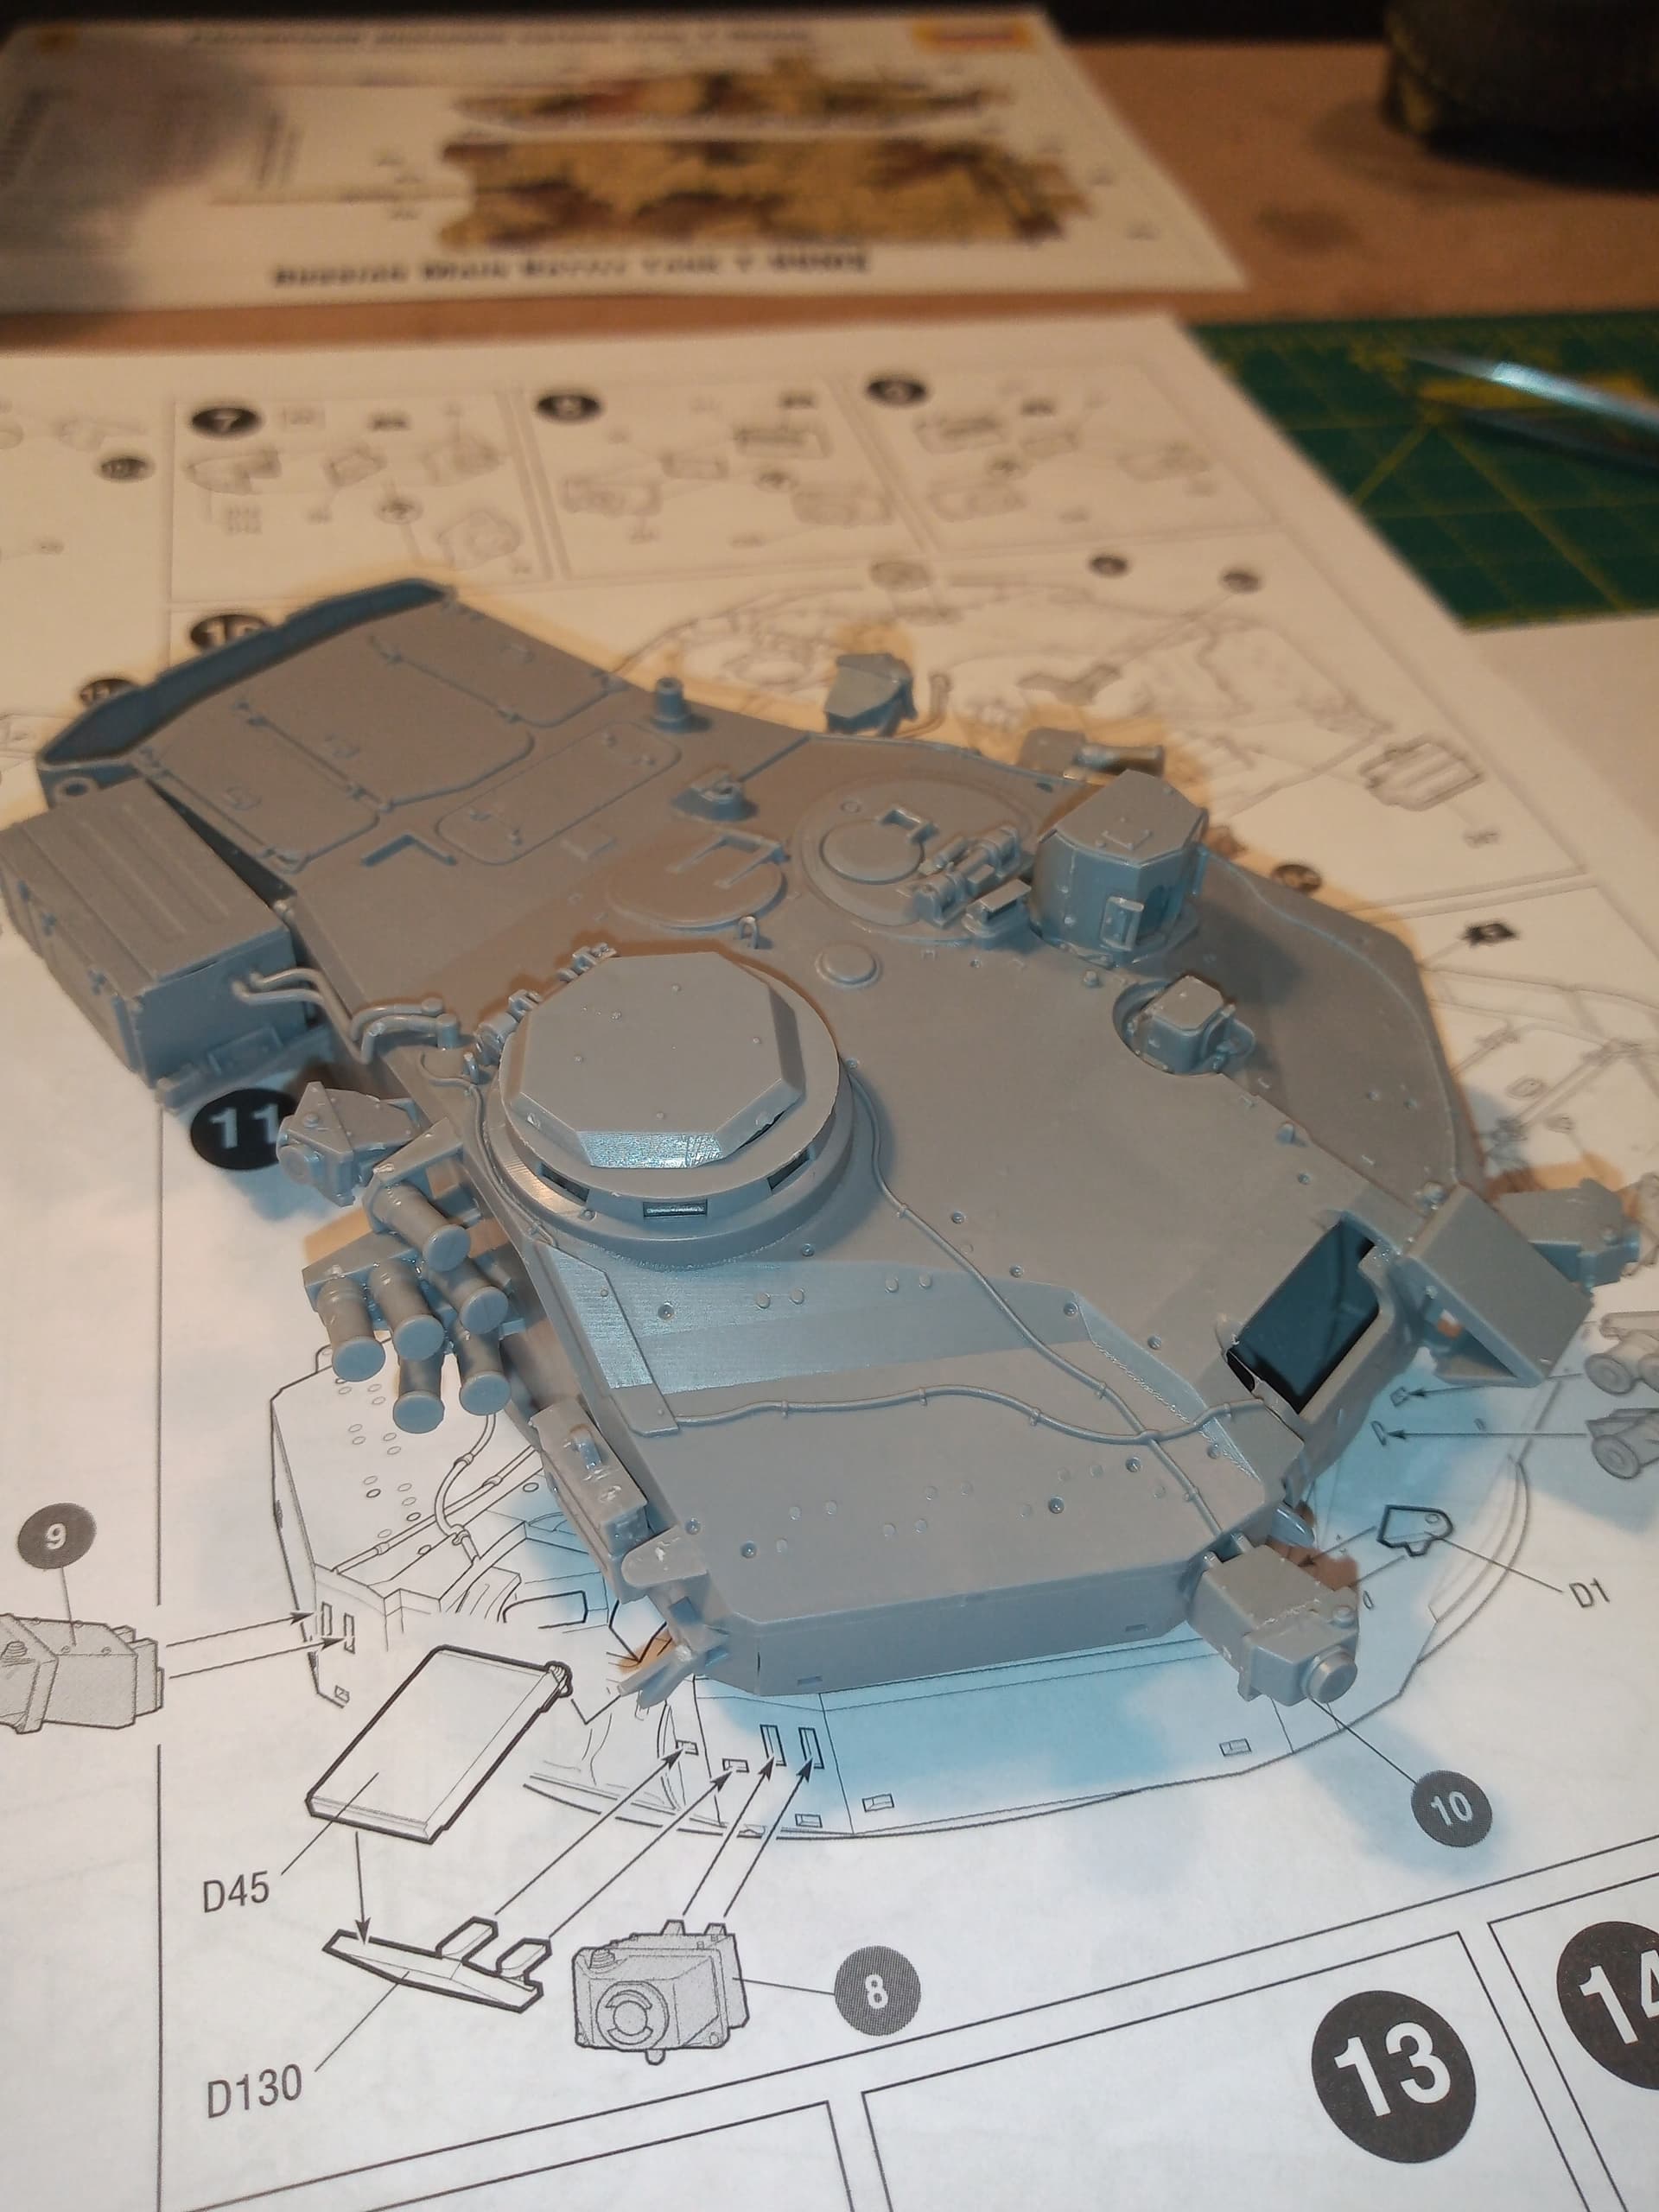
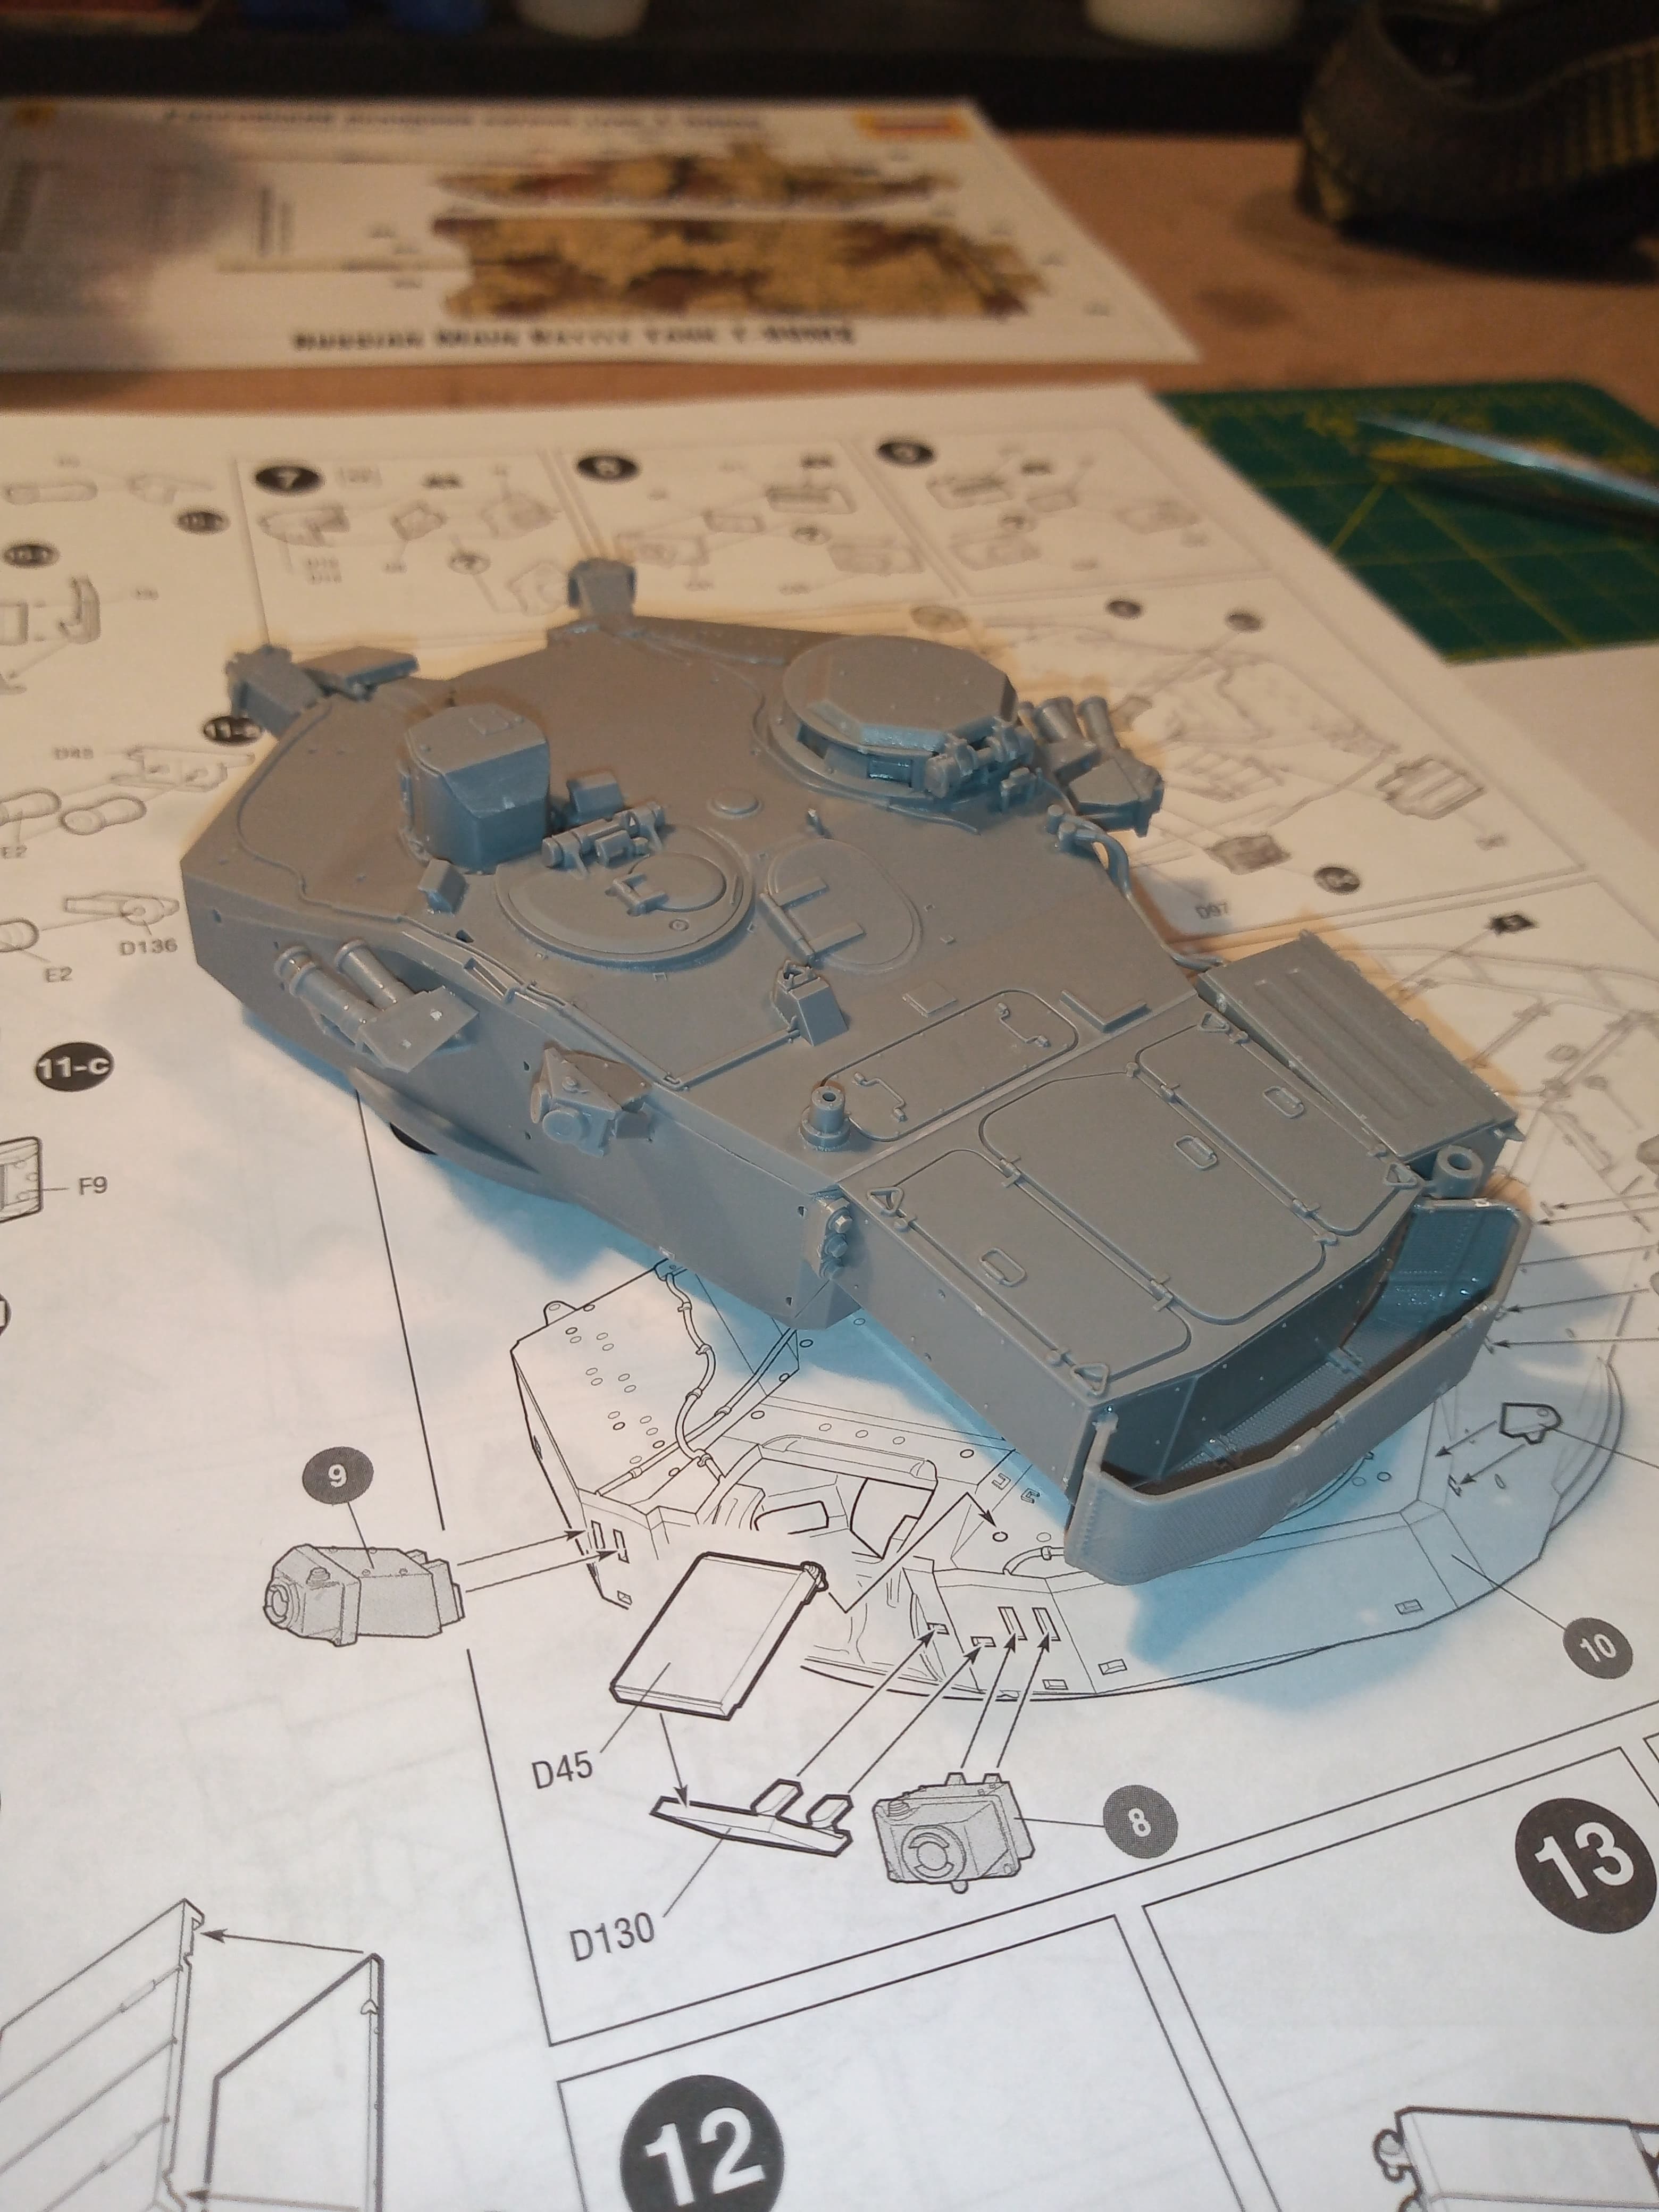
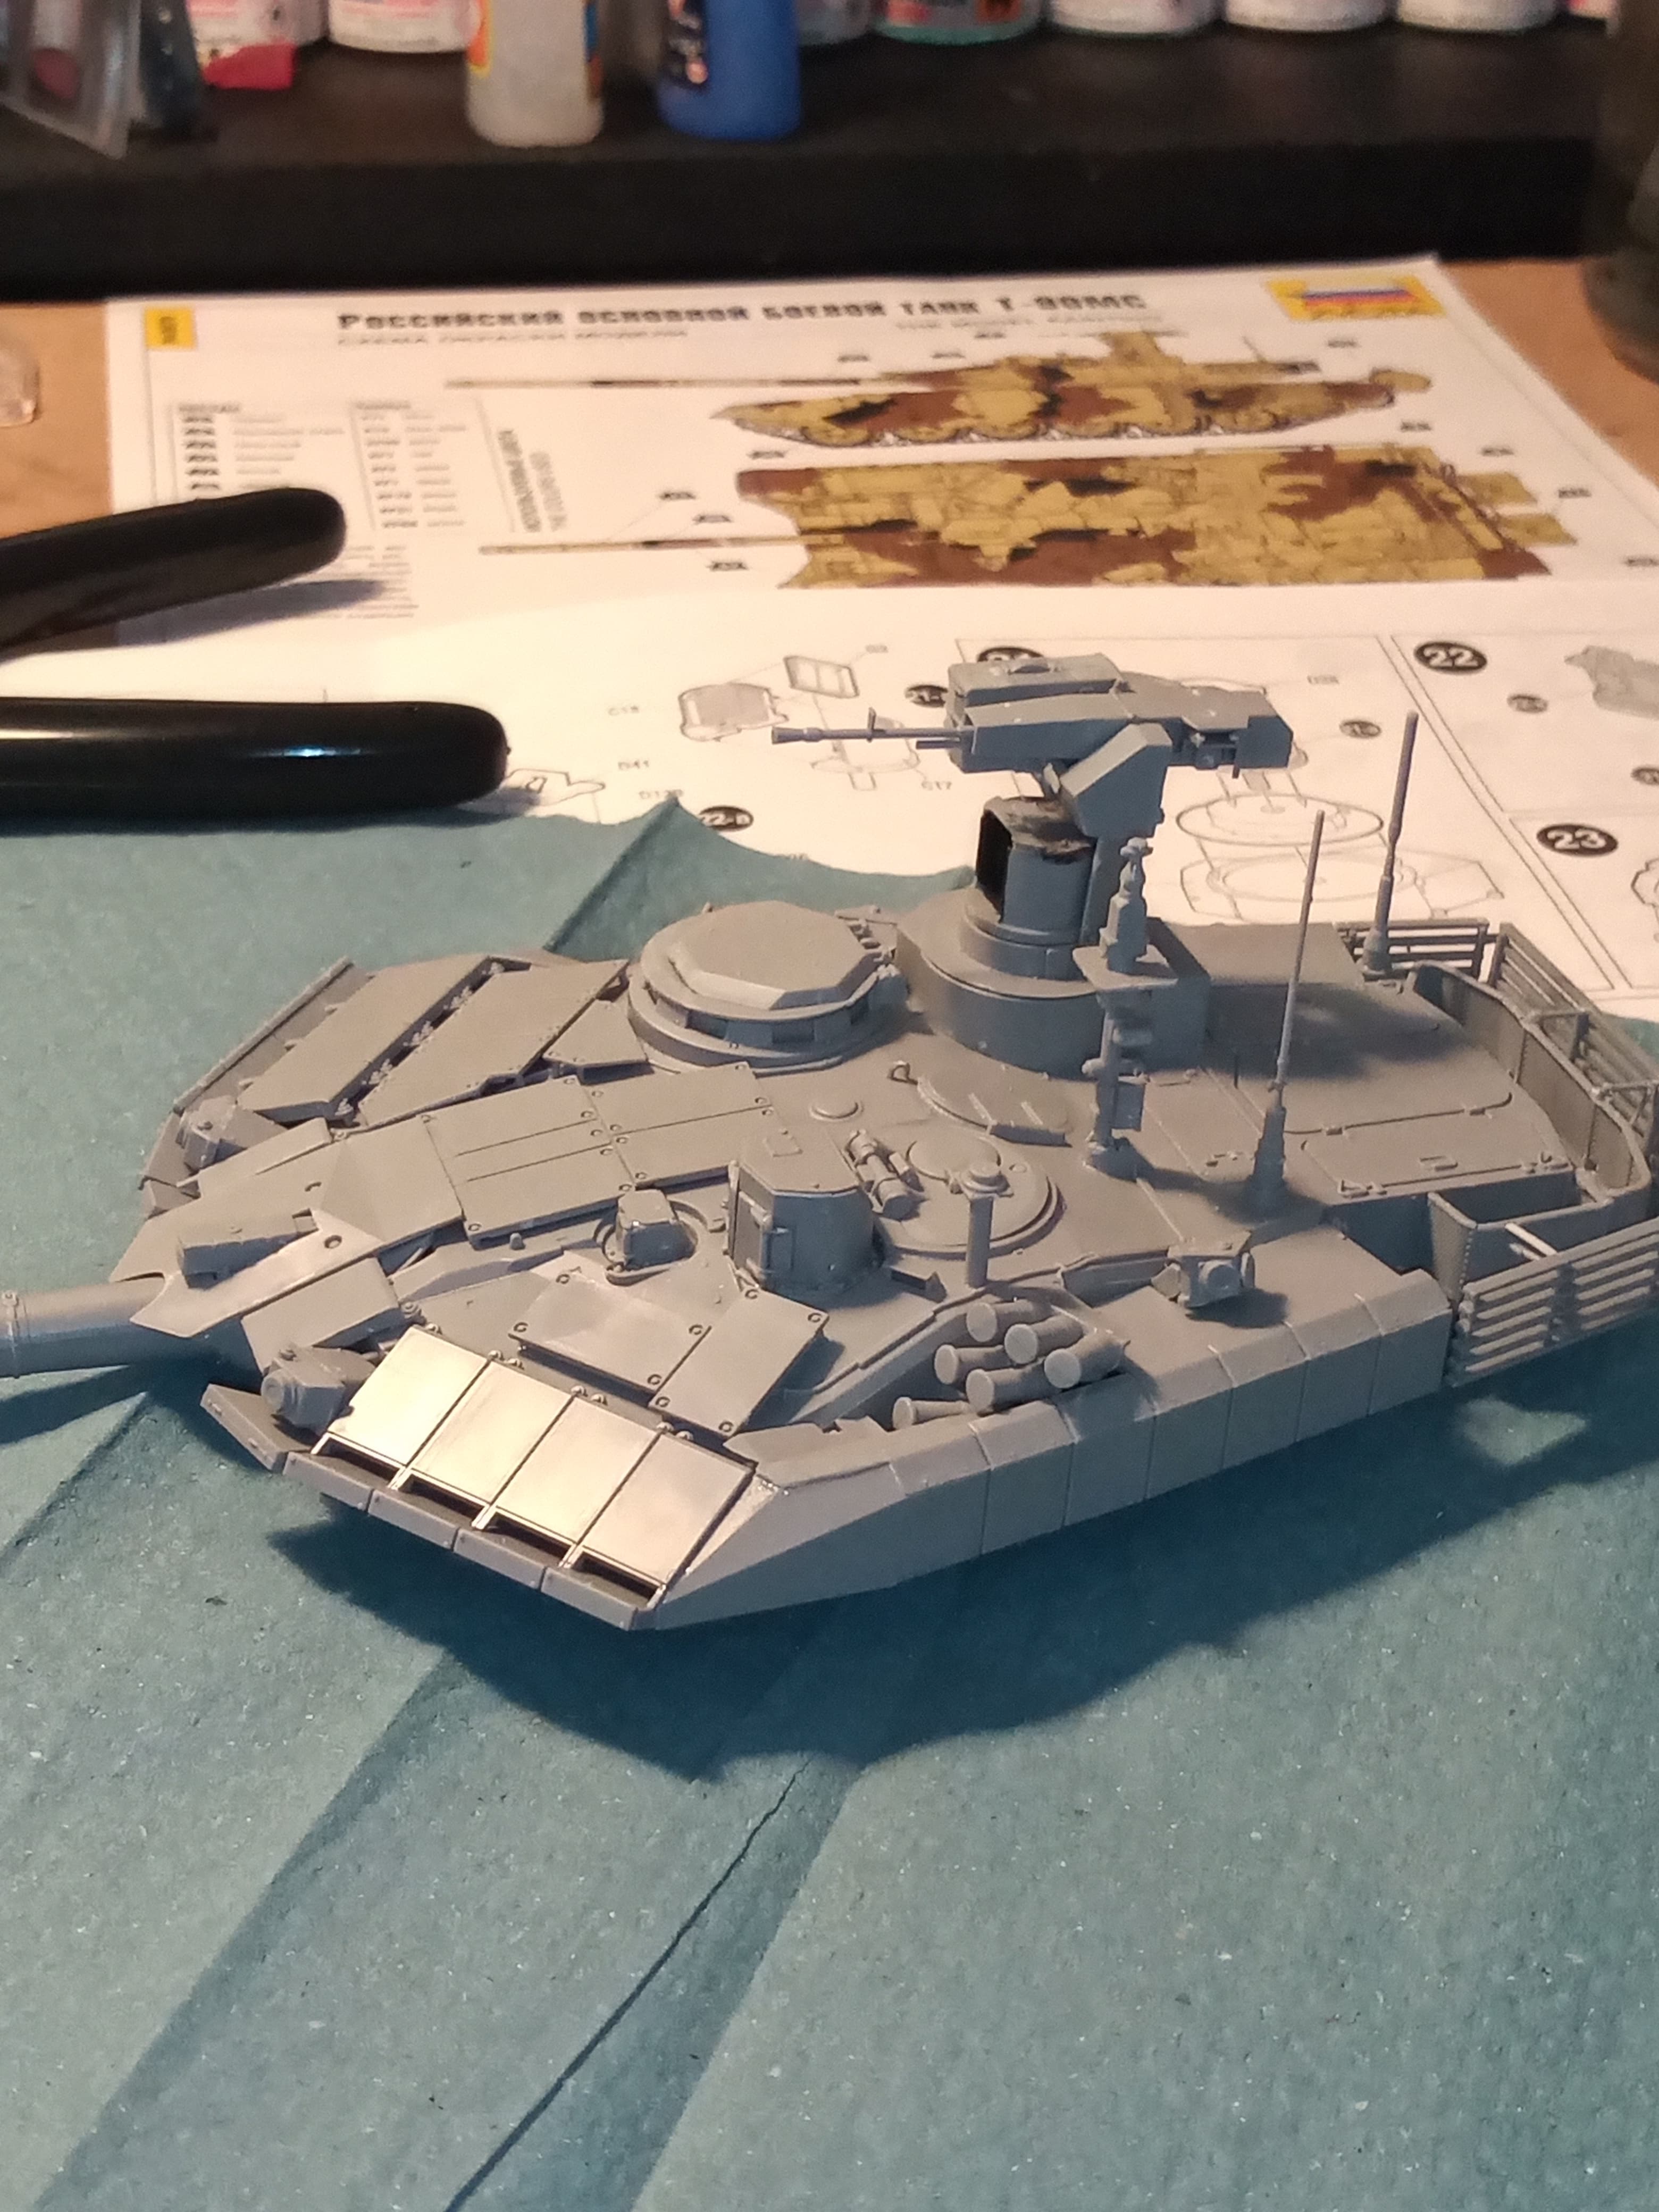
Managed to get up to stage 12 with the turret.
Fit is good throughout and no real issues as yet. I did lose one tiny bit to the carpet monster. Tried for 30min to find then gave up so bodged a bit in the empty space.
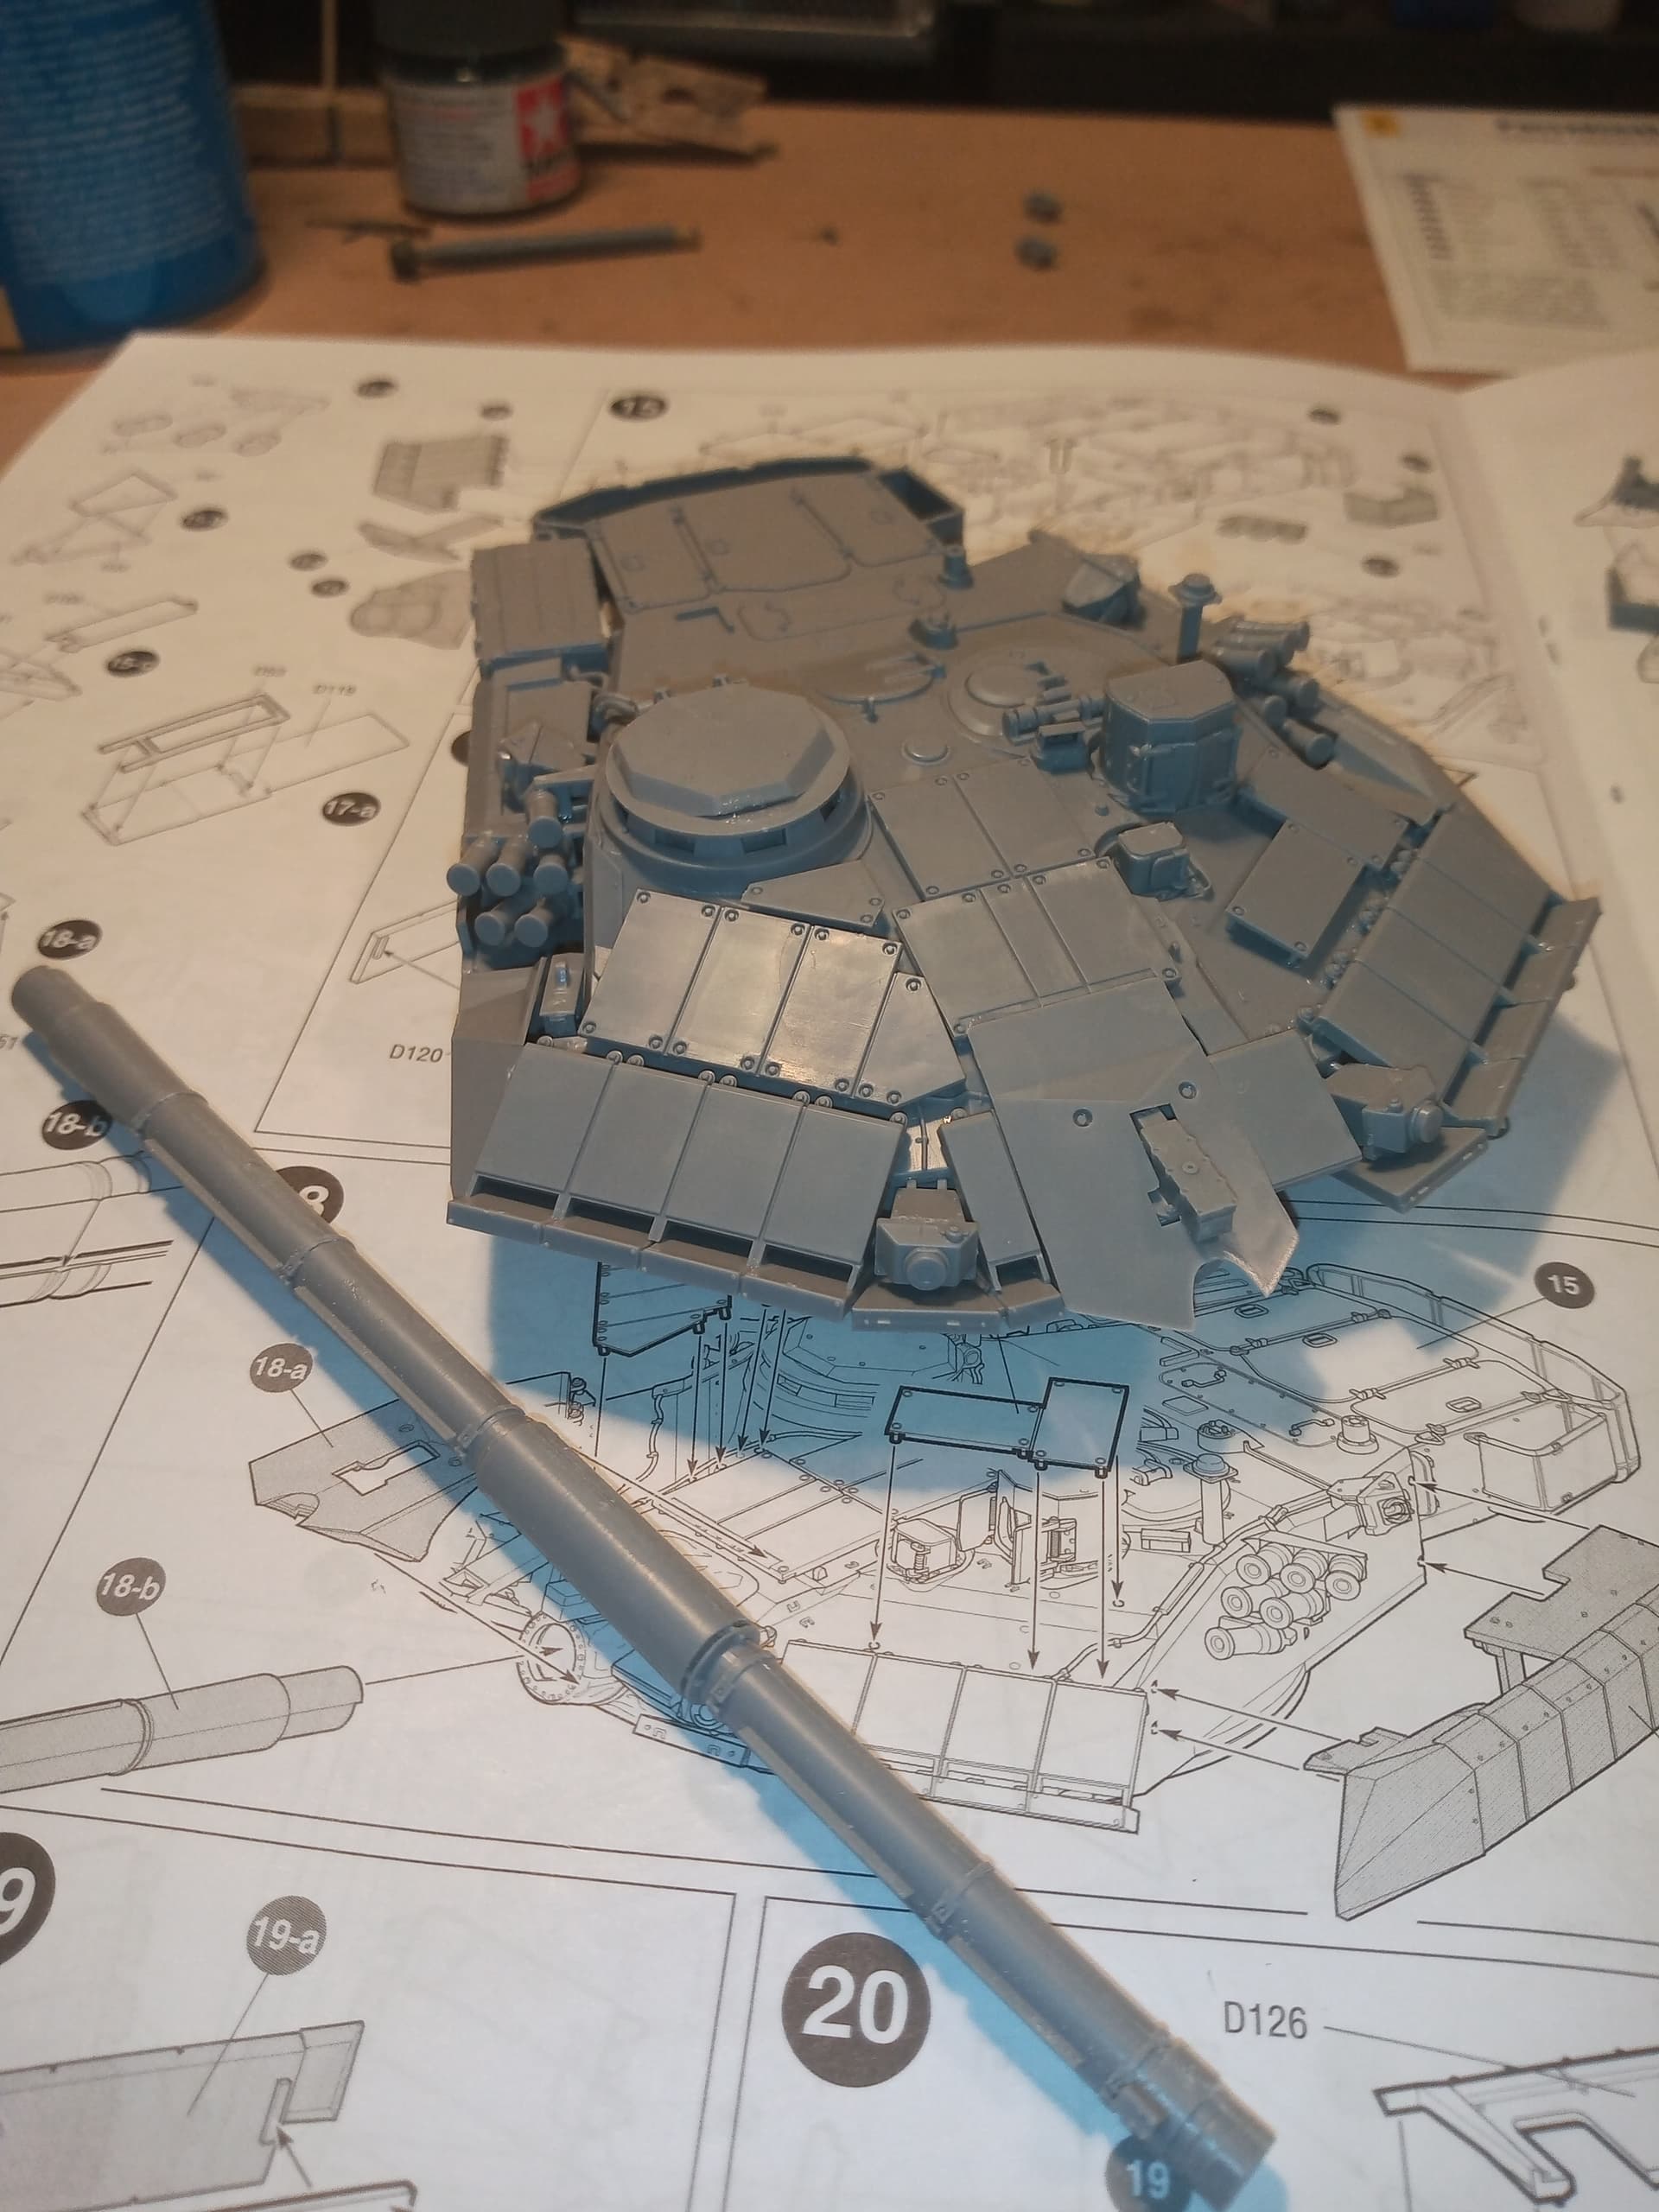
There are some insanely small and also a fair few thin and fragile pieces on the sprues. I have already found one fragile Z shape piece broke but looks an easy fix.
I have this kit too, John. It’s my “travel kit”. I work on it at club build days every 3 months. I’ve got about 48 hours work into it and I’m still on the turret! This turret is a massive kit unto itself with all the systems it has bolted to it. There are more parts on this turret alone than in the entire newer Tamiya M3 Stuart kit! My turret is nearly finished though - just have to add the barrel - and I haven’t used a drop of putty anywhere. The engineering and fit of the parts in this kit are perfect. The molding is crisp and the detail is excellent. This kit has been a joy to build thus far and smooth sailing through the many sub-assemblies. A fun ride.
@Johnnych01 this looks to be an interesting build, i shall be following this i have never seen anyone build one of these before.
Haha wish I could say the same for my BTR kit, it seems all I do is putty up.
What you do in your private time should remain private ![]()
![]()
![]()
I agree Matt, it’s a lovely kit and so far looking on the same level as the Pantsir for details and fit…my only very small gripe is the size of some of the bits… Admittedly, I think they have to be done this way as if you tried to include them in any moulding, they would probably end up as just blobs…
I should have the turret done tonight fingers crossed. ![]()
Glad you’re enjoying it and dropping on to watch David, I think for bang to buck, with these new Zvezda kits they are excellent value for money when you weigh up detailing, ease of build, cost etc… It like the Terminator kits, I can get one of those for between £25 to £30 … You can’t grumble at that.
Looking good. Once you have glued the tracks consider removing the tabs that show between the link gaps and shouldnot be there in the first place. Also some generic pe mesh would be a nice improvement for the engine deck. Voyager and Aber have some nice patterns similar to the real one.
Thanks Nikos, will definitely look at that as I need some mesh in the stores box…![]()
Tonight’s installment… Not as far as I would of liked, but we got sidetracked taking the hound to the vets and then having to pick him up so the day got a bit disjointed.
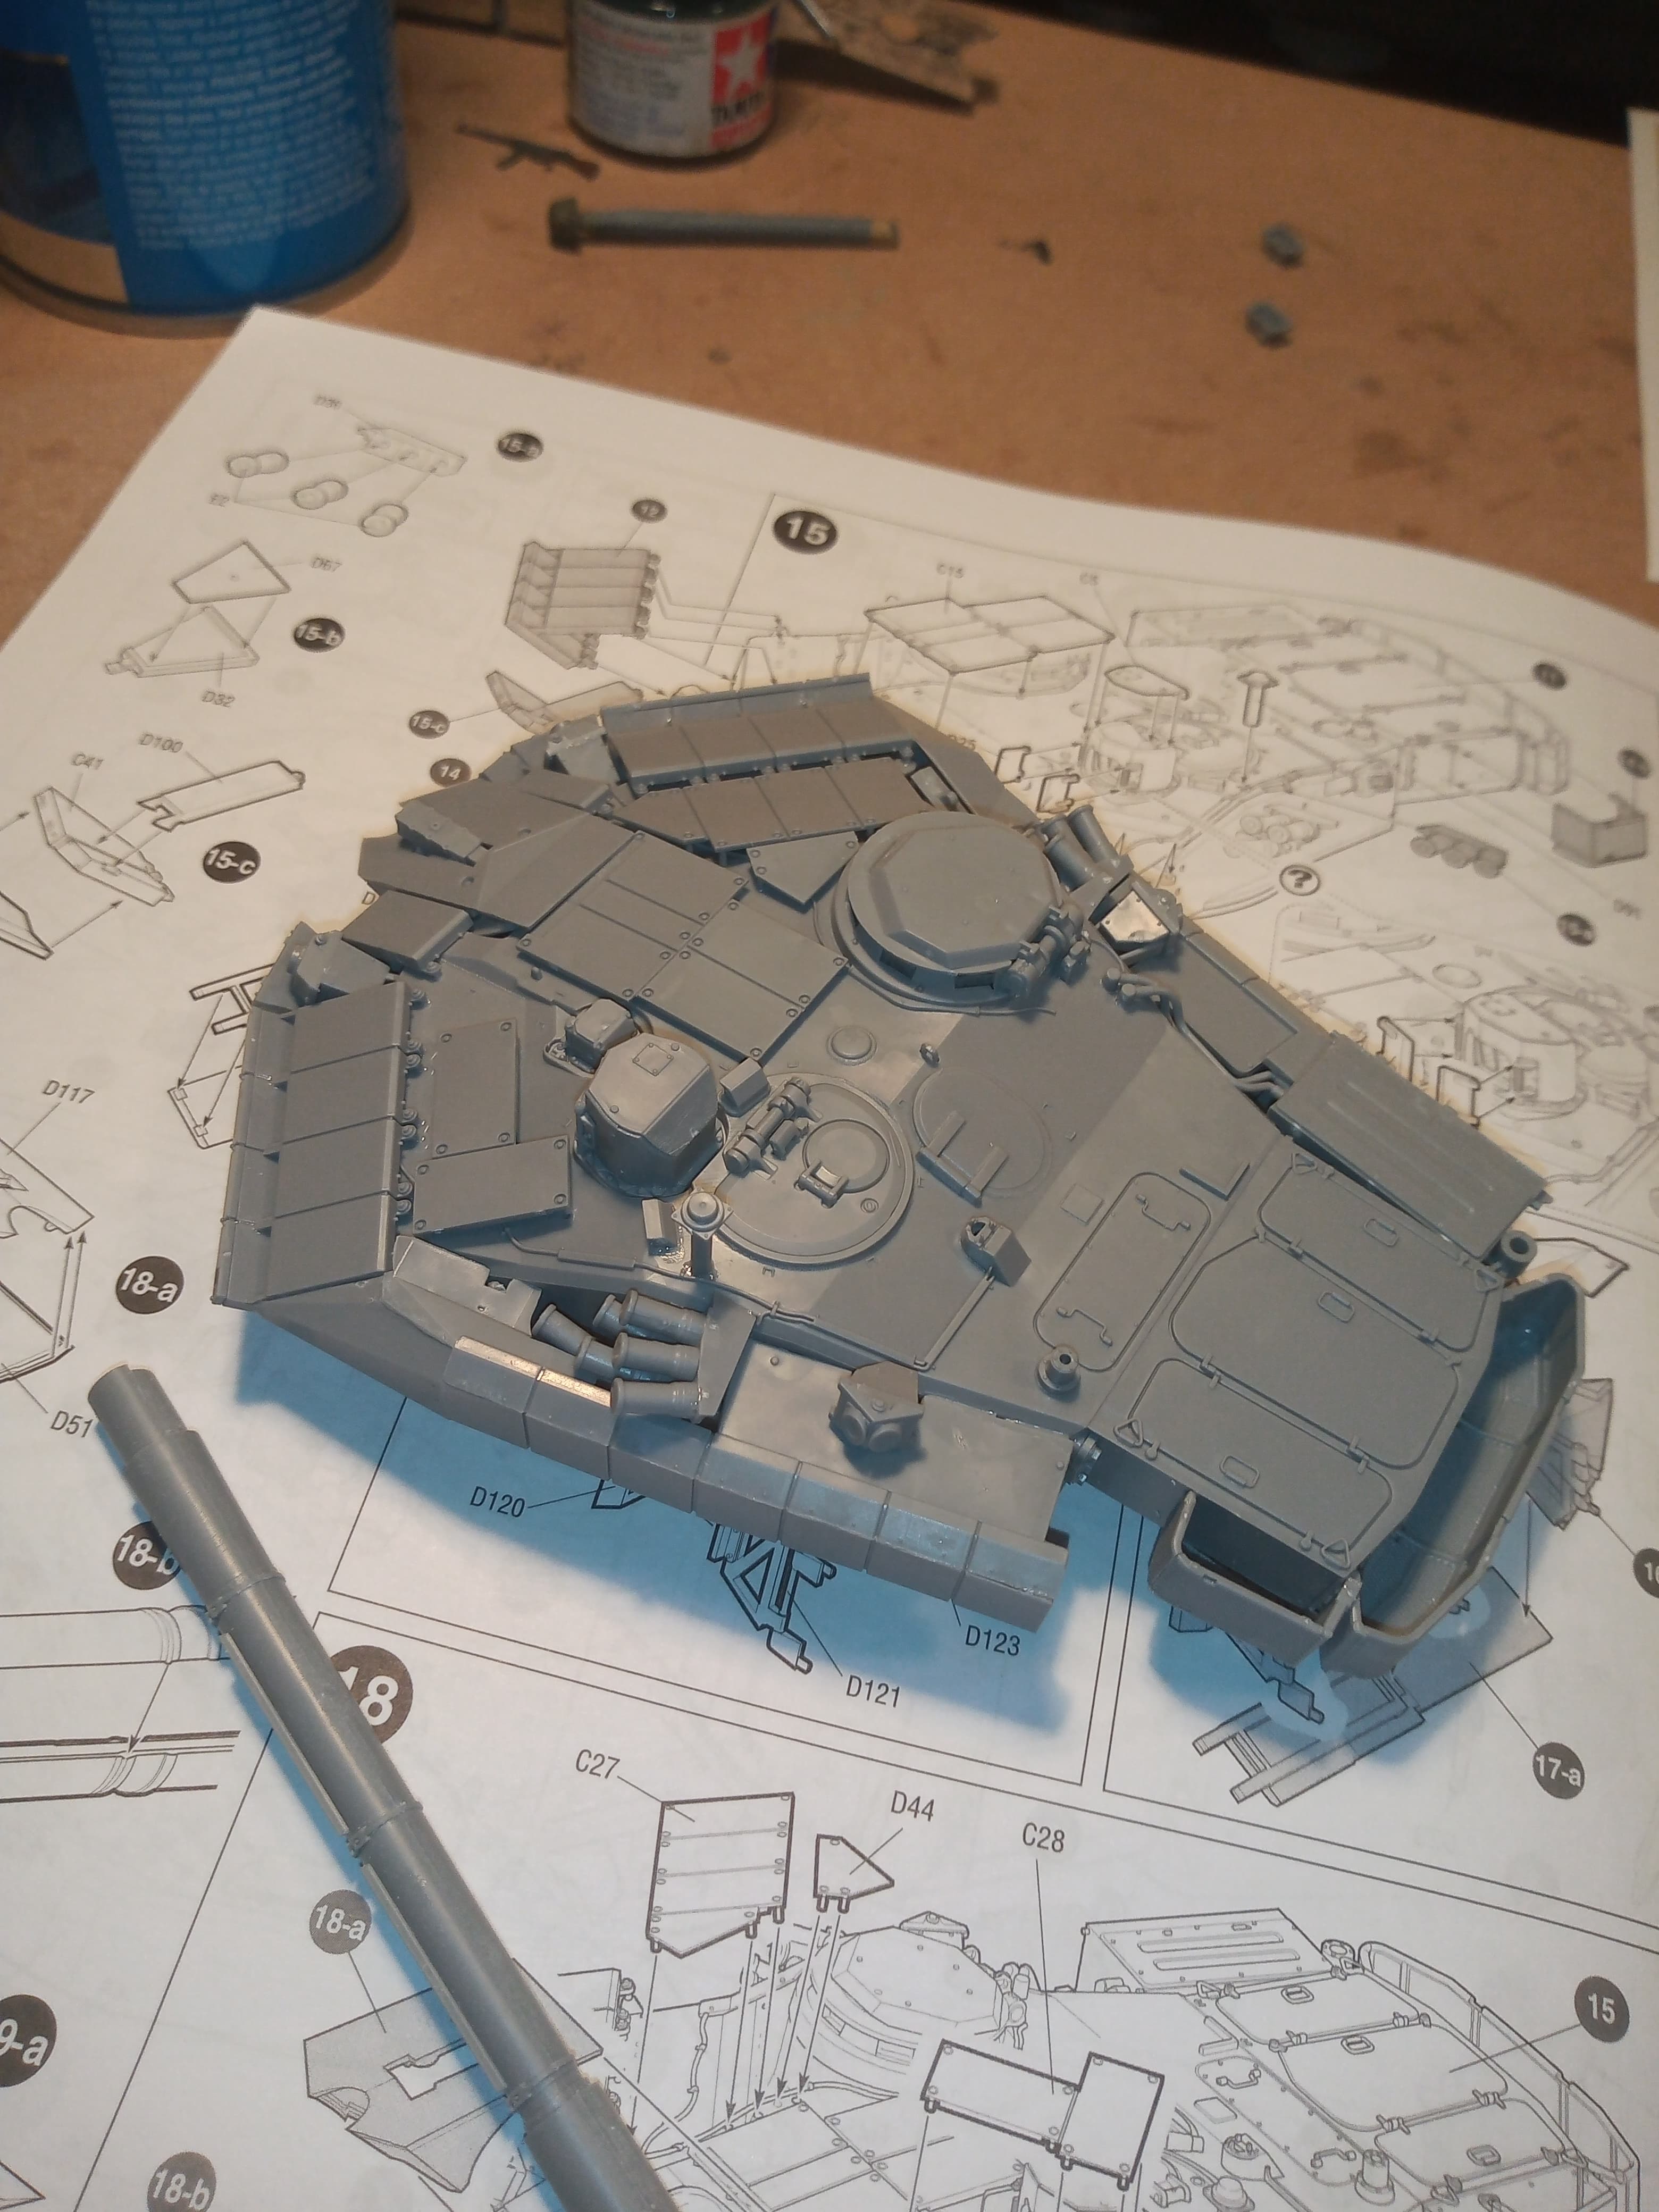
Turret is now about 85% done
You can see a slight gap on the underside of the Comd hatch … I think that was me when I was cleaning it up… Whoops… However, the gap is actually filled with superglue, so won’t be noticed when primed and painted.
The fit is pretty amazing, well to me anyway. With the intricate way the turret side and front armour packs build up, and then attach with very very small half moon connectors… Well they all lined up and slotted in perfectly… Couldn’t fault it.
So that’s where I am, this was where I wanted to be…
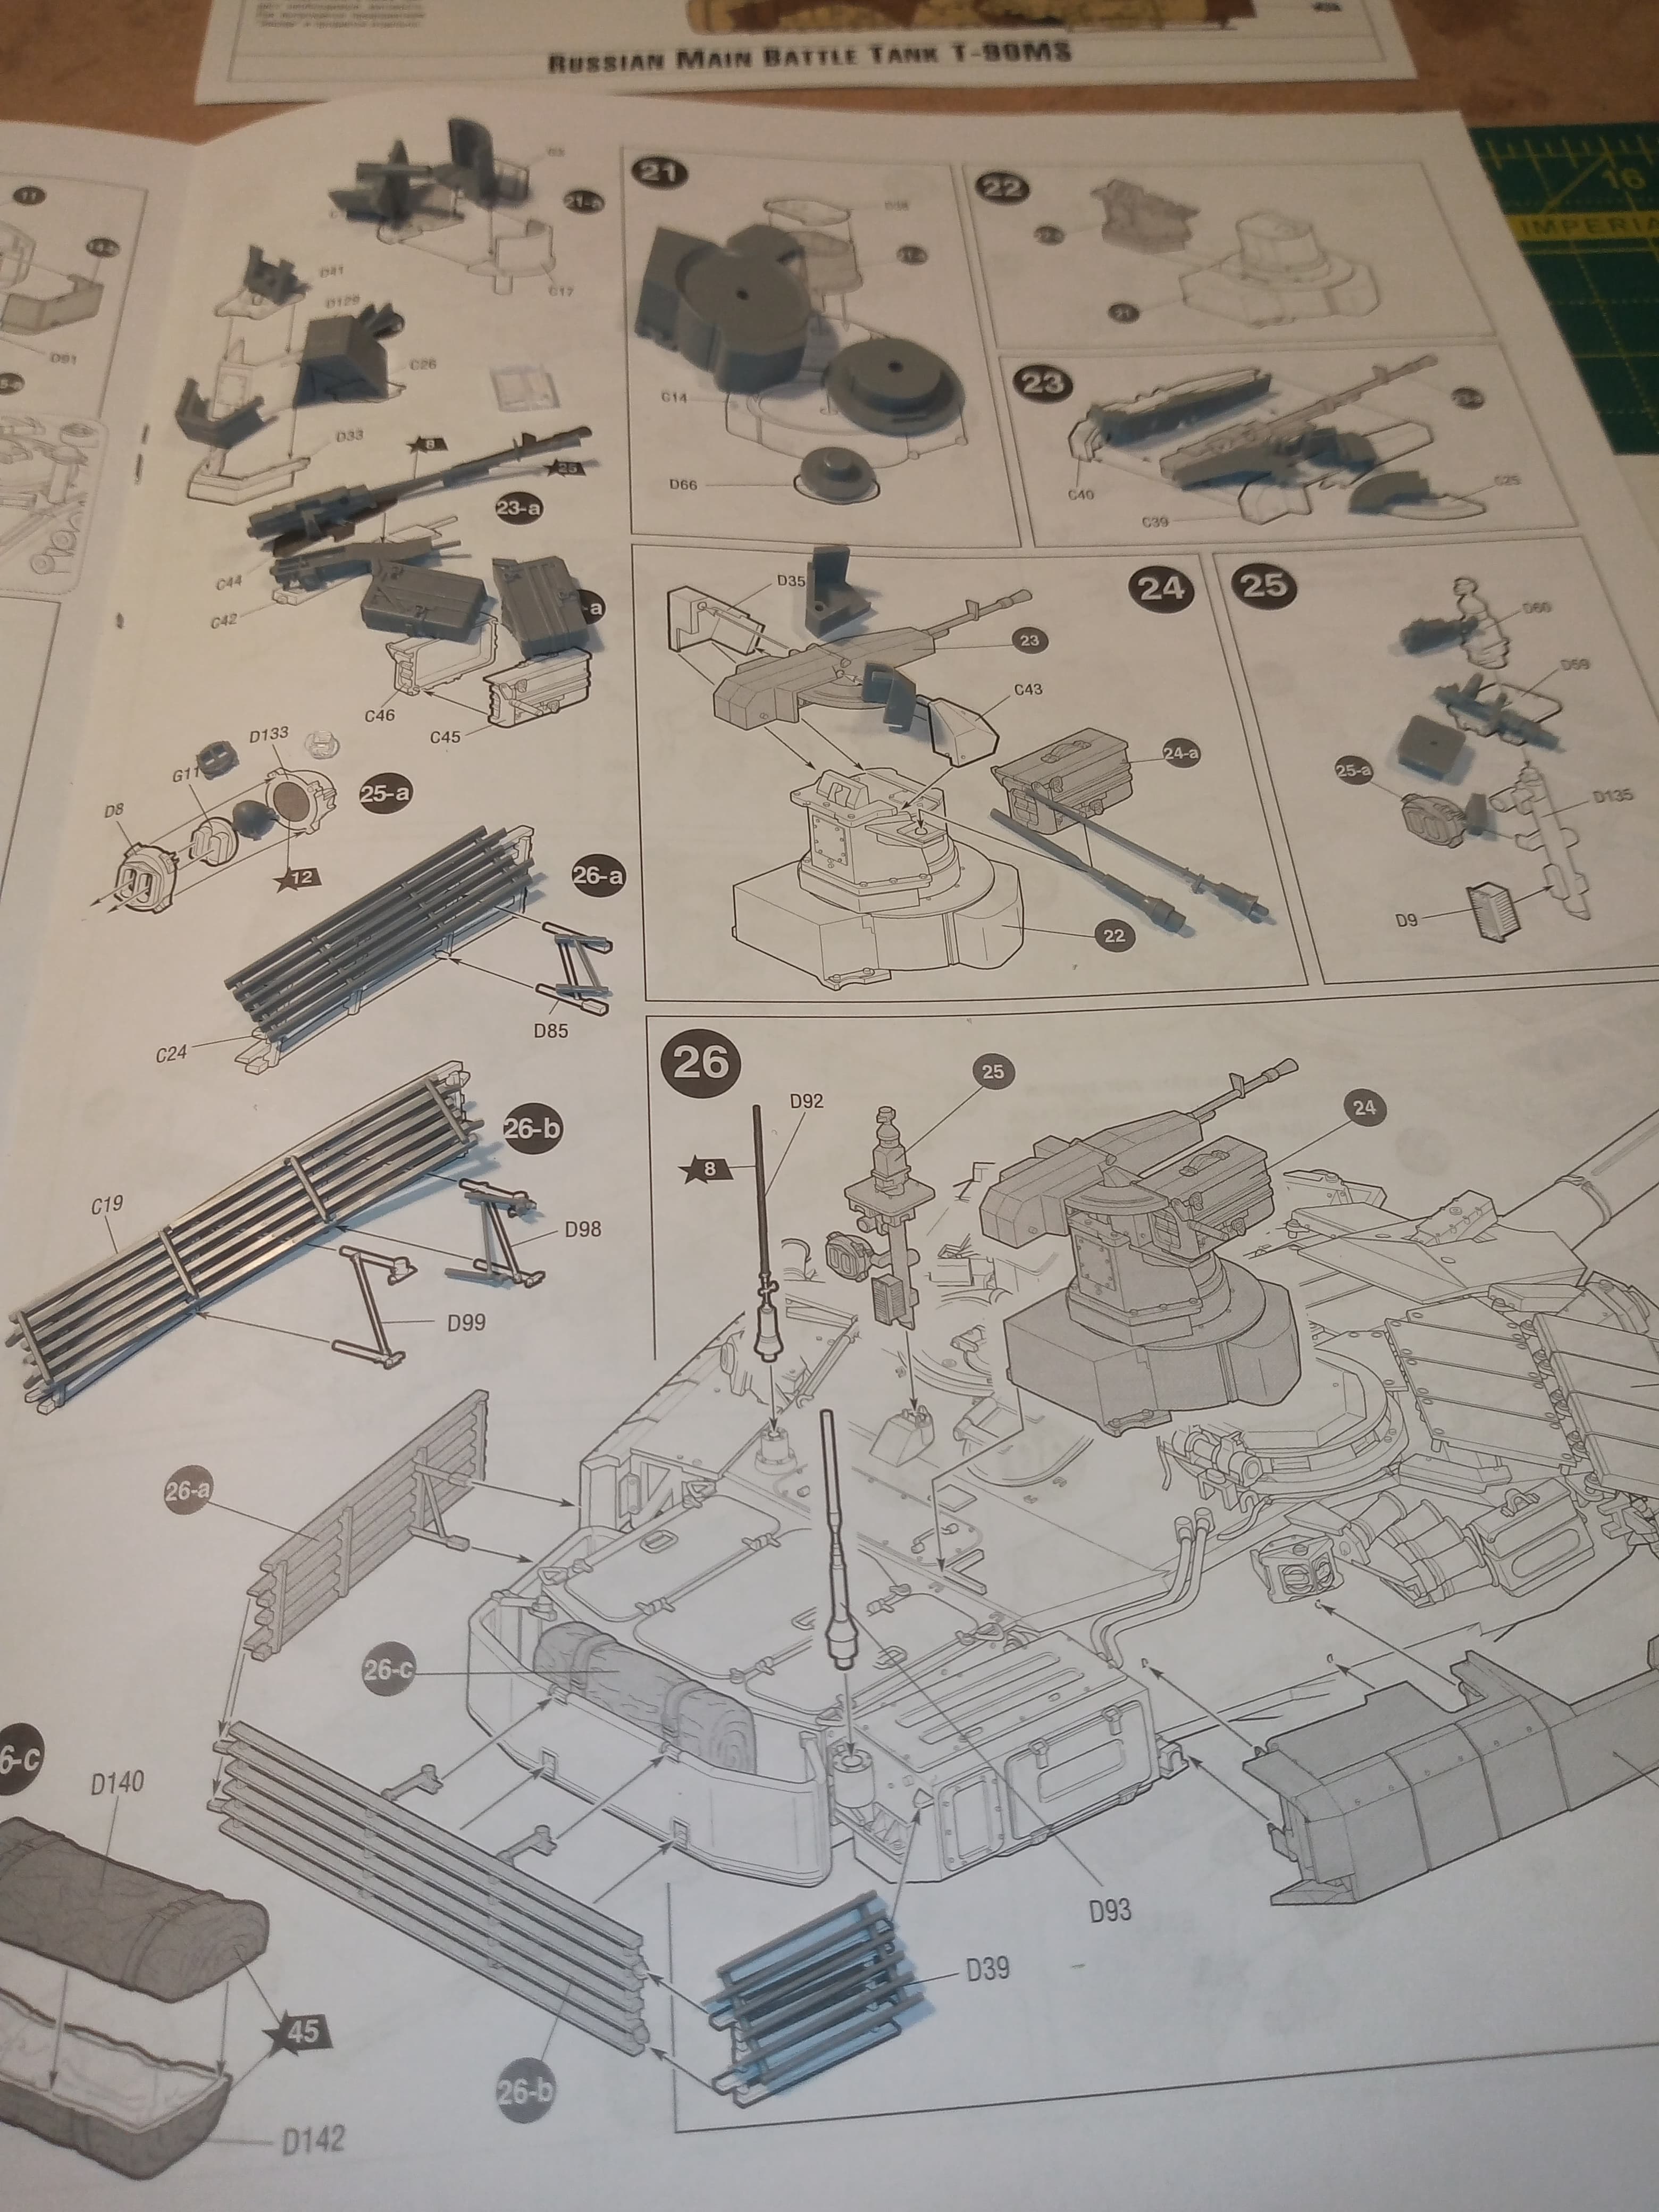
With this page completed… Not to be but, all the parts are cut and cleaned and ready to go tomorrow…
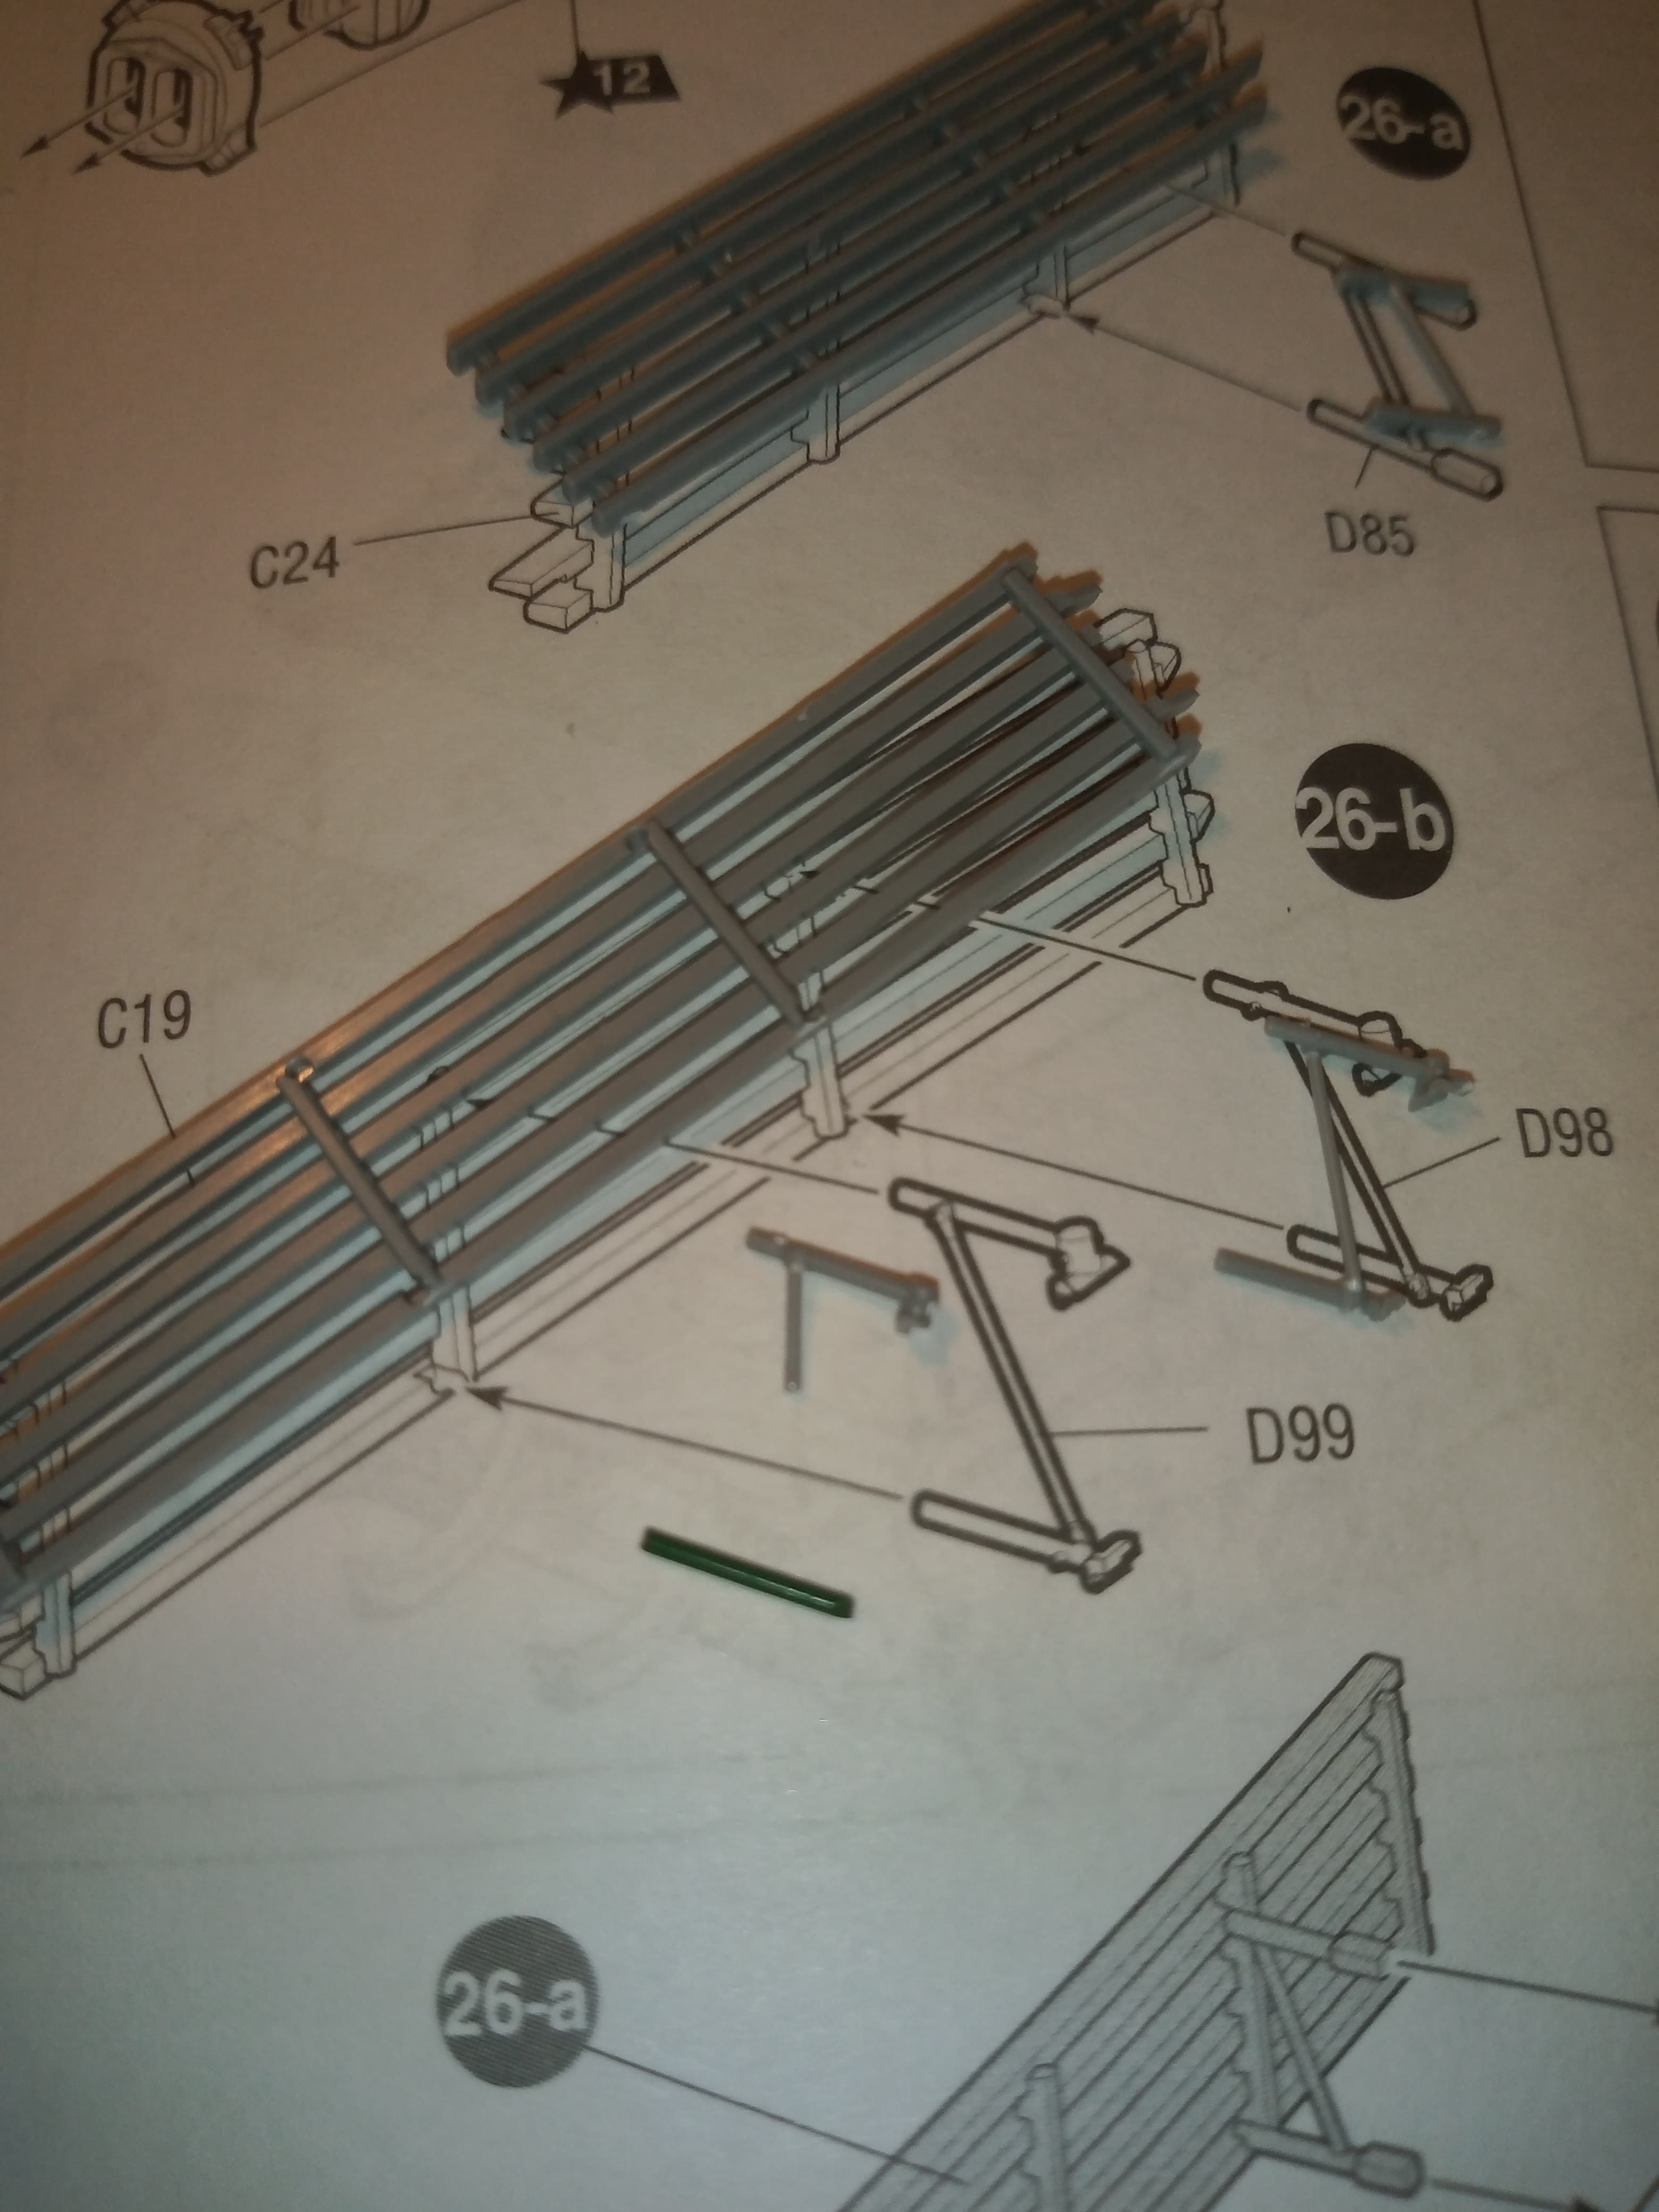
This was the delicate fragile piece that broke on the sprue D99 … I cut one piece… Then the other piece was cut…to be promptly devoured by the carpet beast… The actual part is a mounting bracket for the rear section of turret cage armour, so I will use the thick green piece of wire in the bottom of the mount to make it a bit more rigid. It wont really be seen when painted or fitted ![]()
Hopefully will get complete and make a start on the hull tomorrow ![]()
Coming along for the Ride. Some lovely detail in the Kit and a very nice start you made also…Cheers Mark
Thanks Mark, hope you enjoy tuning in when you get the chance.
The turret is now finished on the assembly.
An error on my part with LH rear basket, although the instructions could be a bit clearer and on those, it looks like a part is there to fit the upper front to, but I cannot find it nor is it numbered… It just looks like there’s this extra ghost part on instructions… Anyway, that basket should sit slightly lower down and I think at a slight forward angle to all the brackets on the slat armour to fit.
Mine didn’t.
Because of that the bracket sits l
low and misses the upper mounting point on the basket. To try and hide the error, I cut a thin piece of plastirod and put it in at an angle so it joins the basket mount.
This is the repair to the rear slat armour bracket (D99), I put a sturdy piece of metal rod in the bottom mounting (I lost that piece when it snapped) and then some thin wire to show the angled support from top to bottom. I did it at the opposite angle simply because it was easier.
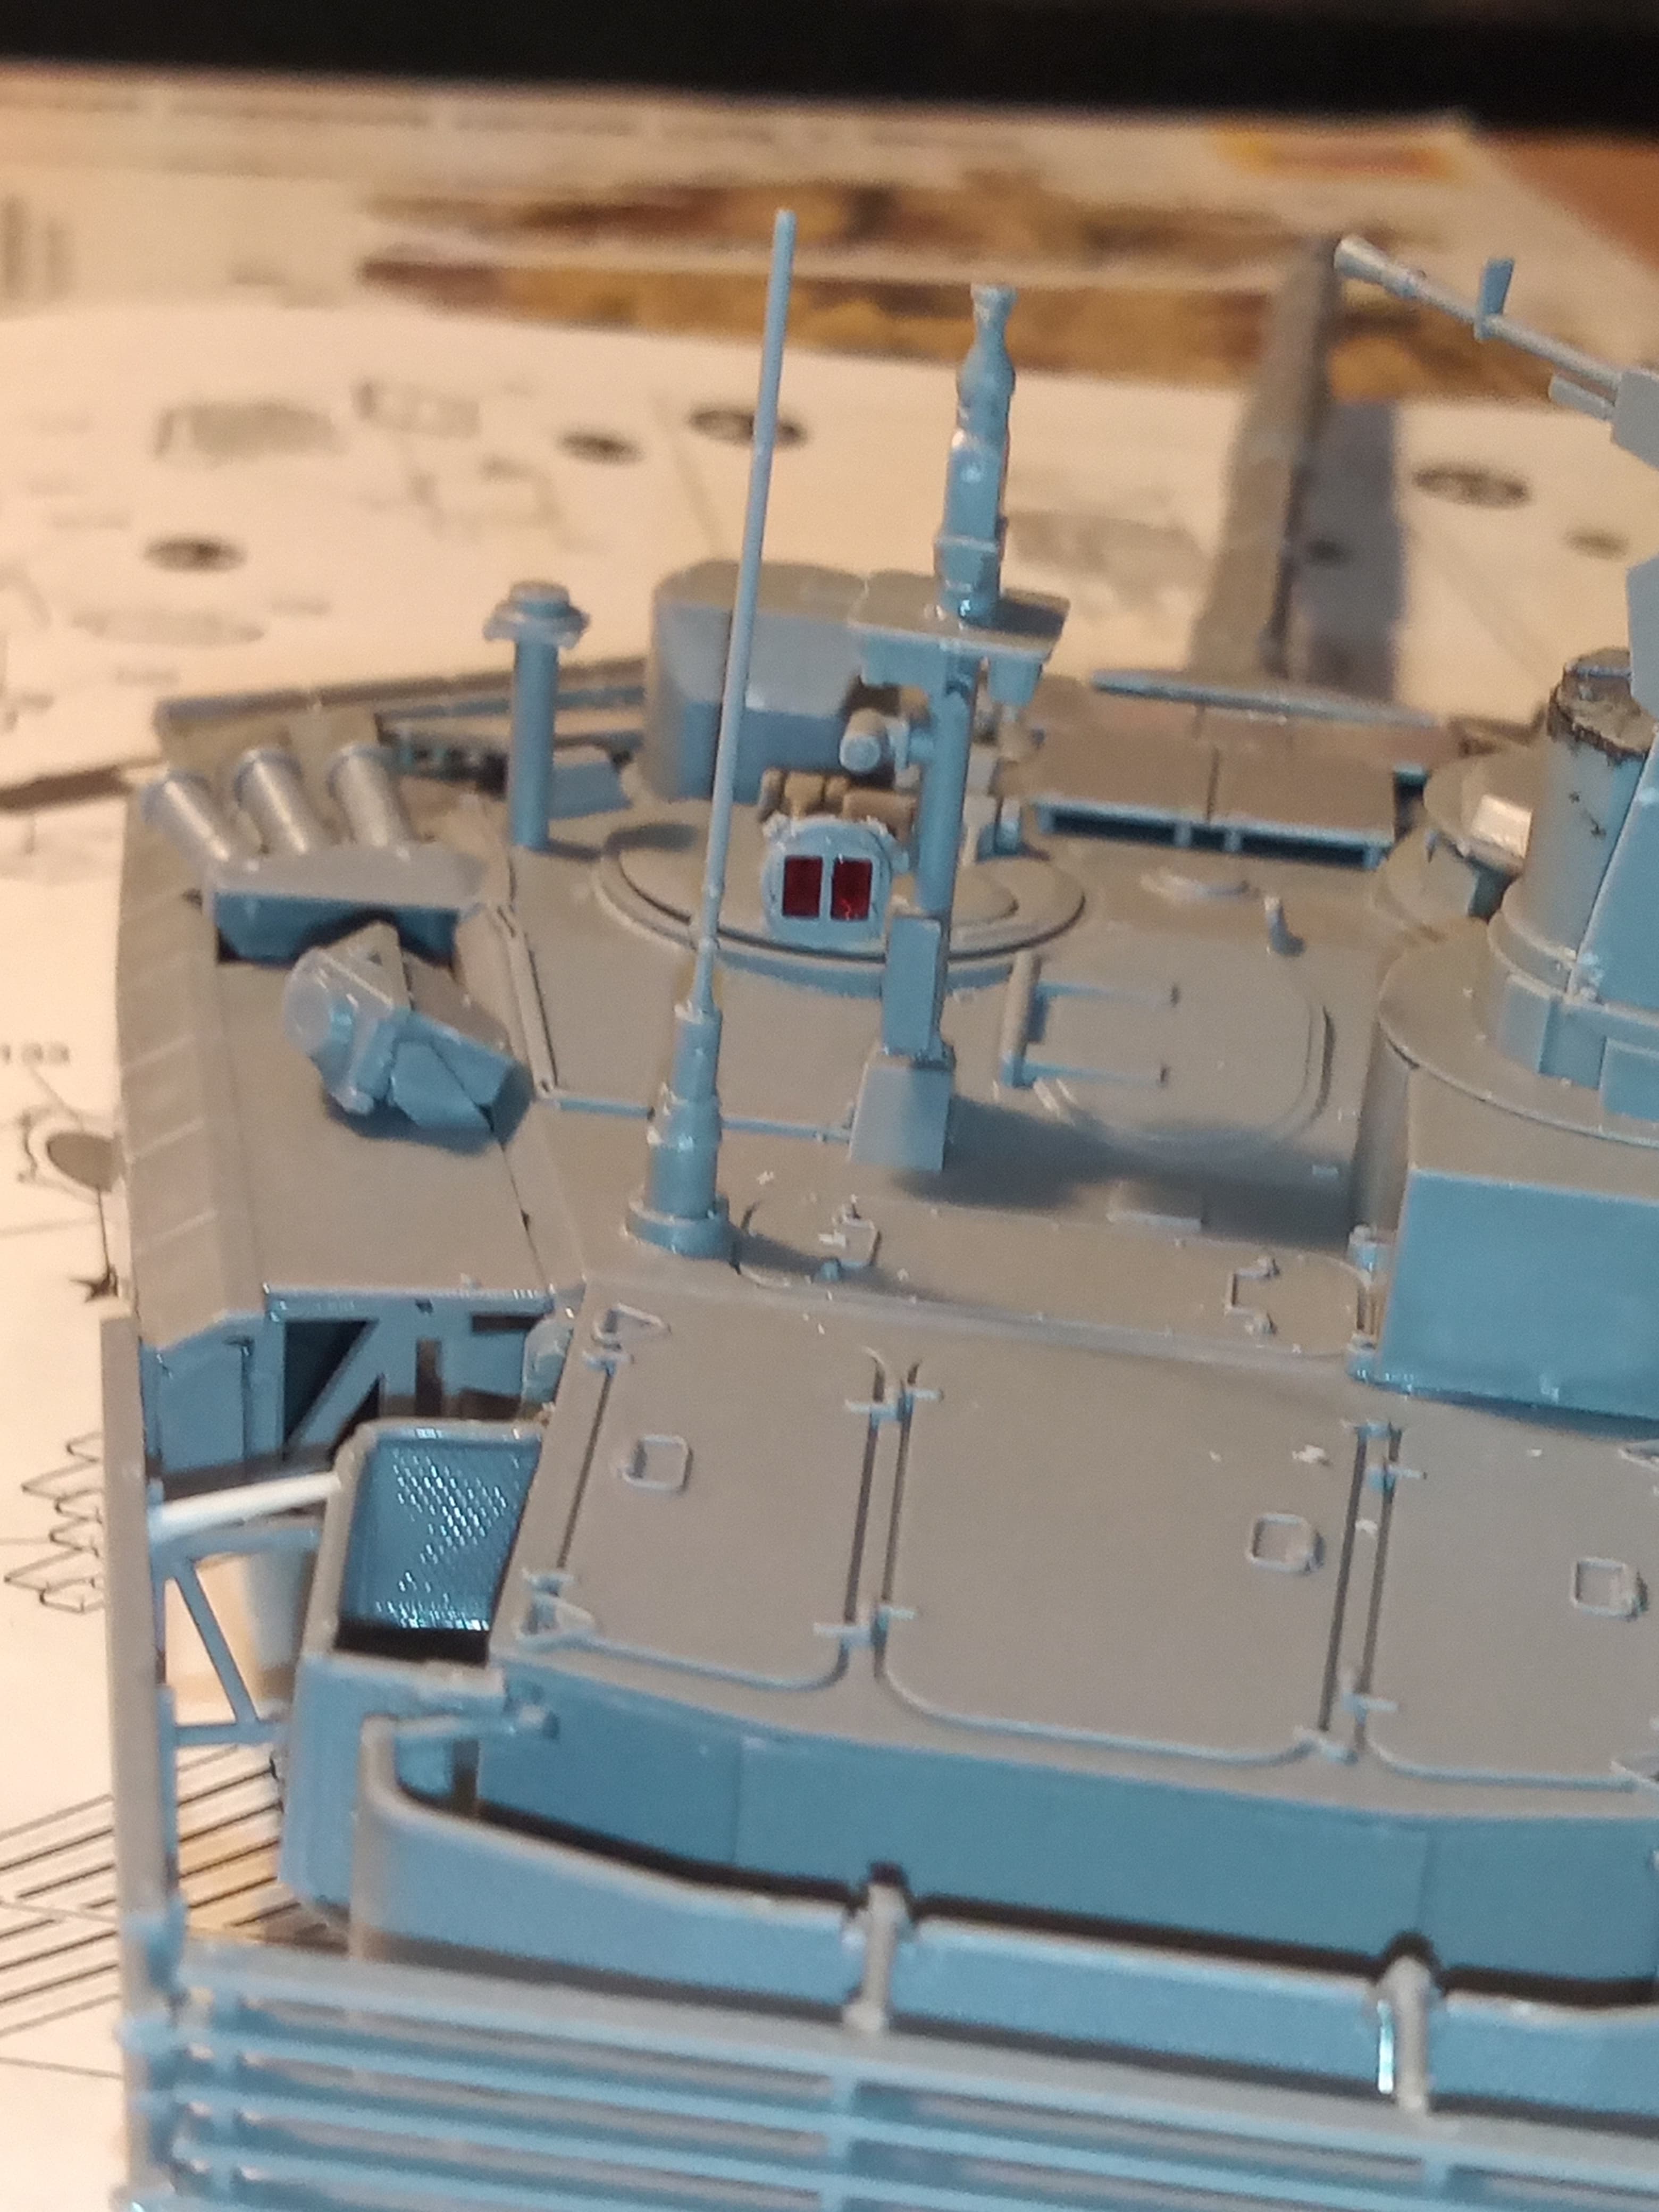
And looking rear to front and the sensor stalk.
The remote AA MG is movable and I pre painted the inside on the housing black, and sight head/lens clear green.