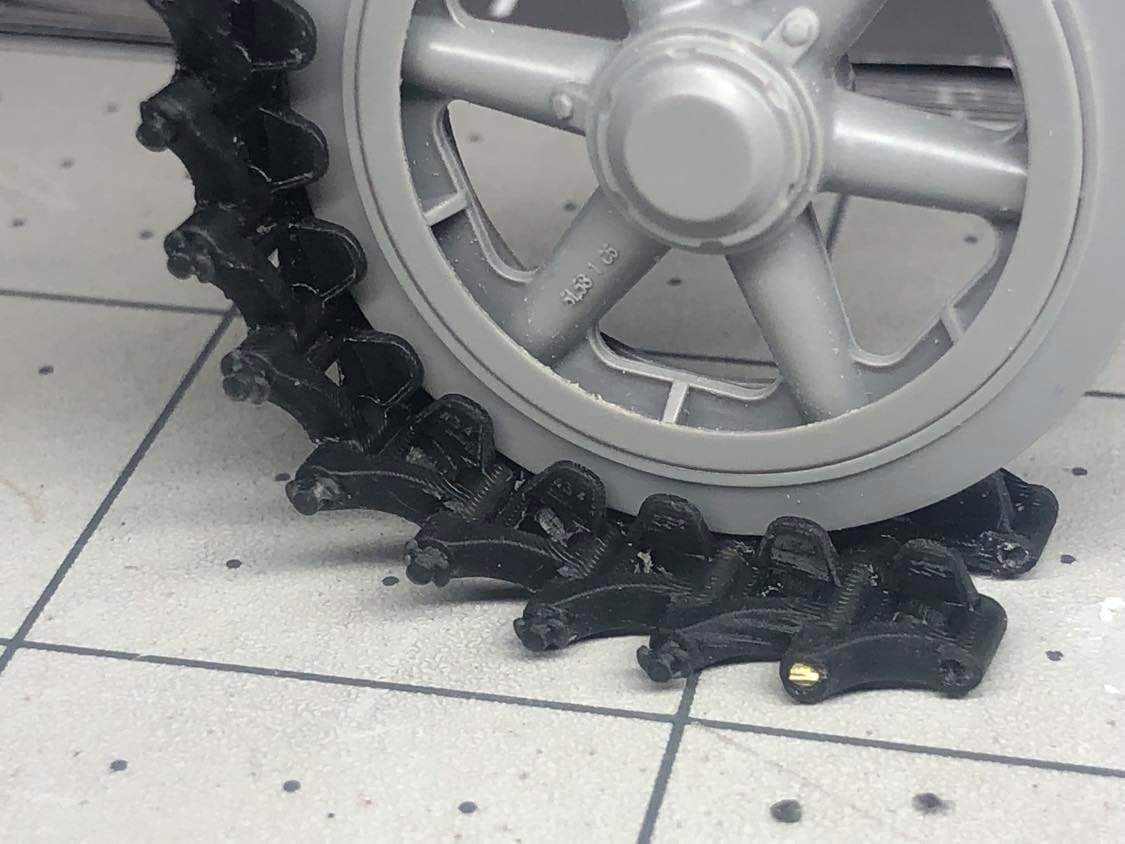
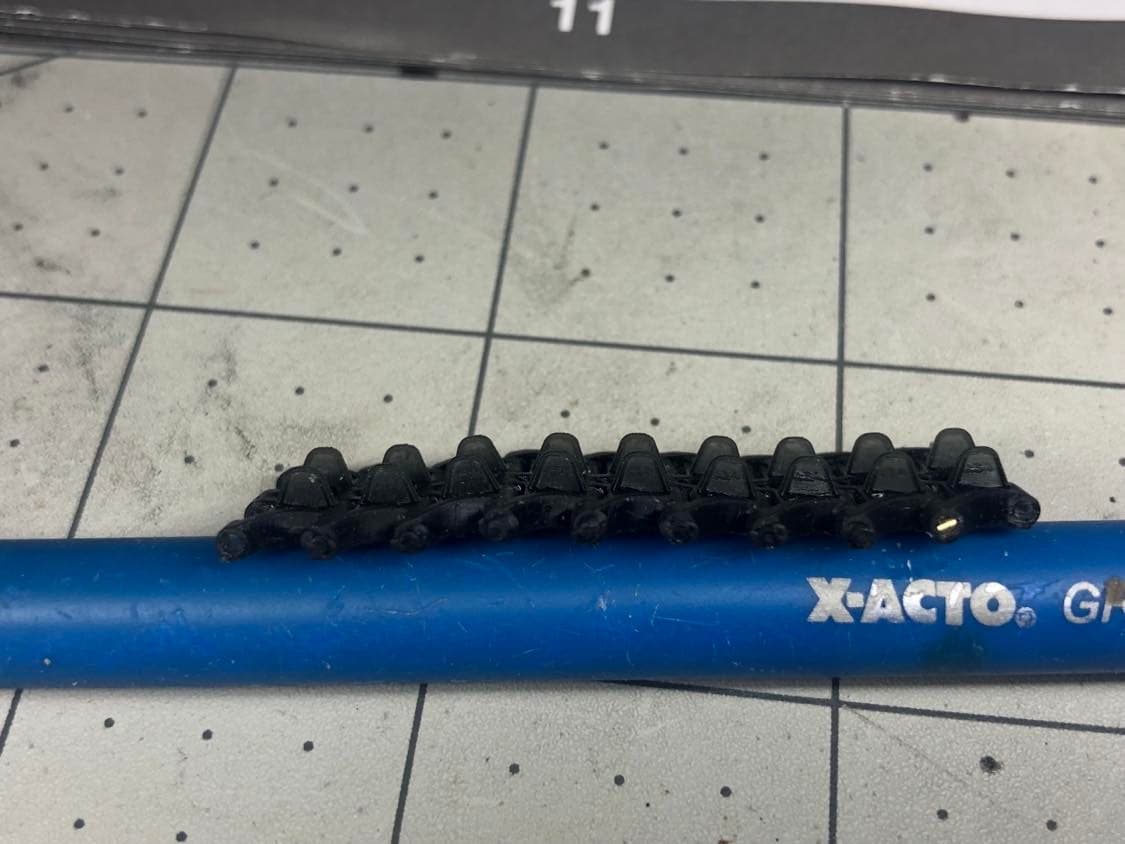
I put a hold on printing the tracks, and I can’t get the upscaled 1/35 tracks from Tankbrusher to turn out well in 1/16. So today I designed my own in 1/16 and they came out really good. Just a rough test print, but you can see the casting marks nicely. It’s hard to get a good photo, because the resin is black.
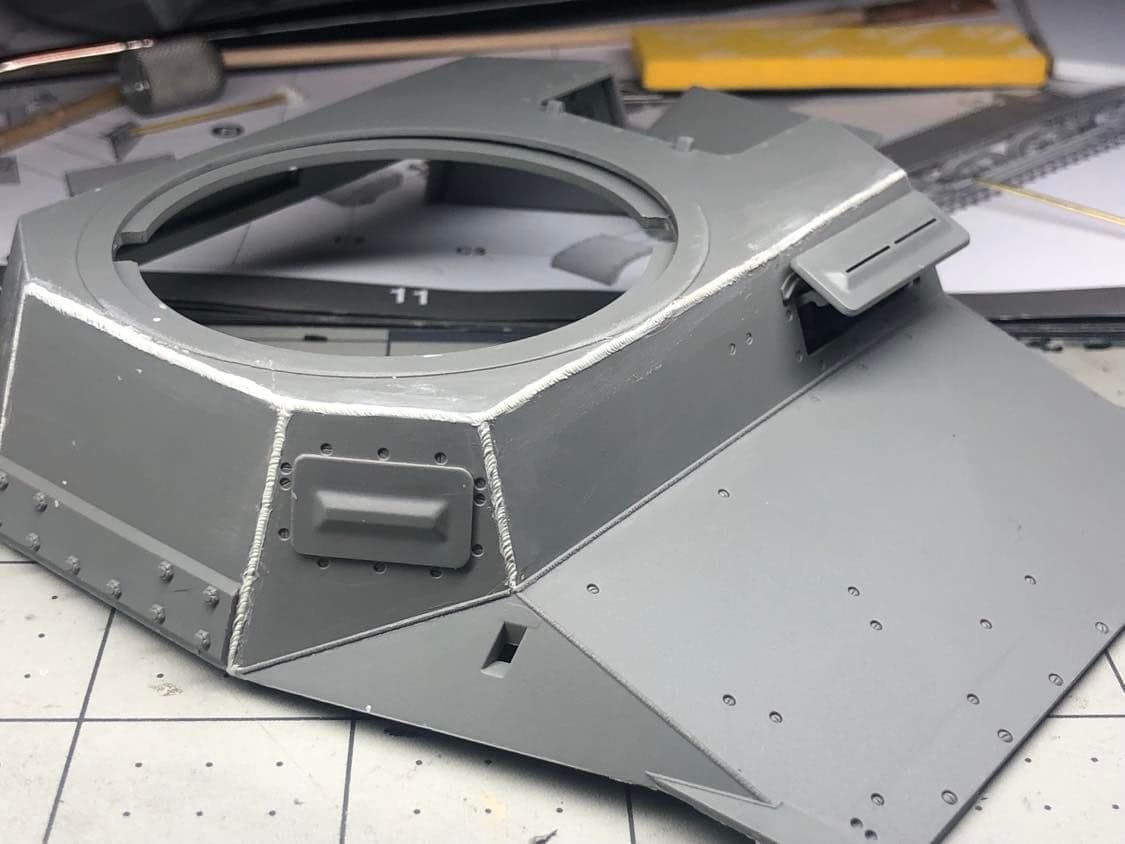
I also started work on the fighting compartment, and have been slowing replacing the weld beads for something a little less “perfect”. I thought for 1/16 you can hardly notice the ones casted on the kit.
Each track link is printed individually and pinned together. Either 1mm wire, or the track pins I printed and posted earlier in the thread. The 3d printed pins have the full detail of the cotter pin on them.
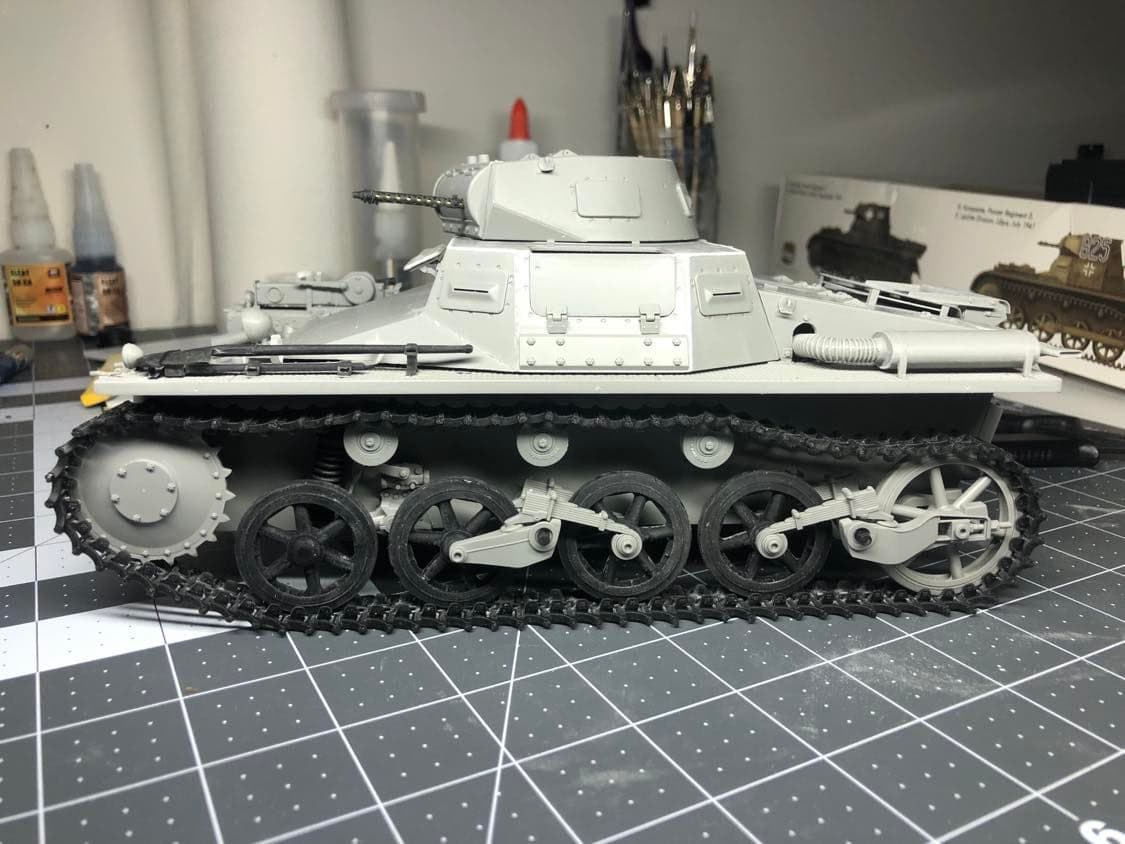
I was able to dry fit all the assemblies and 3D printed one set of tracks off so far. Still some cleanup to be done on the return rollers and some more weld beads to be added on the fighting compartment. All in all though, its coming together… and just in time! I received 1/16 Tiger I, Panzer IV and my Stug III this month
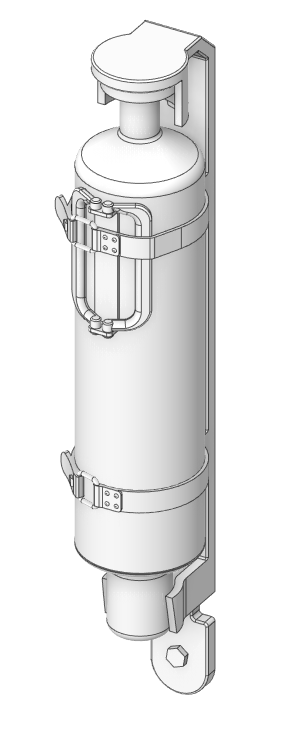
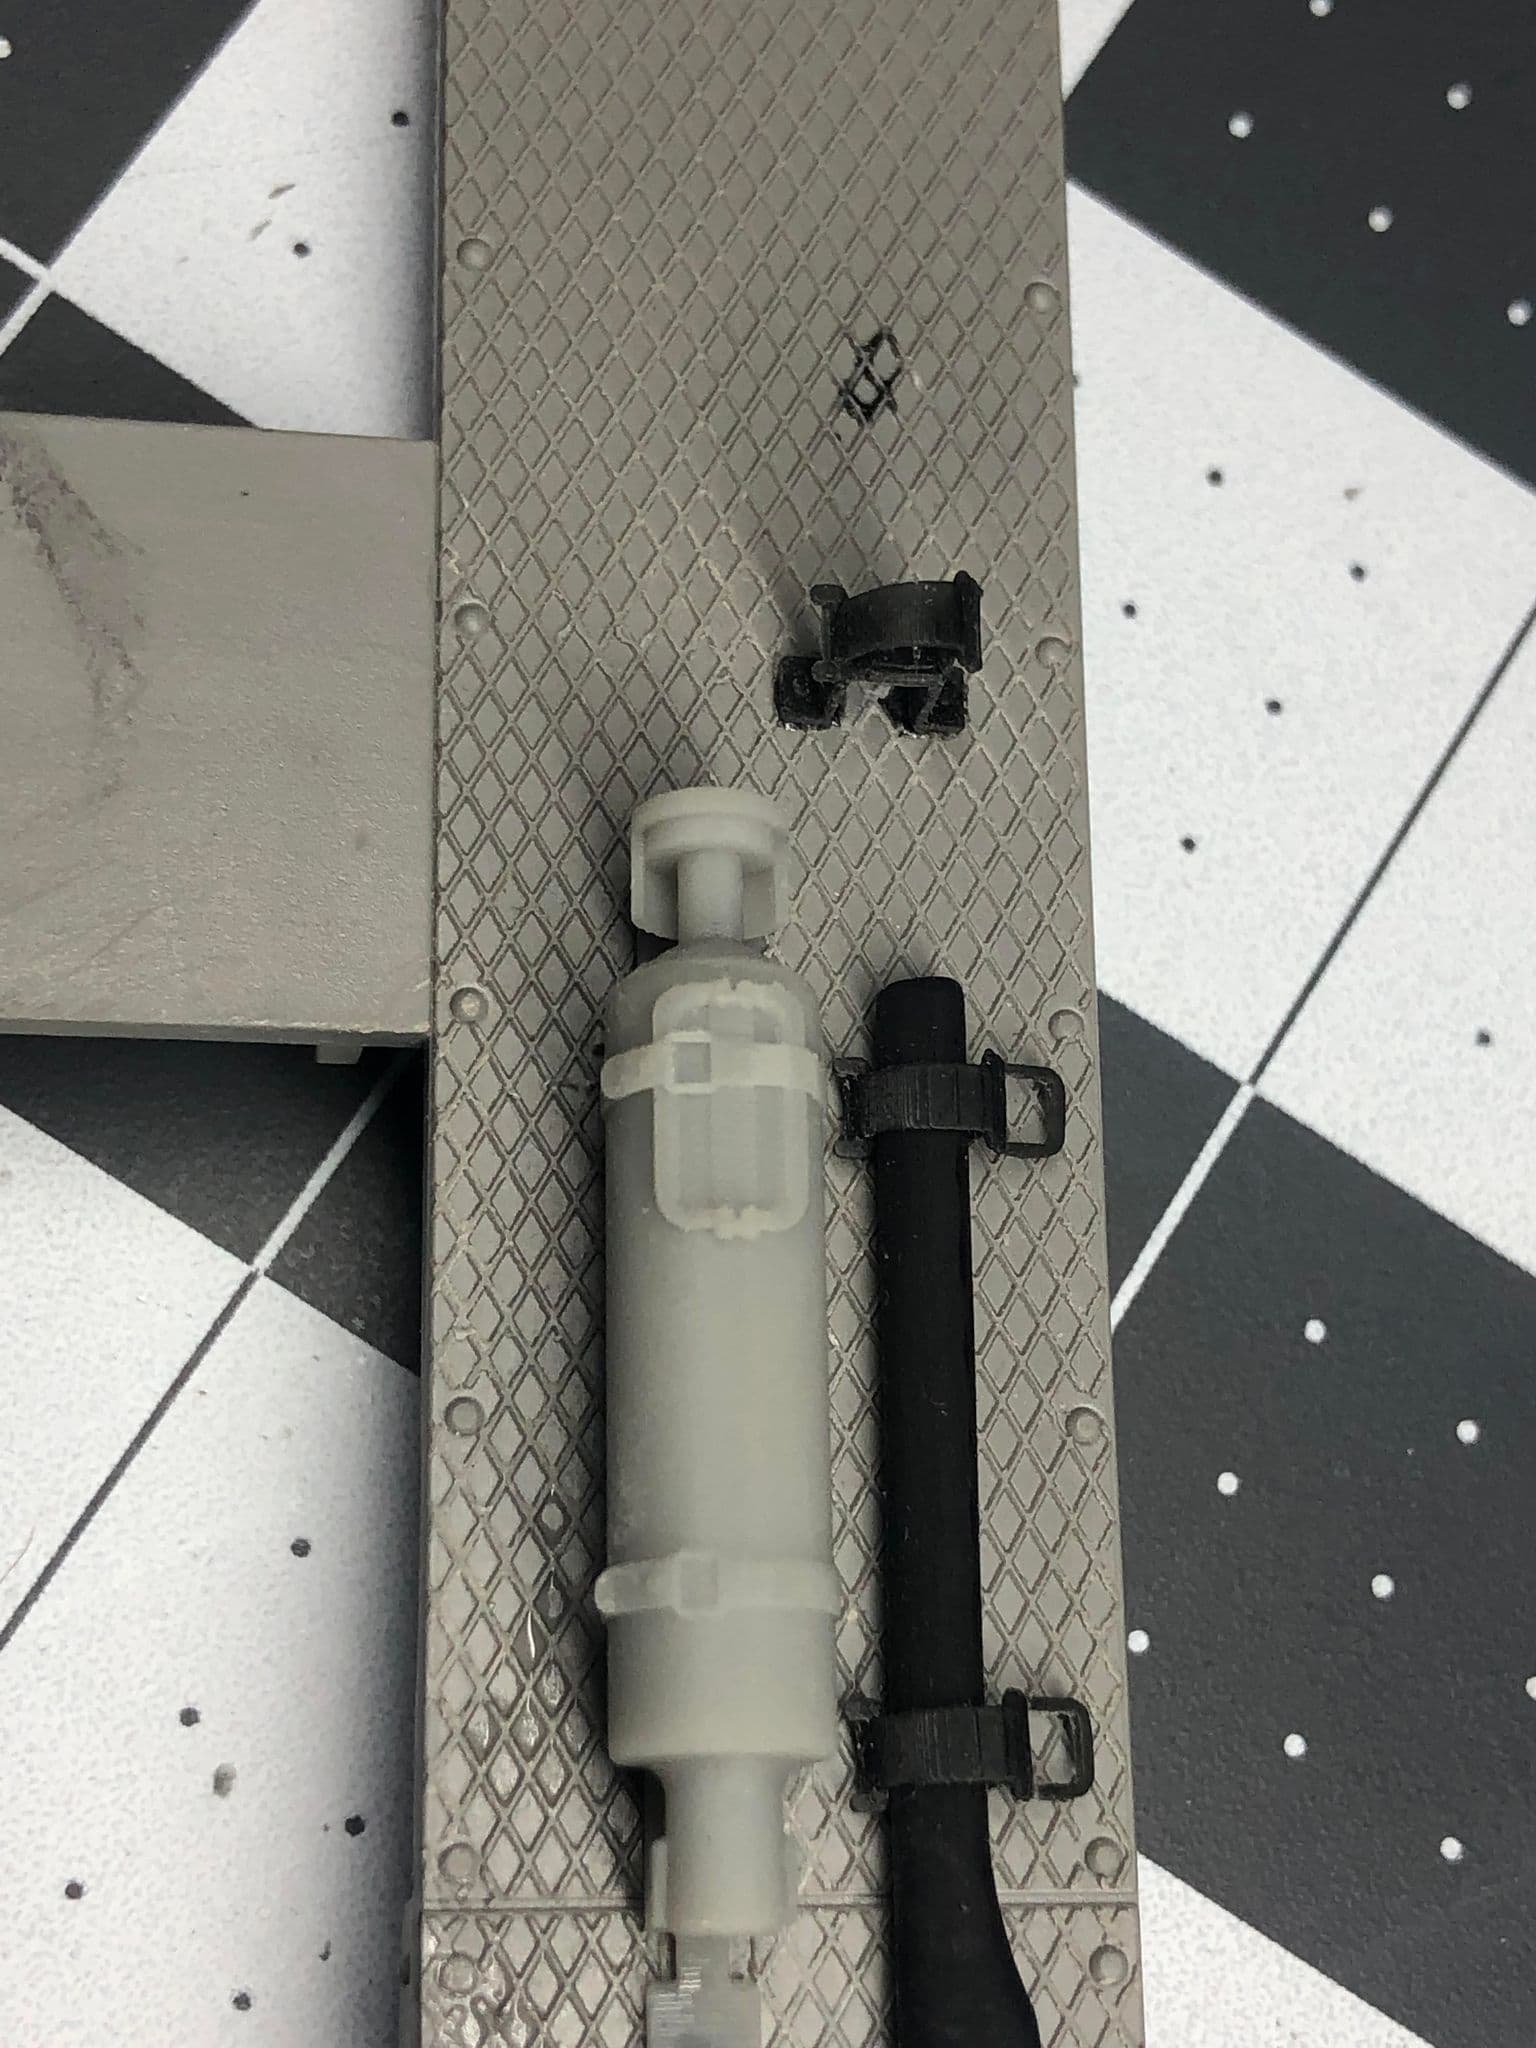
Me again. Took a bit of a break to work on other projects, and was getting frustrated with the quality of my 3D printer… so I bought a new, larger printer in 4k . Anyhow, wrapped up all the weld beads on the build and got to thinking about the fire extinguisher, I have some nice Tetra decals and figured it would be better to add the fire extinguisher then to leave it off, for more detail.
So of to design something, because nothing was available. I think this is 90% accurate, but it is still missing some detail. Waiting to print it on the new printer
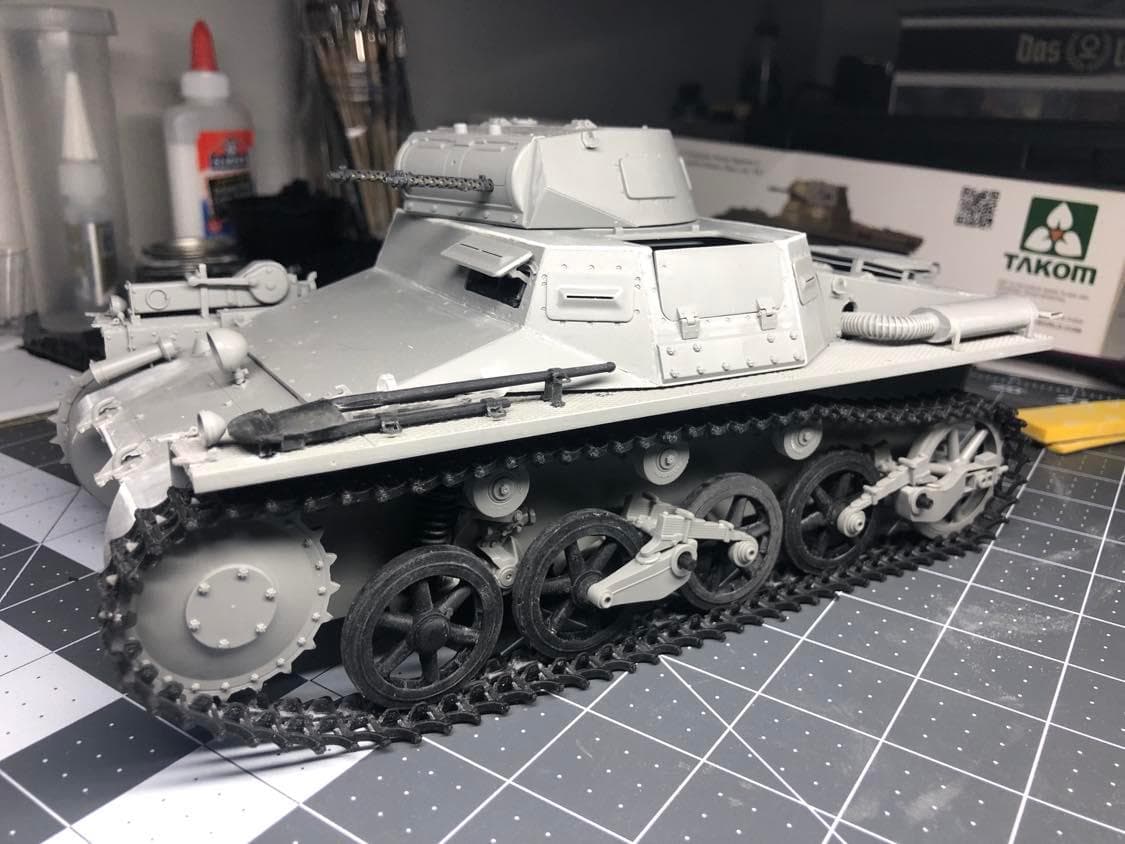
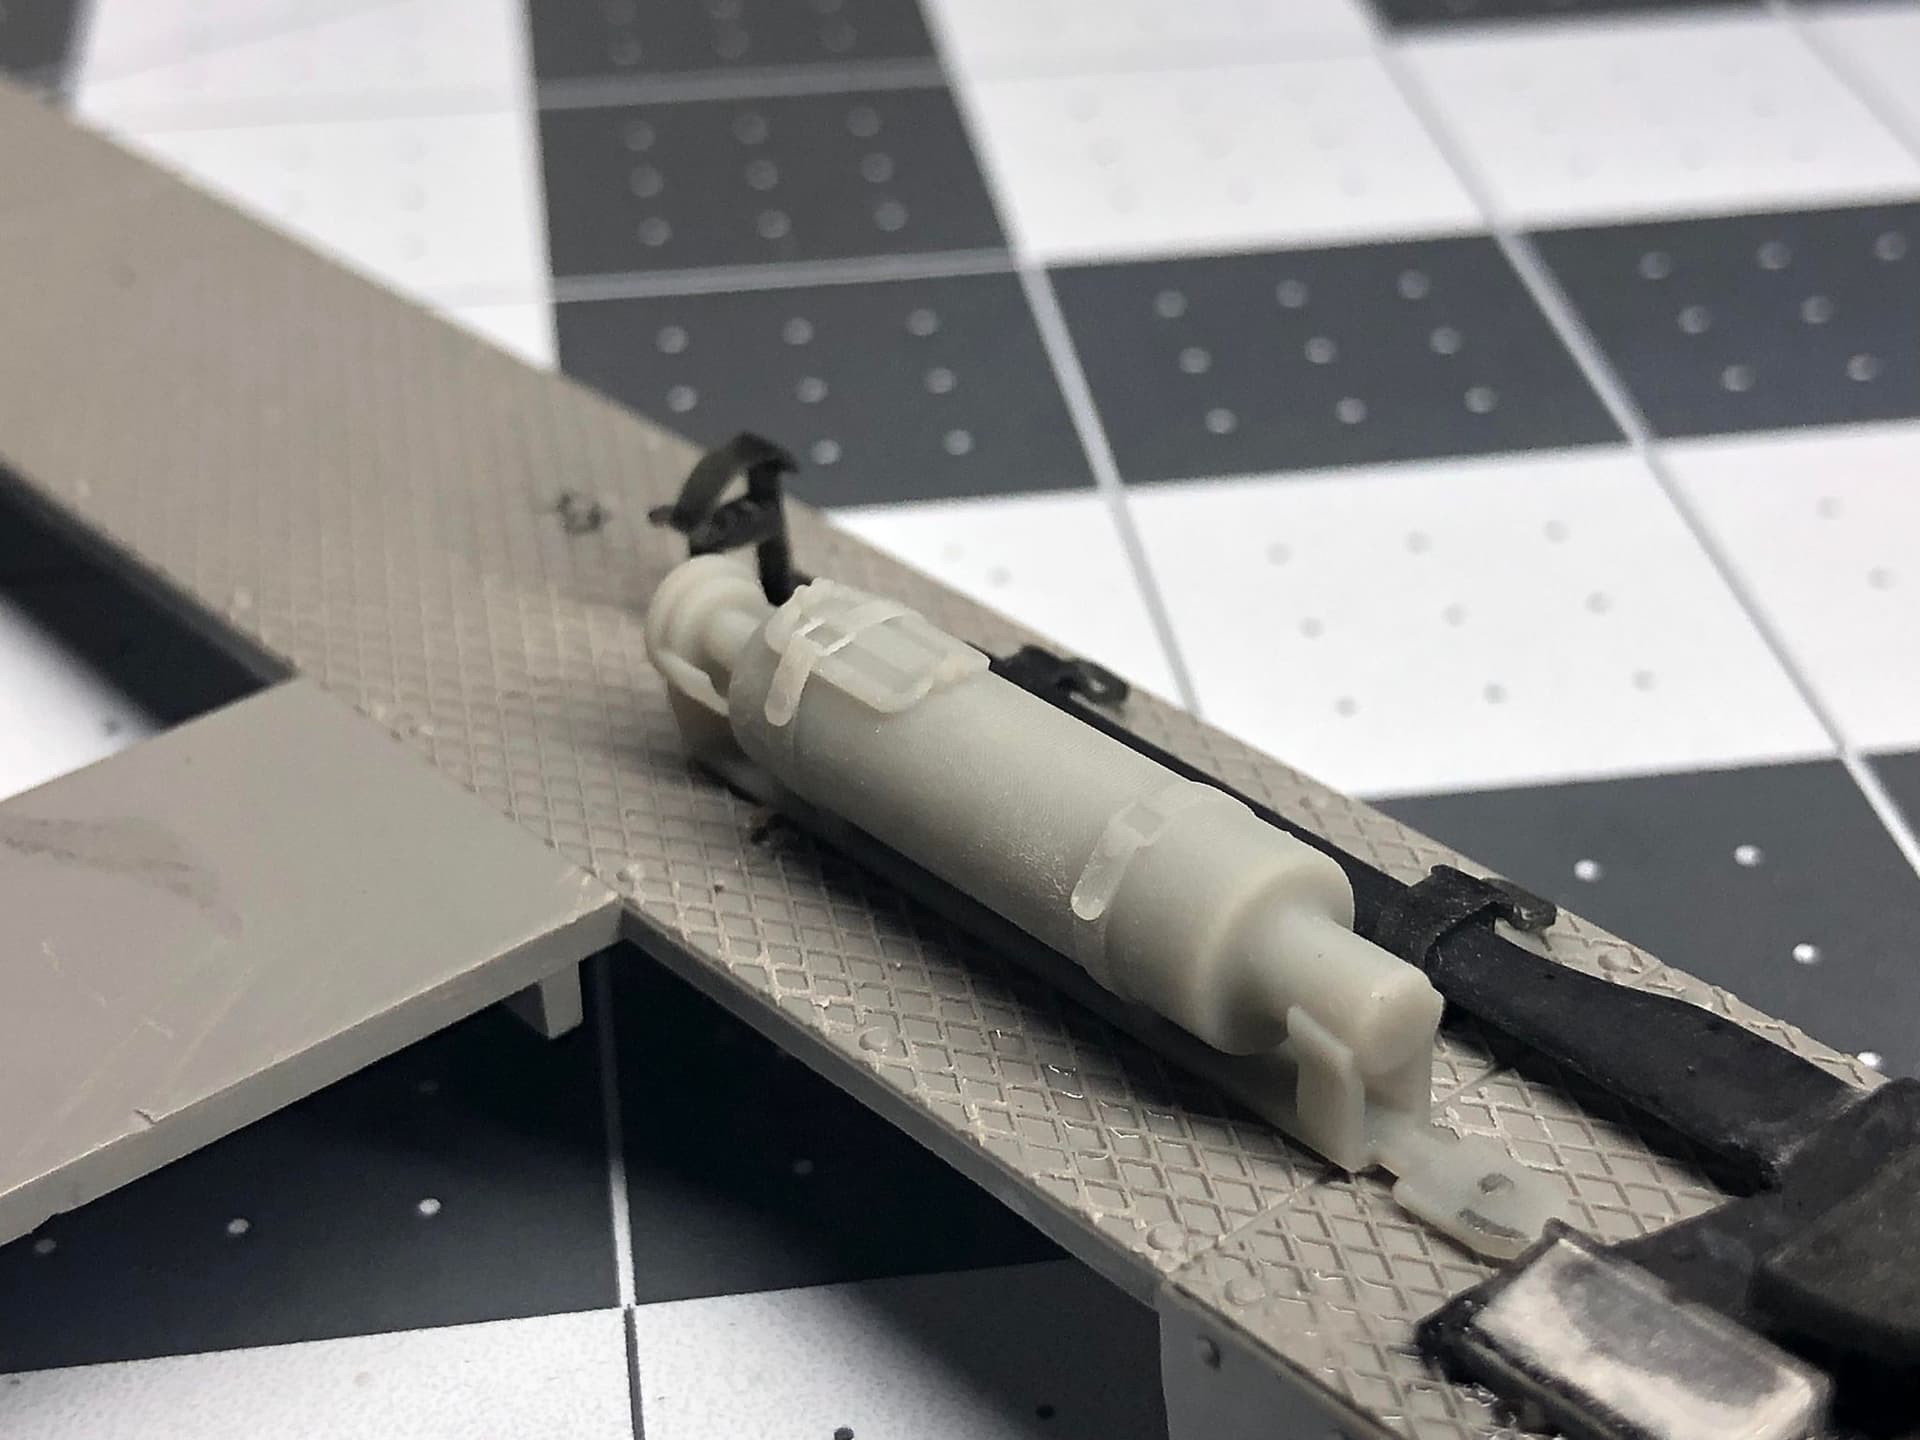
Dialing the new printer in, got a pretty good print of the early style tetra fire extinguisher I designed. Pretty happy with that. Going to re print the wheels too, as I added more detail to them to. Just a few more kit parts to add, and it will be ready for primer.
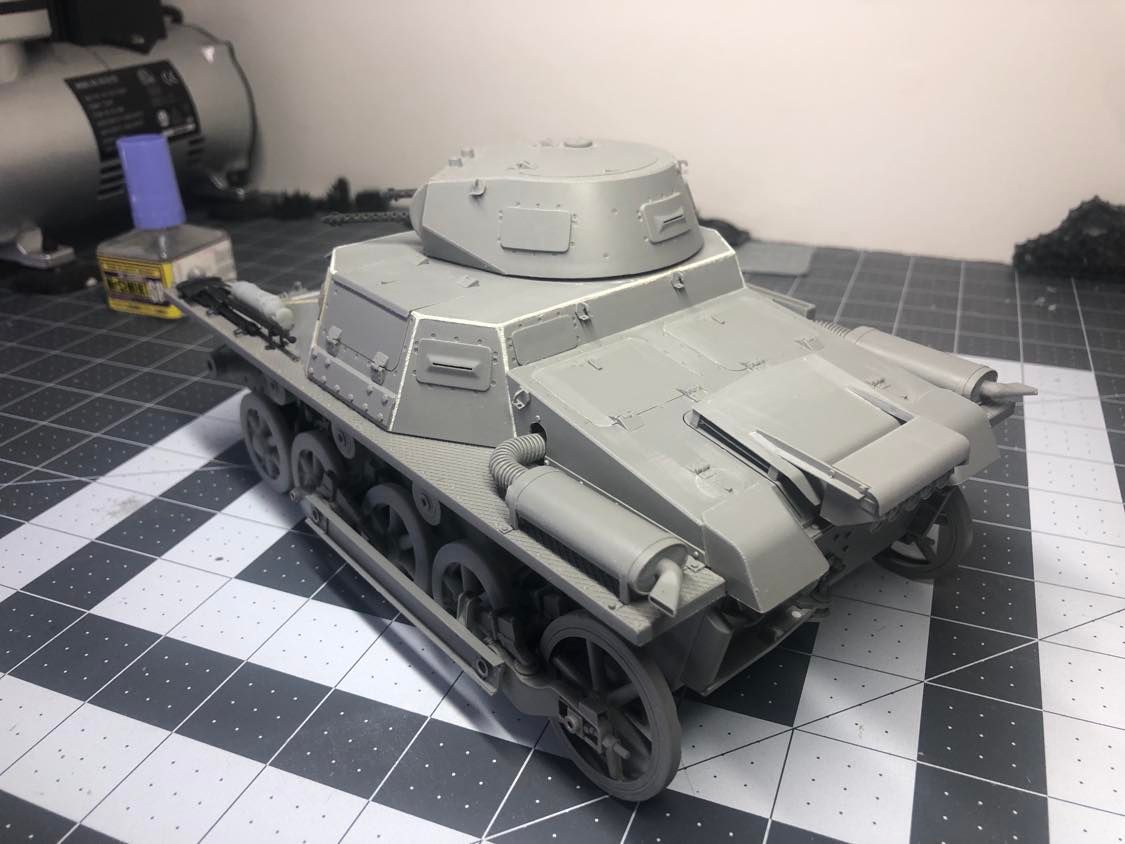
Alright, with the new wheels printed here we are. I need to design and 3D print a new light housing (broke the kit one lol) and also the pipe on the front of the tank, the kit provided one has too many issues.
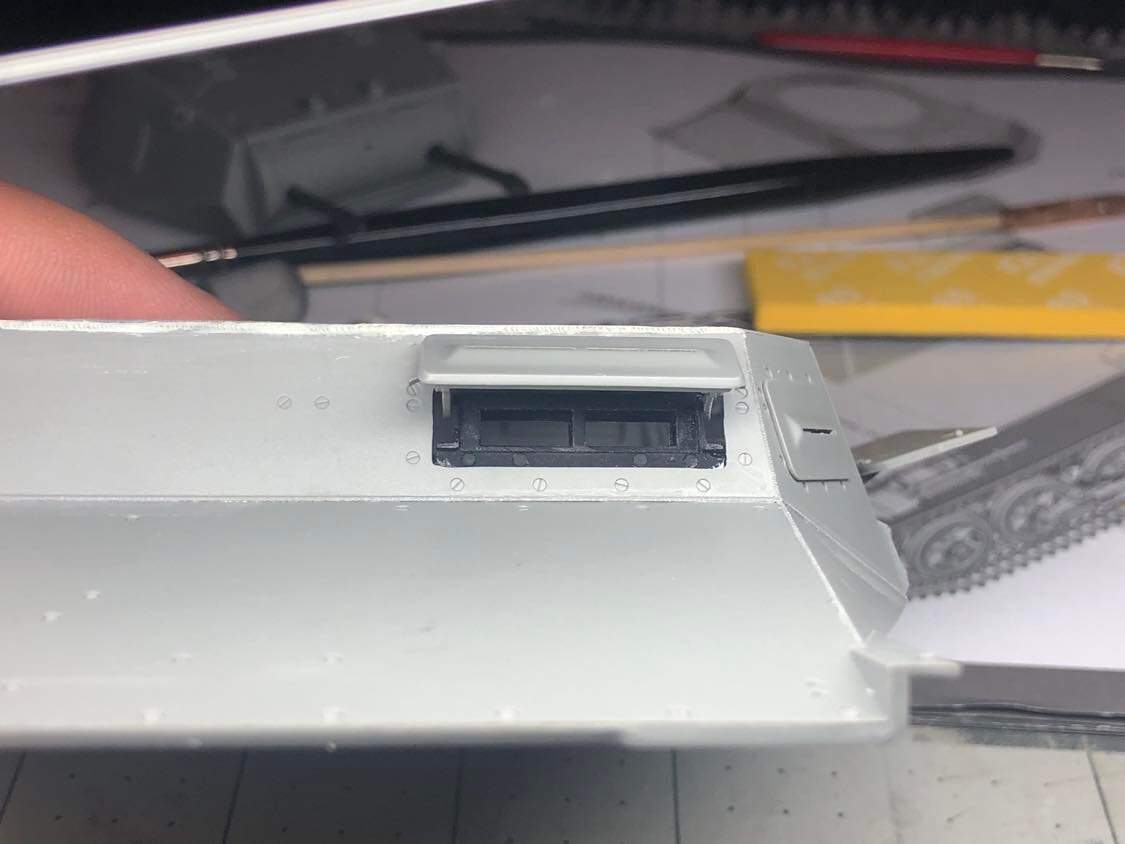
Don’t mind the putty mess on the front of the hull. The rear deck and the front fighting compartment parts DO NOT fit well together. I had to sand both, then fill in the gap to make it more to scale. Some more sanding to do yet.
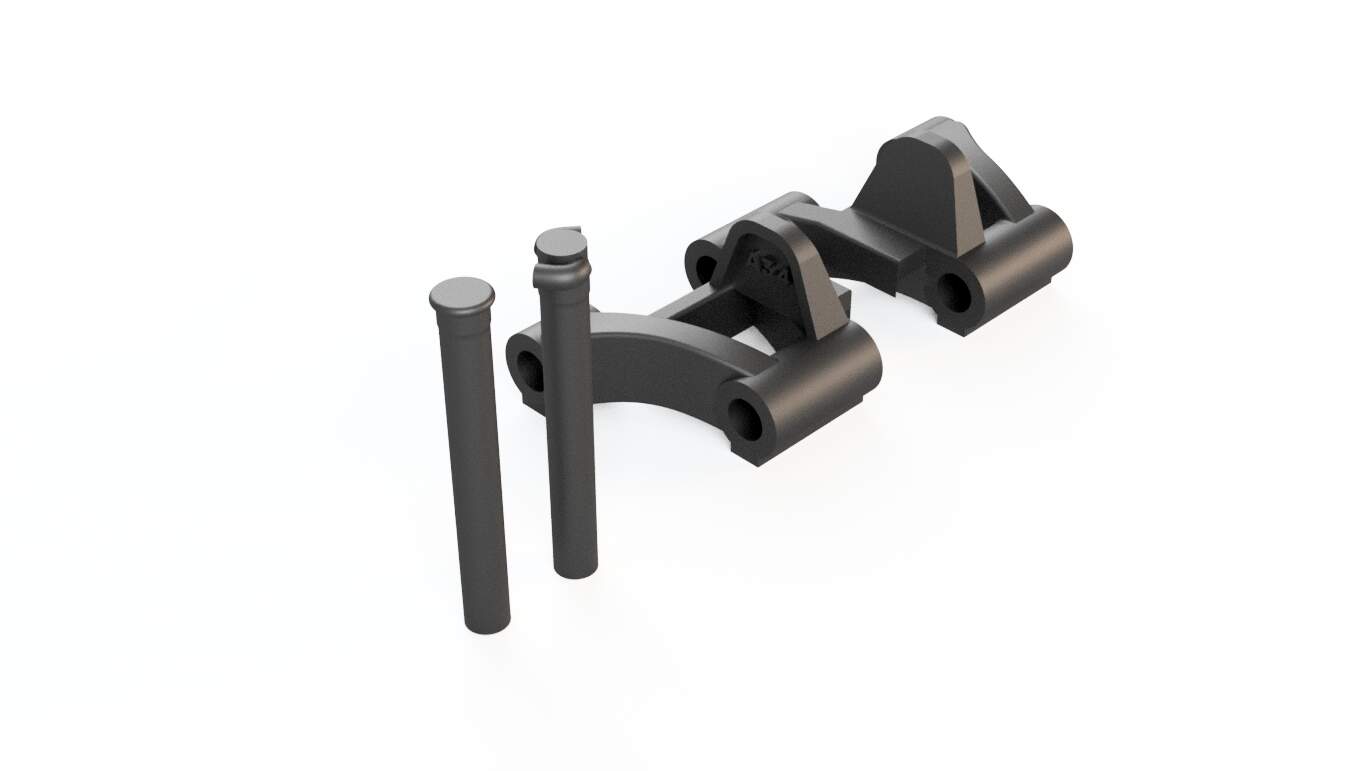
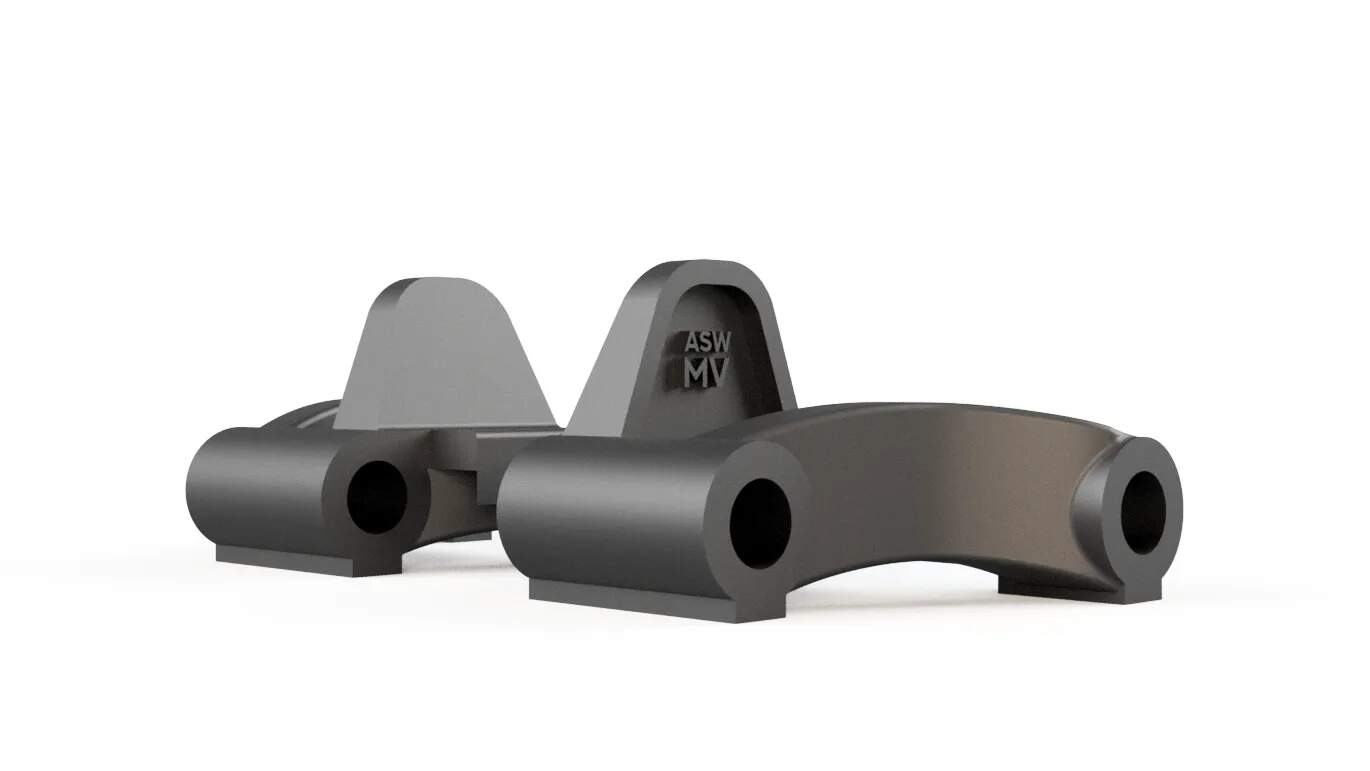
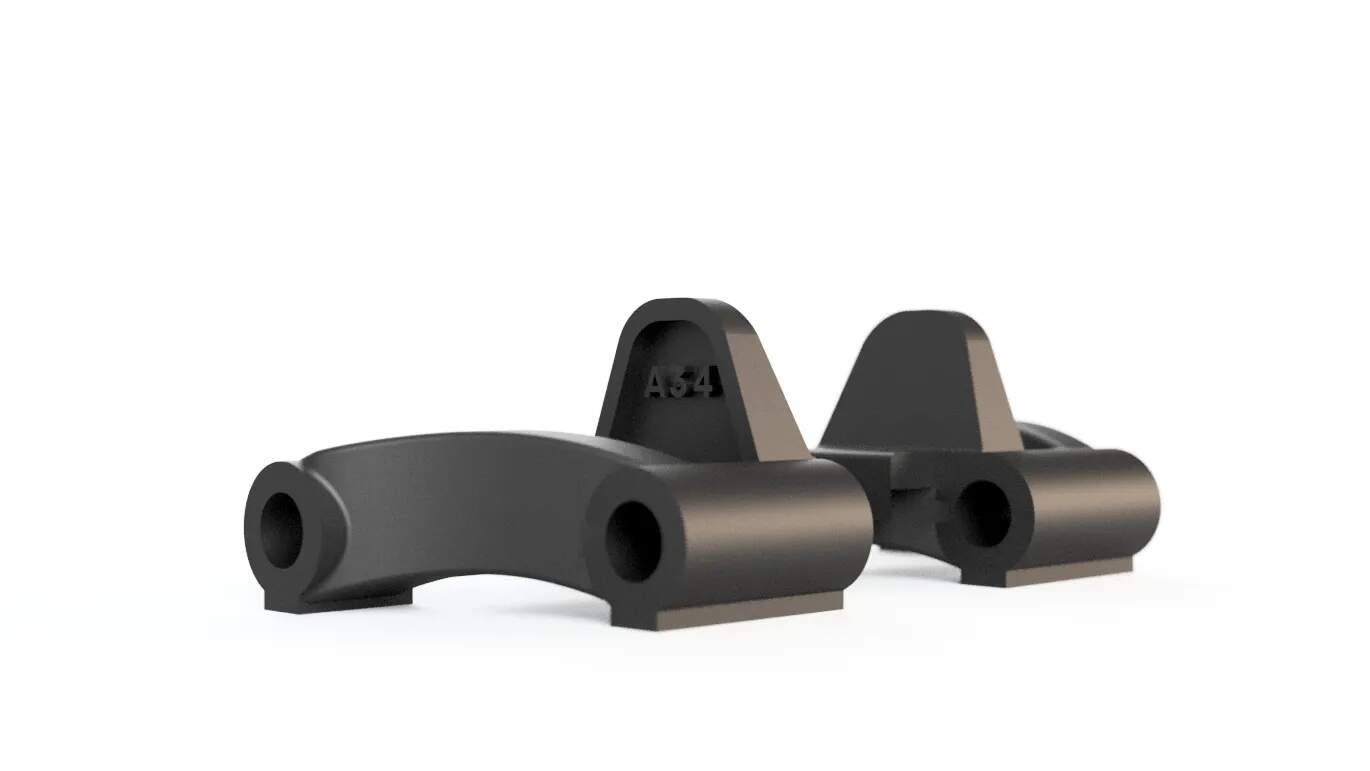
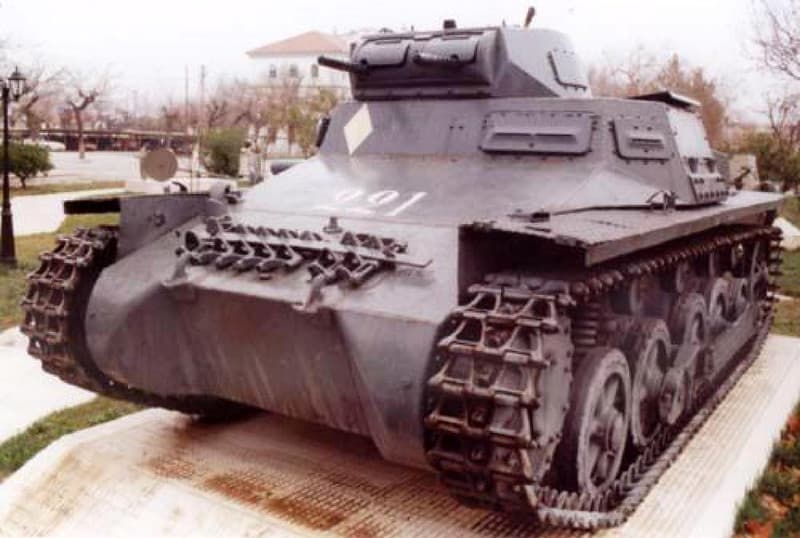
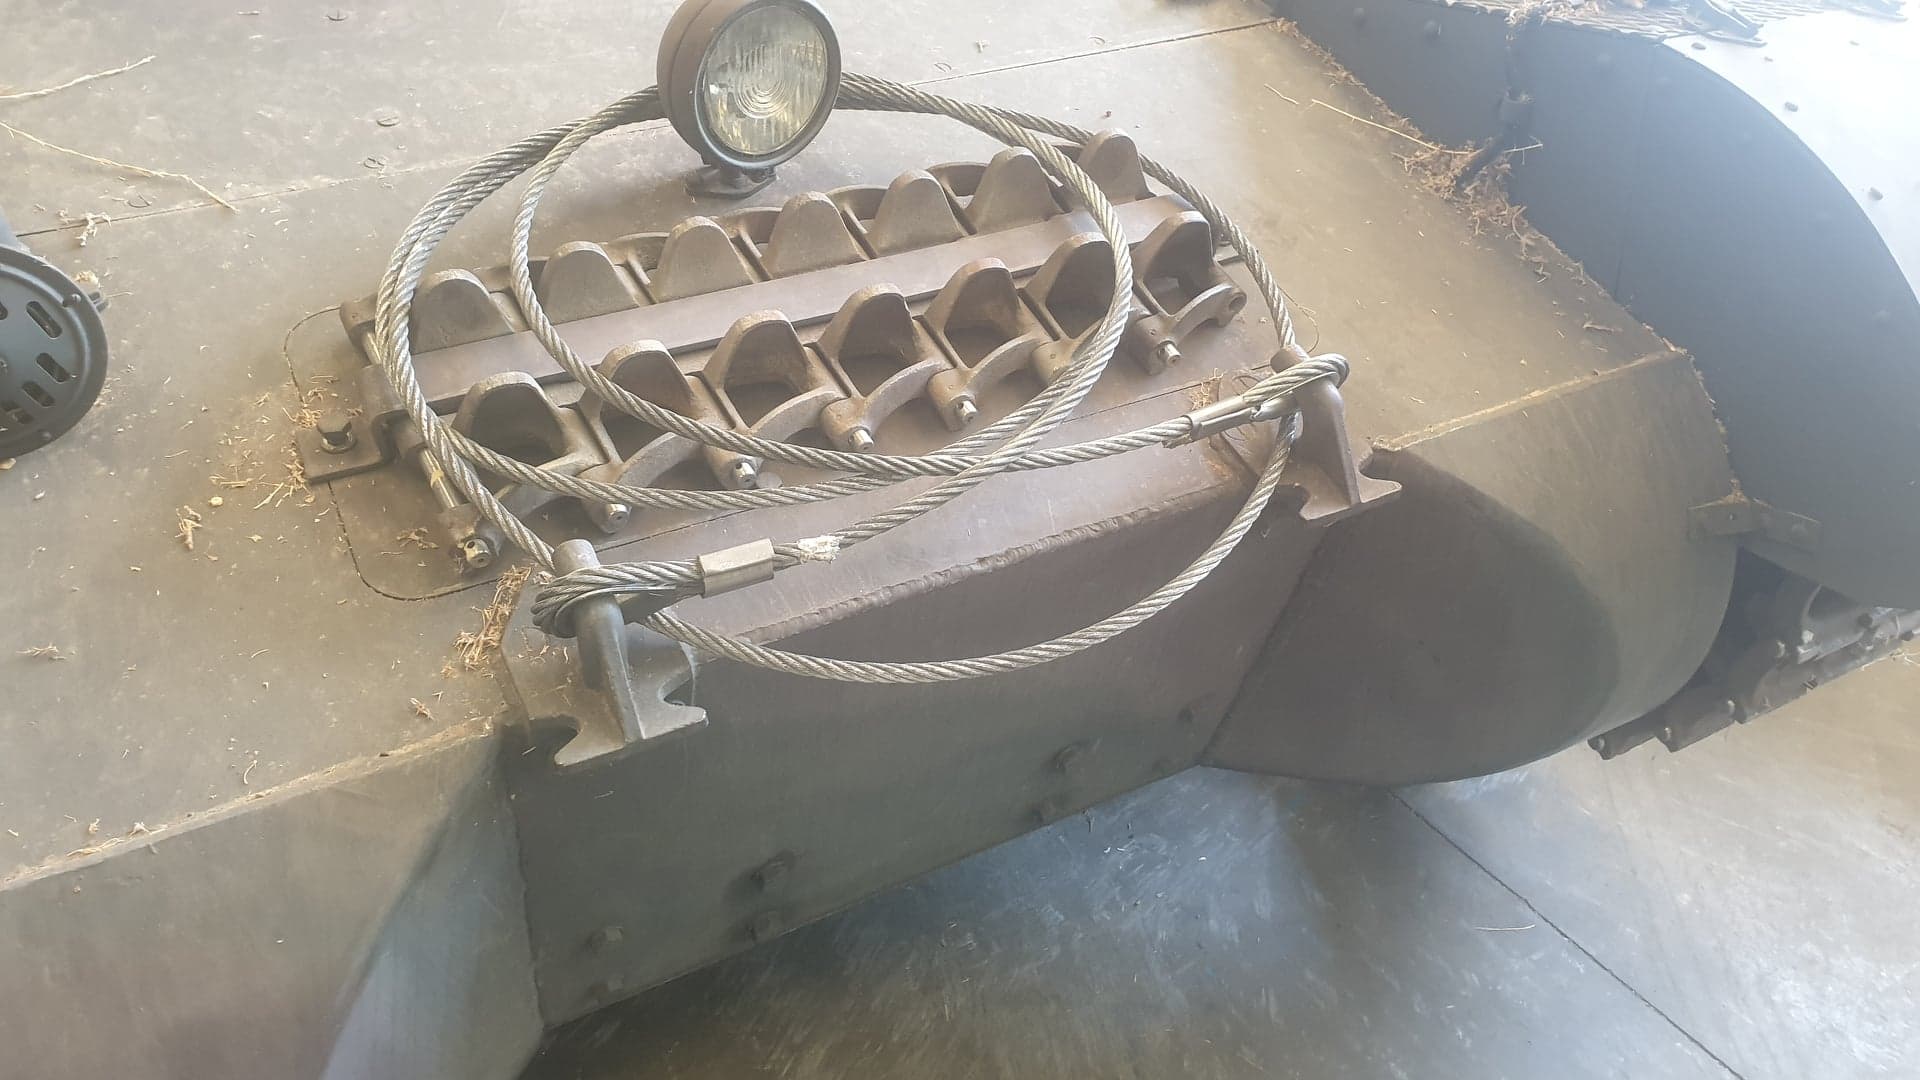
Thanks, Dan. I found this photo online too, must be from some museum or something. The spare track holder looks interesting, so I think I am going to add something similar to my kit too.
Honestly, I wouldn’t as I think this is a museum mod and can’t imagine that it would be there in real life as it blocks the transmission access hatch.
My 2 cents
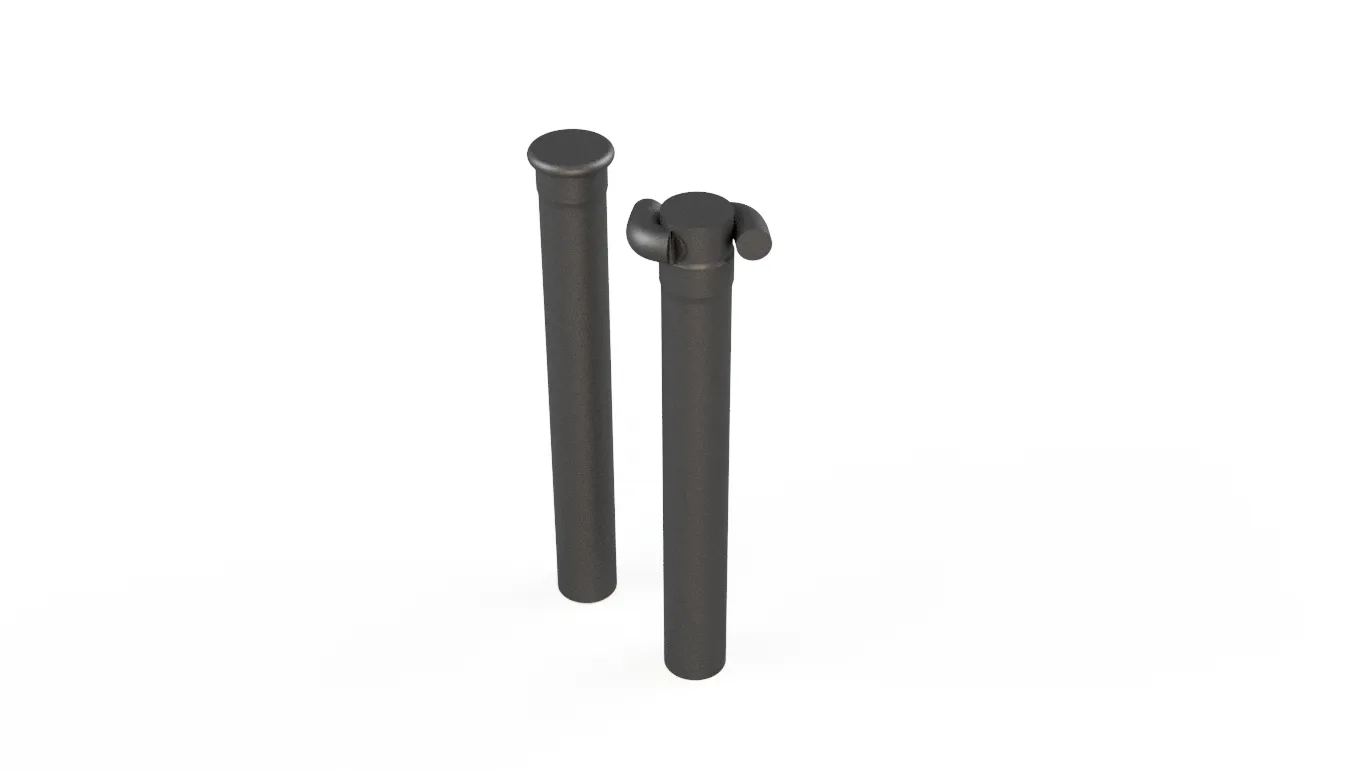
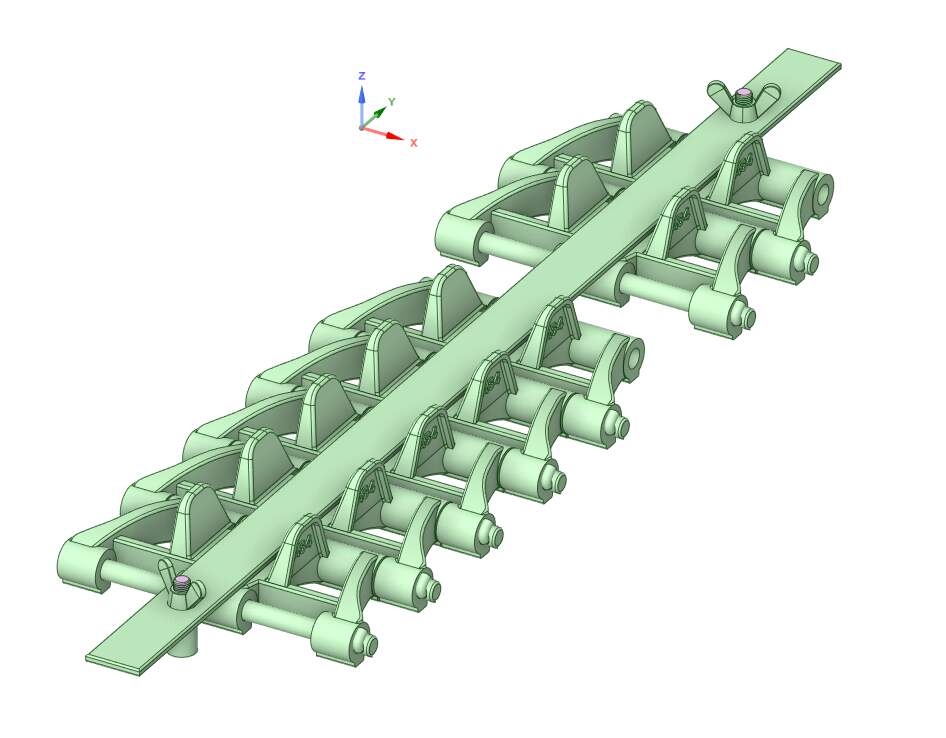
Looks like the metal bar comes off with two wing nuts, or something similar to take the tracks off the reach the transmission. It just adds more visual interest. I thought something like this,
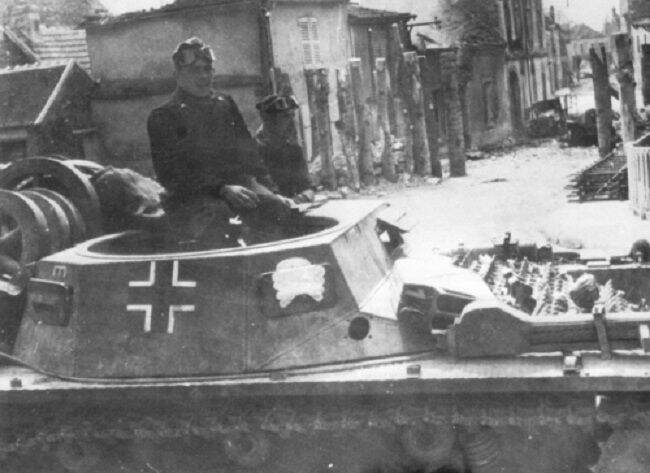
This is another example, from a private collection. Probably this is not period correct, but reinforces the idea that these can be quickly removed when service is required.
In this photo is sure does seem as if they have added tracks to the entire front plate for extra armor. Or that is how it looks to me. It doesn’t look natural, but I can’t quite make it out. Then again, I have no clue what is going on in this photo, they have also a bunch of wheels on the rear too lol.