@Makinen, great build! Thanks for the info! The one thing I was most concerned about on the Academy M1151 was the ride height but it was too late to try to fix it. I will try to fix it on my future builds. How did you fix the ride height on yours?
1 Like
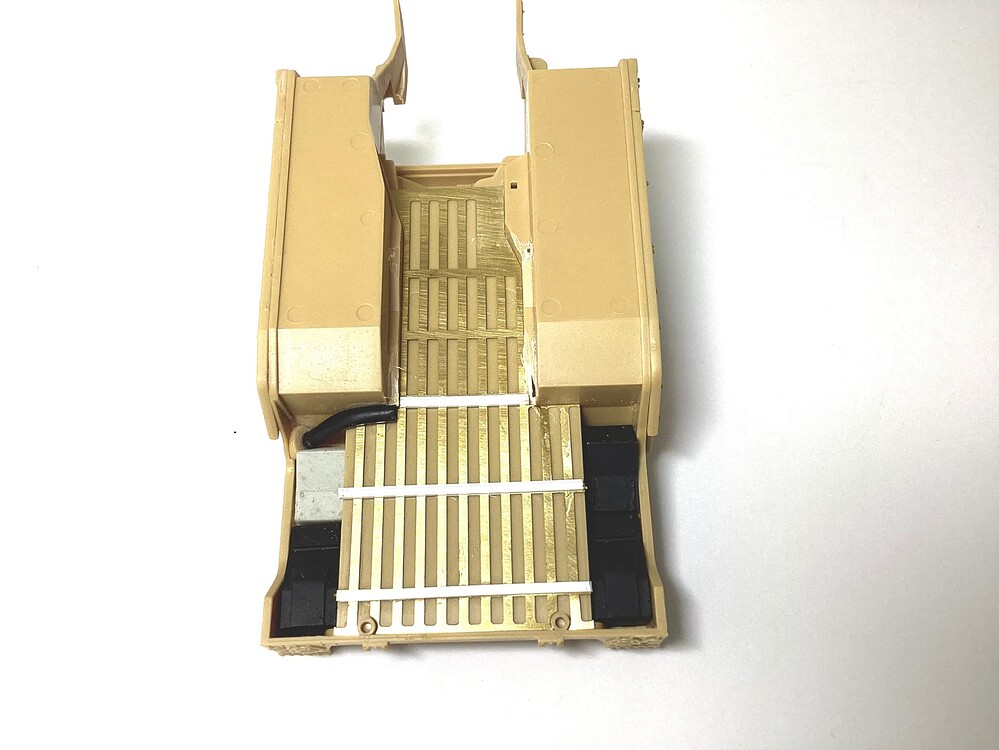
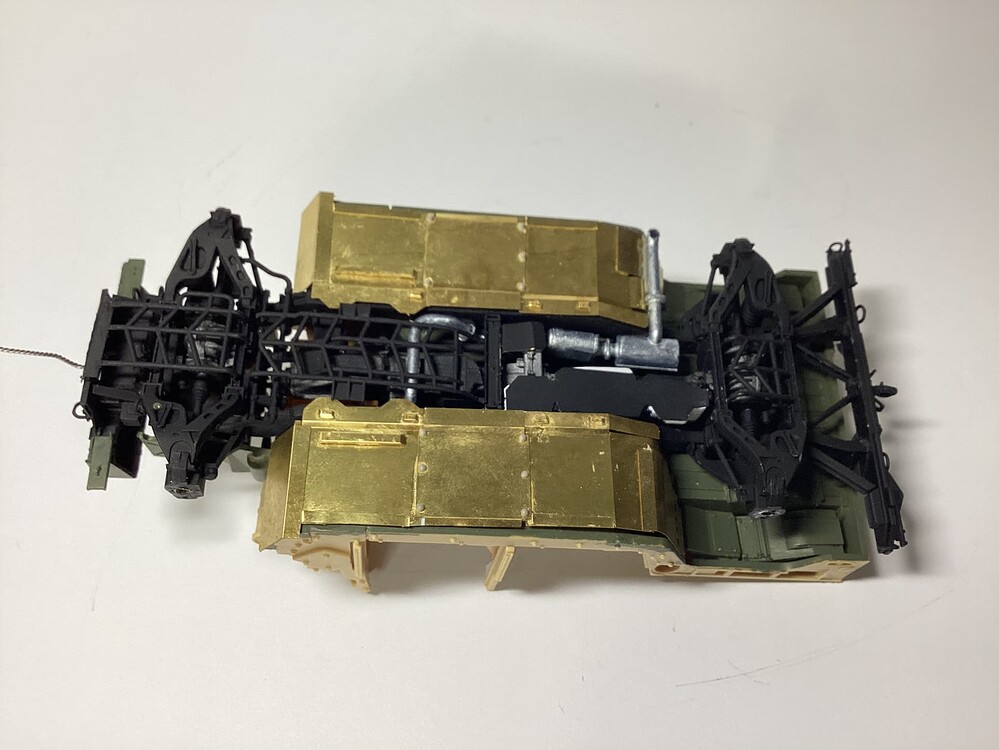
Firstly, the wheels from the Academy kit are too small. You need to use DEF Model. Secondly, there is a suspension lowering kit dedicated to Academy (I don’t remember the manufacturer). I use a different method – I use the frame with suspension from the Bronco model (the bonnet too). I have already written about the necessary modifications – e.g. the silencer, which is incorrect in Academy (it is OK in Bronco). The model is missing the entire chassis armour kit (there is a set of plates for this) and there are other things that could be replaced (electronics, armour plates behind the rear seats, 40 elements of the inner part of the roof…). Be careful with the spare wheel mounting element, which is too long – shorten it so that the wheel does not protrude so far from the rear of the vehicle.
2 Likes
@Makinen, thanks for the tips on correcting the kit.
I found the suspension and tire set but it is out of production and out of stock everywhere. It was produced by Def Model.
I have a few of the Academy M1151 kits and buying replacement wheels will be expensive to replace them all. I got the Academy kits cheap between $20-$25USD each shipped and the replacement wheels are more expensive than I paid for the kits. I will try to lower the suspension myself on the next build.
Eduard has a PE set of the under body armor set. I have one set but will use it as a guide to scratch built the others with thin sheet plastic. I didn’t do it on the first build as I got the Eduard set after I already started the kit.
I plan to keep the doors closed on most of my builds and much of the interior won’t be seen so not going to much trouble to correct it.
Thanks again for the tips and greatly appreciated!
1 Like
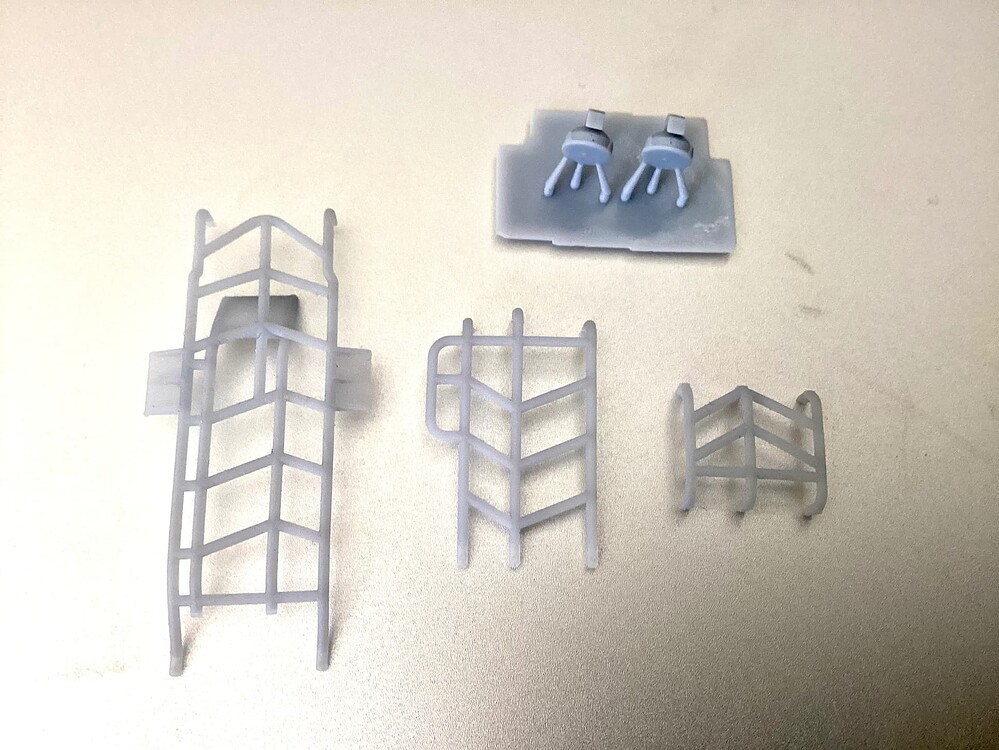
This set of photo-etched plates won’t help you. You need a different set – my friend’s ‘home-made’ production, but the quality is fantastic. For this, you need air conditioners mounted inside the wheel arches. Another thing – in the Polish version of the M1151, drive component covers are installed. You can see all the things I’m writing about in the photos.


5 Likes
Props to your friend. That PE does look great.
I probably would go with .010 x .060 evergreen, because I’m lazy that way.
Speaking of lazy, for lowering, I’ve taken the lazy route on a couple of HMMWV builds. Instead of fiddling with the suspension I just vertically hog the holes out in the wheels - it lowers the whole vehicle by however far you hog the holes out.
5 Likes
That’s true – you can also lower the suspension like that. ![]()
1 Like
Those are some nice detailed parts and another terrific build.
1 Like
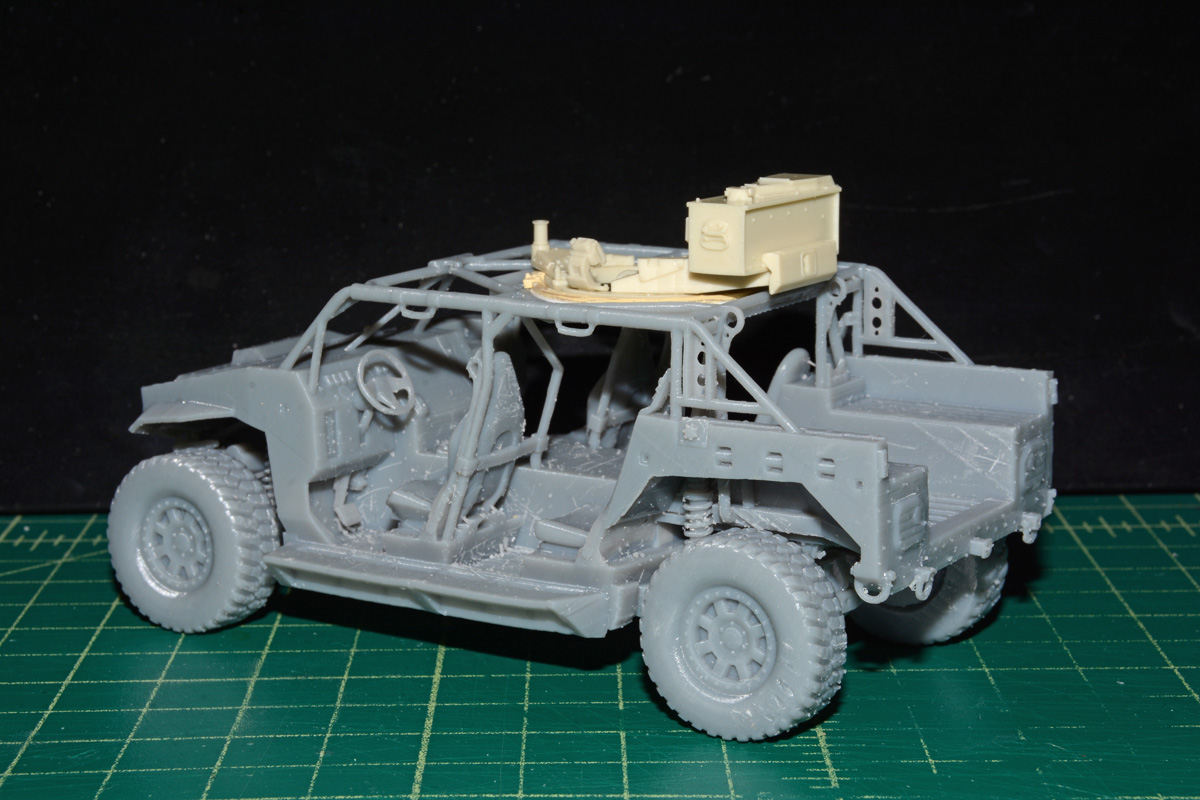
I haven’t had a lot of time lately to finish anything lately so I have only been working on some small sub assemblies for the Polaris Dagor.
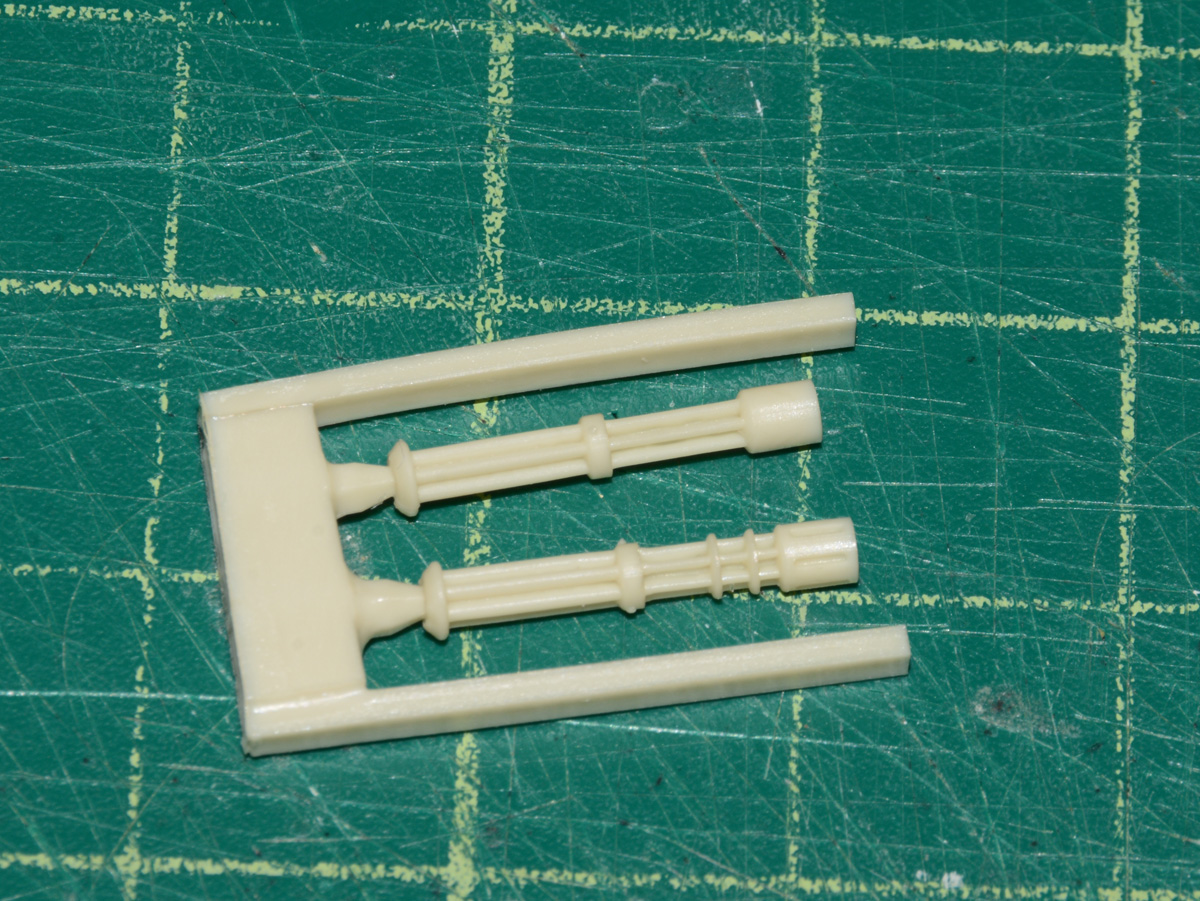
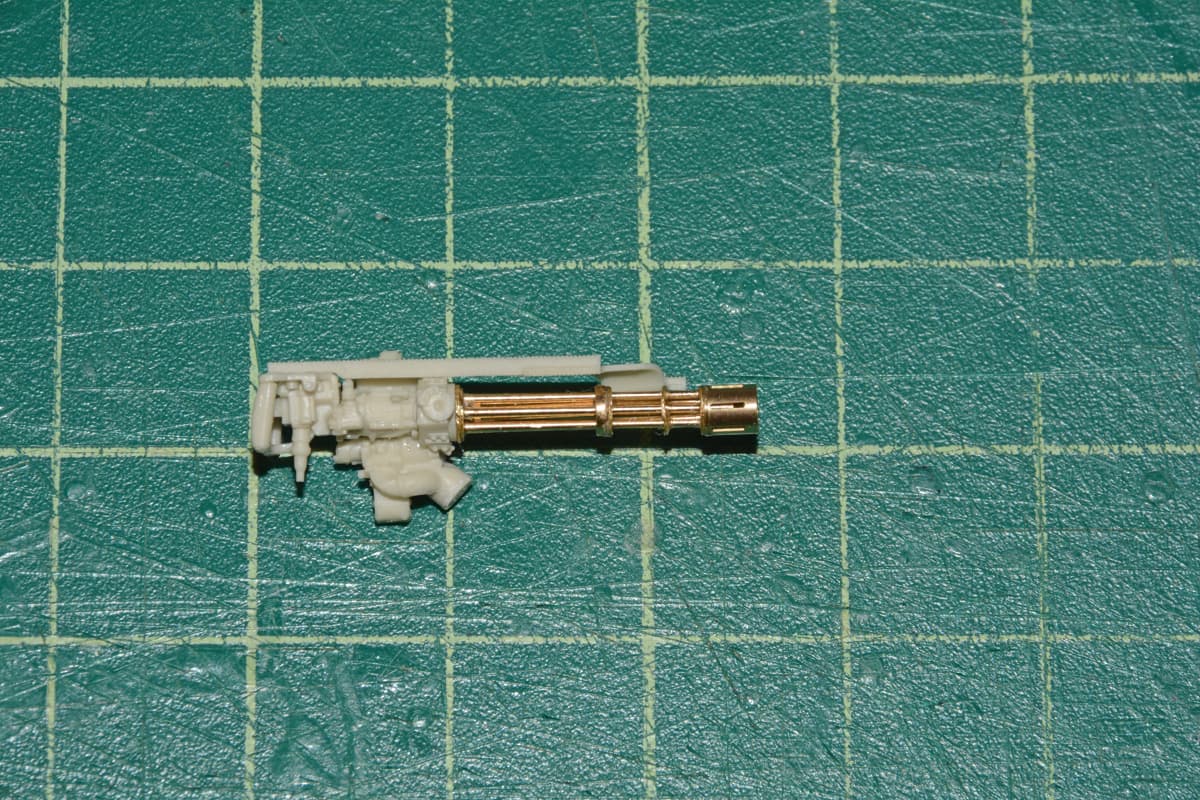
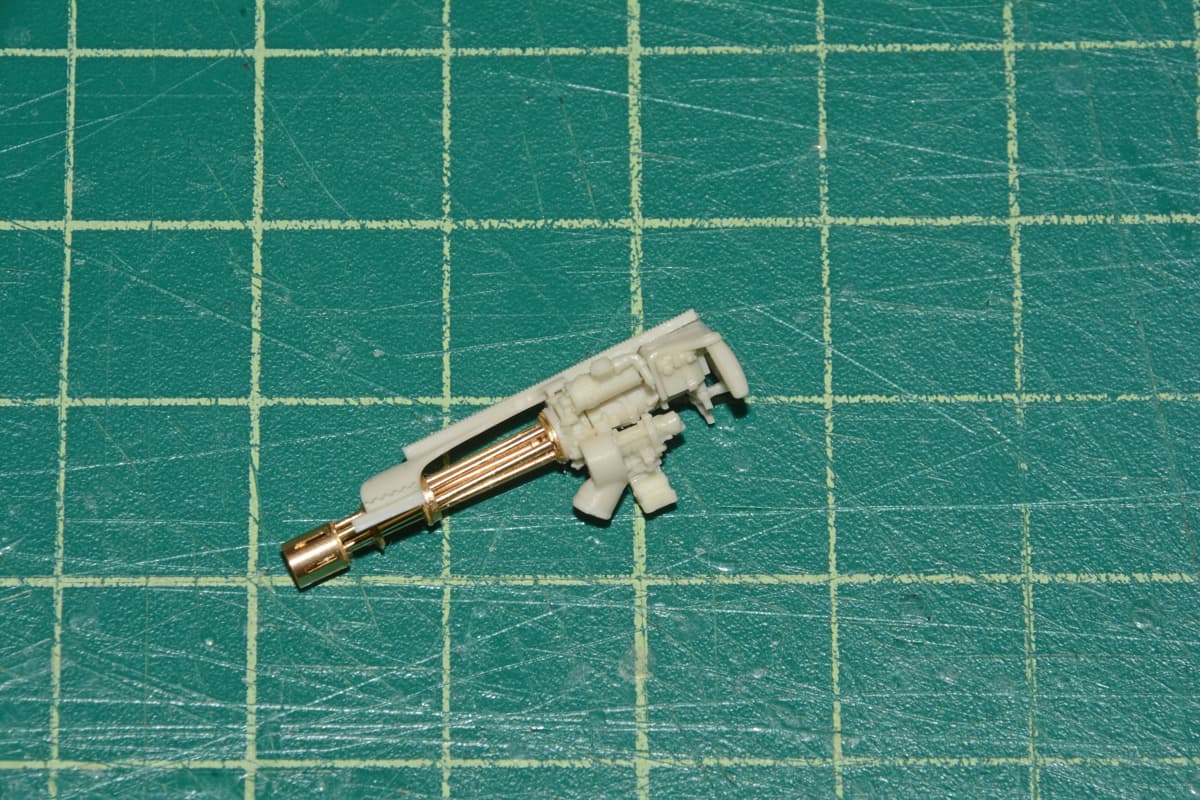
I started on the Legend M134 minigun set and it has quite a few parts.

The resin barrels are OK but I am replacing them with RB metal barrels.
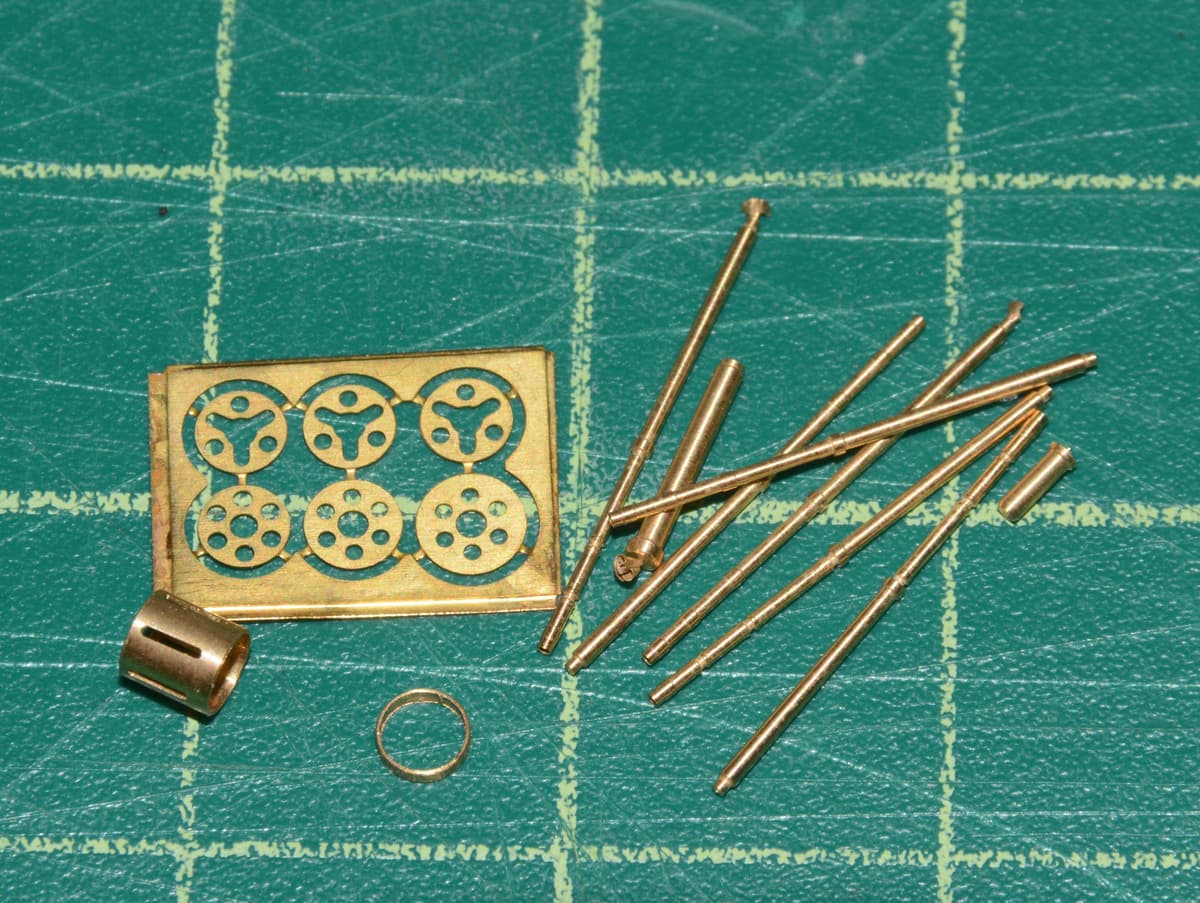
The RB barrels were a nightmare to fit together but once they look great once assembled.
Unfortunately, the Legend turret ring is too small to fit on the Dagor. I had a trashed Academy M1A2 kit that I saved the commander’s cupola but the Academy part is also just slightly too small. I glued on some plastic strip around the edge of the Academy part. You can see the white plastic strip on it. The Legend weapons ring fits perfectly inside the Academy part.
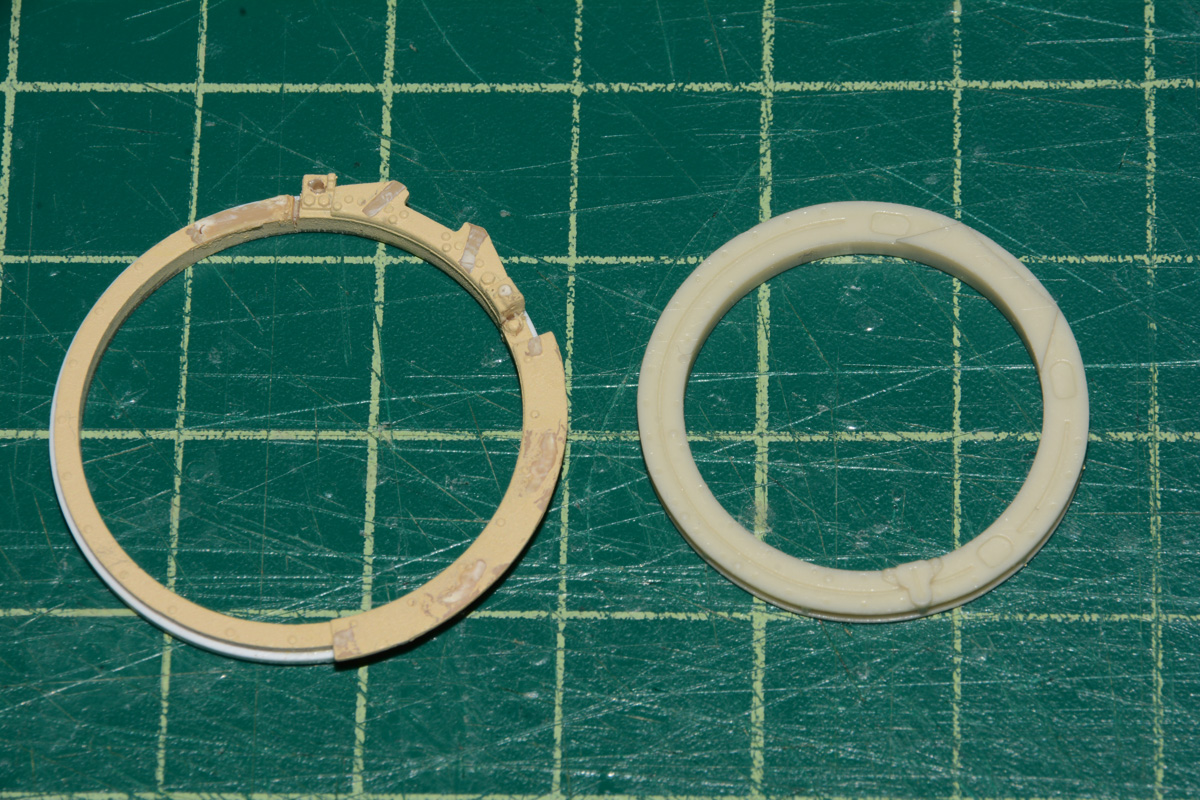
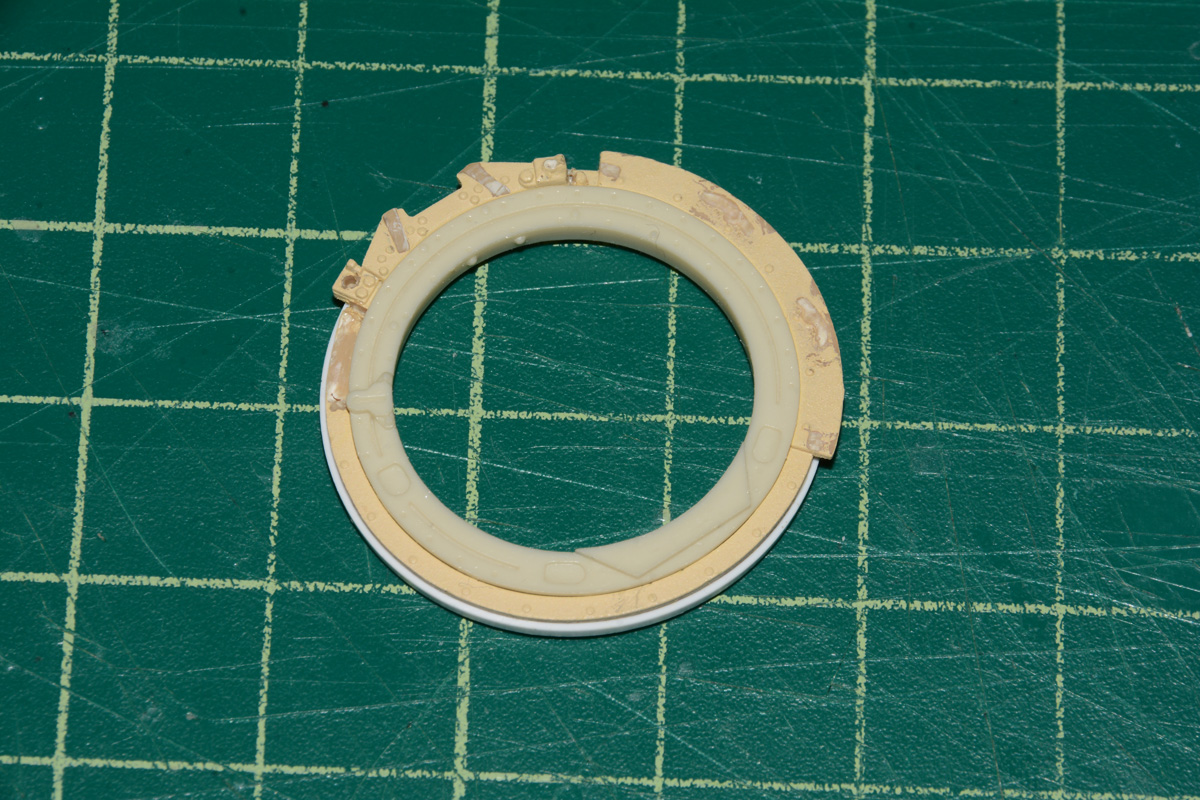
Here are the Academy and Legend rings test fitted to the Dagor.


I also started assembling the ammo can.
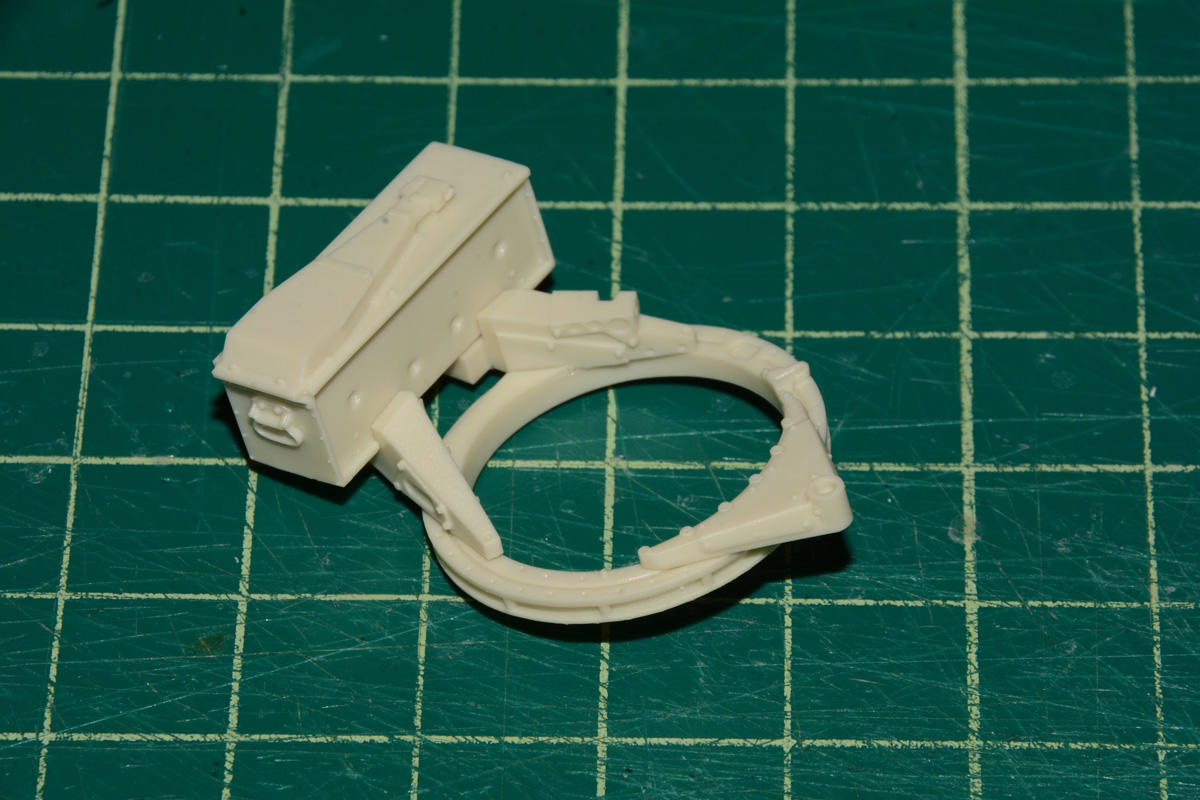
Here it is test fitted. This is as far as I got.

7 Likes
It’s my model ![]()
![]()
![]()
![]()
![]()
1 Like
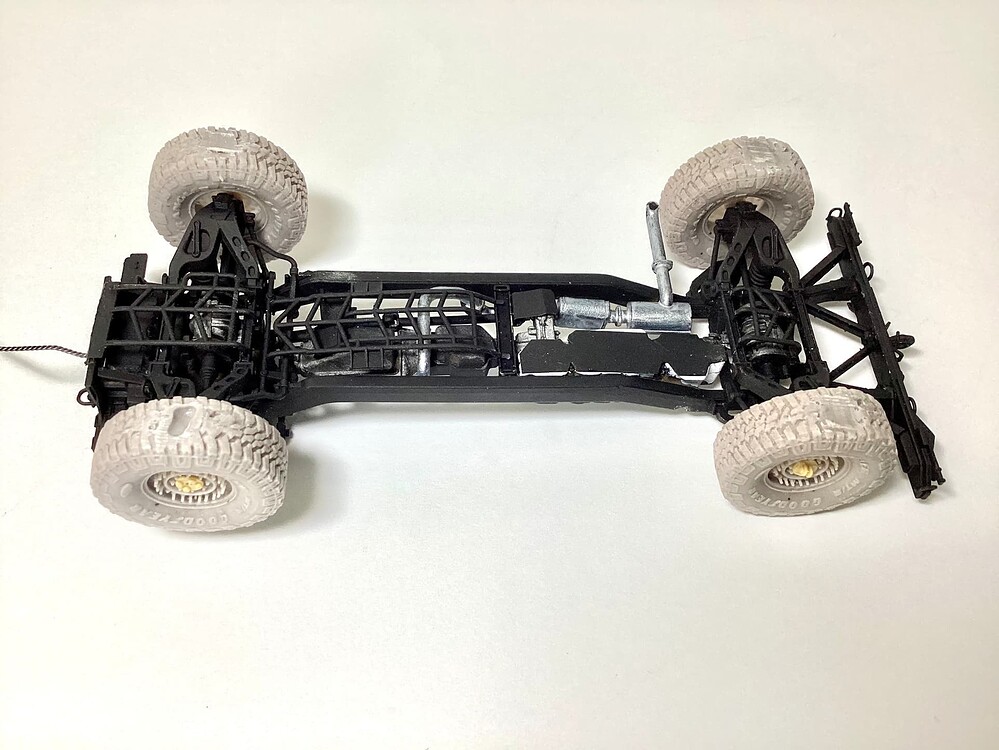
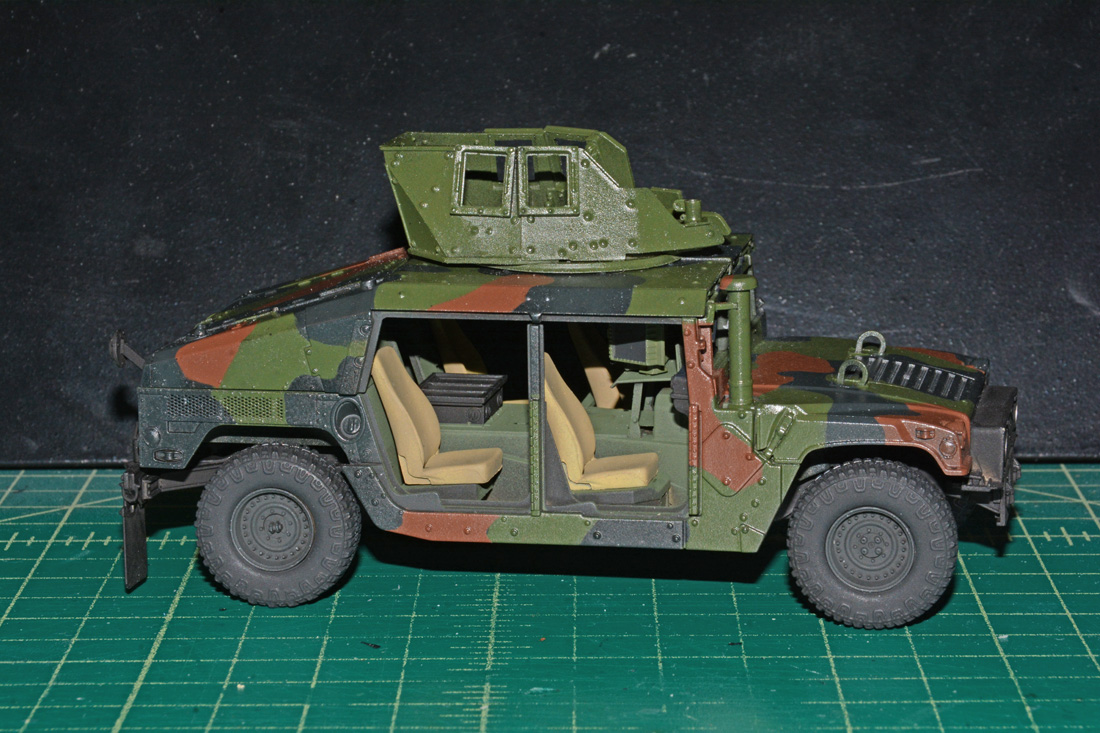
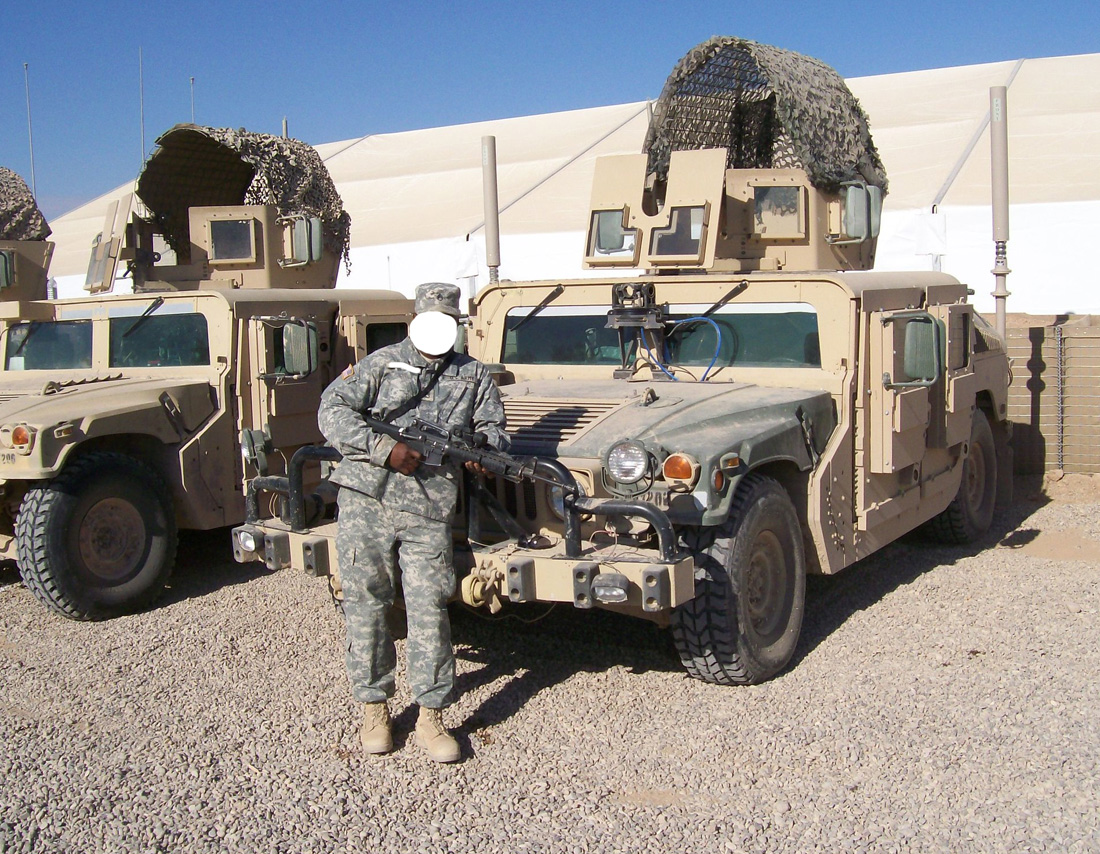
Got the ride height to an acceptable height on the Academy M1151 and kept the kit wheels/tires. You can’t notice the hatchet job I did from the sides or the rear. You can notice it from the front where the wishbone suspension sits lower than it should but this was the only way to adjust the ride height with the kit already being fully assembled and painted. I will adjust the suspension on future builds differently if possible.
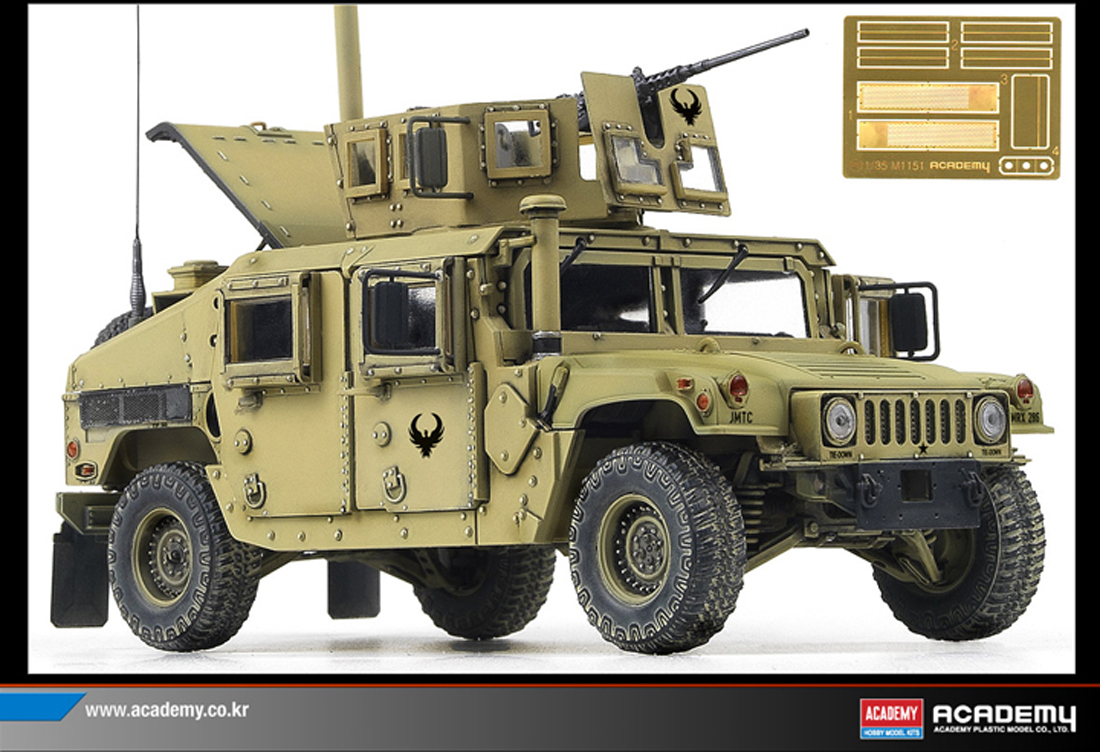
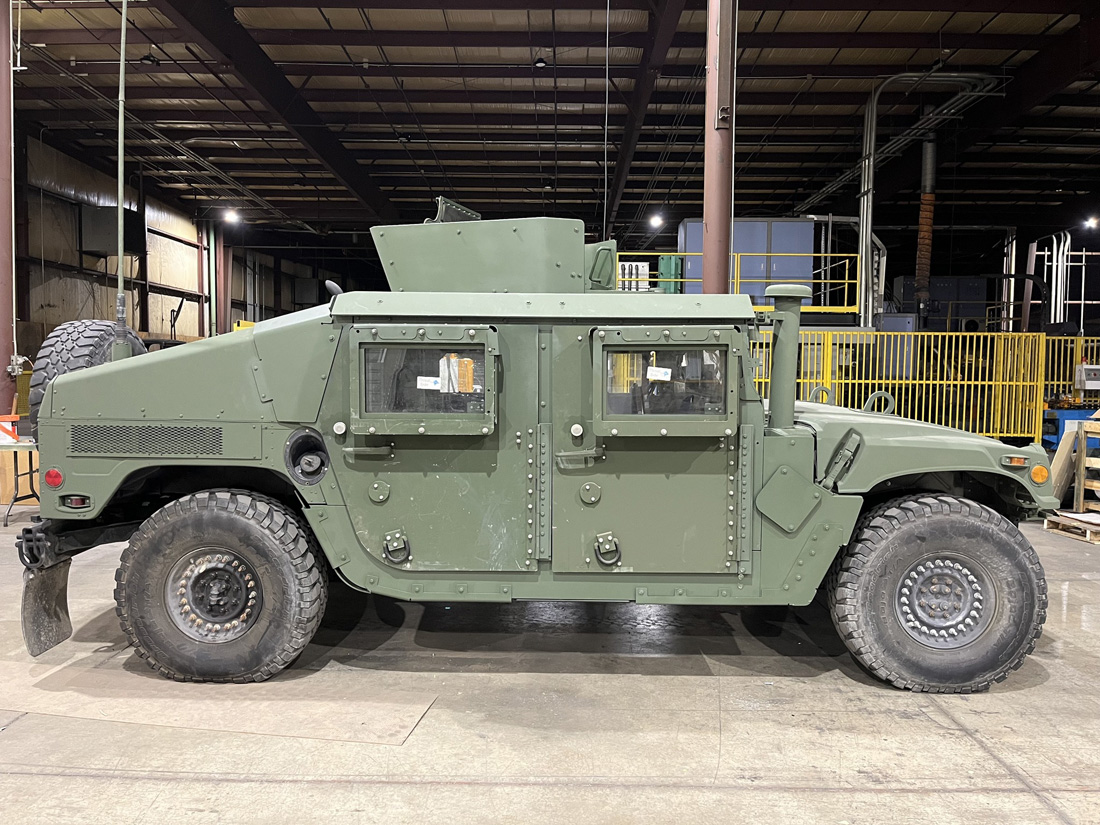
Academy product image of their built up kit showing the original ride height.
4 Likes
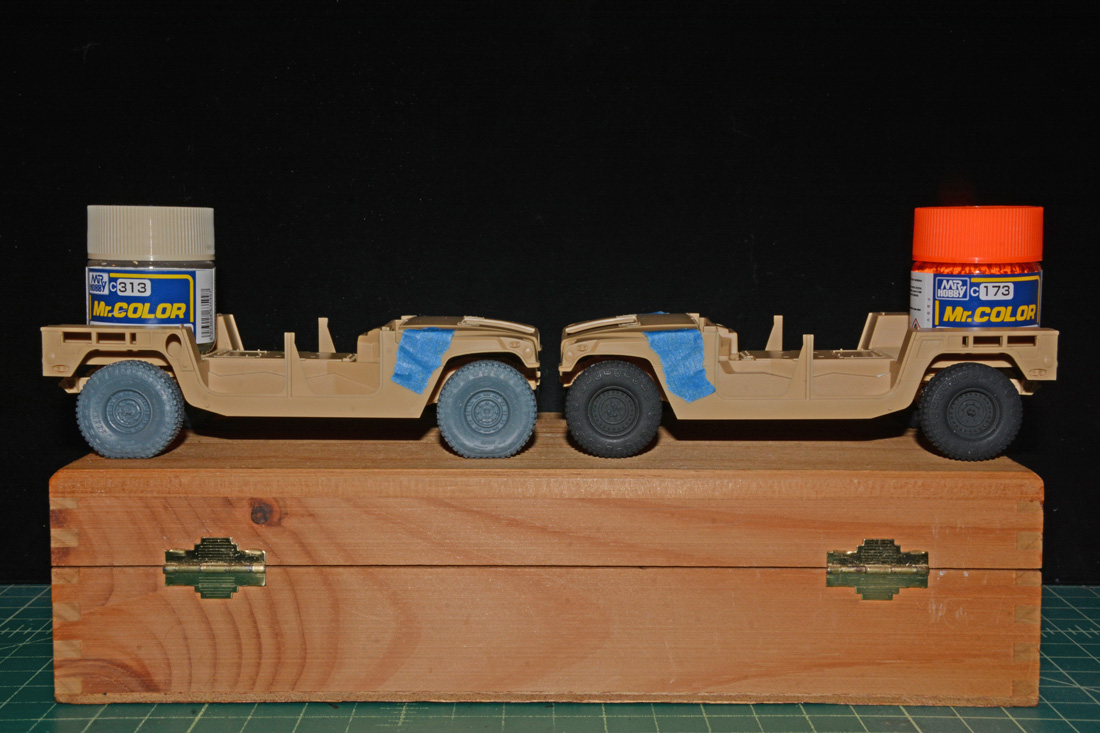
Worked on a couple more Academy M1151’s to get the ride height lower. First photo shows after modifying the suspension. The paint jars are to hold the rear down as the frame and chassis aren’t glued together yet. There are two pins on the frame that insert into the bottom of the body. The ride height looks much better. The second photo shows my previous attempt to lower the ride height after it was already painted and assembled. I noticed the Academy hood sits odd. While the hood itself slopes downward, when sitting on the body, the hood sits almost level. The hood should slope downwards more than Academy has it.
The one on the left has the Scale X 3D printed wheel set from Ukraine. They are sagged and are almost exactly the same height as the Academy kit wheels/tires. If you get the non sagged set, they might be only .5mm higher.

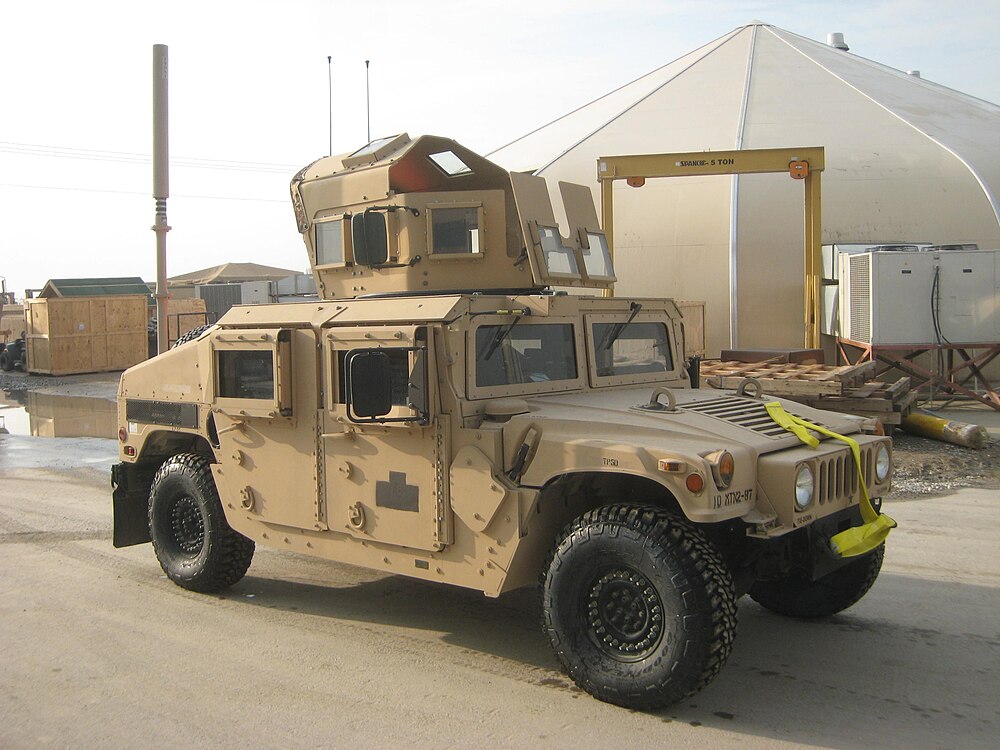
There seems to be different ride heights on the M1151. I am guessing due to equipment and gear being stowed in them. In these two photos, you can clearly see the difference. The first photo seems very similar to the original Academy ride height with a lot of clearance between the top of the tire and bottom of the wheel well. Second photo shows it slightly lower. Second photo also doesn’t seem to be loaded with equipment or gear though but with all doors closed you can’t tell what is in it.
3 Likes
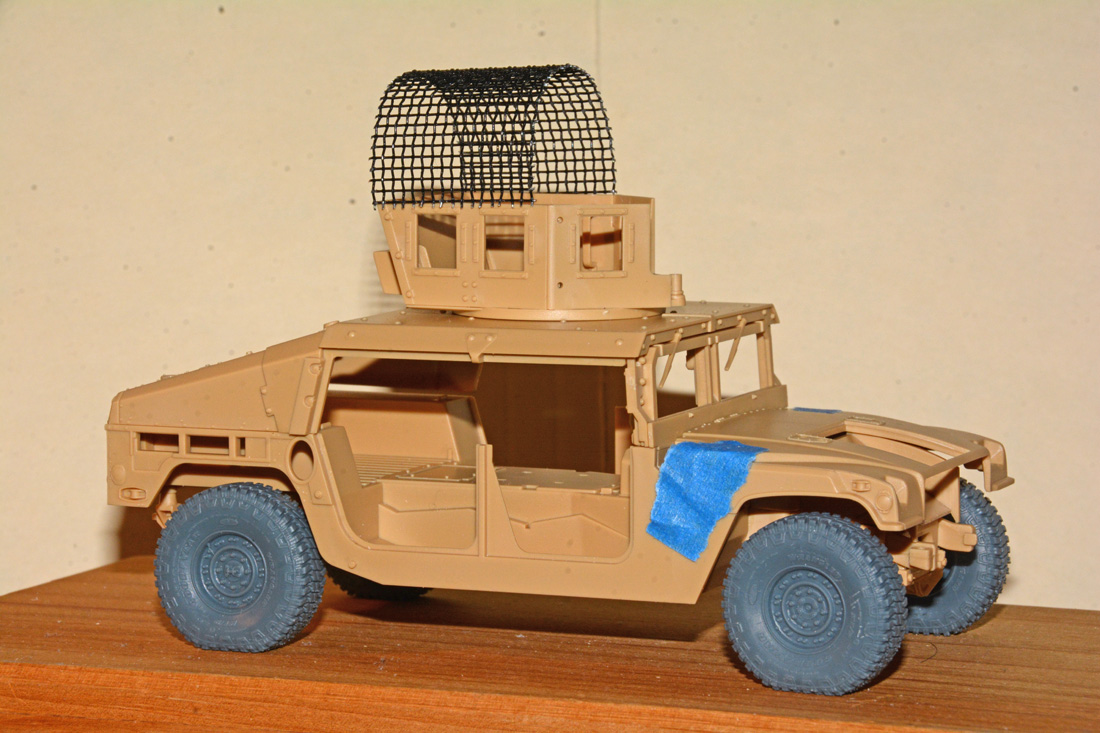
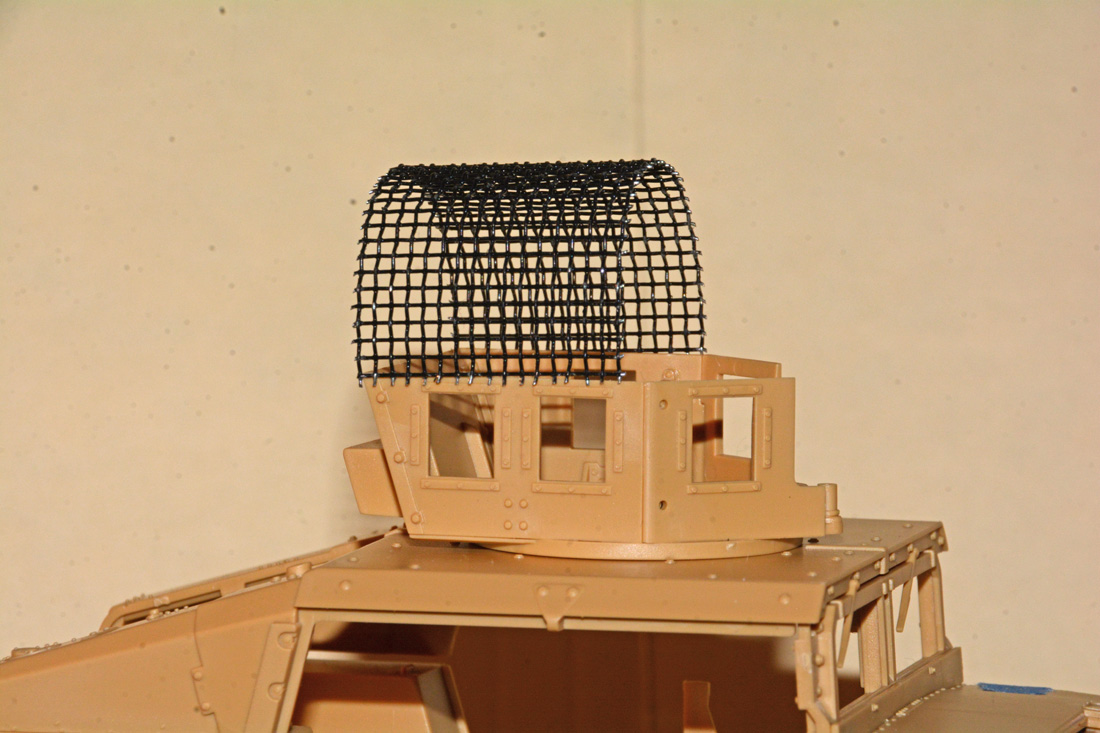
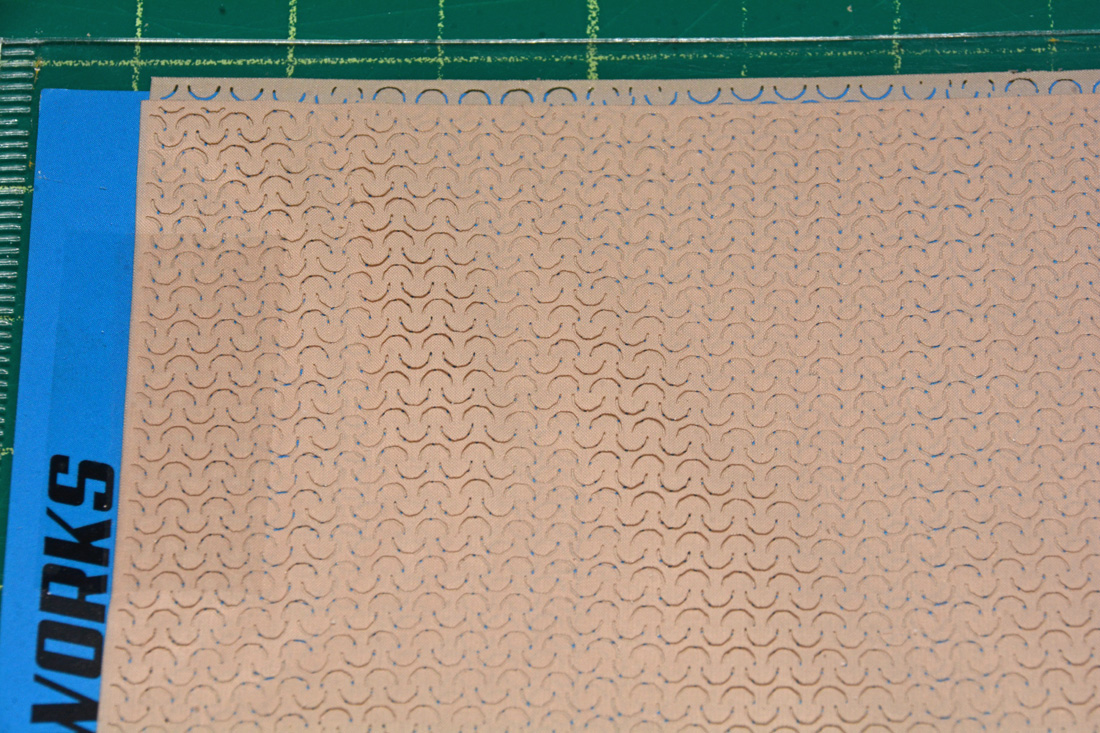
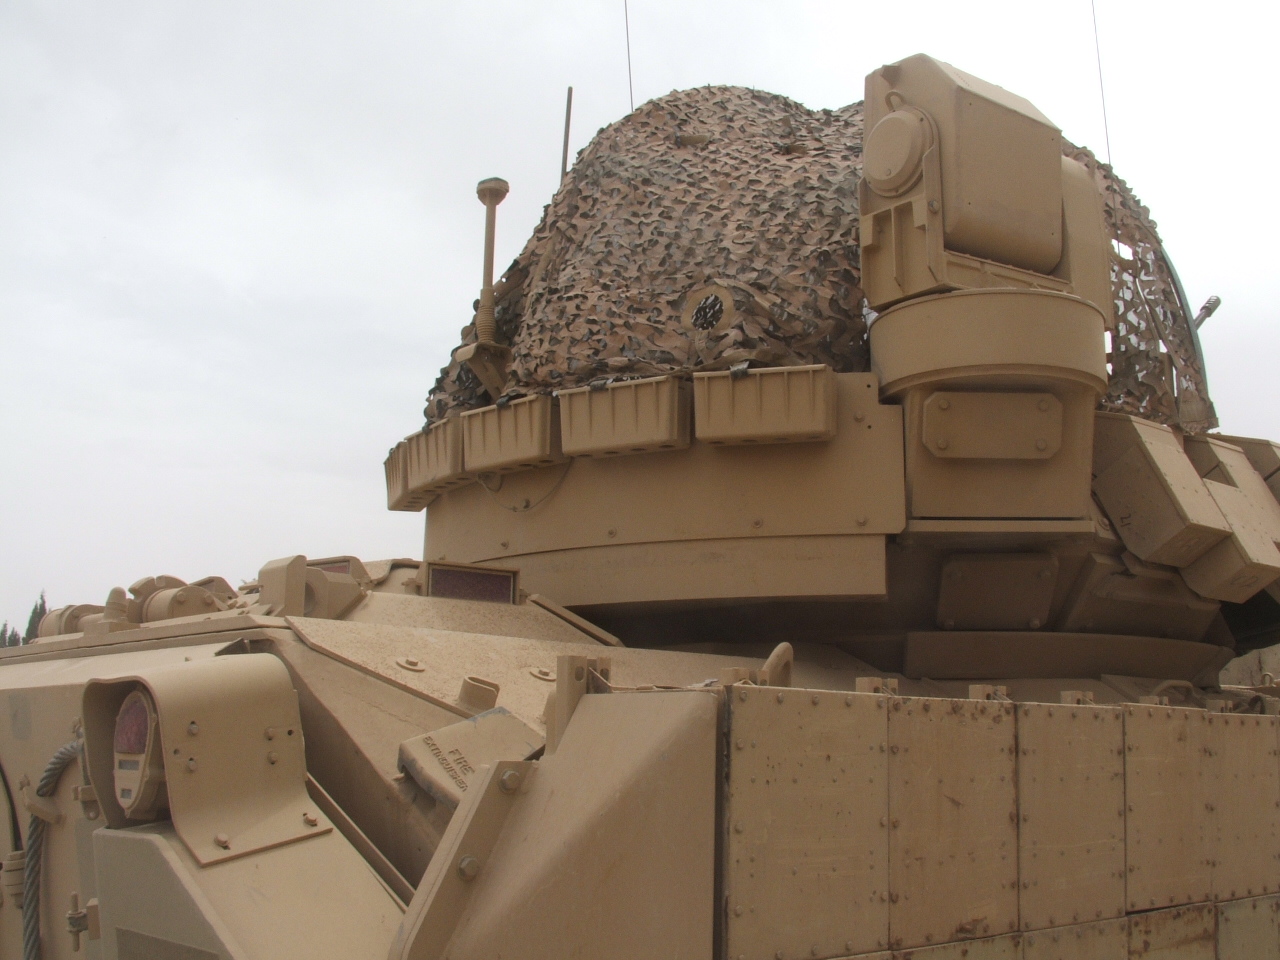
Test fitting the turret with the mesh for the camo netting. I have the Tetra Model Works tan camo netting that I will be using. I have to make it a little lower. Some have the mesh pretty high though but the one I want to do has it lower as seen in the first reference photo. I am building mine similar to that one. The second reference photo shows two different heights of the mesh. The camo netting will be added later.

2 Likes
The turret cover is a nice addition.
I also have the camo net from Tetra and I plan to use it for a Bradley turret cover.
2 Likes
Thanks! Looking forward to seeing yours.
I used 16 mesh size. The one I used is metal and is really stiff. Needs a lot of work to bend it.
3 Likes
For Bradley there isn’t any mesh, just 3 curved flat bars.
Tetra net need to be stretched and crumpled a lot to obtain a worned aspect.
2 Likes

There’s a PE set for that I have floating around somewhere. They would have you use two layers of PE for the guard. I think I’d only use one layer.
The key is in the mounts, which of course I photographed.
3 Likes
Some .020” x .080” (0.5 x 2.0 mm) styrene strips would work for those flat bars. As you said, the attachment points are key.
1 Like
I know I already have it, but send me your email address.
2 Likes
Thanks! Message sent.
1 Like