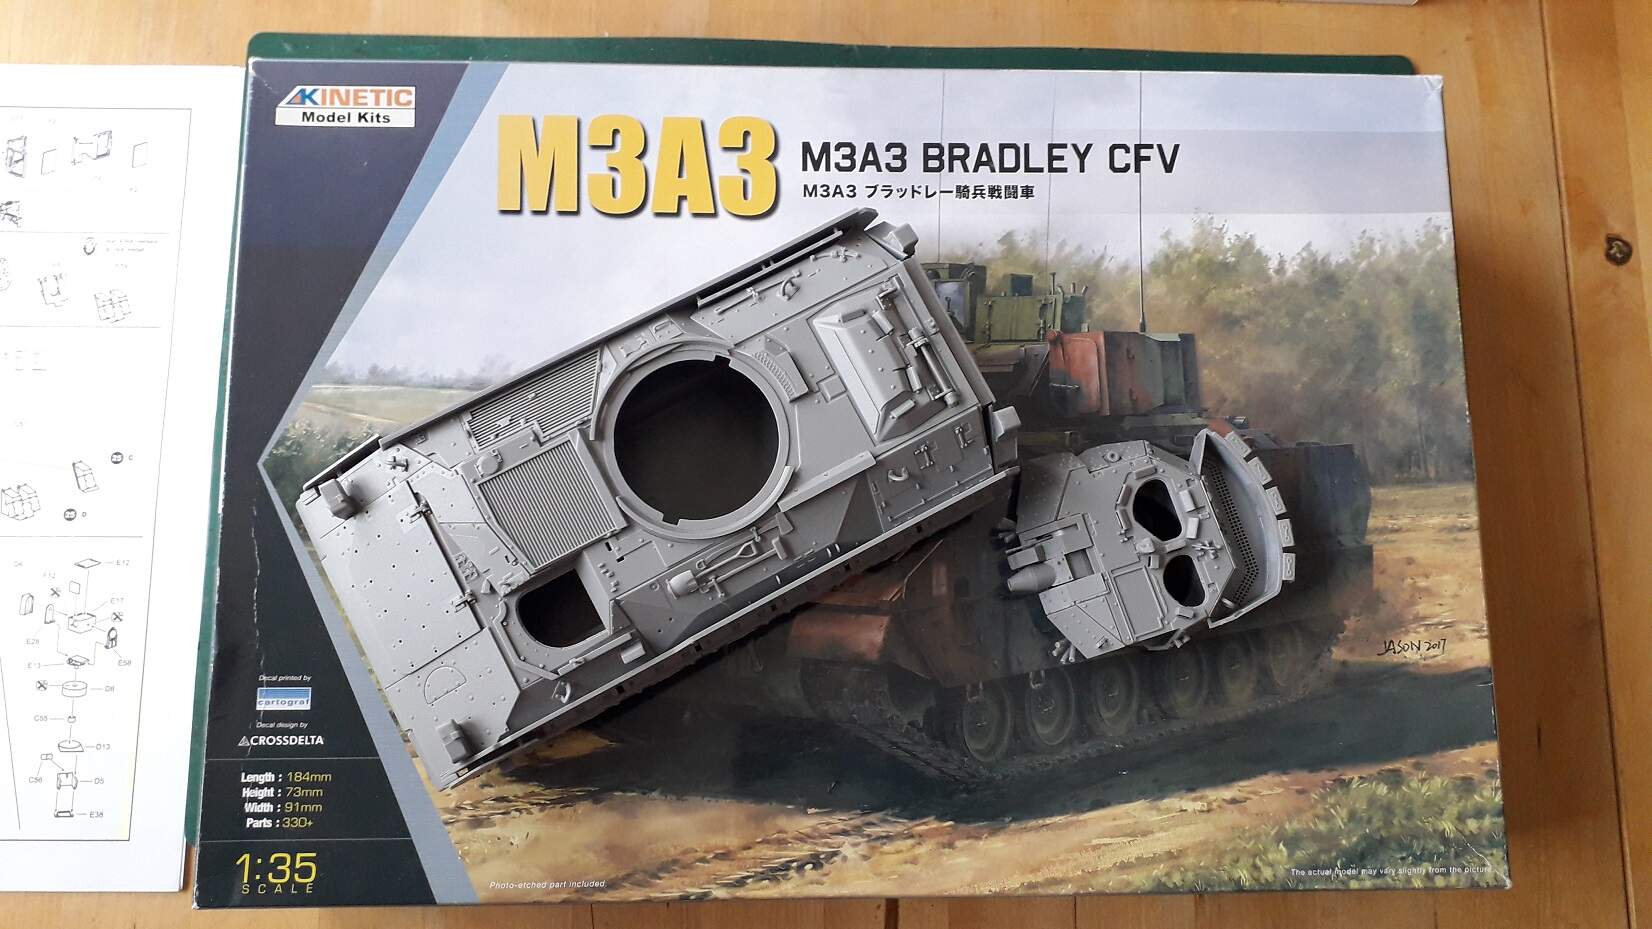
Building a Bradley in Yugoslavia 1990’s and I had this one laying for a while.
It will be backdated (sort of) to M2A2 M3A2 standard.
Building a Bradley in Yugoslavia 1990’s and I had this one laying for a while.
It will be backdated (sort of) to M2A2 M3A2 standard.
Good subject. This may help w/the backdate. It is actually easier to backdate it to an M3A2 CFV though.
WIP: M2A2 ODS, 3-15 IN, 2 BDE, 3 ID OIF 1 - Meng M3A3 backdate
Thanks!
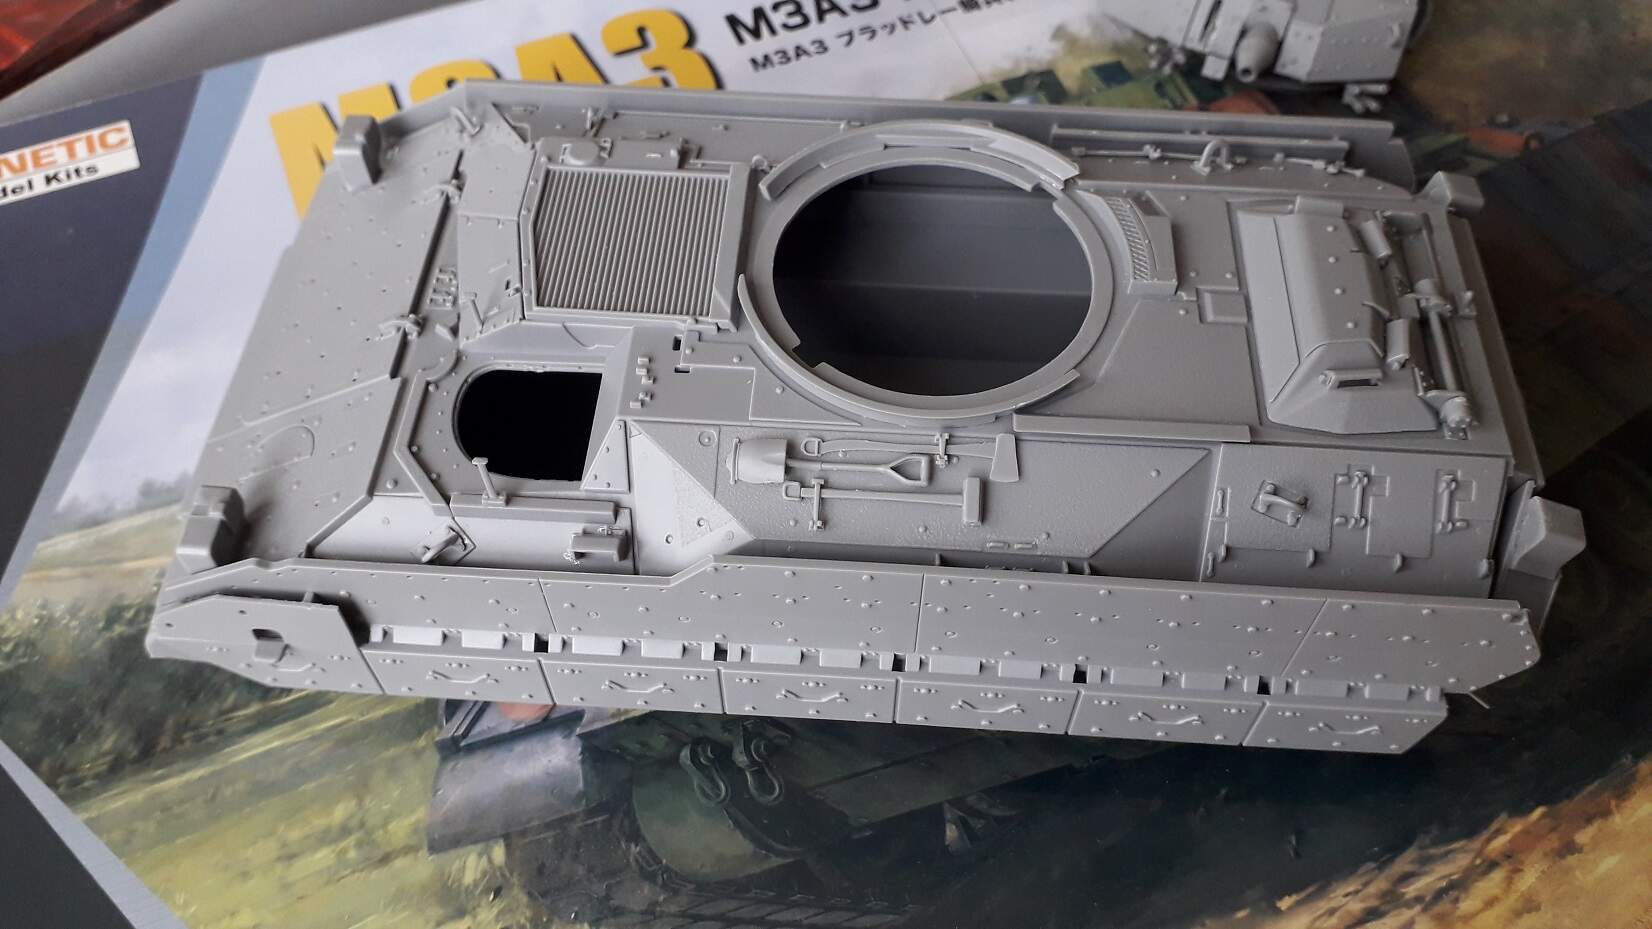
Only issue is that I only have this kit, so I was hoping that by omitting all the extra stuff like armour and bells & whistles on the turret + using Tamiya tracks & matching sprockets I’d get something presentable and suitable for a IFOR/KFOR Bradley.
You can, sort of. The one piece that needs extra attention is the rear storage basket. It needs to be full length to be an earlier A2 version, either replaced or extended where the CITV was. The majority of the other changes are omissions.
Good call on the track and sprockets. The T161 tracks were not used then.
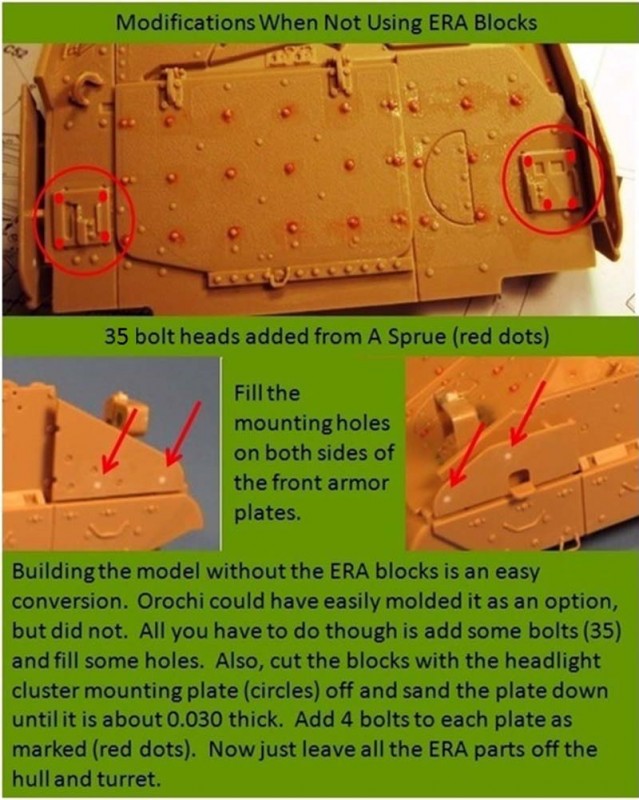
You have most of them covered; leave off the ERA (add all bolts, see below link) and TCs shields, swap tracks/sprockets, leave off the CITV, leave off driver’s camera on front glacis, and extend/replace stowage basket.
https://archive.armorama.com/review/11172/
With these changes, it will basically be an M3A2 CFV as used during that timeframe.
Lots of general Bradley type and models info here:
M2/M3 Bradley Reference - Reference by Subject - KitMaker Network
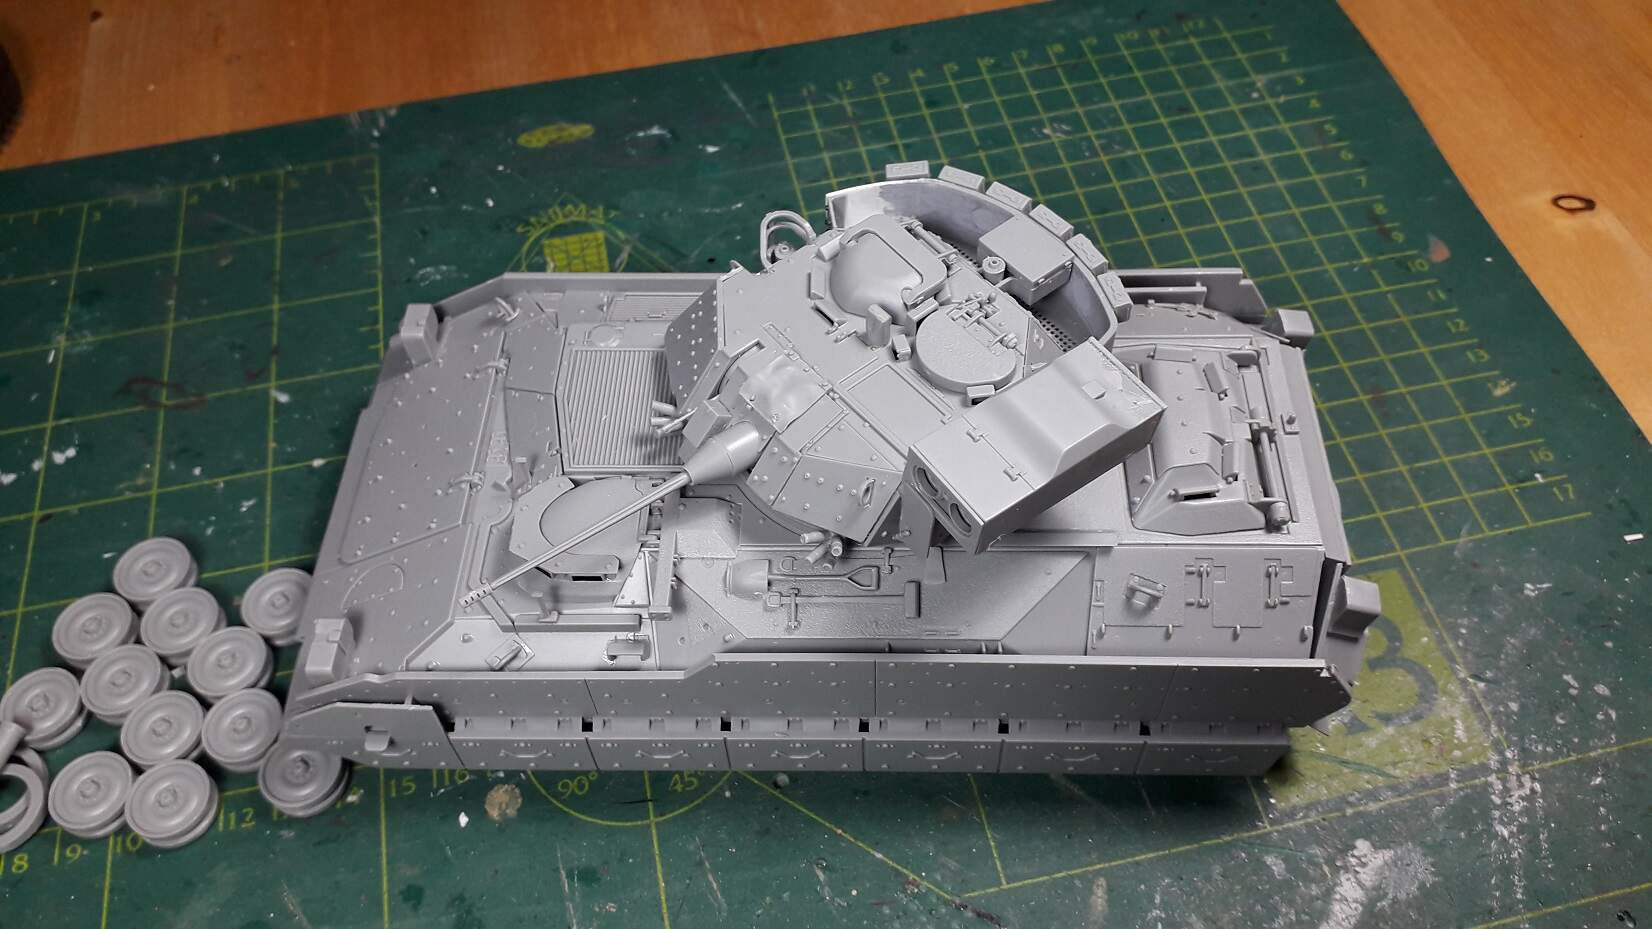
Well, the Brad is ready for paint!
Thanks @HeavyArty Gino for the suggestions!
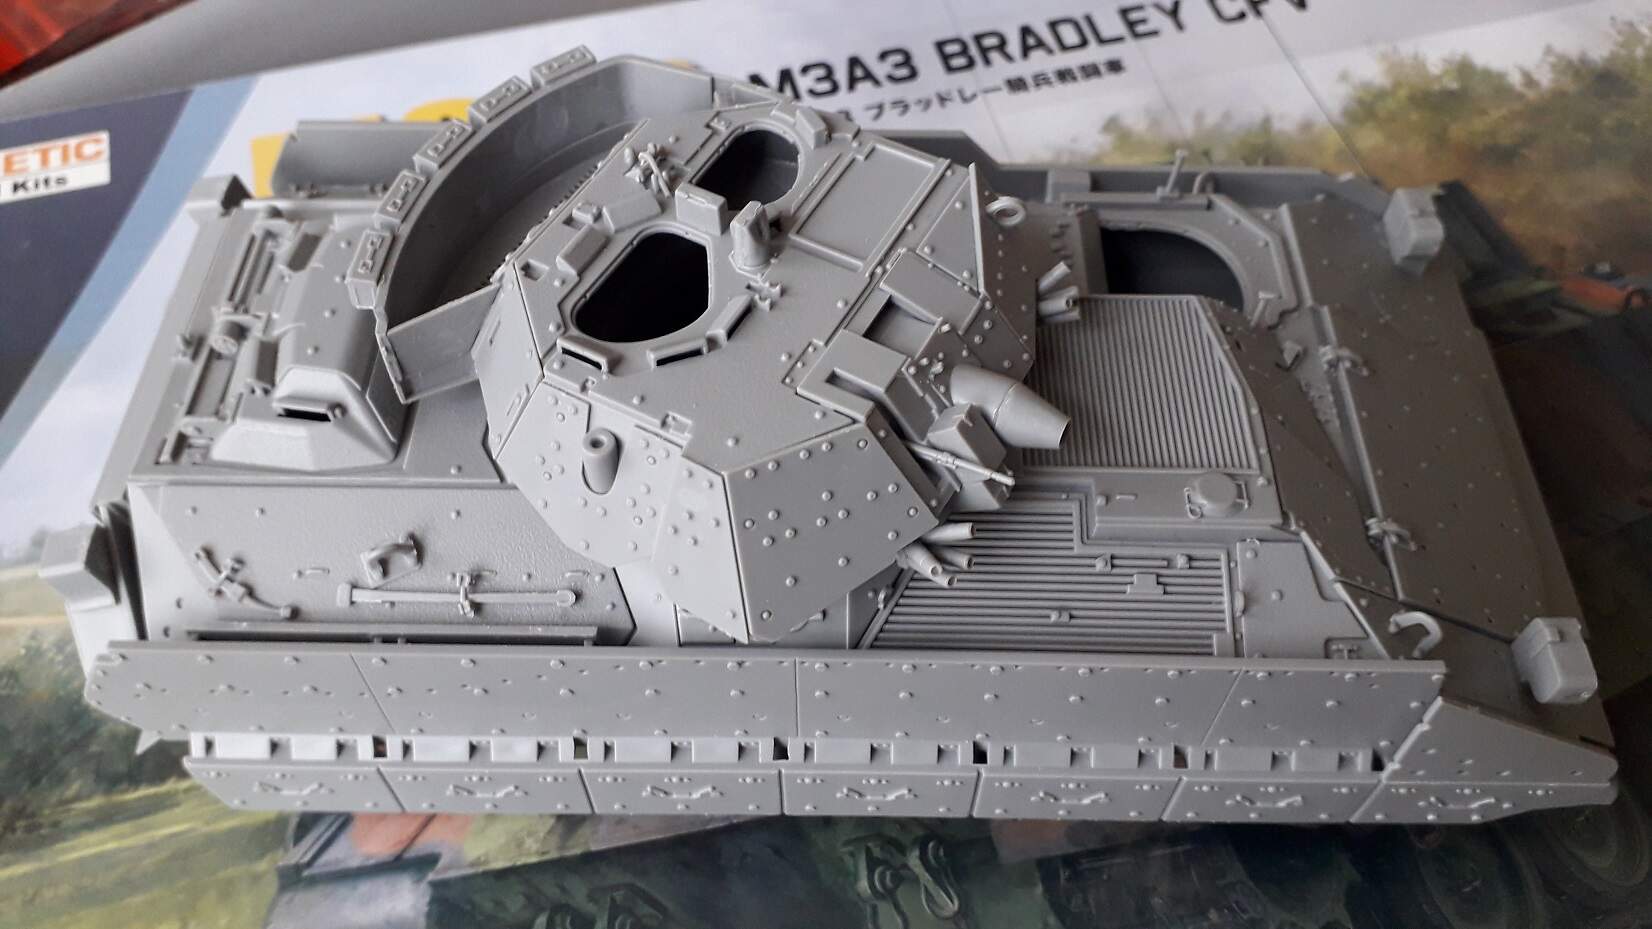
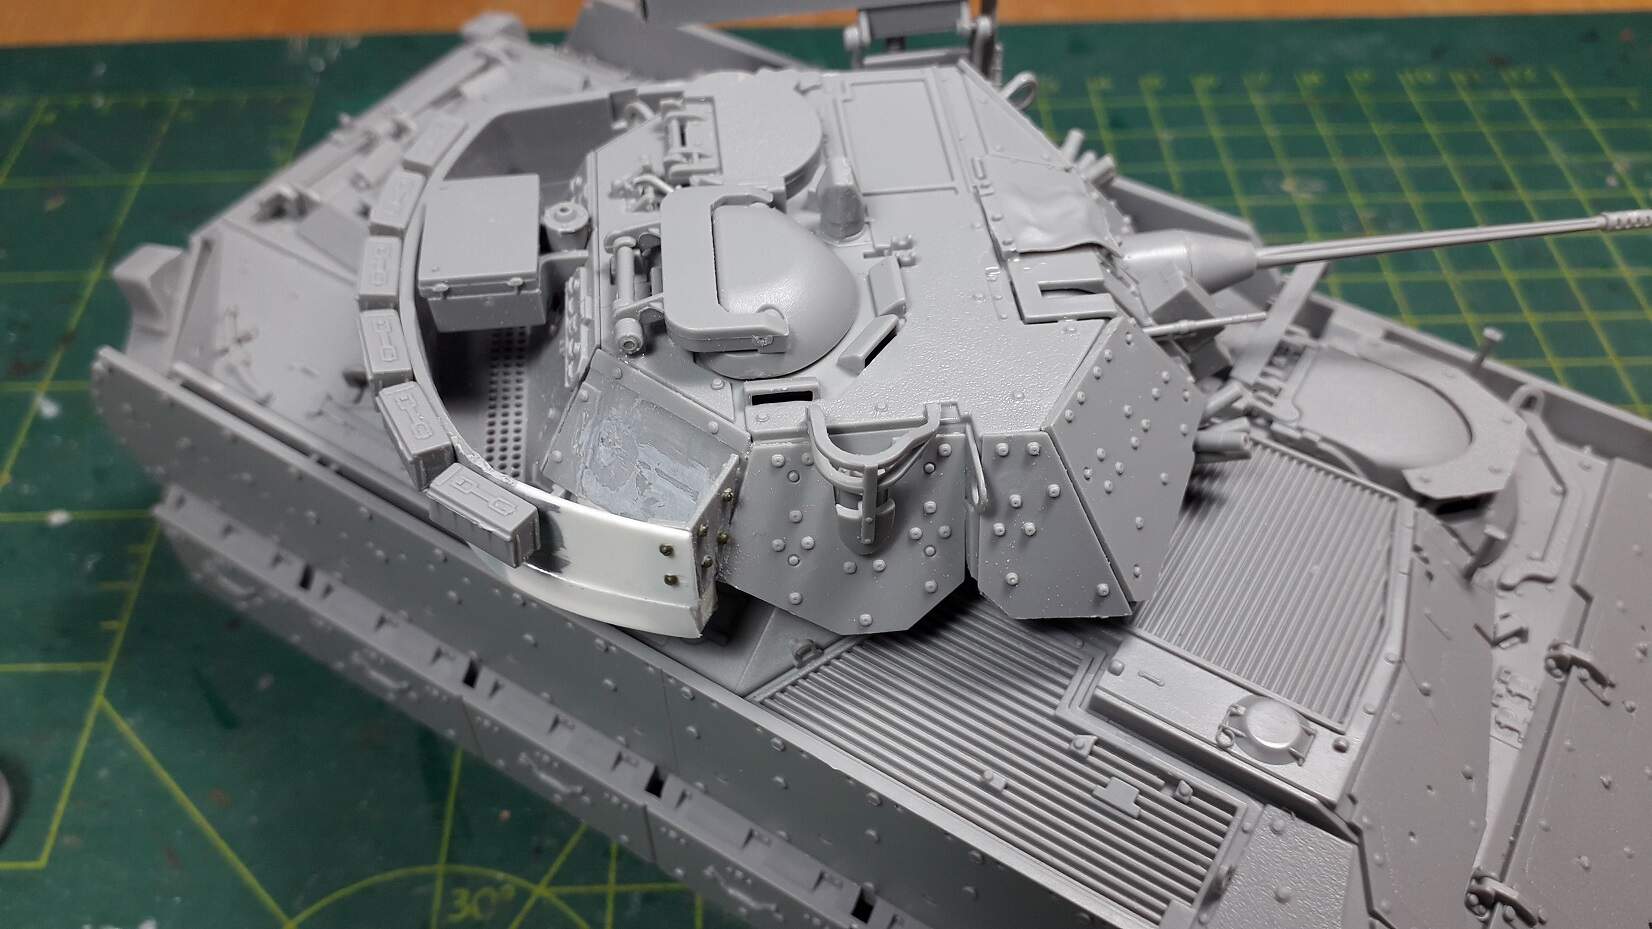
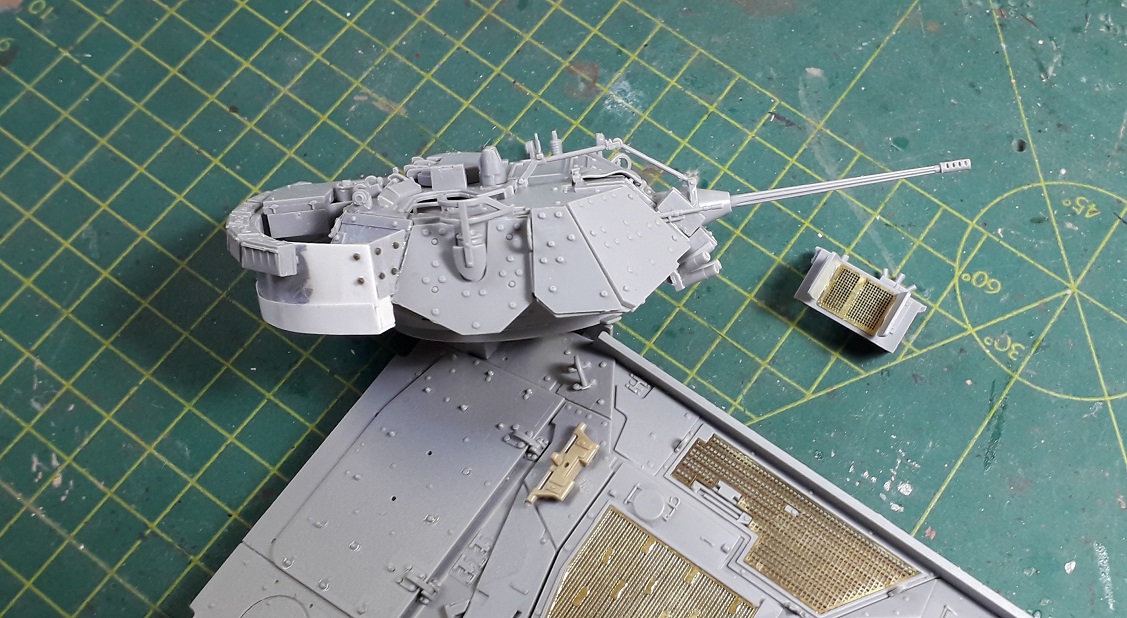
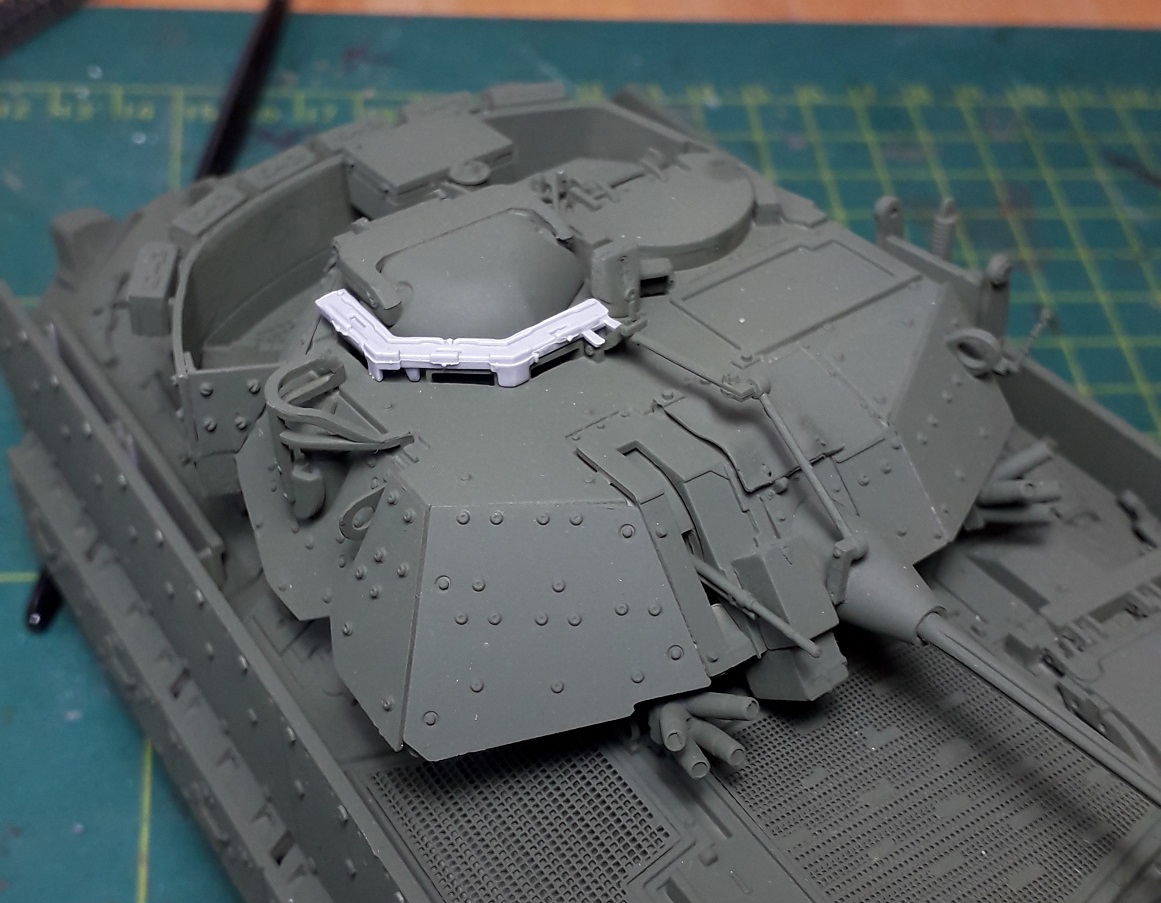
I changed the turretbin, so it now extends toward the right side. I had to use thick plastic card, since the binwall is very thick too, so it would match opticswise. The box in the middle was already glued in place. removing that would cause quite some damage, so I’ll just leave it there.
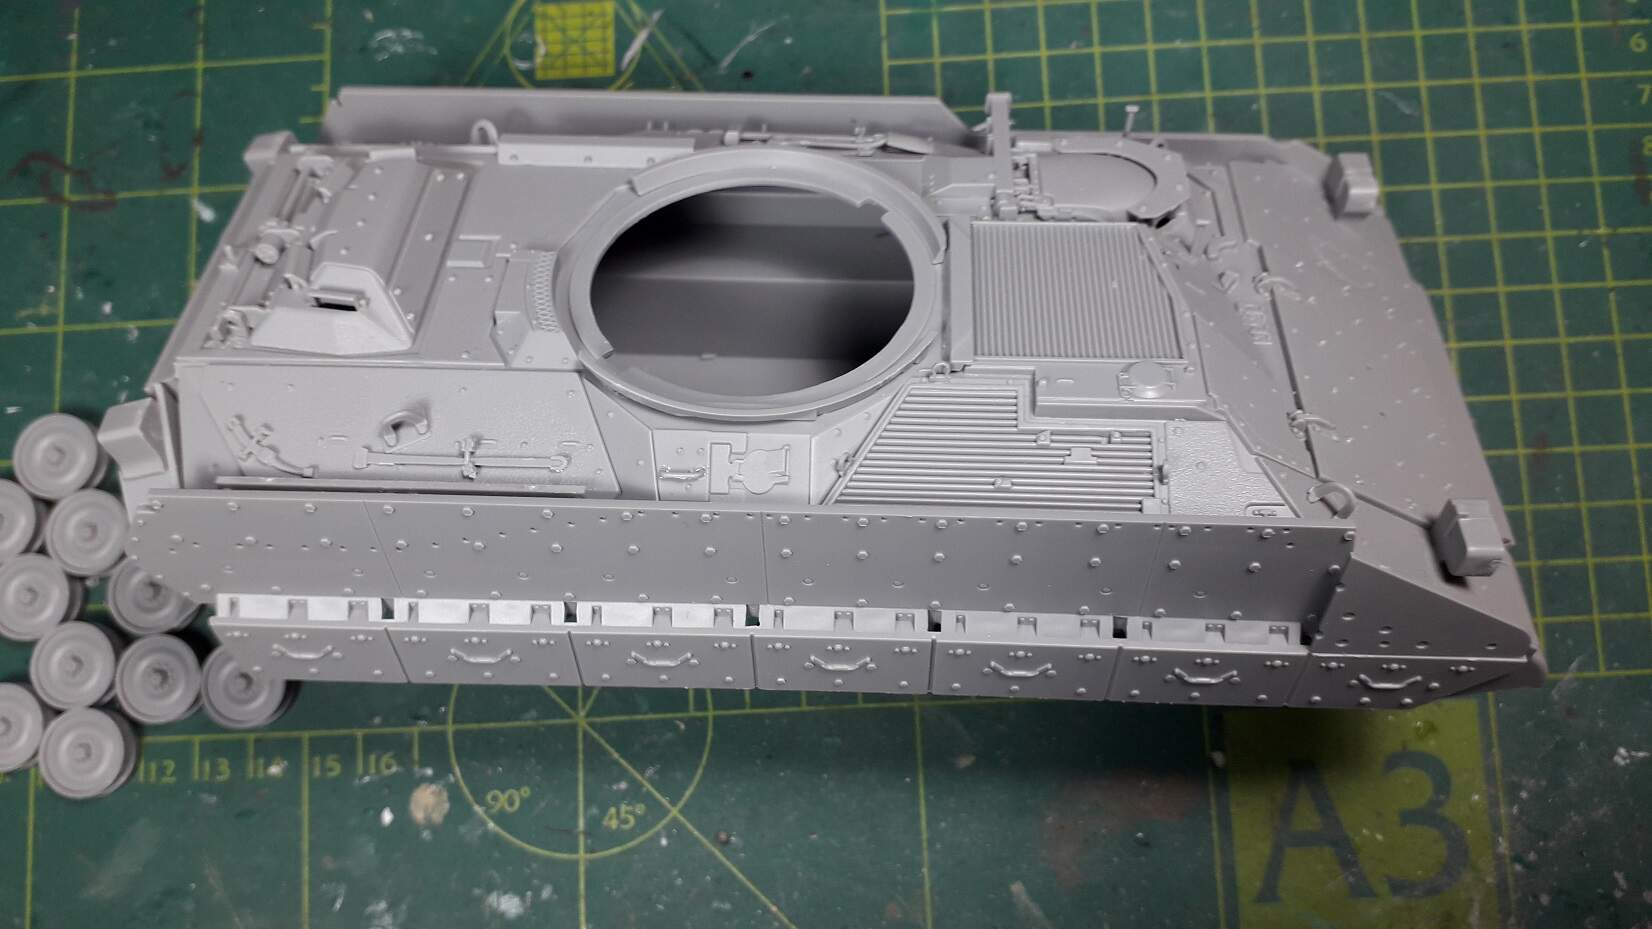
The vinyl Tamiya tracks are too tight. I’ll cut them and hide the gap behind the sides. I need to cut out a few links anyway to attach them to the hull.
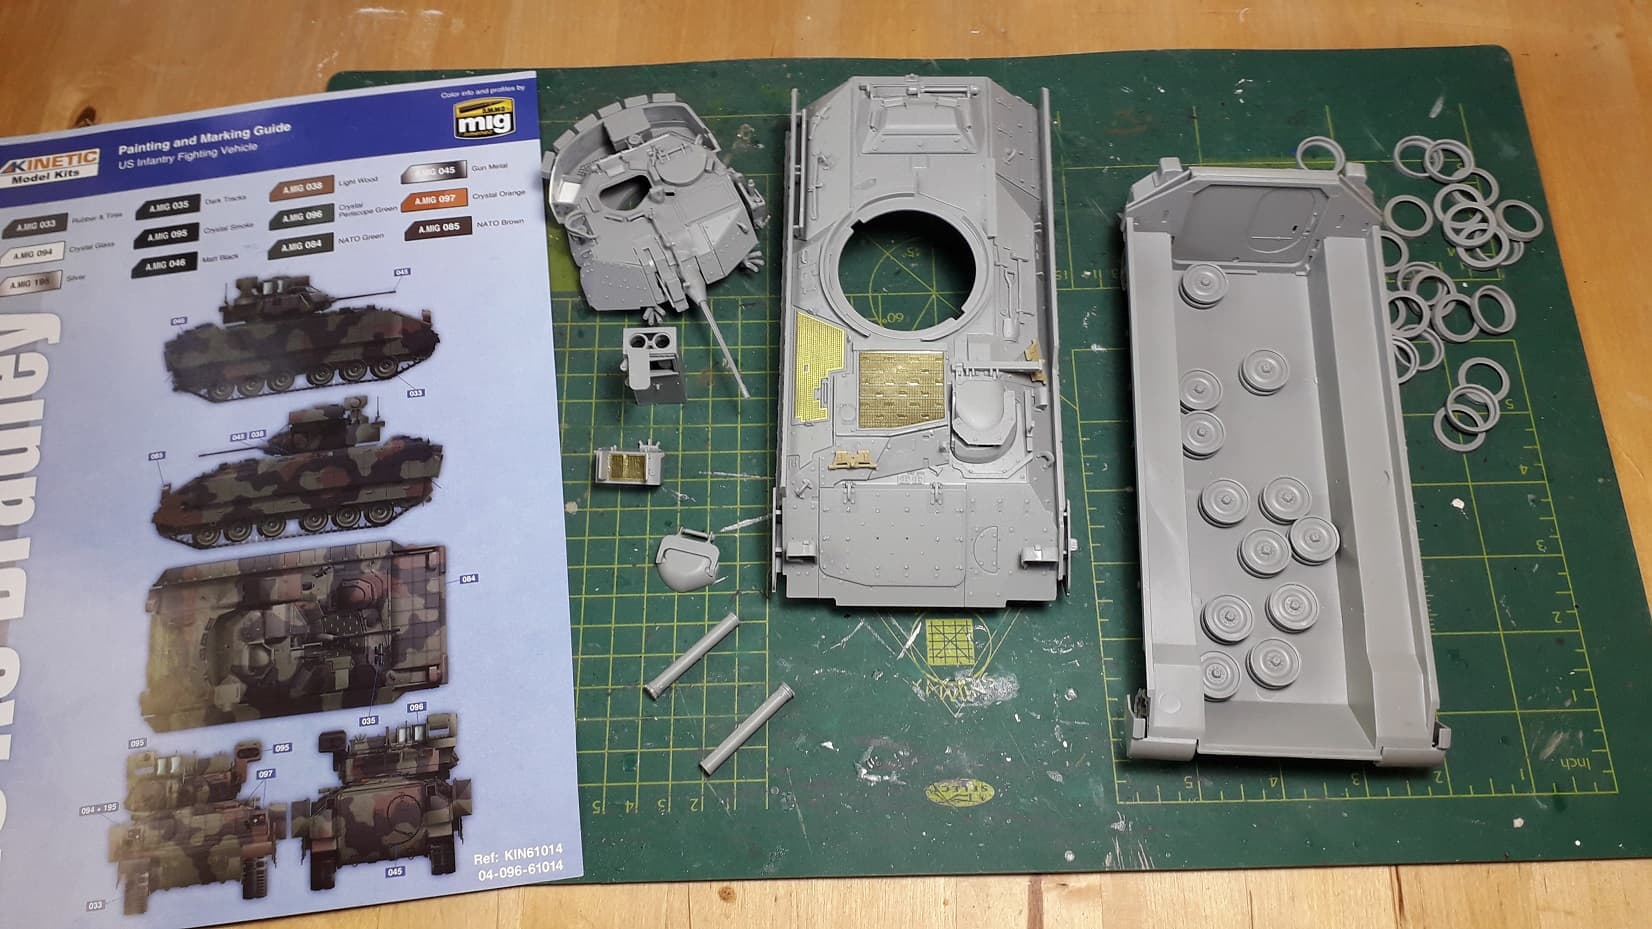
Didn’t really like the kit. I am a Tamiya-kind-a-guy. But the detail and fit are most certainly worth the extra effort! All of it!
Neat features: the rubber rims are separate as are the 2 TOW tubes!
Very nice. It came out looking great. The bin addition looks like it was part of the kit. Good job on it.
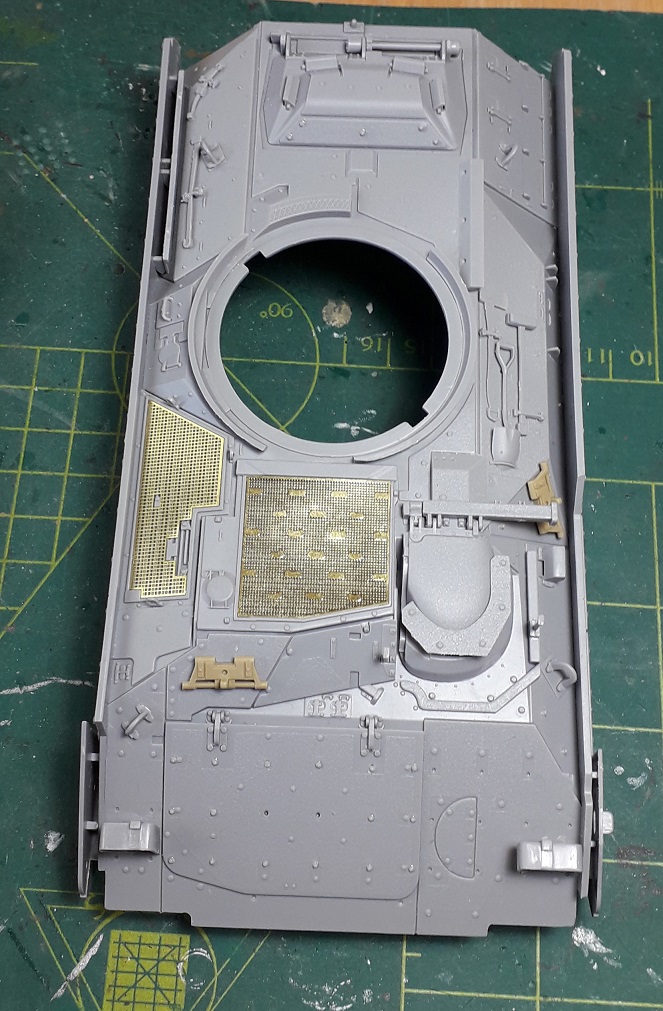
One piece that still needs to go on the turret across the periscopes on the right side is part C9. Fill in the gap on the top and sand it flush. This is a guard for the periscopes.
Also, fill the holes on parts C20 and C25. They are mounting holes for the front ERA armor plates (C19 & C24) and not present on actual Bradleys.
Meant to show this pic earlier but couldn’t access it at work. It lays out what to add/subtract to build it w/out the ERA blocks.
Sunday = paintday!
I finally put the last parts in place and had a bit of a panicattack, when I realized the external aimingsystem for the maingun was missing!!
Luckily the parts could be retrieved from the sprues of the ERA armour.
Thanks Gino for the spare links!
Looking good.
Looks great Ron. Nice to see a crisis averted.
Looks good, Ron. Very nice and crisp details. Painting will be fun!
Is this a kit you’d recommend Ron ? I’ve had my eye on one for a while ?
Yes, absolutely.
It builds really well and looks as good, despite many fiddly and small parts. But be careful which version you choose. I learned that ERA and the tracks were not used in this combo.
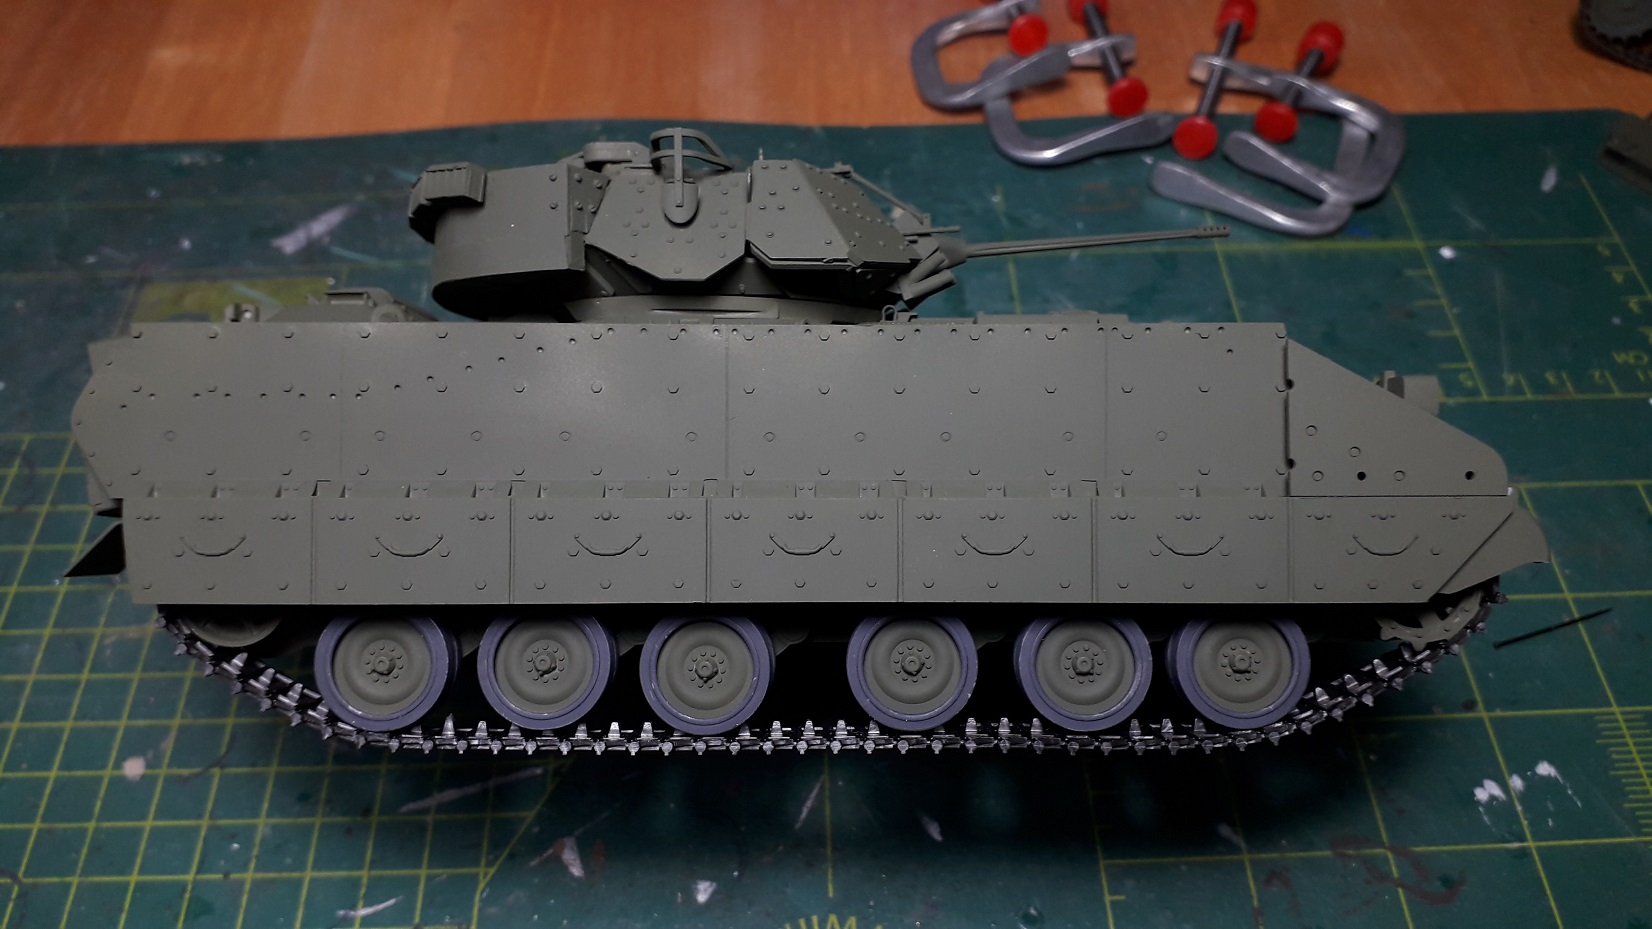
Operation “Slip-on Slippers” has been completed successfully!
The Tamiya tracks are 1-2 links short, so I had to cheat. Superglue did the trick! Top, idler, 1st, 3rd, 4th and 6th wheel are permanently attached.
Paid off, I’d say.
That looks sweet!
Looks good, Ron. Always a good trick if there are track skirts ![]()
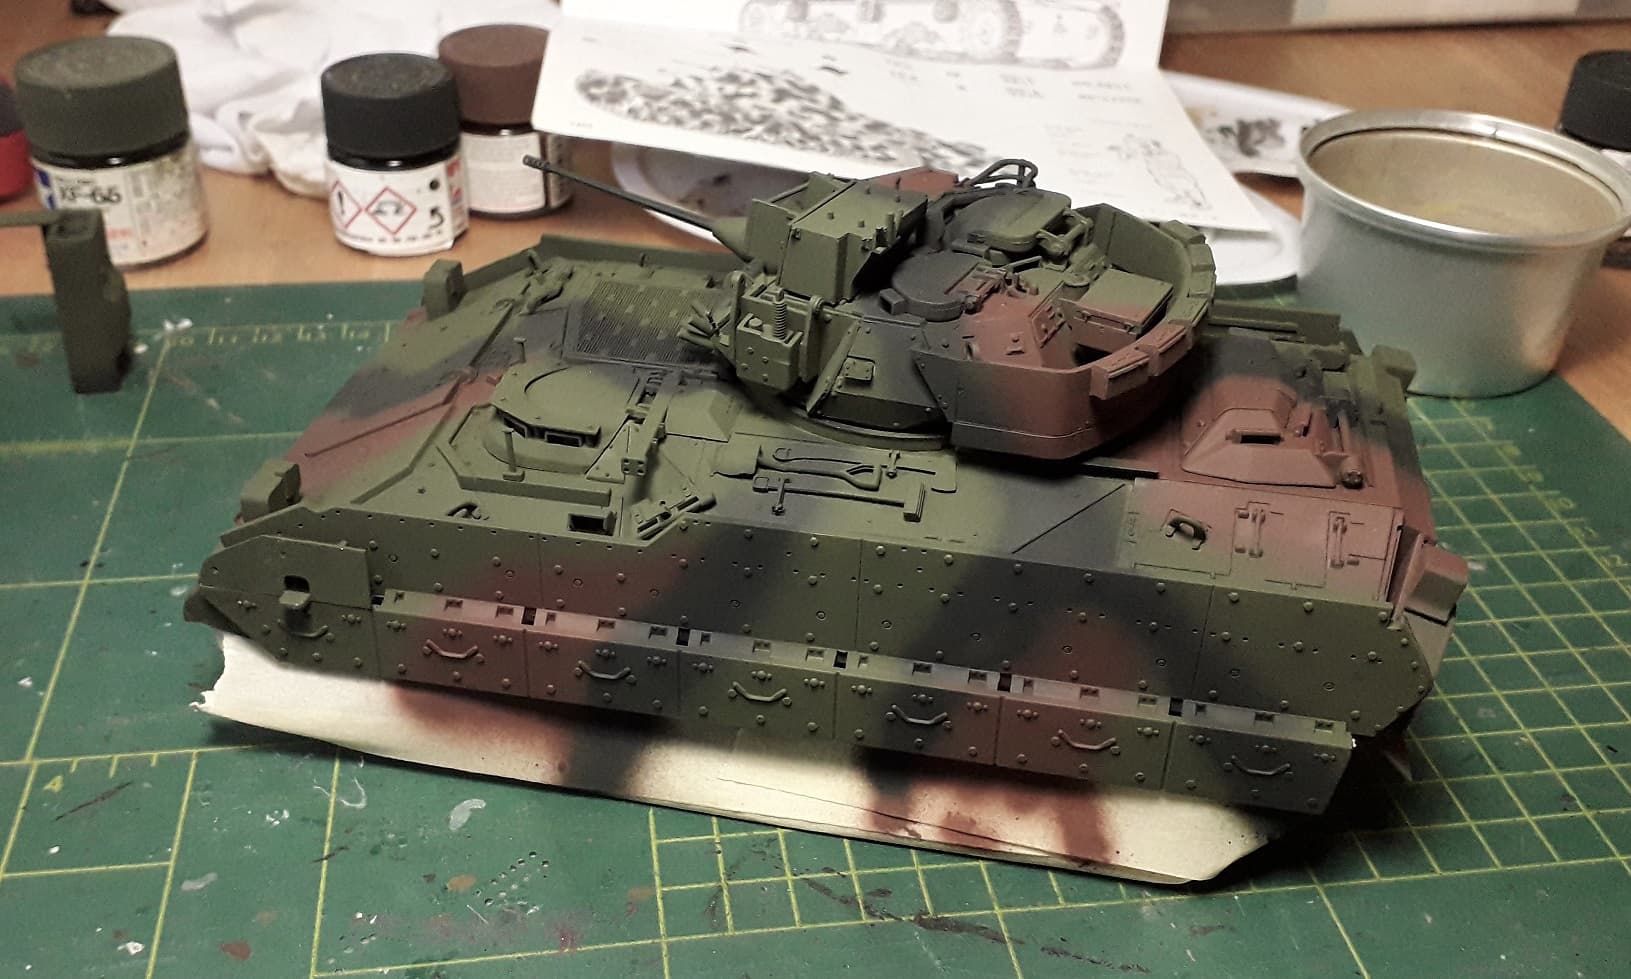
Plodding along with the Bradley. I was really anxious with regards to spraying the NATO-pattern. I think it did not turn out too bad, given all the angles and related overspray. Much will be toned down or even hidden under the weathering.
And thanks Gino for reminding me to add the missing piece!
Looks nice ![]()
![]()
Nice looking build.
The camo came out looking great Ron.