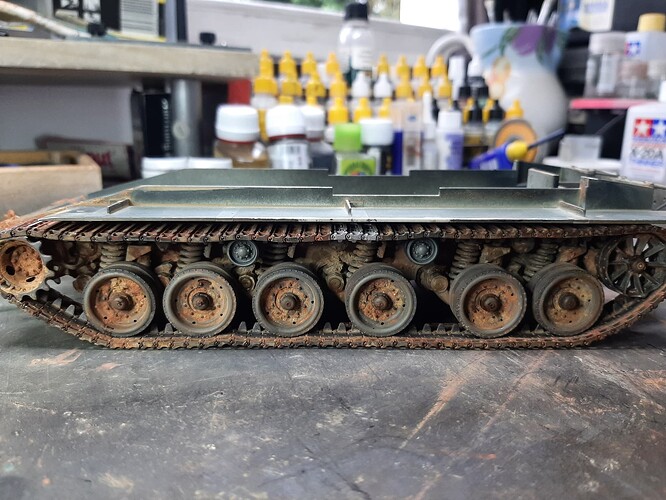
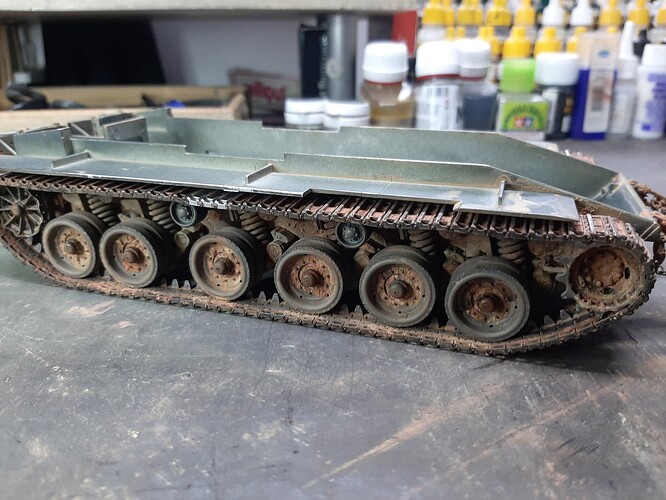
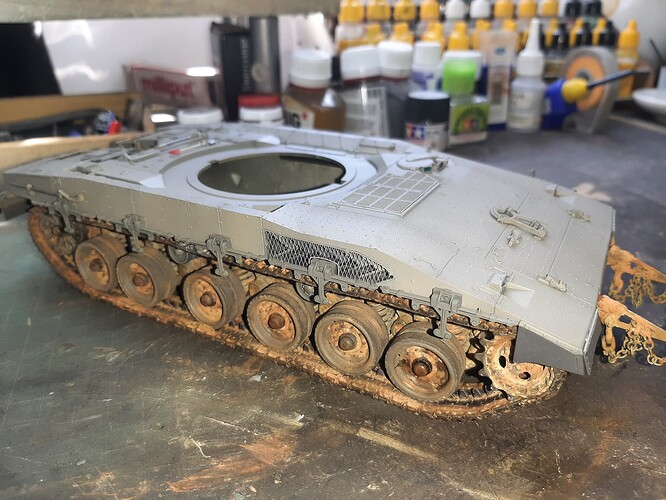
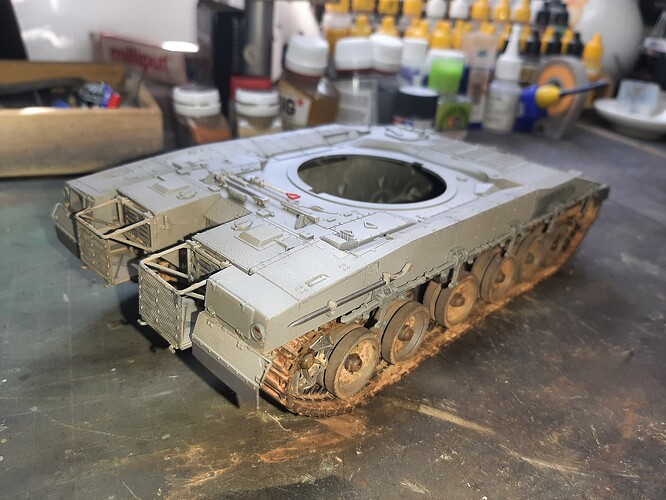
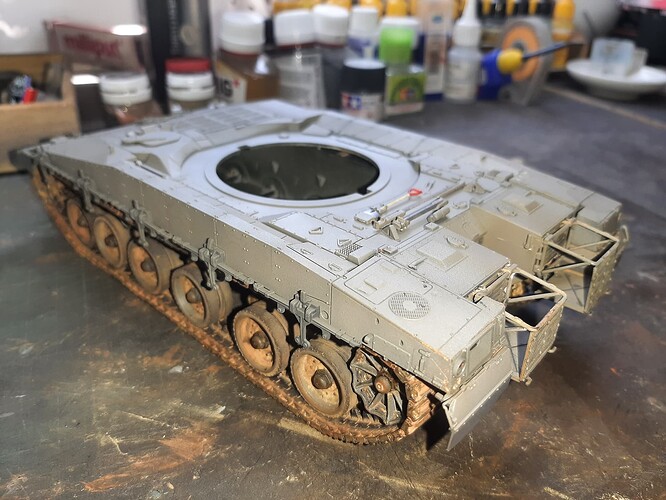
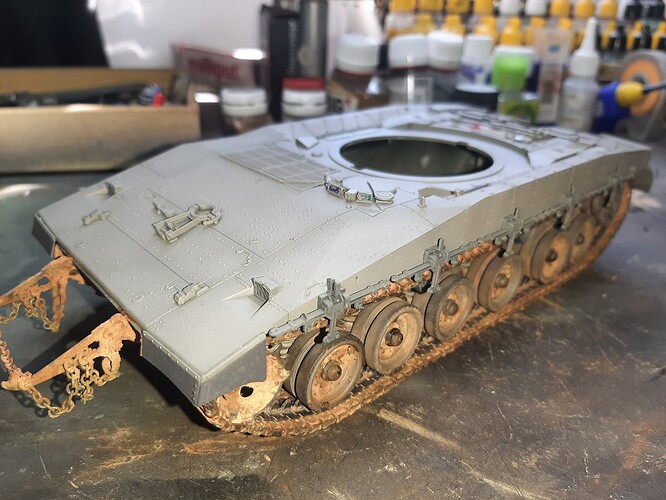
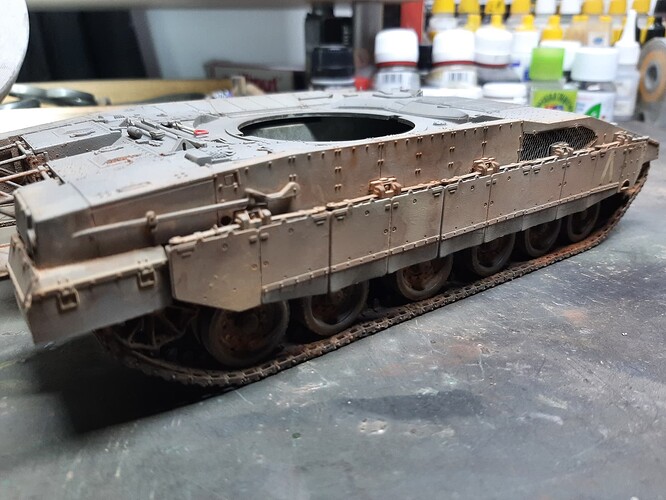
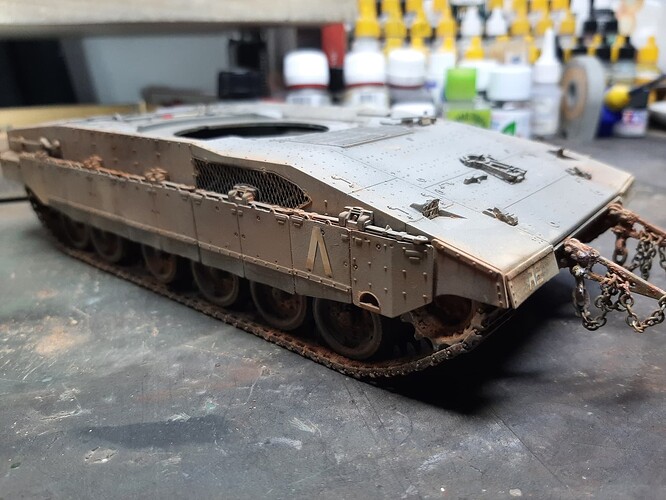
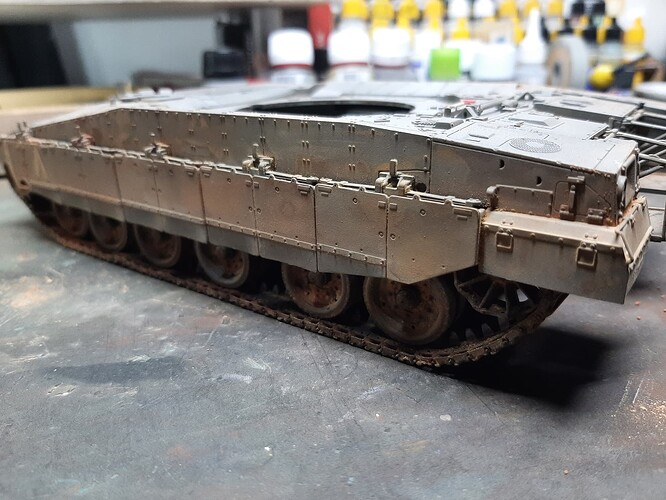
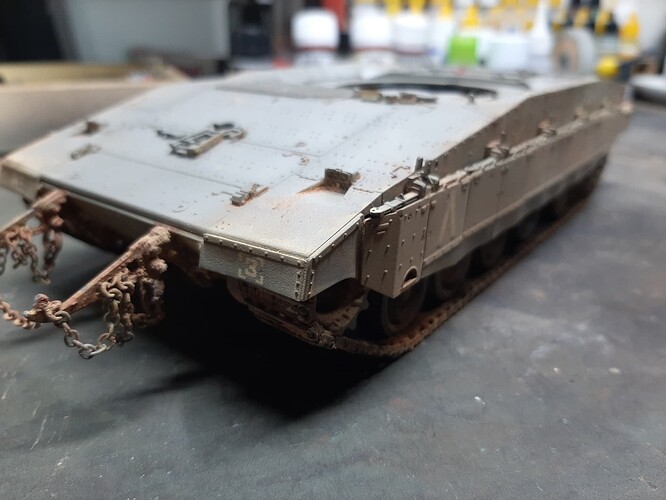
Now the hull is complete.
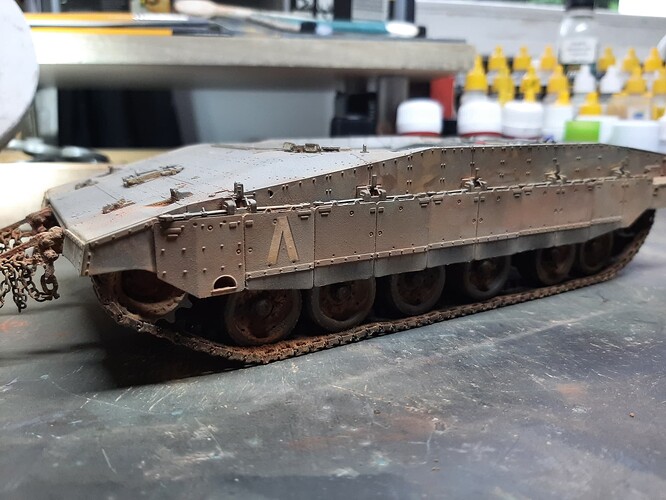
The overall weathering effects worked out quite well I think. Unfortunately, hardly any of the running gear is visible when the side armour is fitted.
The kit supplied track calls for 95 links per side and so that’s what I did with the Friuls. On fitting it was obvious that this wasn’t going to be enough and in fact, 98 links were required per side, hence the addition of x 3 links on the top runs. Again, these will be hidden by the side armour and therefore, no painting or weathering was required.
Note also that the return rollers are not weathered for the same reason.
5 Likes
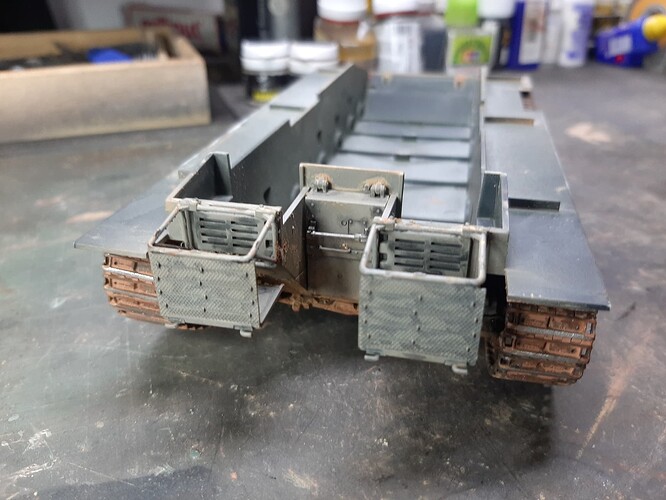
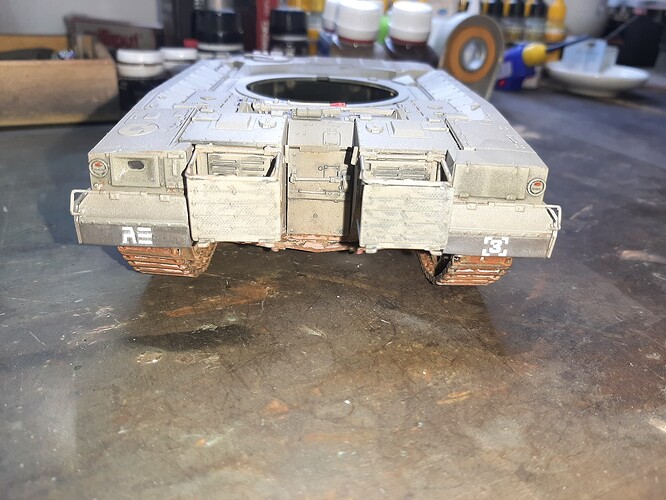
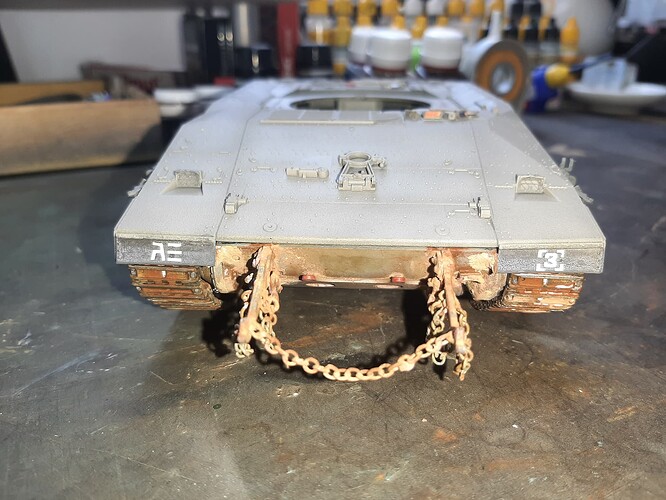
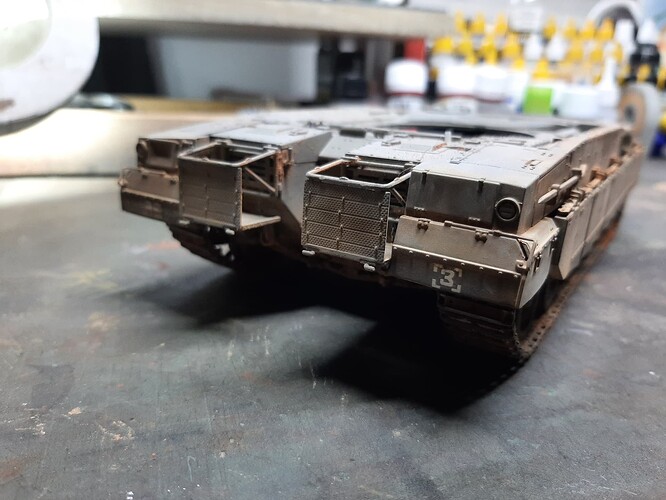
The front and rear.
The rear bins are far too fragile and break off constantly, I must have re-attached them several times now.
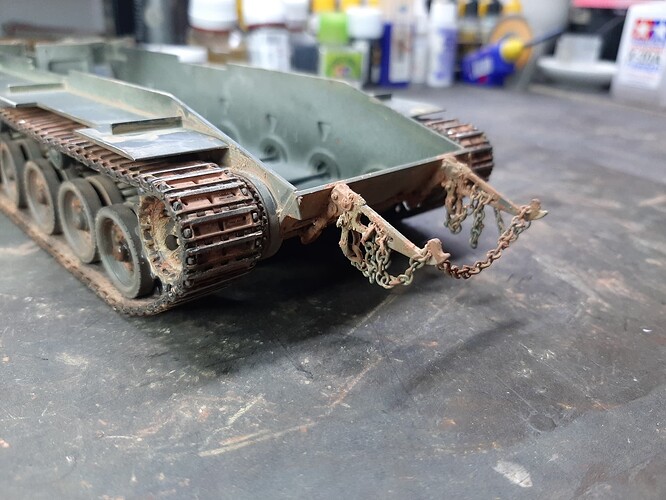
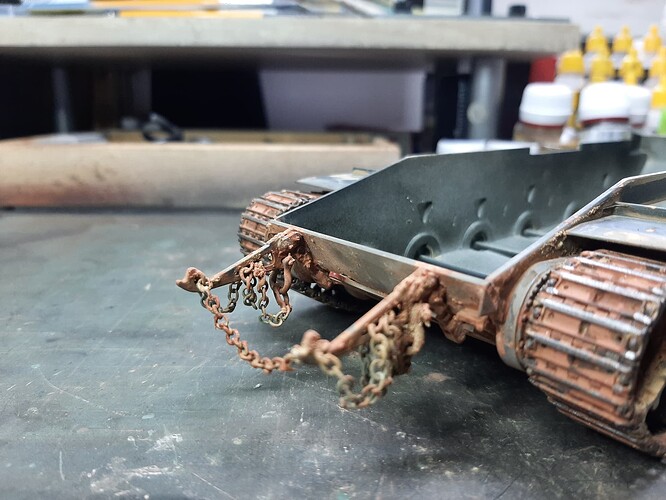
The front end and recovery chain - I’ve seen actual pictures of the recovery chains painted in a zinc chromate yellow colour and so to add a bit of interest and to form a contrast, I finished the chain that way. Although its pretty muddy, you can just about see the effect.
Shackles were from the Desert Eagle set and are superior to the kit parts.
Now on to the superstructure.
9 Likes
Very nice work on this one. I noticed you didn’t use the Frul sprokets, and understood why but I wondered if the Fruil tracks fitted the kit sprockets ok? Looks like they must have.
1 Like
They did, but it was quite a squeeze.
2 Likes
Good stuff, Roly, keep 'em coming!
3 Likes
Very nice weathering on the running gear … really like how the tracks turned as well…
2 Likes
Are the chains any specific size or manufacturer? I’ve done a Mk2 and just couldn’t find the right look in regard to the chain size.
1 Like
The scale of the chains is discussed earlier in this article.
One correctly scaled chain comes with the kit, however, if you want to hang a chain from the front horns AND display a chain stowed on the left superstructure (as per the kit instructions) then you’ll have to get hold of another, at least one, chain.
Note that the Railway and Armour in Scale chains by LZmodels, shown earlier in this article, were not of sufficient size - Legend came to the rescue.
Legend 1352 1/35 IDF AFV Rear Towing Horn/Chain Set
Legend LF-1340 1/35 IDF AFV Towing Horn/Chain Set
Arguably, its a bit expensive if you just want the chains, but I literally couldn’t find chains on their own anywhere (that isn’t to say they don’t exist). Those kits do come with other useful accessories, like properly scaled D Shackles etc though.
2 Likes
Coming from you, that’s a real compliment! Many thanks.
2 Likes
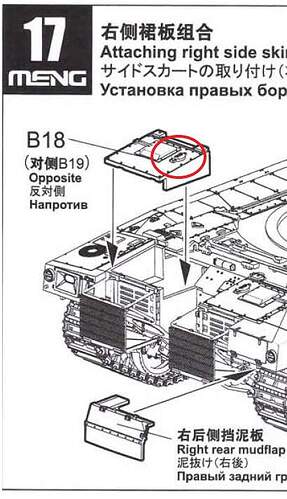
Okay, I’m pretty sure this a fuel filler cap, same on other side.
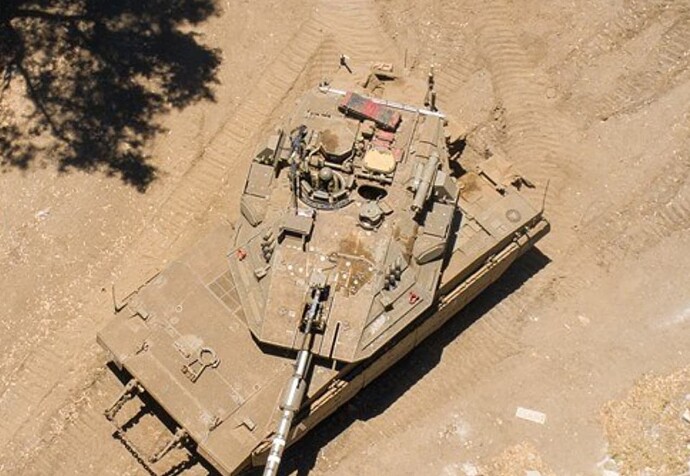
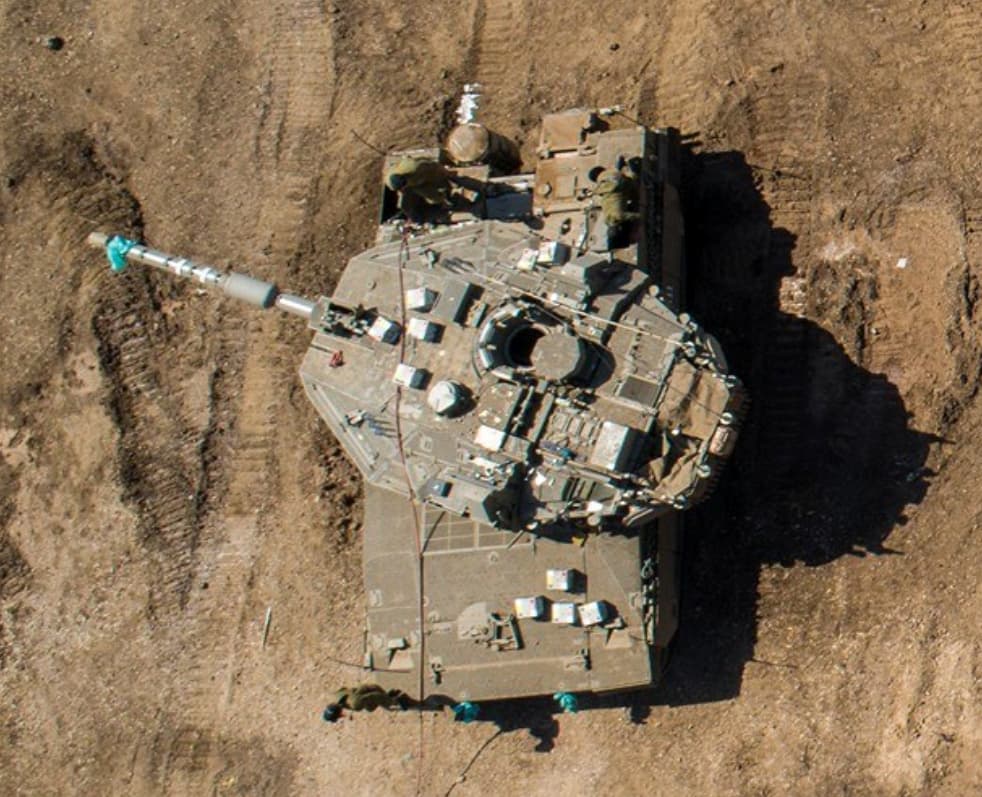
But does anyone know if the IDF paint the fuel filler caps yellow (diesel) or is it just part of the standard overall colour?
@gtdeath13 ?
1 Like
Cheers Nikos. Appreciate it.
3 Likes
Made some progress over the last couple of weeks or so.
Assembled and base painted the upper hull. Base coat of satin black oversprayed with modulated coats of Sinai Grey.
Not many actual inidividual parts to this, but it was fairly time consuming. I particularly like how the exhaust grilles are done, covered with a PE screen. Can’t really tell from the pictures, but the inside portion was pre-painted and exhaust soot was added before the screen was attached. Two exhausts exit more or less in the centre of the unit so its important to make a clear gap between the two when applying the soot - particularly when applying this soot to the outside (not done this yet).
The upper hull fitted the lower hull very well, but those baskets at the back are silly fragile and keep breaking off, several repairs to those now.
6 Likes
Rear mud flaps complete and vehicle marking decals applied.
8 Likes
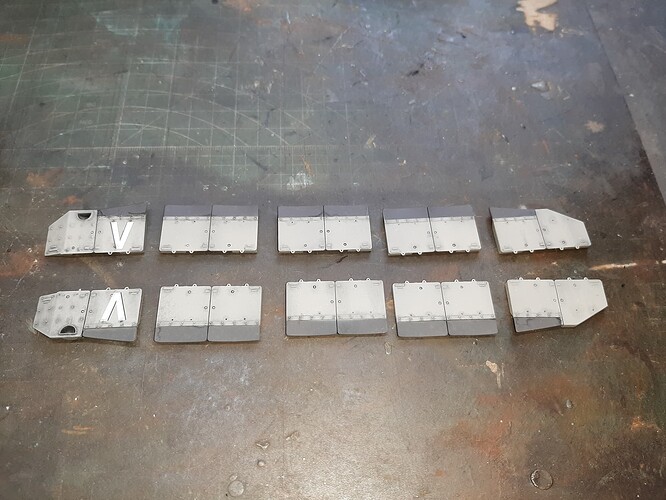
Side armour painted and a black wash applied to recesses and raised rivets.
I am going to weather these completely before attaching them because i’m not sure that when they’re attached to the armour hangers, the construction will be strong enough to survive rigorous pigment application.
6 Likes
Great updates and the Merk is looking very nice indeed. That hull colour looks lovely with the tone variations and the weathered running gear sets it off nicely.
2 Likes
Excellent weathering on the running gear and the lower hull, you’ve nailed it Roly!
3 Likes
I’ve now weathered and fitted the side armour. My idea to weather the side armour before fitting it turned out to be the right one. The mounts are solid enough but wouldn’t stand up to the rigours of pigment and wash application.
It would be up to you if you did it, but this worked for me.
A combination of black pin and accumulated dust/sand effect washes and Mig pigments got me more or less where I wanted to be and I think the effect is about right.
I havent done the upper hull yet, but will begin on that once i’ve attached the recovery chain and SWR to the left side.
The idea will be to use much less pigment effects on the upper surfaces as they wouldn’t be so weathered.
11 Likes
Very nicely balanced…the skirt plastic bottoms look really good as well 
3 Likes
It looks really good to me.
Olivier
3 Likes
