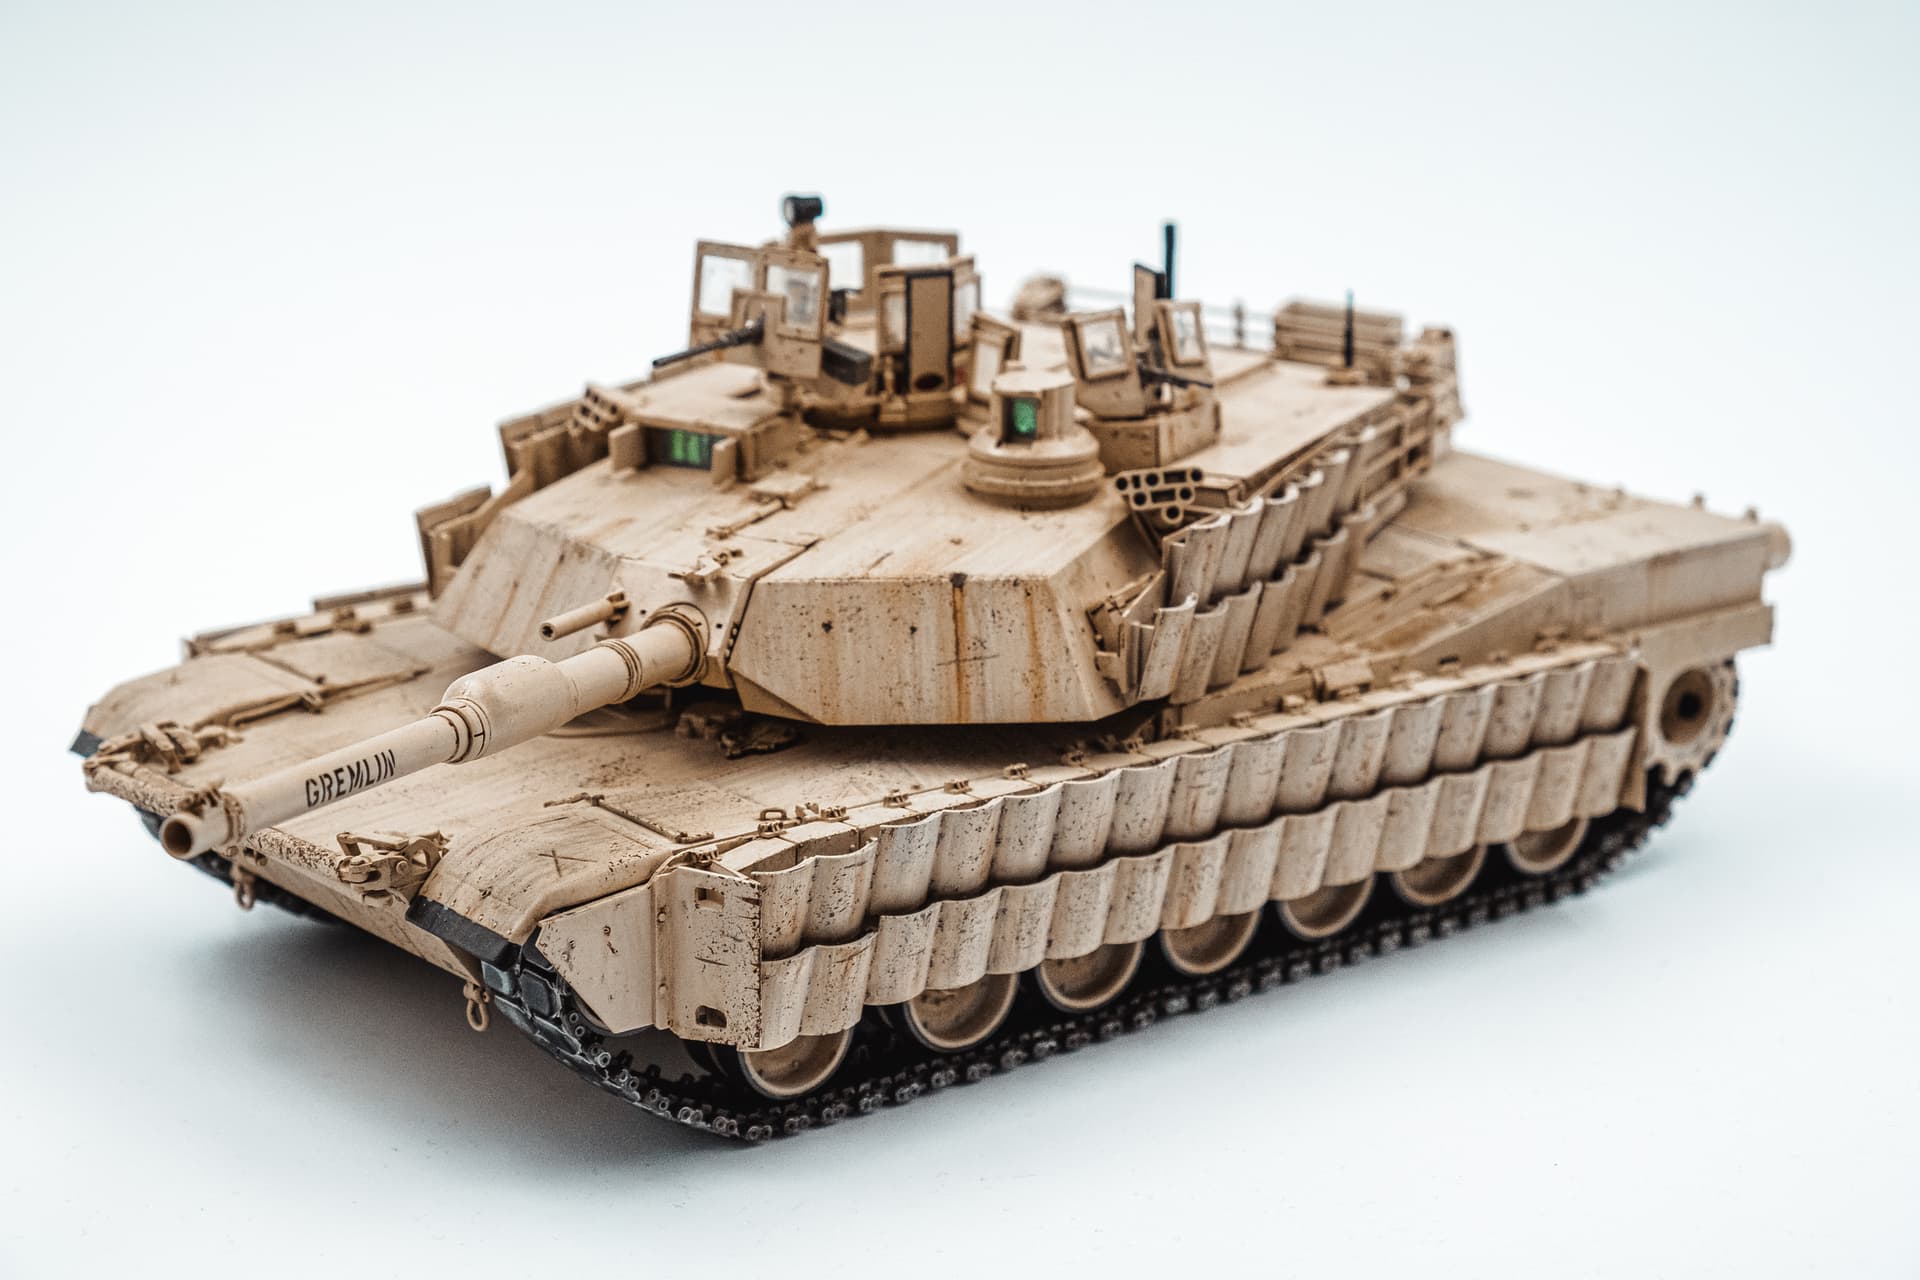
My goal for 2024 is to go through my shelf of doom and finish some builds and up (or should I say back) at the bench first is this 1/35th Rye Field Models M1150 Assault Breacher Vehicle. I was building this at the same time I was painting my M1A2 SEPv2 TUSK II from RFM two years ago and I think I Abrams’d myself out and I had absolutely no idea how I wanted to display this. Nothing crazy here as of right now, just an out of the box build to scratch my itch for modern armor.
I had finished the turret along with starting the lower hull, it went together quite well without much grief if I remember right. I made some modifications to use the updated commander’s cupola that other Abrams variants got, sort of as a what if, but mostly because I like the blocky cupola. The kit includes the parts needed for TUSK I, so we’ll see if I decide to add that on too.
I’d like to have some words with me from two years ago… nothing some putty can’t fix though.
Finished up the rest of the bits on the lower hull, I’ve left a few of the parts that hold the side skirts in place off for now as I snapped them off more than once on the M1A2 project and learned my lesson.
Here’s where we’re at at the end of day one. Mostly lots of fixing little things on the turret that past me overlooked to just get it together and getting the lower hull finished. Onto the upper hull now.
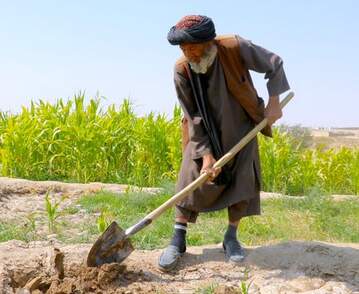
I think I’ve got at least a whisper of an idea of how I want to base it now, but if anyone has any good photos of the ABV in use, in theater, they would be much appreciated! Most of the photos I’ve been able to find have been during luls in training exercises or rolling off an LCAC, which while cool, don’t quite match the idea I have for this to be making a clearing in a field. I’ve always liked the contrast between the desert tan paint and the green grass.
This silly idea just crash landed in my brain.
How about an ABV ploughing up the ground just a few yards from where an elderly Afghani villager is cultivating his little plot of land, maybe he is using a shovel, hand hoe or pick-axe.
The title could be “Jealous” or
‘I will sow that land when they leave’
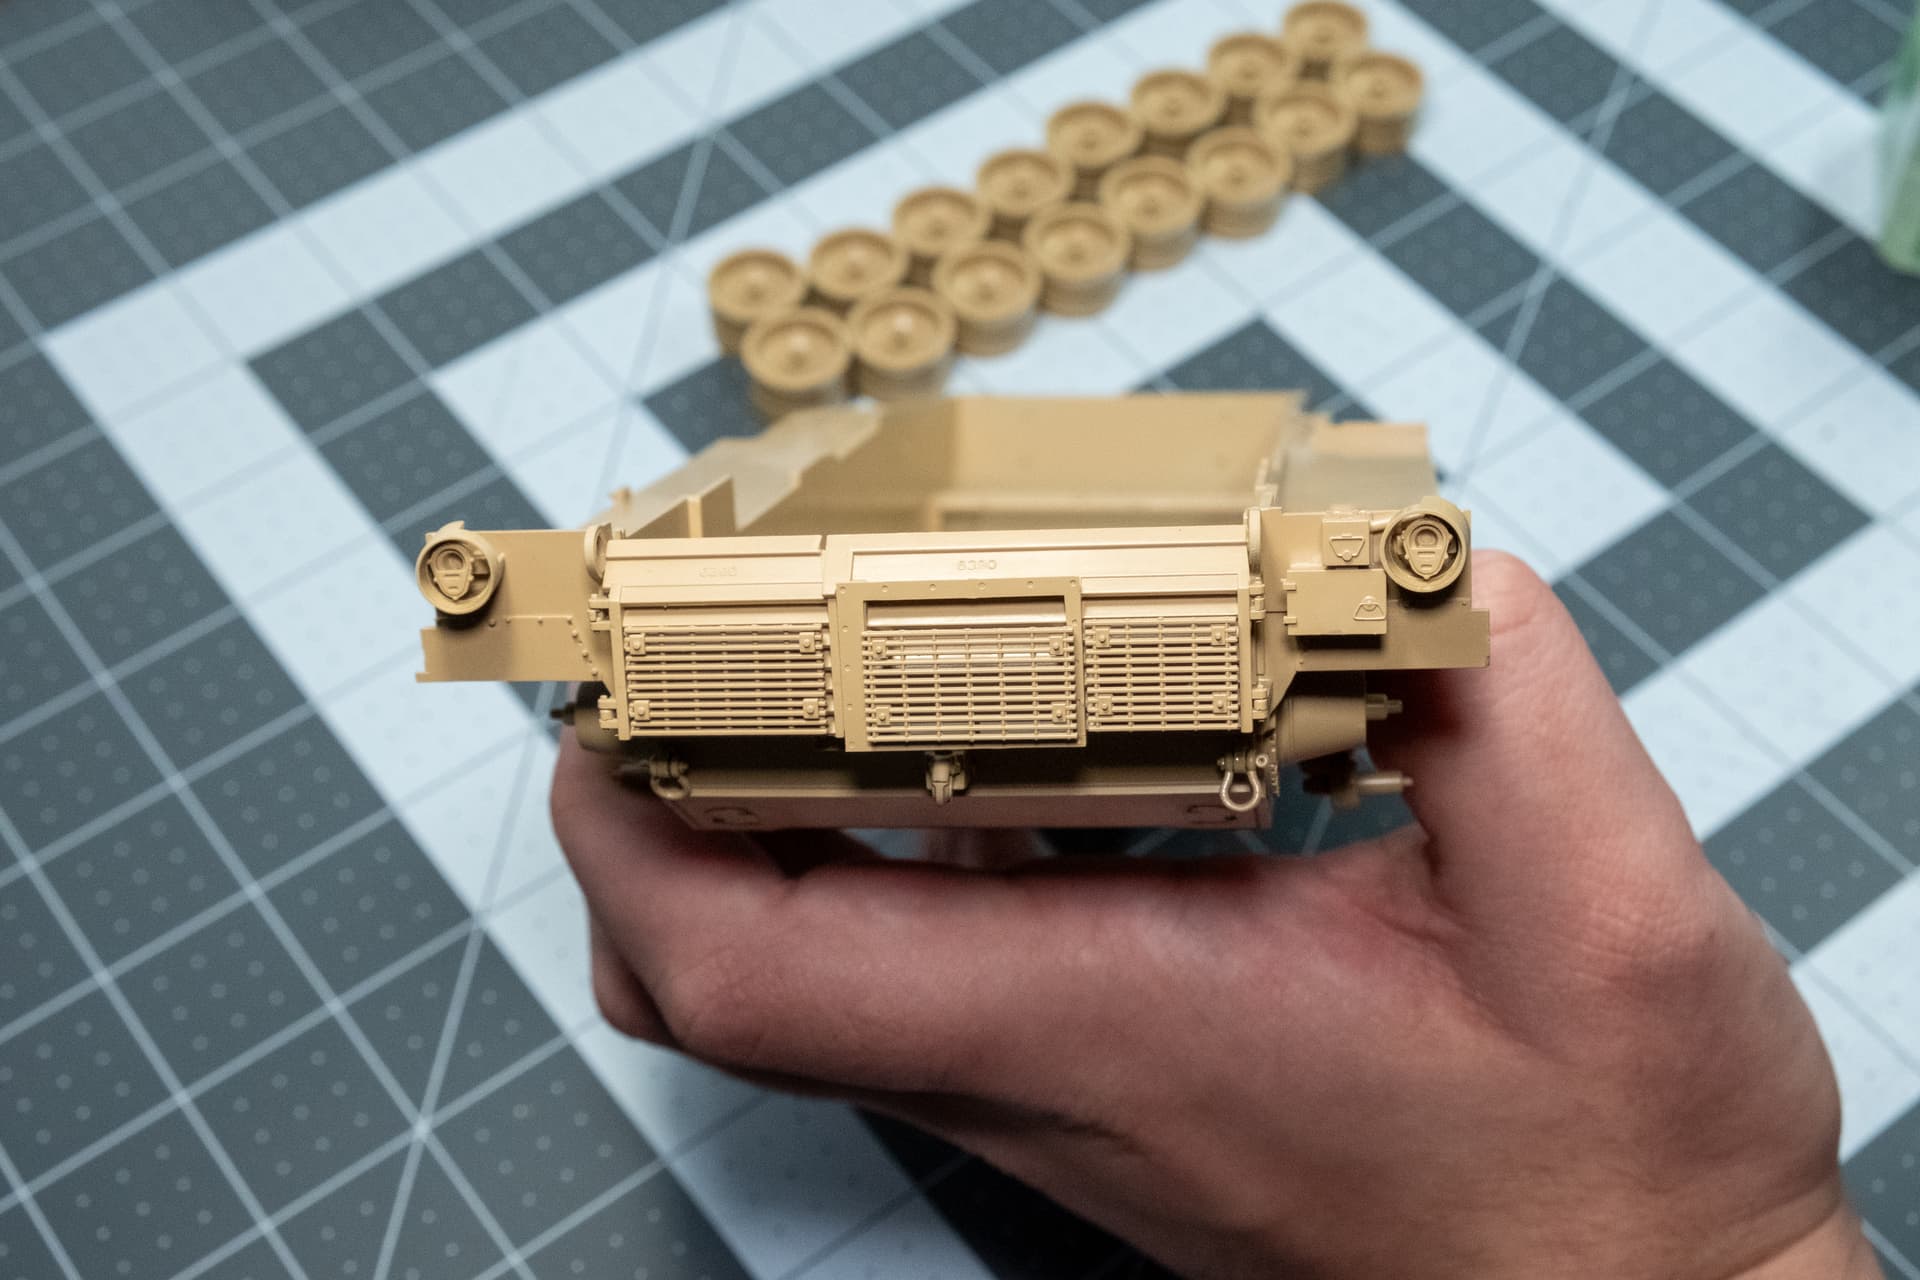
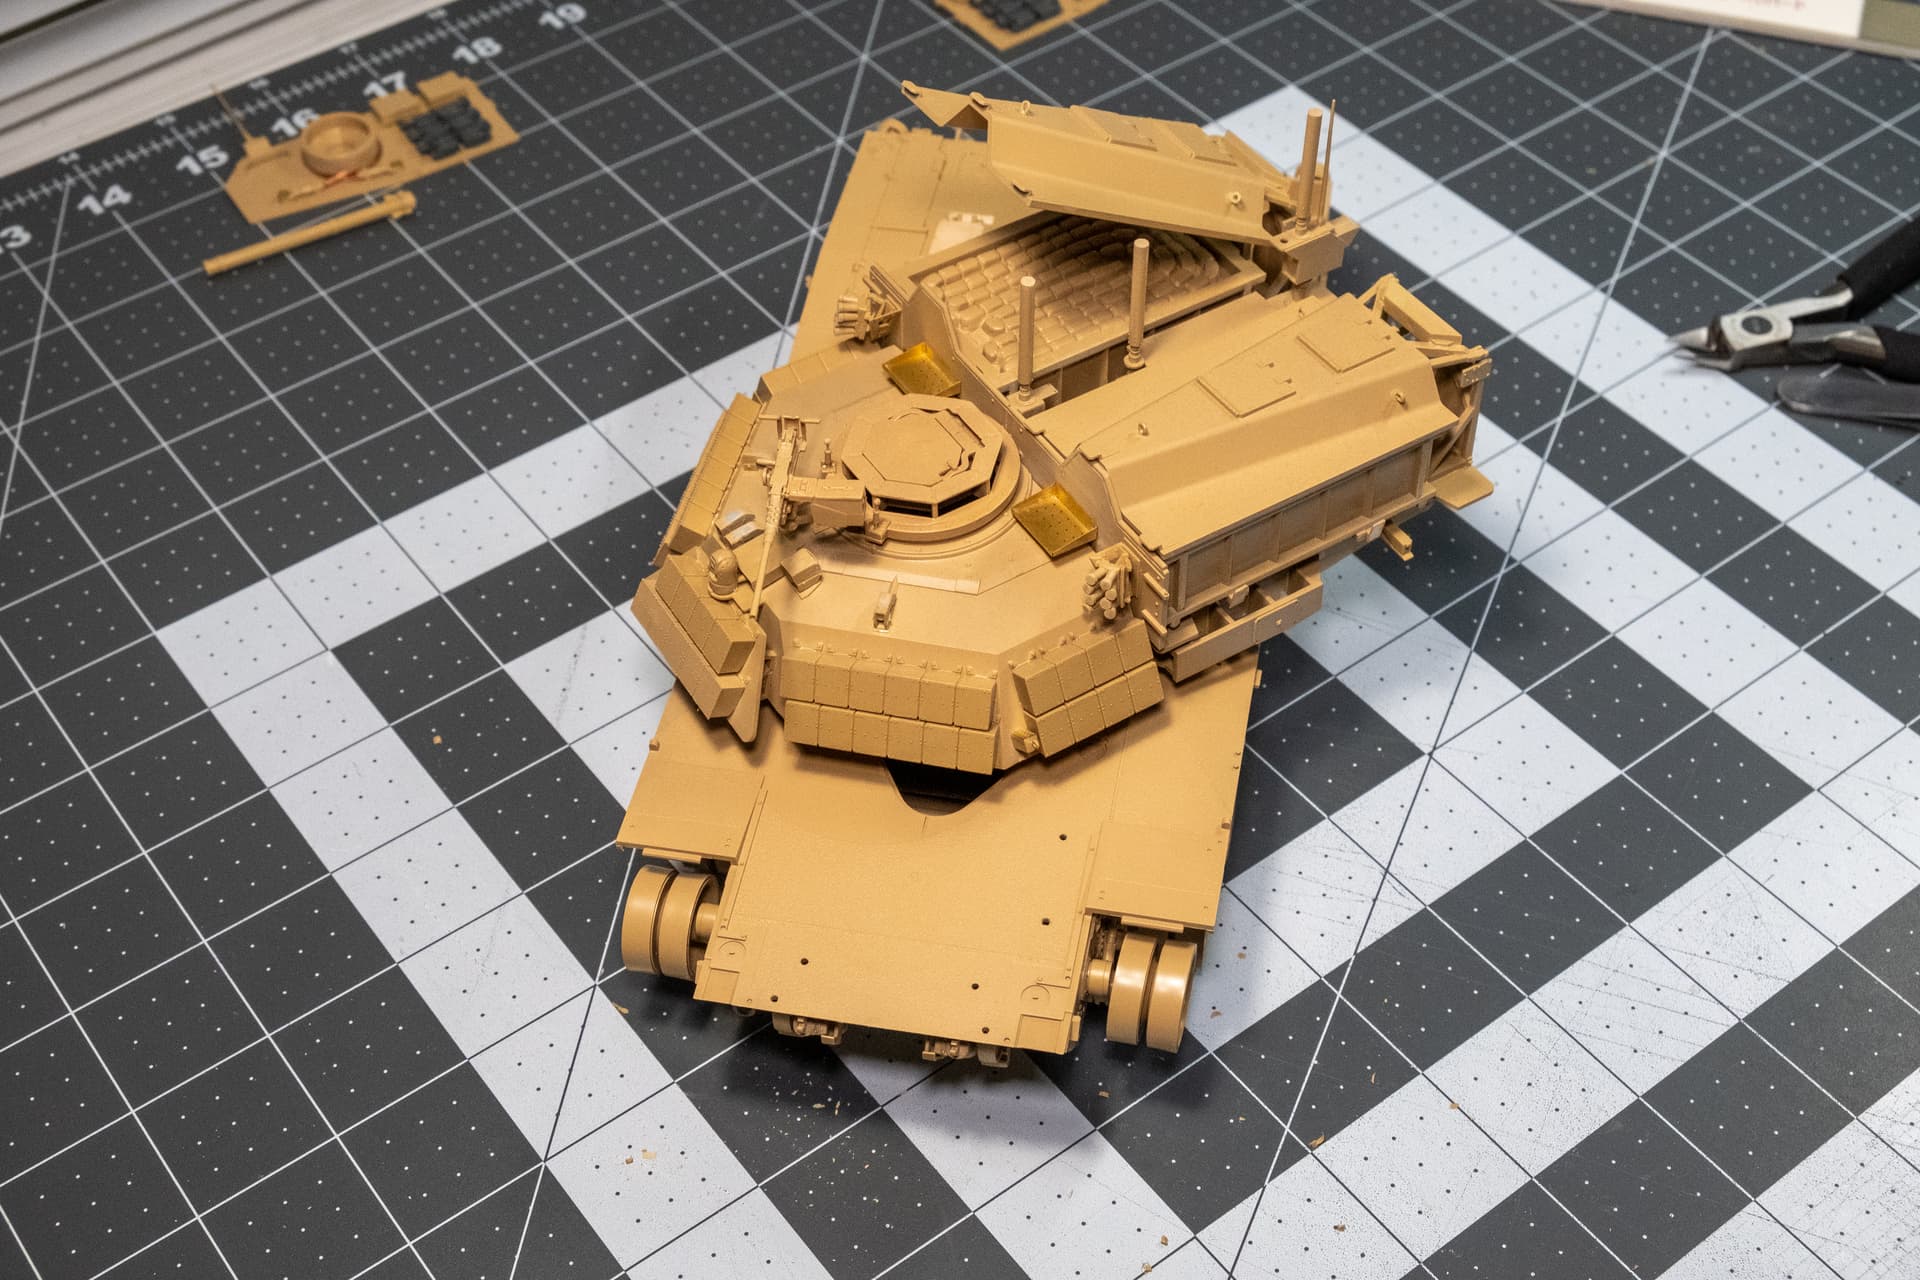
Day two, I’ve finished the hull for now, there will be some more bits and bobs once I build some assemblies like the lane markers. Oh! and I also corrected the white balance from my camera. Something about my desk lights comes through as quite blue through the polarizing lens.
I had to do a quick dry fit of the turret and the road wheels once I got the upper hull on to see the proportions in person and this thing is massive and chunky. I’ll never not enjoy making quirky vehicles like this.
After all that, I got the hull pretty much done and learned my lesson from making the M1A2 to not glue the driver’s hatch in until the periscopes are in. For some reason I thought it would be easy peasy to put them in after painting, but through some contortionism I eventually got them in. I saved myself the effort and left the hatch un-glued for now.
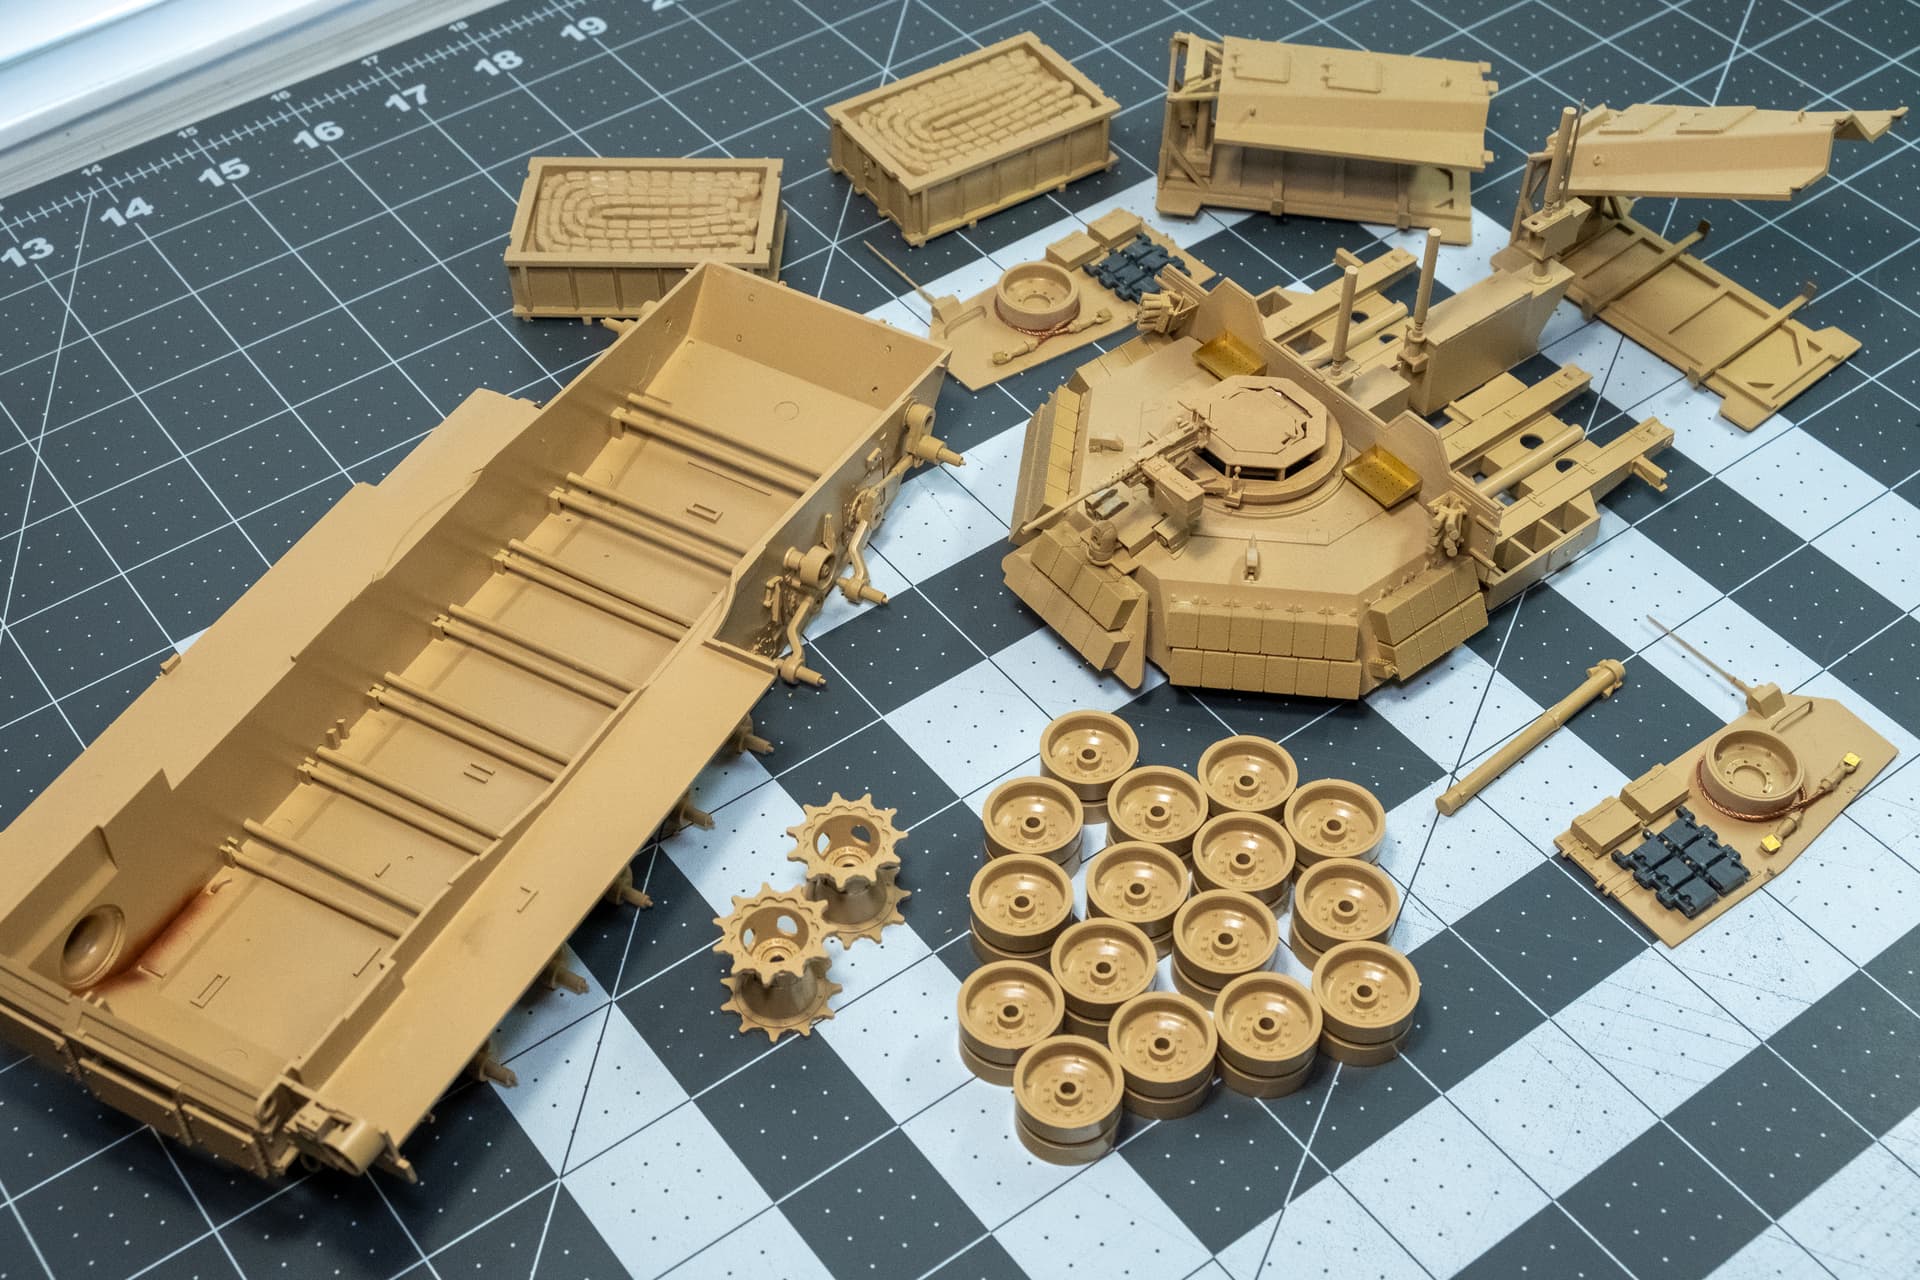
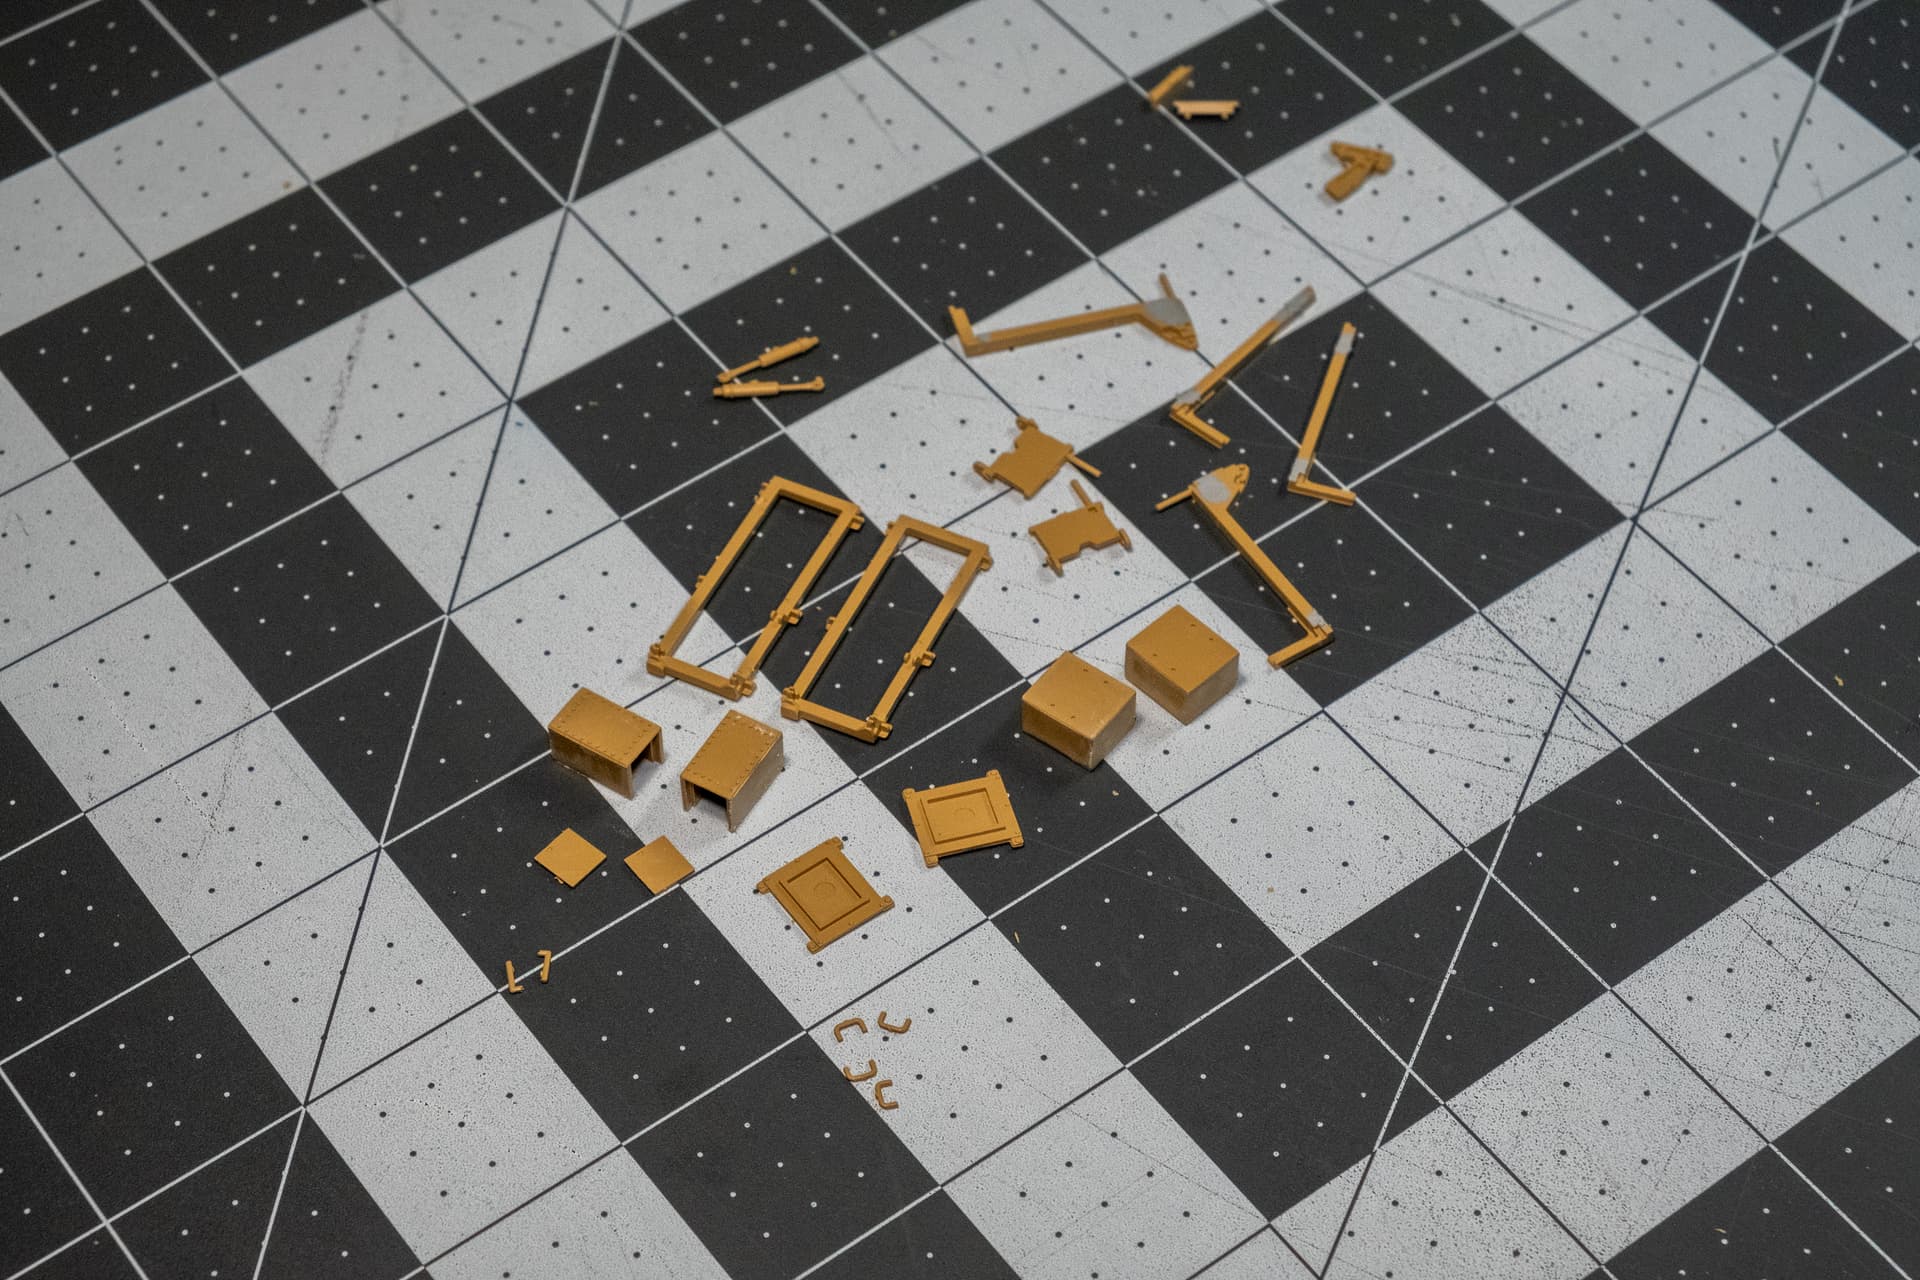
Now it’s time to start working on the tedious bits that make the ABV the ABV. These parts will eventually form the frame that hold the lane marking stake deploying system. I’ll definitely be leaving some of the stakes off the kit and place them alongside the vehicle in the diorama.
I don’t mind the many parts and somewhat fiddly assembly, but I’m banging my head against the desk dealing with all the parting lines that need to be cleaned up. Maybe I’m just too anal retentive. Some parts are perfect while others have some pretty decent lines - not as bad as the Amusing Hobby 12.8cm Flak 40 and FuMG 39D though - but that’s for another tales from the shelf of doom.
Thanks UncleHeavy and KoSprueone for the diorama ideas! I definitely like the title “Mine! …no, mine!”
I’ll be interested to see how you attack the mine plow in this kit.
I built it 4-5 years ago and took one look at the plow instructions and bought the PSM resin Pearson dozer blade and used it for the build.
It’s not a bad idea, except that an Afghan with a shovel may well be the reason you’re there to begin with.
I well remember our drive to Orgun from Kabul. I was on the gun on the Tacoma. Twice we passed kids with shovels “filling in” potholes, and demanding money as we passed. Two thoughts entered my mind.
The first was, why this particular pothole and not one of the many other thousands we’ve driven over?
My second thought was what the hell are you really doing? We would studiously avoid driving over his “repair” as I tried my best to hit him with an MRE. Just in case he wasn’t trying to kill us.