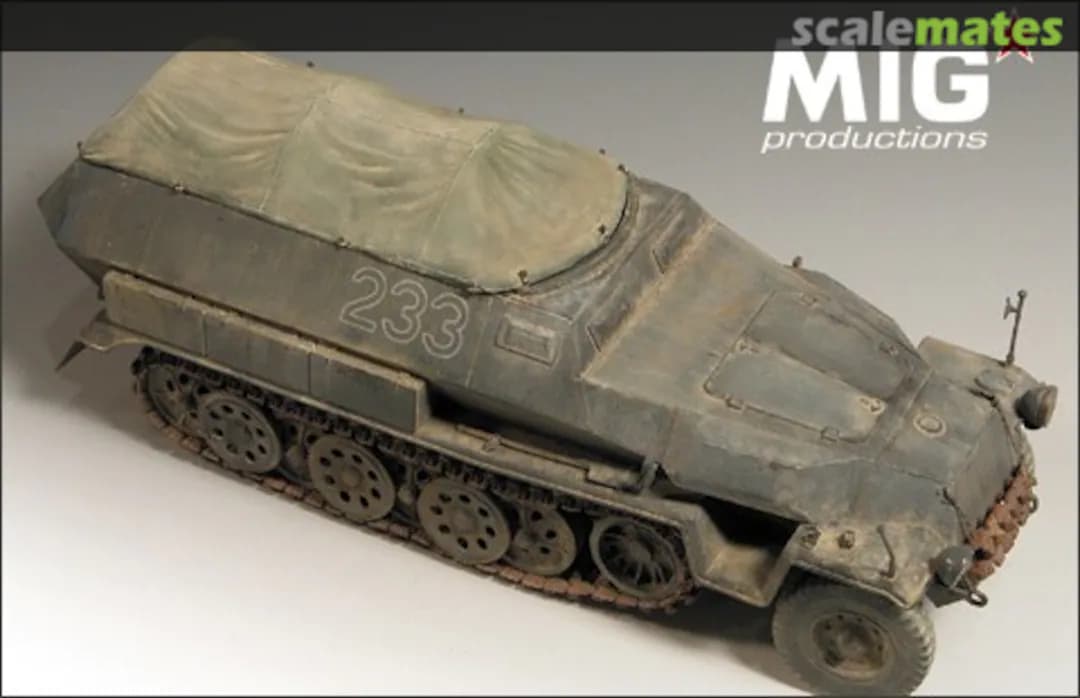
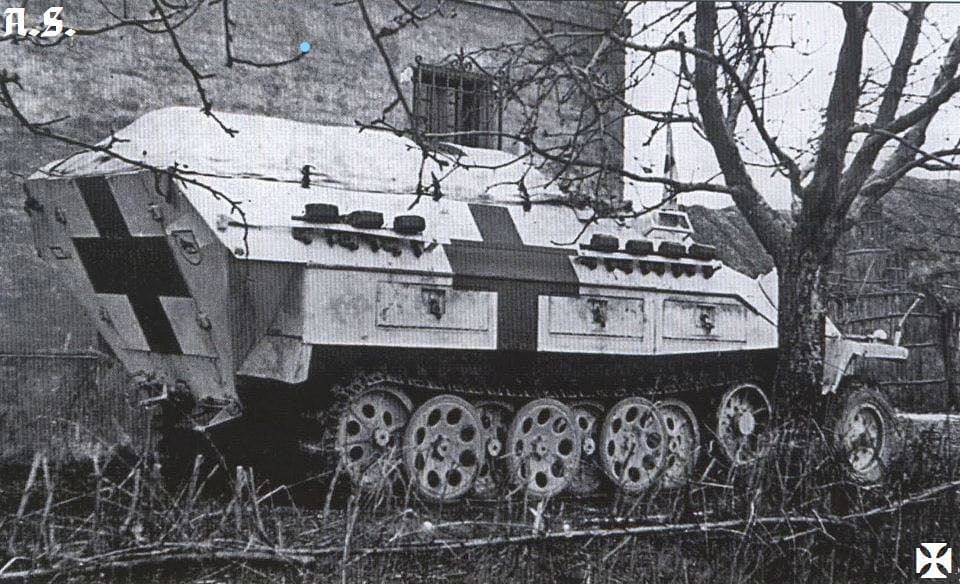
I am building a Hanomag Sdkfz. 251/8 (the ambulance variant, reference image) in 1/35 scale. I am modifying the Tamiya Hanomag Sdkfz. 251/1 C kit, which turned out to be modeled off of the Bovington 251/8.
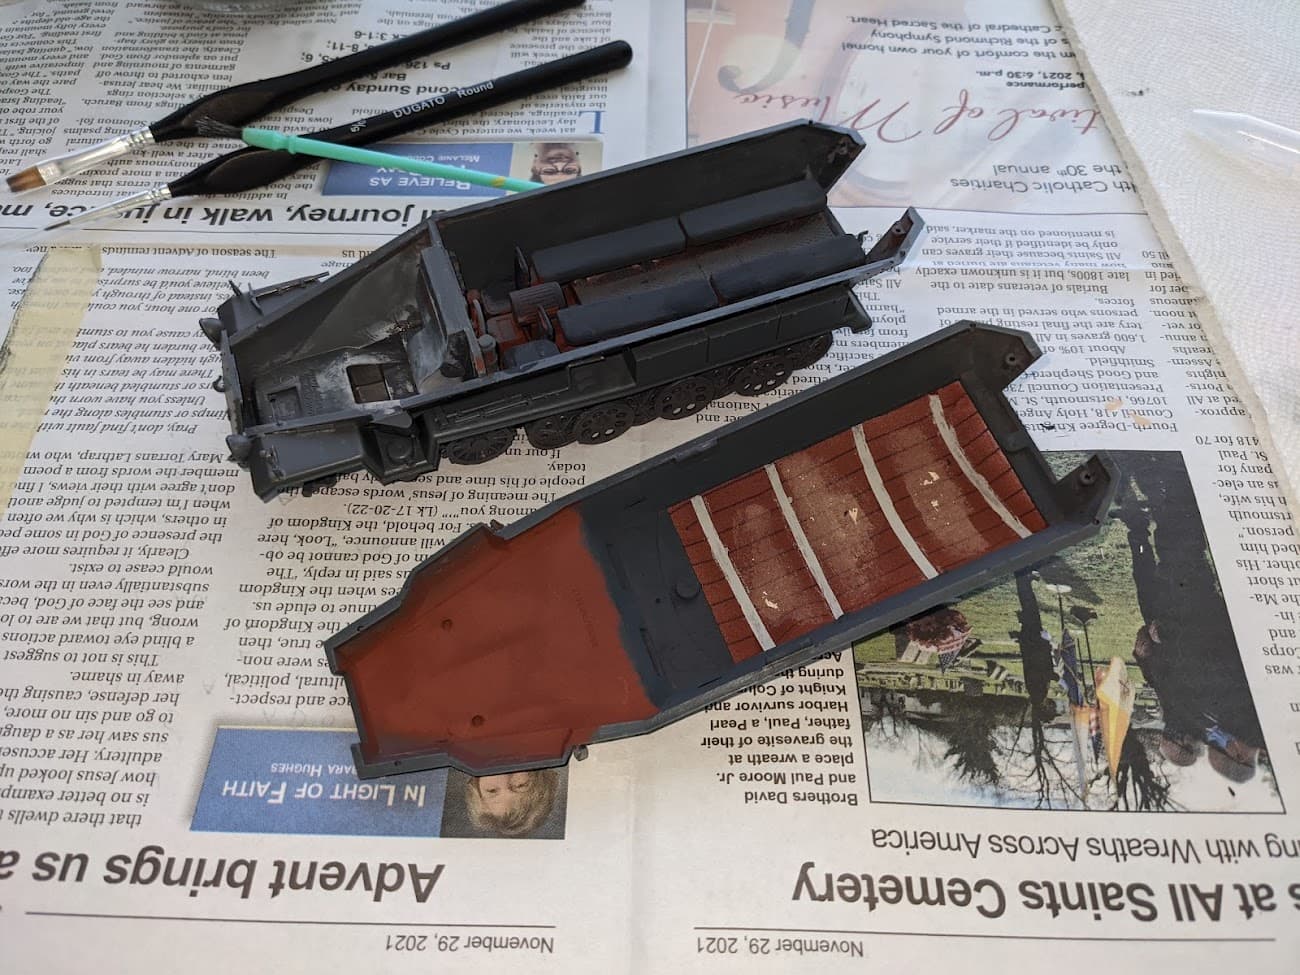
The lower half/chassis as of now
The upper half/roof as of now
I plan on adding the canvas roof and some jerrycans hanging off the front, no further additions are planned. I will also be painting the inside as well as the outside (hatched whitewash over Panzergrau). I will use this thread to record the progress on the project and discuss anything about it, such as paint jobs, markings, and any other way to make it more accurate.
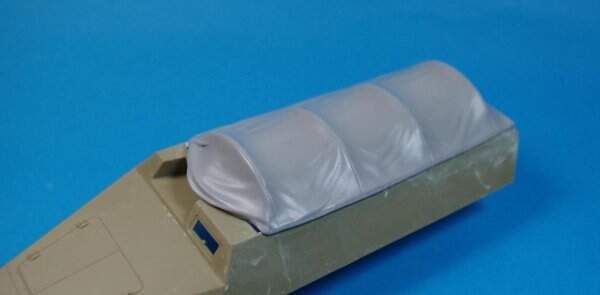
Additionally, since the front of the roof section is curved, how would the crews have fastened the canvas roof to make the curve seemingly without many folds?
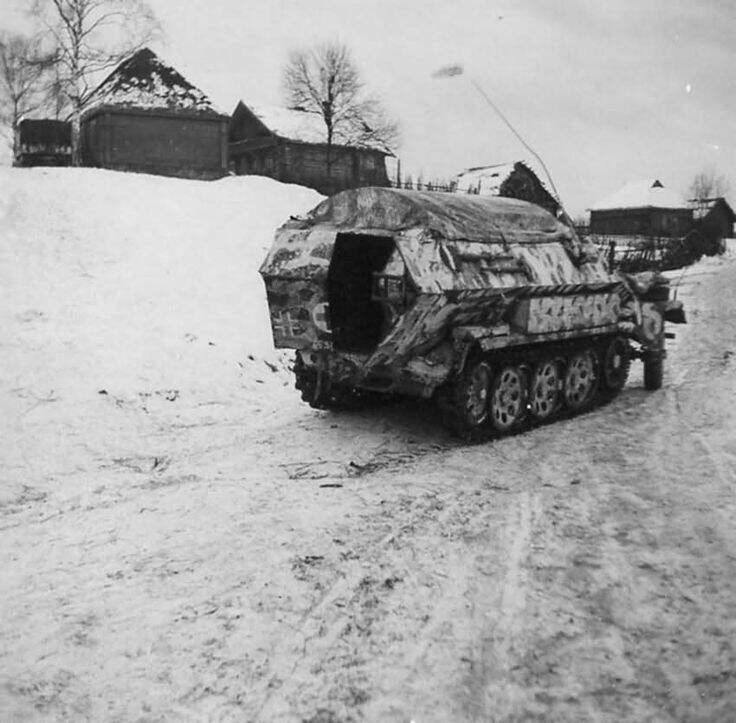
Thanks, but I was wondering more about the front of the roof, which is curved. Also, do you have a photo of the rest of the vehicle? Maybe from farther back, as the whitewash pattern is similar to what I would like to use.
It’s been a long time since I last worked on this, because I was flooded by schoolwork, the cold temperatures, and the fact that I wasn’t very motivated to work on this next step.
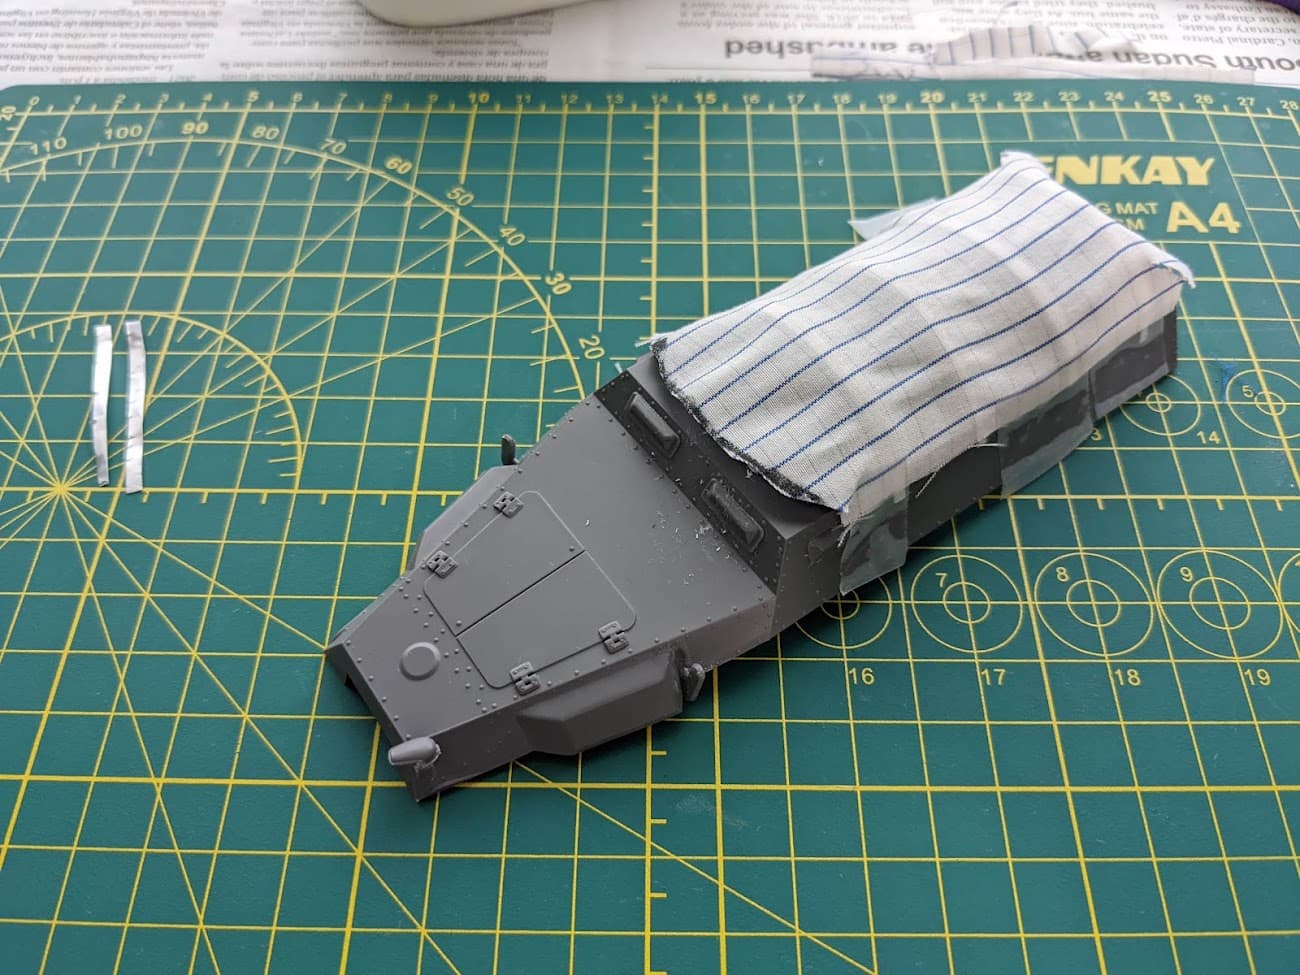
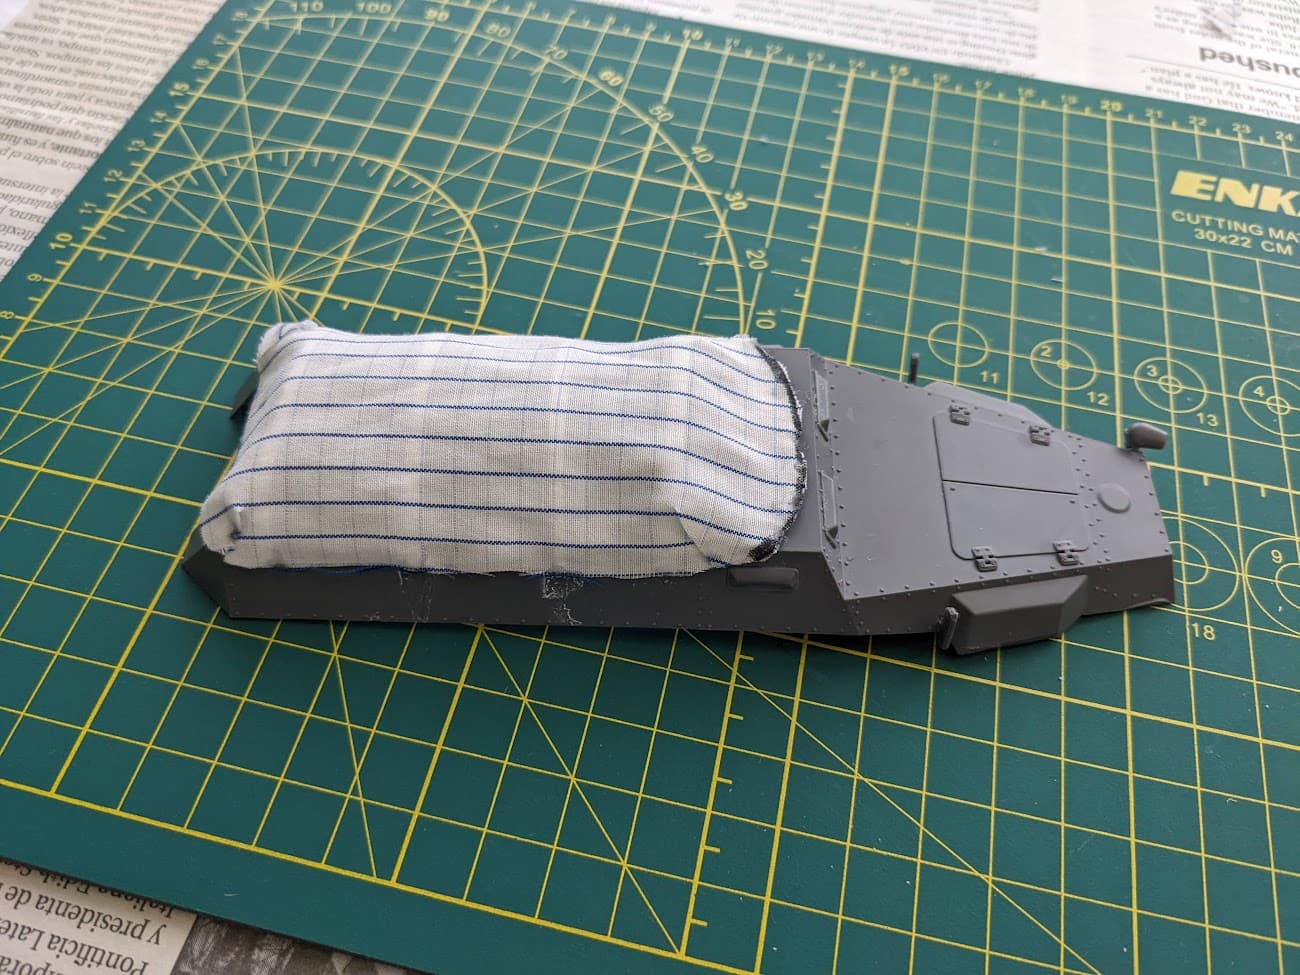
I have, however, begun working on the canvas roof section. I am doing this with an old shirt sleeve. I have taped it down to fit it and cut it to size.
Next will be to begin gluing at spots, so that I can refine the cuts, and after that, the rest will be glued down. After priming, the material will be very easy to paint and will have a texture similar to that of canvas.
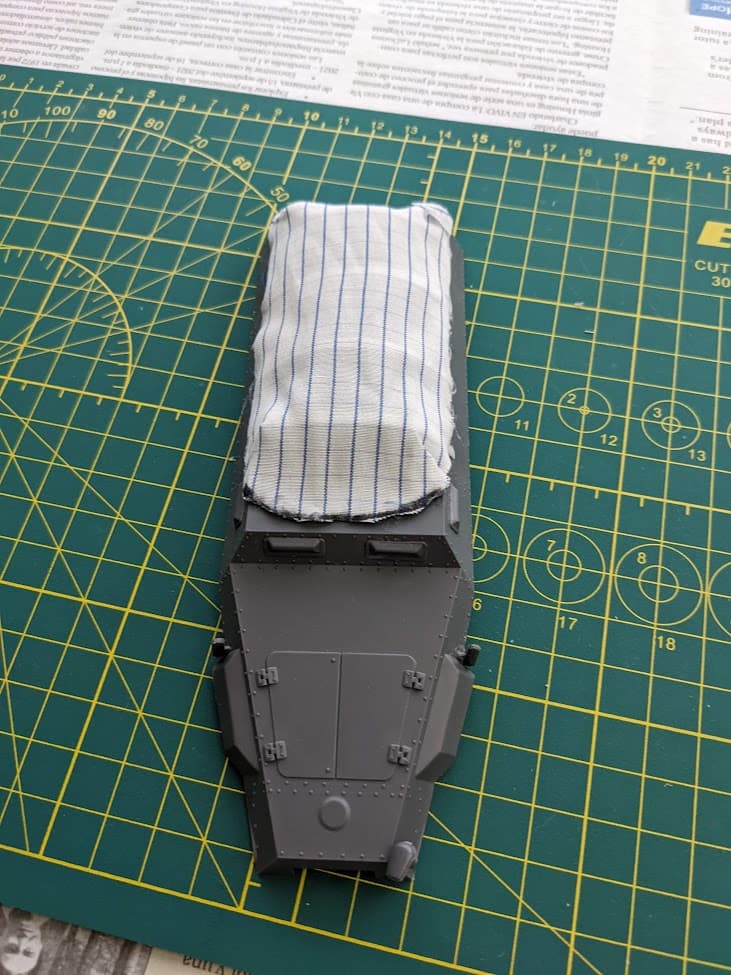
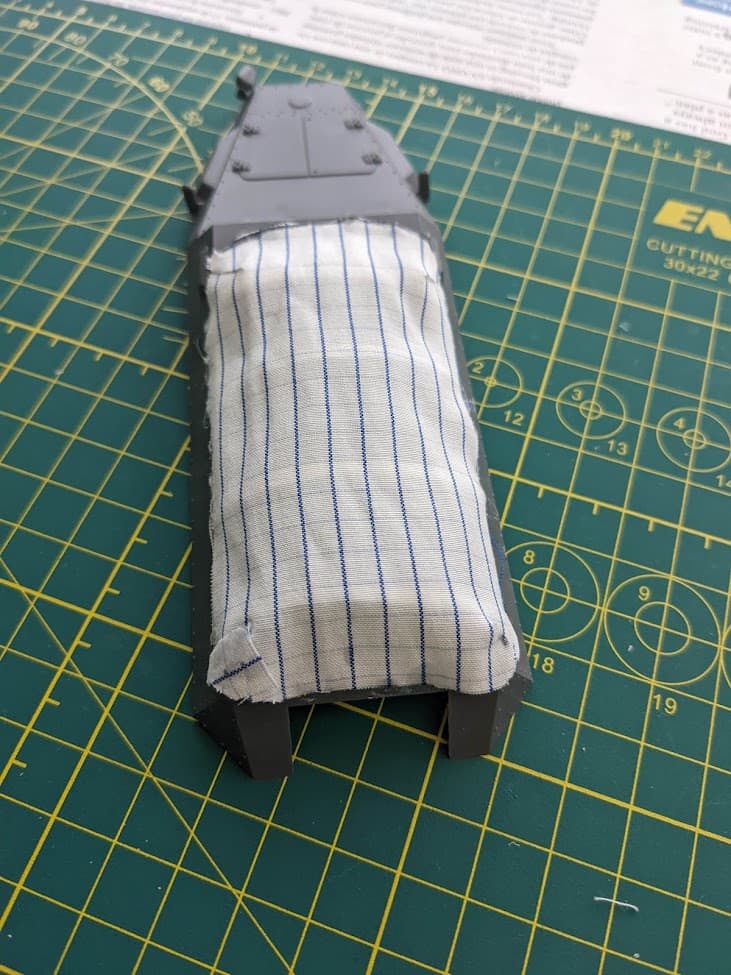
Finally finished gluing down the roof, and I am pleased with the outcome. It isn’t necessarily the outcome I hoped for, but still pretty nice overall. It could use some touching up in some places, though.
The primer did not bleed through the shirt material I used for the roof. This bodes well for when I prime the outside.
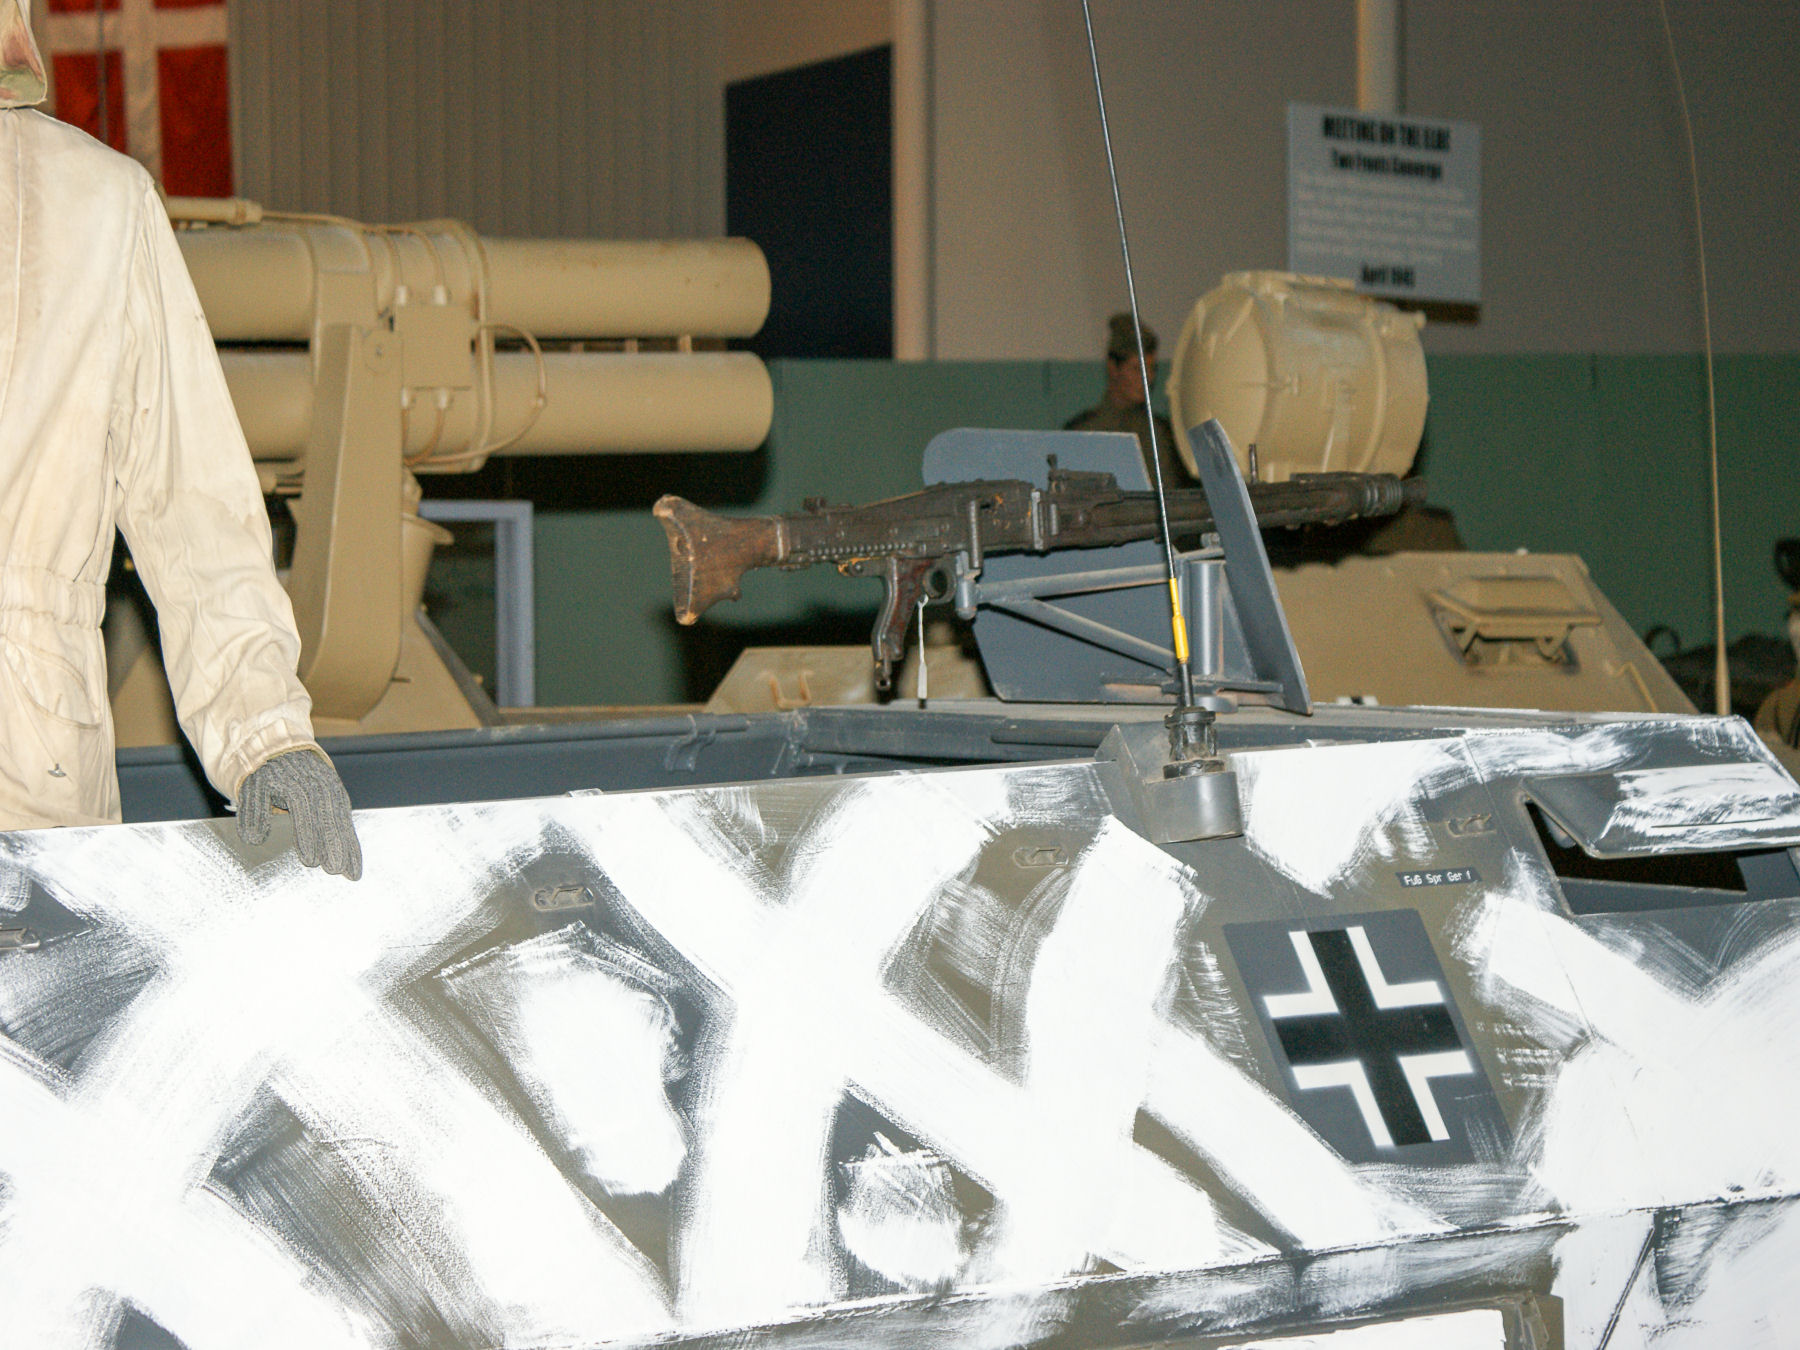
Now I can paint the inside of the halftrack. This thread on Sdkfz. 251 interior colors exists, but the answer hasn’t been found concretely yet. Also, since this vehicle had the option of a closed top, would the inside be painted in Dunkelgrau or Elfenbein?
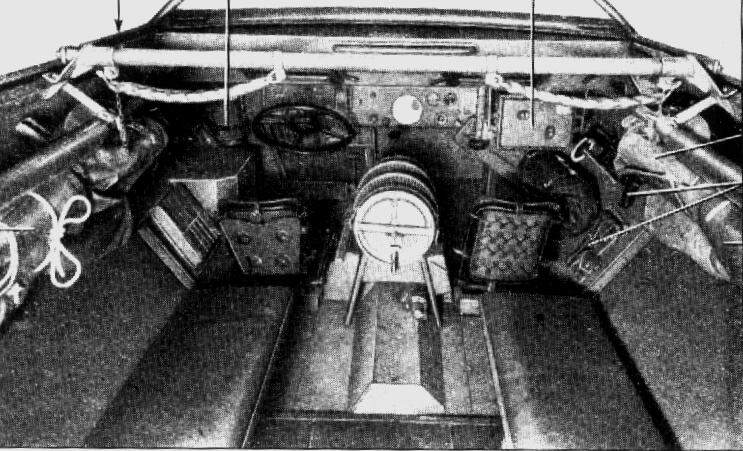
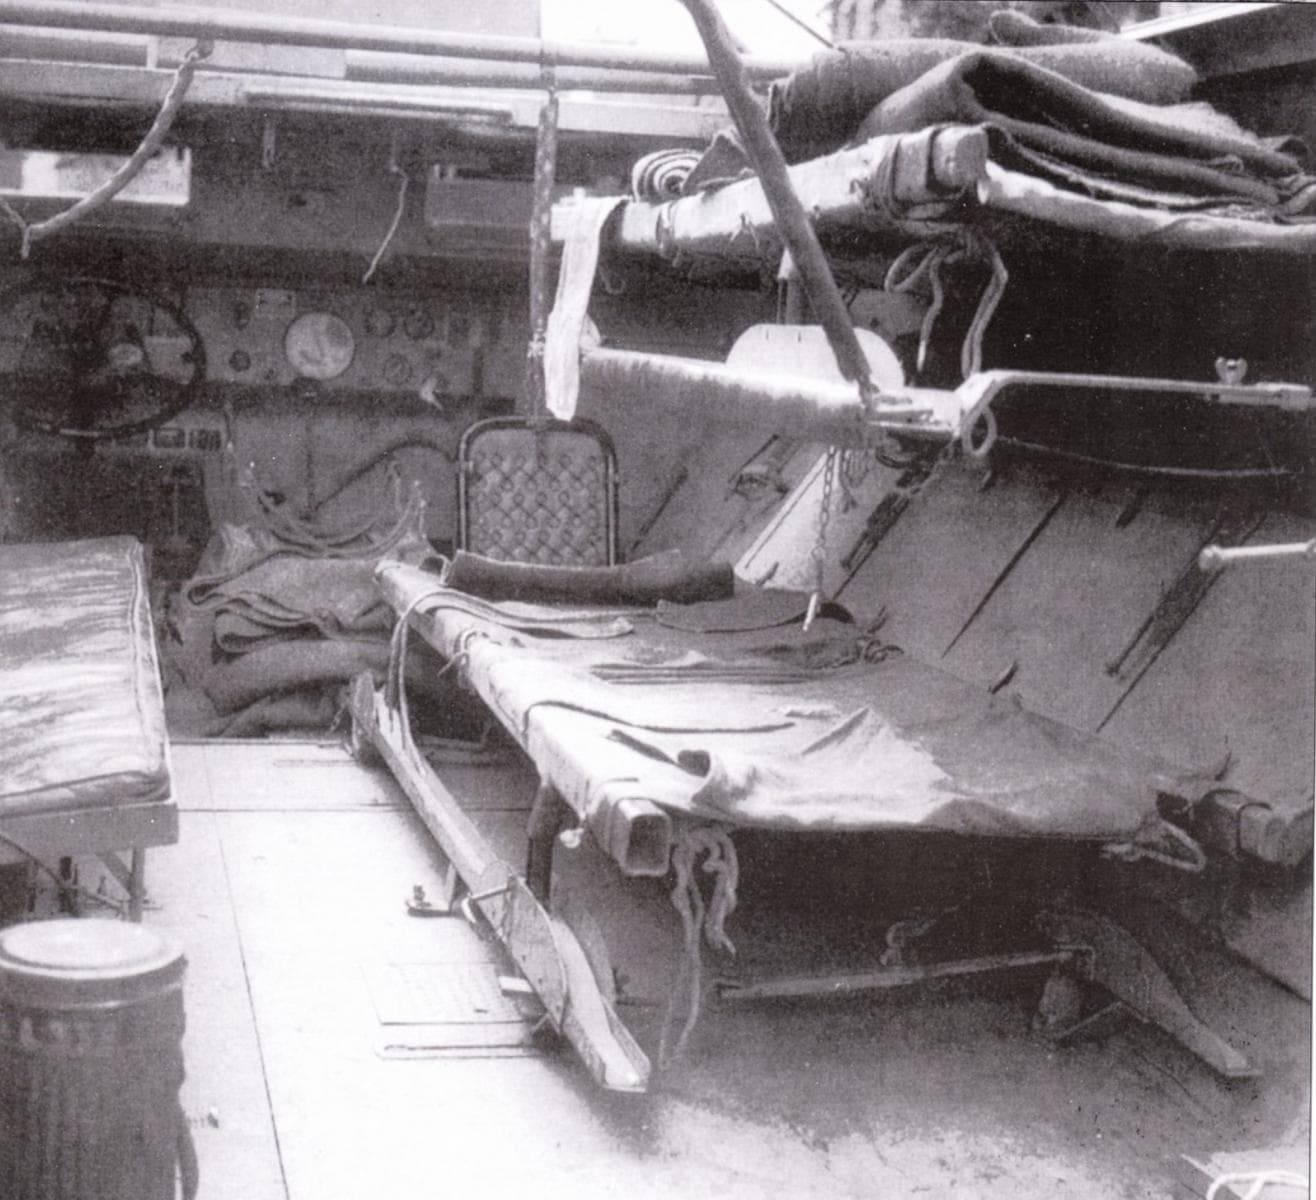
Interior was Dunkelgrau if you are doing a grey vehicle. The water tank between the seats was only ever fitted to the Krankenpanzerwagen. Here is a photo showing the interior and also the stretcher mounts and folded stretchers:
I know that the water tank was for the 251/8, which is why I decided to modify the kit to reflect that more. So, the interior will be painted Dunkelgrau. What color would the benches, floor, driver’s seats, and control panels be?
Is the kit an Ausf C? From this thread and another source , it seems Ausf A/B had drivers area in elfenbein with “troop” area dunkelgrau. Ausf Cs were all Dunkelgrau inside. Ausf Ds, dunkelgelb. As for benches, black. Early ones used black leather. (Id go black with a leather brown dry brush to simulate wear to the dye. ) I think in mid (?) 44 they started using canvas Feldgrau/ khaki
) for seat cushions. The Ausf D 251s had wood "park bench " troop seats with the back rest. eithe leather or canvas. Heres a thread on /8s. Looks like the right side bench was removed and replaced with stretcher racks. sd kfz 251/8 interior - Missing-Lynx (tapatalk.com)
The inside is basically turning back to its original colors, lol
I have begun painting the interior. Do you guys have any suggestions to paint harder to reach spots, such as under and in between the console/driver seat area? I am brush painting (as evidenced by the brushes in the background), and no airbrush is available at this time.
At this point you’re using brushes like I would for the hard to reach places. However, I would have painted in subassemblies prior to installing into the driver area. Nice progress
I’m not quite at the skill level required to mask off enough for sub assemblies so that I can prime them and get them in such awkward spots. I might just try my best to paint it and leave it like that. I don’t think you’ll be able to see much color down there when the model is finished, anyway.
I have reason enough to believe that the one I am building is an Ausf. C, I apprecitate the example and information, though. It makes sense as well, they likely needed ambulances all throughout the war, and they just applied the old techniques to the new variants of the bases for the ambulances.


