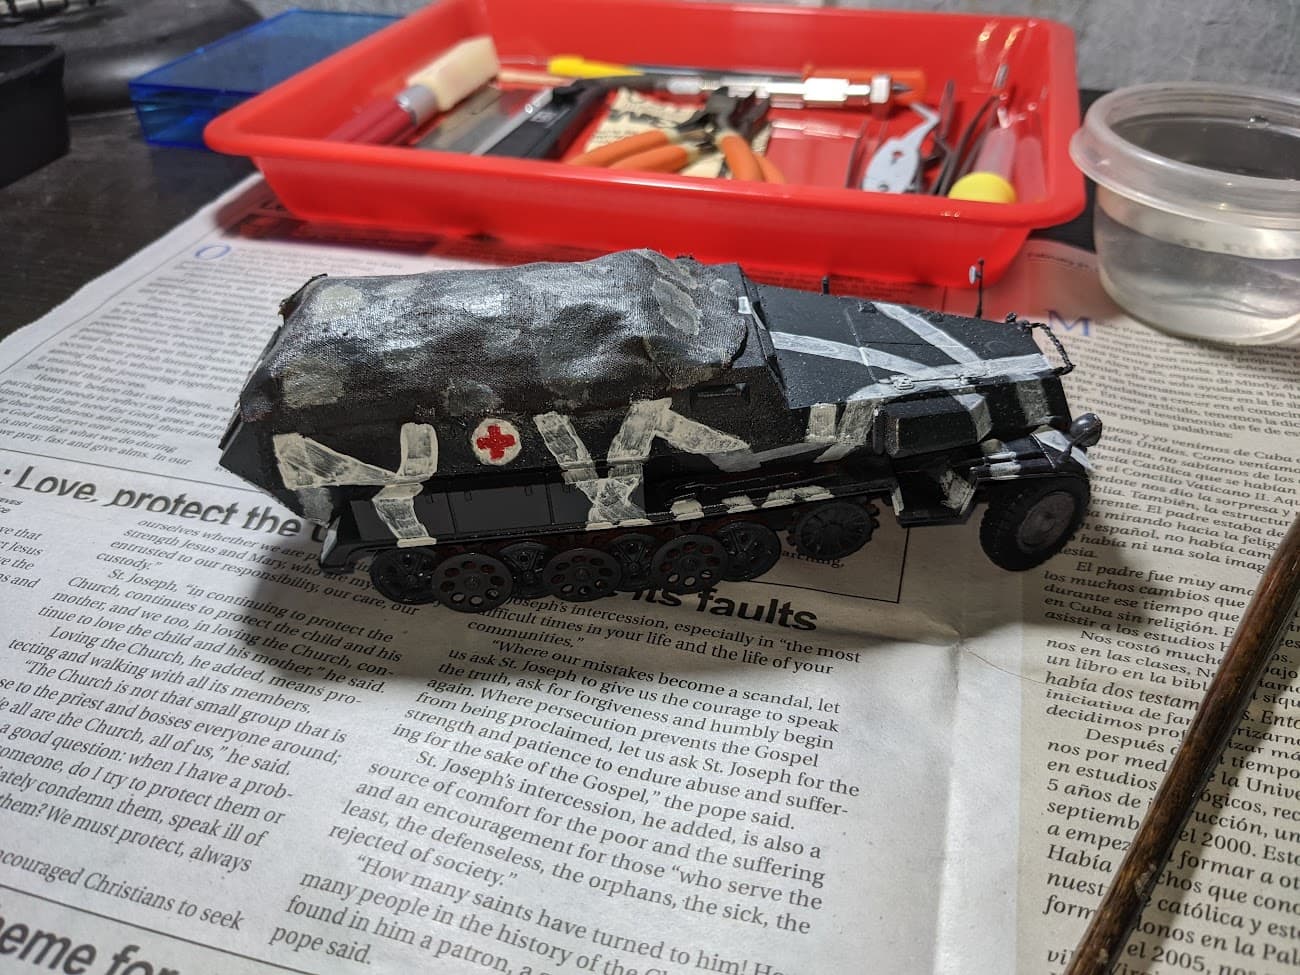
I’ve begun the camo. @Dioramartin 's method doesn’t seem to be working for me, so I’m just gonna paint straight onto the surface, then sand lightly.
1 Like
I finished the camo by adding some thinner lines (representing hand-brushes as opposed to the thick strokes of a broom) and and attempt at the whitewash dripping, as seen in NightShift’s IS-2 build recently.
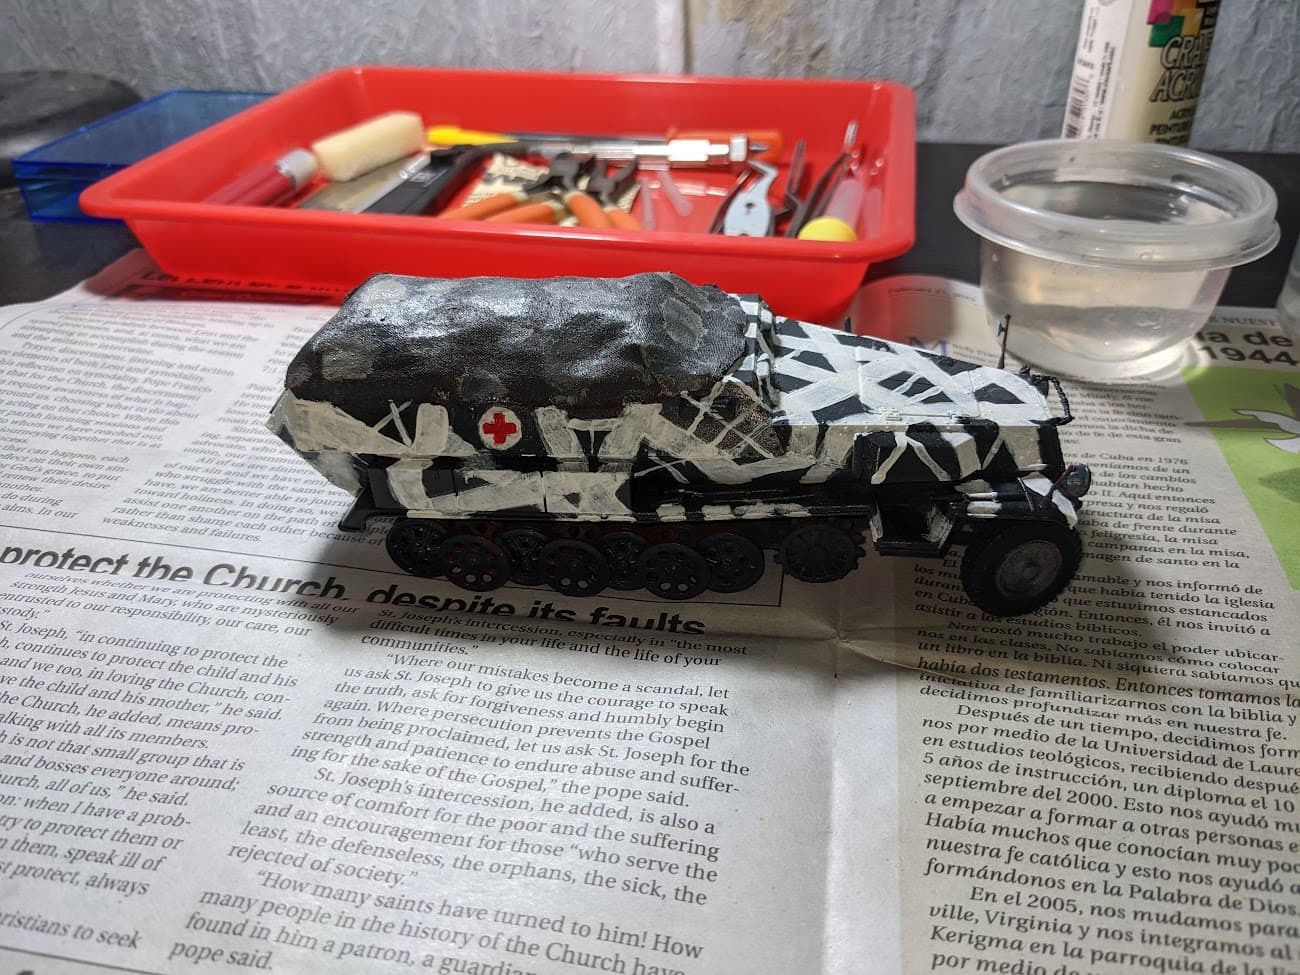
I’ve begin chipping, with most of it being focused on the whitewash. I’ll add some more, light steel chips in the larger gray chips and on some of the exposed dunkelgrau edges.

Chipping, highlights, and tools have been painted. Pin wash will come next with other oil stain/grease/dirt effects. I find chipping Dunkelgrau to be difficult. I really just achieved some color modulation-ish type of effect. It really just seems like the paint is somewhat discolored. I am happy about how the rest of the chipping came out, it looks great in person.
1 Like
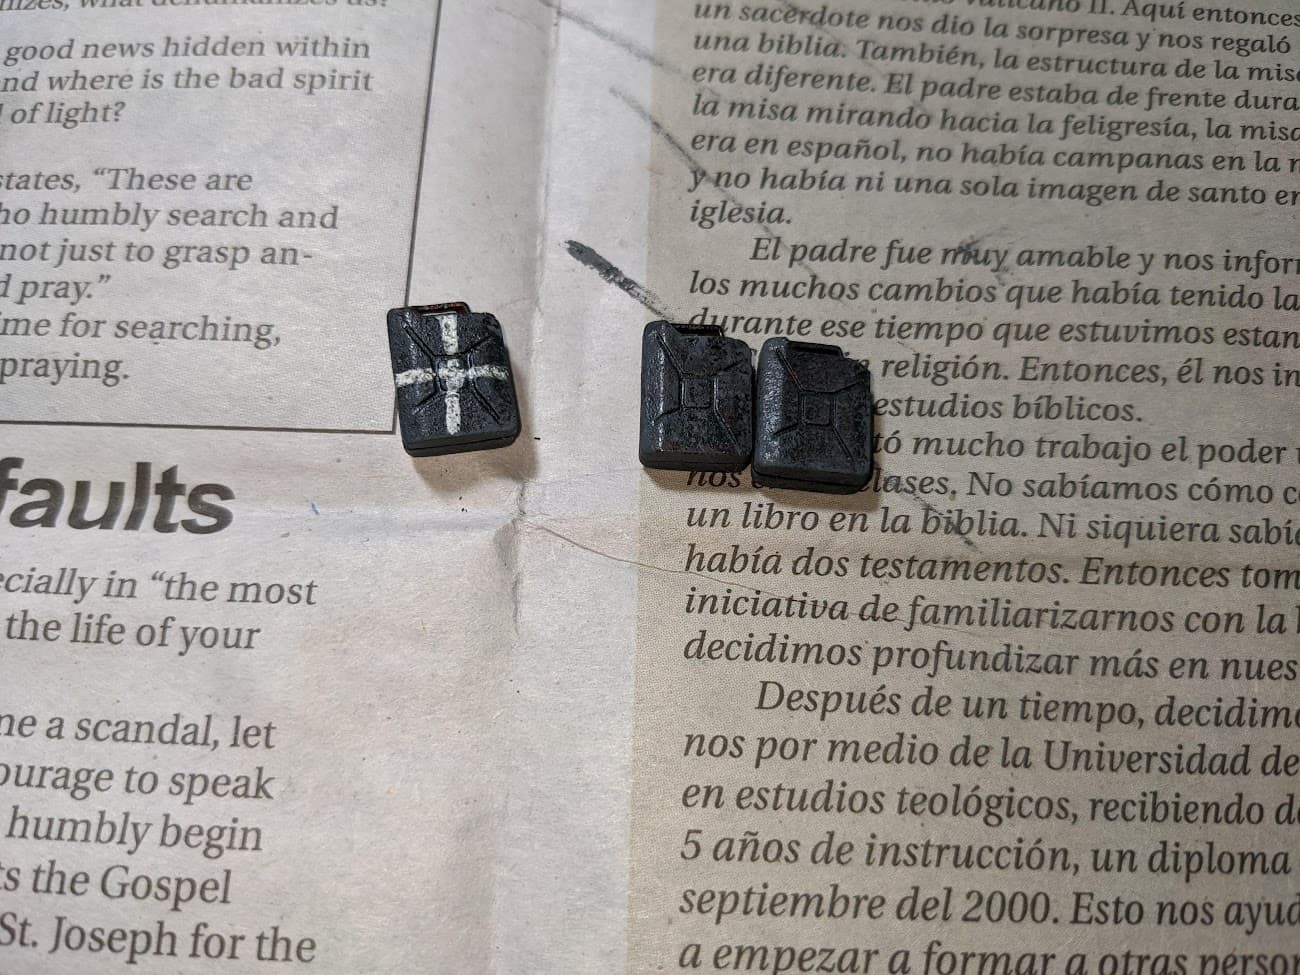
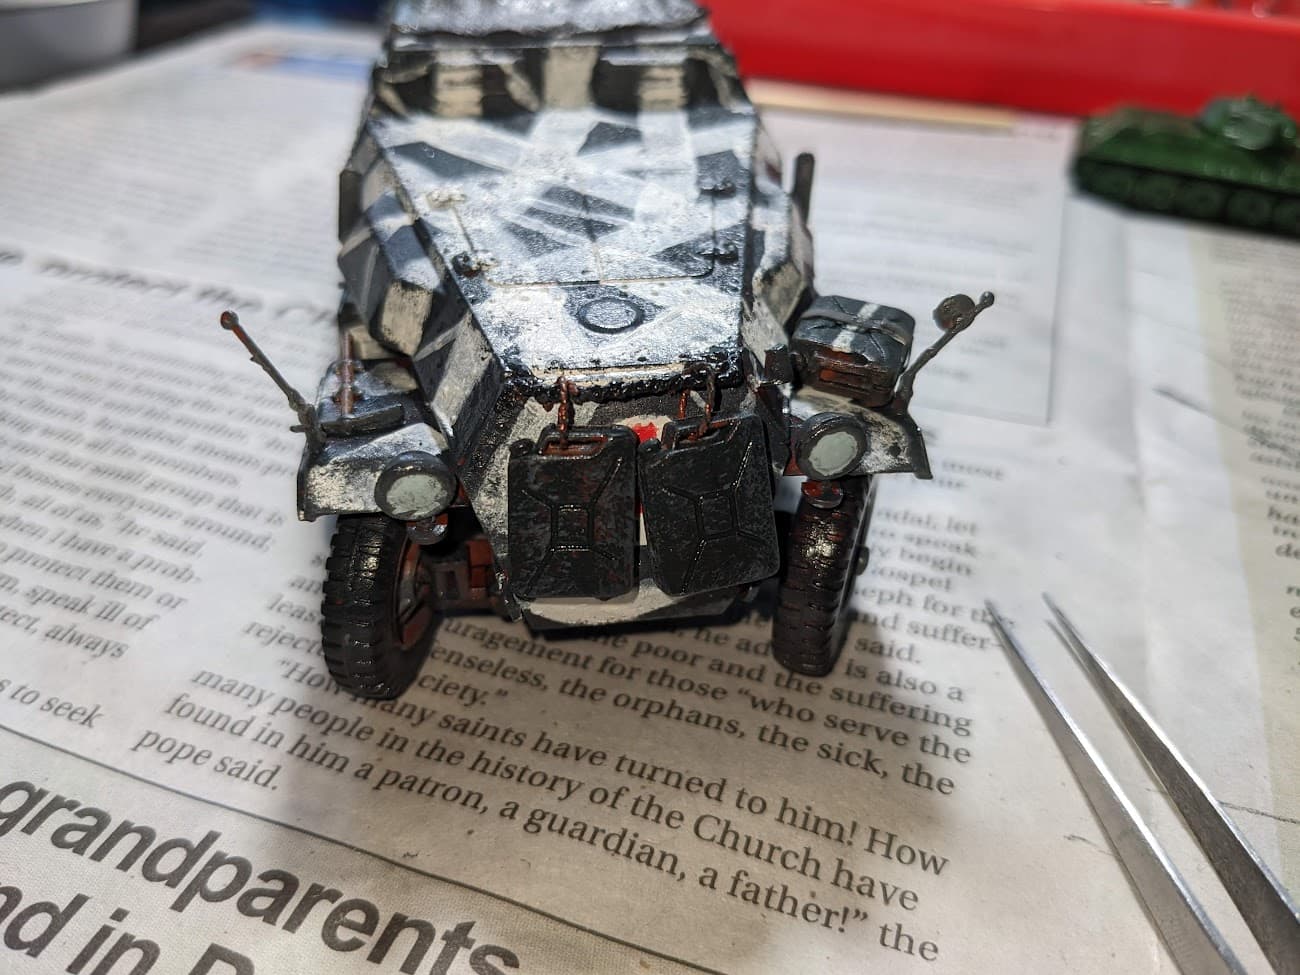
Chipped the jerrycans, next will be the gloss coat and oil weathering. I’m still odecided if I should attach the jerrycans before or after using the oils. Probably before, so that I can use gravity to enhance the effect. What do you guys think?
Looking good.
A tip for next time when doing headlights like these. Thin your white a fair bit and using just the tip of the brush and keeping the main area of the brush over the lens centre just touch the inside edge of the lens with the brush tip. The thin paint will run into and around the inner lip making a neat circle. You may need to let it dry then do it a couple of times to build up the colour and then paint the centre with thicker paint, but you don’t get the thick over spill layer over the outside cover that you do otherwise.
Even better is to drill out the whole lens, paint the inside chrome and use a hole punch to make a disc out of clear styrene - Tamiya makes some older models with styrene windscreens, etc, and the left over sheet is ideal for this. Glue in the disc, then use a drop of clear two part epoxy over that to fill the lens to size.
Little things like this type of detail will elevate your result.
Another little detail improver is to get a candy wrapper that has the shiny metallic inside ( it is called Mylar) and punch a disc out of that and use it as a type of decal for the vehicle mirror.
1 Like
Thanks for the suggestion!
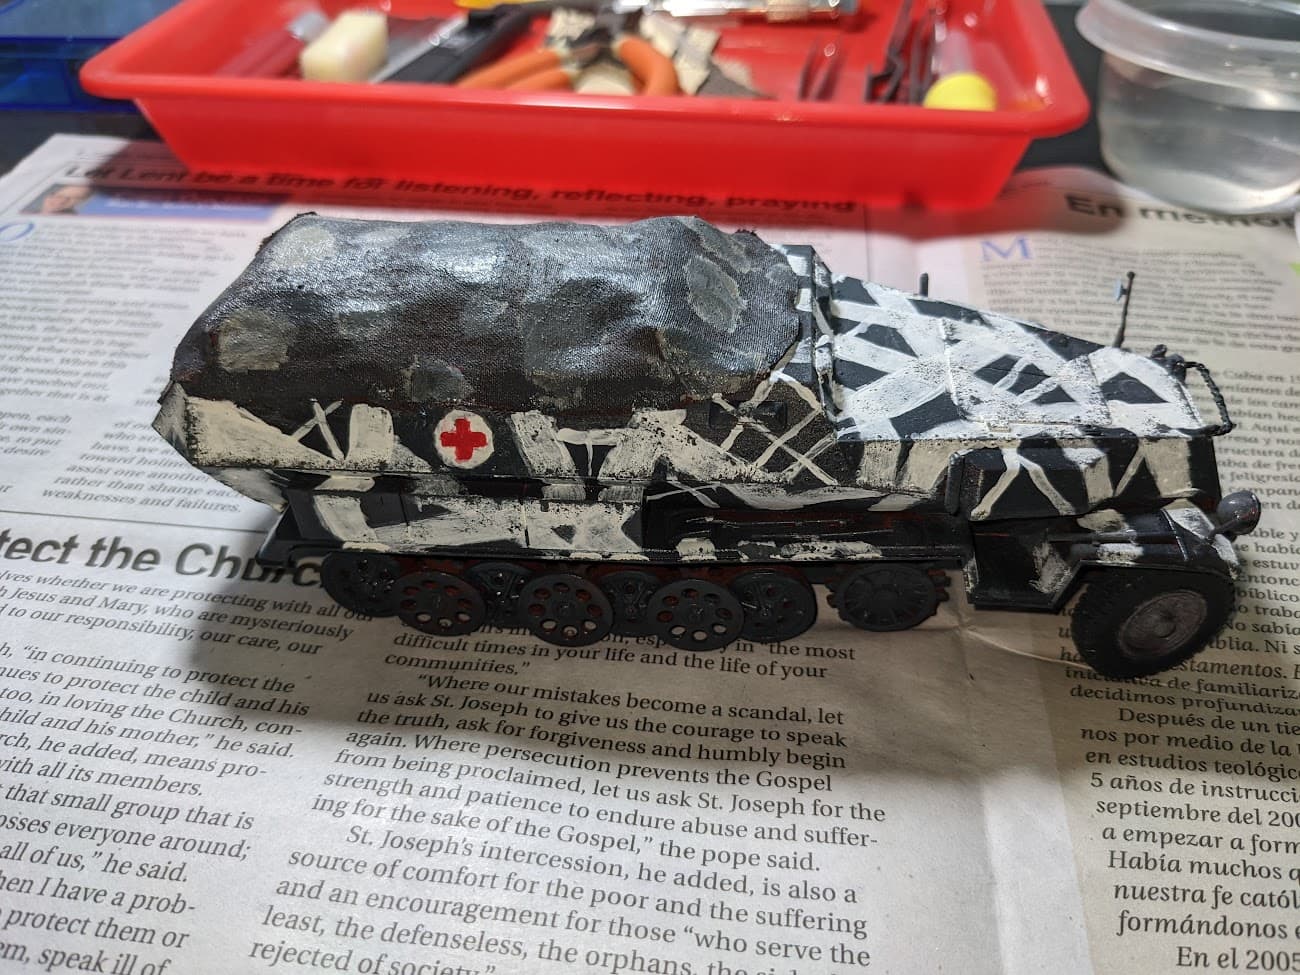
I finished the wash. It is a little messy, but I just have to keep experimenting (or get a premade wash). I also tried streaking and speckling.
1 Like
Pre-made are just a convenience. You still need to thin them to get the right effect or they are too over powering. When mixing your wash, err toward too thin as it may not look a lot when wet, but when dry it will be more noticeable.
1 Like
Alright, will do. I still have to get correct consistencies and all that, but I think this time it was alright. Tomorrow I’ll add Vallejo splash mud on the road wheels and fenders, and possibly start weathering the tracks. I found a neat video from Andy’s hobby HQ about weathering rubber band tracks. Do you have any suggestions for not leaving chunks of oil paint in the mixture?
A good oil paint should not have chunks unless the cap has been left loose and the oils have dried up over a long time. I’d suggest you put some paint on a plastic lid and use a knife to press down on the paint and swipe sideways to break up any larger pigment chunks. Disposable knives are good for this.
Crept silently and imperceptibly? ![]()
(Upper left corner) ![]()
1 Like
That is another side project I’ve begun working on during this project. I’m gonna add splash mud and call it a day on that one. It was somewhat of a test bed for pin wash, vallejo splash mud and vallejo 70.968 as 4BO (the last 2 were purchased recently). It is a Zvezda 1:100 T-34-76 (L-11) that I painted years ago but stripped and refined this week. I’ve got a KV-2 of the same nature that I’d like to improve.
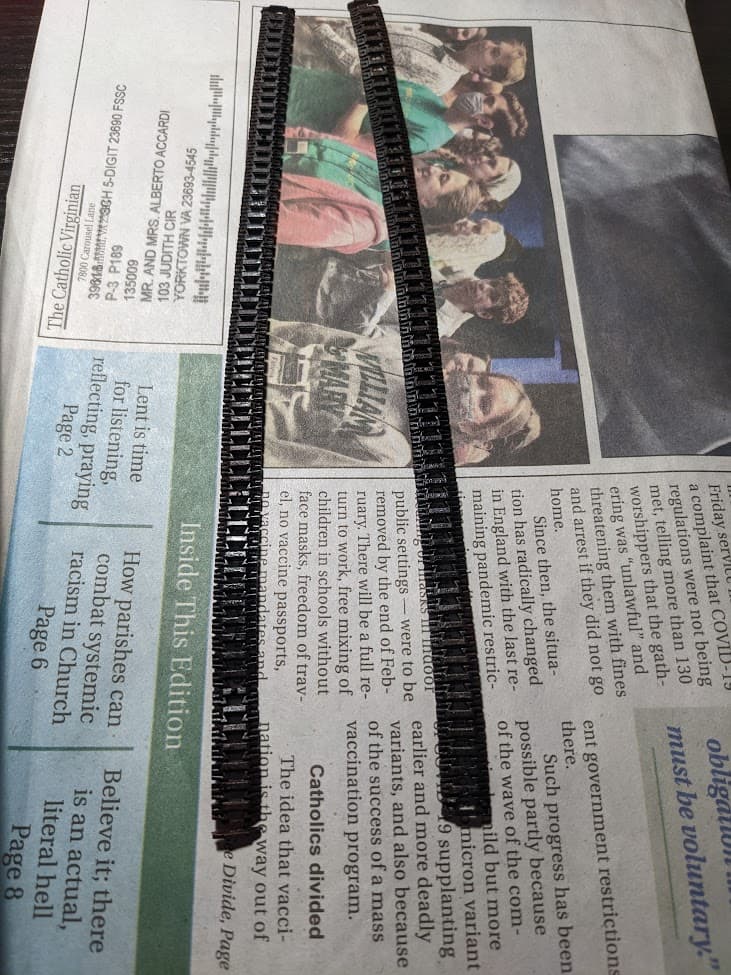
I’ve begun the track painting/weathering process. Following AHHQ’s video, I have sprayed the tracks black and misted with oxide red (the closest I have to brown). Next will be dirt/chalk to simulate pigments and actualy dirt, fixed with watered down PVA.
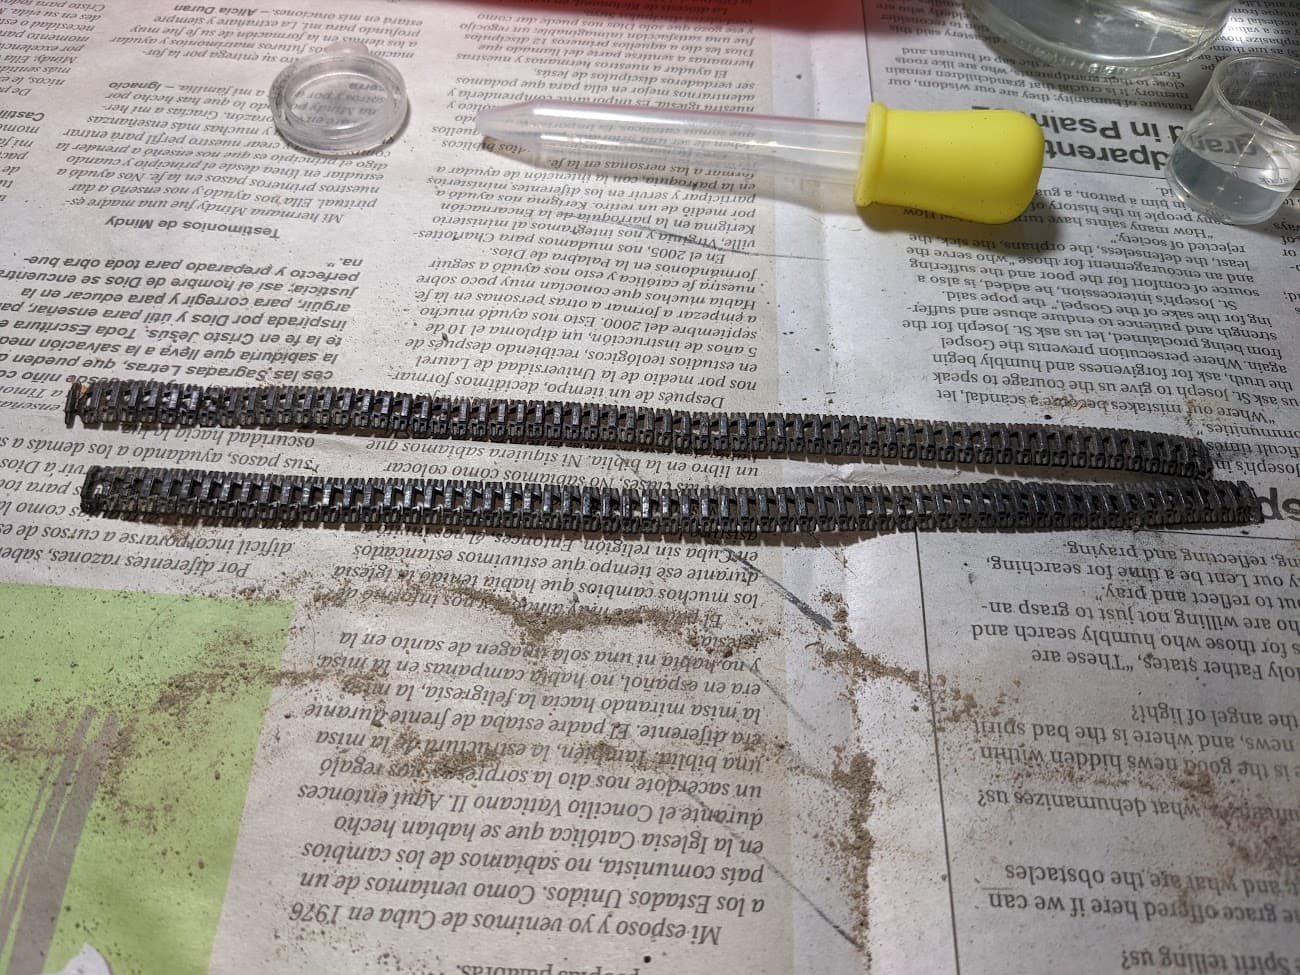
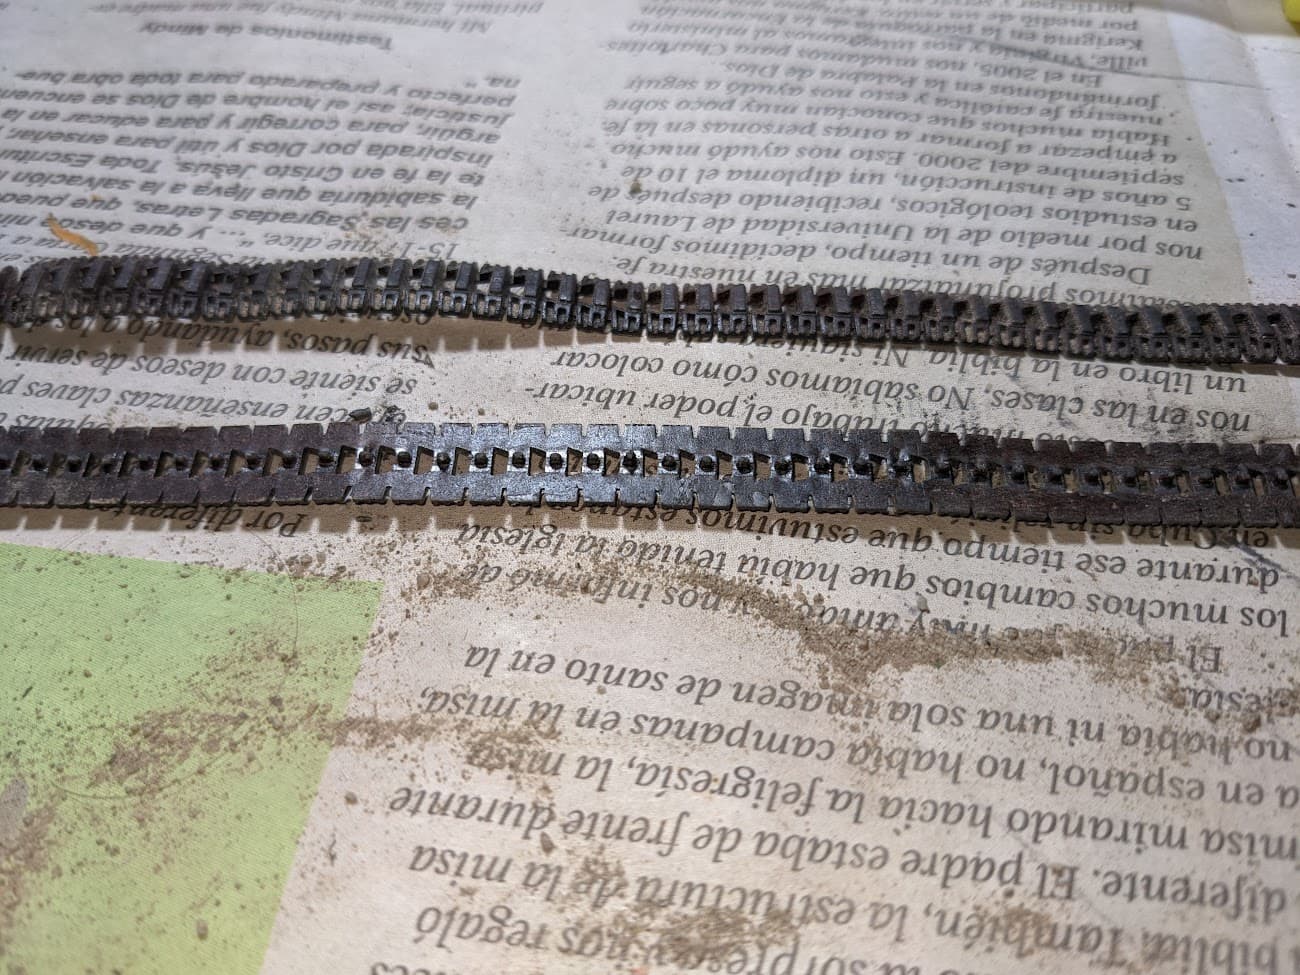
The tracks are looking pretty great! Better than I expected, in lieu of pigments, I used dry dirt from my yard which left dust everywhere. I then passed over the tracks and guide horns with a No. 2 pencil and it left a nice metal shine to mimic those areas wearing out.
1 Like
I am now doing debris work, mostly just some dirt that would pile up on ledges/flat surfaces. I will fix it with diluted PVA.
3 Likes
Tracks looking great!
1 Like
You have a surprise coming soon, I am finally done!
All looking good so far. It’s built up nicely ![]()
1 Like
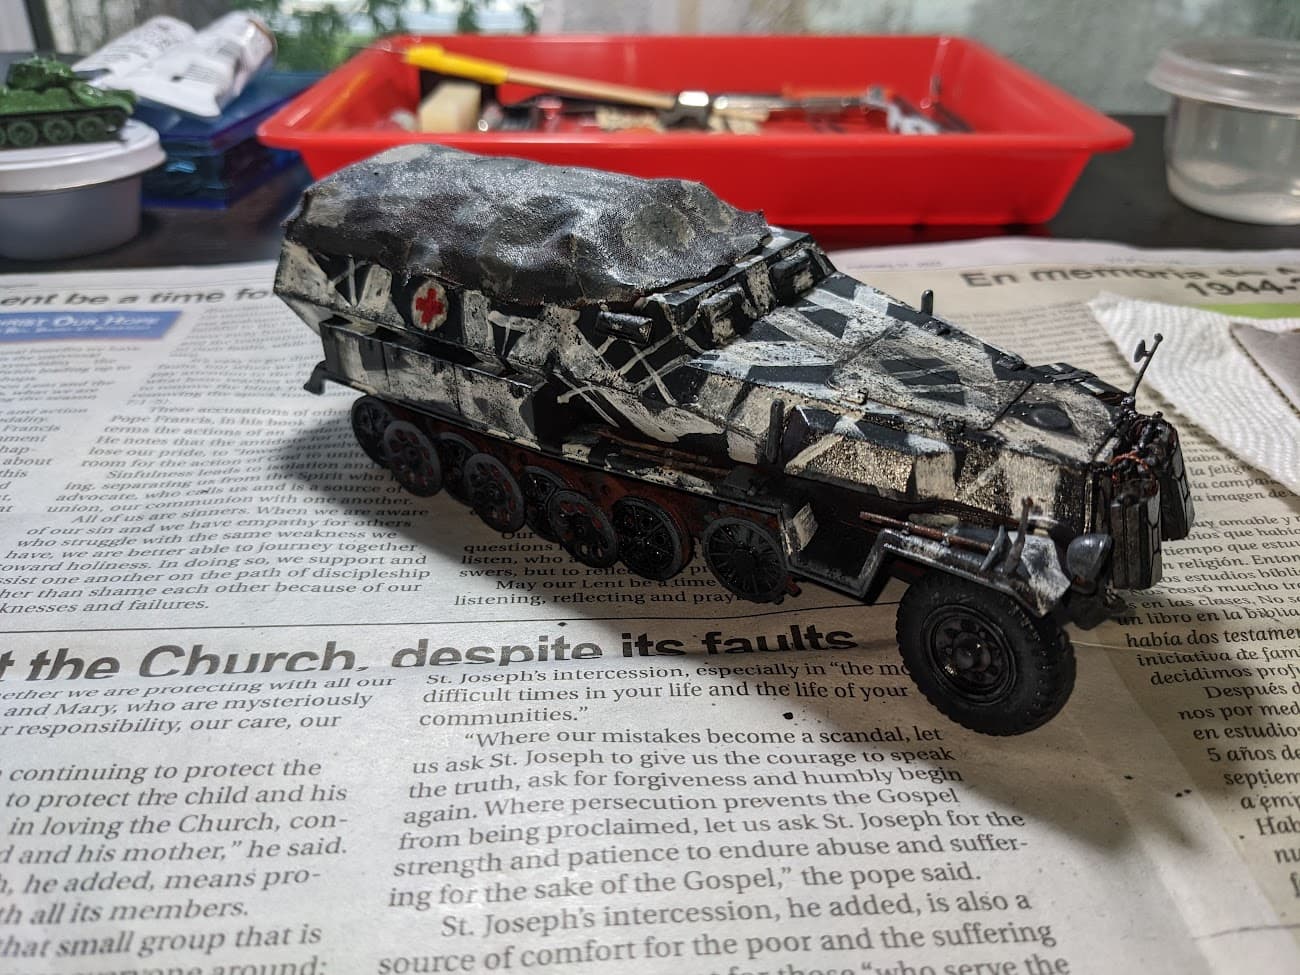
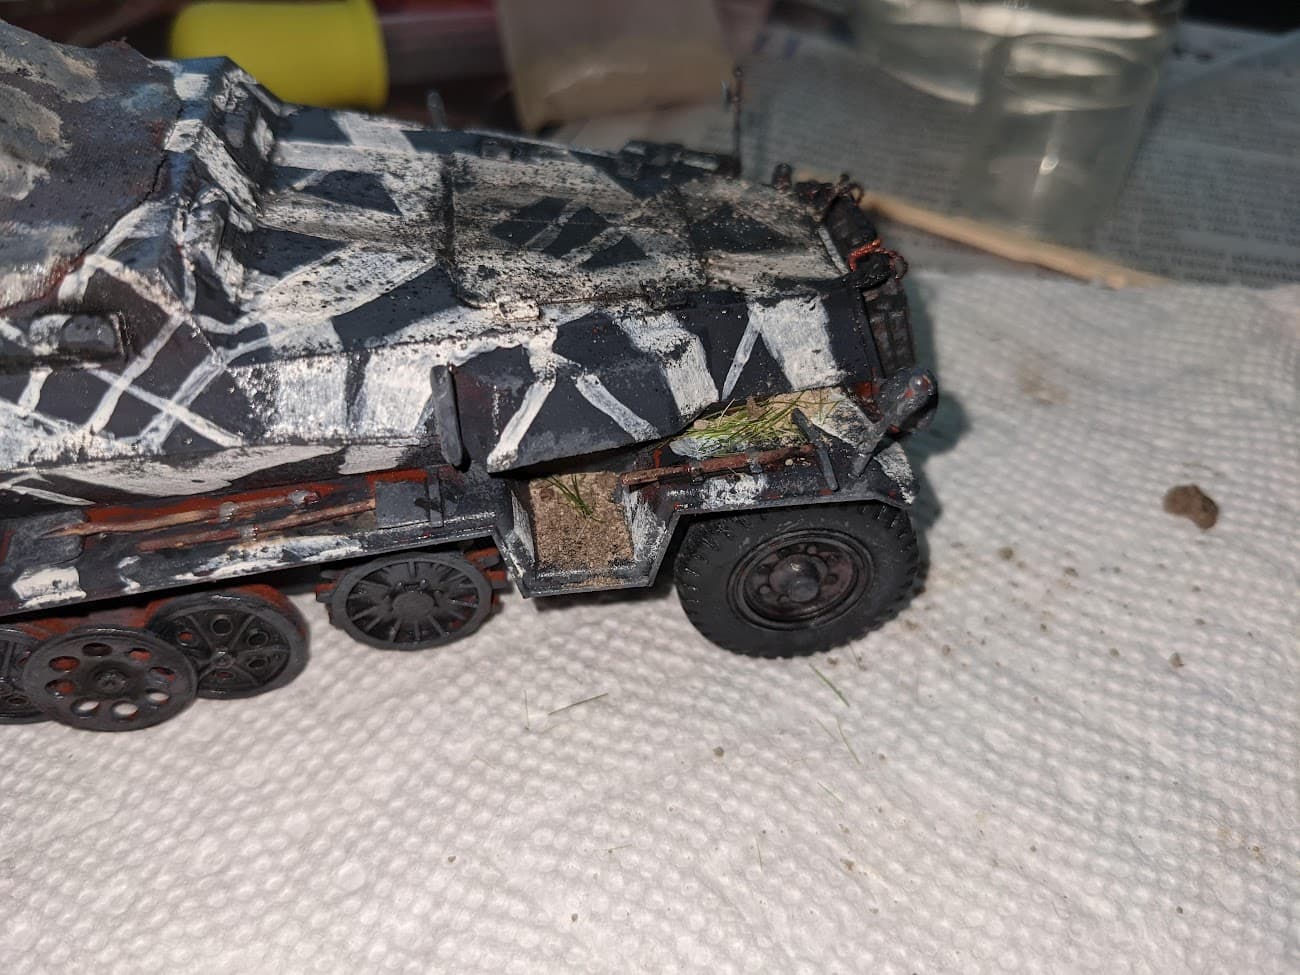
I like the look of the winter camo, hastily applied and somewhat worn. ![]()
![]()
1 Like