I will be posting all my Ukrainian war armor builds in this thread.
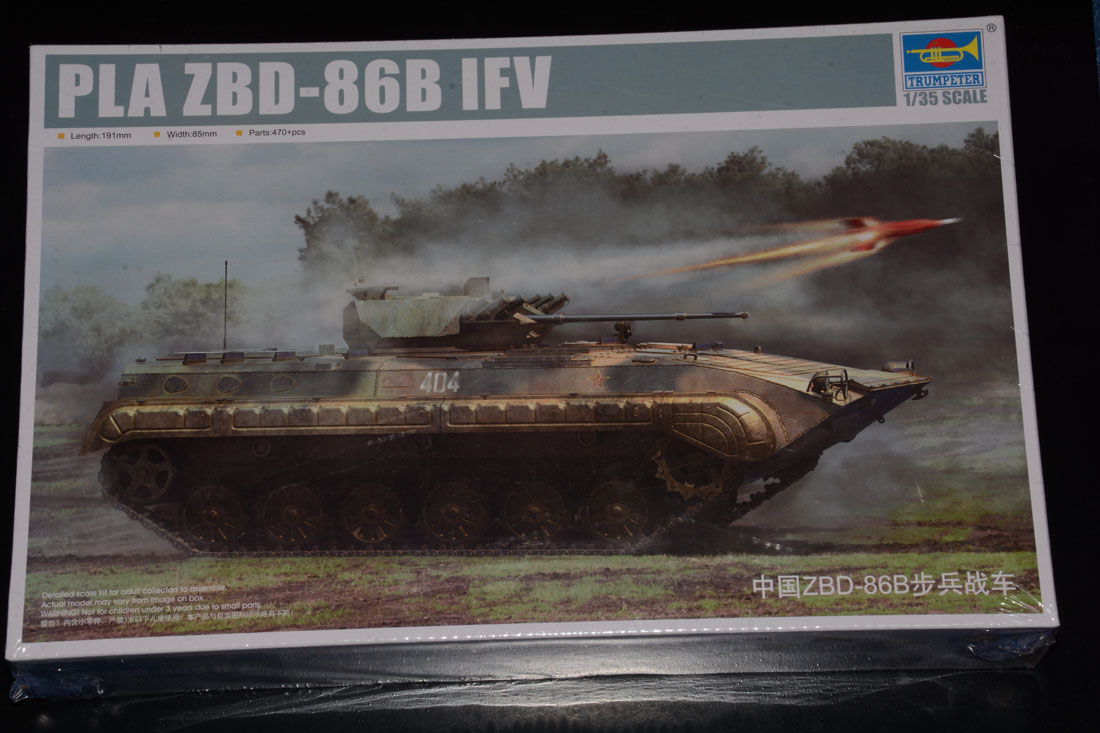
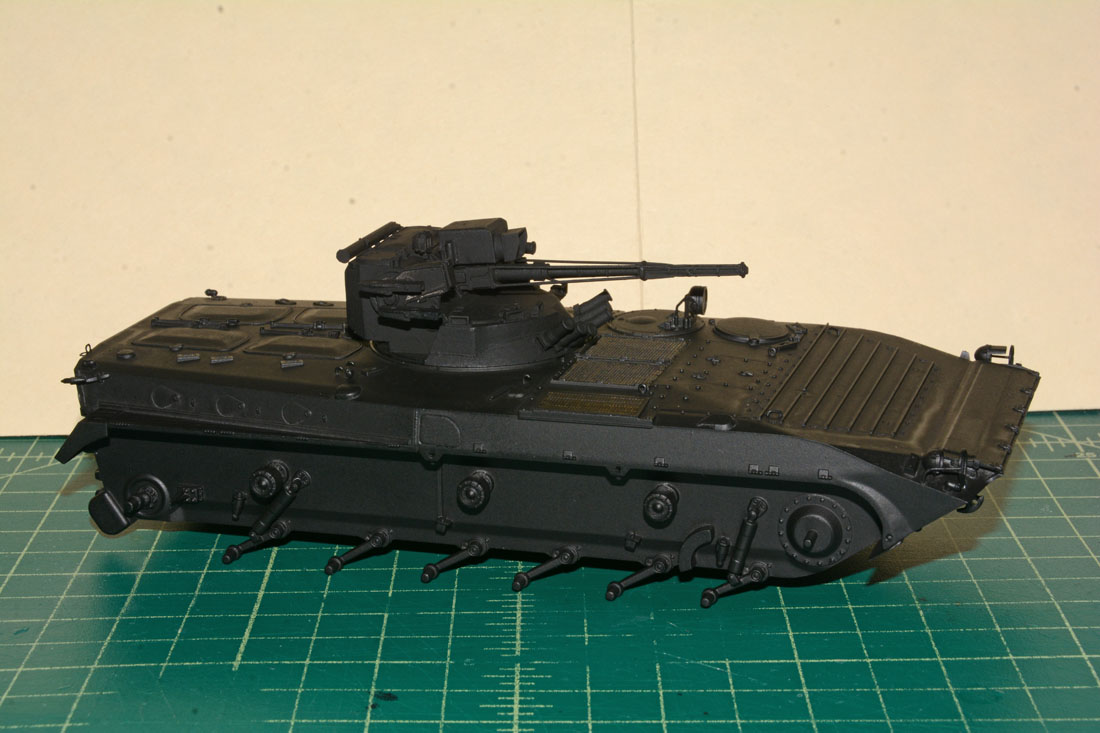
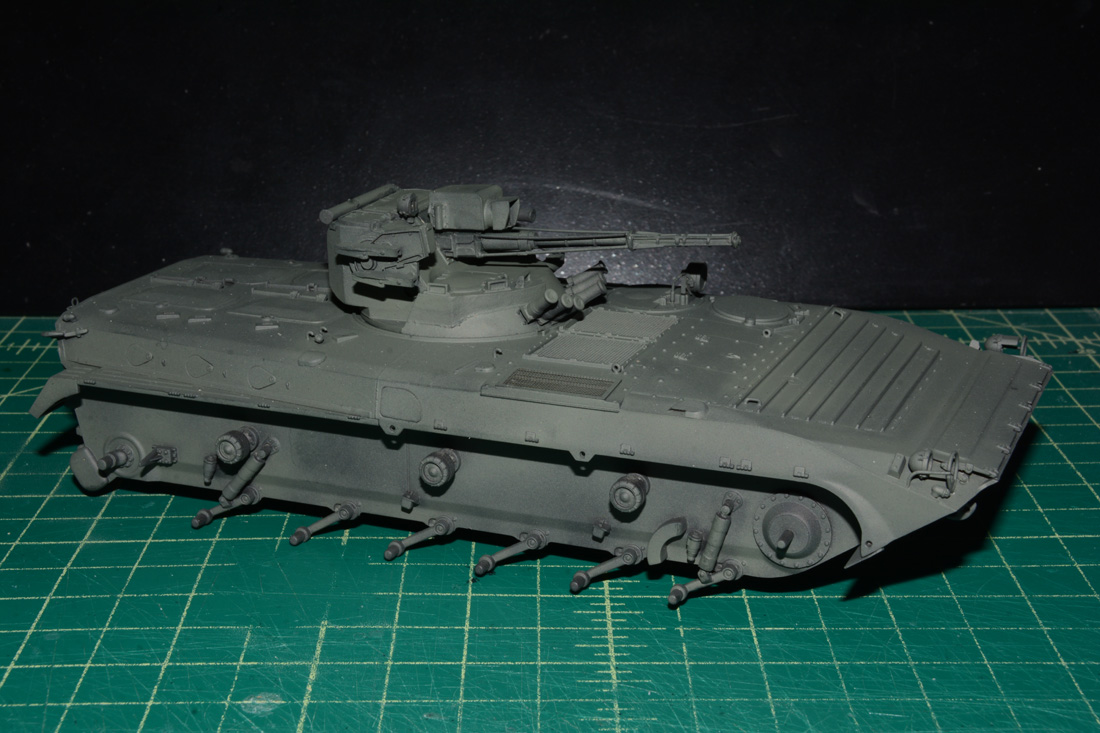
First one is the Trumpeter PLA ZBD-86B converted to a Ukrainian BMP-1M Shkval using the SP Designs resin set. I used the PLA kit as I already had it in the stash and it is the same basic kit as the BMP-1 kit except for the PLA turret.
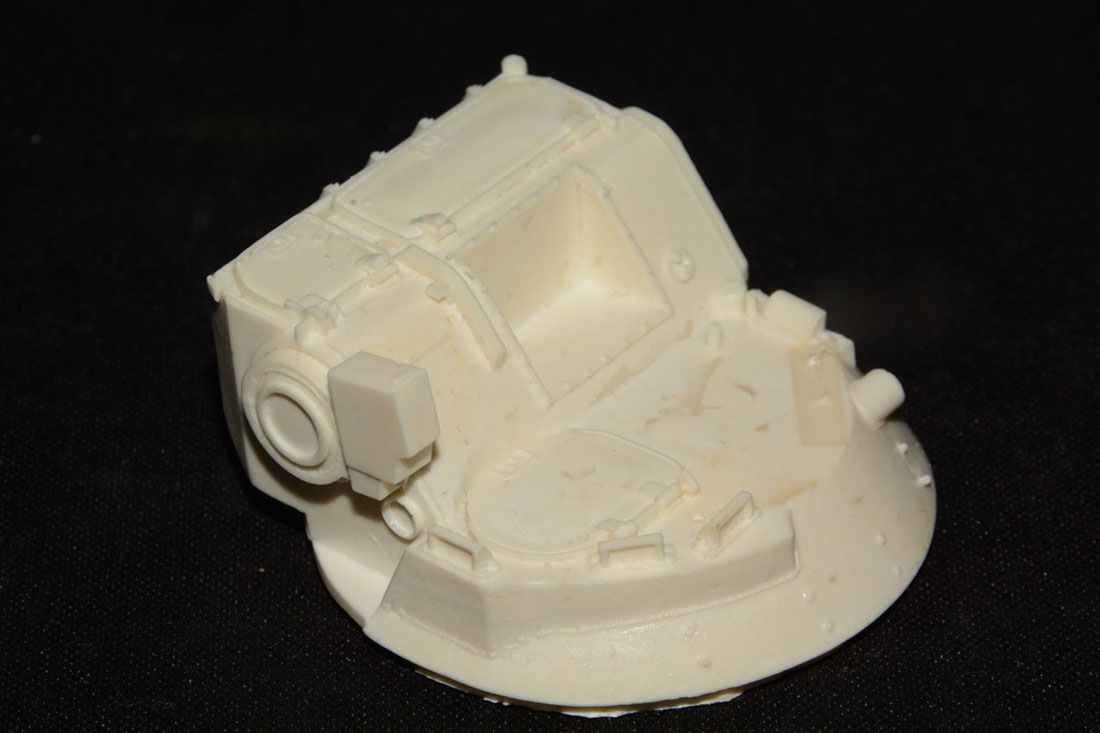
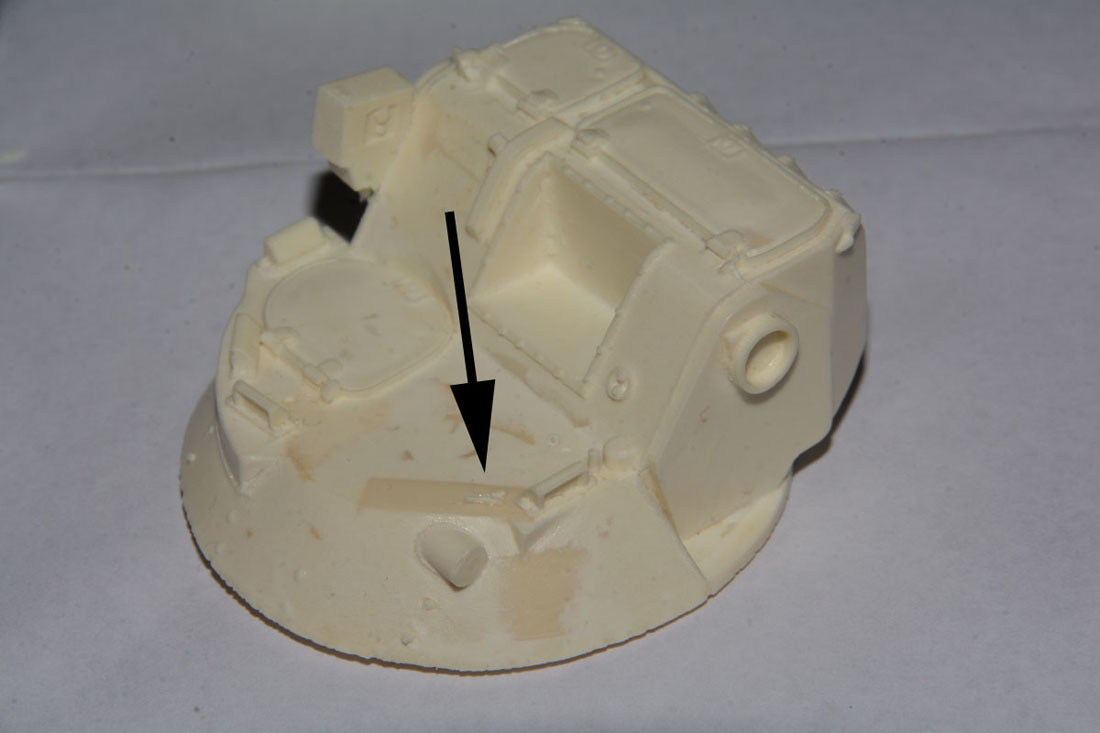
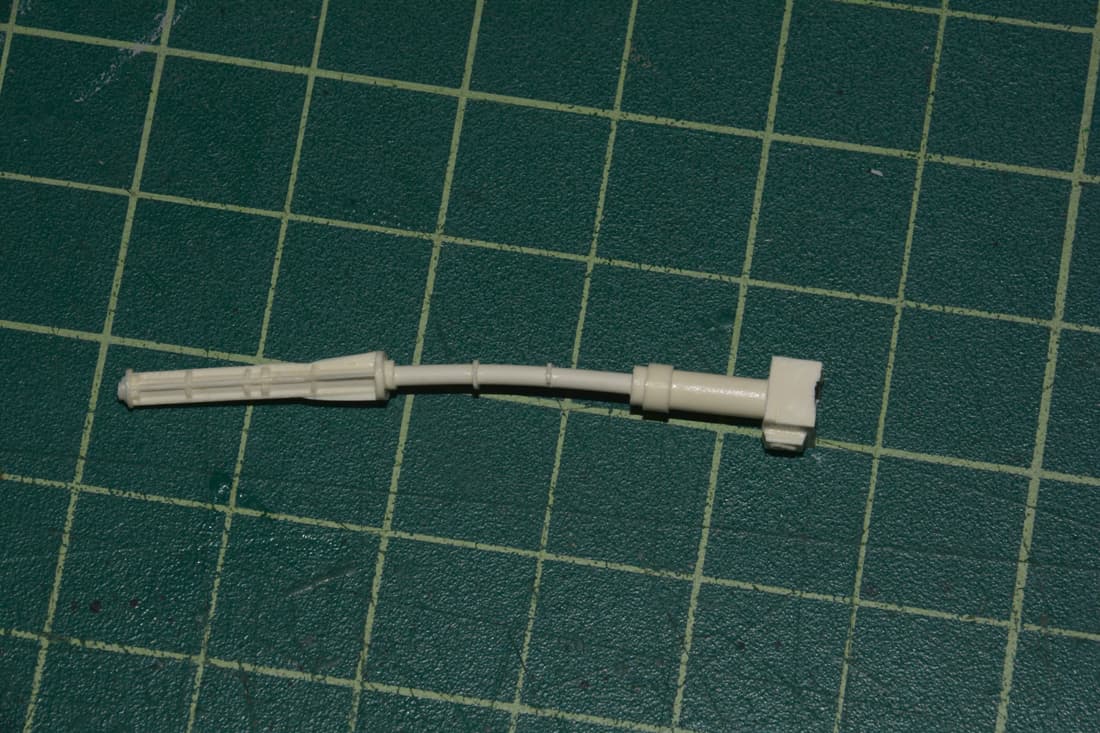
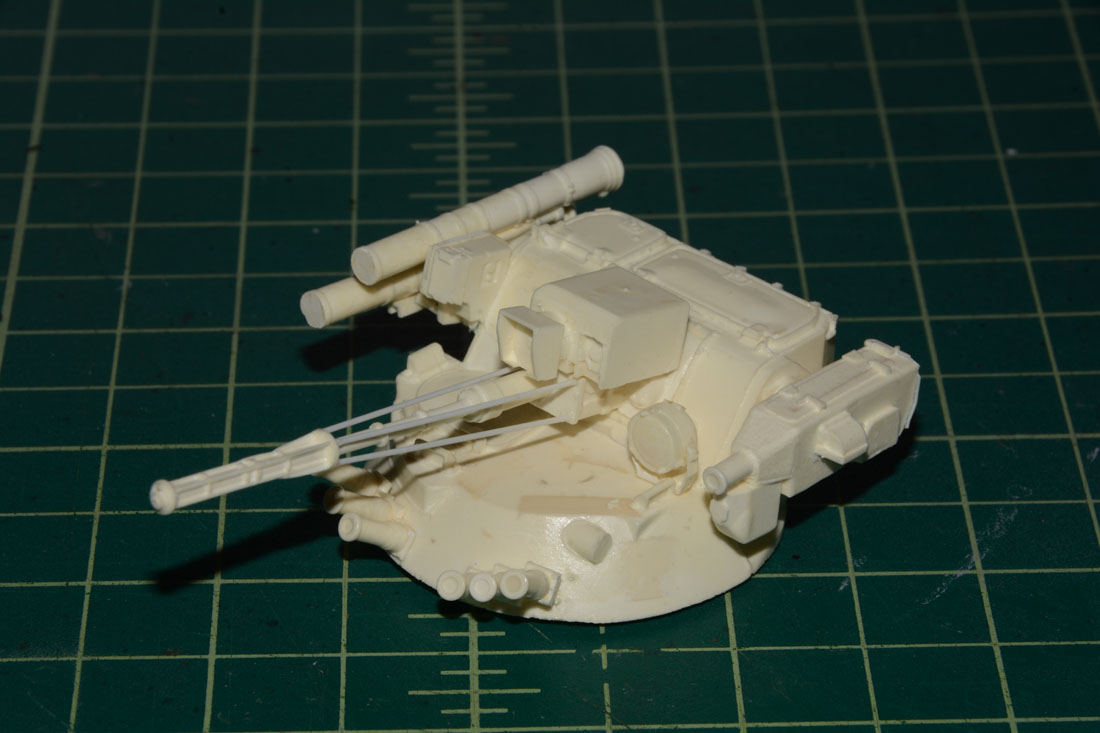
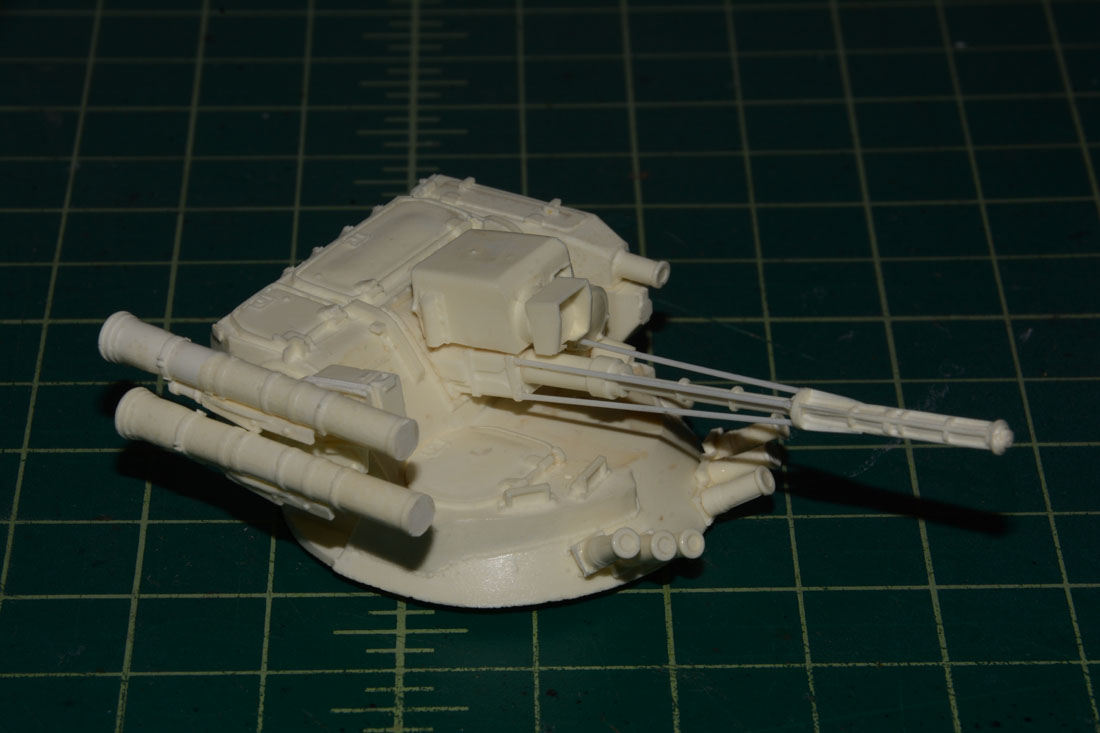
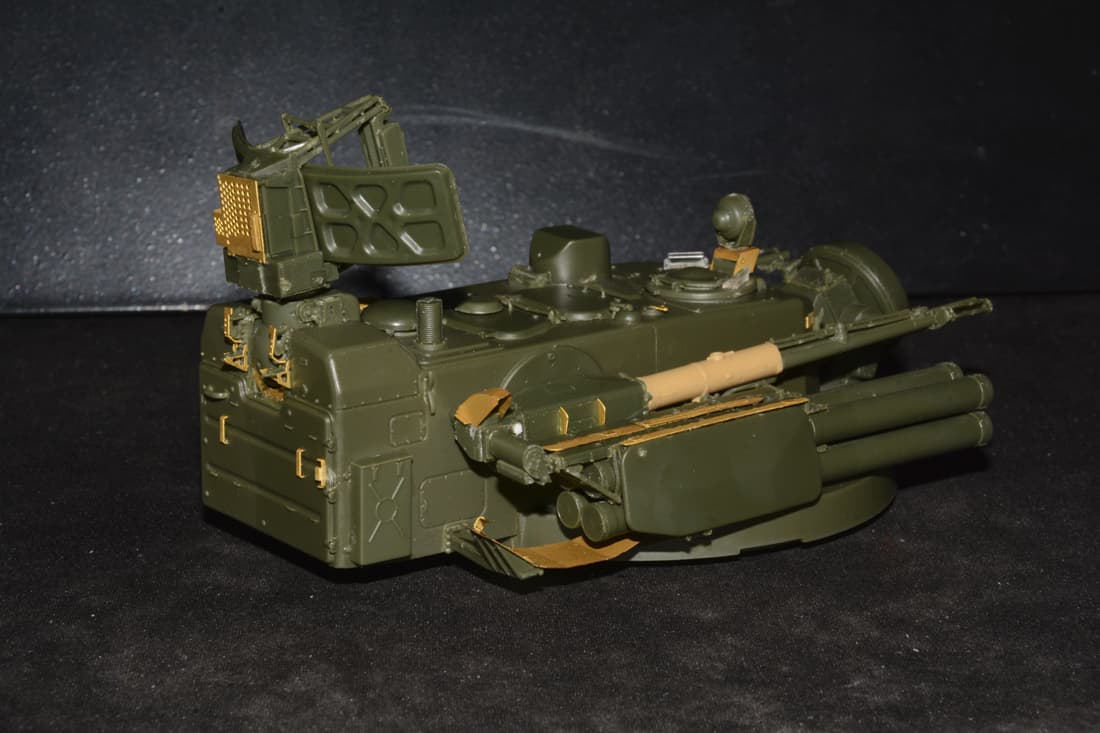
The SP Designs set is pretty nice but had some flaws. The turret was missing one of the view ports as seen in the third photo below. The gun barrel was also badly warped.
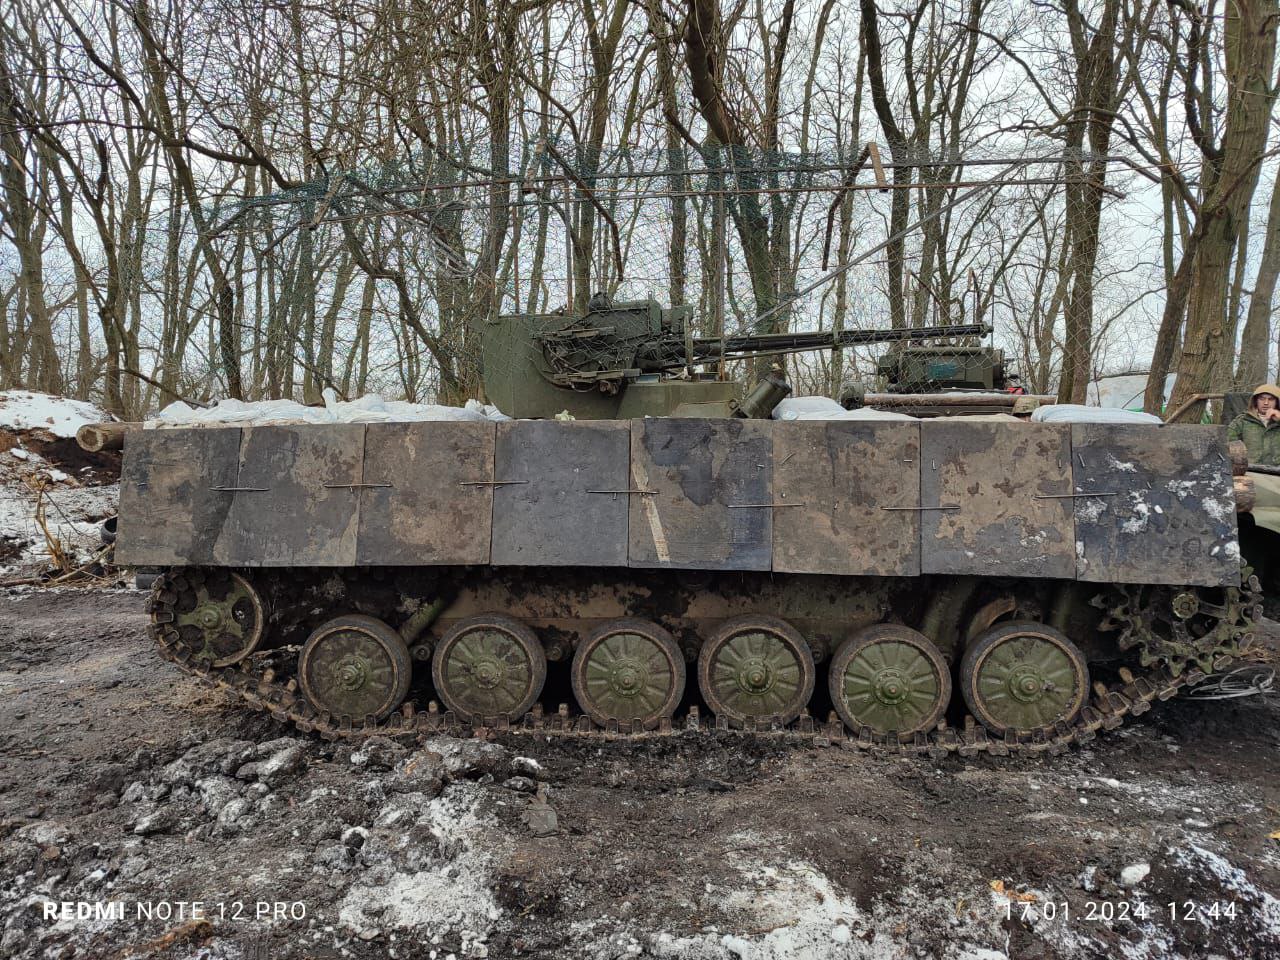
This was one that the Russians captured from the 2008 Georgian war and put into use in the Ukrainian theater. I won’t be adding the extra plates or anti drone cage though.
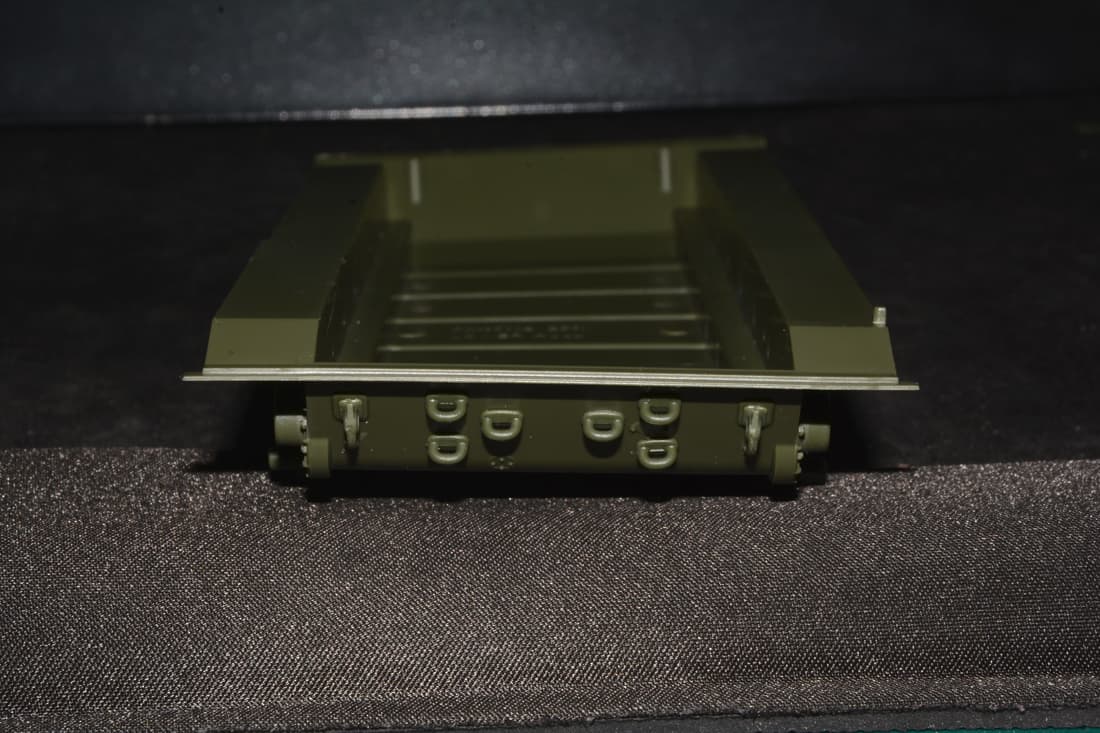
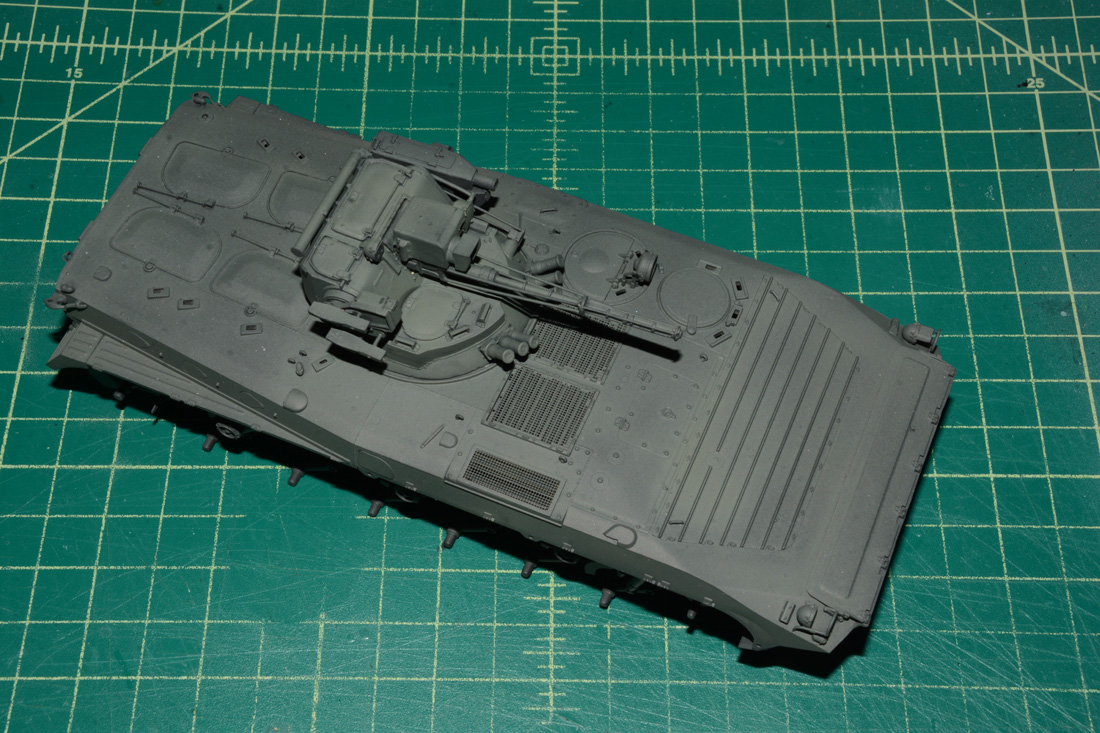
The hull only my kit was badly warped, top and bottom. I clamped it down for the Tamiya extra thin cement to set properly. Not all clamps shown. It needed way more clamps especially on the front and rear of the hull.
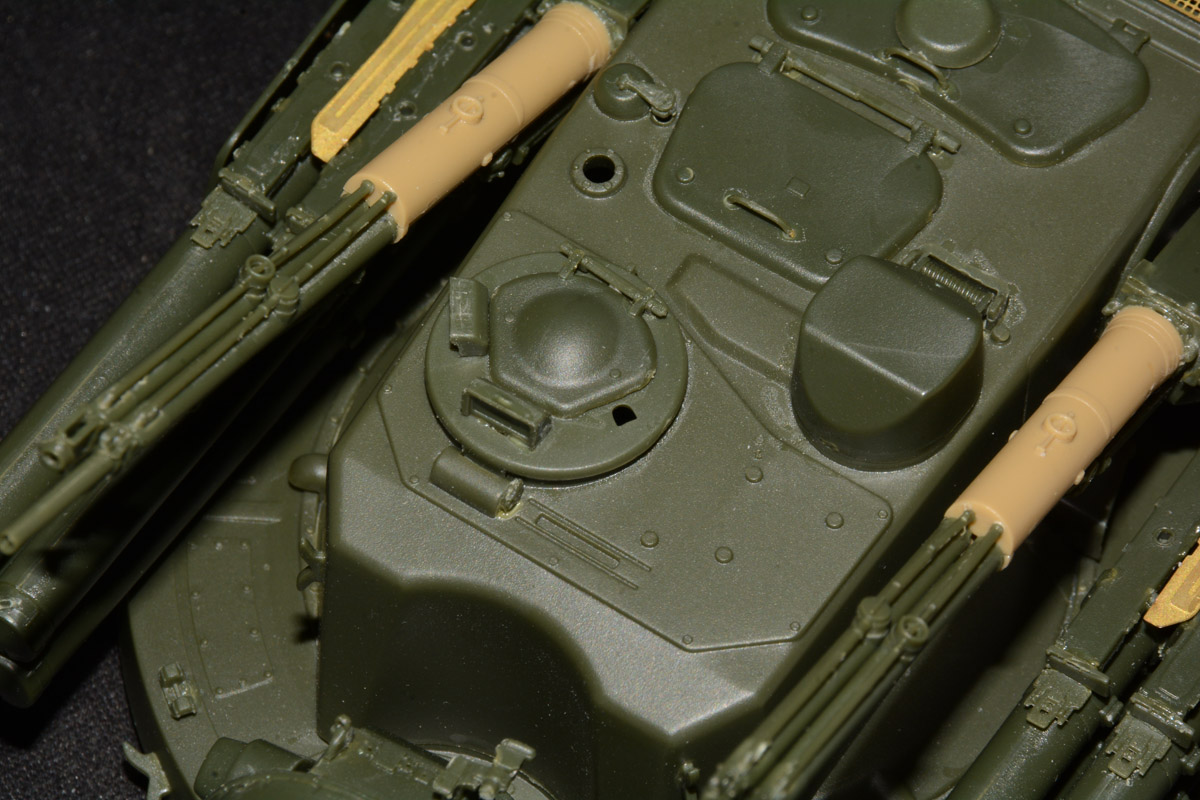
Panda forgot to include one of the vision blocks on the forward hatch on the turret. There are three vision blocks but Panda only included two. I used the AFV Club Stryker set vision blocks cut to size. I left the center one as is because it has a PE part to fit over it to fit a light.
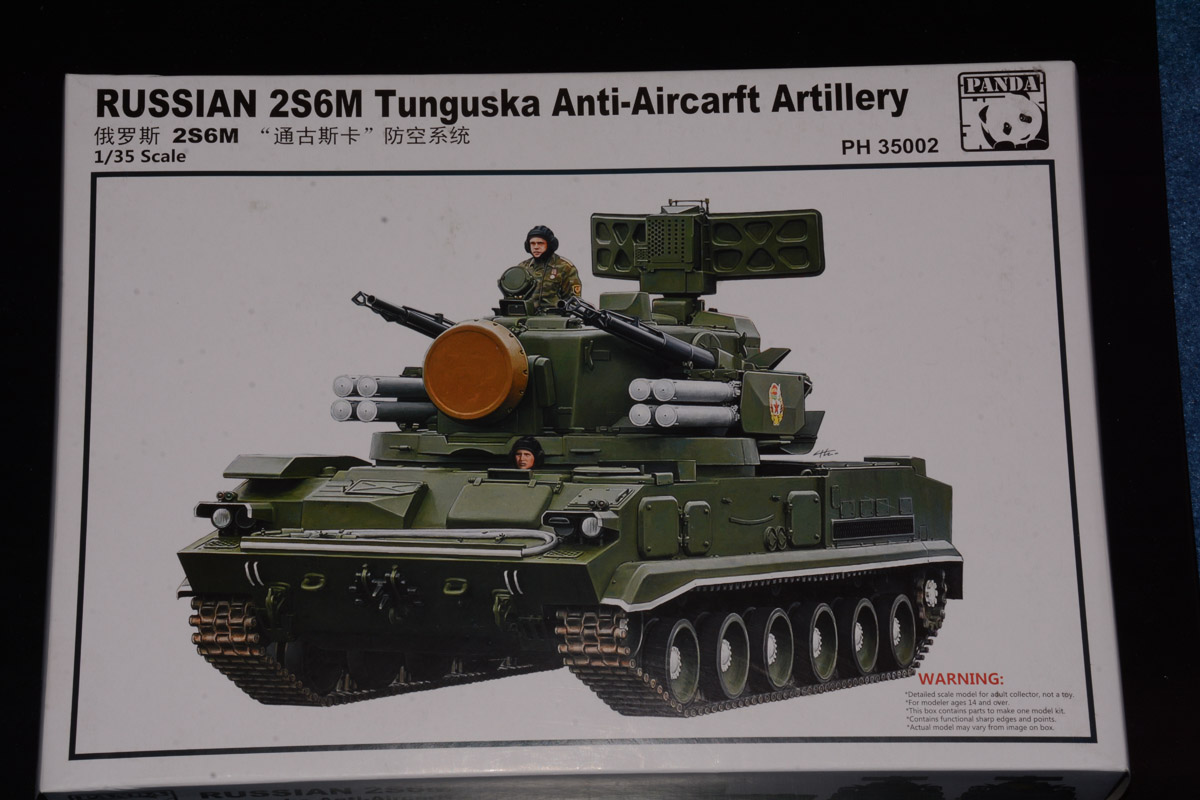
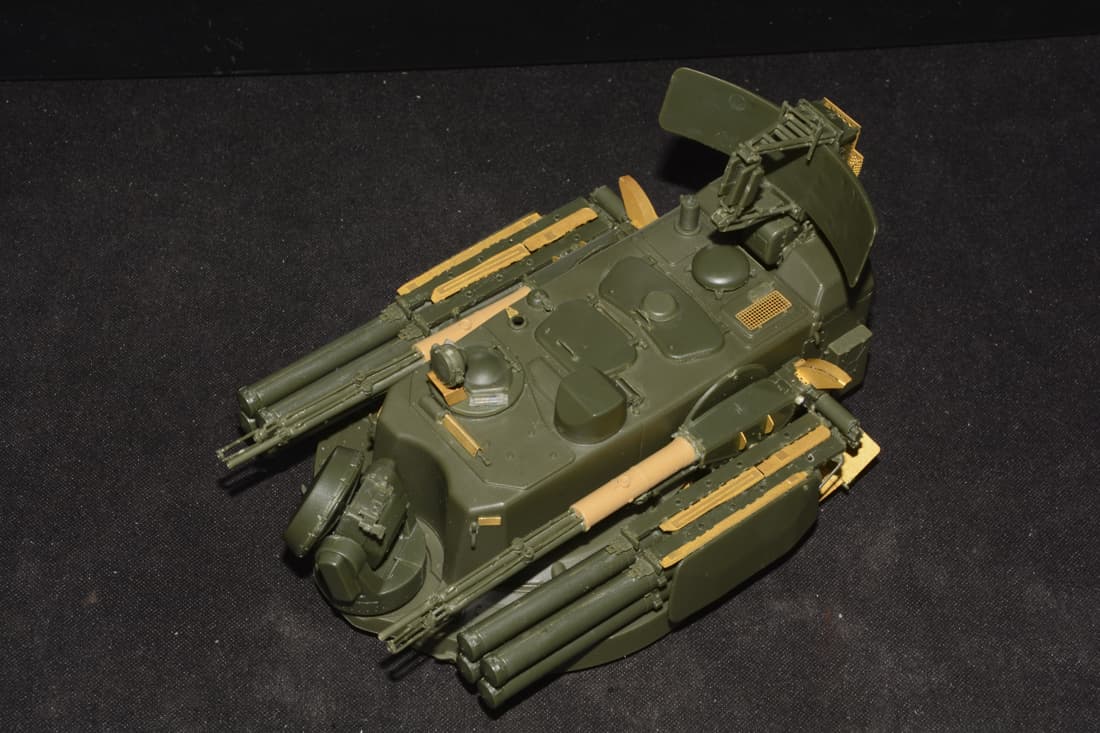
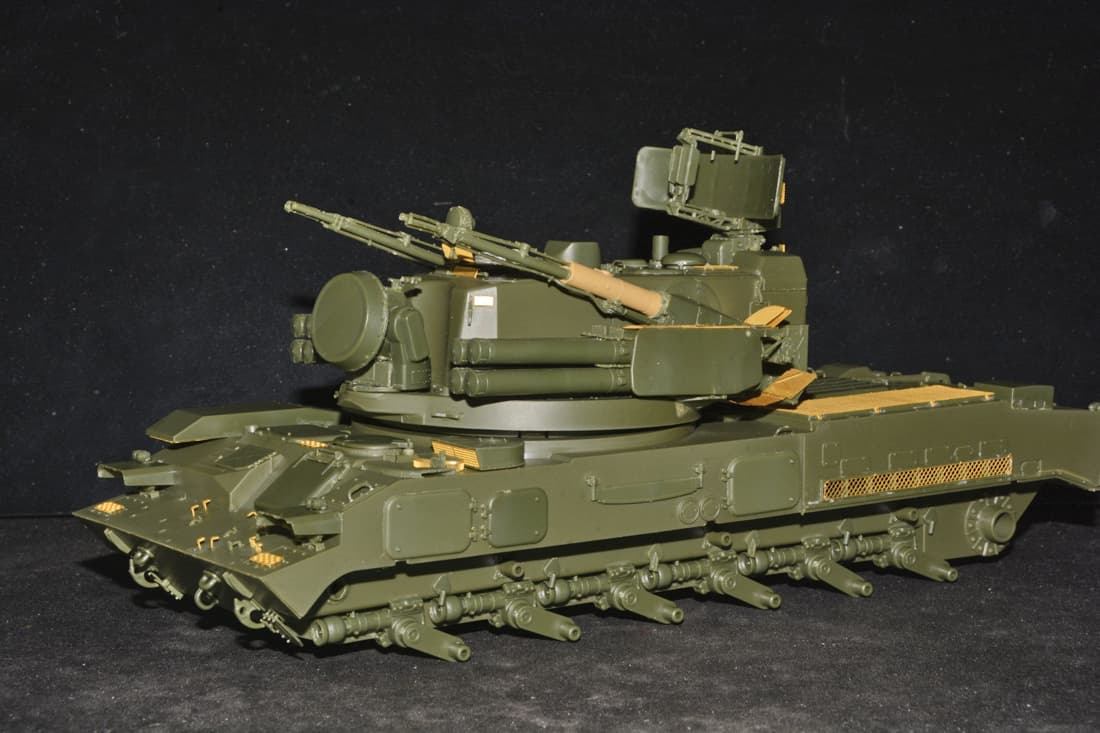
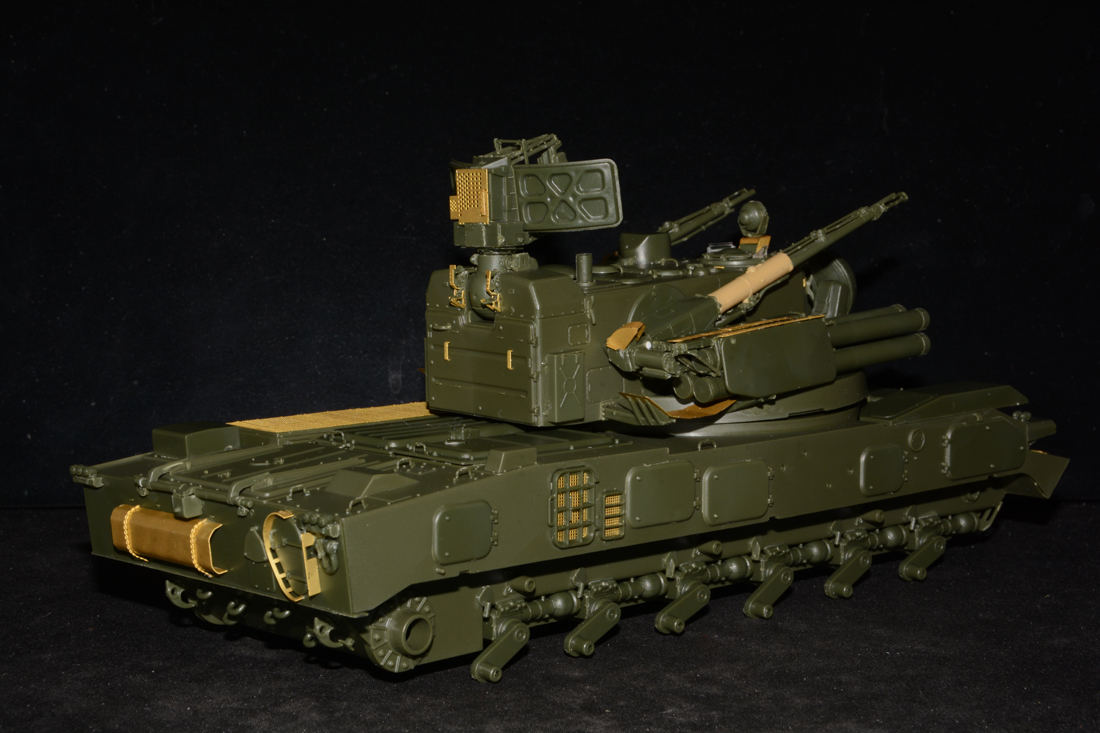
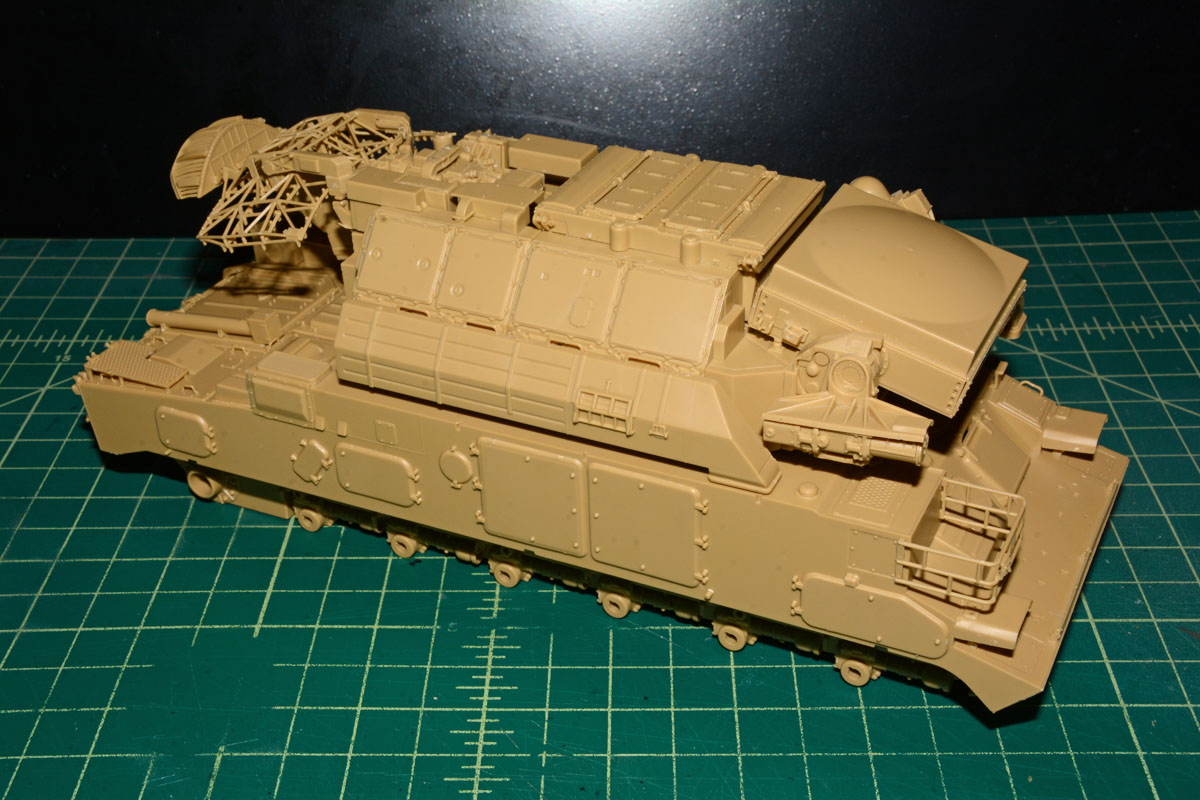
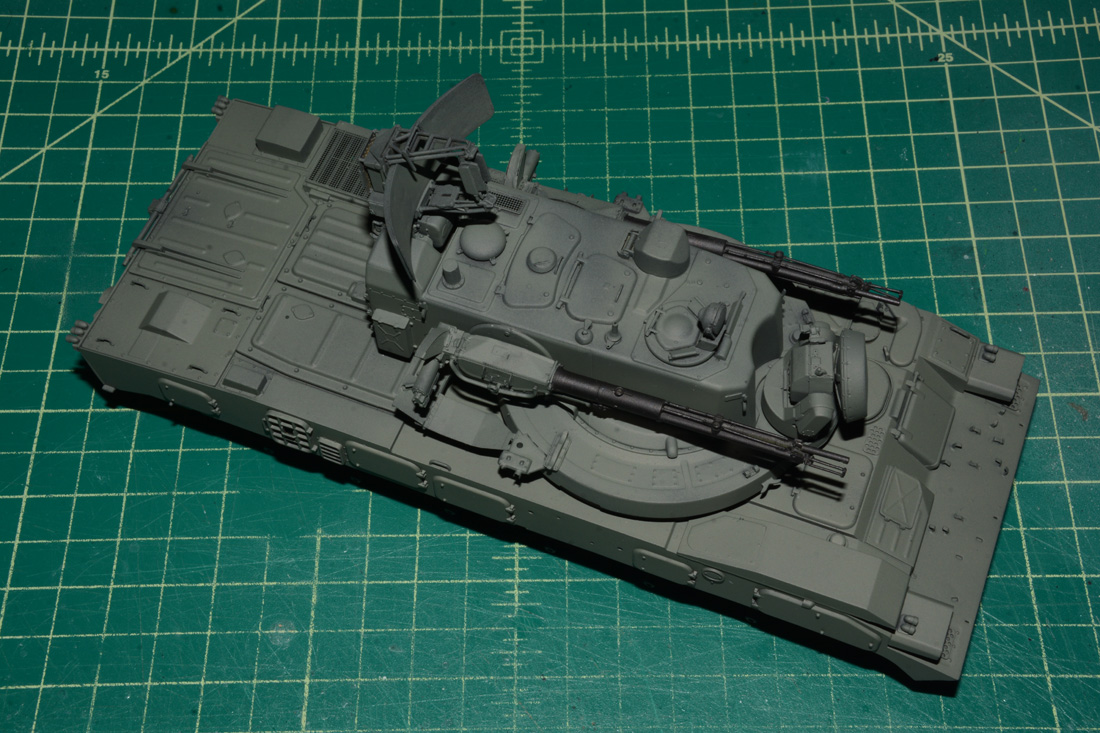
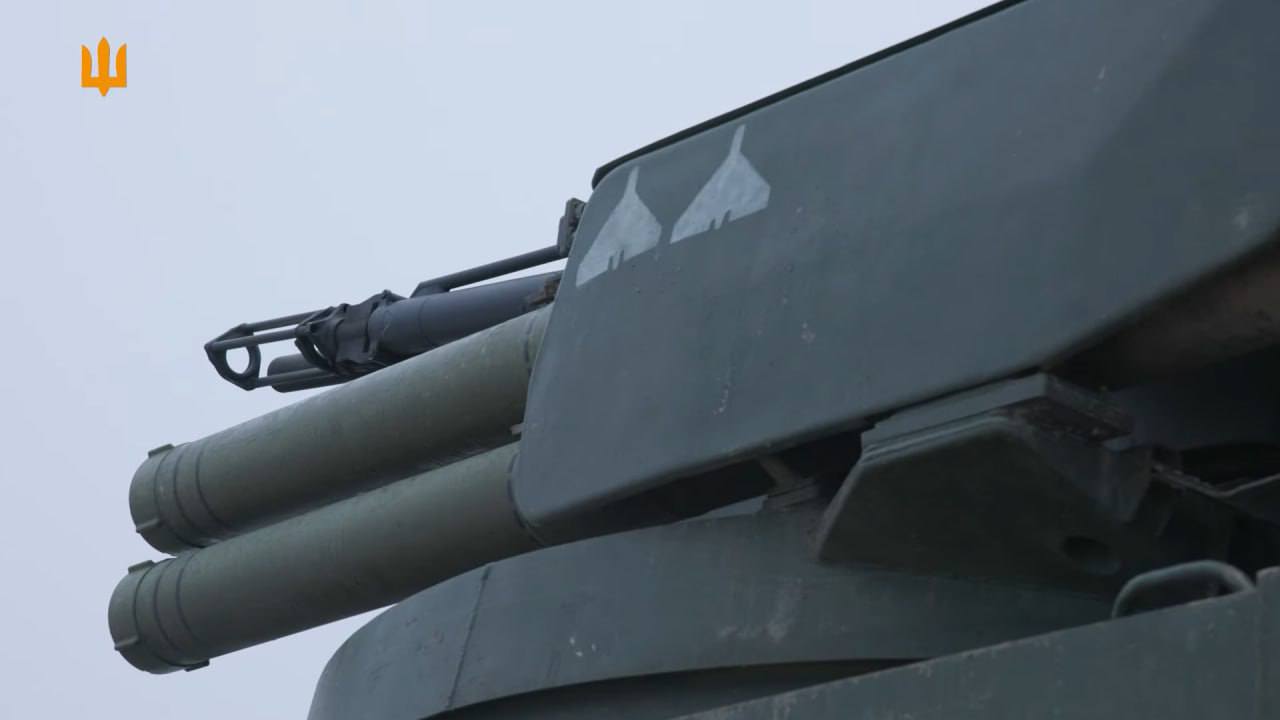
The tan parts on the guns are from the Panda TOR. I messed up the original green parts from the Tunguska kit and fortunately, the TOR kit had those parts as unused as the TOR kit shares some common parts trees from the Tunguska kit. The PE was a PITA especially on the tops of the missile launchers. The two PE shell ejector ports were also a PITA. The worst of all was trying to attach the missile launchers to the sides of the guns. Panda only gives you one extremely teeny, tiny pin and it was a nightmare trying to keep the missile launchers attached due to the weight and only having the one teeny, tiny pin to attach them to.
Thanks! Besides the warped hull, missing vision block and attachment point for the missile launchers, the rest of the kit wasn’t too bad. As mentioned above, I also have the Panda TOR kit and it is going much smoother. That will be shown in future posts. I also have the Panda BUK-M1 but haven’t started that one yet.
I commend you for your patience with the panda kit I have never been angered in the hobby like I have by panda kits. Then the companies who bought the molds and try to pawn off kits from those molds. This annoys me due to the fact that if I didn’t like it the first time and you changed nothing, but the box then why would I like it the second time.
Thanks! The warped hull wasn’t even the worst part. The PE placement on top of the missile launchers and attaching the missile launchers to the sides of the guns were an absolute nightmare. So far, the TOR kit is much nicer than the Tunguska kit. I will be showing the TOR in progress soon.
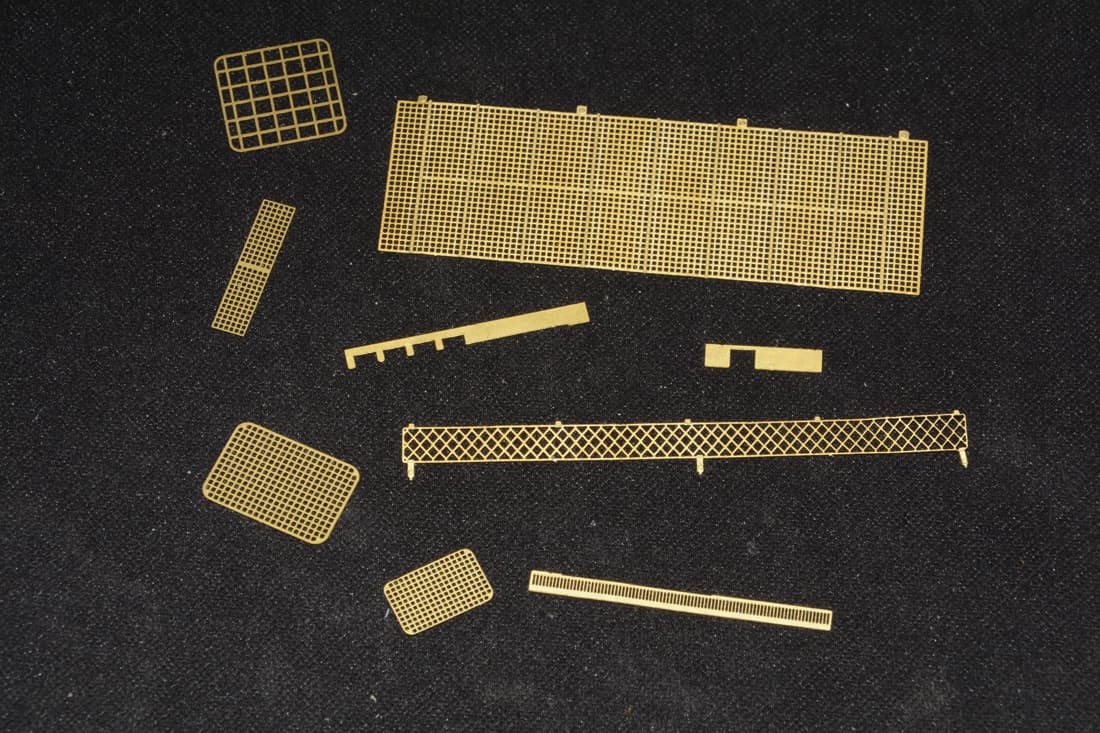
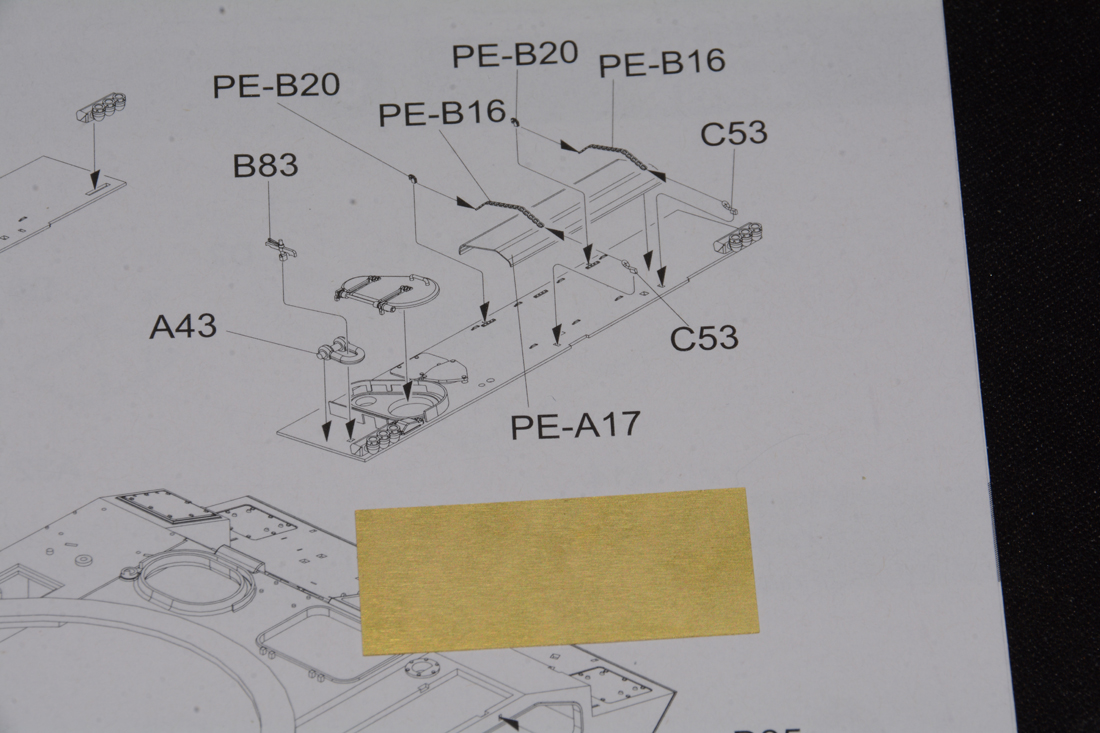
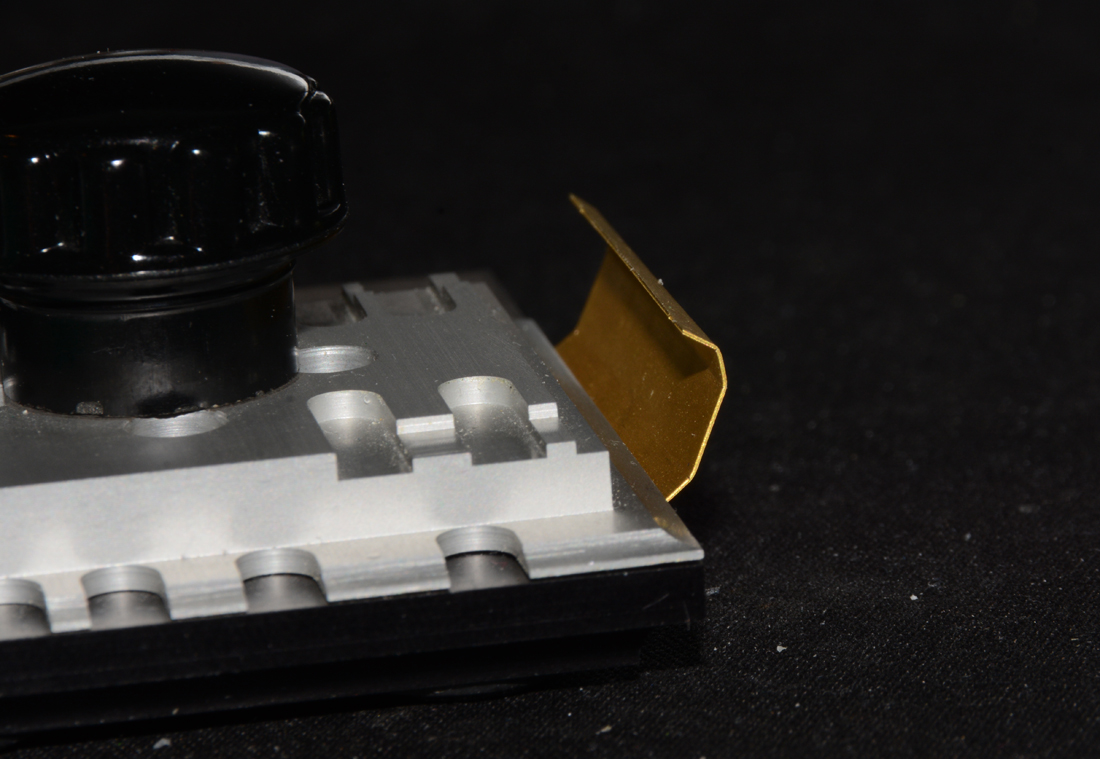
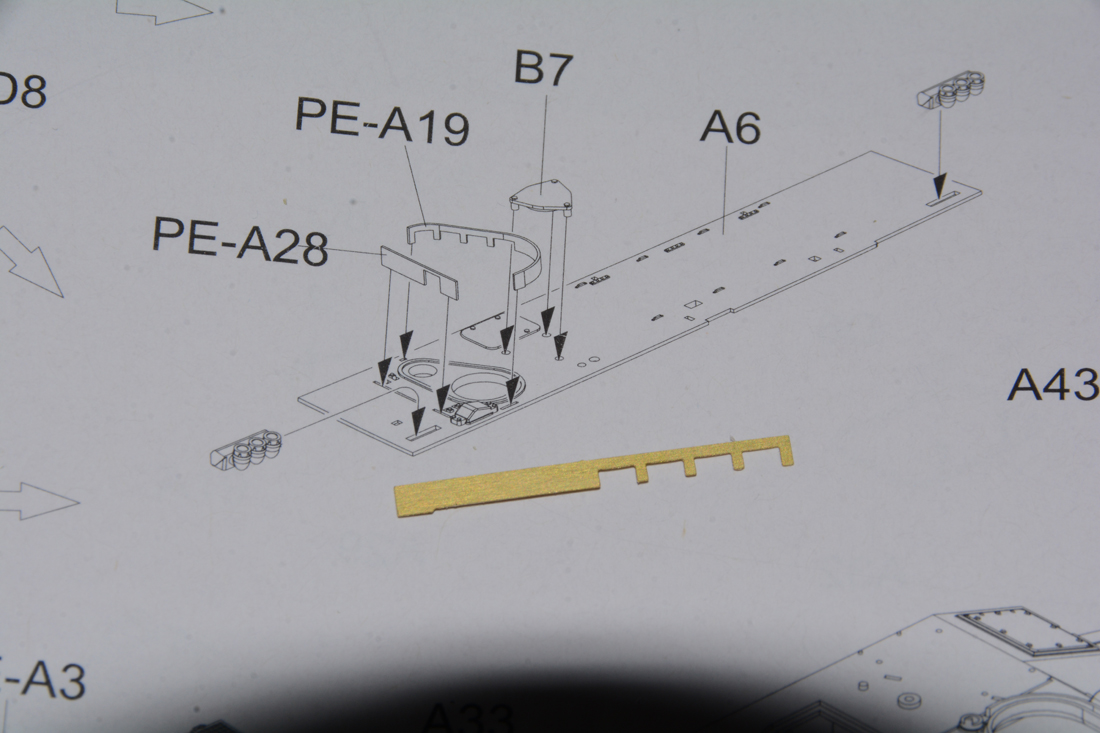
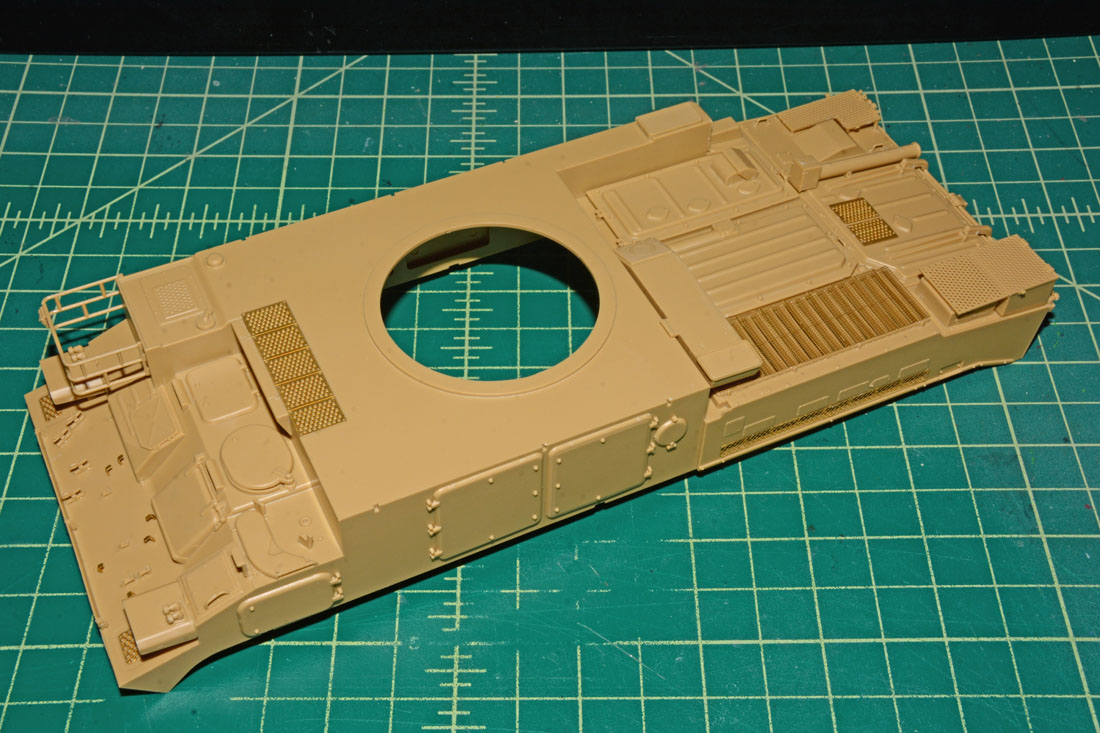
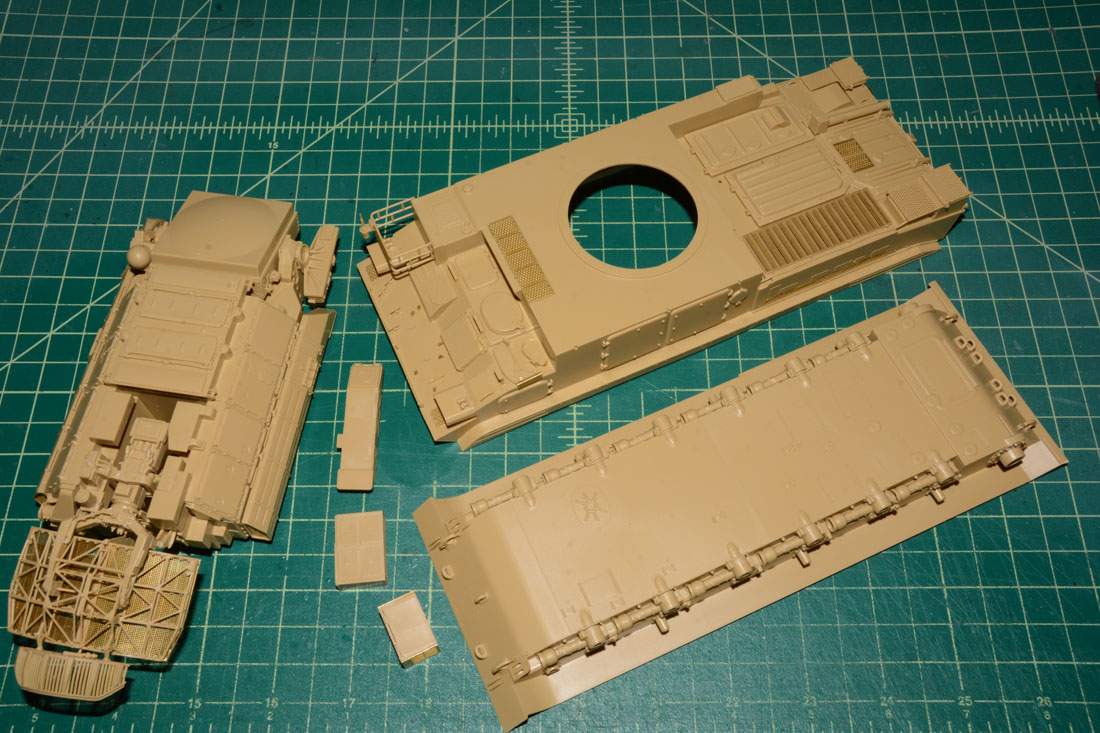
Now that the turret for the Tunguska is out of the way, next was the hull. Lots of PE and some needed bending to shape. Here are some of the main PE parts.
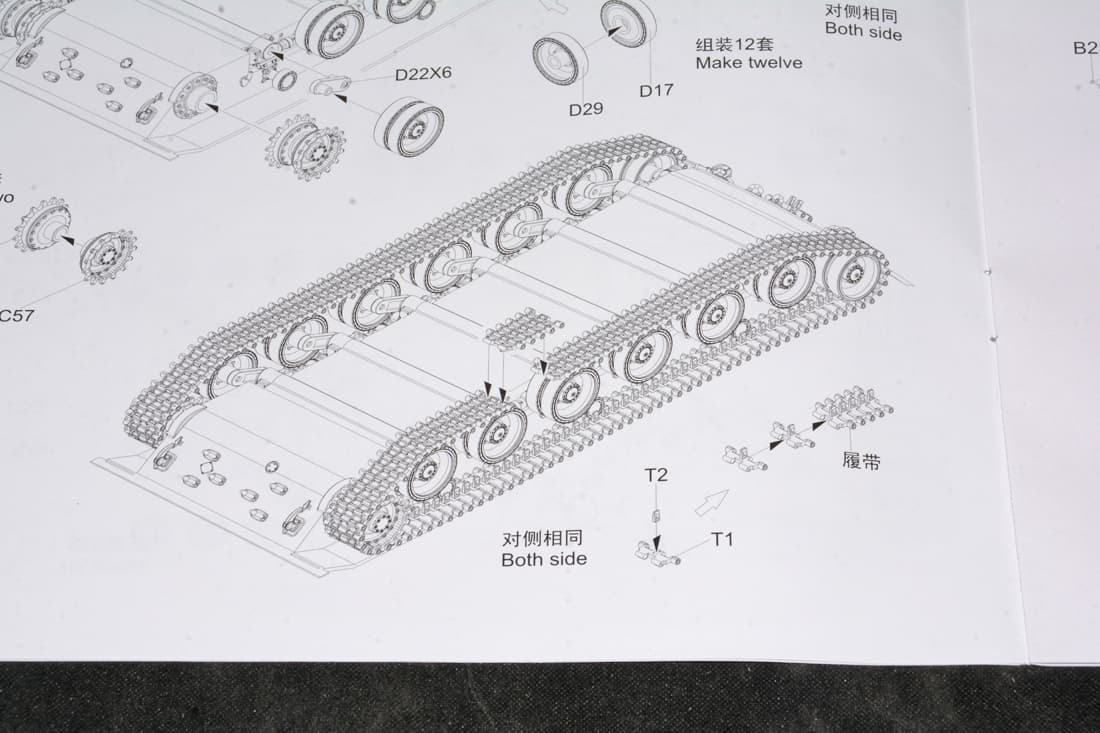
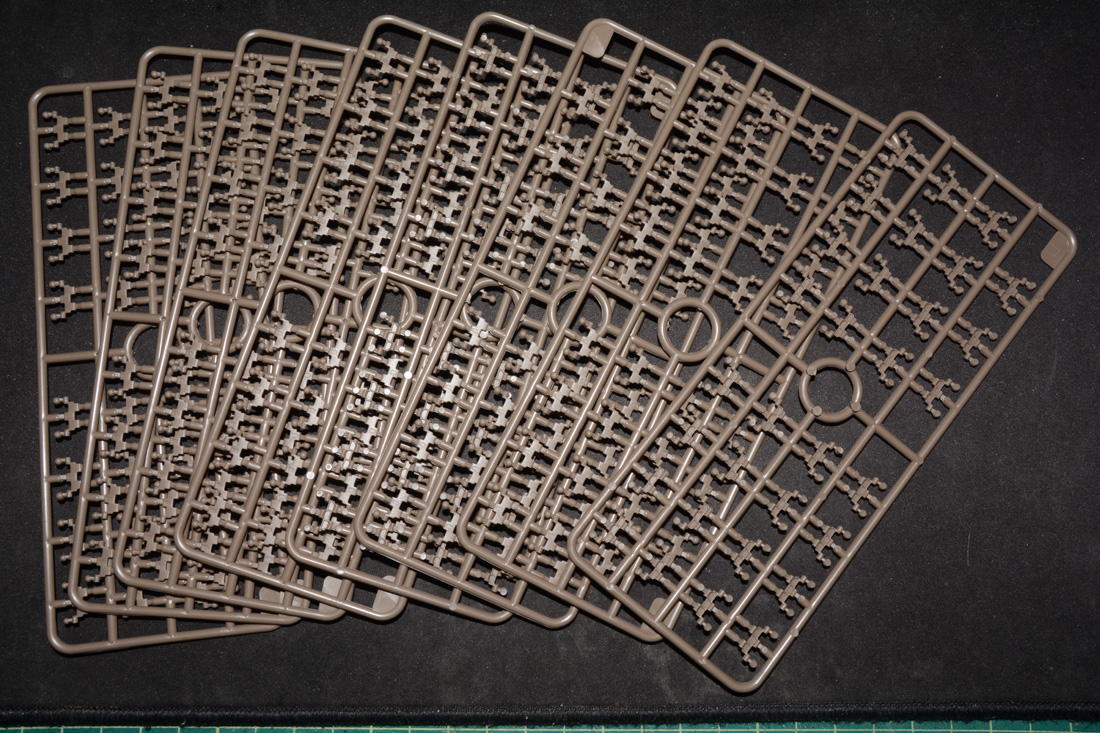
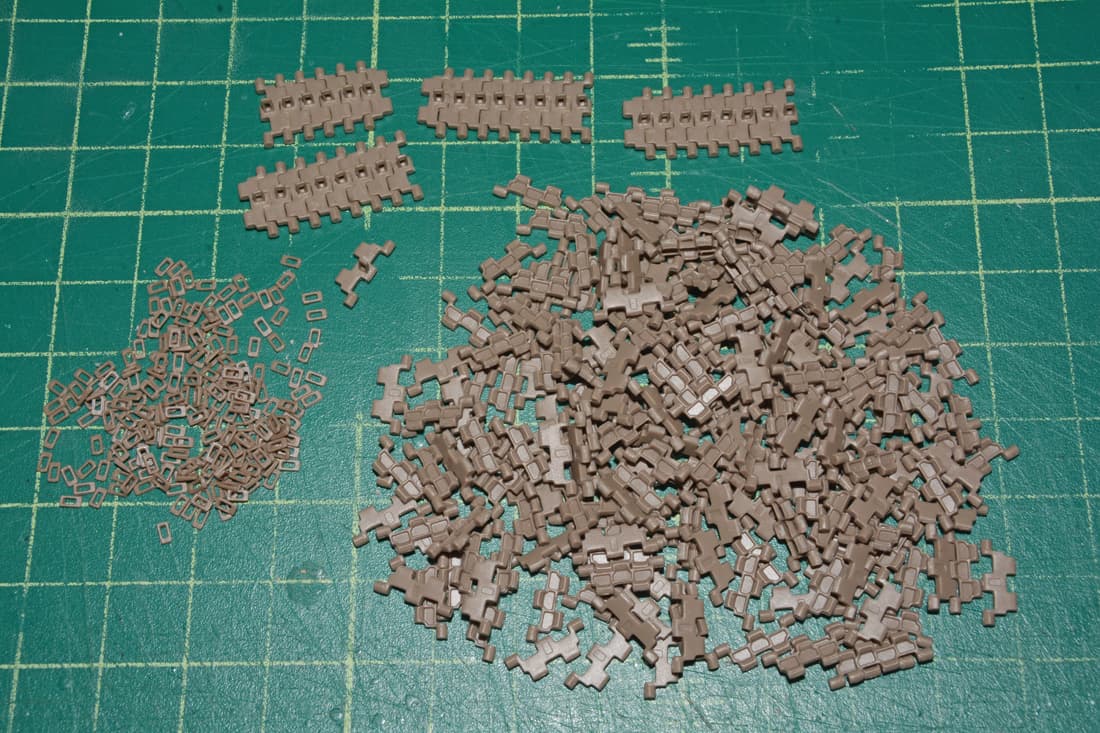
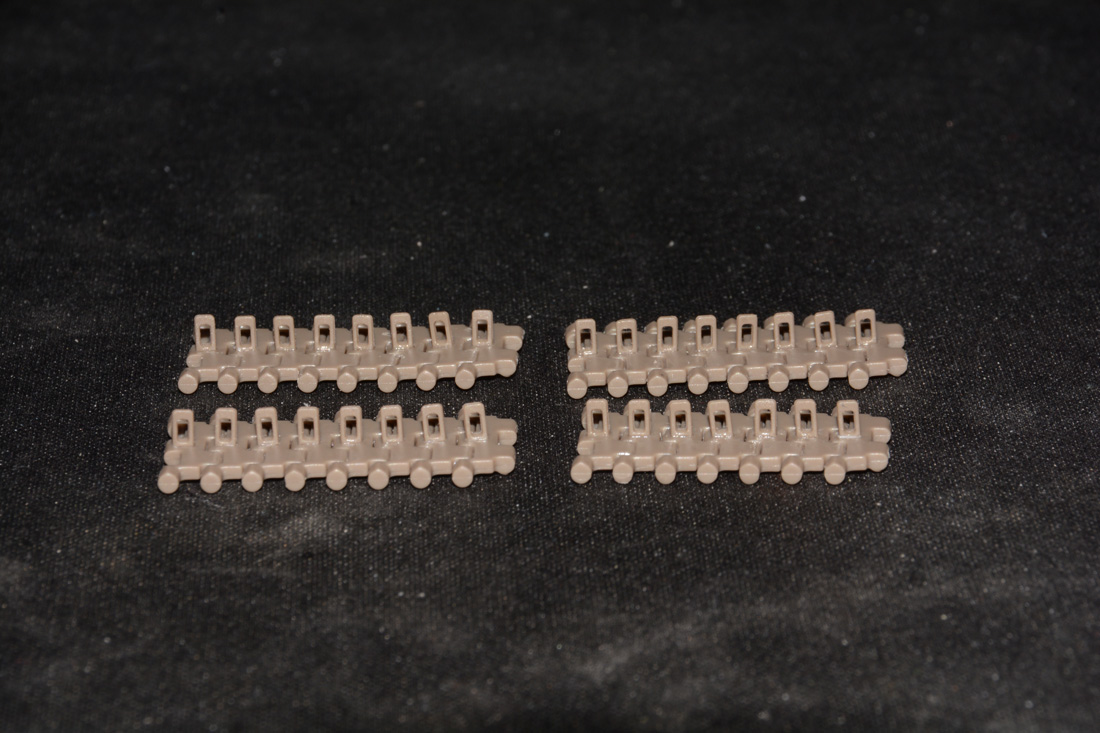
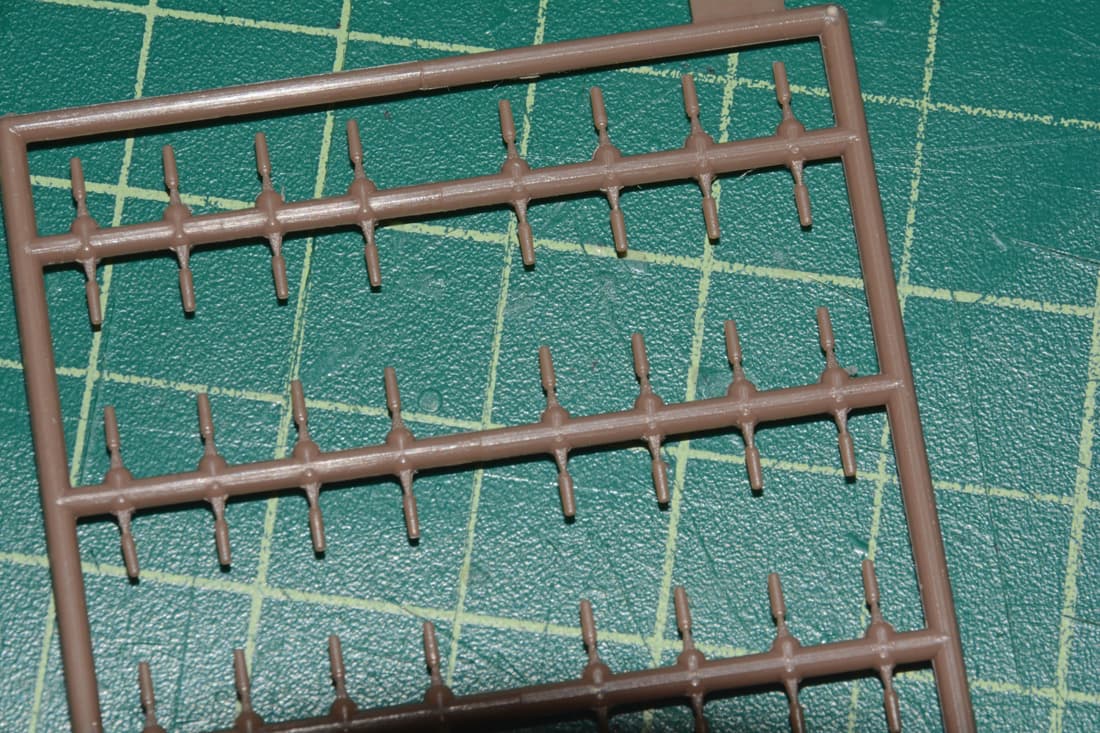
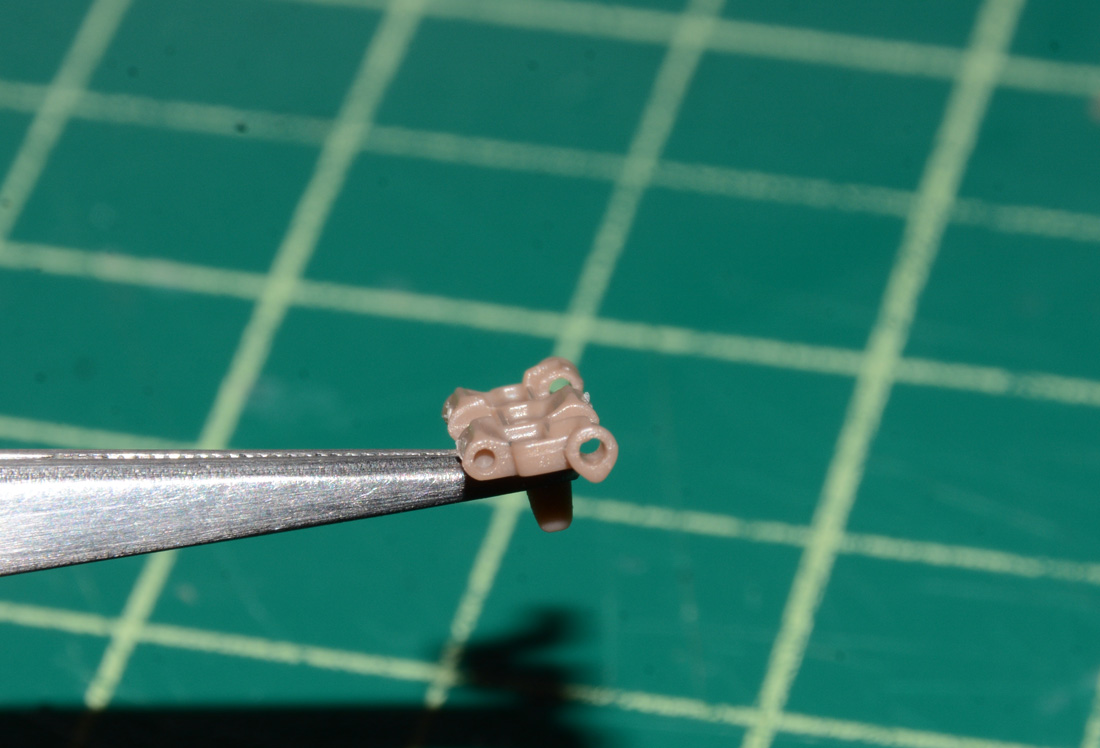
Starting on the tracks for the Panda Tunguska. They are individual links but not workable and the guides are also separate. Panda forgot to mention how many links per side. I assembled some in small sections and will leave some separate to go around the sprockets and idlers.
Any chance the number of links is 114 per side? I believe that’s what the number on that first instruction page refers to. It does seem to be a lot though.
Thanks for pointing that out. I actually showed the wrong instruction sheet. That one was for the Panda TOR kit. The TOR kit says 114 links per side so I am guessing it is the same for the Tunguska as they seem to be similar hulls. I edited my post with the correct Tunguska instructions and also edited it about the TOR instructions.
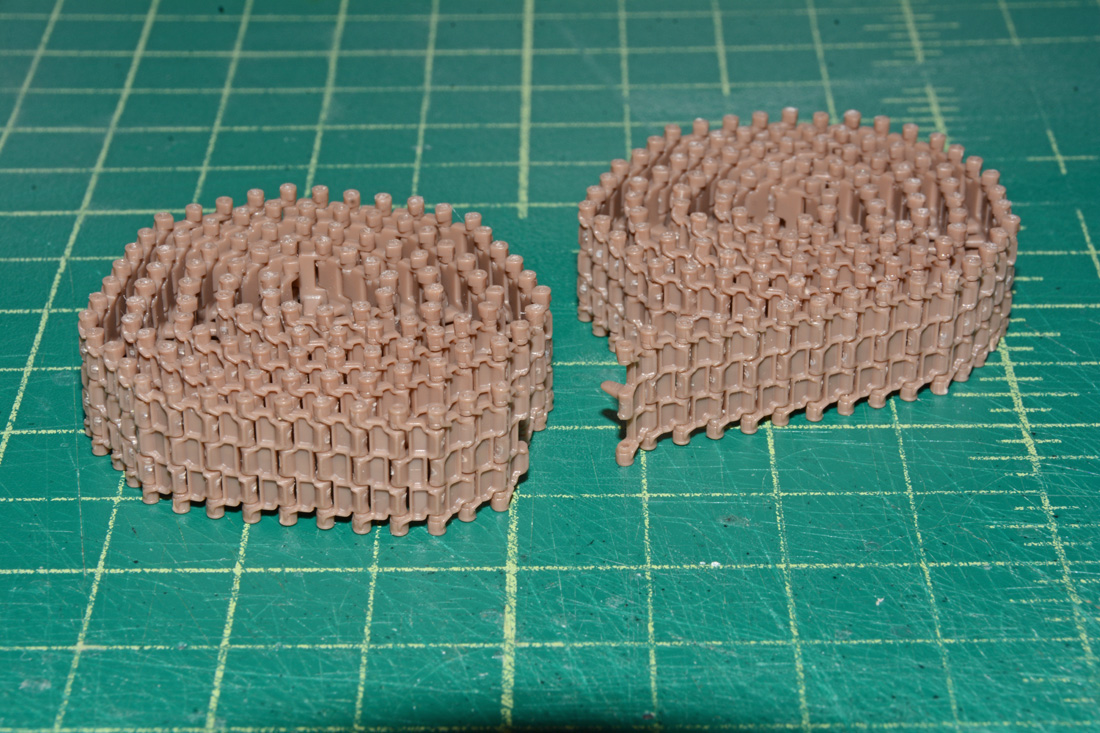
Next up its the Panda TOR. I started with the tracks the same time I started on the Tunguska tracks. The TOR tracks are also individual links but these are workable unlike the Tunguska tracks. The TOR links have the guides molded on but the pads separate. They do have little plastic pins to insert but some of the pins were a smaller diameter than others so some kept falling out. After inserting the pins, I carefully glued the tips of the pins with Tamiya extra thin and was able to keep the tracks workable.
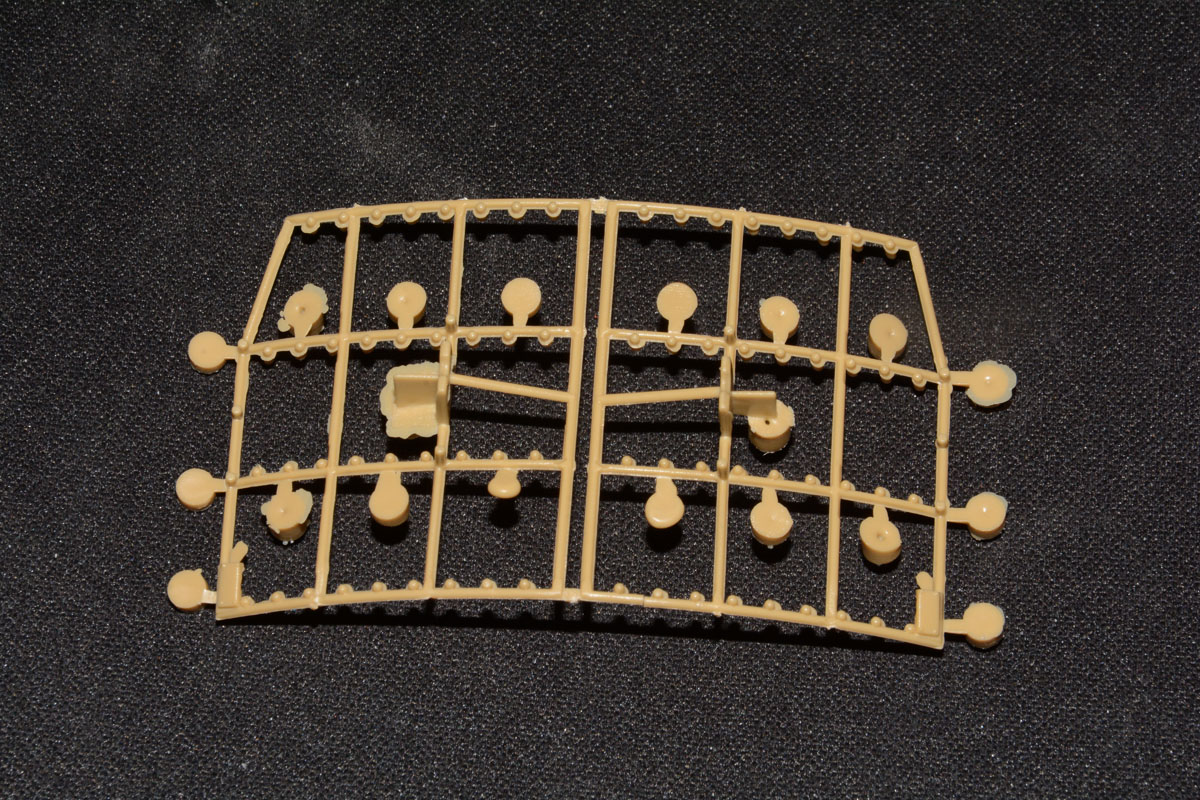
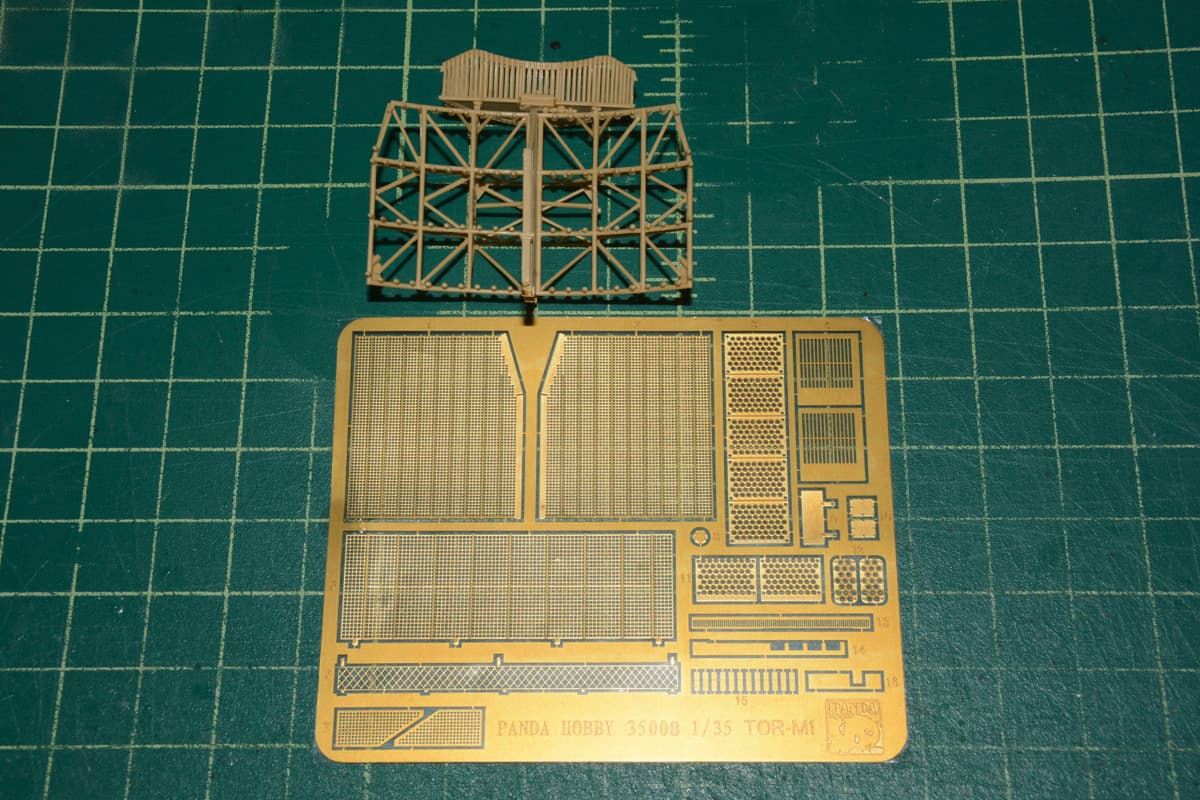
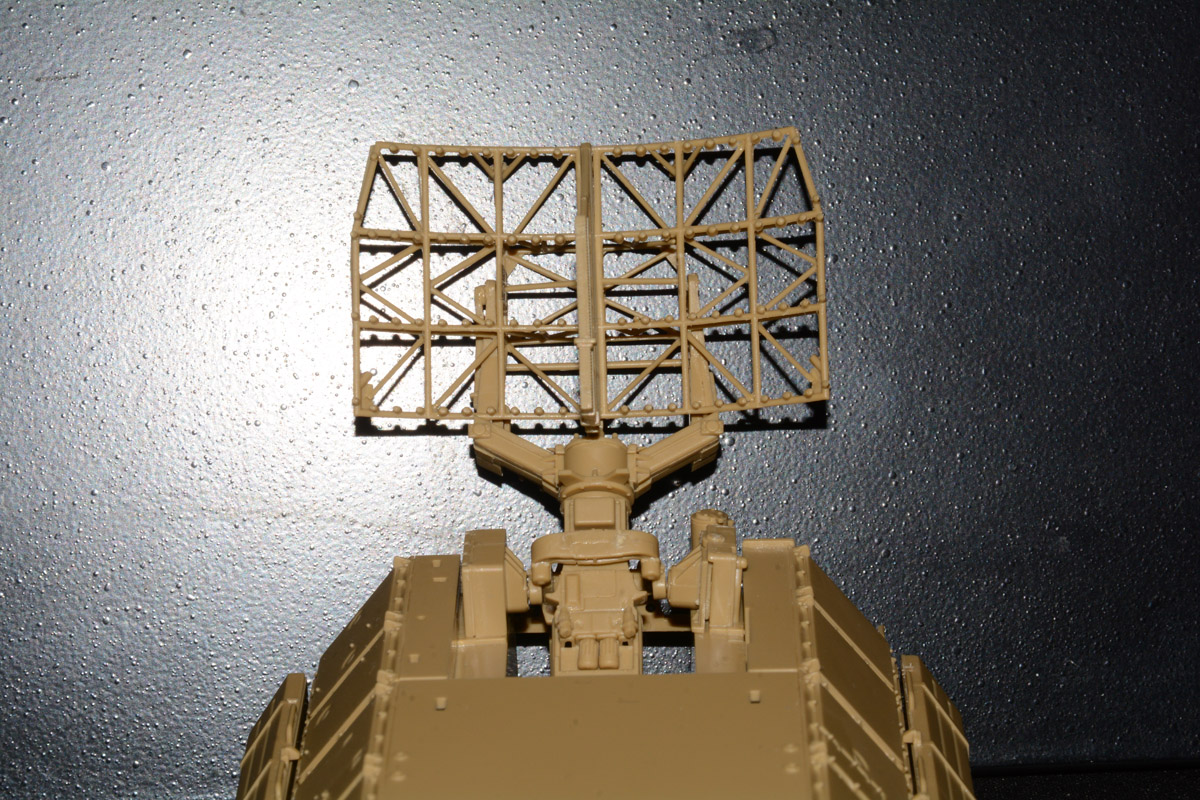
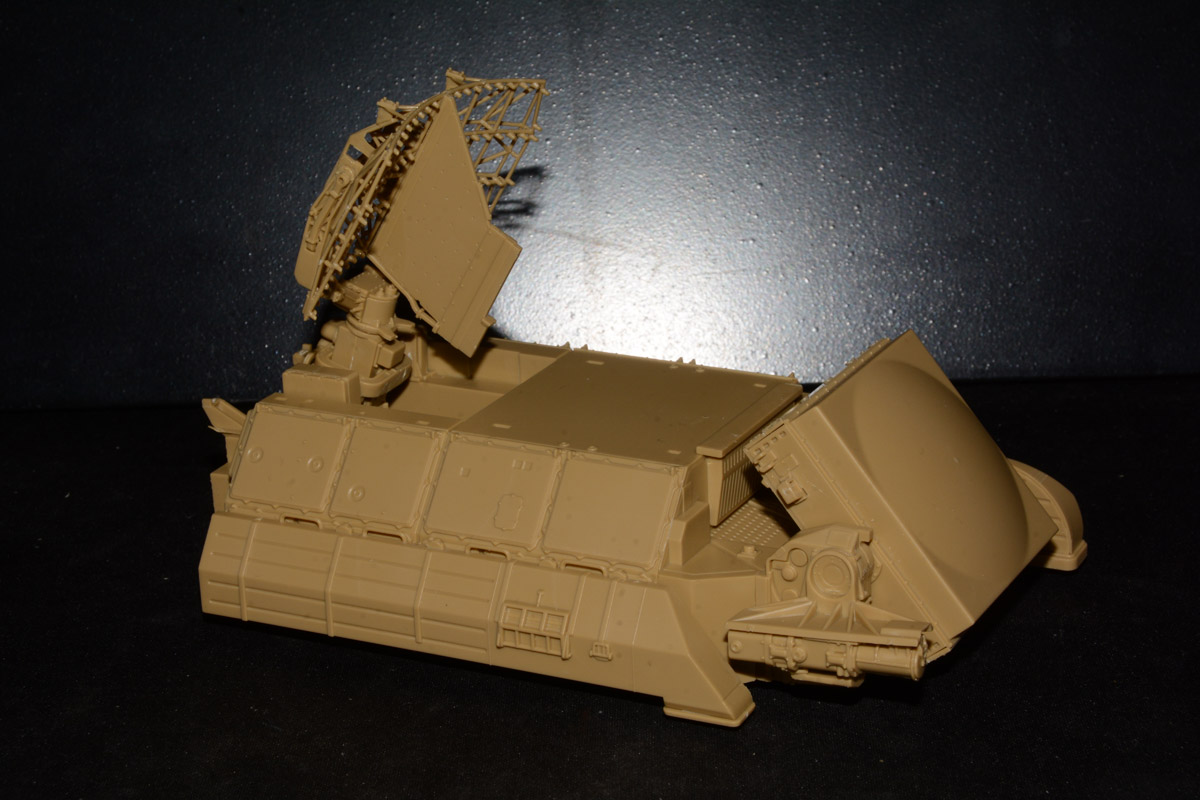
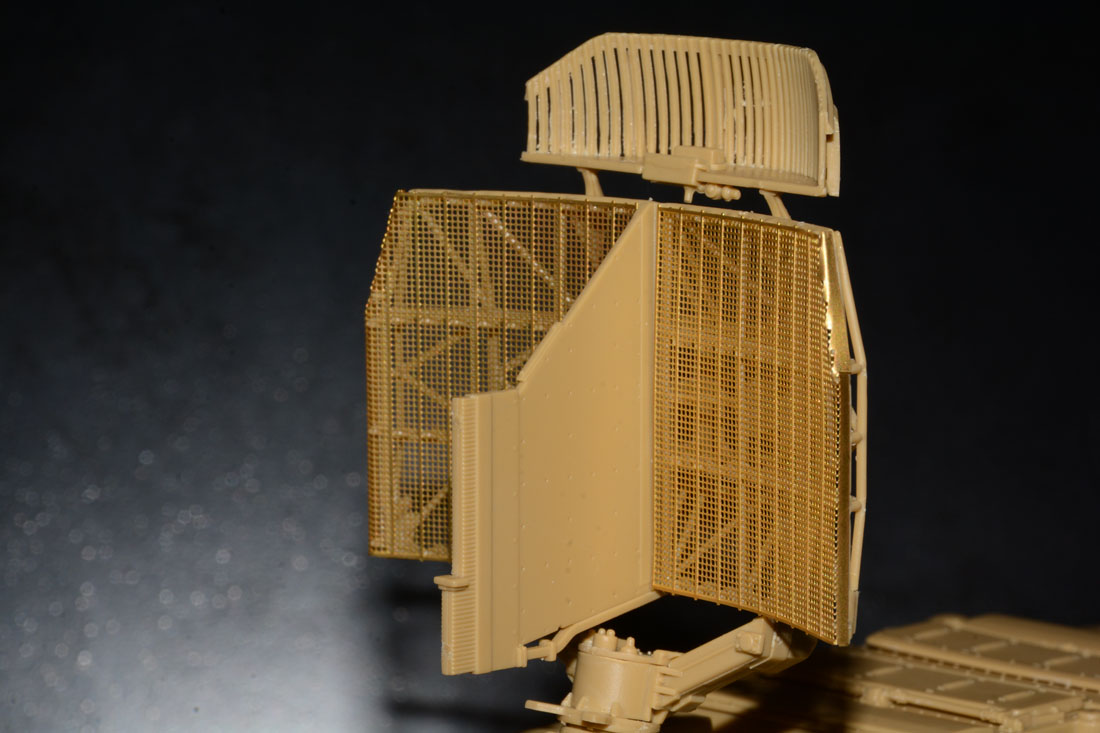
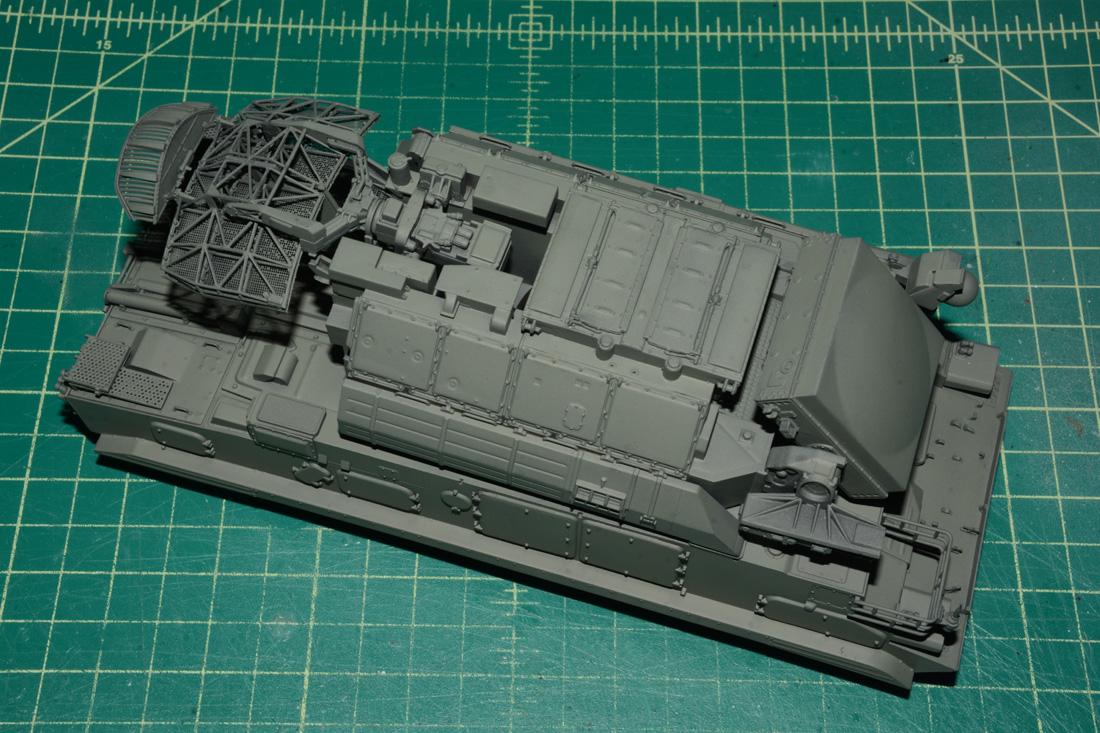
After working on the TOR tracks, I started on the turret. The target acquisition radar had a lot of ejector pin nubs on it. Cleanup was easy. Large PE fret mostly for the hull and two large pieces for the radar. The turret went together with little to no fuss.
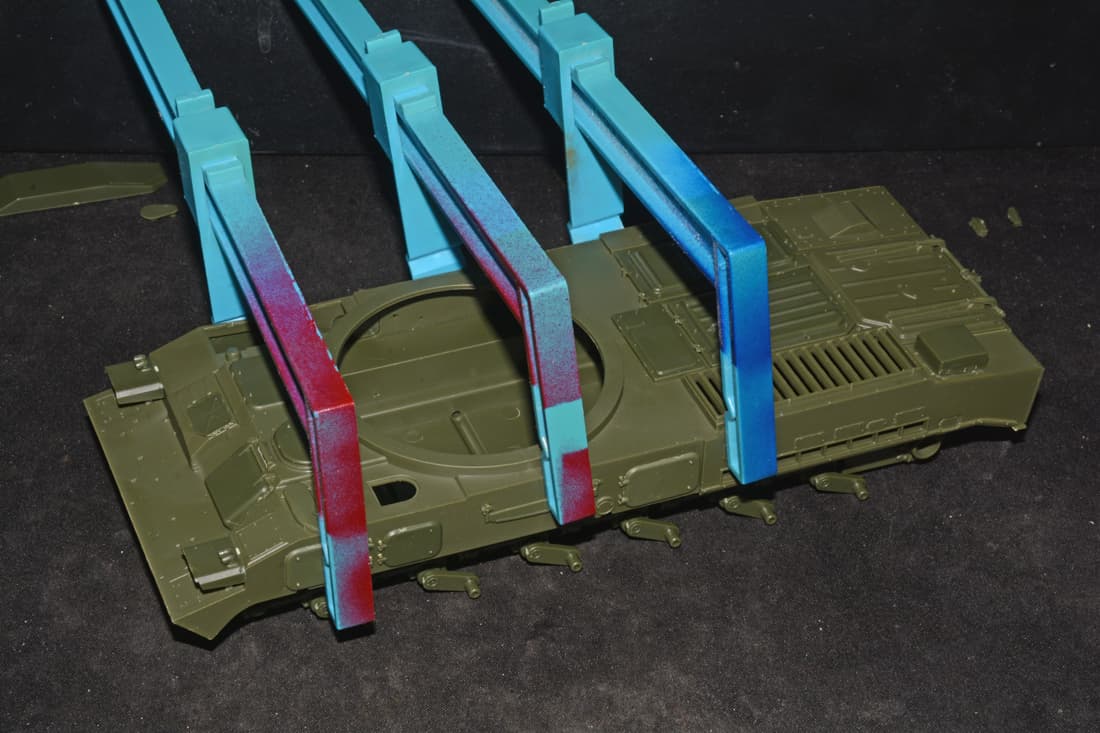
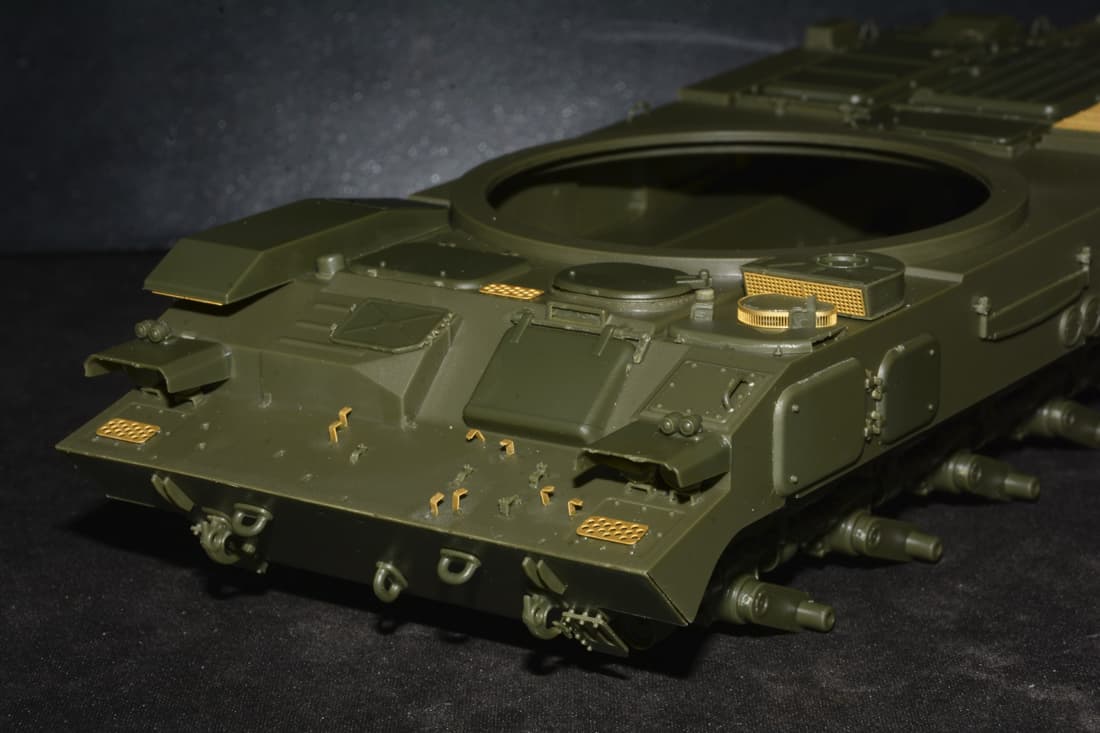
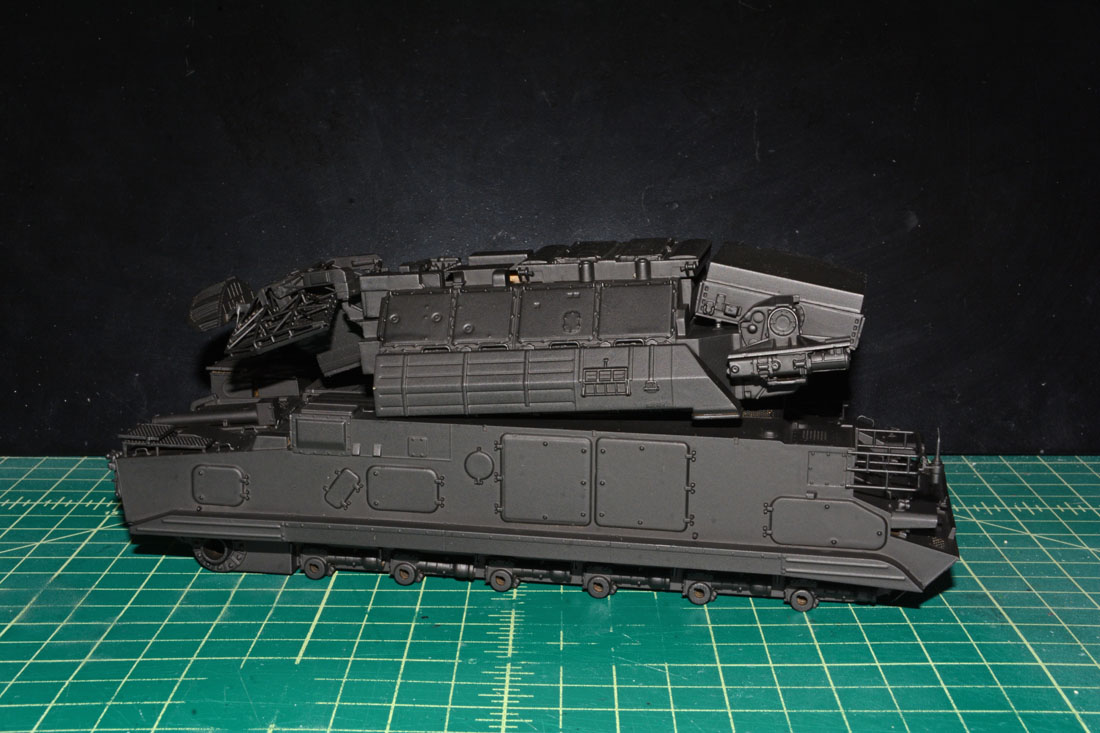
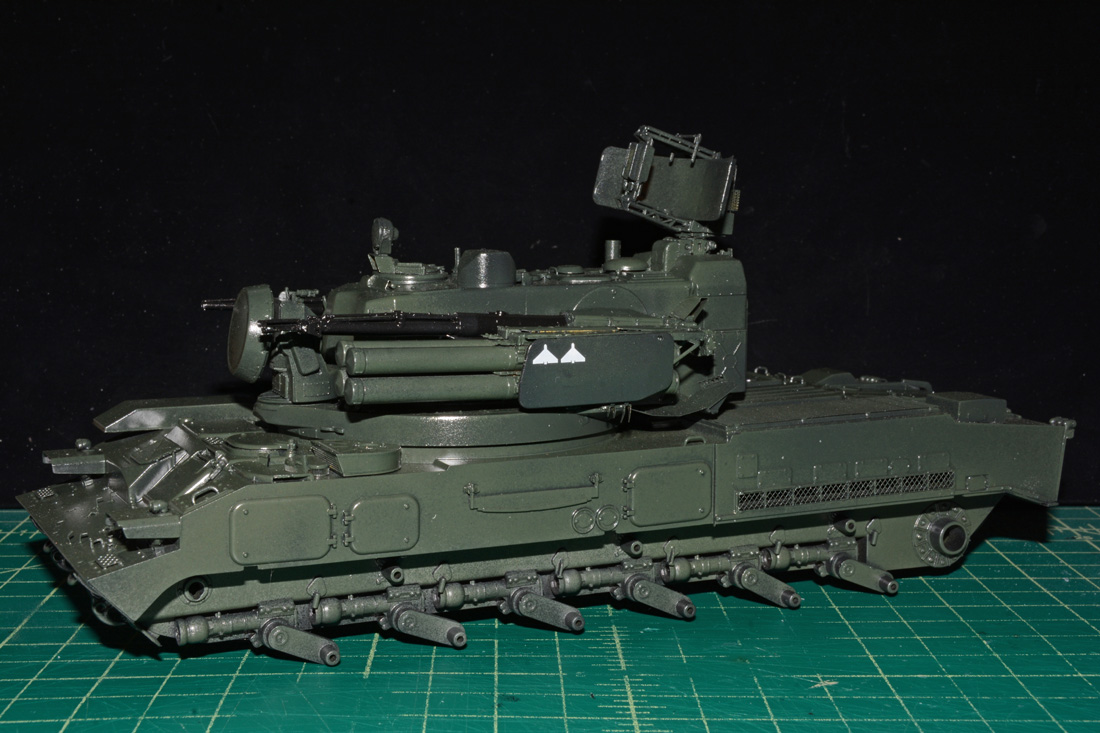
Got the BMP-1M Shkval, Tunguska and TOR painted. I used the Mission Models Modern Russian Green on all three. The green looks brighter than it really is because of the camera flash. The turrets on the Tunguska and TOR are not fully inserted yet.