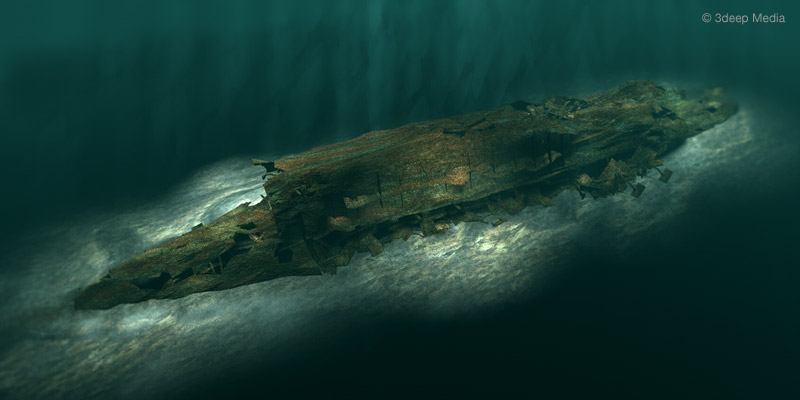
For the Lost to the Deep campaign I will be building the SMS Konig in her 1918 fit-out.
She currently looks like this but I am hoping I can represent her in slightly better condition 
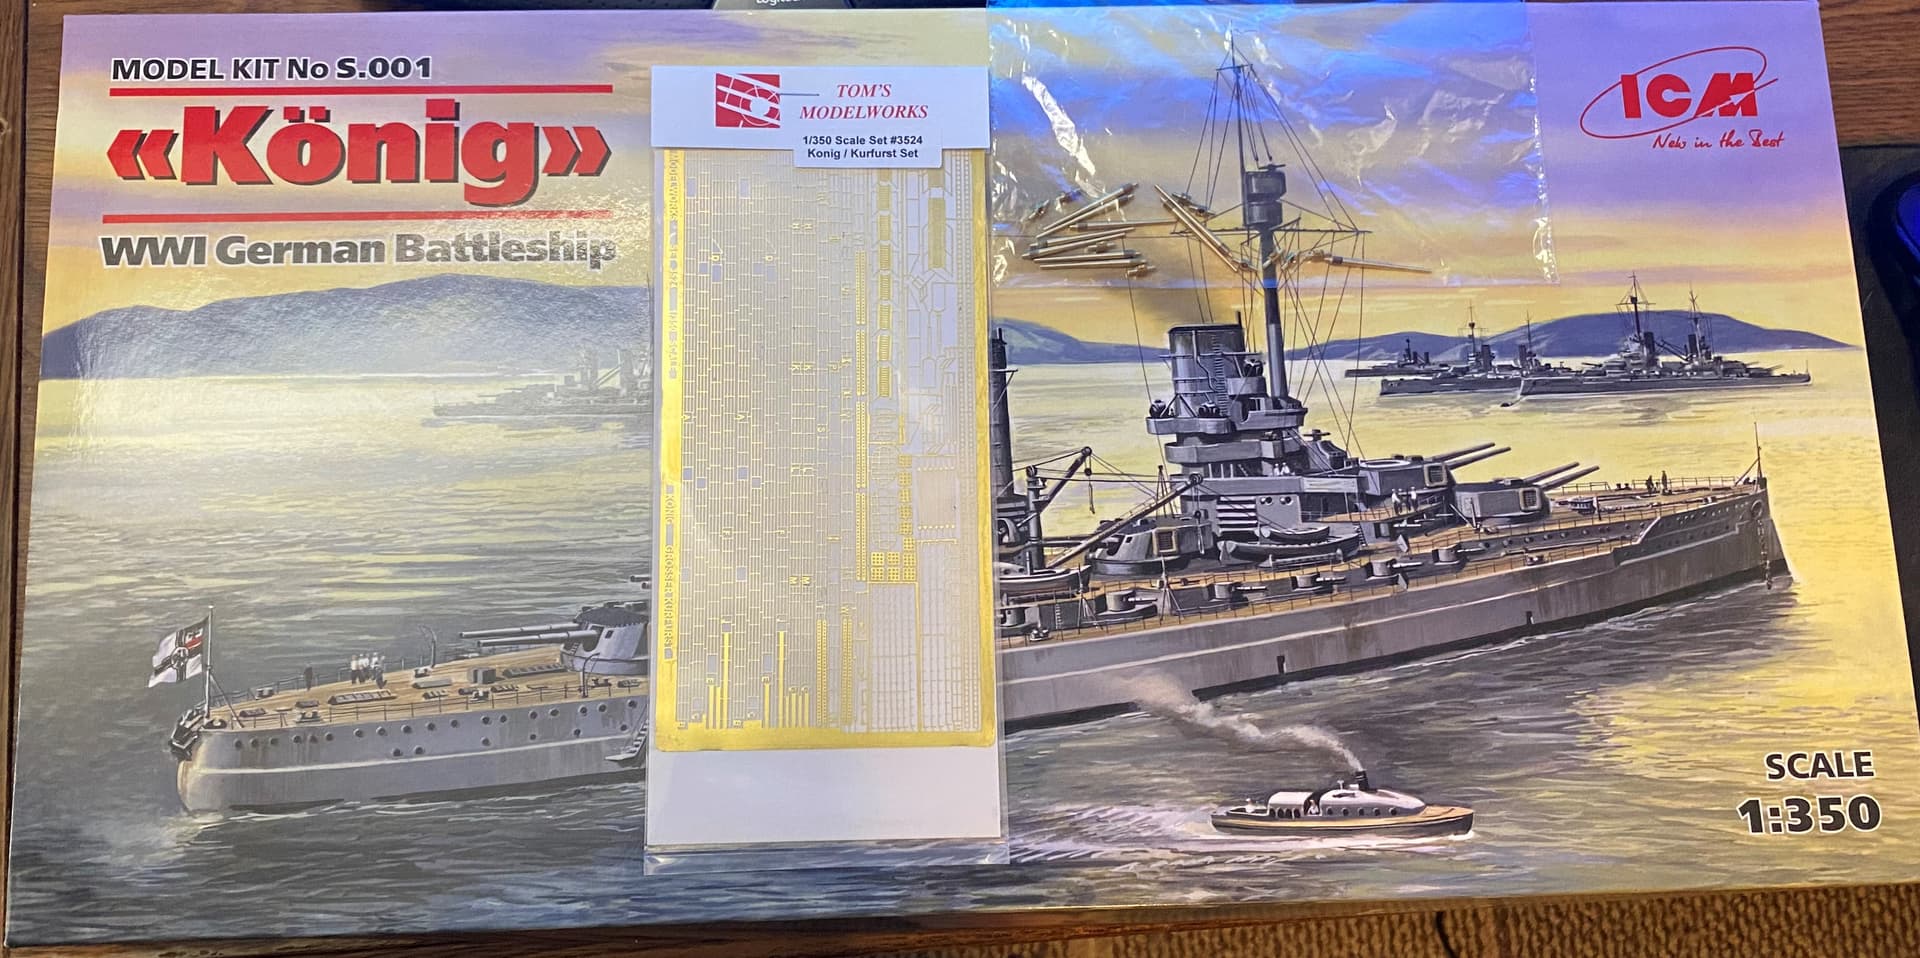
I am using the ICM kit and with some additional PE from Toms Modelworks.
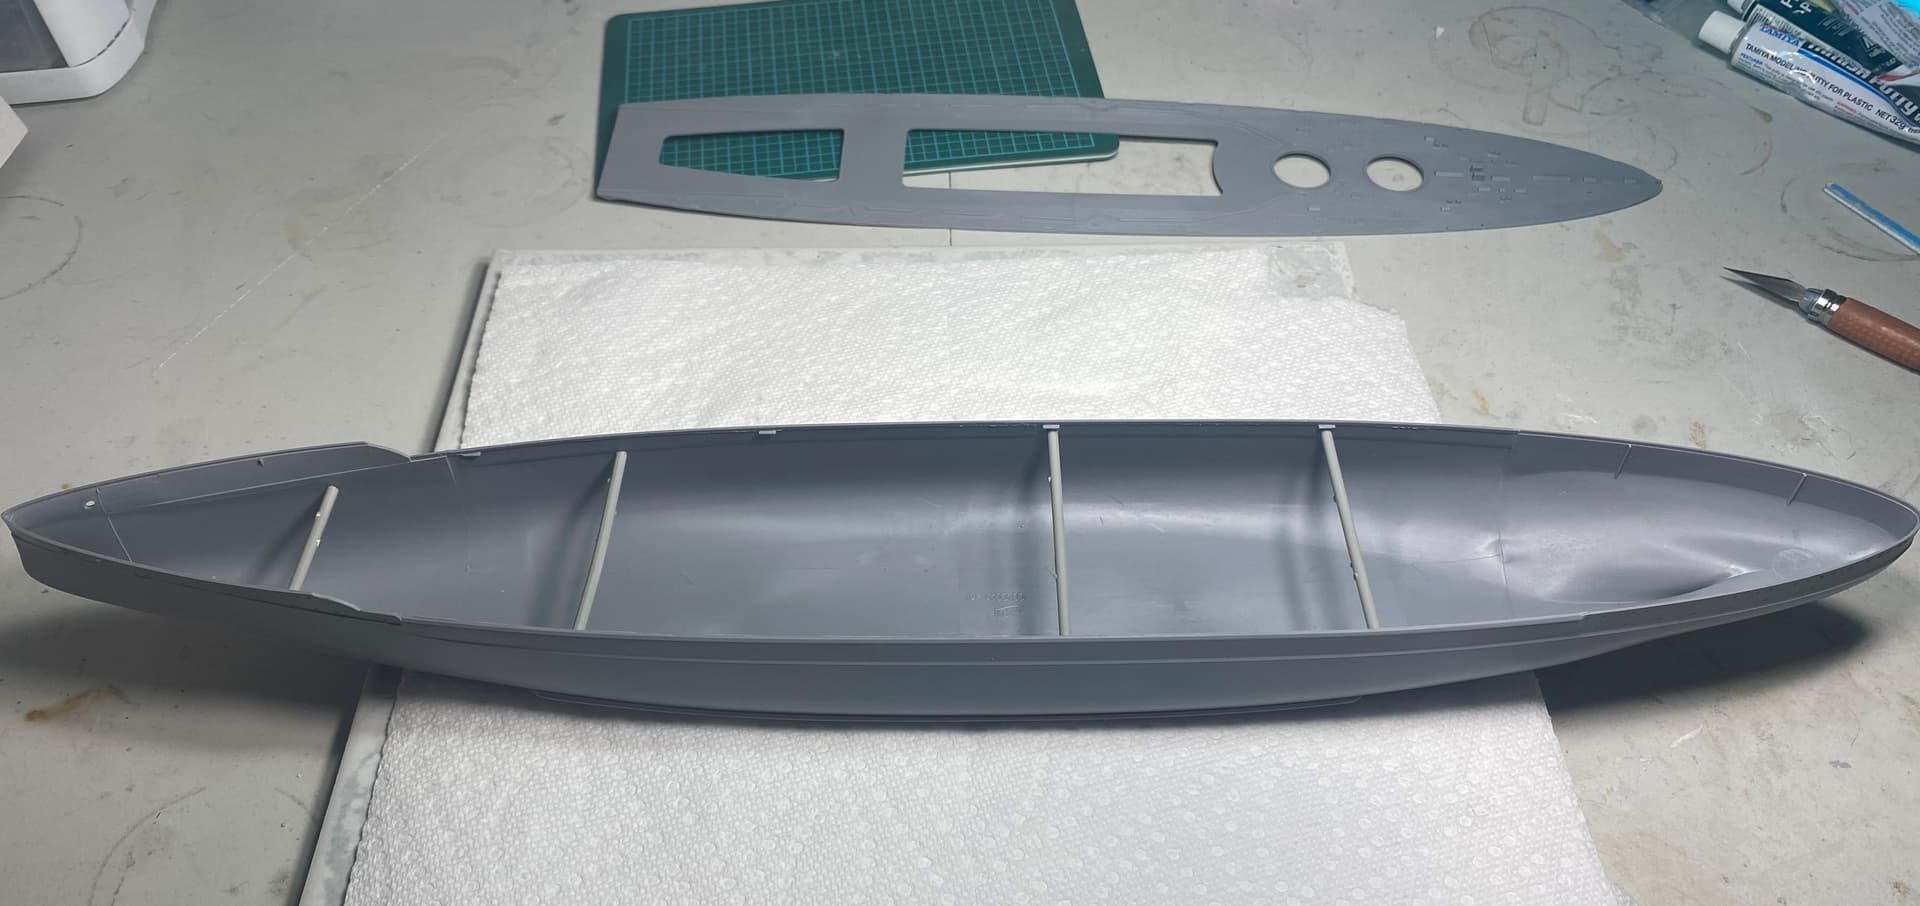
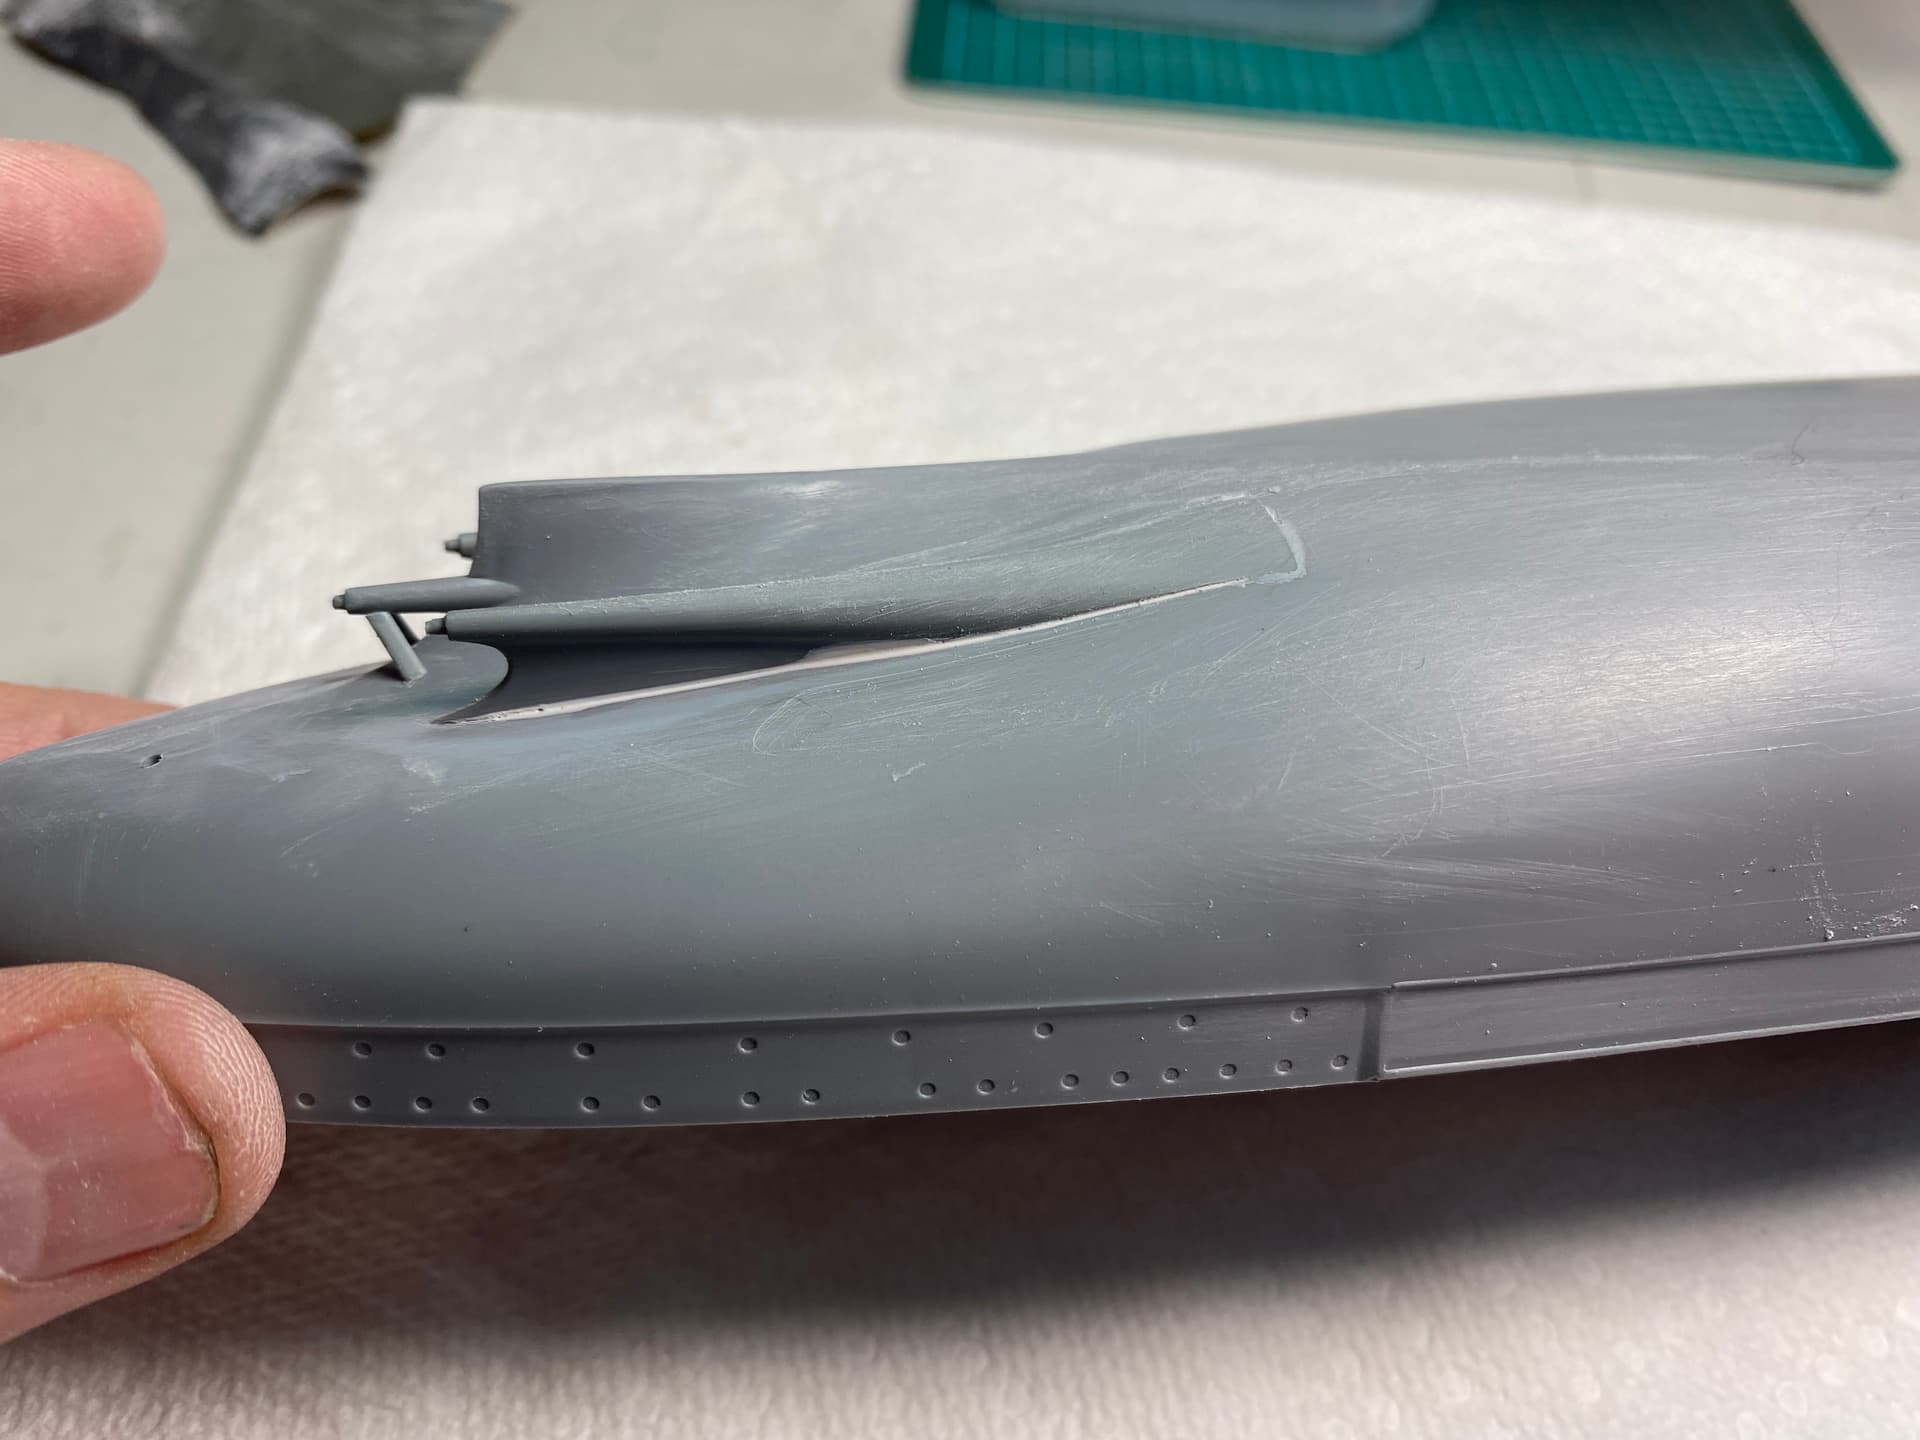
First up is some hull prep. The plastic is very soft and flimsy on this kit so I went ahead and stiffened up the hull with some sprue. I salvaged the sprue from another kit with much harder plastic.
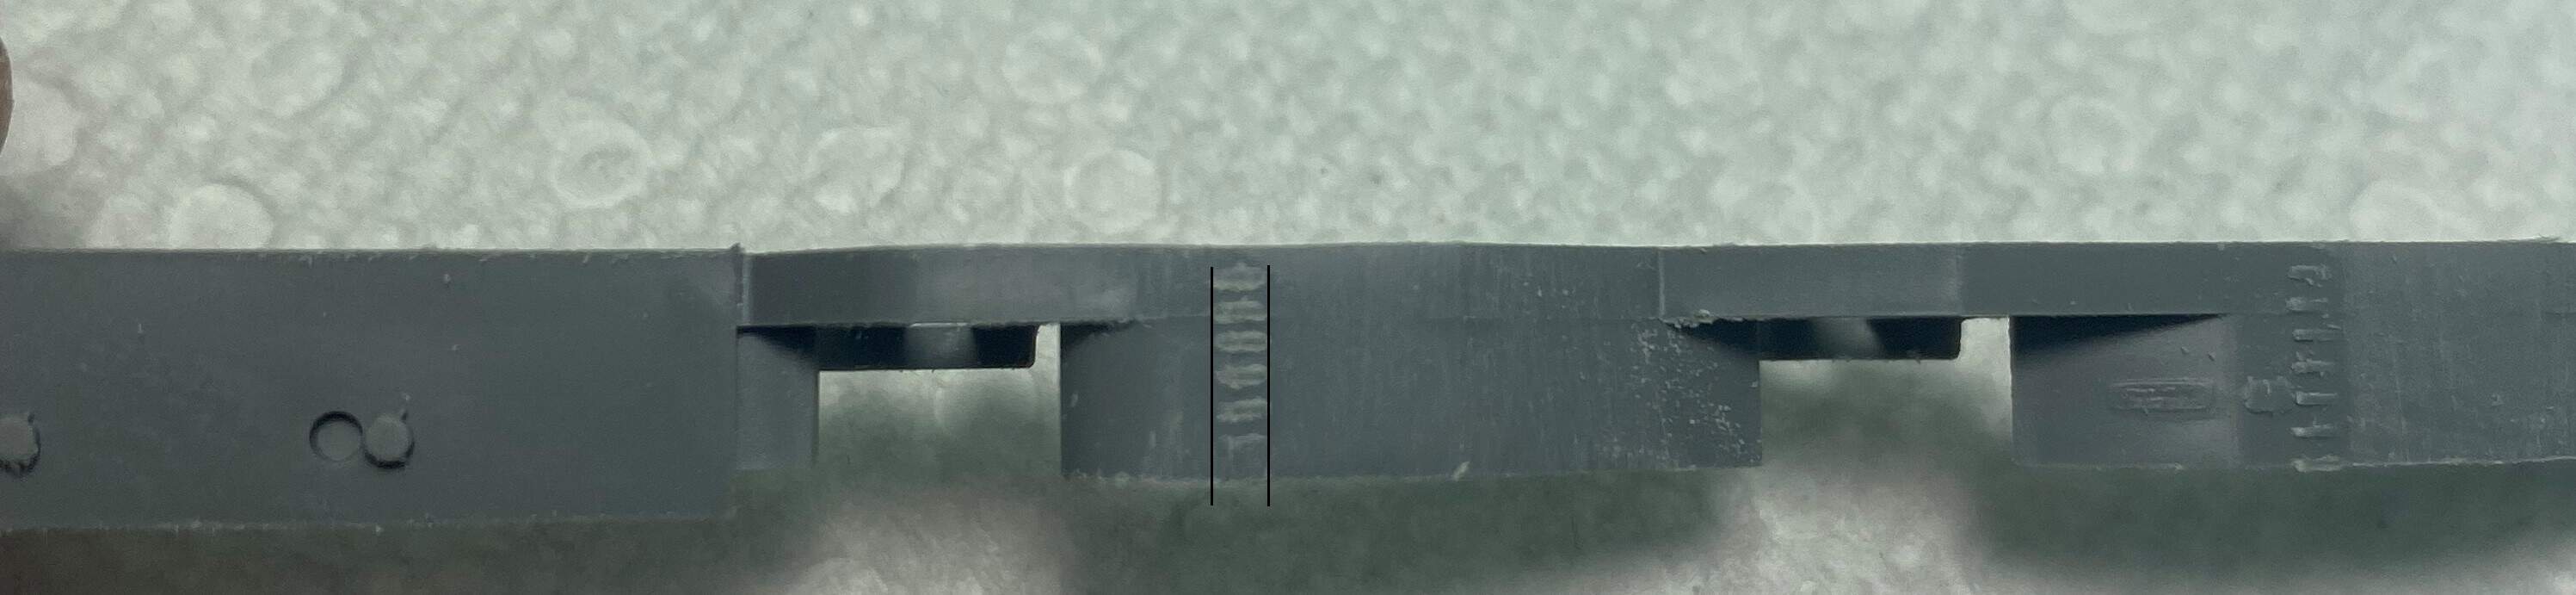
While that dries, I also started cleaning up the casement superstructure. Had a nasty seam line running right through it.
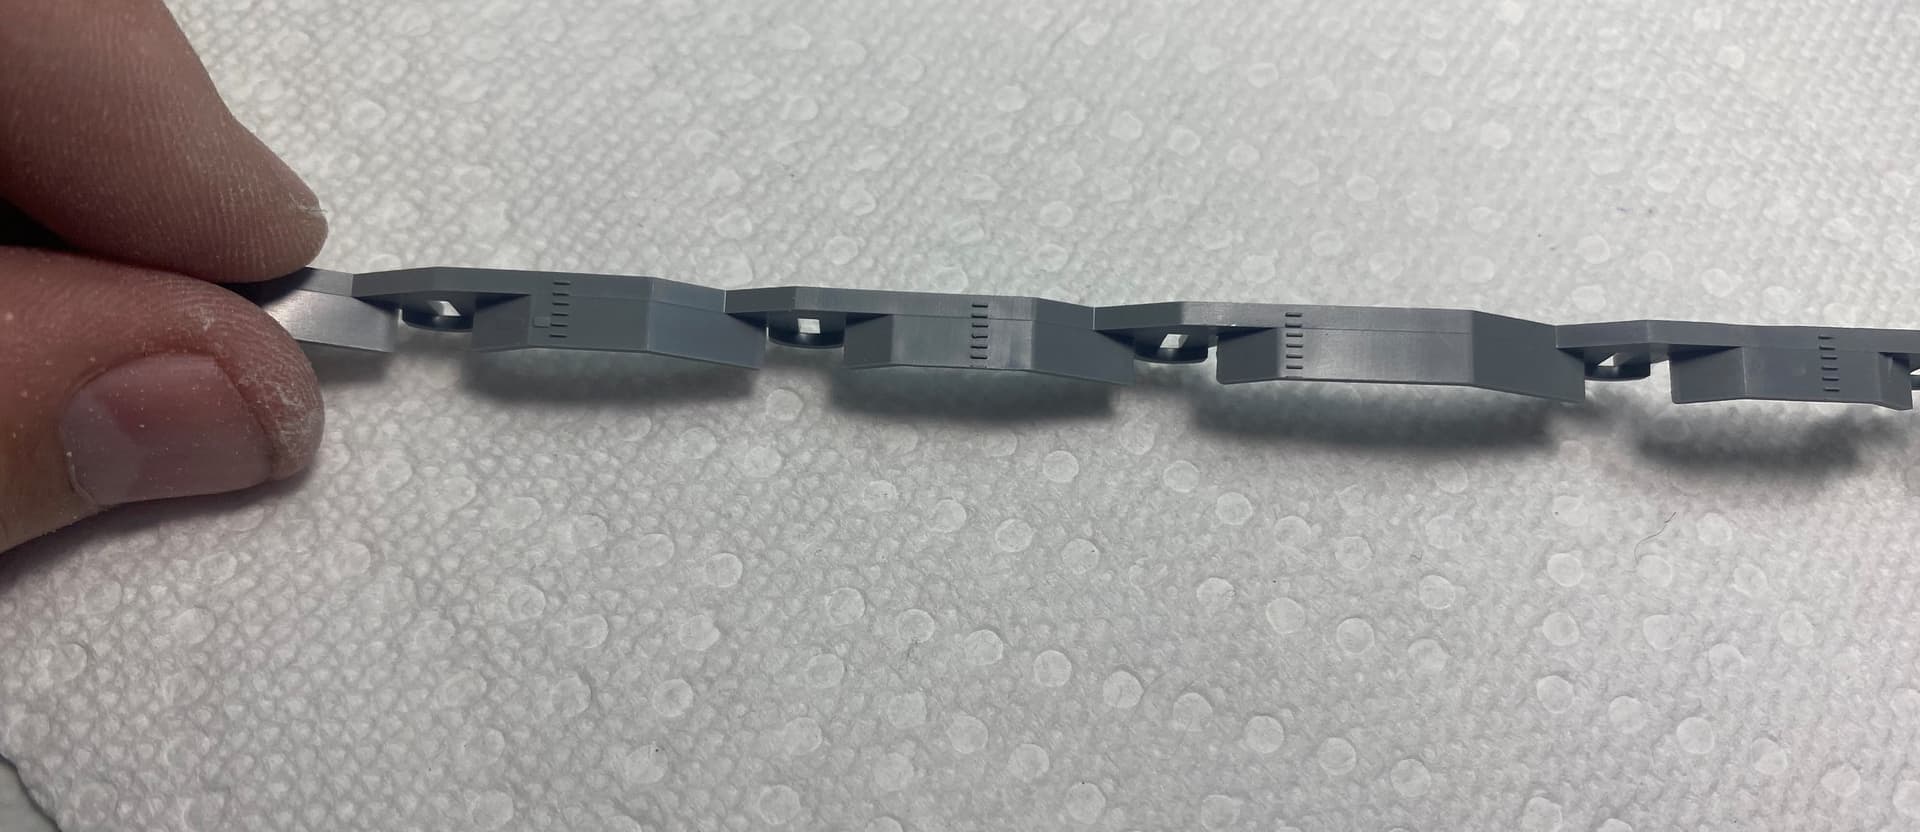
I also discovered something mildly amusing/annoying. Its subtle but one of the molded plastic ladders was not 100% vertical. Not an issue since it was removed and will be replaced with PE.
7 Likes
@McRunty - definitely along for the ride - nice start!!
David
Subscribed!
Look forward to following along.
Great choice! Hope I can use your build as an inspiration to start my König /Markgraf one day
Cheers
Tom
She is a fine looking model when finished, but those horizontal ventilator slats just drove me nuts getting them to sit correctly. Hope you have better luck than I did. Looking forward to your next post.
Mark 
Some progress.
Casement walls are up and the PE ladders attached. I am not a huge fan of them since the ladder rungs are so far apart but since that’s what I have on hand, that’s what I will have to accept. Fit of these was pretty good if a little finicky at times.
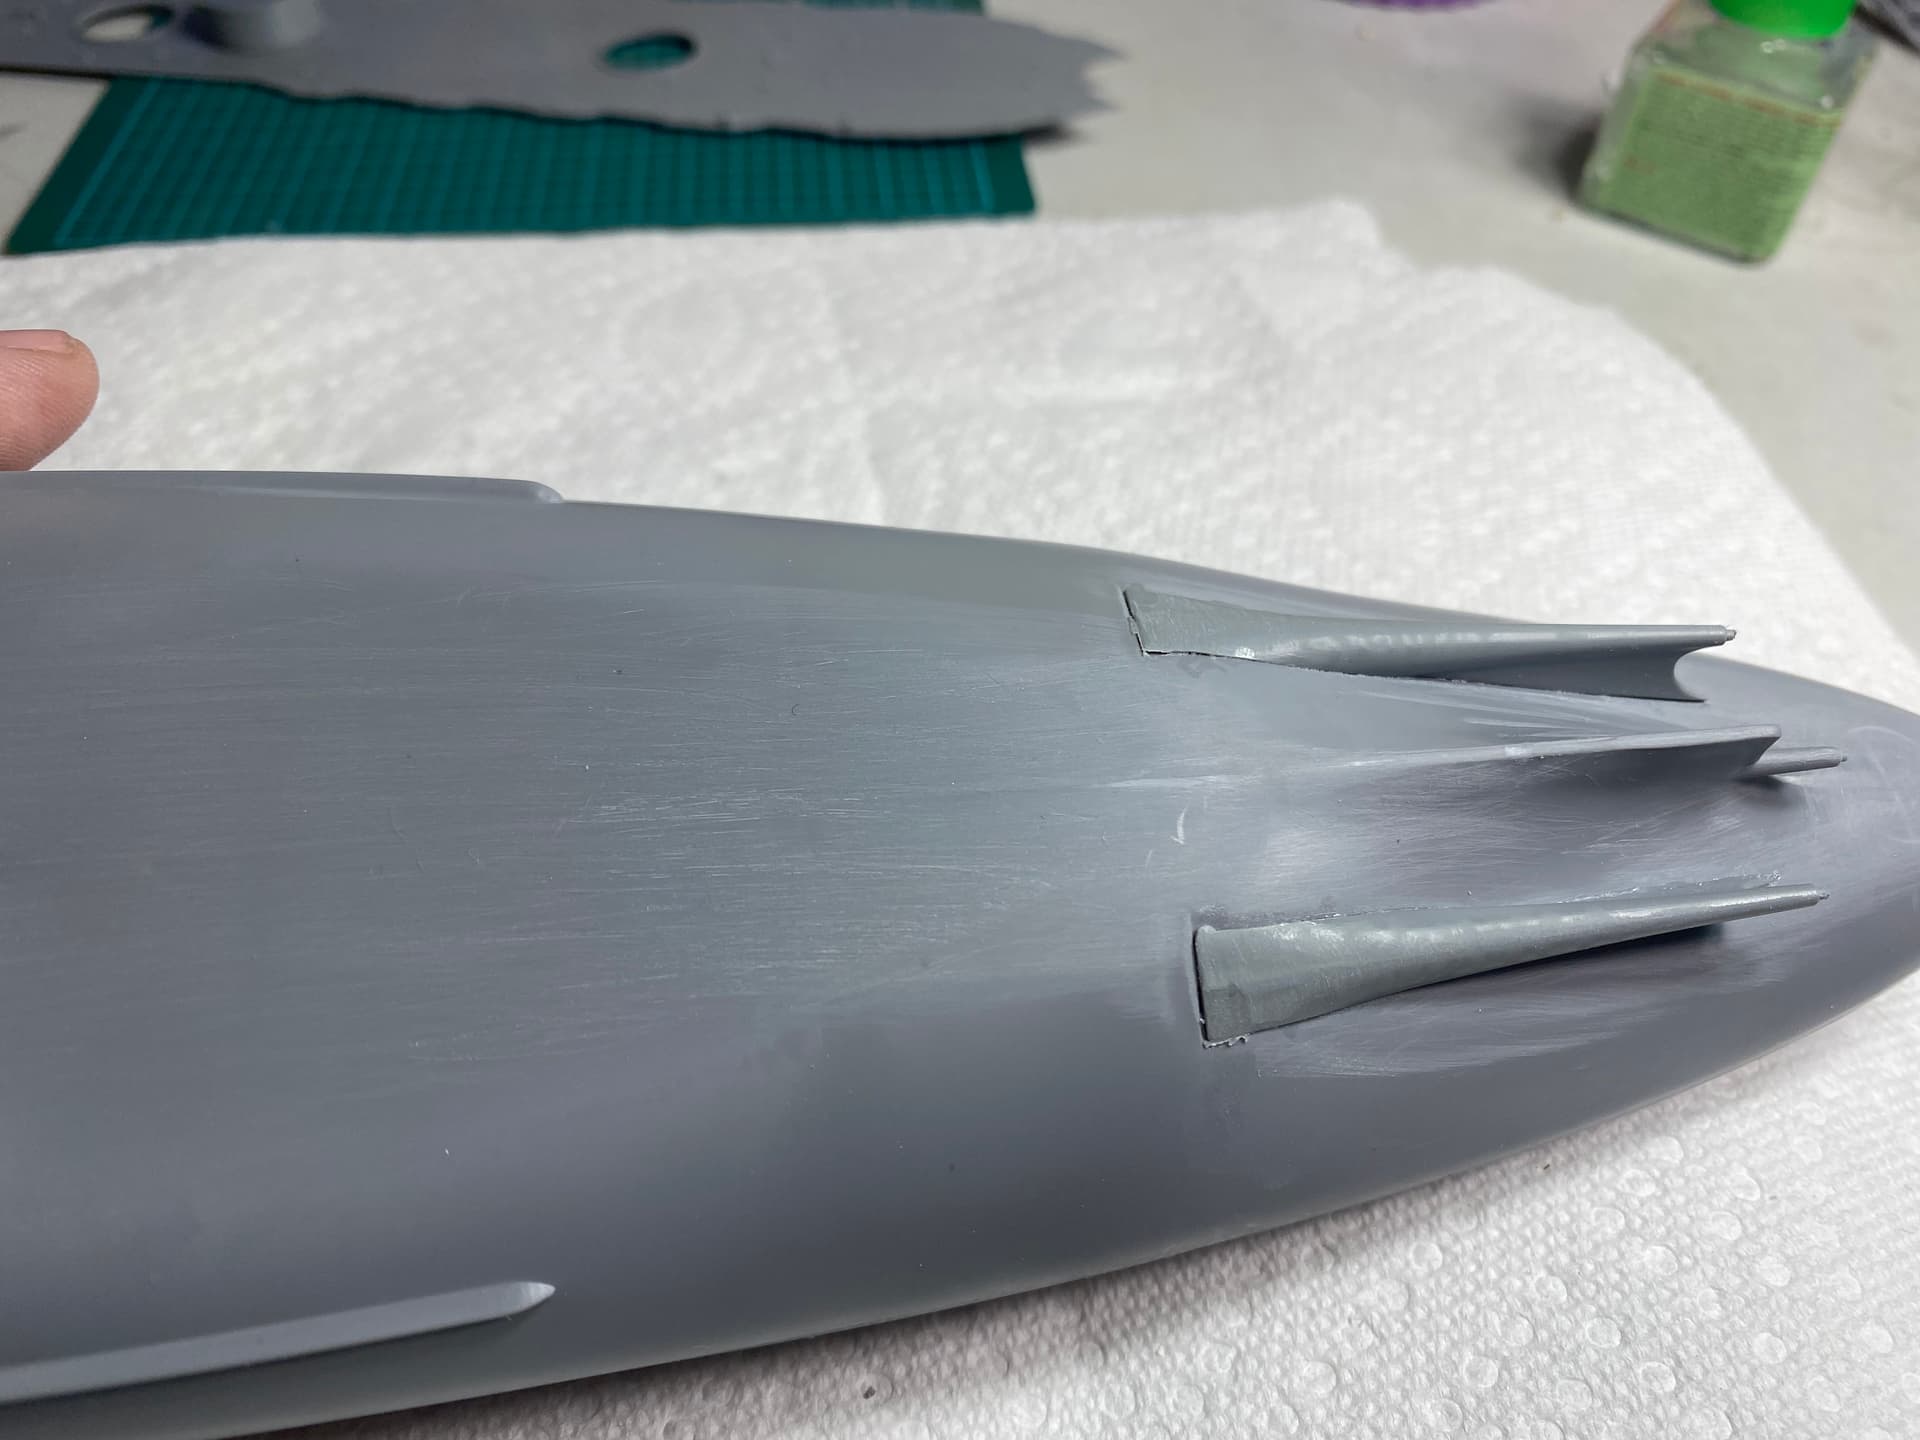
With that done I moved to the lower hull to add the prop shafts, rudders etc and well, lets just say that’s where my contentment ended.
If I was inclined to be charitable, I would describe the fitment of these parts as ‘questionable’. Also no guide to help line them up at the correct angle to the central shaft. I see a lot of filler and sanding in my future.
Also, the more astute of you will notice a lack of holes for the rudder. I know I somehow missed the blatantly obvious flaw when I was prepping the hull earlier.
3 Likes
Actually the fact that there are no holes for the rudder is better because the exact position depends on how one fitted the prop shaft tunnel pieces. I am building the same kit but I am far ahead in assembly than you. Fix your shafts and props in place and then decide the position of the rudders, taking in mind that they should be vertical to the keel line.
If you need any reference photos or help I can share some.
1 Like
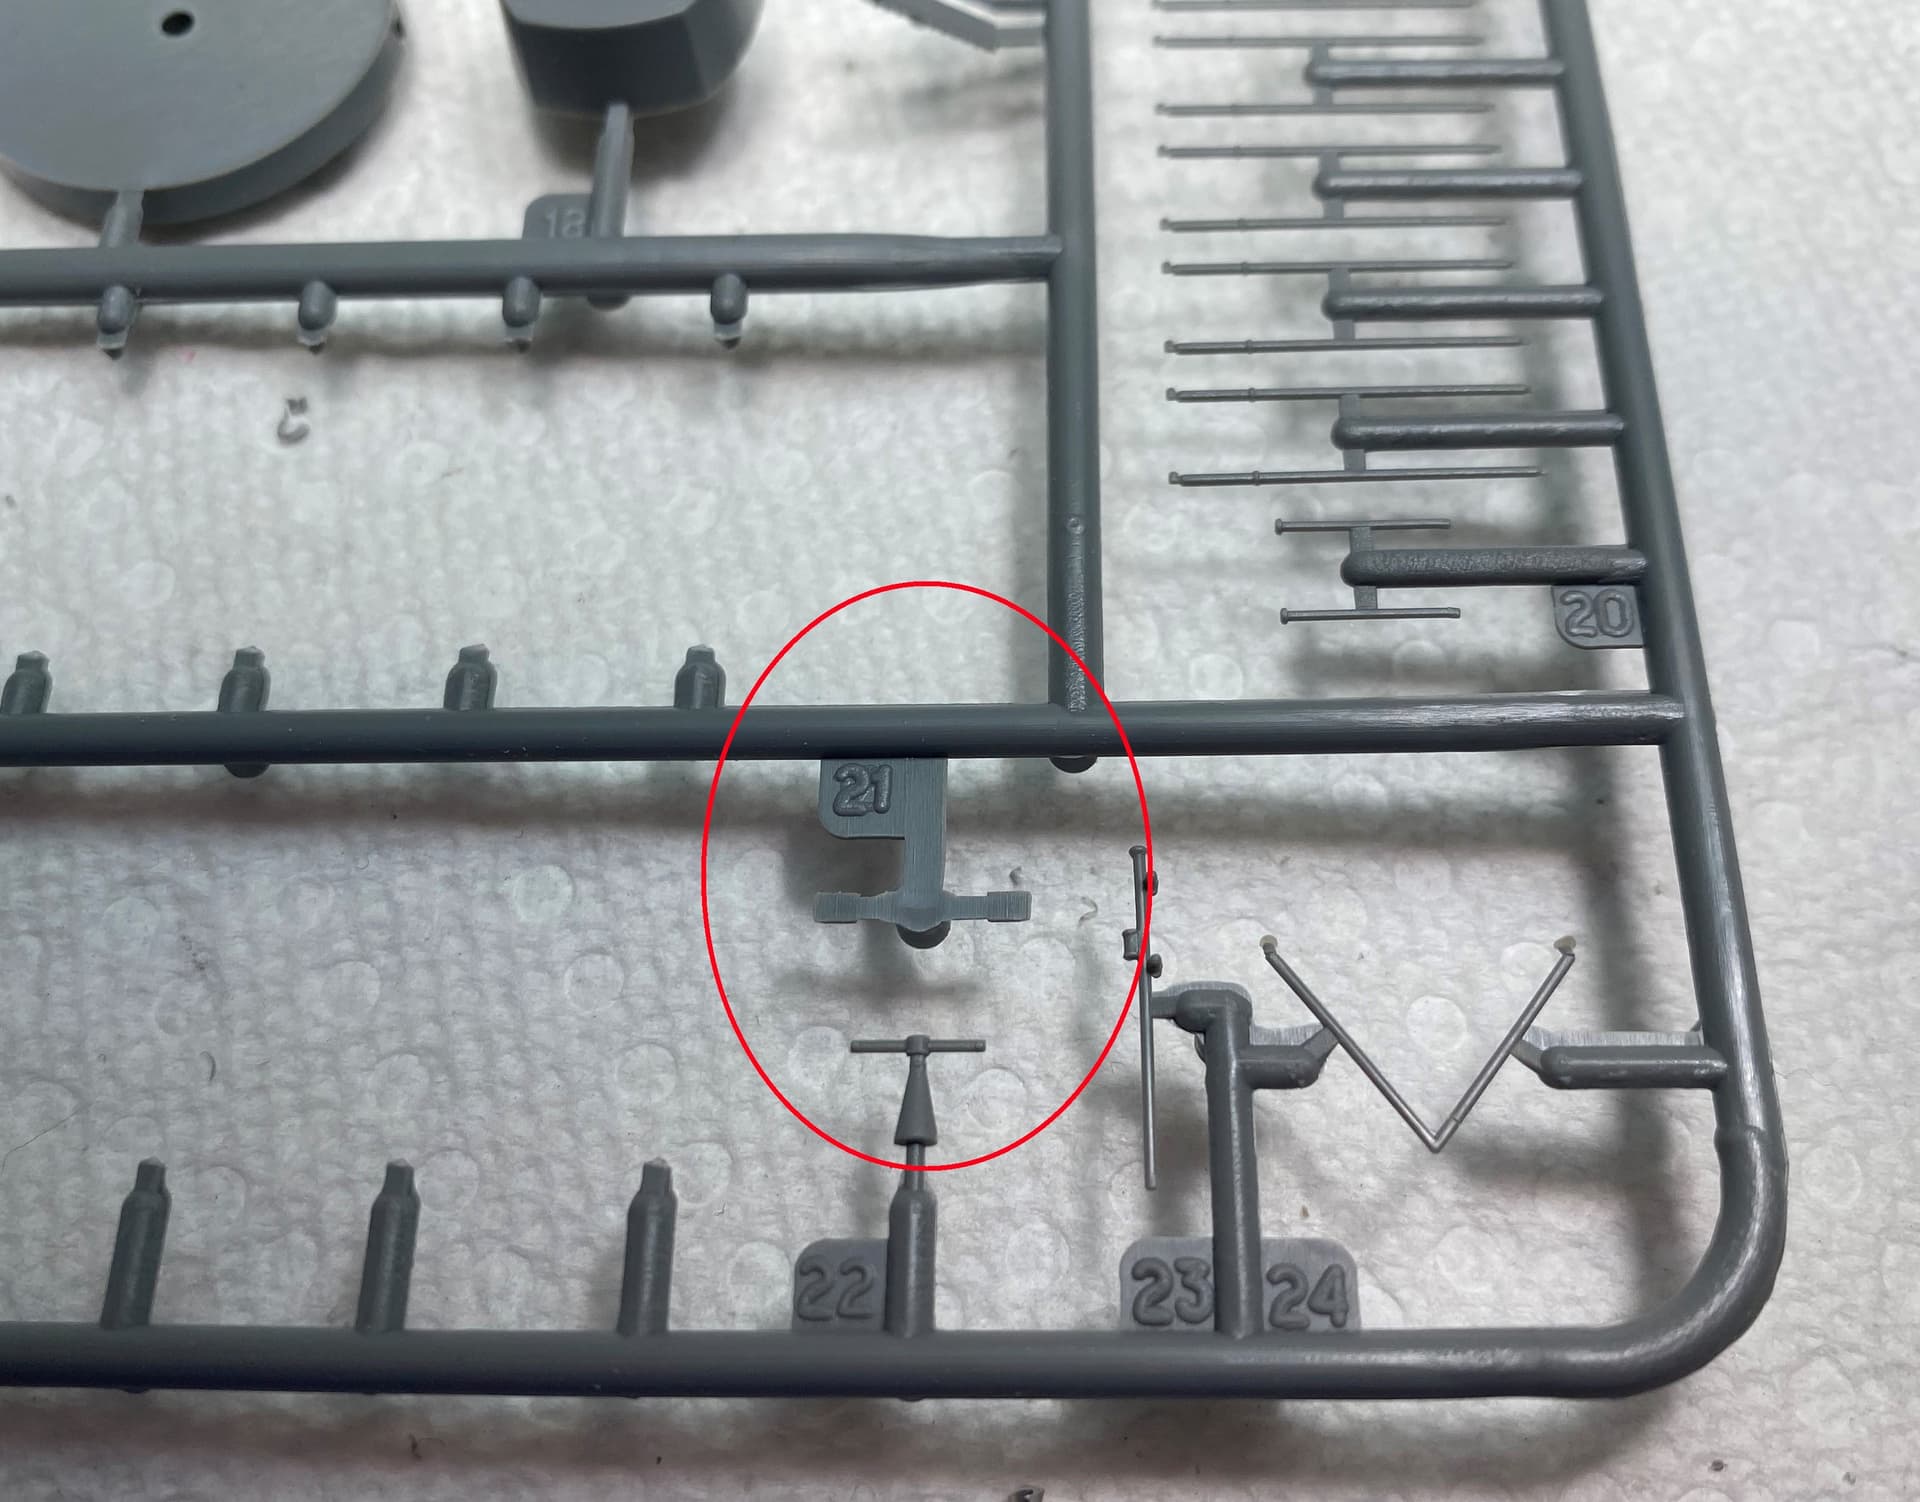
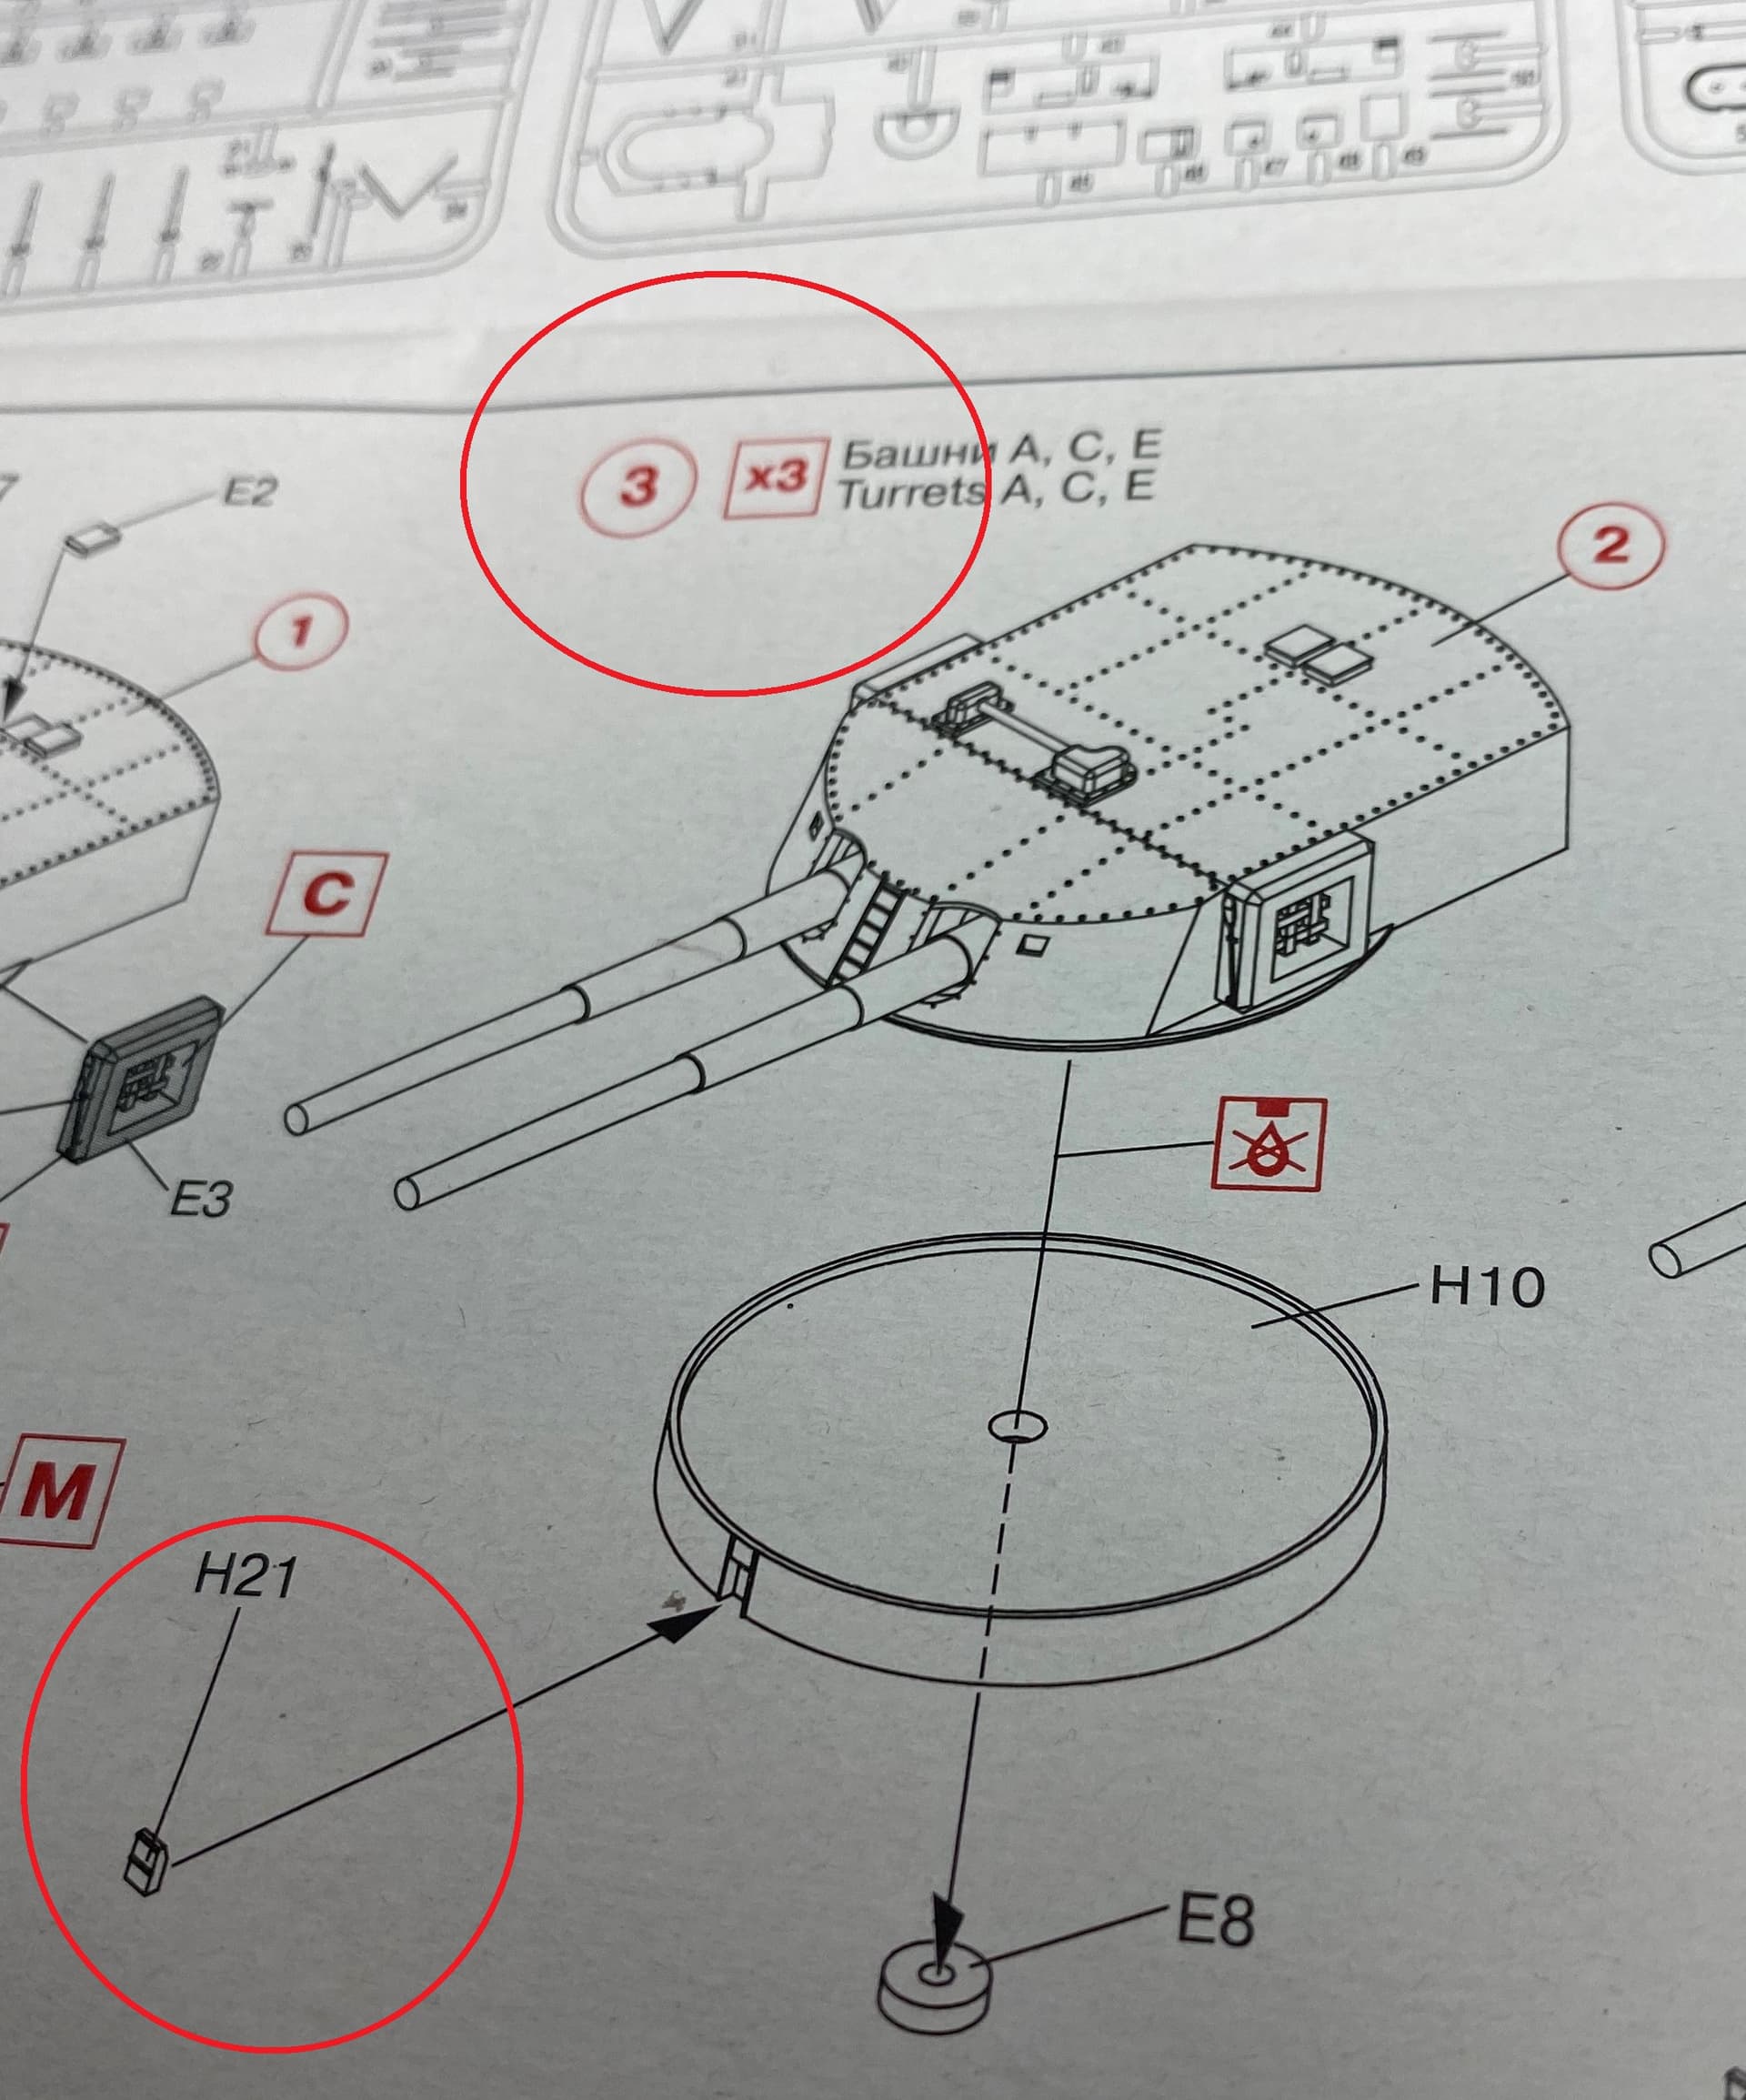
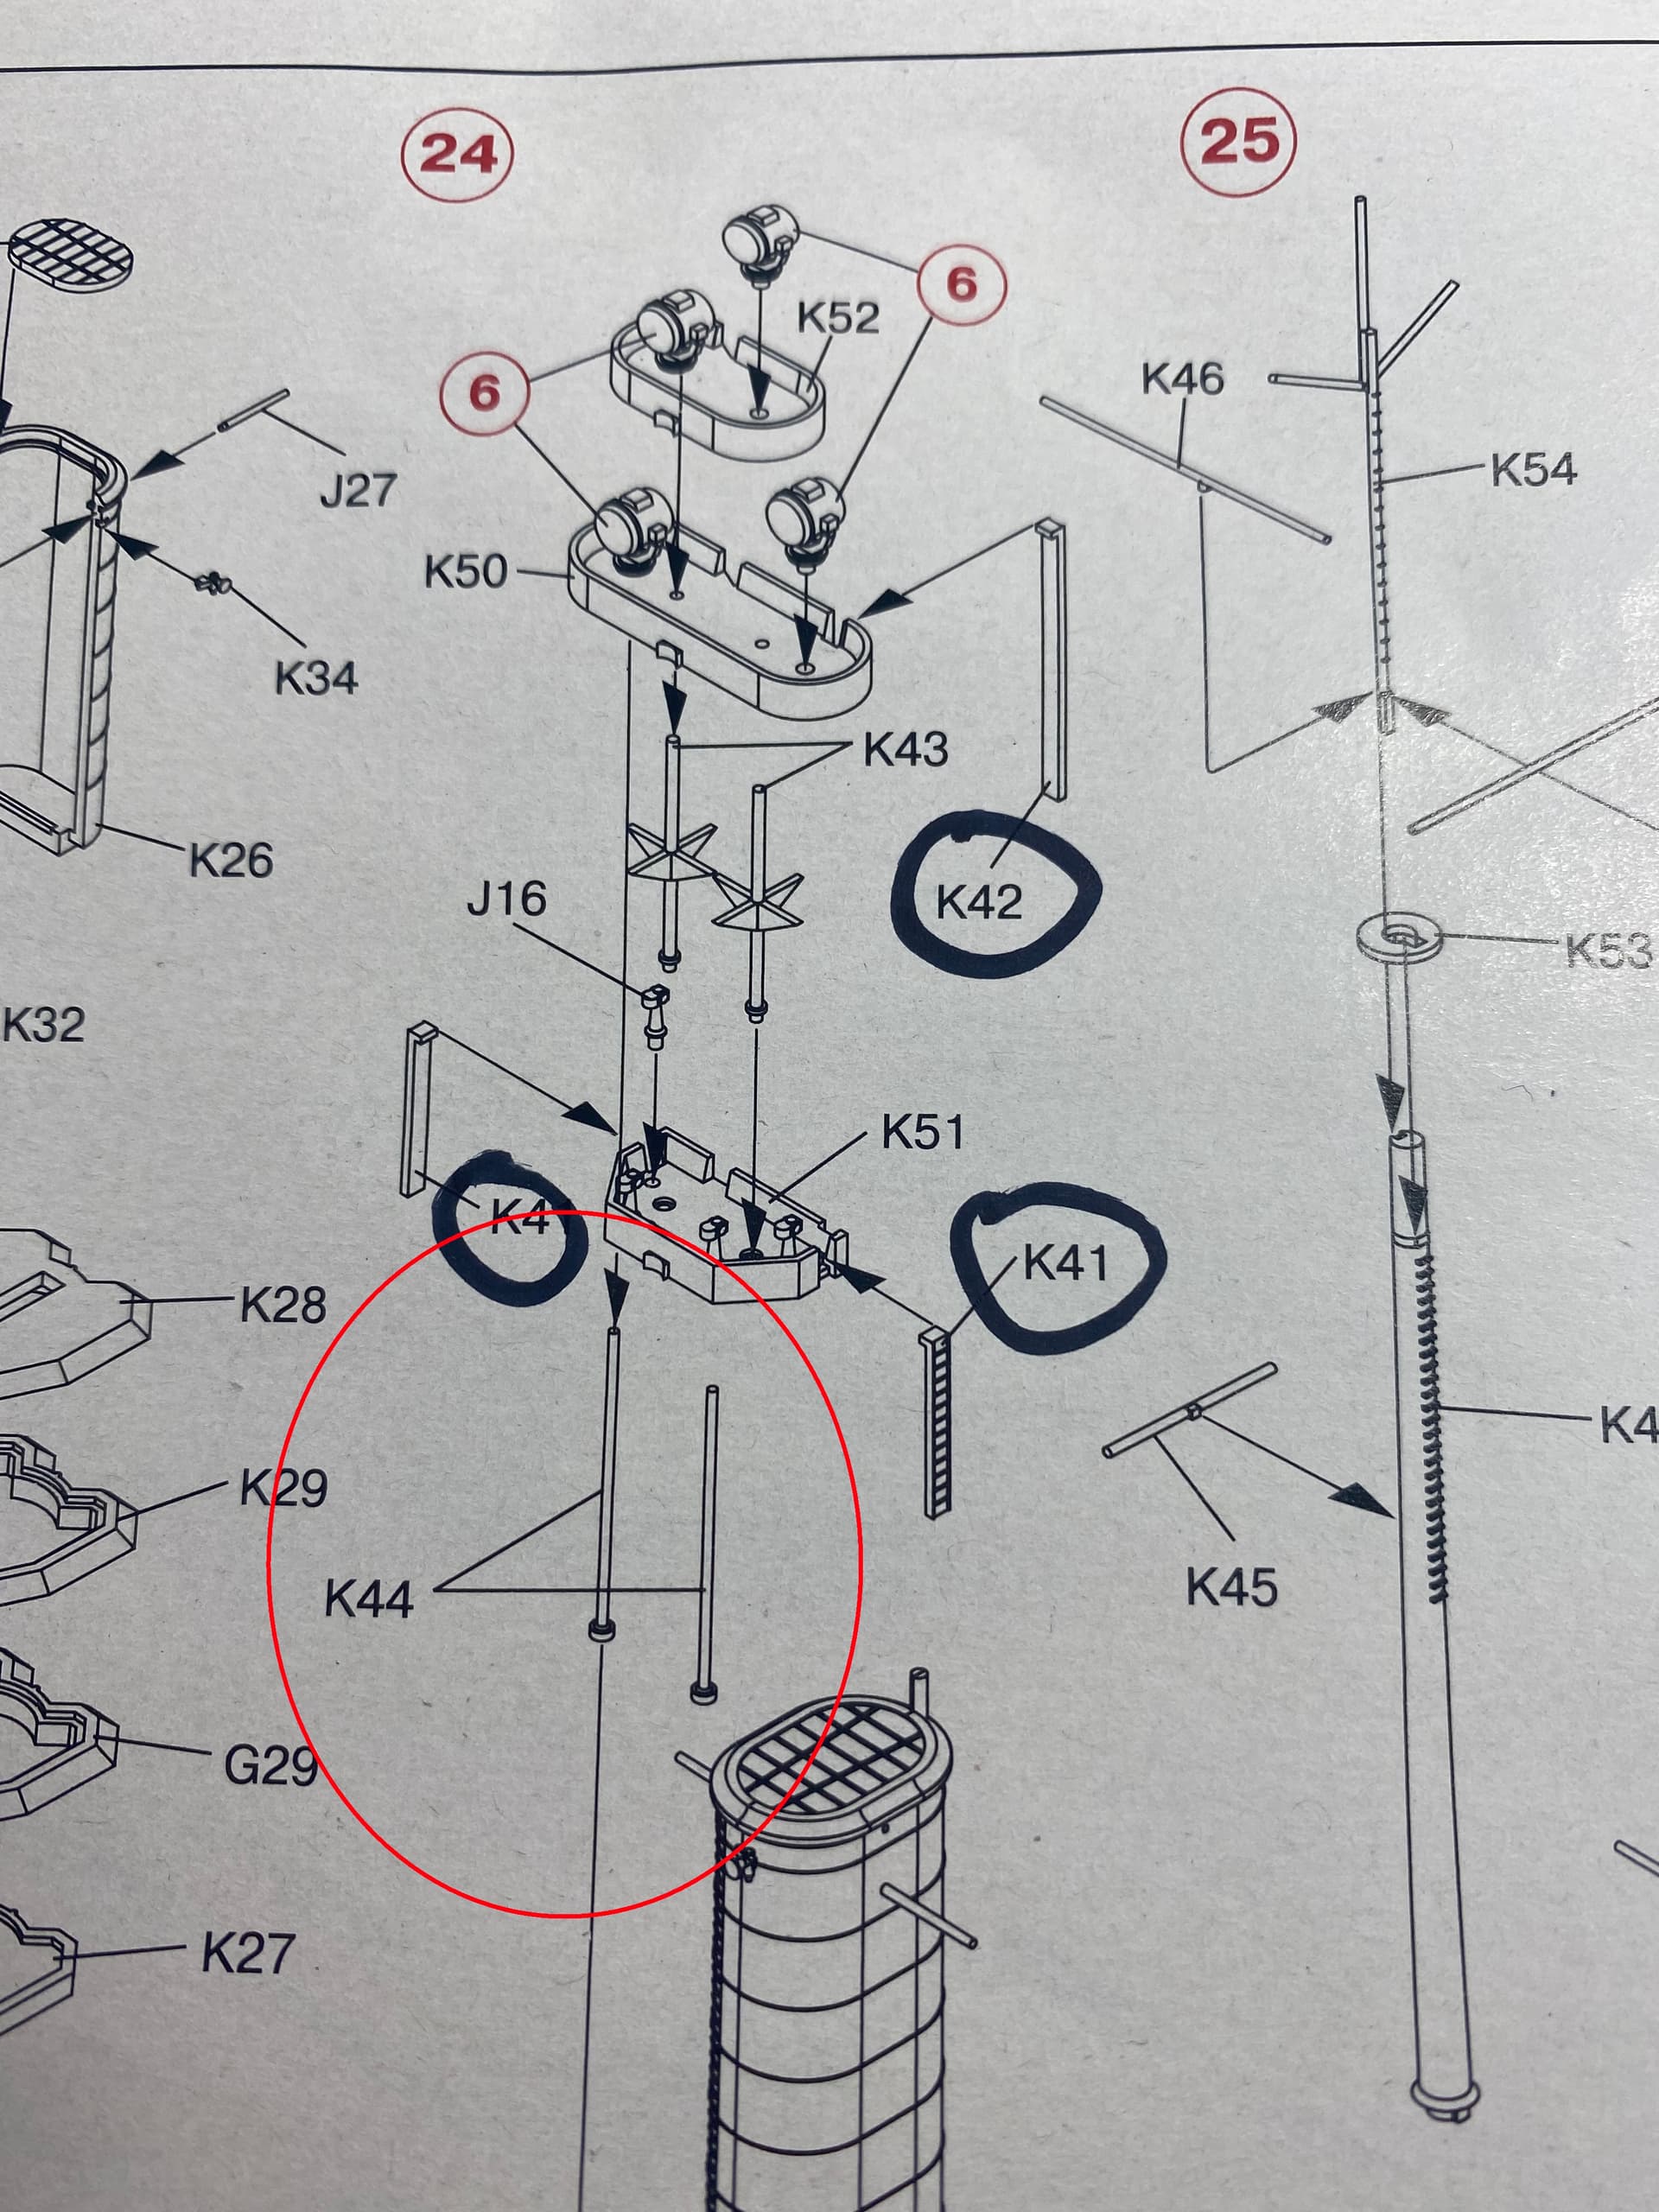
I get the feeling this kit will be filled with a lot of mildly annoying things. Todays instance involves part H21
All looking good so far except when one looks at the instructions.
You get 2 and you need 3. Its only mildly annoying as its an easy fix with a small piece of sprue and some sanding but its unnecessary.
I worked on the hull some and got the shaft transitions pretty smooth. Will leave them till i get some primer on and revisit them. Also marked out and drilled in the rudder holes.
Also worked on dryfitting the upper deck. Took some work to get just right. Had to sand down the bow end a small amount to get it in. I also built up most of one of the turrets to see how they look.
6 Likes
You may want to wait to install H21, as it sit on top of turret Carl. It gets in the way of adding the insignia decal and is easy to break off. Nice progress.
Mark
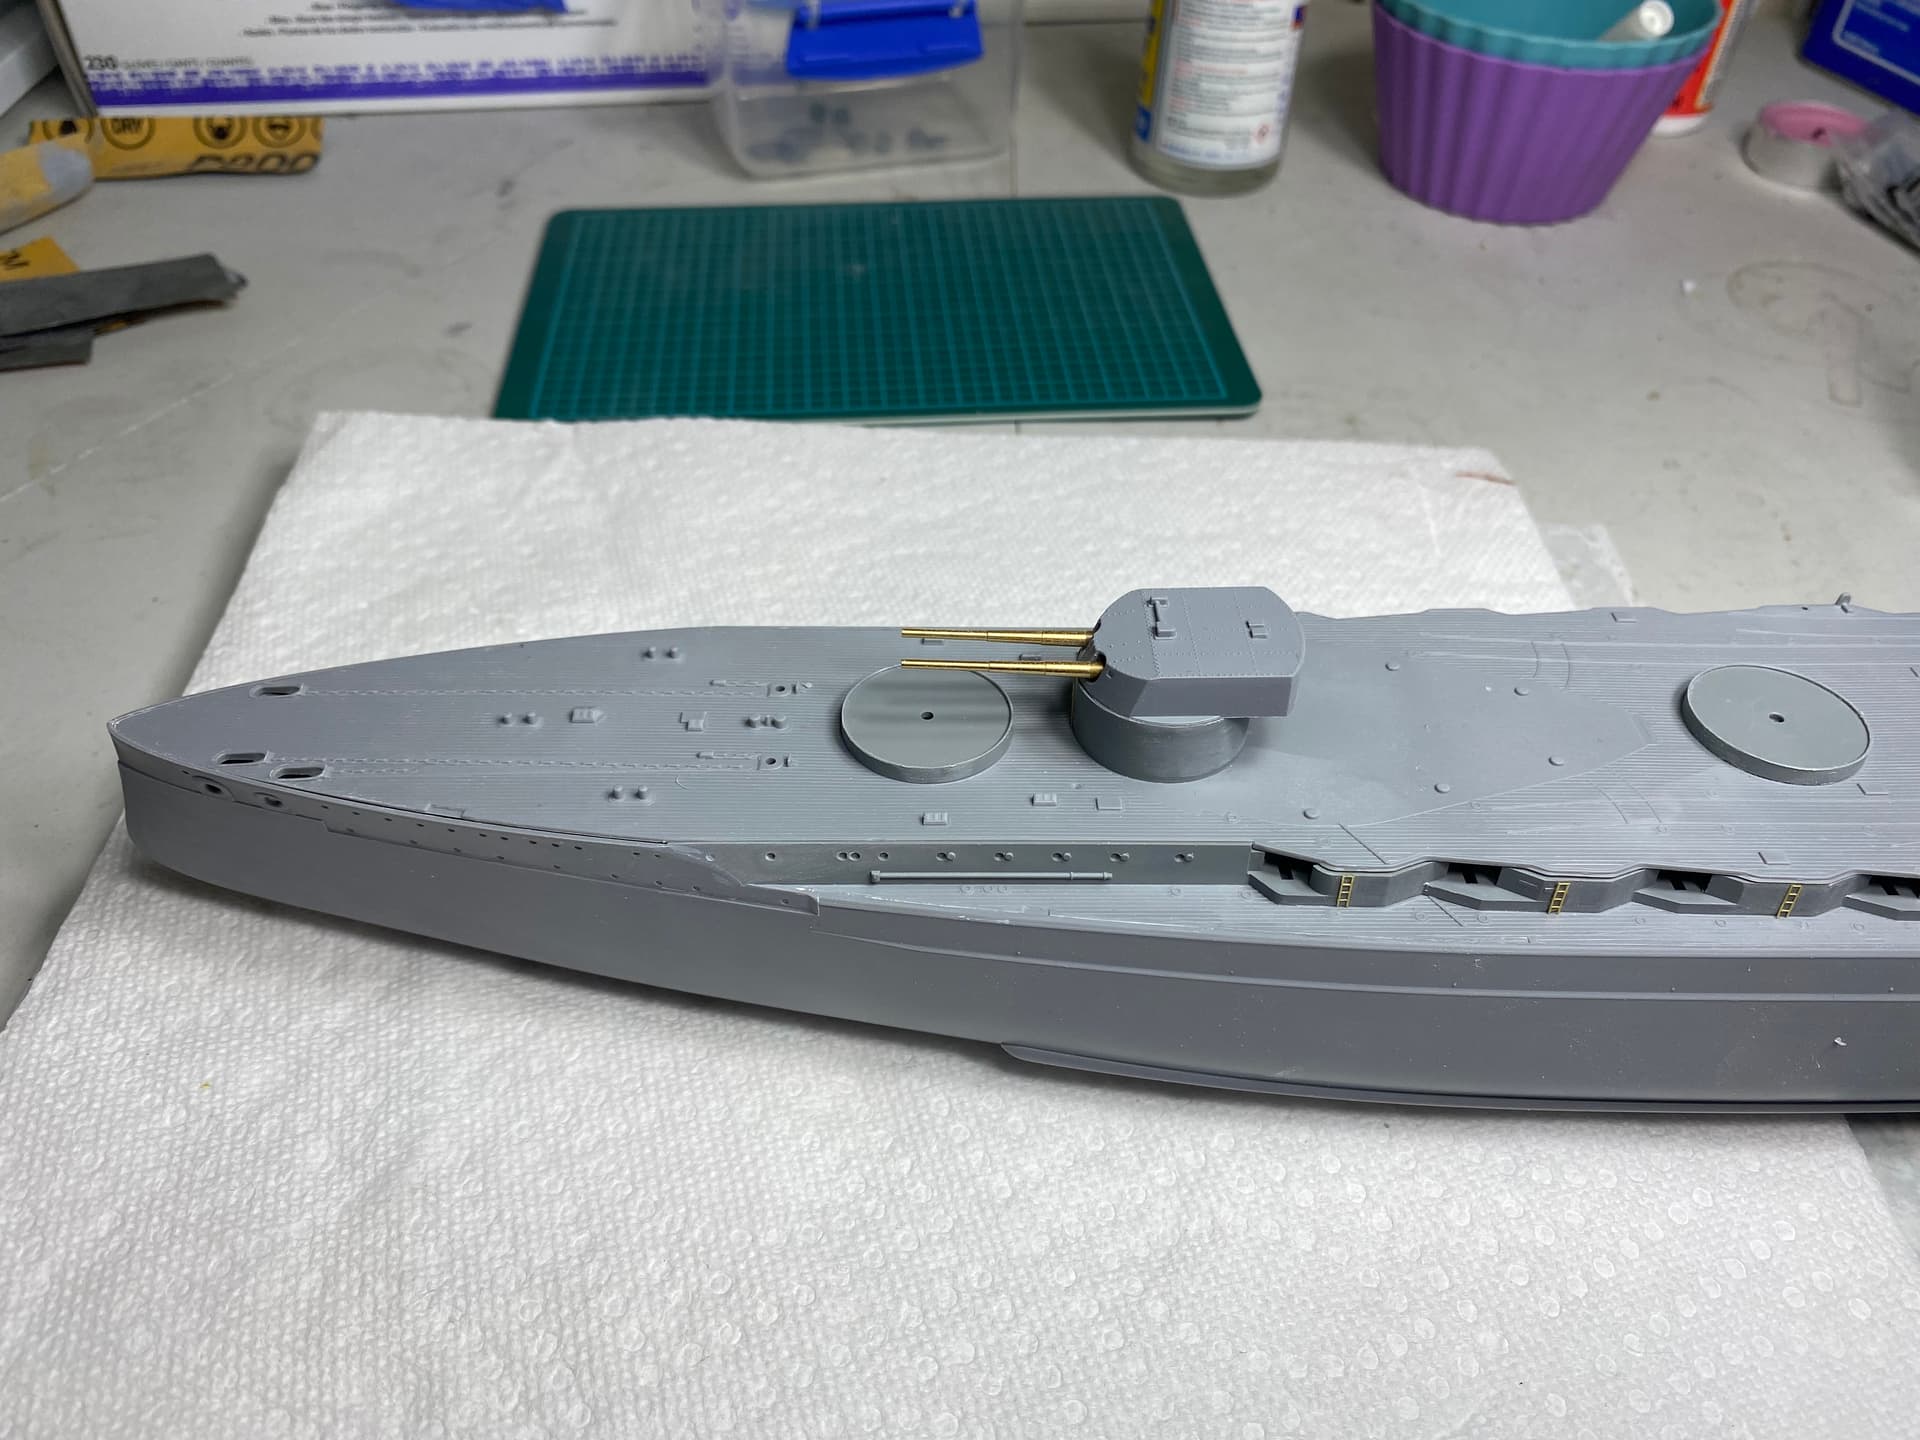
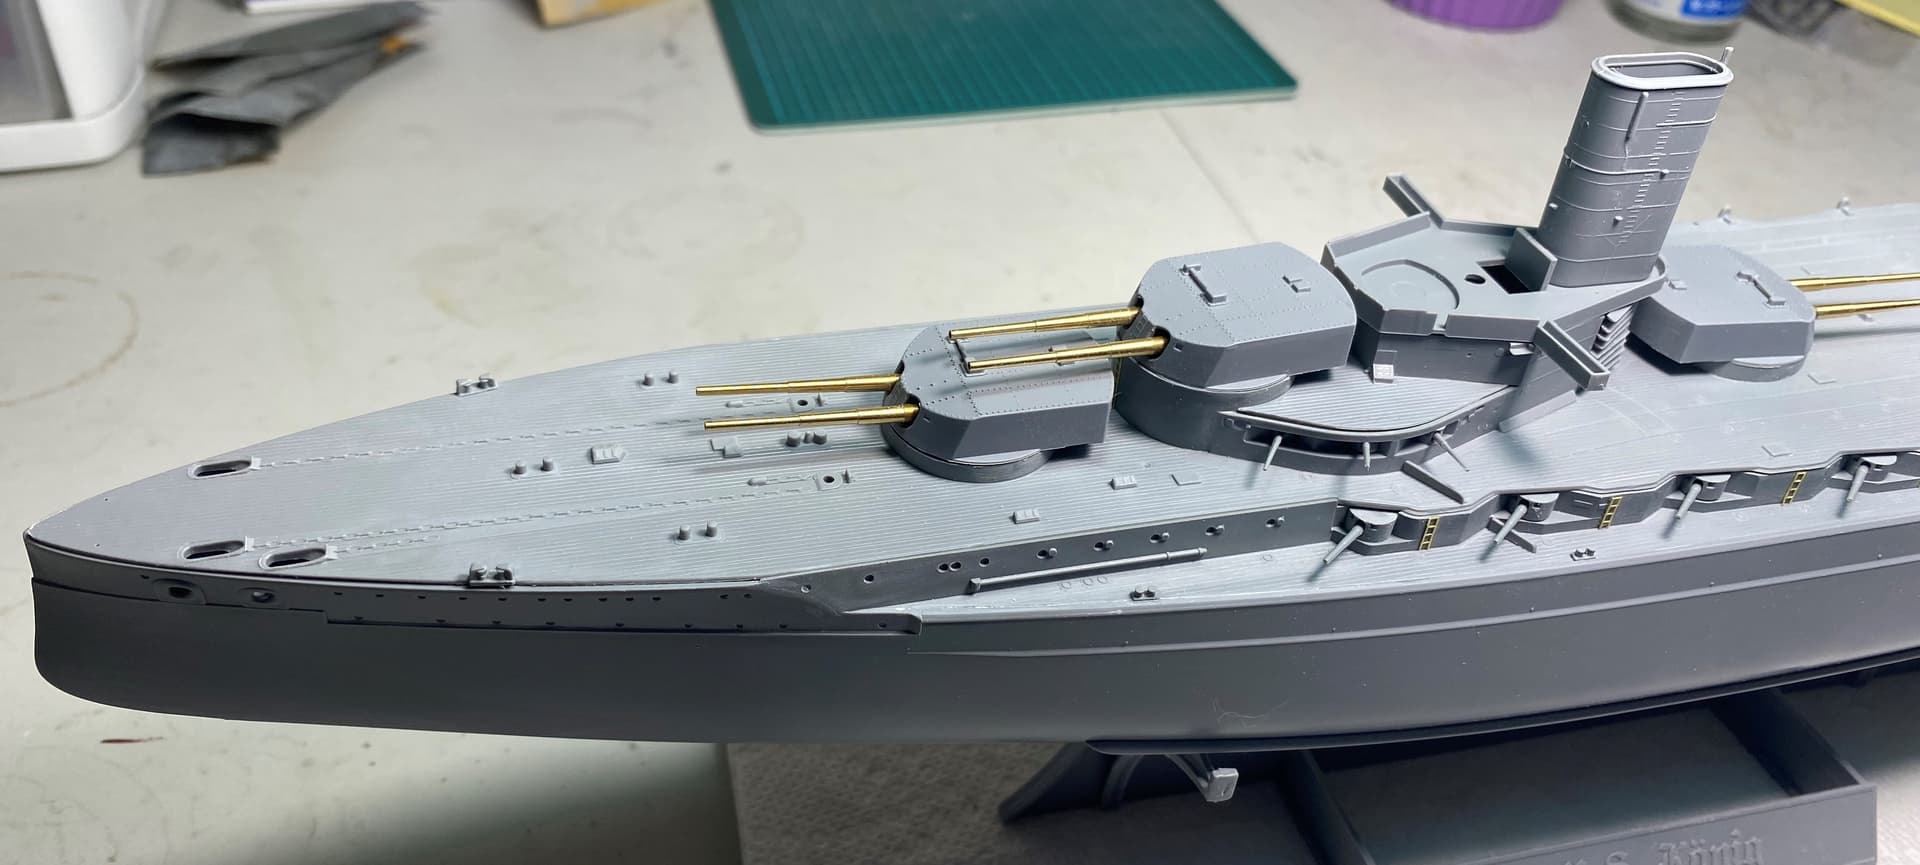
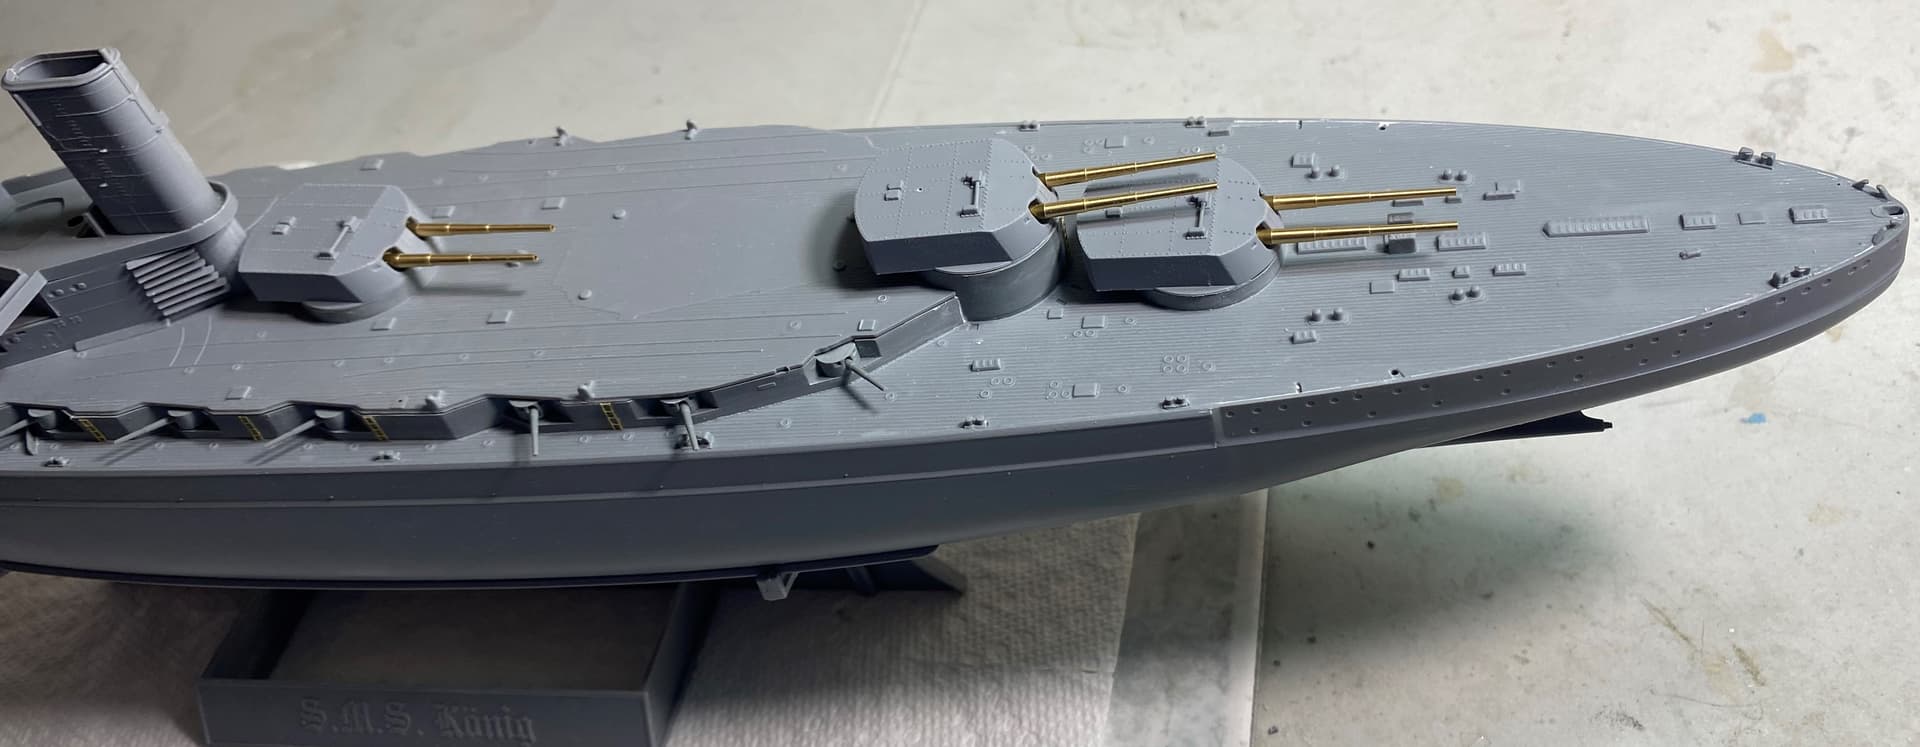
Worked on the weapons and started to build up the super structure a bit. The turned 305mm barrels are gorgeous and well worth getting.
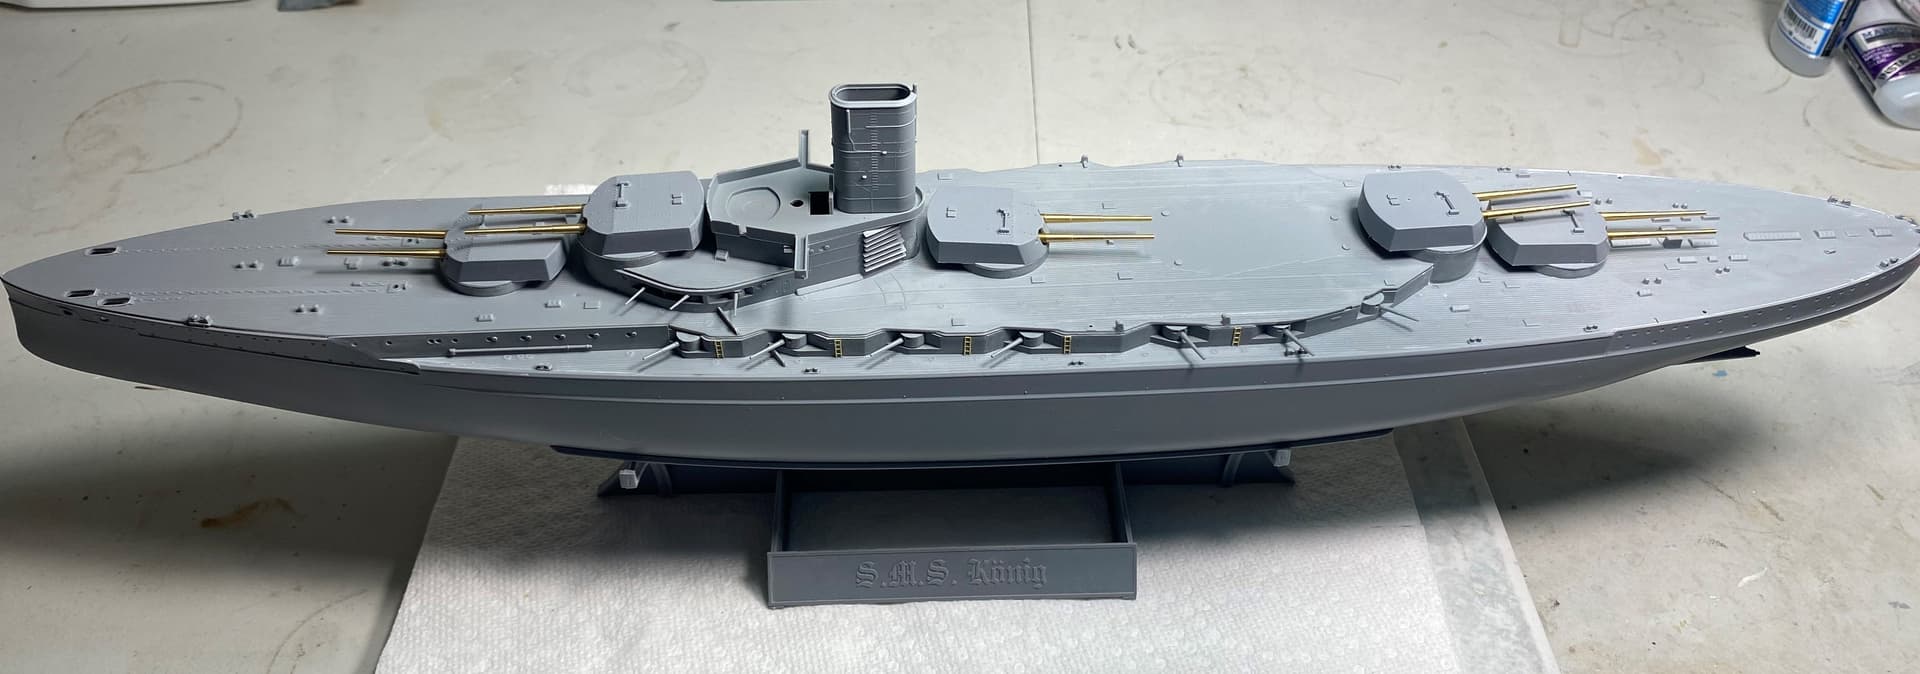
Decks and basic superstructure dry fitted. With her teeth added she is starting to look the part.
I have ordered some generic coal scuttles. Once they arrive I will be able to start laying down some paint since the decks are essentially completed.
3 Likes
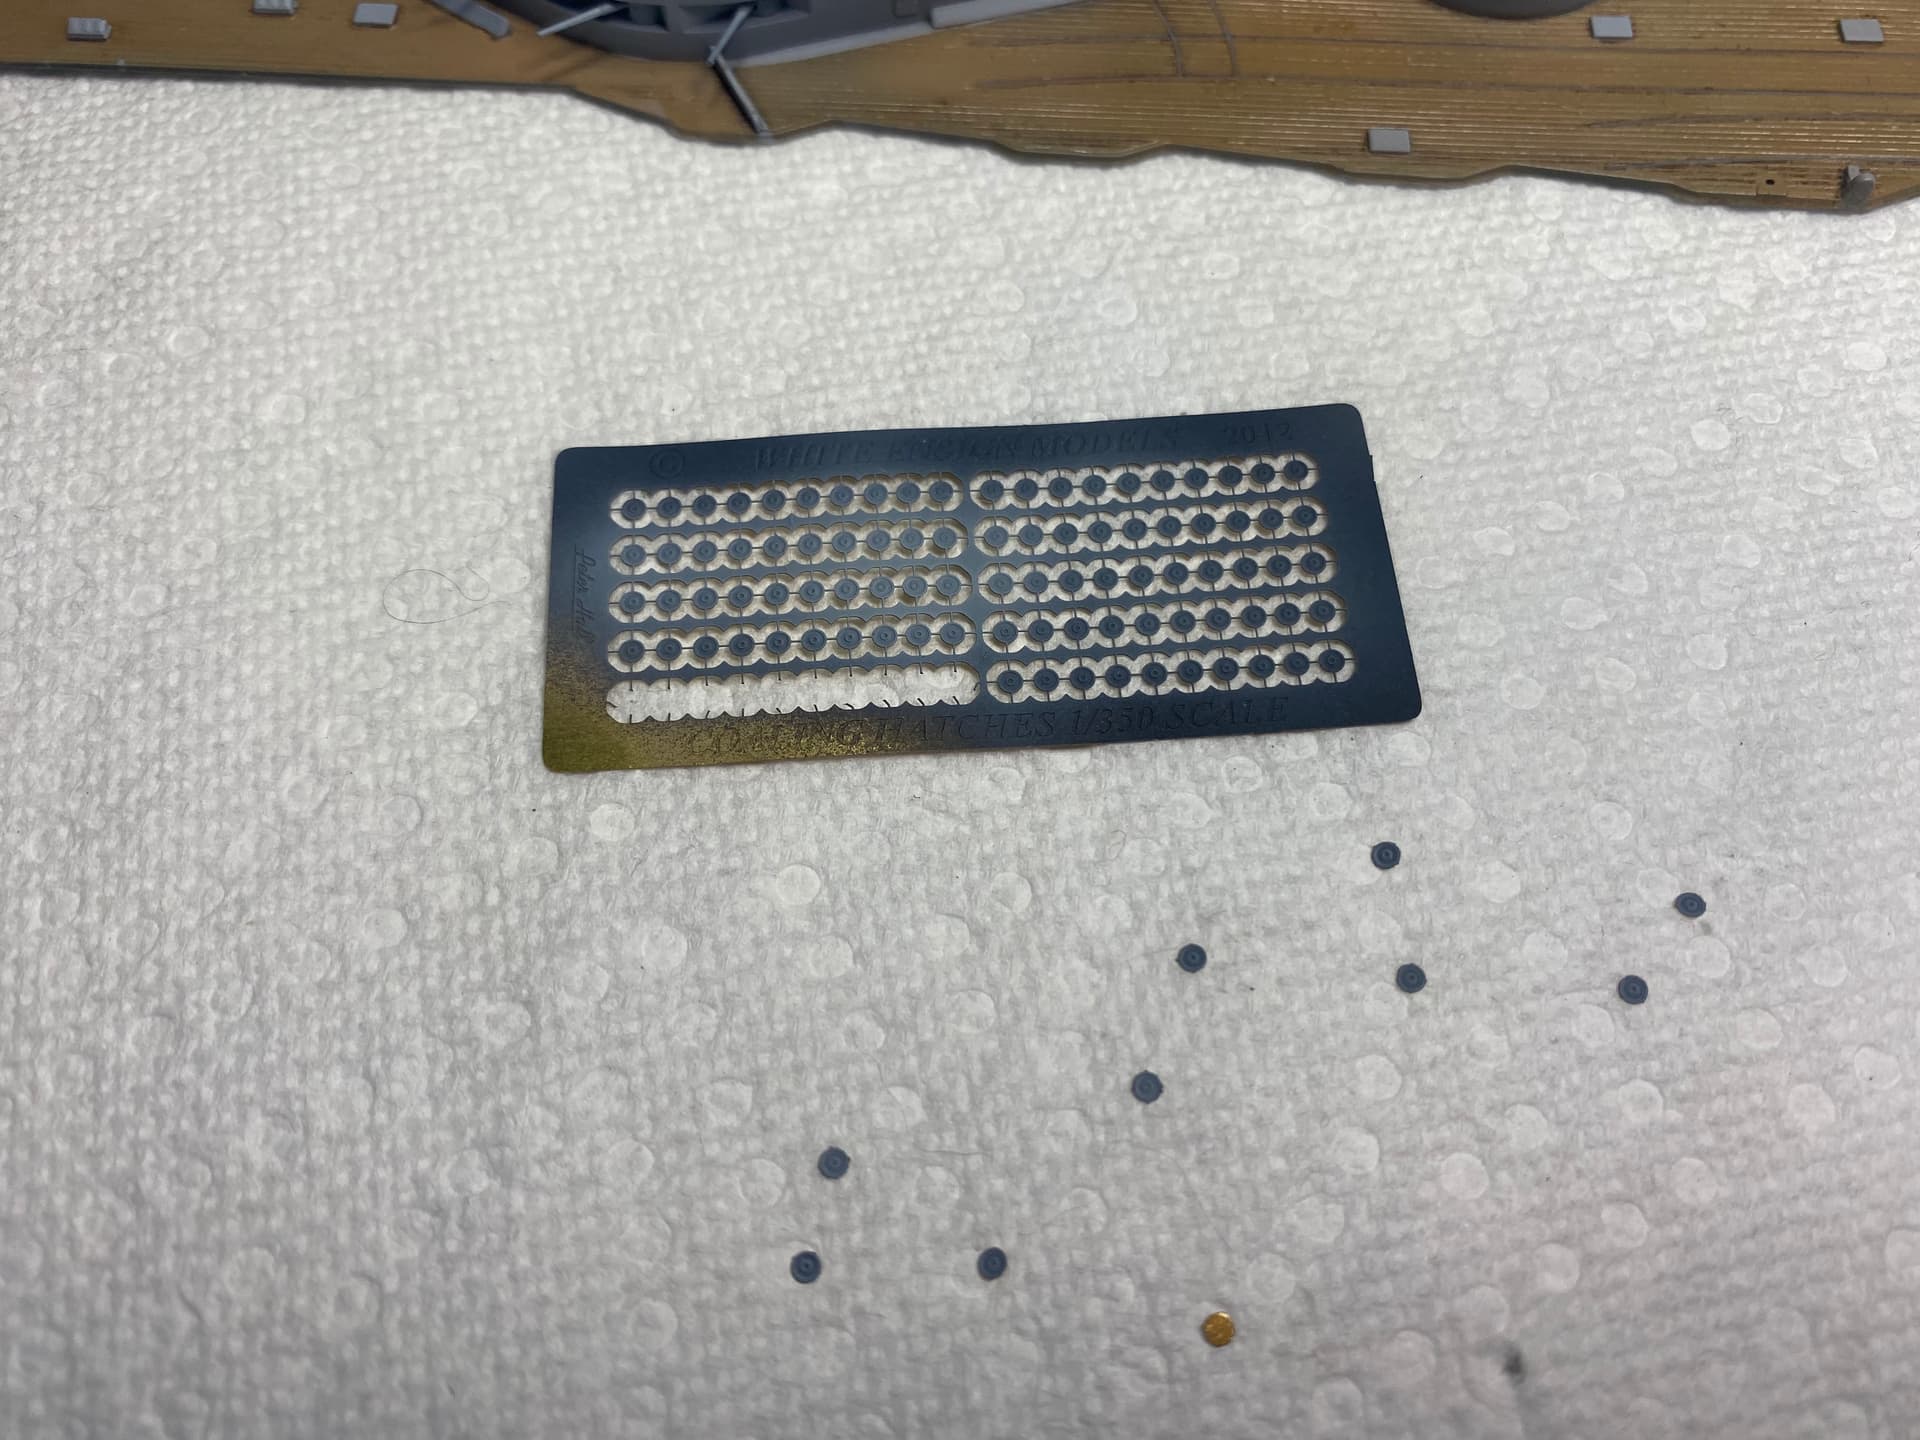
I am finding that the detail on this kit is pretty soft (if it is present at all).
For instance the hatches are almost invisible and I would image the would pretty much disappear under paint.
So I dug into my stash of spare PE and found some generic hatches. Are they 100% accurate? Almost certainly not but they look way better than what’s there.
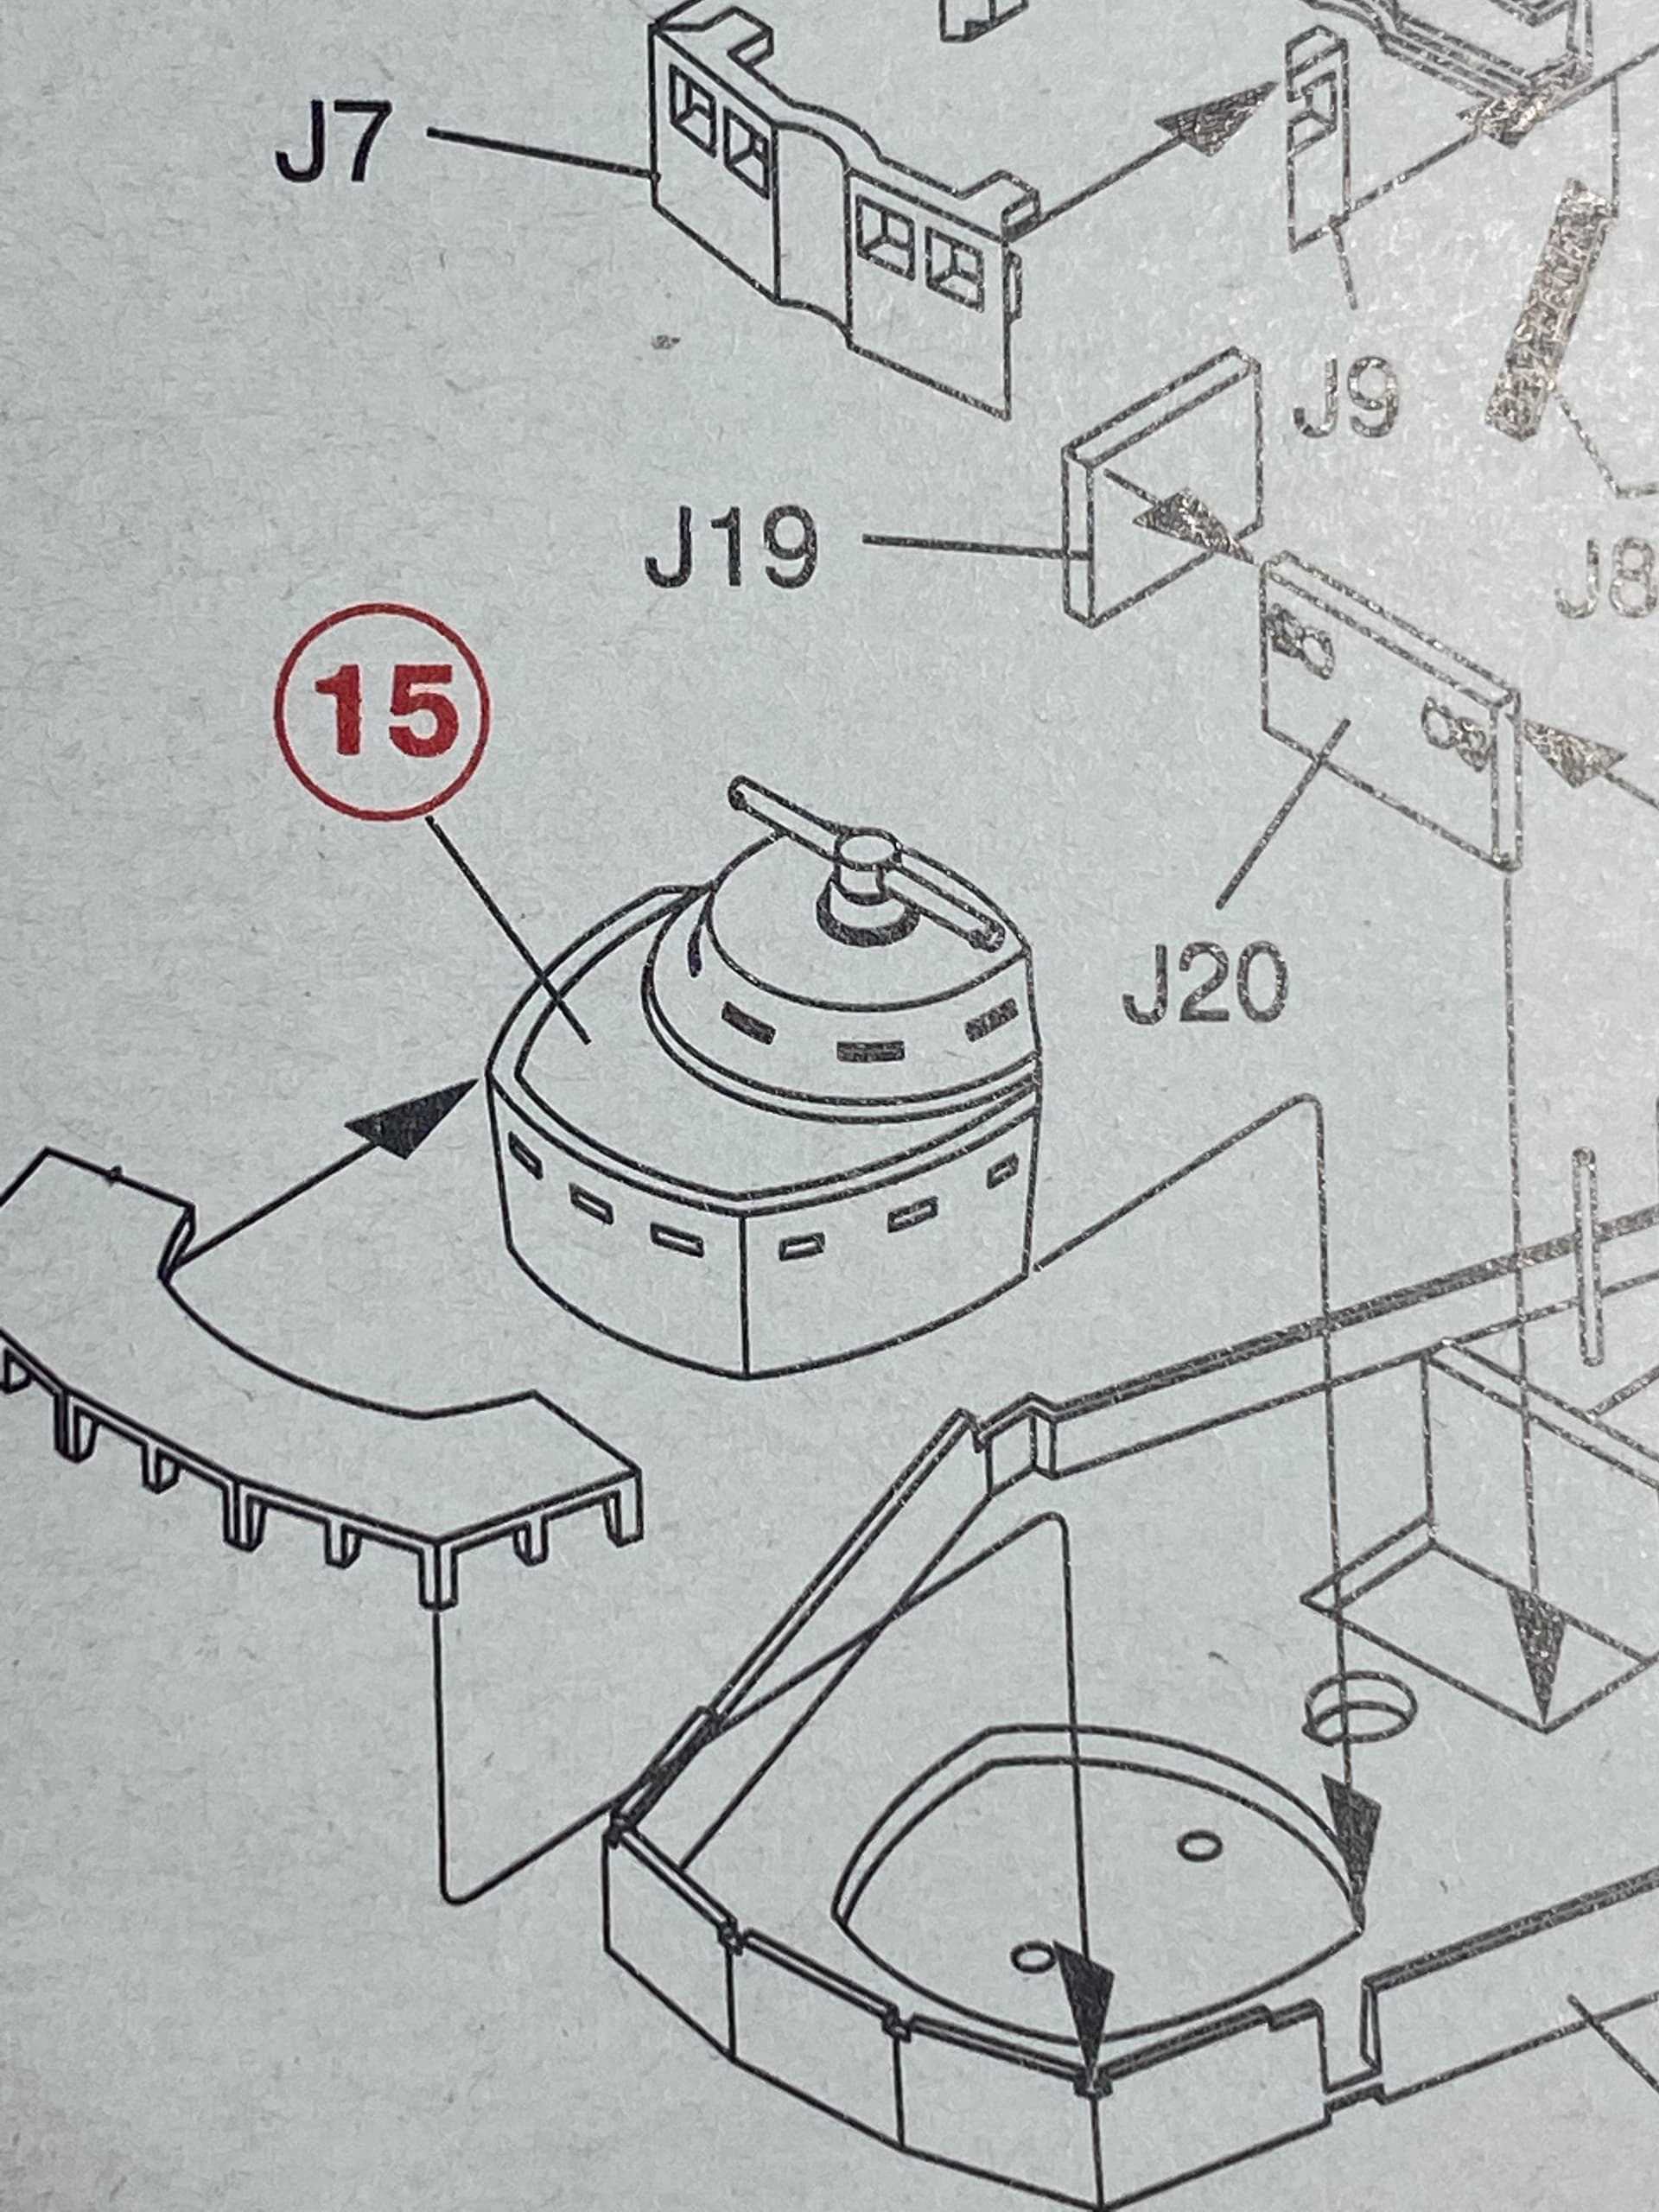
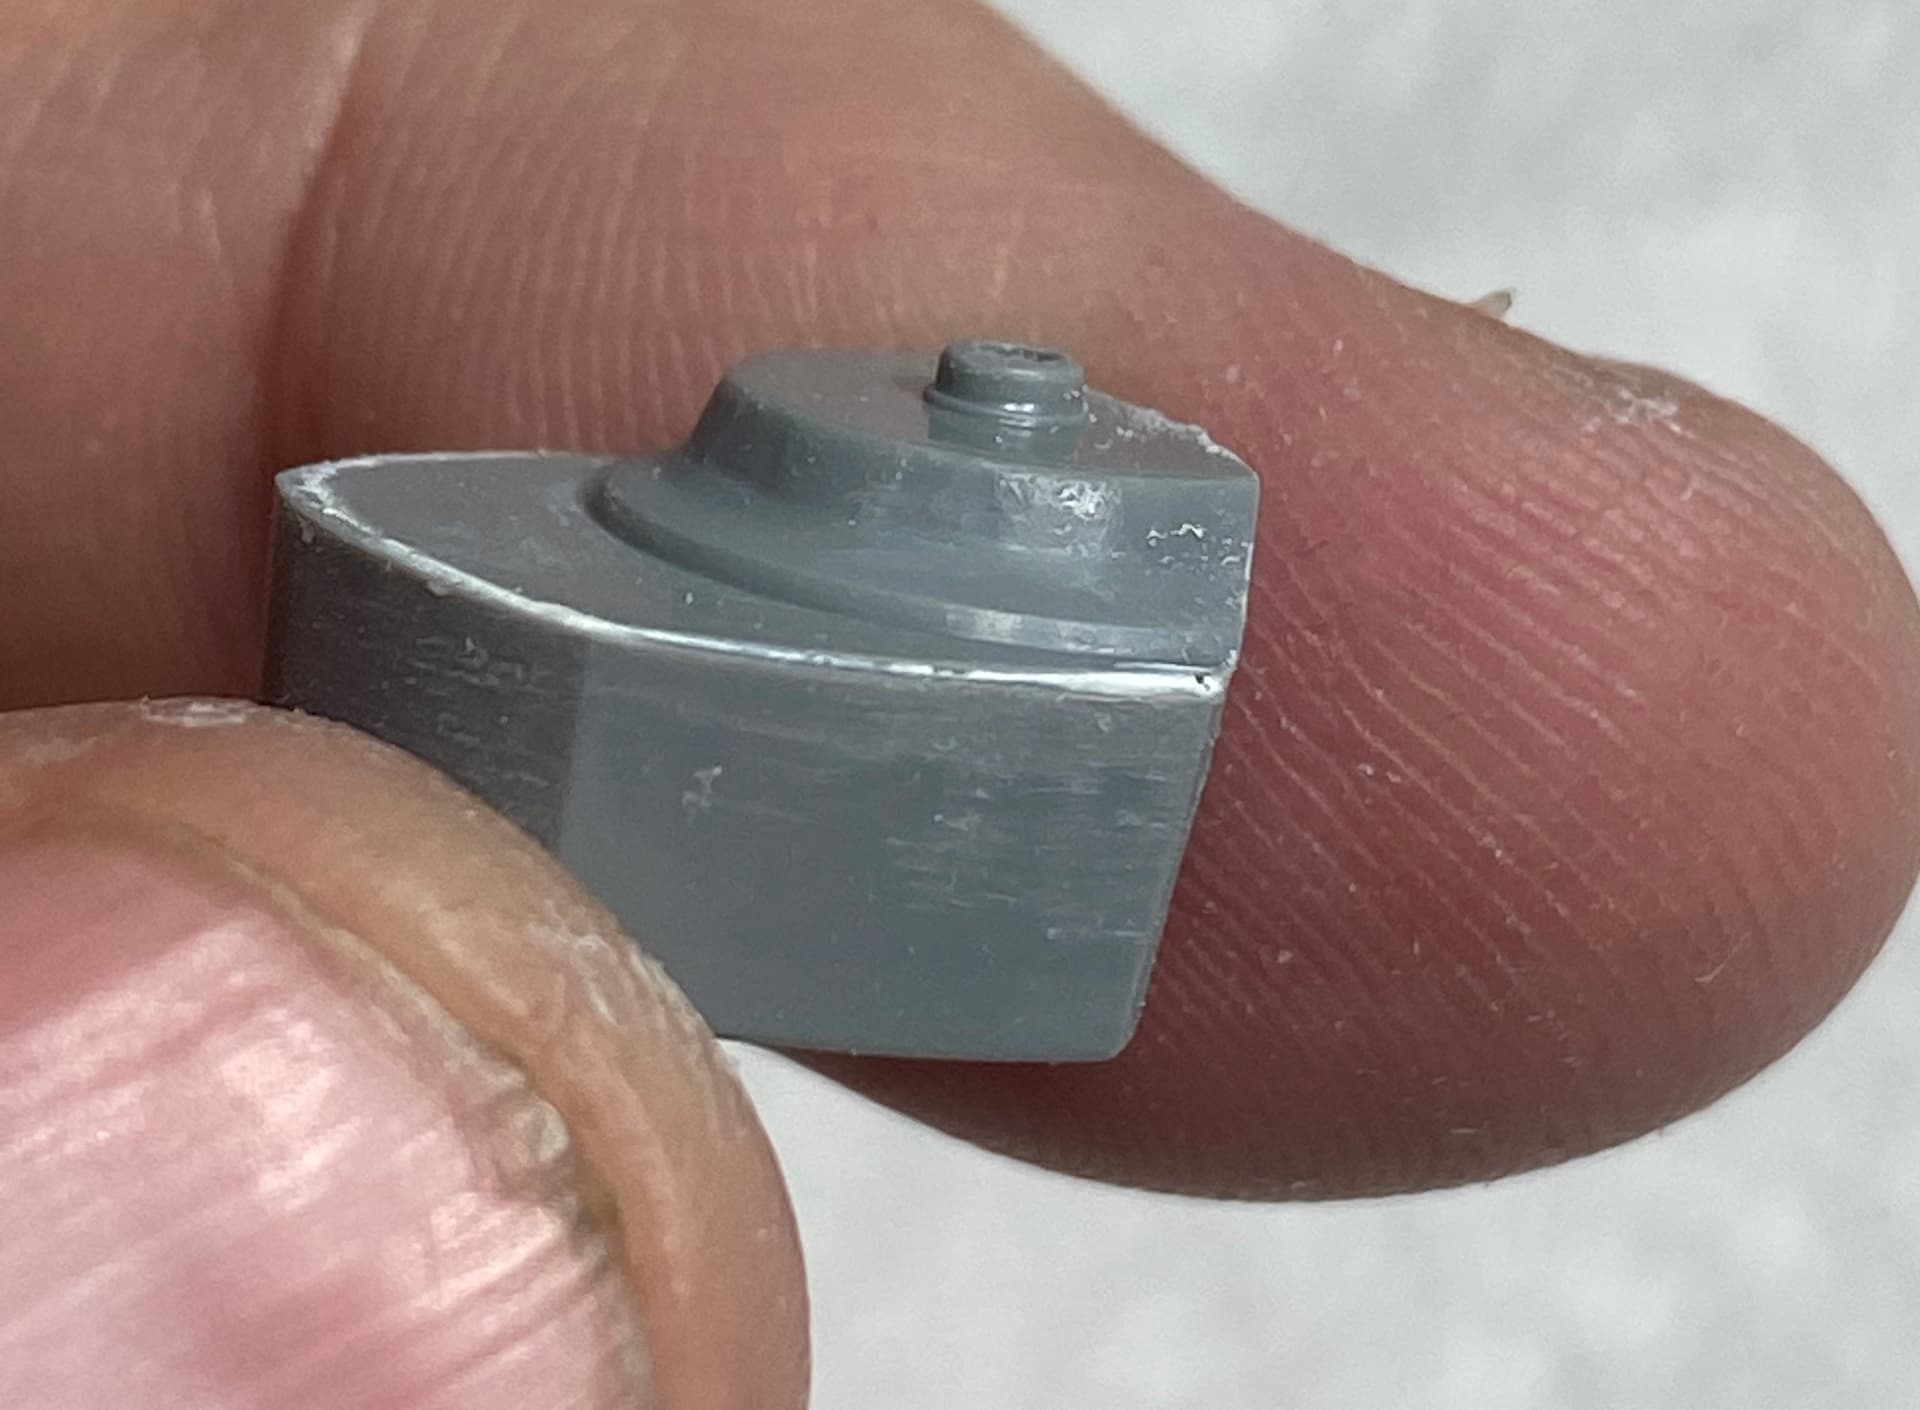
Another thing I am finding is the instructions are showing details that just aren’t there. For instance bridge conning tower (15) shows vision slots.
In reality there are none to be found.
I will most likely use small pieces of scrap PE to represent them but its a fairly big fumble on ICM’s part.
3 Likes
I had to do the same on the conning tower, what a pain. Used a black ink pen to give depth to the windows/viewers. She is shaping up nicely.
Mark
All caught up and following with interest, Rory!
This looks like a challenging build, but so far it looks as if you’ve got her well in hand 

Nice start I will be following your progress.
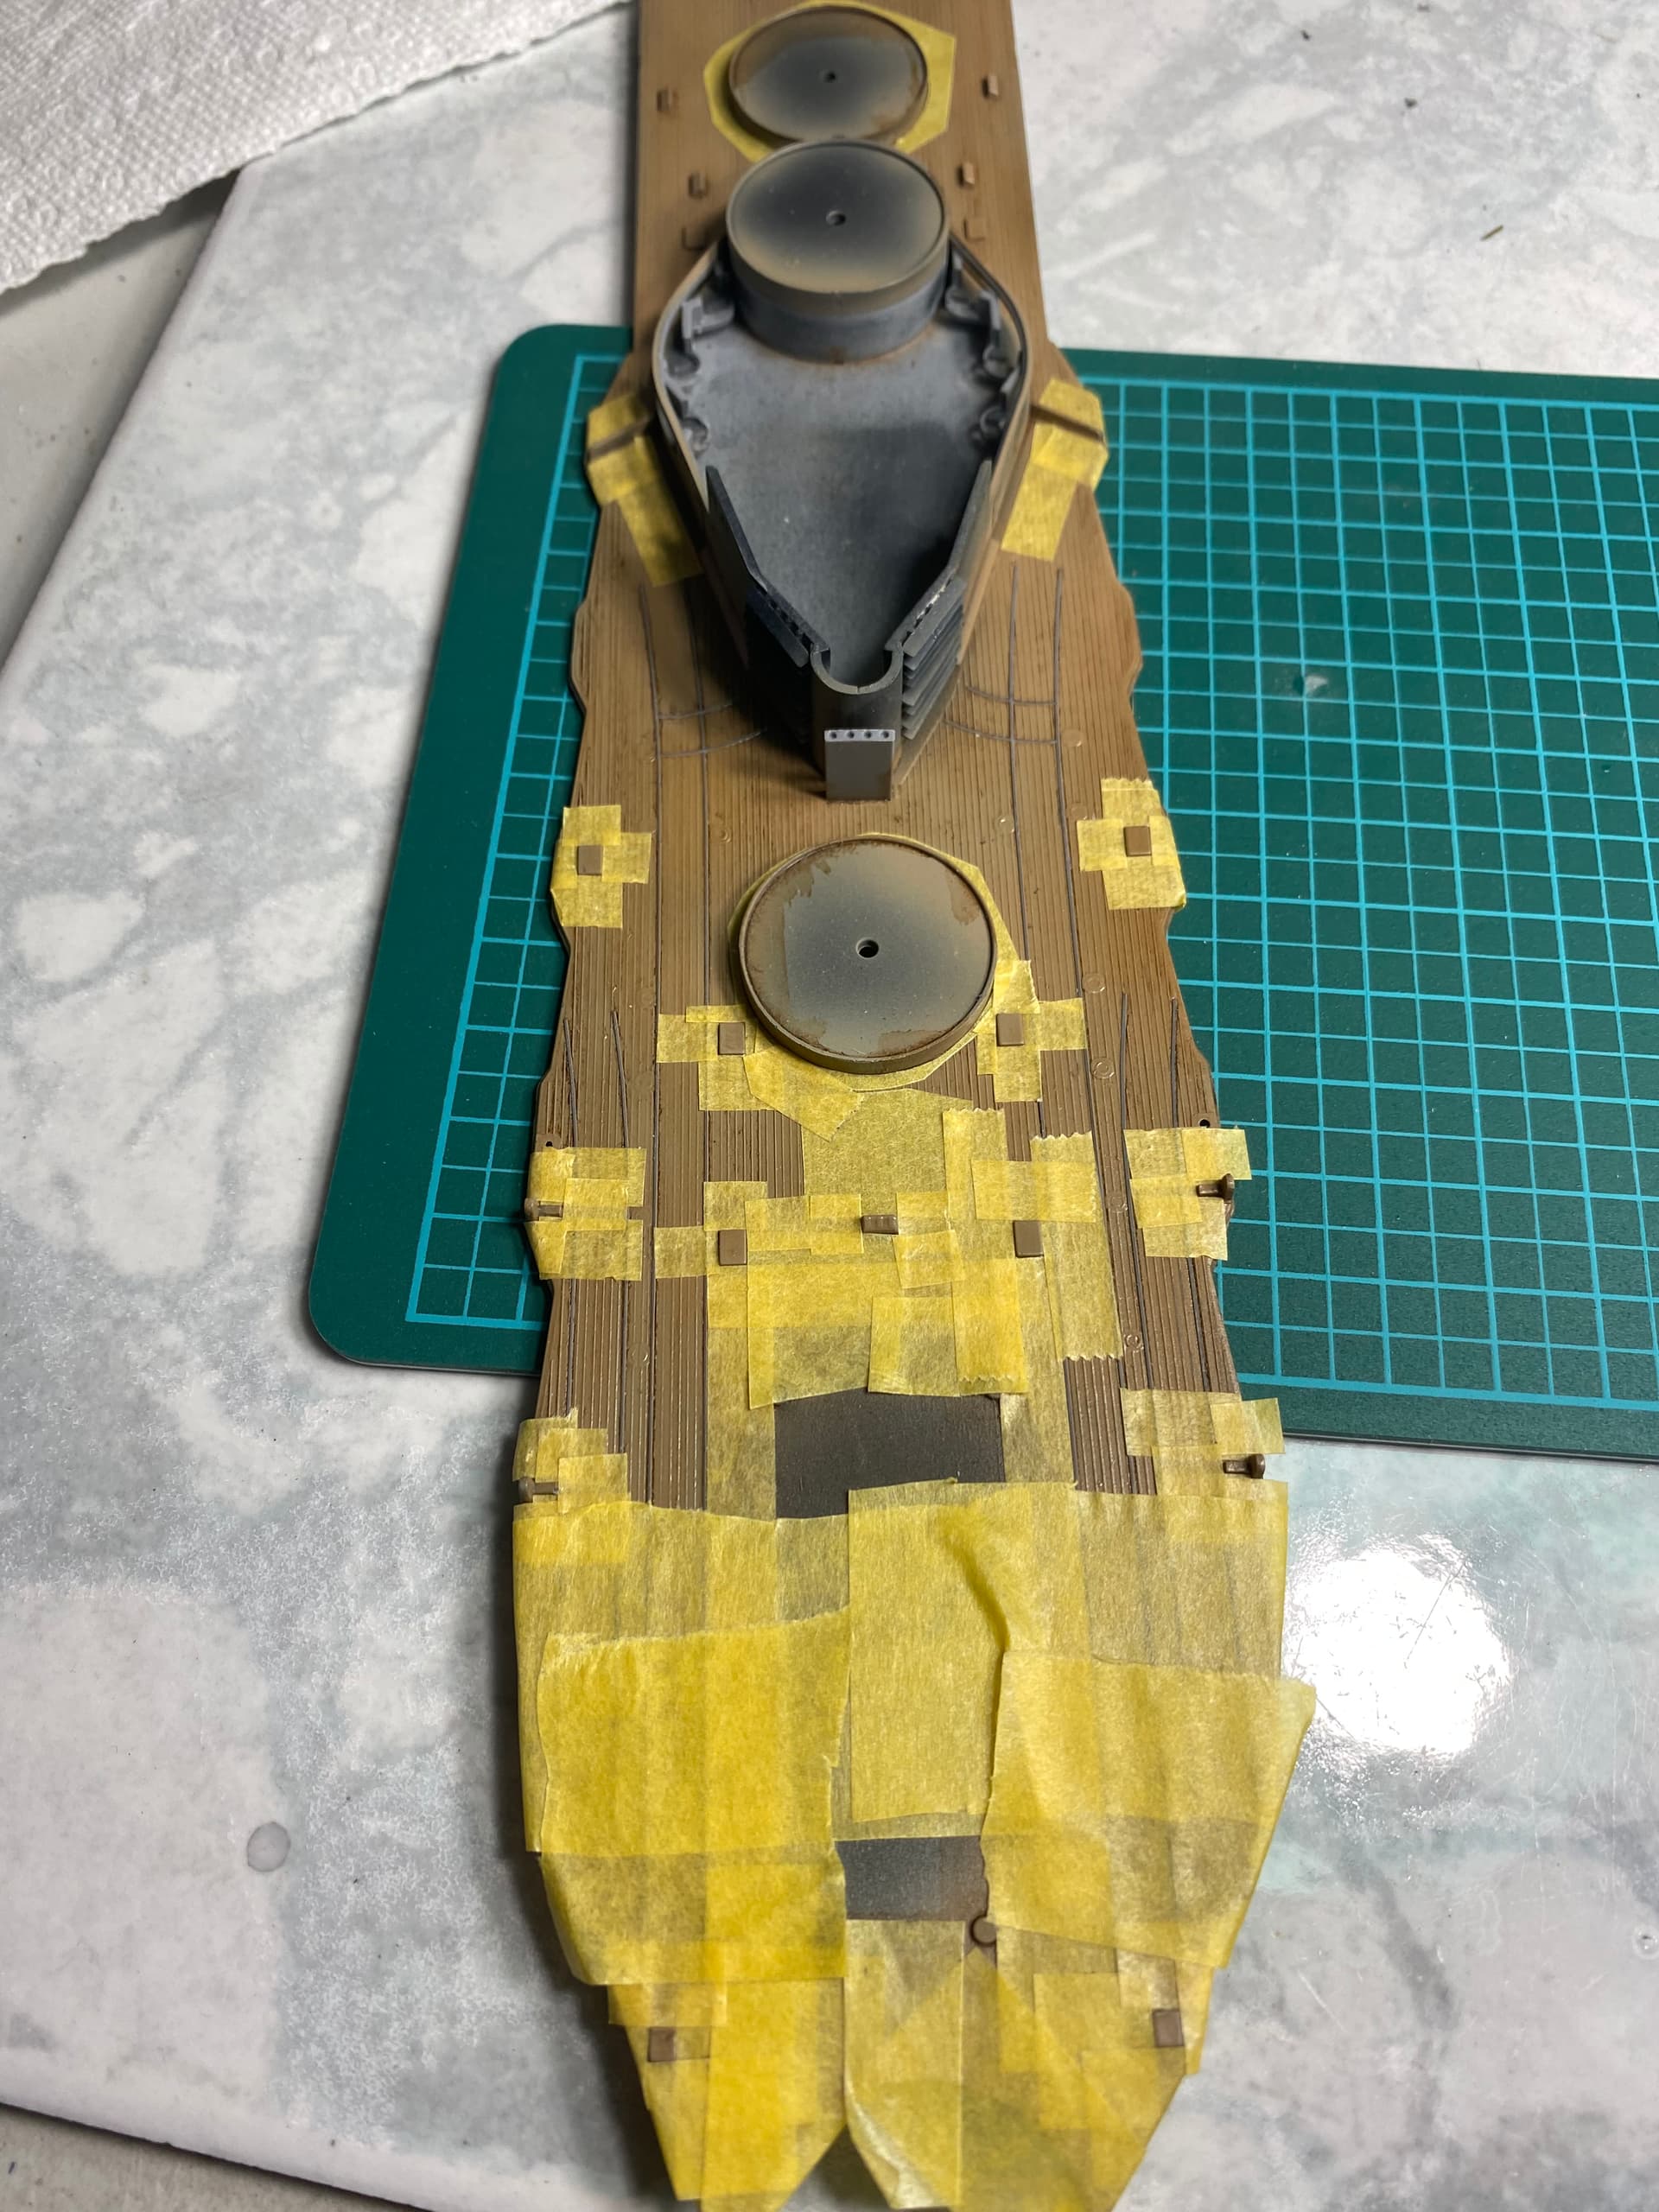
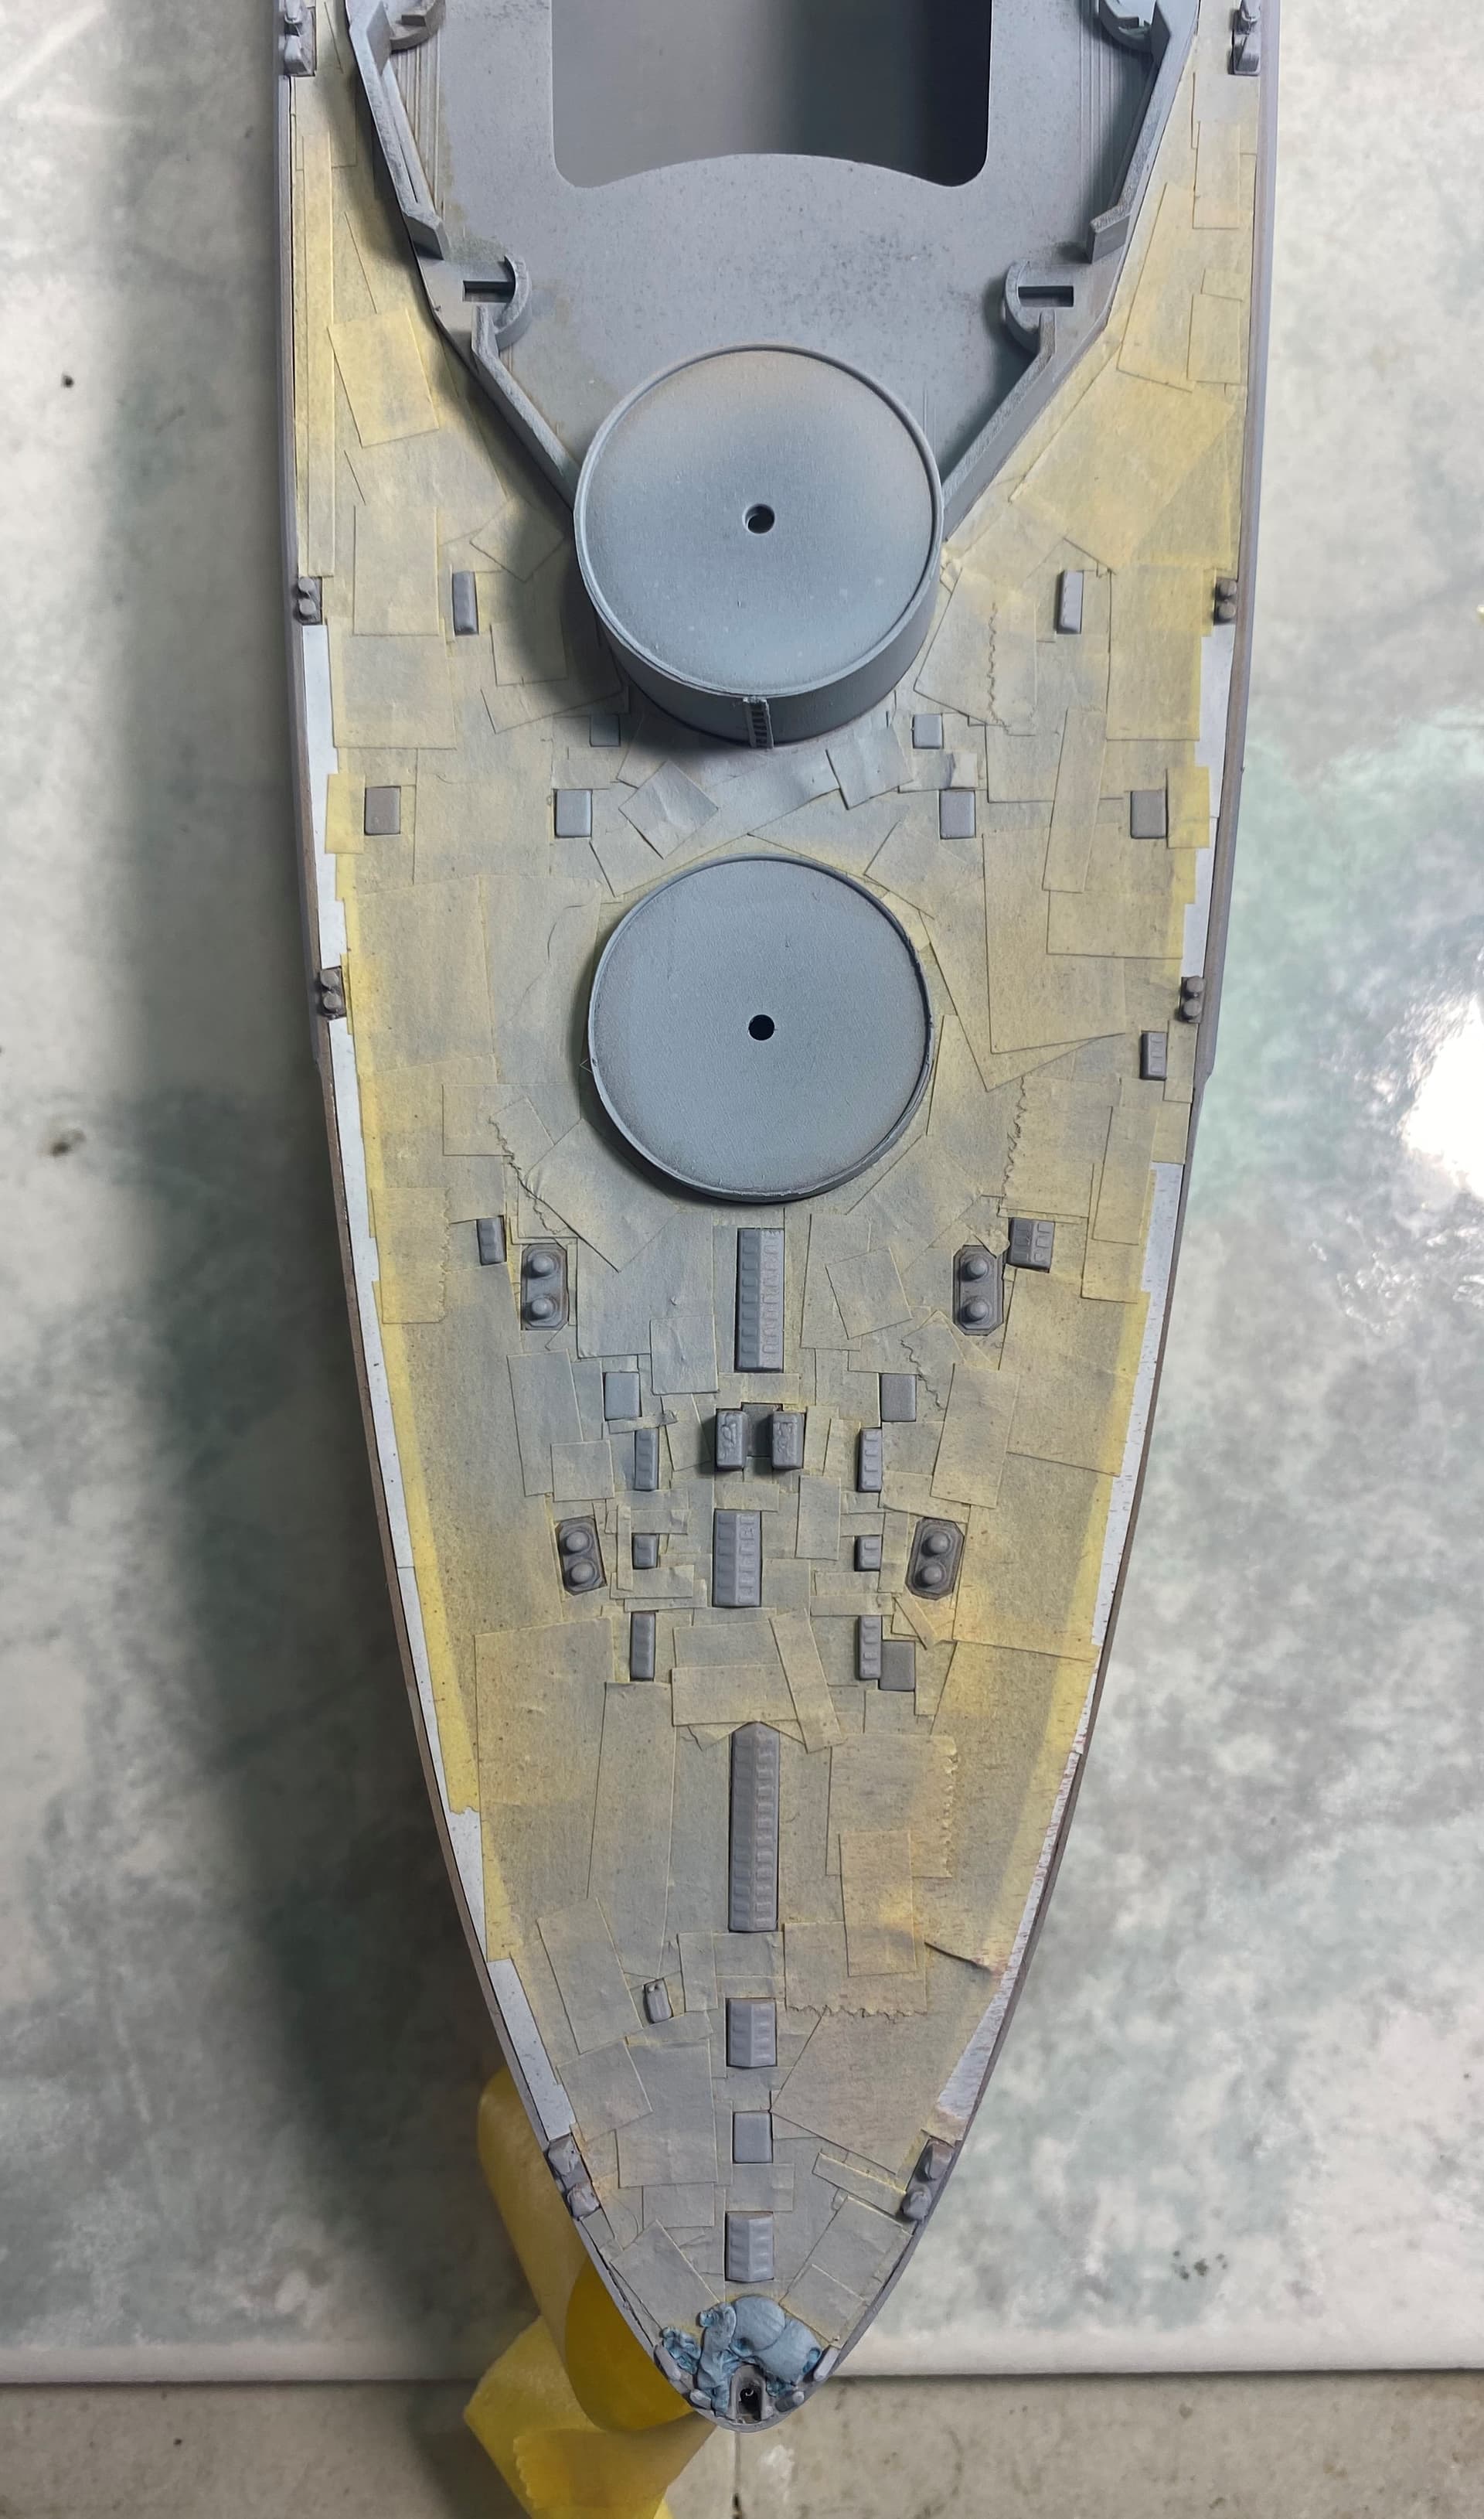
Believe it or not this is the first model ship where I am painting the wooden deck. And I have discovered how much of a pain it is compared to just airbrushing everything and slapping a AM deck down.
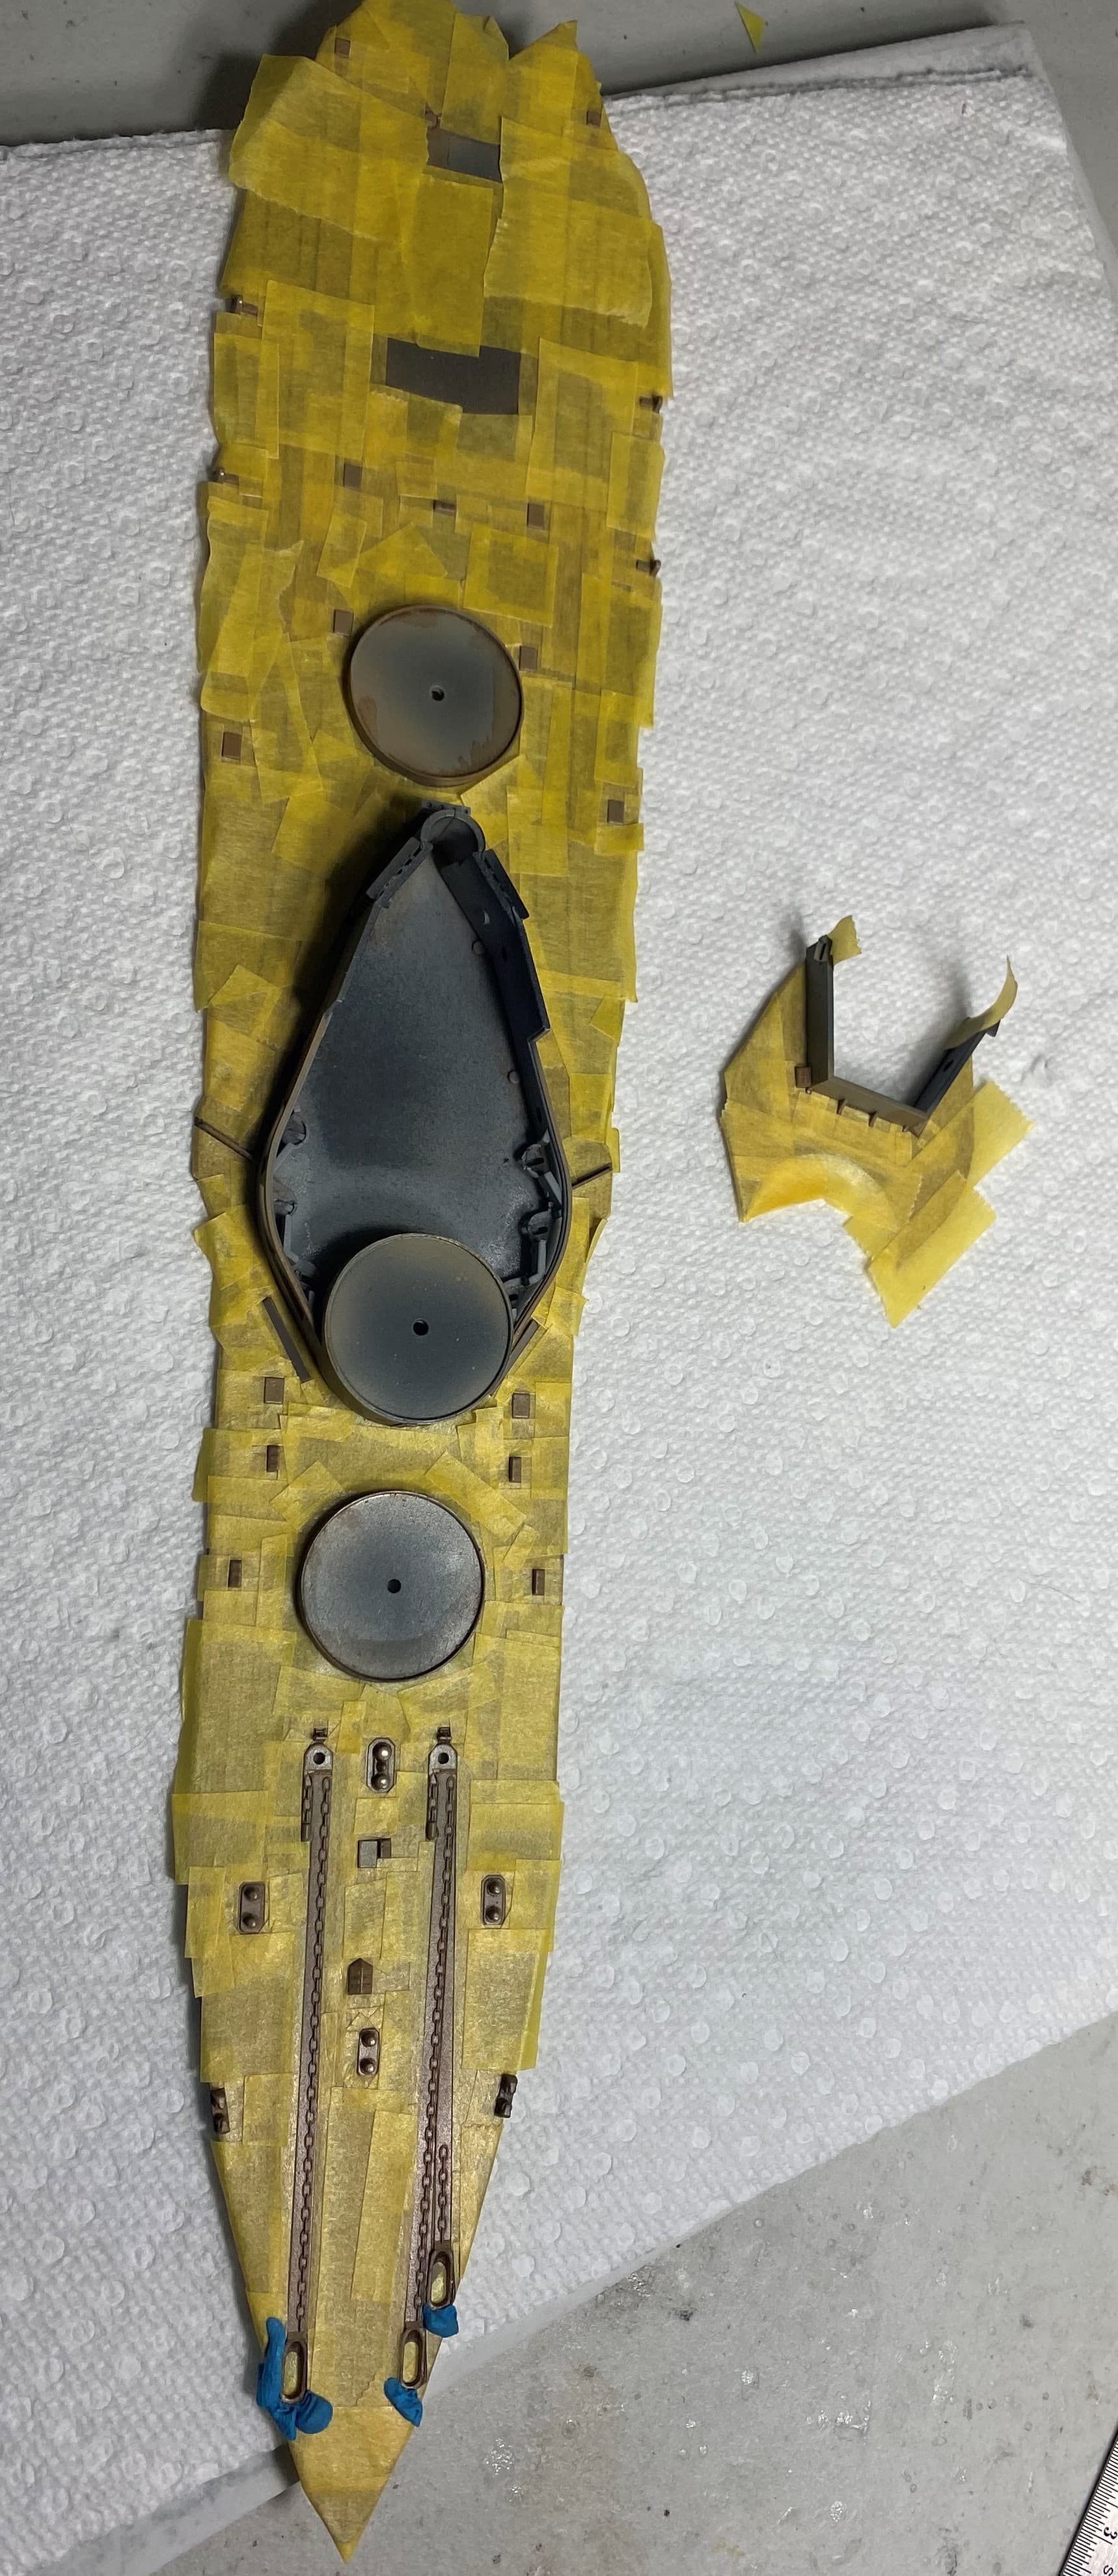
2.5 hrs of masking later and the upper deck was ready for paint.
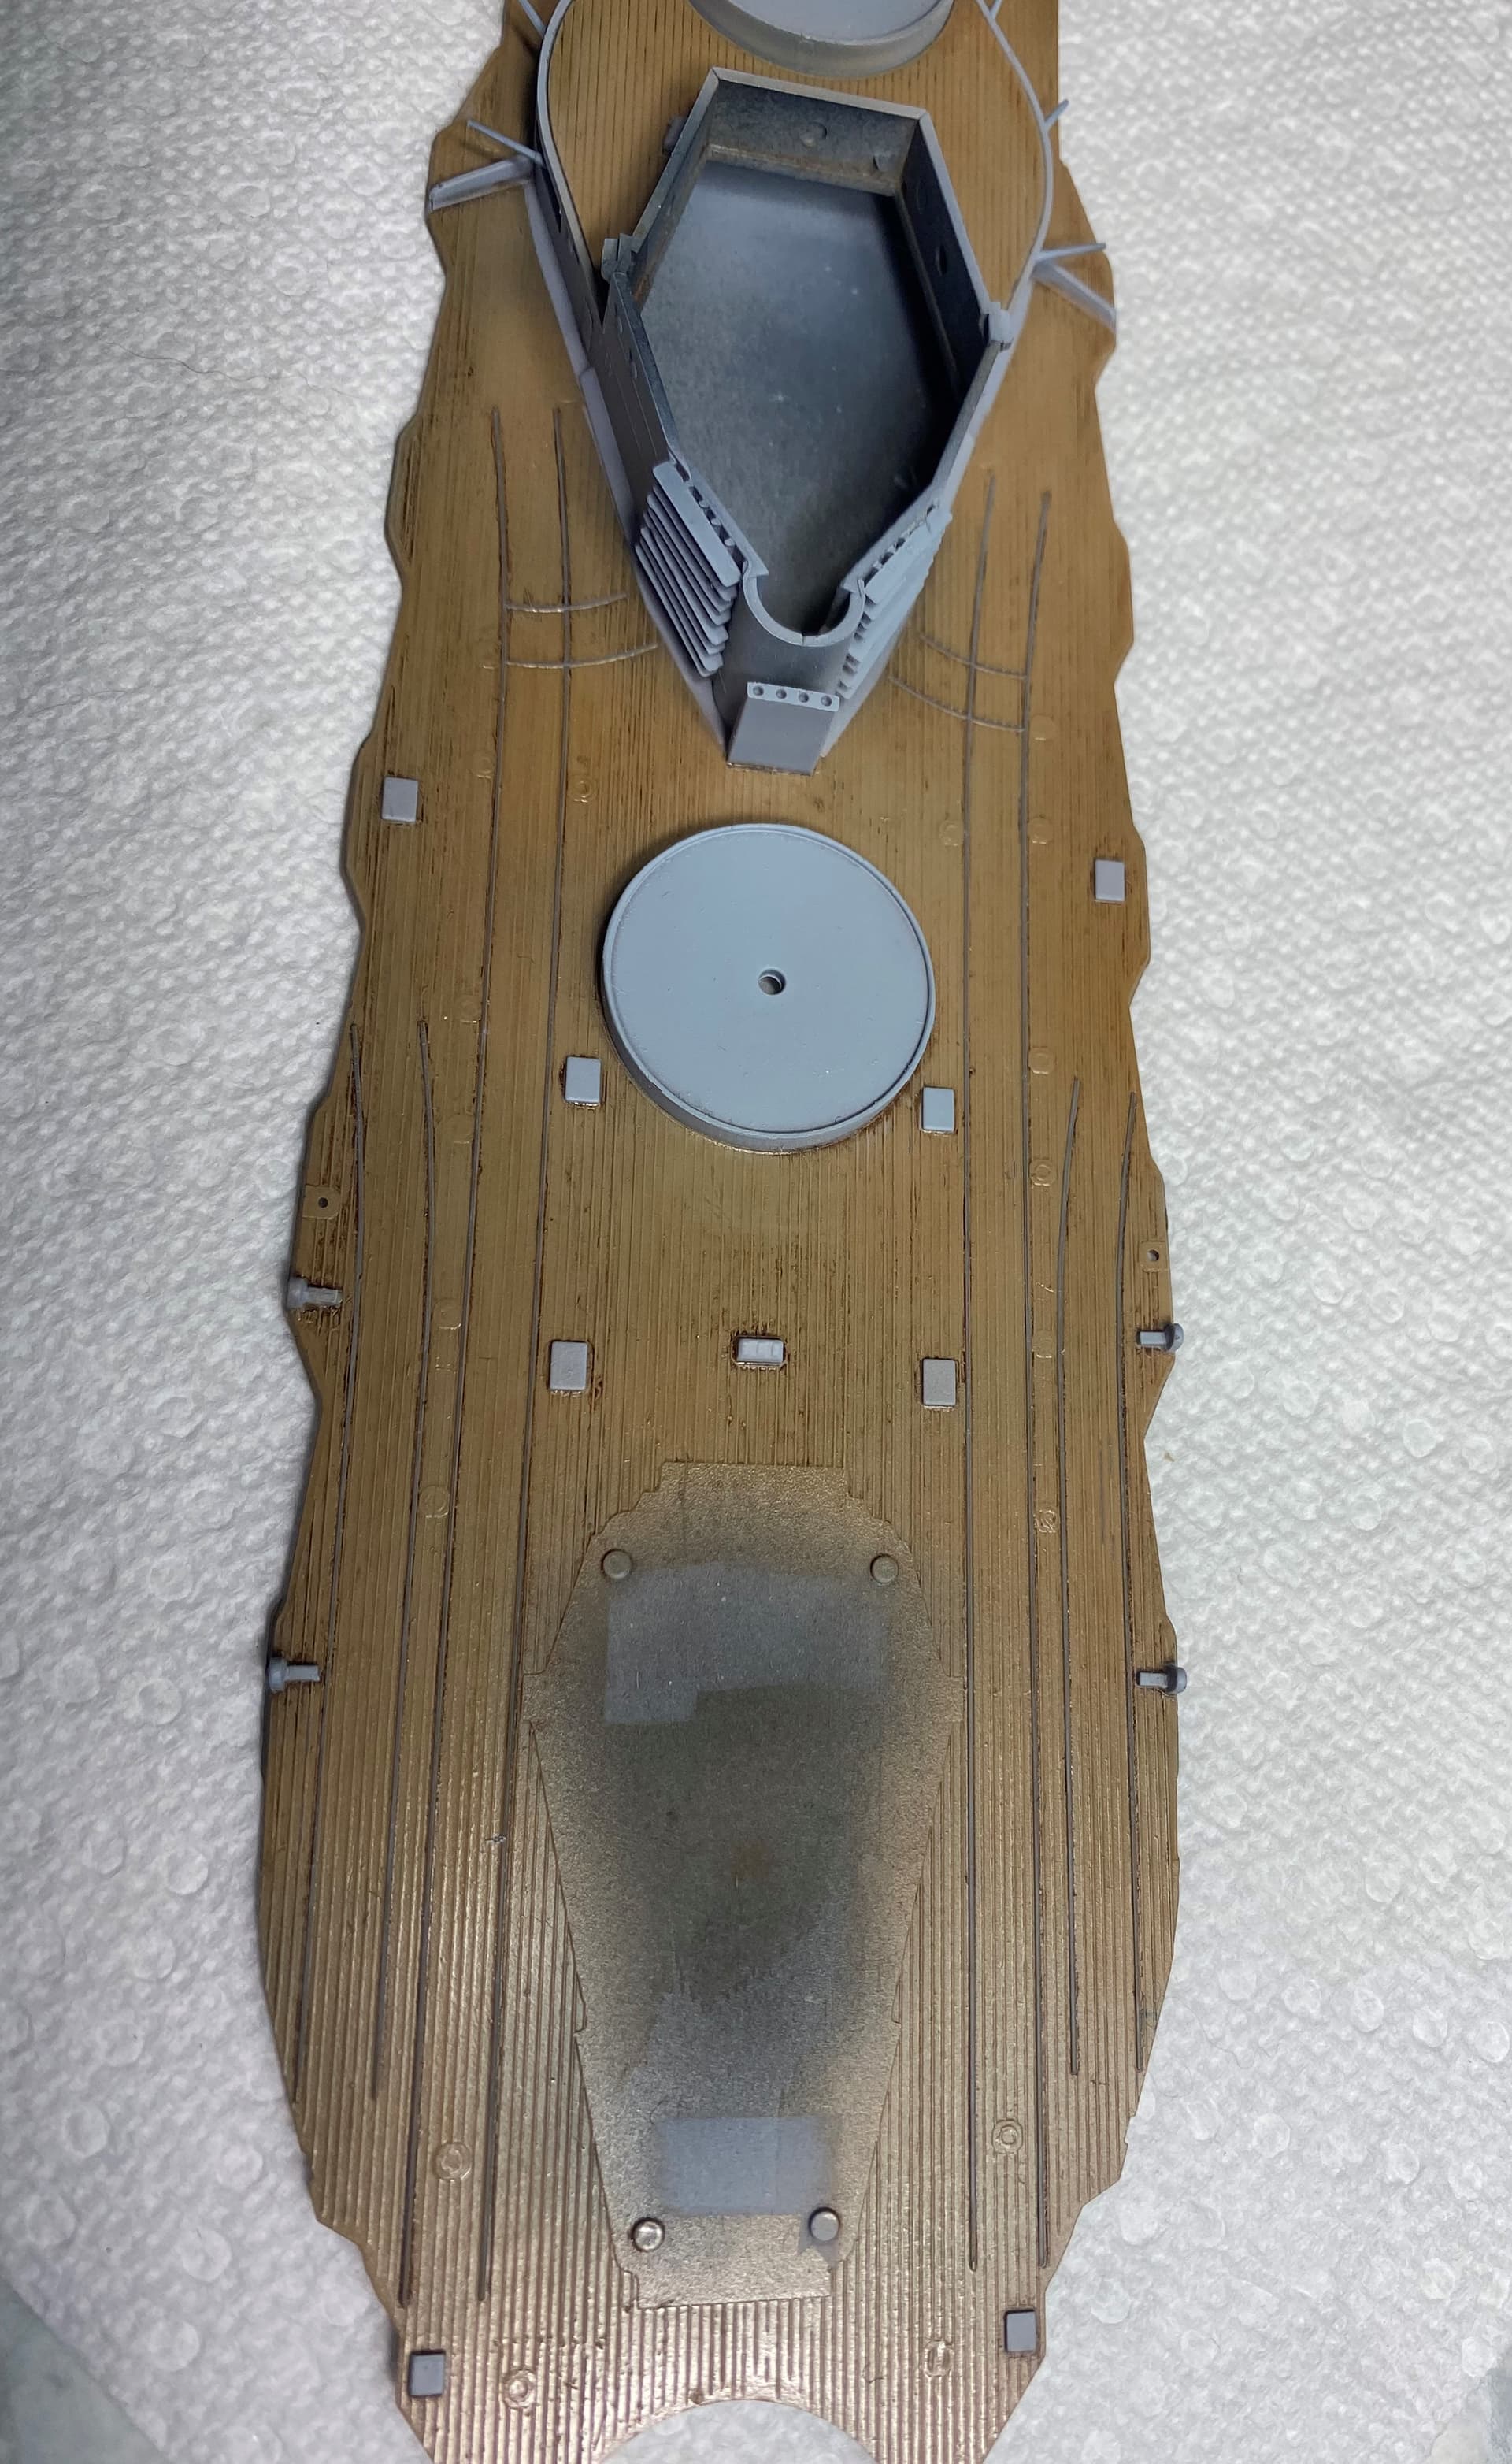
3 minutes of airbrushing and tape removal later and we end up with.
I am very happy with it. The photos don’t show the wash and color modulation as much as I would like but it is there.
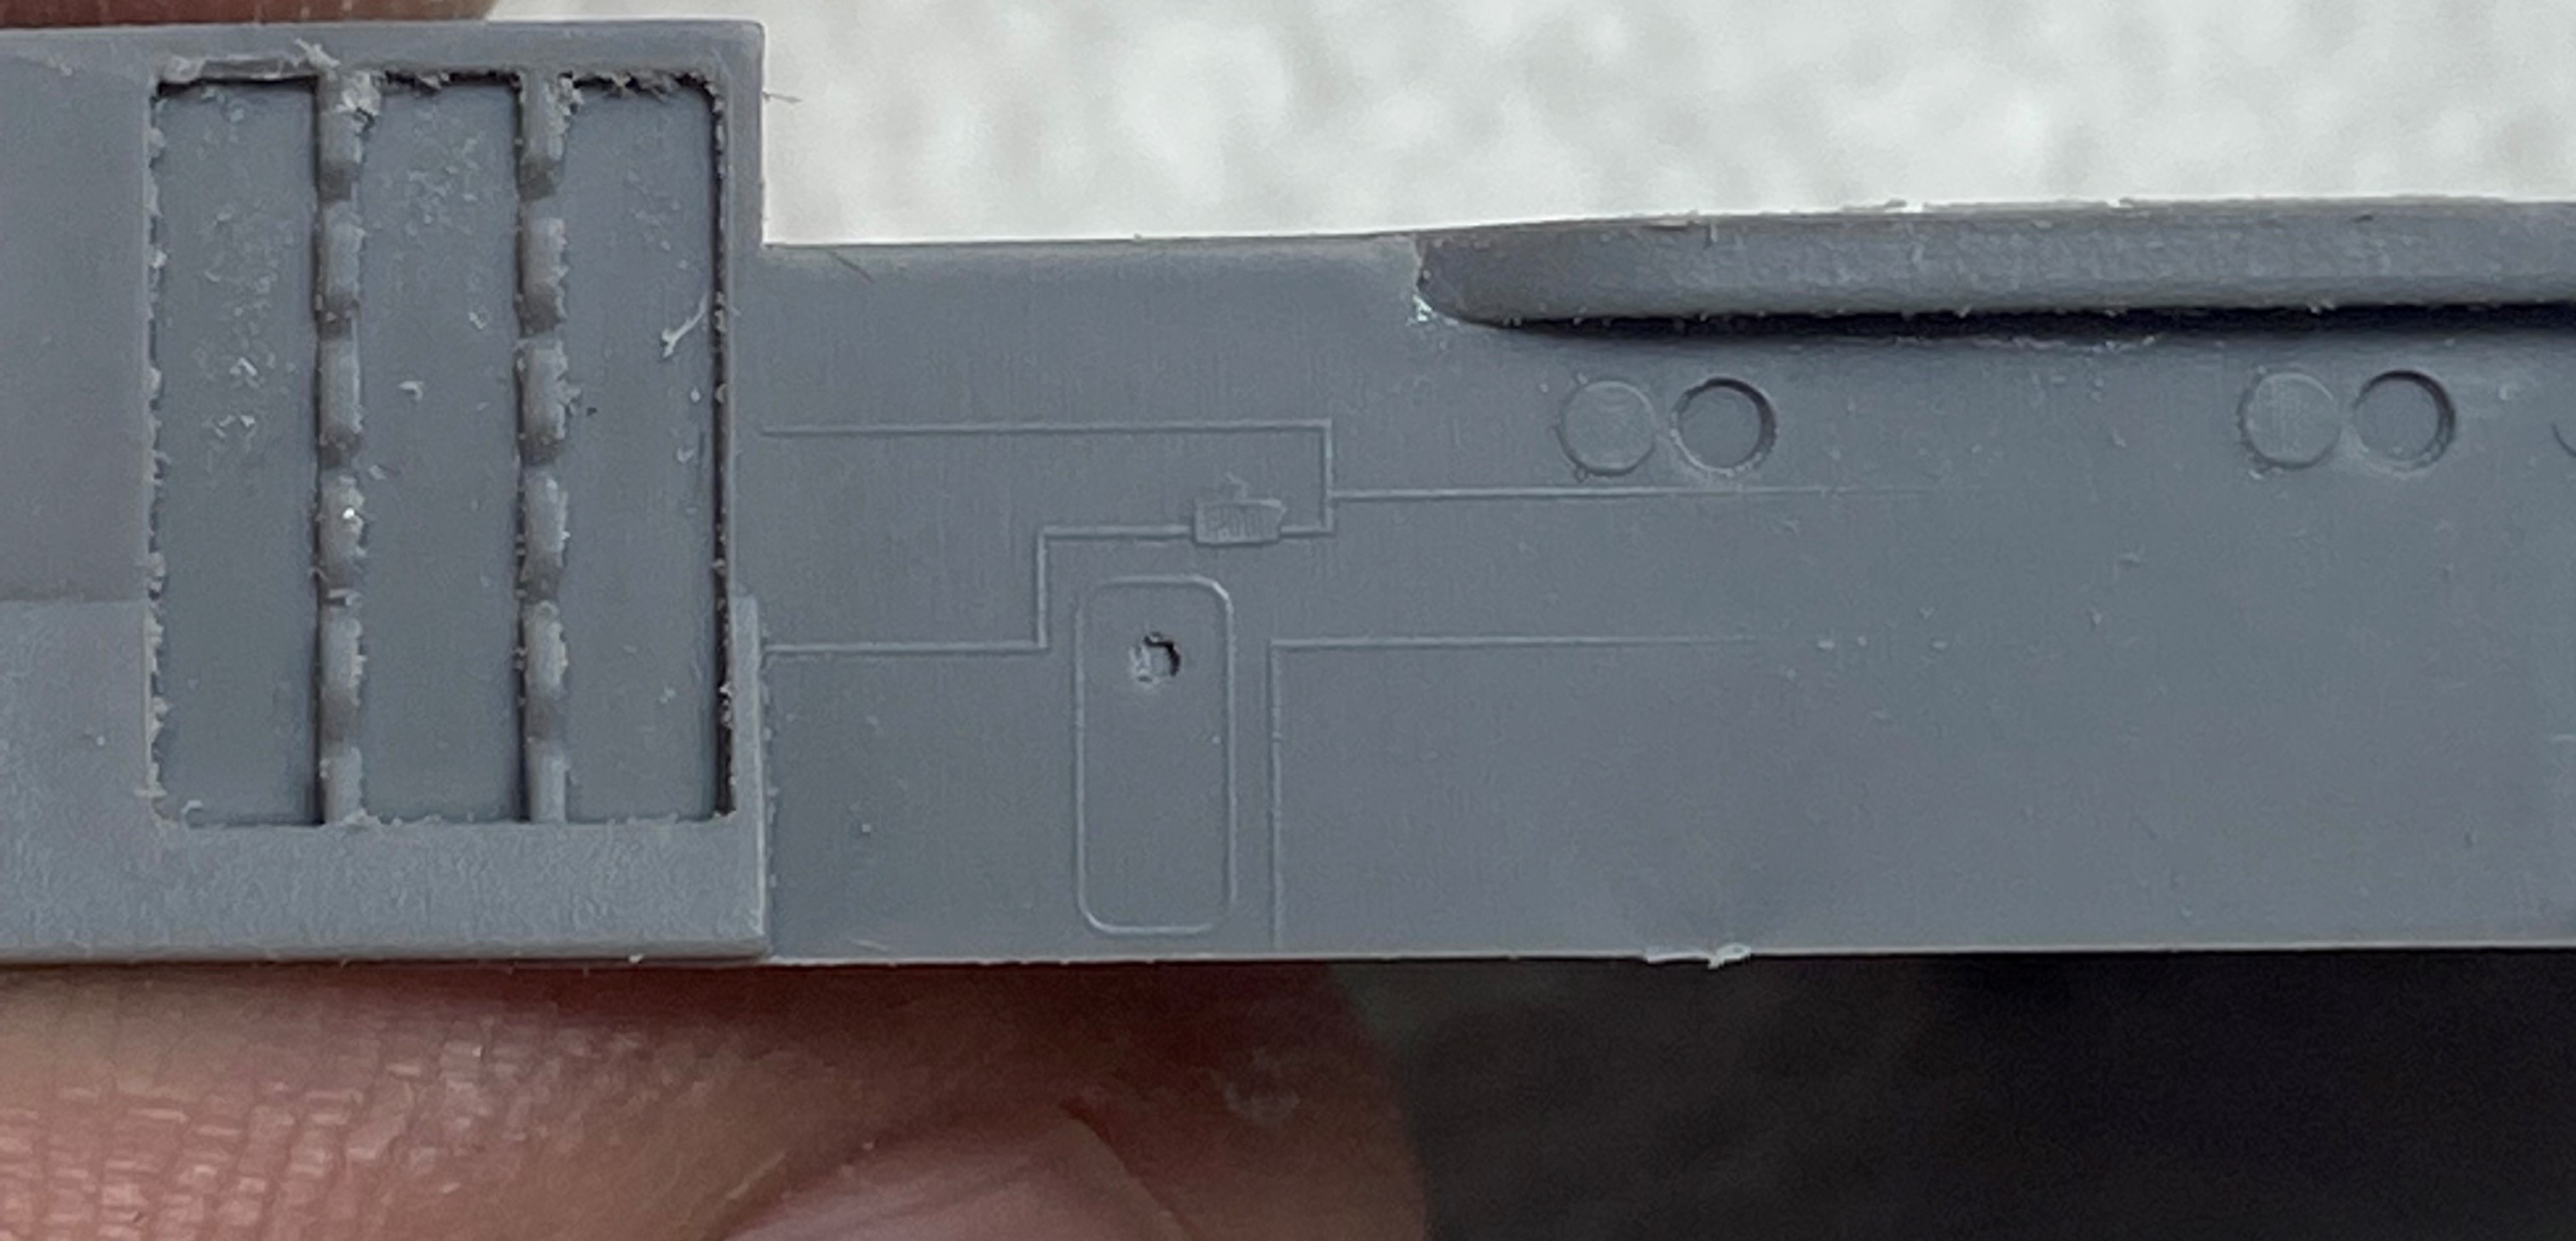
I was pretty concerned about how I was going to mask off the tracks on the rear of the upper deck. Played around with a few methods but then it hit me. They are grey plastic and they need to be painted grey. So just ran a blade gently over them which removed the wood deck color and bobs your uncle. Took me maybe a minute to do.
6 Likes
Deck looks the part and well worth the effort.
Frankly I think it looks better than some of the aftermarket real wood decks .
Hi Rory,
I’m in and catching up here as well - great work so far, despite the somewhat troublesome kit as it appears… The wooden deck looks really good! For me it was just the other way round, used to paint the decks until I discovered the wooden AM ones - they make life so much easier…
Cheers
Jan
…a really great result! Nice work, mate 
Been a busy weekend. Spent the majority of it masking the deck. It was a pain but in the end I think it worked out well.
Another thing that worked out well was the use of the PE coal scuttles. I was lucky there were 100 in the set as I ended up using 97. Teeny little buggers.
Lots O’ Masking
But ended up with this:
Mated the upper deck to the hull and superstructure and she is starting to really look the part.
7 Likes
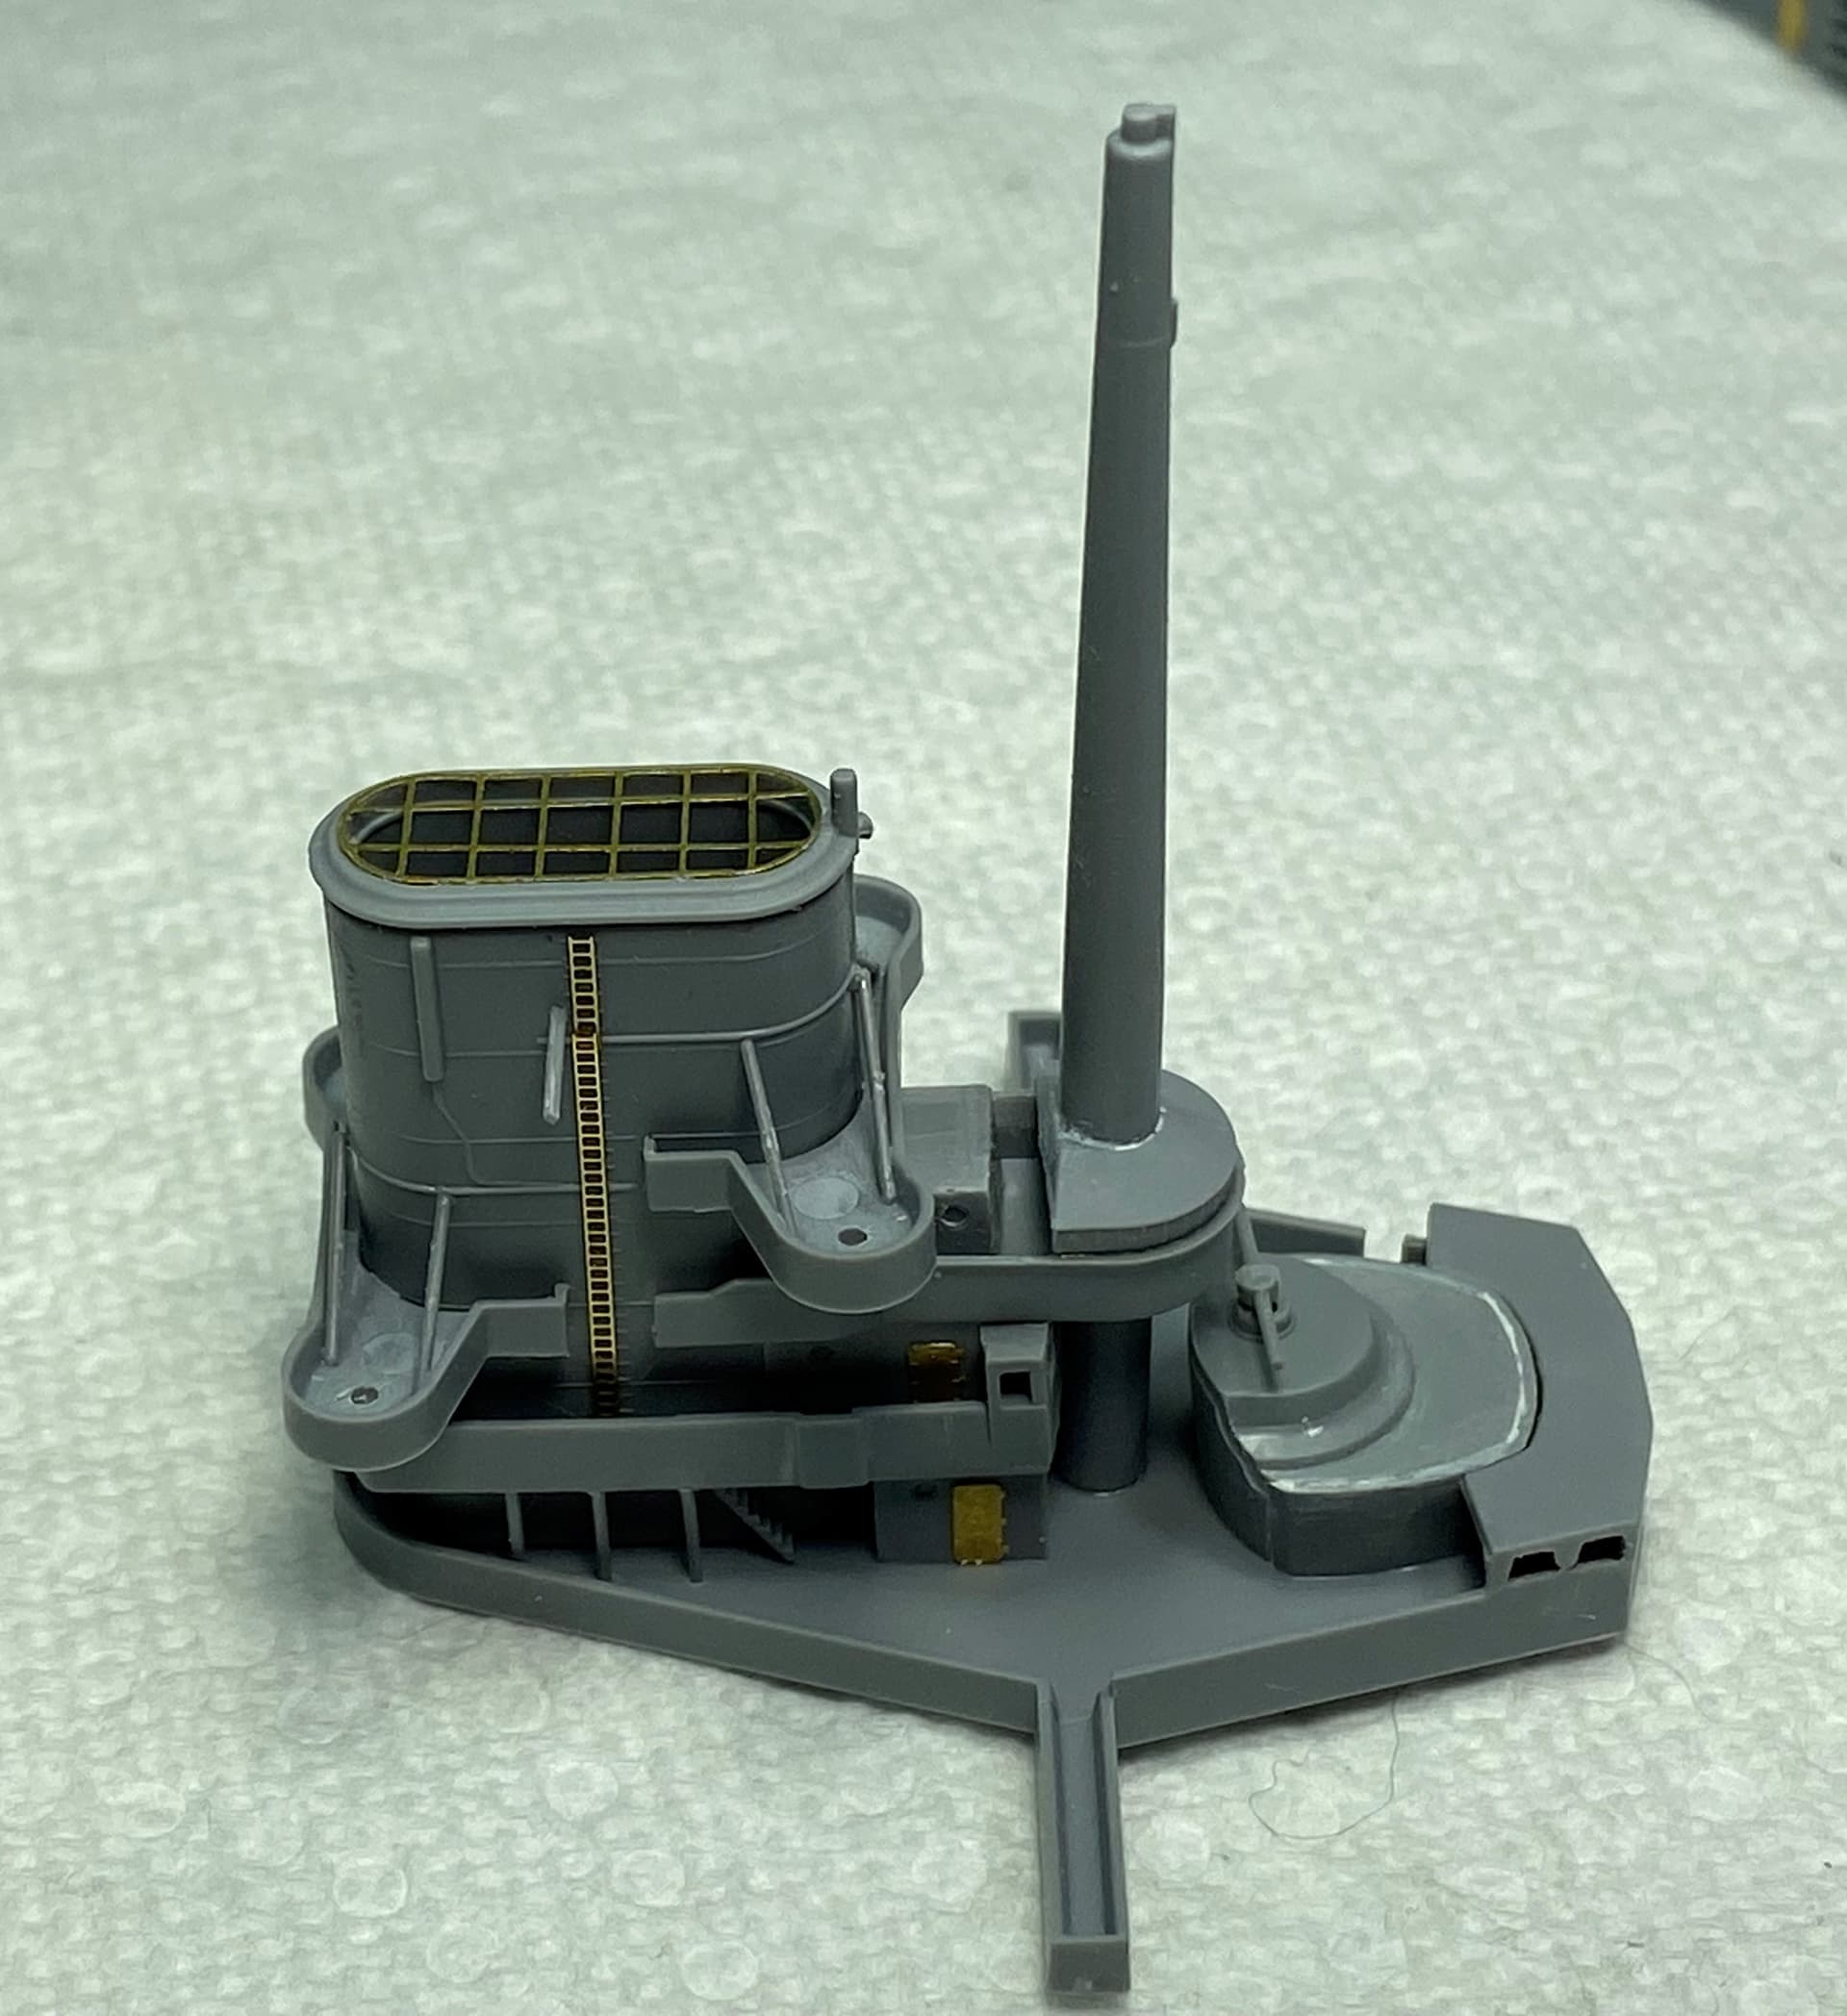
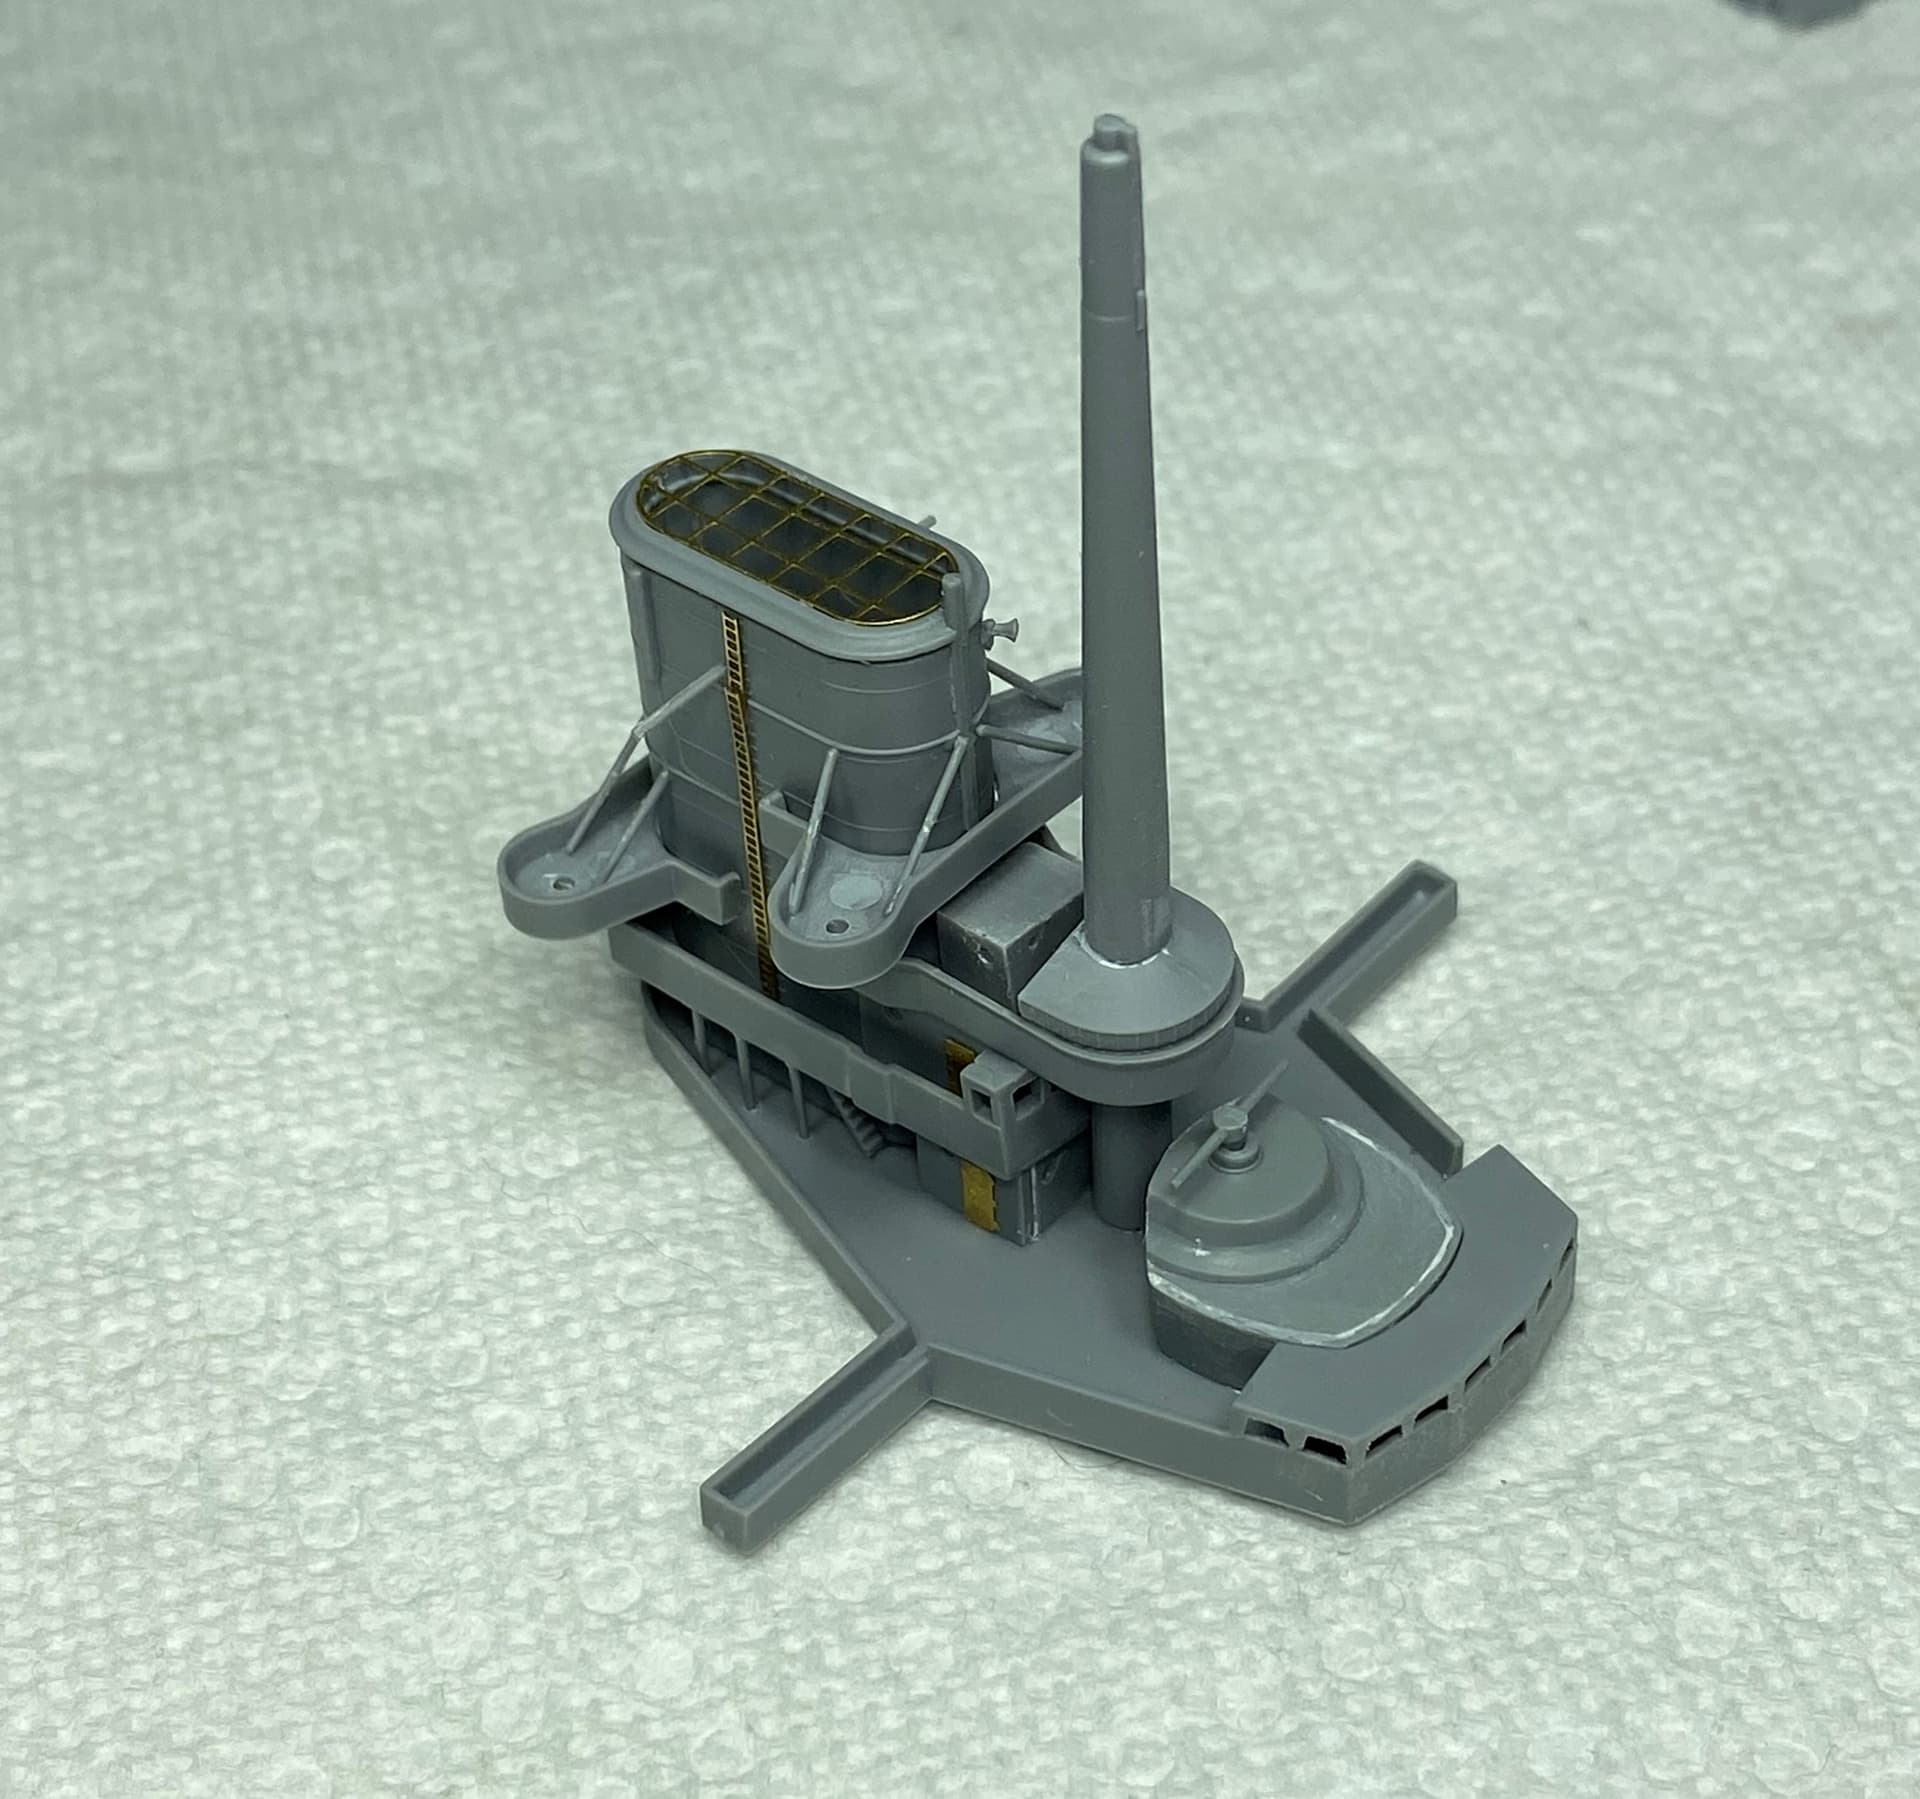
Started work on assembling the superstructure. Following the trend, this fought me the whole way.
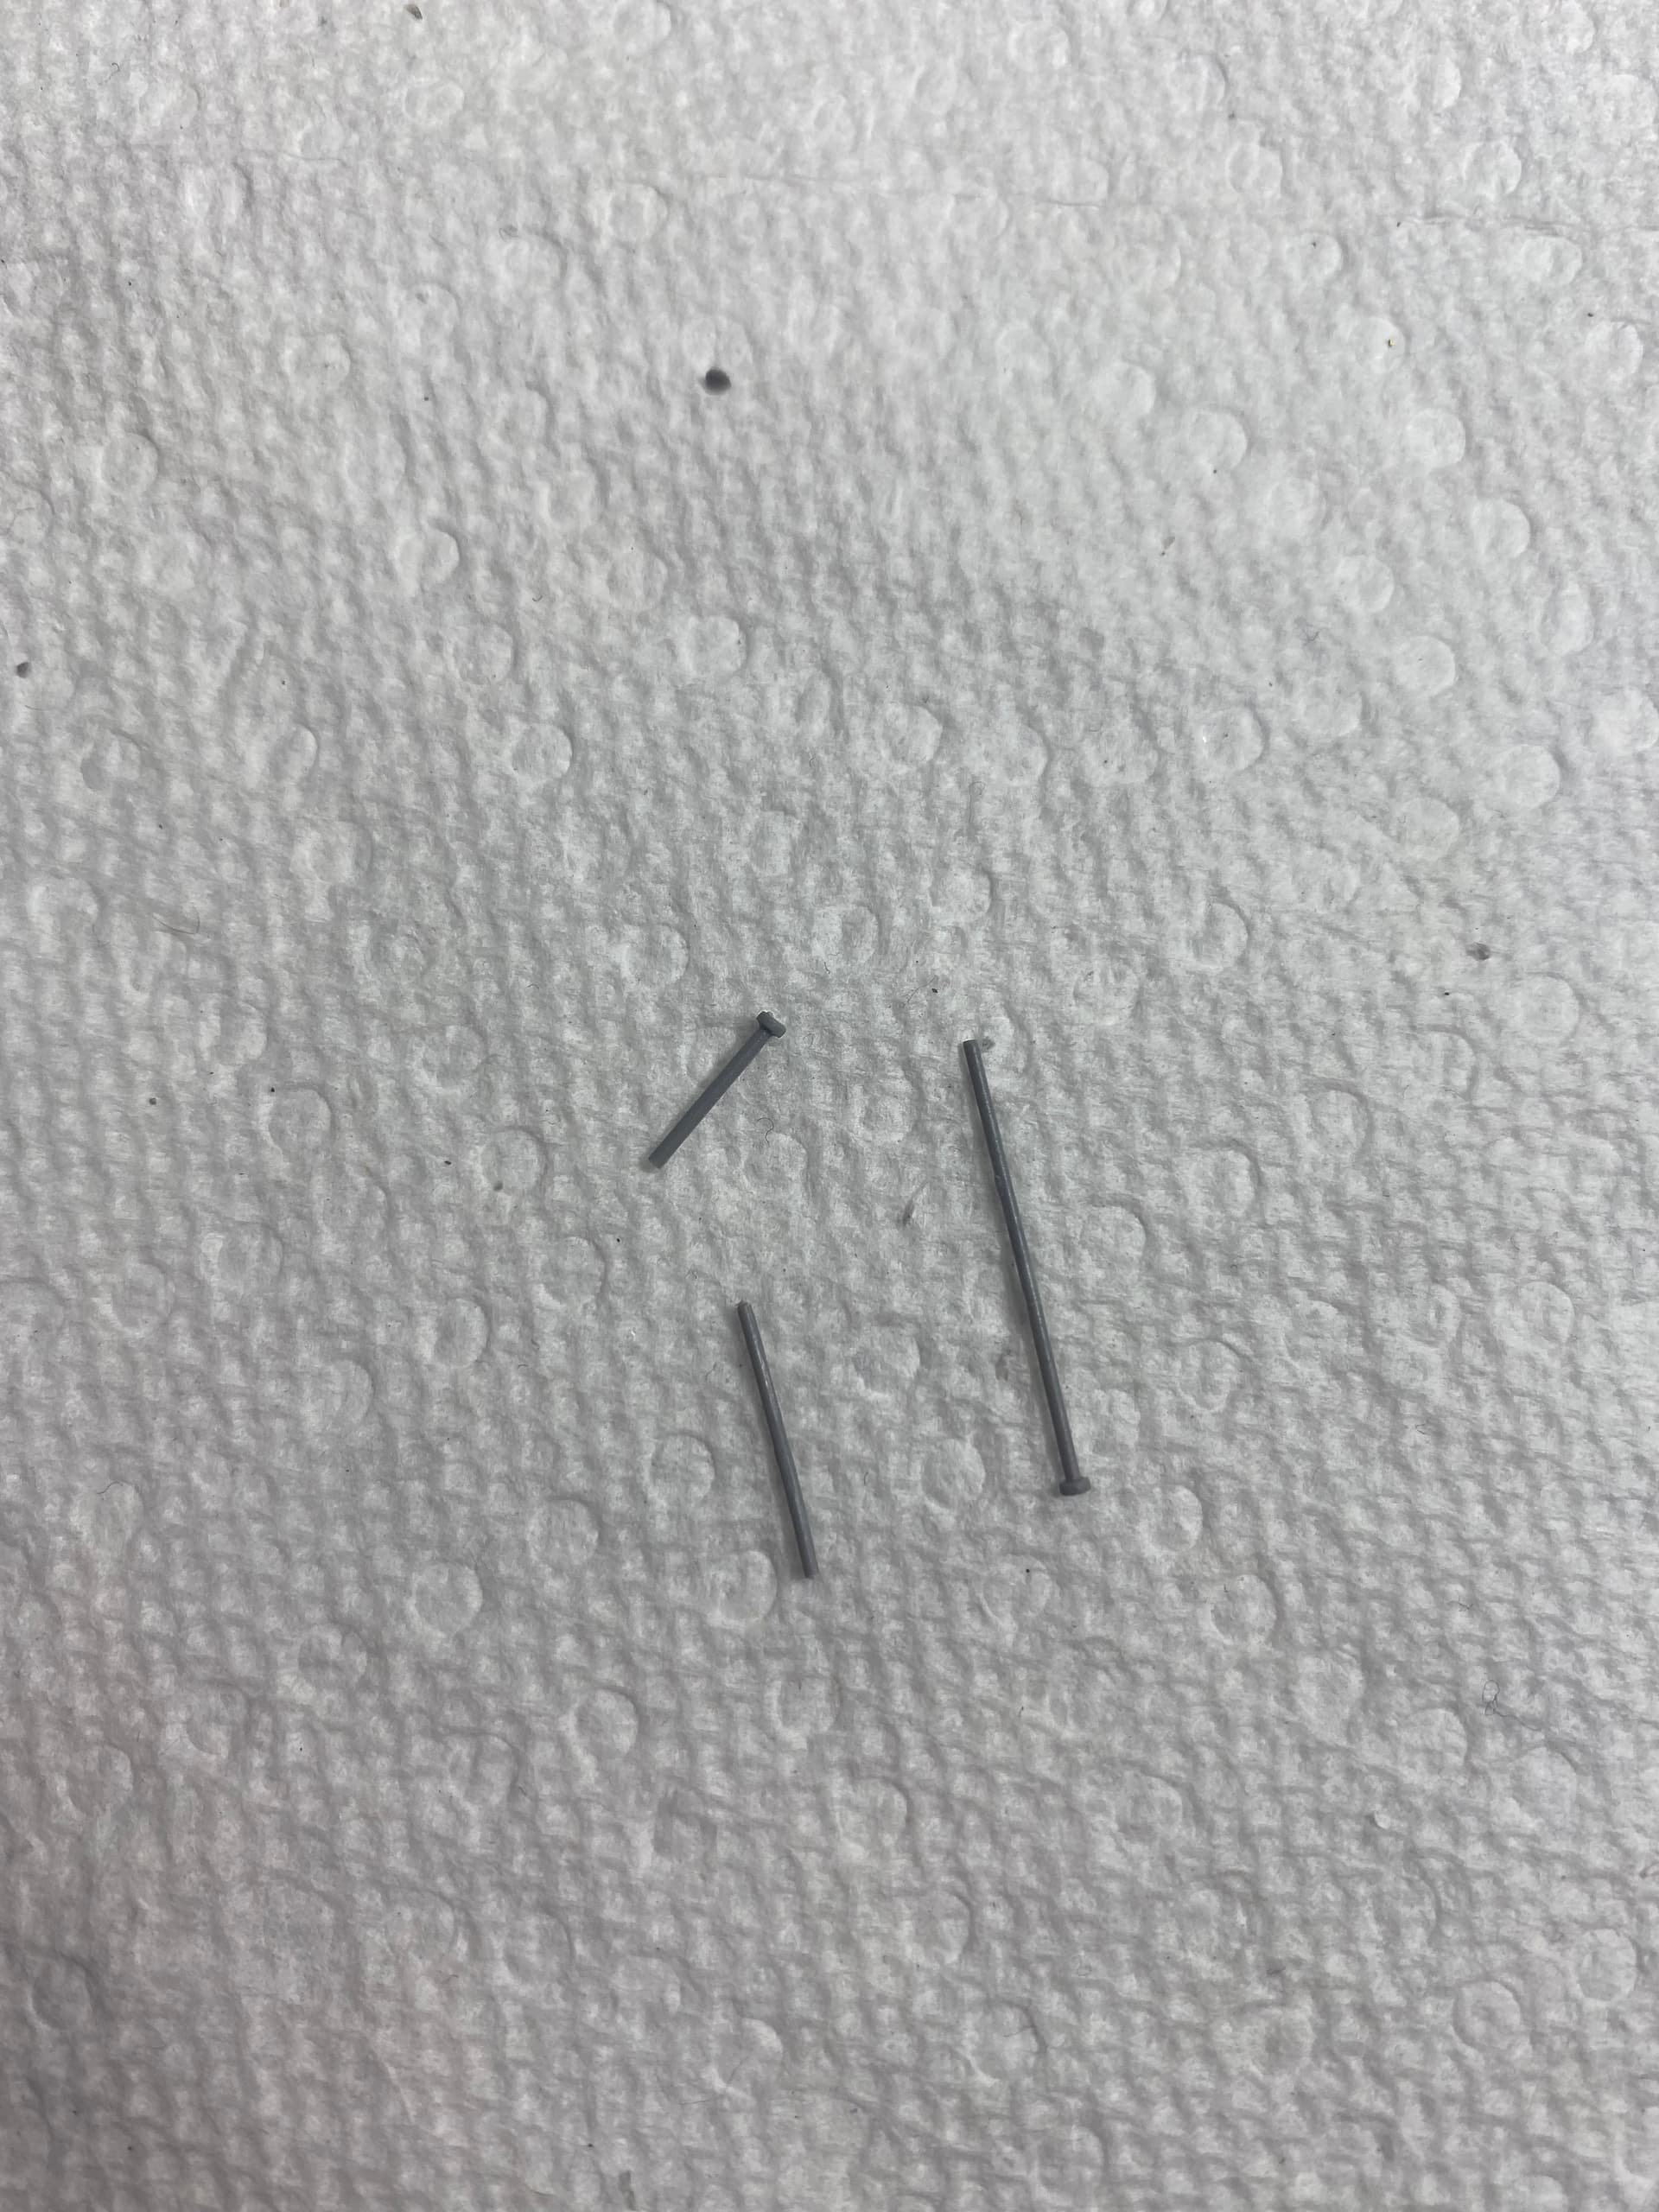
First issue I had was the platform supports on the rear funnel.
These immediately failed on me, being made of very soft plastic.
Bent and Broken.
I ended up using some brass tube. Not exactly the same diameter but close enough and they are dead straight.
I had planned to build these up in little subassemblies so I could paint each part individually but the fit was so bad and they are so interconnected I couldn’t get that to work. So will have to break out the hairy stick at some point.
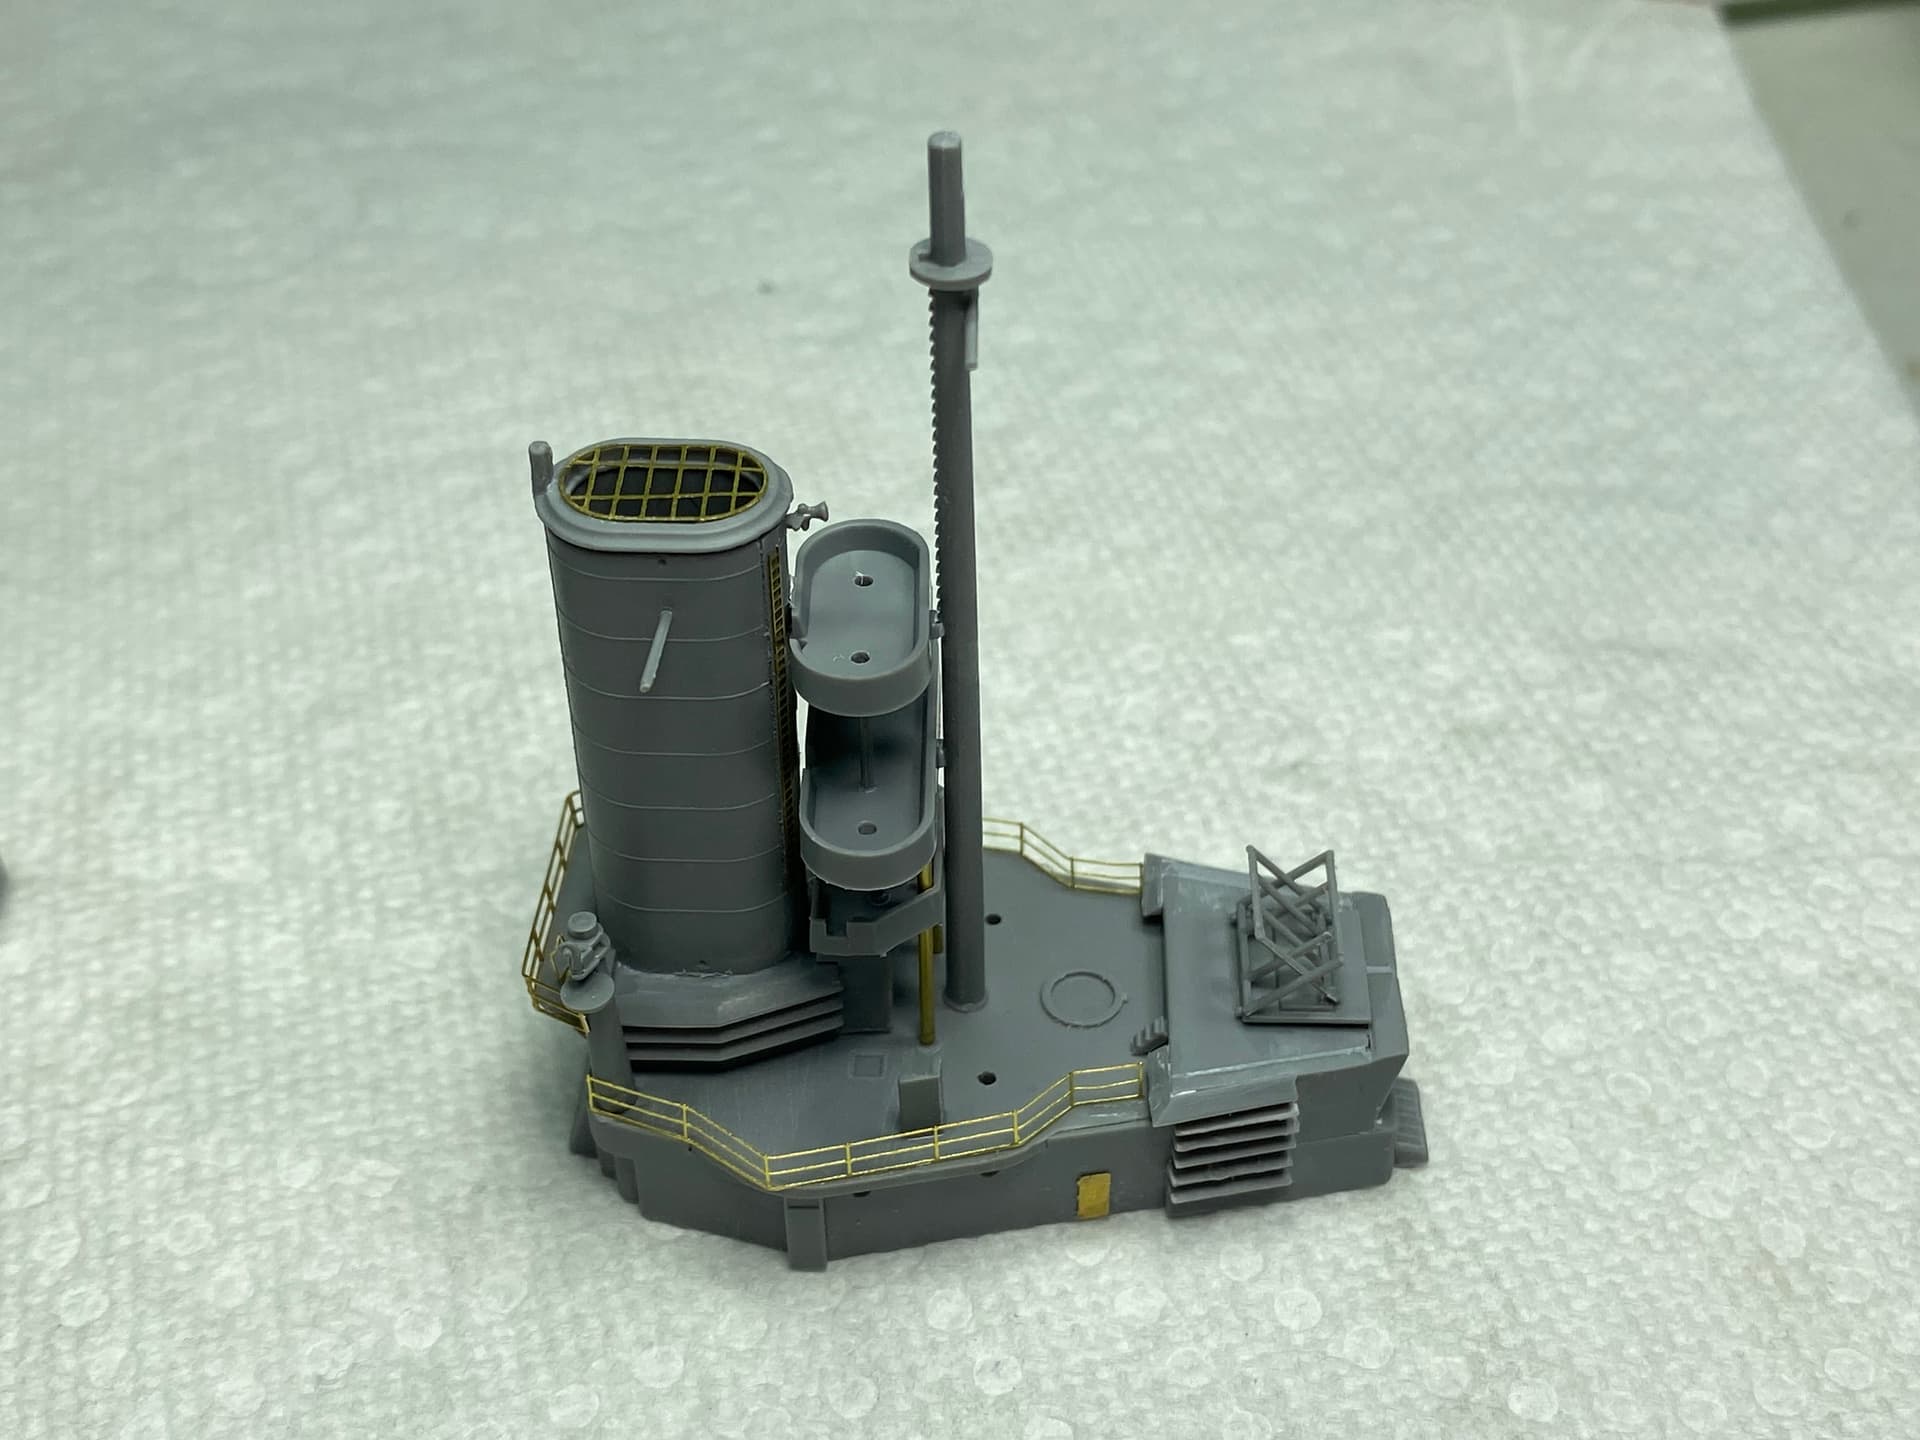
After many hour’s and much profanity I have the fore and after superstructure ready for paint. Top masts will be done at a later stage since they are really fragile looking.
Rear superstructure with brass uprights.
Forward superstructure.
8 Likes