1/48 B-17F Build - 303rd BGs Luscious Lady {Continued)

DEEPER INTO THE BALL

H.G. has shifted focus a bit in the ball. It’s a combination of planning and execution of micro details where the “big picture” isn’t clear–except that he’s going to try and replicate the entire interior. So let’s start with some of those details.

Here’s the door to the ball turret.

.

You can see that this one has some diamond-shaped green fabric. (Was this part of an internal heating system for the ball? I can’t say.) We decided to include it, using H.G.'s “VERY limited supply of silver gilding,” which had two patterns.

DSC00283 (Small)

We settled on this pattern. (Rivet counters stay away!)

DSC00285_LI (Small)

And here’s the beginning of the seat onto which that fabric will fit.

DSC00307 (Small)

H.G. is also going to address the stuff that’s present below the seat. See below!

ball turret

Seeing that gunner in there is a good segue to some details relevant to how he crammed himself into it. The arrows I added below show the heel rests!

Here, BTW, is a video from a 303rd ball turret gunner describing what it was like to be in there.

And here’s the work H.G. has done setting up the left heel rest against the other equipment in there.

DSC00293 (Small) (1)

Don’t get it? Neither did I, so he produced these shots.

DSC00300 (Small)

DSC00298 (Small)

DSC00297 (Small)

We still have to see how it fits in.

Here is another detail H.G. replicated.

unnamed

Look at the two instruments on the metal strip.

Here they are in miniature.

DSC00303 (Small)

The last is a real teaser: the gun charging linkages and pulleys.

Here’s the work in progress.

DSC00296 (Small)

12 Likes

Impressive work! Thanks for posting it here.

The Death of the Ball Turret Gunner

By Randall Jarrell

From my mother’s sleep I fell into the State,

And I hunched in its belly till my wet fur froze.

Six miles from earth, loosed from its dream of life,

I woke to black flak and the nightmare fighters.

When I died they washed me out of the turret with a hose.

1 Like

Glad you made it over to the new site Brian -
Your epic build can only enhance things .

STILL DEEPER INTO THE BALL

Well, it has been quite some time since a post has gone up in this blog. I can hardly blame HG because the task is so daunting. I don’t know of anybody else who has attempted to scratch-build the interior of the Sperry ball turret.

He and I had some discussion what the interior of the ball should look like color-wise. Karl gave us two choices: a gray from one of the ball manufacturers and a dark green from another. I opted for the dark green. It looks basically like the color in the cockpit.

Here are some shots showing the beginning of HG’s laborious masking of the inside.

DSC00276 (Small)

DSC00277 (Small)

That is a circle of tape in the center, not a drilling out of the circular window as I first thought!

Here you can see an initial light coat of paint that he applied along with what looked to me to be some mask patterns.

DSC00379 (Small)

And here is the much heavier painting of the interior, together with painting of many of the scratch built interior components that HG made.

DSC00426 (Small) (1)

And this is detail under the seat visible from the exterior of the ball looking through the round window.

DSC00451 (Small)

Here it is painted with yet more detail added.

DSC00452 (Small)

Finally, we start seeing the fit-out of the ball turret with HG’s scratch-built pieces.

The highlight, of course, is the base of the seat with that diamond embossed aluminum sheet that HG had, and which he cut to match the contours of the seat. Needless to say, I think this looks great.

Once HG got into detailing the interior, he realized that some of the earlier parts we showed were too big. Never one to shy away from perfection, he redid the gun charging wiring and charging handles.

The detail is amazing. And, here are some other photos showing the placement of these parts inside the ball.

Now that’s modeling.

And here you can see the masked, painted exterior of the ball, utilizing a “Sky Grey” color that we have opted for rather than the darker “standard” neutral gray. It’s a matter of artistic license, but also our best judgment looking at color photos we have of 303rd B-17s we have from the late David Shelhamer, a 303rd B-17 pilot and professional photographer. This picture gives a sense of how it will look in a “it’s getting there” posture. Note also the guns. I know they will get some additional detail and painting.

DSC00504 (Small)

You know, it is now a solid 6 1/2 years since this project was begun by yours truly. I gave it my all, as anybody seeing the interior of the model from the archived blog will note, but the past 18 months prove the wisdom of my choice to get expert help from HG both from a skill and “actuarial factor” point of view. The project has now outlived the original “professional model builder” with whom I contracted to do a never completed model of Vicious Virgin, this aircraft’s stablemate, and my motivation for starting this build. It has outlived my friend Art, who helped so much in the construction when I was doing it, and inevitably it will outlive me! [Fact check, I have no intention of dying anytime soon, since I am 71 and my dad lived to his early 90s.]

But, as another year draws to a close, one can’t help but think of such things. Certainly, one of the things that I will be grateful for this Christmas is the skill and perseverance of HG in bringing this decades-long dream to reality.

I’m doing some building myself, but the pace of my day job leaves me precious little time for it. However, I will transfer the work that I have done on the Special Hobby AF-2 Guardian to the new forum, and for laughs will include some pictures of a refurbished Franklin Mint F4F-4, as part of my, dare I say “Occasional the Die Is Cast Series.”

Happy Holidays to everyone and let us all look to a happier and healthier 2021!

5 Likes

Glad to see more posts Brian - I hope you can find some respite from your “ day job “ - ( something on the order of quitting so you can build & write ! ) and I also hope you surpass your fathers mile marker.
I am now 67 and my dad made it to 91. I plan on passing his record but I might need to take motorcycles out of the equation to do so .
Keep at it and once again my compliments to you and HG for a wonderful effort !

1 Like

THE BALL - SLOW ROLL

Well, it has been a month since the last post. I’m hardly one to complain about the pace because of the difficulty of the work HG is doing. I am convinced that no one else has ever done this before, so it always takes longer for a trailblazer.

Here are some photos showing the remarkable detail work before it all really starts coming together.

Below one sees progress on the seat, rebuilt, smaller brackets to hold the 50 caliber machine guns, and the ammunition storage facing towards the rear.

What you see below is the beginning of the scratch built gearbox that is part of the gunsight, and two circular hinges for the attachment points for the brackets holding the ball.


It will go in black as in the below picture.

ball-of-fire-023-jeff-stallard

HG informs me that it has taken hours to sculpt this part. I believe him!

DSC00613 (Small)

I’m not sure where these wire connections go

DSC00610 (Small)

DSC00611 (Small)

DSC00612 (Small)

But we will see in good time. There are plenty of possibilities.

ee60ac9eb9dd37ff7893944165a61c36

Lastly, we spent some time trying to figure out whether the upper belts seen in the below picture were a thing in World War II, versus the same single belt that runs across the seat.

(Ignore the red arrows, which were pointers to something earlier in the build.)

After checking with Karl, we confirmed that there was only a single lower belt. It was actually a chest belt not a waist belt. The upper belts are “modern additions.”

I had some questions about this given the view of the gunner in the below photograph.

However, Karl confirmed that the buckles we see just above the gunner’s crotch are actually part of the gunner’s parachute harness. The ball gunner had a chest pack that clicked on, but it was stored outside the ball turret during missions because there wasn’t enough room for the gunner and the parachute in the ball!

Can you imagine the extra step of exiting the ball and then getting your chest pack, which was stored outside strapped on, so that you could jump out of the airplane! Well, that’s the way it really was.

Lastly, for now, I sent HG the curved turret sides that came from the HK B-17G kit, which are not necessary for an early G model. You can see how the circular parts he was working on fit into those kit parts.

DSC00609 (Small)

More to follow as HG progresses. I think this is the last major subassembly that has to be done on the model. HG has some serious work mating up the nose cone to the open nose, and cleaning up the open nose interior, and there is other work on the cockpit roof and canopy, but after that it should be “almost” ready for final assembly including attachment of the wings, aligning the main landing gear, and many other things.

4 Likes

Great detailing work of HG, Brian. Good to see this epic build moving on! :+1:

BALL TURRET GUNSIGHT

I think this work by HG is among the best he has done on the entire Luscious Lady project. For miniature detail, it certainly eclipses what I could possibly imagine, much less execute! Here’s what he wrote me:

Just finished more work here. Going off of three different pictures to get things as close as I can possibly make them. Didn’t ruin any this time. There’s even the bolt at the bottom corner next to the sight, hard to see though.

And here are the three pictures.

feetup_butt down

unnamed (2)

And this is what the work looks like.

He added:

The film is for the actual sight as are those unfinished squares.

This picture, which he sent to me this morning, looks like the framework for the actual gunsight optics the gunner would look through.

The tiny size of it is underscored by the plastic coffee cup cover on which it rests!

Here’s one photo,

220px-Ball_turret_inside_B-17

and one diagrammatic depiction of this part of the sight.

images (9)

Incredible work, among the best I have ever seen in, say, 55 years of playing with plastic models. I don’t think anyone else has even attempted this in a ball turret model, in any scale.

3 Likes

BUT WAIT! THERE’s MORE.

It looks to me like HG has all but completed the gunsight.

DSC00774 (Small)

DSC00775 (Small)

He tells me there are no less than 27 parts in this tiny subassembly.

To me, it is literally spectacular.

spec·tac·u·lar

/spekˈtakyələr/

adjective

1. beautiful in a dramatic and eye-catching way.

5 Likes

EVERY PICTURE TELLS A STORY

is my way of saying I have few words to describe what you’re about to see. The ball’s innards are so complex, and small, that it’s hard for me to follow the logical sequence of construction to its inevitable conclusion. (And, yeah, saying “inevitable” in this project is saying something!)

We left off with the gunsight. Here it is with some wiring.

And installed.

DSC00816 (Small)

Another view.

More scratch-building of detailed parts for the elevation gear housing and mechanical crank, and for the maneuvering handles with gun buttons.

DSC00817 (Small) (1)

DSC00818 (Small) (1)

Much going on here I can’t follow.

And finally, four views of just about everything packed in.

DSC00826 (Small)

DSC00824 (Small)

DSC00823 (Small)

DSC00825 (Small)

There’s touch-up to follow and more wiring.

As I said. I have few words. I cannot remember ever seeing a fully detailed ball turret in any scale before, much less 1/48.

8 Likes

Amazing progress :+1: Can’t wait to see it mounted in the ship!

Marty

I gotta hand it to ya pal…you really know how to put some details together. Masterful work!!

2 Likes

That would be HG, not me. I will take credit for inspiring him to take over the build after I spent about 5 years working on the interior. I did give him something to build on and improve. “The whole story” is in the archive section of the site.

But yeah, HG’s work is amazing.

1 Like

Roger that Redhand. Gonna be glued to the set in any case. This is some good stuff.

CLOSING THE BALL

It has been a while, but I hope it will be worth the wait. HG finally reached the point where he was ready to close the ball.

DSC00861 (Small)

And here you see it being glued together and held by a clamp.

DSC00893 (Small)

Check out the gears installed on the left side of the ball for elevation!

DSC00993 (Small)

HG had a OMG moment when I pointed this out to him, but he was equal to the task!!

Honestly, I can’t imagine how he managed it.

Here you see what HG calls the early turret “earmuffs.”

DSC00992 (Small)

These are a combination of his work and parts pirated (by me) from the HK Models B-17G model.

Here is a view of the inside, but with much better to come.

DSC01015 (Small)

Be prepared to be amazed. Magician at work.

DSC01036 (Small)

DSC01040 (Small)

And the view, especially of the interior, just keeps getting better and better.

DSC01035 (Small)

DSC01034 (Small)

See what I mean? Let me add that the paint work is far from complete. HG tells me that, as is obvious, this is still somewhat rough and will be completed to perfection as the work progresses.

Here is an equally cool shot looking through the ball from the circular front window.

DSC01033 (Small)

Again, this is not final but getting there. Also, the earmuffs are not fully attached. The gaps will be eliminated between their edges and the side of the ball before it is completed.

I close with two more pictures of pure eye candy for the modeler.

DSC01031 (Small)

DSC01032 (Small)

And the final view, at rest, awaiting additional work.

DSC01041 (Small)

I am betting that this is the most detailed ball turret on a B-17 model in any scale, and that it will be a sight to behold when completely cleaned up, and installed in the finished model, at an angle from the centerline of the fuselage,

aa7b26fd417ff71b8ce62357f8fd11d5

b17-ball-turret-north-africa-sadies-baby

More to follow, of course!

6 Likes

BACK TO THE BOMB-BAY

The road ahead. I asked H.G. what was next, and this is what he wrote:

The ball is complete as for the interior. The window lines need to be painted, then fixed then painted…it will be installed, as with most of the accessories, after the wings and wheels are fully cured and the model can be safely flipped.

The wings and wheels come after the front and windows are installed and the equipment goes back into the front. Right now it’s easier to work on everything with the wings off.

So, he has returned to the bomb-bay, and the intricate job of scratch-building the connecting rods that open and close the doors to the actuators and motor connections on the front and rear bulkheads. I did the latter literally years ago.

But first, a discharge aperture for the relief tube inside the bomb-bay on the rear bulkhead.

IMG_0055 (Small)

DSC01096 (Small)

DSC01097 (Small)

The bomb-bay actuators will be done in metal. As HG notes:

The doors need to have holes drilled for the pistons and shafts have to be made. I’ll get them done and ready to install then resume work on the front. There are countless hours left on this project.

DSC01099aa (Small)

DSC01098aa (Small)

DSC01108zx (Small)

DSC01109aa (Small)

It will be fascinating to see this come together!

4 Likes

APRIL IS THE MONTH FOR A BUILD RETROSPECTIVE – END IN SIGHT?

It’s time for some fairly personal comments about the project as a whole, especially for those who haven’t seen the archived version of this build blog. So get ready for me to wind the Wayback Machine to the last century!

This mad build had its genesis in the planned publication of the second edition of my book, Half a Wing Three Engines and a Prayer, by McGraw-Hill in 1999.

9780071341455_p0_v3_s550x406

Back then I was a corporate lawyer for Curtiss-Wright Corporation (yes, that Curtiss-Wright). I had arranged for an old modeling friend from the 1980s who had “gone professional,” to make a 1/32 Hasegawa BF2C–1 for our retiring CEO. That kit is a monster and he did a fantastic job on it.

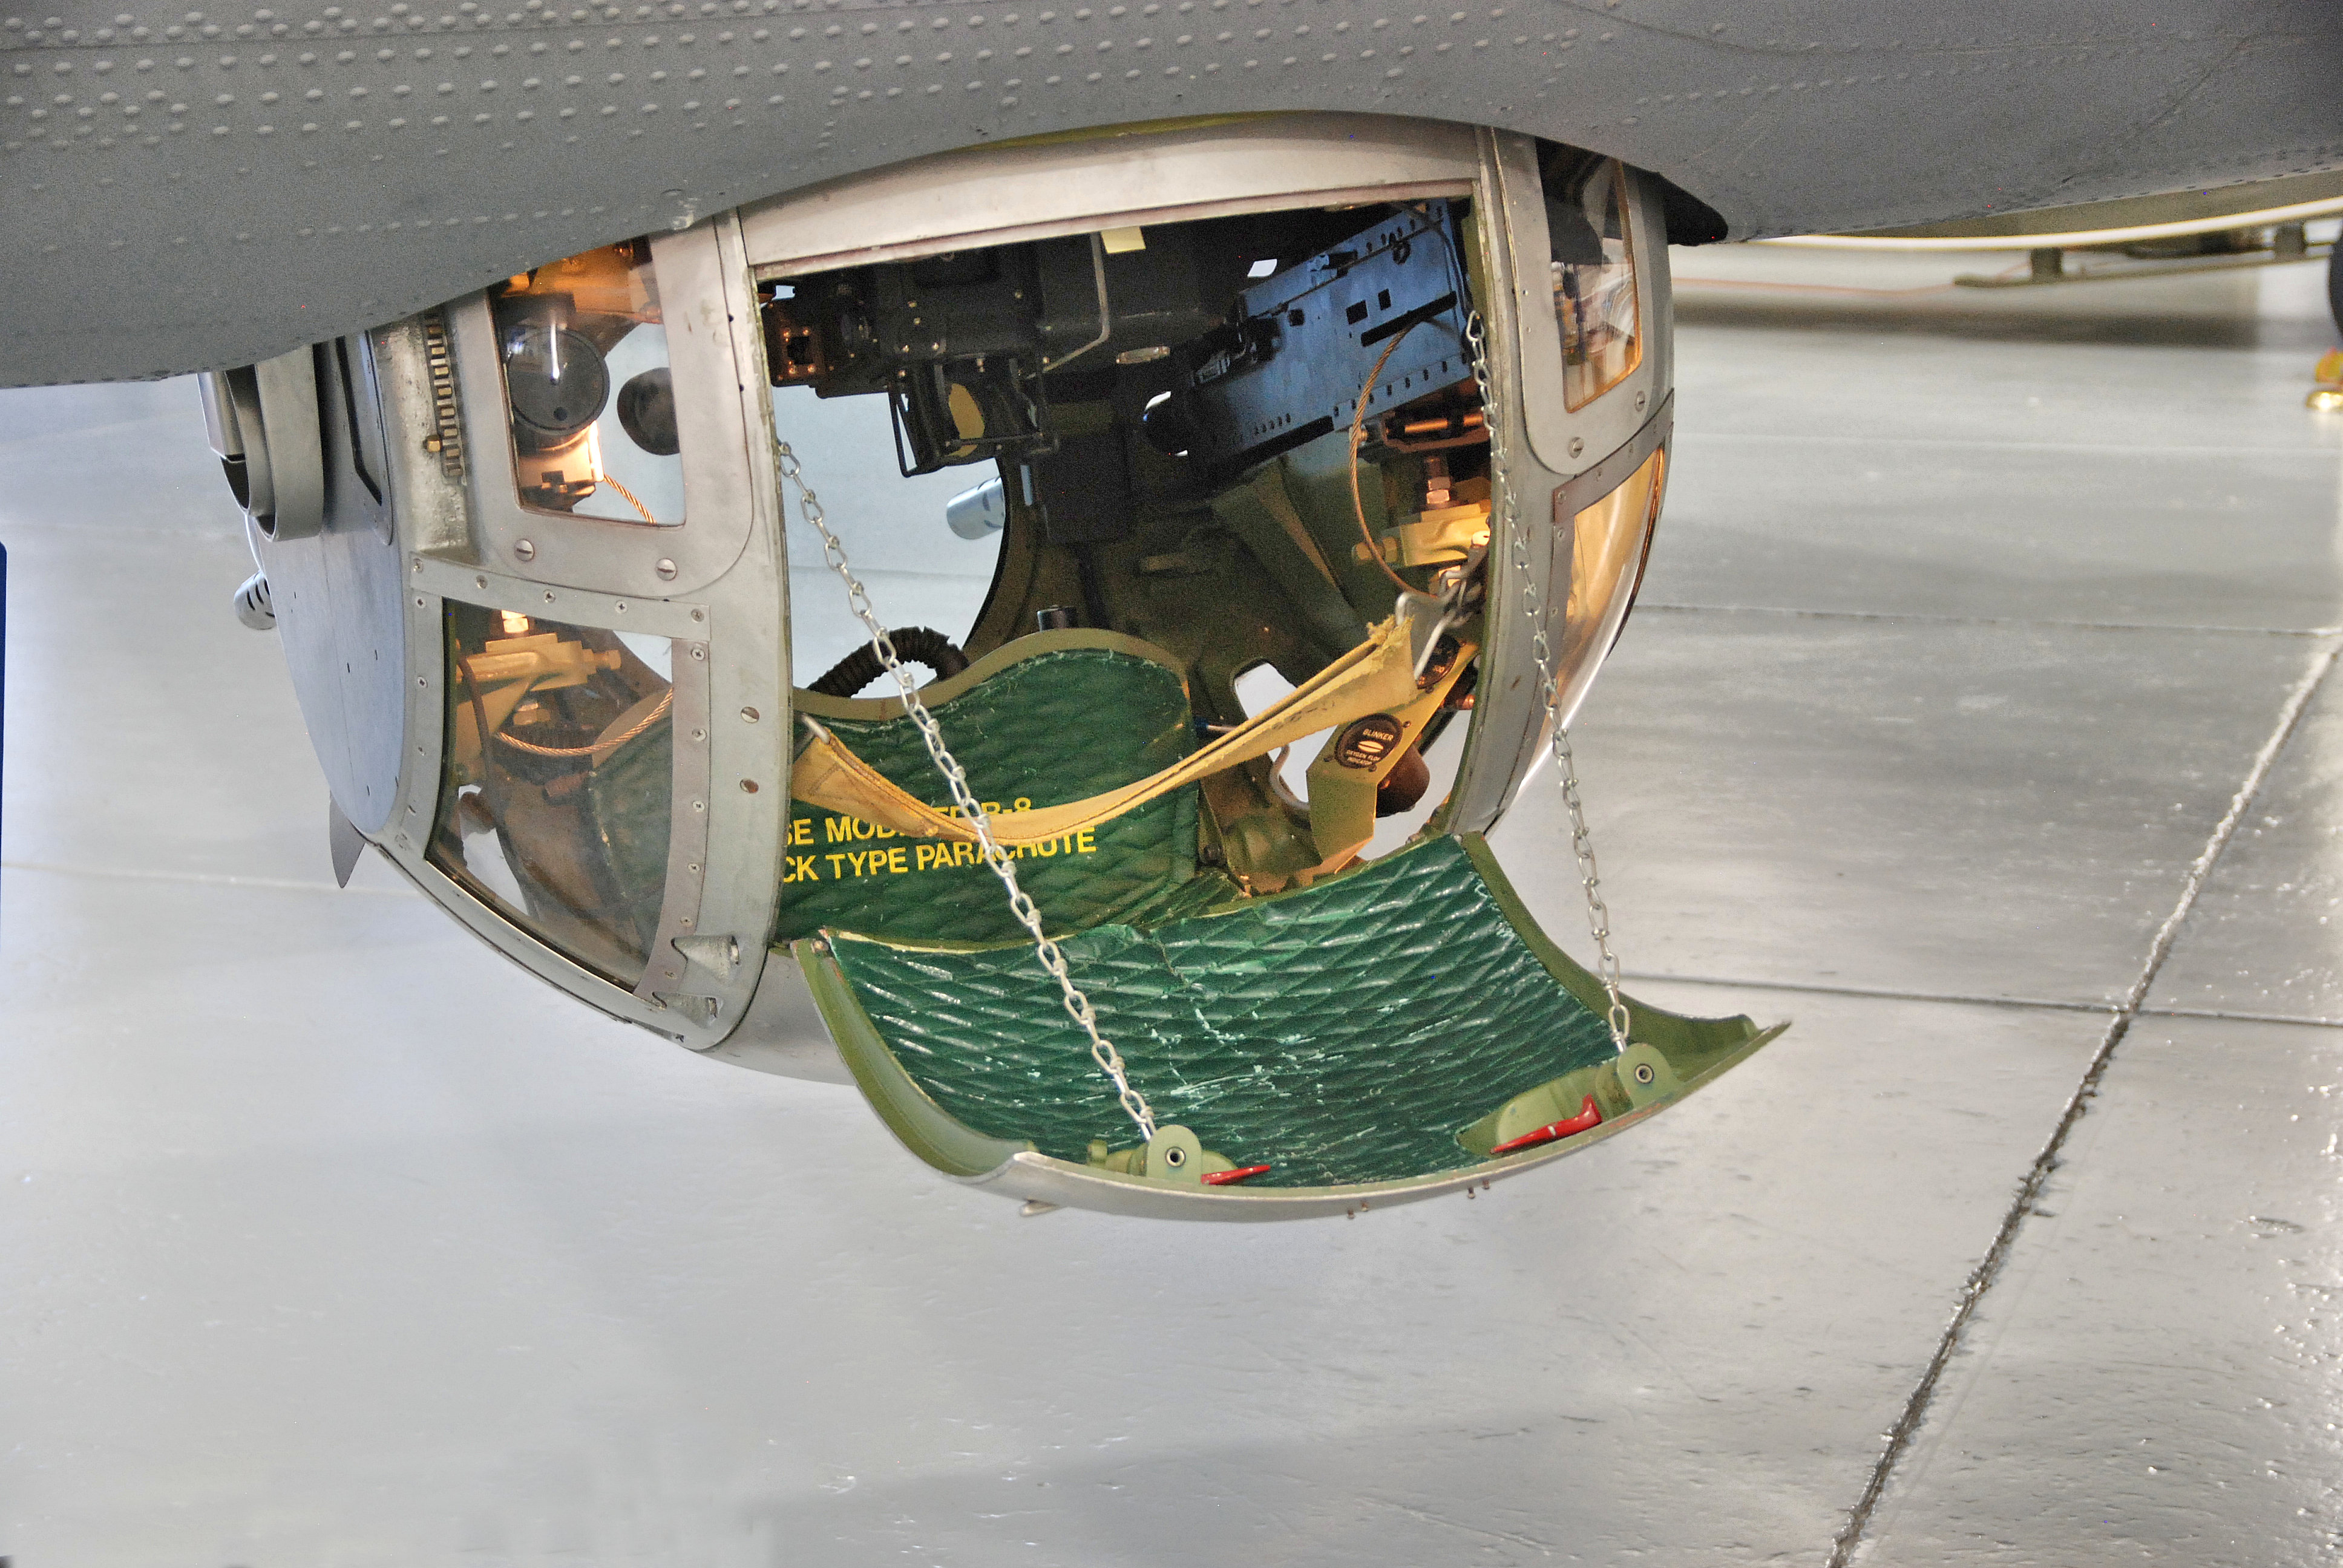
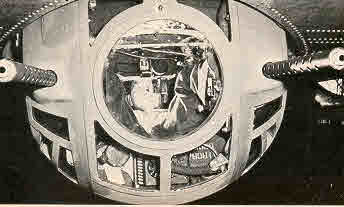
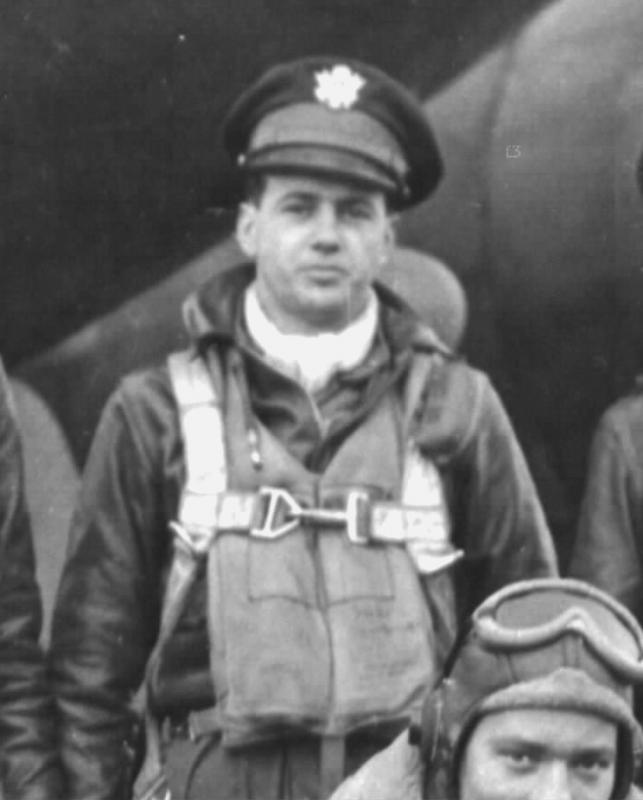
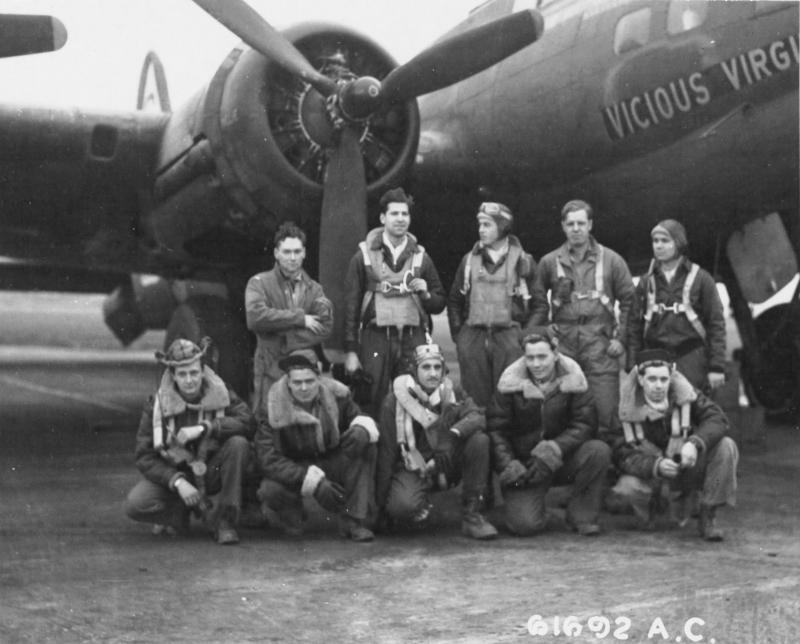
Inspired by that work and knowing that my second edition was, pardon the pun, in the wings, in 1998 I asked my friend to build a 1/48 version of Vicious Virgin, one of two B-17F’s that figured prominently in the book. That aircraft is on the book cover. It was a group lead ship and the second aircraft regularly flown by the principal crew I wrote about in the book, that of Robert F. Hullar. I figured it would be a great promotional prop for book sales, and paid in advance.

YEARS went by during which I was repeatedly assured that my model-building friend would definitely finish it when he got (tackiness alert!) a

a8fa8bd7b0505203100fd6185e23bdf2 . However, he let the publication of my second book about the 303rd BG in 2003 pass, with no completed model.

9781782007241_1

But still, I was patient, not wanting to blow up a very long-term friendship over a personal business matter. However, I became frustrated enough eleven years later when there was still no discernable progress, to tell the gentleman that the lack of progress meant I was going to start the Hullar Crew’s first B-17, Luscious Lady, on my own since I wanted at least one B-17F in my collection before I cashed in my chips. I began the build blog on the old Aeroscale platform seven years ago, in April 2014.

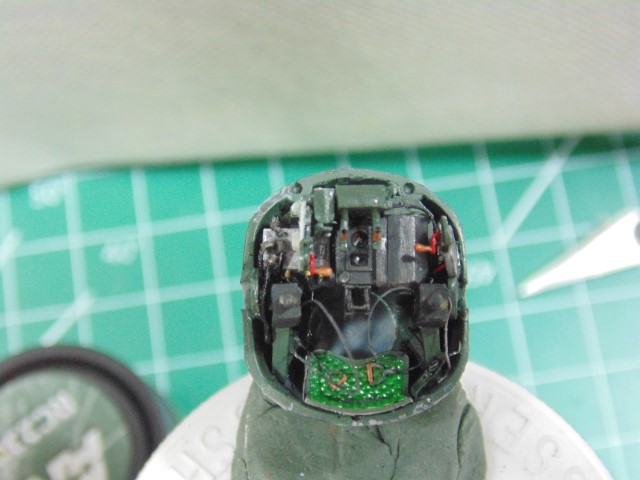
I figured it would shame the professional into finishing Vicious Virgin, so I put everything I could into the Luscious Lady build, even though I did not possess his skill-set. (Ultimately, the professional passed away, ensuring that that version of Viscious Virgin would never see the light of day.) I “pressed on regardless” for five years working on the interior, and improving my own skills in the process, doing some things I never dreamed I could.

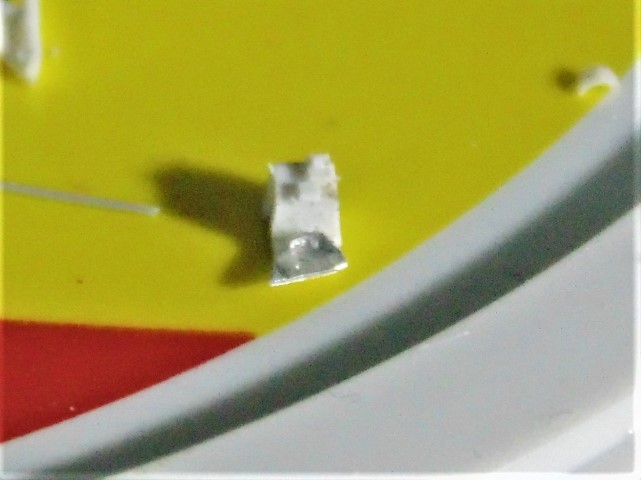
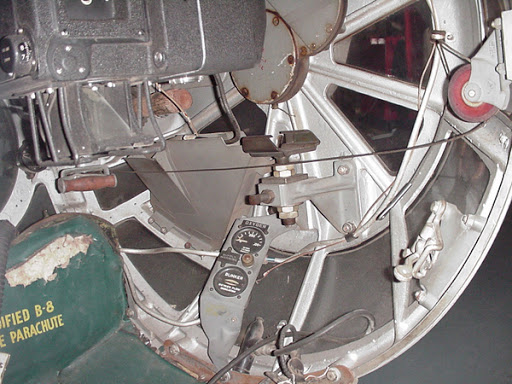
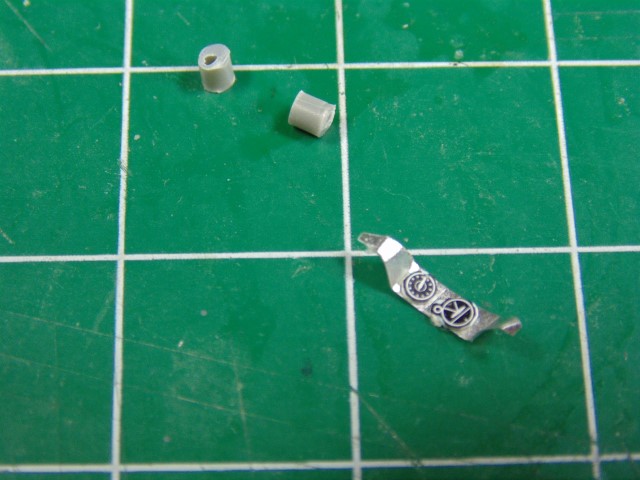
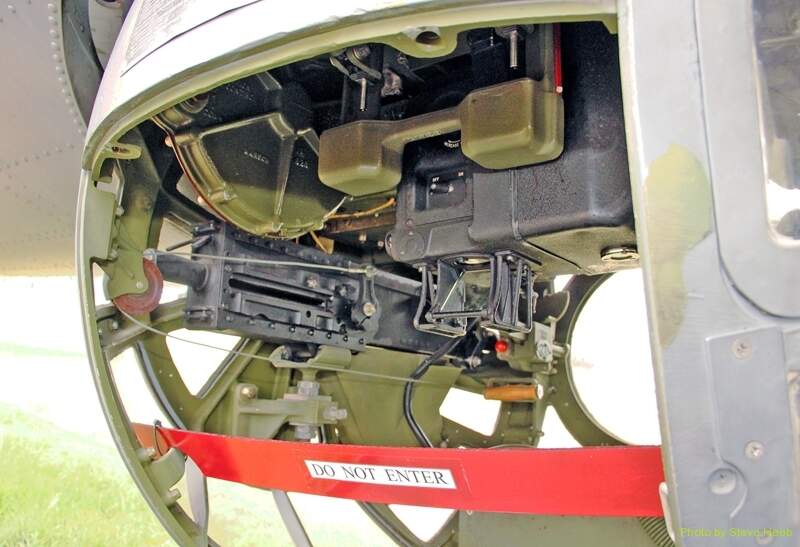
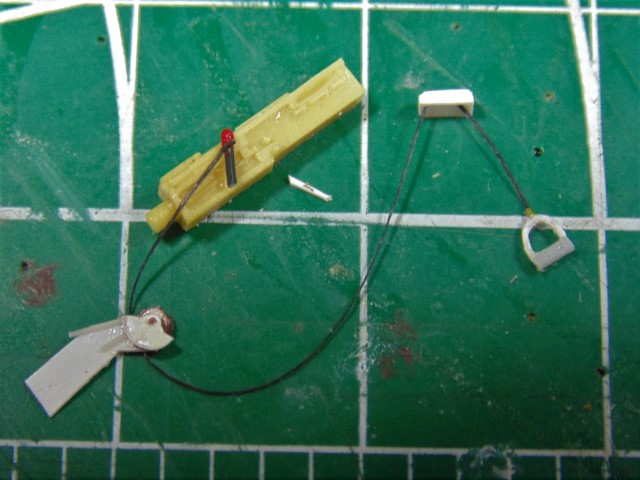
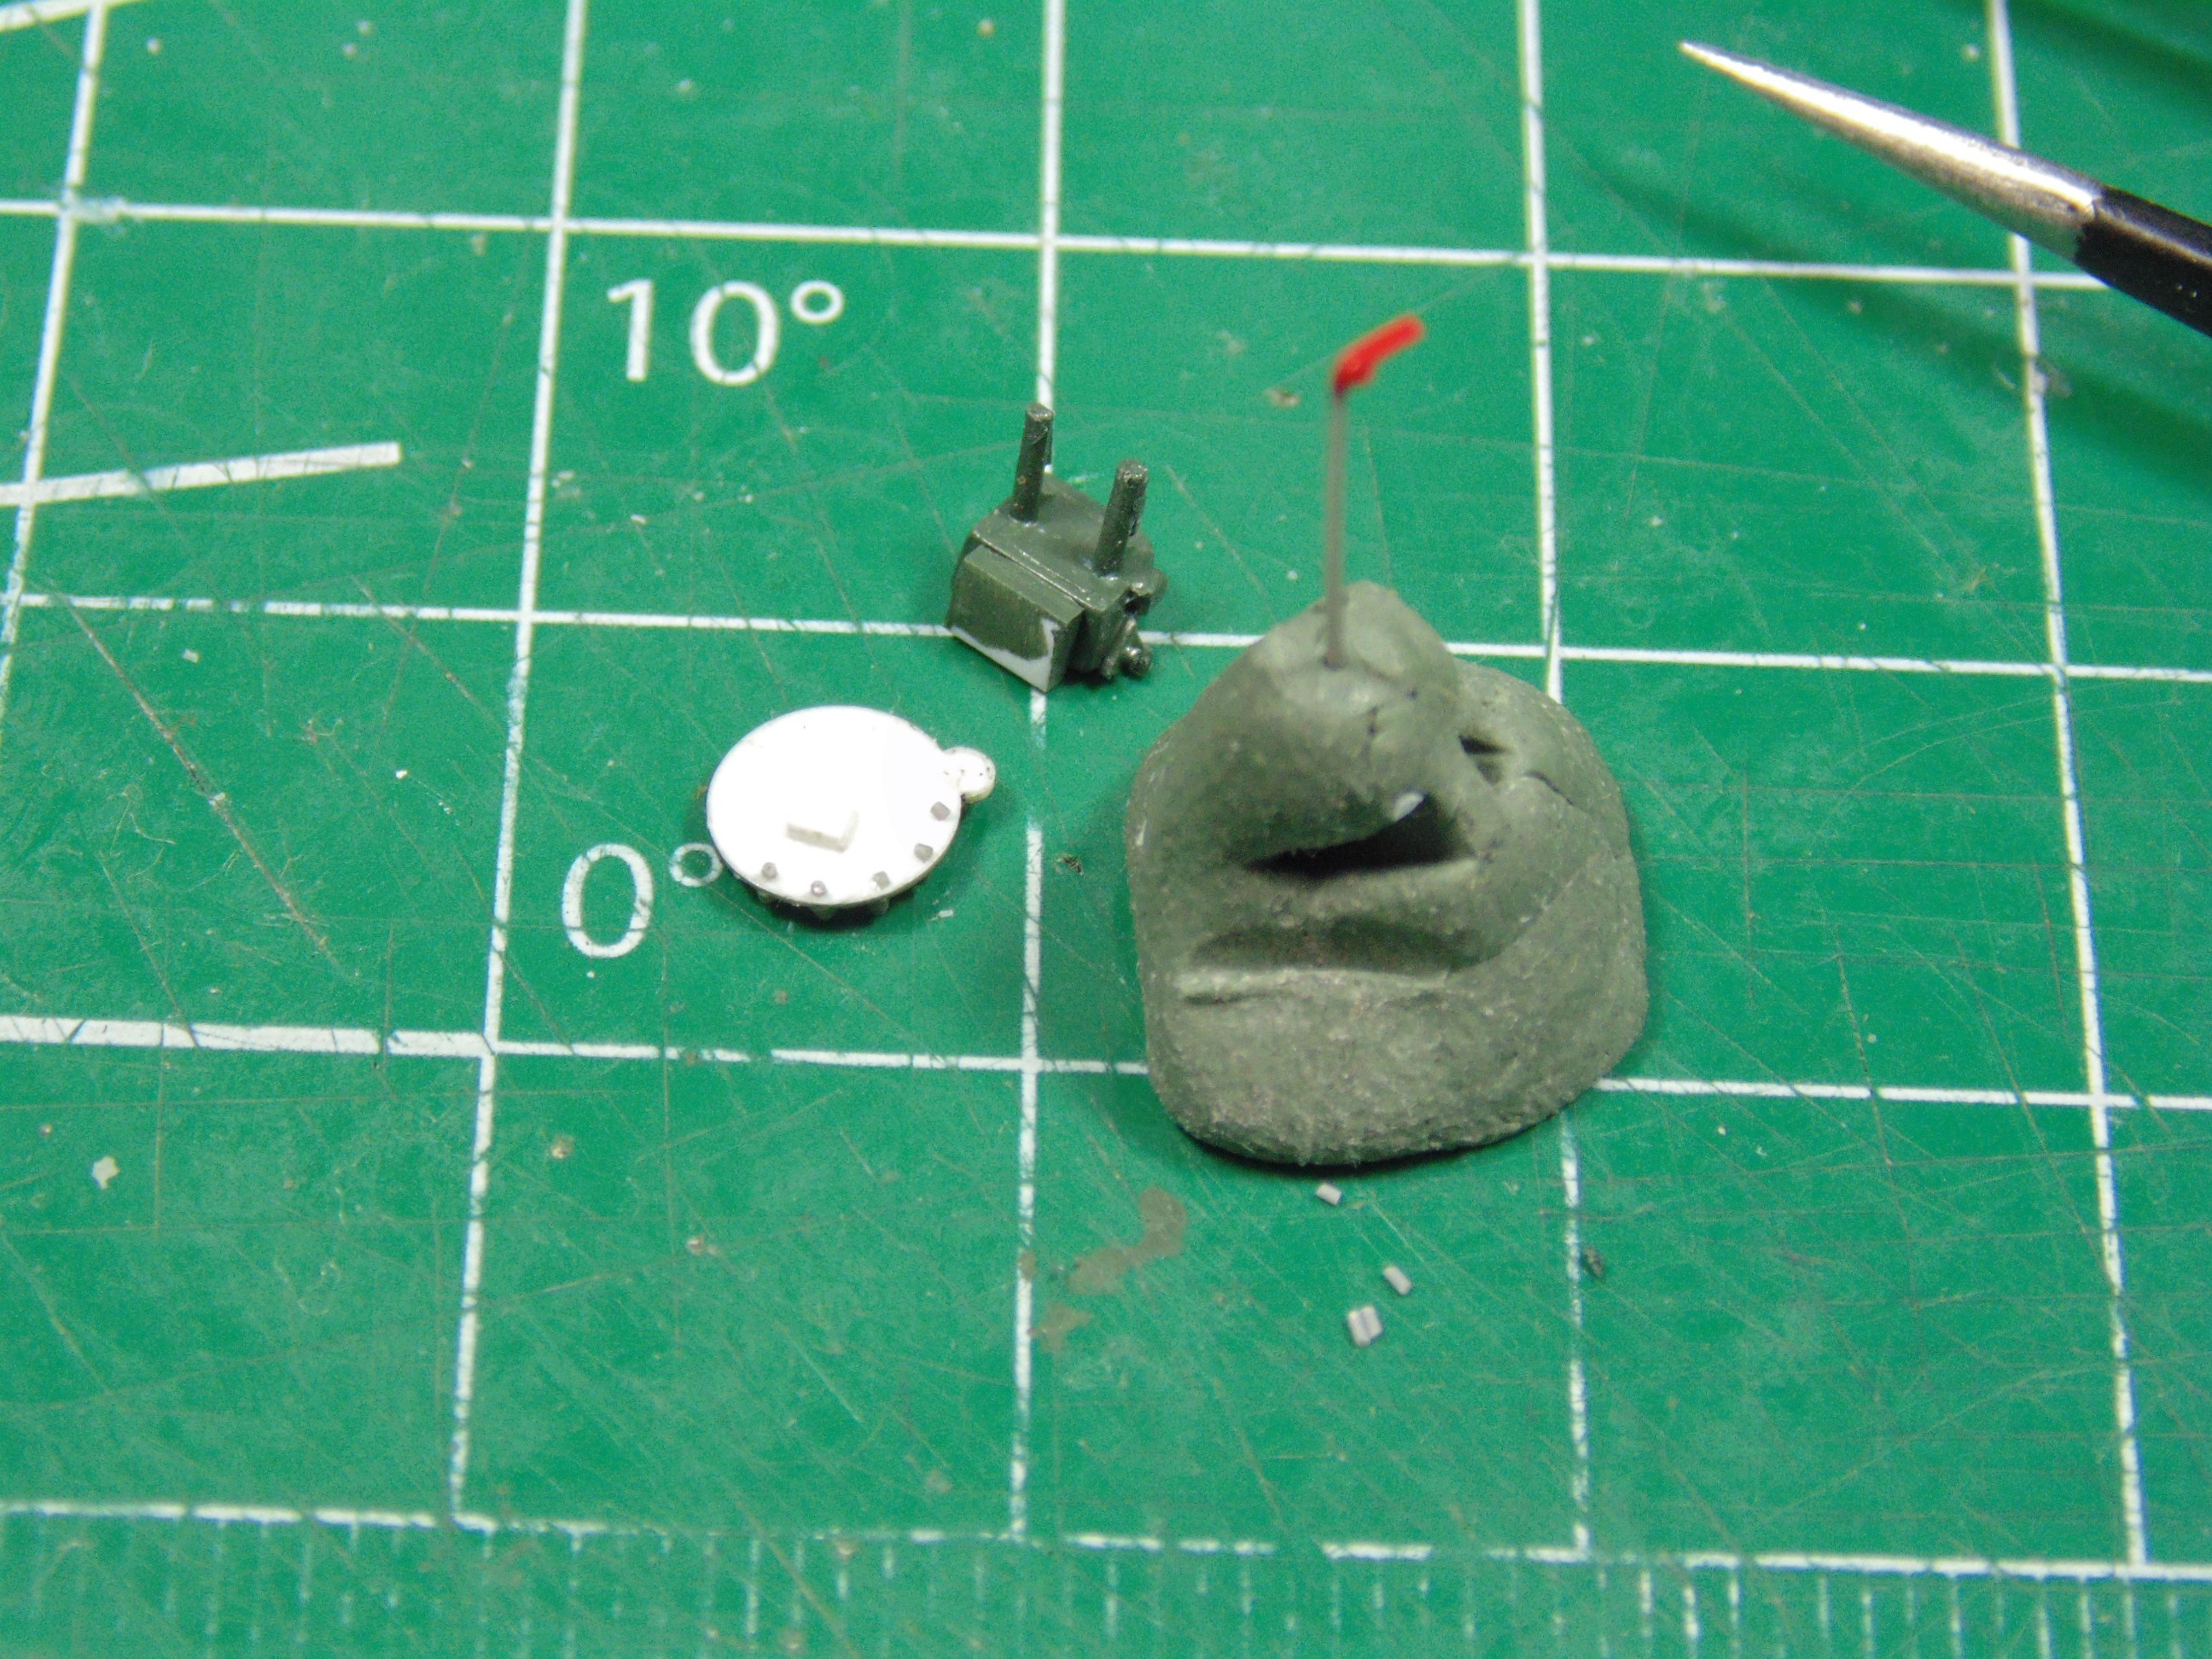
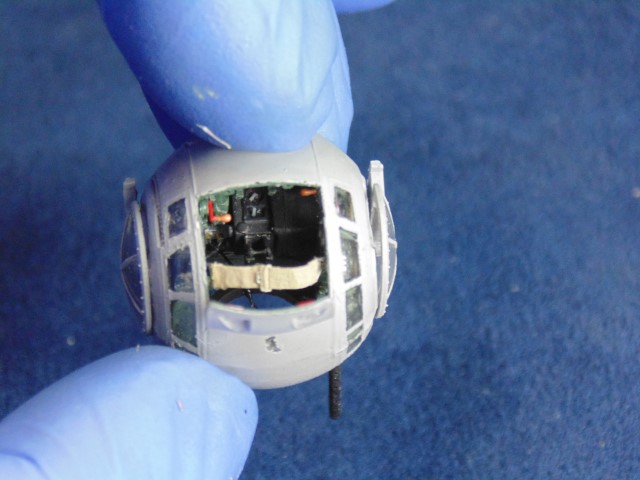
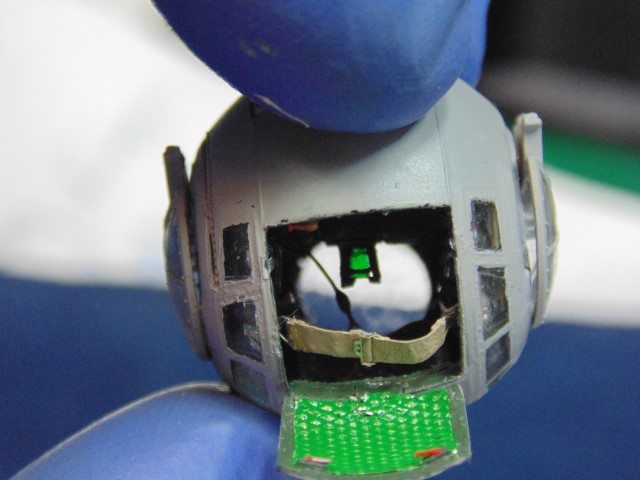
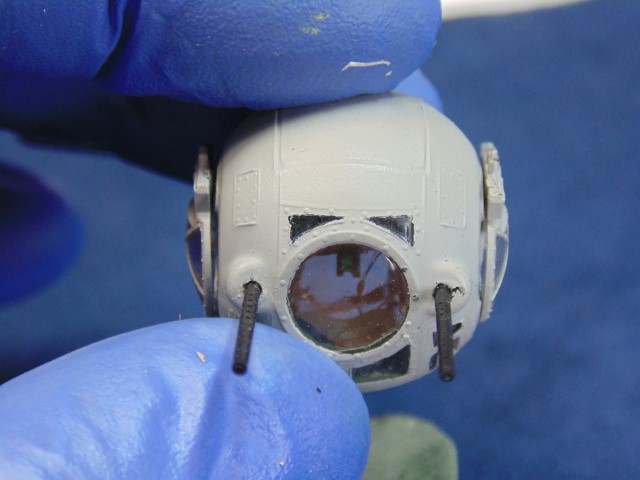
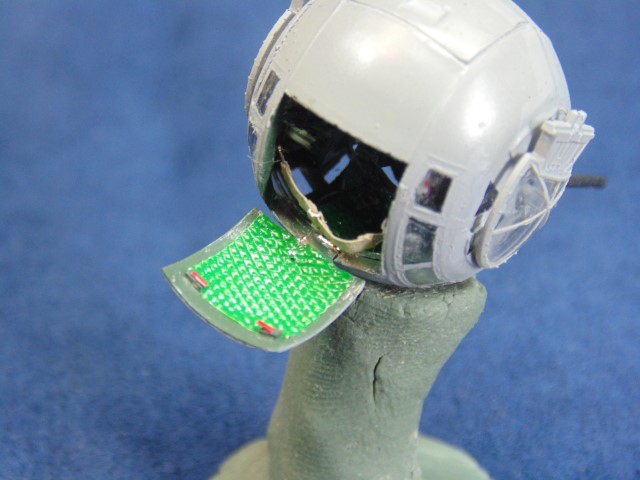
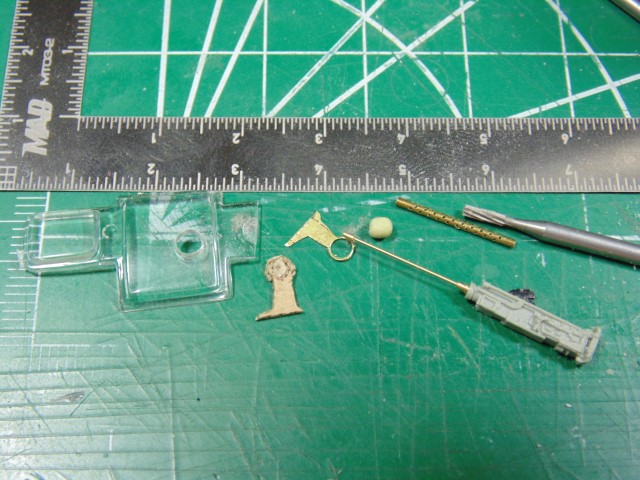
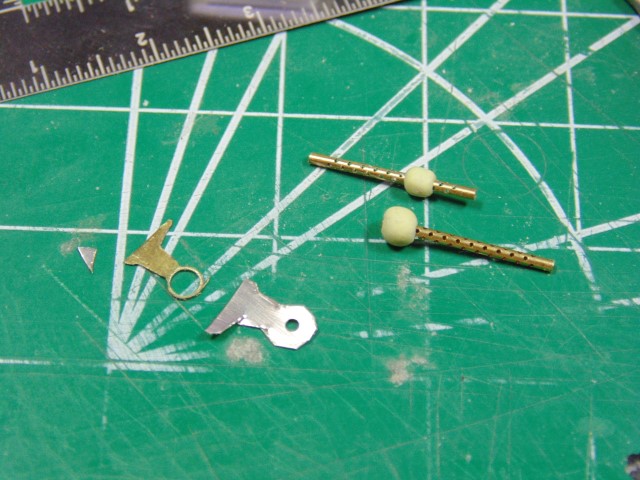
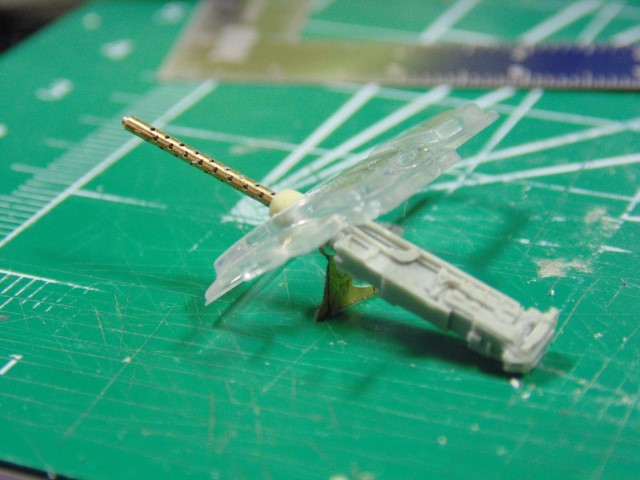
Even then, however, I had help from another modeling friend, the late Arthur T. Babiarz, Jr., who did things like design and 3-D print cardboard cheek gun brackets

DSC01237 (Small)

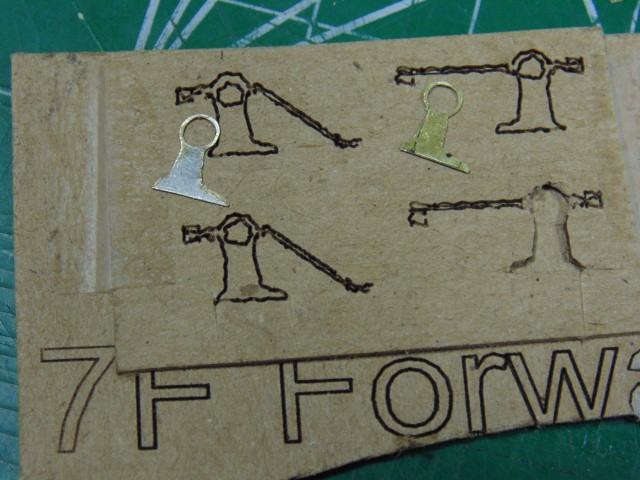
using copies of original production drawings supplied by Karl Haufe, another contributor whom I consider the single most knowledgeable person on the planet on the B-17 E and F aircraft. (It goes without saying that none of this would have been possible without Karl’s generous, and continuing technical advice).

But, after five years and completion of the interior, in March 2019 I reached a point of personal burnout about the same time I realized that my own modeling skills would not permit me to complete the model to the level I thought it deserved. Not long after, two years ago this month, in fact, all that I had done on the build was in H.G.'s hands.

I think it’s fair to say that if any passing of the torch in this hobby/art/craft can be considered “providential,” – [1, Occurring at a favorable time; opportune; 2, Involving divine foresight or intervention] it’s this one. He said at the time that he would use his hands to implement my vision of what should be done, but that’s a classic understatement.

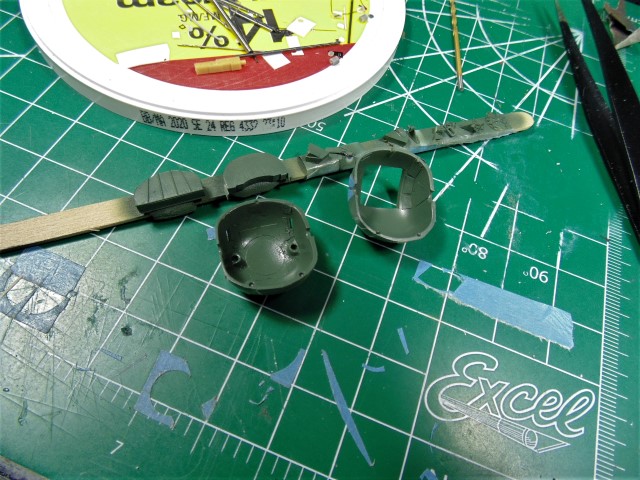
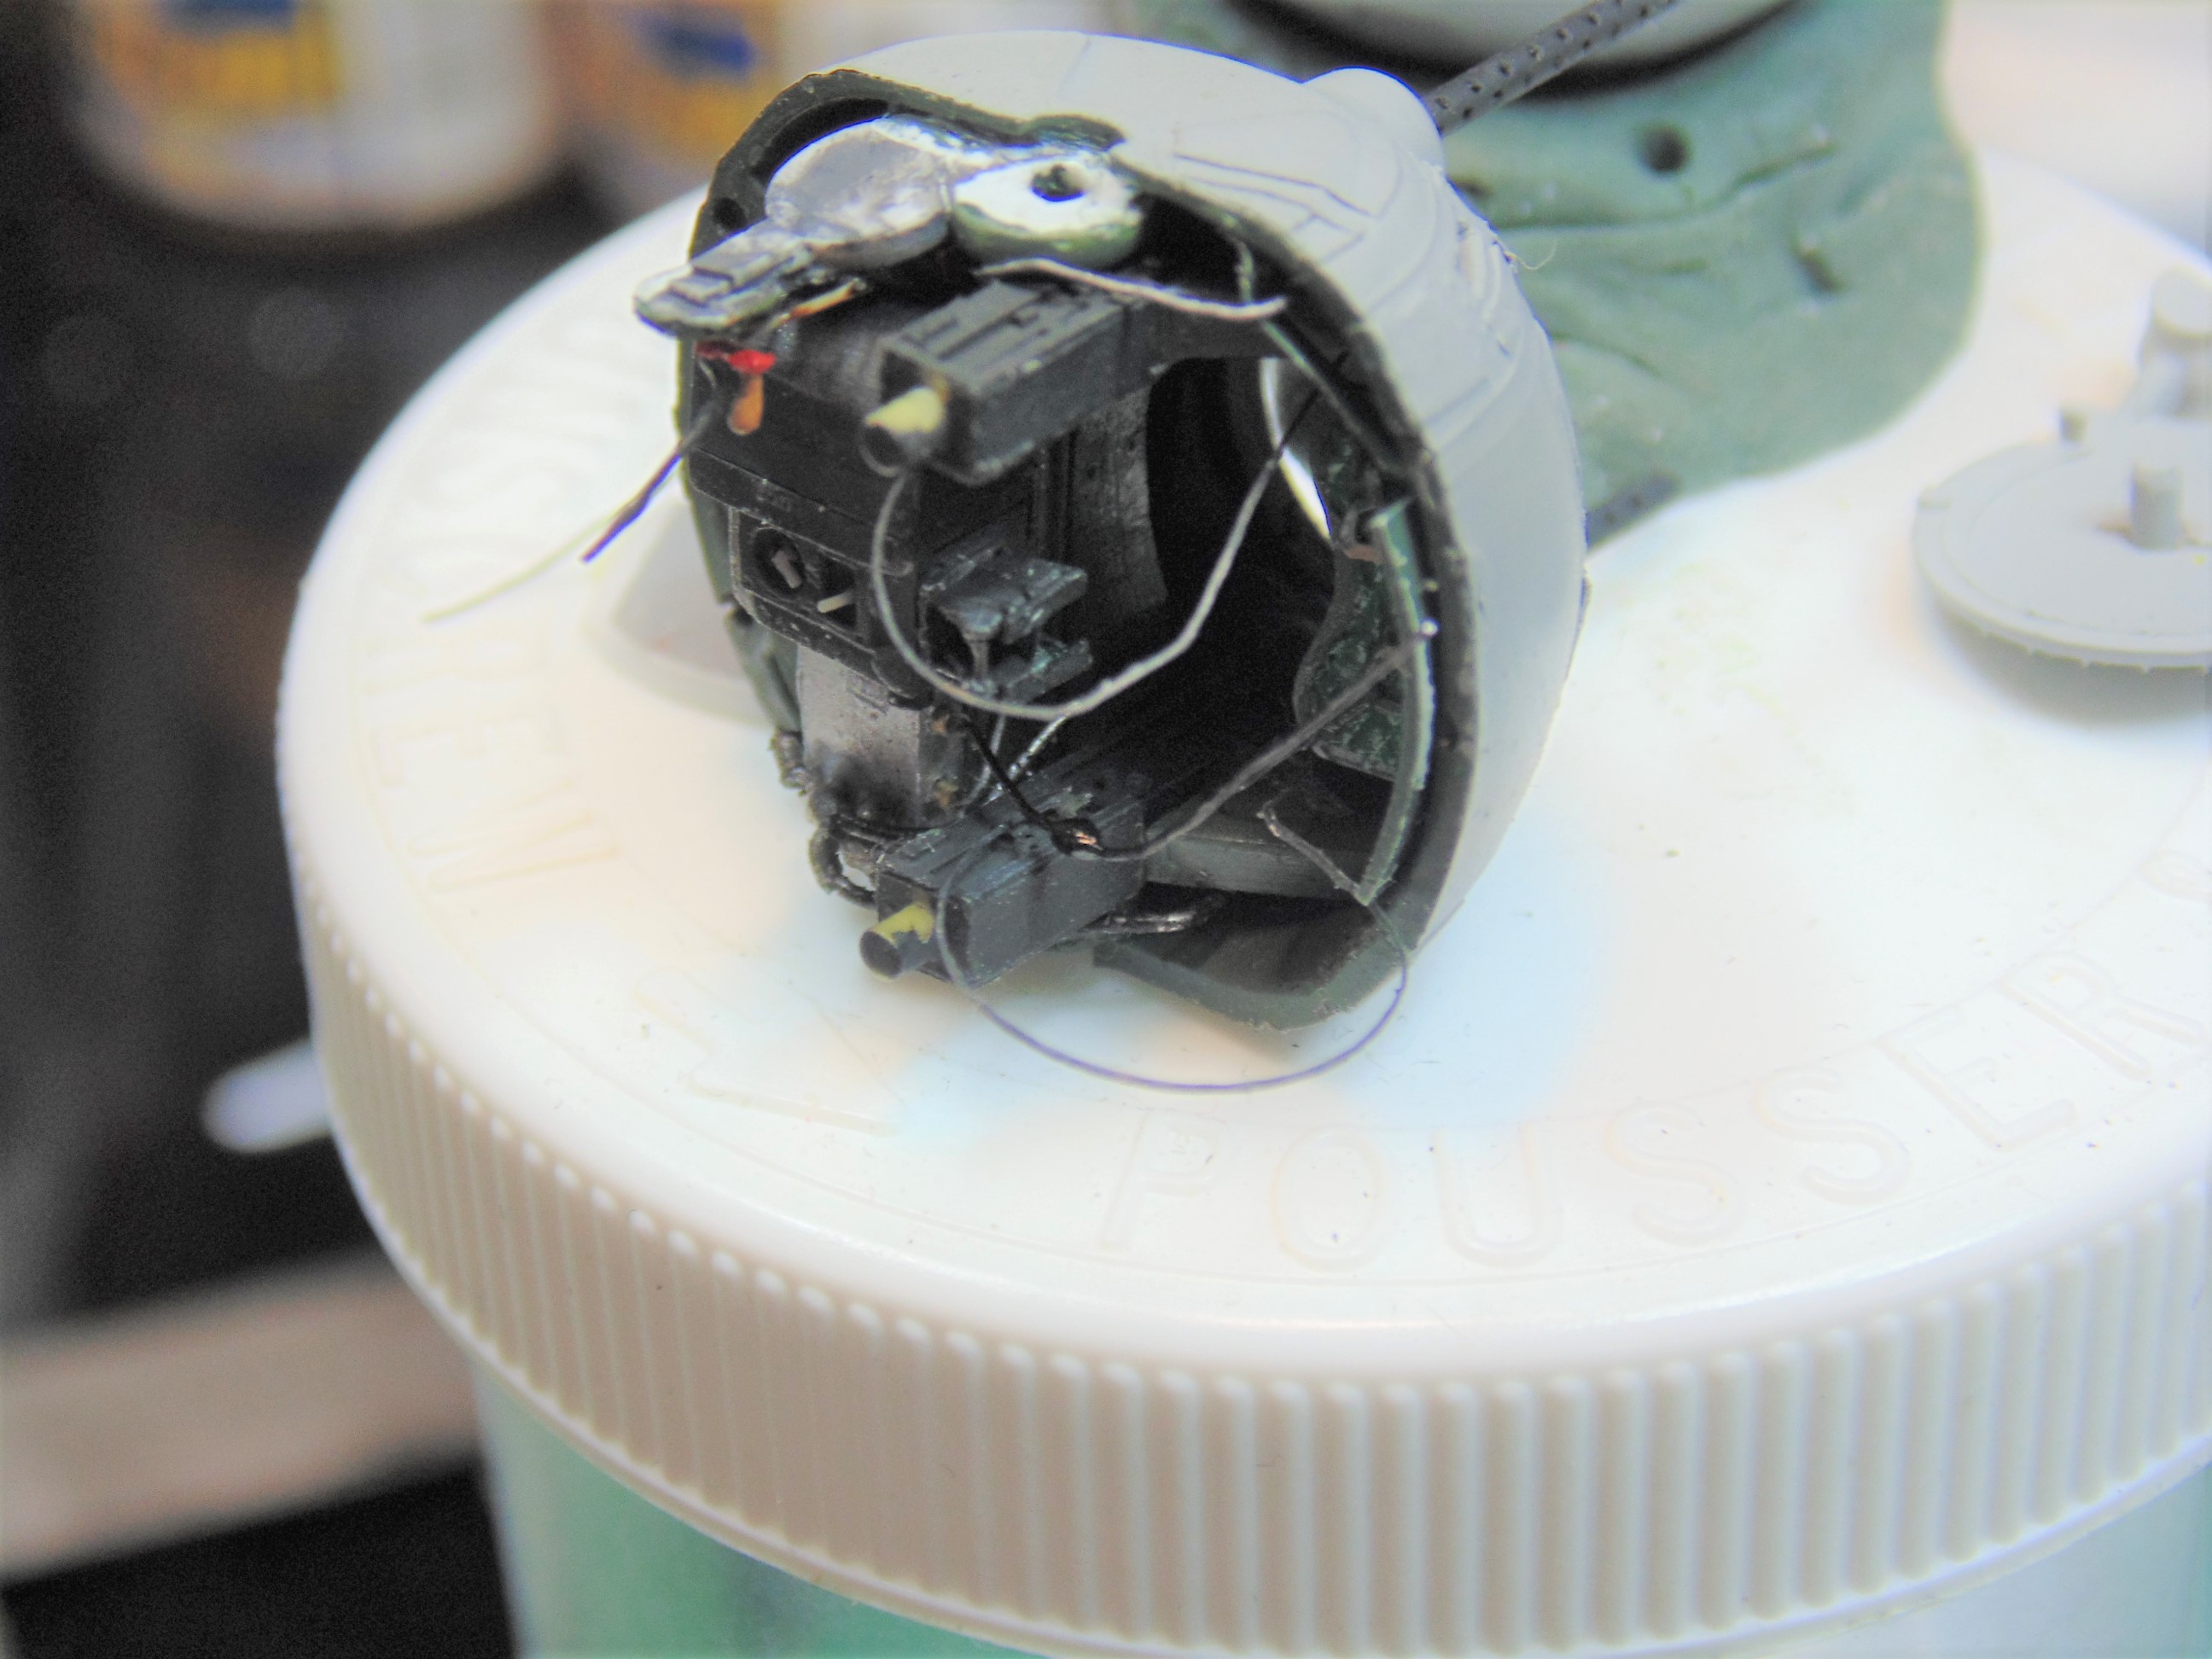
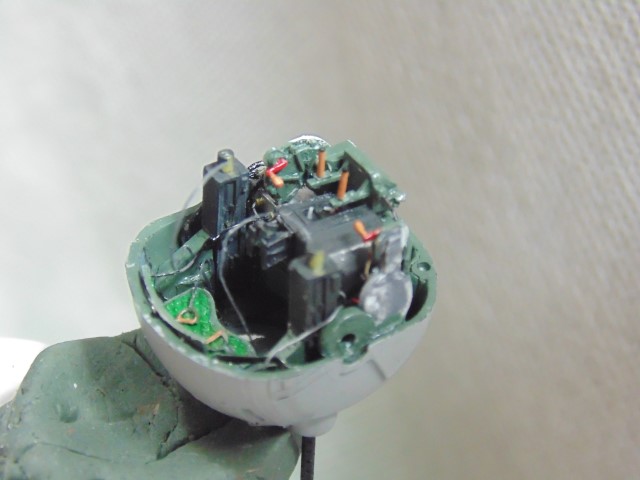
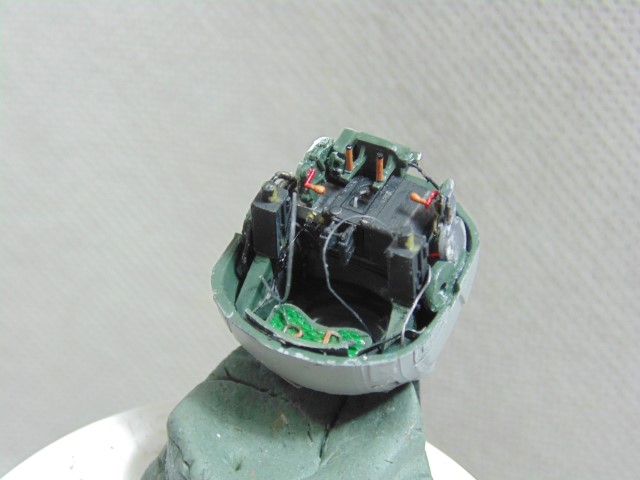
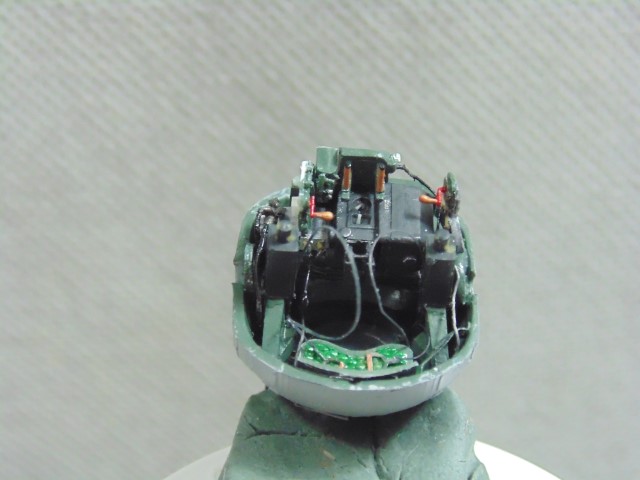
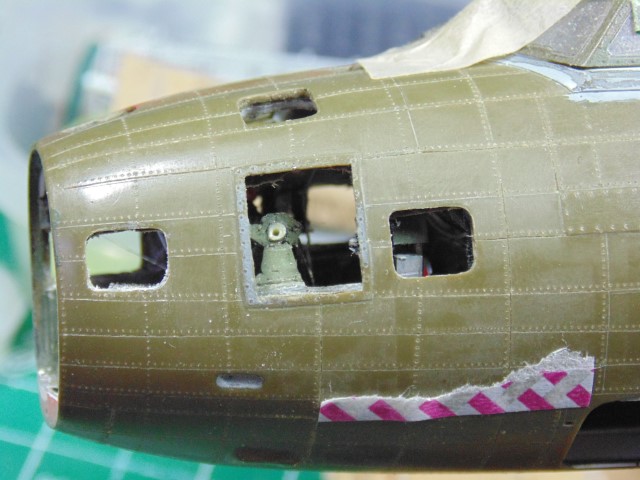
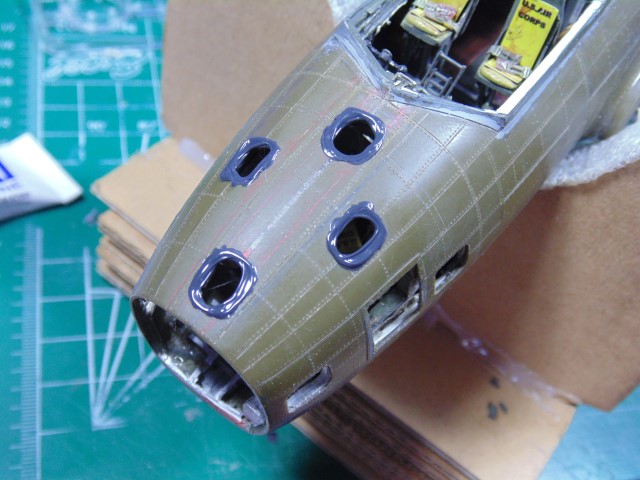
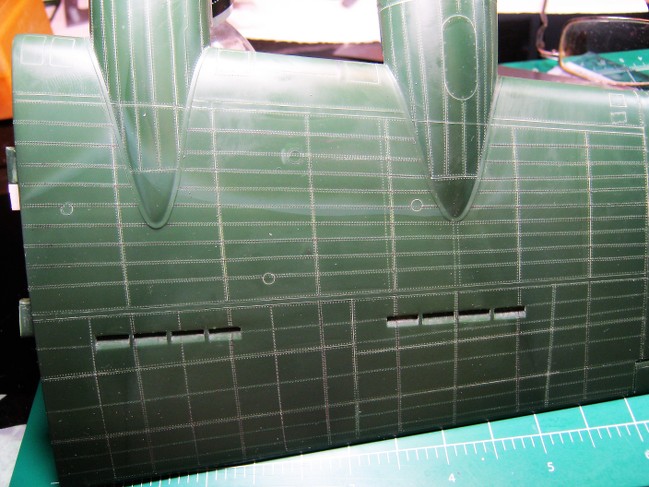
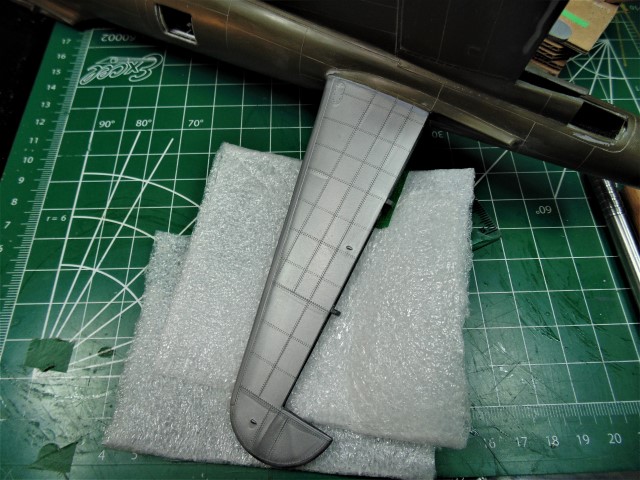
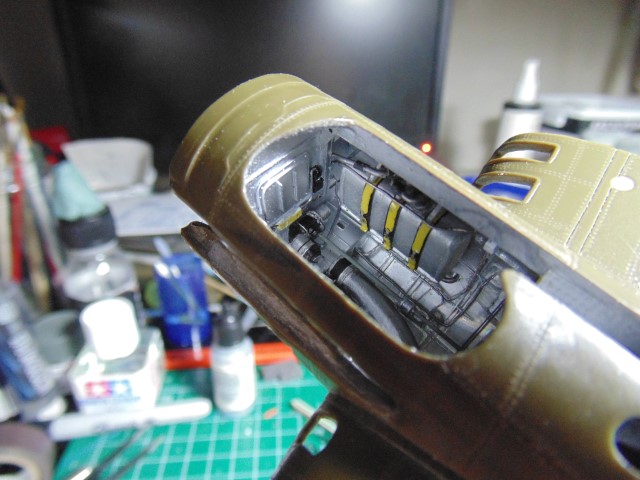
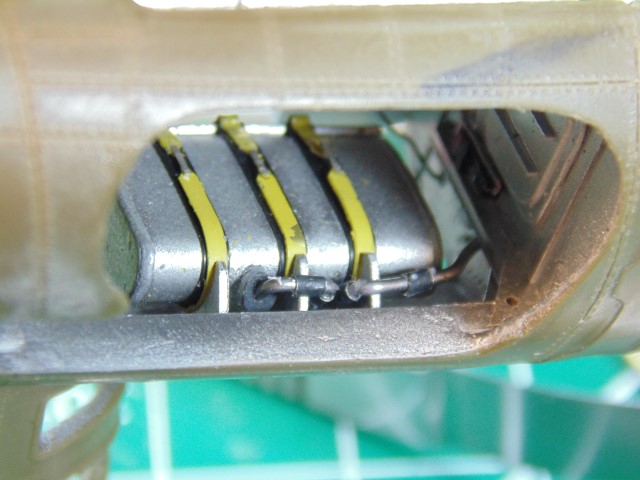
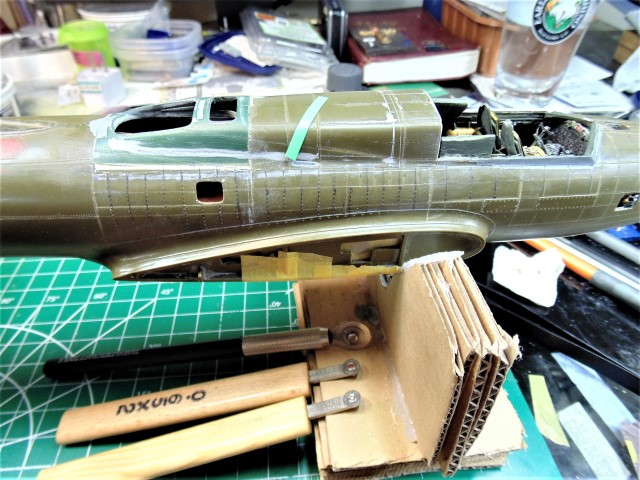
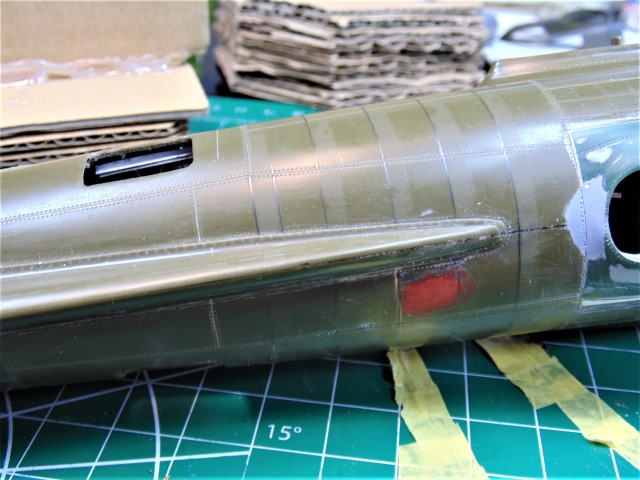
Those who have followed from the archived blog know that H.G. has completely re-scribed and riveted the model’s exterior;

HChvc6

fpU42e

0a04JI

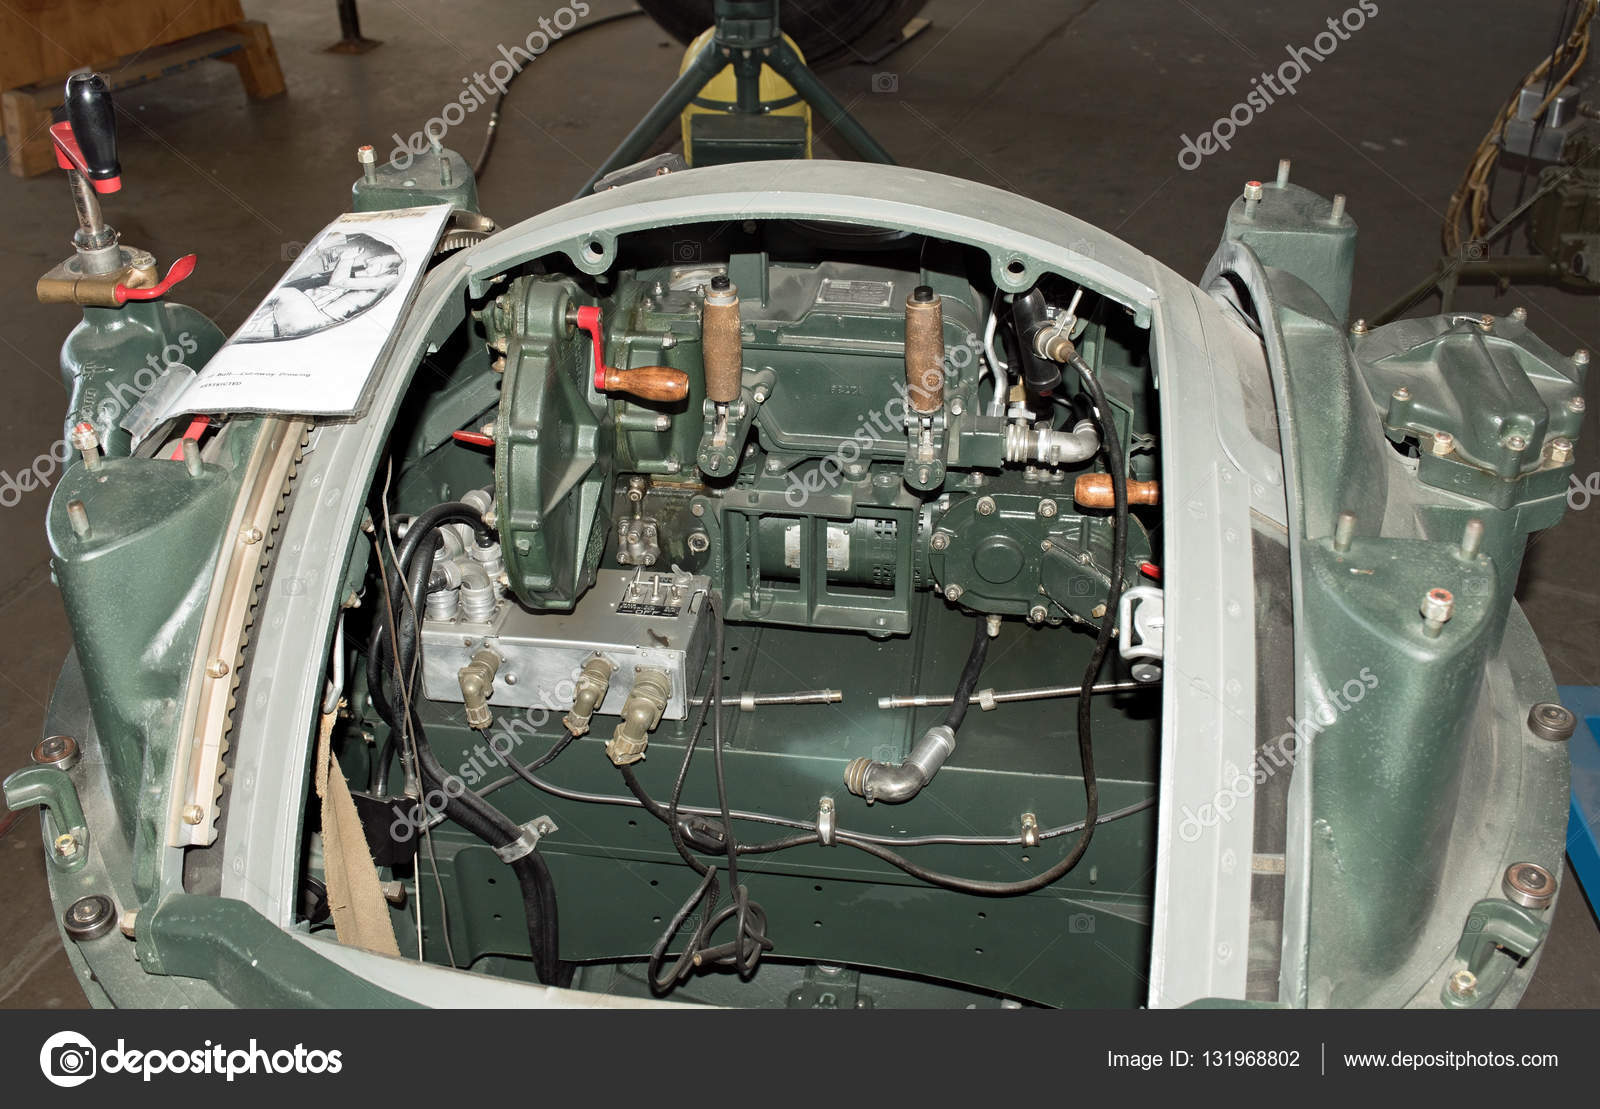
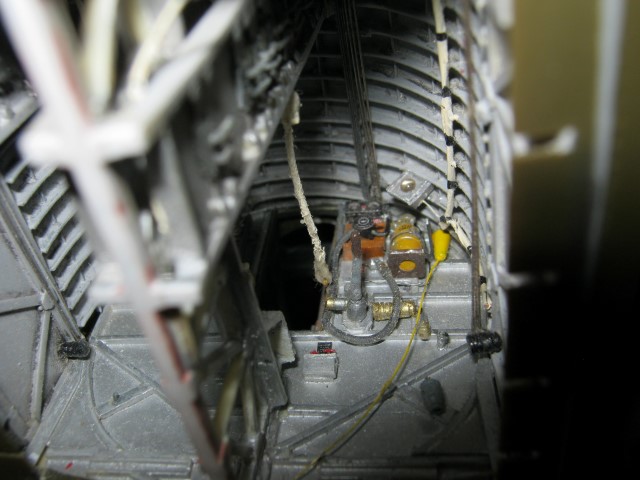
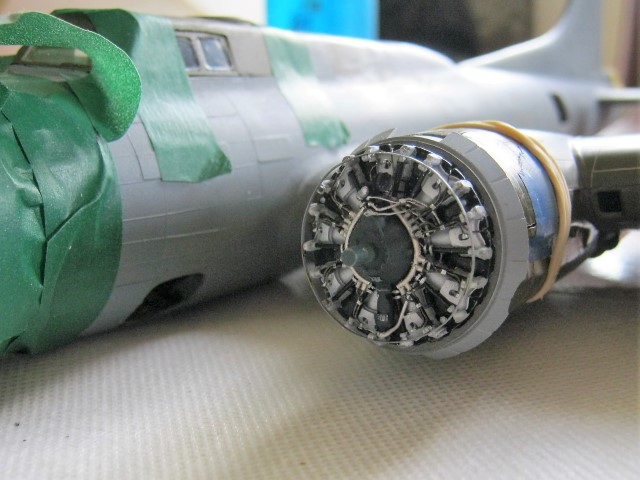
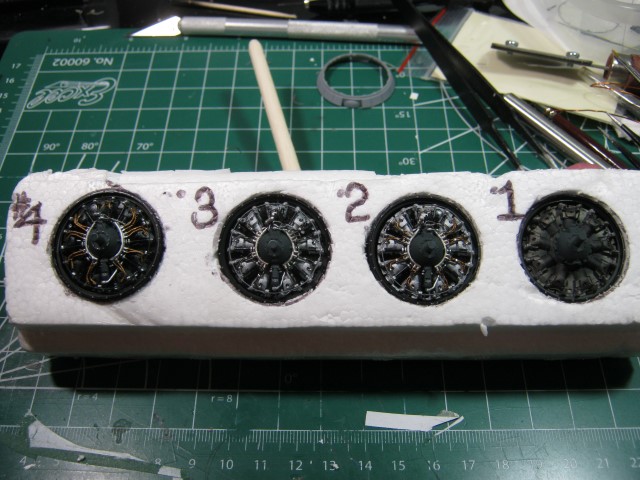
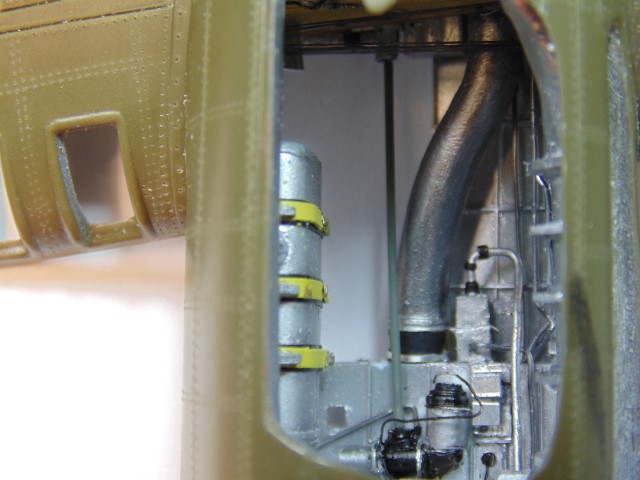
transformed the Eduard Brassin engine set for the model into something even better,

kMw4ee

aRCPaX

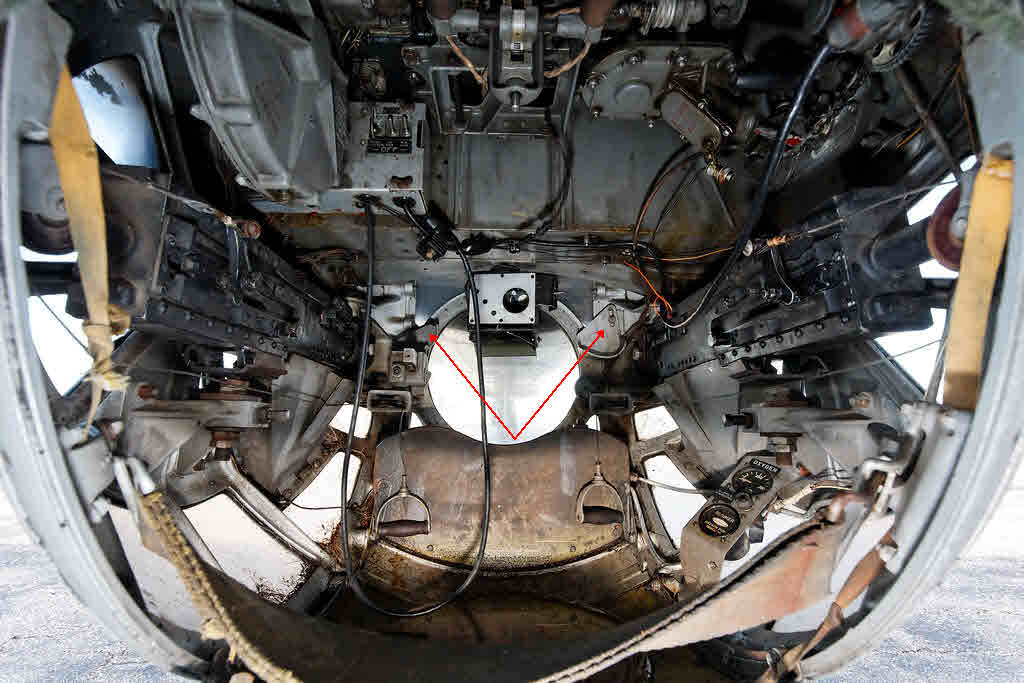
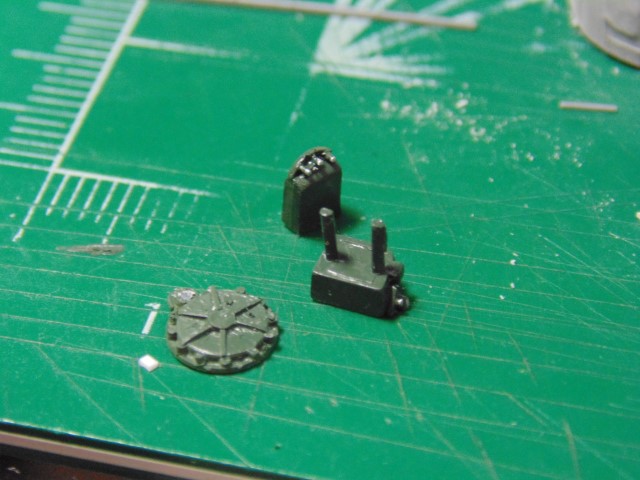
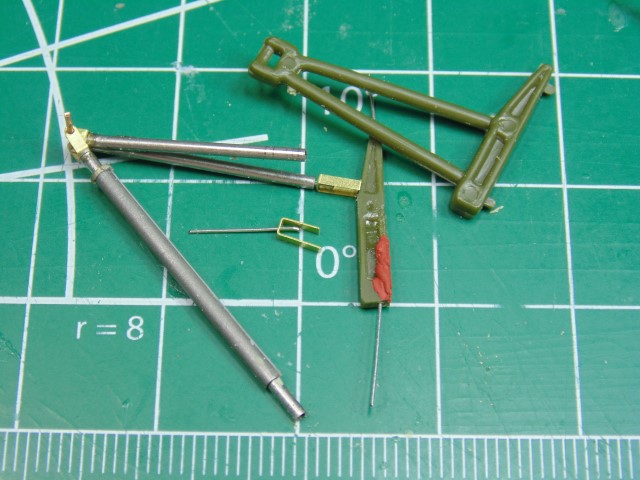
completely scratch-built the main landing gear wheel wells,

WGBC34 FMwIkI

dmgWFG

completely redesigned and rebuilt the kit’s main landing gear,

8VfEqo

mVeqtN

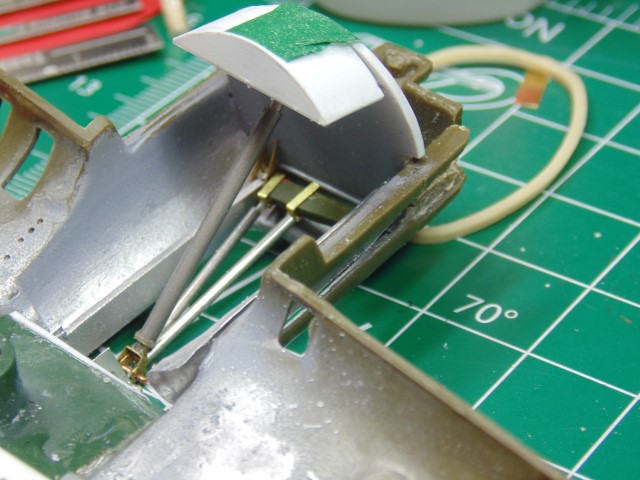
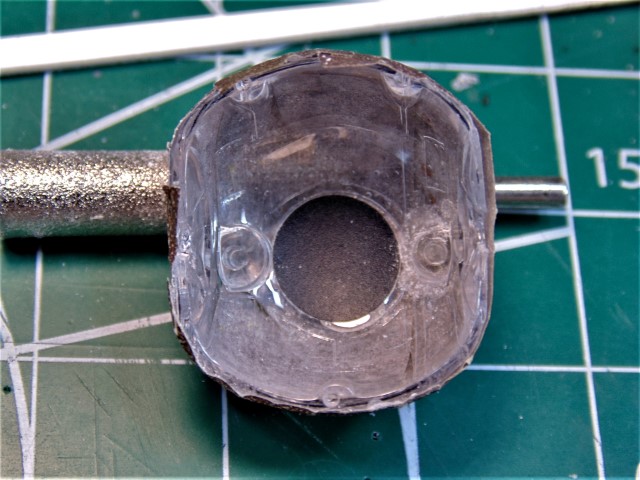
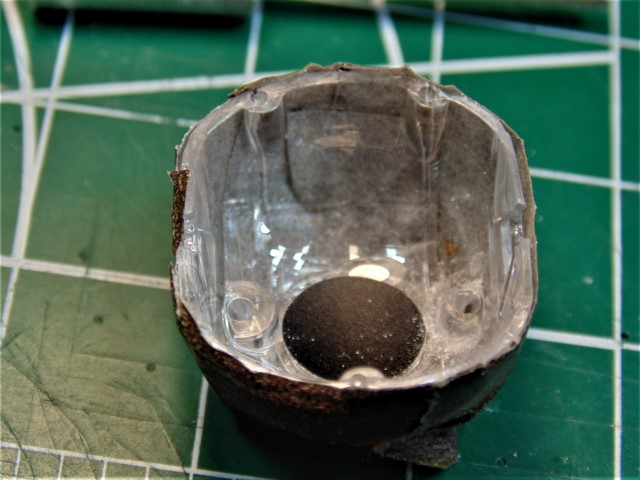
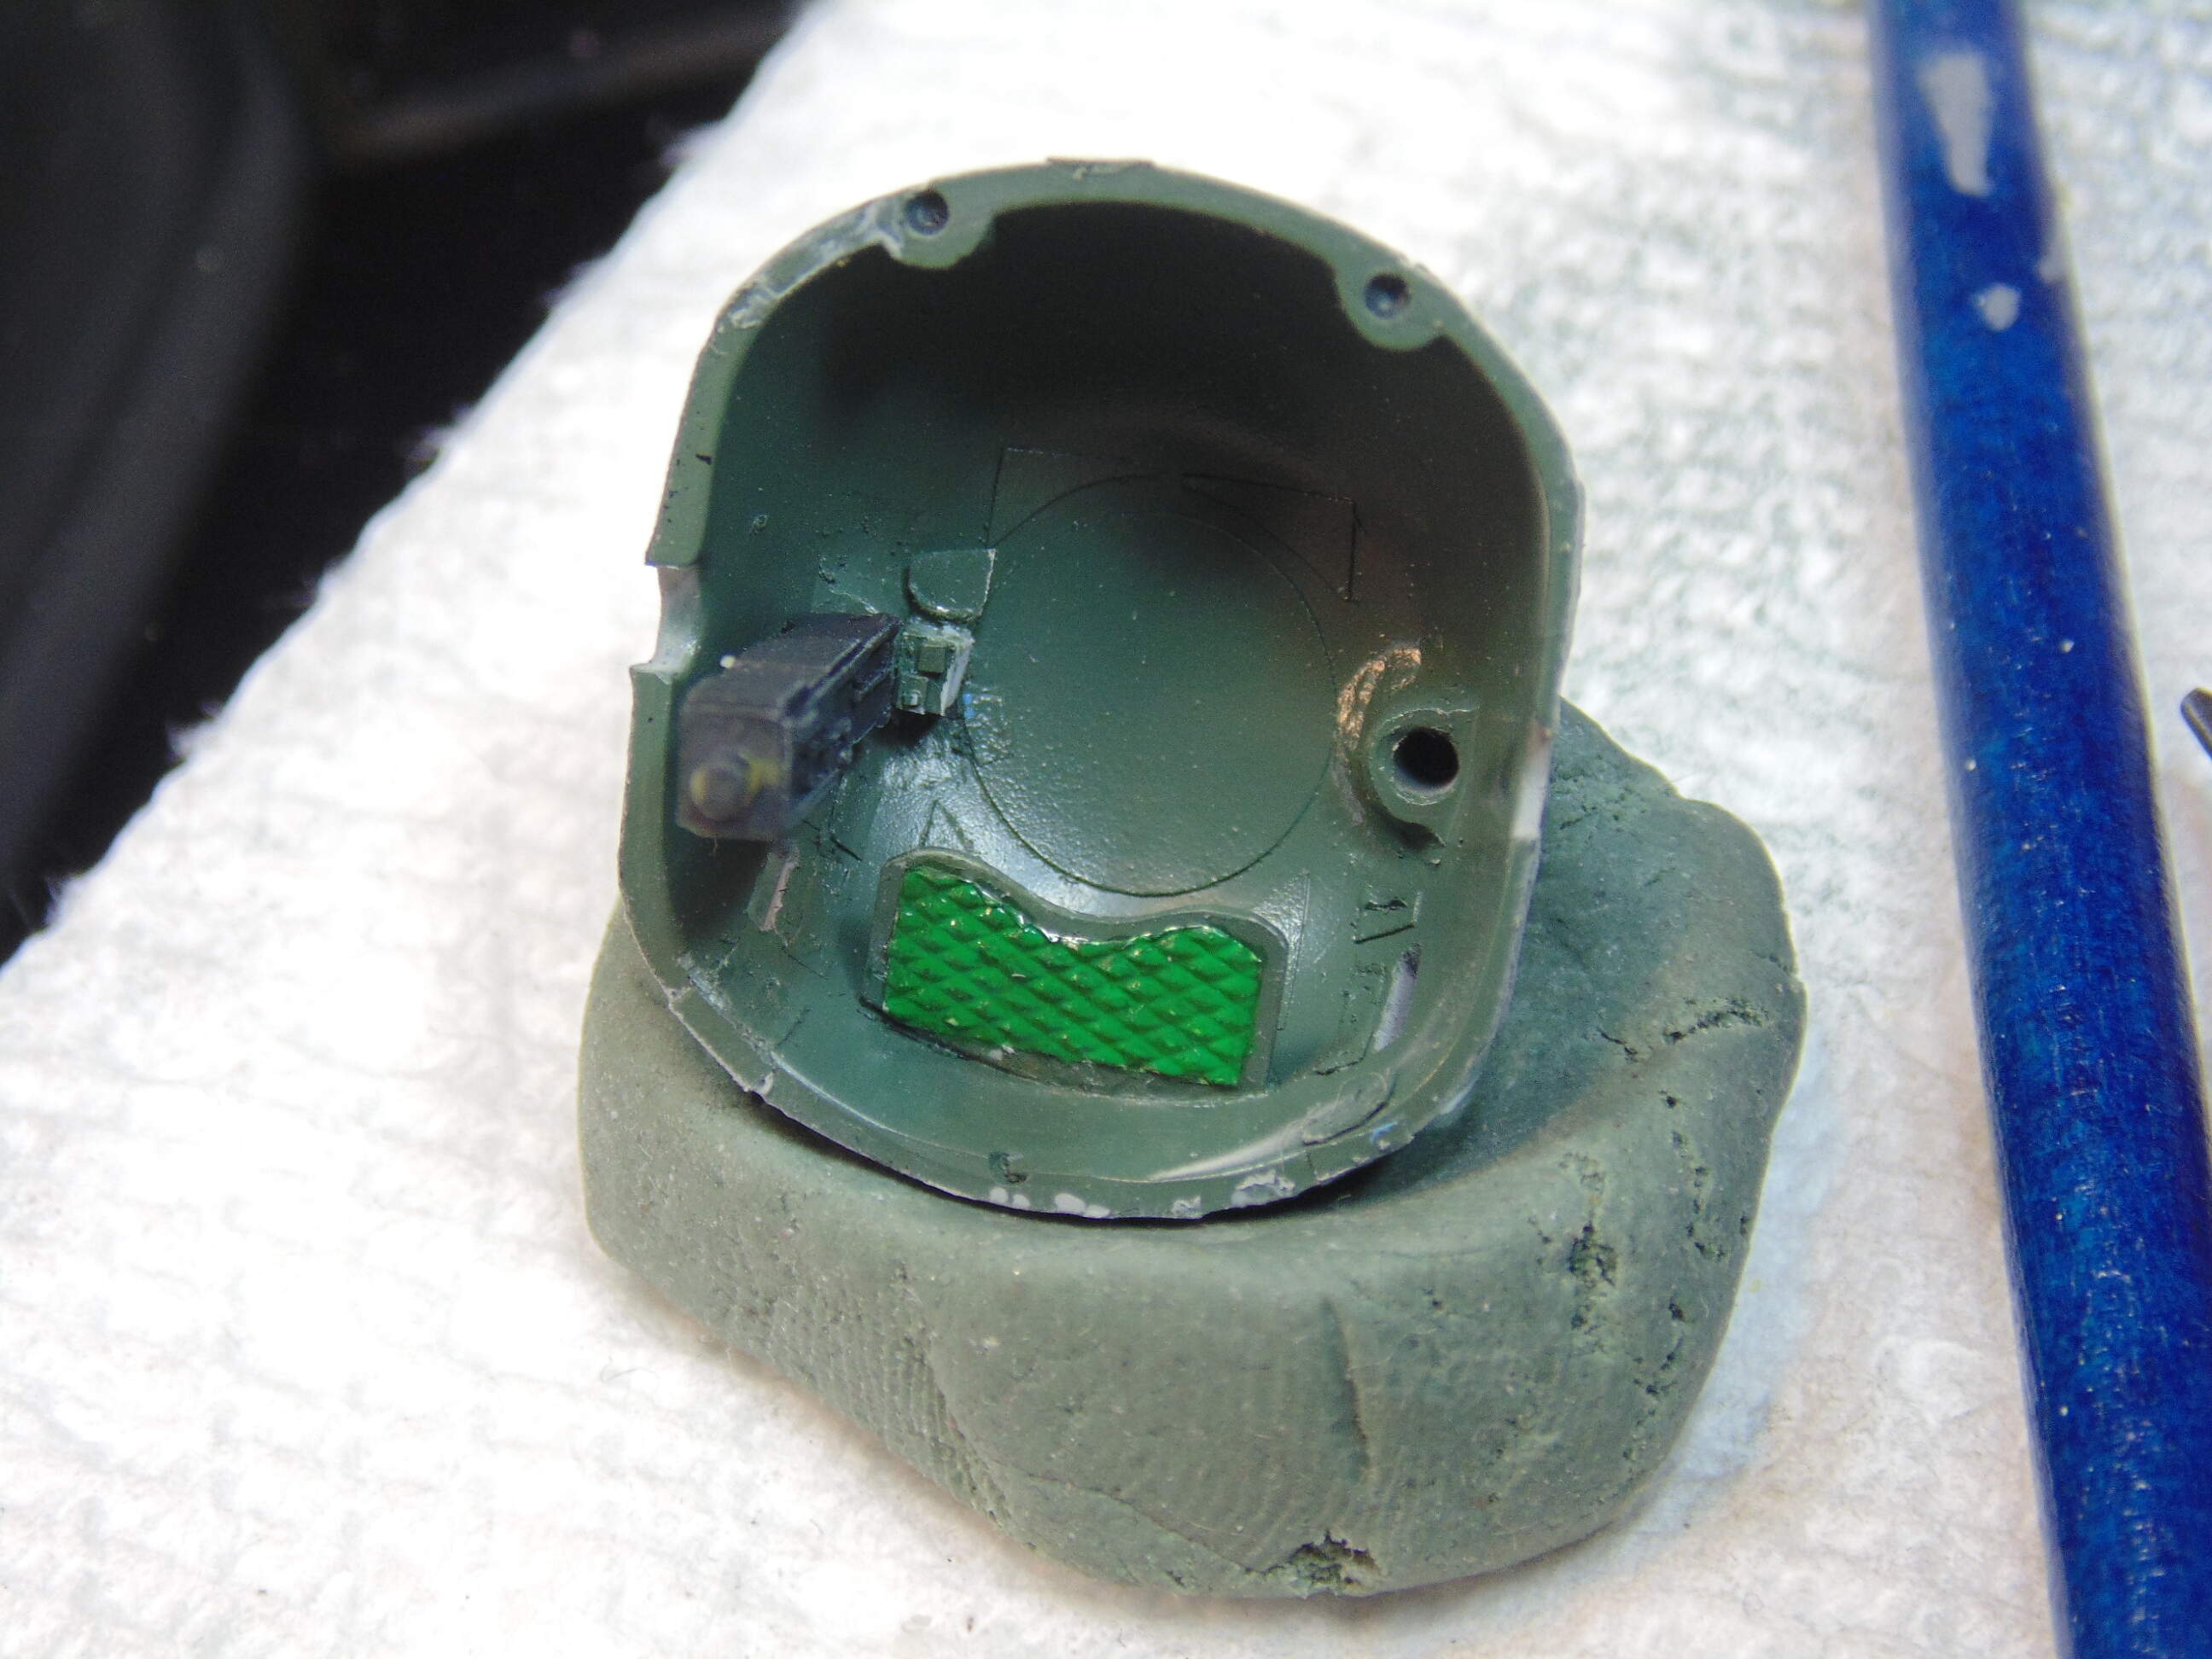
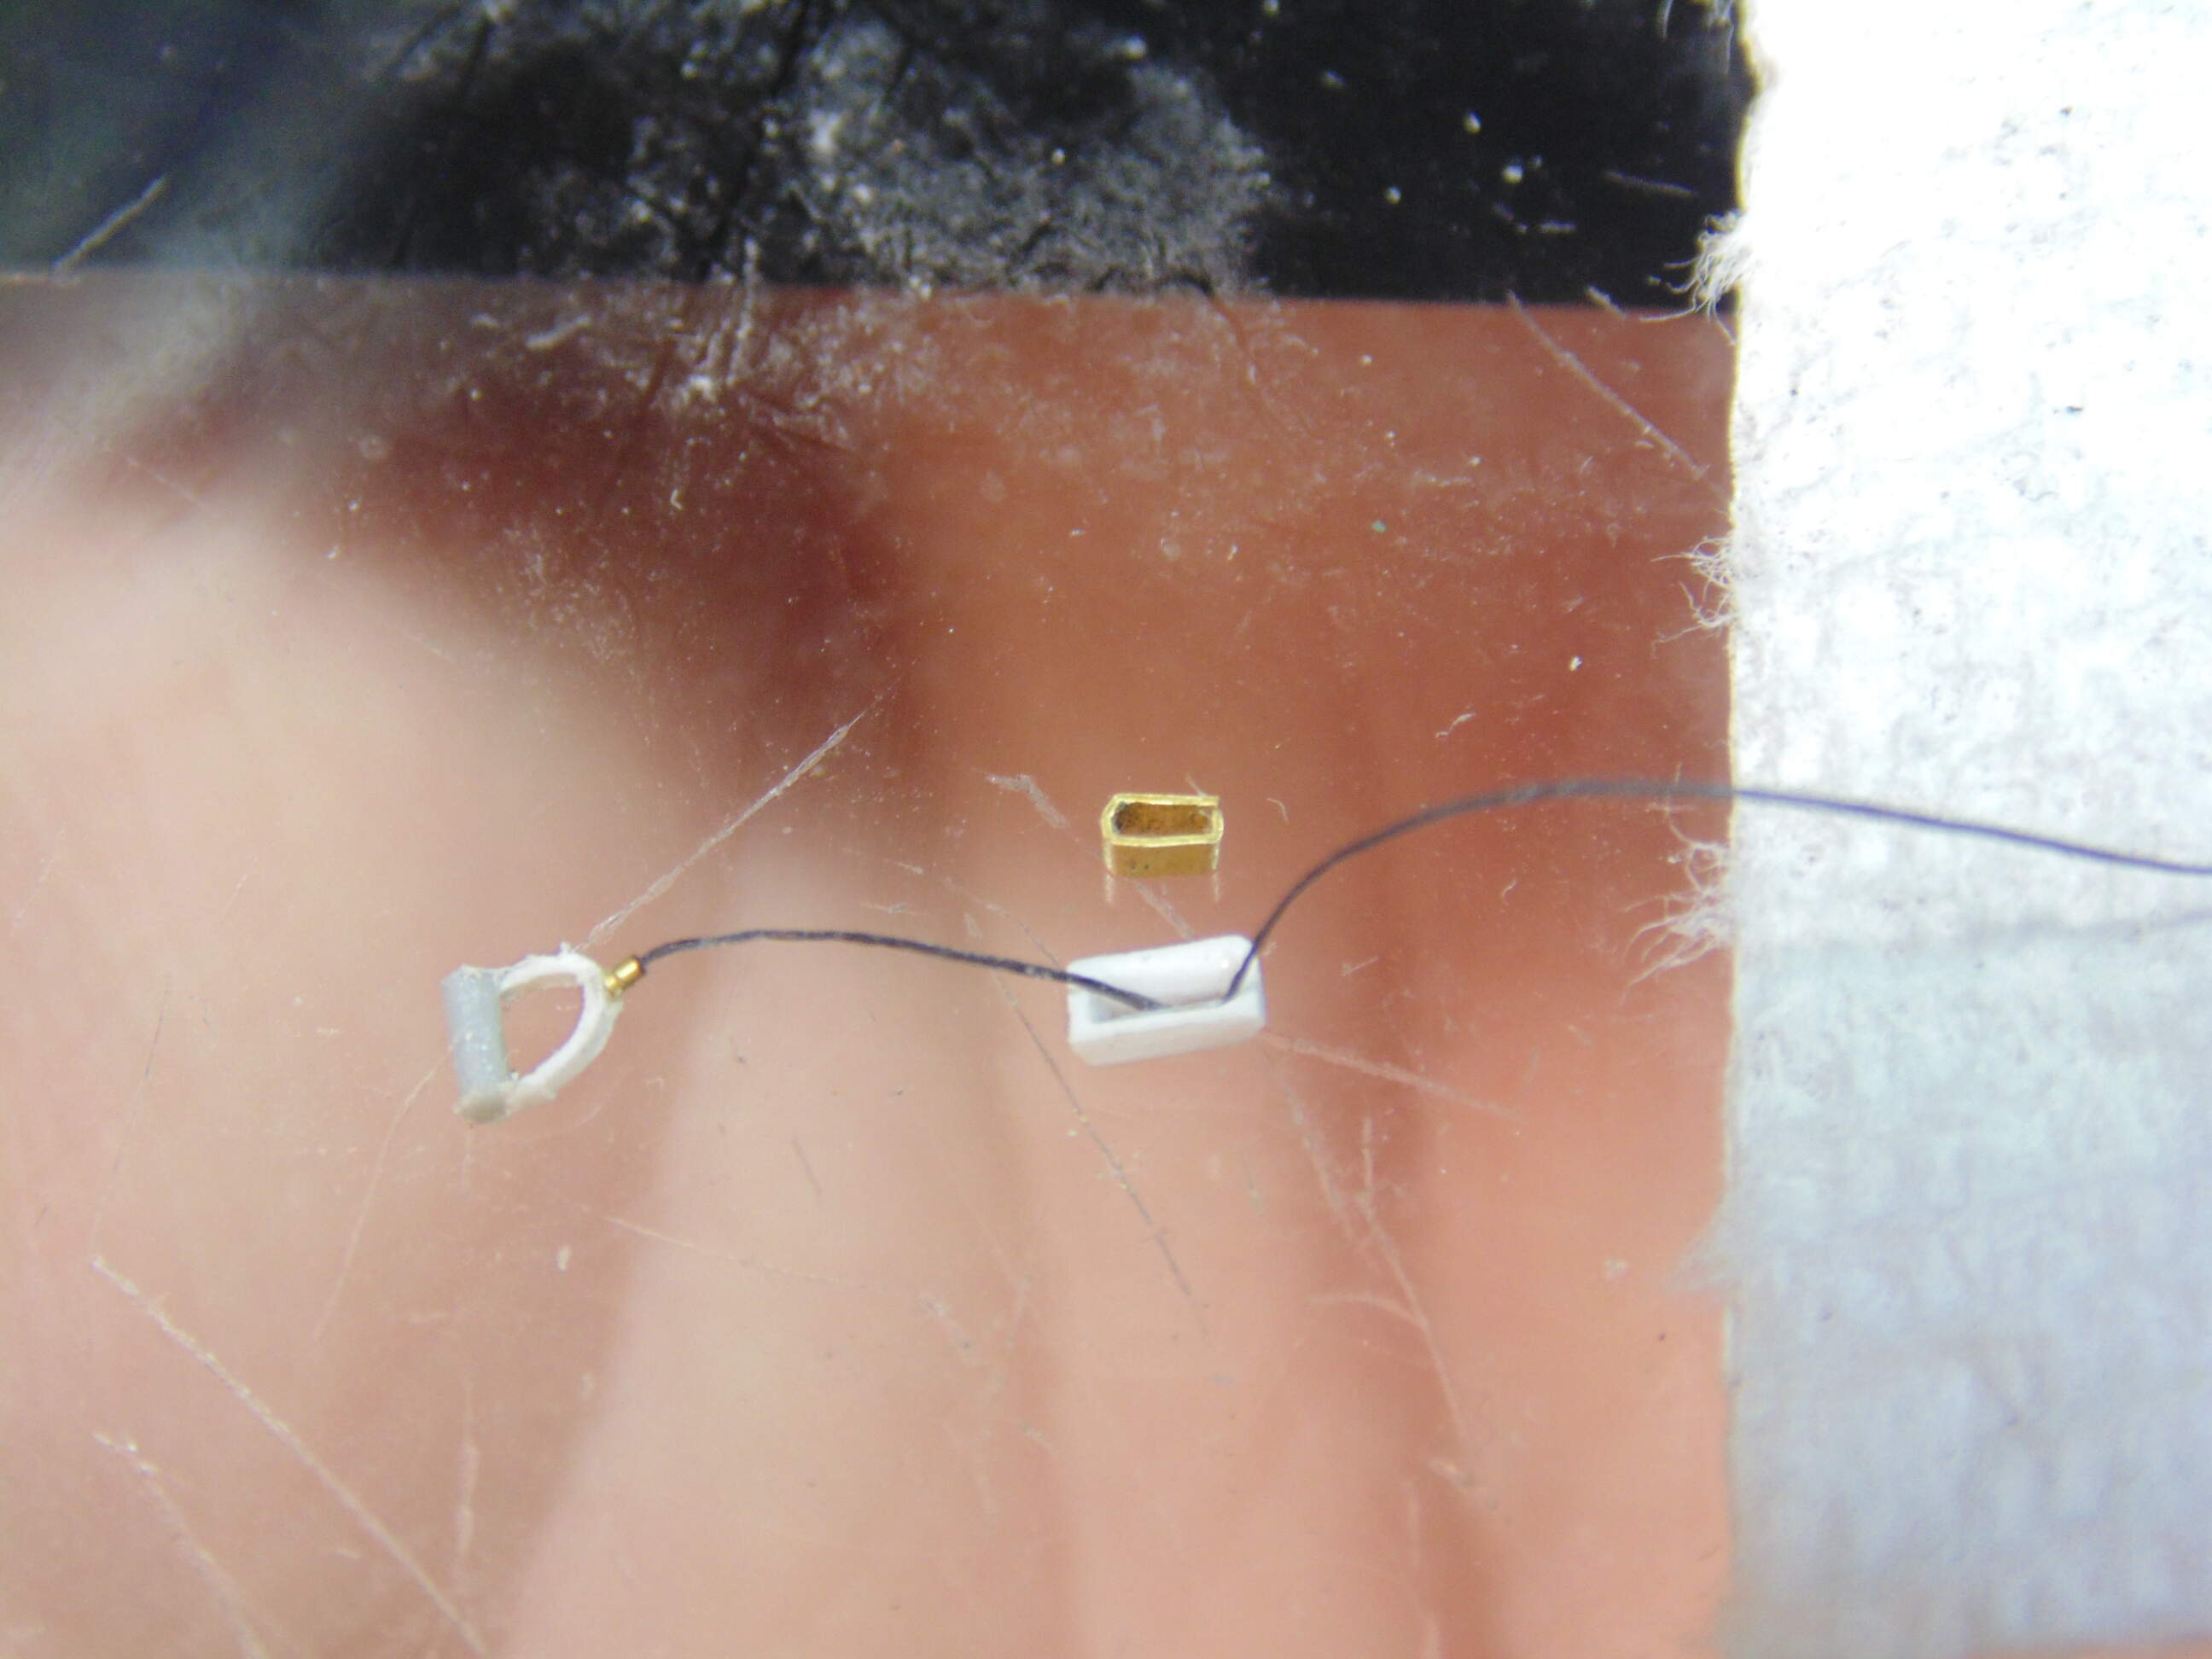
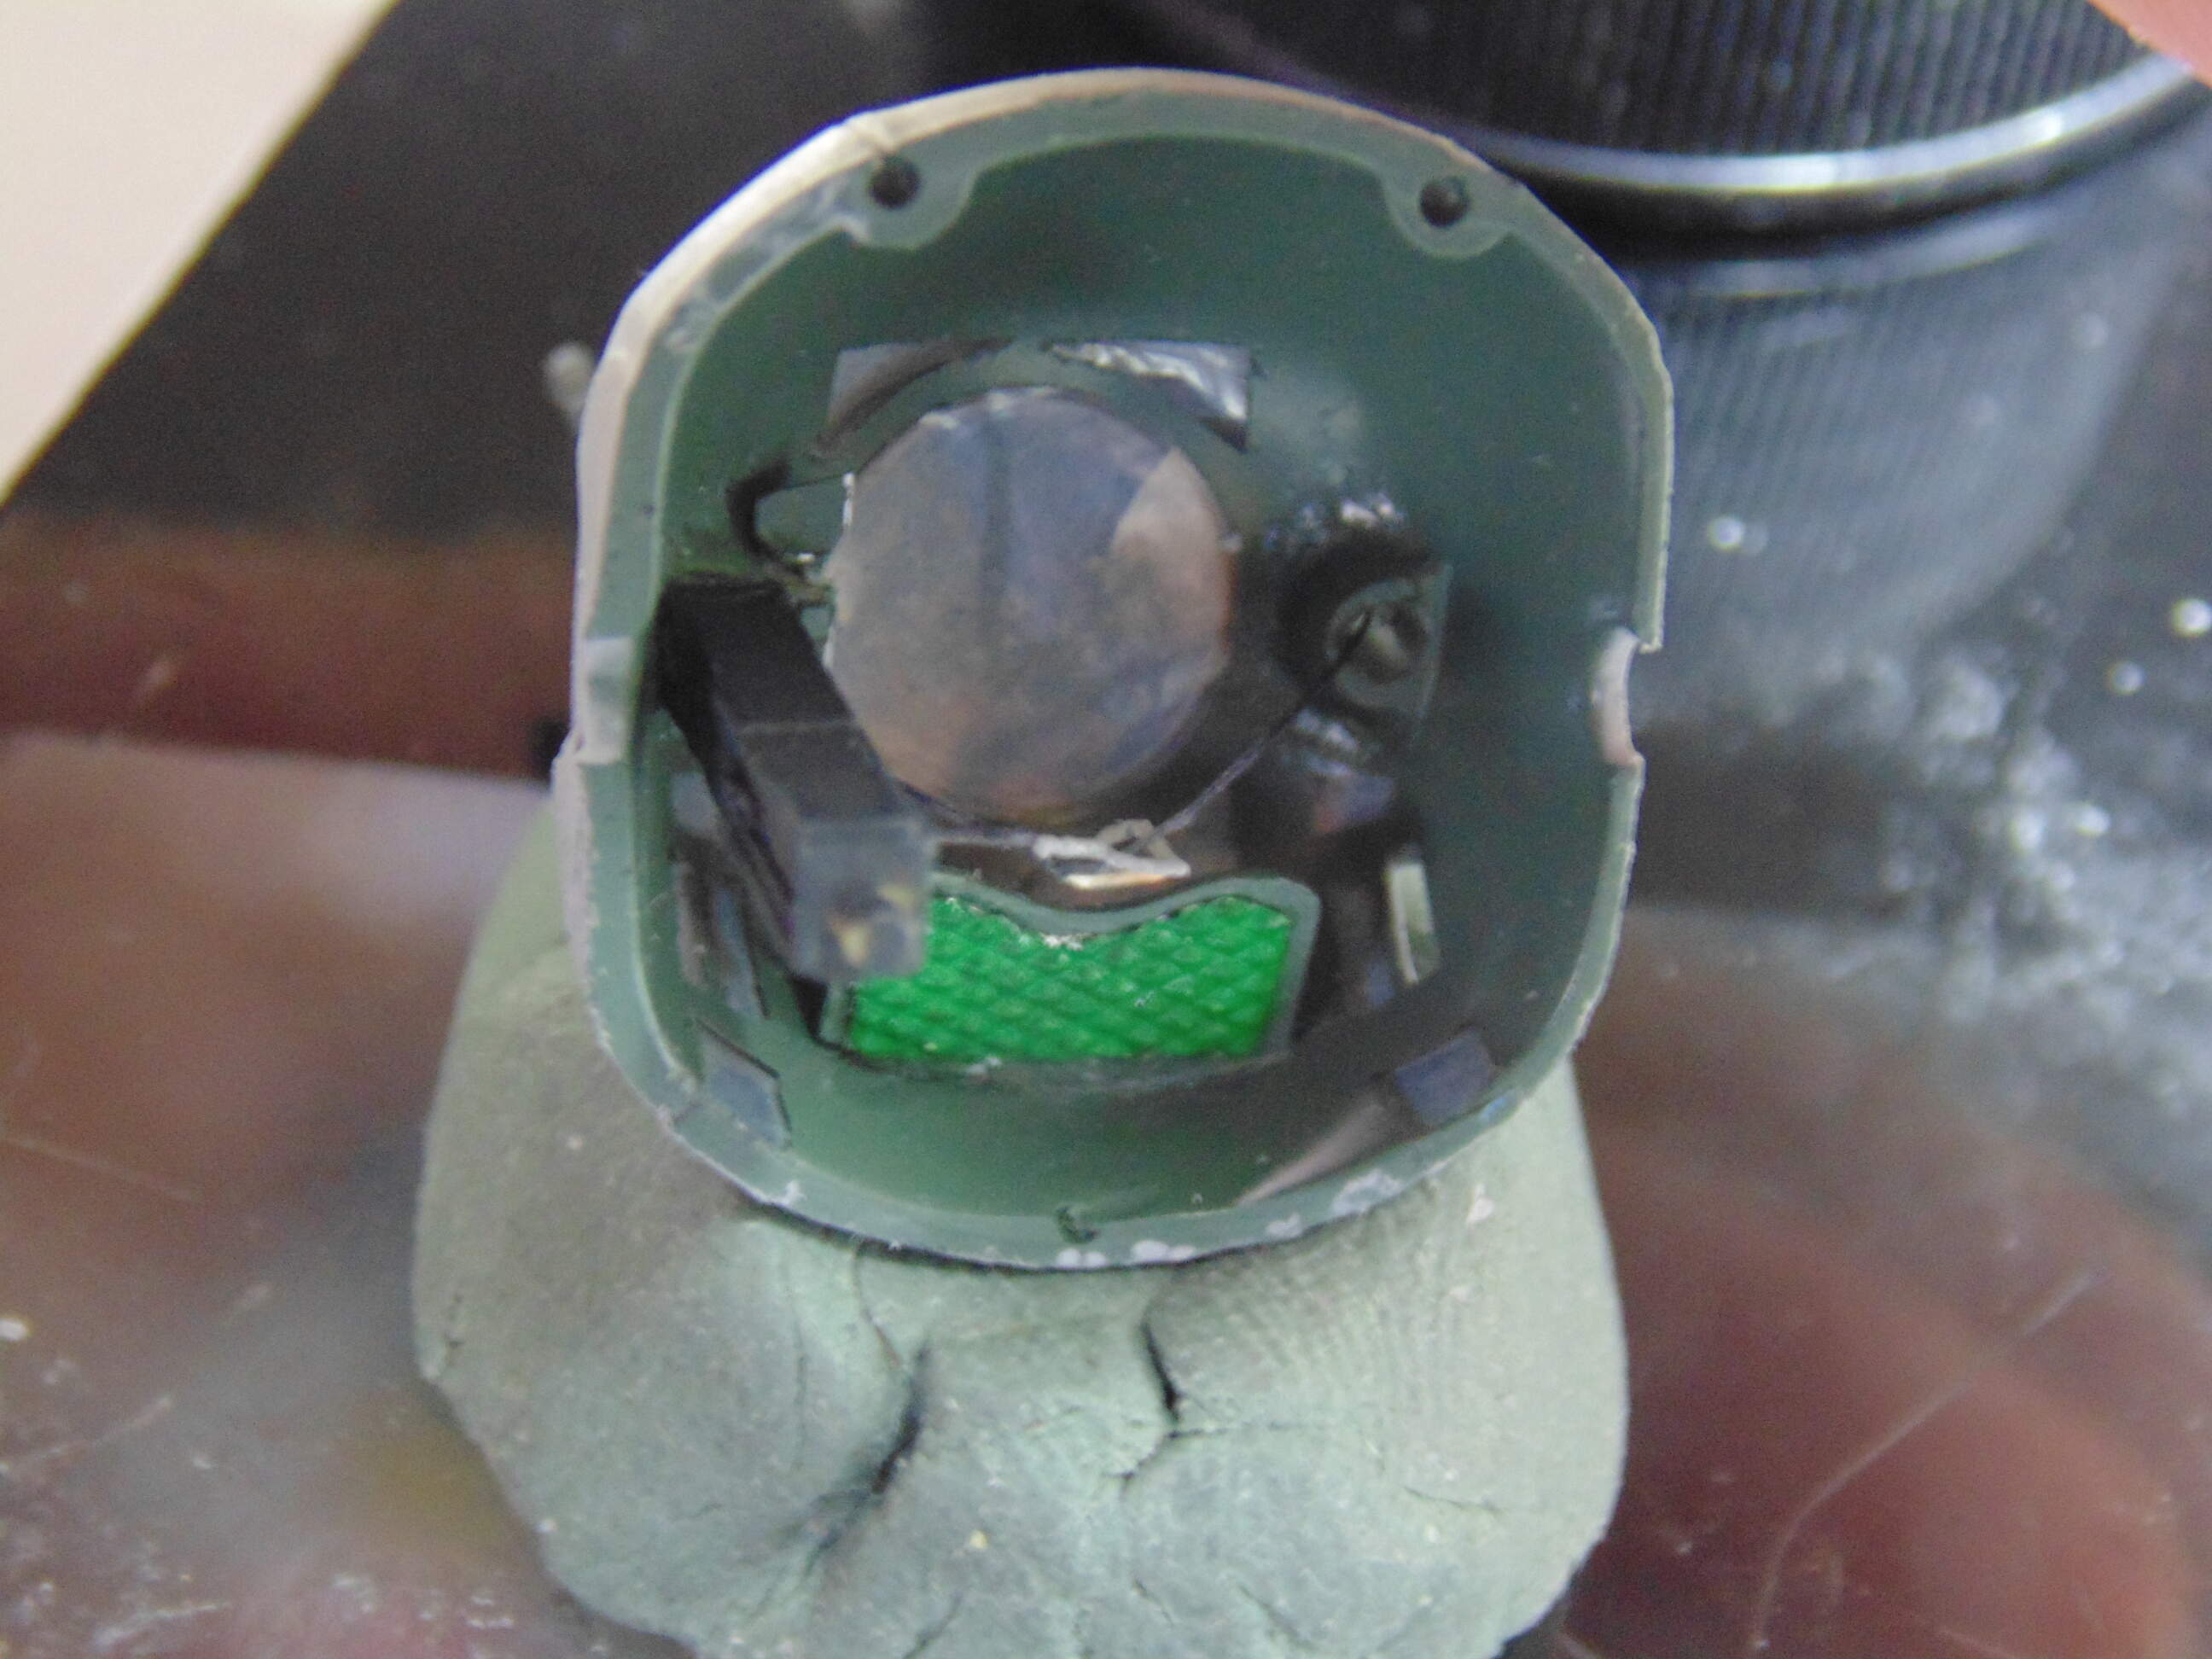
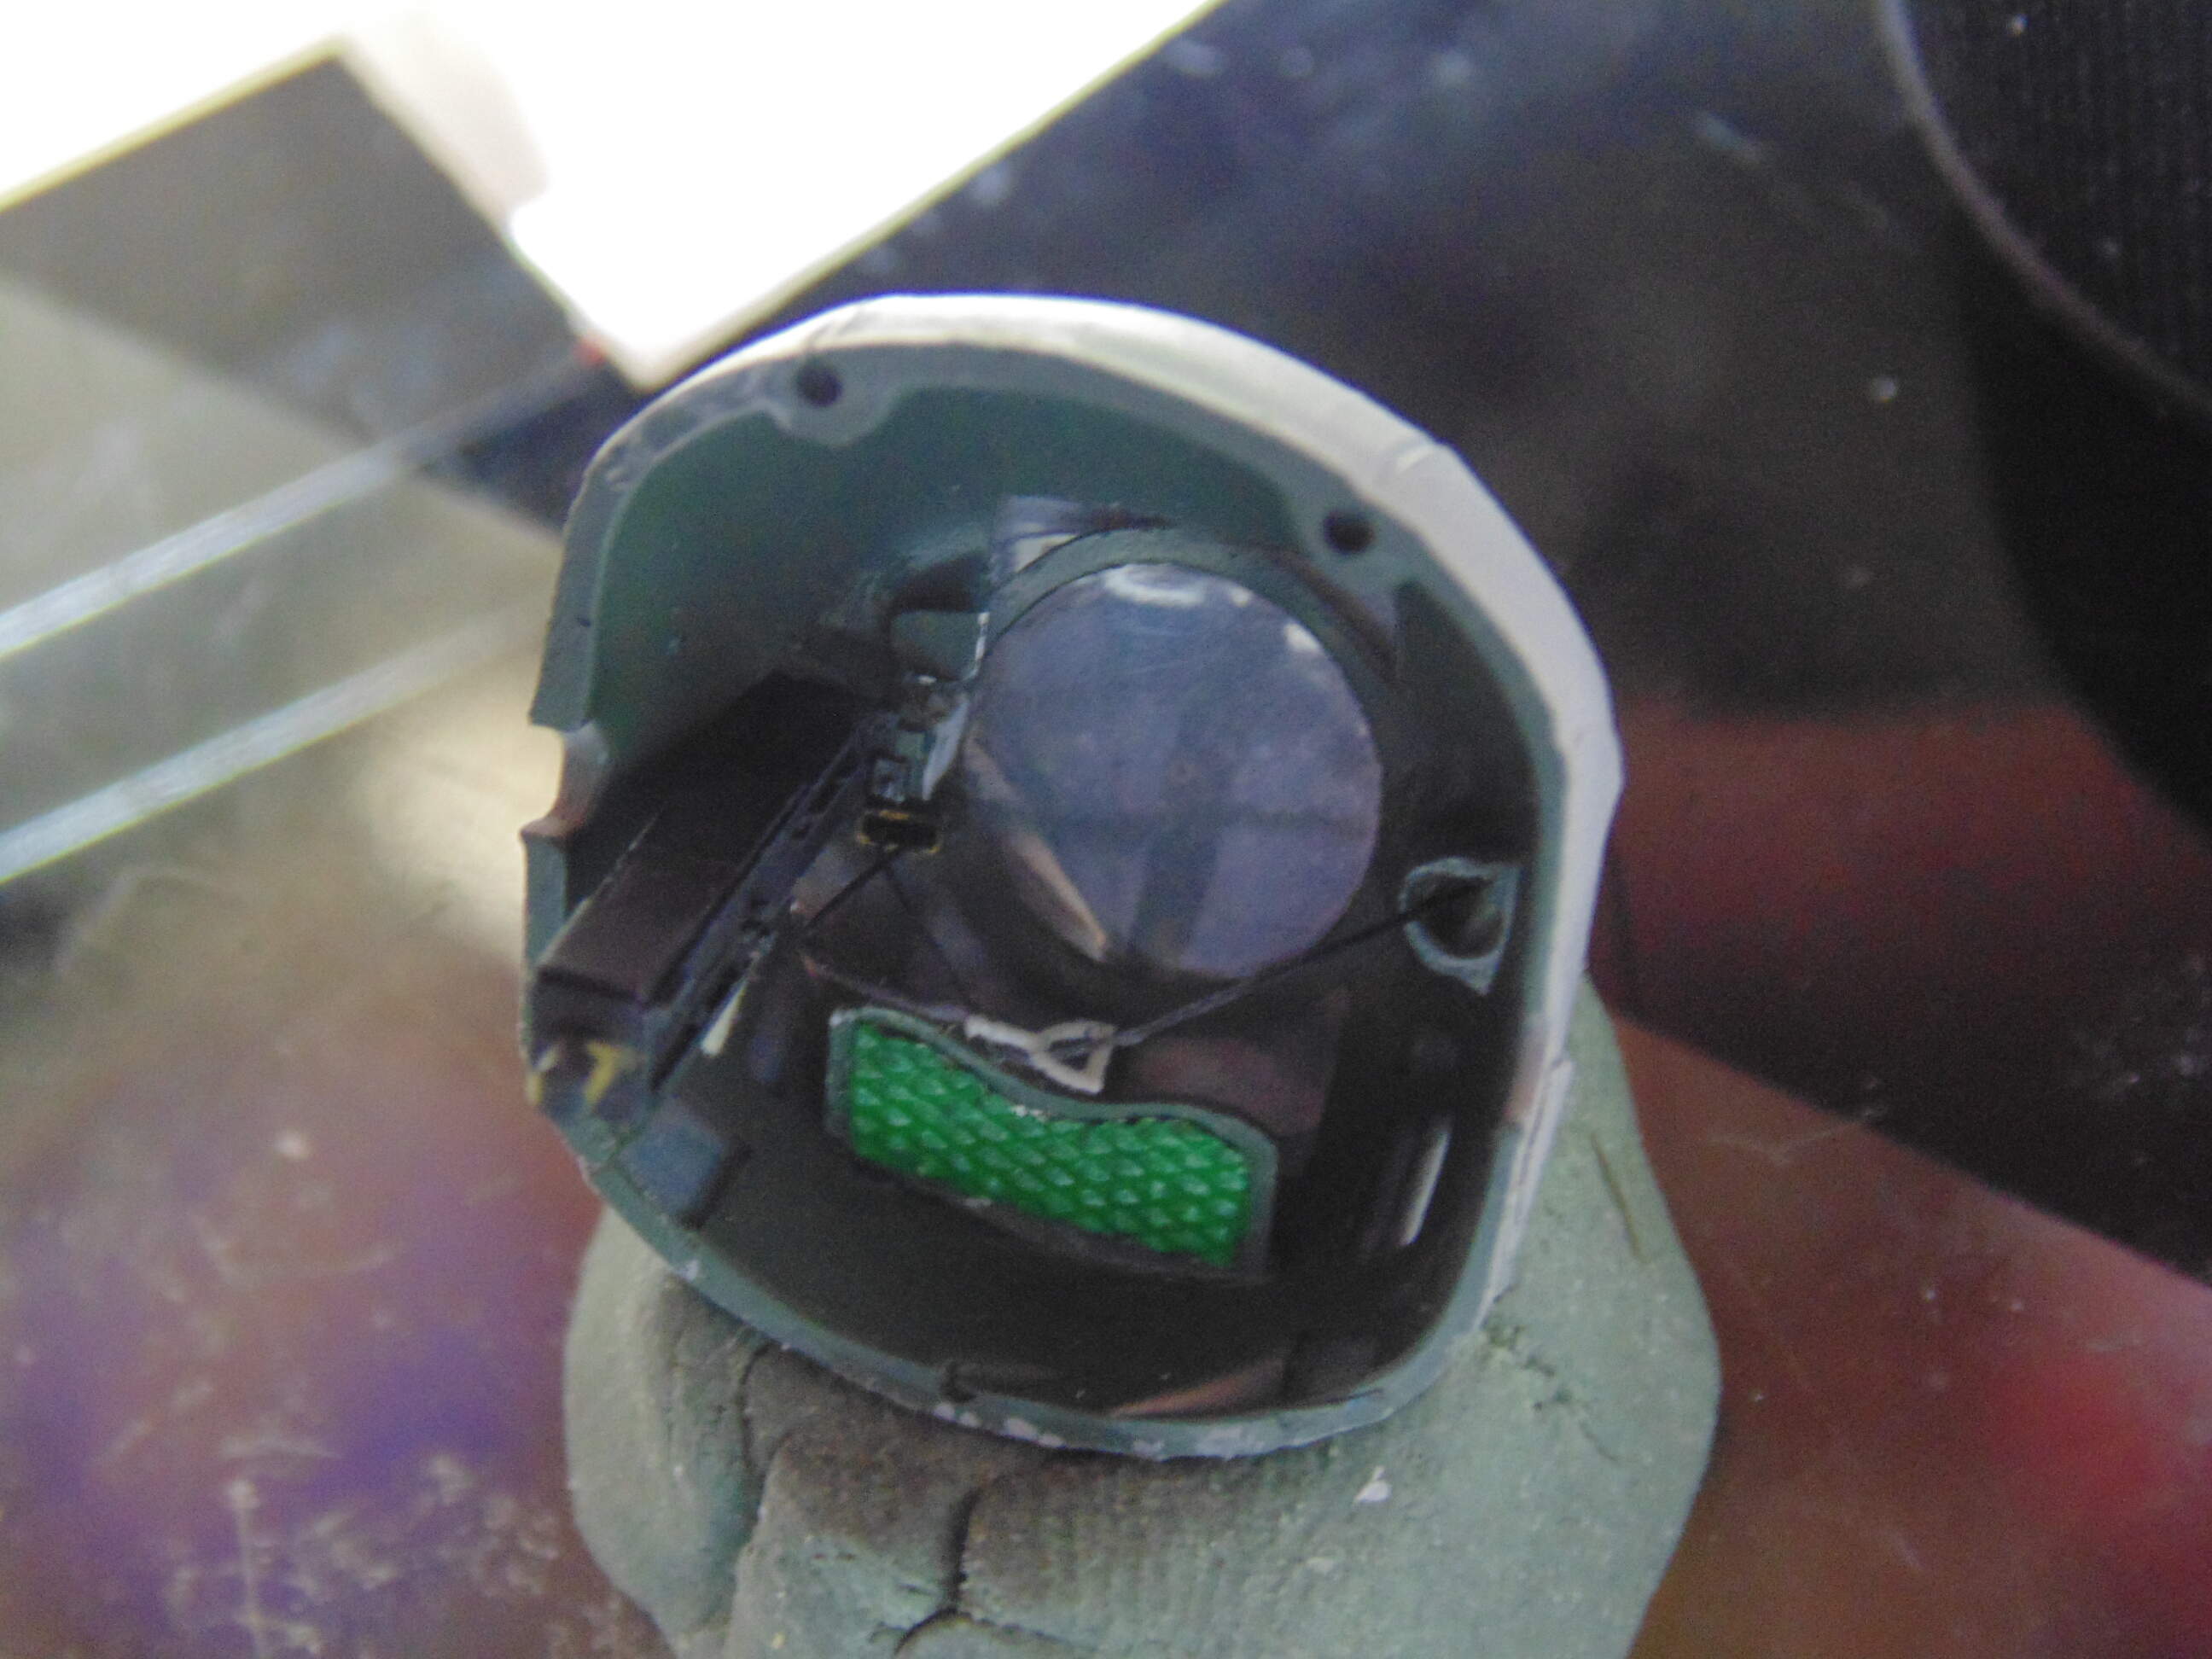
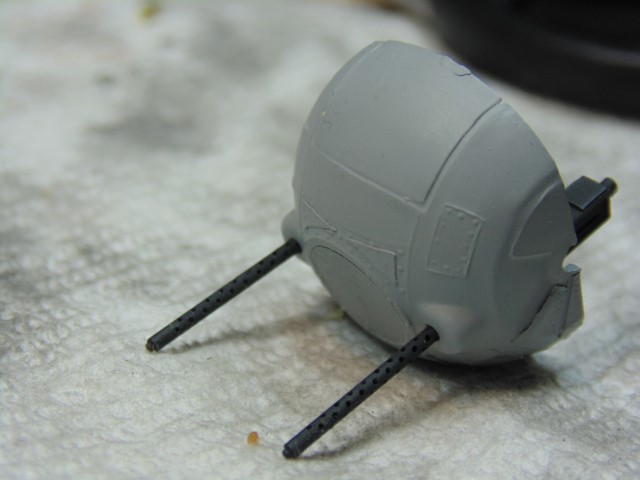
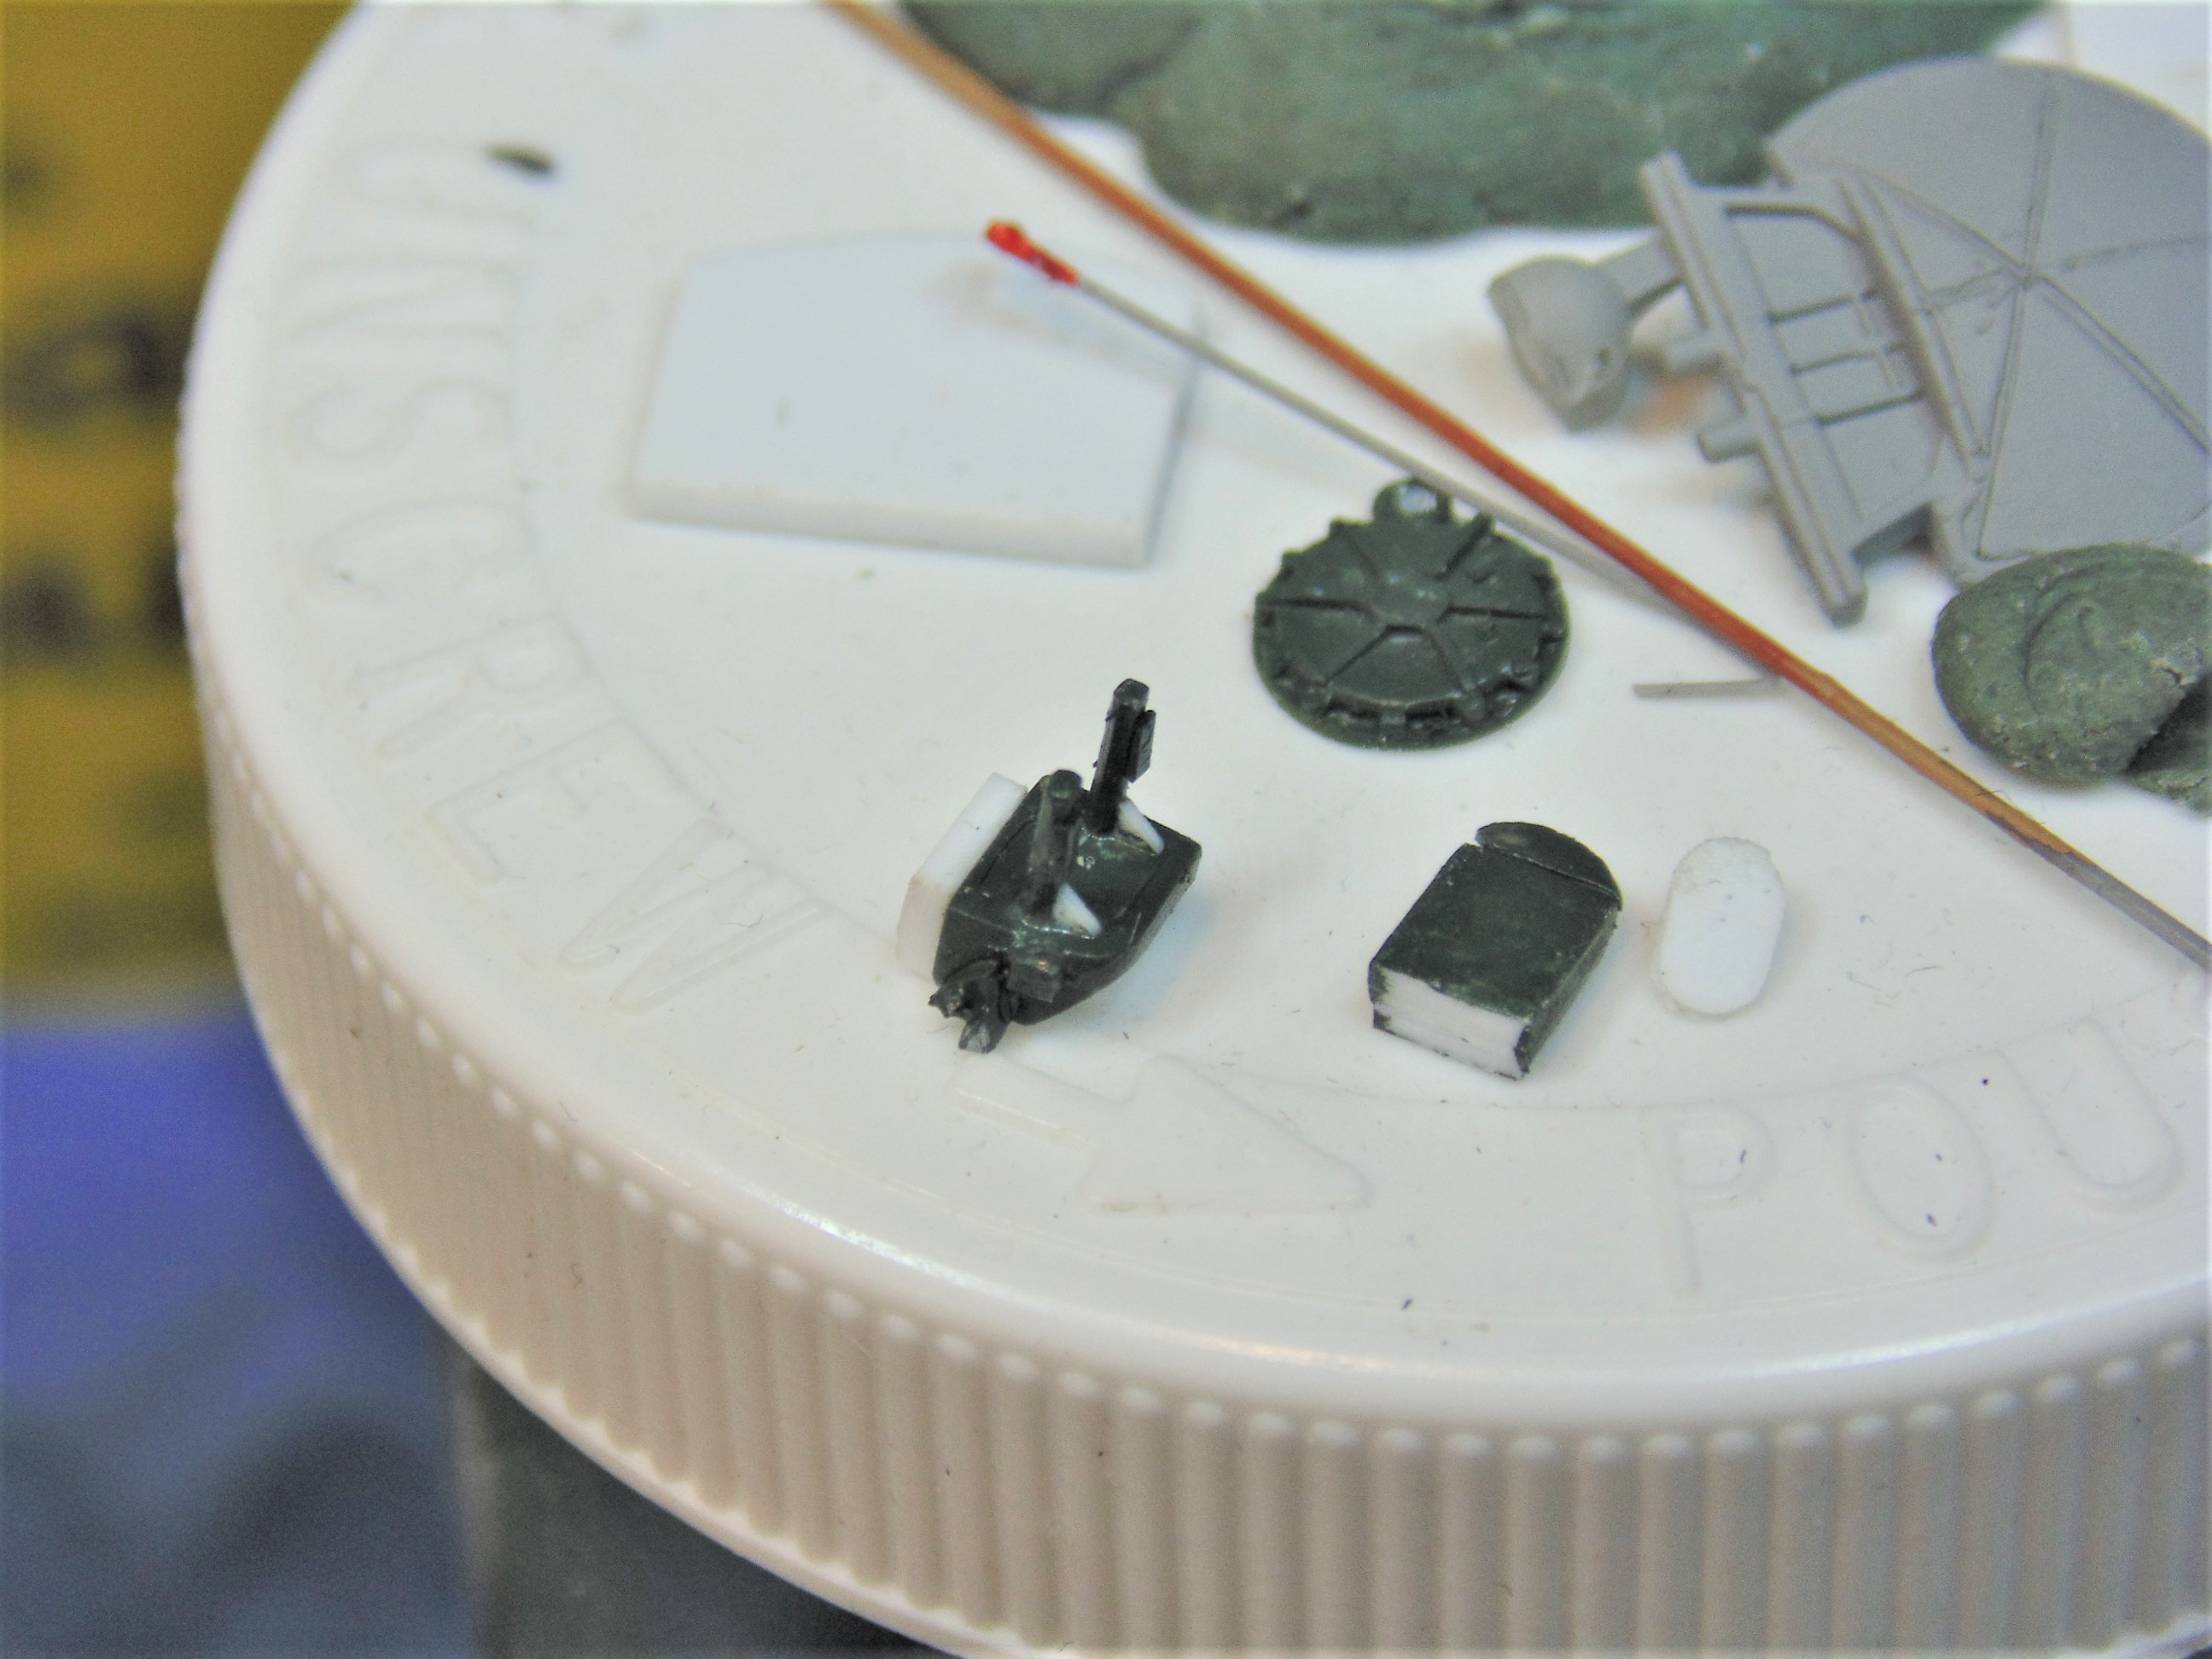
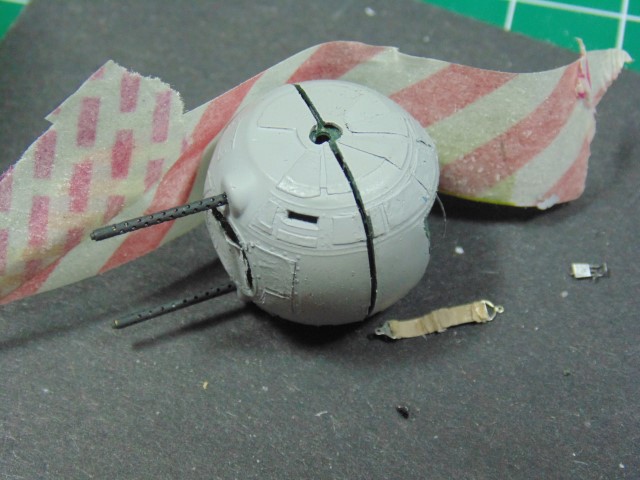
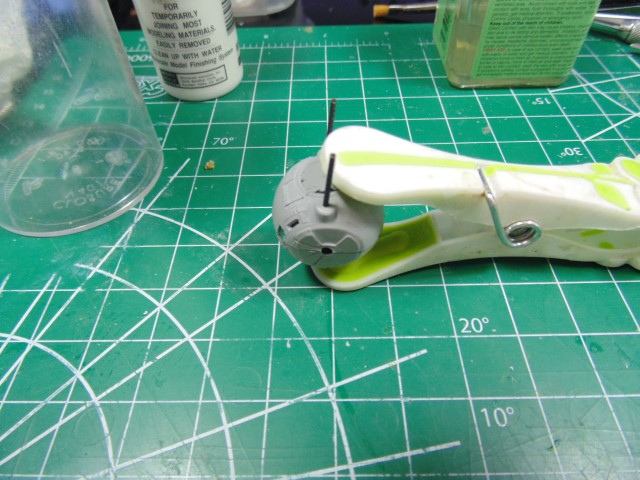
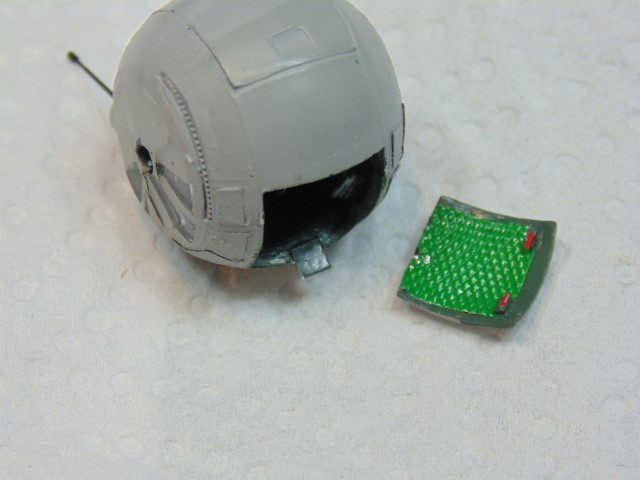
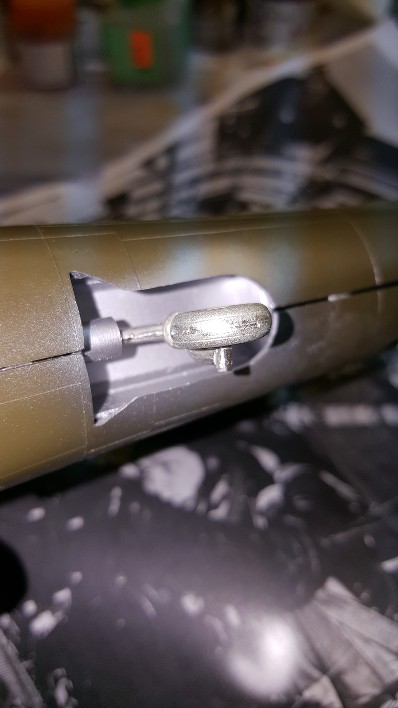
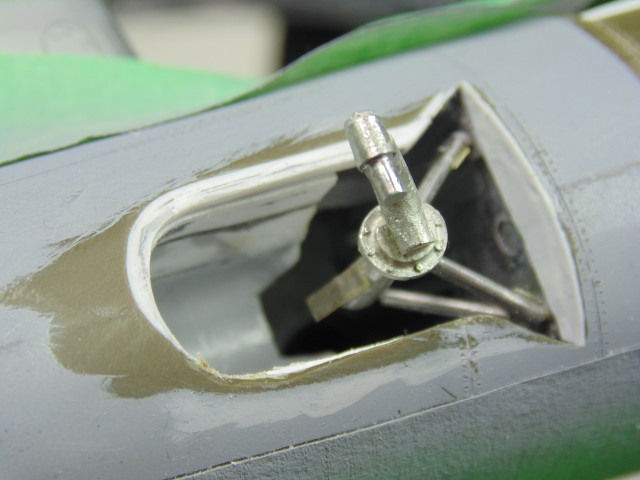
and perhaps most incredibly of all, taken my primitive boxing-in of the kit’s tail wheel

and transformed it into a dimensionally correct and complete tail wheel bay and assembly.

Vtk5Va

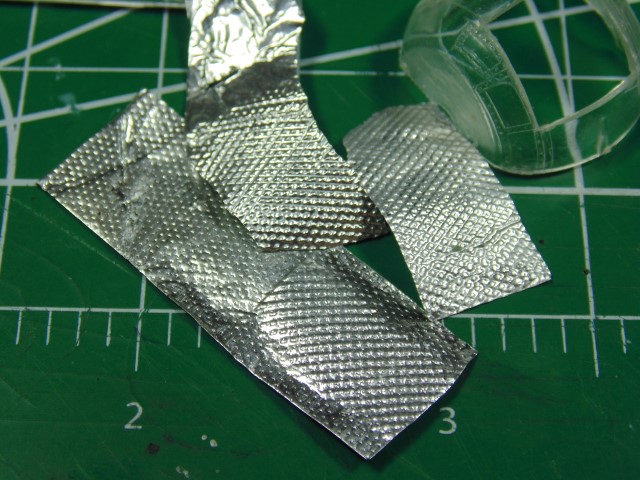
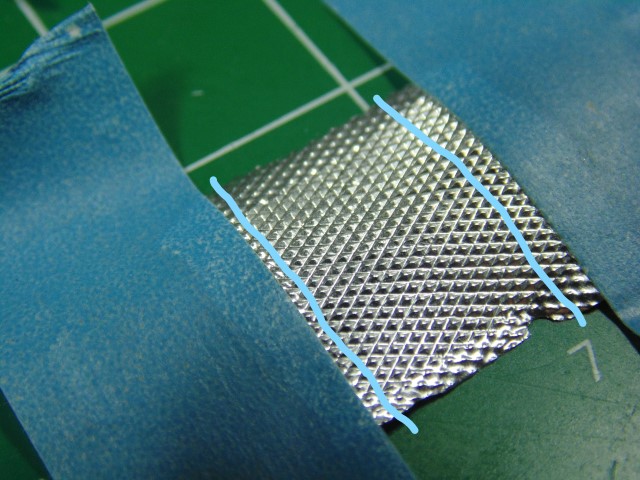
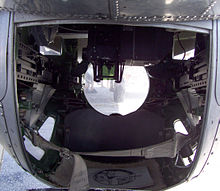
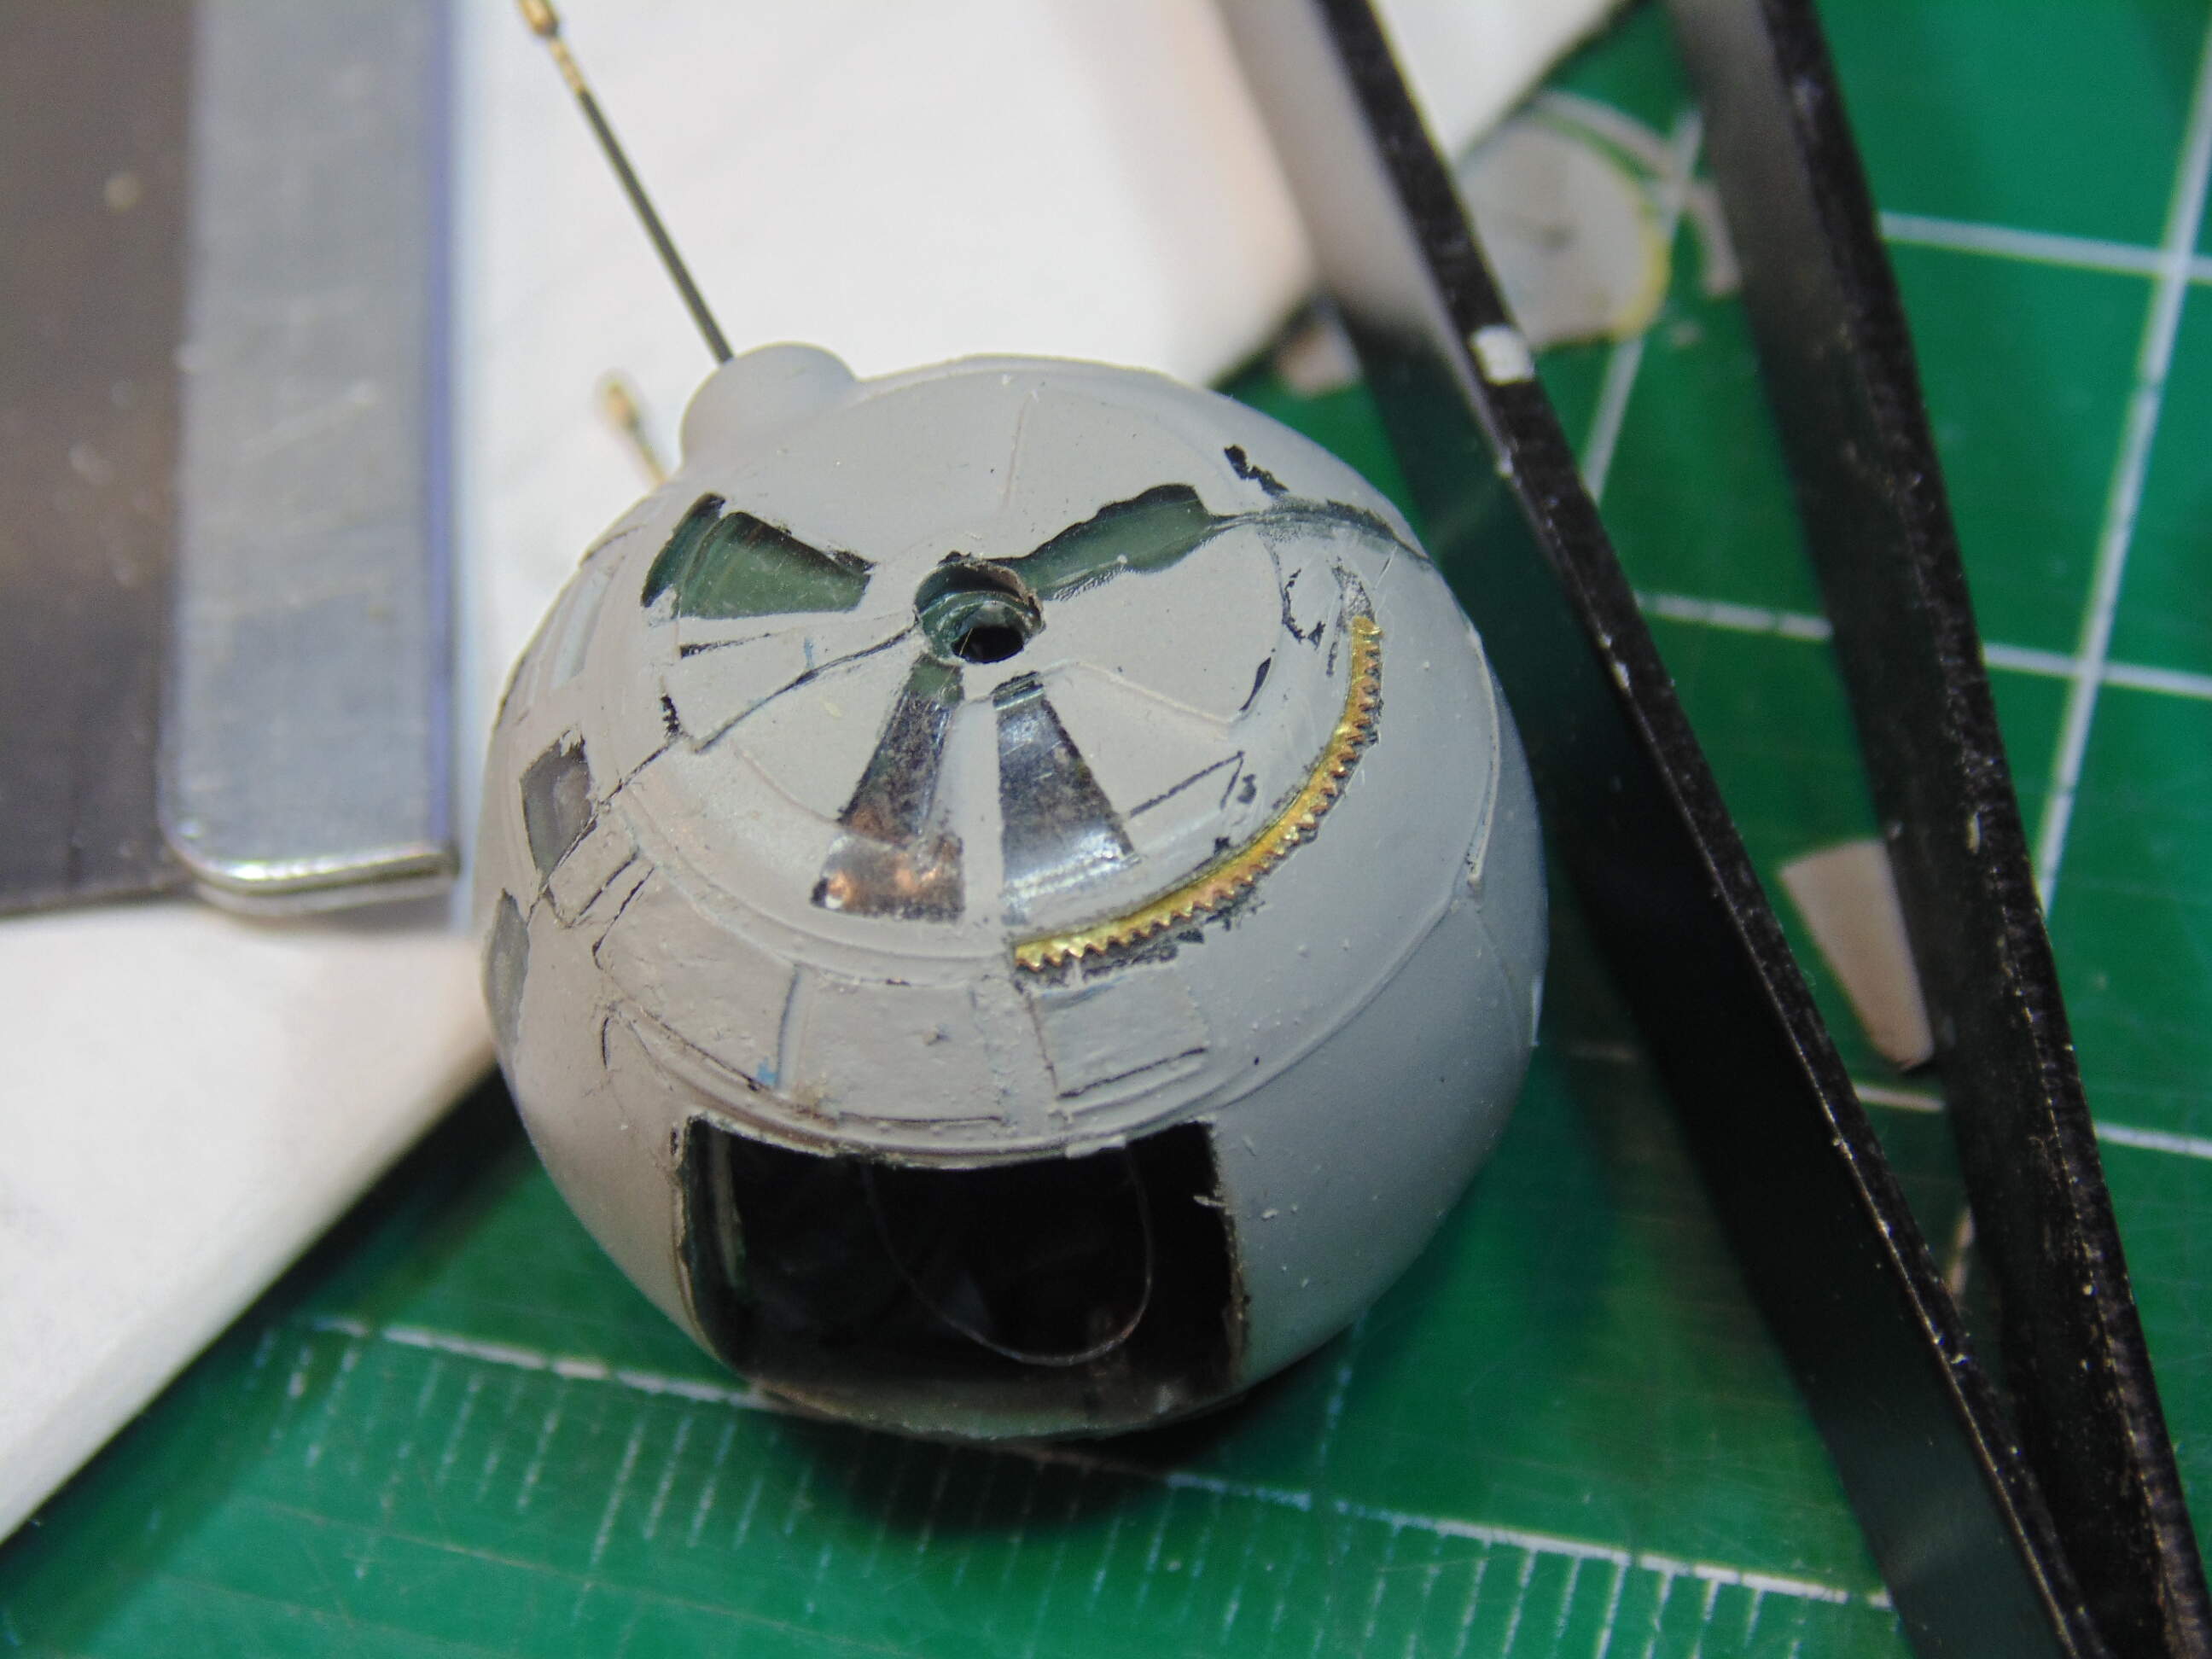
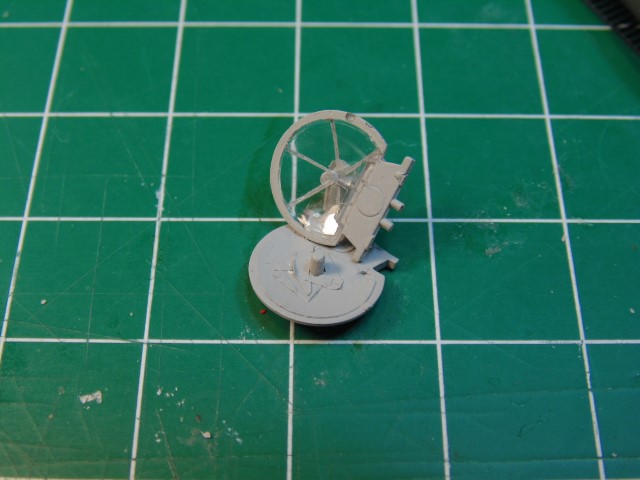
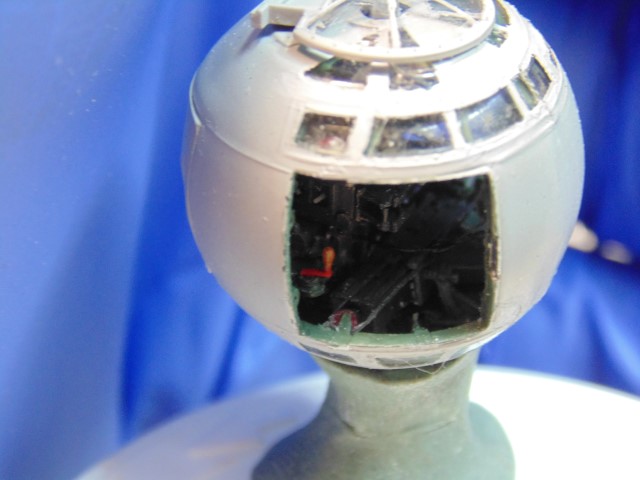
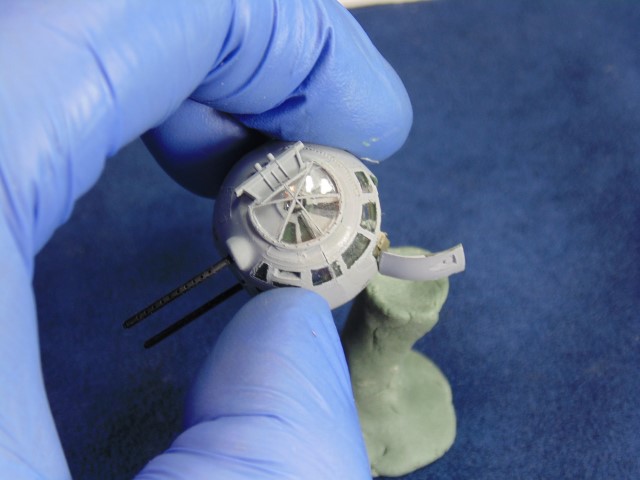
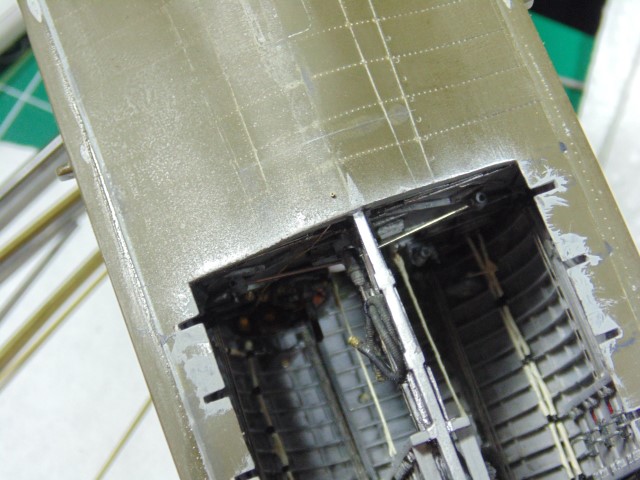
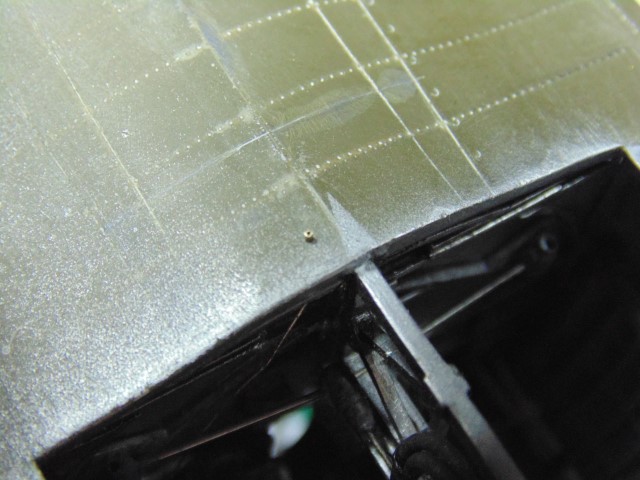
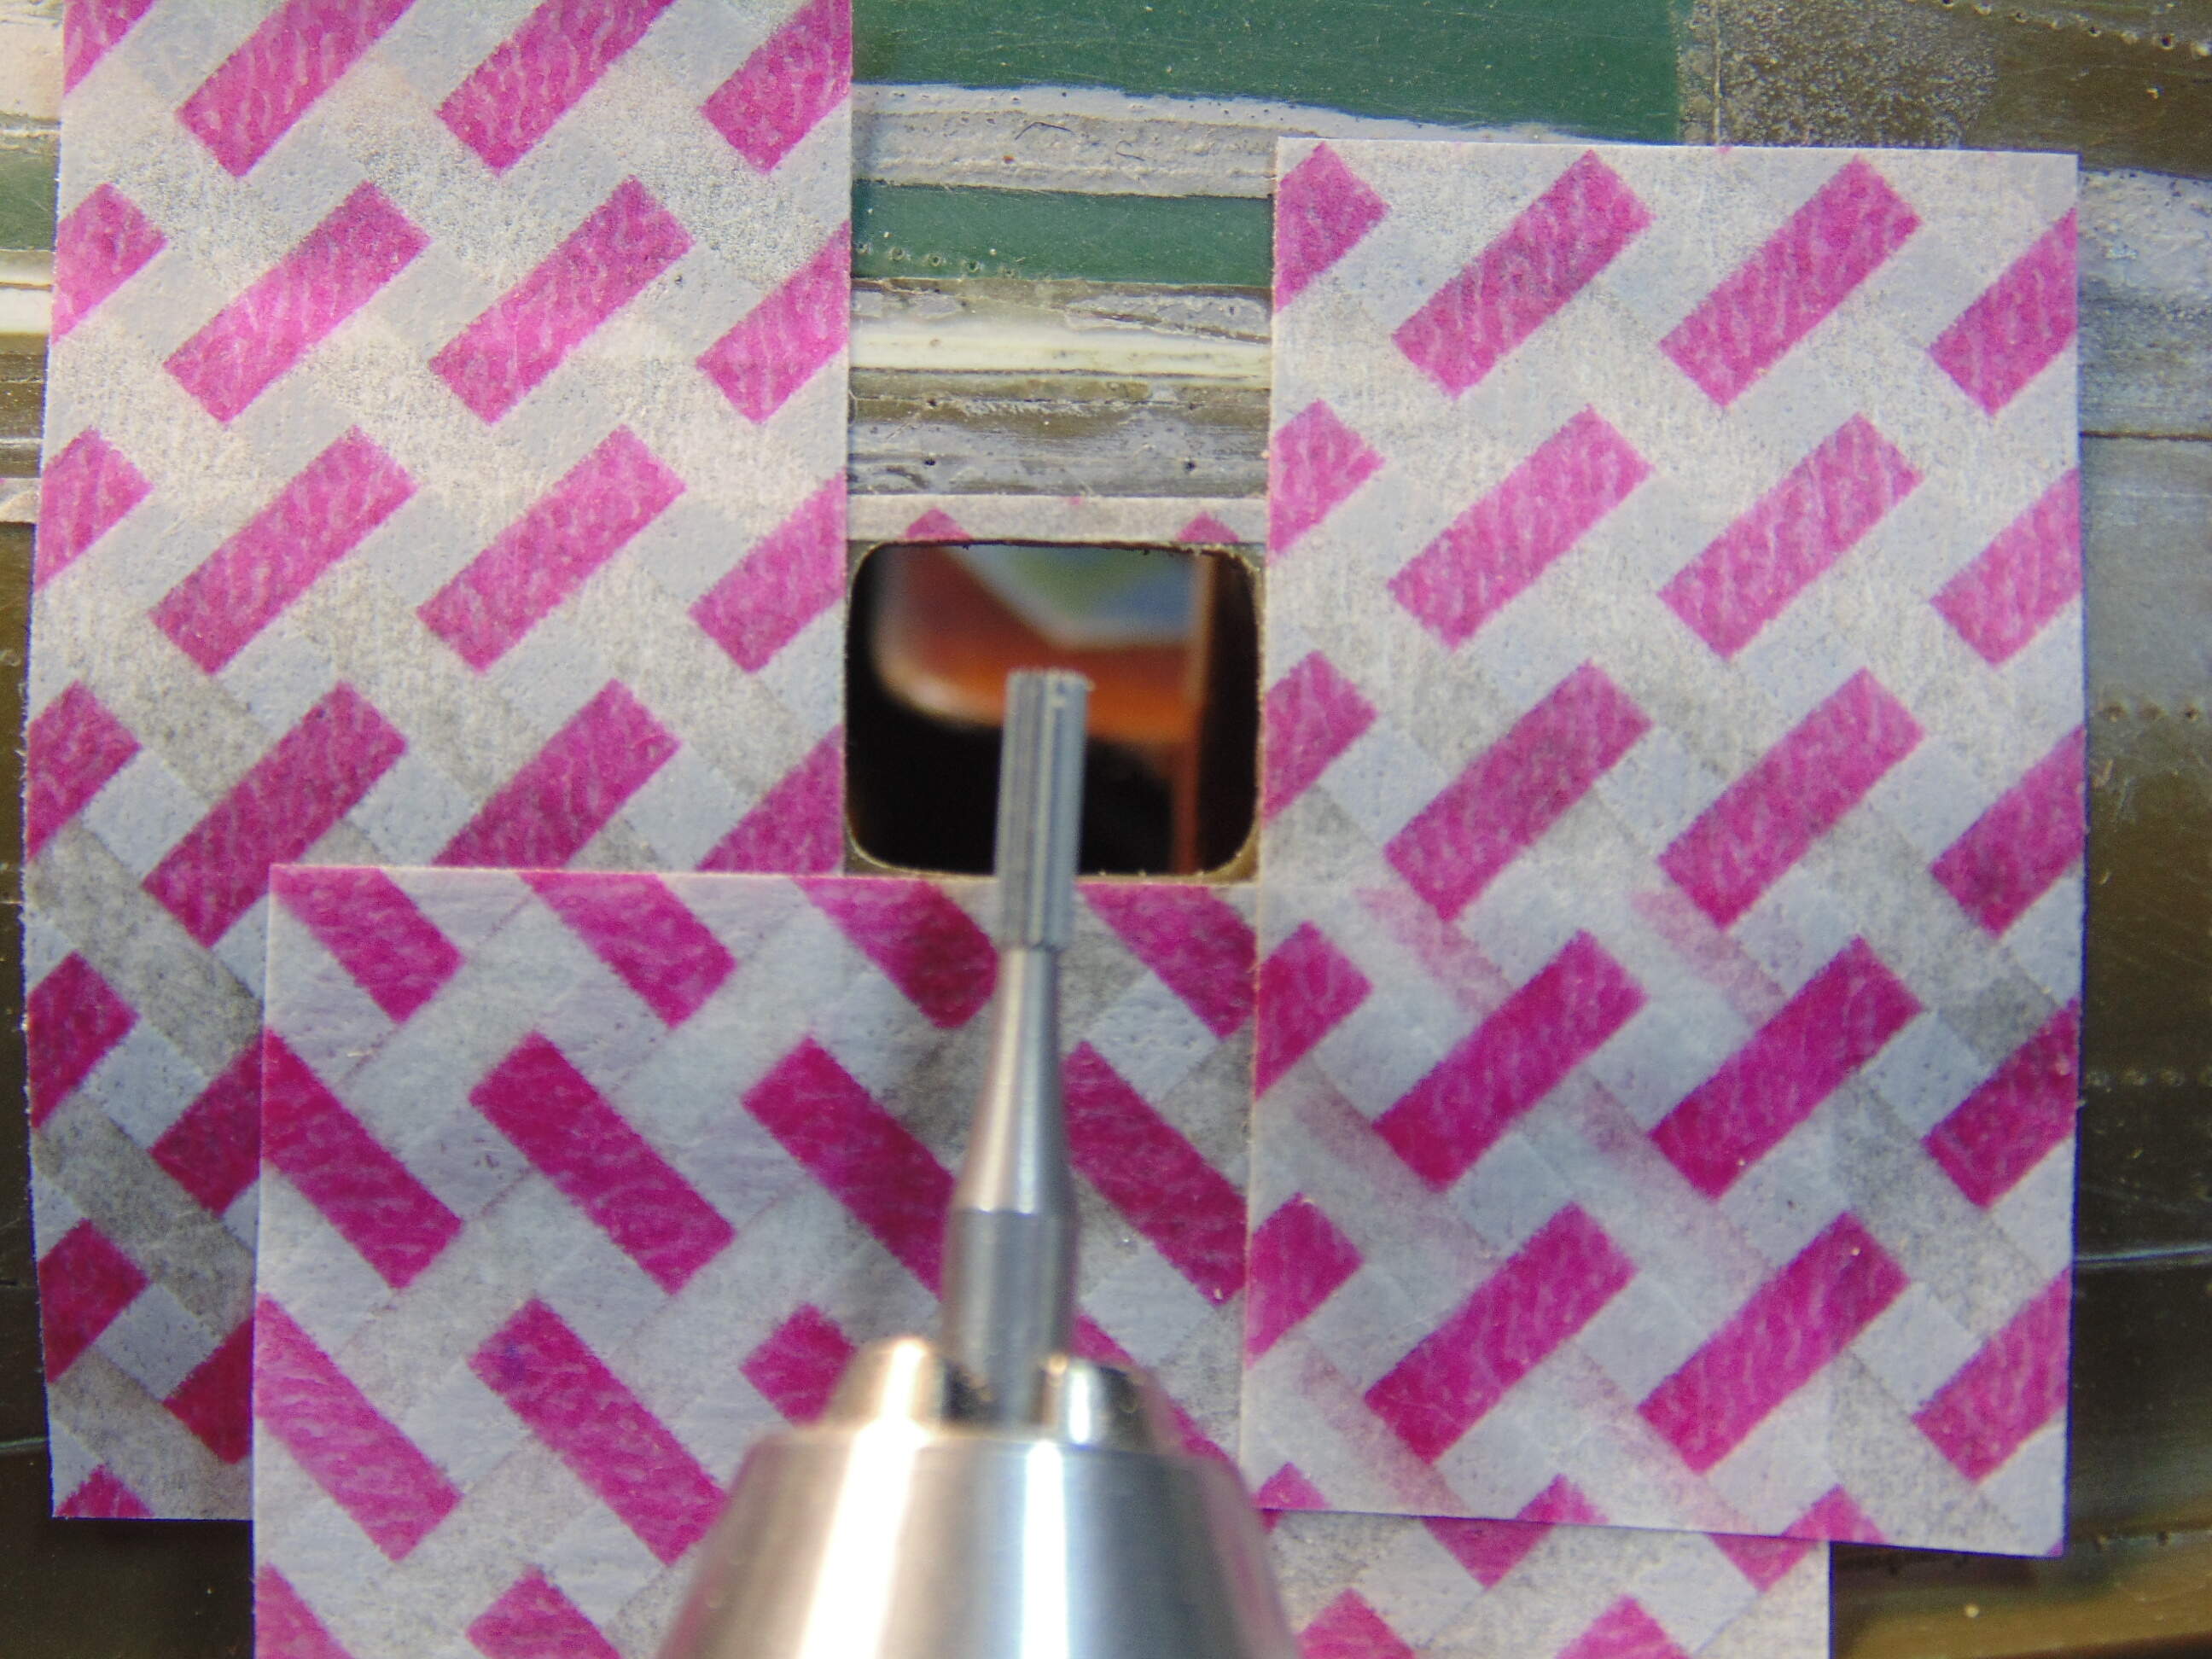
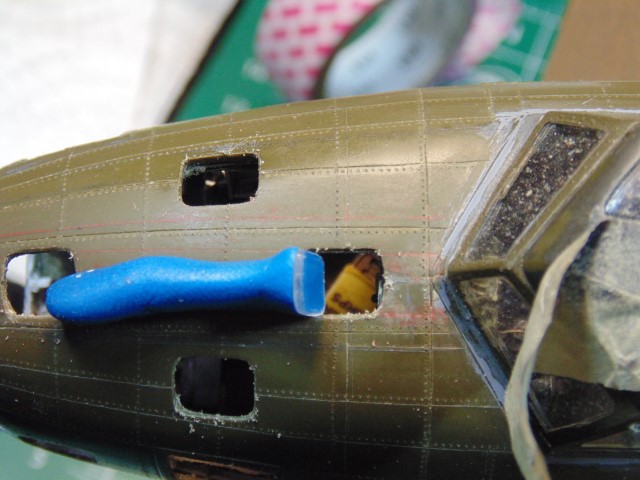
His rescribing and repair of the fuselage has likewise been extraordinary
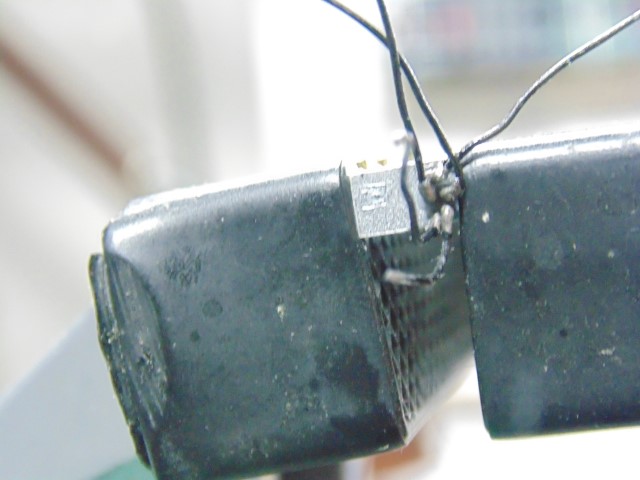
KebTQ1

JxZder ![jWcSwP|640x480]

uCGv47

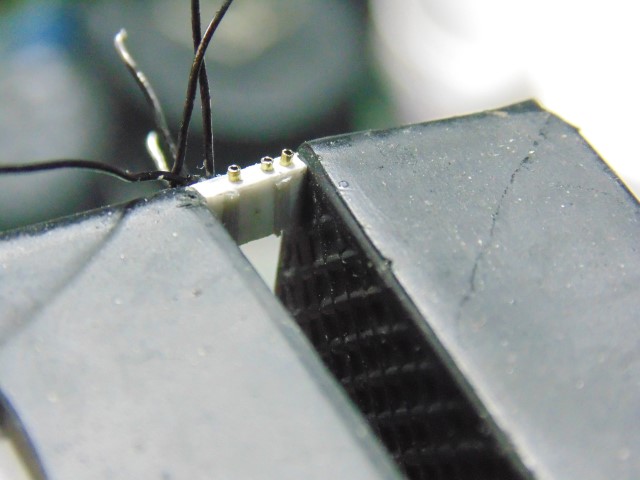
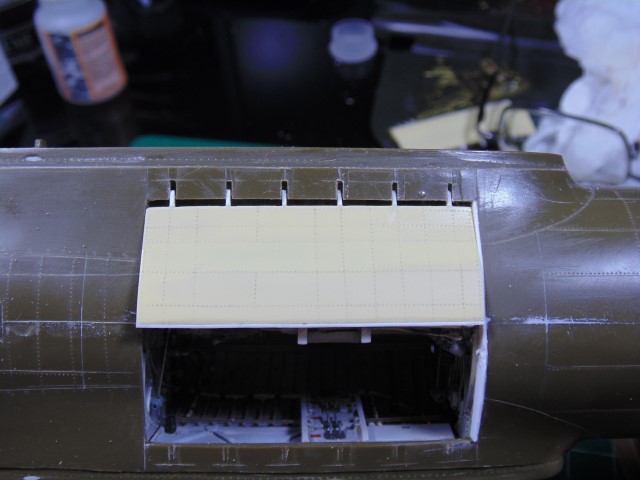
as has been his bomb bay makeover

lbVNoK

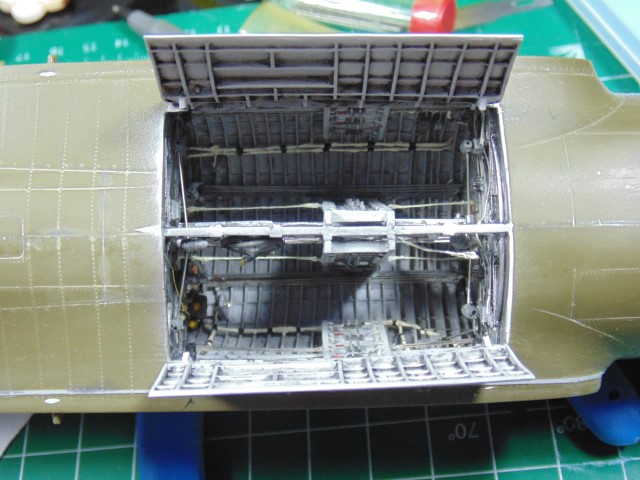
and work on the bomb bay doors.

bEsyhk

He and I had a long discussion about all this yesterday, and the consensus of opinion is that the end may be in sight around the end of this year, though one can never be sure.

What I do know for sure is that I owe an enormous debt of gratitude to H.G. for taking on this herculean task, making my obsession his own, and doing everything he can to make this the best build of a B-17F we may ever see. I cannot thank him enough. It takes a rare individual to do what he is doing, personally and professionally, and I know the finished build will be “something to see.”

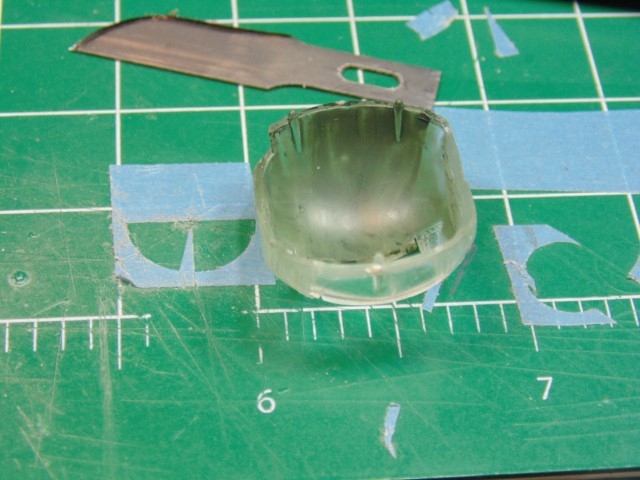
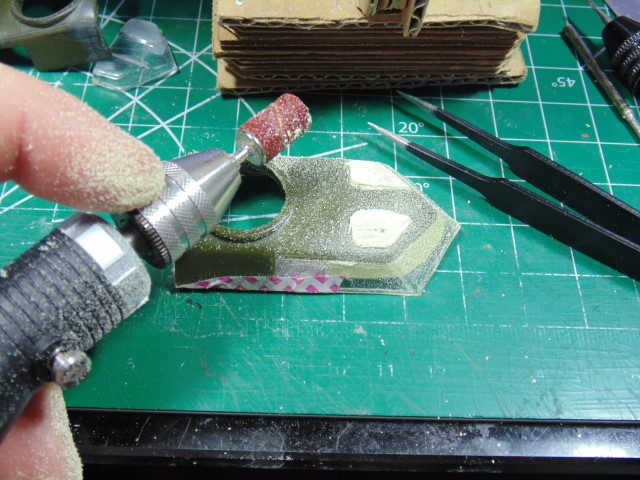
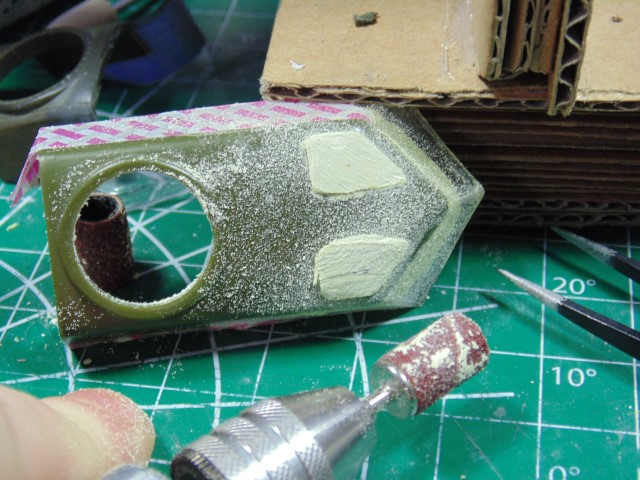
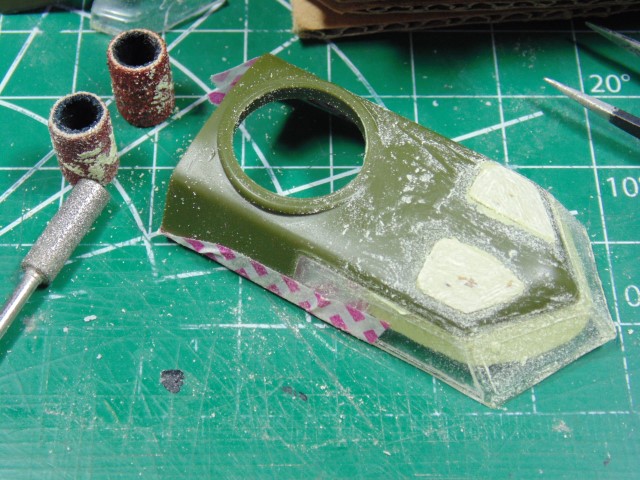
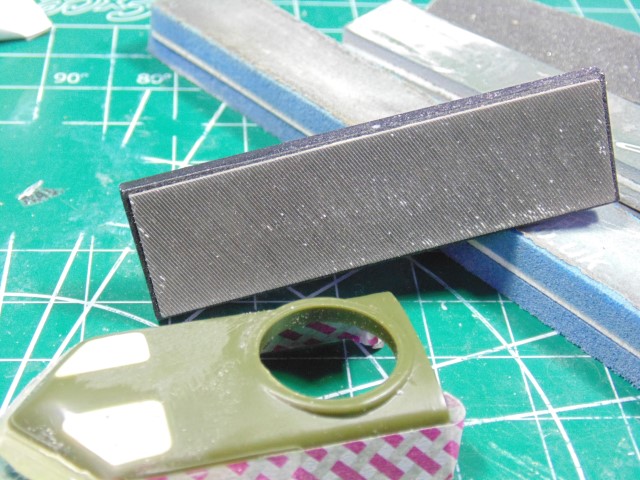
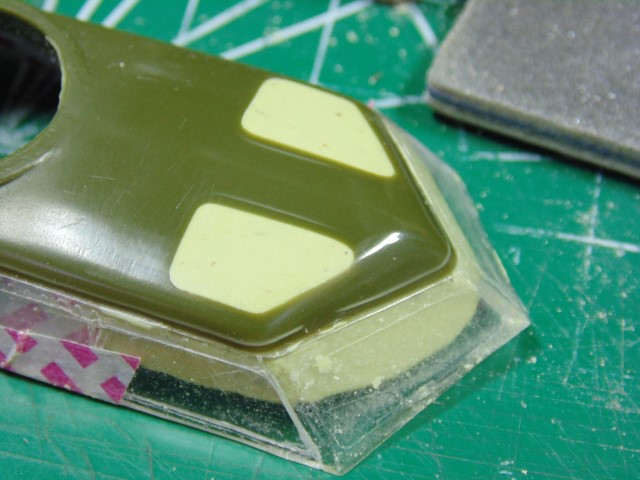
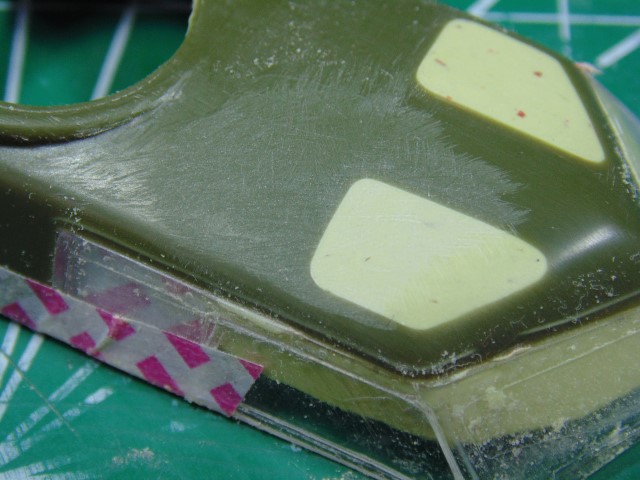
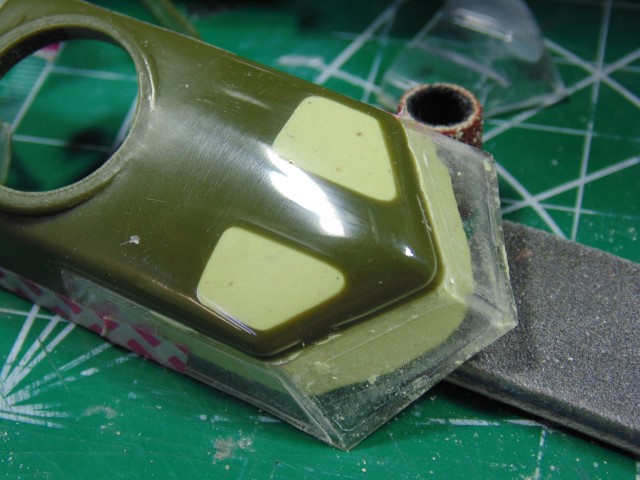
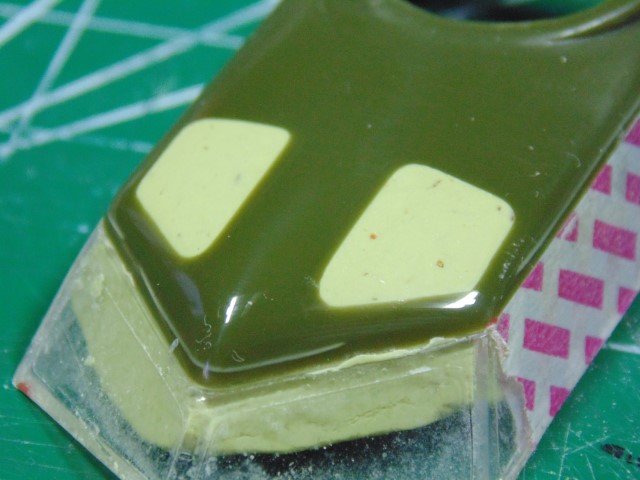
Check back tomorrow, too, for a new post on the windows.

7 Likes

WINDOW CLEANING (A FIGURE OF SPEECH)

True to his promise, HG is laying the groundwork for replacement of the all windows in the fuselage, except for the tail-gunner’s compartment.

Earlier in the blog, the archived part, we saw what would be considered the “rip out” phase in an overhaul. Now we are seeing the refinement of the openings using a special drill that HG acquired.

Here is the “before” shot, which also provides a nice view of the open door and door handle to the bomb bay as well as the radio man’s table with a chart on it.

One sees similar precision in the nose area.

DSC01232 (Small)

And here you can see that HG is taking the cardboard cheek gun brackets that my late friend Art made and using them as a template for brass brackets.

DSC01233 (Small)

Look at the detail that HG is putting to the cheek-guns themselves, including ball sockets for the windows.

DSC01236 (Small)

You can see from the following two pictures how they will fit into the rectangular cheek gun windows.

DSC01234 (Small)

DSC01235 (Small)

However, I should add that HG does not intend to use these cannibalized kit parts for the windows. Instead, he plans to manufacture a set of vacuform windows using a Mattel machine in near-mint condition that I was able to pick up and some exotic clear plastic sheet from somewhere in the Czech Republic, using his contacts there.

The windows on the top of the nose required more work. This is because HG told me that none of the openings are uniform, so each would have to be reshaped after they were puttied up.

The blue thingy on the nose below is just a holder for the glass window and experimental placement in the opening.

DSC01238 (Small)

I do like the way that we can see the seat cushion on the deck through the window opening.

Here are the layers of filler that he has put around the window openings.

DSC01259 (Small)

I don’t want to think about what’s involved in making these apertures uniform.

Last but not least we come to the part of the model that is the natural draw to the eye, and an area where I have labored unsuccessfully for years to get the right fit. When HG and I discussed this, I bemoaned the fact that I had done the best I could but clear glass that fit perfectly was going to elude me. I basically said it was a reality that had to be accepted, (And it would be if I was the one continuing this part of the build. Heaven knows I spent enough time on that damn roof. I don’t want to think about how many pieces of cockpit glass I went through either.)

The solution that eluded me is in HG’s hands now. He has puttied over the glass to make a template for perfectly fitting roof windows. Check out this series of photos.

DSC01240 (Small)

And the work begins.

DSC01241 (Small)

DSC01242 (Small)

DSC01243 (Small)

It took me a while to see how this ever going to result in clear roof windows, but seeing is believing.

DSC01249 (Small)

Eventually, the roof acquired an almost glasslike shine.

DSC01244 (Small)

But, HG told me that it still wasn’t perfect. There were pits in the filler underneath that gloss, and a low spot behind the copilot’s roof window.

DSC01246_LI (2) (Small)

The solution was some red glazing putty to expose the imperfections.

DSC01247 (Small)

DSC01245 (Small)

It now positively gleams and will provide a perfect template for vacuform windows that will fit exactly.

DSC01255 (Small)

I will close with a teaser. When he gets to the side windows, one or both of the pilots’ windows will be positioned open so that the interior will be more clearly visible. Art and I tried numerous times to do this, but failed.

I don’t know how HG will do any of this, so we will have to wait and see.

Stay tuned.

13 Likes

Wow with a capital F ! What a story, what a project, what skills, what results – spectacular indeed, so where’d everyone go? This kind of work on a tank interior usually generates an instant (vocal) audience, I don’t get why not here? I’m hooked & you know what I build :tumbler_glass:

3 Likes