Props to H.G. 4 – Then to Redhand
So, the props are done and ready for display. I’ll explain the “Then to Redhand” part of the title at the end.
For now, you will get not just photos but also HG’s construction commentary.
I’ll begin with going over the steps of the aluminum rectangles, since there was some confusion as to how they were masked off.
Photo 4319
Three blades and masking tape with metal spray spot
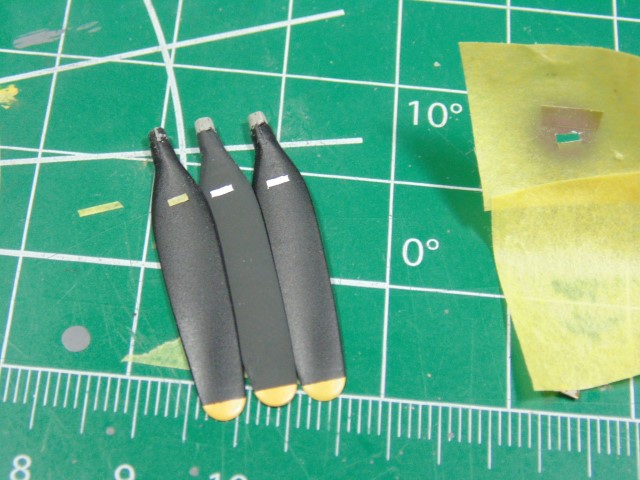
Photo 4320
Masking tape and rectangle covering prop.

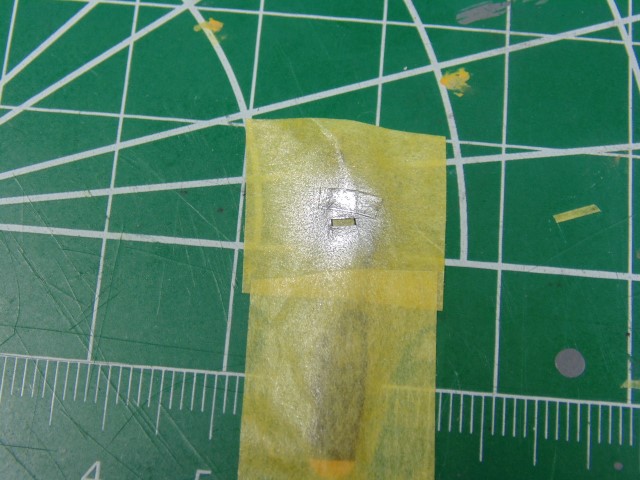
With the tiny rectangle measured and cut out of the masking tape, it gets placed on the prop in the desired spot. Then the masking tape gets placed over it.
Photo 4321
Masking tape with blank rectangle spot.
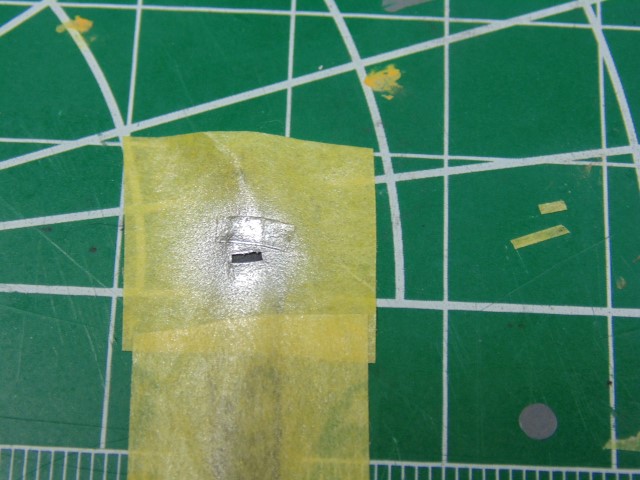
Spray the area with a very light coat with AK XTREME metal aluminum and wait 15 minutes before removing the masking tape.
Photo 4322
Masking tape next to blade.
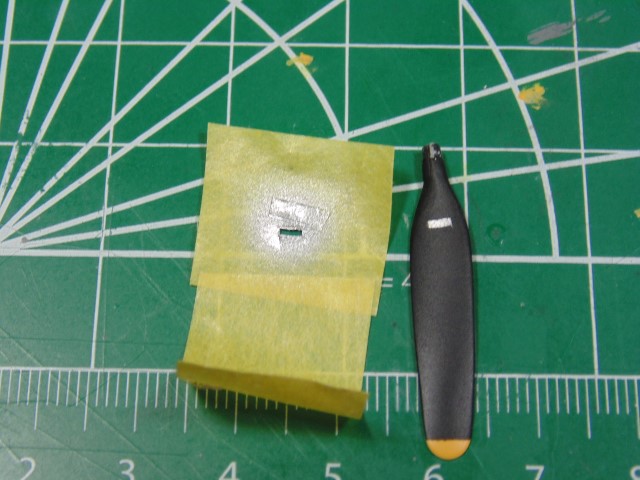
Photo 4324
No# 3 hub being chipped.
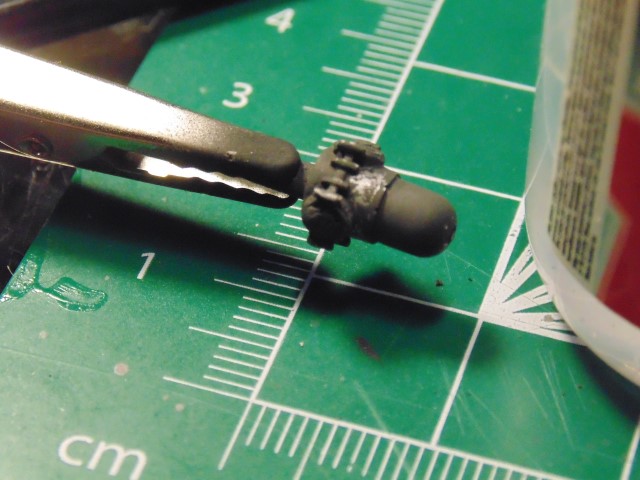
Photo 4325
Second view of chipped hub.
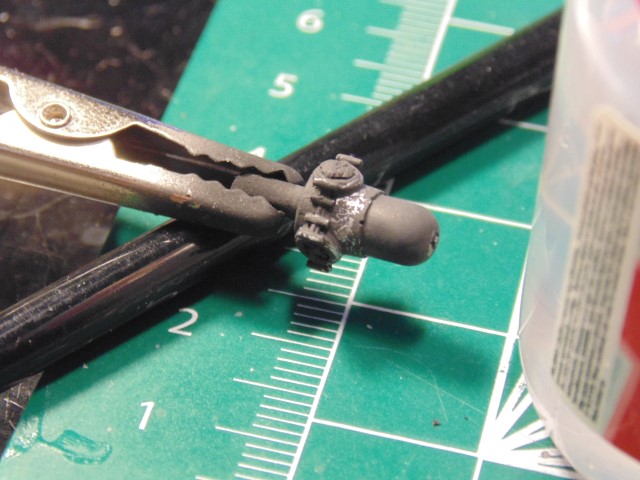
Photo 4344
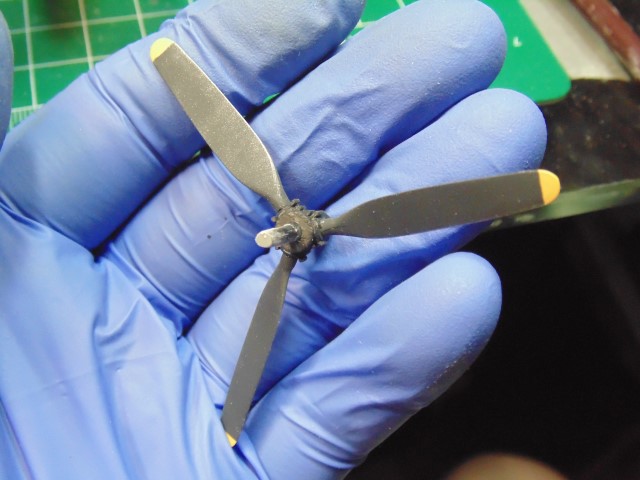
All props.
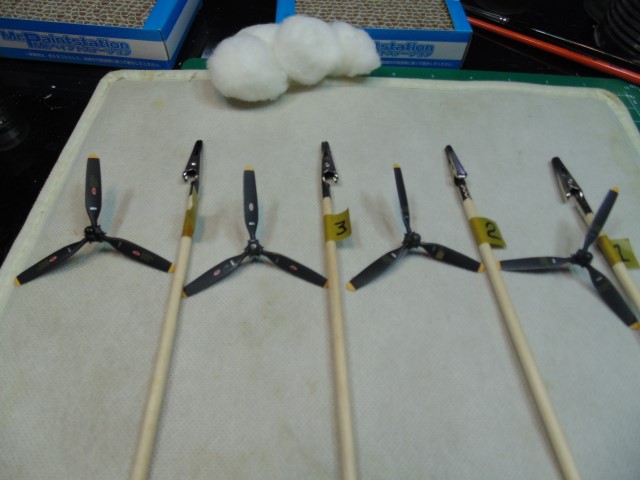
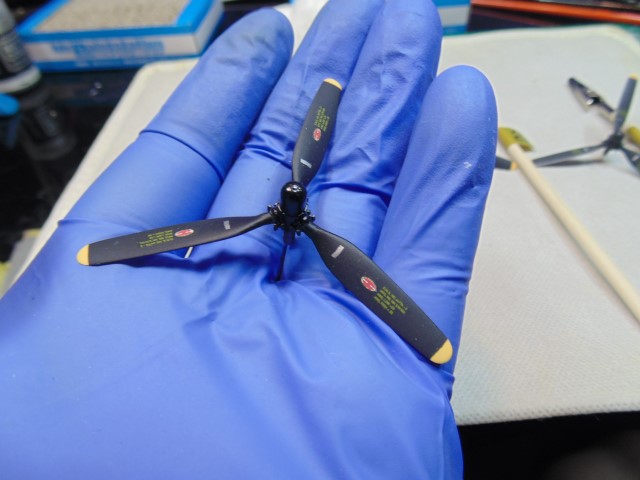
Photo 4345
Close-up of new No# 4 prop.
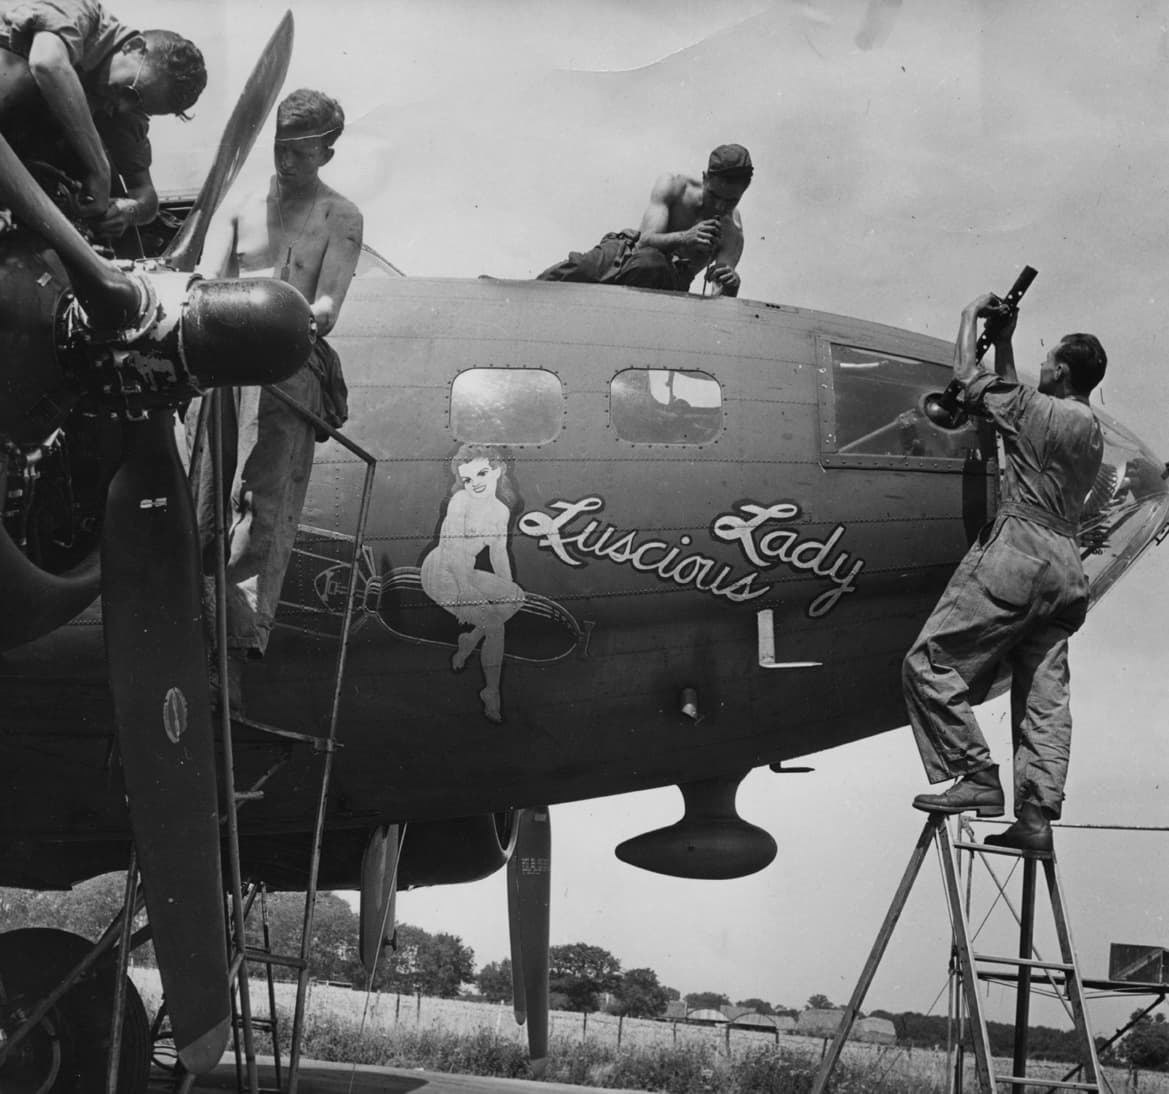
Inspired by this photo:
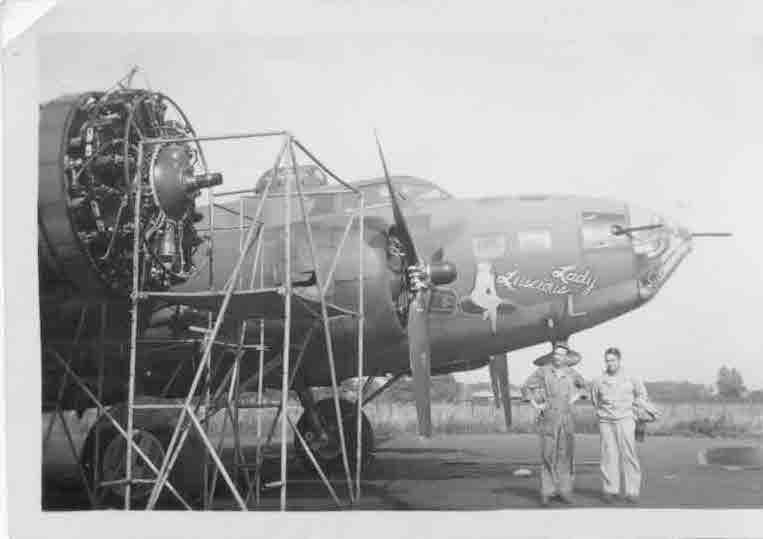
Photo 4346
Close-up of No# 3 prop.
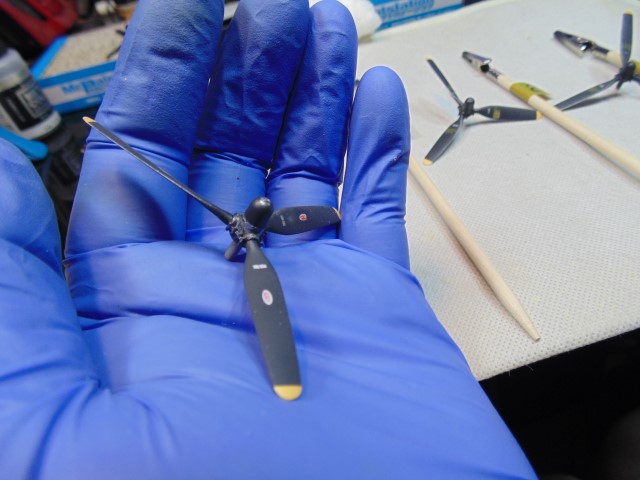
Photo 4347
Close-up of No# 2 prop.
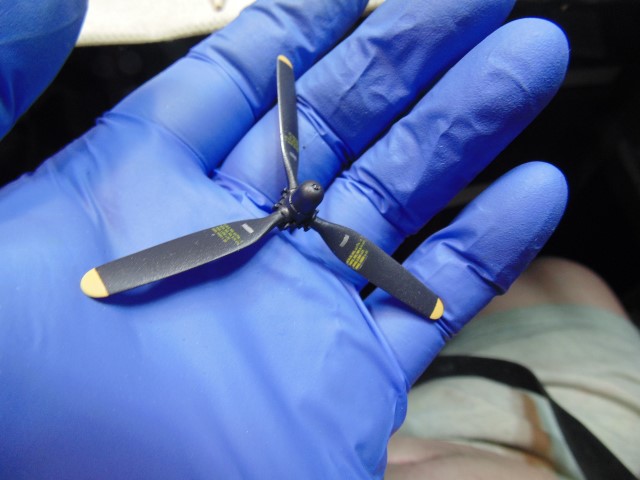
Photo 4348
Close-up of No# 1 prop.
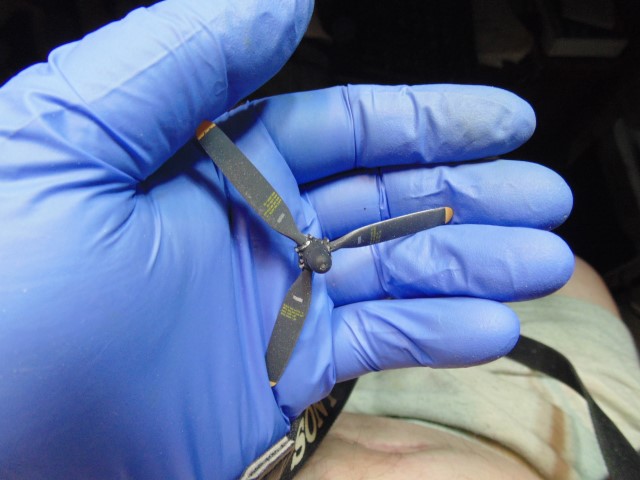
Photo 4349
All props on LL.
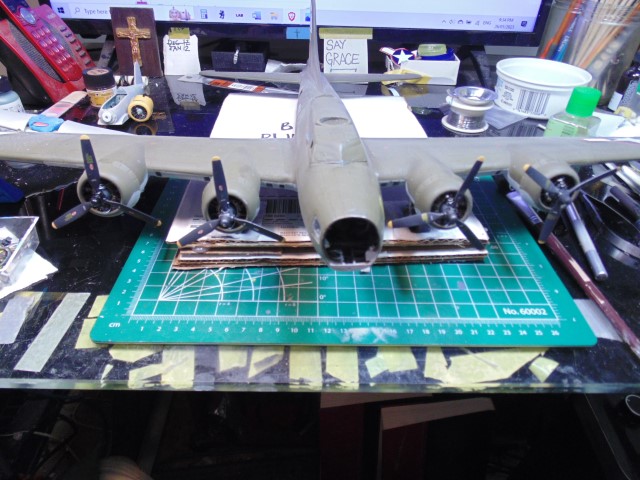
Photo 4350
Port wing
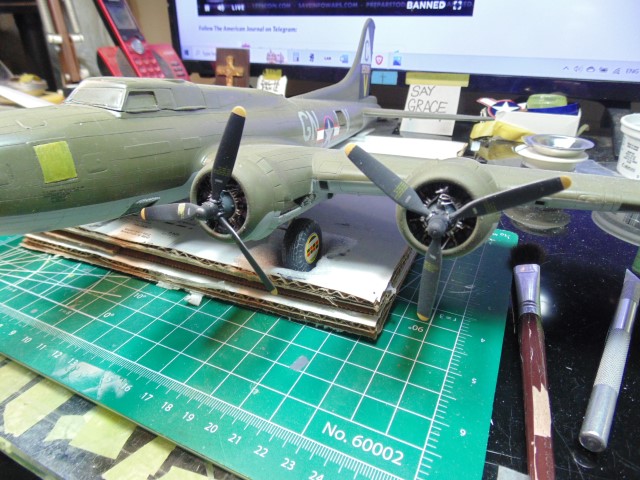
Photo 4351
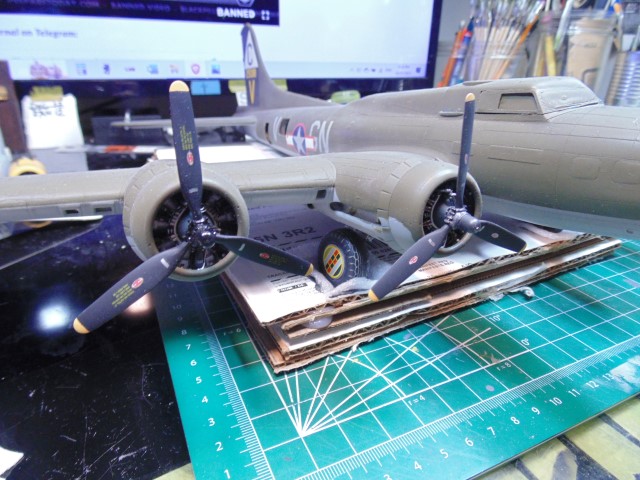
Starboard wing
Note the tattered #3 prop blade Ham. Standard logo like the worn one in the photo below.
Finally, here are two shots from HG showing wear on the rear blades of #1 prop,
in high light
as H.G. says.
and the worn rear blades of #3 prop

HG tells me that he will be separately shipping these props to me in advance of the finished model so that I’ll be the one to post pics of the complete model when it’s done in about a couple of months.
FYI #4 cowling will be removable to show the whole engine, so we may have some “action” in the diorama I’m planning. Maybe with a platform like these:
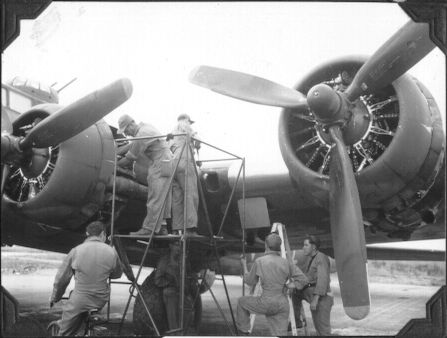
Time will tell.