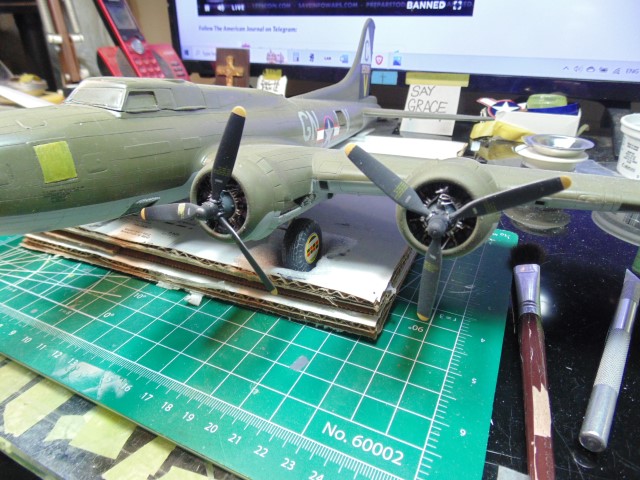
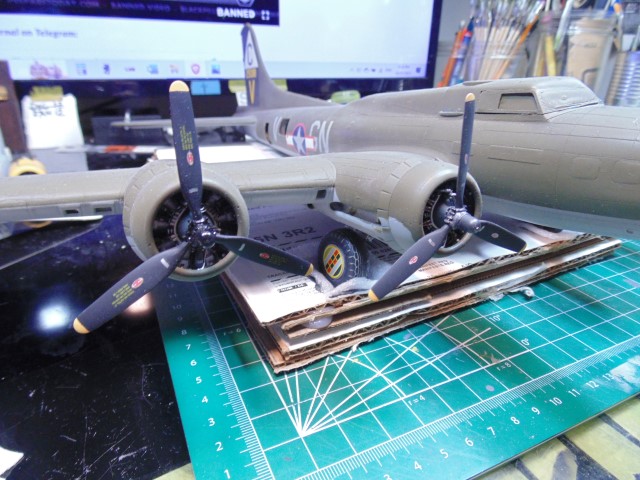
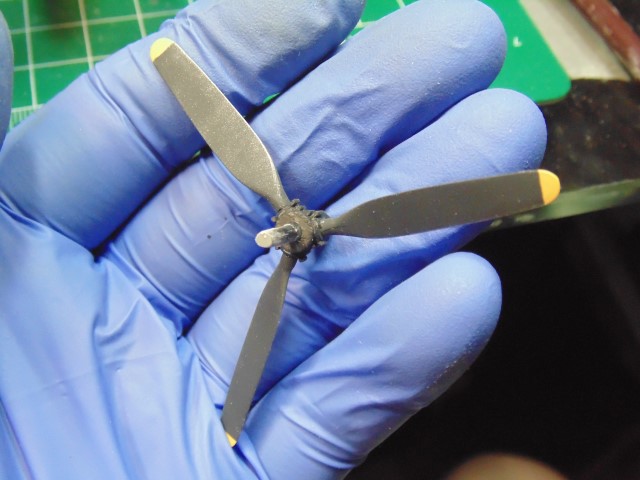
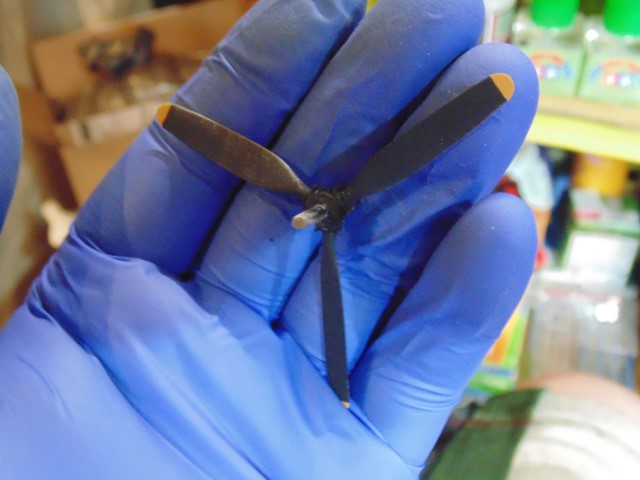
1/48 B-17F Build - 303rd BGs Luscious Lady {Continued)

Nose Job

This is yet another area where HG is building on (and greatly improving) work I did on the nose compartment years ago which was “good,” but not good enough to satisfy my own standards for how the final model should look. Those who have followed his work here know the magnificent job he did replacing the nose windows with custom-made vacuforms. He is now getting to the interior of the nose, and gun details. So, let’s follow along with his commentary.

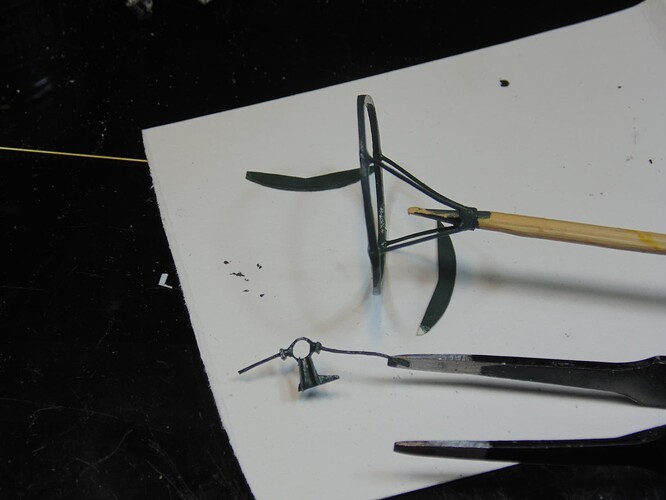
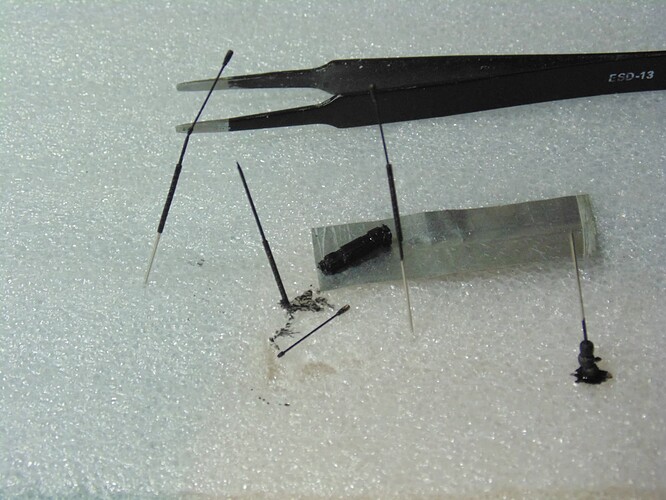
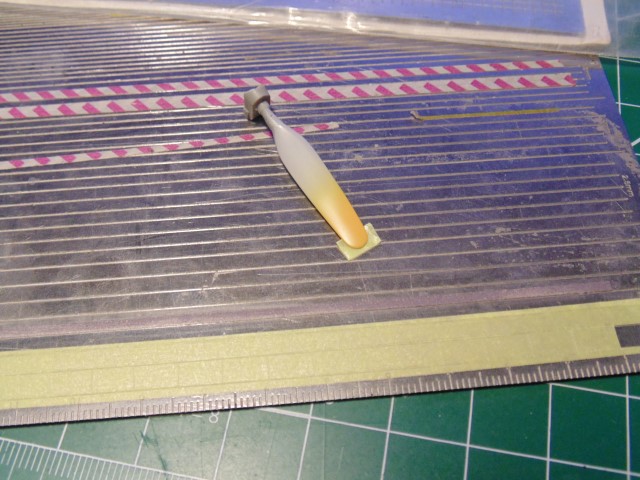
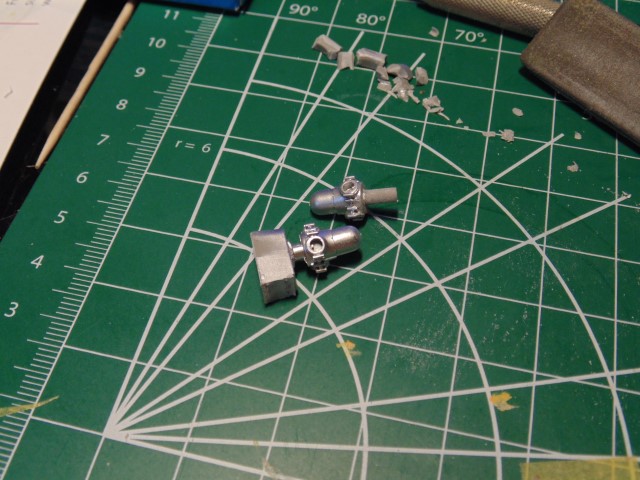
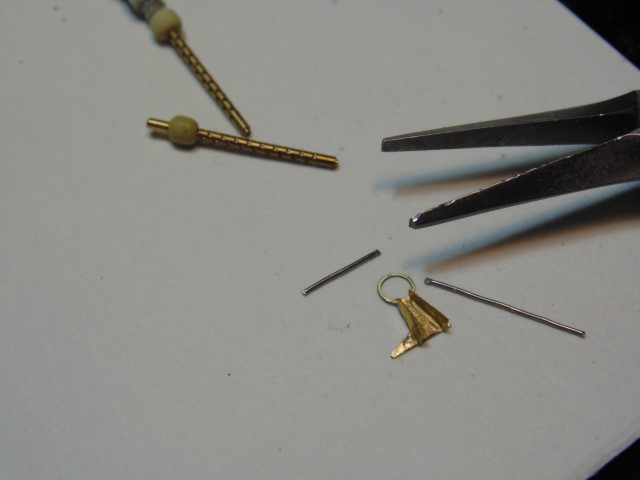
First shot shows the end of the lead wire being compressed to not only fit better but the tiny spoon tip gives more area glue contact.
DSC03783 (Small) (1)

He’s referring to the wire pieces near the hand-made cheek gun bracket at the bottom of the photo.
DSC03784 (Small) (1)

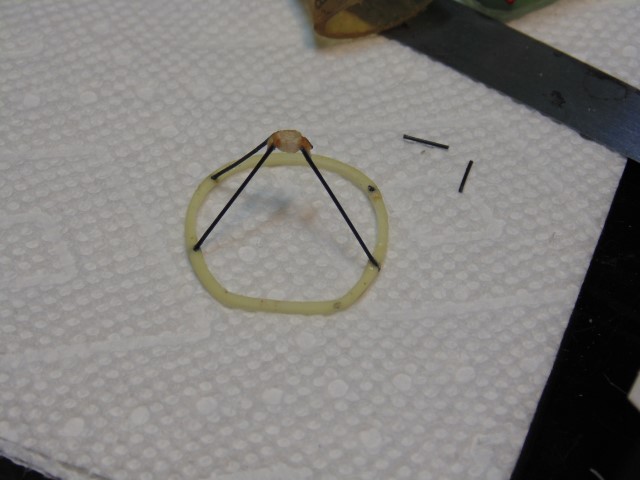
The resin HG is referring to is something my late friend Art and I cast using the brass nose ring from the Verlinden B-17G upgrade set as a template, after cutting down the bottom to make an F model version vs a G. Note also the broken 4th strut.

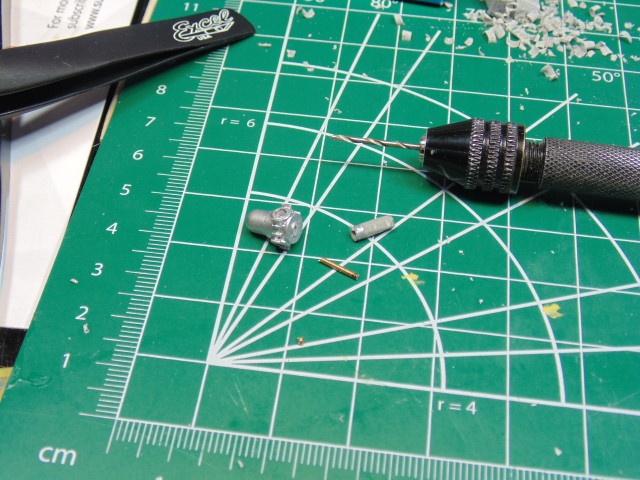
Third shows the drilled out black material and a much stiffer brass tube of the same diameter. I’m not happy with this part at all, but see how it pans out. May… may need to redo it.
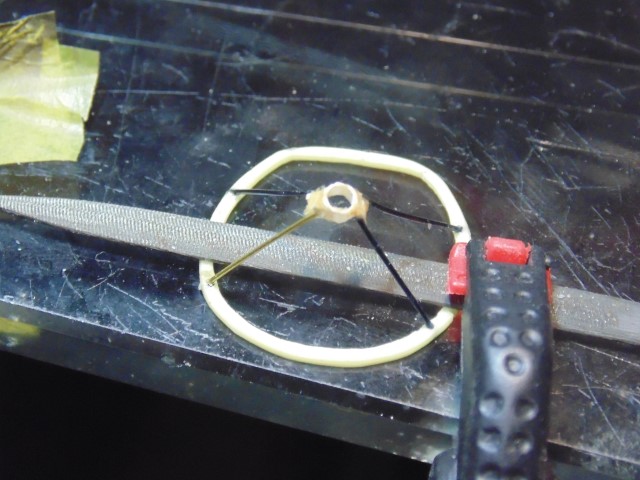
DSC03785 (Small) (1)

Ah, he may be right. Now on to primers.

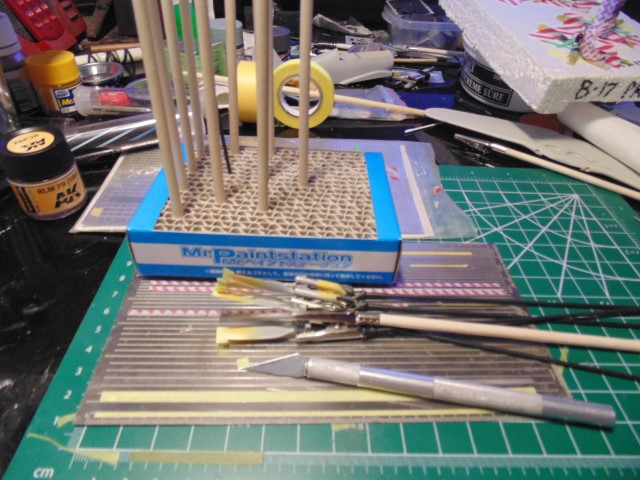
Fourth shot is the metal primer. Instead of using a lacquer thinner I use retarder to self level this particular “Mr. Hobby” substance. Usually, 4 drops of primer to 1 retarder. All the guns and supports are ready to paint.

DSC03786 (Small)

This is way above my labor grade!

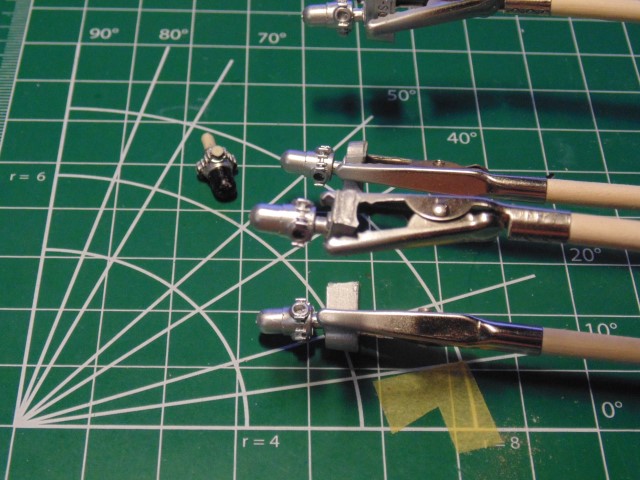
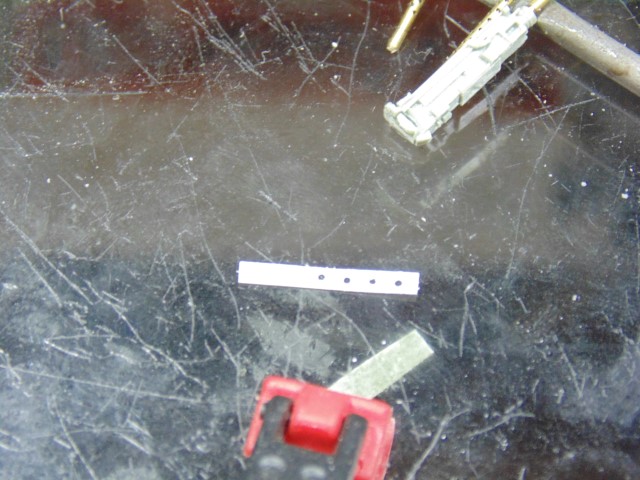
Fifth picture is the beginning of the bits close to the ball mount of the right side fifty cal.
DSC03787 (Small)

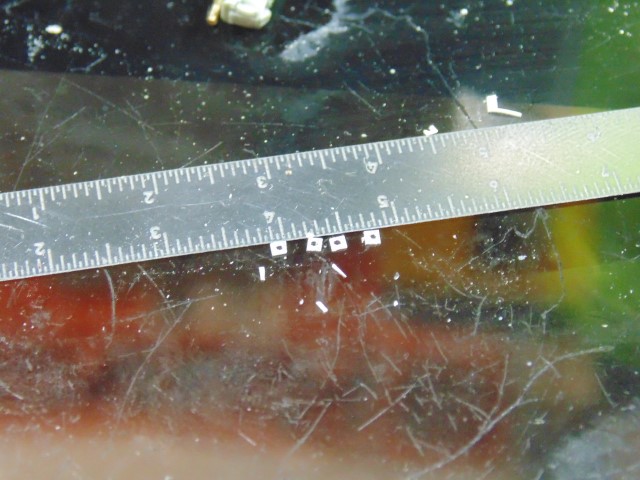
Sixth is them finely cut to 1mm.

DSC03788 (Small)

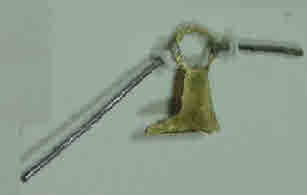
Seventh is them loosely fit on the arms.
DSC03789 (Small)

And here’s the real thing.

pitot 03

And here is the primer applied to both sub-assemblies we’re seen.

And on the gun stocks too.

I have no doubt he’ll “straighten out” the bent wires.

SO much work in one aircraft model.

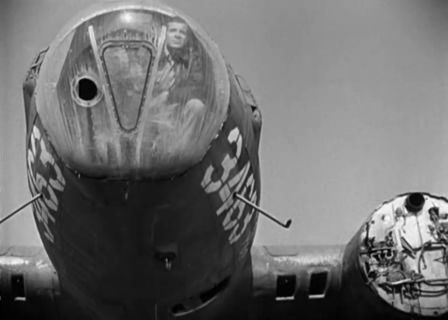
But, it’s a B-17, and frankly, I consider this aircraft to be the symbol of American “Air Power” in WWII. I was recently reminded of this by a viewing of “The Best Years of Our Lives,” which won the Academy Award for Best Picture in 1946.

These days the film can be viewed for free in its entirety on YouTube.

If nothing else, you should see the aircraft boneyard scene near the end.
Best-Years-of-Our-Lives-1946-5

6 Likes

Props

Happy New Year Everyone!

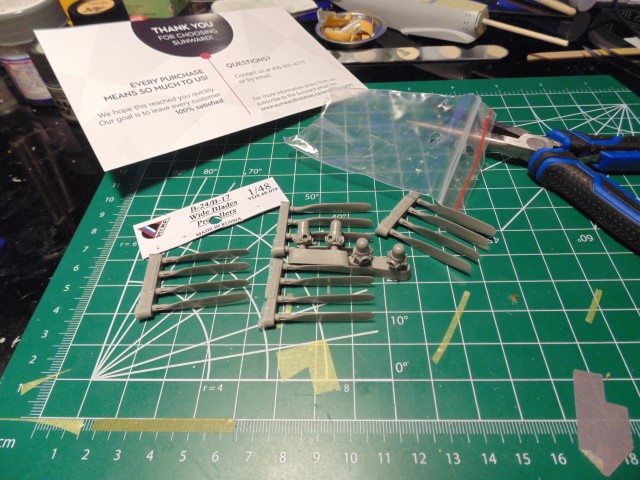
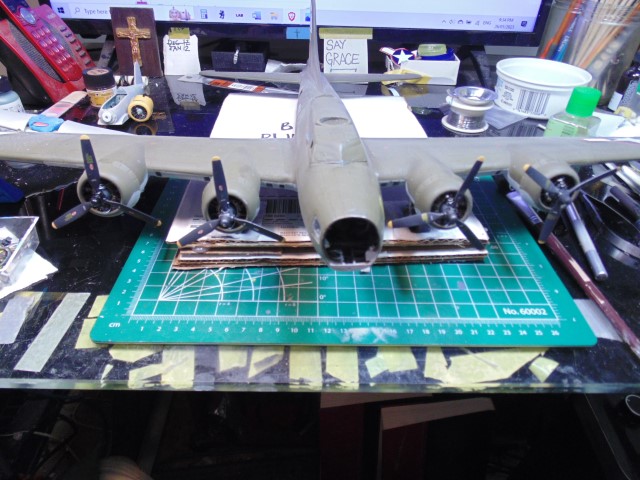
I daresay this is the year Luscious Lady gets done. Herewith, with H.G.'s commentary, is a summary of the latest work.

DSC04115 (Small)

DSC04116 (Small)

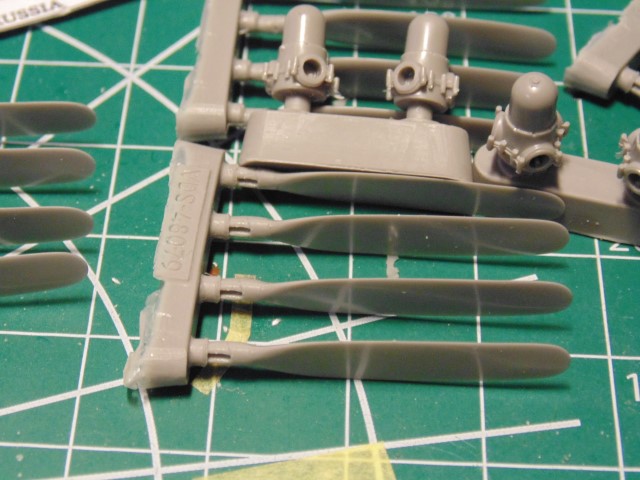
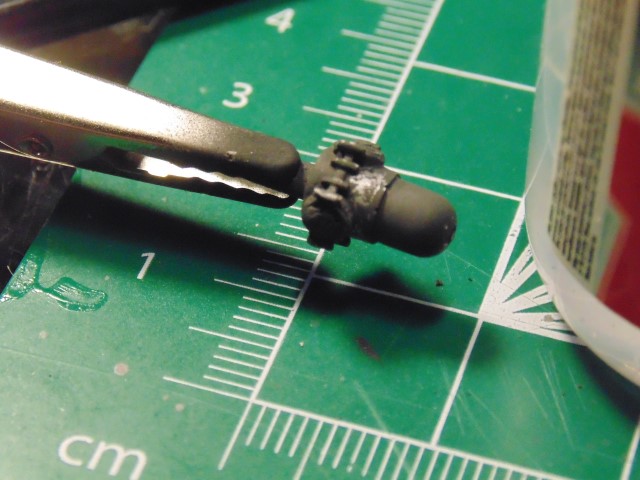
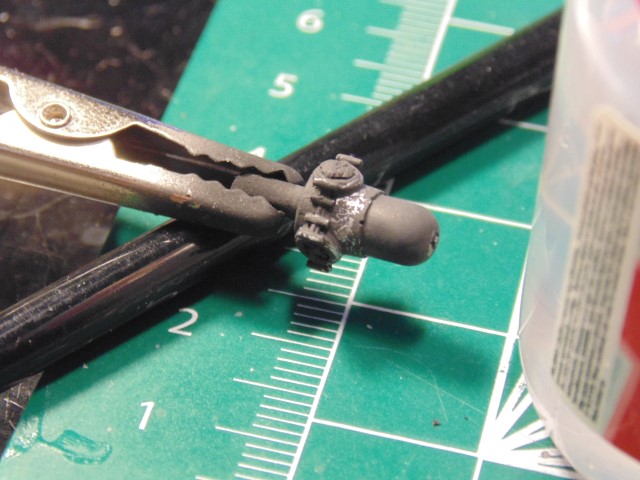
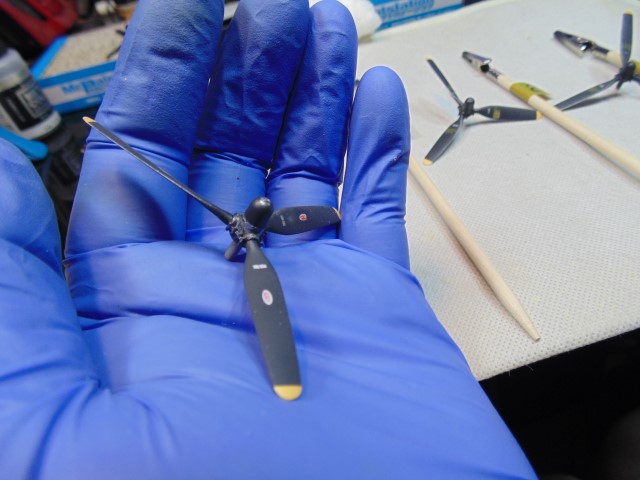
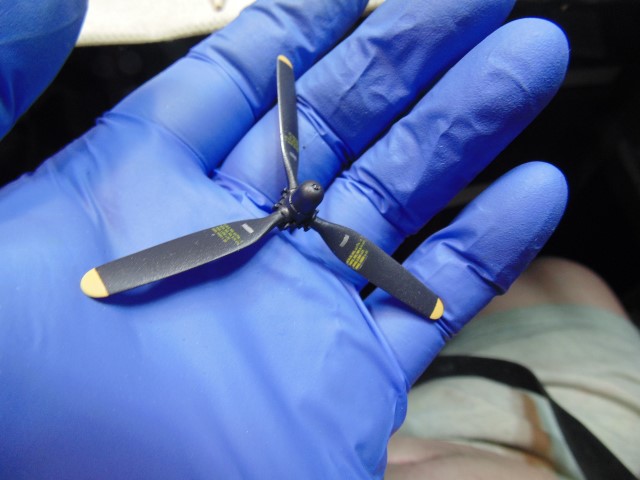
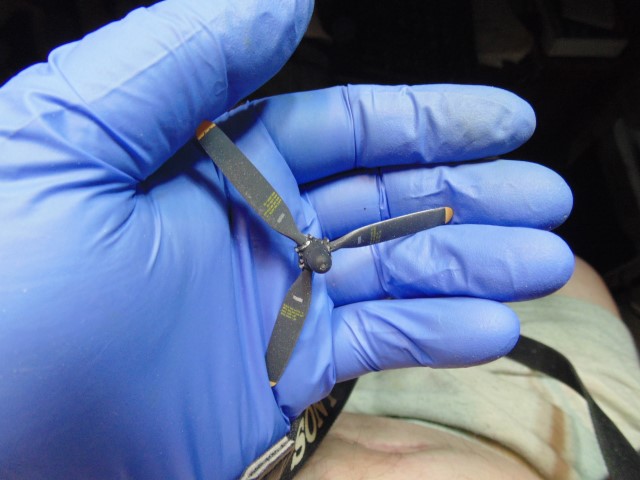
These photos

show the prop parts and how they are keyed to prevent [angle of attack mistakes in the blades] I’ll still need to use the UMM prop leveler tool.

DSC04118 (Small)

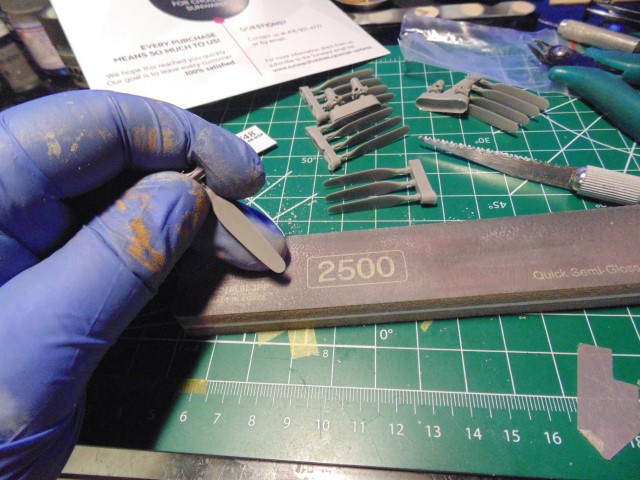
This photo

shows the process of sawing each blade, removing the small seam line and then polishing with a buffer to help the primer adhere far better.

DSC04119 (Small)

This photo

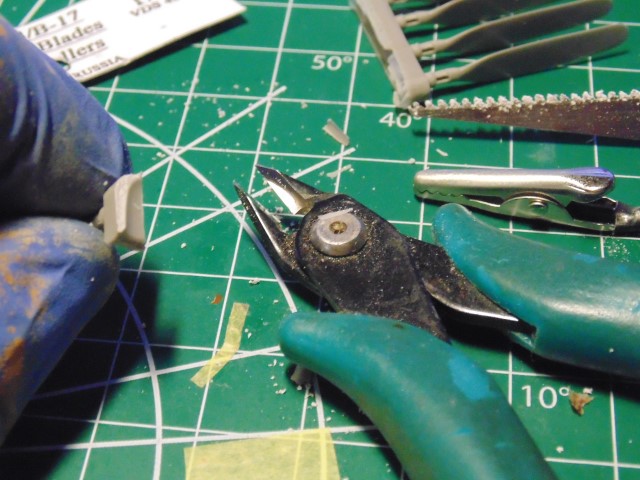
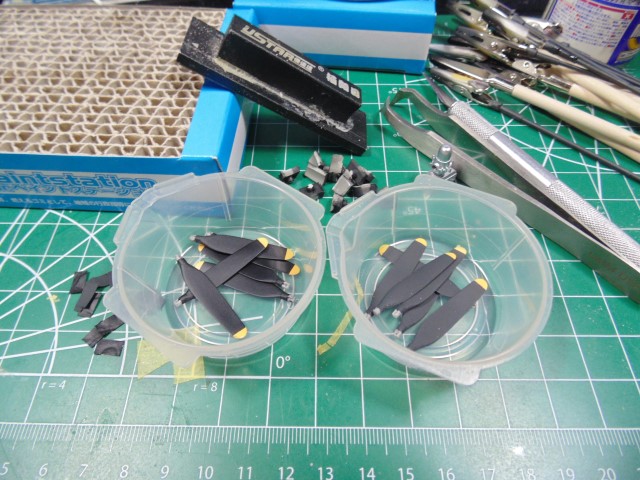
shows the bottom of the plugs being snipped. The flash is way too long for the alligator clips to bite.

DSC04120 (Small)

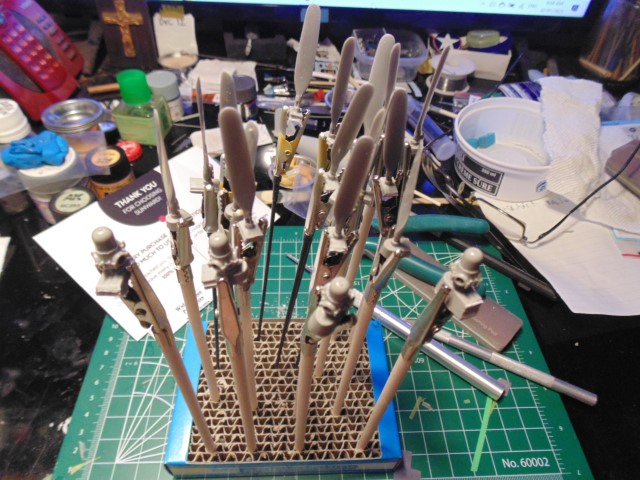
Lastly, this photo

shows all the clean-up parts ready for primer. It took around 4 hours to prepare them, but that’s part of the process.

Four hours’ work! It takes some time for me just to process that!

8 Likes

Props to H.G.

Before we get into H.G.'s detailed work on the four B-17 propellers, I want to discuss what the objective is and is not in finishing them.

The objective is not to have four cookie-cutter propellers that look factory fresh and identical.

Instead, just like the engines, we want to give each of these fairly complex (for the time) pieces of 1940s aeronautical technology its own look, reflecting the fact that with lot and production run changes, they didn’t all leave the factory looking exactly the same. The photographic evidence shows small but notable differences in paint finish, stencils and logo placement, and wear.

Just like the engines, propellers were numbered from 1 to 4, # 1 being the port (left wing) outer, # 2 the port inner, # 3 the stbd inner, and # 4 the stbd outer.

Particular detail will go into the # 3 prop because it is the only one for which we have detailed photographic evidence and because it is unique for the heavy wear that it shows and its “non-standard” appearance. Also, it is right next to the nose art and will thus be an additional eye-catcher.

And here it is.

download

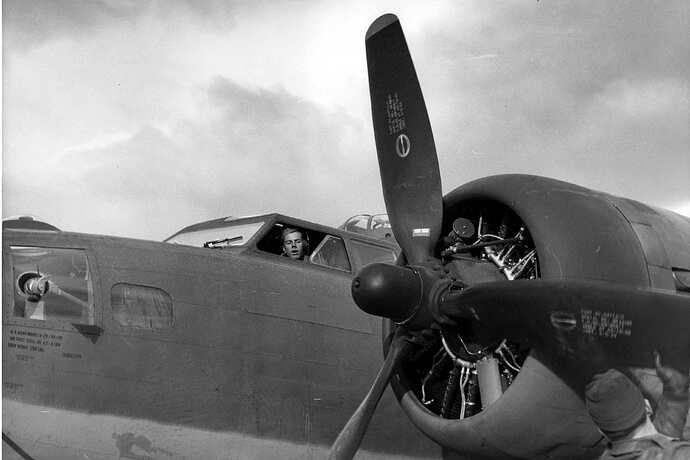
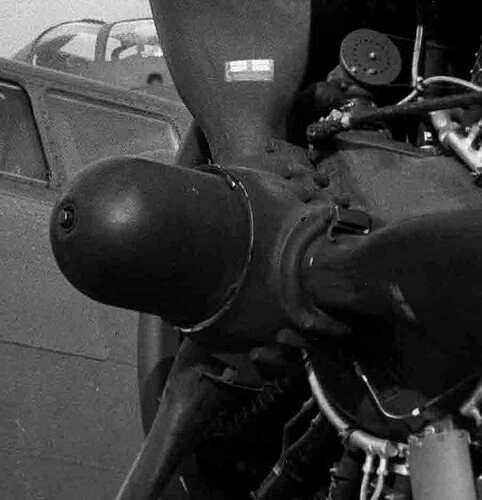
Notice the absence of the yellow stencils typically seen on these props, the worn Hamilton Standard logos – frayed at the edges due to high-speed friction with the air while running, plus temperature changes? – and the apparently aluminum collars for the prop bases behind the propeller hub. Note also that the yellow prop tips are fairly shallow.

Here’s a closer look.

where we can see that the collar behind the hub appears to have had the black paint largely stripped off.

And here’s a better look at that, which H.G. will replicate.

Copy of 42-5081 (1) (1)

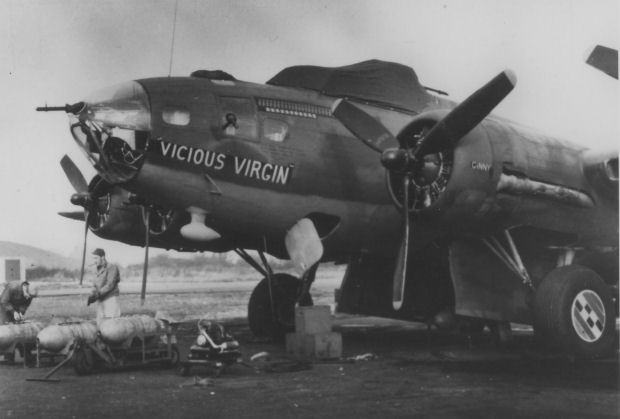
Finally, look again at the second picture, where you will see that the outer stencil on the # 2 bottom blade runs across the chord of the blade rather than in line with its length.

This dictates that we will be replicating the props on Vicious Virgin’s port engines.

but with one hub being all black and the other showing some bare metal right at the front where the nut is present.

See also, this shot

pp-viciousvirgin2

showing a completely black hub on # 3 prop.

Finally, in the below picture we can see that # 4 engine is in the process of getting a new prop.

This gives us some artistic license, and we’ll do that one with the different stencil and logo pattern seen in this photo on what looks like an almost-new prop.

So, that’s the plan. In the next few posts, you’ll see how H.G. executes it.

8 Likes

Great pics! Looks like Vicious Virgin had her original nose art nixed and painted over.

3 Likes

I actually knew an original cadre member of the 303rd BG who was familiar with the aircraft, and I asked him about this very thing. He was in a different squadron, and VV was a replacement aircraft, not an original bird, so he had no idea about this. I knew other people who flew the aircraft, and they didn’t know either. I share your suspicions, but am afraid the answer is “lost to history.”.

3 Likes

Props to H.G. 2

In this post, I’ll provide H.G.s own comments on the prop finishing process. Here we go.

DSC04131 (Small)

This shows the yellow having been sprayed. The tip’s yellow will be much smaller. I used AK RLM 79 (1941), it takes a bit longer to clean up your airbrush, but boy does it spray beautifully.

DSC04132 (Small) (1)

This shows the blades on parts sticks.

DSC04133 (Small) (1)

The opening holes on the hubs need to have the inner edges cleaned of flash.

DSC04139 (Small)

This shows half the blades in Nato black and the others in flat. The connecting ends must be cleaned, including the notch, in order for them to fit. I tested every blade for fitment. Definitely wear a nitrene glove to avoid finger oil. Also, be very careful since these are super delicate.

Tamiya Nato Black is my suggestion. However, rest assured the blades will show multiple tones like the real ones.

DSC04140 (Small)

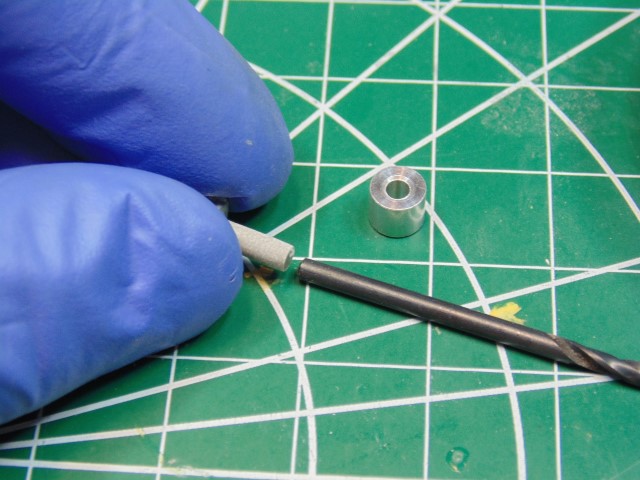
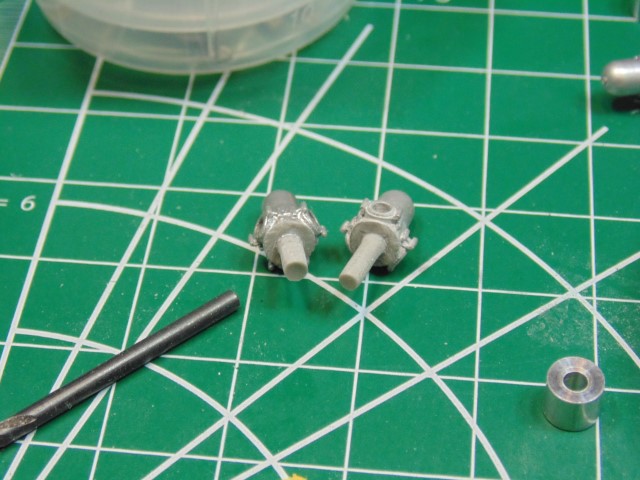
The connecting posts are far too short for my liking. Obviously, I’ll use the plugs to extend them. The resin was little by little snipped away then slowly sanded down to the diameter of the part shaft.

[My emphasis.] Jeeze! Can you imagine?

DSC04141 (Small)

As careful as I was, one snapped. I cored out the parts with a 1.2mm bit, then snipped a 1mm No#5 guitar string. This way I’ll have an awesome connection with the CA binding with resin and flowing in the winding of the string. You’ll see why I need such a strong bond in a second.

DSC04142 (Small)

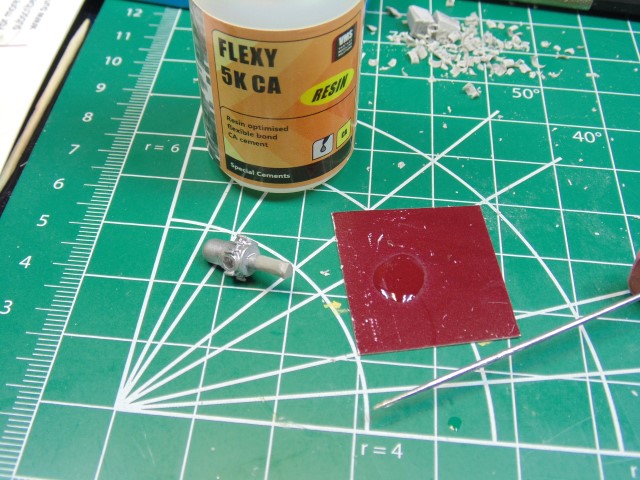
VMS resin CA gives you enough time, not just to put your parts together, but to turn shaft until the crack points meet up.

DSC04143 (Small)

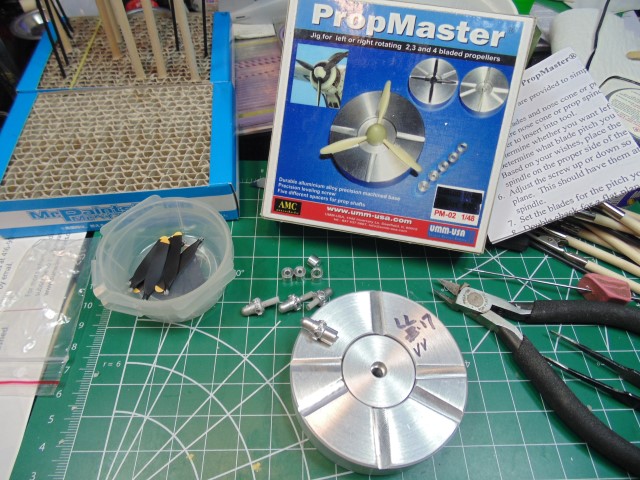
As mentioned, I want to make sure the blades are aligned. Even though the keys ensure angle of attack the resin is never going to be perfect. The UMM PropMaster has 2, 3 and 4 options along with spacers for five different shaft widths.

DSC04144 (Small)

Using this drill bit I slipped it into the opening of the engine hole, in this case they are all 2.33mm. Naturally there will be a few hours to sand the shafts to this diameter. It’s important inorder to get the correct insert which prevents the shaft from moving around.

DSC04145 (Small)

Here you can see the amount of removed material and the correct insert. The ultimate goal is to get them down to a pressure fit since the shafts are now longer.

I’ll be caught up with H.G. in a post tomorrow, further chronicling this remarkable multi-step process.

10 Likes

Props to H.G. 3

As promised, here is another (but not the final!) installment today, picking up right where we left off.

DSC04146 (Small)

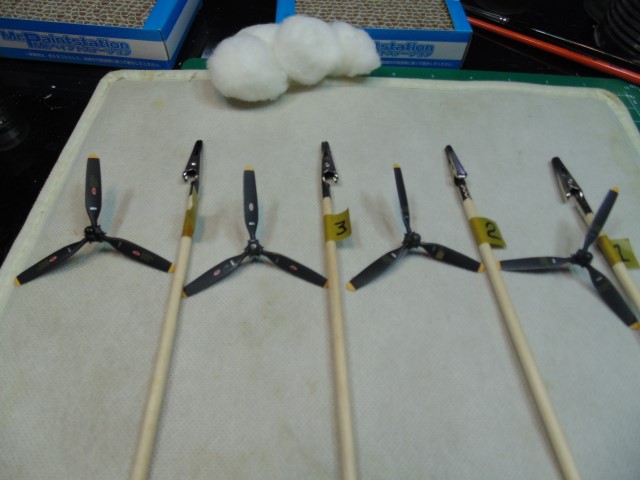
This shows the poster tac in the hubs. I can’t have another layer of paint in them. Masking fluid could have been used but the blu-tac removes easier.

His comment confused me a bit, but what he’s saying is that he can’t have sprayed black paint in the holes that take the blade ends and has masked/filled them with blue tac tape.

DSC04147 (Small)

This shows how the props are now all numbered. No# 3 only will get chipped, as in the photo. Later, it will be sprayed with rubber black thinned with X-20A. Lacquer thinner is tougher to chip.

On to those data plates near the base of the prop blades.

DSC04148 (Small)

Now for those little light rectangles. I reduced this 1mm tape to 0.5mm and kept testing the size until it was as close as possible.

DSC04149 (Small)

It took a few tries to get it right.

DSC04150 (Small)

Here are the steps Once the right shape is carefully cut from the mask. You save that little bit.

DSC04151 (Small)

Place this little bit where it needs to go.

DSC04152 (Small)

DSC04153 (Small)

Now you can place the cut mask directly over the tiny 0.4mm rectangle. Lock down the prop so your location doesn’t get messed up. Next, gently remove and save those bits for the next masking.

I am a bit confused and could be wrong, but I think H.G. is planning two masks per label to cover both the dark and light parts of the labels and that an entirely different black will be sprayed around the rectangular masks.

We’ll just have to see.

7 Likes

This is a great thread, one of my favourites for a number of reasons. HG’s work is really next level. I am curious though, have we seen any of HG’s other work on this forum? or is there any other forum or website that we can see any of HG’s current or past work?

2 Likes

@barleeni

Hi David.

HG is very active here on the Kitmaker Network, and I totally agree, his work is awesome!

Profile - HGBARNES - KitMaker Network

Cheers, D

4 Likes

Very intricate work, and it looks very time consuming as well. Nice update. HG is pulling the stops out on not just this build … but all his builds … amazing dedication

2 Likes

Thanks for clarifying Damian, I lurk around a lot on the forums, but not so much in the wingy thing sections…. so didnt put two and two together!

HG’s work is so meticulously fantastic!

4 Likes

Props to H.G. 4 – Then to Redhand

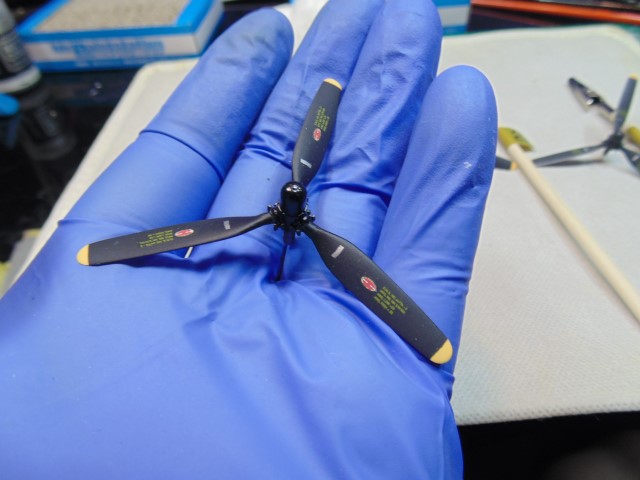
So, the props are done and ready for display. I’ll explain the “Then to Redhand” part of the title at the end.
For now, you will get not just photos but also HG’s construction commentary.

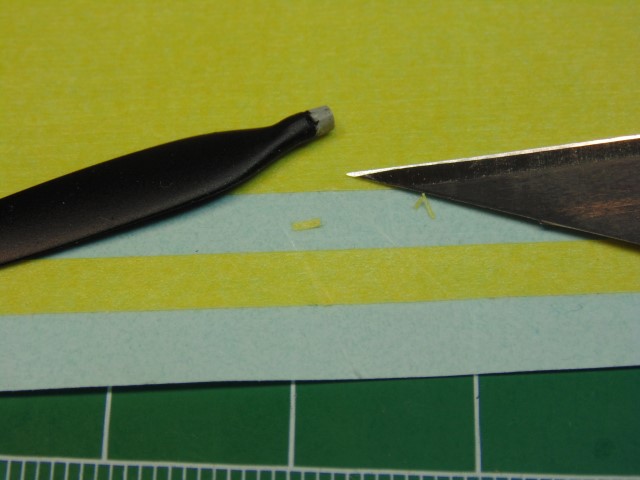
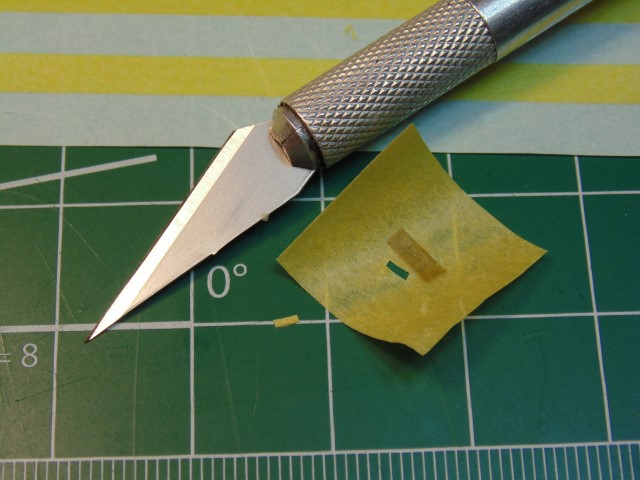
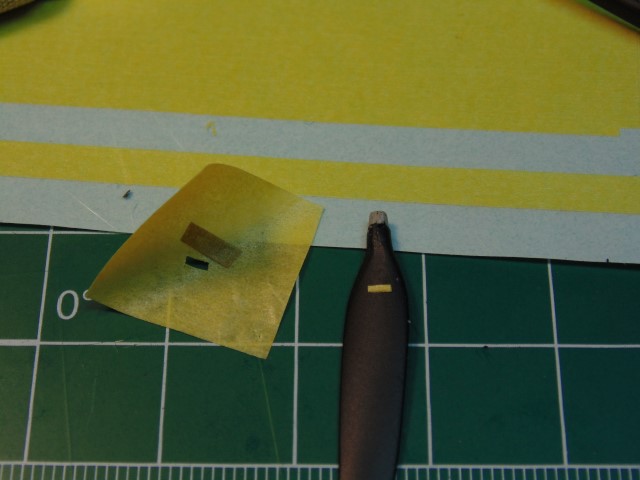
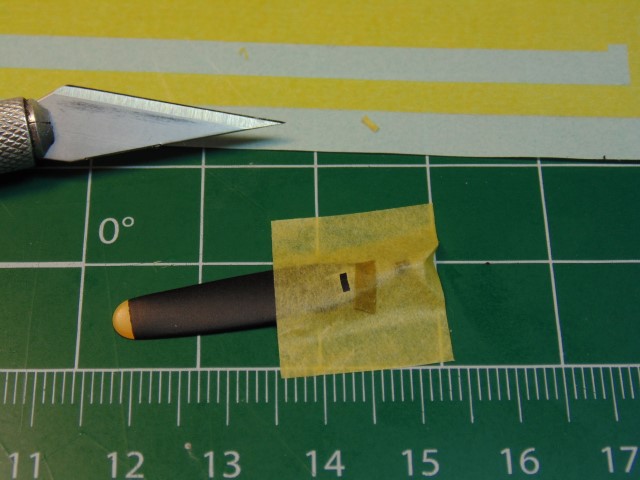
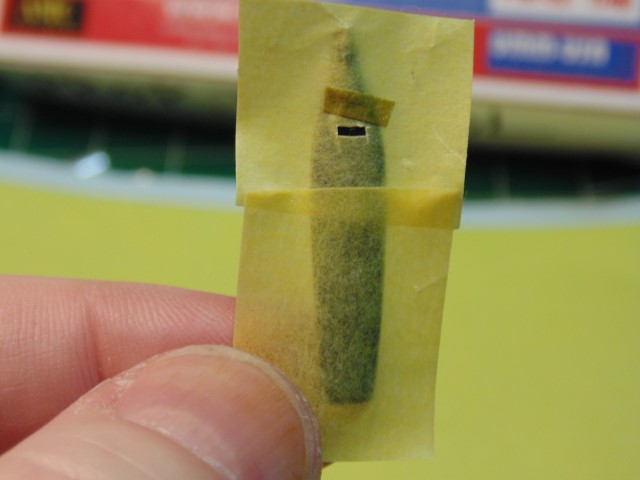
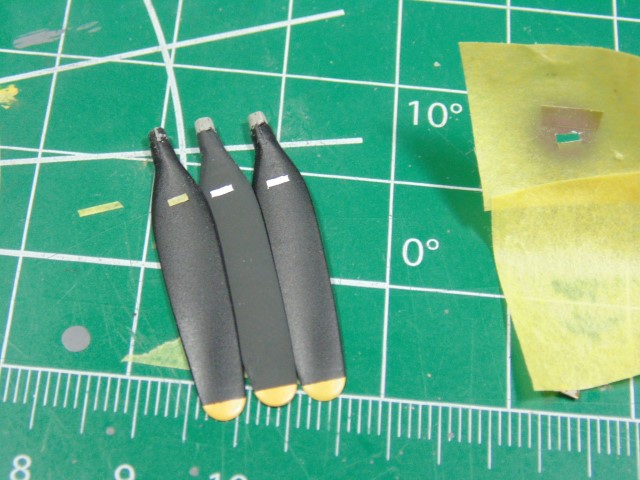
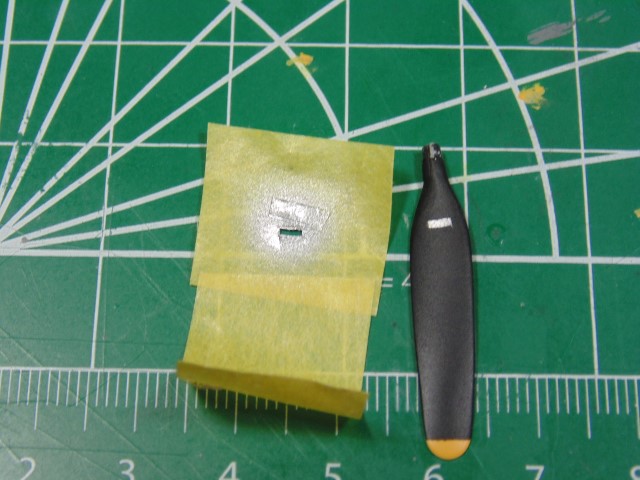
I’ll begin with going over the steps of the aluminum rectangles, since there was some confusion as to how they were masked off.

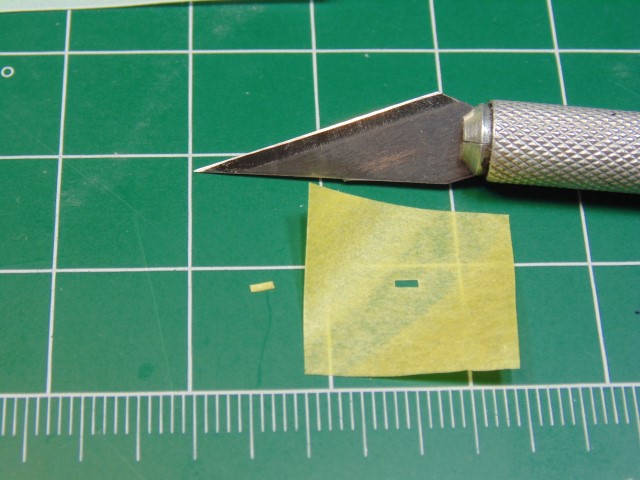
Photo 4319

Three blades and masking tape with metal spray spot
images

DSC04319 (Small)

Photo 4320

Masking tape and rectangle covering prop.

images

DSC04320 (Small)

With the tiny rectangle measured and cut out of the masking tape, it gets placed on the prop in the desired spot. Then the masking tape gets placed over it.

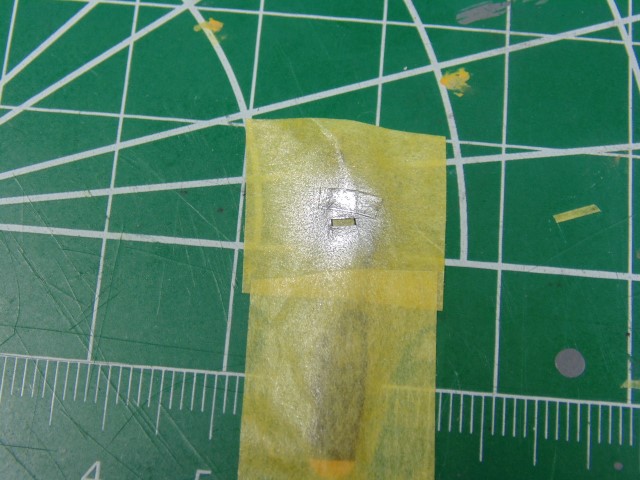
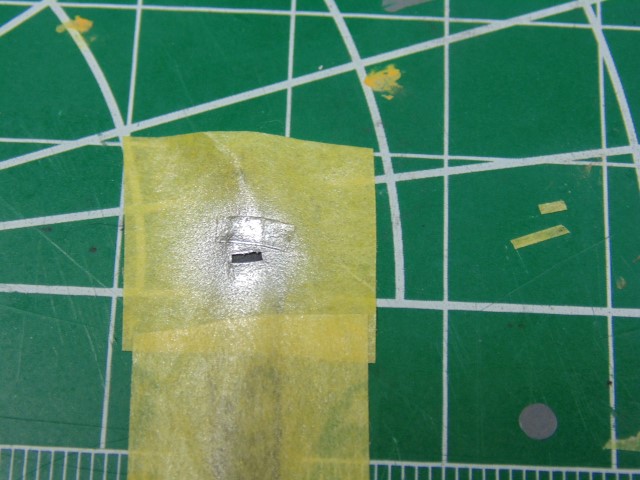
Photo 4321

Masking tape with blank rectangle spot.

images

DSC04321 (Small)

Spray the area with a very light coat with AK XTREME metal aluminum and wait 15 minutes before removing the masking tape.

Photo 4322

Masking tape next to blade.

images

DSC04322 (Small)

Photo 4324

No# 3 hub being chipped.
images

DSC04324 (Small)

Photo 4325

Second view of chipped hub.
images

DSC04325 (Small)

Photo 4344

All props.

images

DSC04344 (Small)

Photo 4345

Close-up of new No# 4 prop.

images

DSC04345 (Small)

Inspired by this photo:

Photo 4346

Close-up of No# 3 prop.

images

DSC04346 (Small)

Photo 4347

Close-up of No# 2 prop.

images

DSC04347 (Small)

Photo 4348

images

Close-up of No# 1 prop.

DSC04348 (Small)

Photo 4349

All props on LL.

images

DSC04349 (Small)

Photo 4350

Port wing

images

DSC04350 (Small)

Photo 4351

Starboard wing

images

DSC04351 (Small)

Note the tattered #3 prop blade Ham. Standard logo like the worn one in the photo below.

Finally, here are two shots from HG showing wear on the rear blades of #1 prop,

in high light

as H.G. says.

DSC04352 (Small)

and the worn rear blades of #3 prop

DSC04354 (Small)

HG tells me that he will be separately shipping these props to me in advance of the finished model so that I’ll be the one to post pics of the complete model when it’s done in about a couple of months.

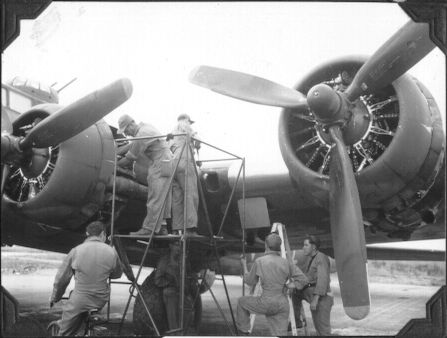
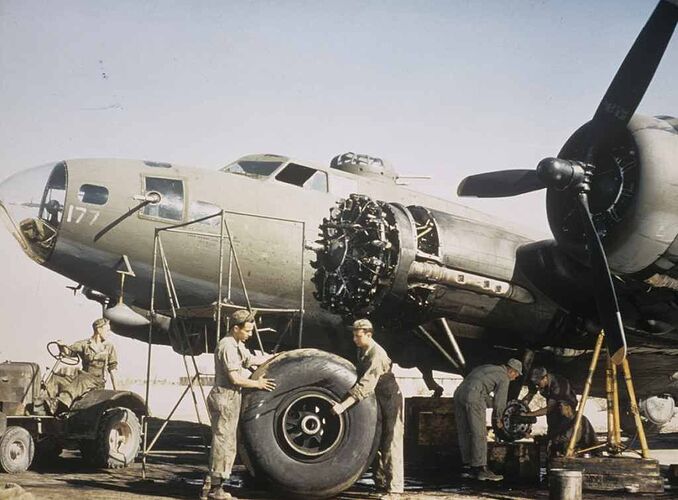
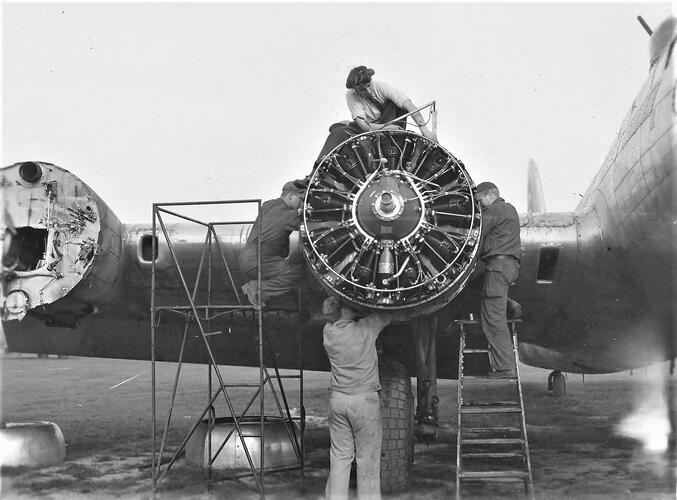
FYI #4 cowling will be removable to show the whole engine, so we may have some “action” in the diorama I’m planning. Maybe with a platform like these:

58bcb14df170c1543e1bc73ba28c3931

Time will tell.

10 Likes

Crazy bonkers brilliant detailing & awesome photo-refs too. I was lost for words long ago about this build, more so with every update :tumbler_glass:

3 Likes

Preparations for Arrival

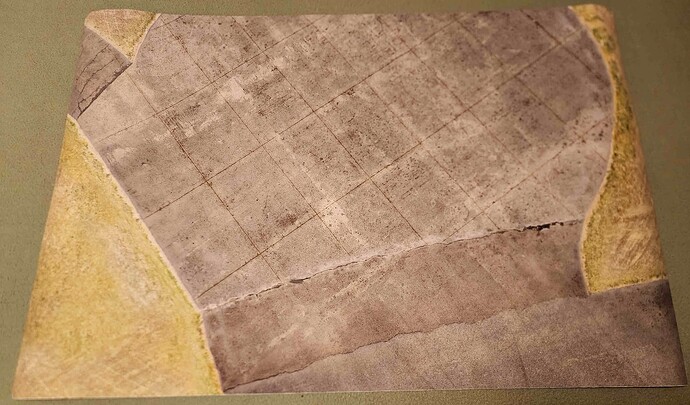
This post is strictly me, discussing preps for the arrival of Luscious Lady when the time for that event finally comes. The model will be displayed on a second table in my Office because I’m too damn old to worry about clients’ and visitors’ reactions to my obvious interest in the Eighth Air Force. But because of traffic, it has to be in a case, with a base that will accept the RAF “frying pan” (sort of) handstand that I’ve discussed before.

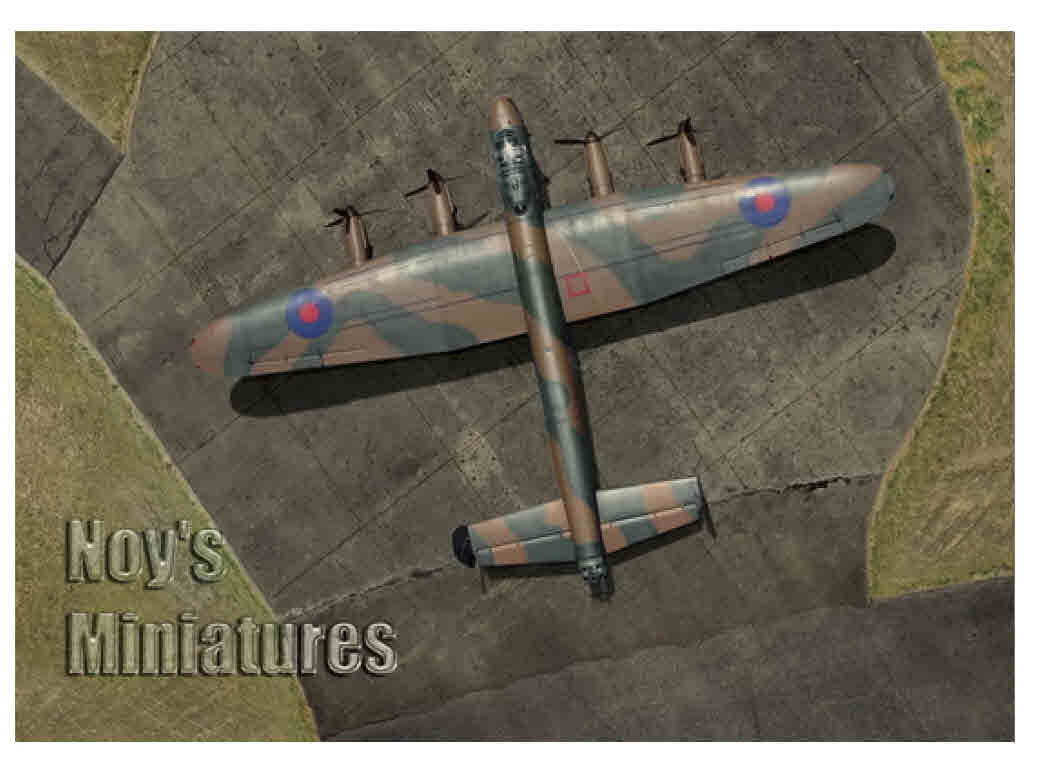
Here it is, by Noy’s Miniatures.

However, I’m going to be reversing the direction, with the B-17’s nose pointing in the direction of the Lancaster’s tail. That will ensure that the nose art and the #3 and #4 engines are the first things the viewer sees.

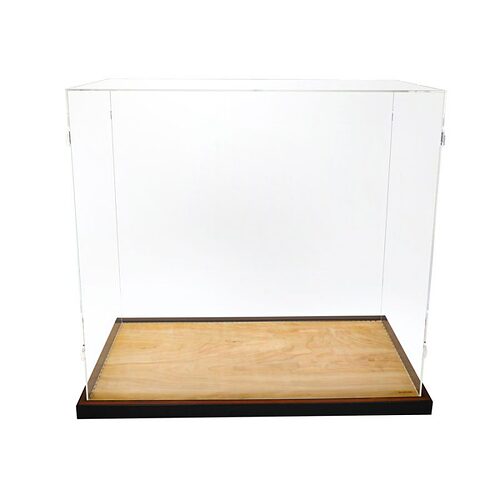
The base measurements are 35" in length, 23 5/8" in width, and I reckon 10" in height, and there’s a really decent vendor, Acrylic Job, in the LA area that does custom cases.

Here’s a sample:

And their prices are pretty reasonable.

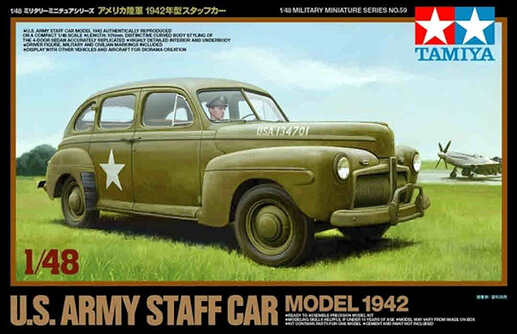
I hope to have at least one vehicle ready by the time the model arrives, and I think the Tamiya staff car will be the easiest.

It’s a measure of my obsession with airplane models that, and this is the Gawd’s honest truth, this kit will be the first car model I’ve built in the over six decades-- some active, some not! – that I’ve been interested in this hobby!

6 Likes

Waiting for the arrival!

5 Likes

When H.G. refurbishes the top turret, I’ll tell a story about a phantom scene in this movie. It’s stuck in my mind as a kid from the first time my Dad took me to see the film (OMG, in the 1950s). But I have never seen the scene in the film since. I’ll also mention a later scene where there’s a reference made to it that’s odd without it being in the movie. I’ll leave it to all of you to decide if I’m delusional about this.

4 Likes

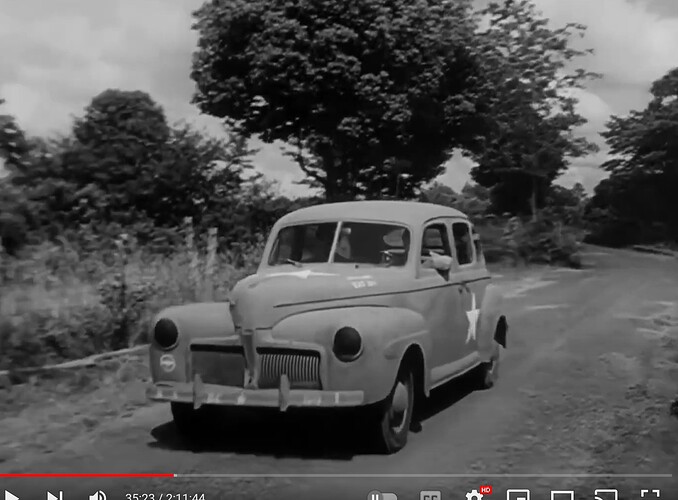
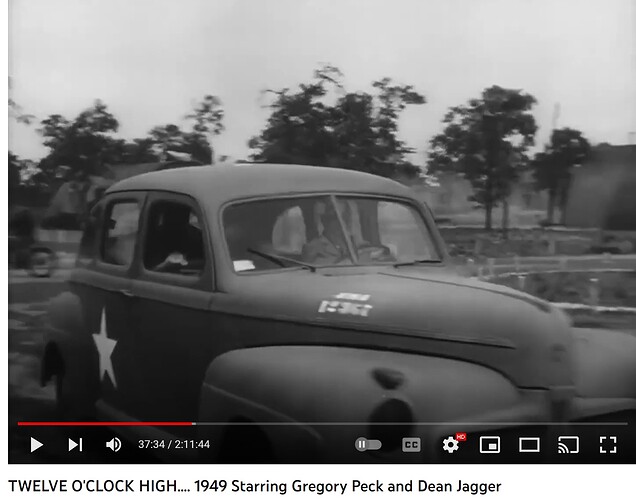
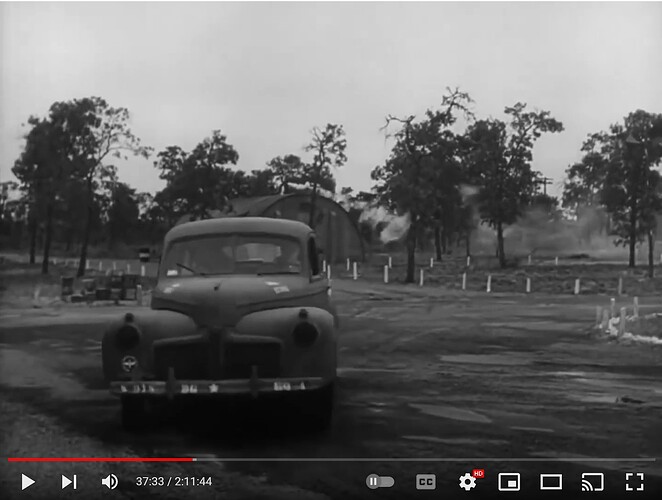
i’m really excited about the staff car. These screen grabs show were in the film the General’s staff car drives onto the base and he dresses down the unmotivated guard at the gate.


Seems like the front fender turn signals are there and then not there? Headlights are blacked out

3 Likes

Yes, those scenes are the inspiration. What I have to do is research/revisit the conventions for unit markings on 303rd Group vehicles.

3 Likes

Great update about the props. The detailing techniques have never dropped below a A+++++.

3 Likes

PROPS ARRIVED!

But I won’t take any pics because I don’t think any photo can do them justice. Quite honestly, I’ve never seen anything quite like them. They look like the real thing, shrunk to 1/48 by Wonkavision.

EIjbRFmWsAI-Sq1

Don’t despair, however. When the complete bird arrives I will take close-up pics of each prop attached to its engine so that you can get the full flavor. (Pun intended)

4 Likes