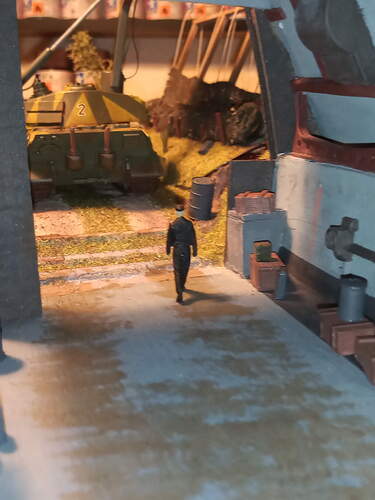
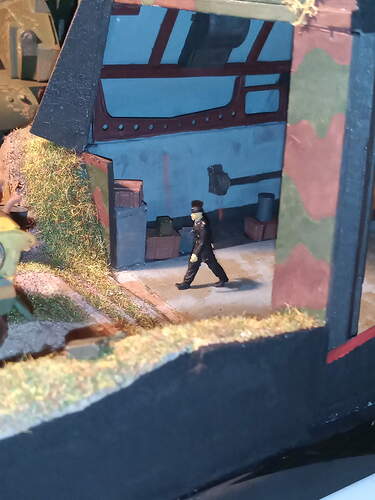
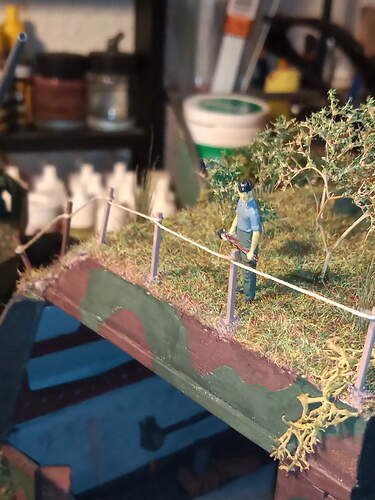
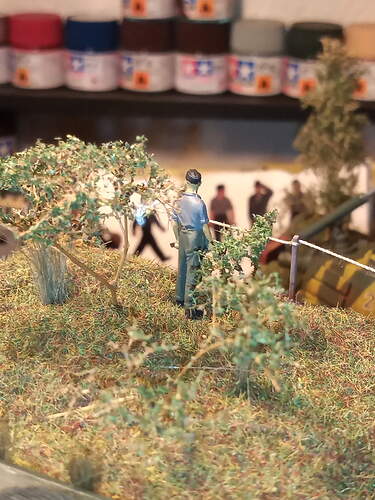
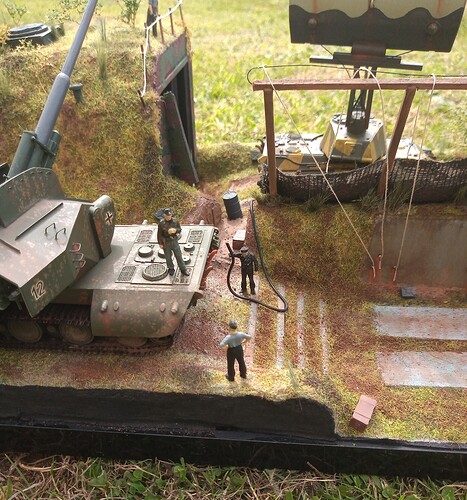
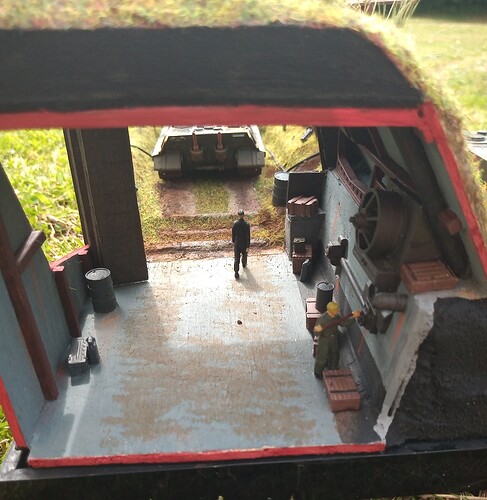
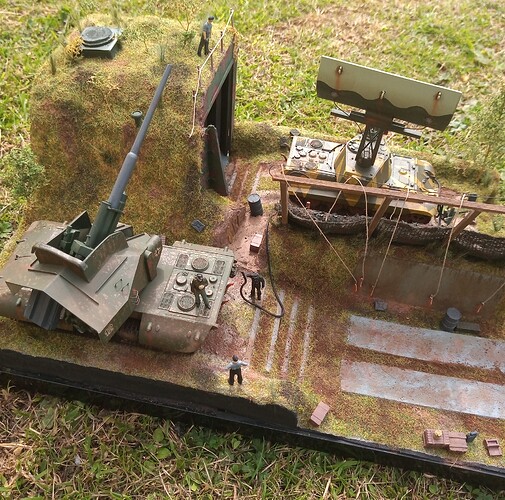
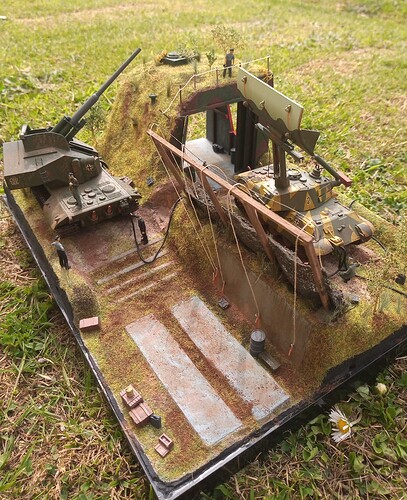
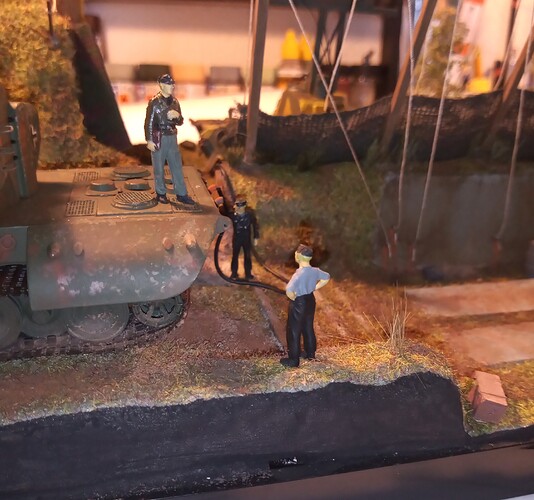
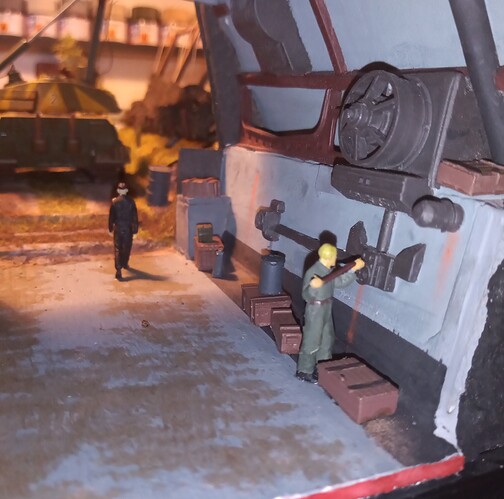
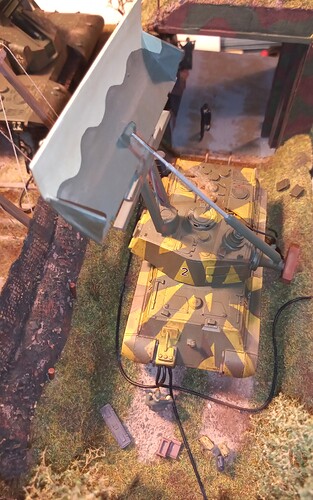
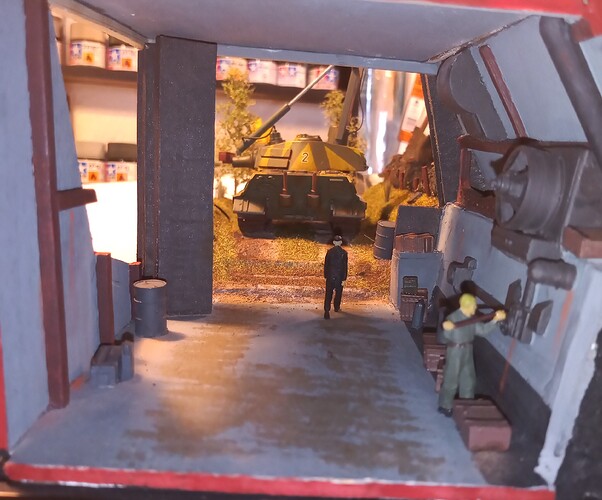
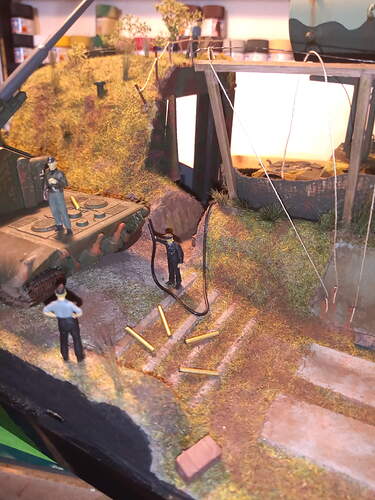
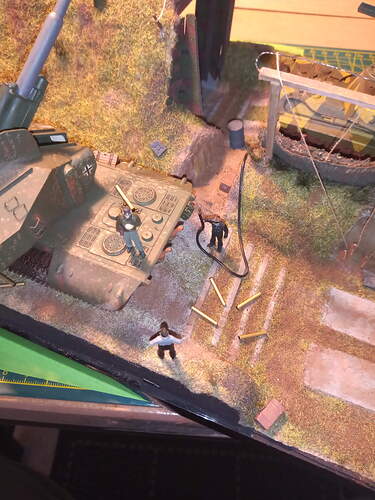
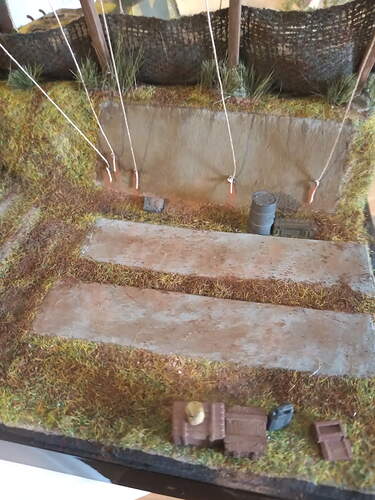
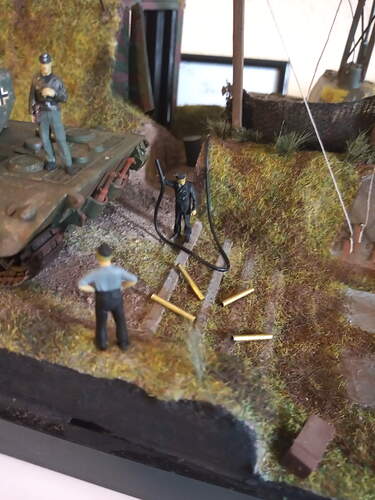
G, now I have seen that farmhouse Dio up close for real it is truly a remarkable feat. It really jumps out from every angle and the details are exquisite…
And the others … All fantastic. Easily award winners.
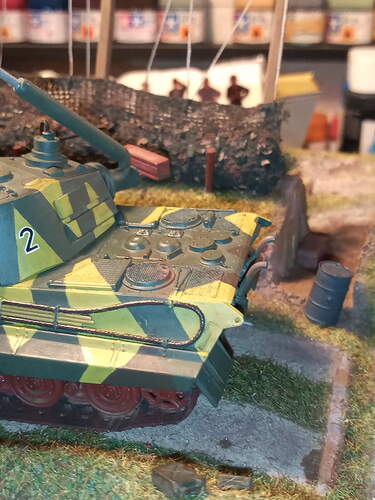
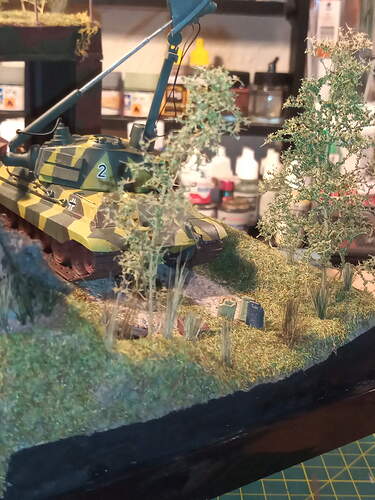
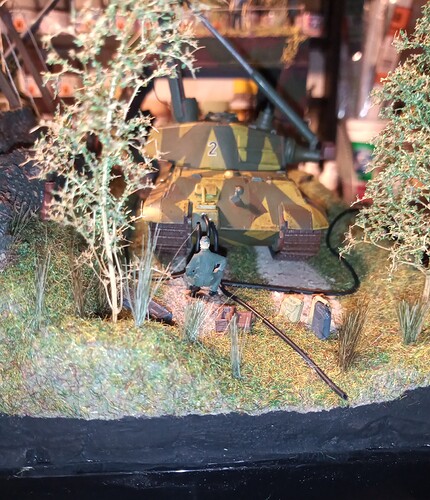
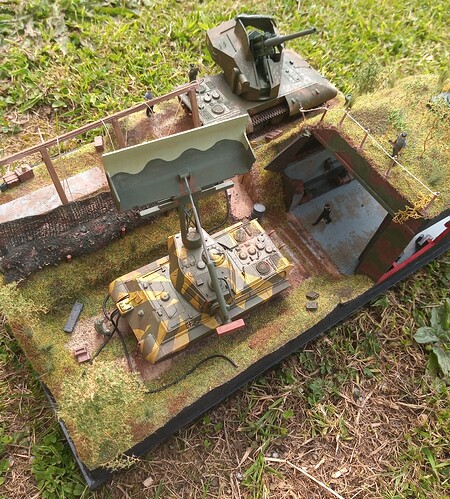
Managed to get spurred on by seeing G’s little masterpiece of a Dio earlier today and managed to get an hour or so work done on my effort.
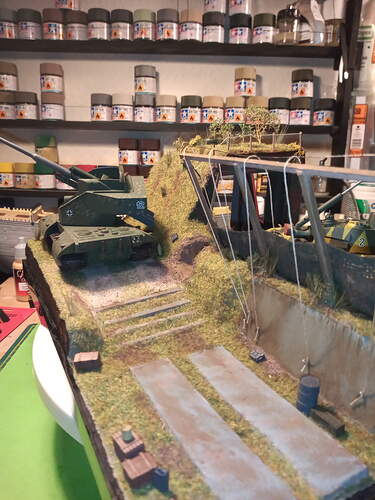
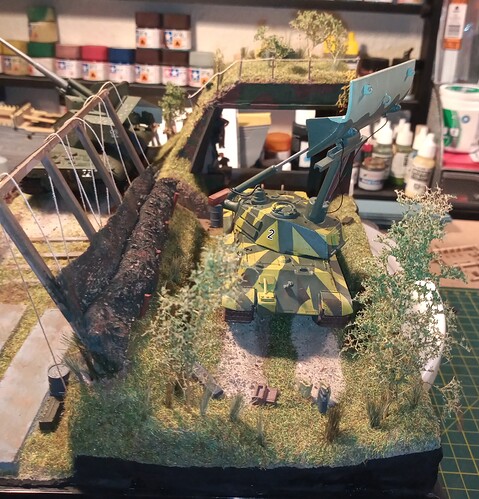
Groundwork is pretty much there now, some little bits of detail painting to do and touch up a few areas then an attempt to tone down the colours.
Vehicles are just to give it some perspective and they both will be getting a deeper wash and then some pigments.
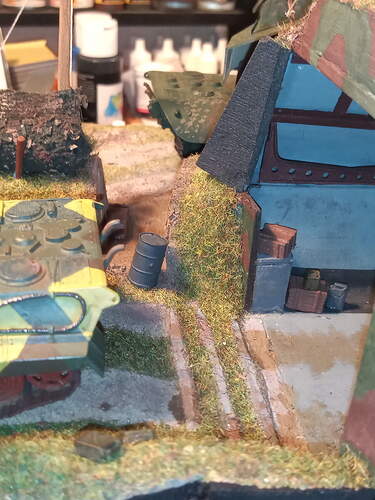
The crates and fuel drums/Jerry cans are all secured down and I began painting the figures earlier.
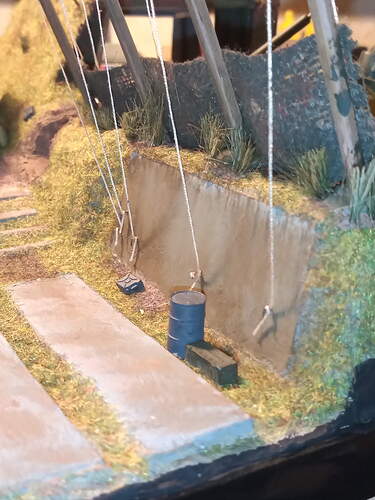
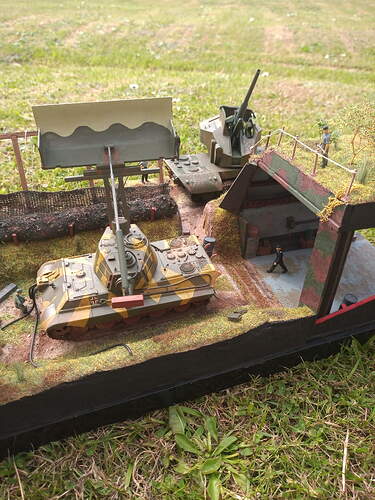
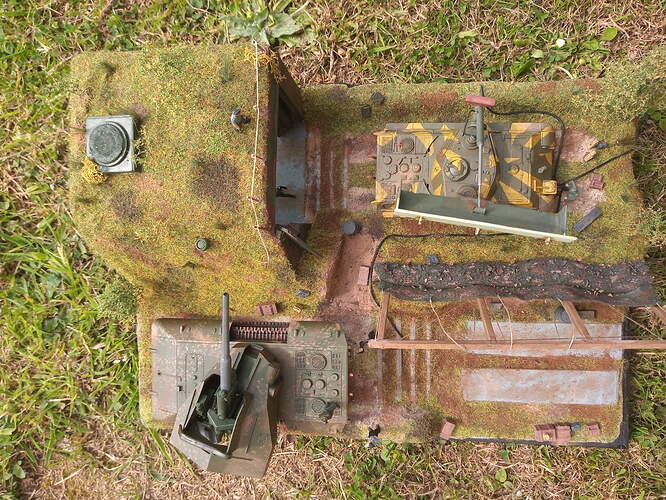
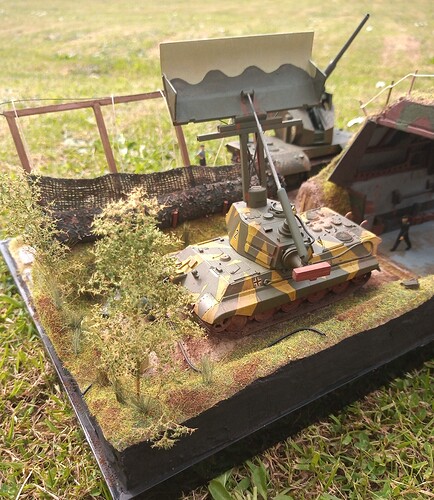
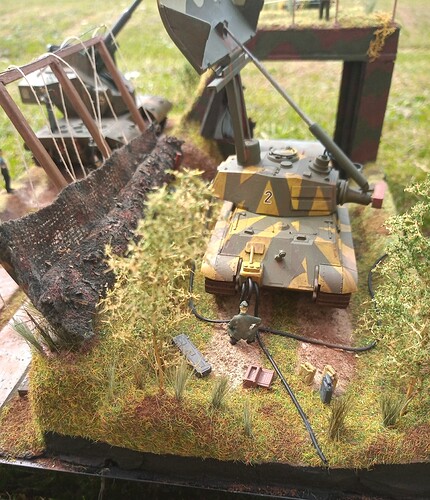
Happy with how the large cam net turned out and the raising system for it. Seems like a sensible way it would be done in that situation.
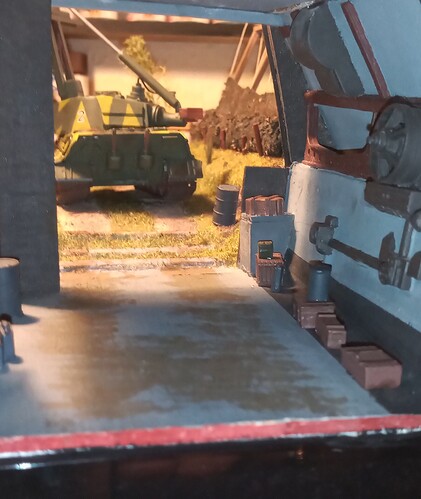
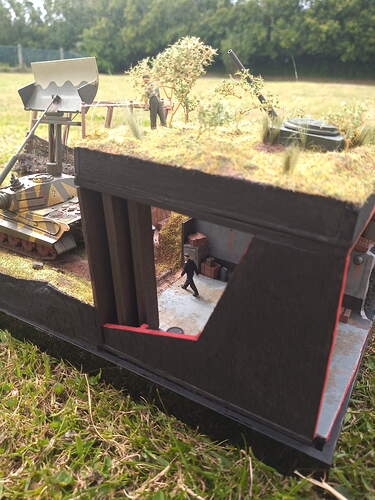
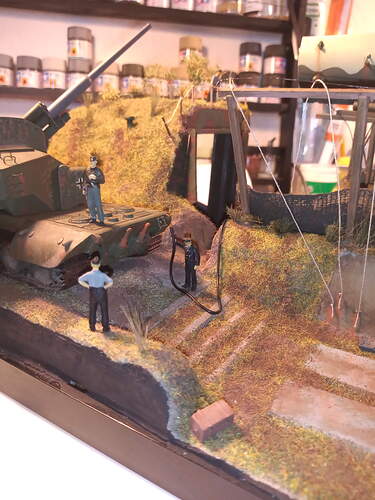
Wanted to give the sunken hanger a look that implies work is being carried out when the vehicle is back inside.
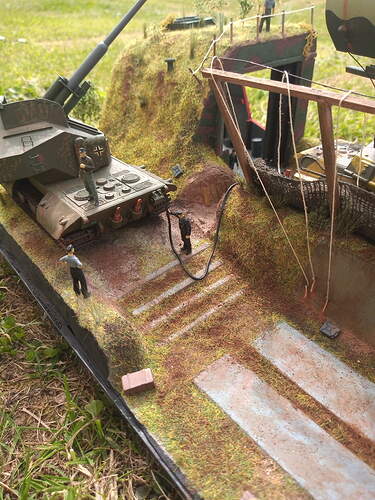
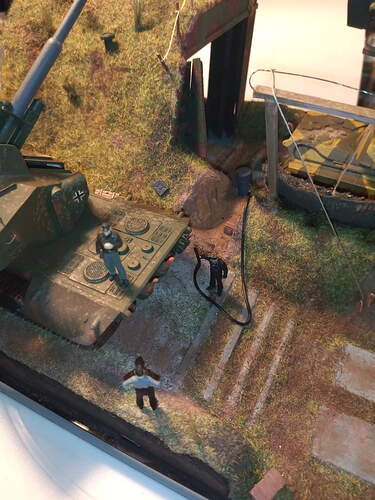
Still have to replicate the 3 command cables that would be going to the 3 battery Flak 40 wagons.
Apologies for not responding sooner John, but great work on the diorama, 
 . I really like your attention to detail, especially relating to how something might actually work, e.g. the camouflage netting and how it might be deployed and recovered. Also the worn floor and clutter within the ‘hanger’ give it that real ‘lived-in’ feel, very effective,
 .
.
What are the small trees made from,  ? they add a very nice detail.
G
Thanks G, I think the little “how things work” details make it a bit more realistic when you look at them.
I have started the figure painting process… It’s not pretty but it will be passable … From a distance… With one eye closed … Lol…
The trees are made from Seafoam. I got a big box of it in its natural state about 15 years ago and still have a vast amount left.
You can get it easily on eBay, in varying states from natural to made trees. It’s quite realistic and you can also add small cut off bits to actual dead wood to make larger more life like trees which I’ve done on the past. For this I just sprayed poster glue over them and sprinkled green railway scatter on that.
Some work done…
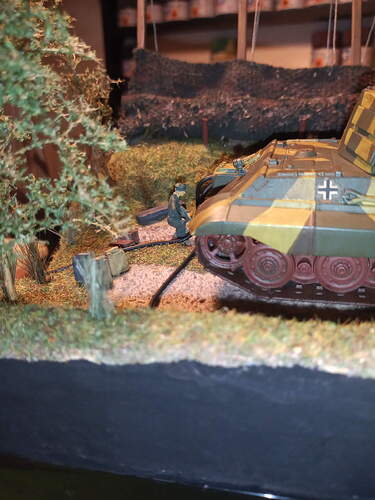
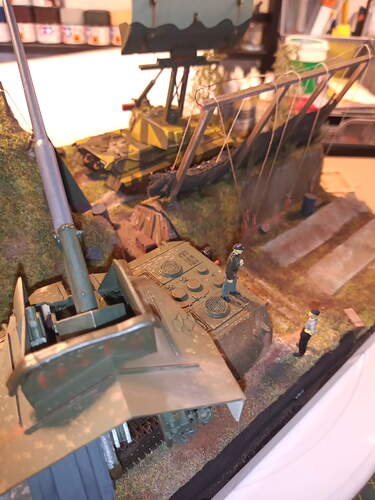
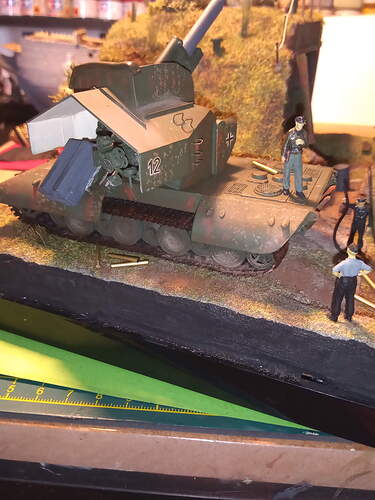
The 3 control & data cables are connected to the KT tracker and one is being connected to the Flak40 while the other 2 are going off to the other 2 fire positions. With one maintenance guy just checking the junction box.
So far I have 7 figures painted… Not well, but passable… Remaining images are a few random ones before I do the final touches …
I will probably do maybe another 4 figures to add to the scene, then it will be the very final few detailing bits to add and that will be End Ex…enjoy
Excellent build John, and the figures add a nice perspective, I especially like the figure strolling out of the hangar, a real sense of movement and urgency conveyed, 
 .
.
Thanks for the feedback on my question relating to trees,  , now I have another one for you,
  …what have you used to secure the figures to the groundworks, I can’t see any obvious signs of adhesive,
  ?
?
Cheers,  ,
,
G
Very impressive indeed John – imaginative, unusual, ambitious, eye-catching, and well built. Maybe some more dirt & dust would help but it looks great already 
Thanks G: as always for your encouraging words. Always appreciated mate. As I mentioned before, I have used that seafoam on an tree root but it was a while ago and I have no pics of it. It is a bit time consuming, but well worth the effort in my opinion. I had to drill small holes (lots lol) into the actual root branches and then white glue in the smaller bits of seafoam and it really gives the impression of a full tree. You have the real colour of the tree root and then I just found a similar colour brown and misted it over the seafoam additions then did the green railway scatter like above.
The figures are simply secured with pin pricks of superglue on the contact areas of the feet, thats all for those.
Thanks Tim, coming from you that is high praise indeed and also likewise from G @G-man69. The dirt and dust is the next phase Tim, I didnt want to overload it so I’m just working out where to deposit it all to give it that working/war look of a fixed fire position.
And on a side note, this dio is built of the back of the inspirational ones I have seen from you , @JRutman and @G-man69 and @DIOWORK to name a few.
John as you have gone along this has become an outstanding diorama. The vehicles are unique, interesting, and very well done. The terrain is very diverse, especially for such a small footprint. When I first saw its white sculpted form, I thought there was no way you were going to pull this off. How wrong I was! The vegetation is varied and very well made. Then you made that cut-through - brilliant move. Now adding the figures brings it all to life and adds the storyline. The vehicles show us the intent, but the figures tell us what’s going on here. You’ve created an interesting scene with lots to look at. A fantastic diorama, excellently executed, well done John. 


Aw now I’m blushing, thanks - but seriously we’re all learning from each other (or we should be), someone’s always doing something better than I. For example your dio could have been made or broken by the grass cover, and it’s some of the best I’ve seen – texture & colour variation absolutely nailed, I’ve been making some notes to self. Still not sure if it’s harder to pull off in this scale or 1:35…I could argue either case, but on balance I think you had the more difficult task so bravo 
Many thanks Matt and again Tim. I am glad you like the walk though Matt, its a favourite bit of mine as well now. I have enjoyed the build and like you say Tim, I have learnt so much since I started joining in on the forums and interacting with others and following builds. I know you learn bits through magazines and vid clips etc, but for me it is different and I think a better learning experience actually chatting with others during the builds and watching things develop in real time.
When this first started I had not thought it through as well as I hoped and had huge delusions of grandeur about having a base with 3 E100 flaks on it, how off was I with my calculations lol … A4 is a real squeeze and I realised that pretty early on … it is good to portray a more busy seen and show more kit off, but its just about getting a healthy balance for it all.
I think the best example is easily G’s for that, with his farmhouse dio, as now I have seen it for real, you could easily not bother with any vehicles or figures and it tells a little story all on its own.
Thanks for all the encouragement chaps… 
These turned out very well. Impressive work, this diorama is a study in patience, workmanship and talent. Well done John:bangbang:
Thanks Gil, very kind of you to say that.
Before I call this one finished, it would be rude not to give a little back story …
It’s April 1946. After the Normandy landings and the failed advance, the German forces held the line at Rouen, across to Reims and down to the Swiss border. This is now an undeclared buffer area or no man’s land … Neither side willing to carry out offensive actions, it led to unofficial cease fire. A later assassination attempt on Hitler was a success however the army takeover after this failed, leading to Himmler and Goering sharing power on a military Junta.
In the east, the Russians left the allies and fought alone but stalled on the counter offensive and the German forces held the line at Vilnius and across down into the Ukraine, importantly keeping the oil fields.
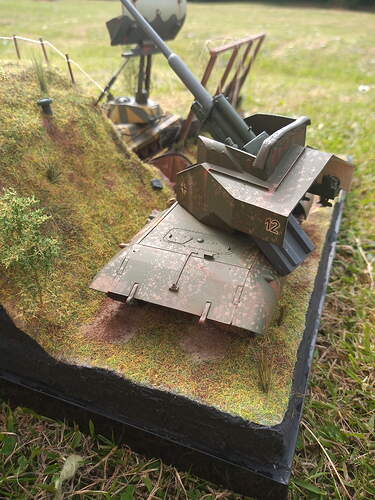
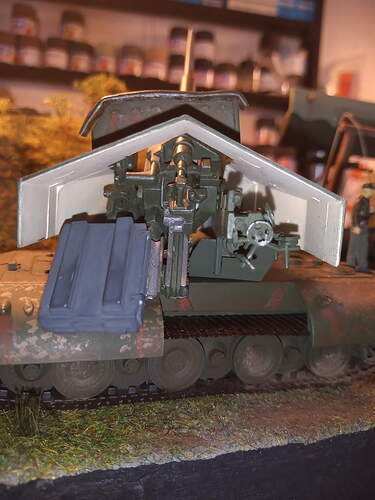
The scene is of a fixed Heavy Anti-aircraft position in the east of Germany, guarding the approaching air route from the east and sporadic Russian bombing raids on the Tank and Aircraft factories. In late 1945, the Germans finally produced the E100 series of heavy tanks and all their variants …
6th Heavy Anti-aircraft Regiment, No 1 battery, Fire position 2.
The crews are carrying out after actions checks. Vehicles left on position.
I followed G’s lead and did some outside photos and the light shows them off quite nicely.
I hopefully didn’t go overboard on the dirt/dust areas.
At the last minute I added some spent ammo cases and I also intend to add another 3 figures. One kneeling on the Flak40 engine deck helping to connect the cable, another officer figure in the discussion at the rear and another figure walking through the walk way between vehicle areas… Hope you like it.
I thoroughly enjoyed the experience of working in this scale I learnt alot and I hope I do another one. There were some challenges but with the help and encouragement of @Tank_1812 @DIOWORK @G-man69 @SSGToms @Dioramartin @Armournovice to name a few, I got there in the end.
John, your diorama looks great. Congratulations on a successful build.
Thanks Ryan… It was a lot of fun and I did enjoy it… Was definitely a different perspective and approach to always doing 1/35th… I hope you get a chance to get going on yours 

The time waster was defeated for a bit as the wife didn’t have something for me to do.
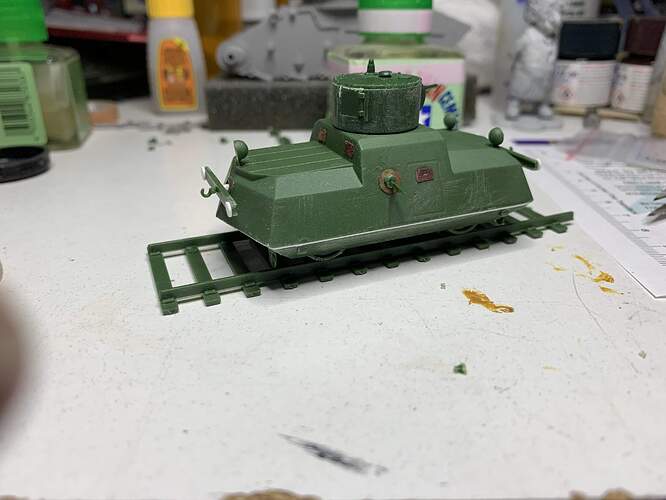
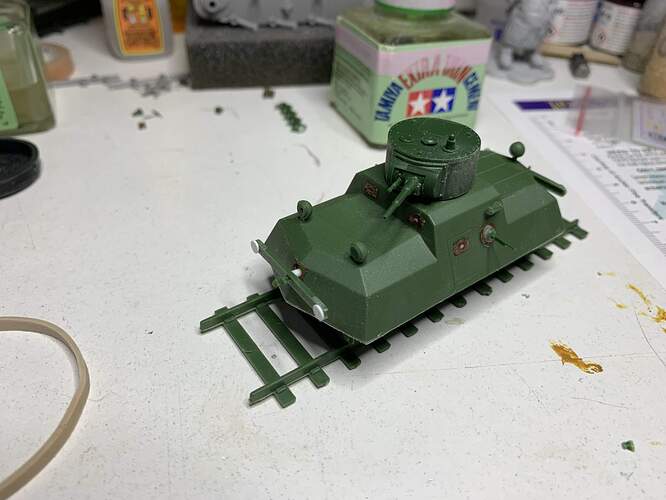
I think the plastic work is done, needs some putty and paint. I was going to add the radio mast but I will never finish if I try. I thought I did more for the track but couldn’t find what I did so I will have to make or remake more track.
Nice to see that again Ryan… Hopefully you can get a bit of time to make some more headway… Then we will have a UK, German and Russian theme … 
