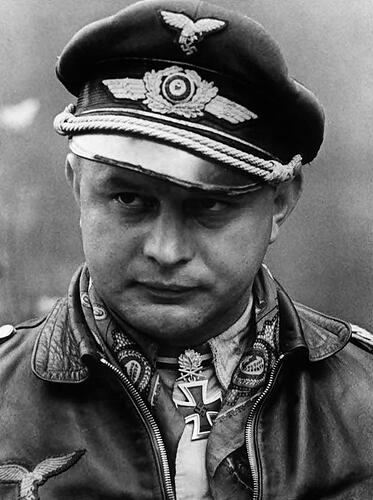
A little more than a year ago I did two Czech Avia S-199s, they were the first from what looks like a whole series of “real” 109:s and this May the first F-boxing was released.
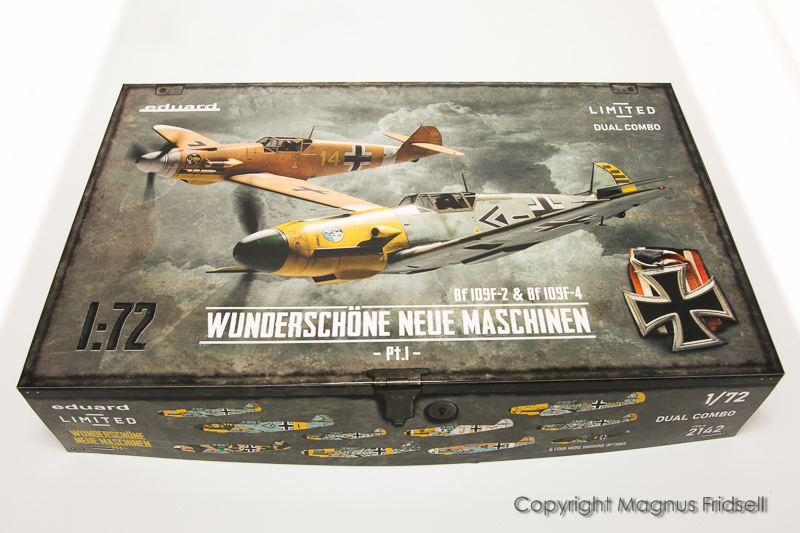
As usual, some lovely Eduard box design.
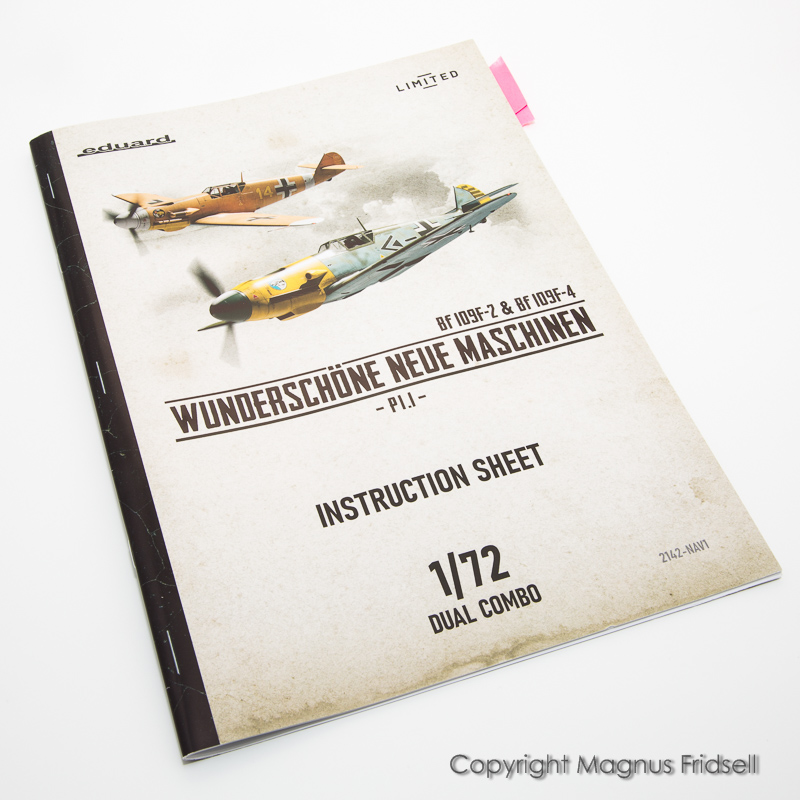
Something in-between a build manual and a real book, lots to read about different F-variants.
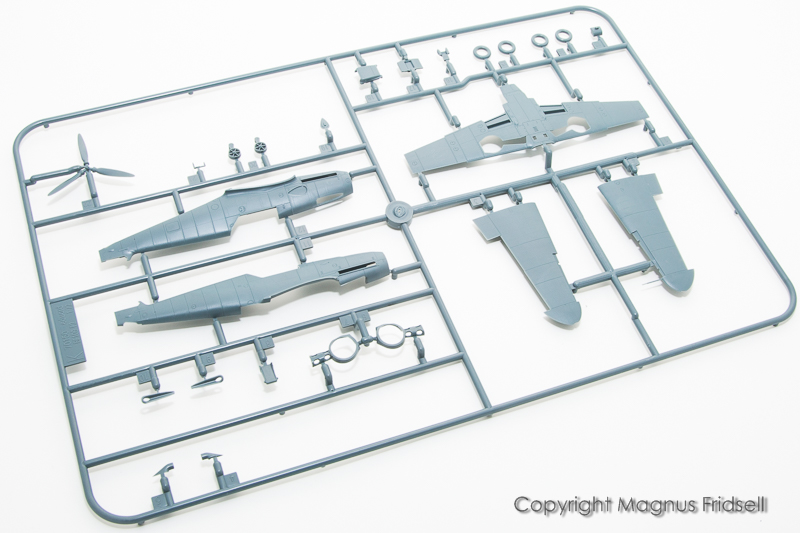
One sprue for an early F, marked F-2…
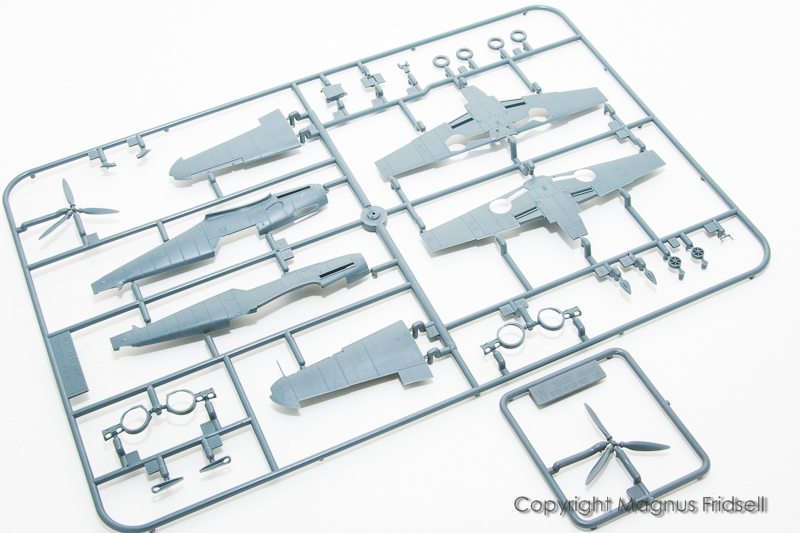
…and another one marked F-2/F-4 together with an “F-4 late”-prop. All bases are covered!
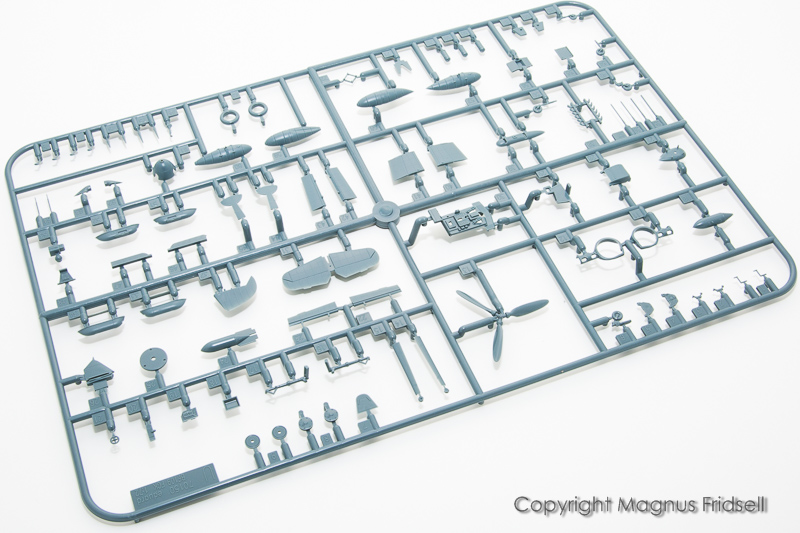
There’s two of this one and it was already included with the aforementioned Avias, everything that is common for 109s F to K and S-199.
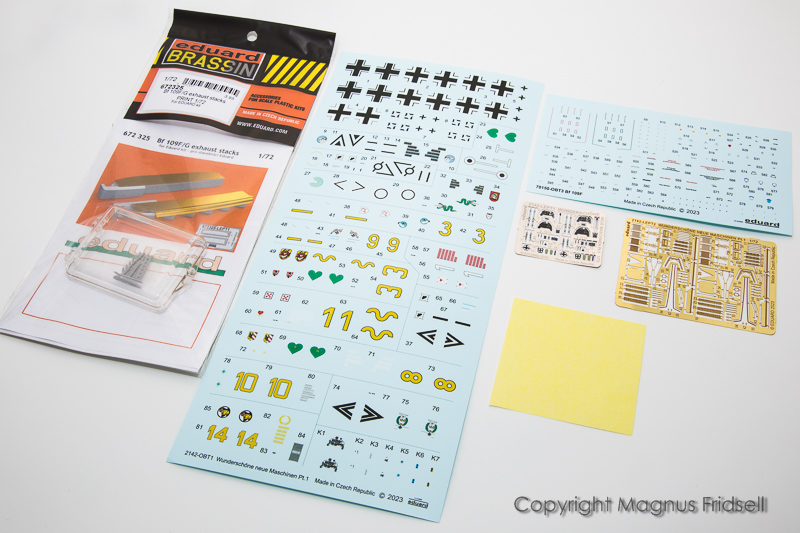
A mix of treats included in the box. Decal sheet is impressive then there is the usual assortment of etch parts and masks as well as 3D-printed exhausts. I thought there would be one for each model in the box but there was only one. It doesn’t matter much though, the plastic ones are really nice as well! Regarding the decals, you can’t choose what pair you want to do entirely free since the two kits in the box are different but I think that everyone should be able to find a mix that he or she appreciates! France, North Africa, Sicily, Eastern Front… And it’s not as if there is any lack of aftermarket decals either even if I would consider it being a bit spoiled since there are 14 alternatives on the sheet  !
!
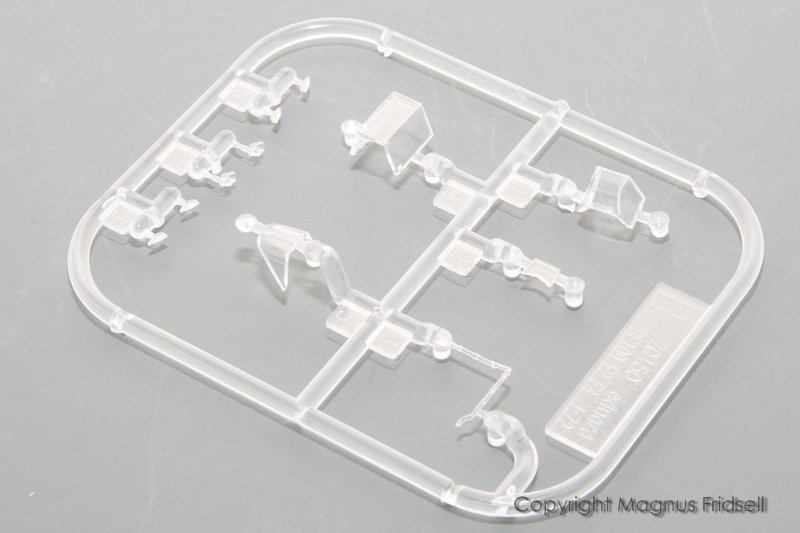
Clear parts. Nice but still not Hasegawa-thin.
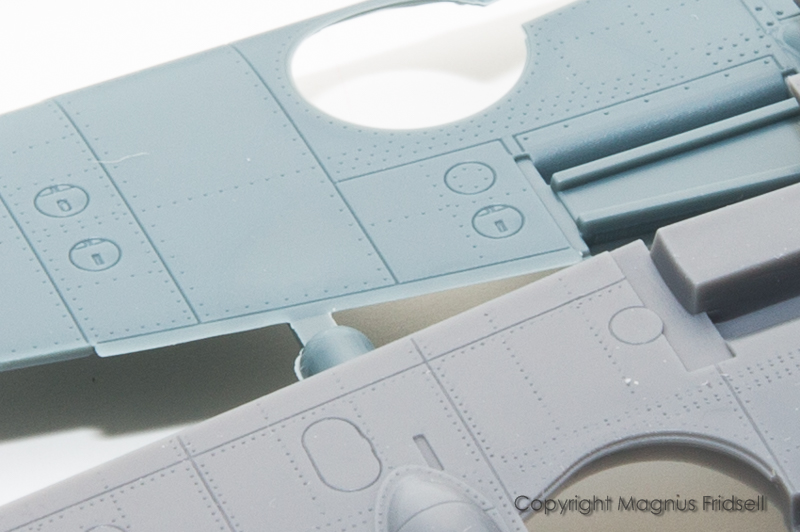
Surface detail, closest in the picture is the Special Hobby 109E…
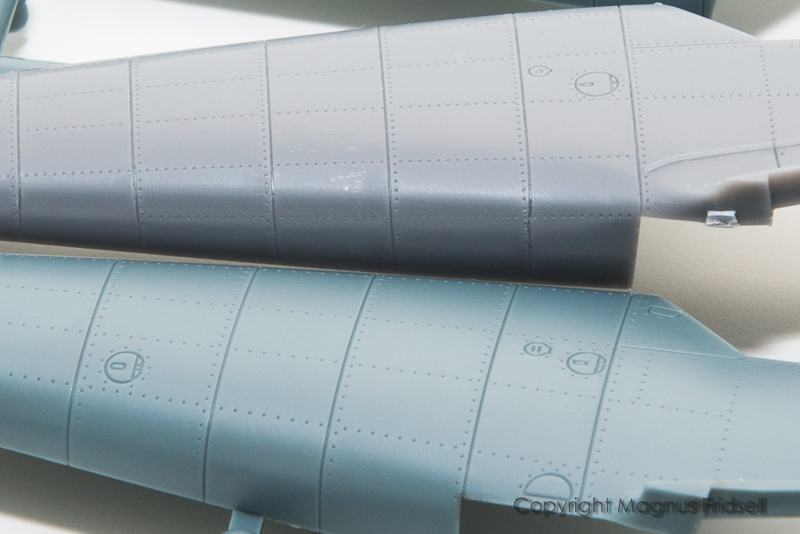
…more rivets with a tighter spacing in the SH-model but I think it will look just fine anyway!

Magnus
12 Likes
Your post really made me laughing, Magnus  , as my next planned build is also a Friedrich Dual Build from Eduard, also a F-2 and a F-4 but of course in my usual scale. I even got an F-2 Overtree kit, but that I’ll keep for a later build. Of course I’ll follow your build. Wonder what options you will build. I have already made my decision clear …
You simply can’t have enough Spitfires! Ja, man kann nie genug 109er haben! 
2 Likes
Those Eduard F - K kits look like something I must acquire 
Following with interest, Magnus 
@BlackWidow Good to have a partner in crime  I’ve opted for one of the very early ones in Werner Mölders’ scheme and will do a standard Channel Front machine from the other one. I also remember that I promised to do a Finnish one a year ago or so, might do one from the next boxing (G-2 / G-4) that’s on it’s way from Eduard soon! Regarding the Spitfires, you’re right but I’ve always been heavily into the 109s without ever getting around to building one. Until the last few years that is
  !
!
@Russelle They are certainly worth getting! The same feel as the Avias, maybe a tad on the complex side with a lot of parts but being an Eduard kit, fit is close to perfect!

Magnus
2 Likes
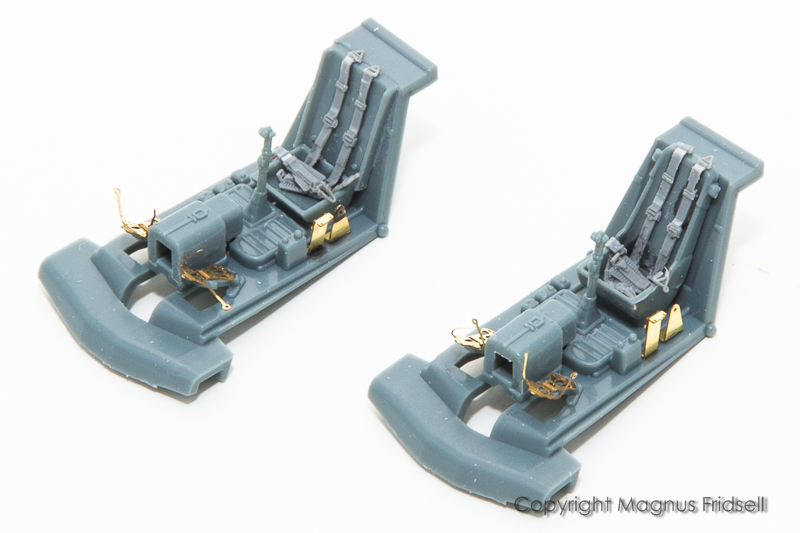
Some cockpit-work. The first built Fs probably had a more E-like seat so that was what I went for in one of them, the other has the ordinary cockpit that was standard for F and later variants. Regarding the etched pedals, they are incredibly flimsy. I recommend just gluing them on top of the originals since removing the plastic would leave very little support for them.
Belts are from Fine Molds, they make several sets of plastic belts from different nations and eras. Not as thin as etch but I much prefer these anyway since they can be glued with ordinary modelling cement and are fairly easy to handle.
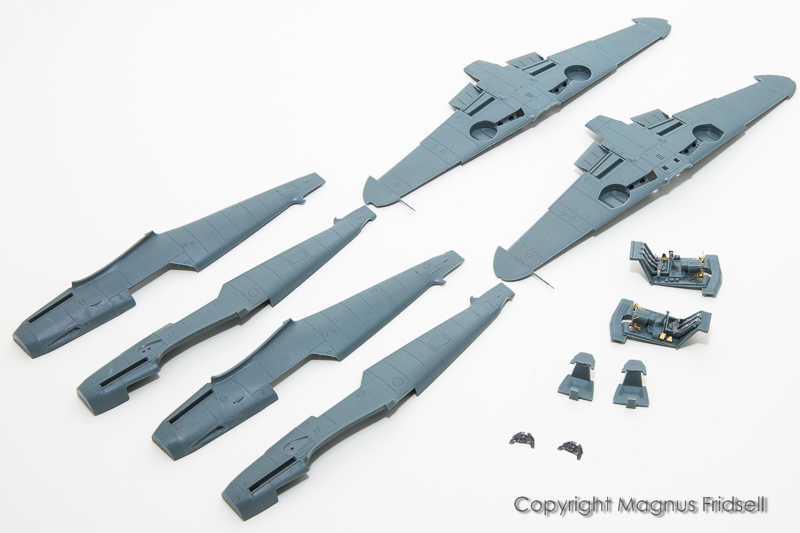
Parts laid out! Note the wheel wells, the ones with the straight outer edges were prepared for outer wheel covers that didn’t turn up until more than three years later with the last of the line, the K-4 version. Most F were built with the familiar round ones that can be seen on the other pair of wings.
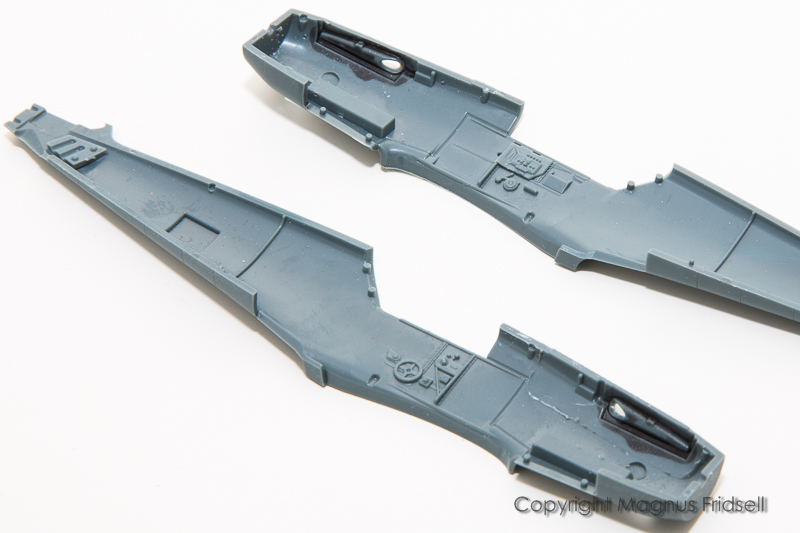
Internal detail and a view of about the only tricky parts yet in this build: the gun through inserts. I’ve secured them with CA so that they don’t plop into the fuselage later on.
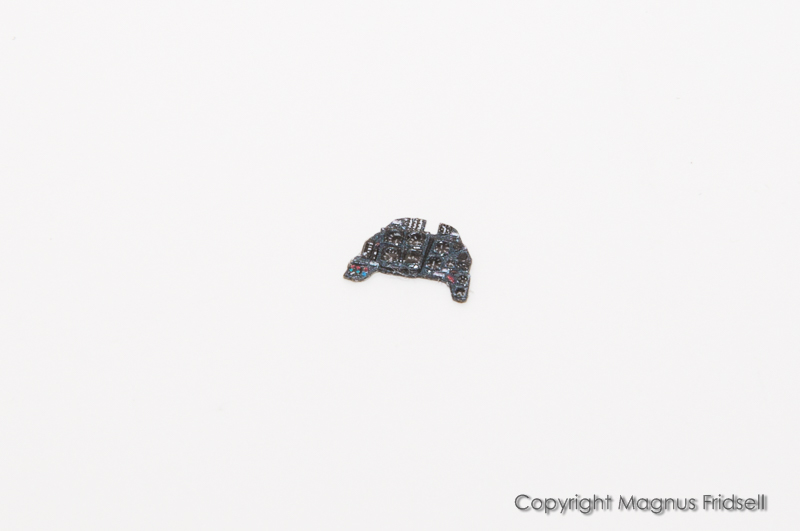
Prepainted etch. It’s cheating but it’s beautiful 
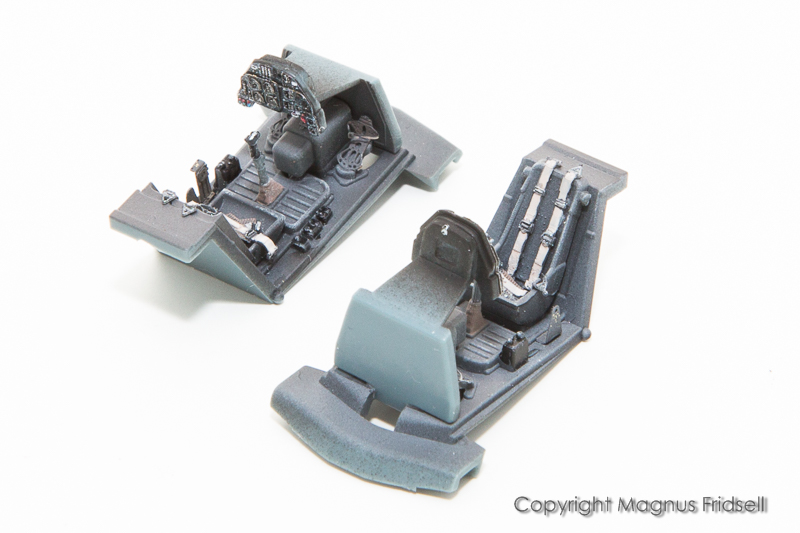
The painted cockpits.
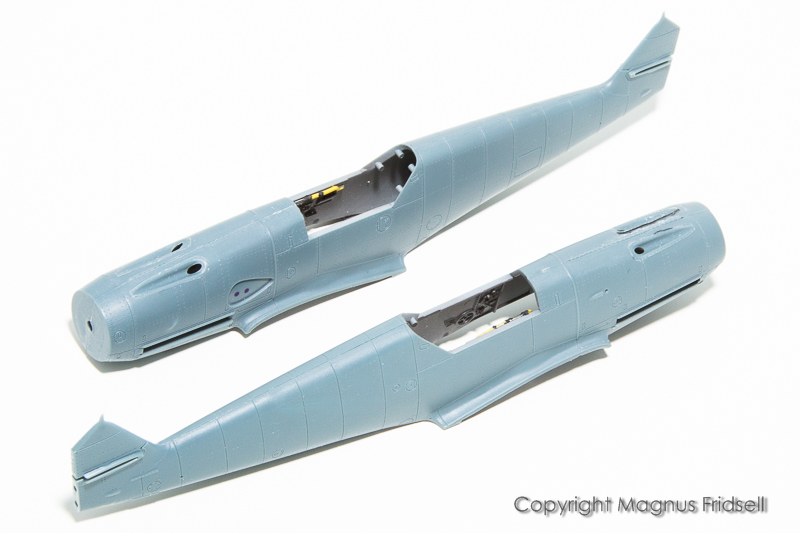
And a pair of fuselages! Cockpits can be inserted from below, which is a great advantage. Note the prominent fuel lines in cockpit, made from clear plastic so you paint everything yellow (a case of German Ordnung: fuel lines were always yellow) except for the clear glass flow indicator. A really nice touch!

Magnus
7 Likes
Next update should be a more colourful one but until then, we are stuck with plastic and etch  !
!
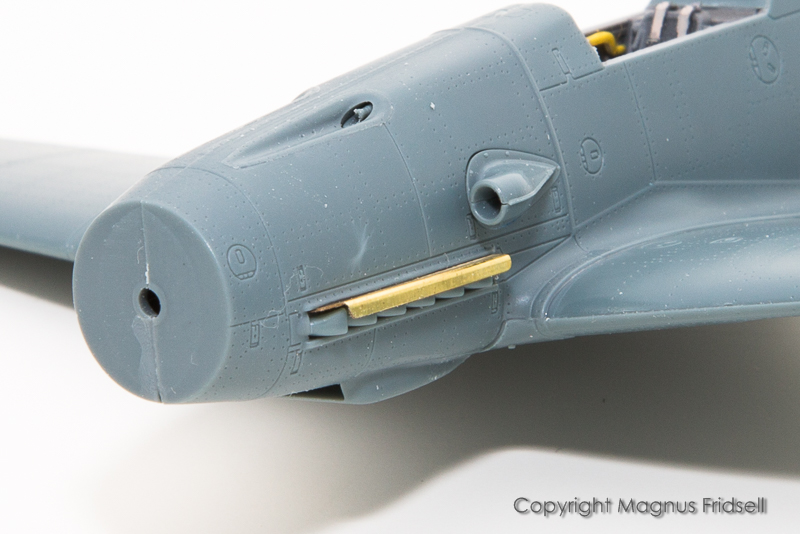
Etch at it’s best…
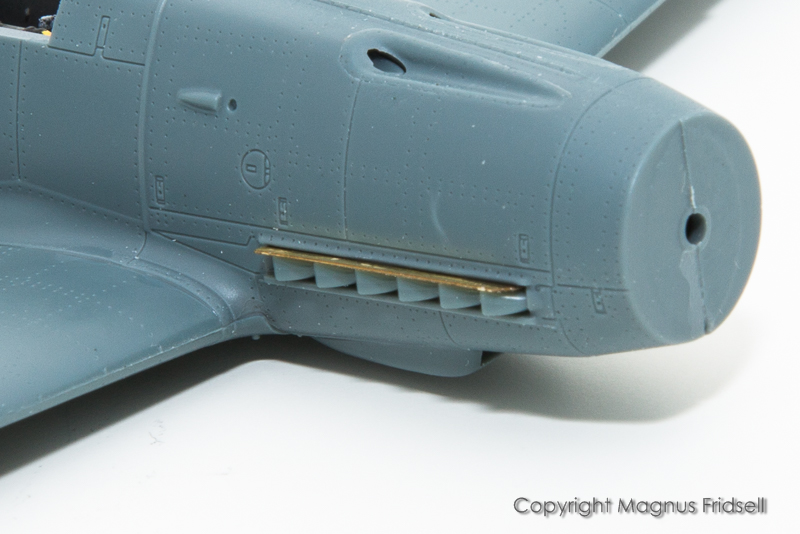
…this is really a huge improvement compared to the plastic parts!
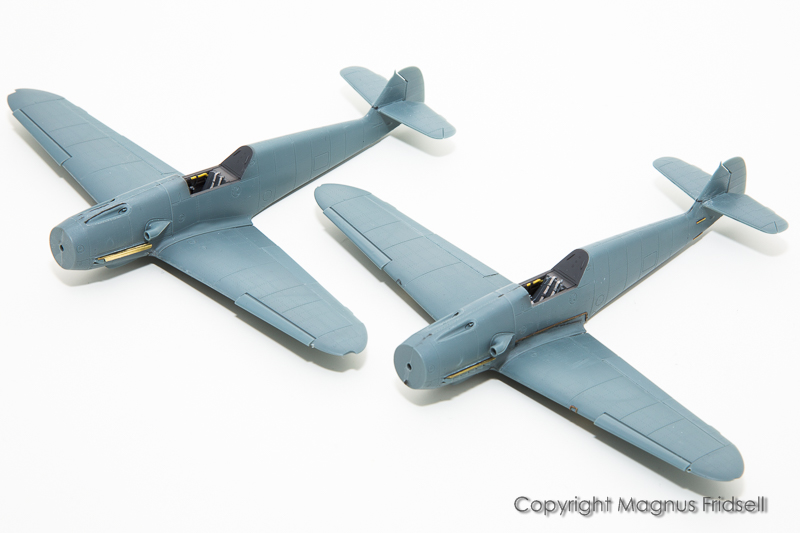
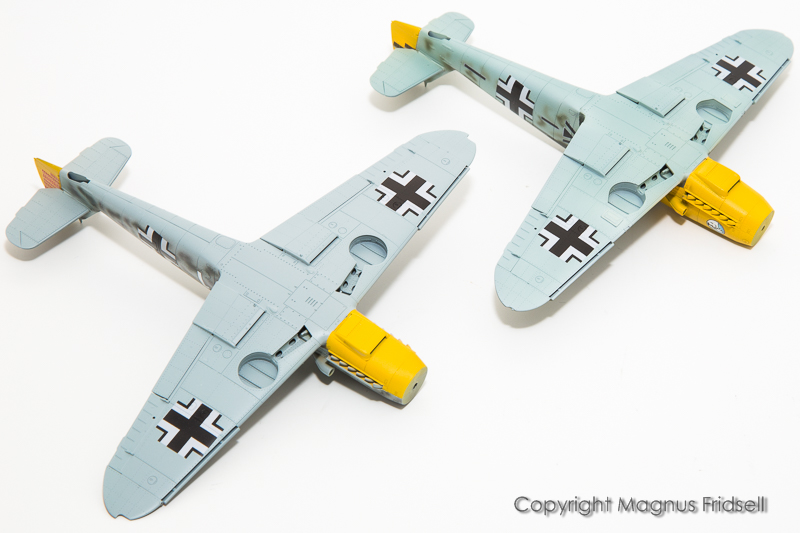
And this really looks like close to primer-time…
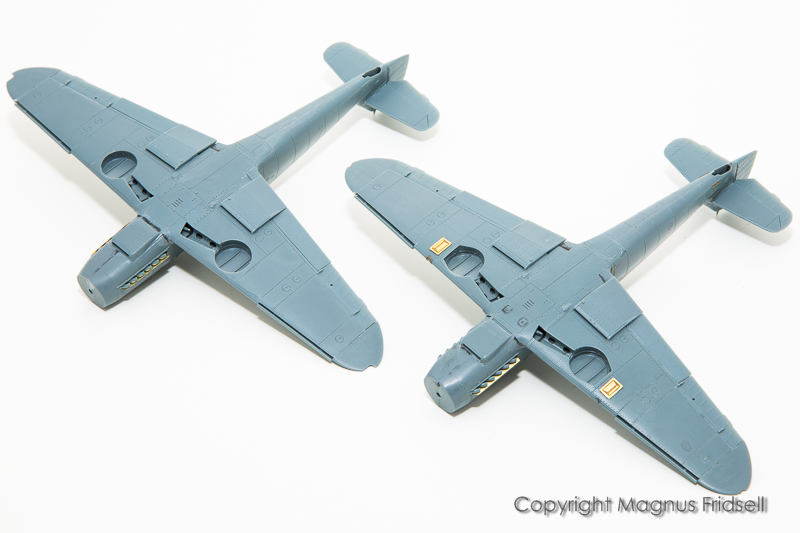
…lower surfaces looking promising as well! One of my builds is an odd-bird in the shape of a very early F that had a multitude of strange features…
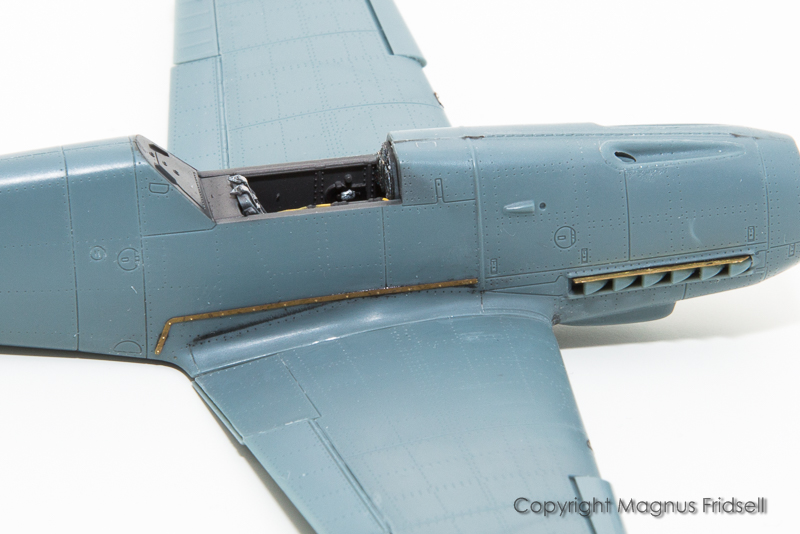
…that are covered in the kit in the shape of photo etch…
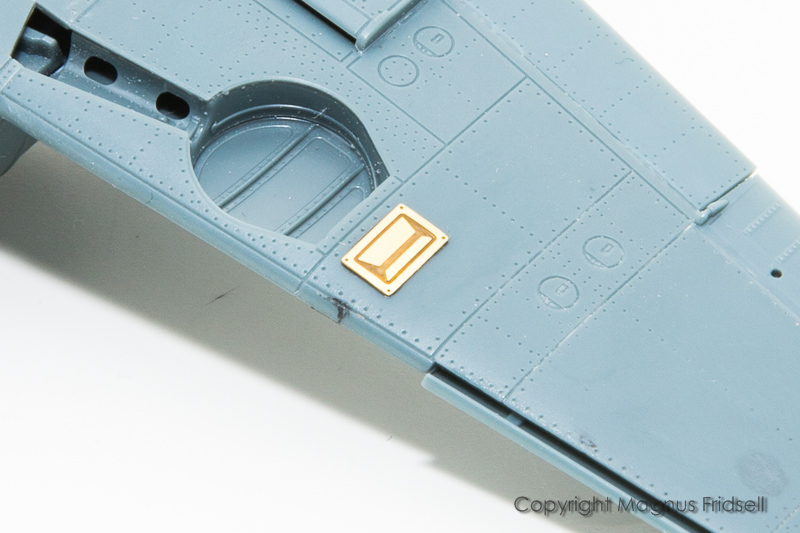
…these especially would be a lot nicer in plastic!
I use VMS black CA that is a bit less brittle than ordinary CA, I also use their “cleaner” that is very useful to remove the mess when I’ve been applying the glue too liberally. It’s not easy anyway but I’m almost done now with the etch thankfully!

Magnus
6 Likes
Great progress, Magnus! While I struggle sometimes with my quarterscale “Friedrich” it looks so easy at your 1/72 builds … 
Yes, next time I think I should also use these etch parts. Still have an overtree in stash … 
What is that? I don’t have it on my fret …  I’m also nearly done with my etch parts now.
Torsten

@BlackWidow I don’t know what the bulges were for, maybe a preparation for wing guns? These are just for one of the options, a very early F flown by Werner Mölders so it’s not something that is of general use for an F!

Magnus
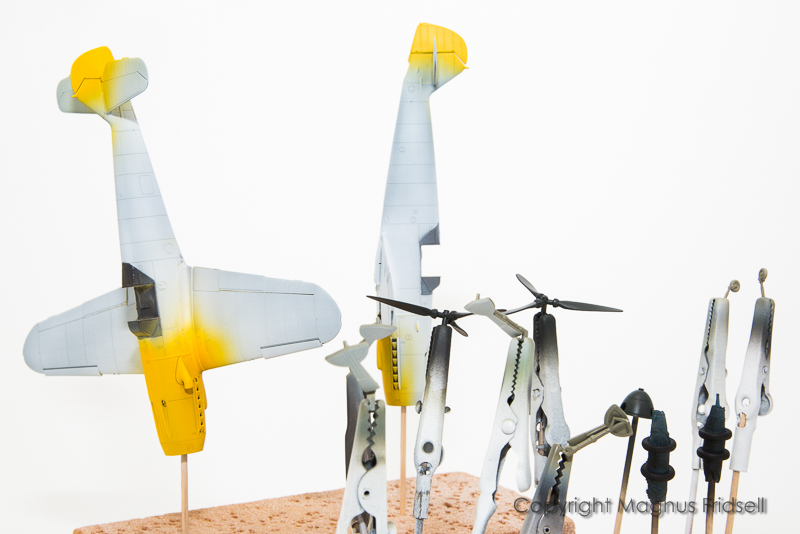
Some yellow to liven things up a bit!

Magnus
4 Likes
Magnus, as far as I remember only the “Emil” had wing guns (MG FF 20 mm) but I read that the pre-production “Friedrich” had E-wings. But this neither looks like that nor it looks like the bulges those wings had. Must be something mysterious … 
Yesterday I had a look on the Eduard side at the decal options of your dual combo. Some really tasty looking birds! Those of Schnell, Graf and Marseille are also options for my builds.
In 1941, Adolf Galland complained about the too-light armament of the Bf109; getting nowhere with official channels, he had his mechanics experiment with the armament of his personal aircraft, creating three Bf109F-2 ‘Specials’. Two had the cowl MG17s replaced with 12.7mm MG131s; the third retained the 15mm MG151/15 engine cannon and the two cowl MG17s, but installed two 20mm MG FF/M cannons in the wings; this required the wings to have large bulges on the underside to accommodate the ammunition drum, as on the Bf109E, the internal mounting resulted in a lower performance loss than mounting 20mm underwing gun pods. The ‘stock’ F-series removed the wing guns, replacing them with a 20mm engine cannon.
1 Like
@BlackWidow The etched demarcation for the wingroot fairing clearly points to an E-wing but the bulges look nowhere close to E-bulges as you say! Never mind, it makes for an interesting model at least  ! Regarding markings, I’ll go for Mölders and Priller for starters!
@srmalloy It’s not the same configuration as the Galland machines, there were as you write two of them and they are fairly well photographed. I’ve been looking through my references but haven’t been able to find a photo of this machine. I’ll trust Eduard  !
!
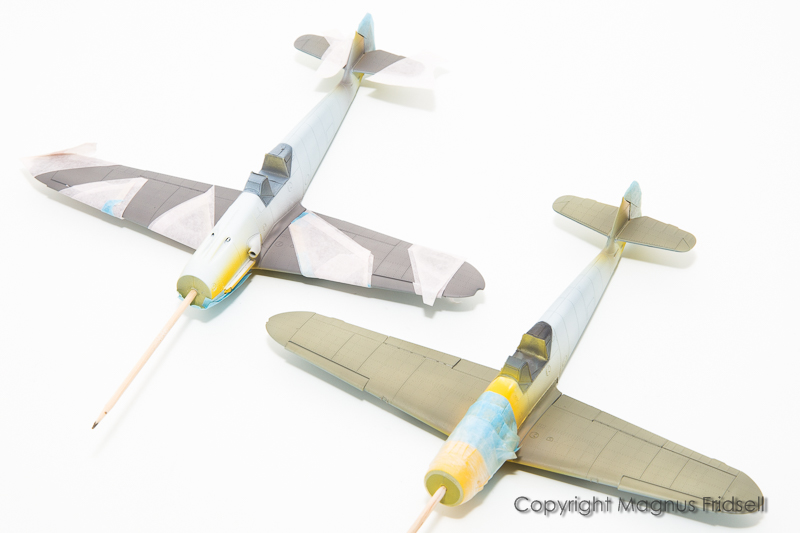
A first round of paint and some masking. The early machine has an early 71/02/65 kamouflage so I have started with some MrPaint RLM02, the other one got some Gunze RLM75.
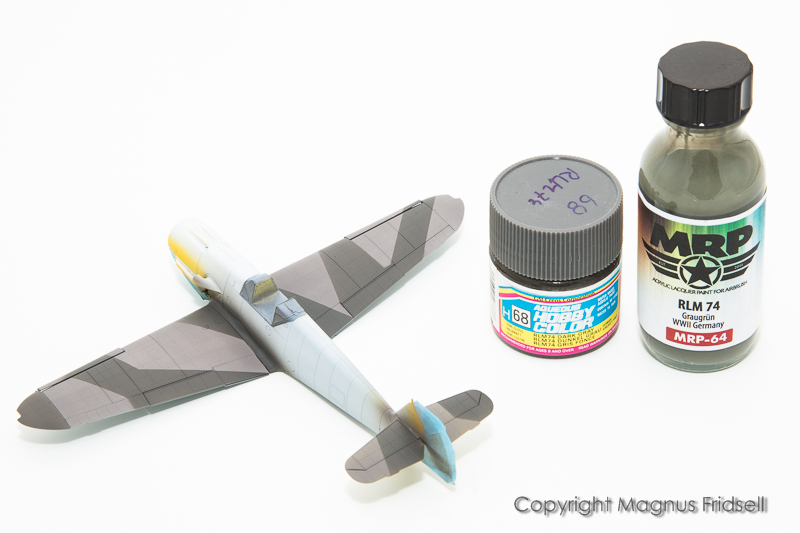
Luftwaffe colours… I find Gunze RLM74 a bit on the grey side, lacking green, while the MrPaint equivalent is more green than grey. A compromise was reached by adding a bit of MrPaint to the Gunze paint!

Magnus
4 Likes
Looking really smart, the camo lines are really sharp.
Nice one👍
Watto.
@flatfour Thanks! Thin tape and a sharp blade does the trick  !
!
@Phantomlvr That certainly is the one! Thanks!

Magnus
1 Like
Breaking the house rules and doing mottling on a Saturday, normally we have to wait until Mottling Monday but since it is November mottling is allowed on Saturdays too. There is a rather complicated set of rules fot these things 
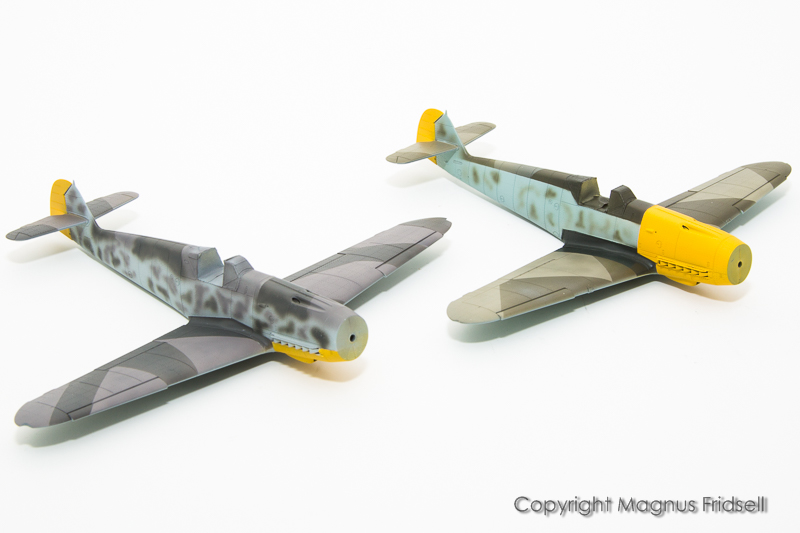
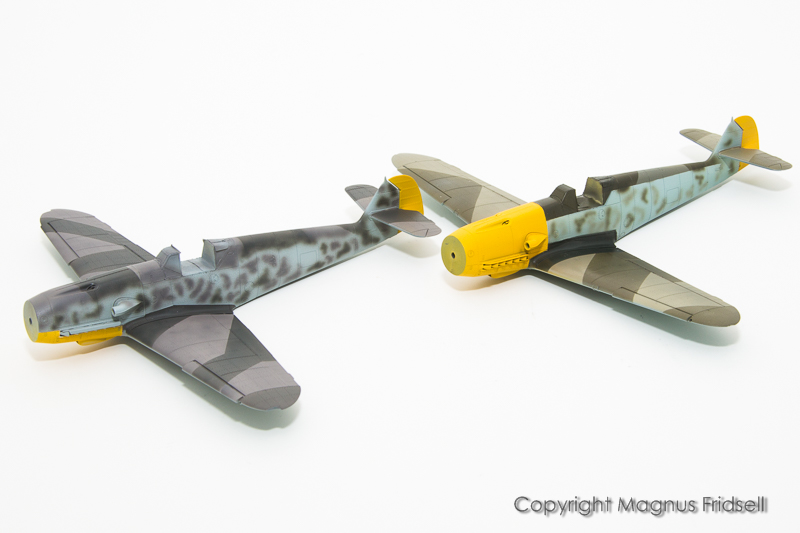
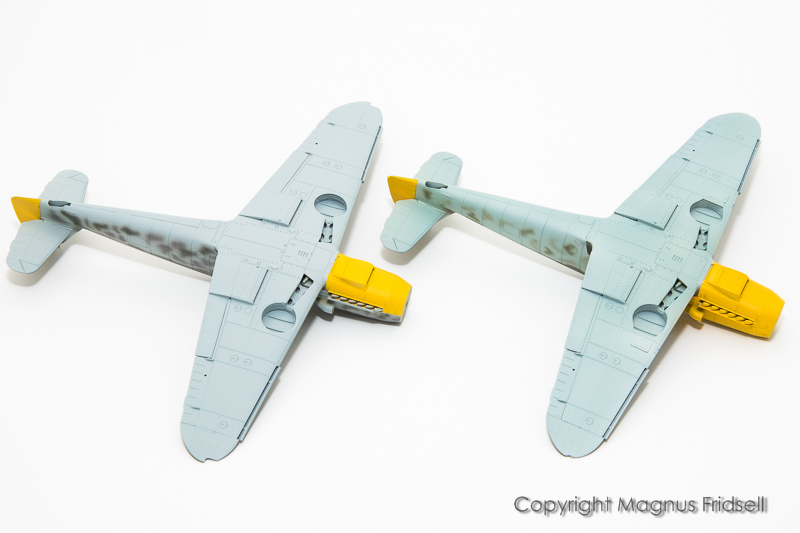
I’ll cut masks for the crosses and probably also for the geschwader kommodore markings on Mölders’ aircraft. The chevrons are a bit thin and tricky but I’ve done it once before, on another of his machines but that time it was an “E”.
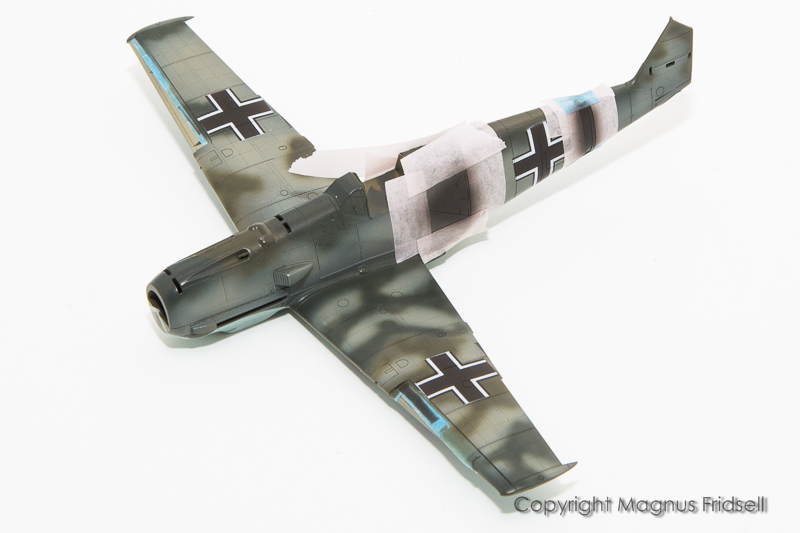
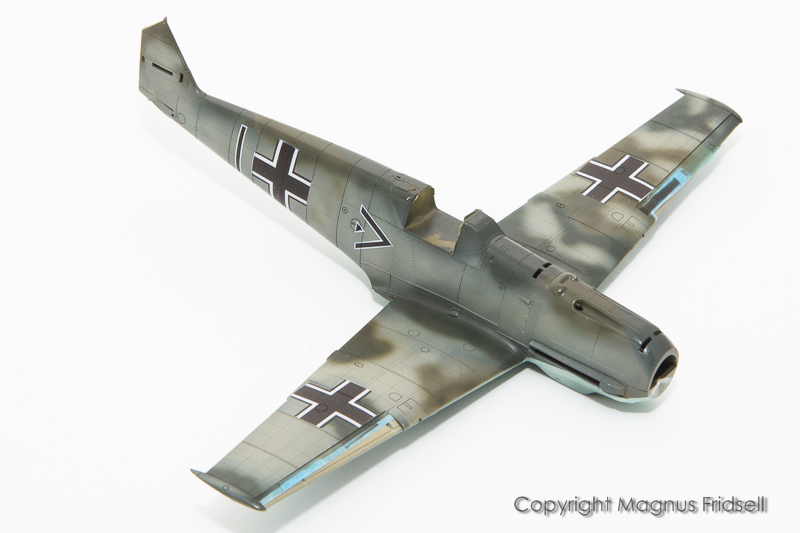

Magnus
8 Likes
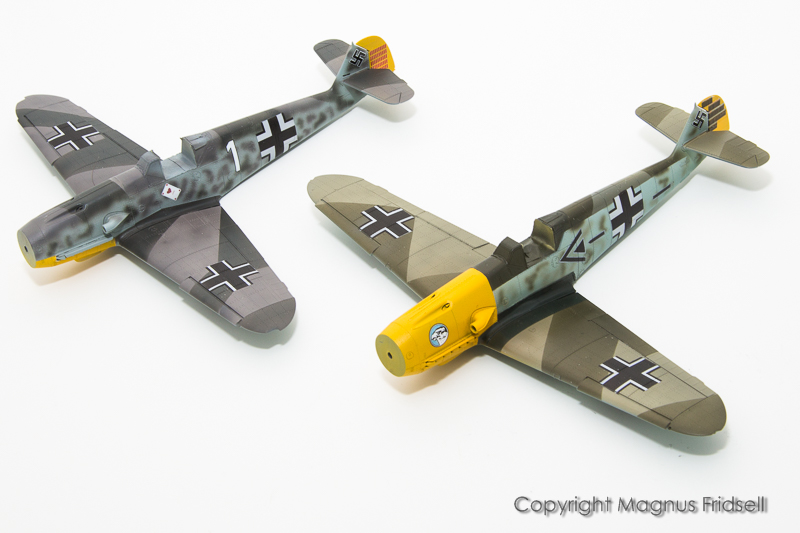
Most of the markings are masked, complemented with decals where needed.
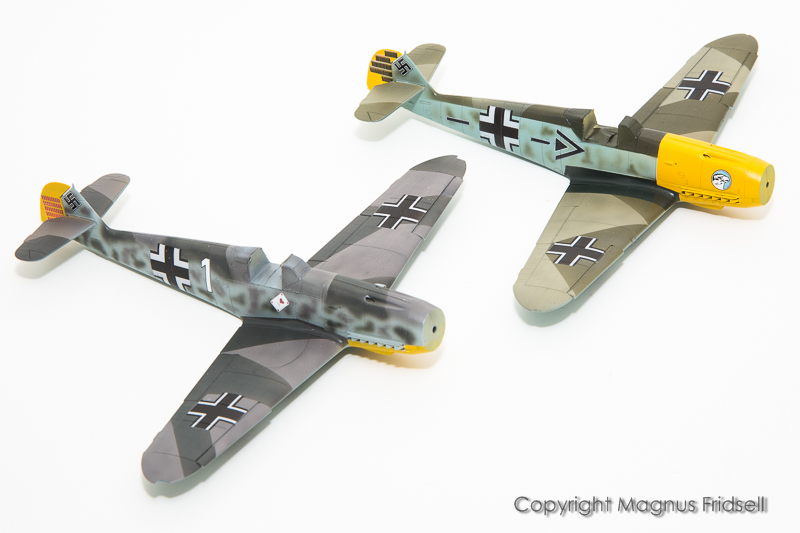
Still missing some stencilling that I hope to put on tonight, then we’re on the home stretch!

Magnus
5 Likes
Both are looking really fine, Magnus! Good progress! 
Shouldn’t the landing gear wells be in RLM 02? Or you are going vice versa to me and still paint them.
My “Friedrichs” are a bit behind yours … 
Torsten

Thanks @BlackWidow ! I’ll mask and paint the wheel wells later, it’s my usual tactic  !
!

Magnus
1 Like
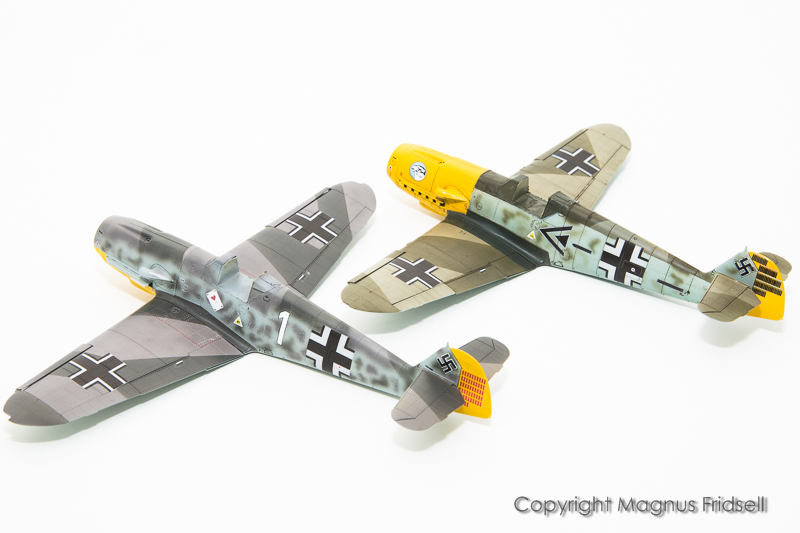
Decals were slow as usual but finally came on! I’ll take care to mix more gloss into the paint in the future, there was some silvering in some places.
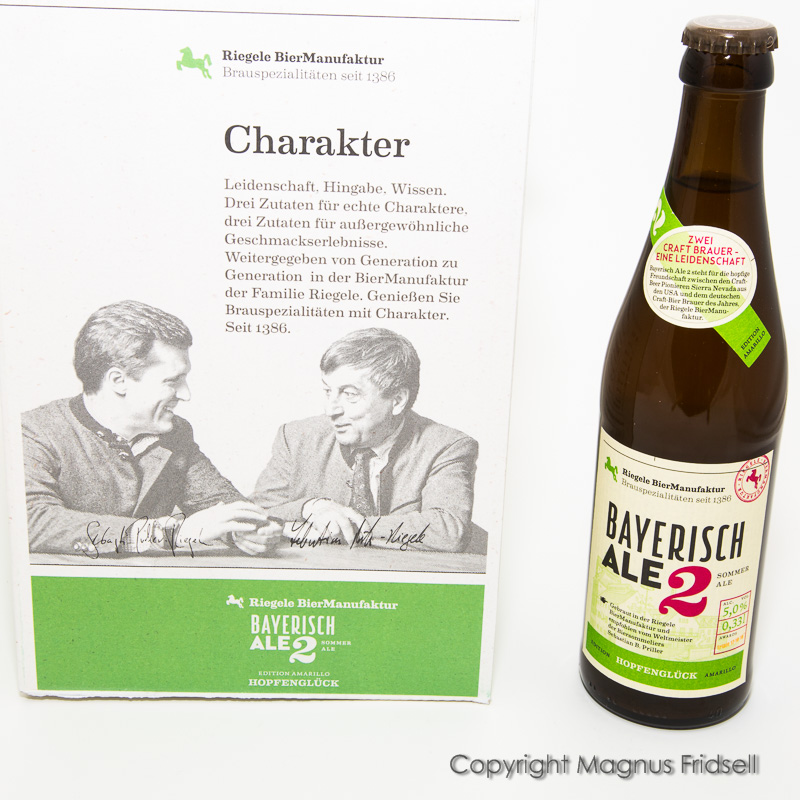
As a fun extra story to this build: the ace of hearts with the name “Jutta” on Priller’s machine refers to his future wife, Johanna Rigele. She was the heiress to a brewery (started in 1386). After the war, Priller studied brewing at Weihenstephaner outside Munich and took over as brew master in the 1950s. It is still in the family today, run by Priller’s son and grandson (the two men on the box above). They make several different kinds of beers and I was able to order a small box of one of them to Sweden.
Finally, I have several German colleagues nowadays and some of them have studied in Munich. They all took courses at Weihenstephaner, vaguely related to chemistry  !
!
Hälsningar
Magnus
7 Likes
Both looking good, Magnus! I know, decaling is fun but also a very time consumpting work. I just take a break from that for re-adjusting my eyes  after 4 hours more or less non-stop decaling. Especially those small stencils are nerve wrecking …
Concerning Josef “Pips” Priller, he sadly died already 1961 at the age of only 45 after a heart attack …
1 Like


![]() !
!


![]()


