Yours is looking nice! I went with Bronze Green based on my research about early Wildcat cockpit colors. I first used the Real Colors Bronze Green, but that was way too dark, almost black. lightened it with some tan and blue (to keep the blueish cast of the color). I think I ended up going too far, as it looks more like dull dark green than bronze green.
2 Likes
It looks good, definitely in scale once it’s buttoned up. I’ll make a note to use bronze green in the future. I’ve got 3 more Airfix Wildcats to do.
1 Like
Lost my mojo for the North African Panzer IV…I switching to 1/16 38t, being located in Russia, January 1942…

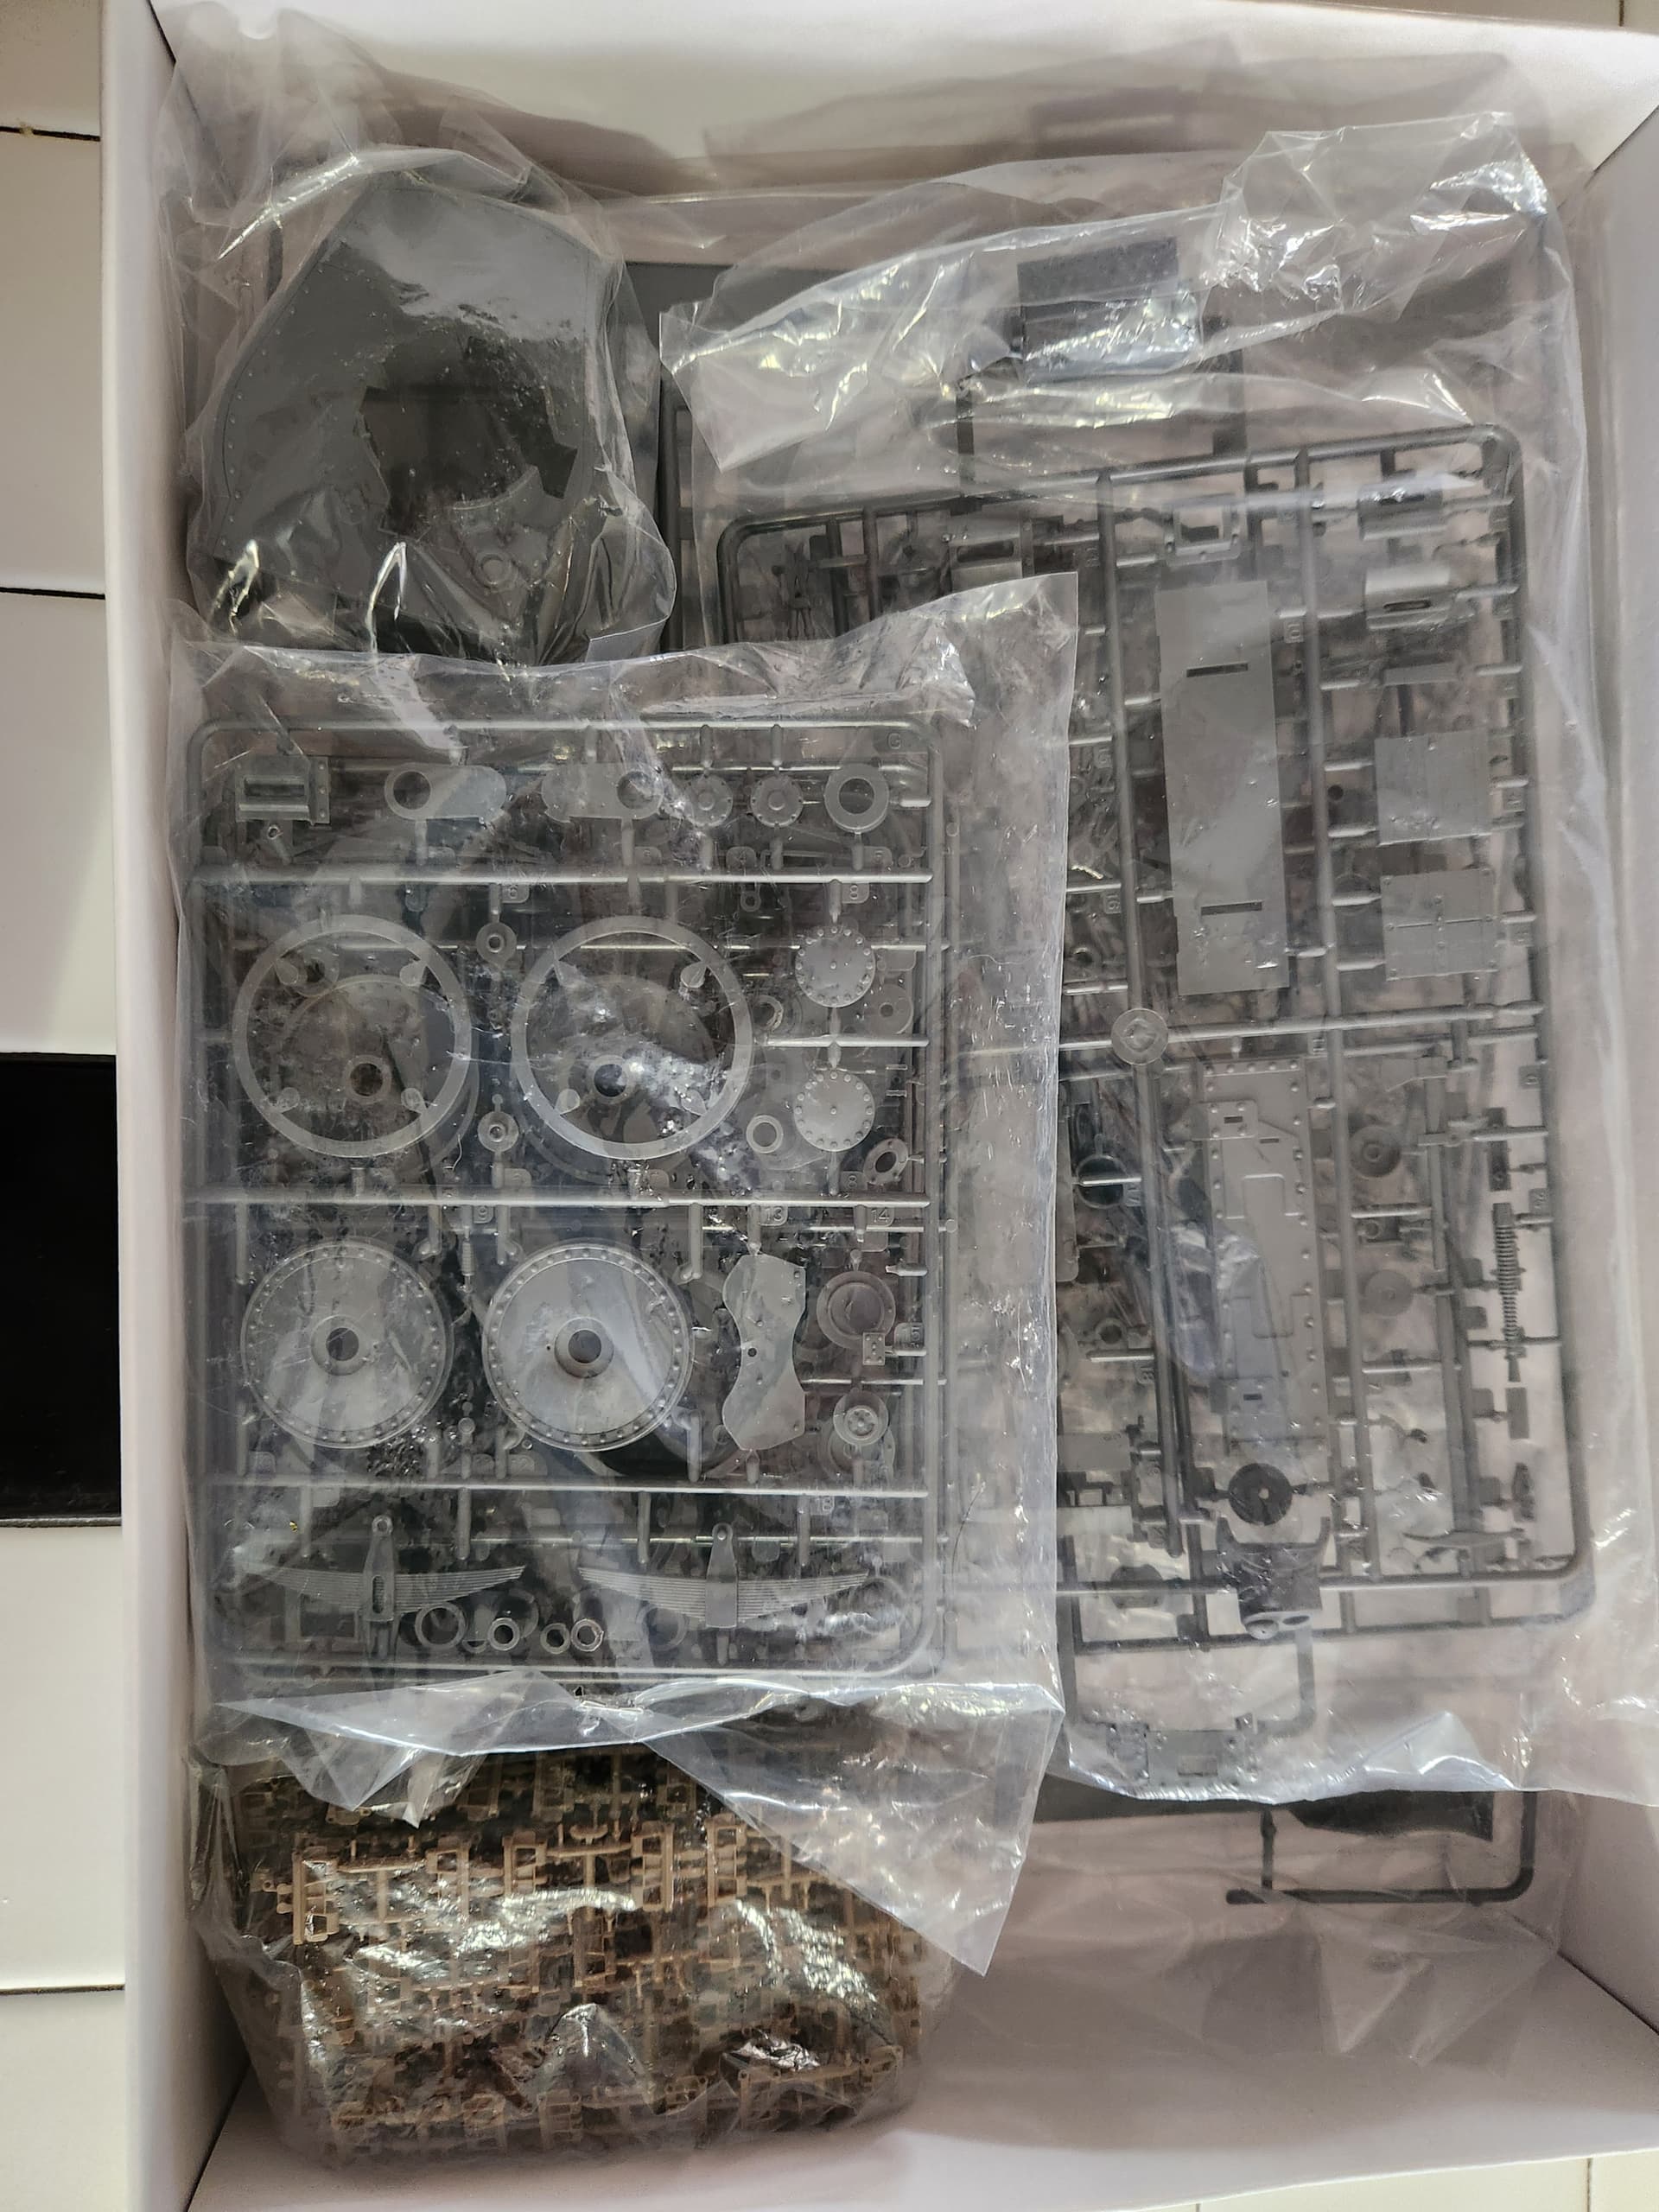
A pack of metal machine gun barrels came in the box, along with these aftermarket decals…

I am not sure if I will use these decals, as I need to try to find info on this particular tank…the decals only say Panzer Regt.10 8th Panzer Division Russia 1941…from what I can find this unit fought around Leningrad…do any of you WW2 experts have any info on this specific tank?
7 Likes
Love all things Panzer 38t! I’ll be following along
2 Likes
closest I could find was this:
https://weaponsandwarfare.com/2020/02/10/operation-wotan-part-ii/
1 Like
Thanks Phil, I just ordered the Panzer 38t in action book from Squadron\ Signal. Hopefully will give me more info.
i
1 Like
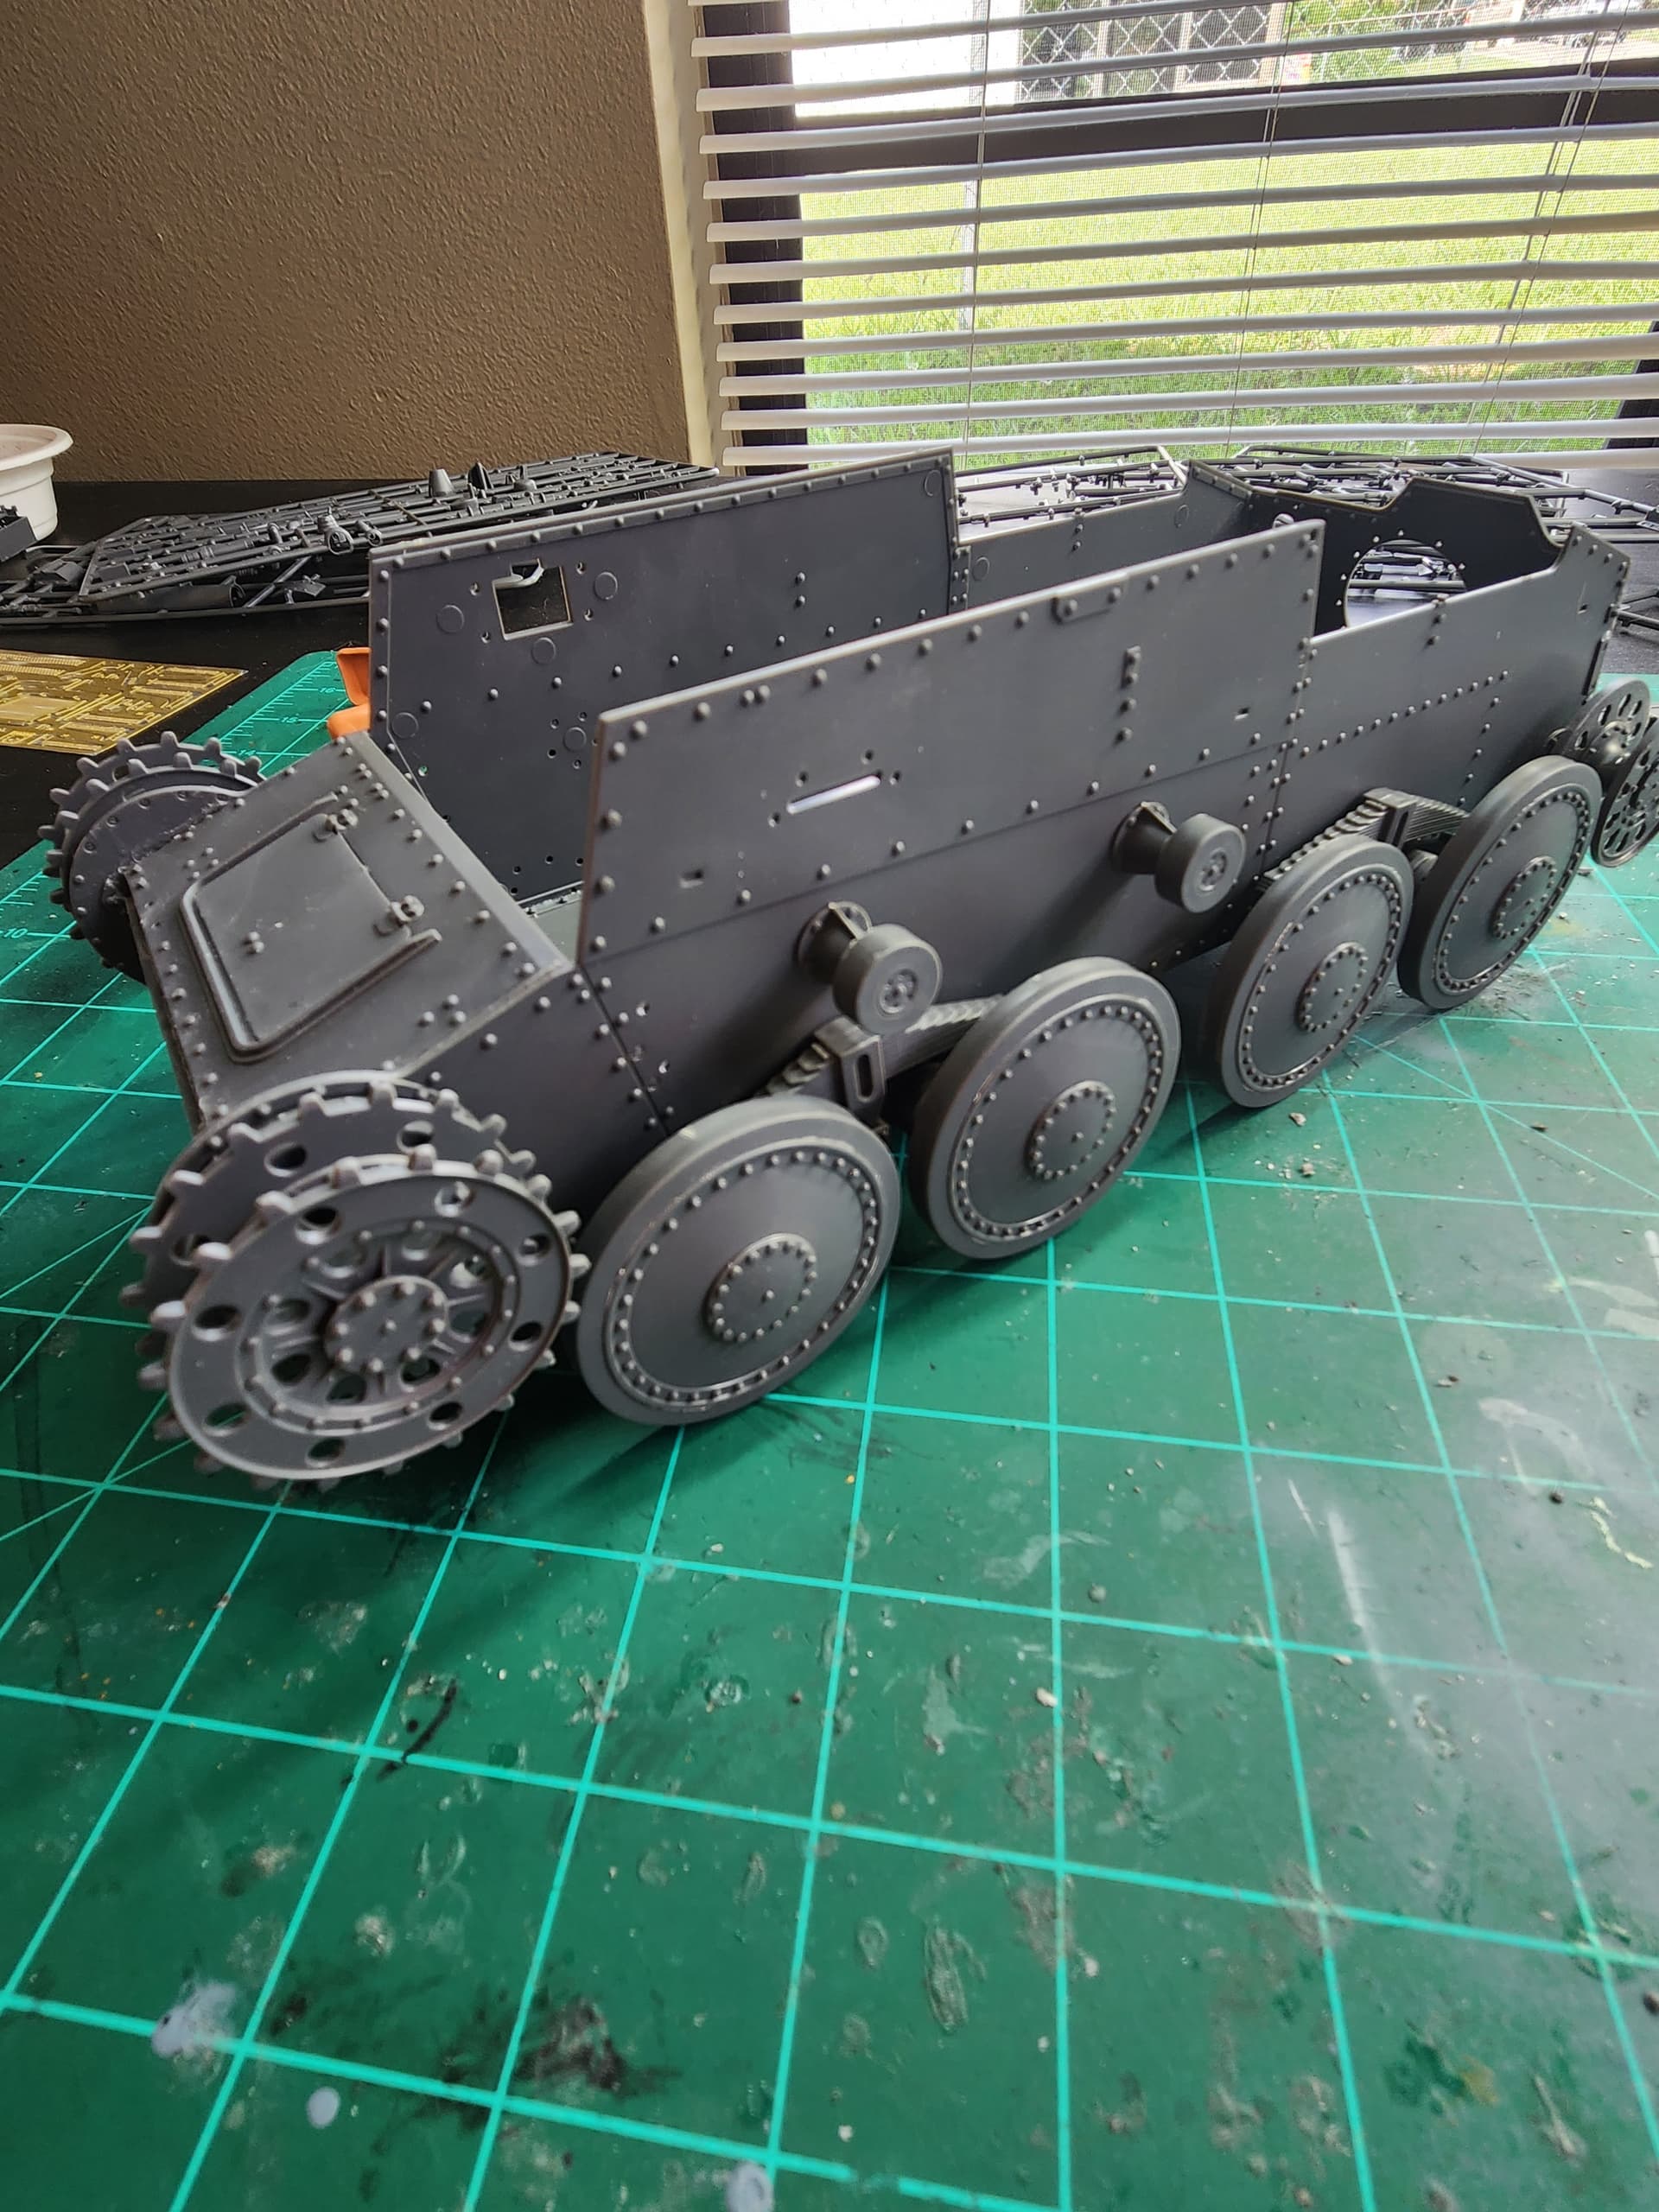
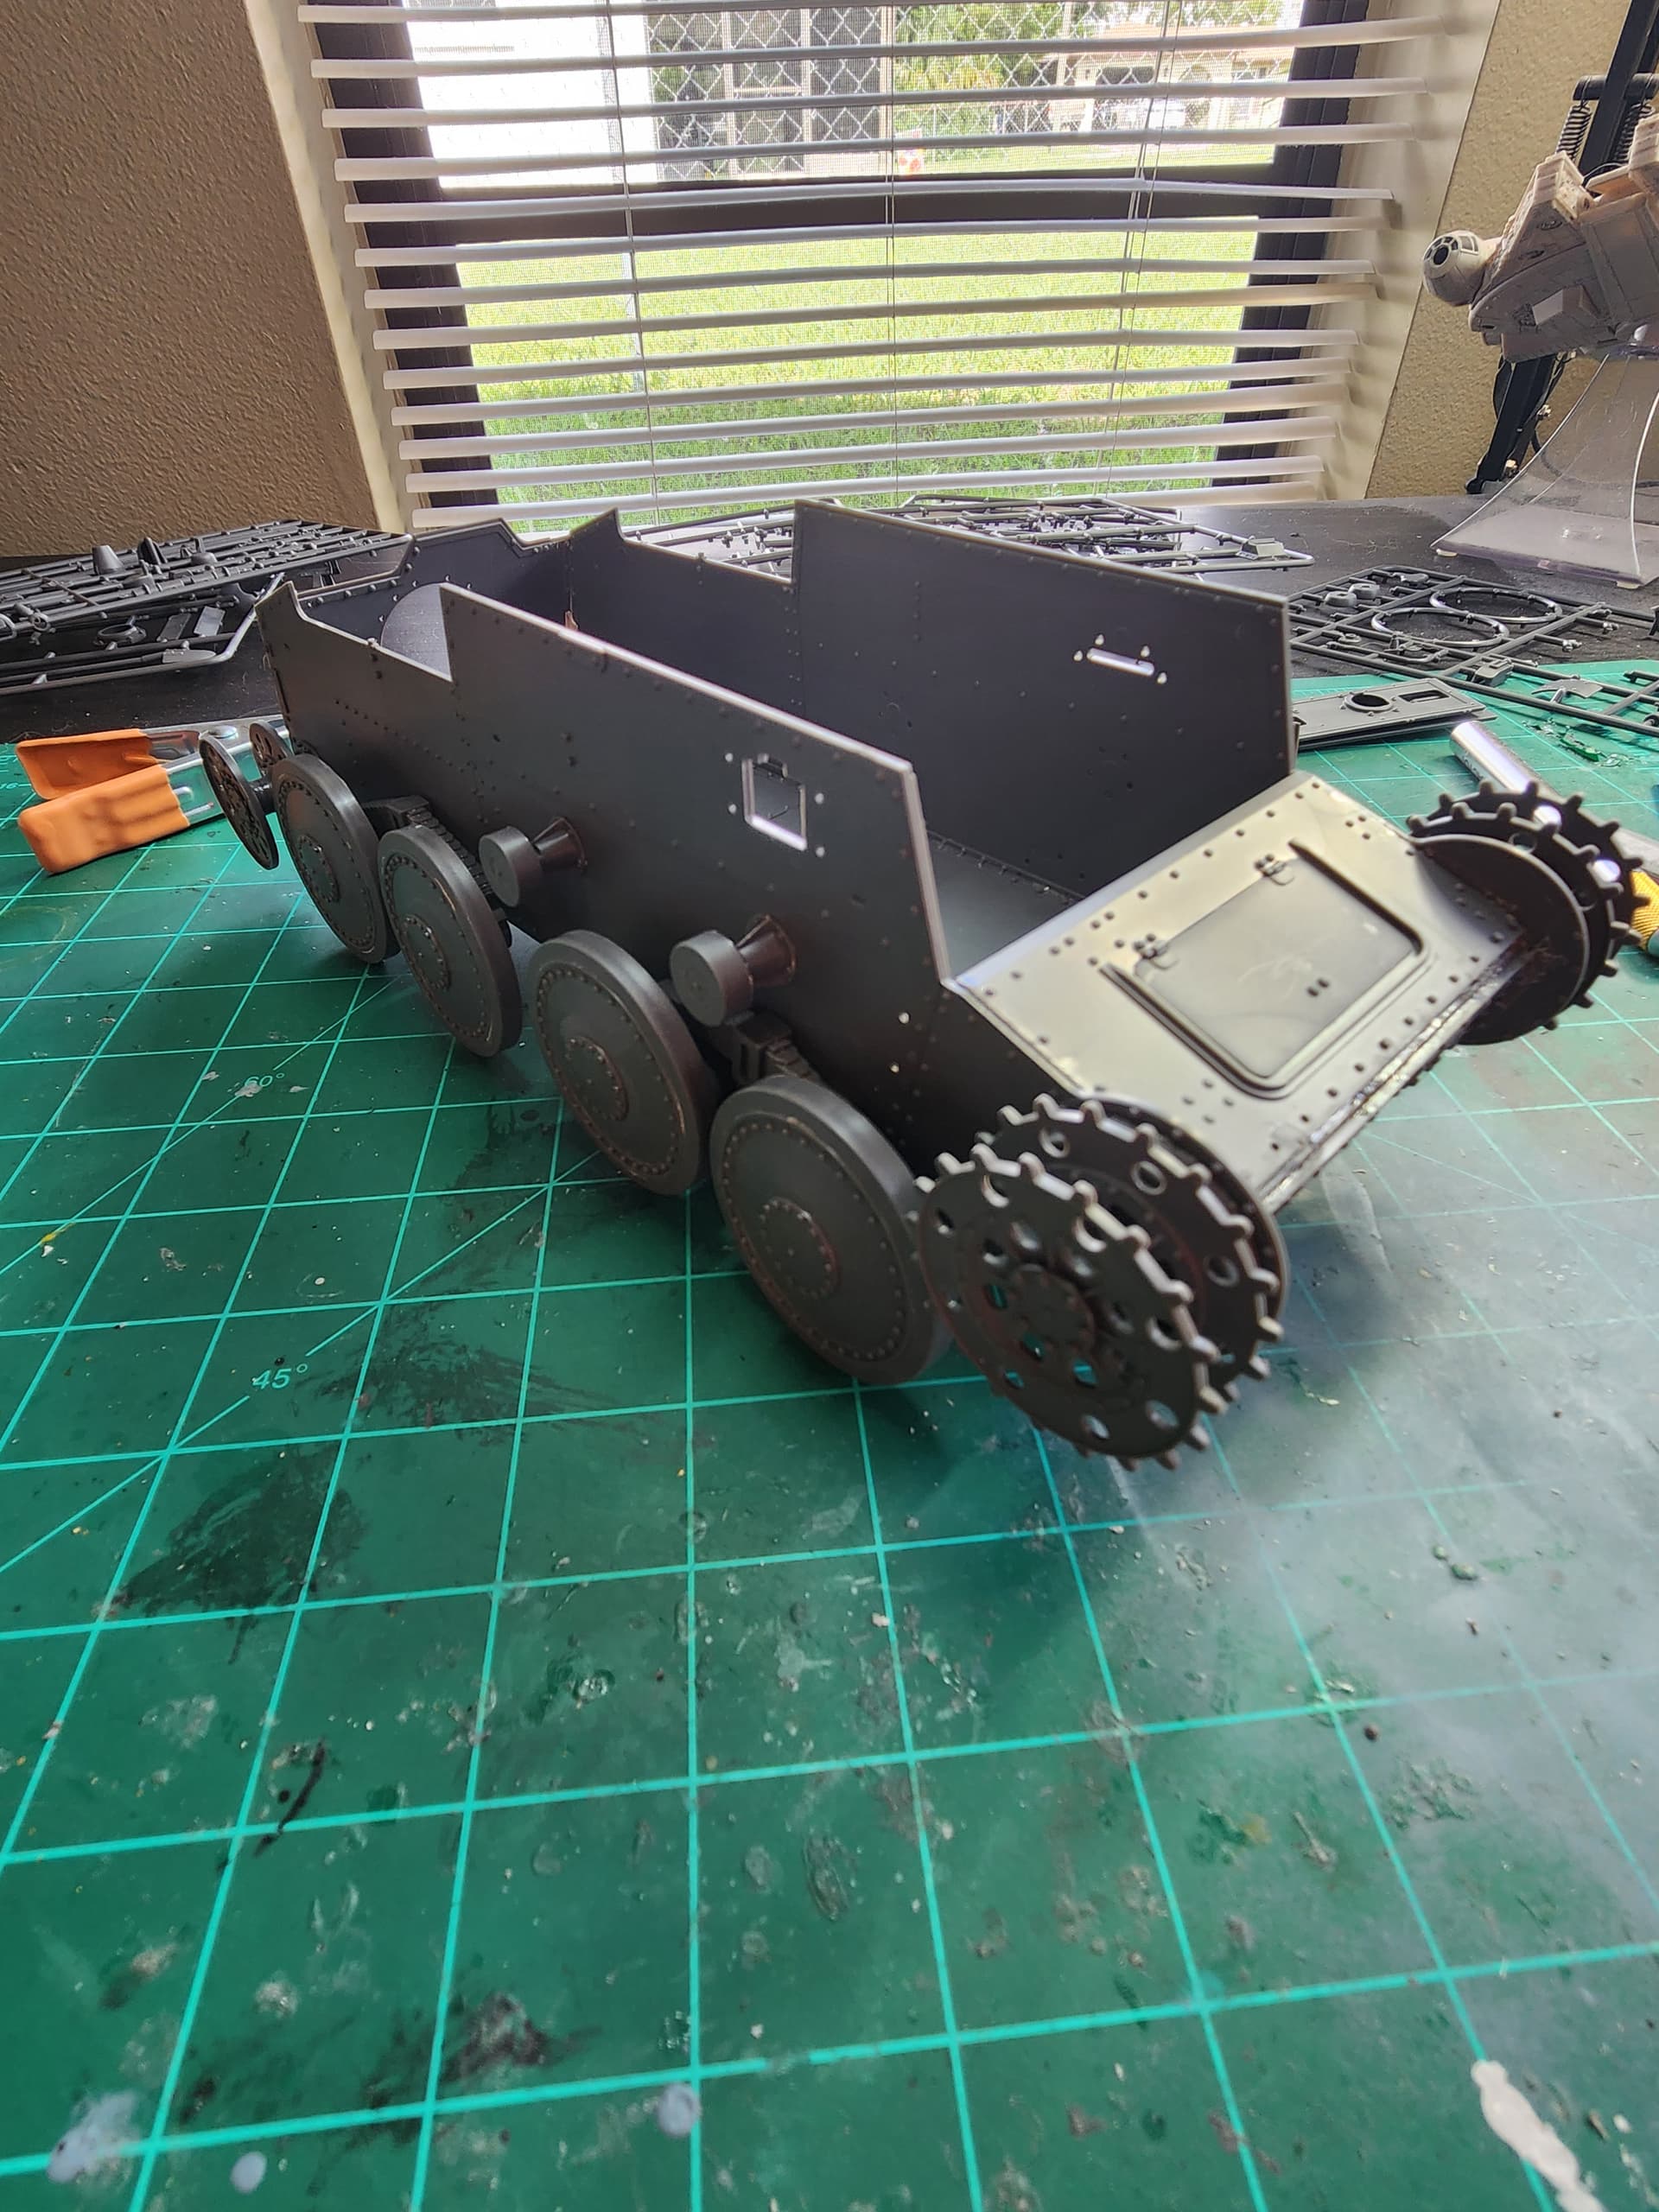
Got some bench time in the past couple days, overall everything went together fine, except the front plates…I glued, and then had to unglue so it made an unsightly mess…but I think I have it looking ok now…still cannot figure what I did wrong…

5 Likes
Welp I’m calling the SM79 done! Got the aerial attached and the marker lights painted. Just realised I’ve left the pitot tubes off DOH! Hang on while I remedy that particular oversight!
Chris
Okay so lets try that again, once more with feeling lol!
Welp I’m calling the SM79 done! Got the aerial and pitot’s attached, the marker lights painted. So here she is Trumpeters 1/48 SM79 Sparviero.
 IMG_2379 by Chris Wilson, on Flickr
 IMG_2380 by Chris Wilson, on Flickr
 IMG_2381 by Chris Wilson, on Flickr
 IMG_2382 by Chris Wilson, on Flickr
 IMG_2383 by Chris Wilson, on Flickr
 IMG_2384 by Chris Wilson, on Flickr
 IMG_2385 by Chris Wilson, on Flickr
Chris
14 Likes
That’s a really striking looking paint scheme. Makes me want to do something Italian…
1 Like
Has me scouting about for Italian subjects…
1 Like
@phil2015 Hi Phil! There are plenty of subjects available. Italeri have quite a few to choose from. ICM has just released the CR42 Falco in a number of different markings in 1/32nd scale. I’ve got to admit that I’m sorely tempted to pick a couple up. Hasegawa has the Mc202 and 205 in 1/48. Classic Airframes have the CR42 and 32 in 1/48 with all that good resin and photo-etch if you’re into that sort of thing lol. Supermodel (now Italeri) has a good range of 1/72nd scale offerings of the Regia Aeronautica’s main bombers and float planes.
Chris
1 Like
Nice job on the SM79. I used to like the old Airfix one many years ago
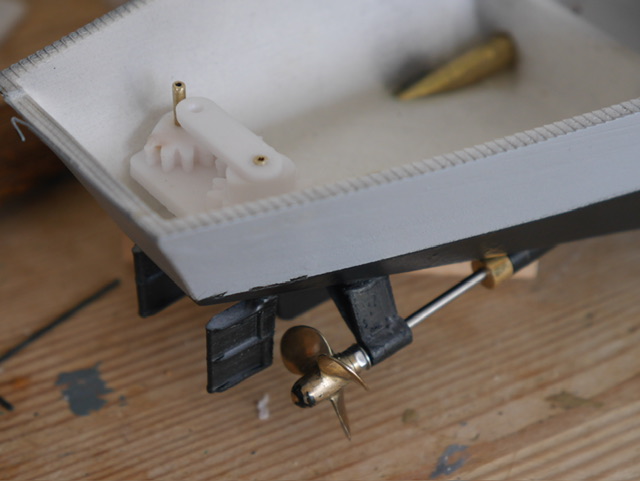
Now pushing on with the LCT1. As she will be an RC model I have to model props and rudders. Props I buy, these will be 0751/3 BR units from PropShop and for this type they are handed. Shaft’s are 4” Slimline M2 Caldercraft cut down. A-brackets are printed with 3mm tube bearings. The rudders are also printed. Rudder stocks are 2mm tube flattened at one end and epoxied into the rudder running in 3mm tube epoxied into the rudder bosses.
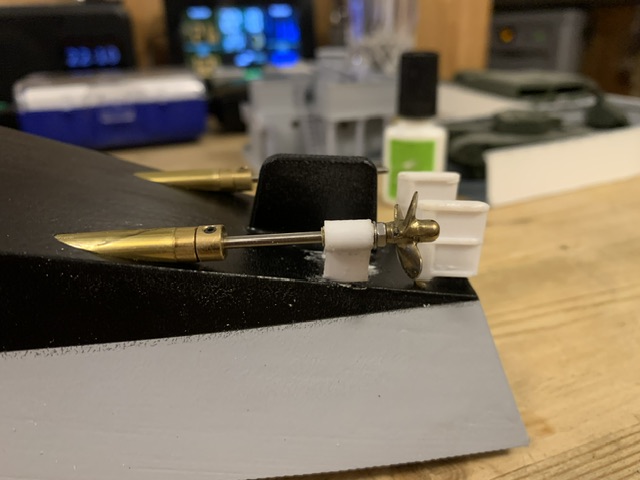
Prop fitted is undersize, the only spare I had
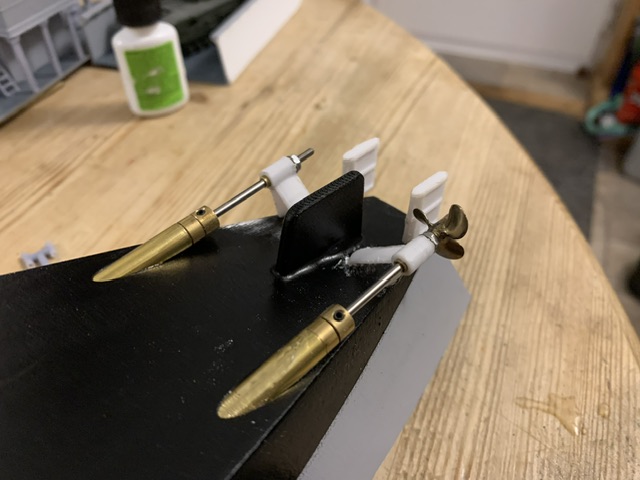
Difficult to know from the material I have whether there should be one or two rudders, I know the type had initial steering problems and was probably changed.
Mk1 has a smaller skeg than later classes, may have contributed to the initial steering problem.
7 Likes
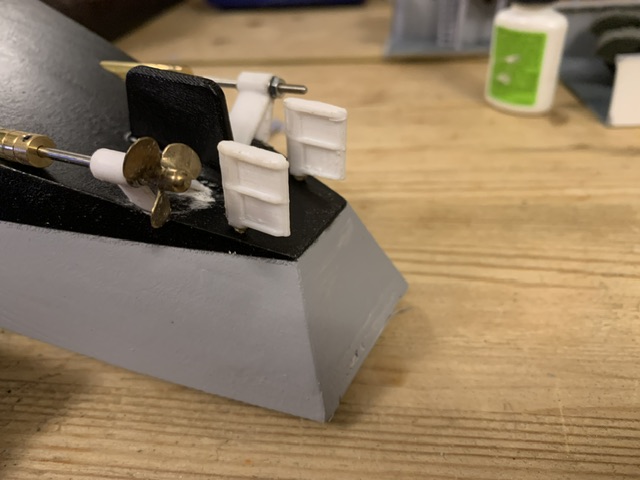
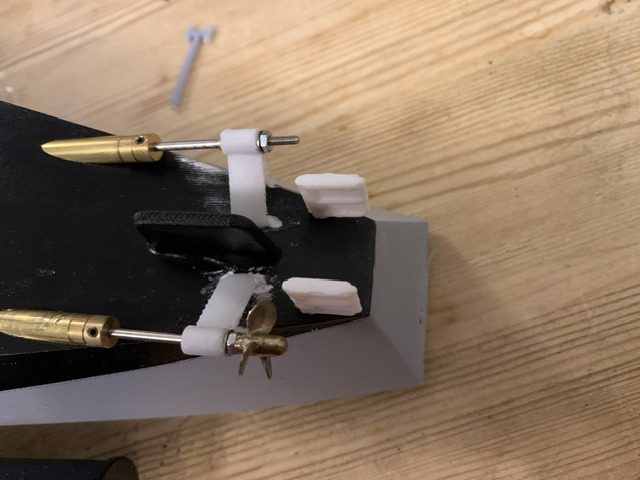
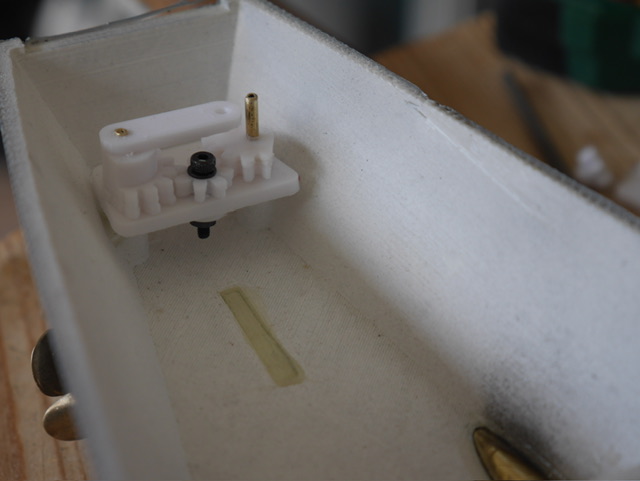
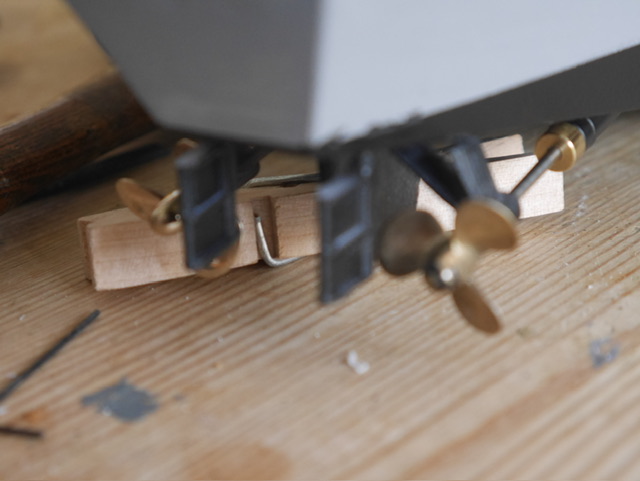
Following on from the last post I started on the rudder mechanism. The area round the rudders is very tight and I was never happy with the LCT 2 arrangement which limited rudder movement. One of the nice things about 3D printing is you can try things, assemble, try again. New rudder arrangement done for both LCT1 and LCG3
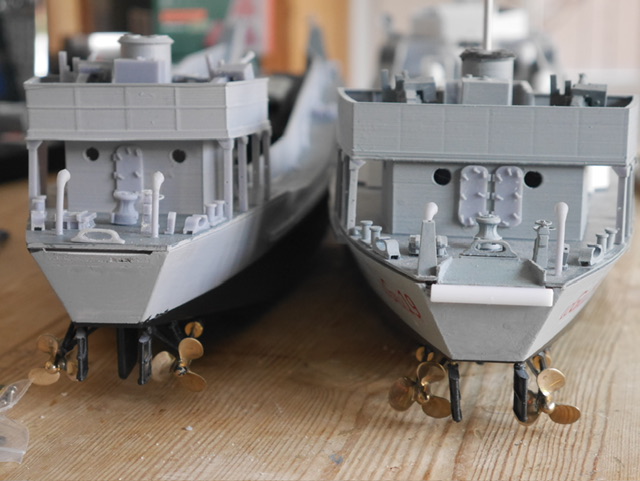
LCT1 stern on the left, LCG 3 stern on the right. The greater beam of the LCG3 is apparent here
 another shot showing both sterns. Now need motors for both
8 Likes
Beautiful build, Chris. That Italian camo is great as already pointed out by others!
Congrats on finishing!! ![]()
1 Like
Many thanks! While I do so love Italian camo jobs they do sorely test my abilities lol. But I guess that’s why I do so enjoy them for that very reason.
Cheers
Chris
1 Like
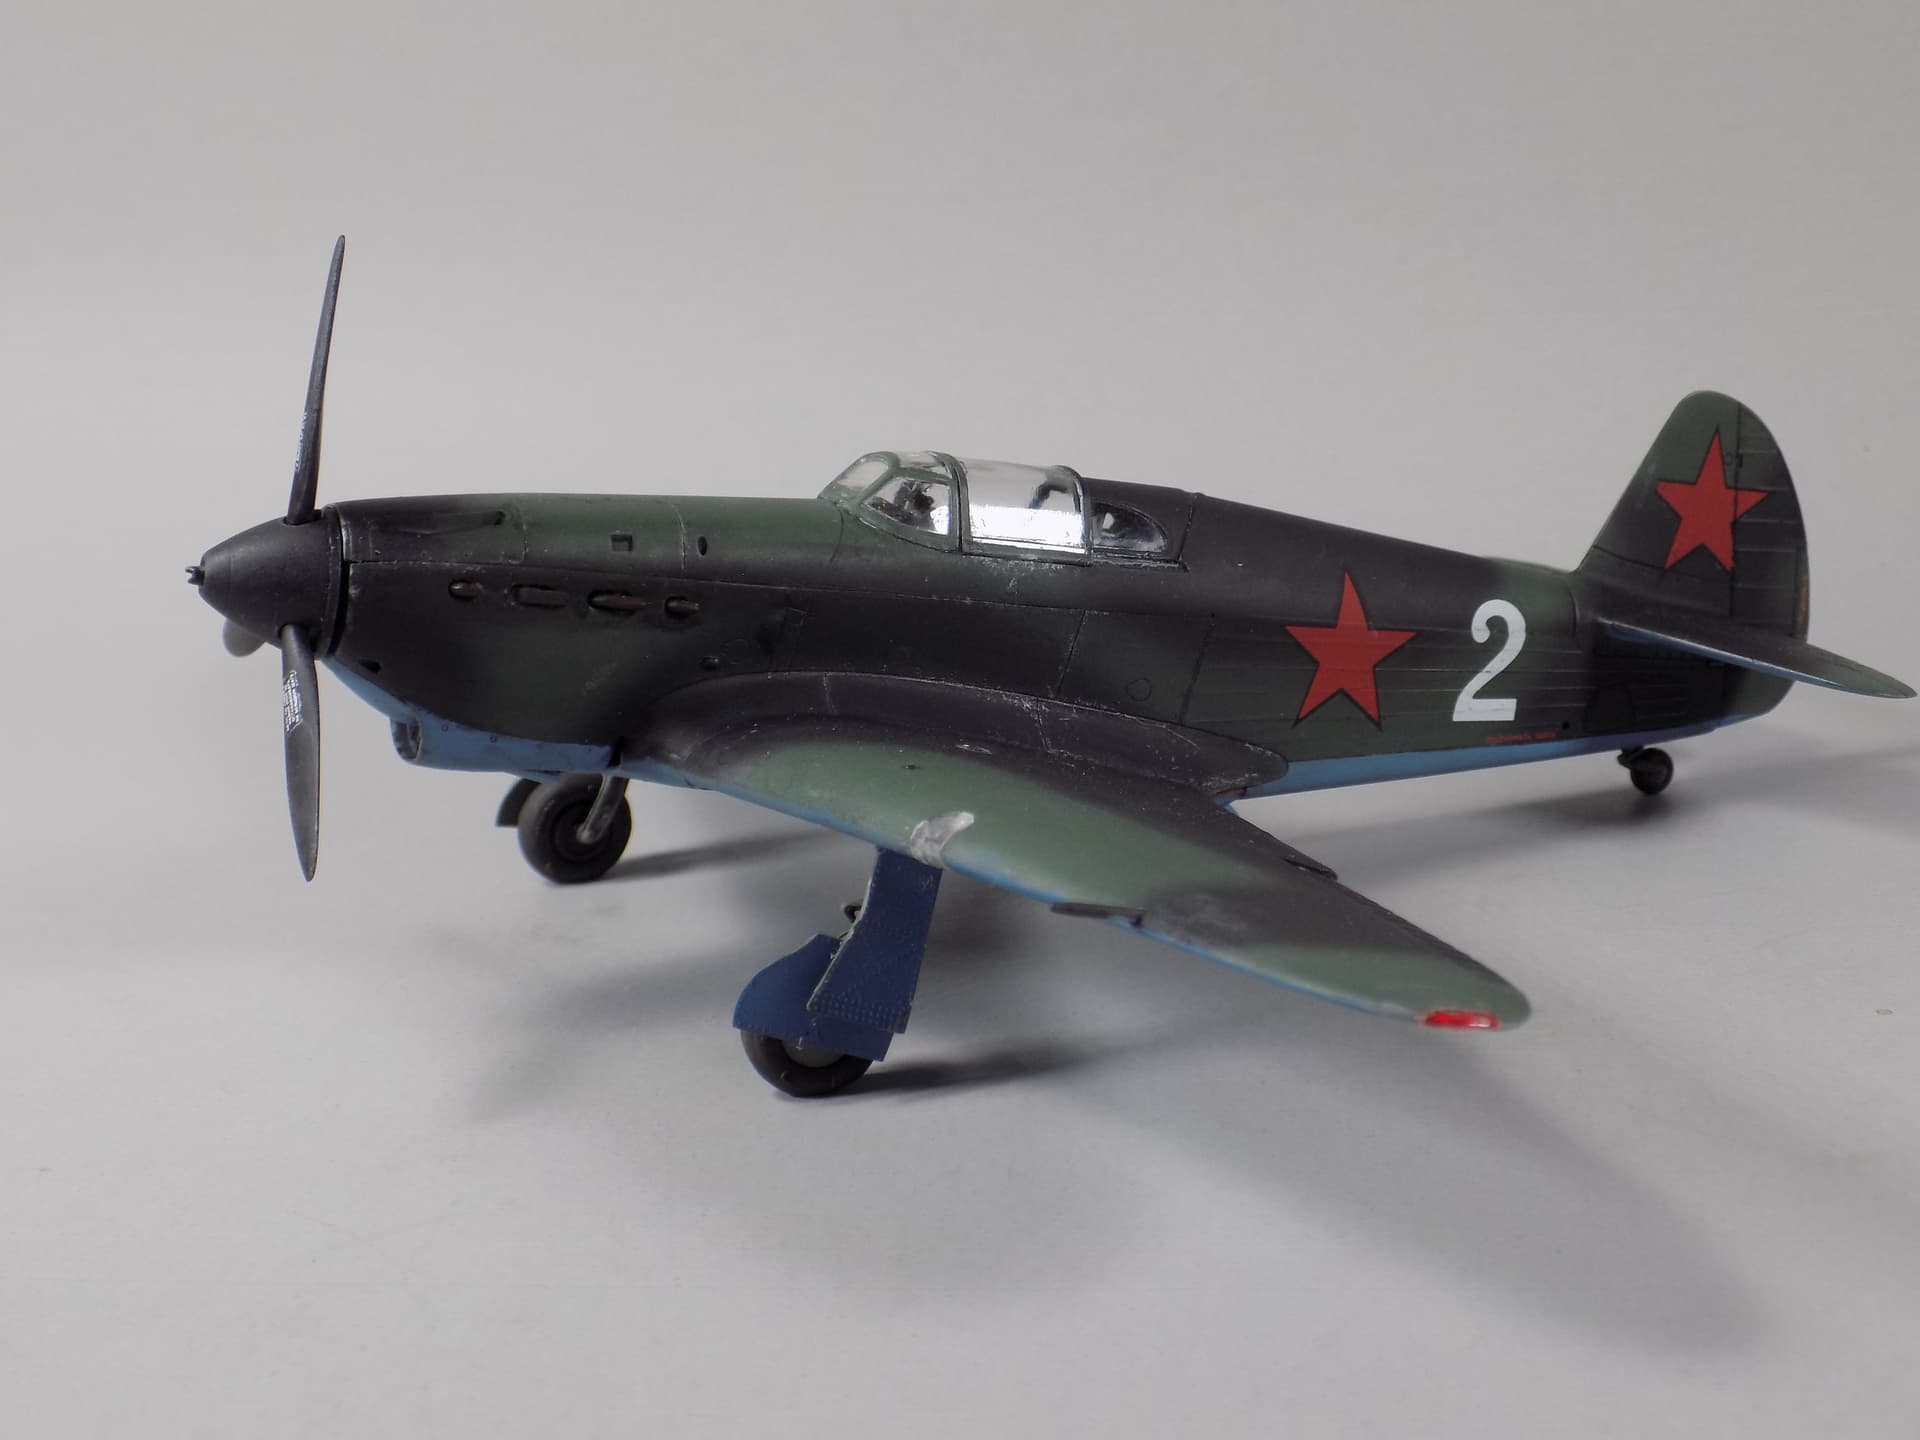
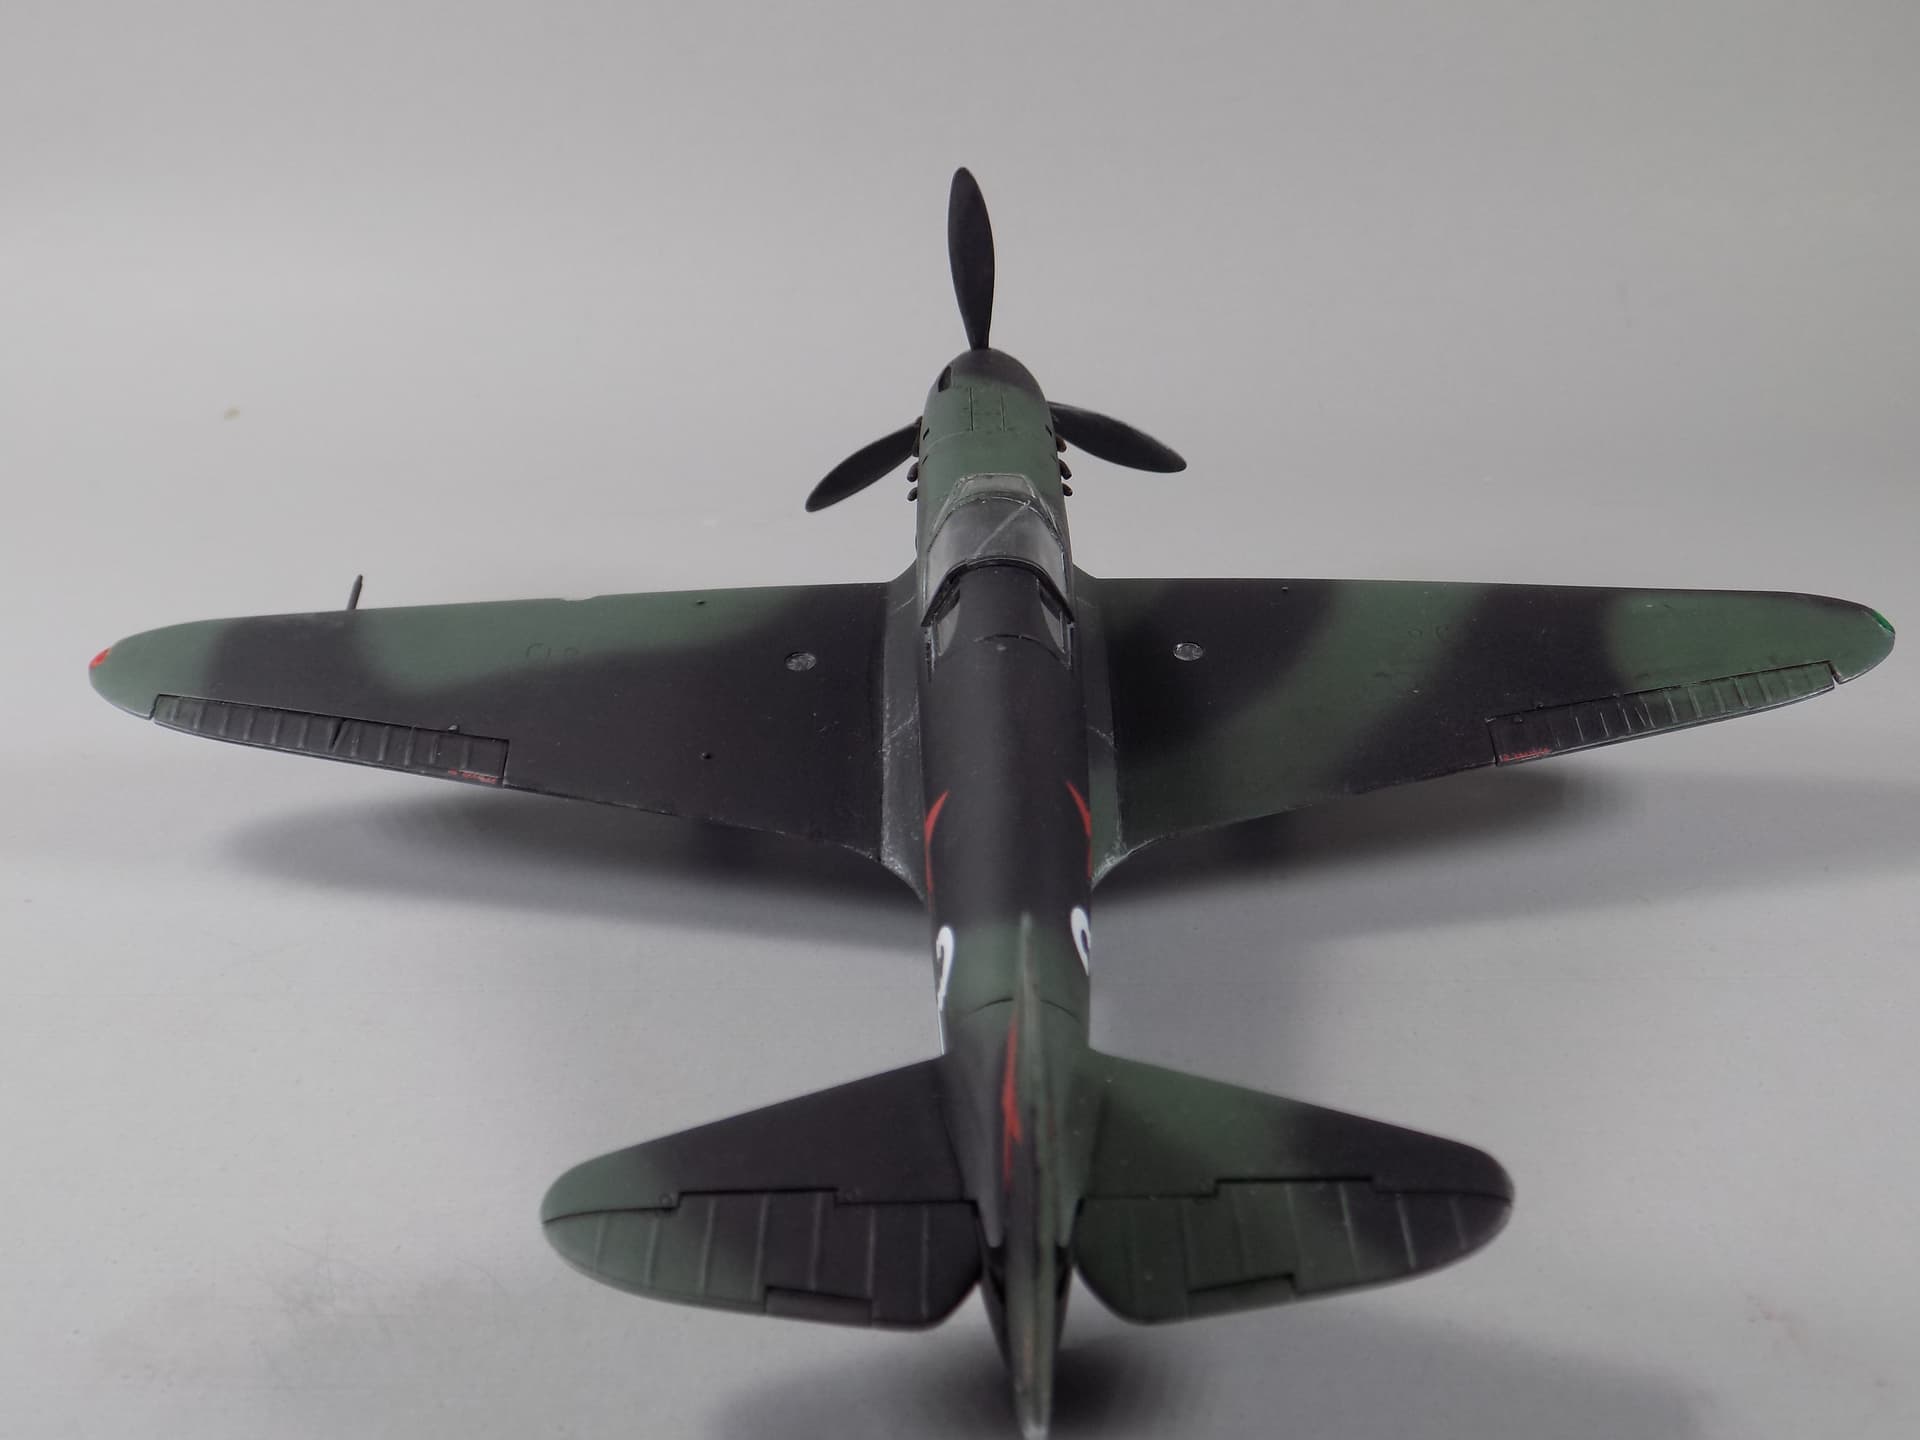
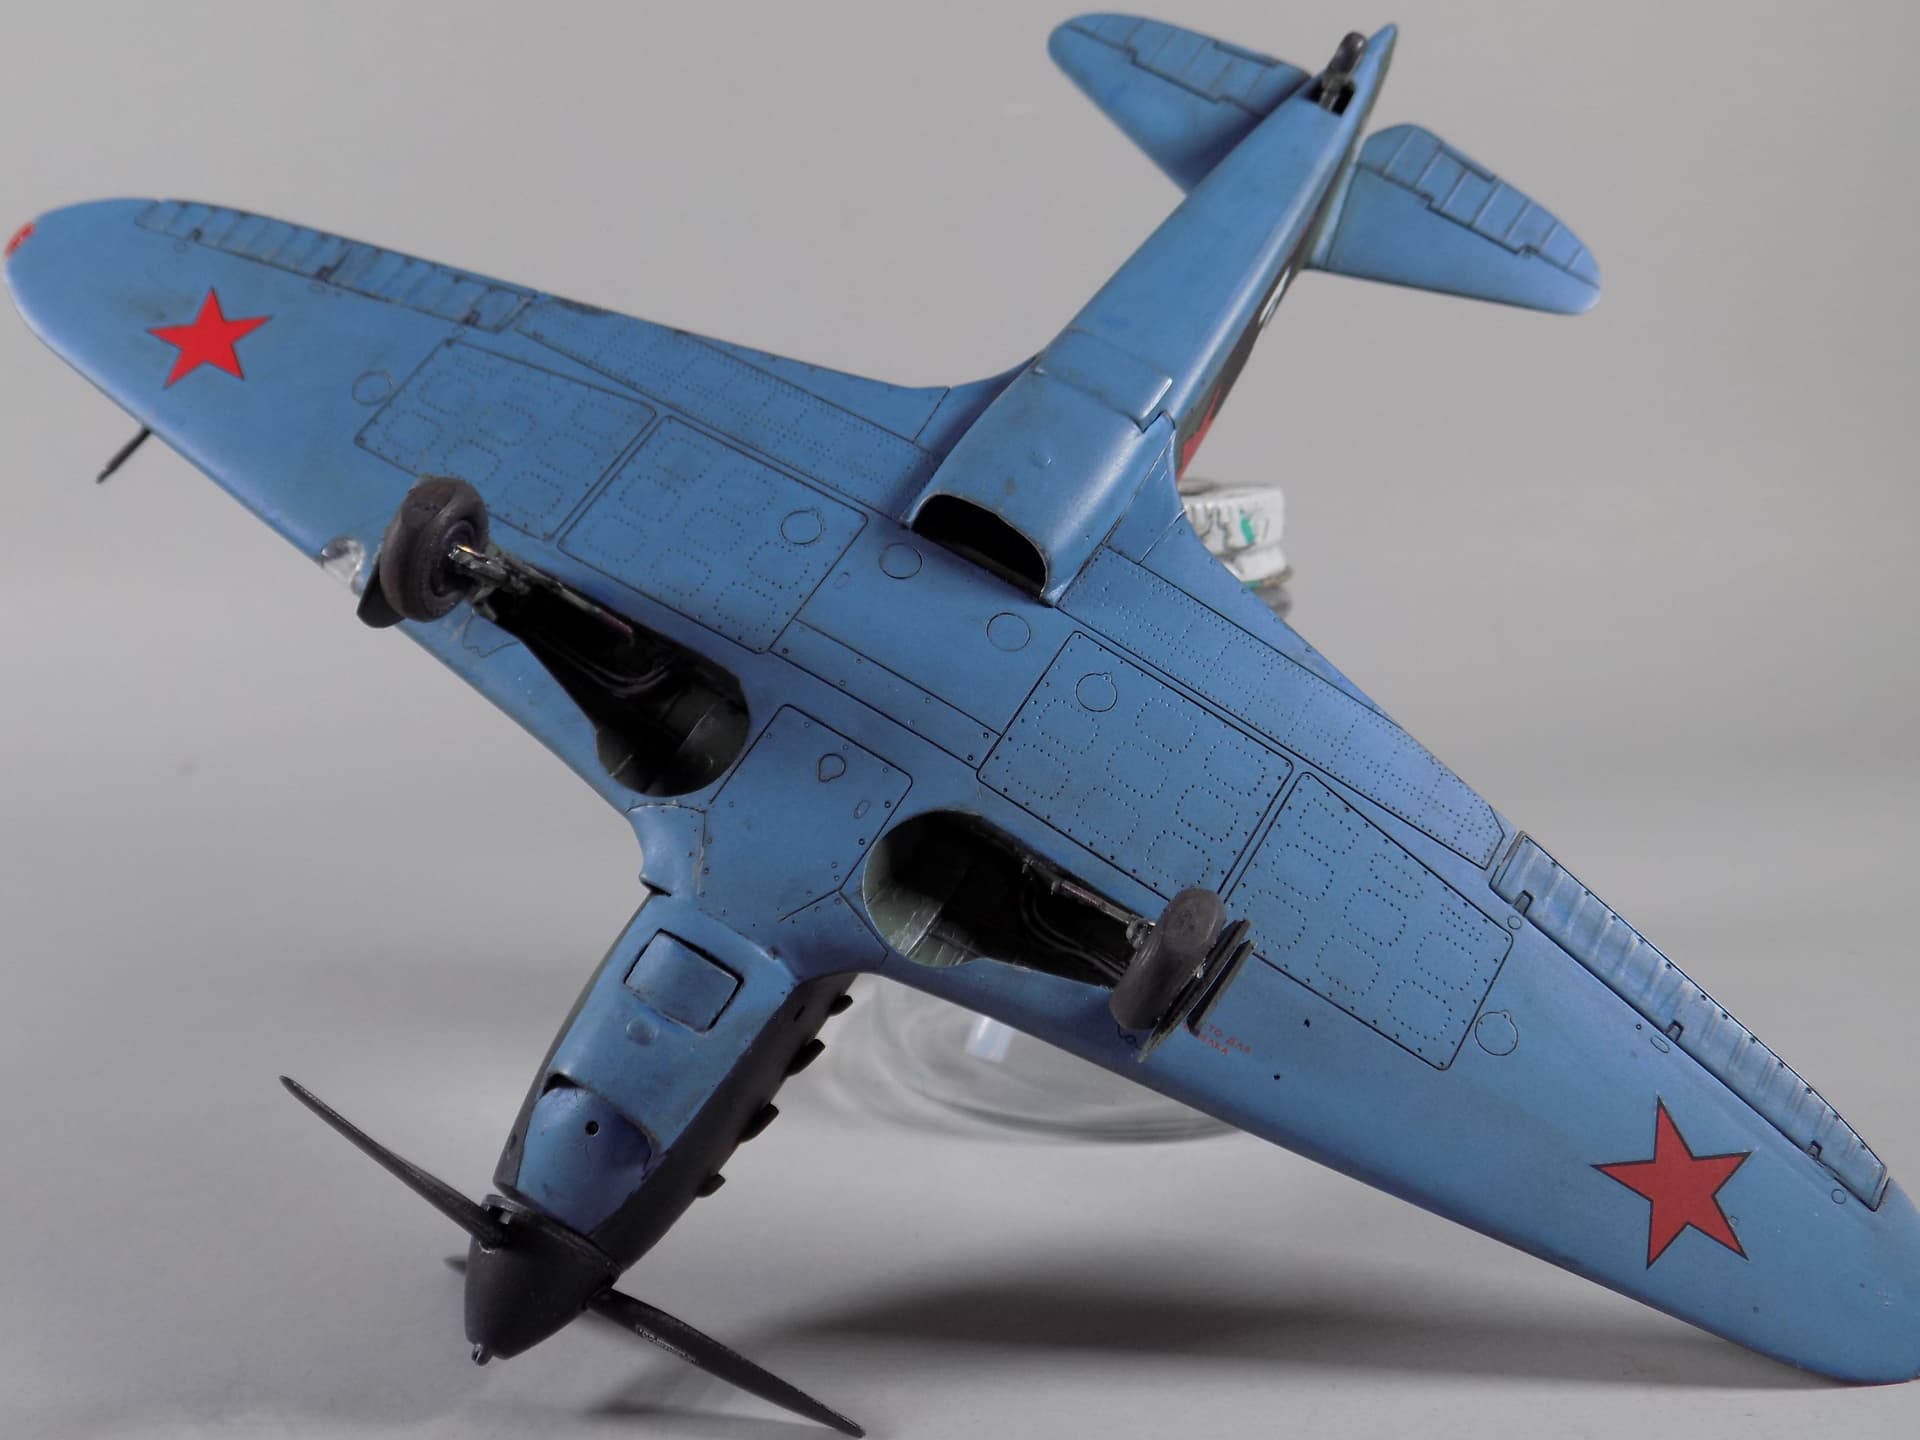
Done with my build for about 2 months now but hadn’t gotten around to photographing it.
Yak 1- white 2 flown by first woman ace Lydia Litvyak.
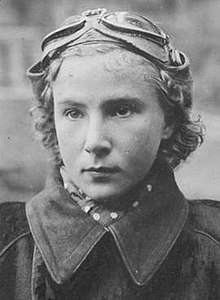
Awarded Hero of the Soviet Union
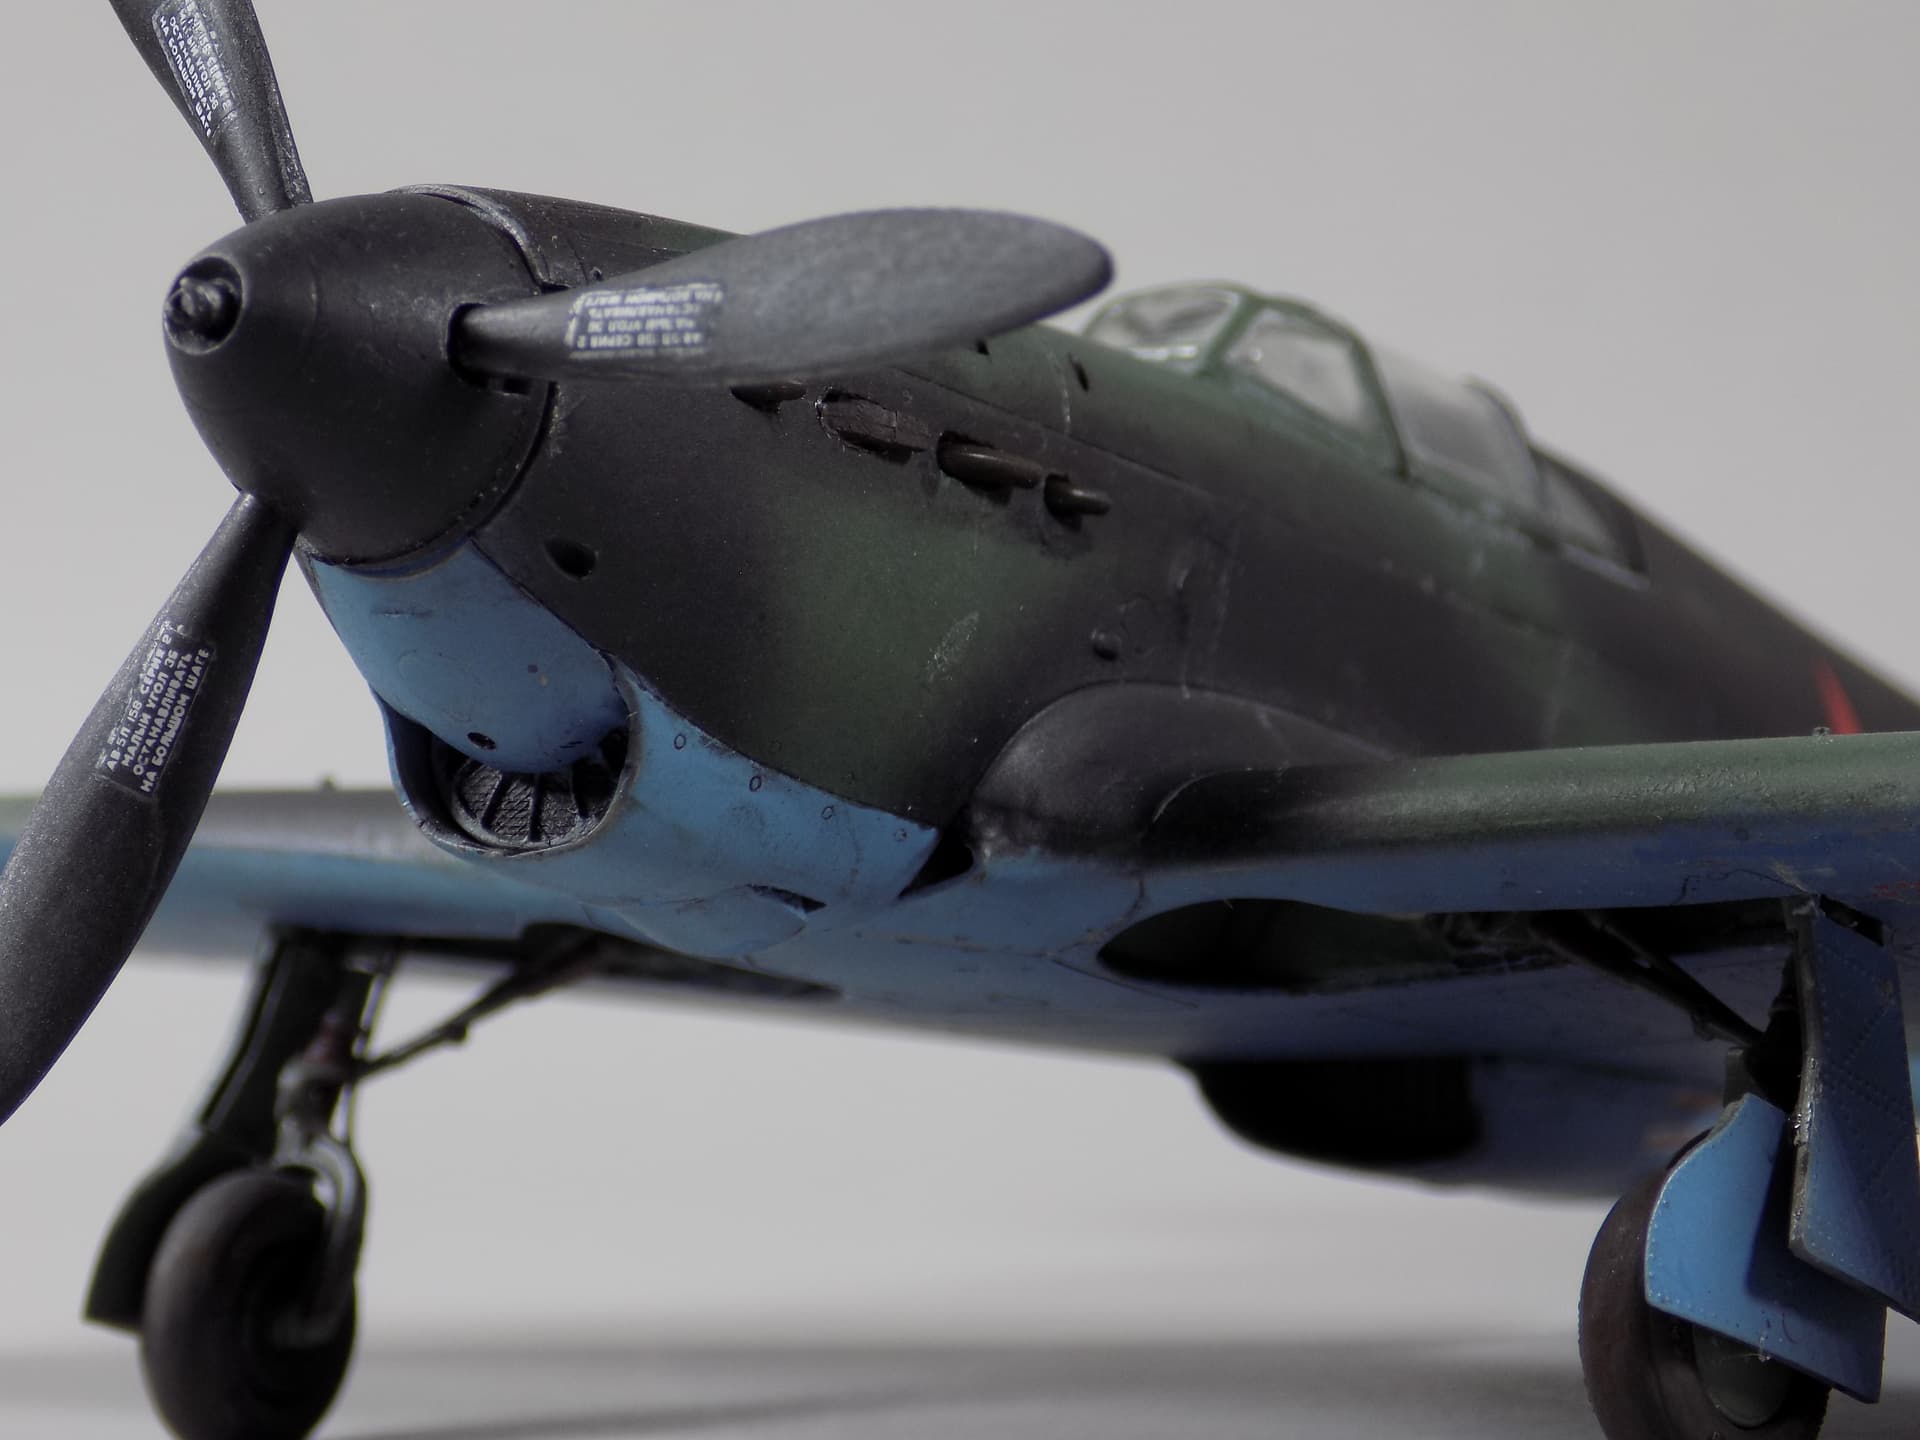
did my best to find info on the aircraft she flew. there isn’t much out there that i could find anyway. since my research pointed to many pilots removing the radio and one gun to reduce weight and aid maneuverability and also reports of her last being seen trailing smoke and chased by several 109’s with no record of her calling for assistance i took the liberty of deleting the radio antenna and one gun on the nose.
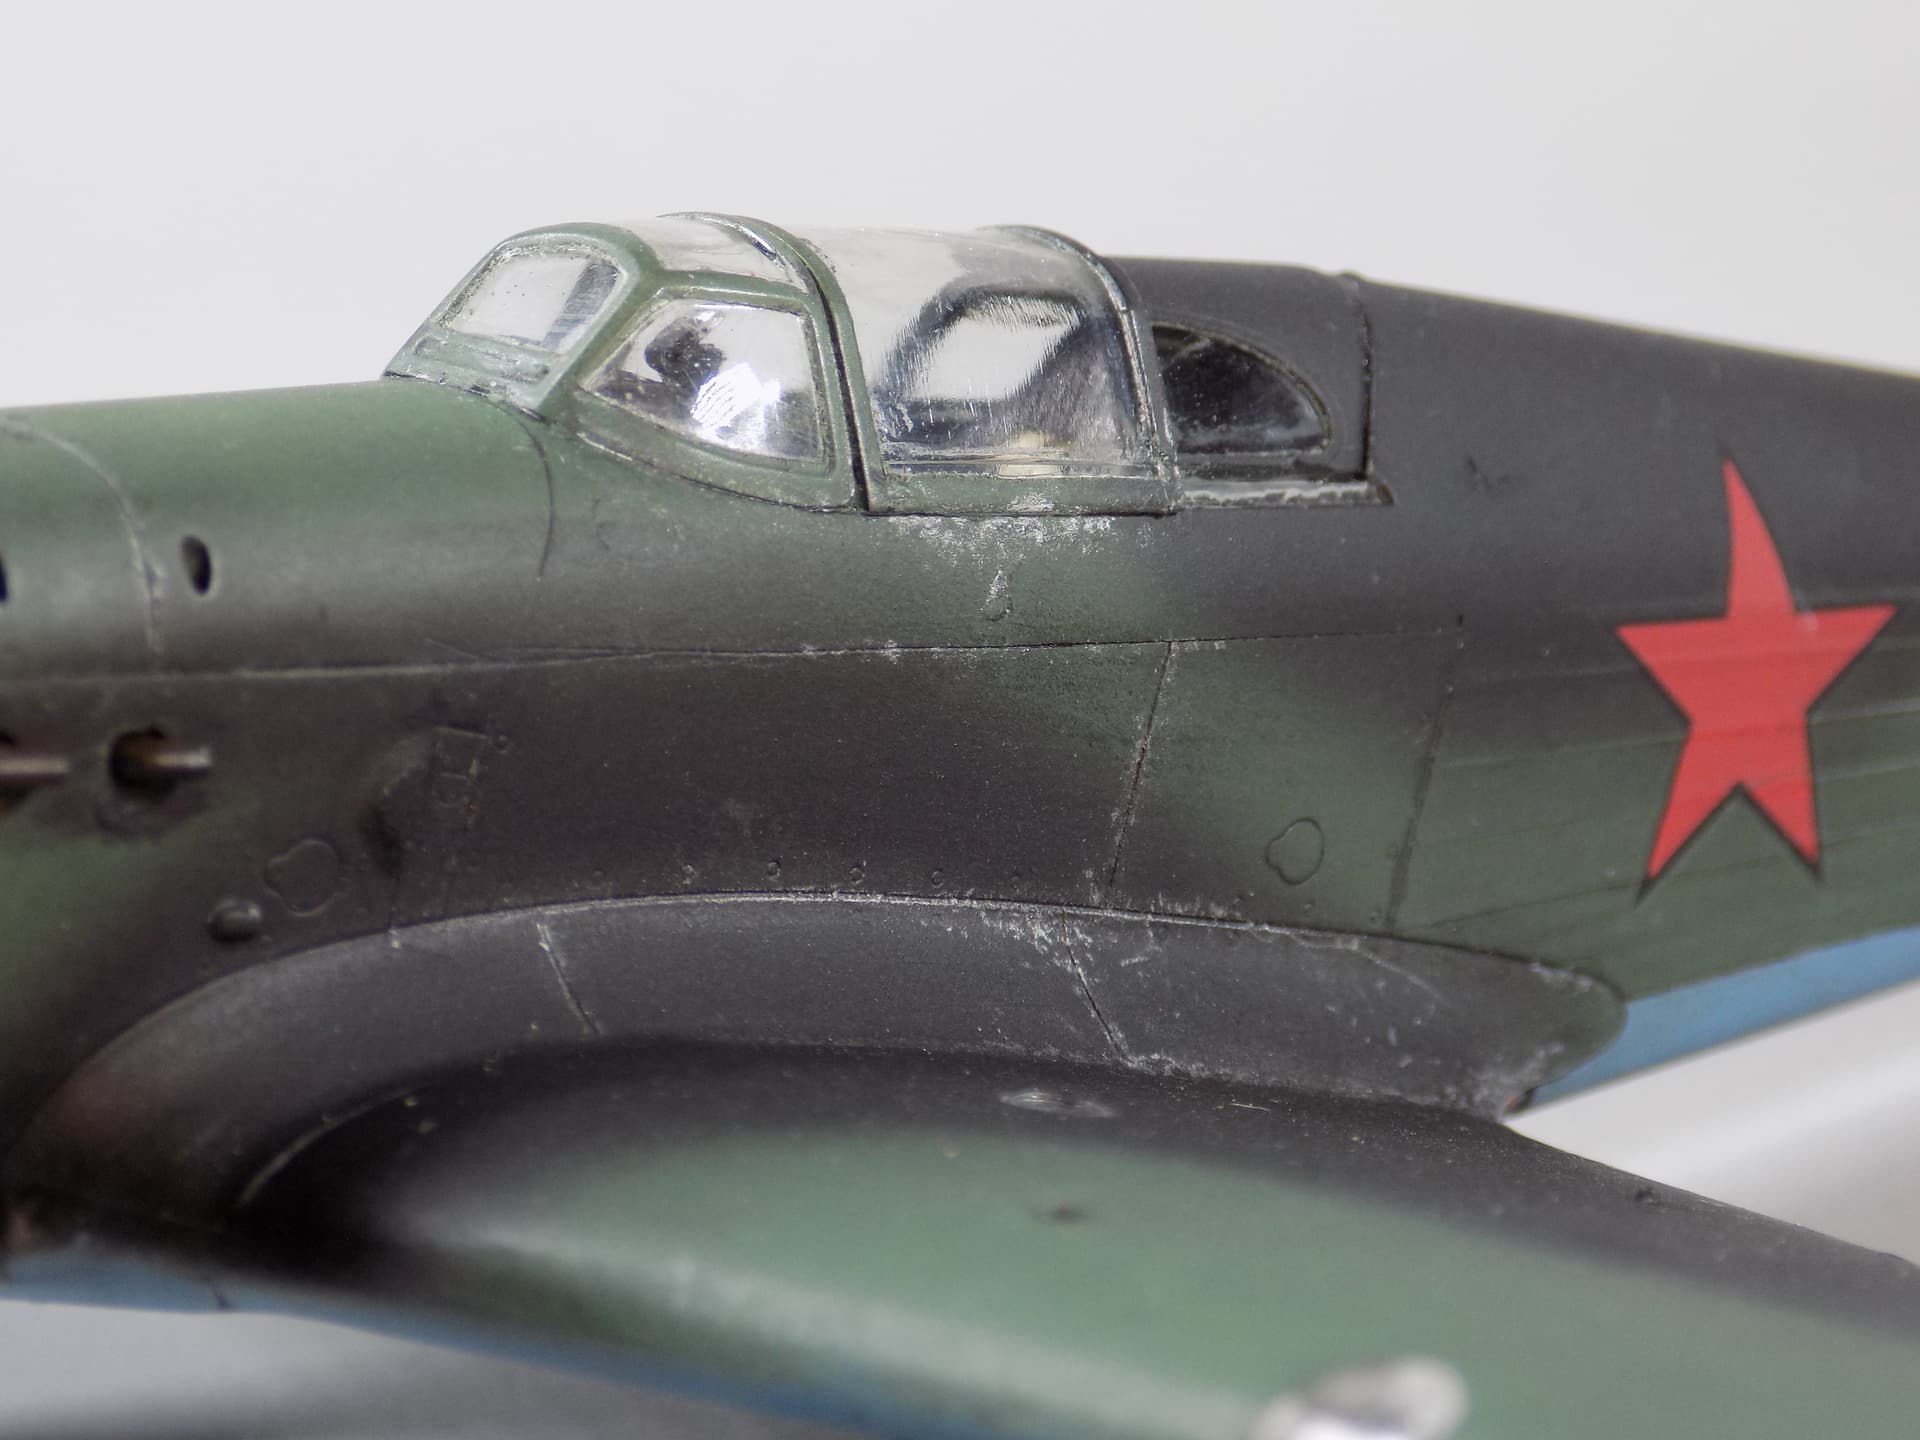
Unfortunately the “defect” in the canopy turned out to be a weak point and crack. i snapped it while polishing. i glued it together with pva glue, i will not bother trying to replace it. paint is MM russian topside green and Vallejo black lightened with some grey. underside is my own mix of azure blue with some insignia blue added, both MM paints.

Joe
8 Likes
Who’s kit was this again Joe??
Chris
this is the accurate miniatures kit. generally a good kit, some minor fit issues like the lens on the wing and the air intake, and of course the defect in the canopy. the windscreen is not correct either.
Joe
