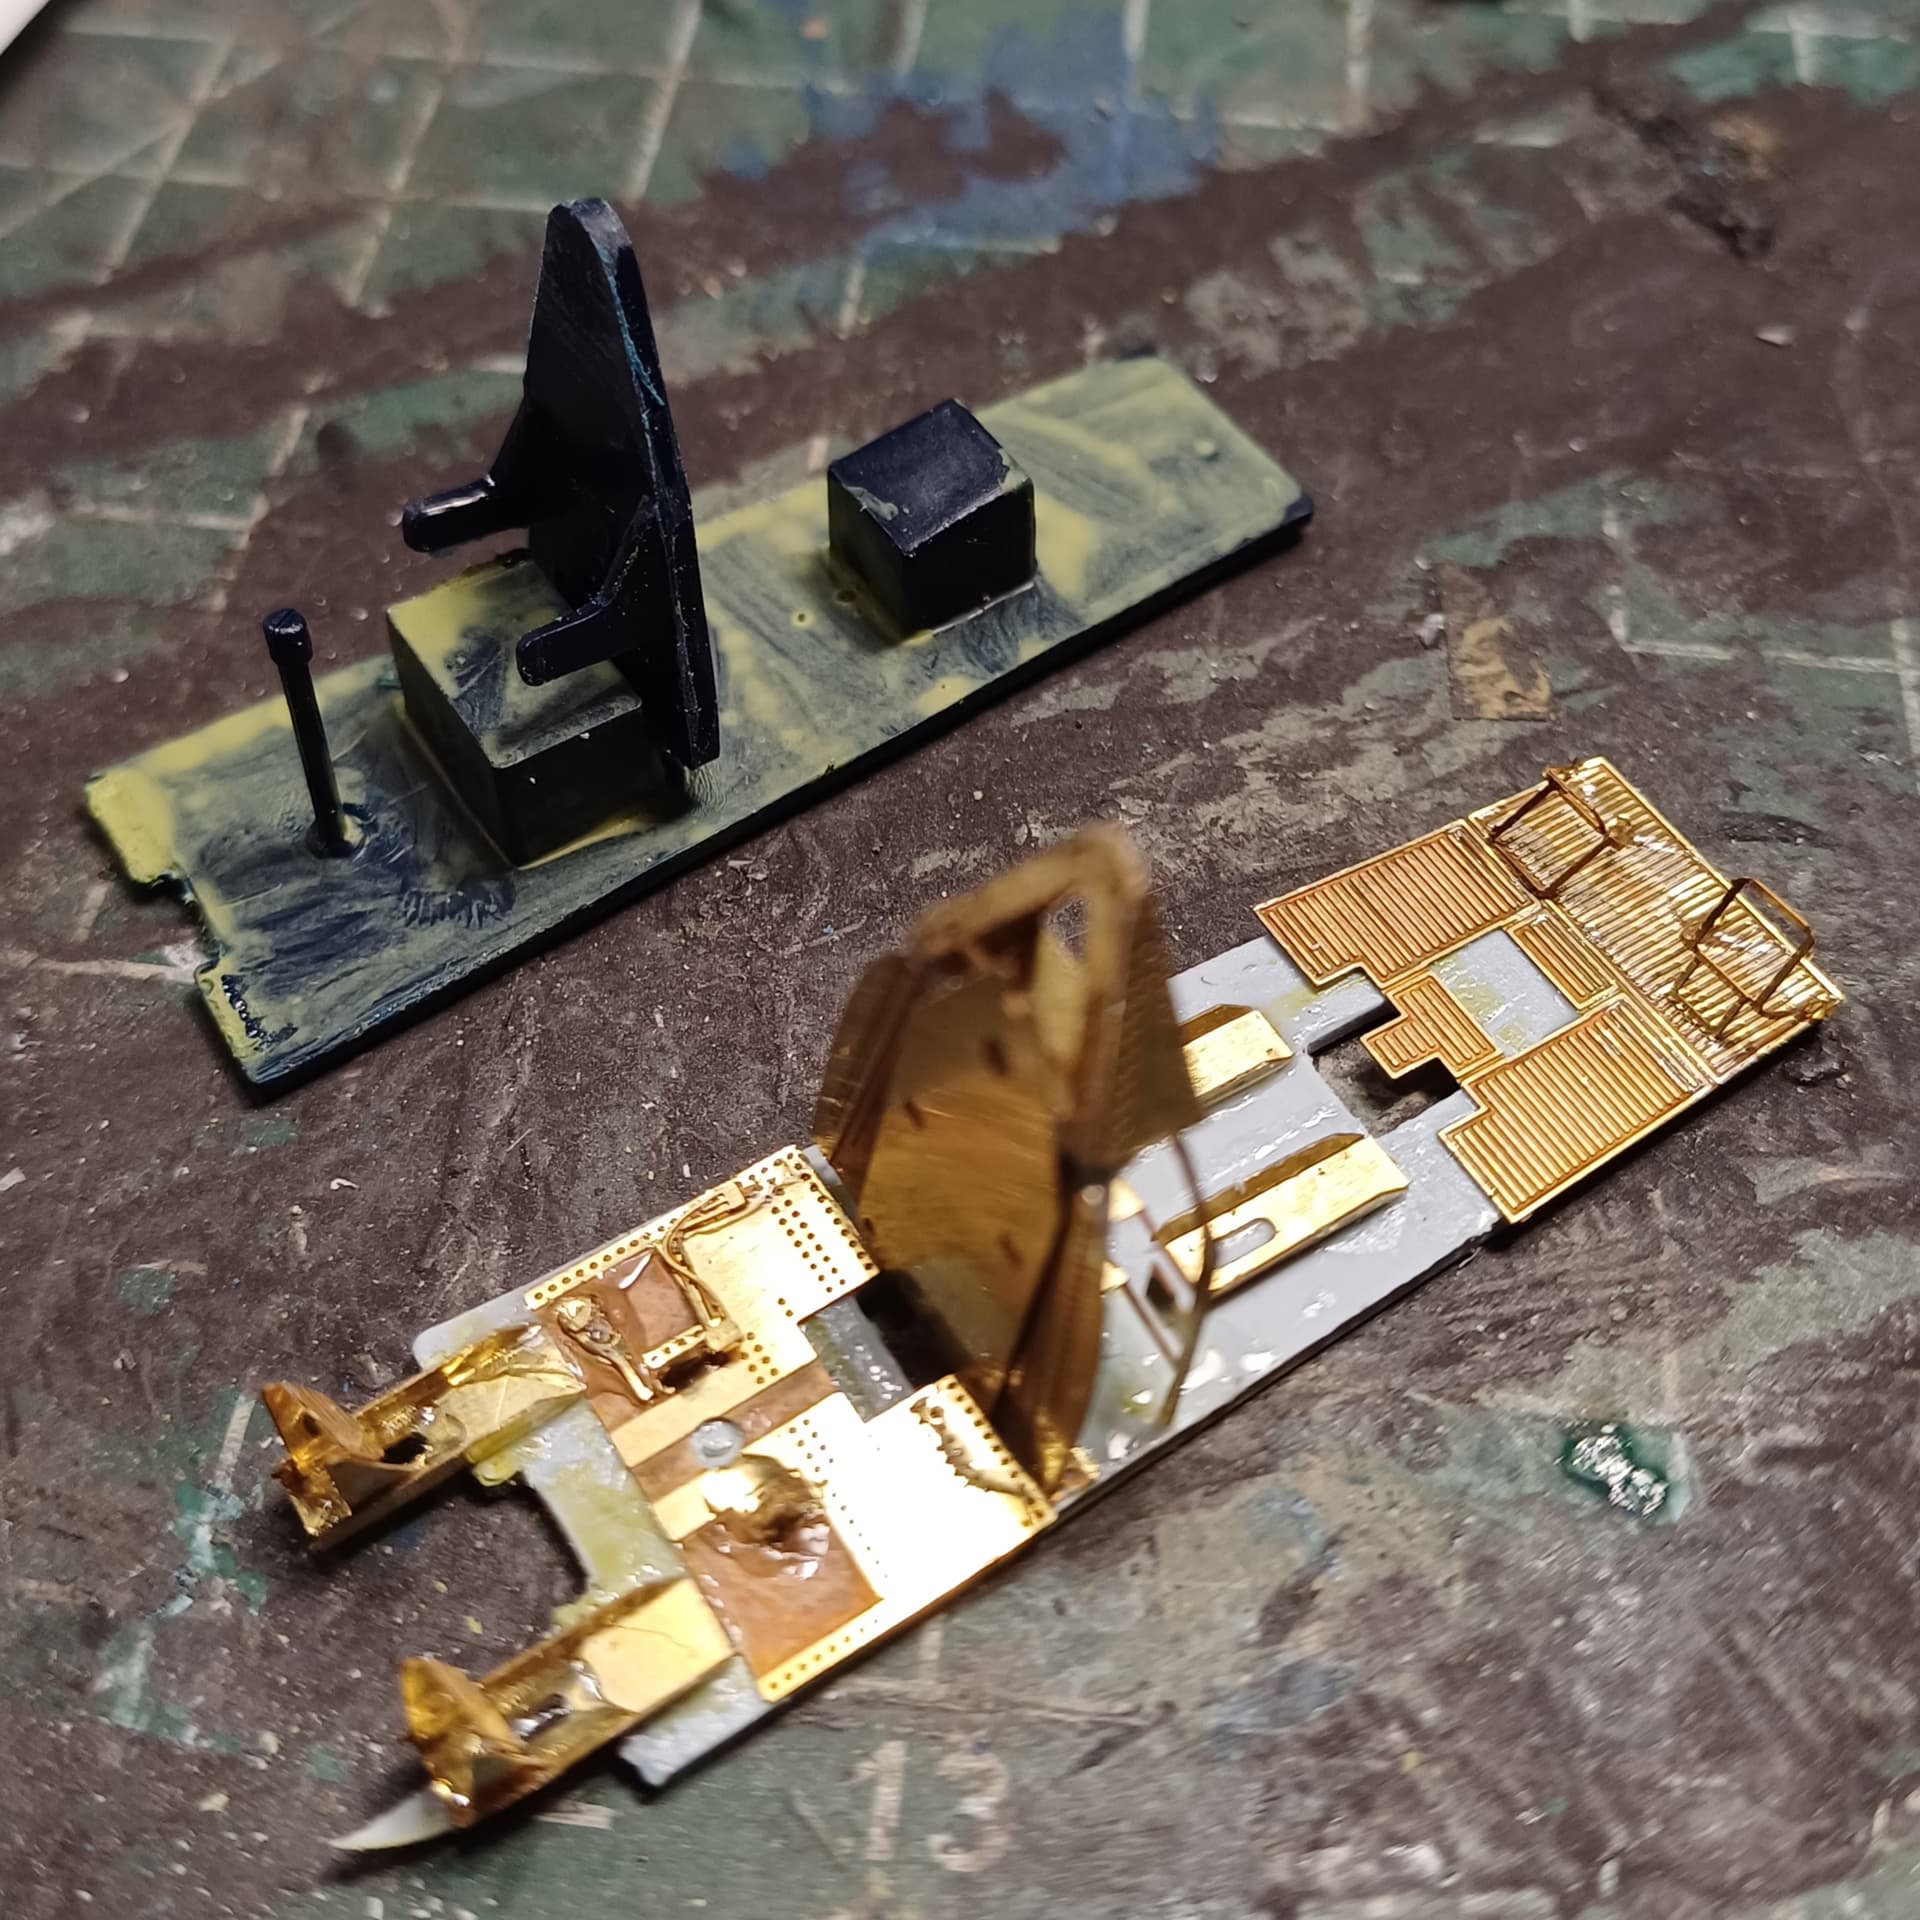
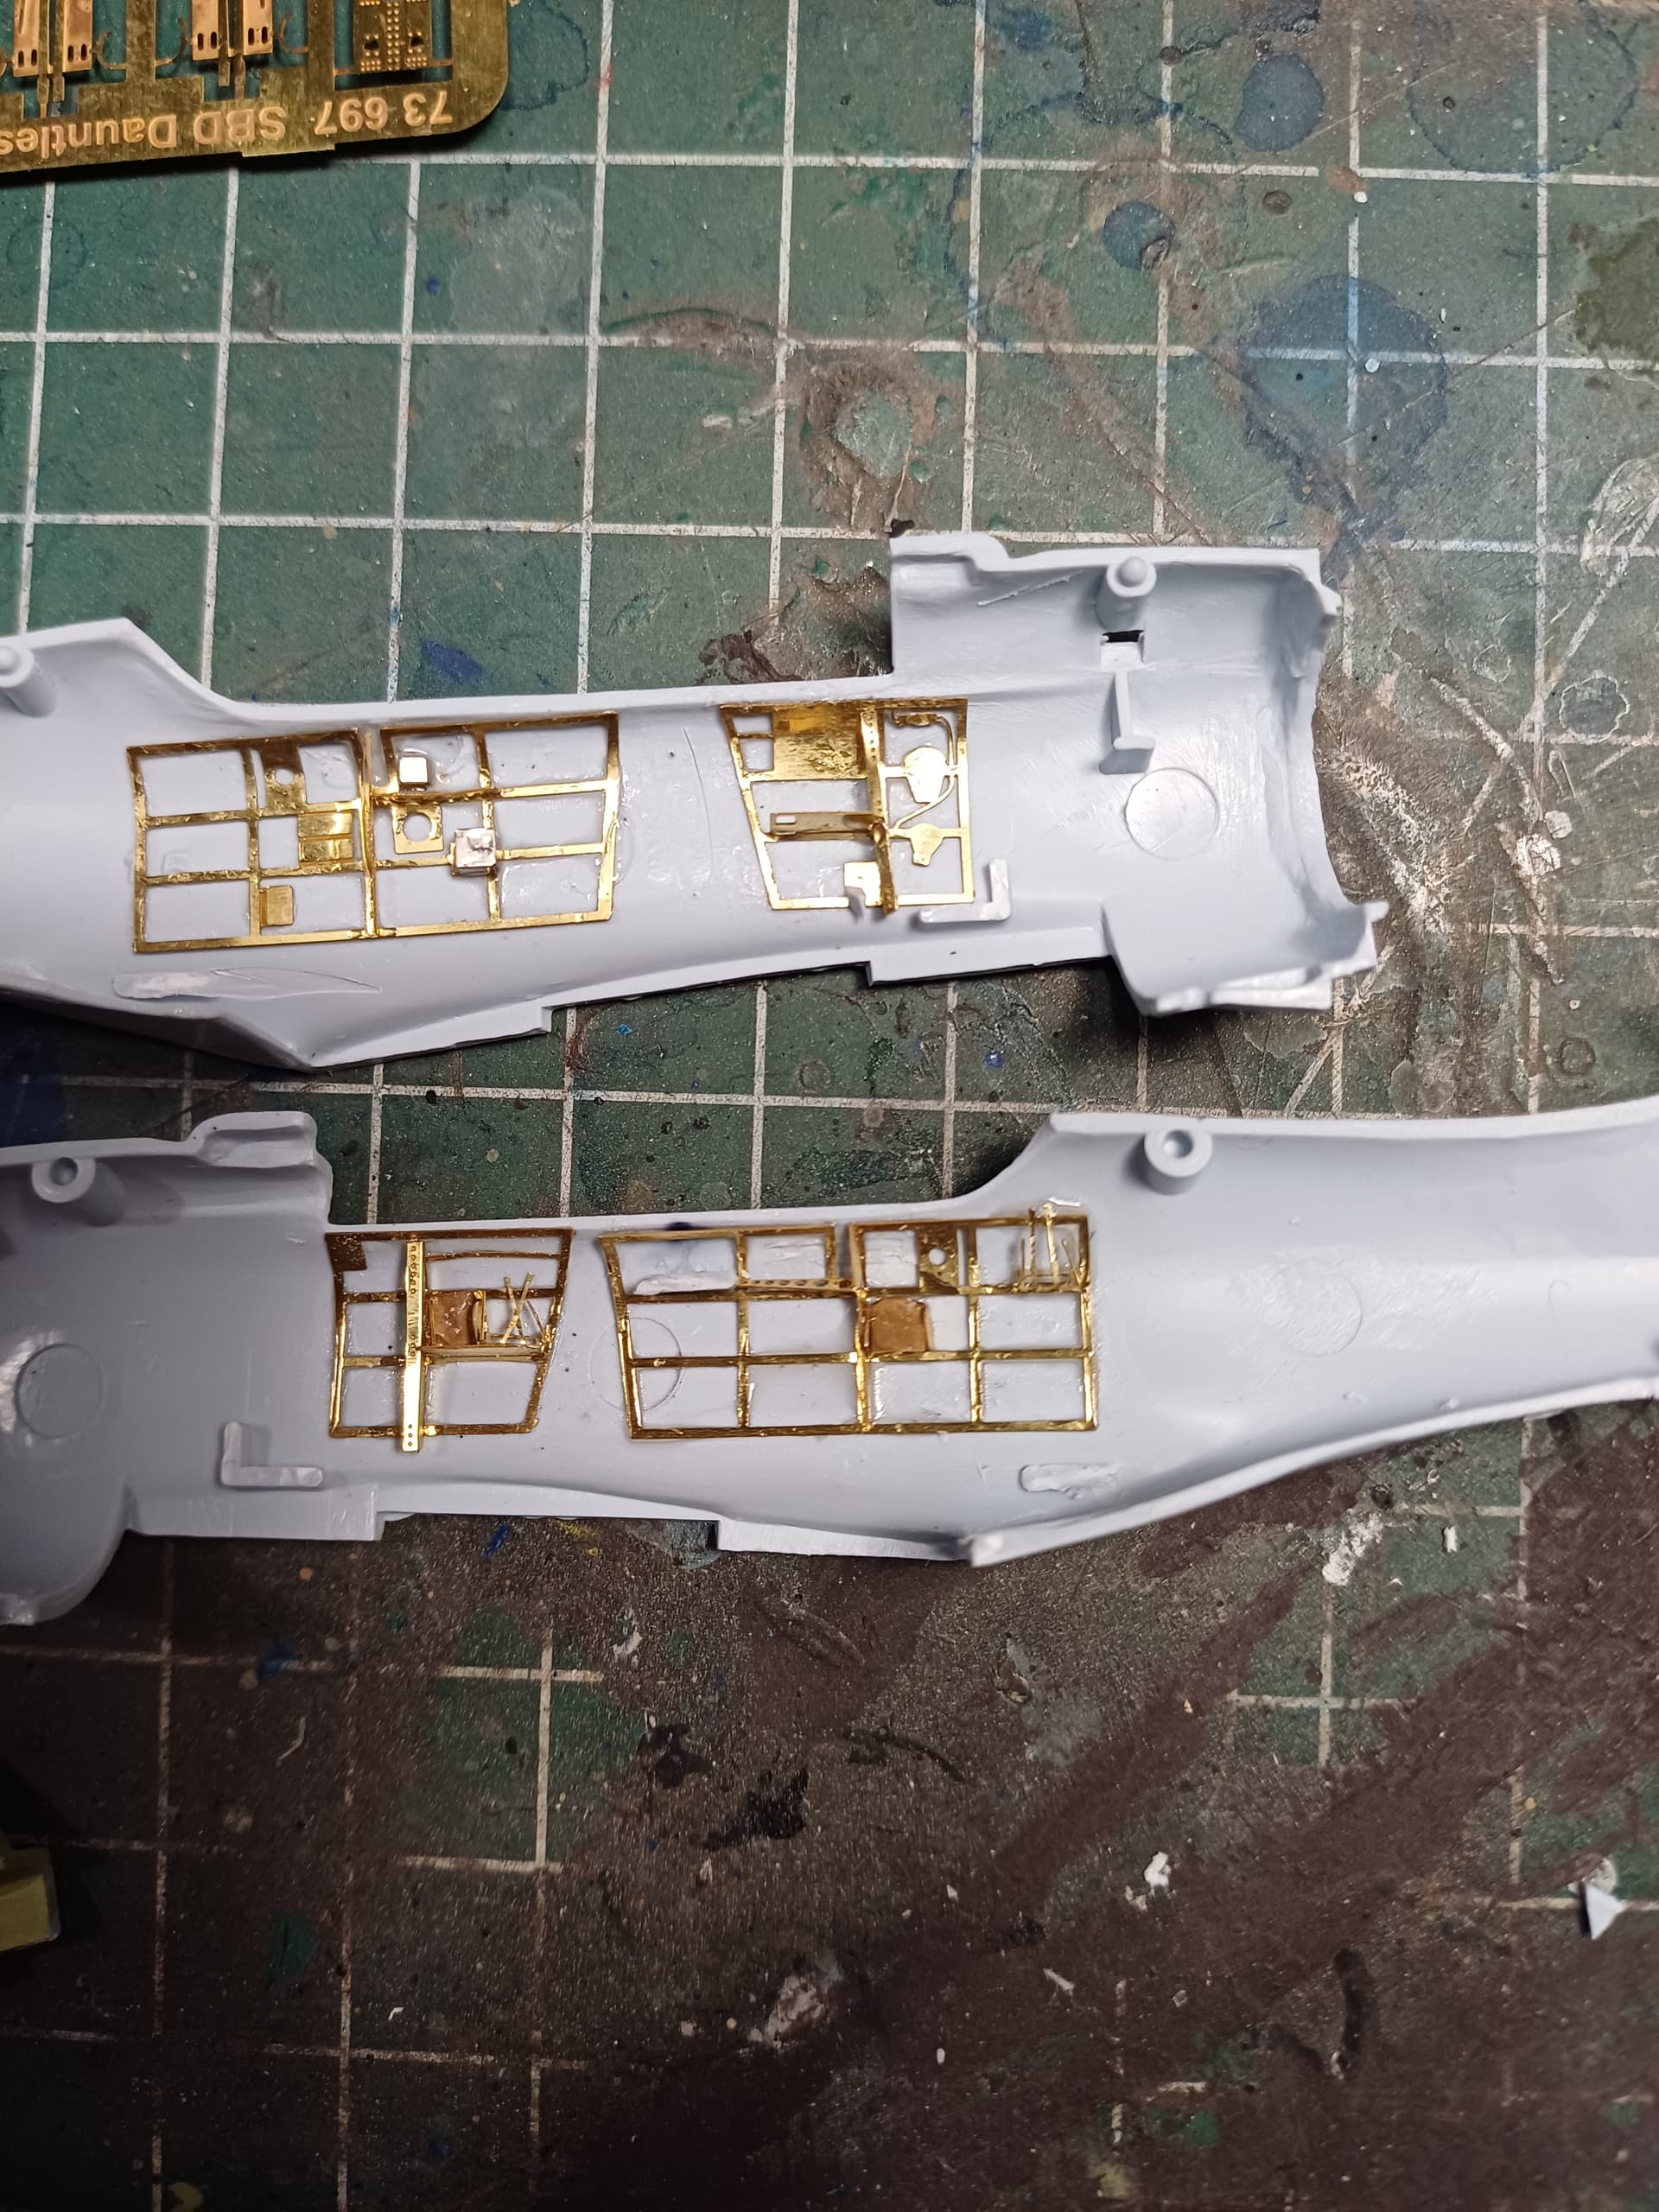
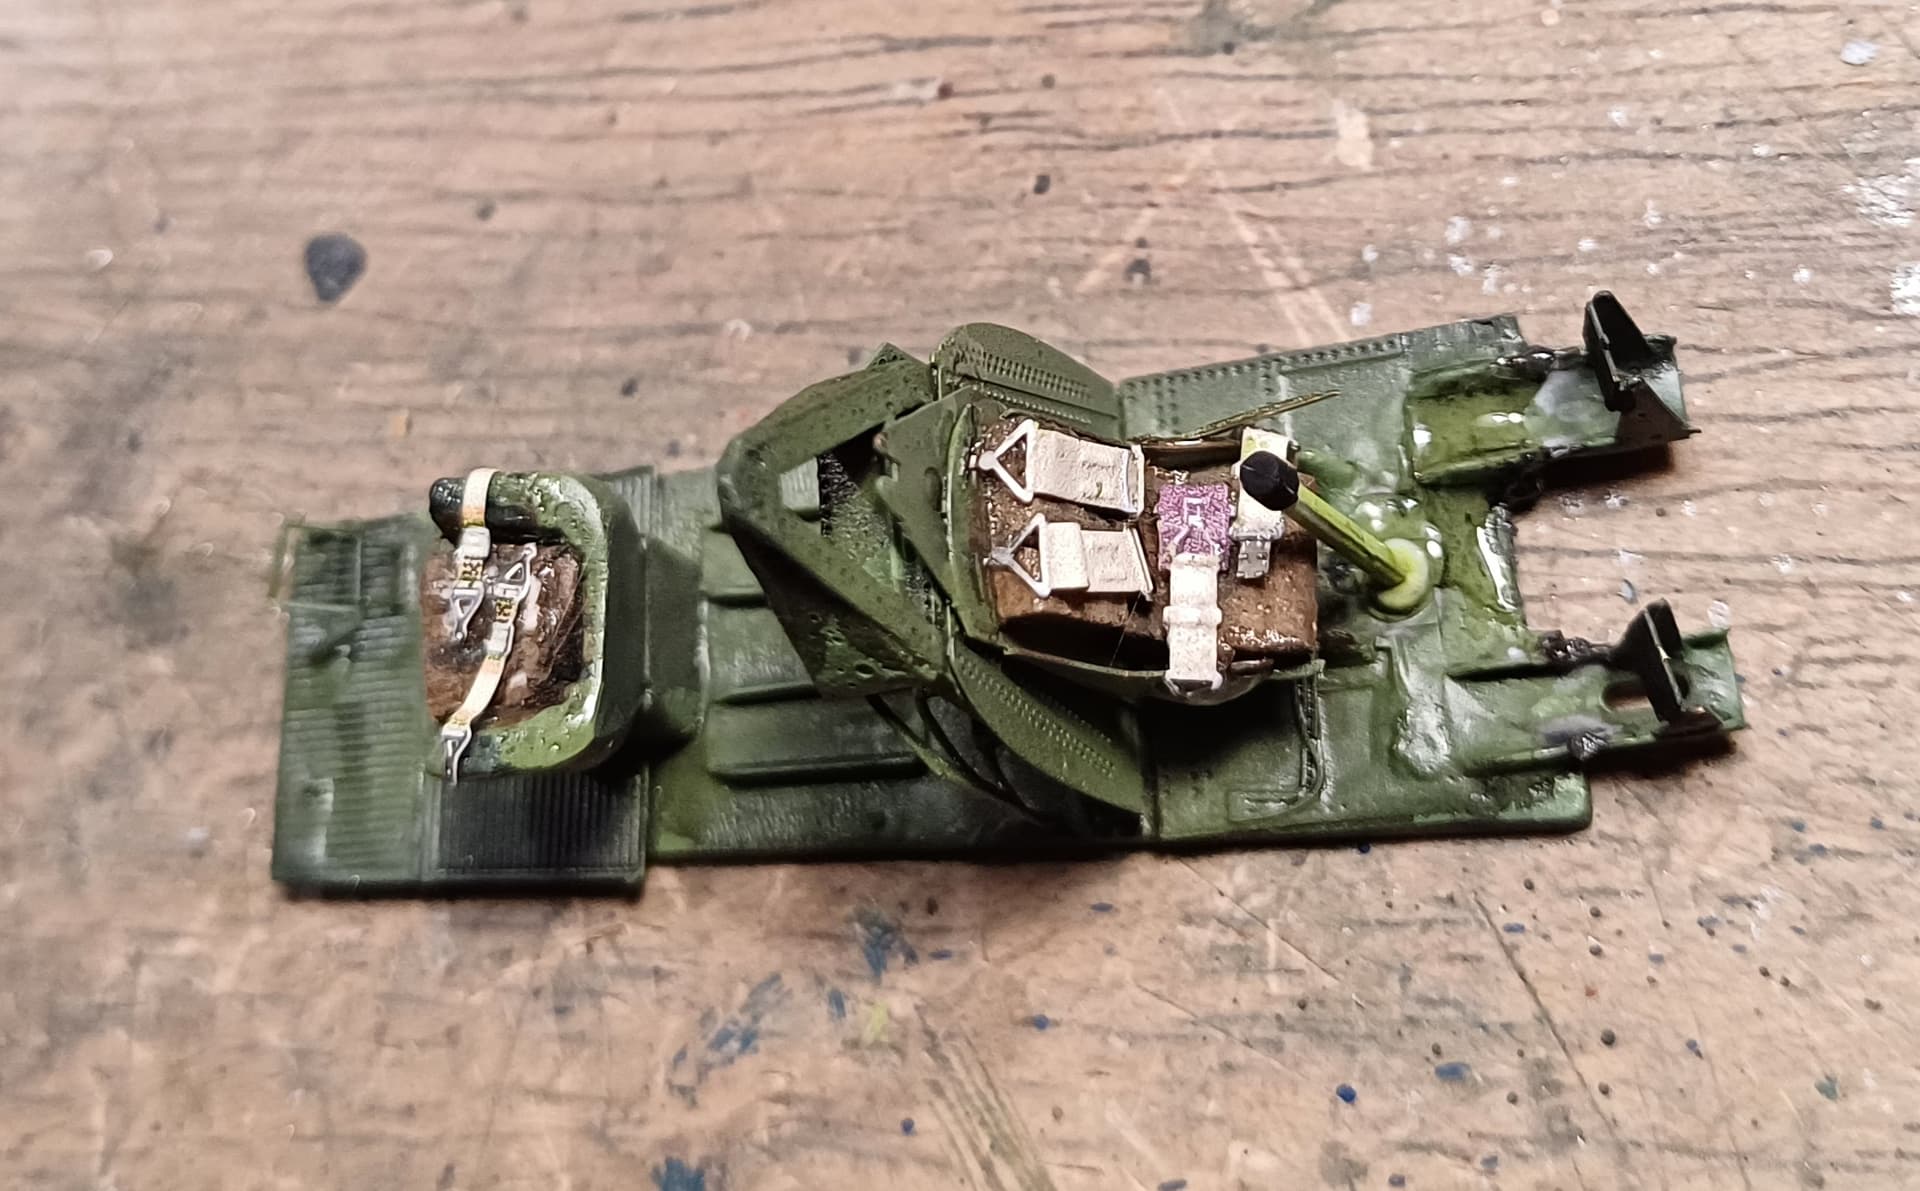
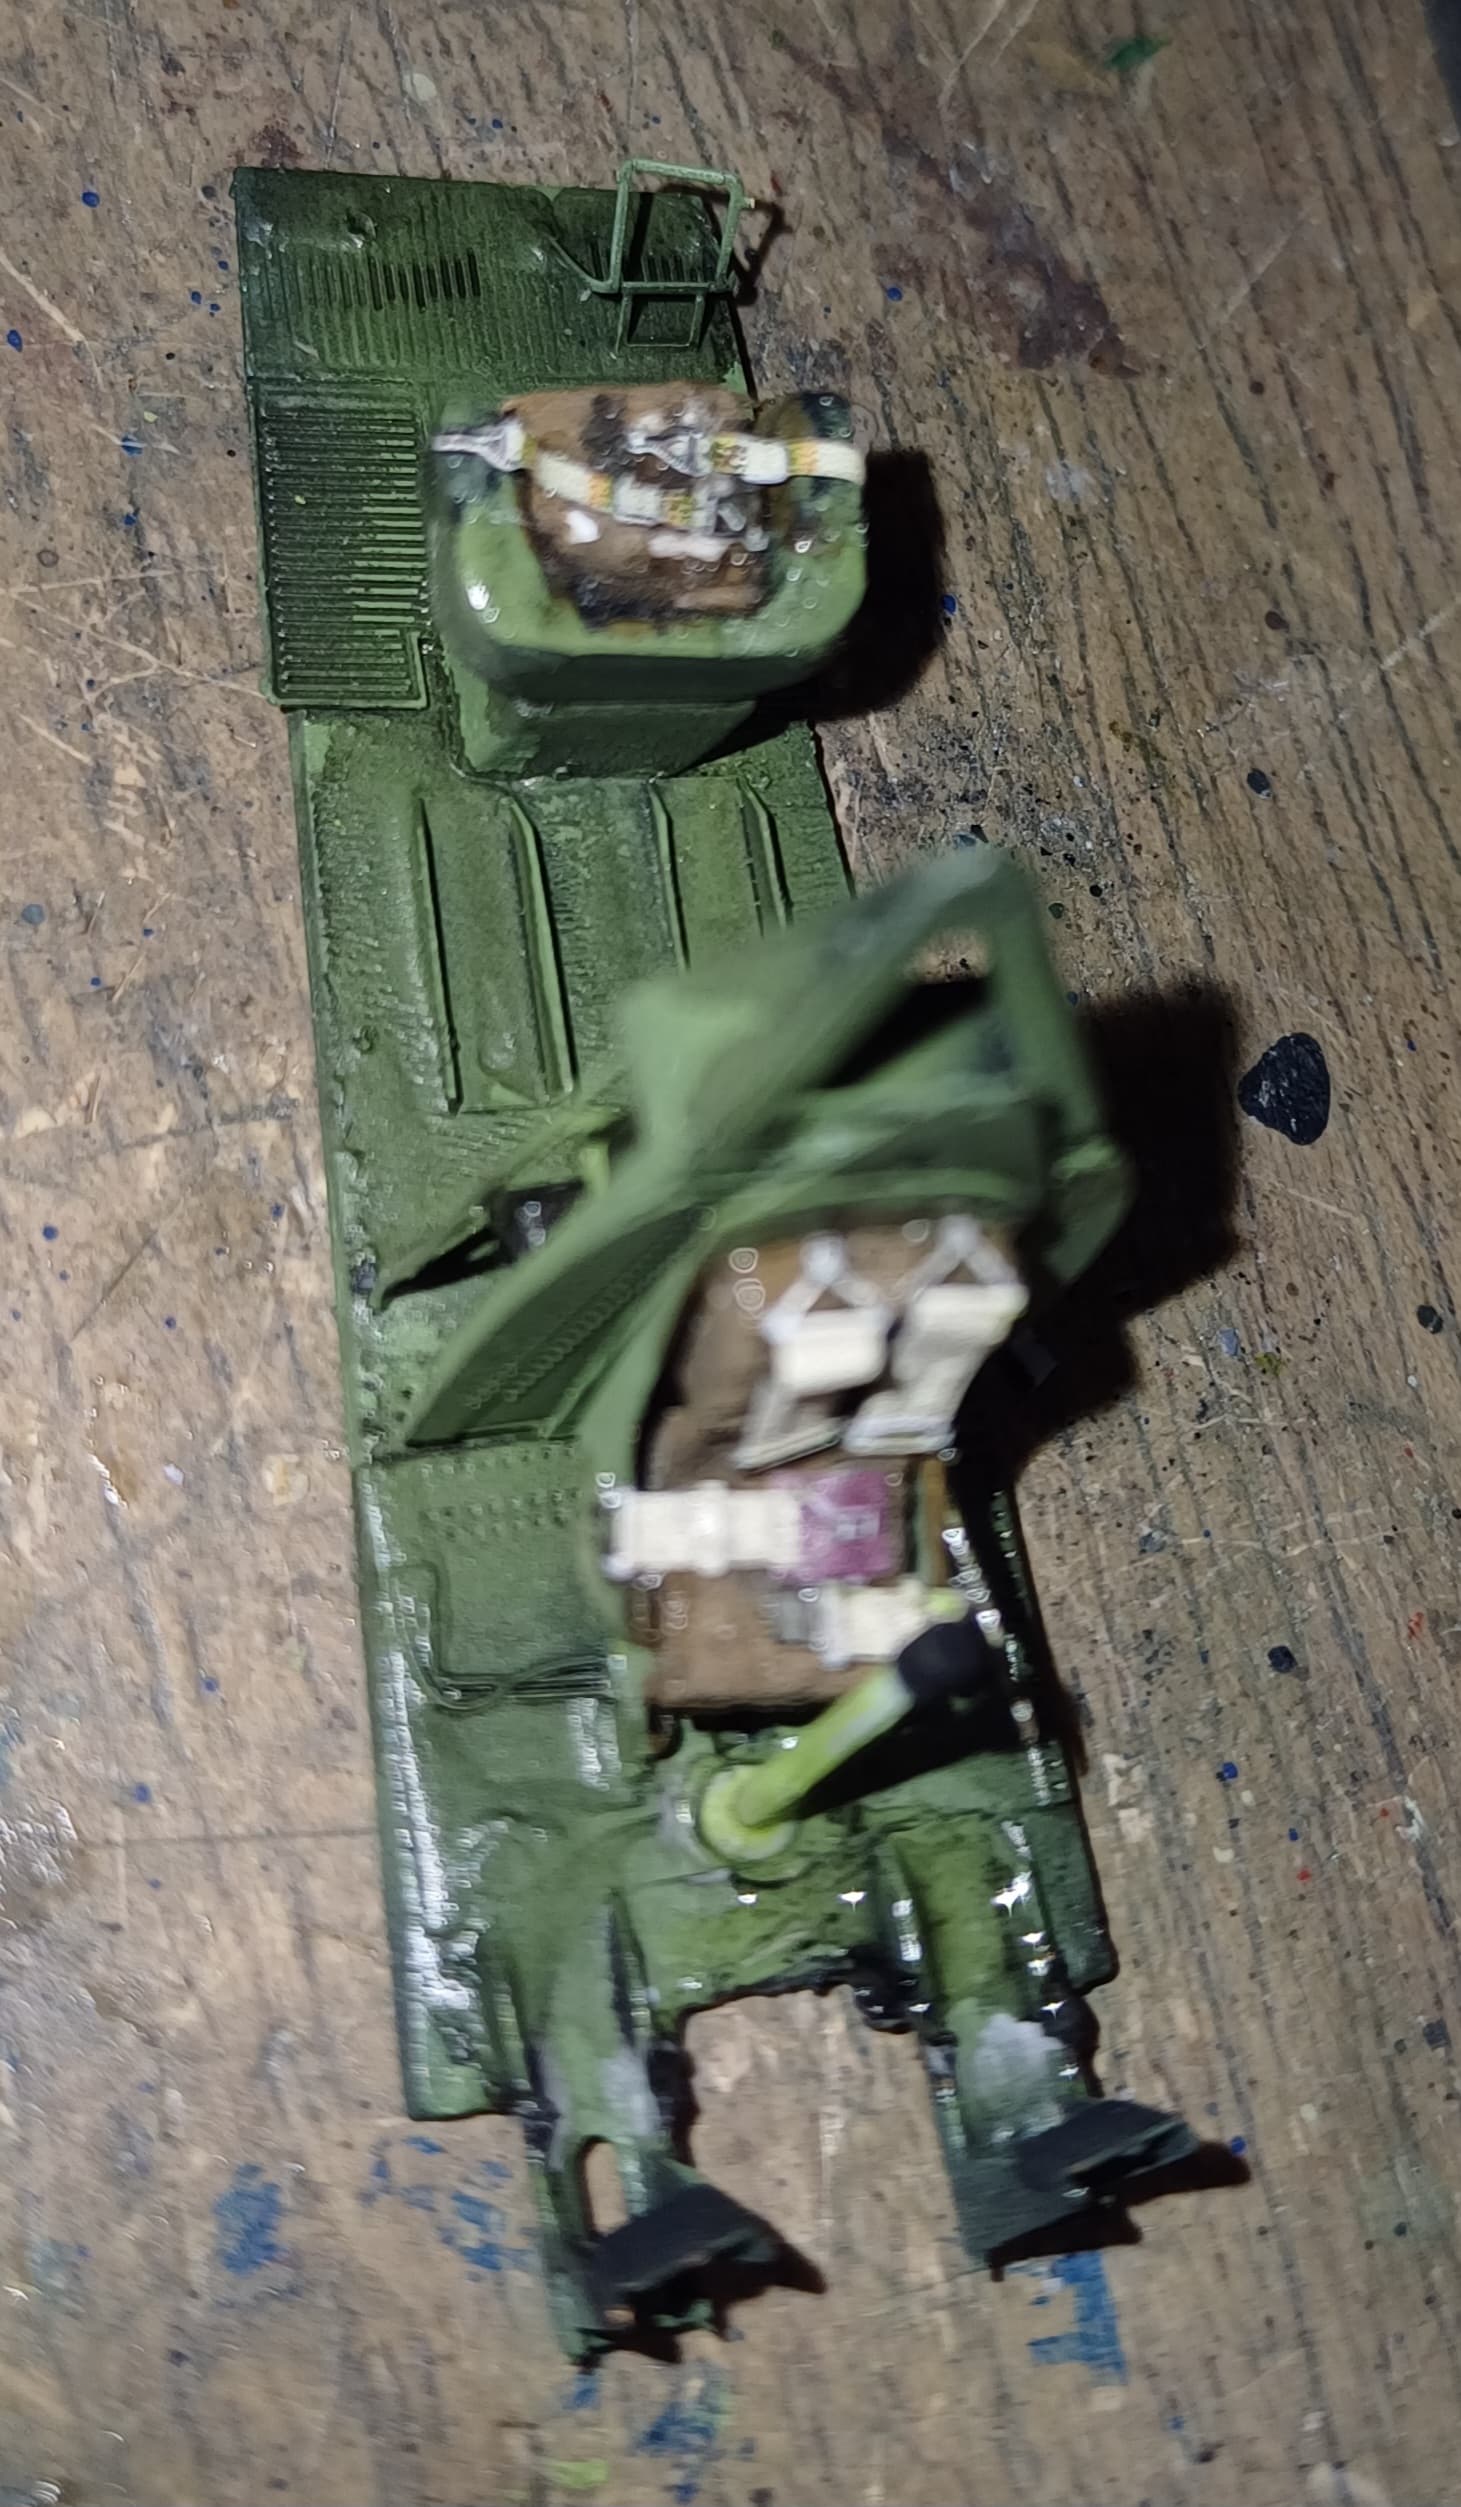
Poor detail as expected…

So I will try to use some of this stuff…
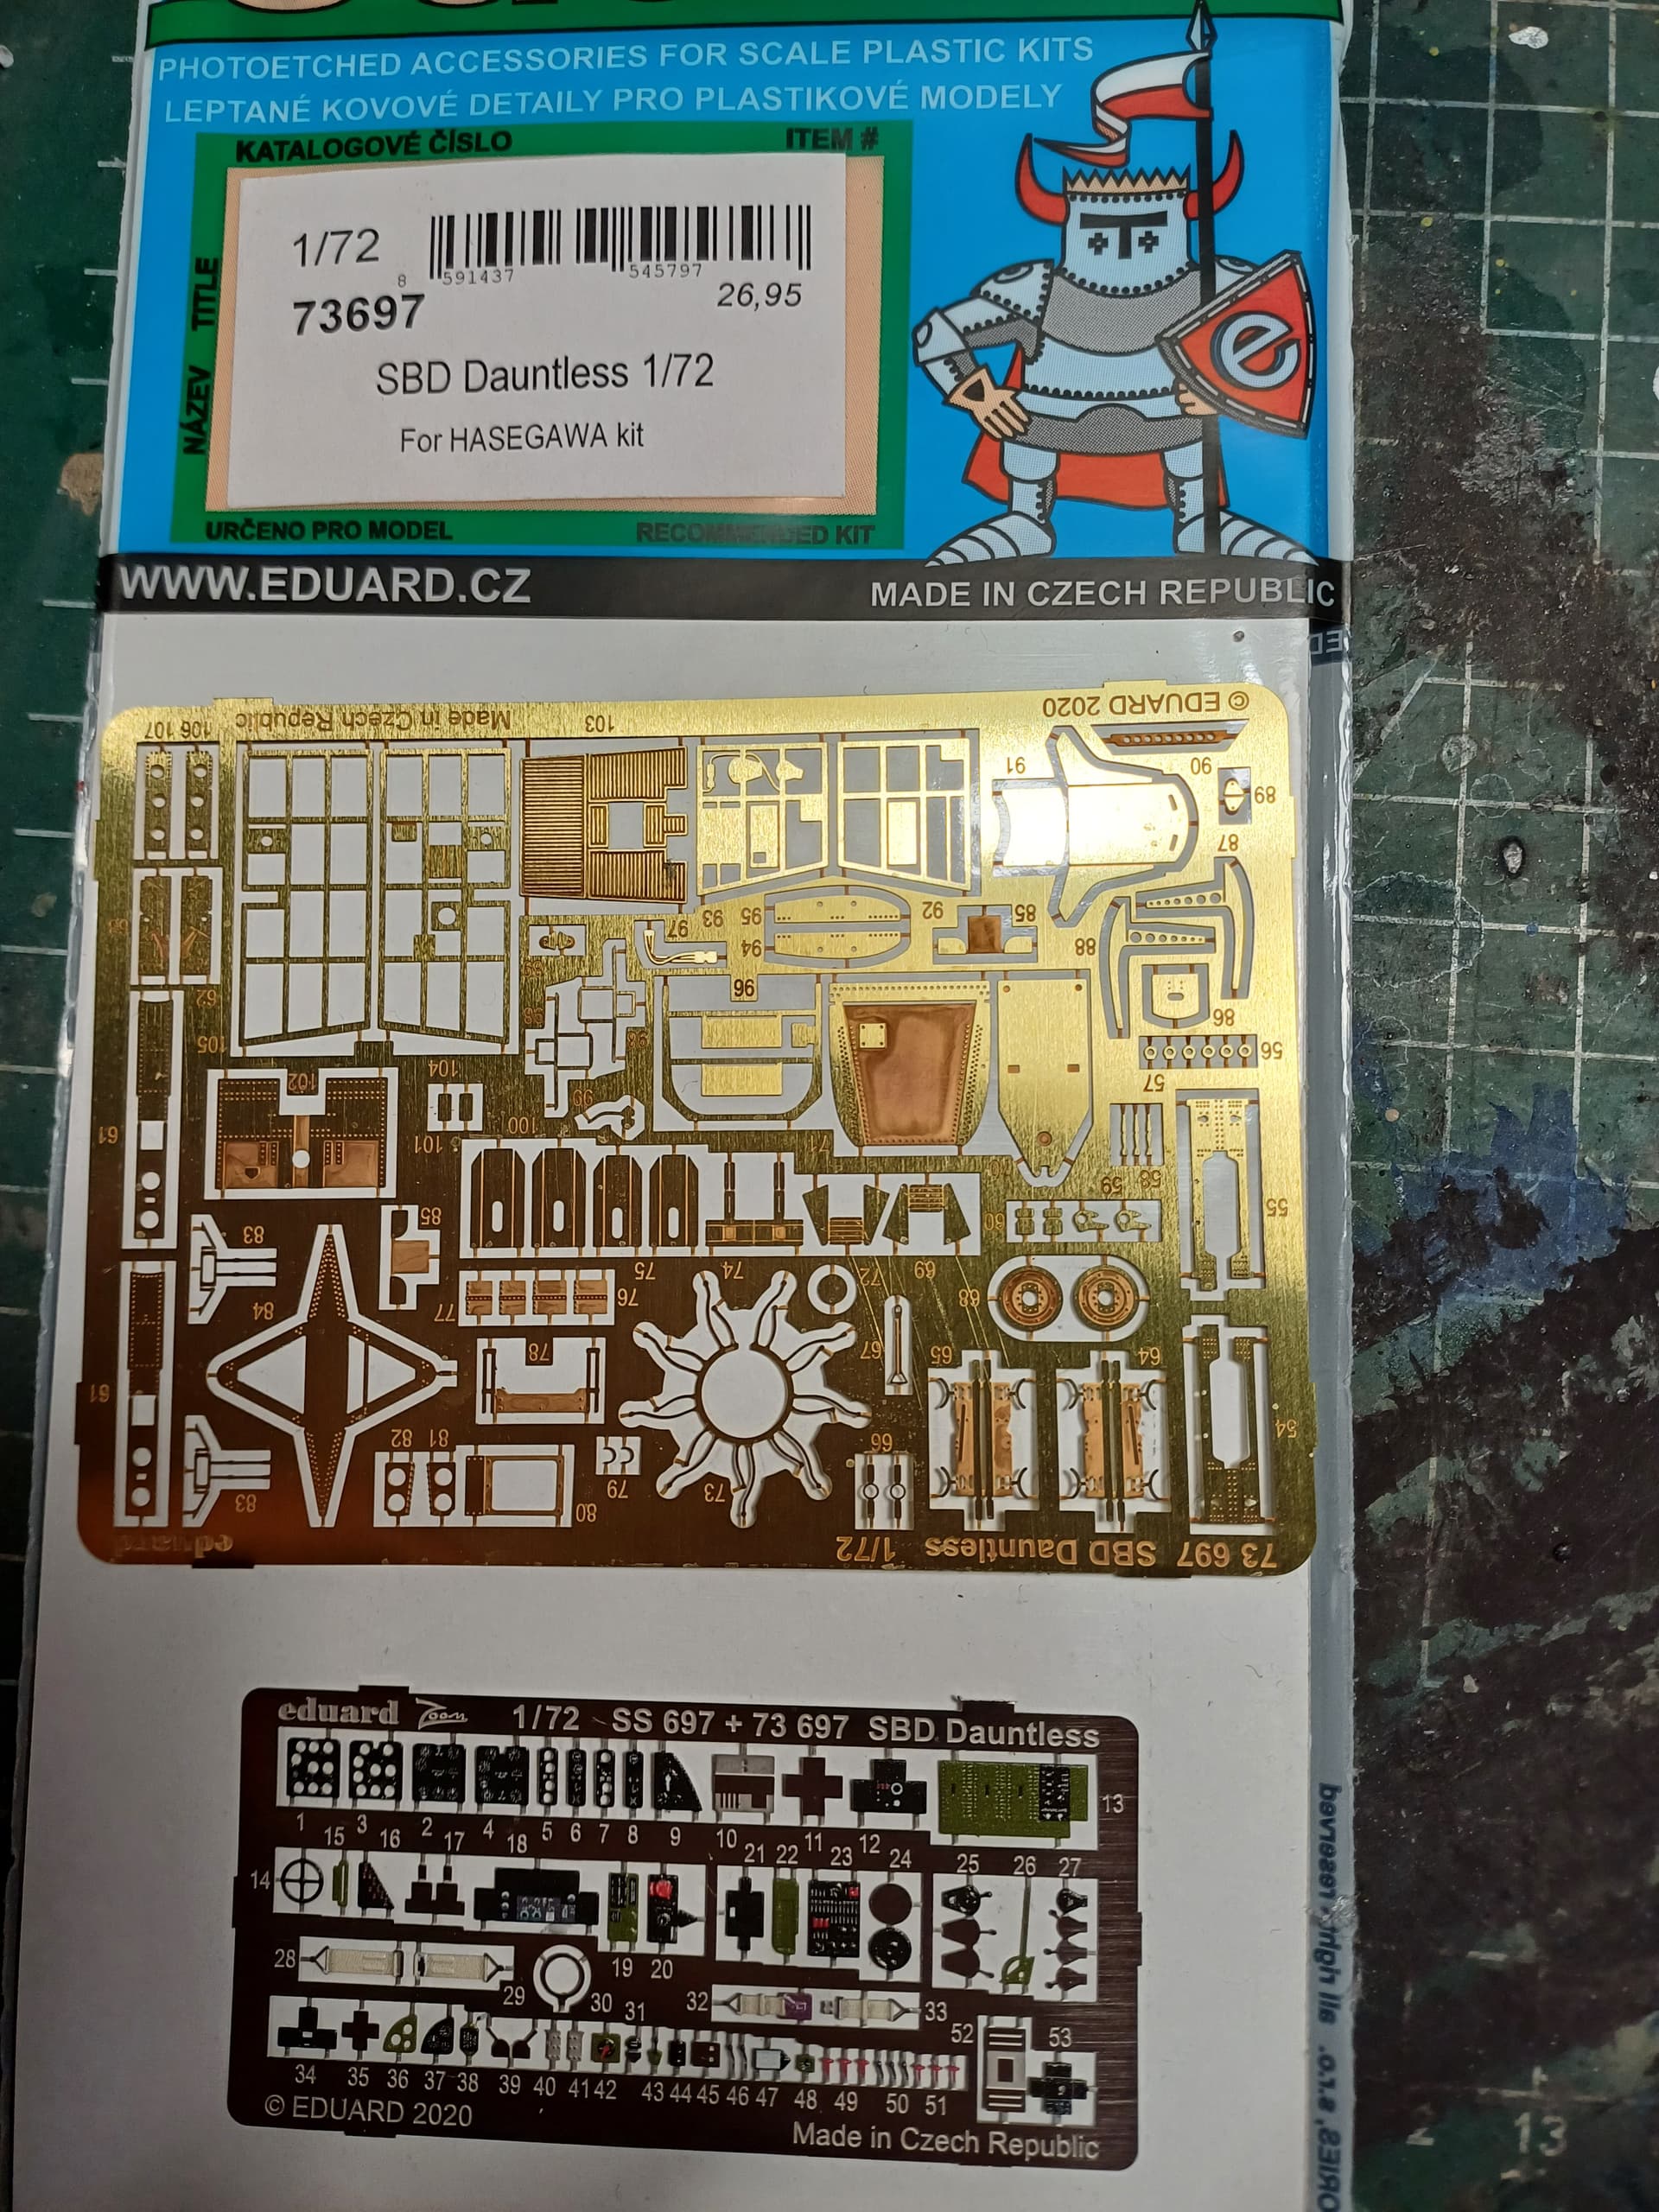
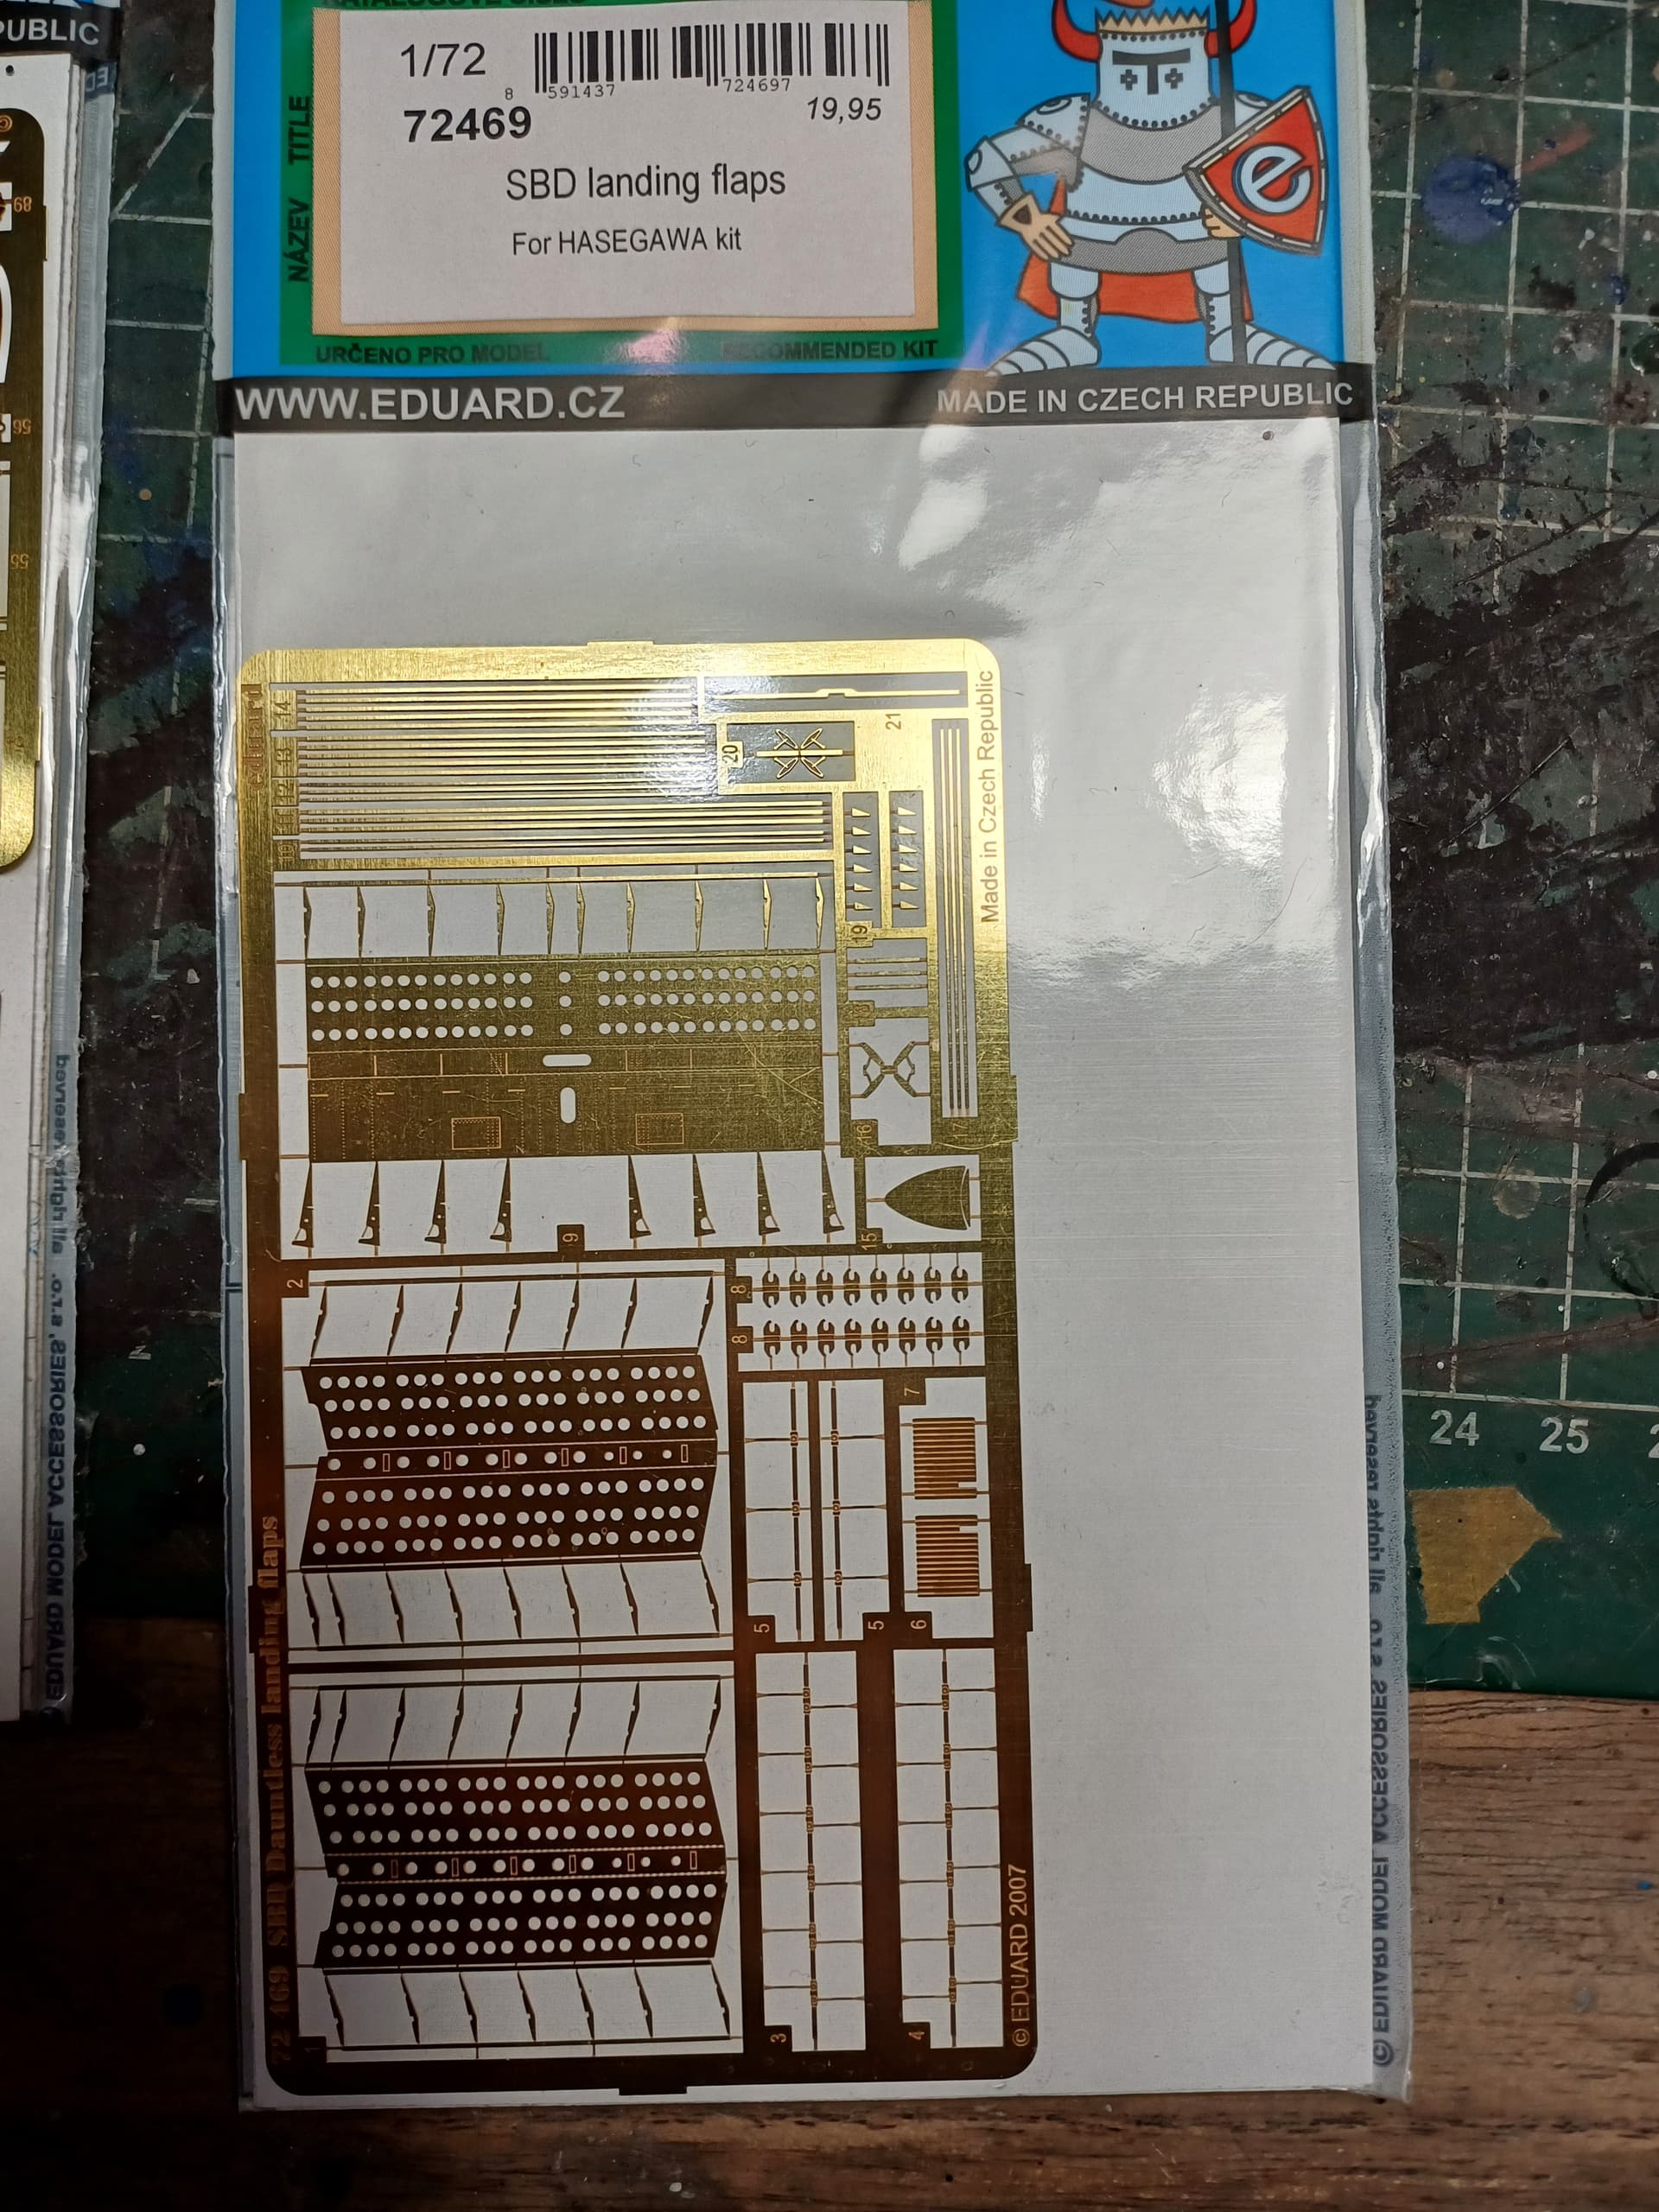
And it doesn’t fit perfectly because it’s meant for the Hasegawa version, but…
Poor detail as expected…
So I will try to use some of this stuff…
And it doesn’t fit perfectly because it’s meant for the Hasegawa version, but…
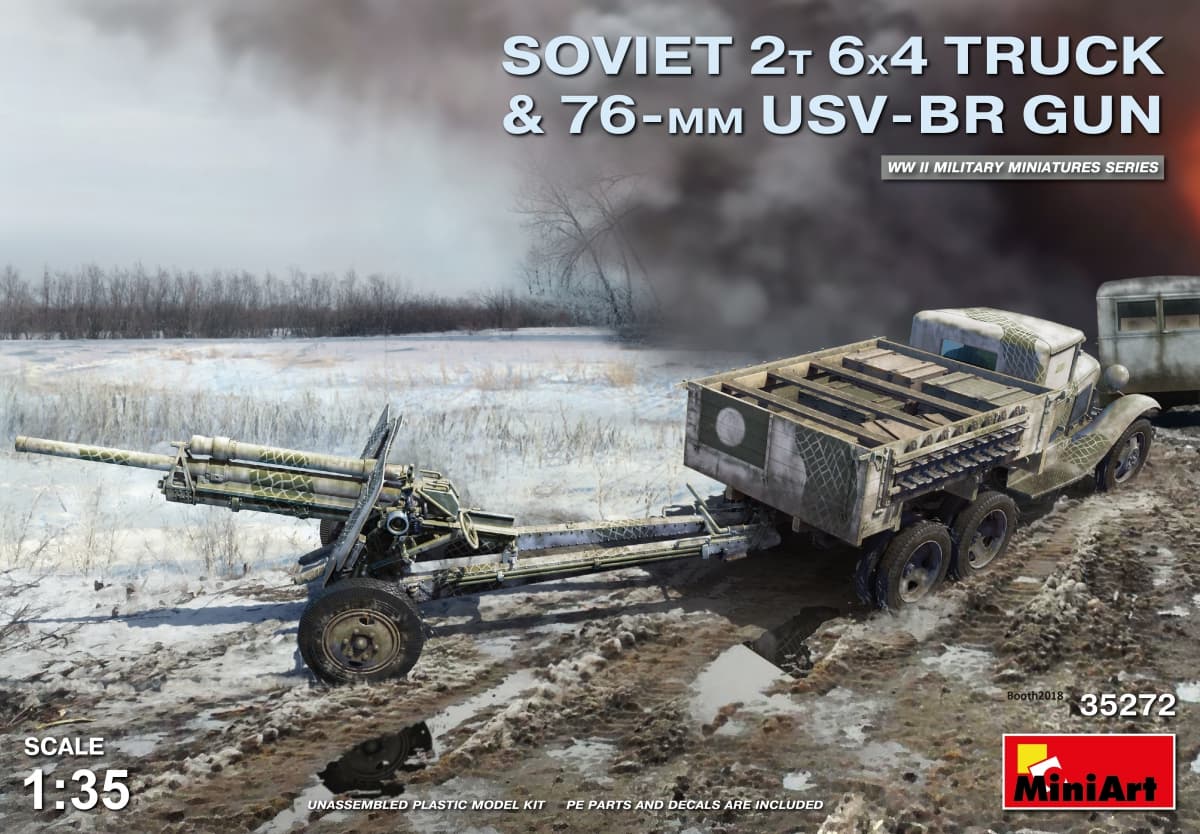
While waiting for my modeling room renovations to be completed I’ve decided to change kits. I was going to do Rfm kv-1 but a miniart kit caught my eye.
I hope to start it sometime next month.
So, once my arm gets better and the cast is off… I intend to give this kit a shot.
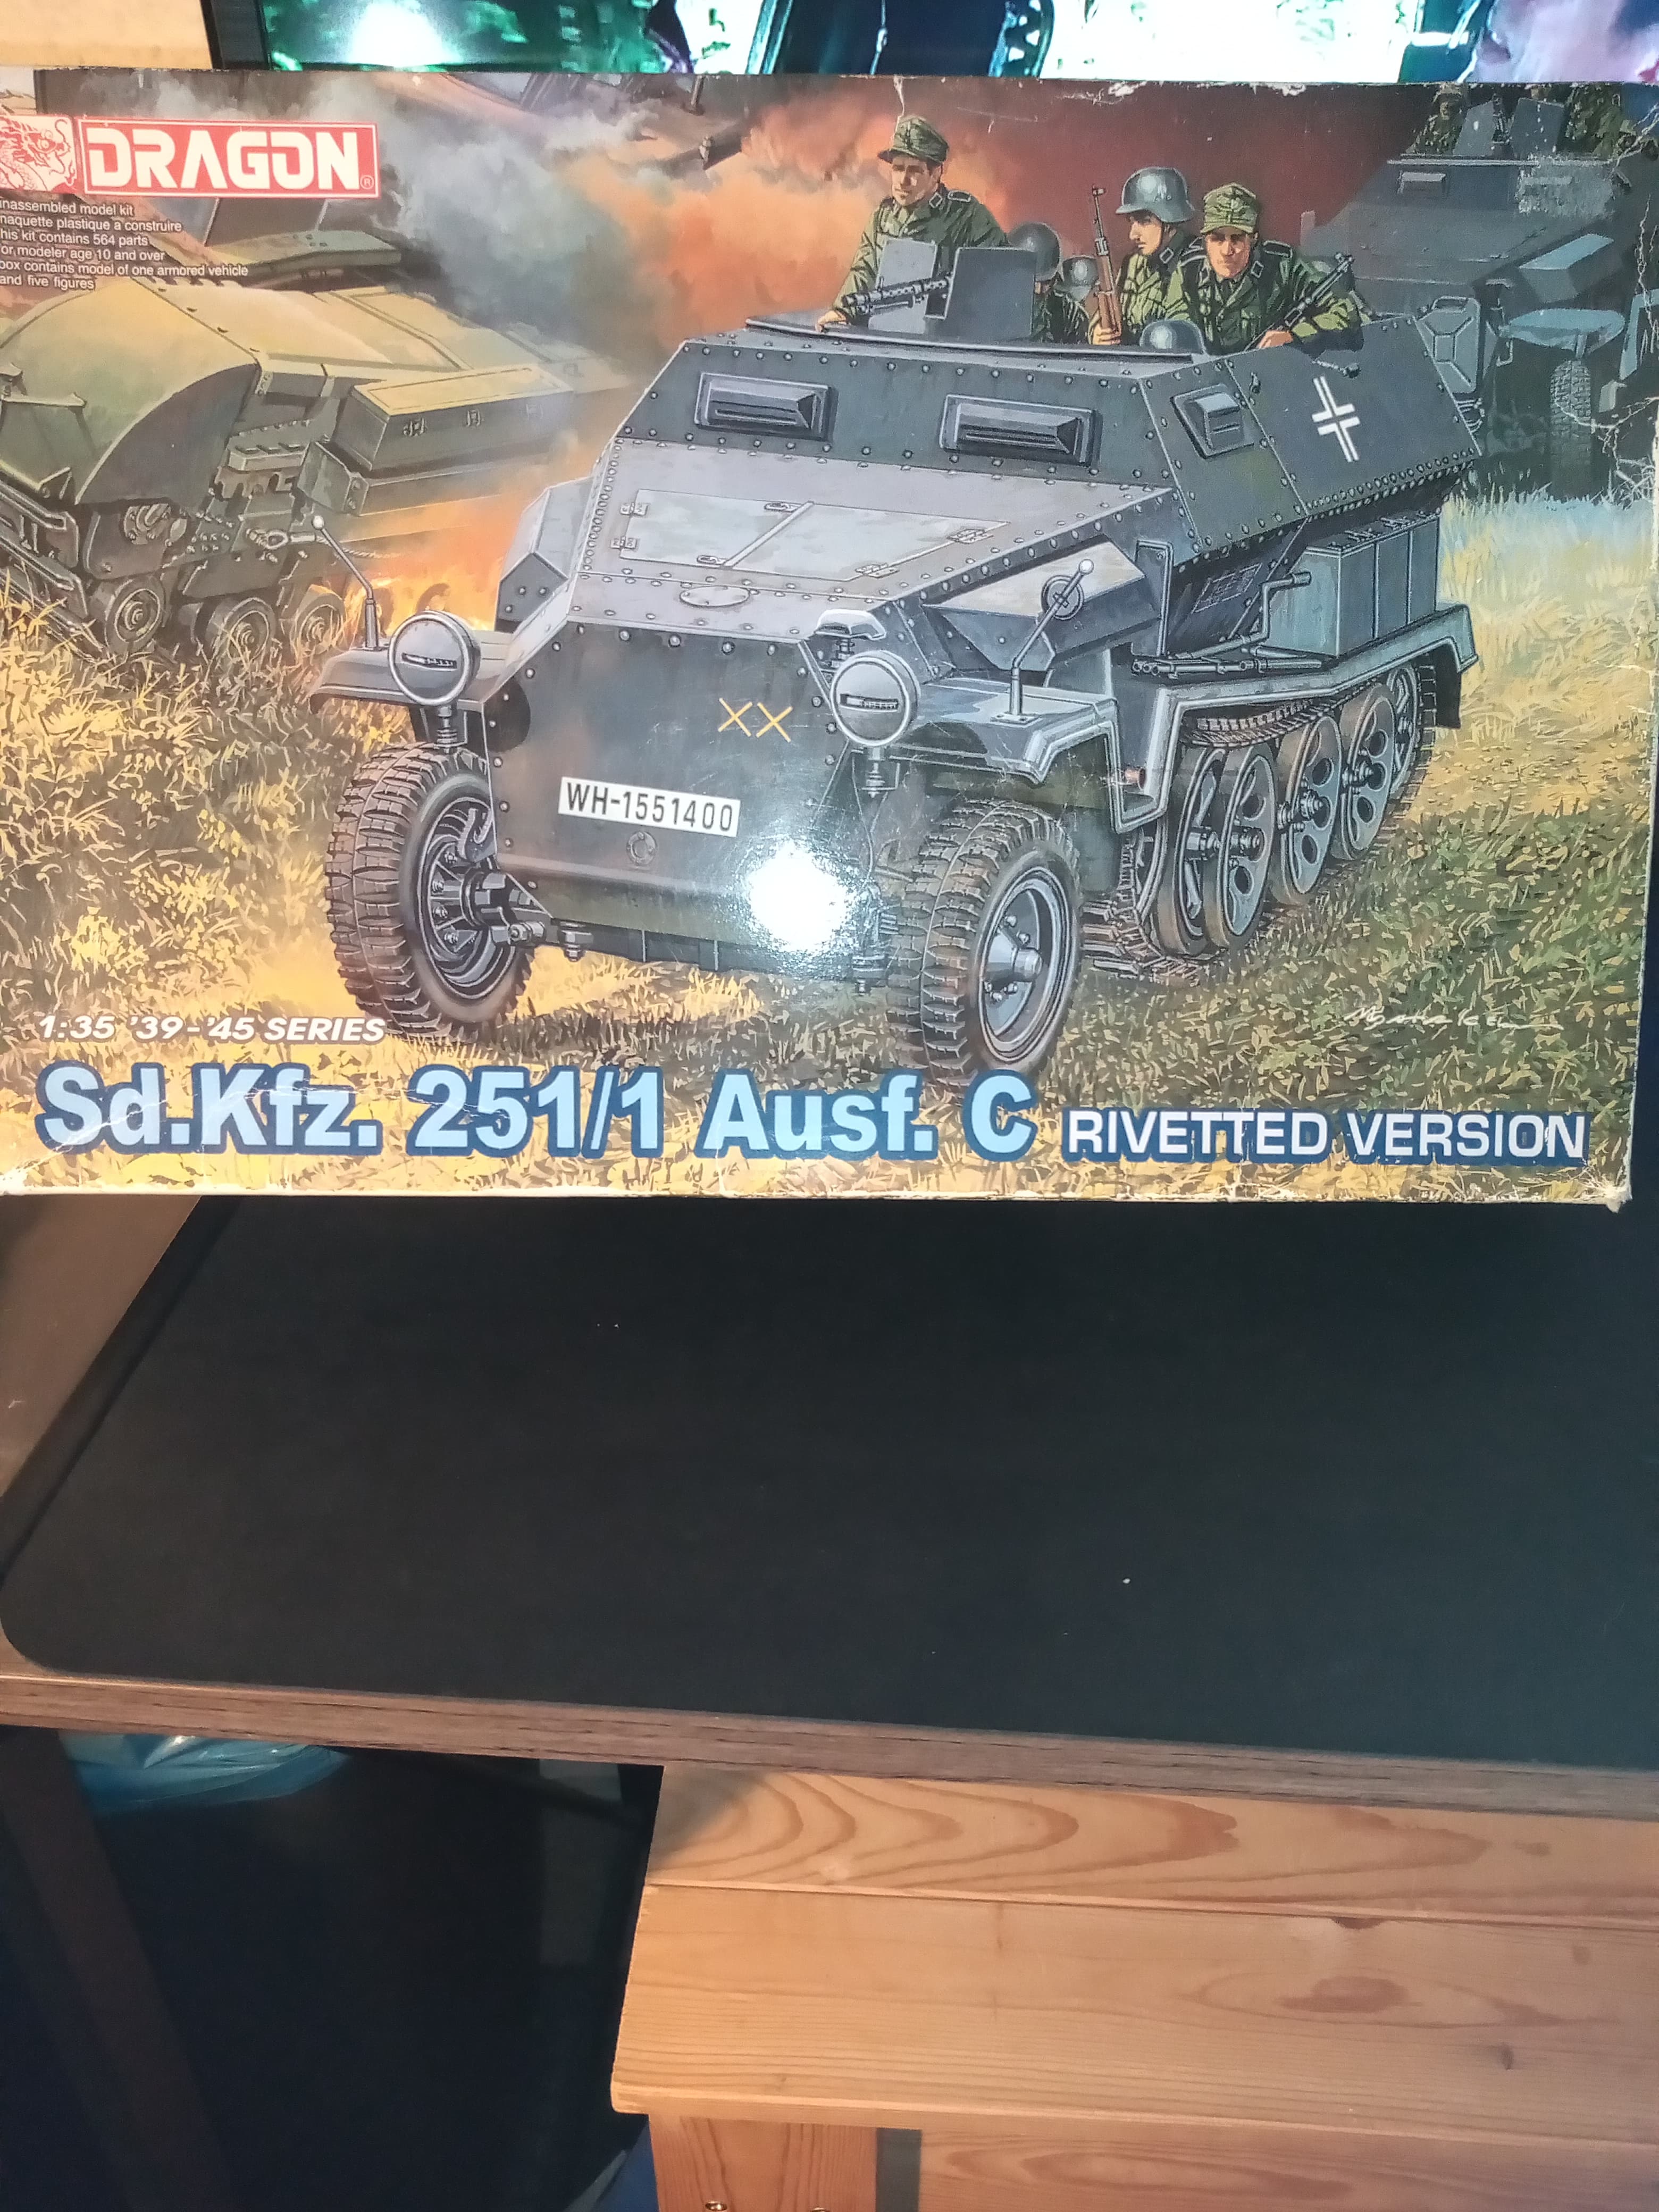
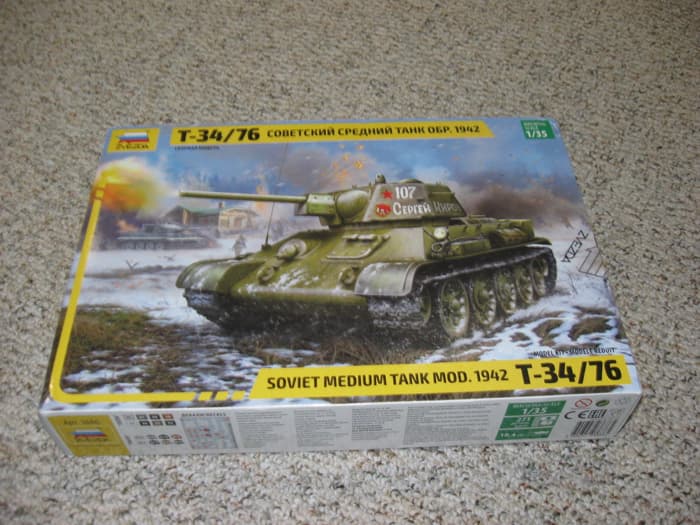
Had it for ages collecting dust so thought I may as well get it done for this build … It will be OOB but it did come with a Verlinden resin stowage set…
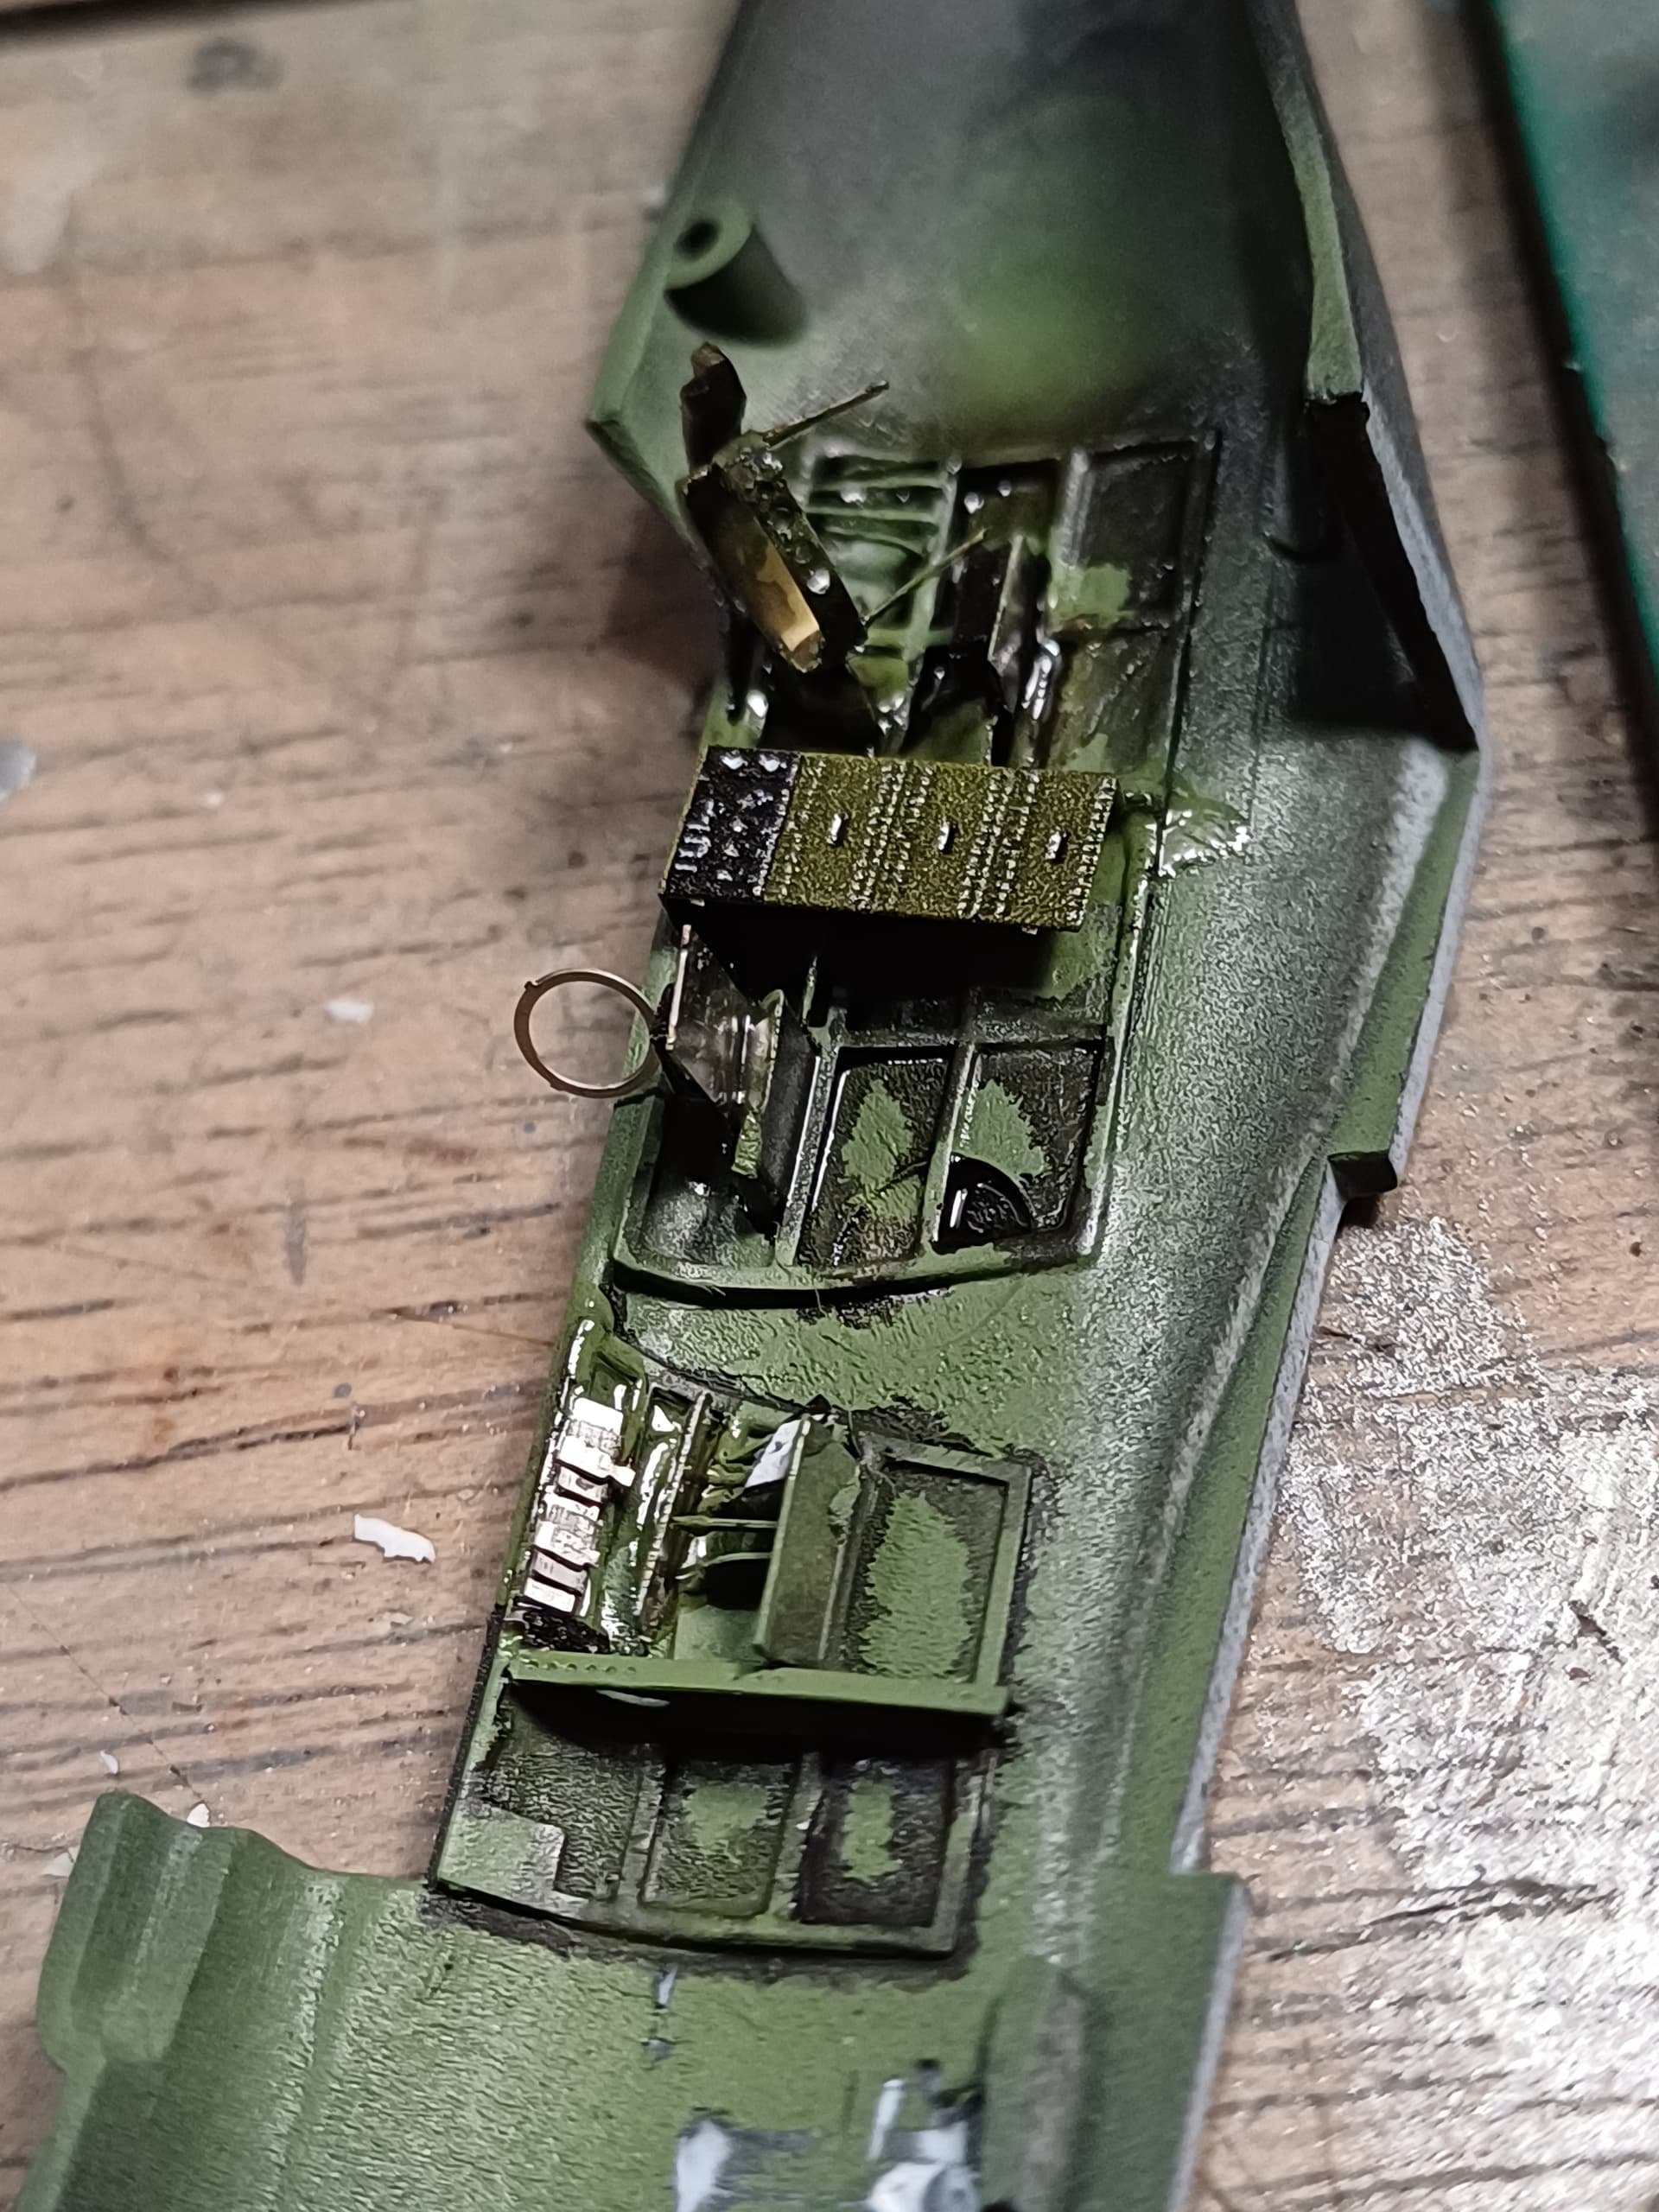
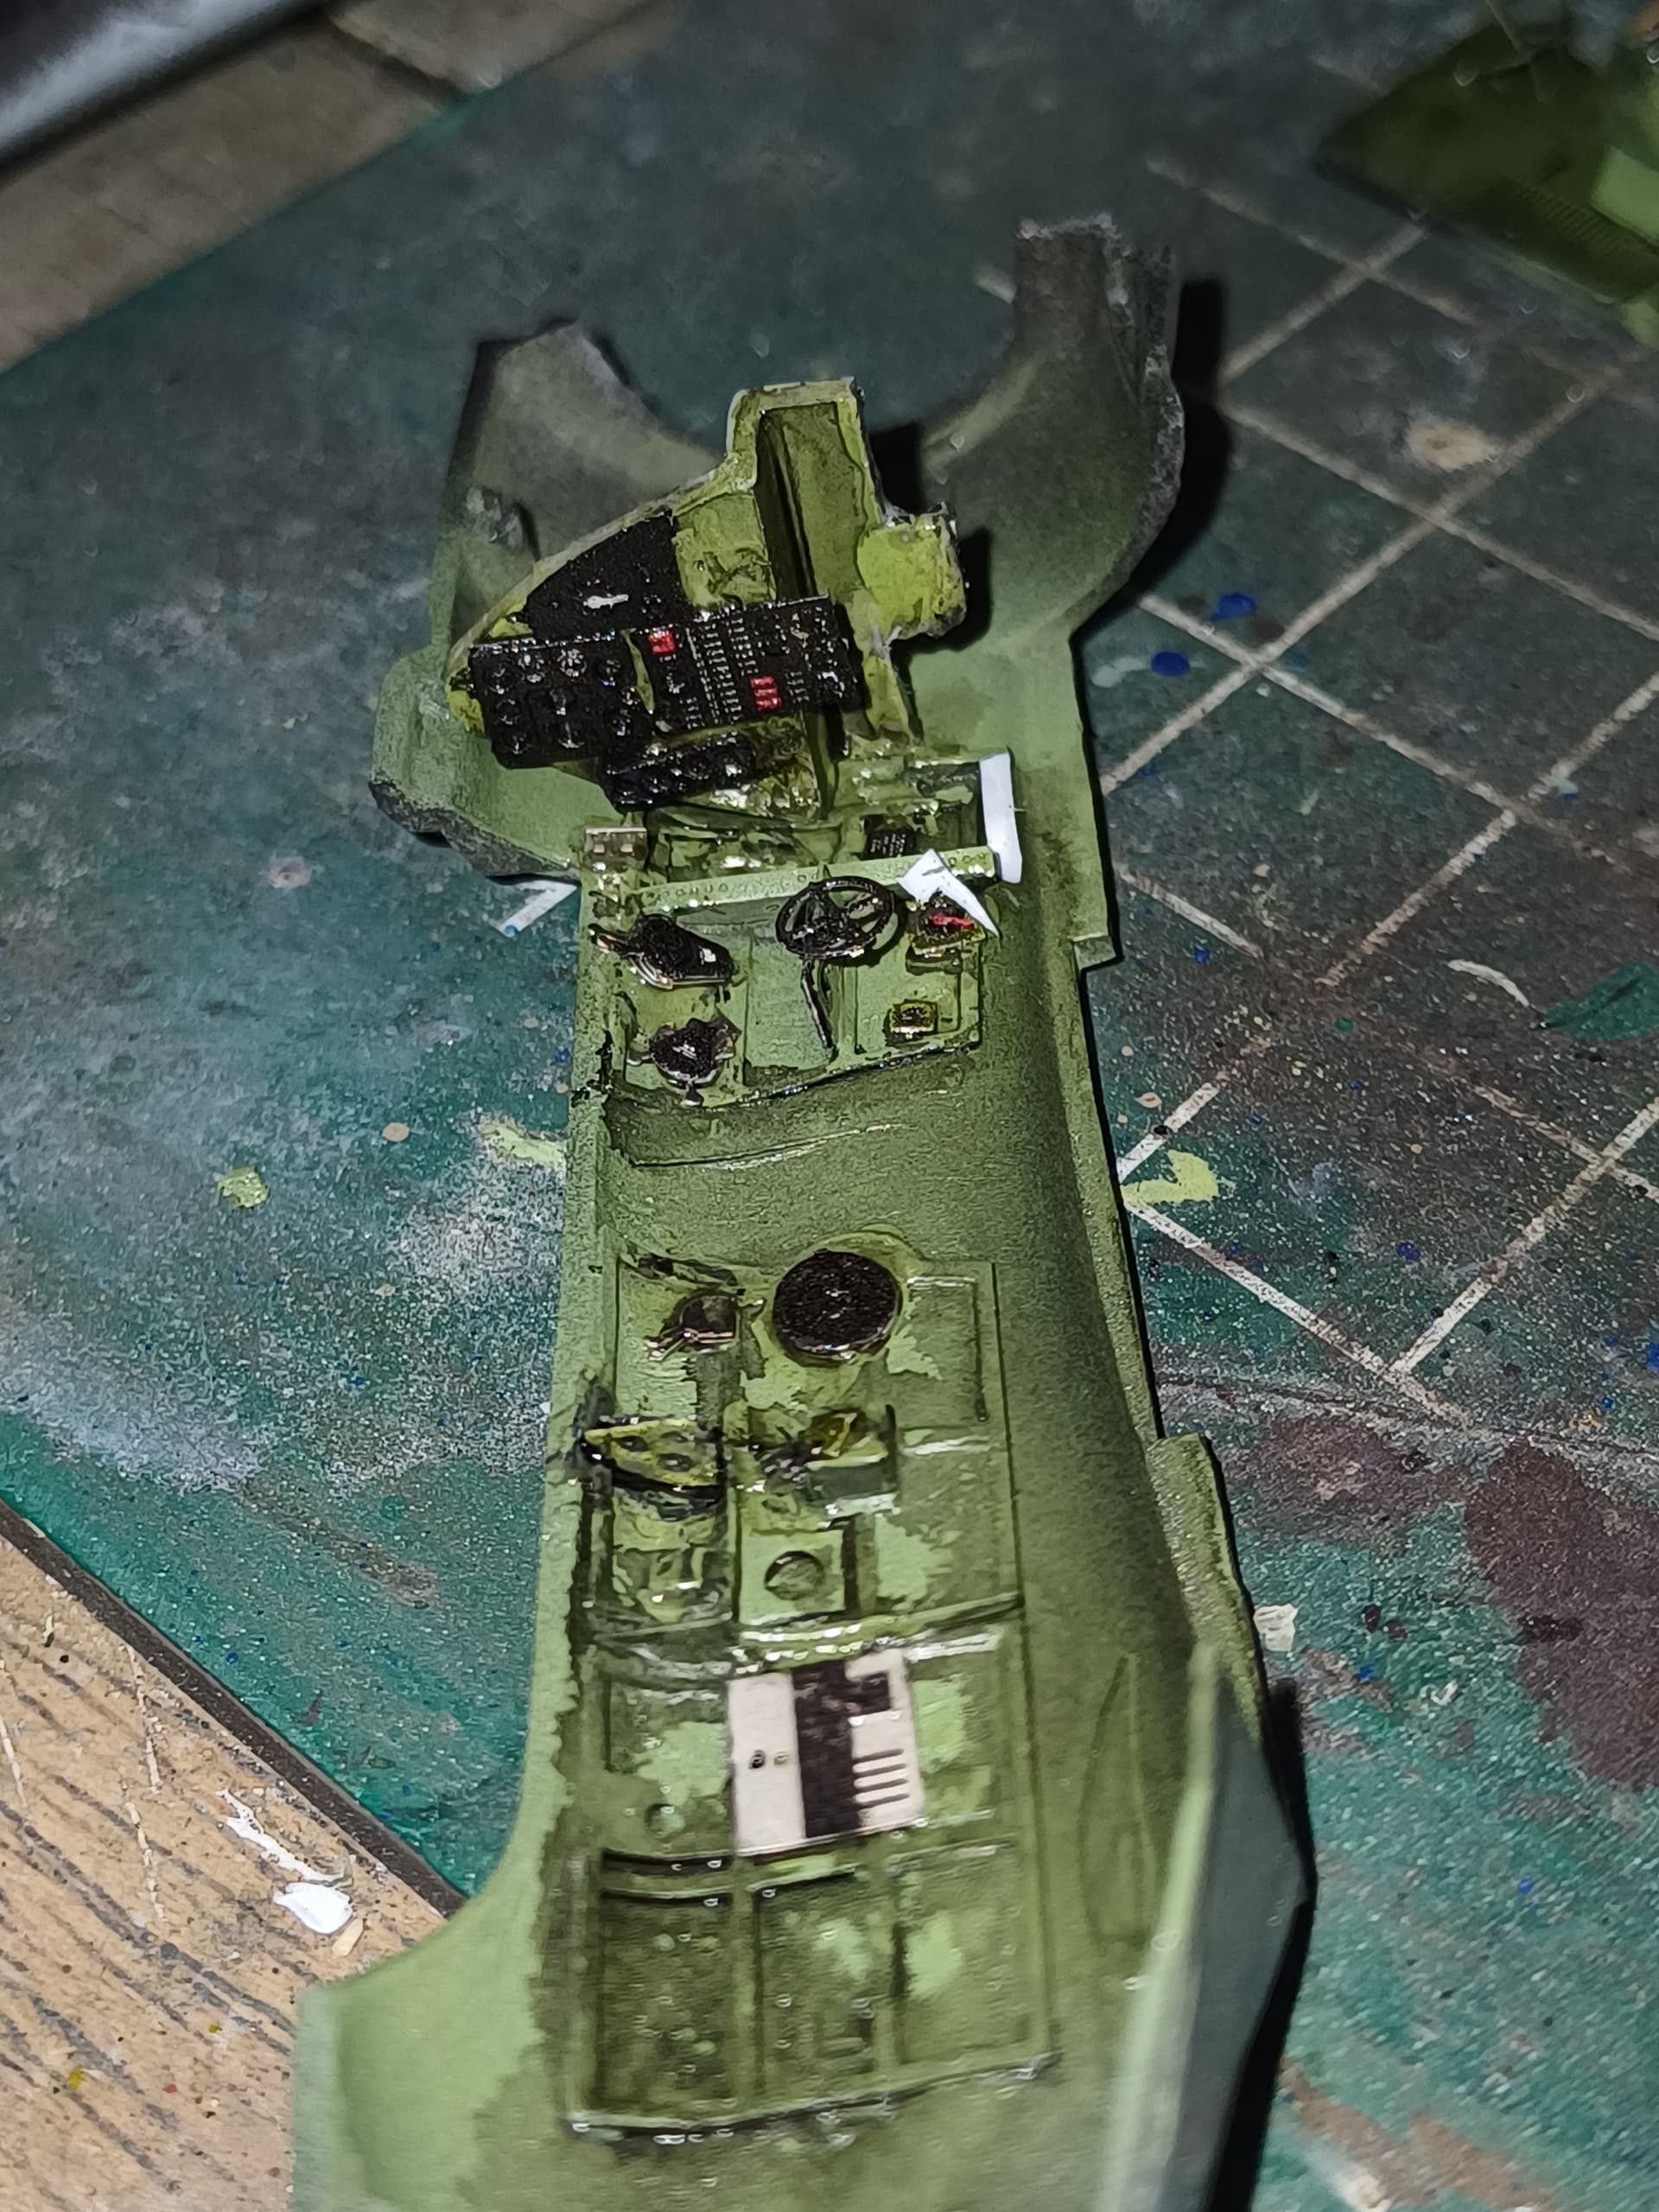
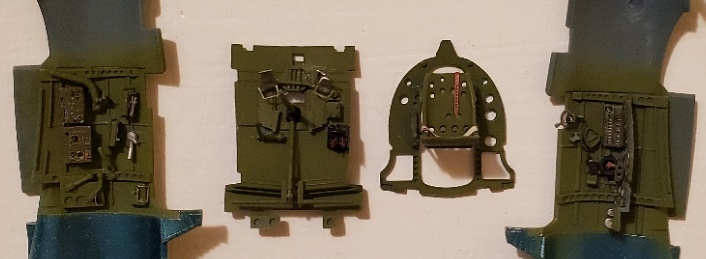
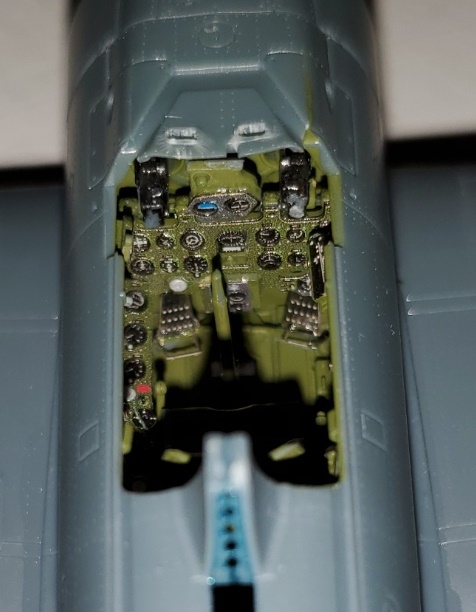
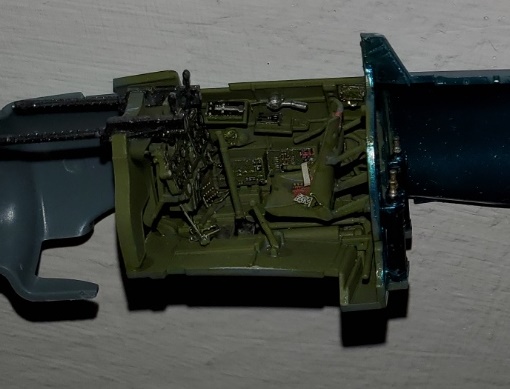
Progress on the Eduard 1/48 A6M2:
I don’t know whether to be angrier at the Japanese for stuffing all this in the cockpit, or Eduard for replicating it. But so far only a couple of teeny tiny PE pieces have disappeared into the ether, so I’m calling it good. Tomorrow: the instrument panel!
Michael ![]()
![]()
@michaelsatin Count yourself lucky!! I dropped one of the valve covers for the engine on the SM79! And it disappeared on the great concrete monster. A replacement has since been fabricated, after finding a few words I thought I had forgotten LOL. The cockpit sure looks the part, Michael, looking forward to seeing how the rest of the kit goes together.
So progress has been made. The interior detail is practically non-existent, and what is there is likely wrong! Disappointing Trumpeter! The SM.79 has a tubular internal structure that is replicated indistinctly, just a little bit for one of the rear-facing MGs. I’ve seen replacement 3D-printed parts for more money than the model is worth. This kit will be most definitely OOB! Trumpeter tells you to paint the interior Italian interior green. And the references I’ve seen say that’s only for the cockpit area. The fuselage is a light grey, but Trumpeter calls for Dark sea gray for the landing gear and I thought I’d replicate that for all interior surfaces, barring the cockpit. Likely not correct but it’ll be somewhat uniform. So far I’ve assembled the wheels, landing gear, and some of the parts in the gondola. I’ve laid down paint on the fuselage, landing gear, nacelles, and wing interior. I’ve attached the landing gear before assembling the nacelles, and before painting as it seemed a more positive way to attach the Landing gear and glue it securely in place.
 Trumpeter 1/48 SM.79 by Chris Wilson, on Flickr
 Trumpeter 1/48 SM.79 by Chris Wilson, on Flickr
 Trumpeter 1/48 SM.79 by Chris Wilson, on Flickr
 Trumpeter 1/48 SM.79 by Chris Wilson, on Flickr
 Trumpeter 1/48 SM.79 by Chris Wilson, on Flickr
 Trumpeter 1/48 SM.79 by Chris Wilson, on Flickr
 Trumpeter 1/48 SM.79 by Chris Wilson, on Flickr
NIce work so far, Chris! FWIW, and I’m no expert on Italian AC, but in my experience Trumpeter painting instructions are best treated as entertaining fiction. Hopefully someone here can offer better advice.
Michael ![]()
![]()
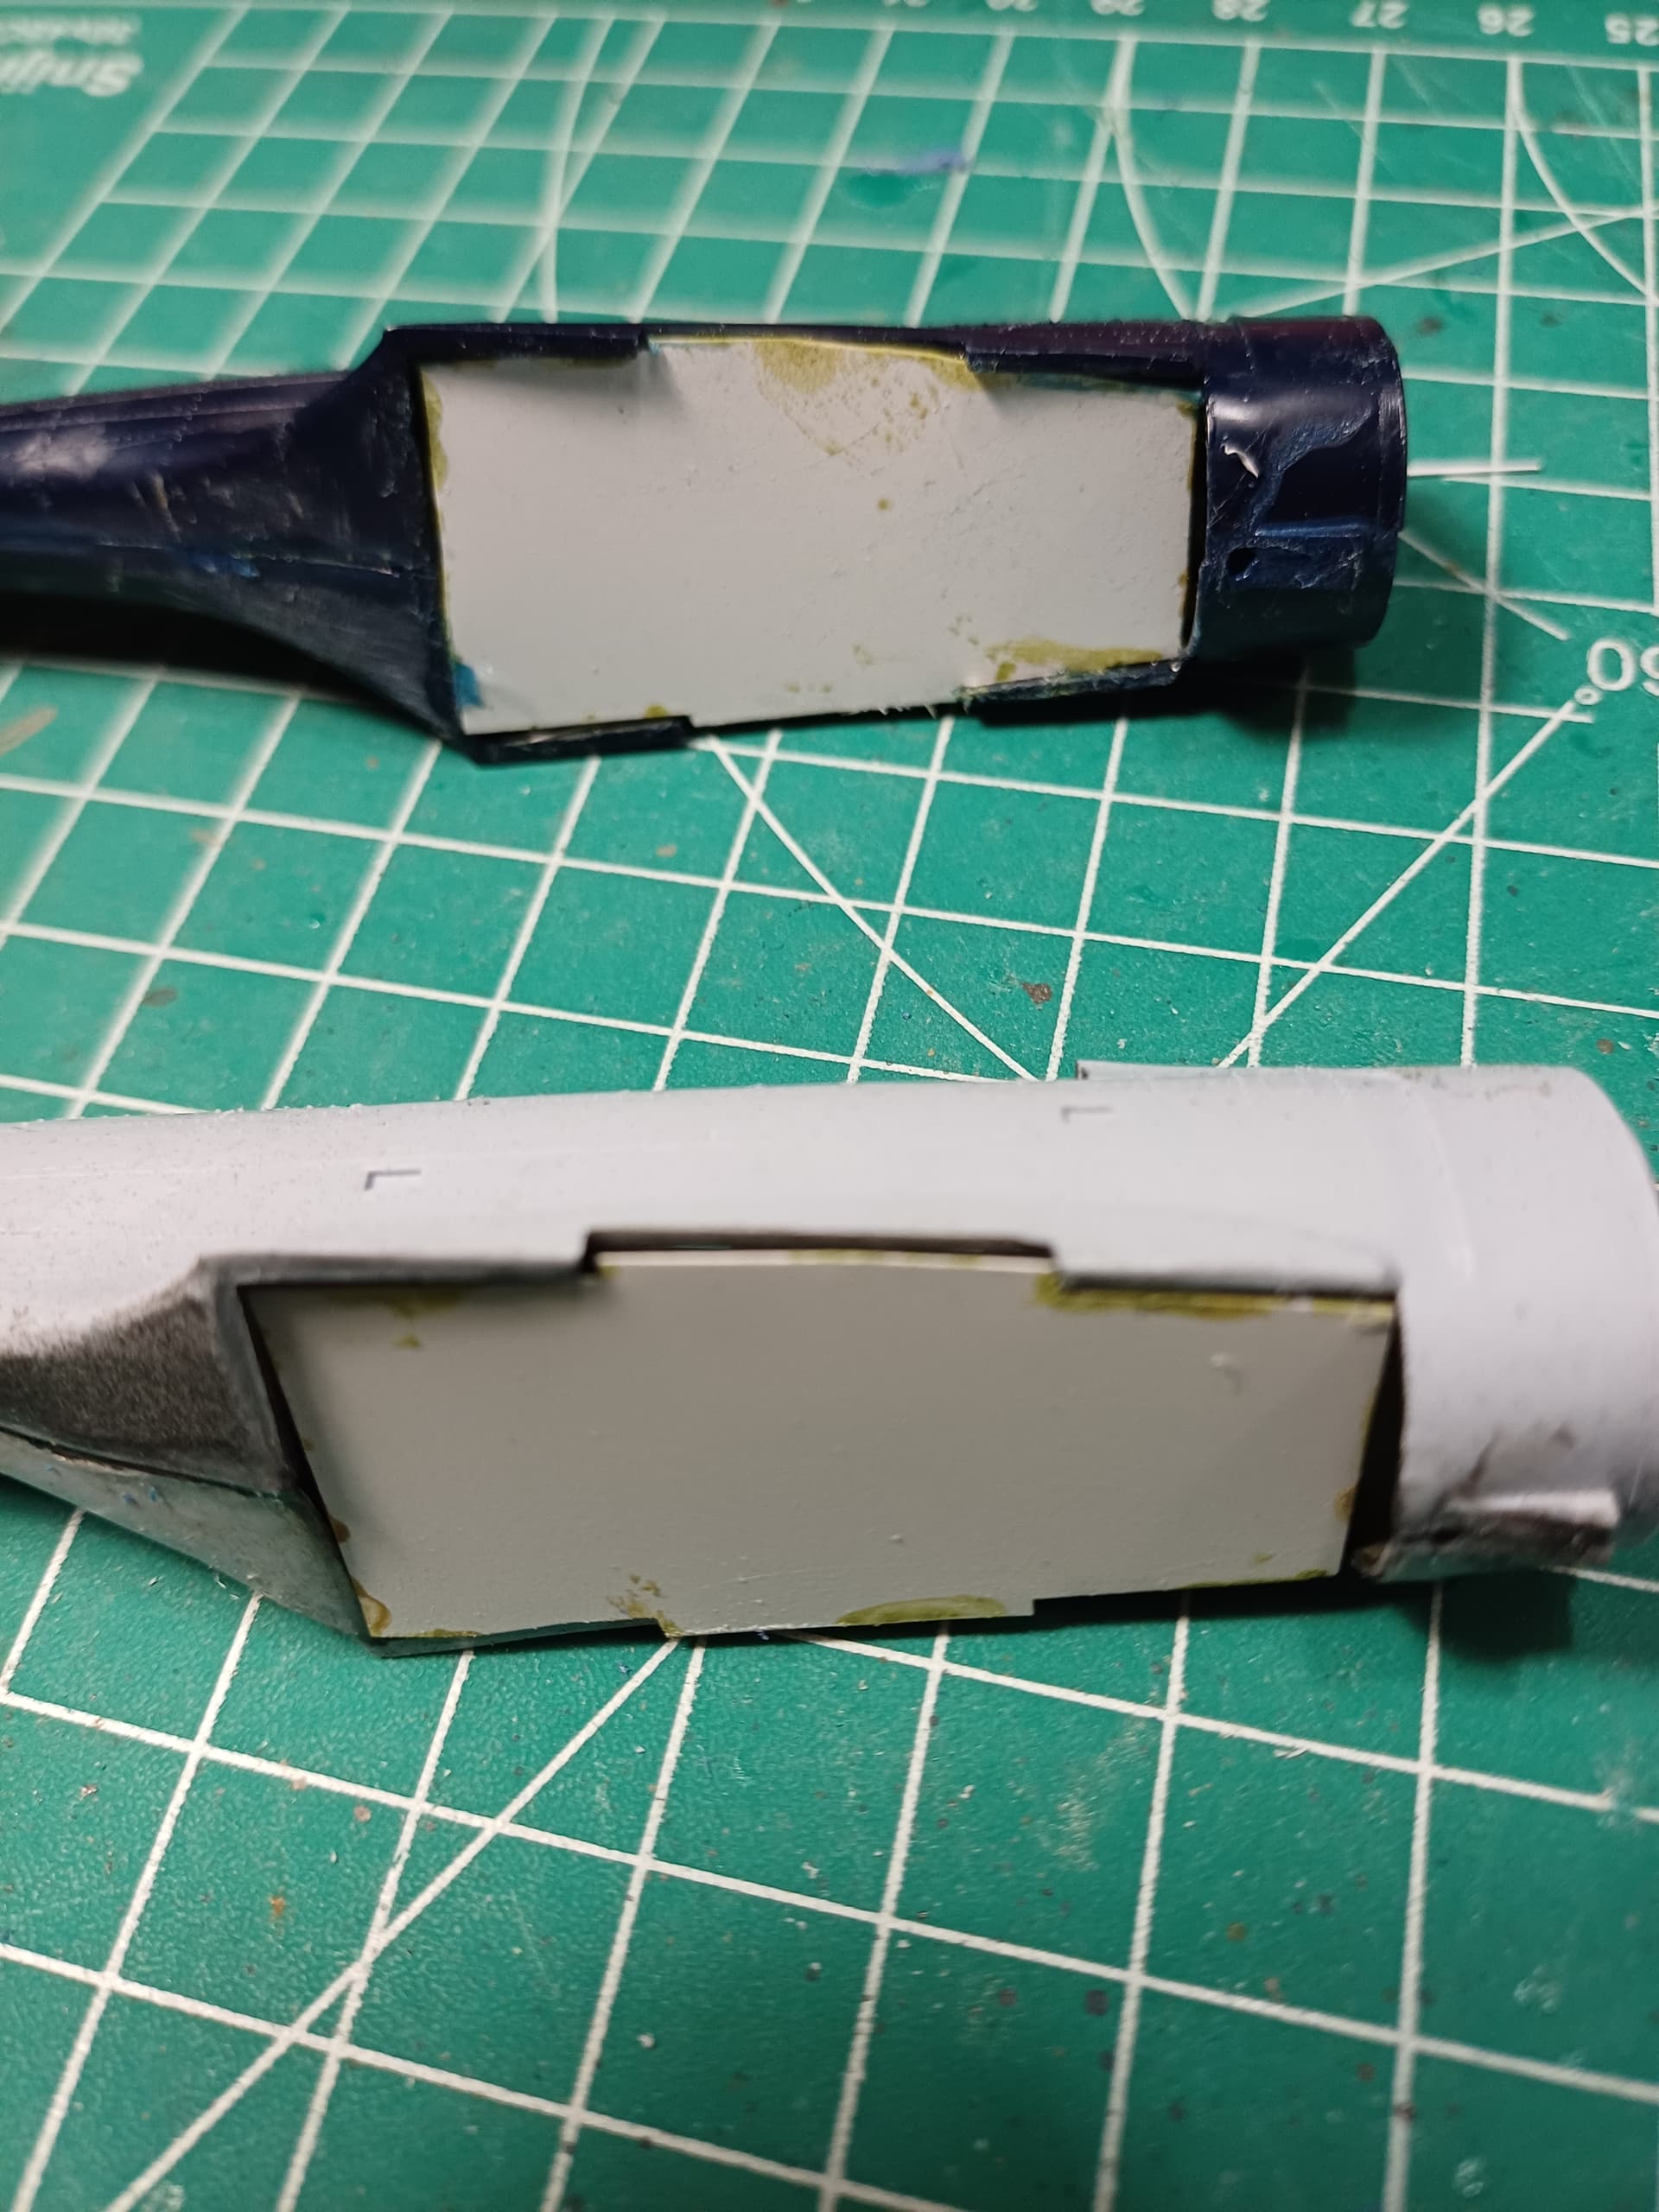
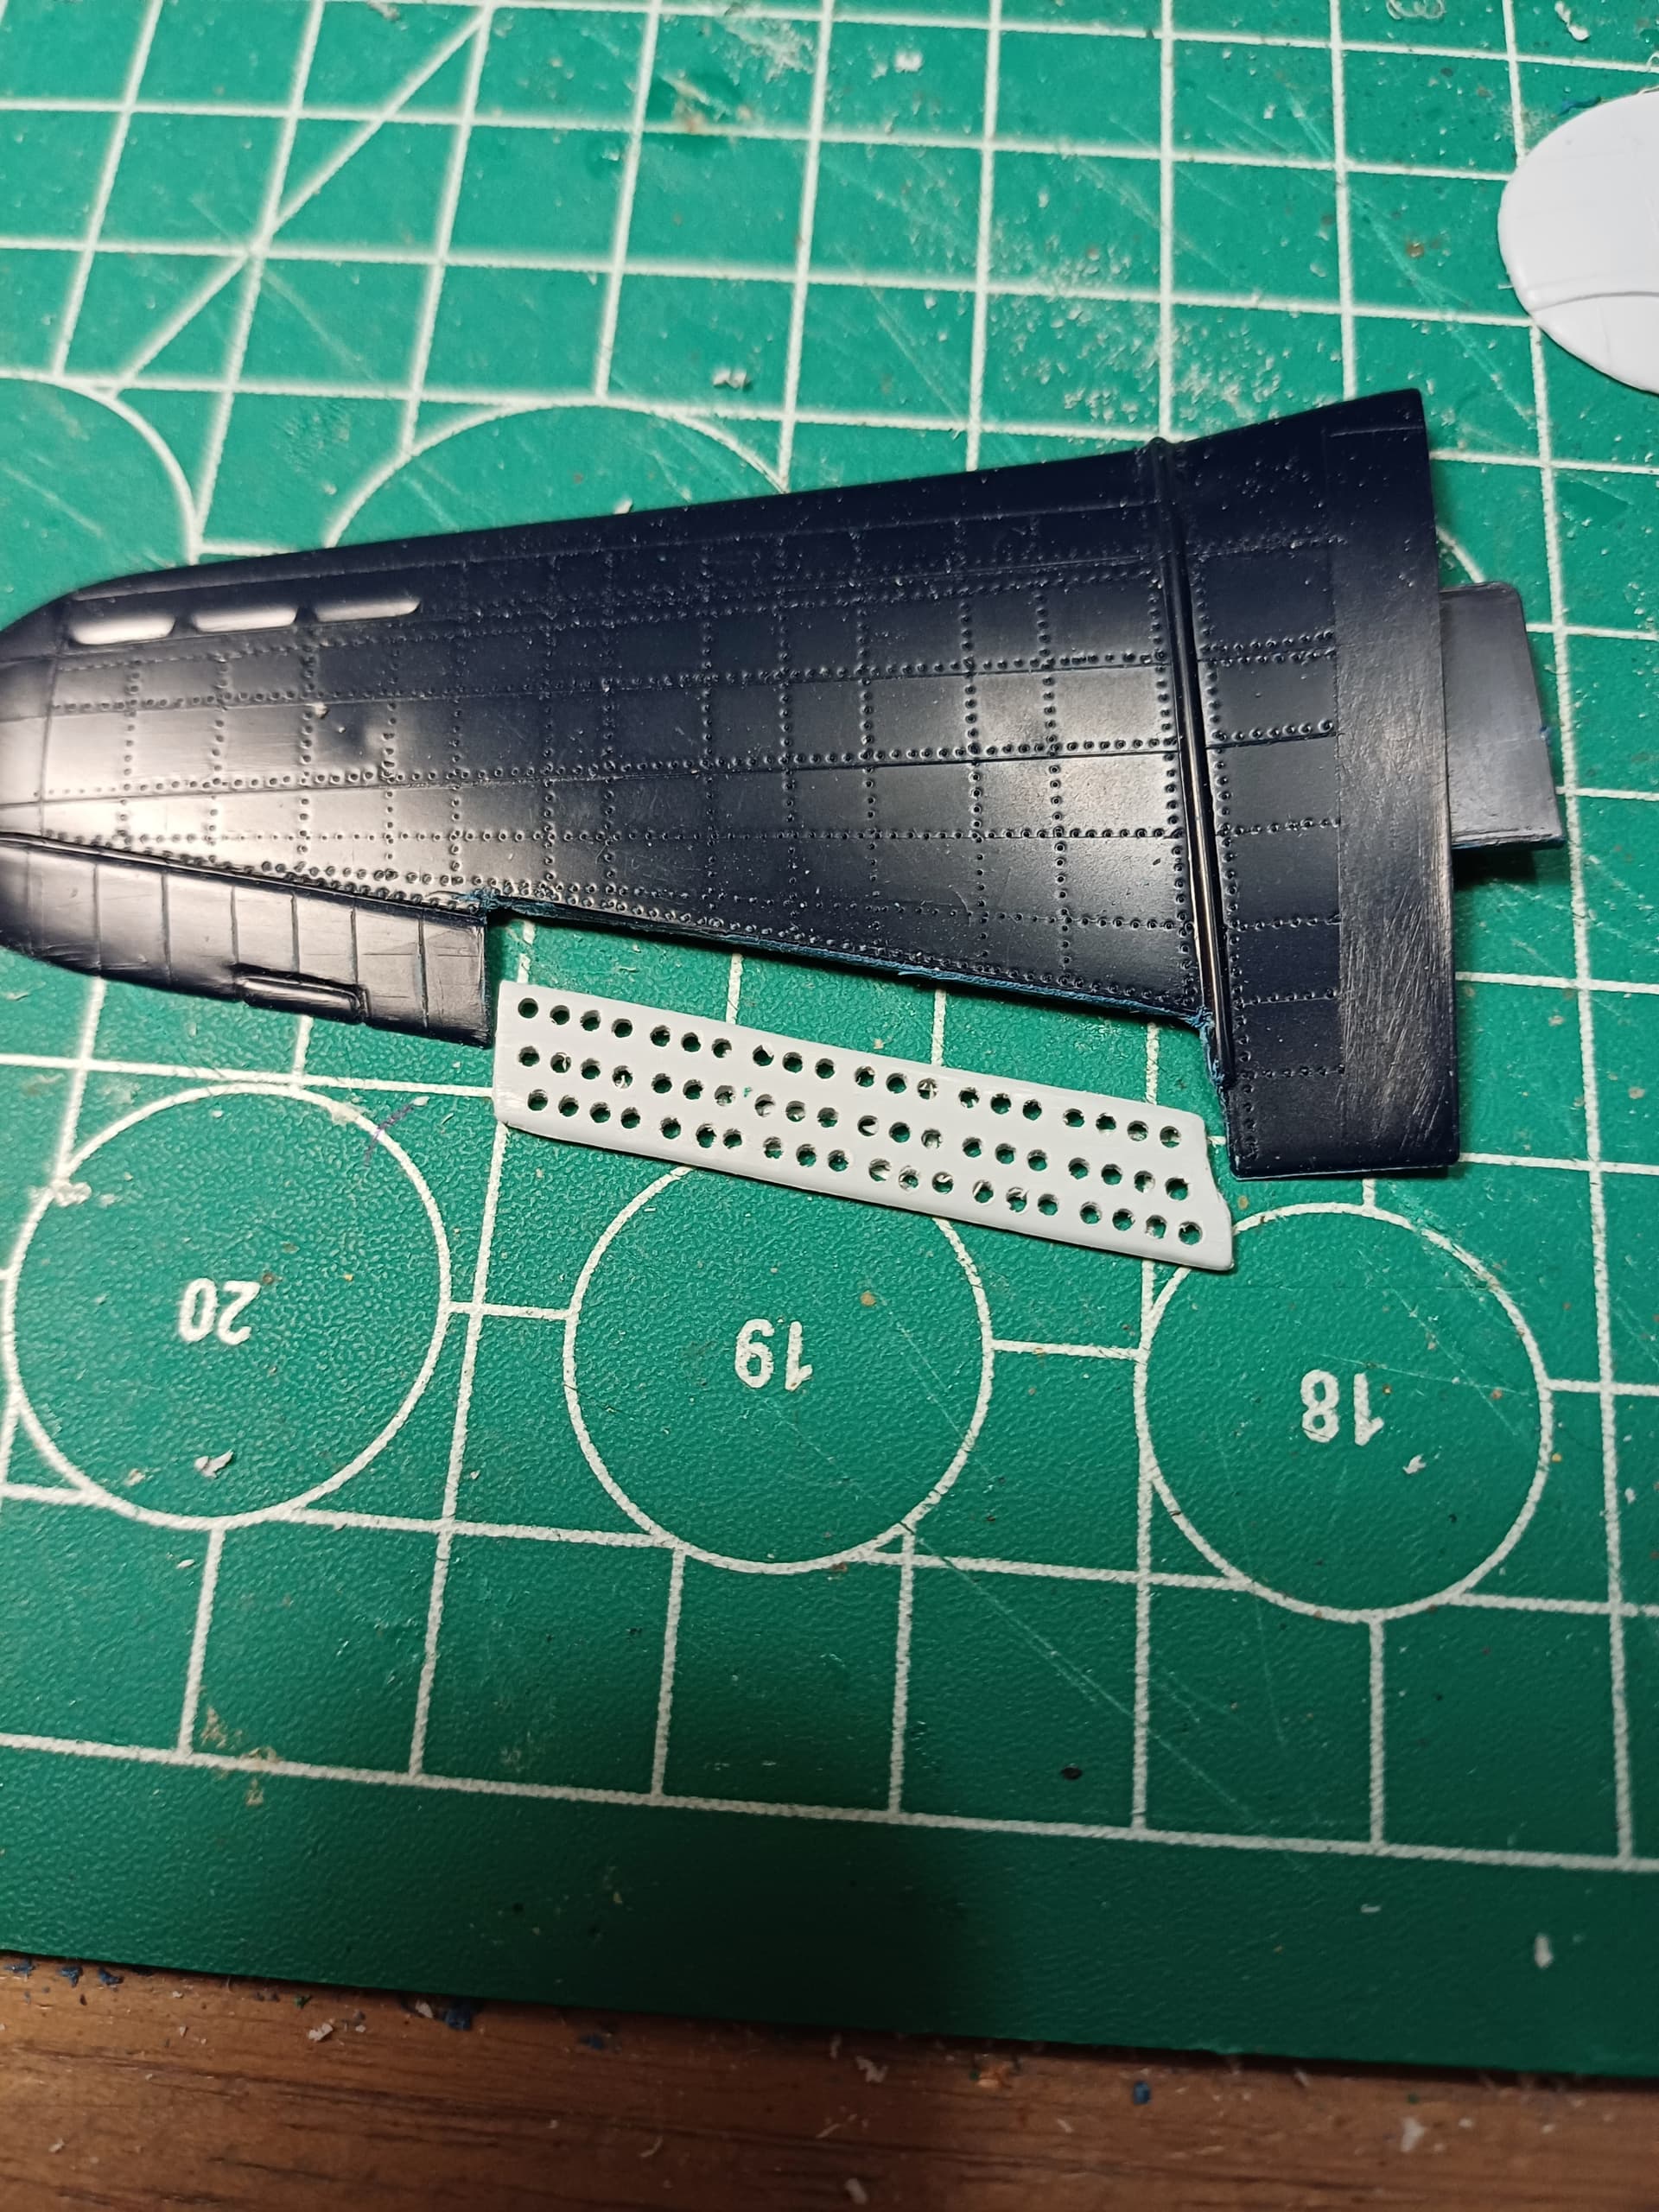
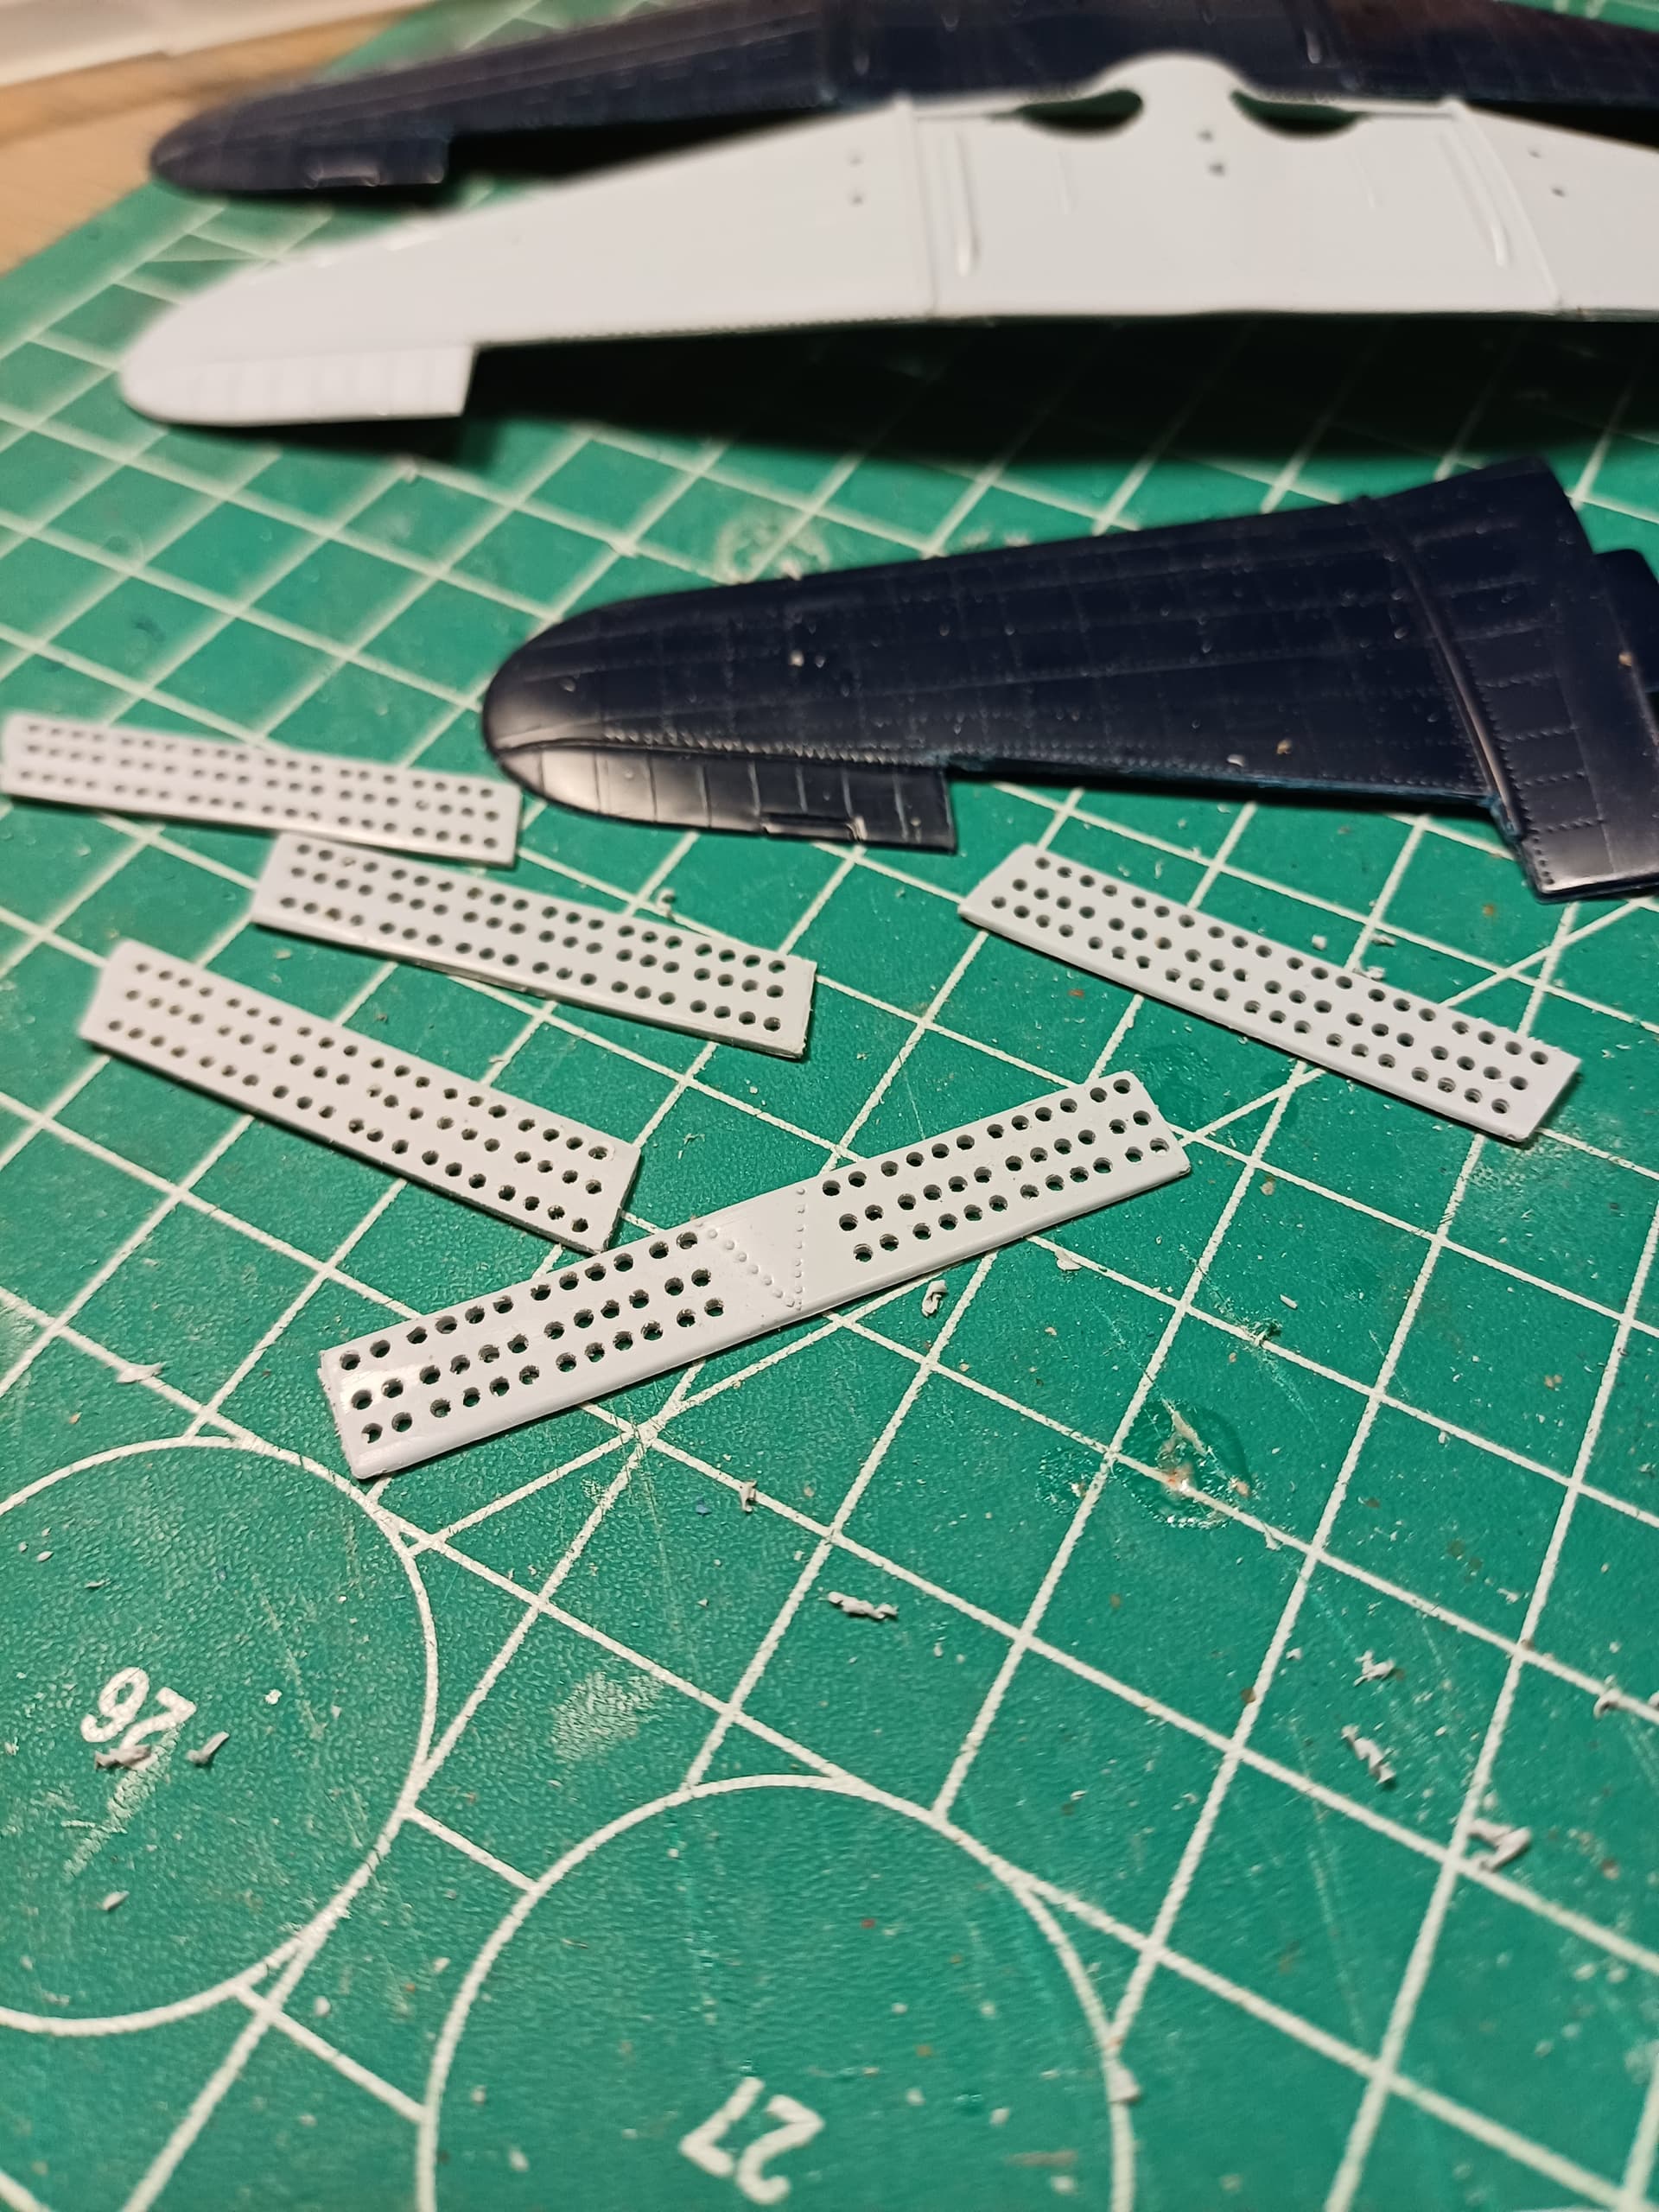
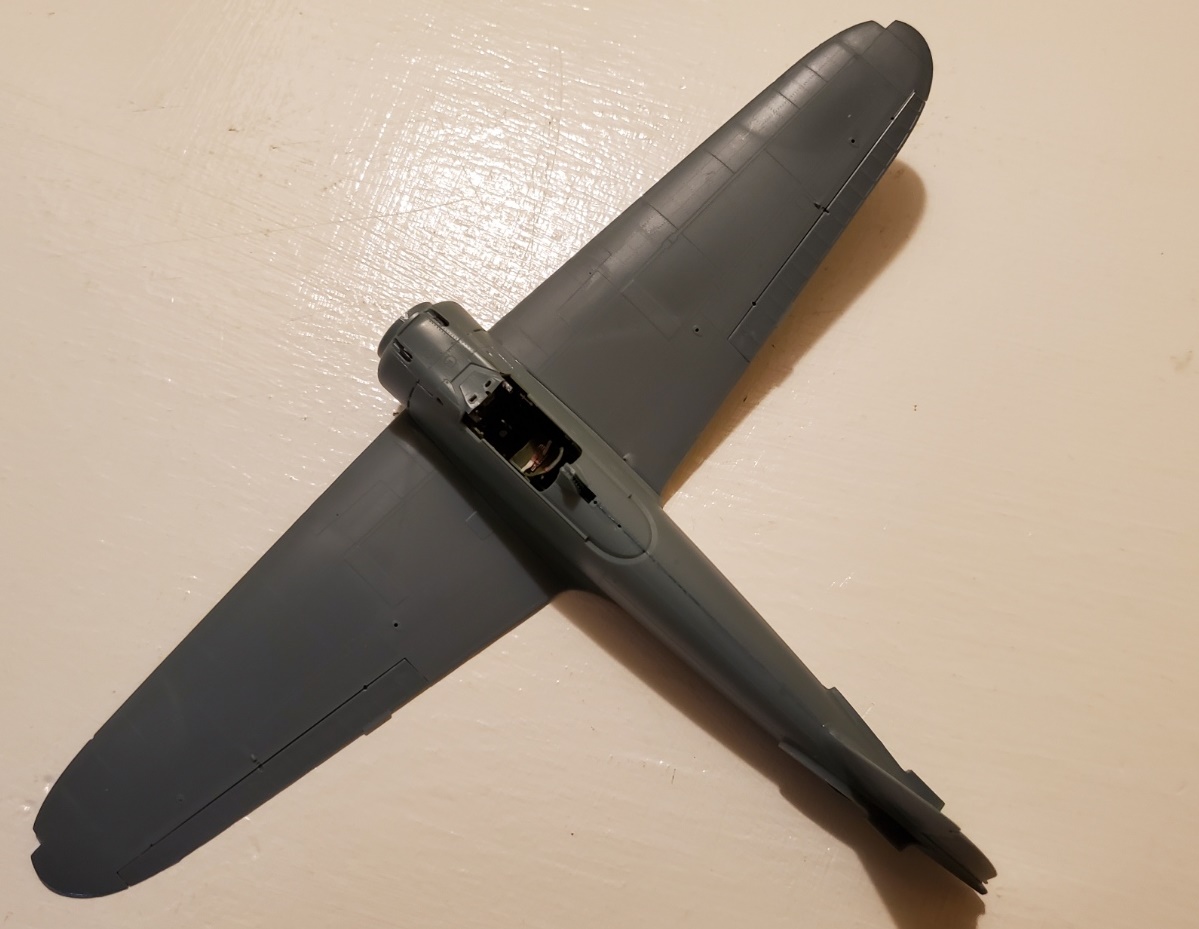
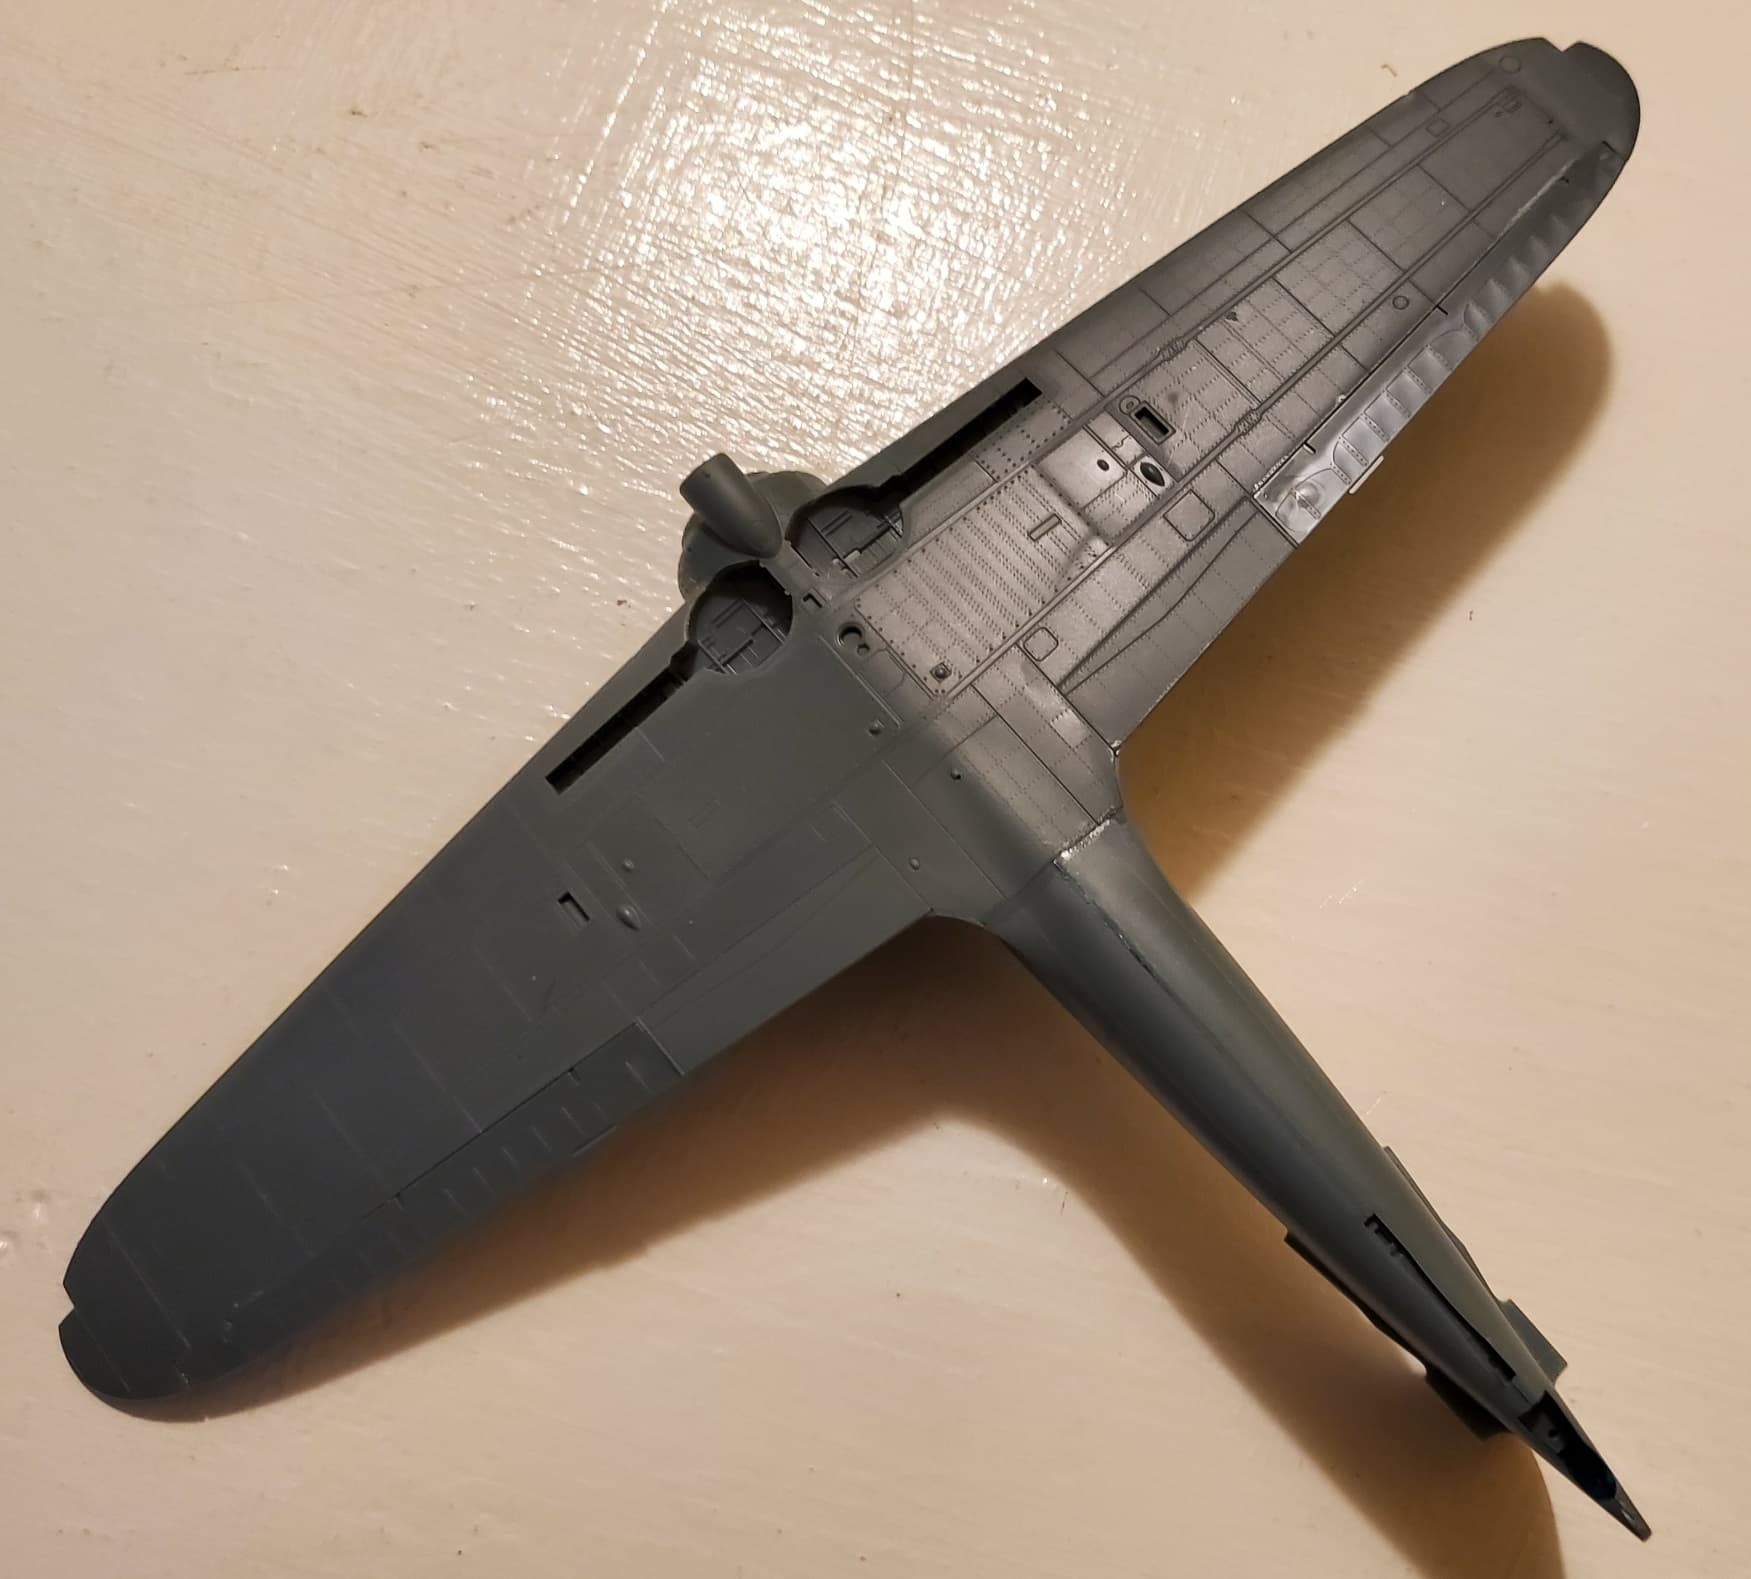
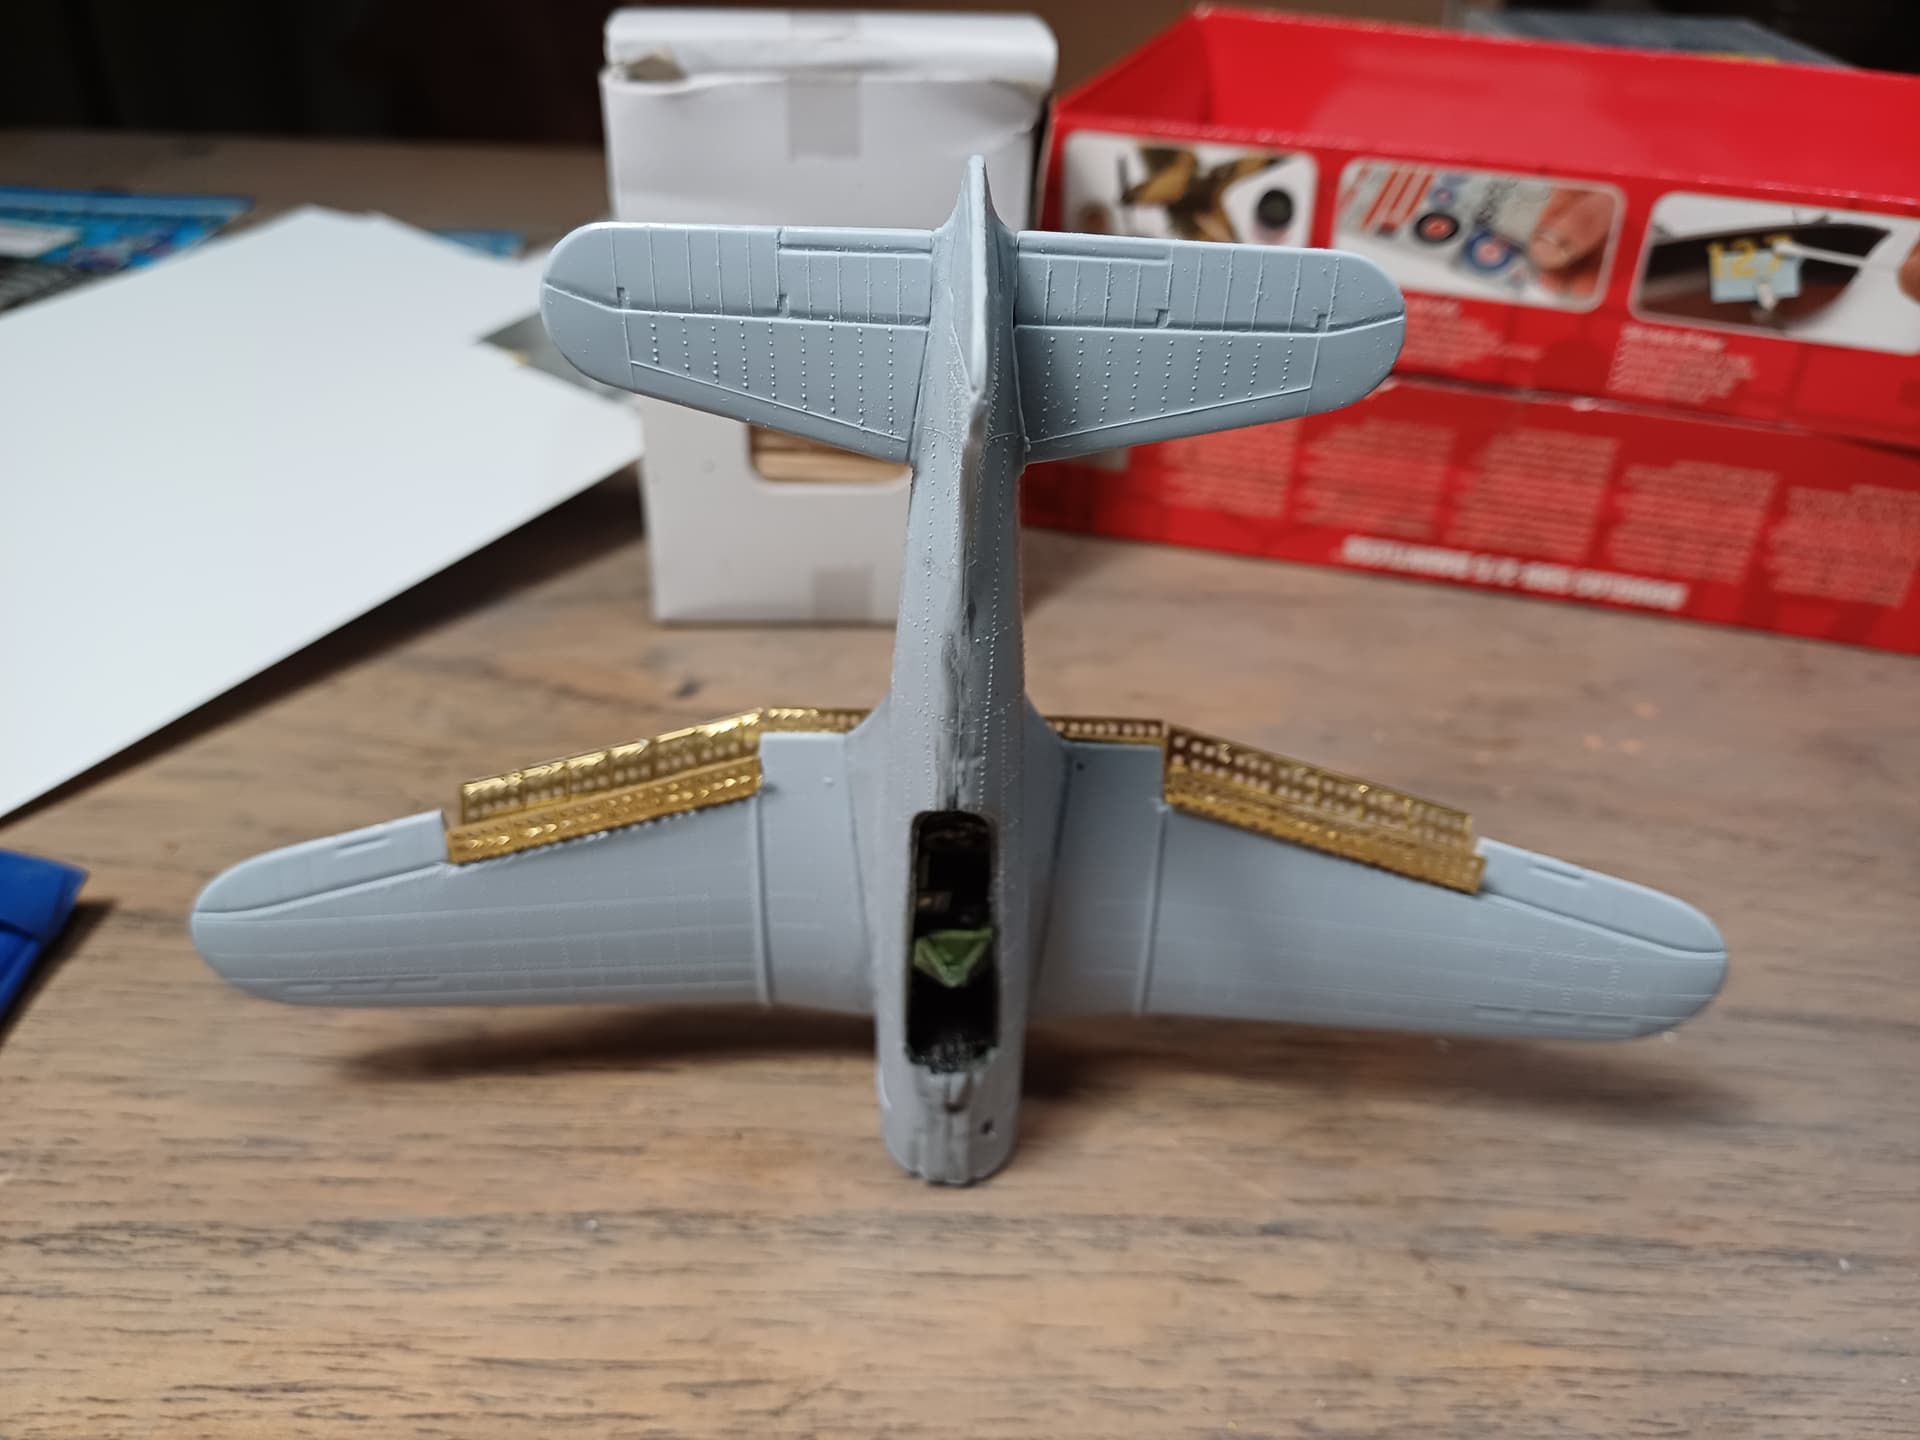
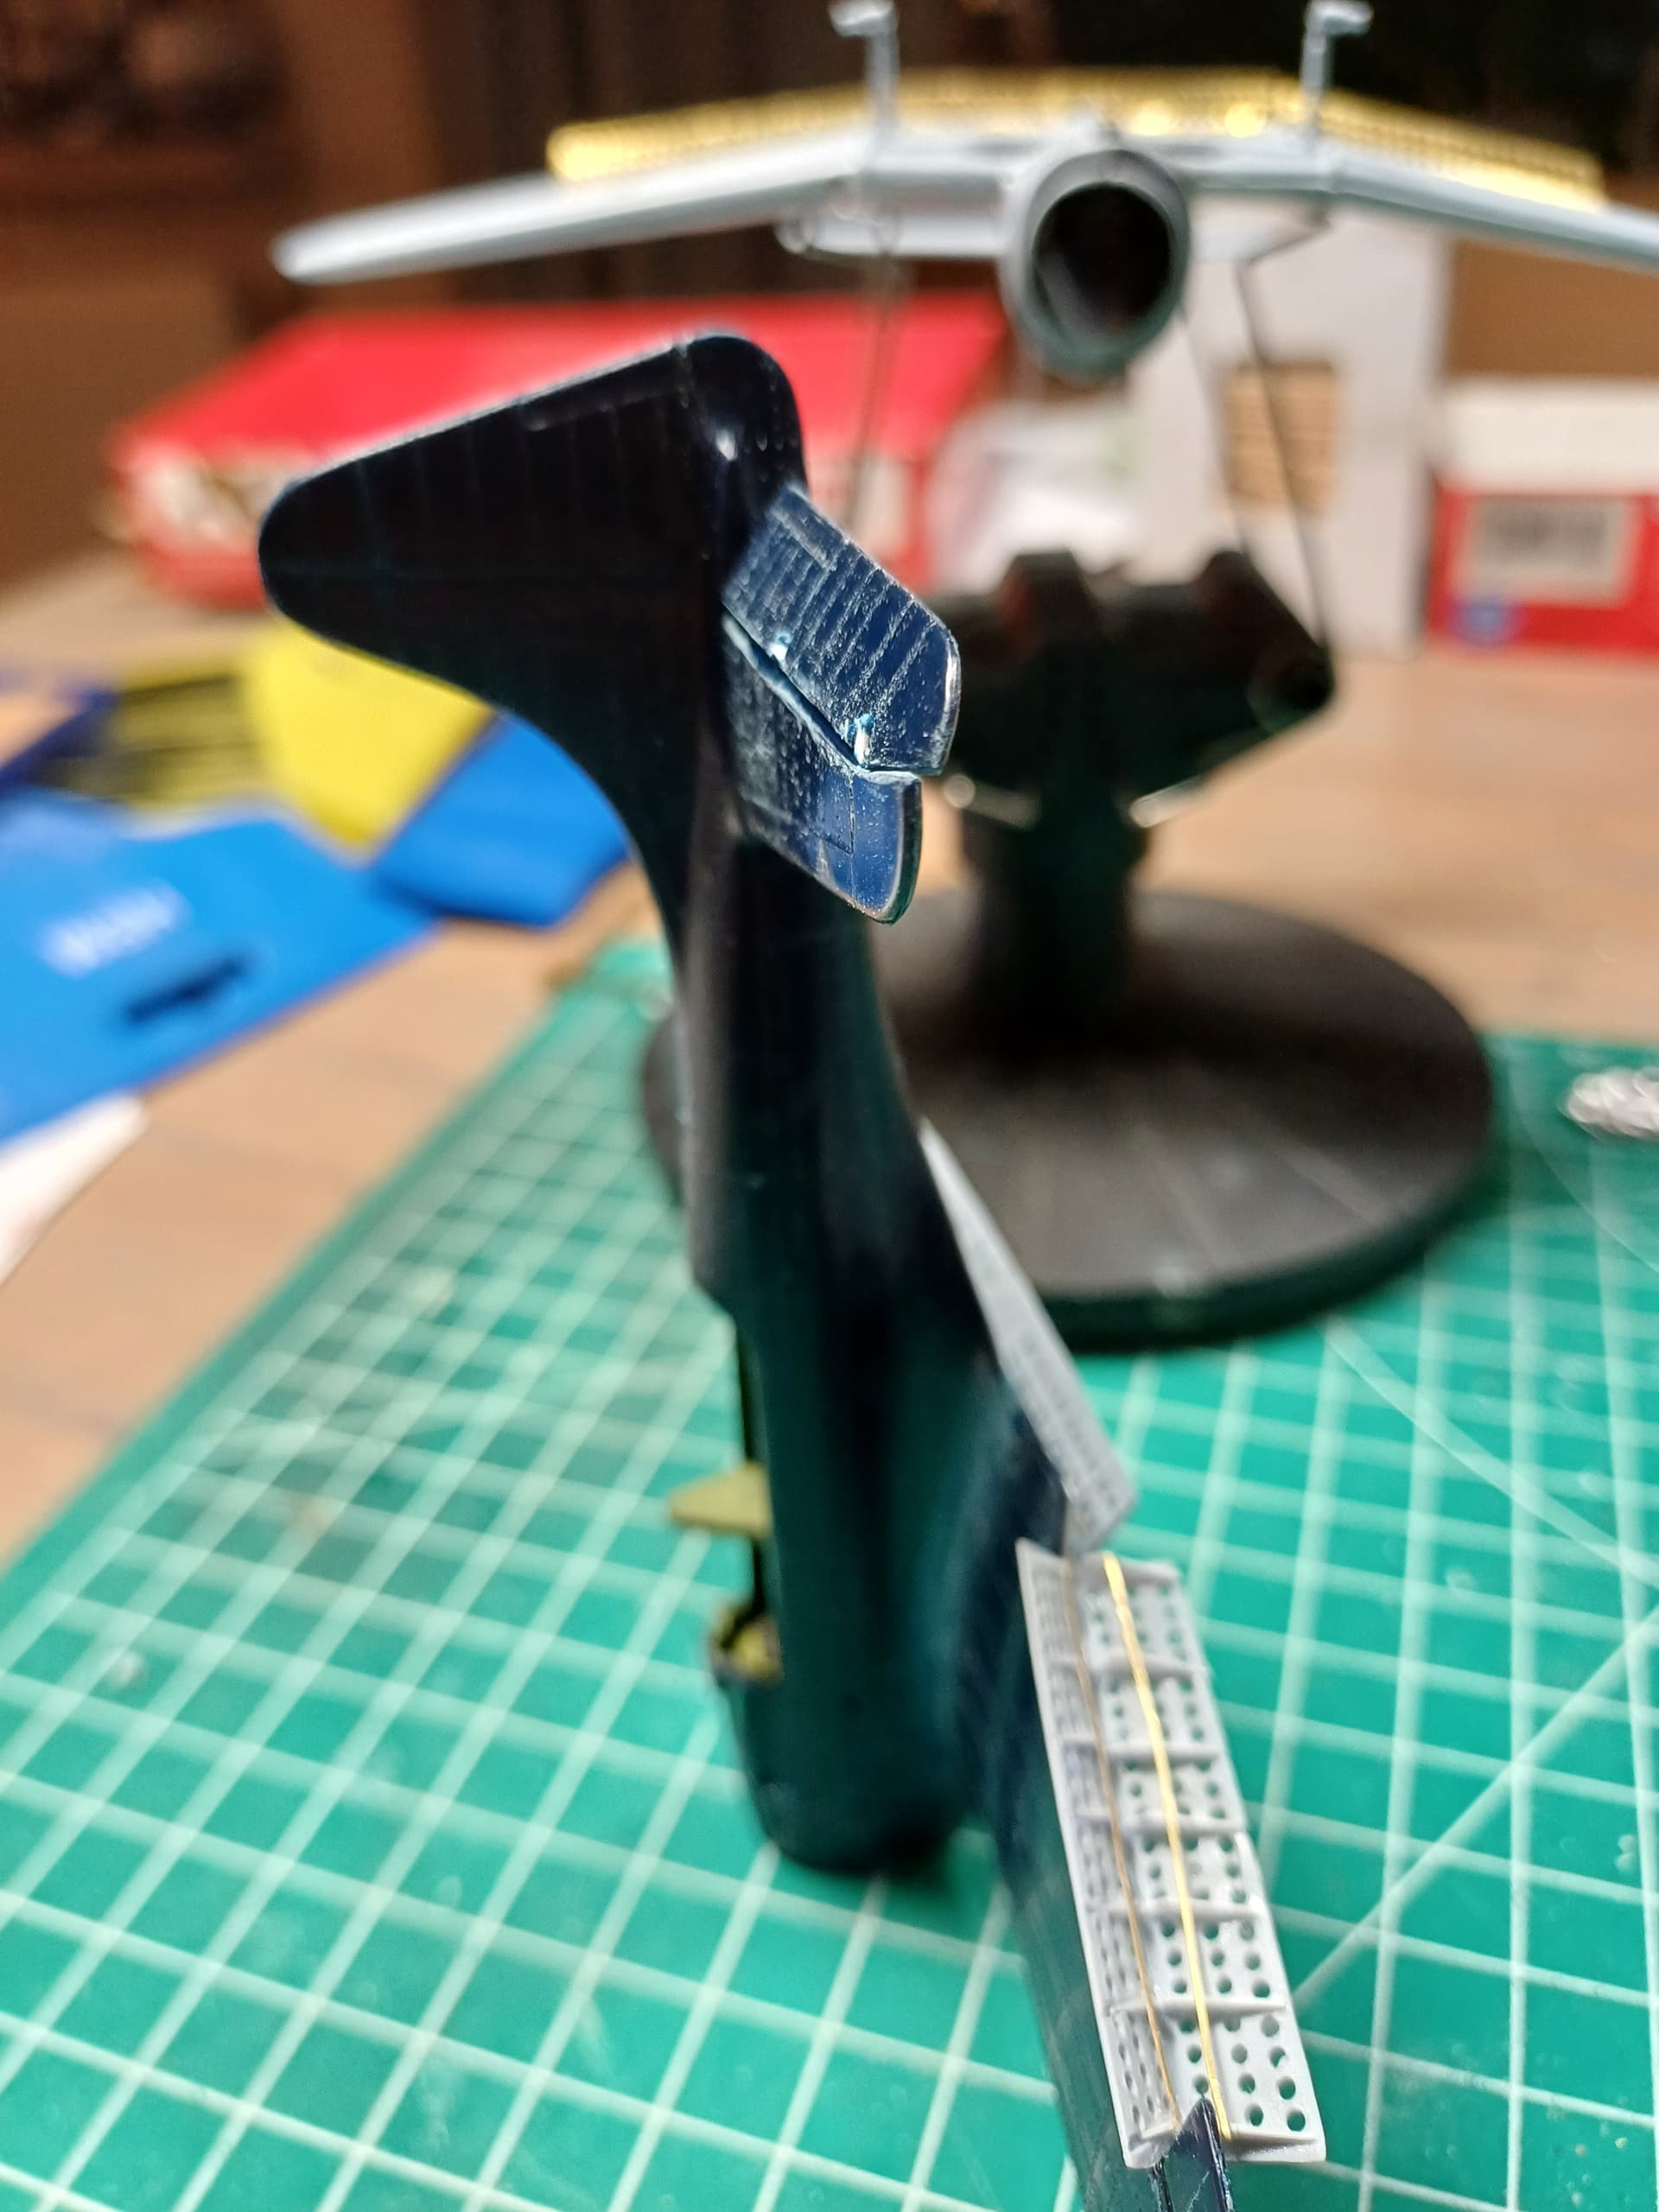
Closed the fuselages, but with or without PP one can look straihgt through these planes…
And the red box had that PE set, so I can add that to the wings of one of these … the other one will be pimped without PE…
Well, Eduard sure doesn’t make 'em like they used to. Thank goodness! This A6M2 is going together very nicely. Sure, still a lttle fiddly, but with all that PE, it’s pretty much gotta be.
All in one day! Quite pleased, so far, and unreservedly recommended.
Michael ![]()
![]()
Talking about a busy office!!!
Very nice Michael!
This sounds interesting, but what to do? The Sherman tank I believe made it’s first combat appearance in 1942, and also the Churchill first saw combat at Dieppe.
Yes to both, Oct 42 for the Sherman or Aug 42 for the Churchill (for combat) so both would fit.
So further progress on the SM79, it’s really starting to look like a Sparviero now. Most of the major construction is done and I’ve masked off the canopy and fuselage windows. Engines have been assembled and painted and this is another disappointing area of the kit. It could’ve been so much better. And while there are resin alternatives available, again, the expense isn’t worth it. The cost of the product is high but reasonable, however shipping to the bottom of the world is just ridiculous.
I’ve left off those things I’m most likely to trash while painting the kit, balance horns, operating rods, etc. Because I know from previous experience if I don’t, I’ll be creating replacements for them, either from knocking them off and losing them, or breaking them into little pieces. Paint comes next! I’m going to use enamels for the top and bottom sides and then move to acrylics from Life colour specifically for WW2 Italian subjects for the camo. I can guarantee that they’ll at least adhere well.
 IMG_2278 by Chris Wilson, on Flickr
 IMG_2276 by Chris Wilson, on Flickr
 IMG_2275 by Chris Wilson, on Flickr
 IMG_2274 by Chris Wilson, on Flickr
 IMG_2273 by Chris Wilson, on Flickr
 IMG_2272 by Chris Wilson, on Flickr
 IMG_2271 by Chris Wilson, on Flickr
 IMG_2270 by Chris Wilson, on Flickr
Im still trying to decide what to build. i’ve gone back and forth between Japanese zero, midway or coral sea dauntless or avenger to another spitfire or hurricane. now i am thinking of an african campaign aircraft. i have a couple p 40 b/c in my stash as well as a pro modeler Emodel. anybody have suggestions? HELP, i am overwhelmed!!!
LOL -Joe
i don’t see enough p-40s if you ask me…
Midway Dauntless!!!
Don’t often see avengers or dauntless… Just saying …