You could blend it in with some putty and add some cast texture.
2 Likes
Great products here!
Maybee some ukrainians and russians modern helmets could be interresting to upgrade plastics figures…
Yes. Perhaps some liquid surfacer thinned out with enamel thinner and applied to the edges of the casting mark?
The thinner the better. I think it would be best to sand it down and make it wafer this. Then glue it on and add some putty around the edges to blend it in better. When I did it a long time ago using resin and a rubber mold of the “G” mark, I sanded down the resin to a paper-thin wafer and glued it in place. A little bit of stippling to add cast texture and it blended in great.
Is that casting mark in 1:1 scale flat or does it follow the curve of the turret casting?
Wafer thin still isn’t going to cut it. Even if you putty around the edges it’s not going to look good.
I say extrude the image as thin as you can and just print it on a .030 square. Pretend this image is just that:
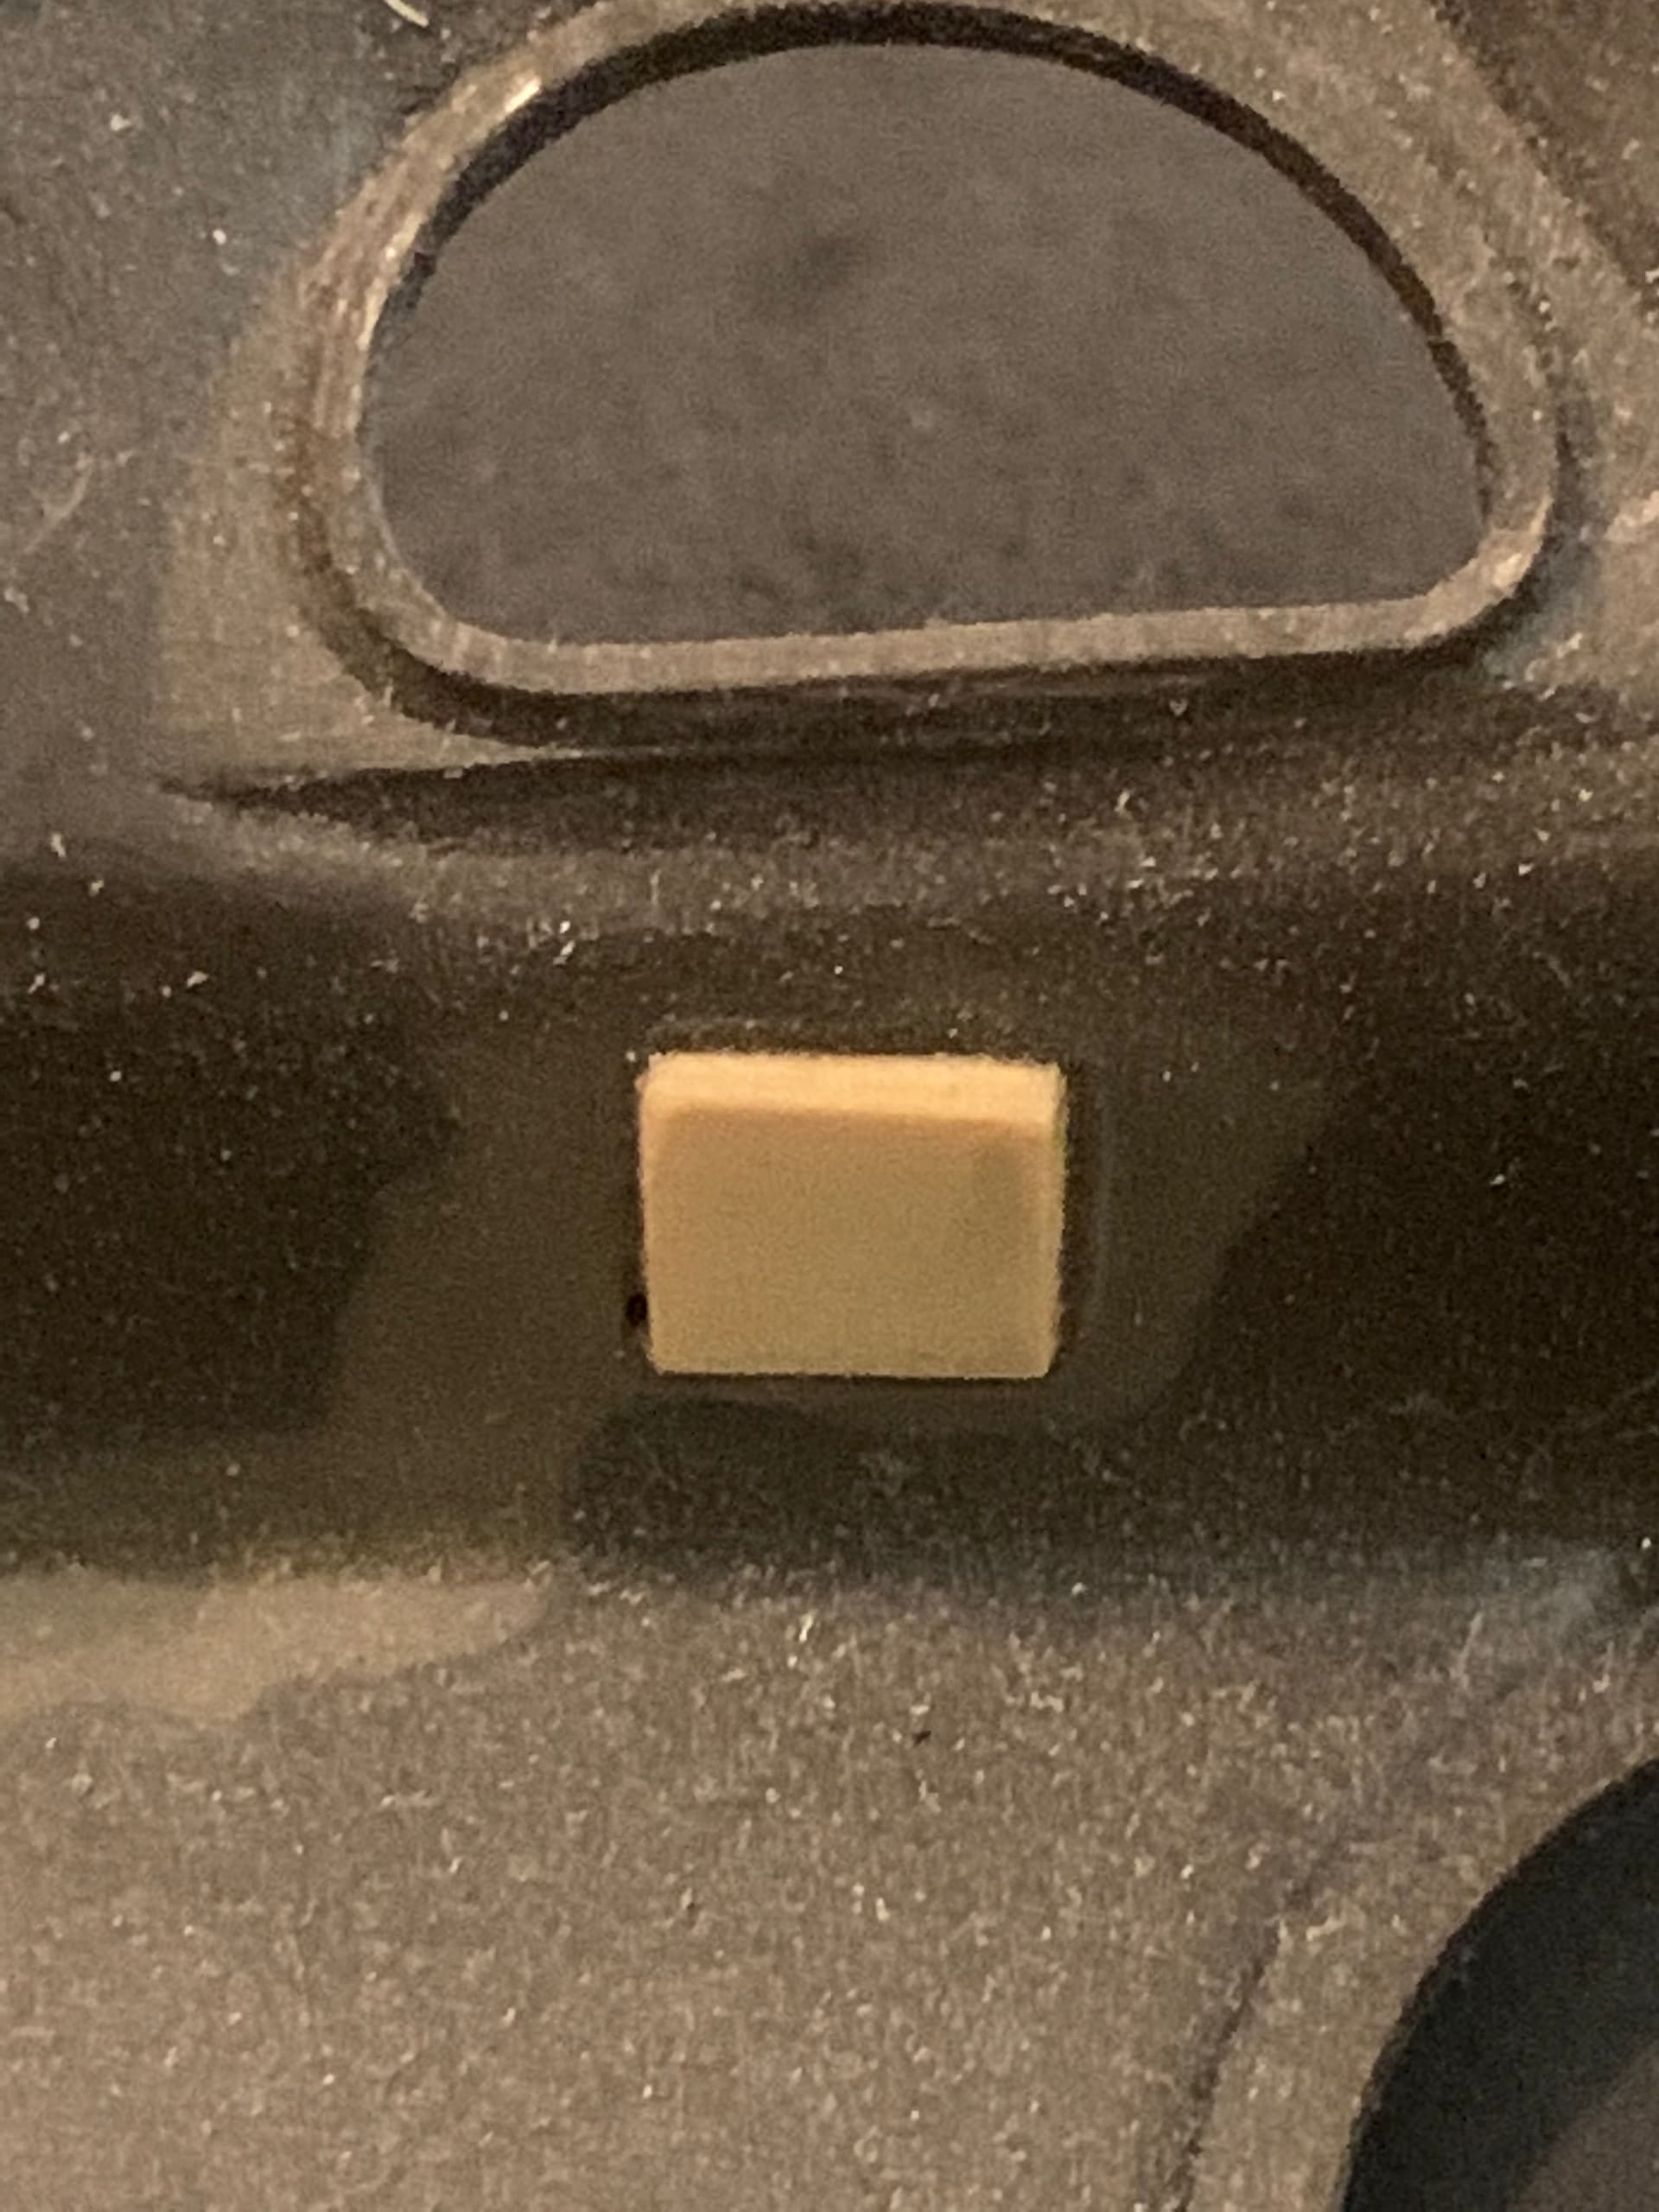
The whole job including cutting out the square and a little sanding on the front side, about two minutes if that.
A little primer to show progress:

I think a few of you are familiar enough with my work to know I have a modicum of skills. A bit more sanding, maybe some round file work. Done.
For curved surfaces you can just heat up the printed part a bit and curve it the way you want. Even this quick job and just sticking it in didn’t look too bad.
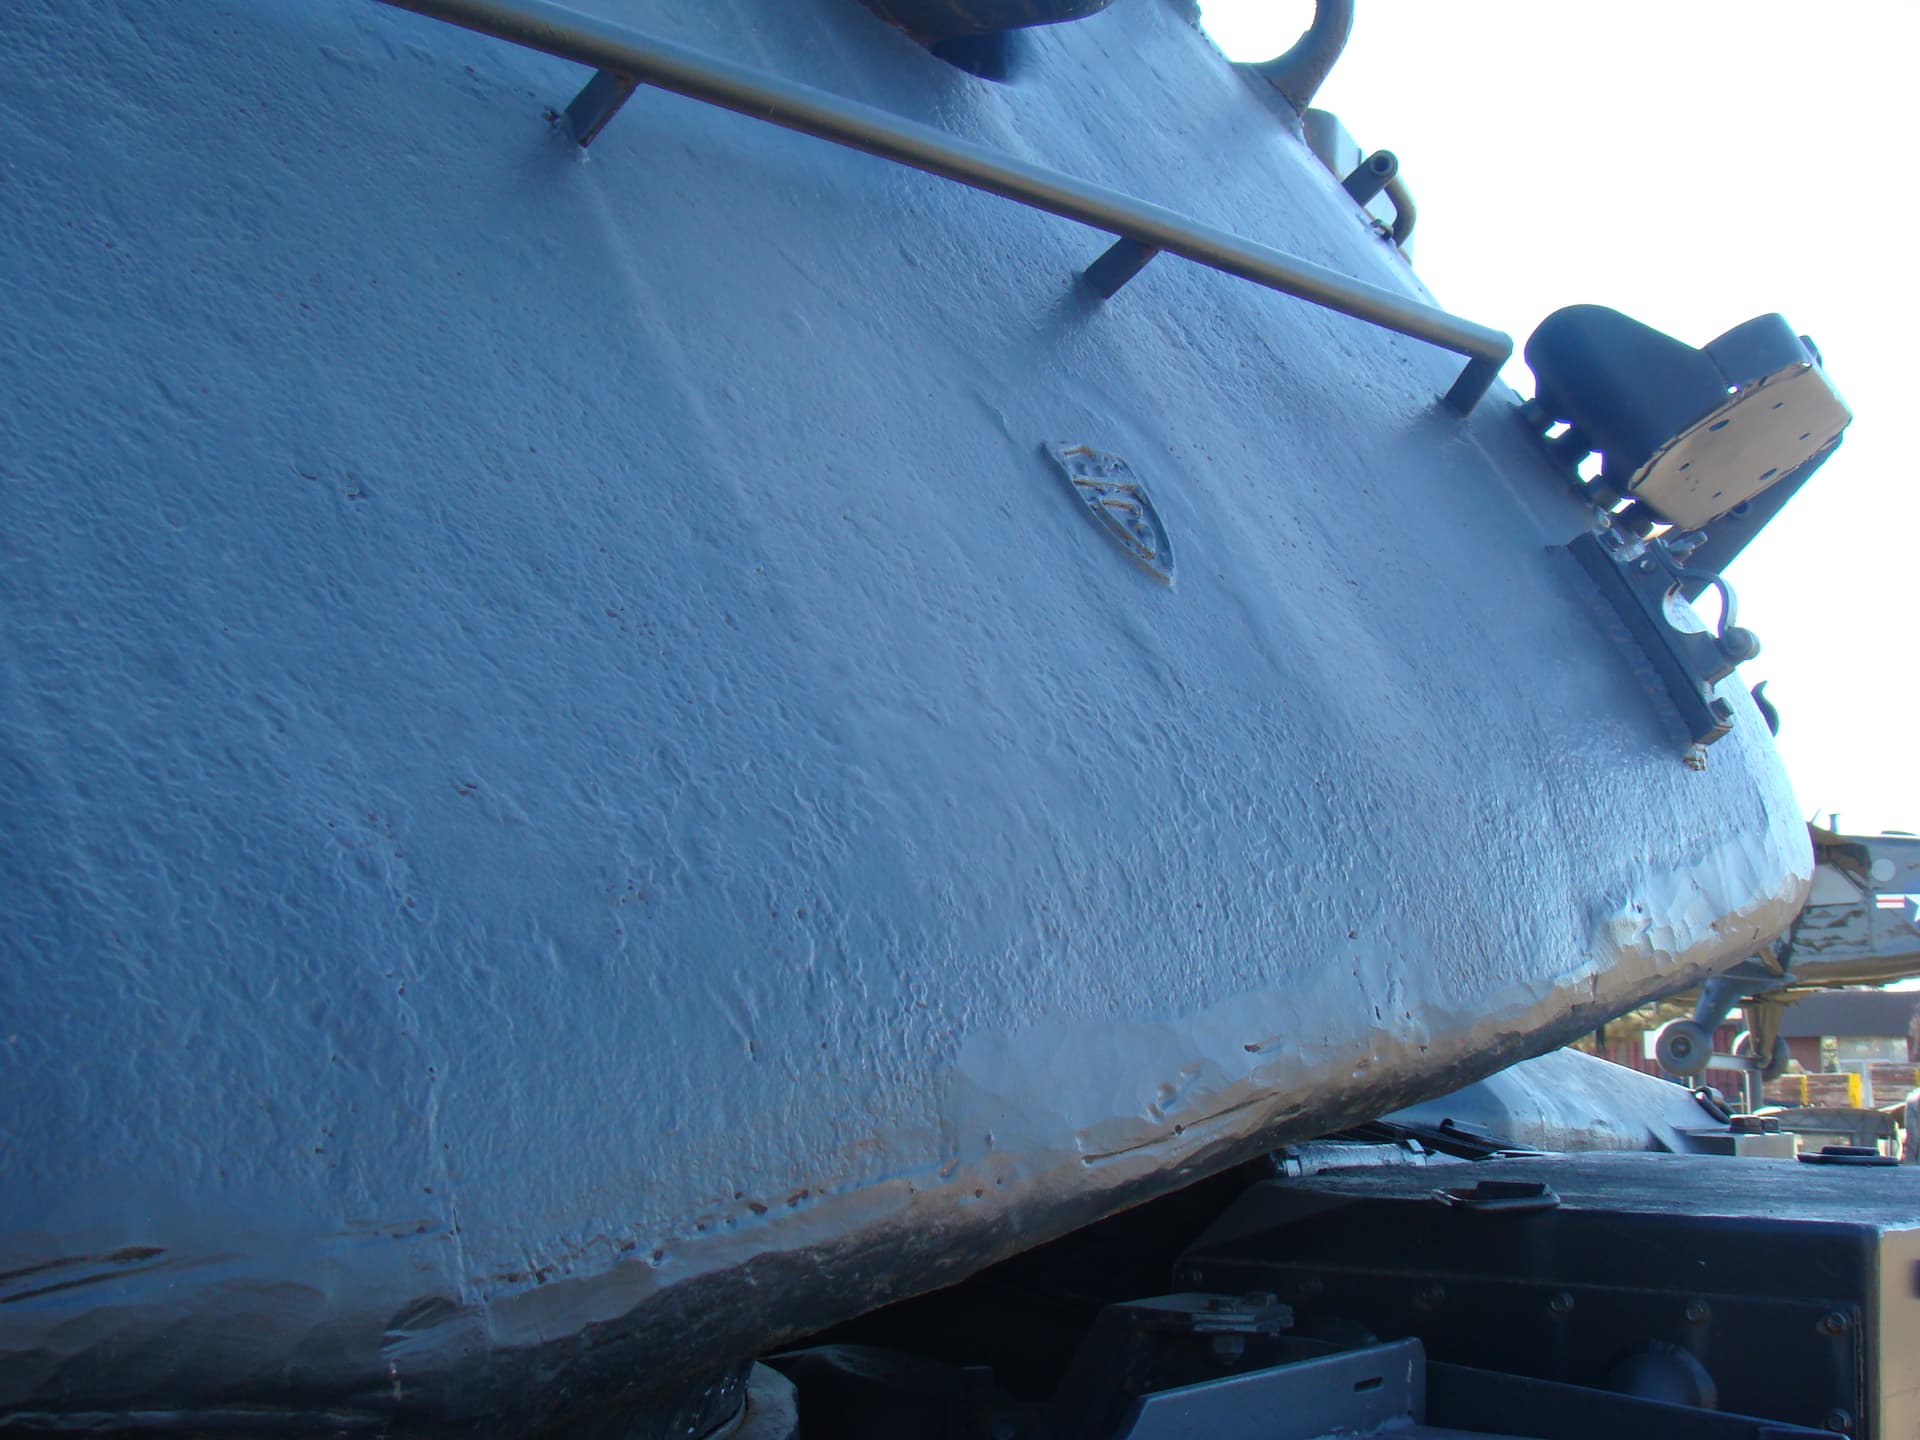
In fact, sometimes the foundry marks even look a little like that around the edges. You could call this done. Total time three minutes tops. As an example - here it is an M103.
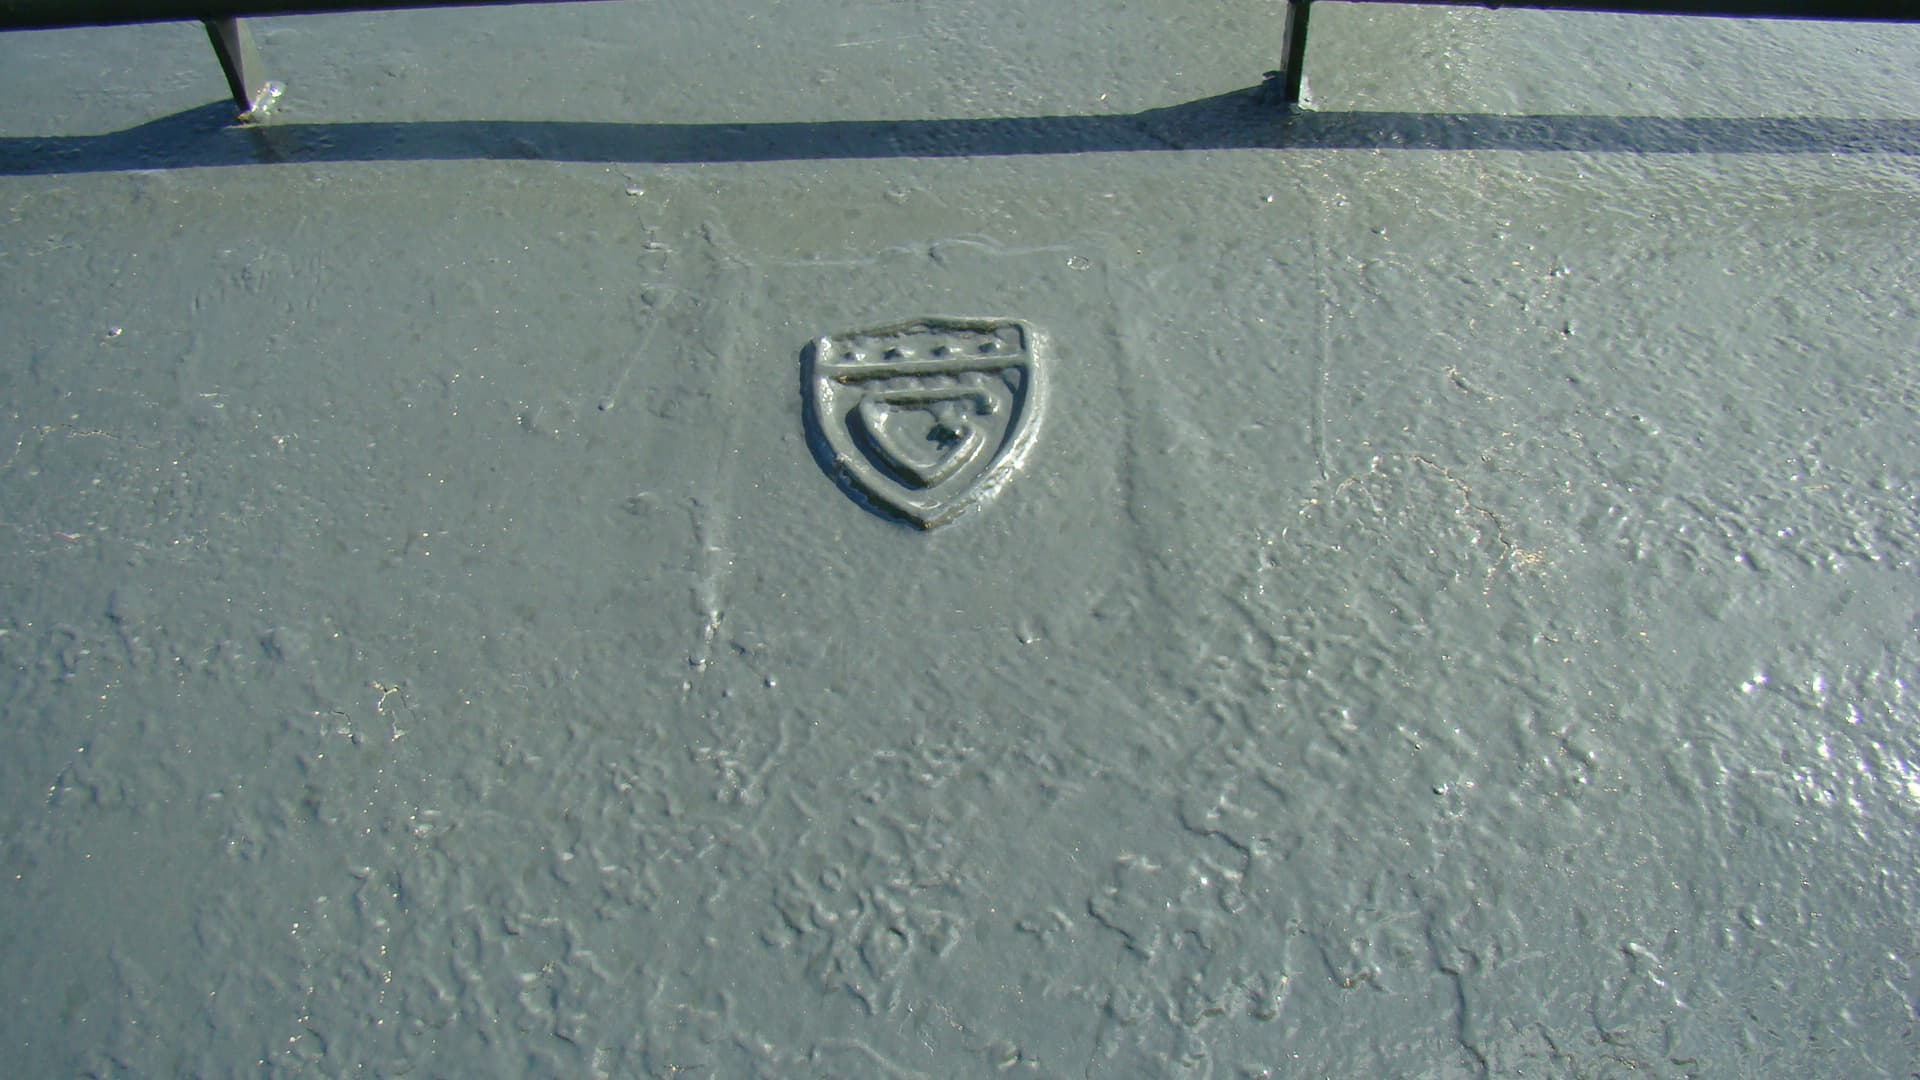
There seems to be a bit of a border around it as well.
This one is even better - it looks like a square was inserted just as I did on the model. The border shows very well. At any rate, I think that is the key to printing these in a usable form.
4 Likes
Or Tamiya thinner spread on the part and then dabbed with a toothbrush
Yeah, if I had spent more time on applying it, it could look more realistic.
Still not finished with the SINCGARS radio mount and modern glad hands… ![]()
However, will be printing these backed by popular demand - they are my earlier designs.
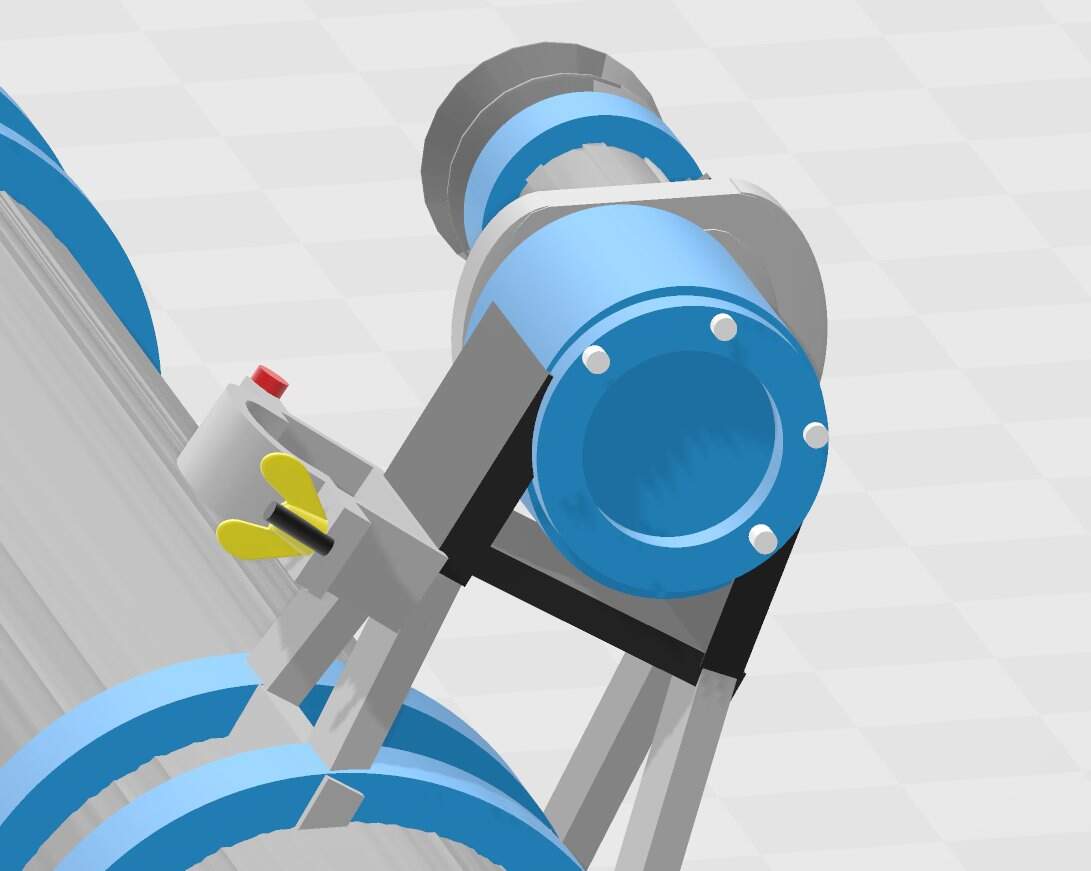
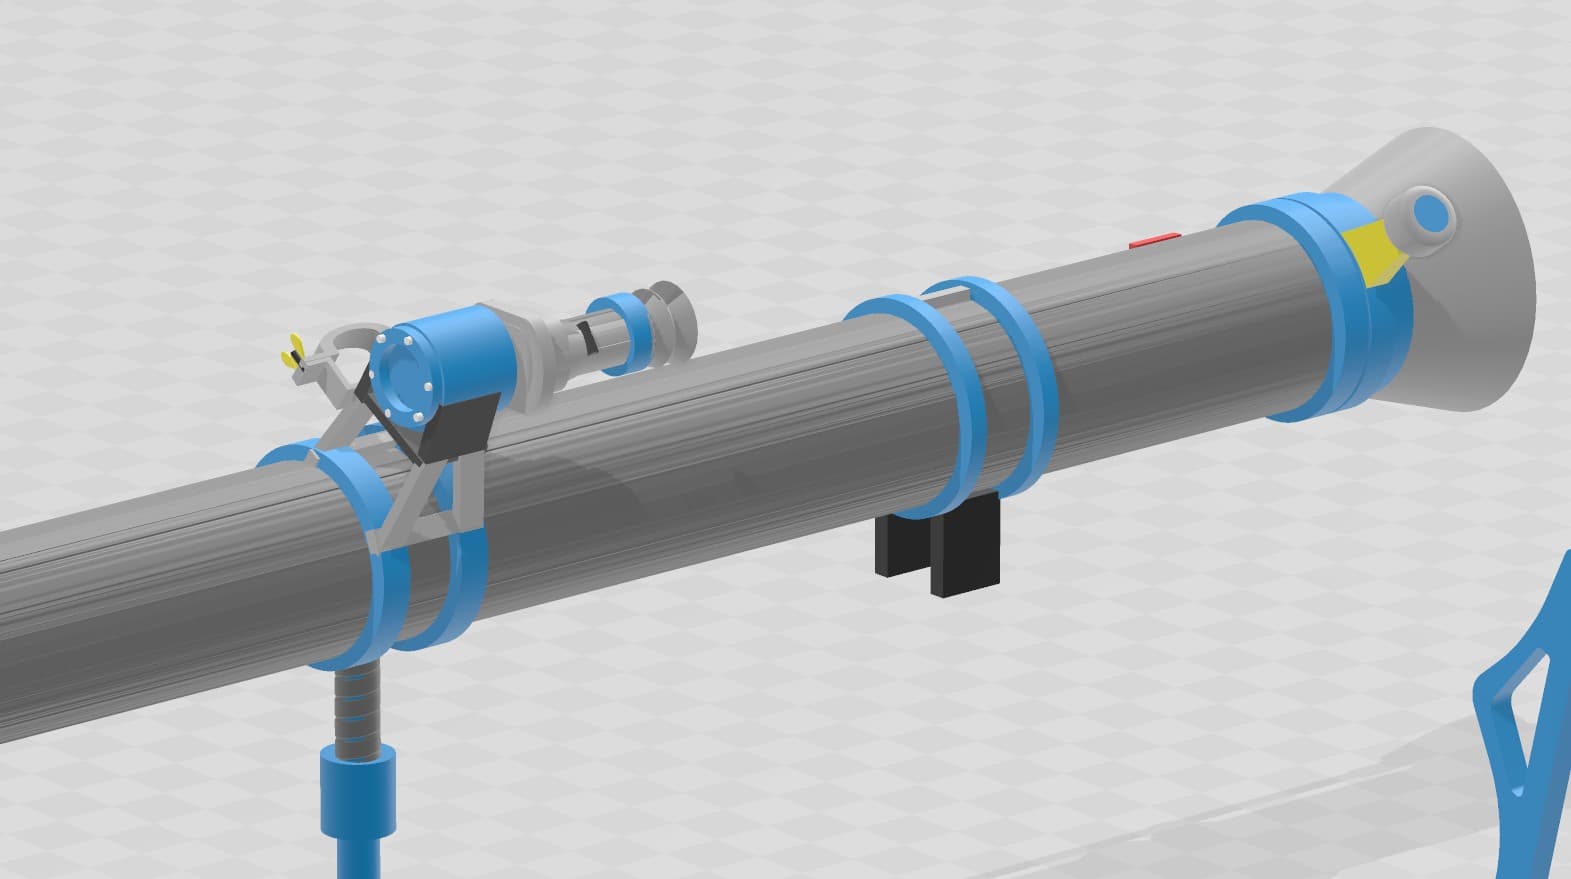
M67 90mm recoilless rifle:


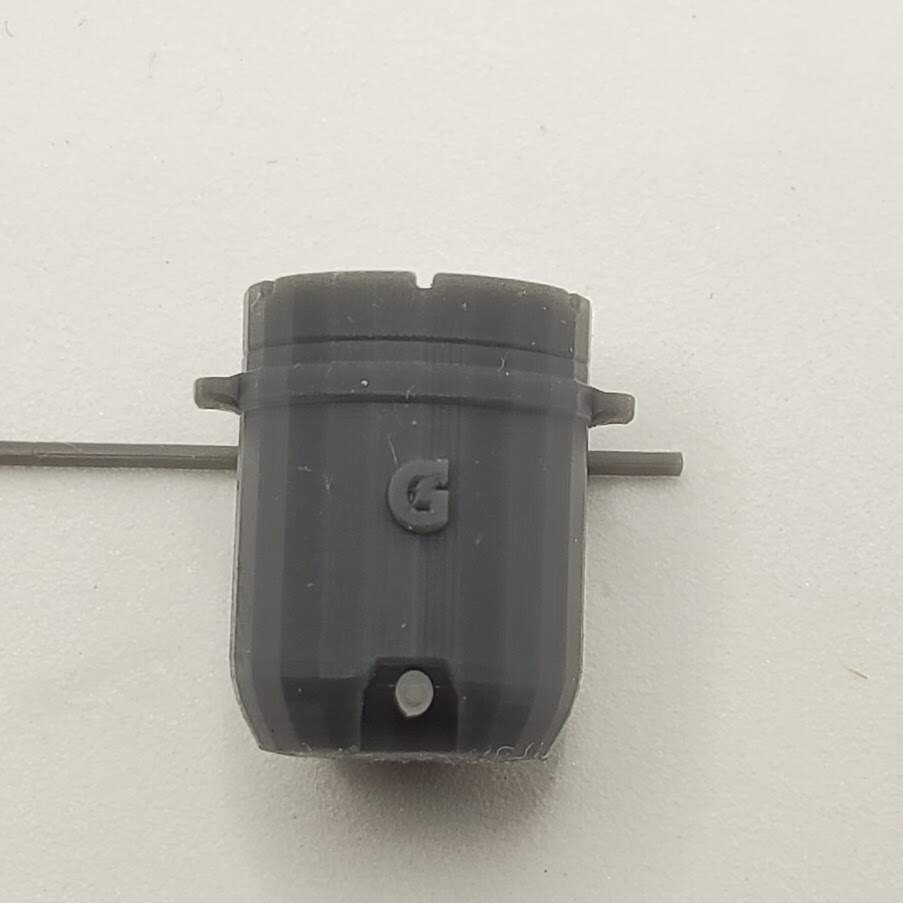
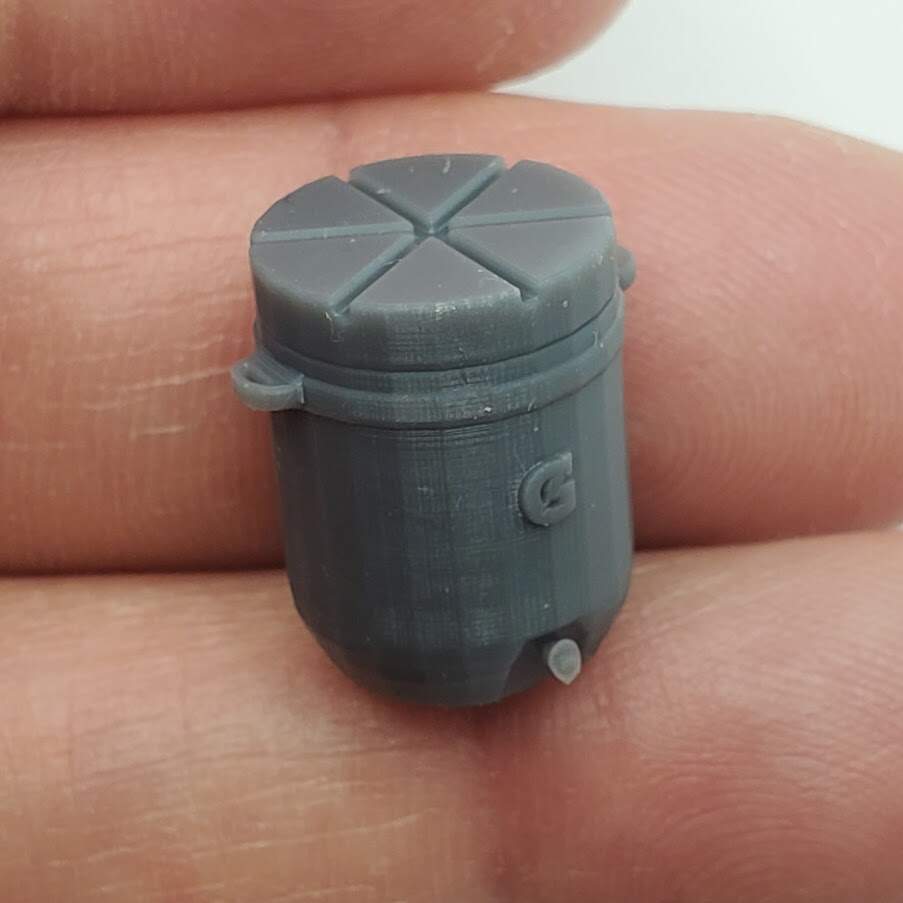
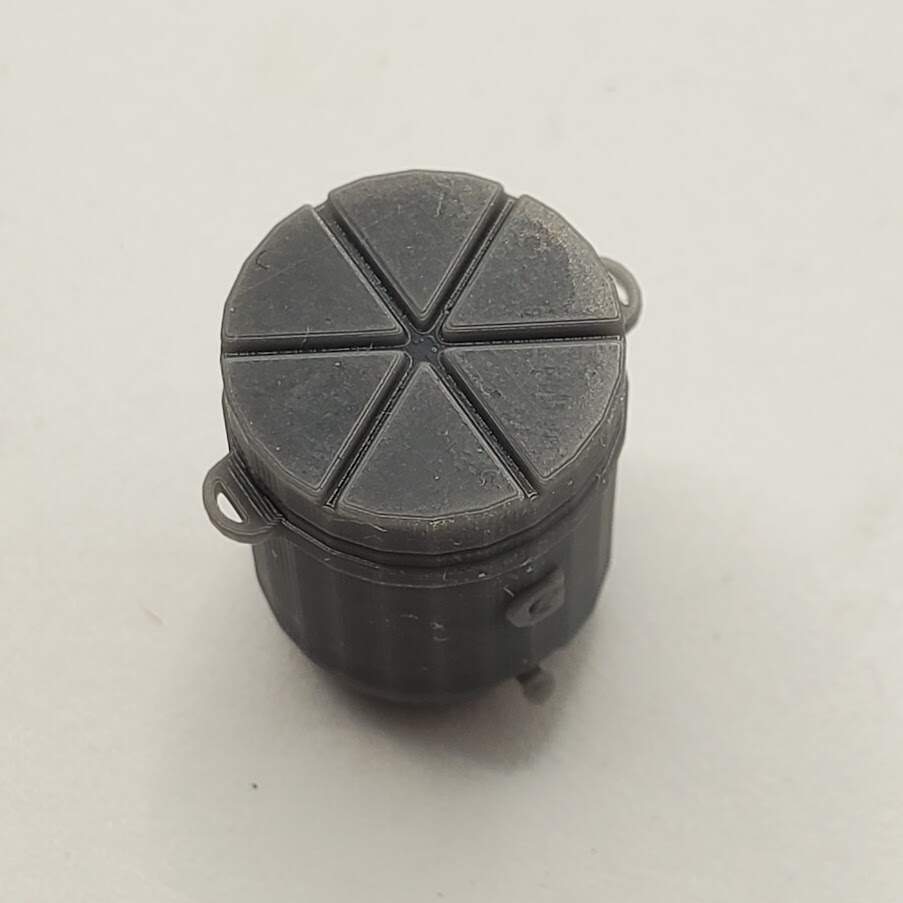
10 gallon Gatorade style cooler:

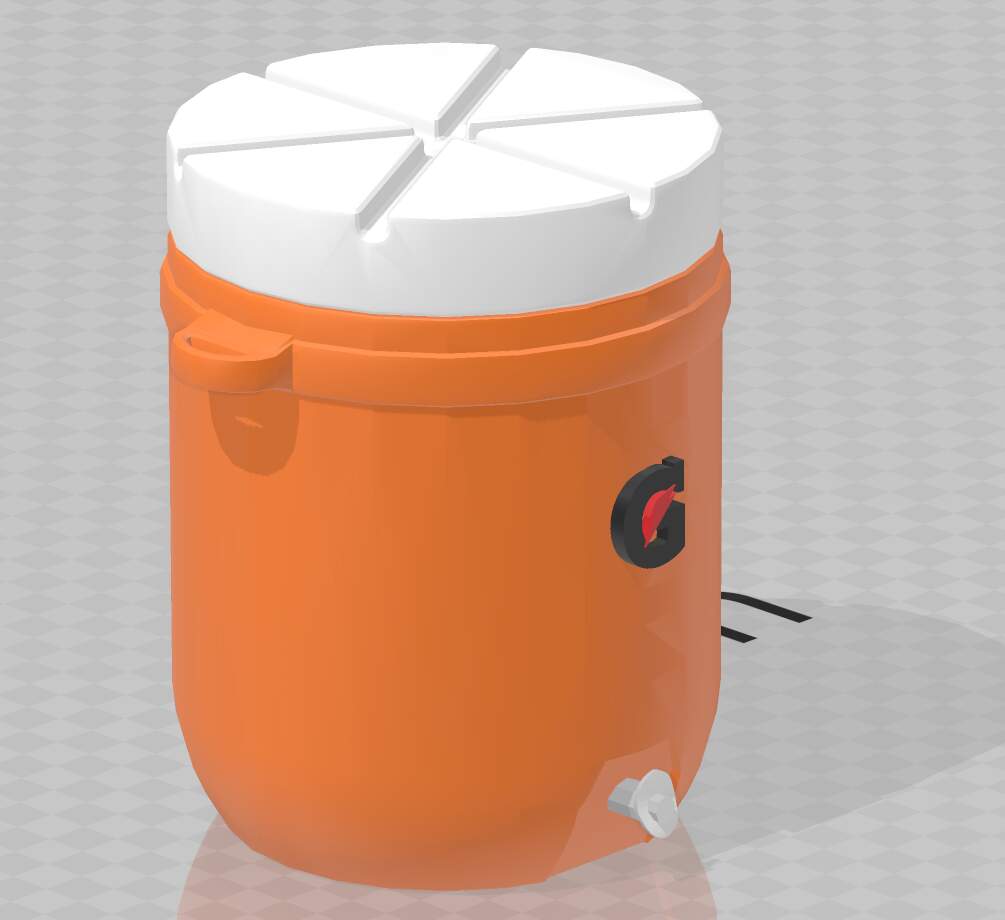

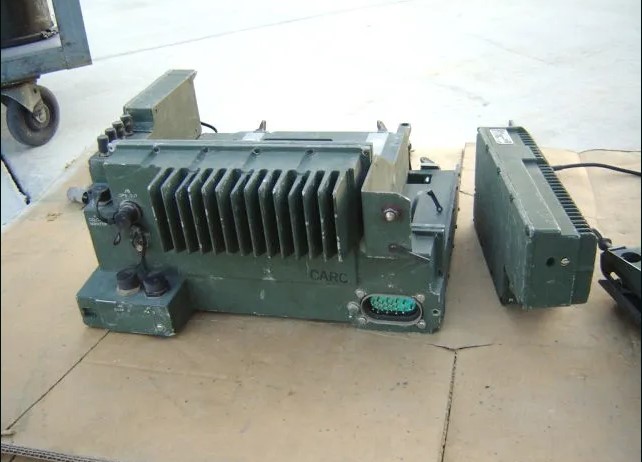
Reference photo:

Will post the photos of the 3D prints soon.
3 Likes
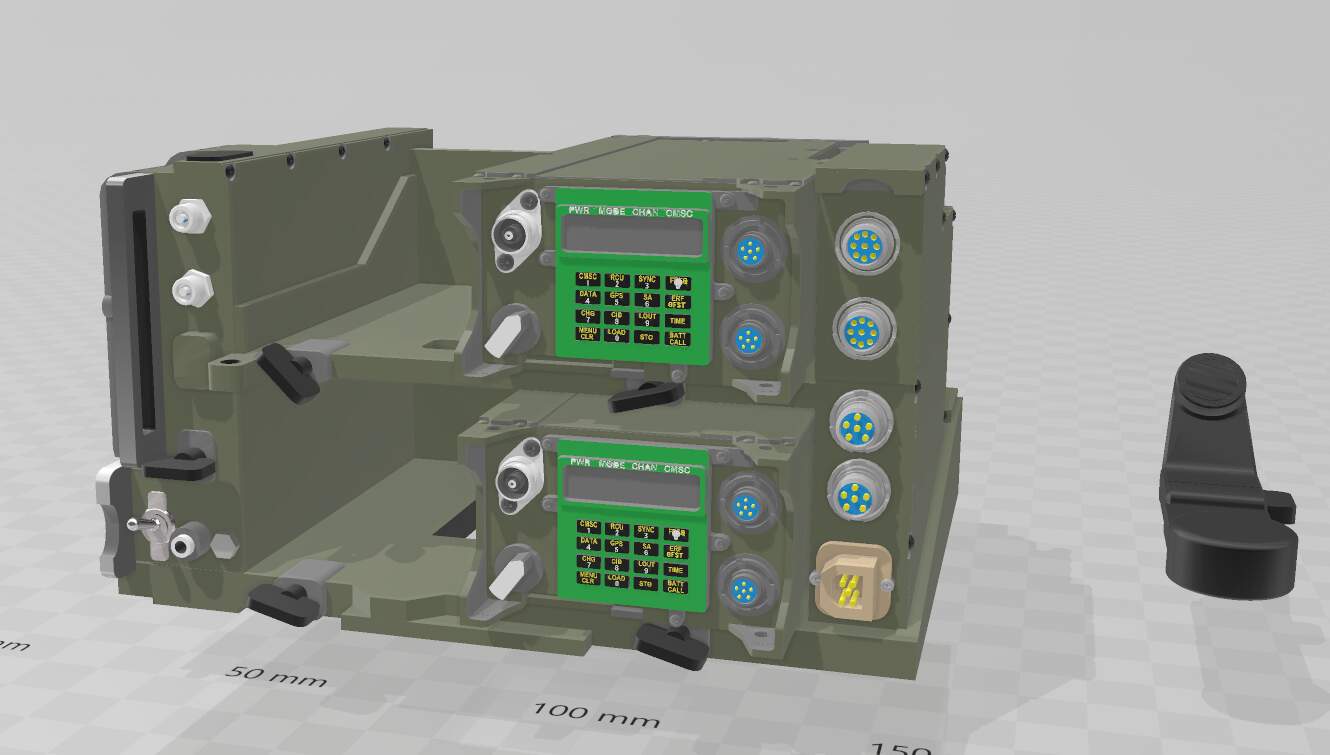
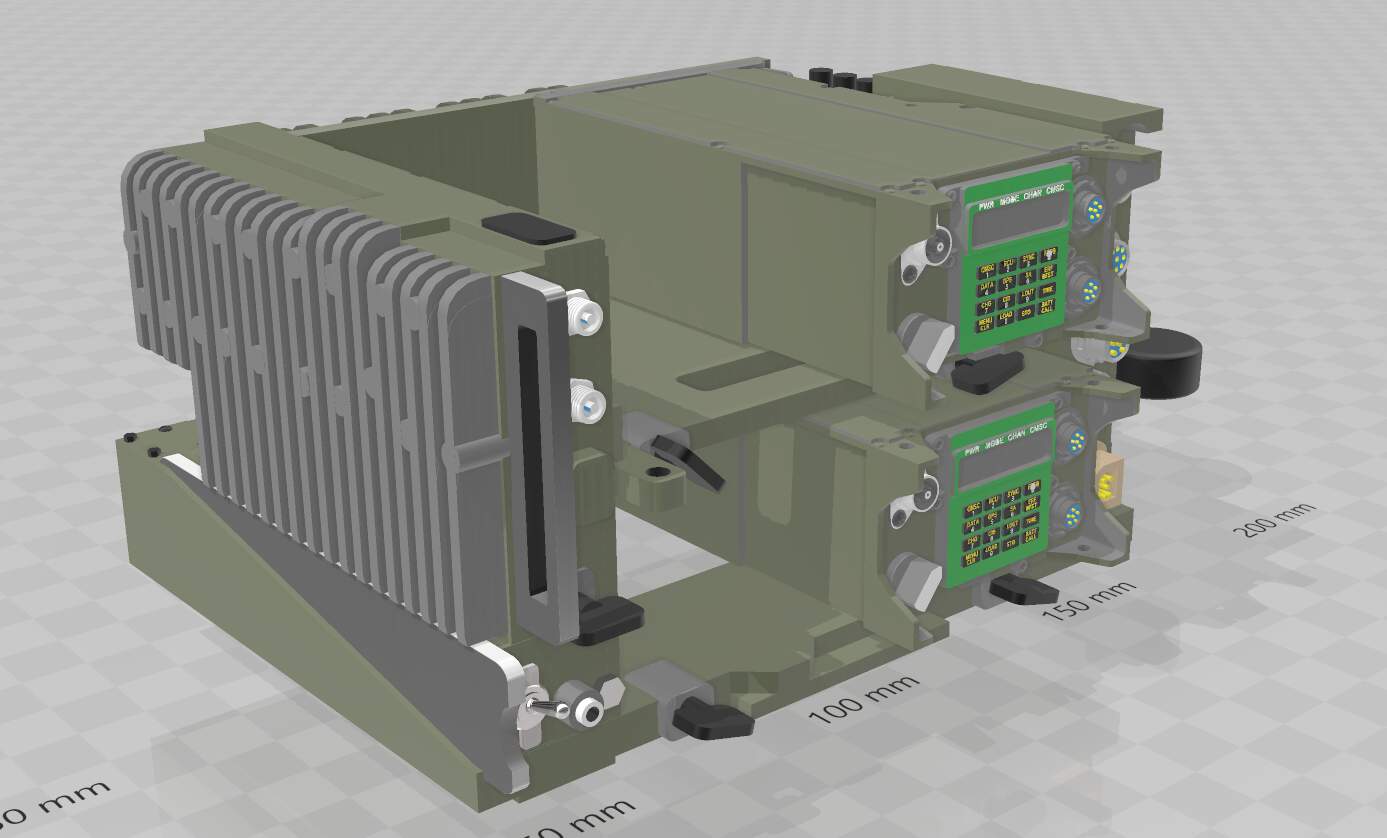
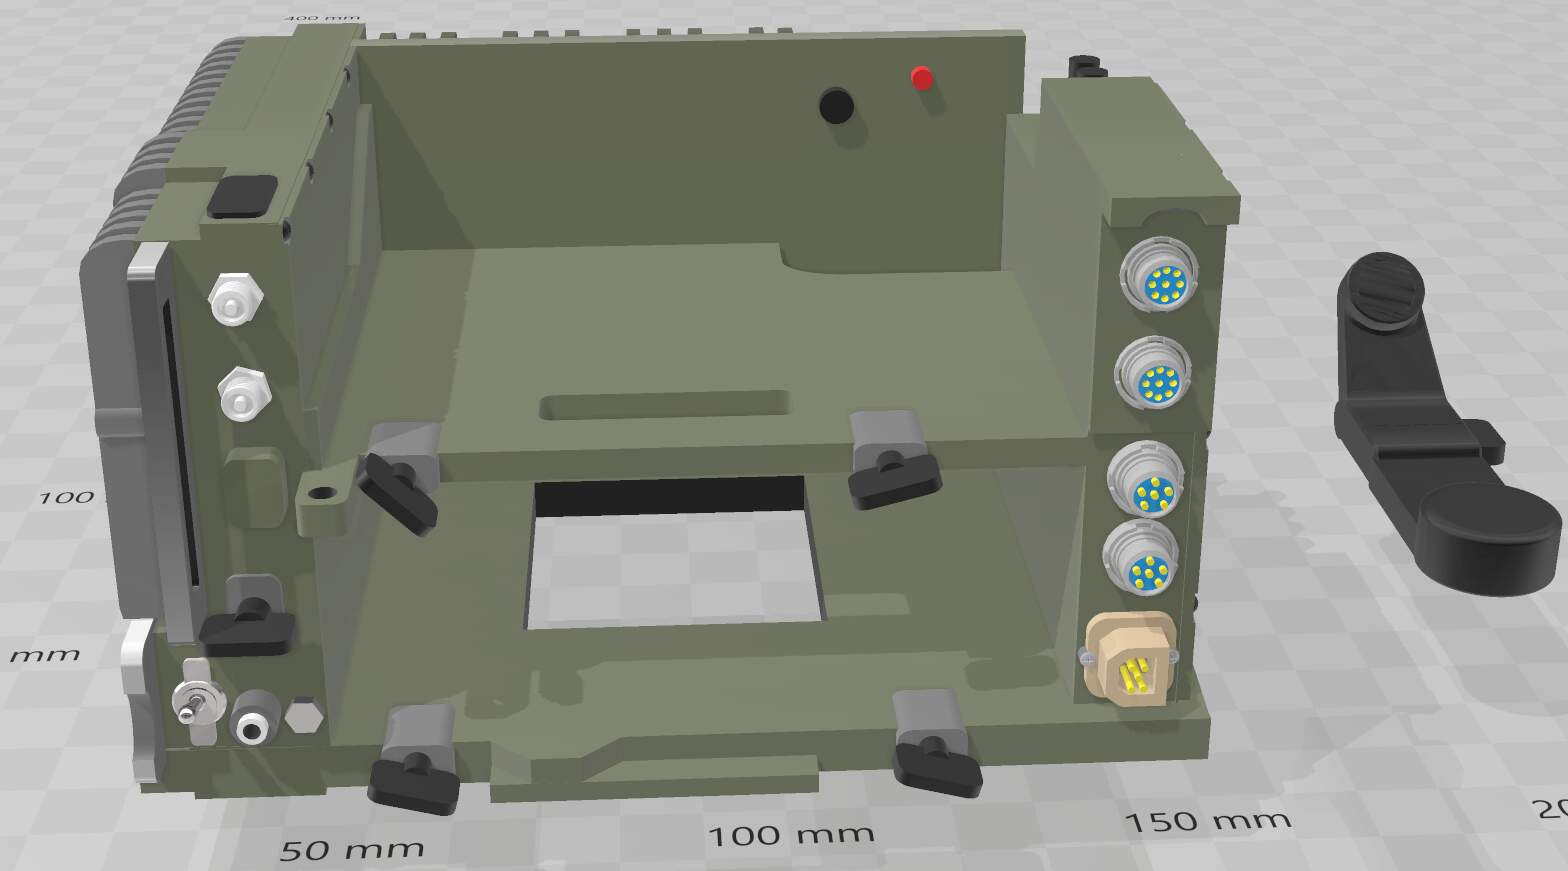
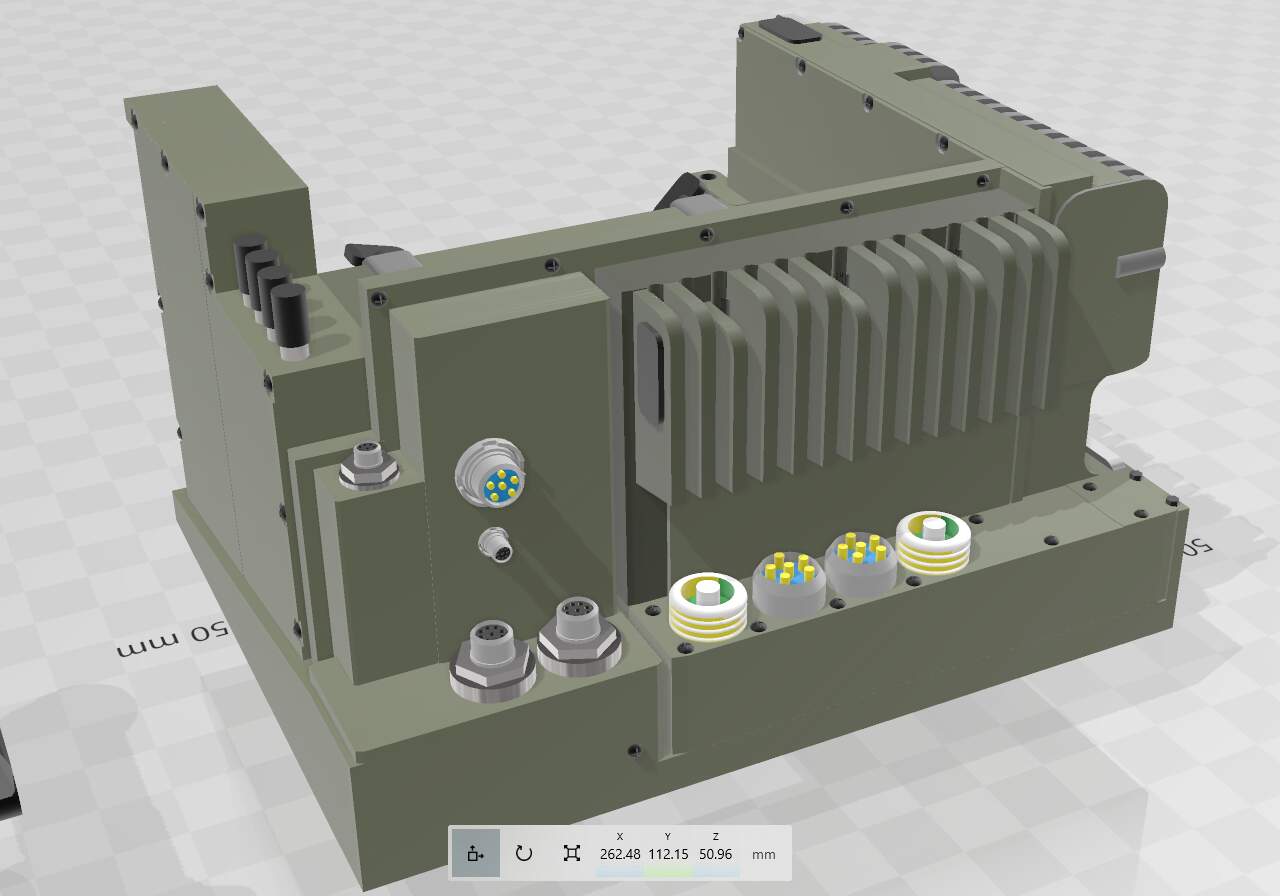
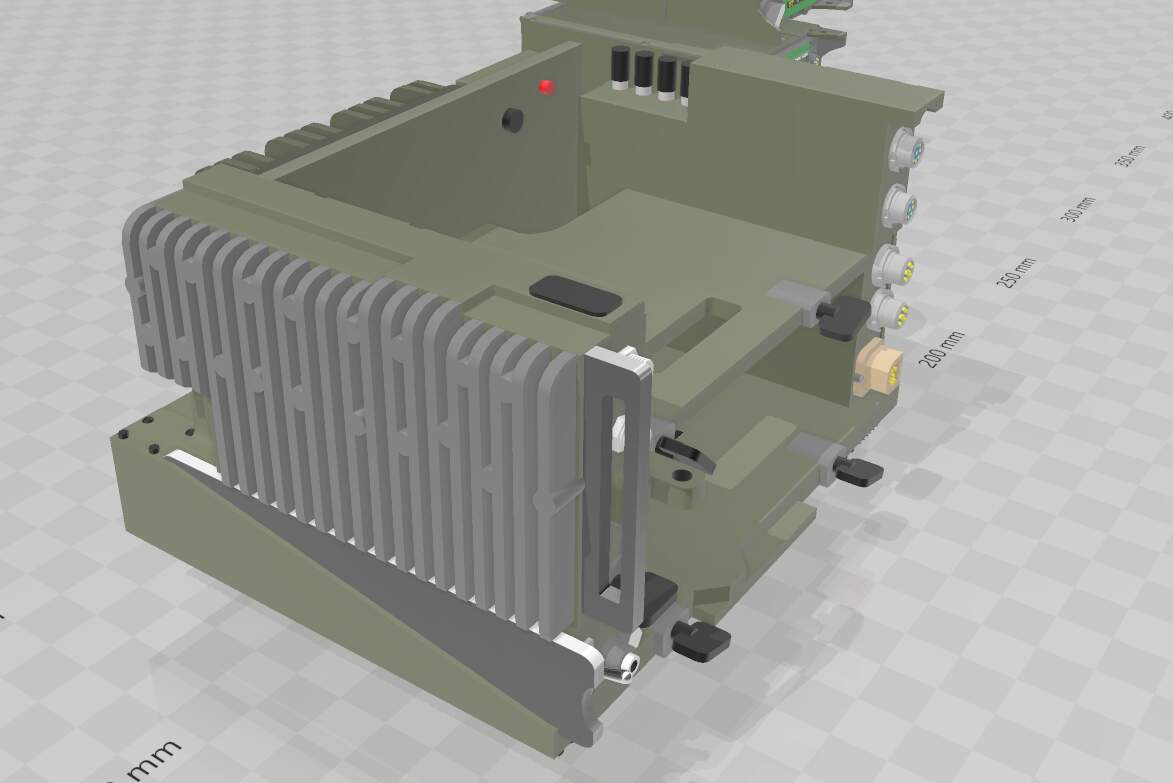
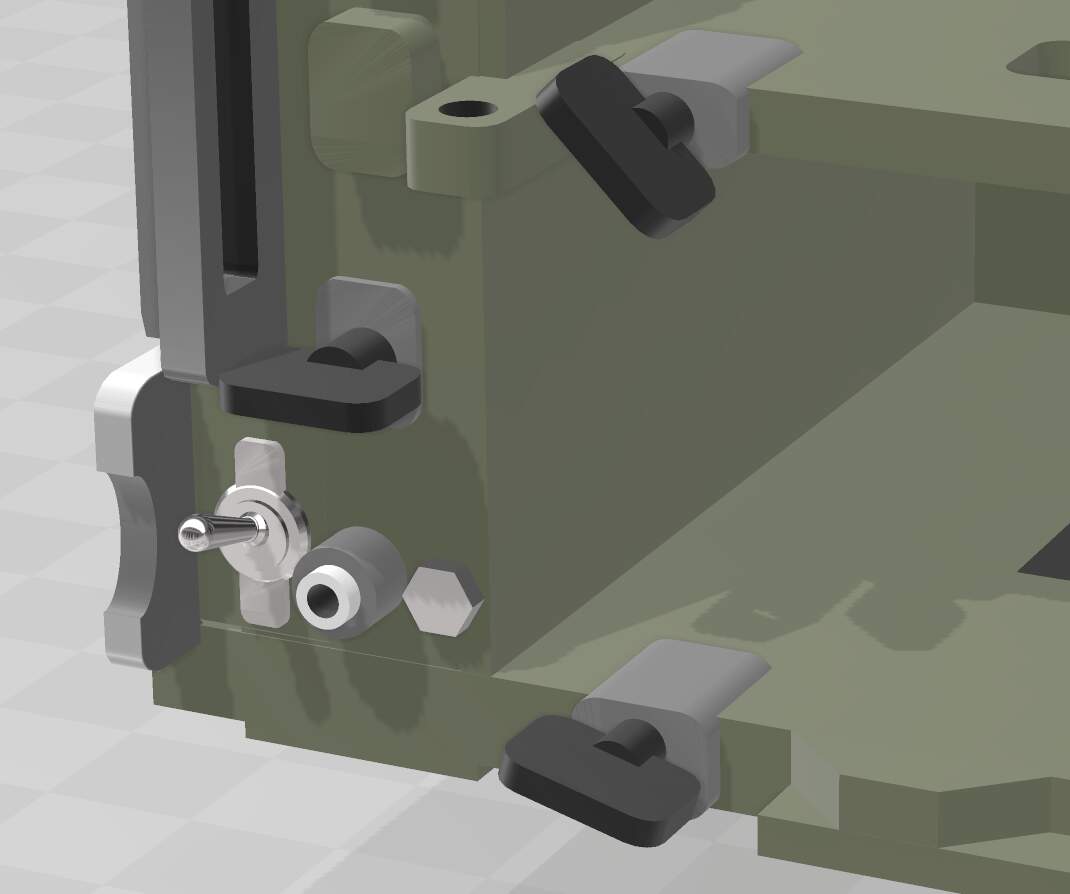
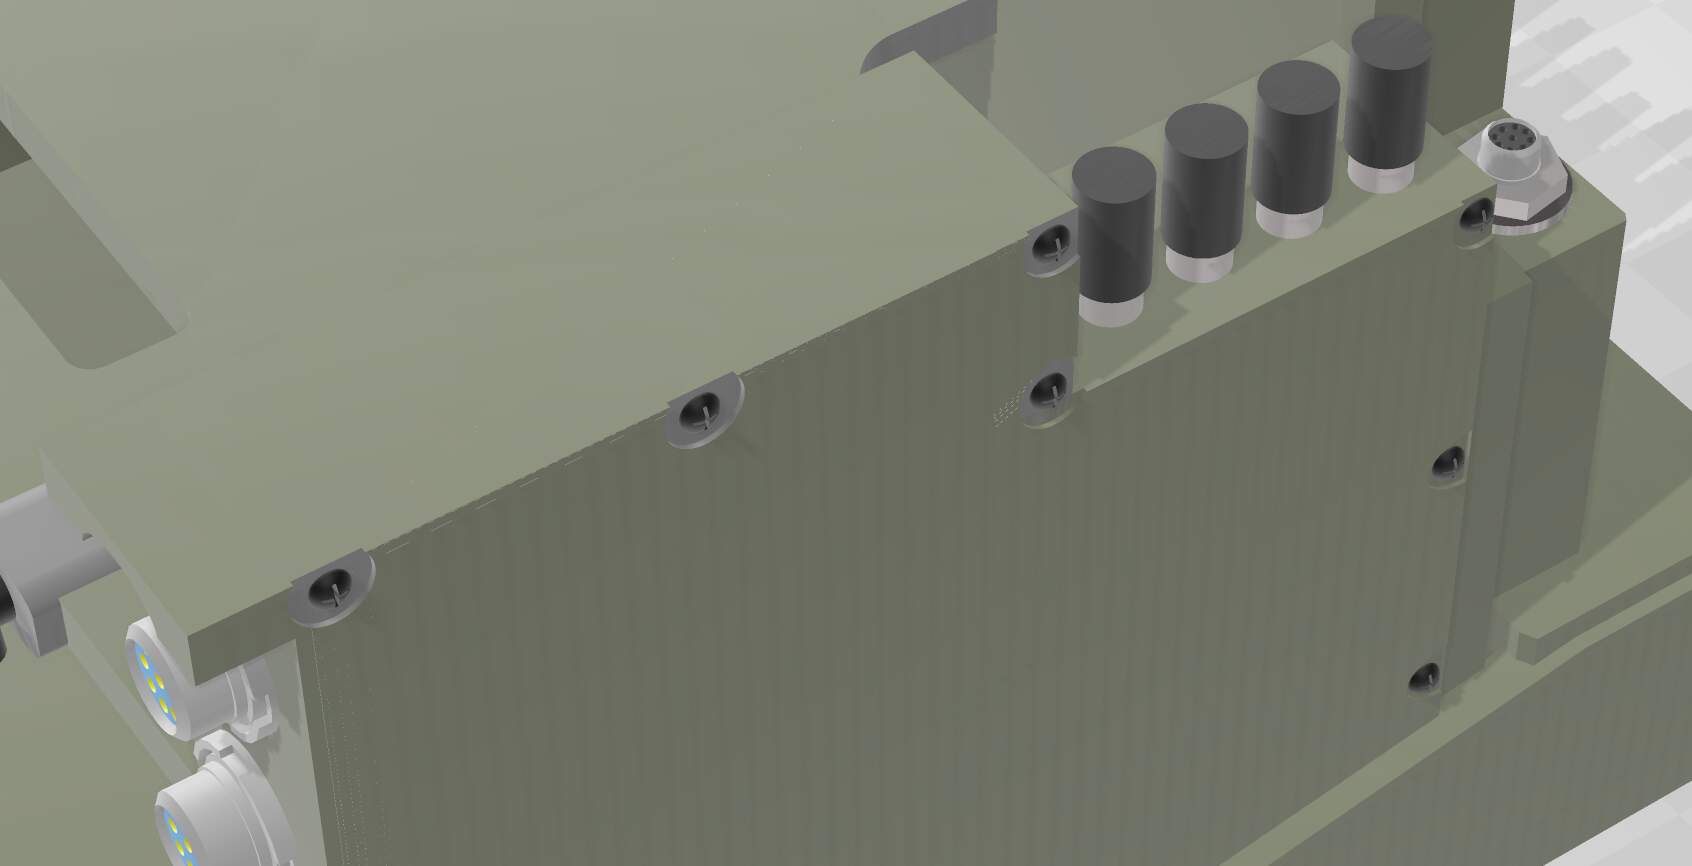
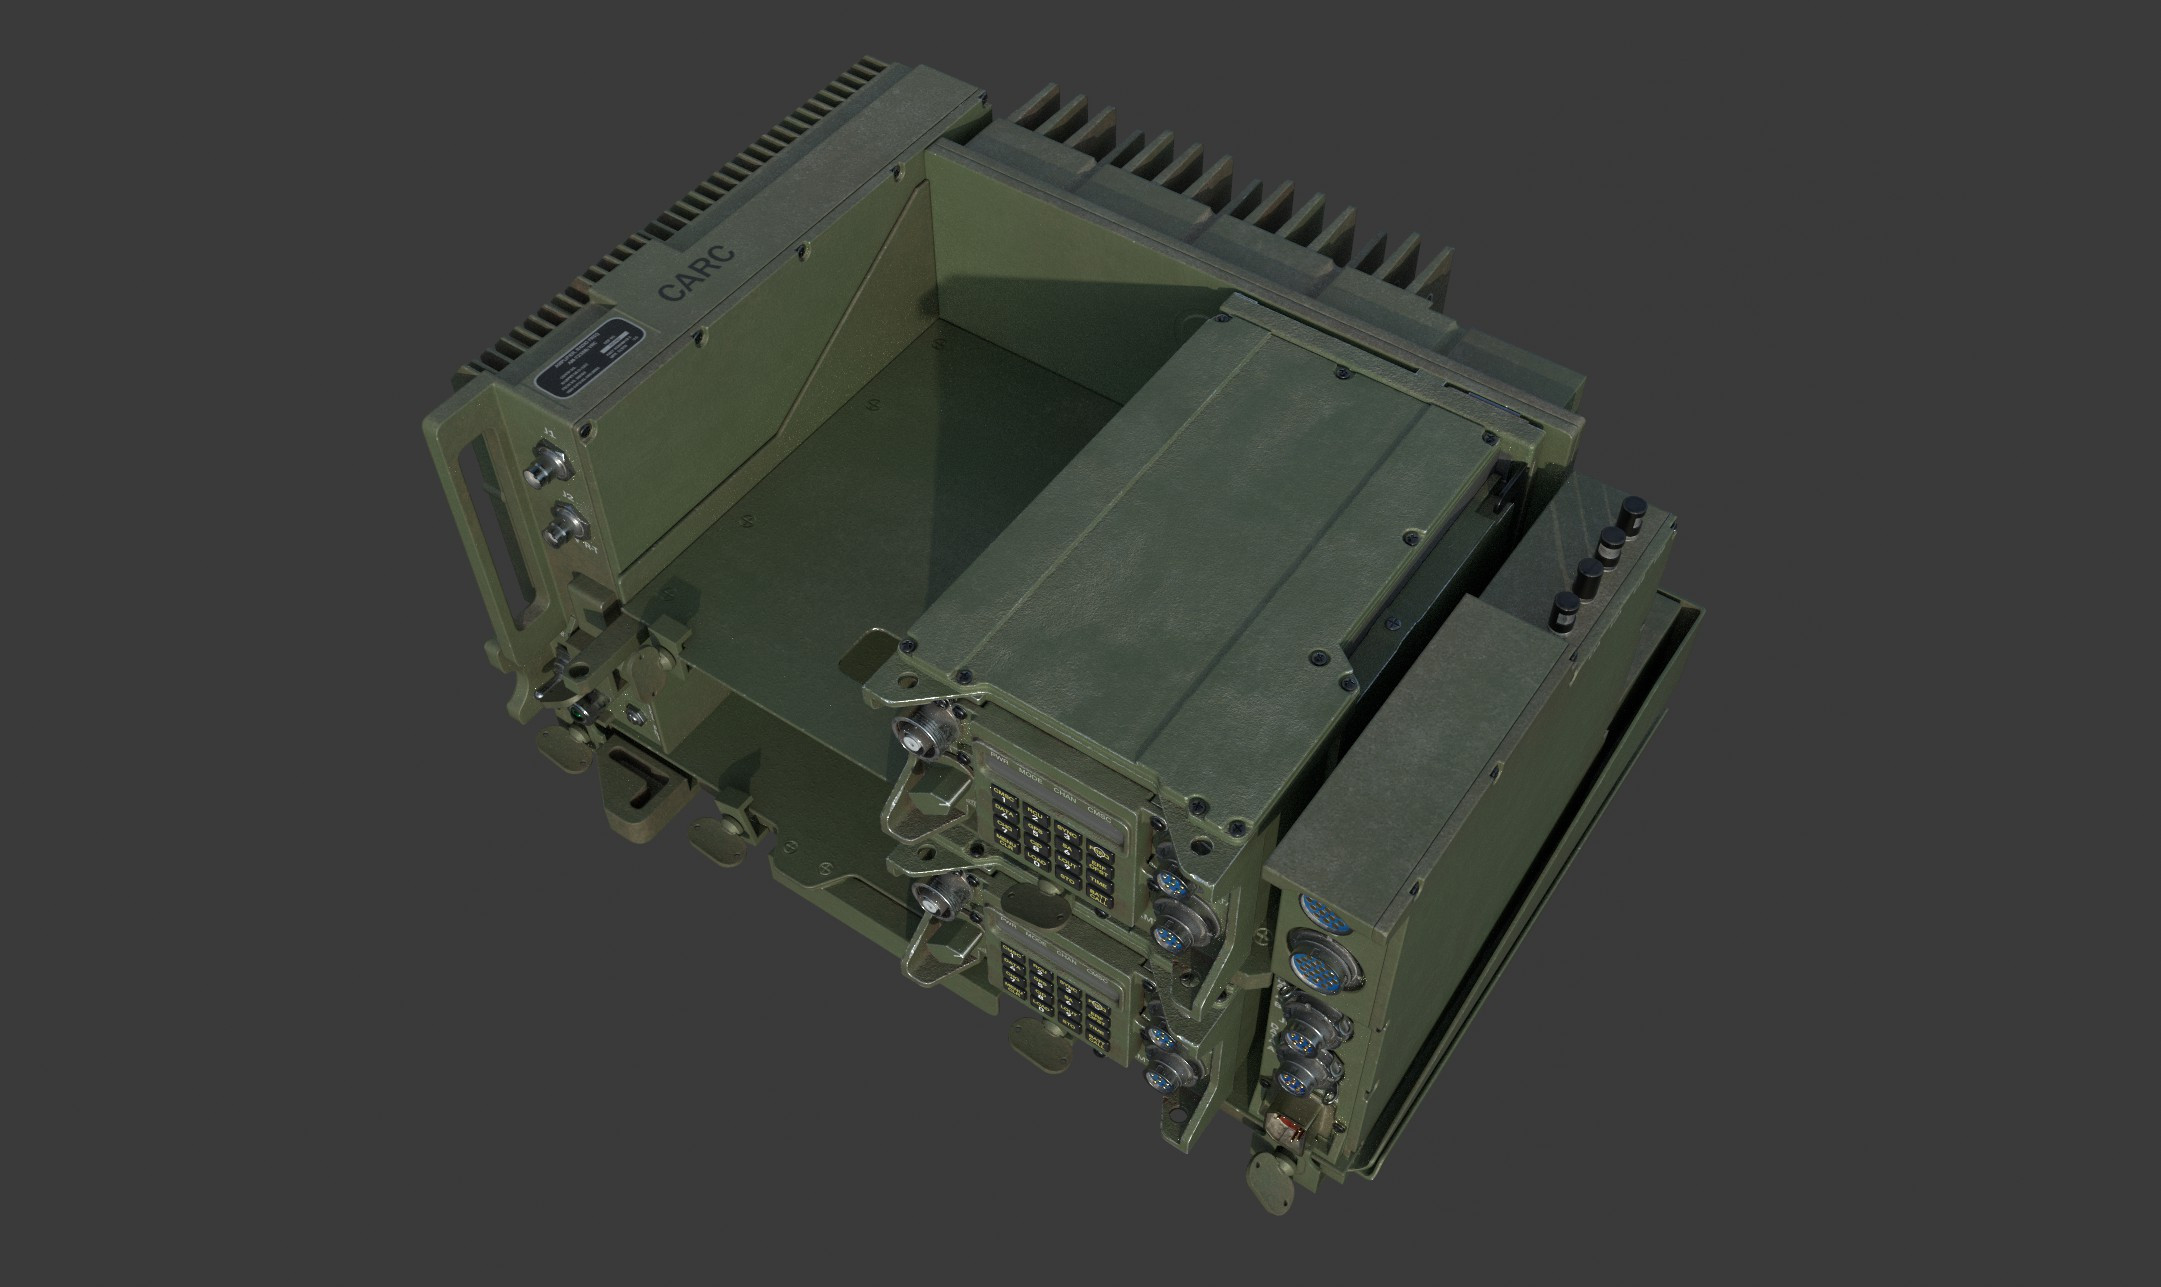
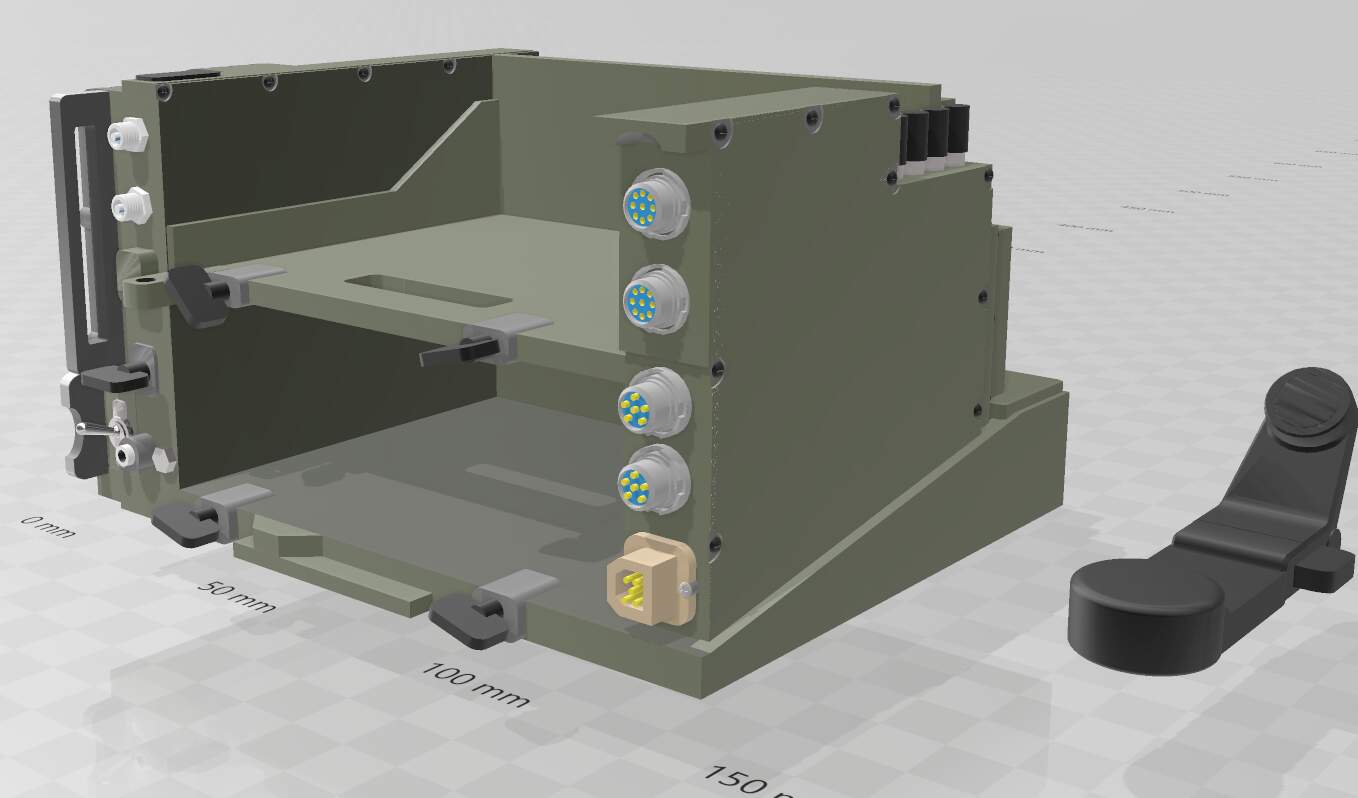
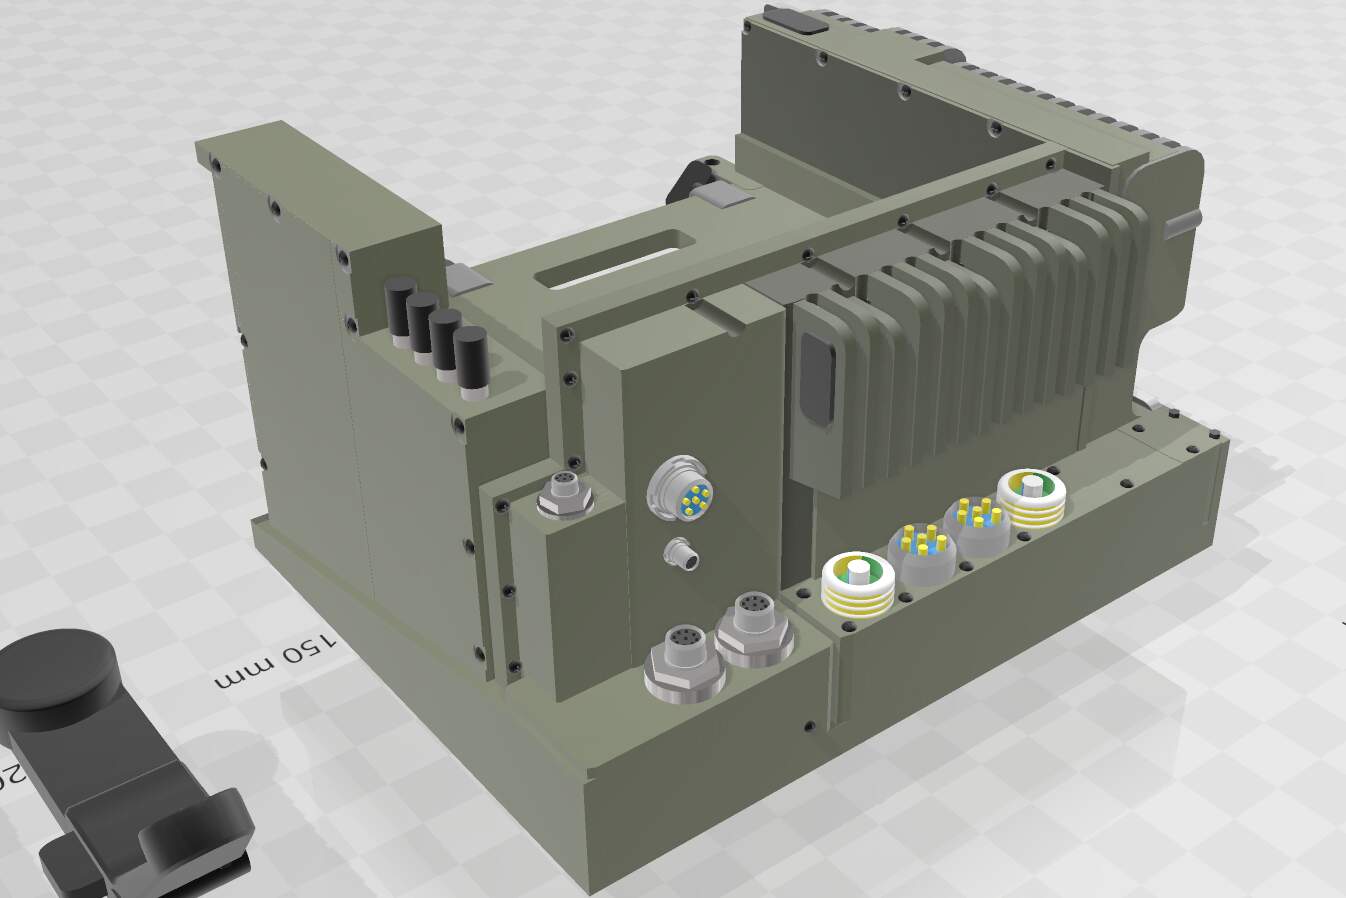
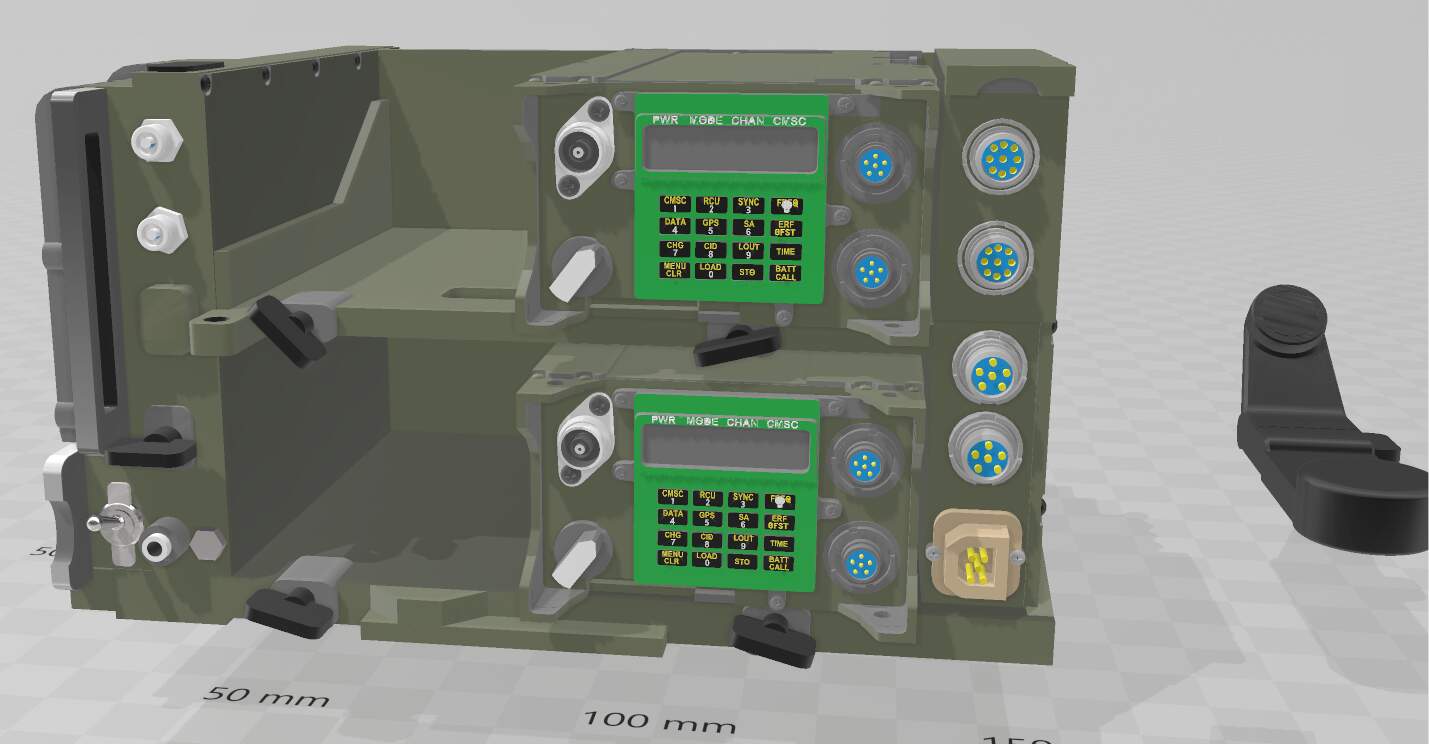
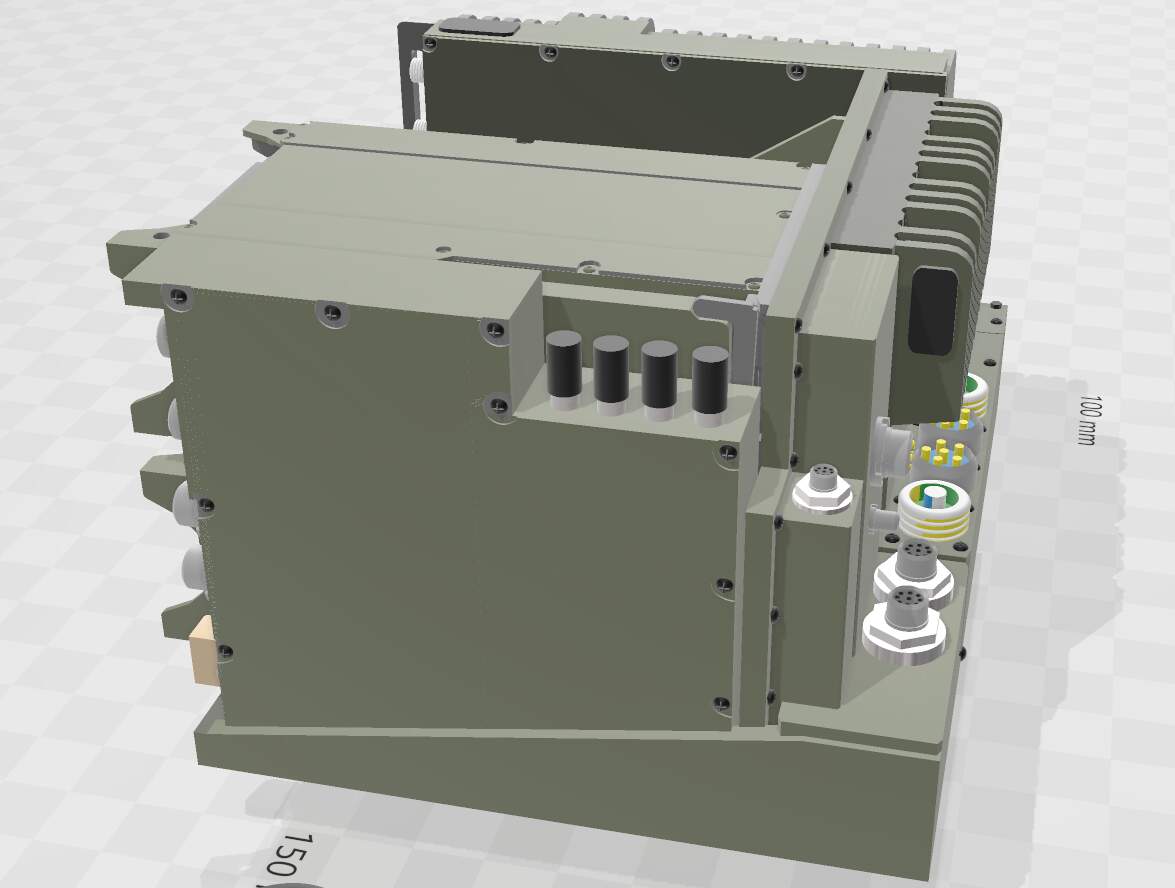
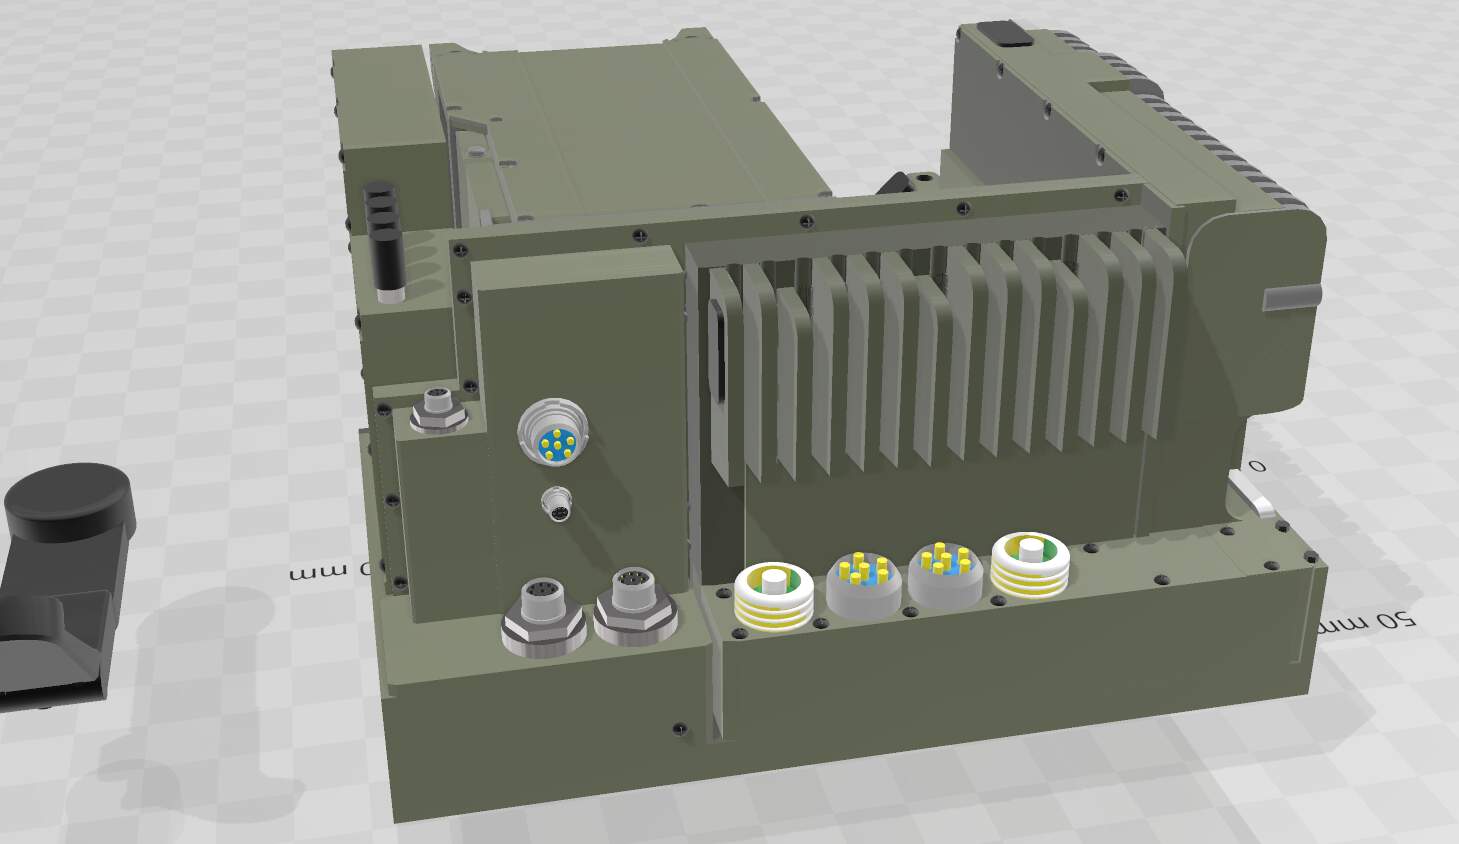
SINCGARS radio mount CAD finally done!! Took more than 3 months to finish this… Truly stressful.
Going to print it this weekend.
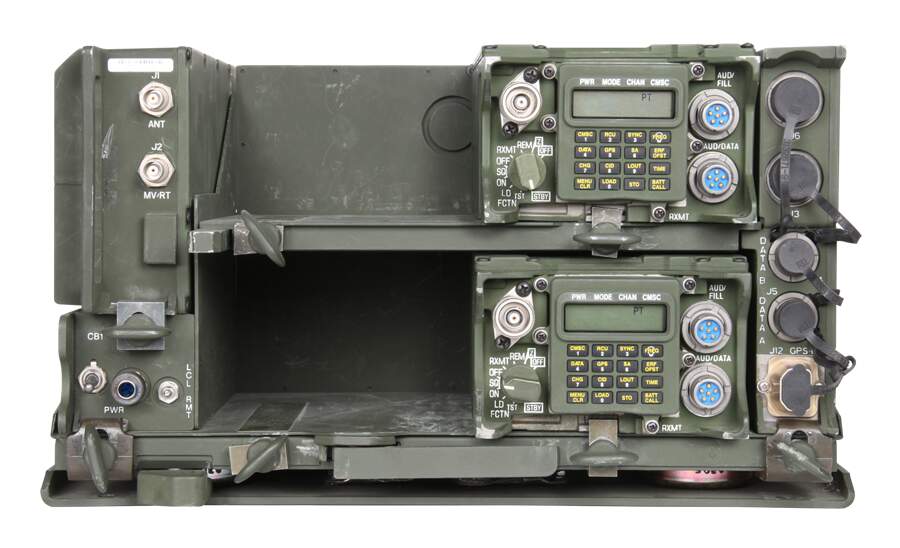
With RT-1523E/Fs in it:
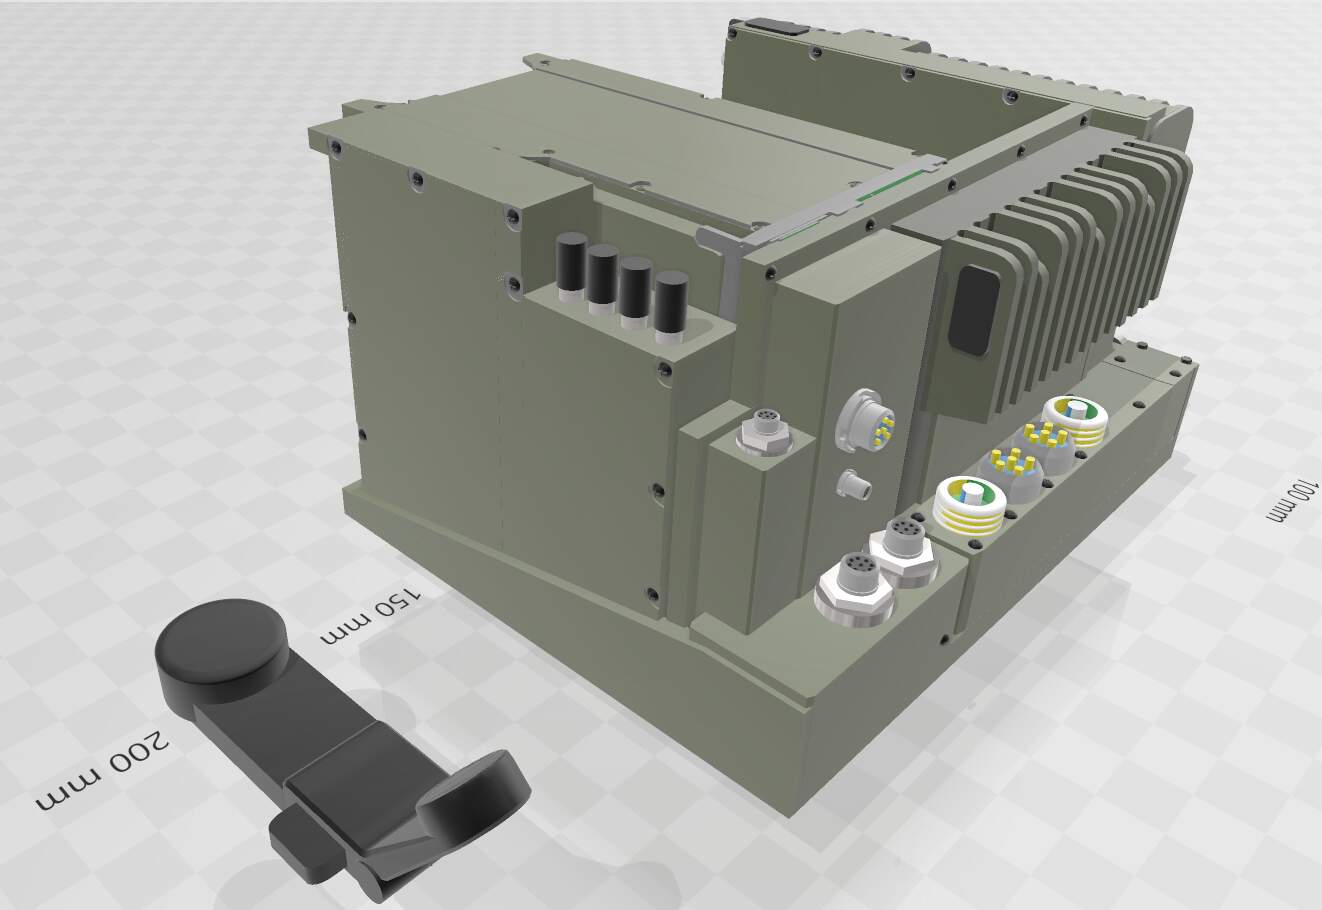
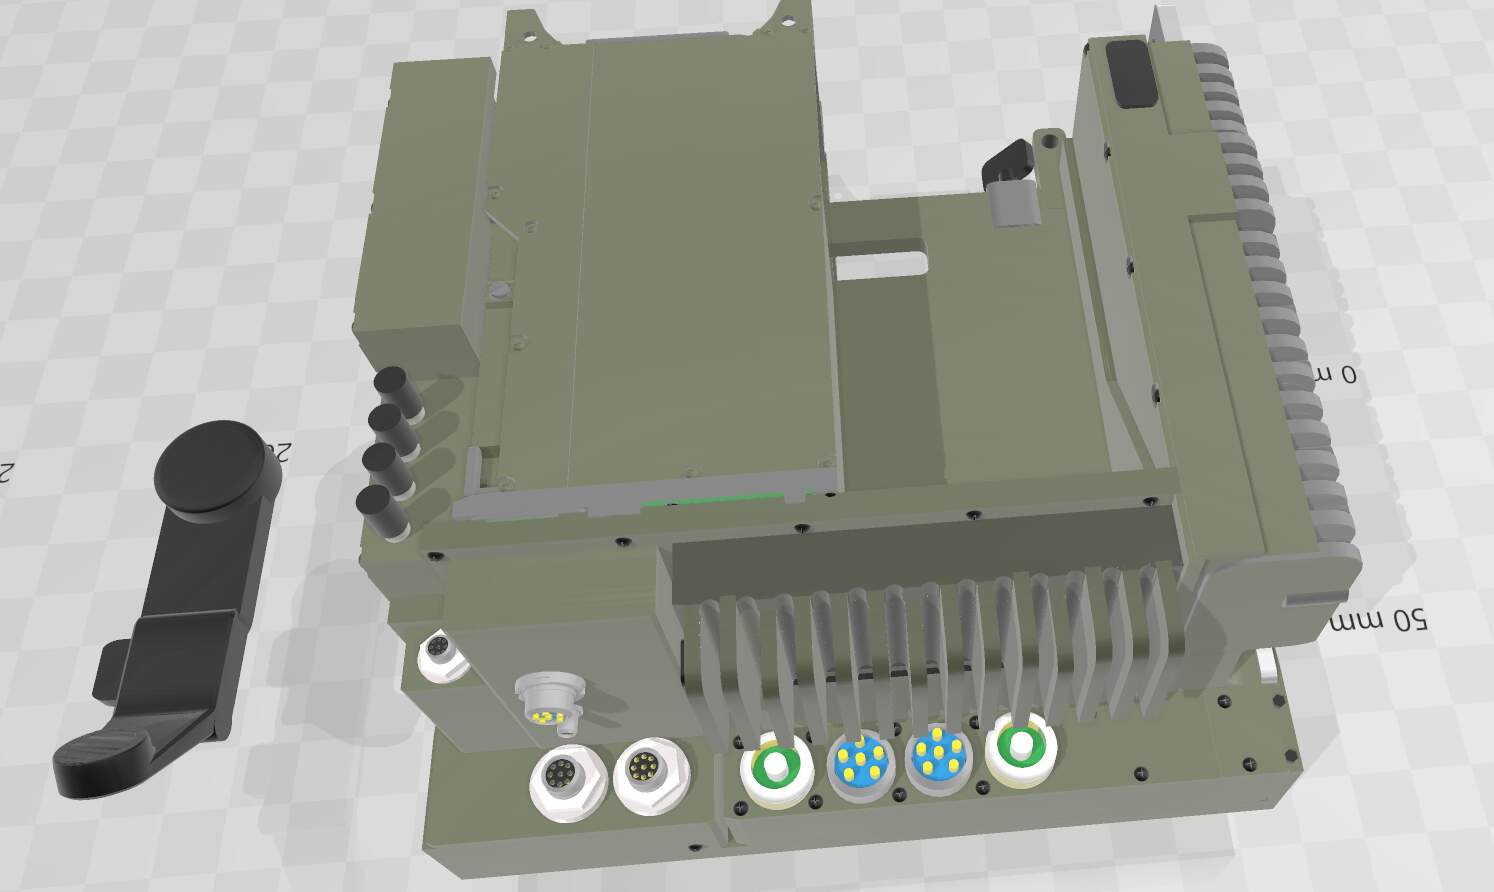

Mount only:


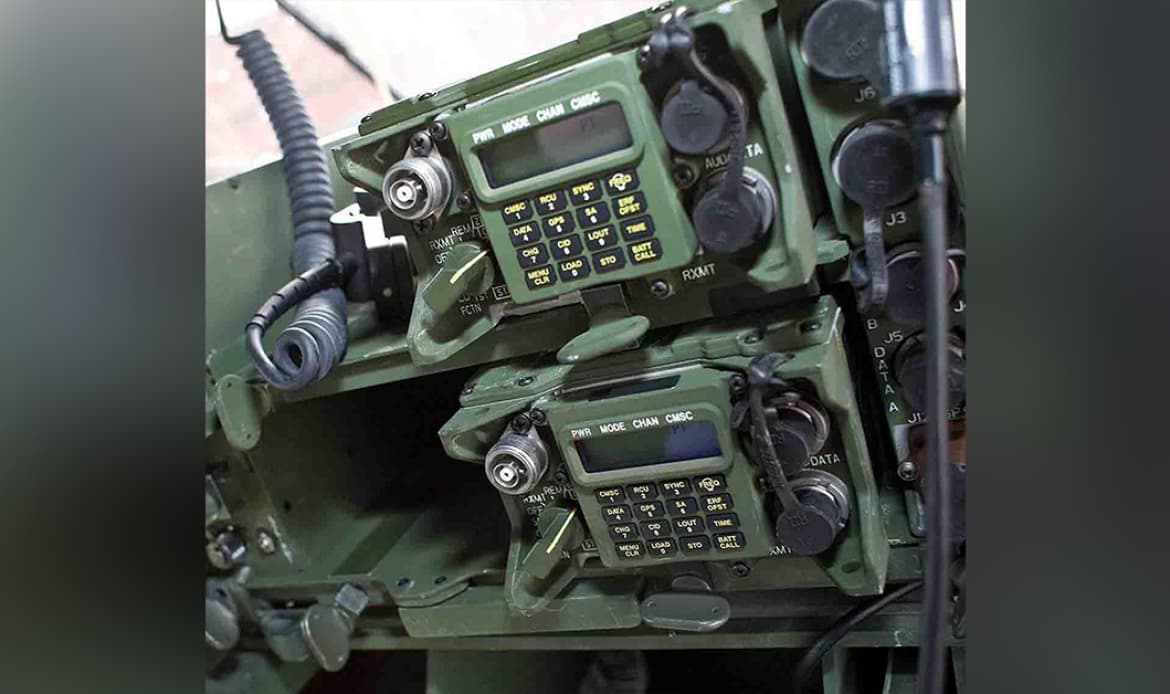
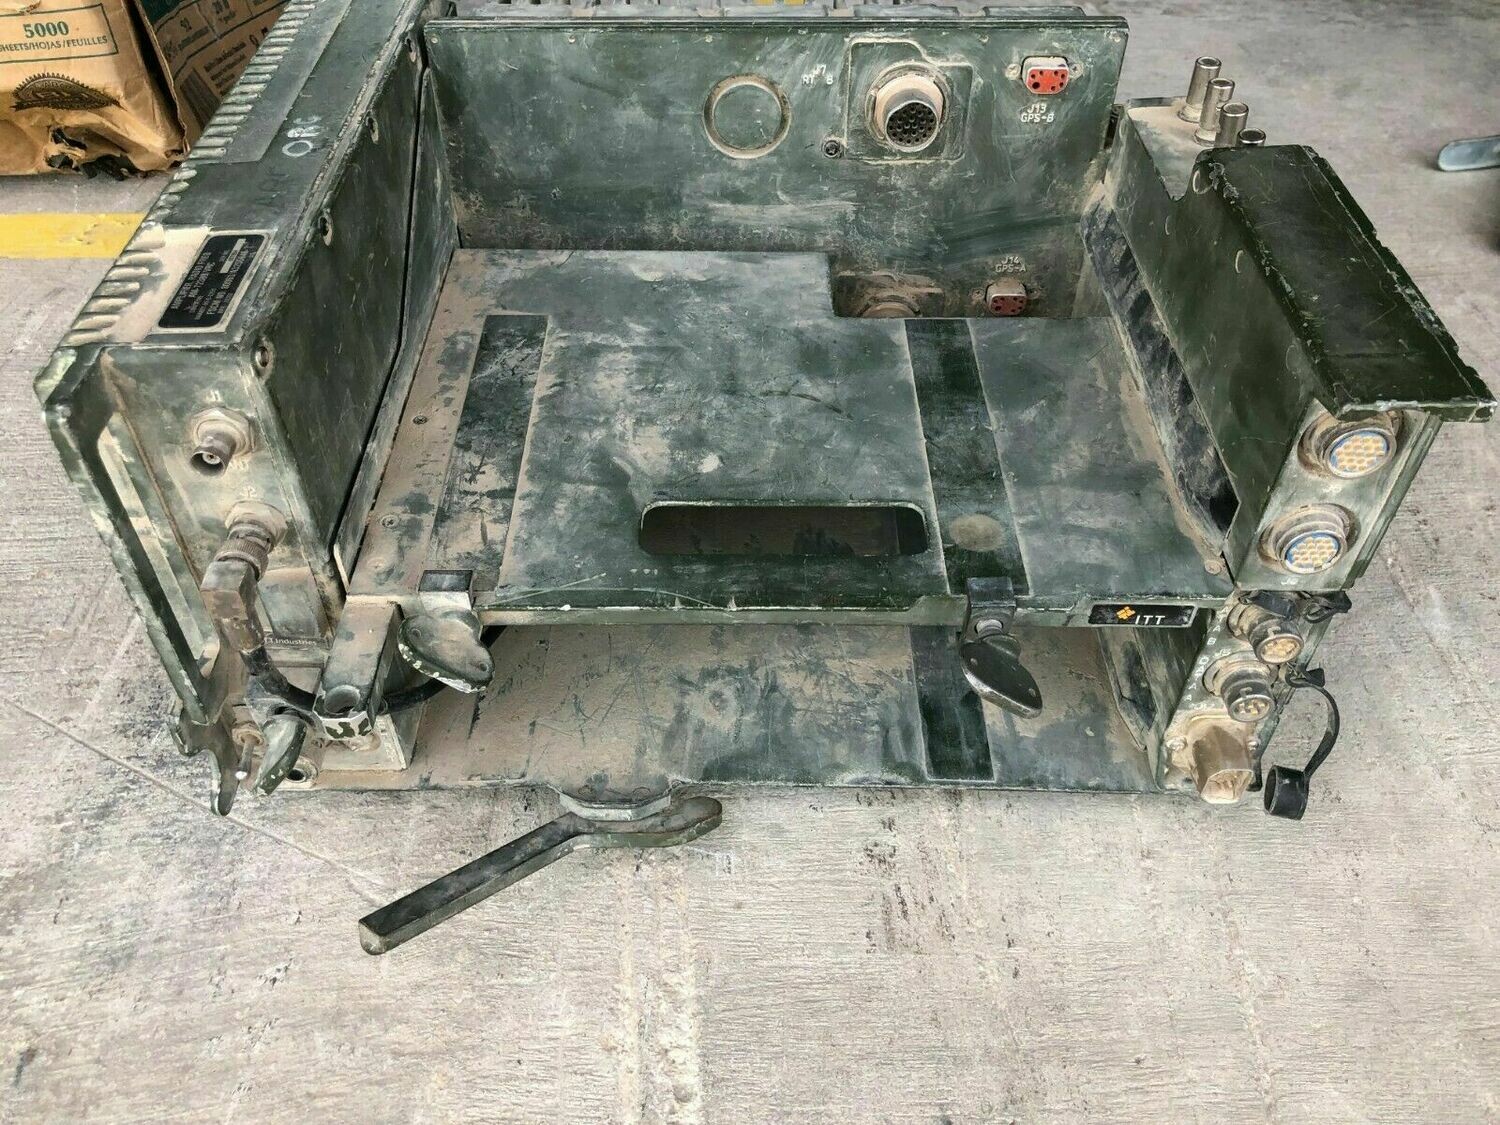
Reference photos used:
6 Likes
Very nice, it looks exactly like the real thing. The details you put in your designs are absolutely amazing. Well done!
Mario
1 Like
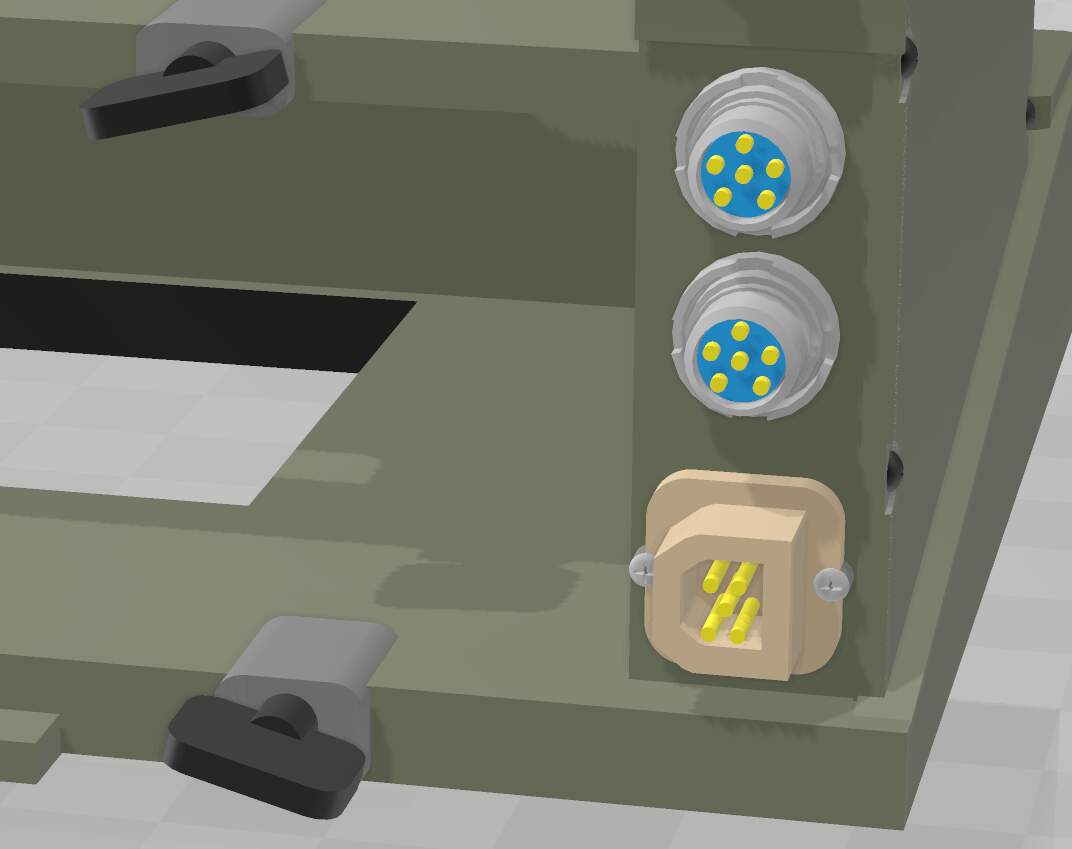
There shouldn’t be a hole through the center of the bottom plate of the AM-7239. Only through the center of the MT-6352.
Yeah, noticed it, too. Easy fix.
2 Likes


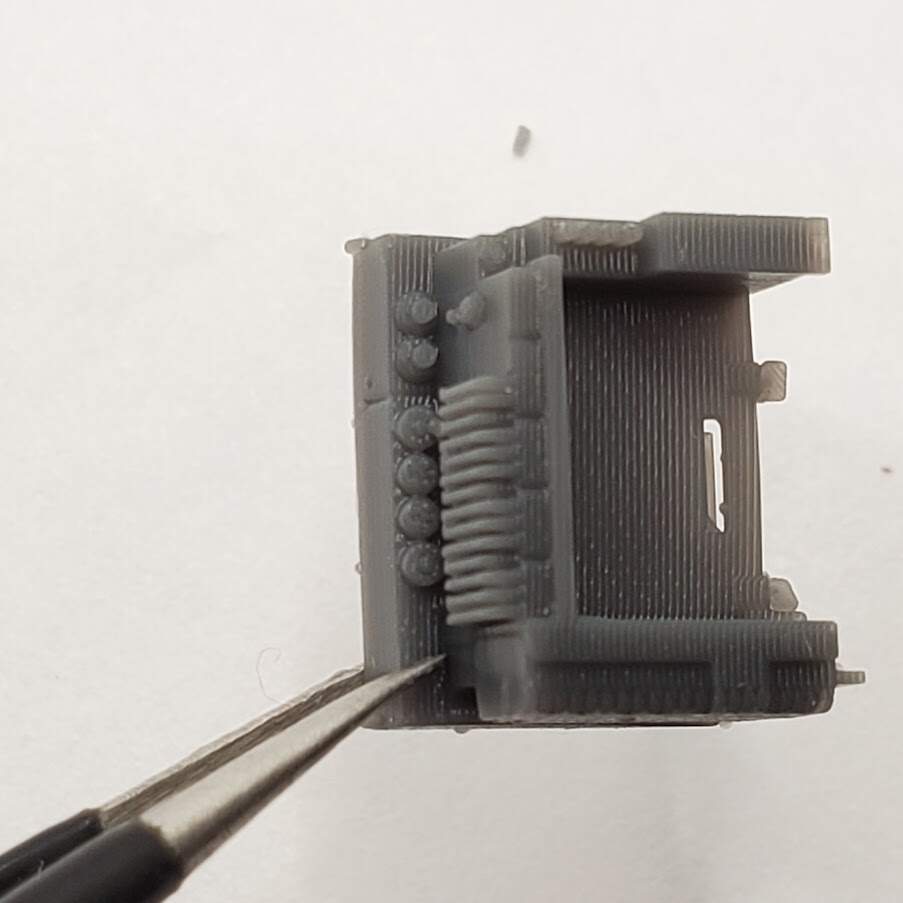
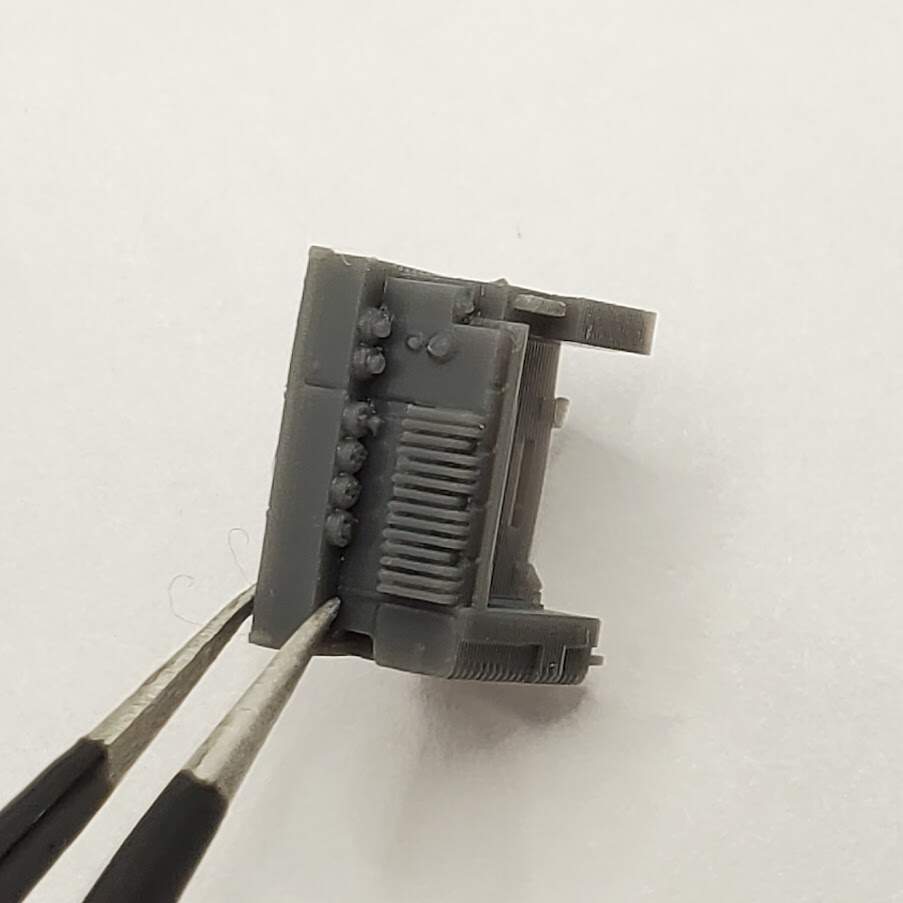
OK, the SINCGARS mount printed.

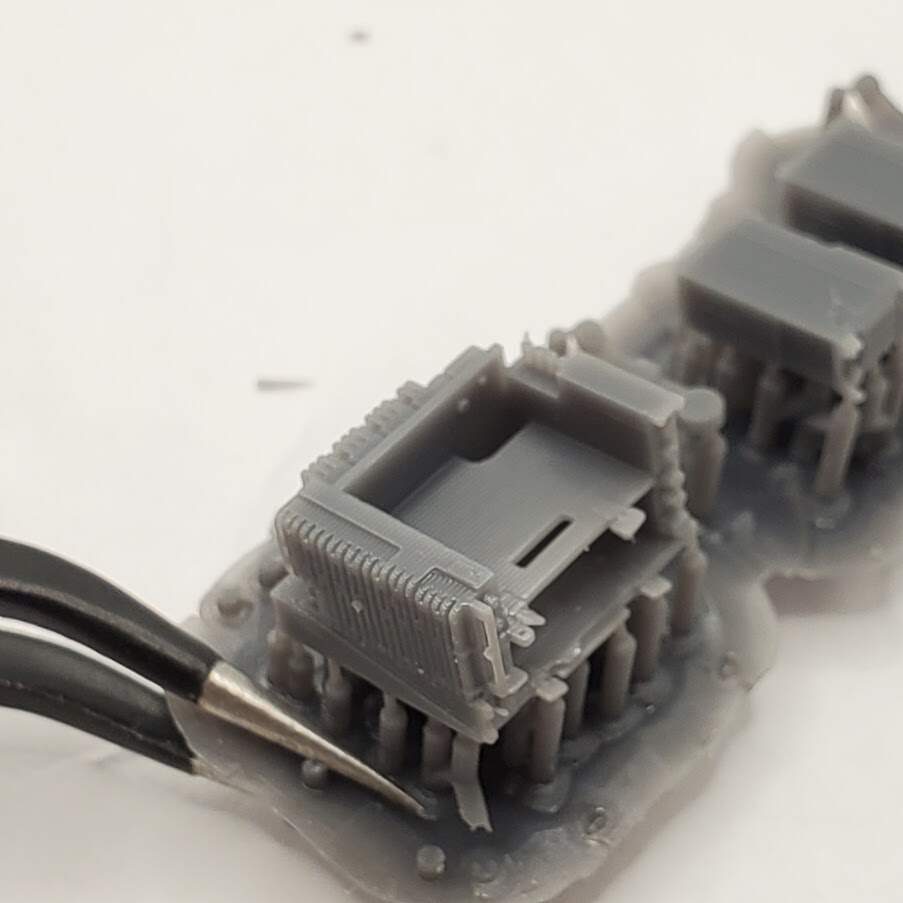

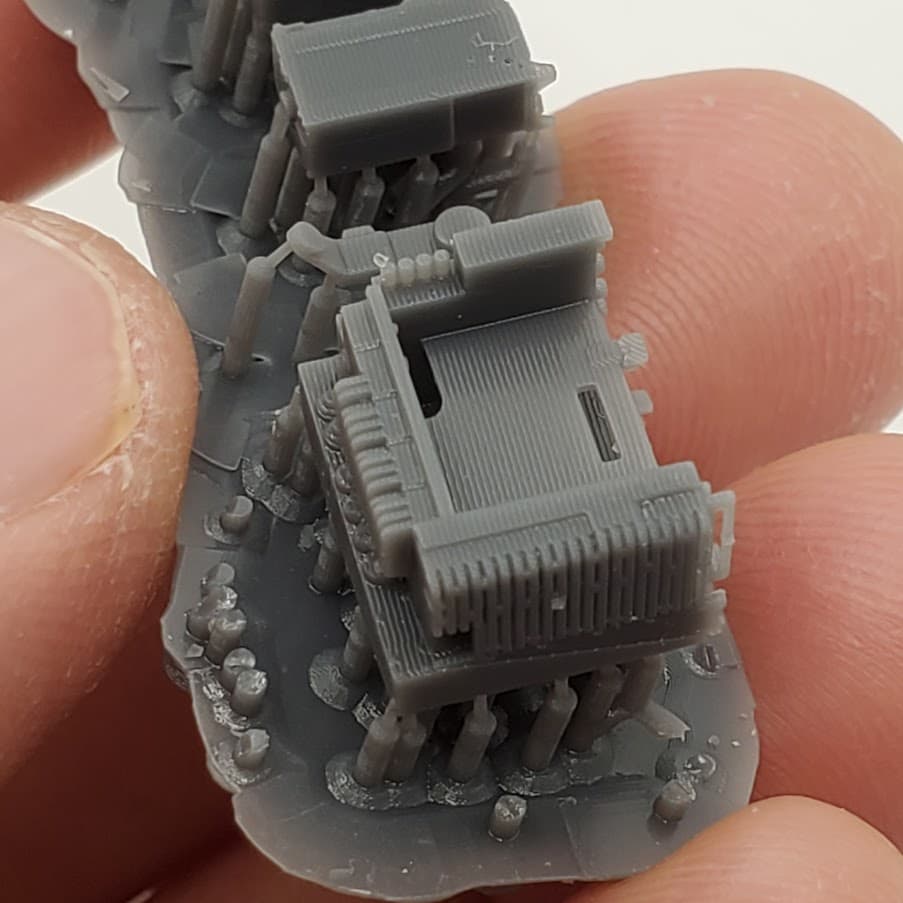


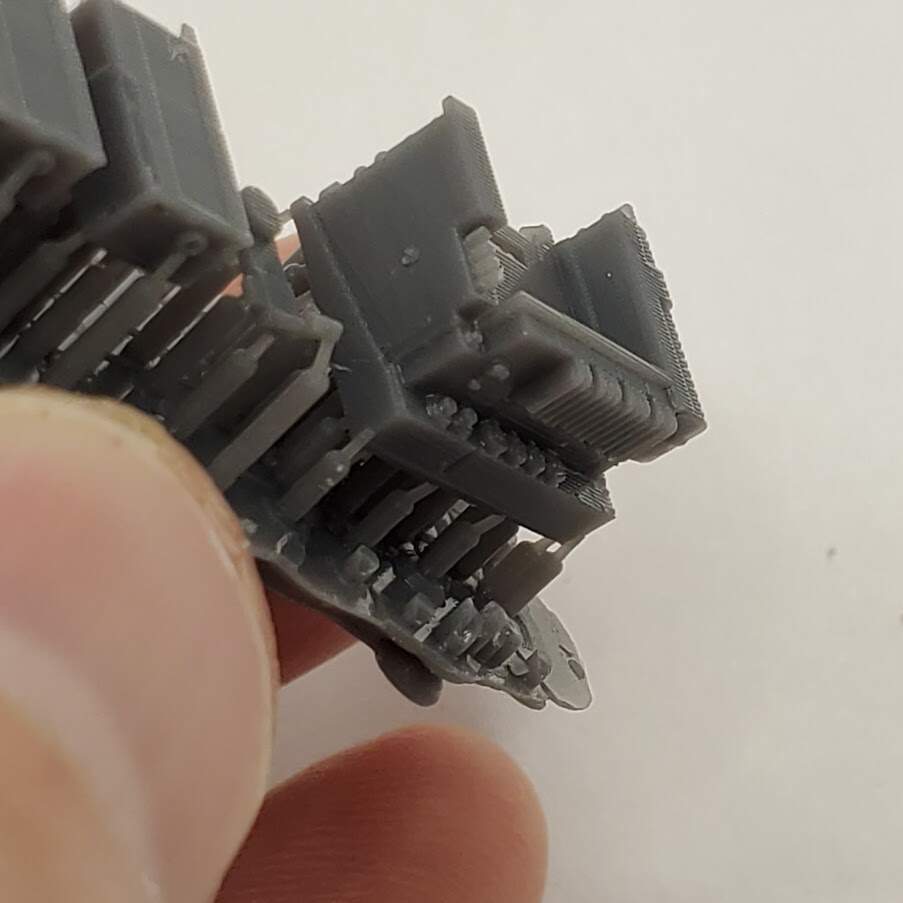
Supports removed:
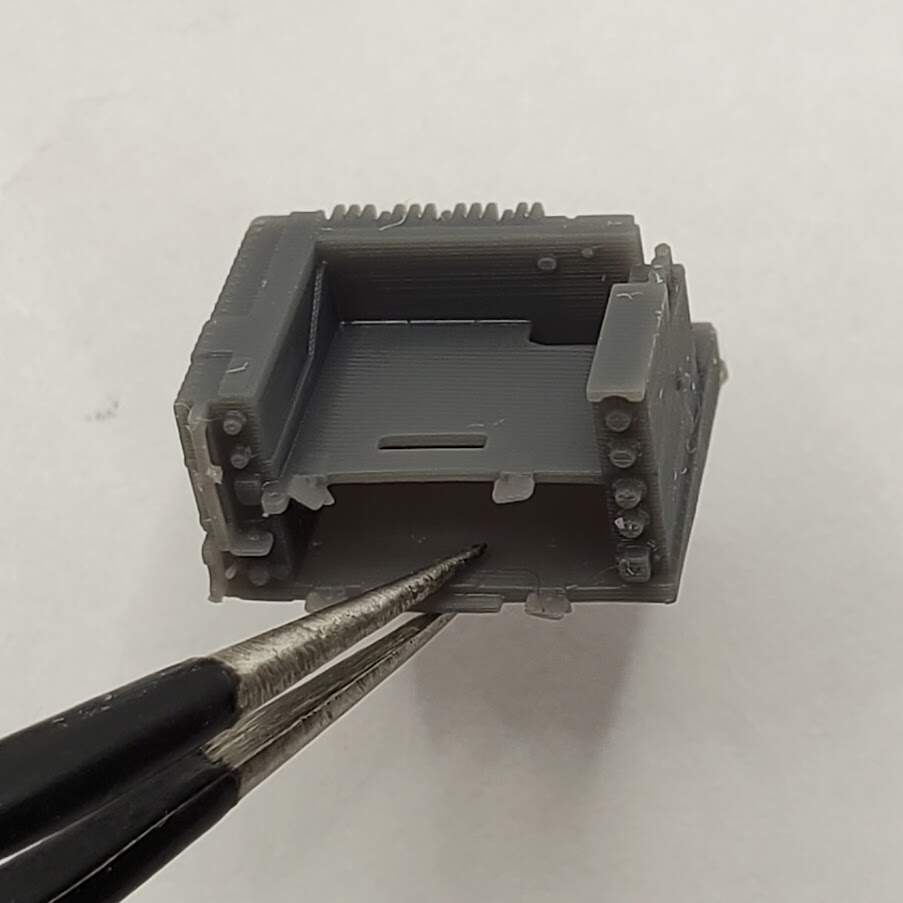
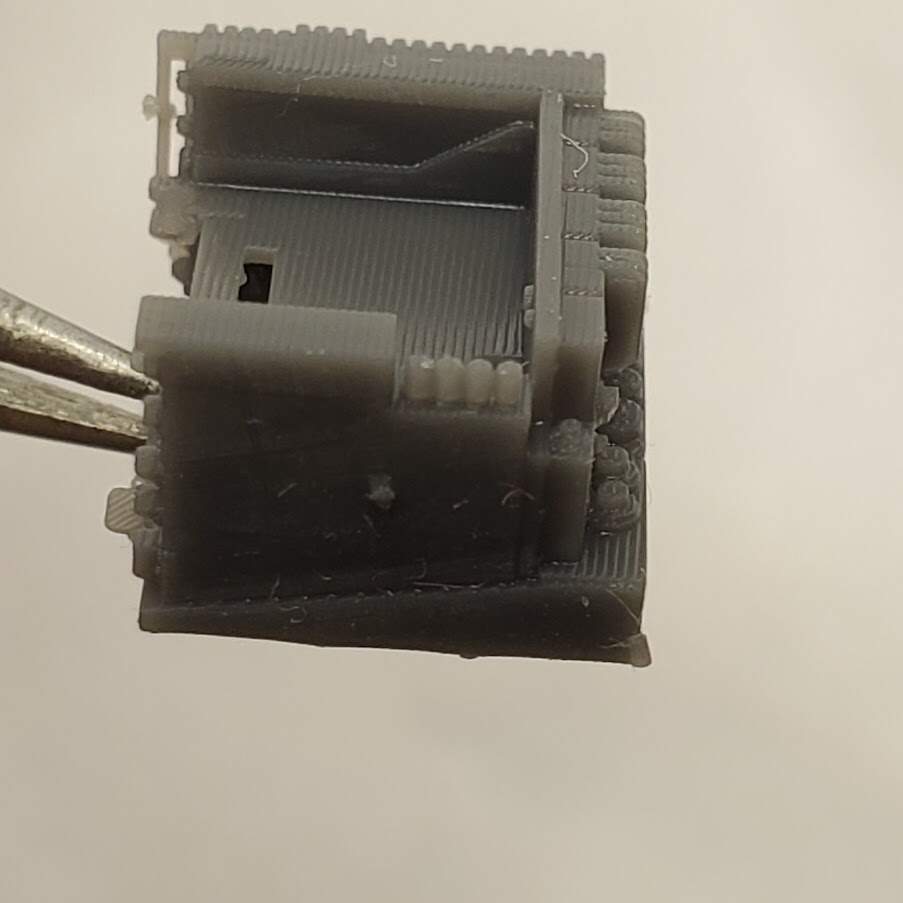
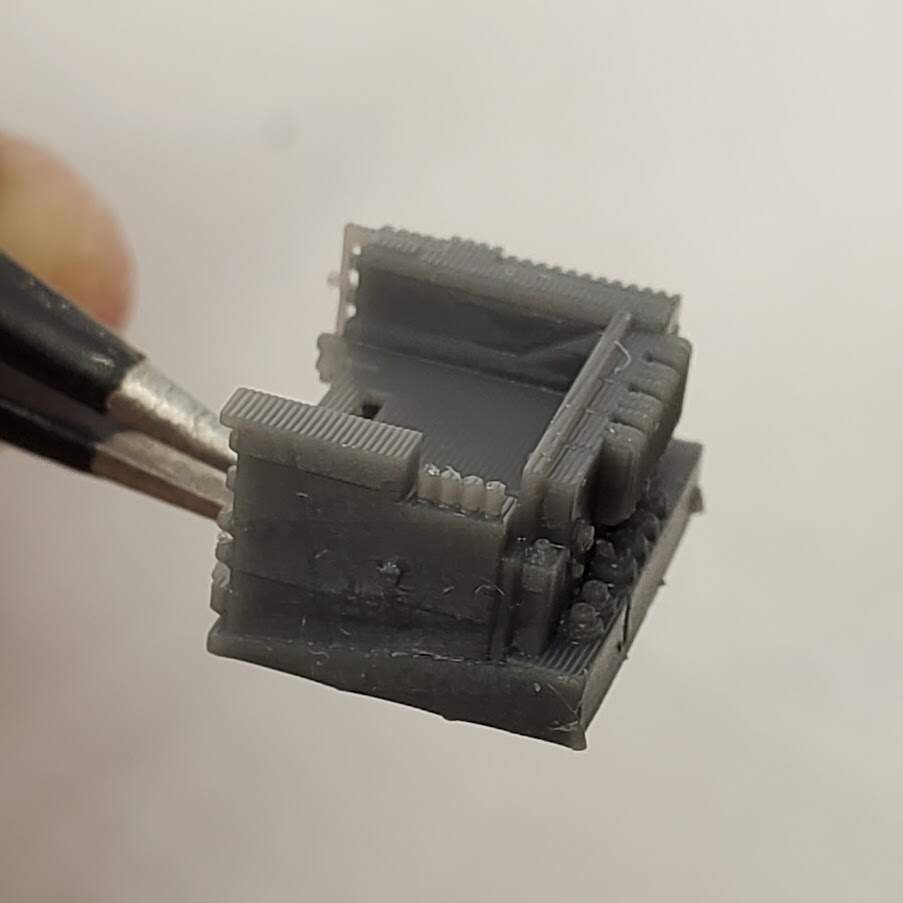
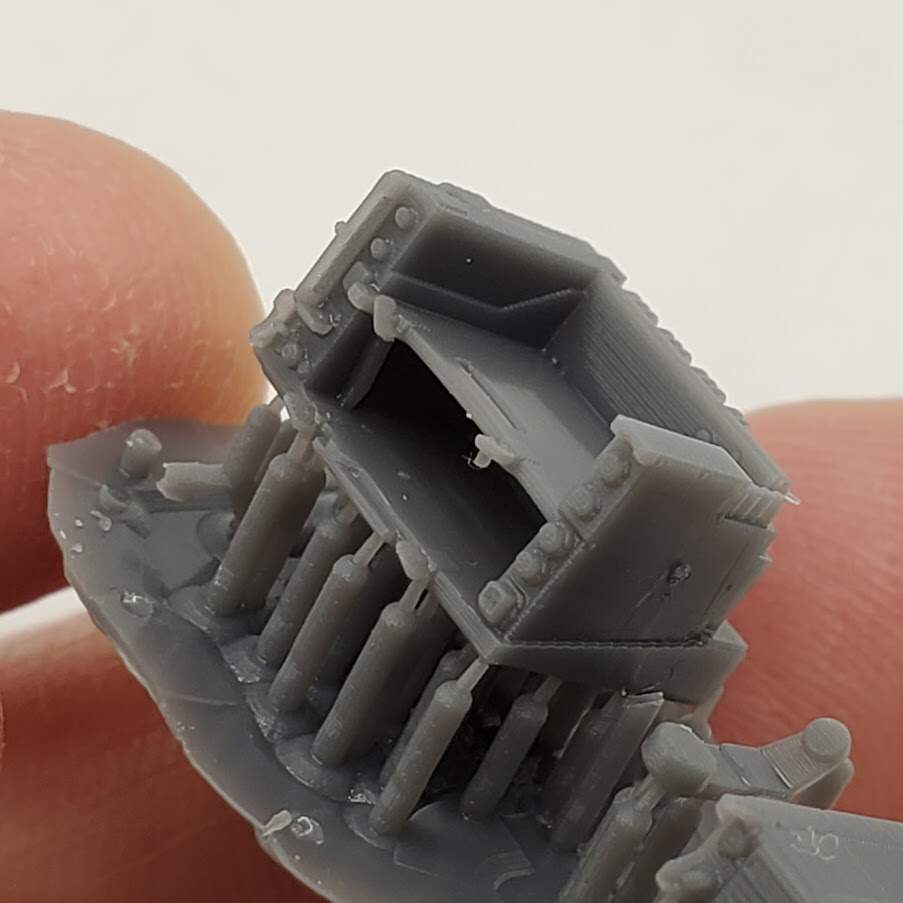
UV cured and with radios in:
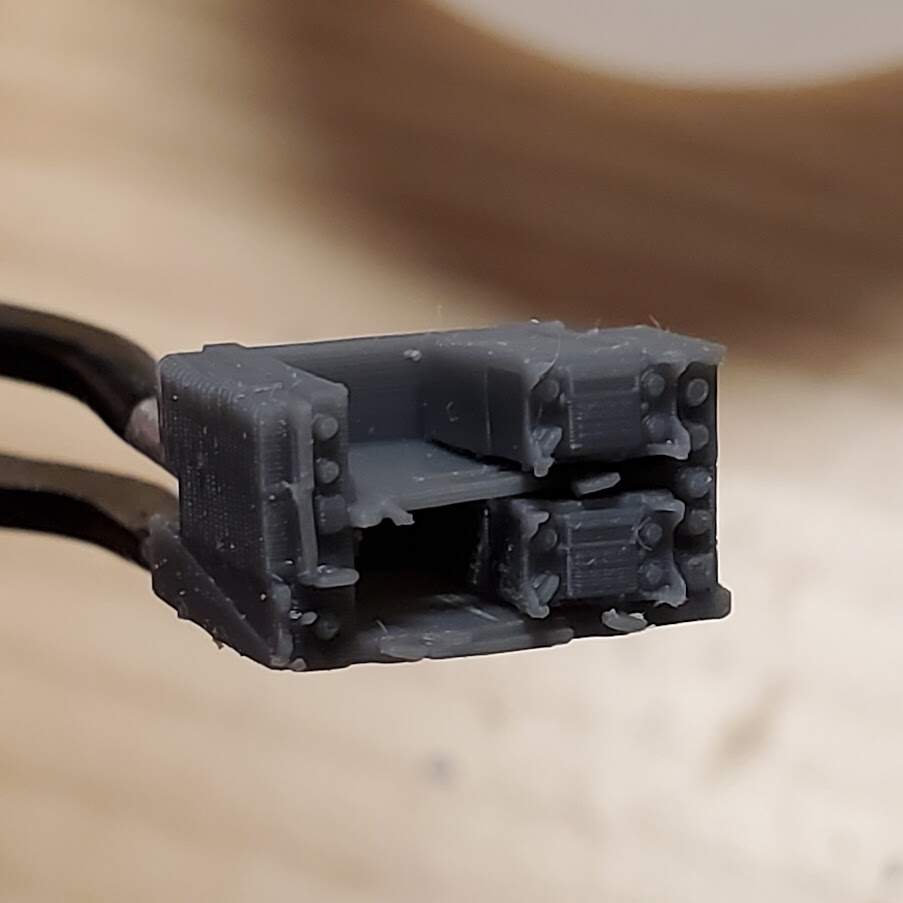
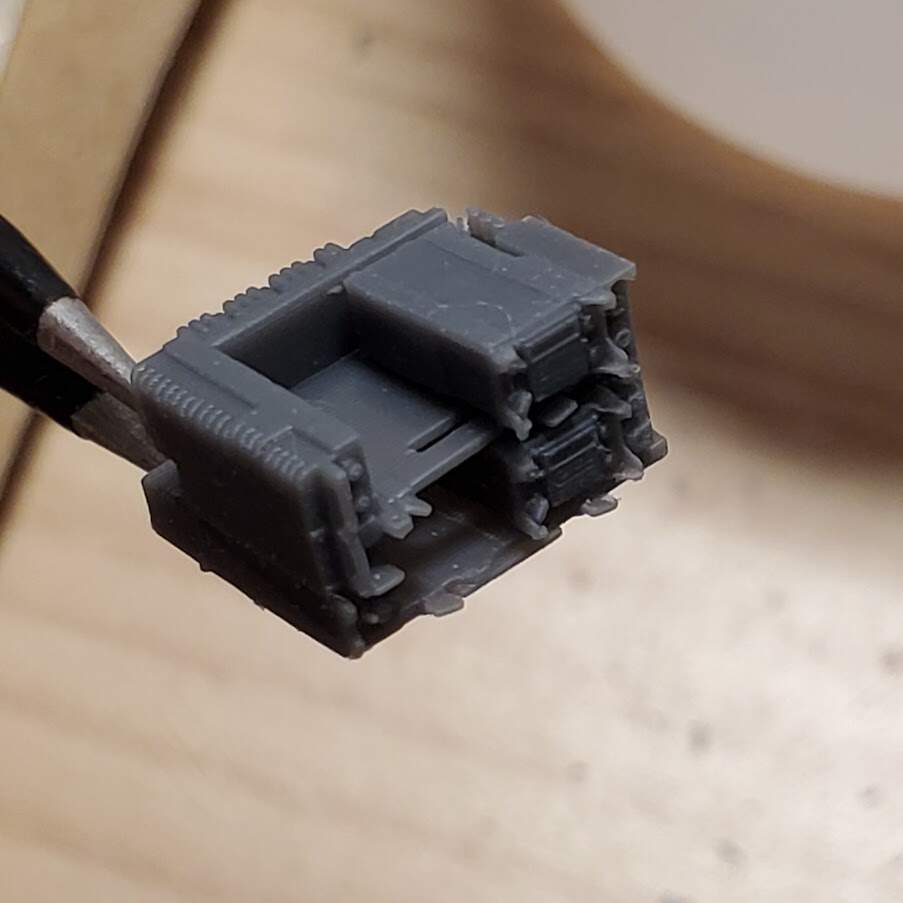
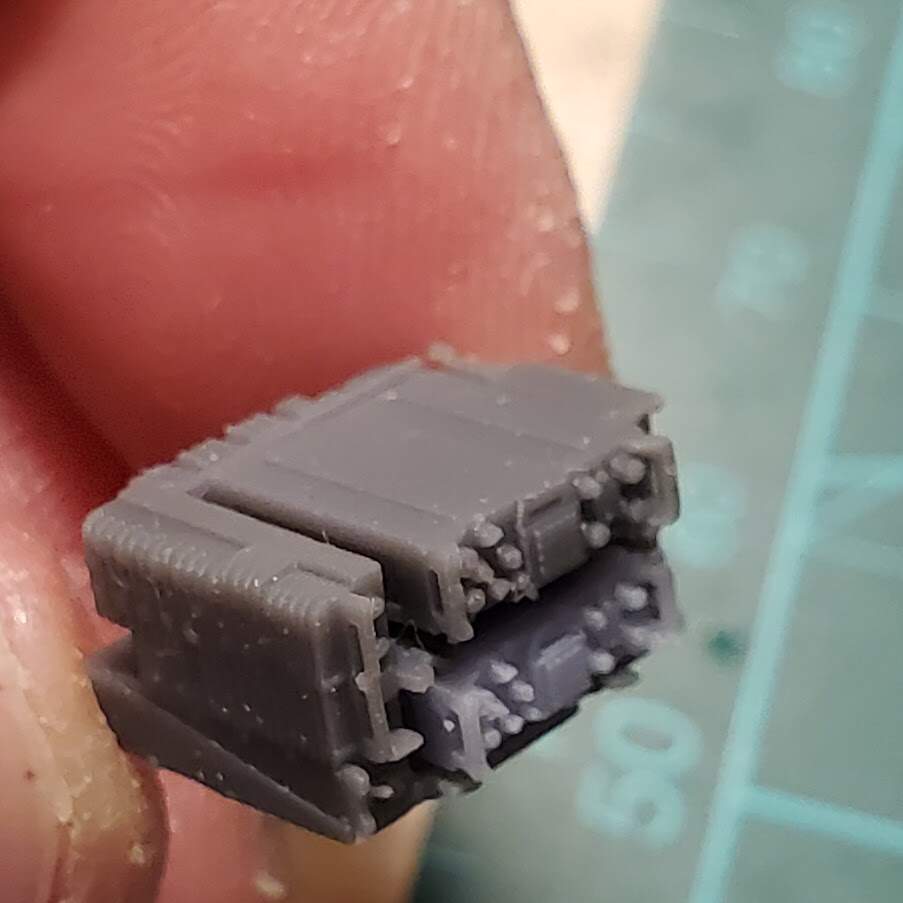
It was like a tiny doll house play. ![]()
6 Likes
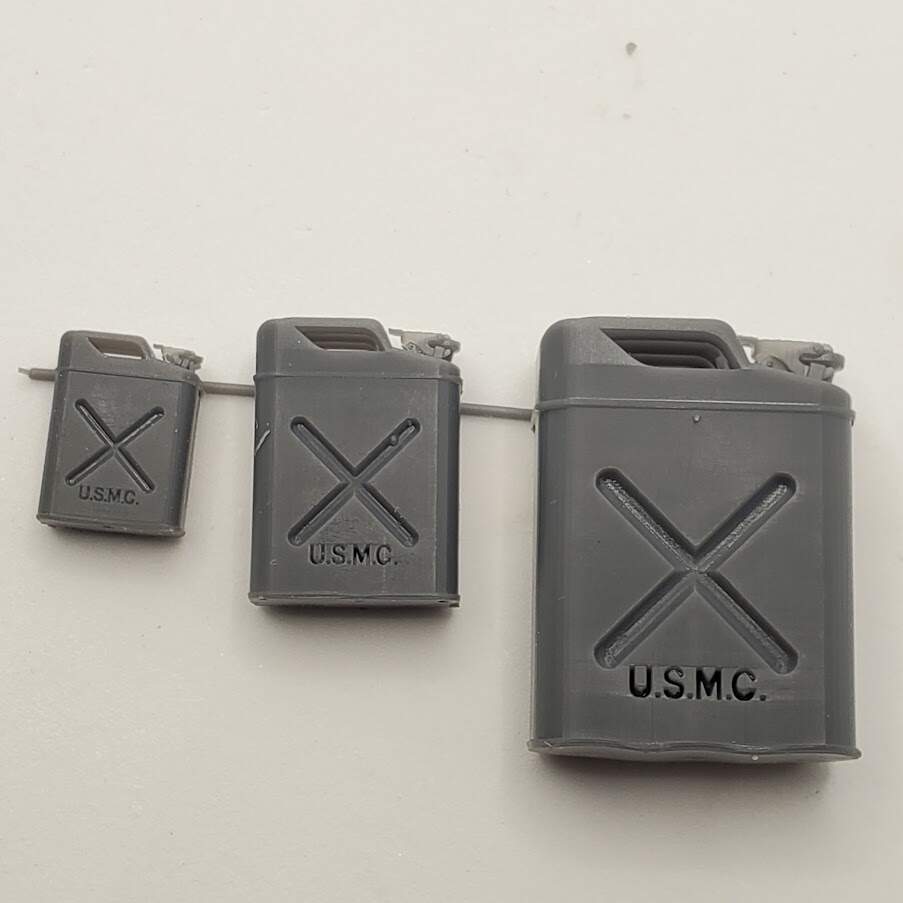
Other prints from last night:
Reduced the size of these about 15% from last time:
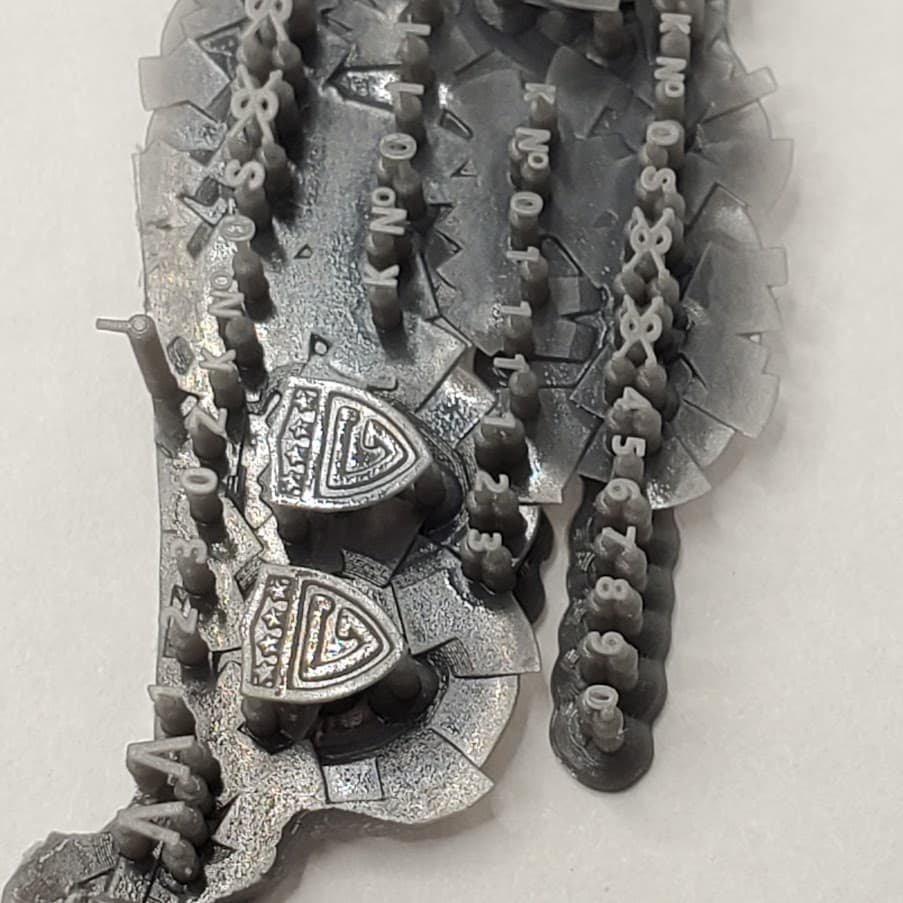


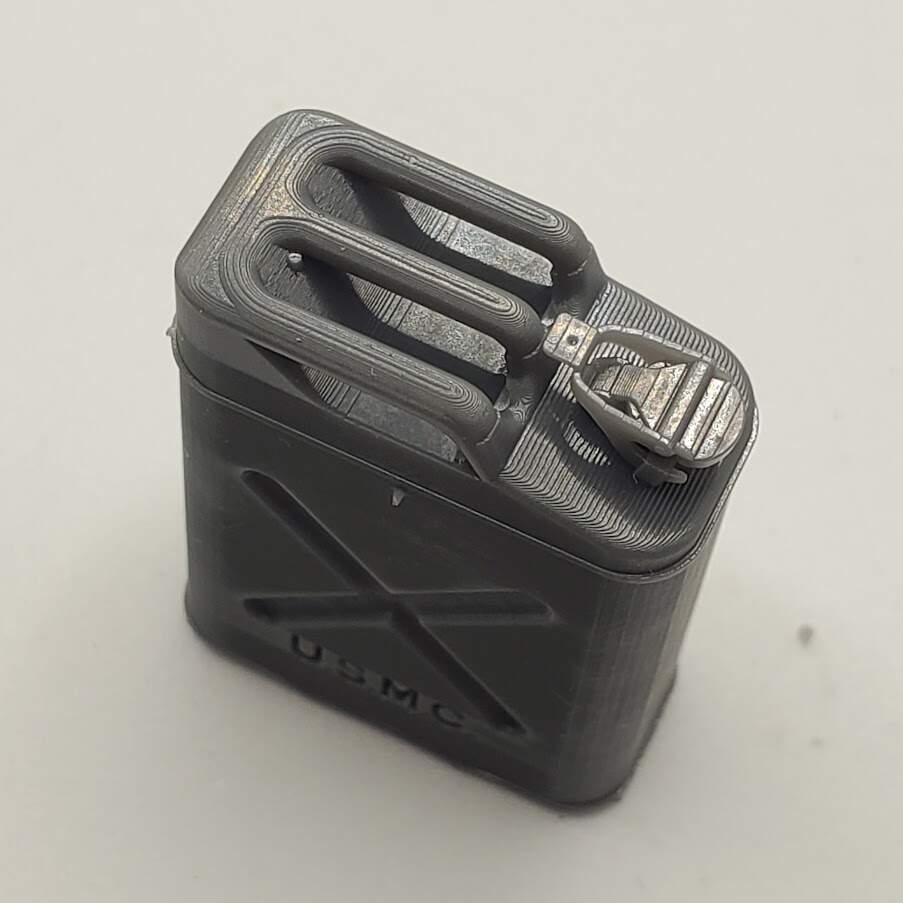
Tools and tool boxes in 1/35:

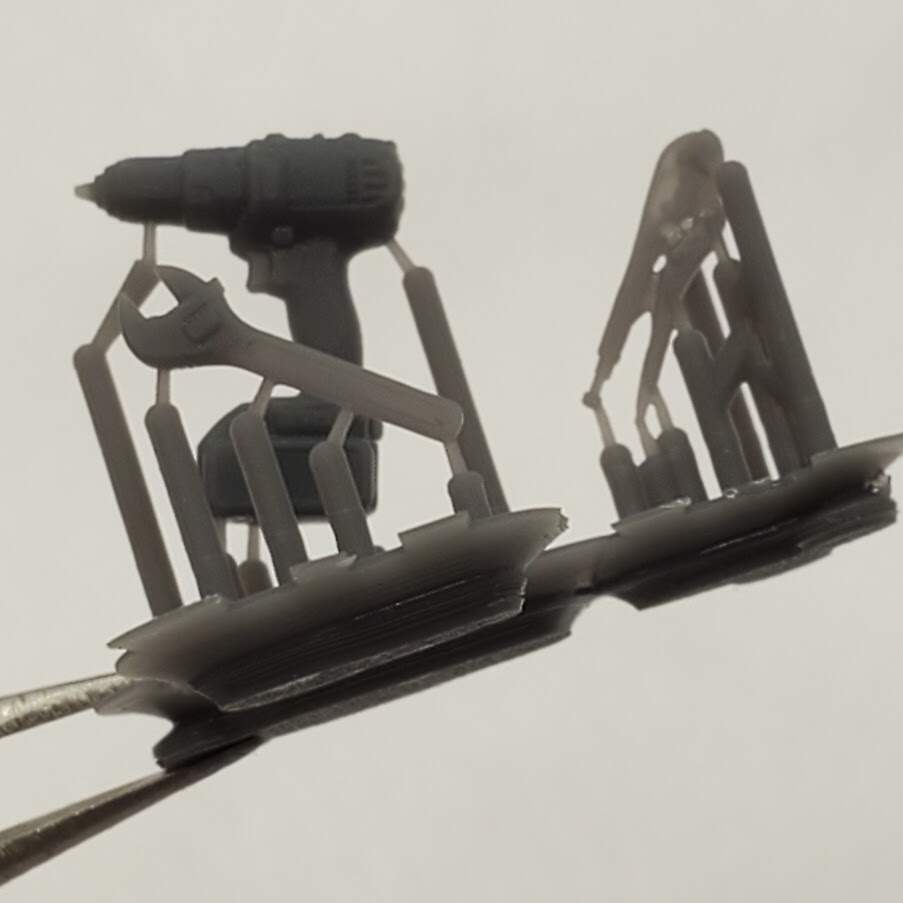
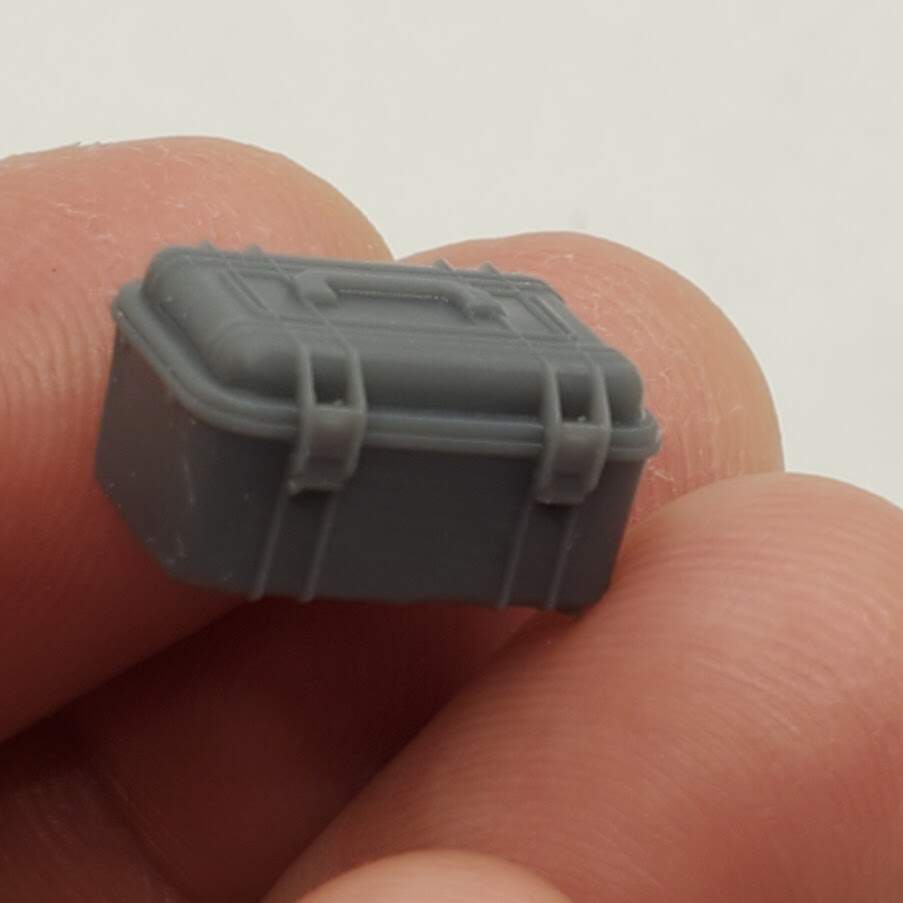
The print detail still amazes me:

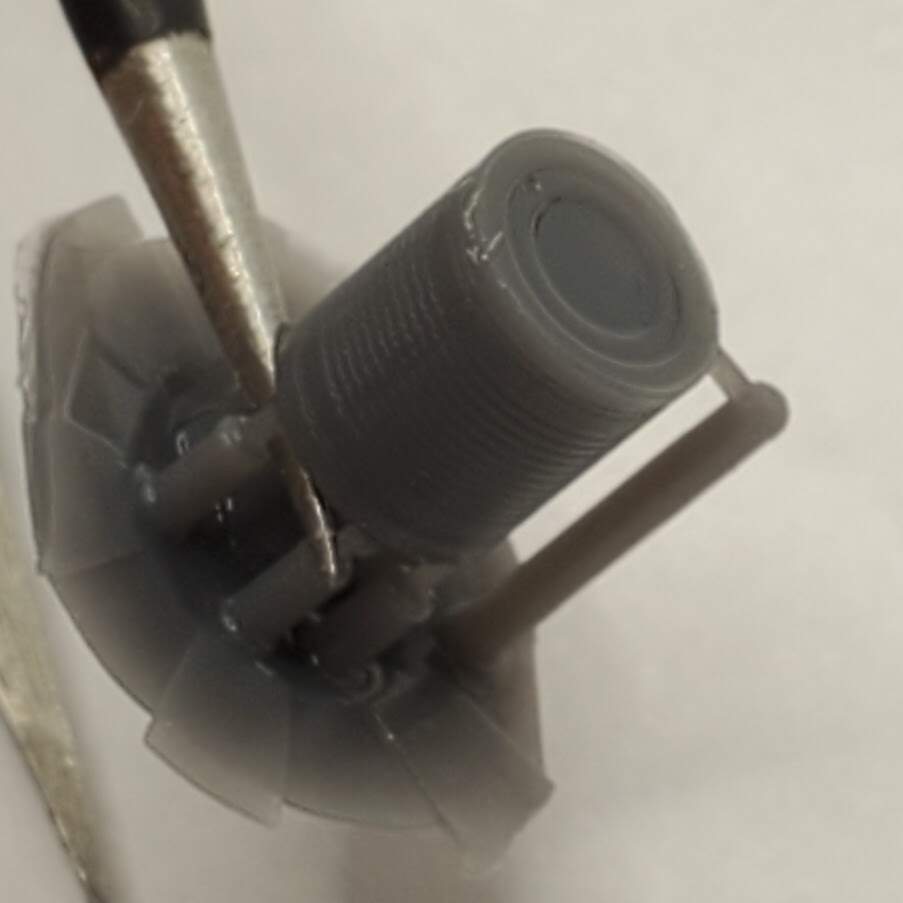
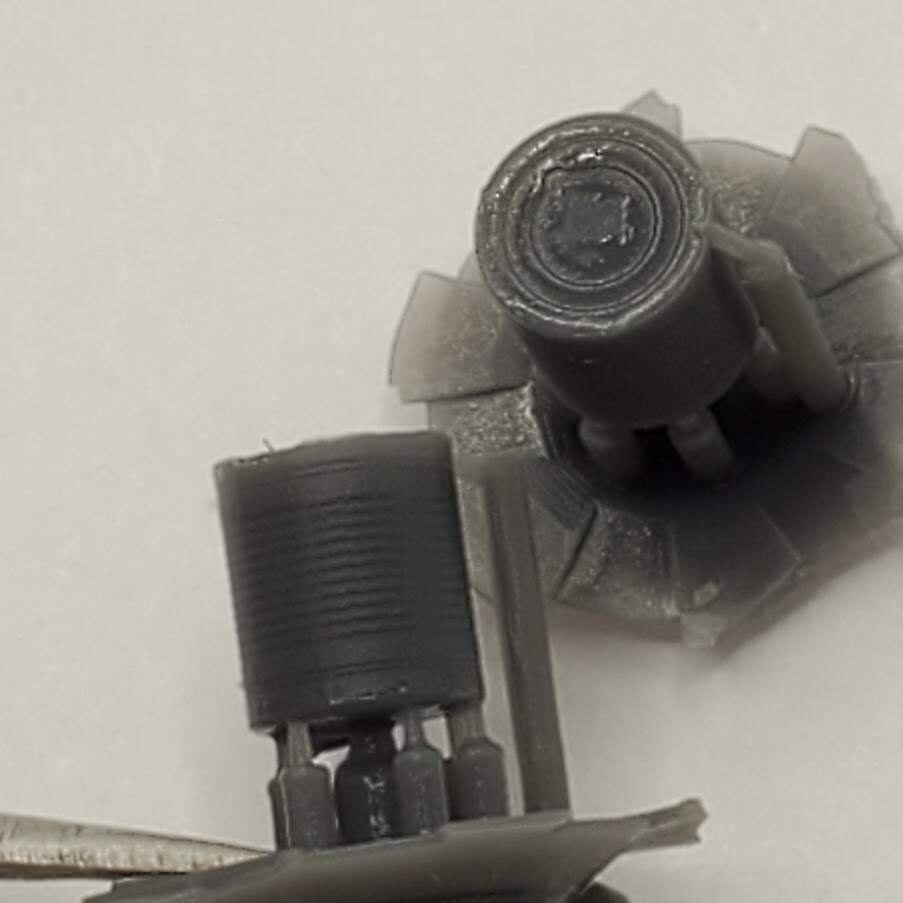
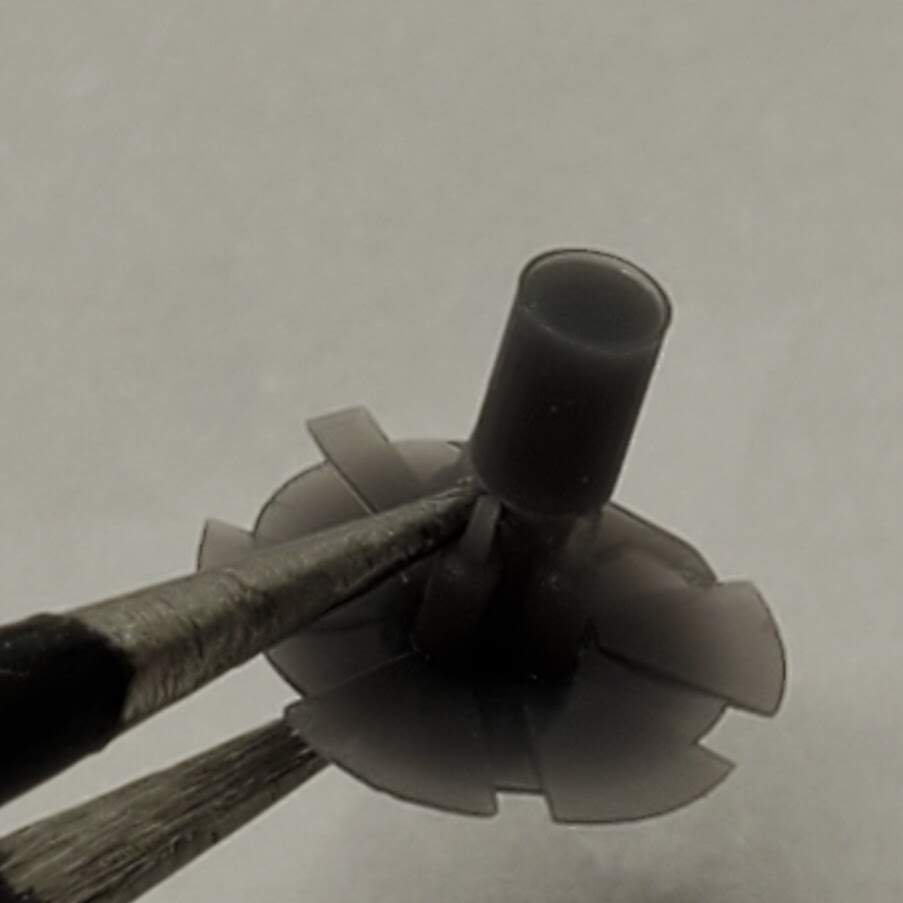
C-ration cans:


7 Likes
Are the aircraft tires, weighted and what type? ![]()
Hi Ryan,
I’ll PM you later with more details on the wheels. I’ve finished printing your order, too so I’ll send you the USPS tracking # with it as well.
Kind regards,
James
1 Like