Prints from last night. Need to run a couple more runs and air-dry then UV cure.
Not enough supports at the edges on this one, warped a little - need to retry:
Prints from last night. Need to run a couple more runs and air-dry then UV cure.
After UV curing. Some misprints of M4A3 Sherman add-on armor, M88 headlight guards, and metal folding chairs… ![]() Need to retry them.
Need to retry them.
Otherwise, mostly turned out nice:
M151A2 correction parts
M101A1 105mm barrel front section:
Gatorade cooler:
M1A2 SEP V.2 sprocket:
Sprue holder for @Tank_1812 - this took 19 hours to print, and I ran out of the light brown filament toward the end so had to do a color change to gray filament…
I like it. ![]()
Outstanding work on the M151 parts; you should also try to fashion the plugs for both the A1 and A2 models, to plug up the molding under the floor pans, mainly the gas tank and battery holder areas of the underside.

Pic of an actual M151A1 Ford Mutt.
This is from Vodnik’s page on the mods done to an M151A1.
Yeah, that’s being considered. Gino already suggested it. Thanks for the photos from Pawel. That’s very helpful, Reynier!
M4A3 add-on armor came out terribly. ![]() The bottom sides warped - thinking there weren’t enough supports. Light guards came out nicely though.
The bottom sides warped - thinking there weren’t enough supports. Light guards came out nicely though. ![]()
Continuing my endeavor to update M151A1 jeep kits. CADded a more accurate steering wheel in 1/35 - needed to balance between printability and accurate thickness. Replicated the 90/135/135 degree angled sprockets:
Reference photo used:
Fuel cap,

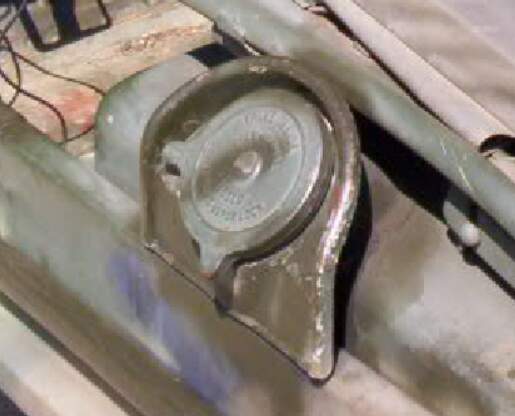
Whatever this cap is near the hood (24 volt DC connector?):
Looking good. The cap near the windshield is a slave cable connector, like a jumper cable plug.
I don’t know, Reynier. It doesn’t look like the real thing. Haha!
I’m not a rivet-counter, so it don’t matter to me. Lol

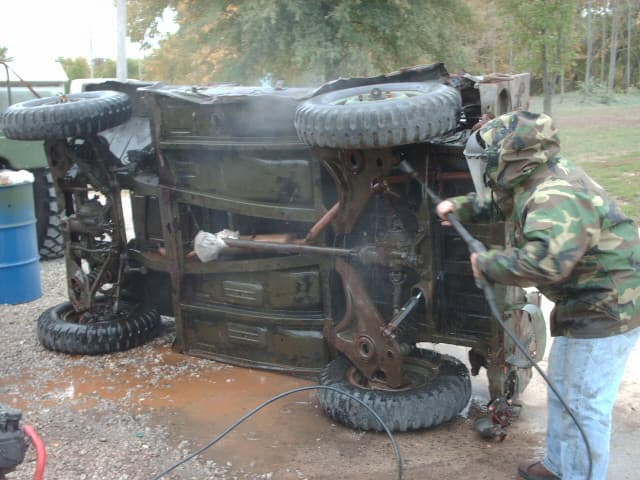
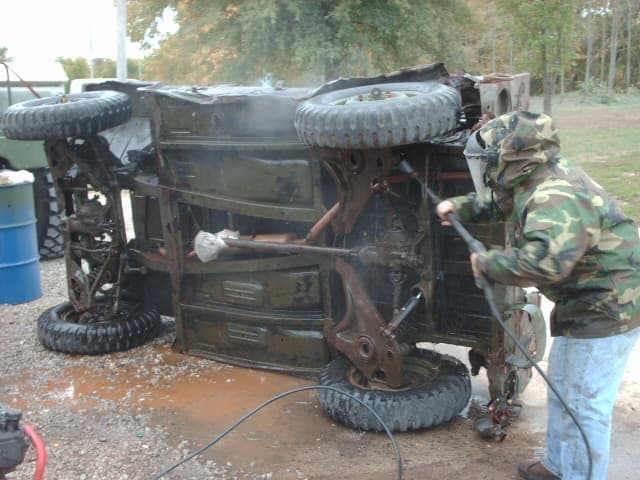
So, this is how the Army cleans the underside. Never would have come up with that technique myself… ![]()
Slave DC cable connector CAD done for M151 jeeps. I don’t suppose a lot of these details would show up in 1/35 scale but close enough - it’s completely missing in Tamiya kits:
Reference photos used:
Made a small change to my last design after looking at more reference photos. Curved the clamp a bit to match reference photos:
Happy modeling!
I am using a 3D printed children’s sandbox spade as a little dust pan for my hobby desk. It’s useful in collecting little print supports off of the desk. ![]()
OK, the posts from the last couple of days got deleted during the forum outage so I am posting them up again. I have completed all the CADs of the upgrade parts for 1/35 Academy and Tamiya M151A2 and M151A1 jeep kits.
I am reposting some of them, too.
Most recently, finished the fuel caps.
Early version for M151A1s:
Late version for M151A2s:
Reference photos used. Early type fuel cap:
Also finished the backside panel CAD to go onto 1/35 M151 Academy and Tamiya kits. Some light surgery would be required to cut out the molded-in exhaust pipe part and add a scratch built one on the top after inserting the 3D prints. Otherwise, hopefully, it will be a plug and play.
1/35 M151 kits chassis underside pan plug-in CAD done. Not a perfect replica but my best attempt to fix the void. Also revised the slave connector clamp a little to resemble the actual object a bit better. Plan to 3D print this weekend.
Also made some minor changes to the front grills. Thinned the fins? and enlarged the smaller lights? (fog lights?) under the headlights for M151A1:
Thinned the fins? for M151A2:
For both grills, enlarged the headlight connections to match the real thing:
Tallying everything, I have CADded the following to update M151 jeep kits:
Uploaded them all to my Cults3d.com page.
Kind regards,
James
I seriously wasn’t going to CAD anymore parts for M151 jeeps but decided to do one more - an easy one and giving this STL file for FREE on my Cults3d page! ![]() Took me about 40 mins. to make it - 1/2 of it spent on getting the measurements and angles.
Took me about 40 mins. to make it - 1/2 of it spent on getting the measurements and angles.
I am giving it away with a commercial license, and all I ask if you use it for profit is to attribute me.
A wire catcher:
If on the US Army bumper:
Reference photo used:
Happy modeling!