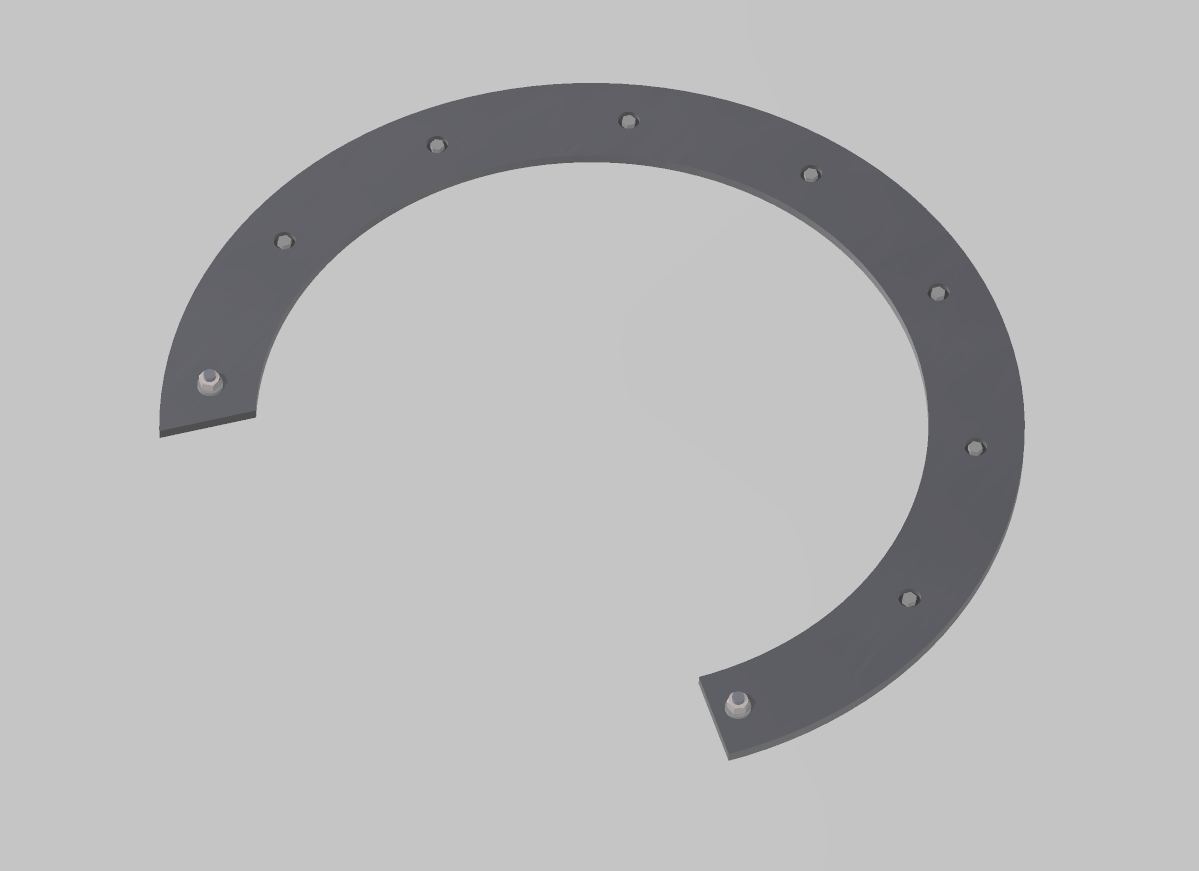
Skate ring for M1A1/A2 Abrams loader’s M240 MG CAD in 1/35 done - based on Dragon 3535 and Eduard 35333 measurements. I felt like the kit parts were not thin and detailed enough, while PE replacements were too thin:
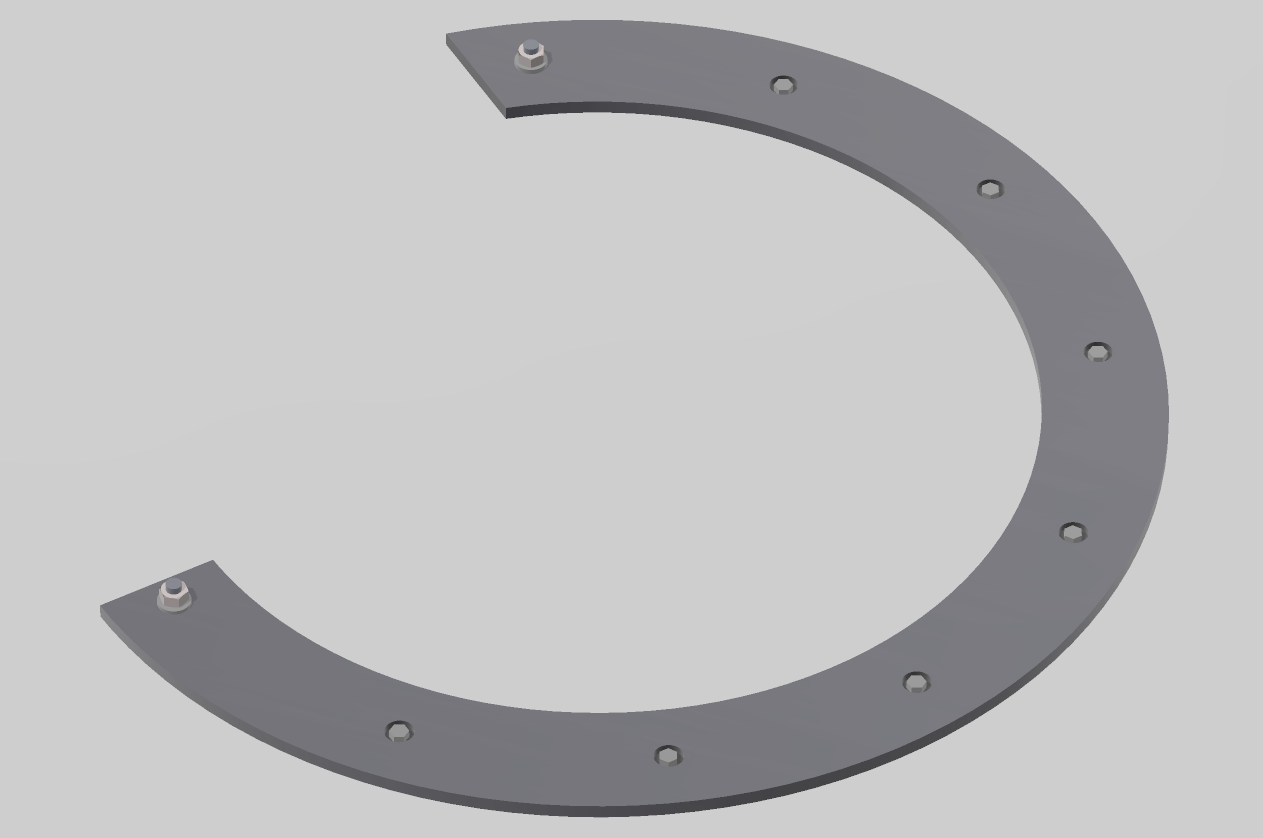
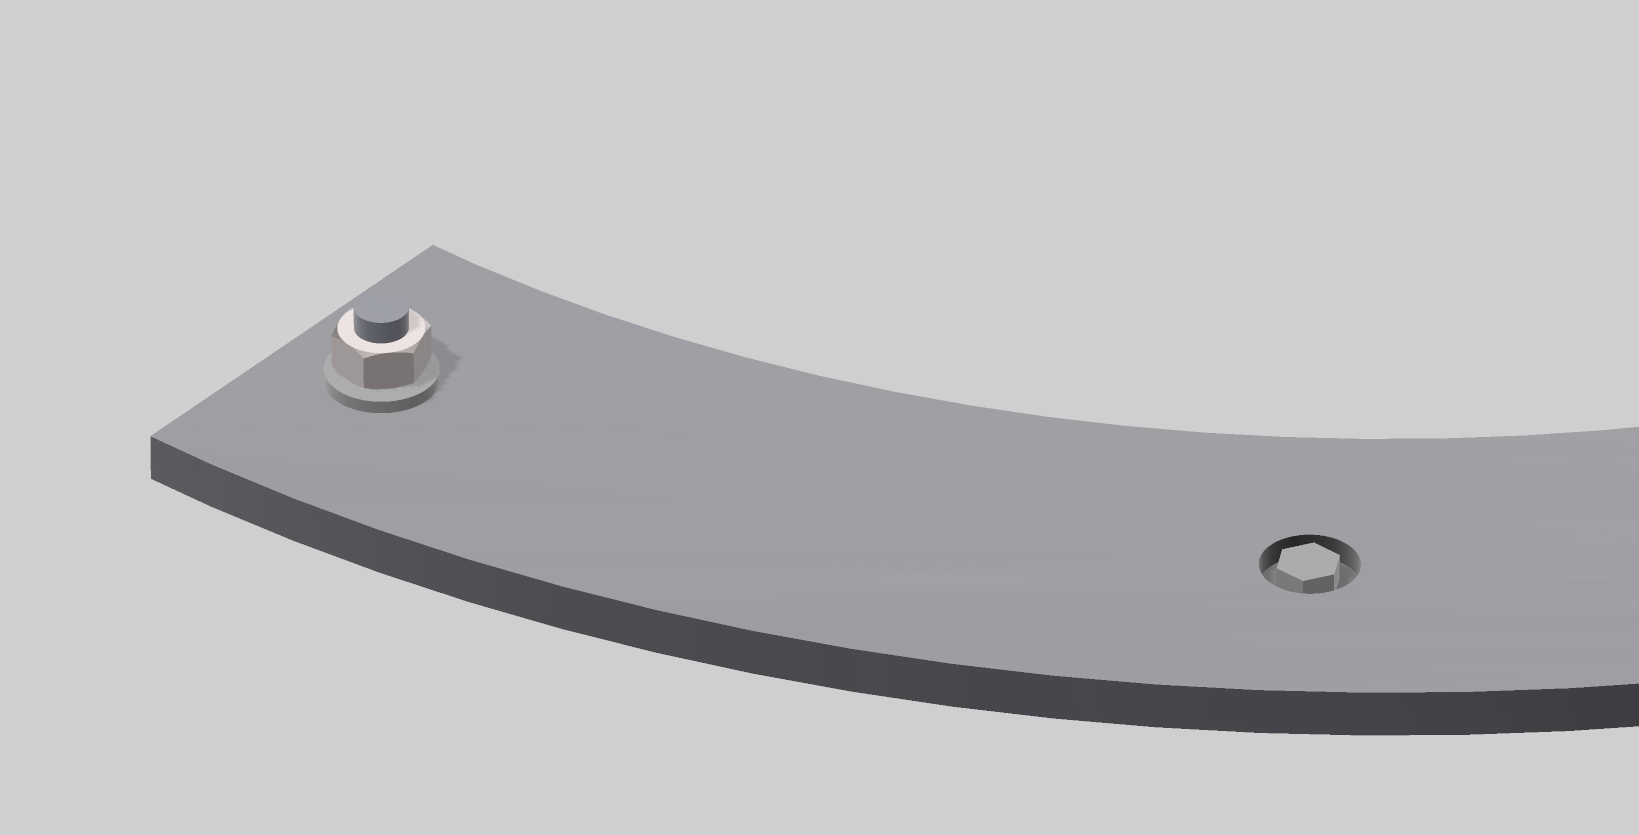
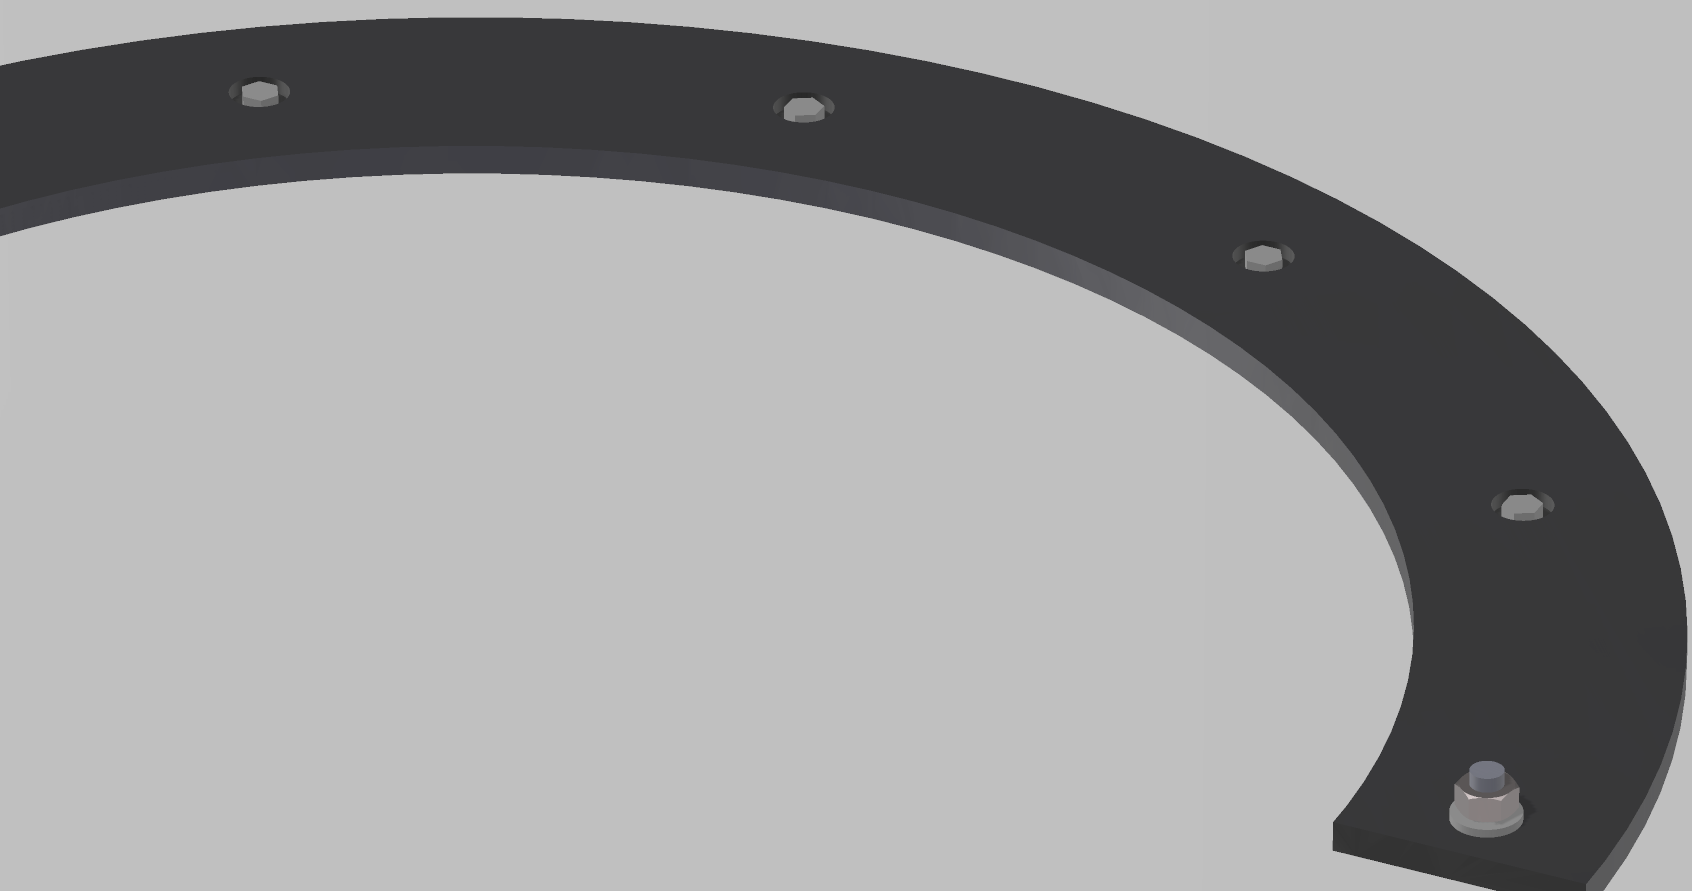

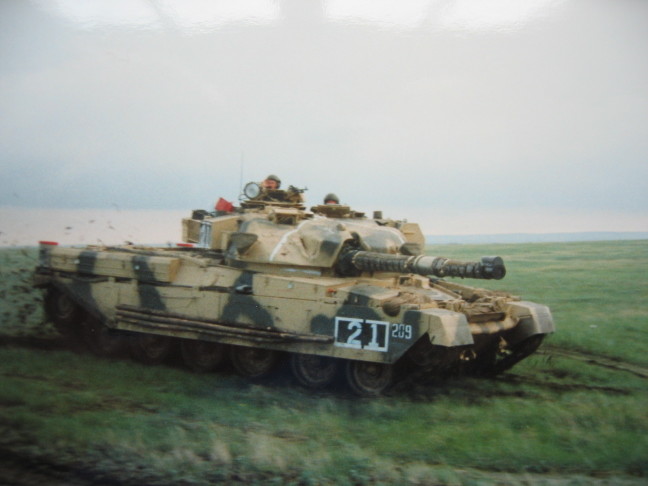
Reference photos used:
Skate ring for M1A1/A2 Abrams loader’s M240 MG CAD in 1/35 done - based on Dragon 3535 and Eduard 35333 measurements. I felt like the kit parts were not thin and detailed enough, while PE replacements were too thin:
Reference photos used:
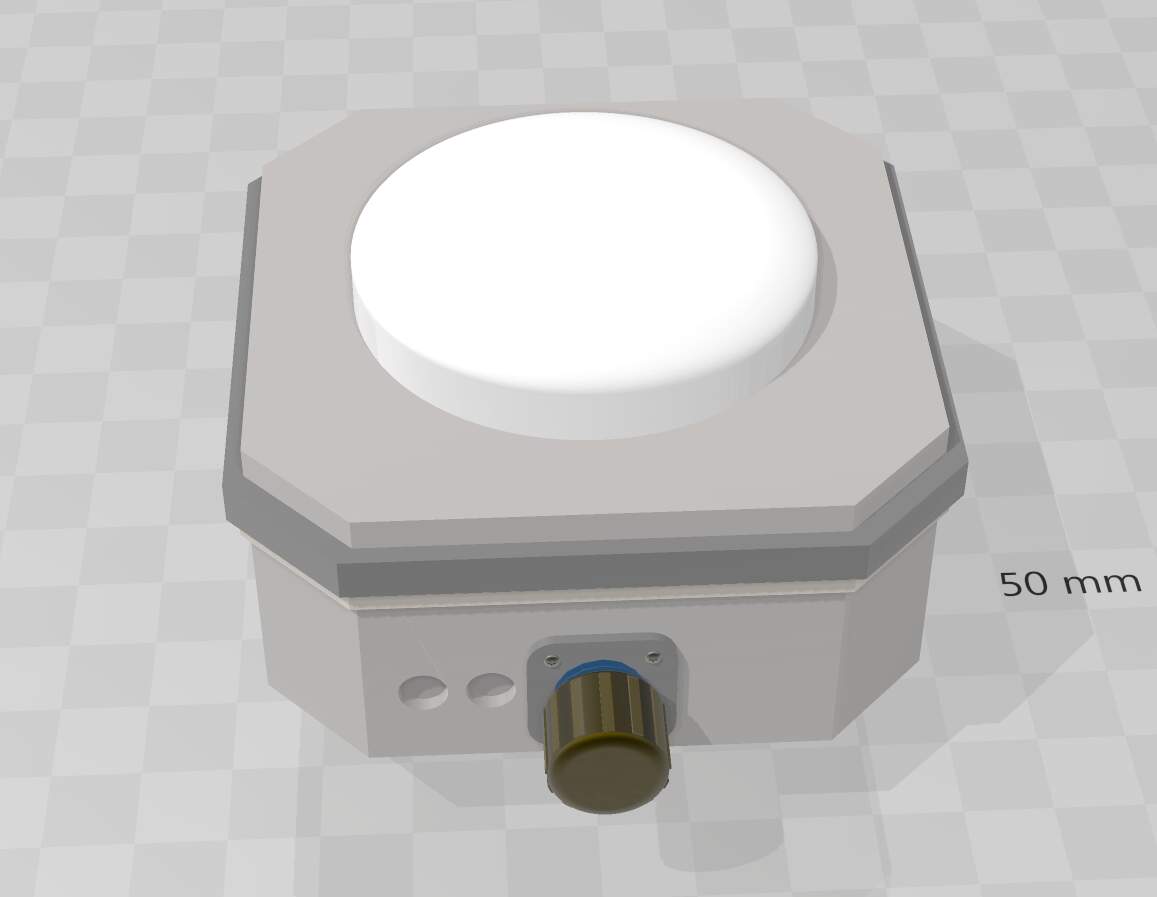
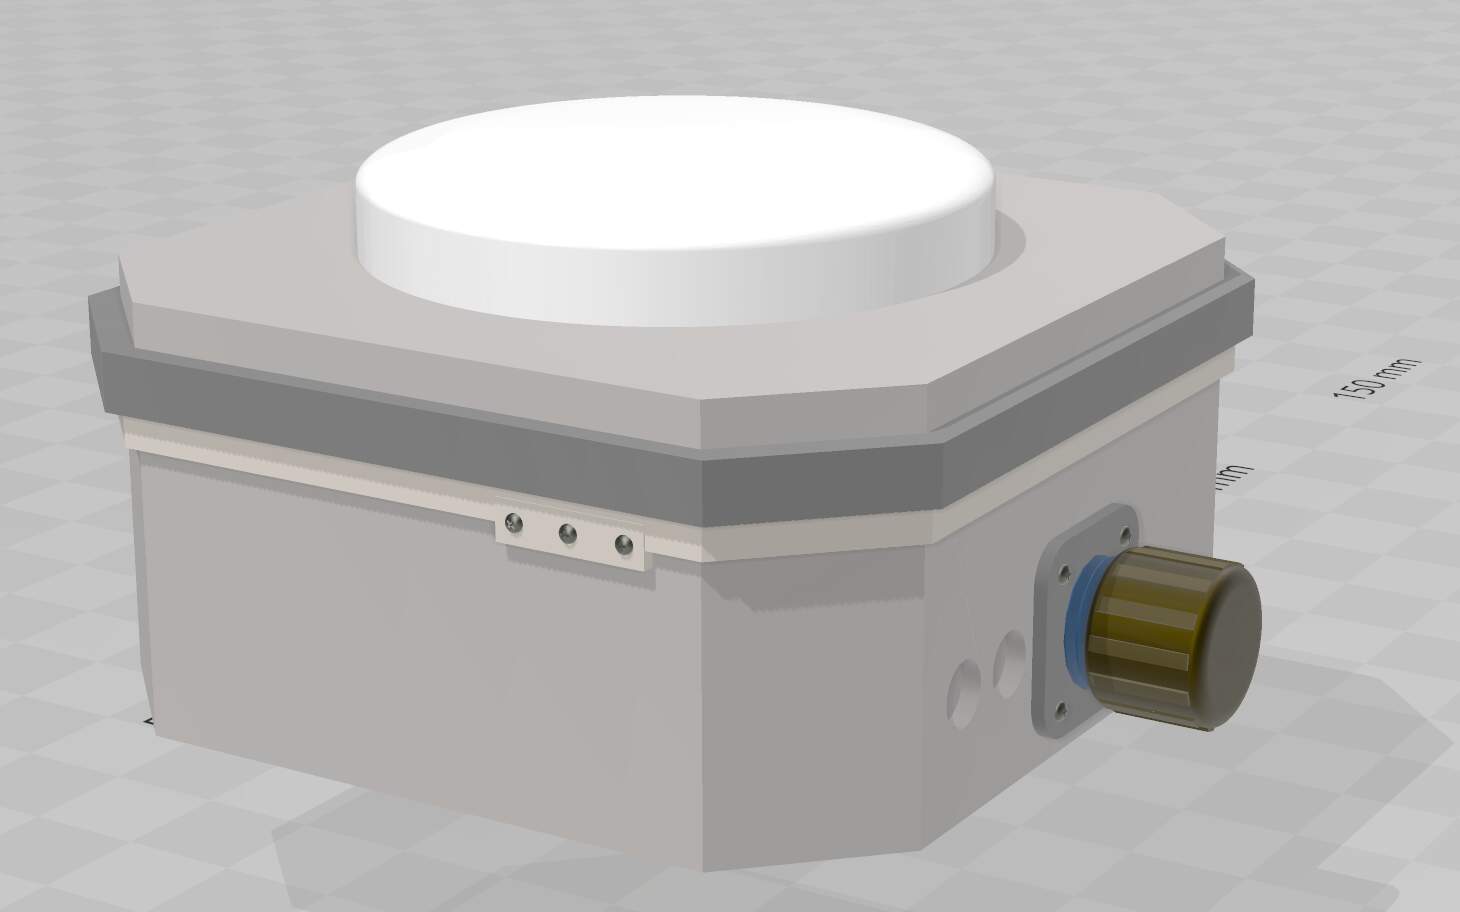
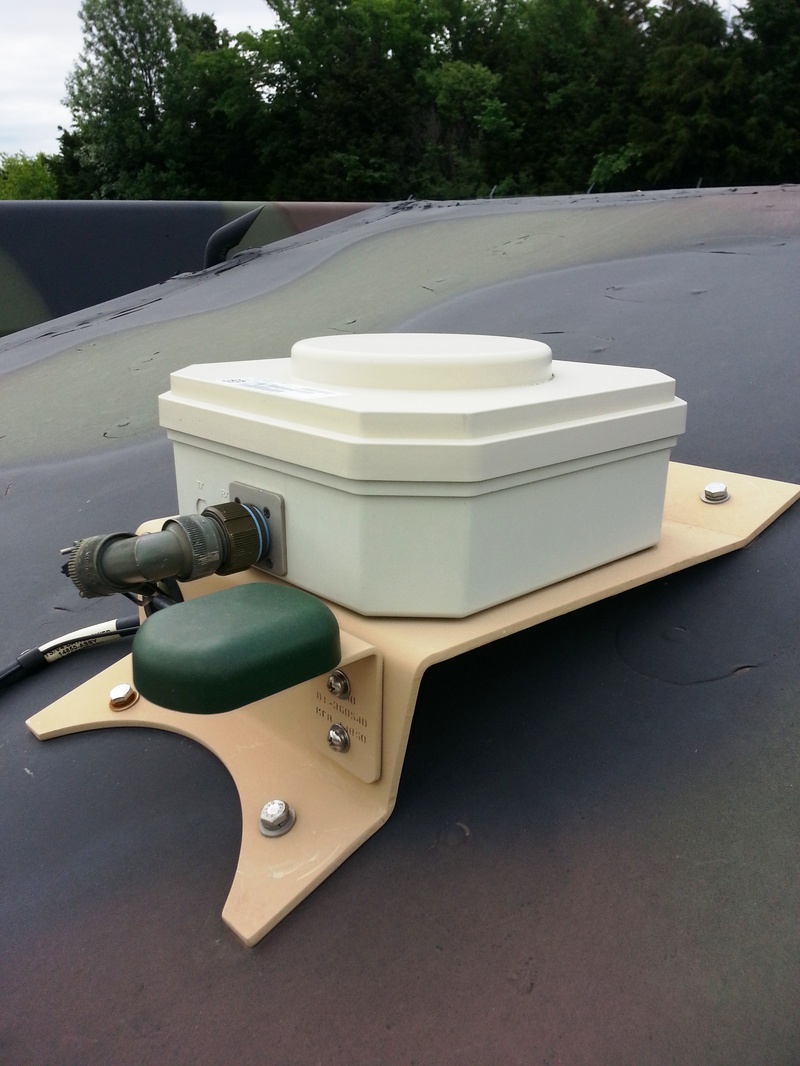
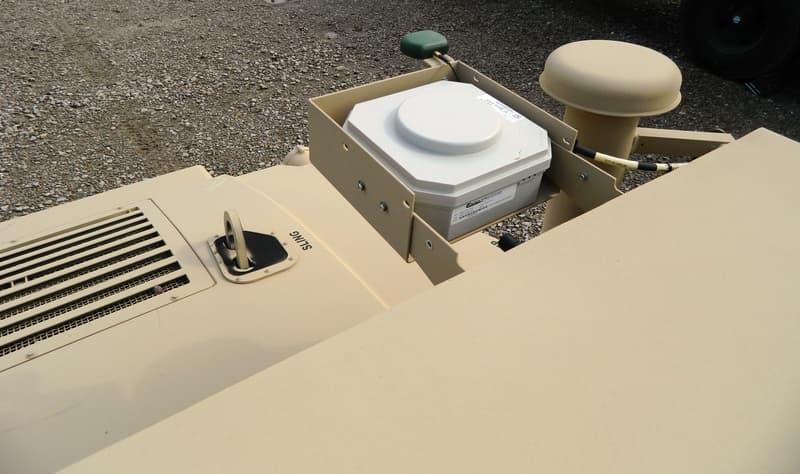
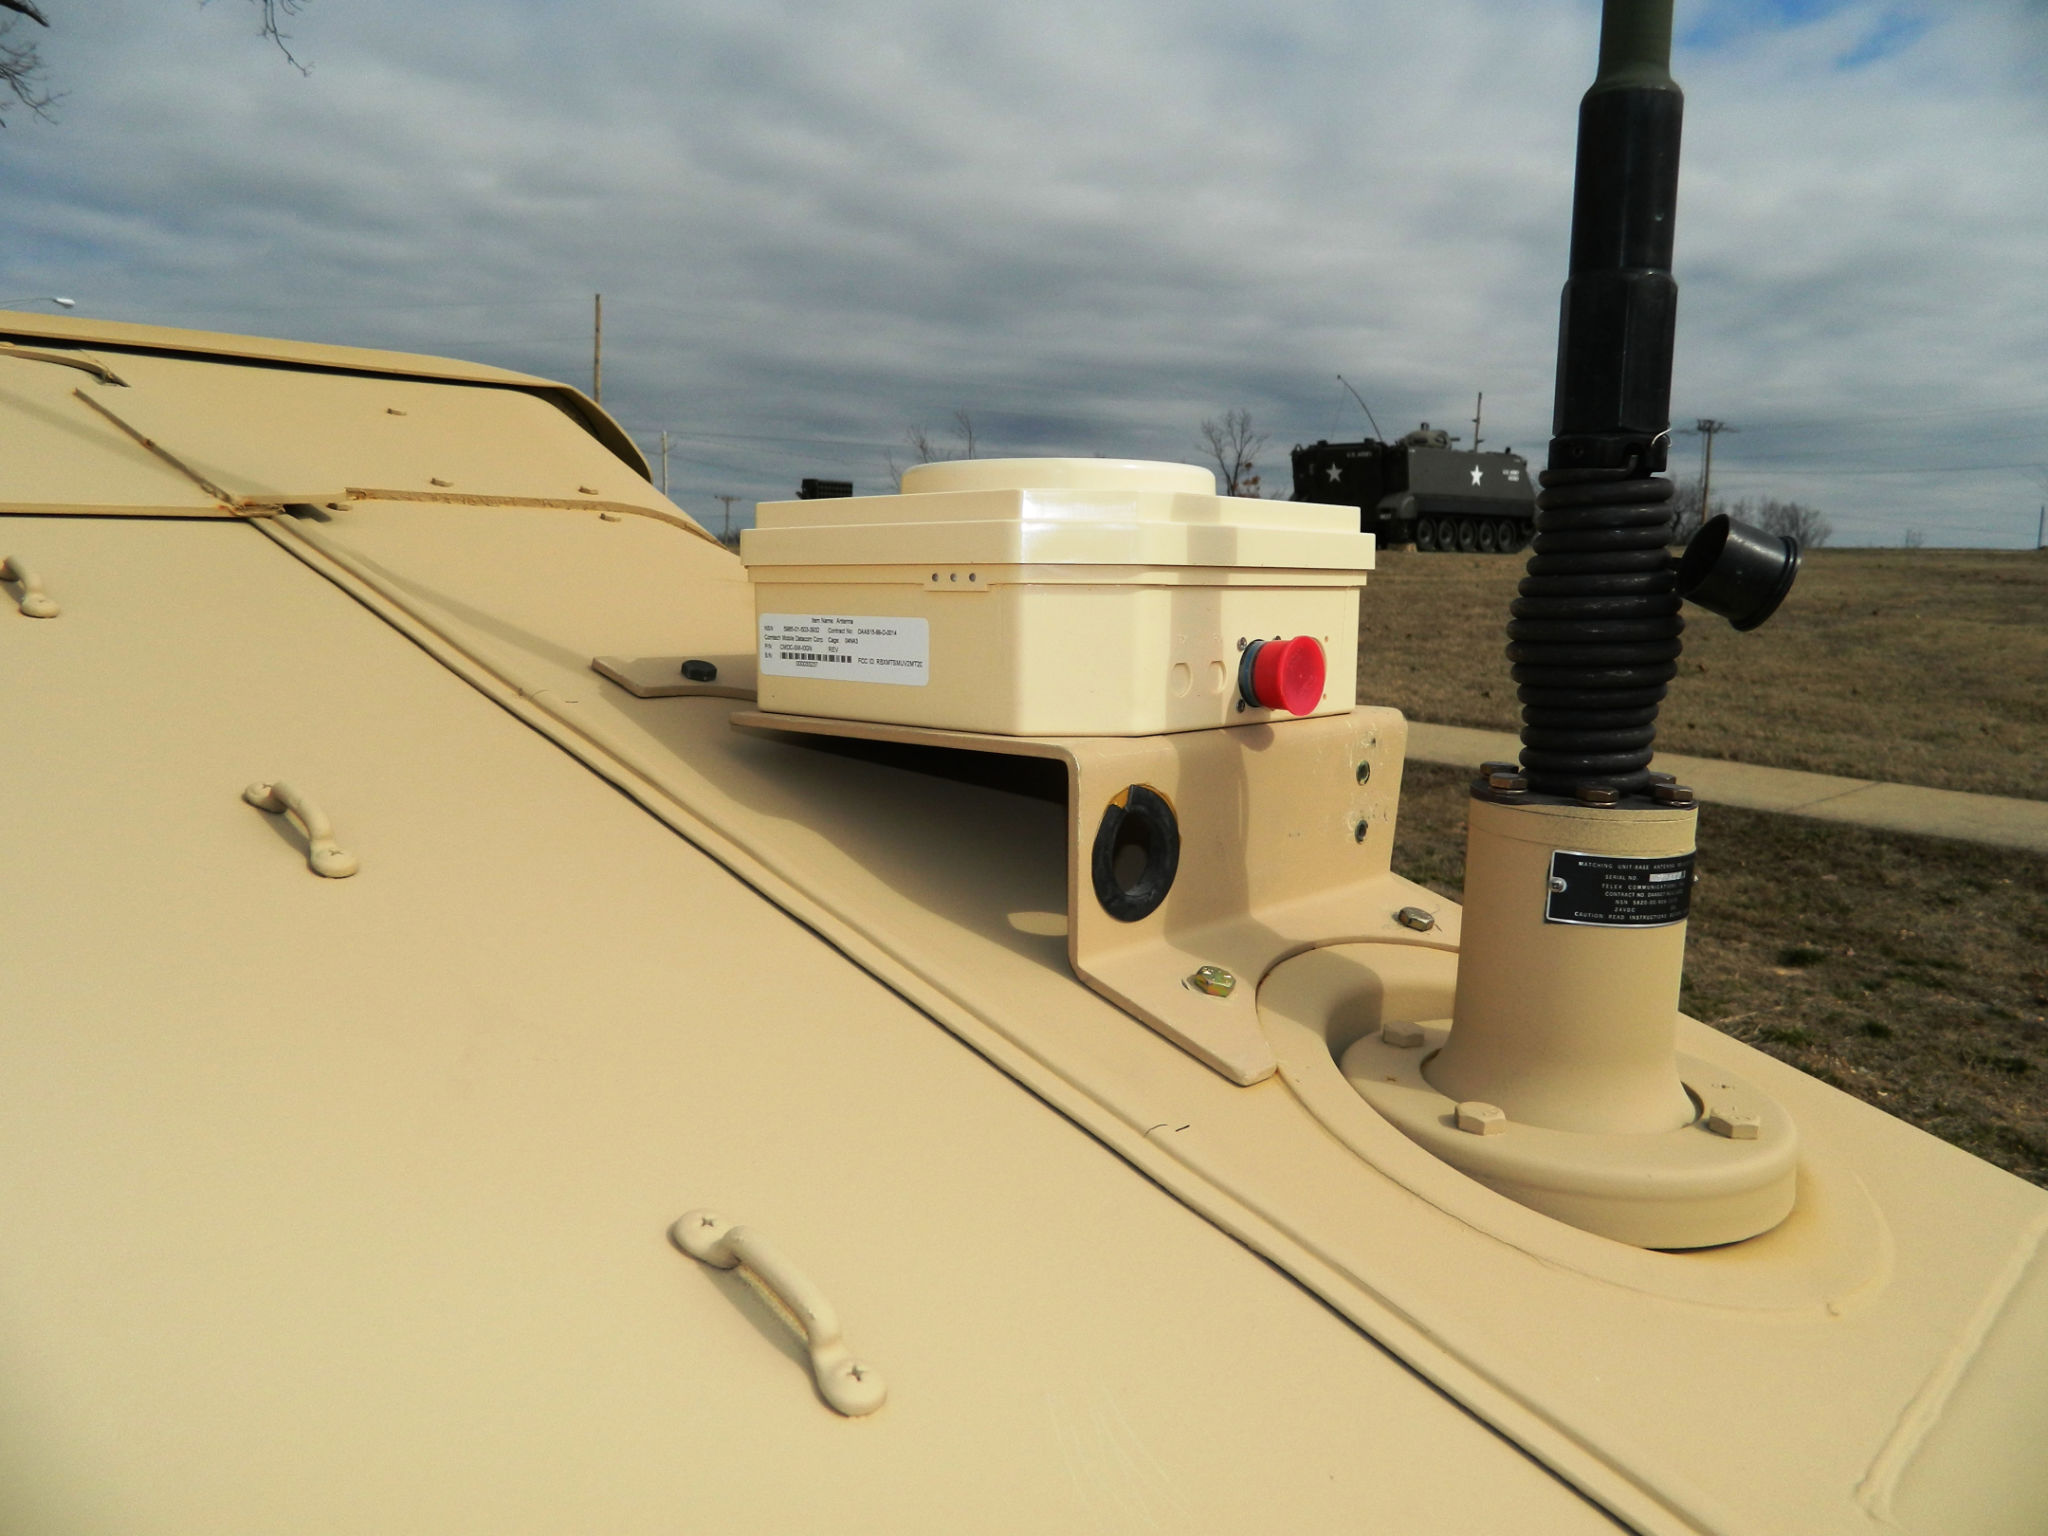
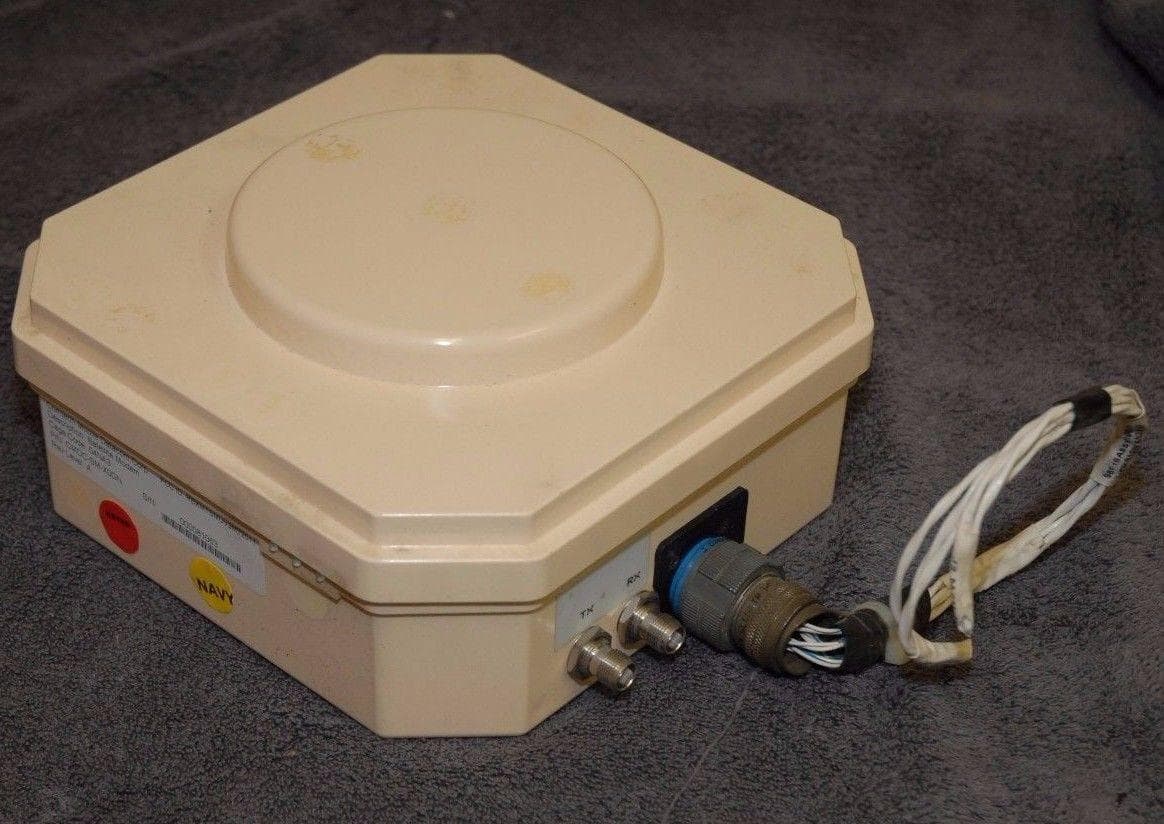
And an STL for FREE - Q1 2024 customer appreciation. 1/35 Blue Force Tracker antenna (as shown on Humvees). It will be available here: All the 3D models of petition2God・Cults
Reference photos used:
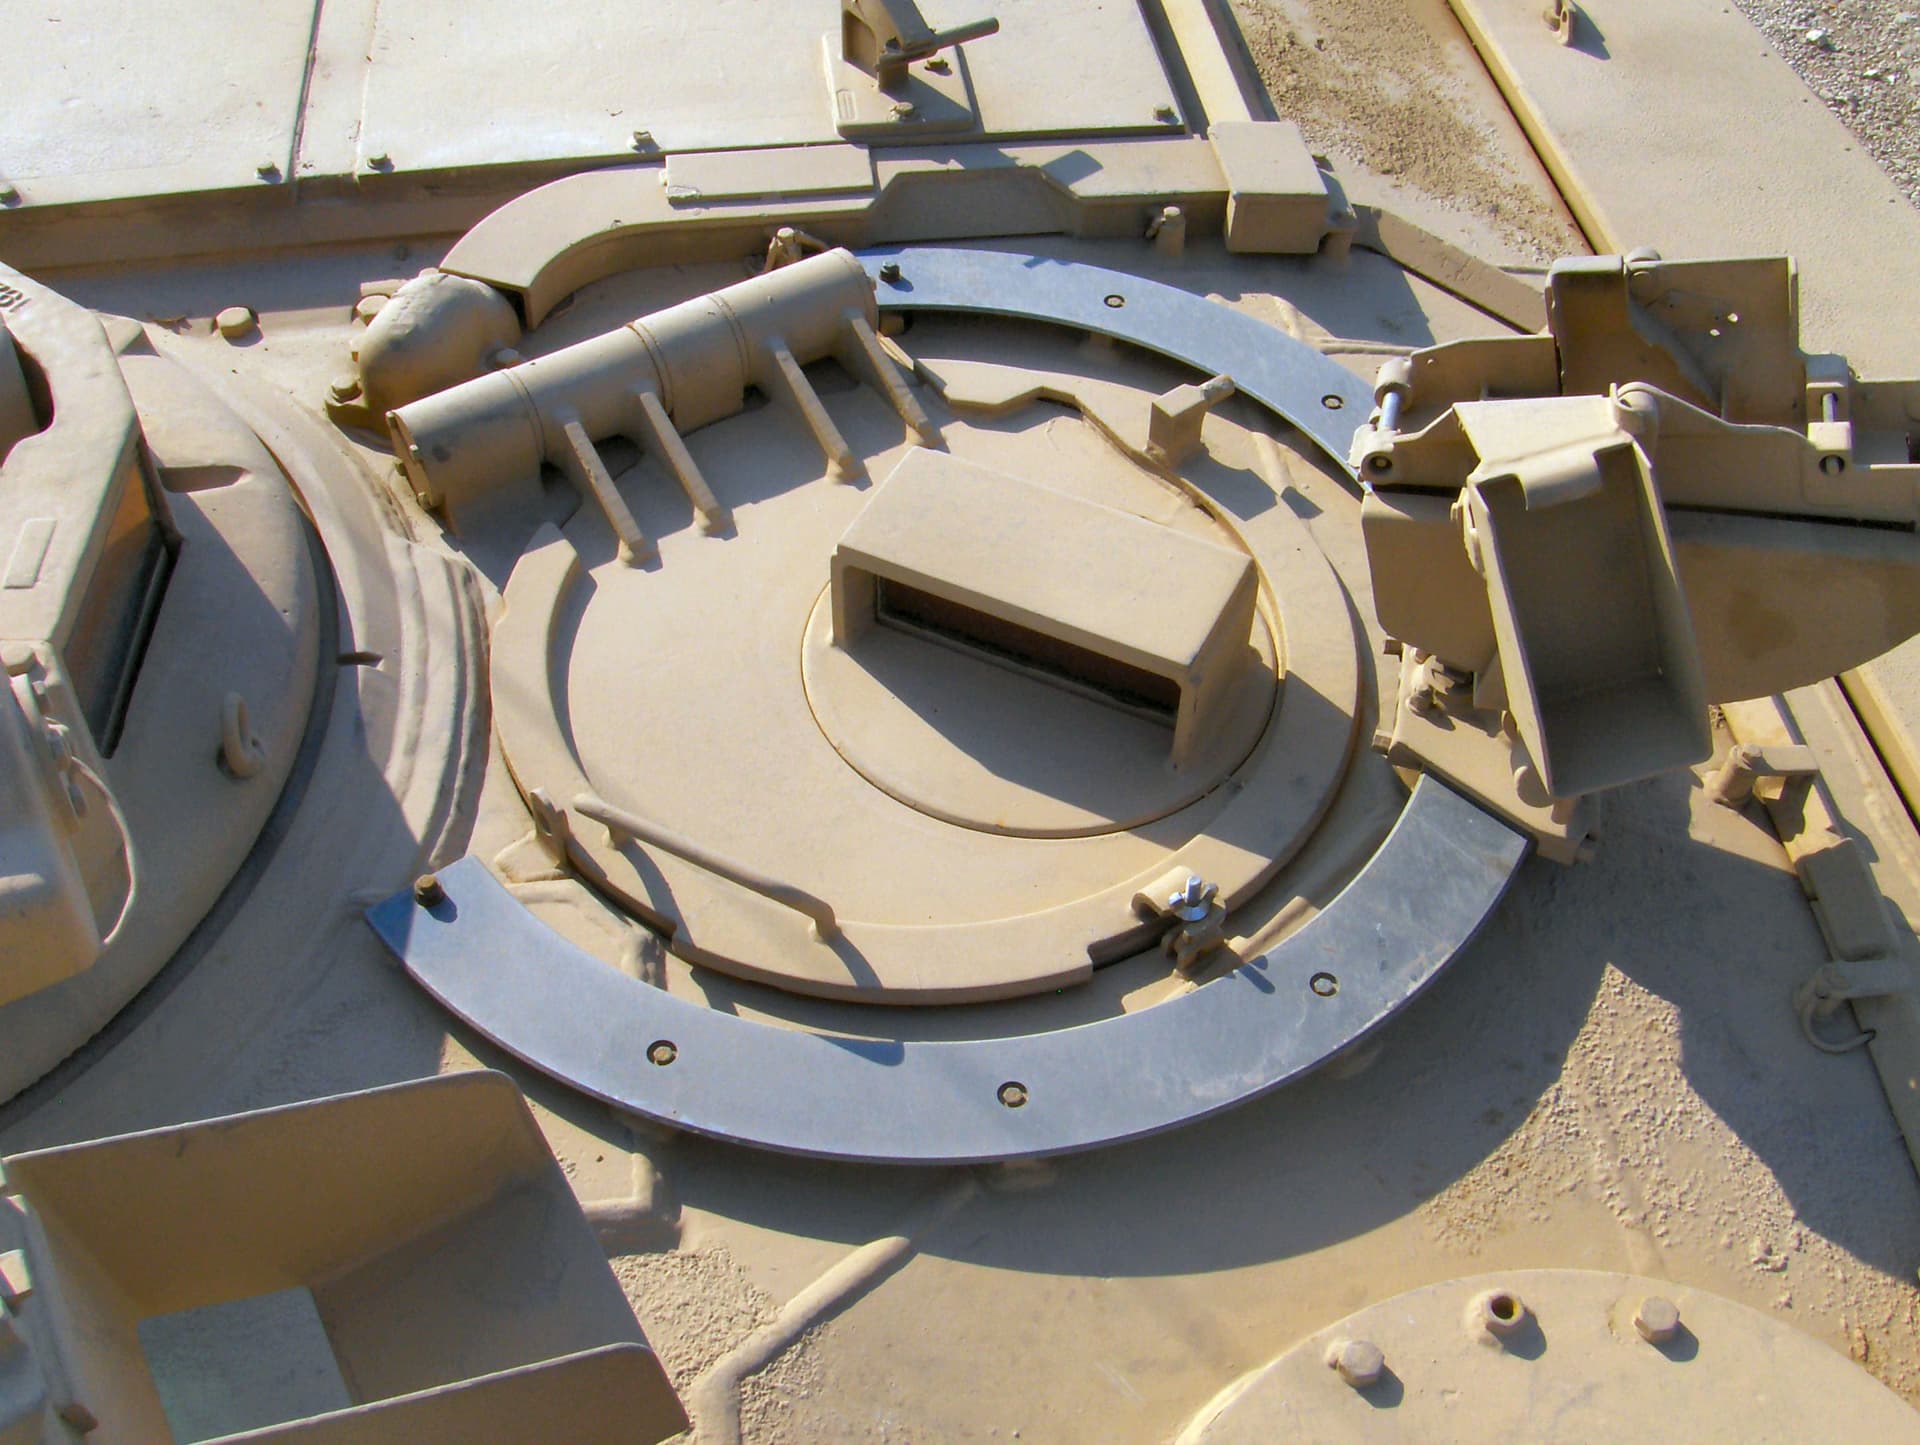
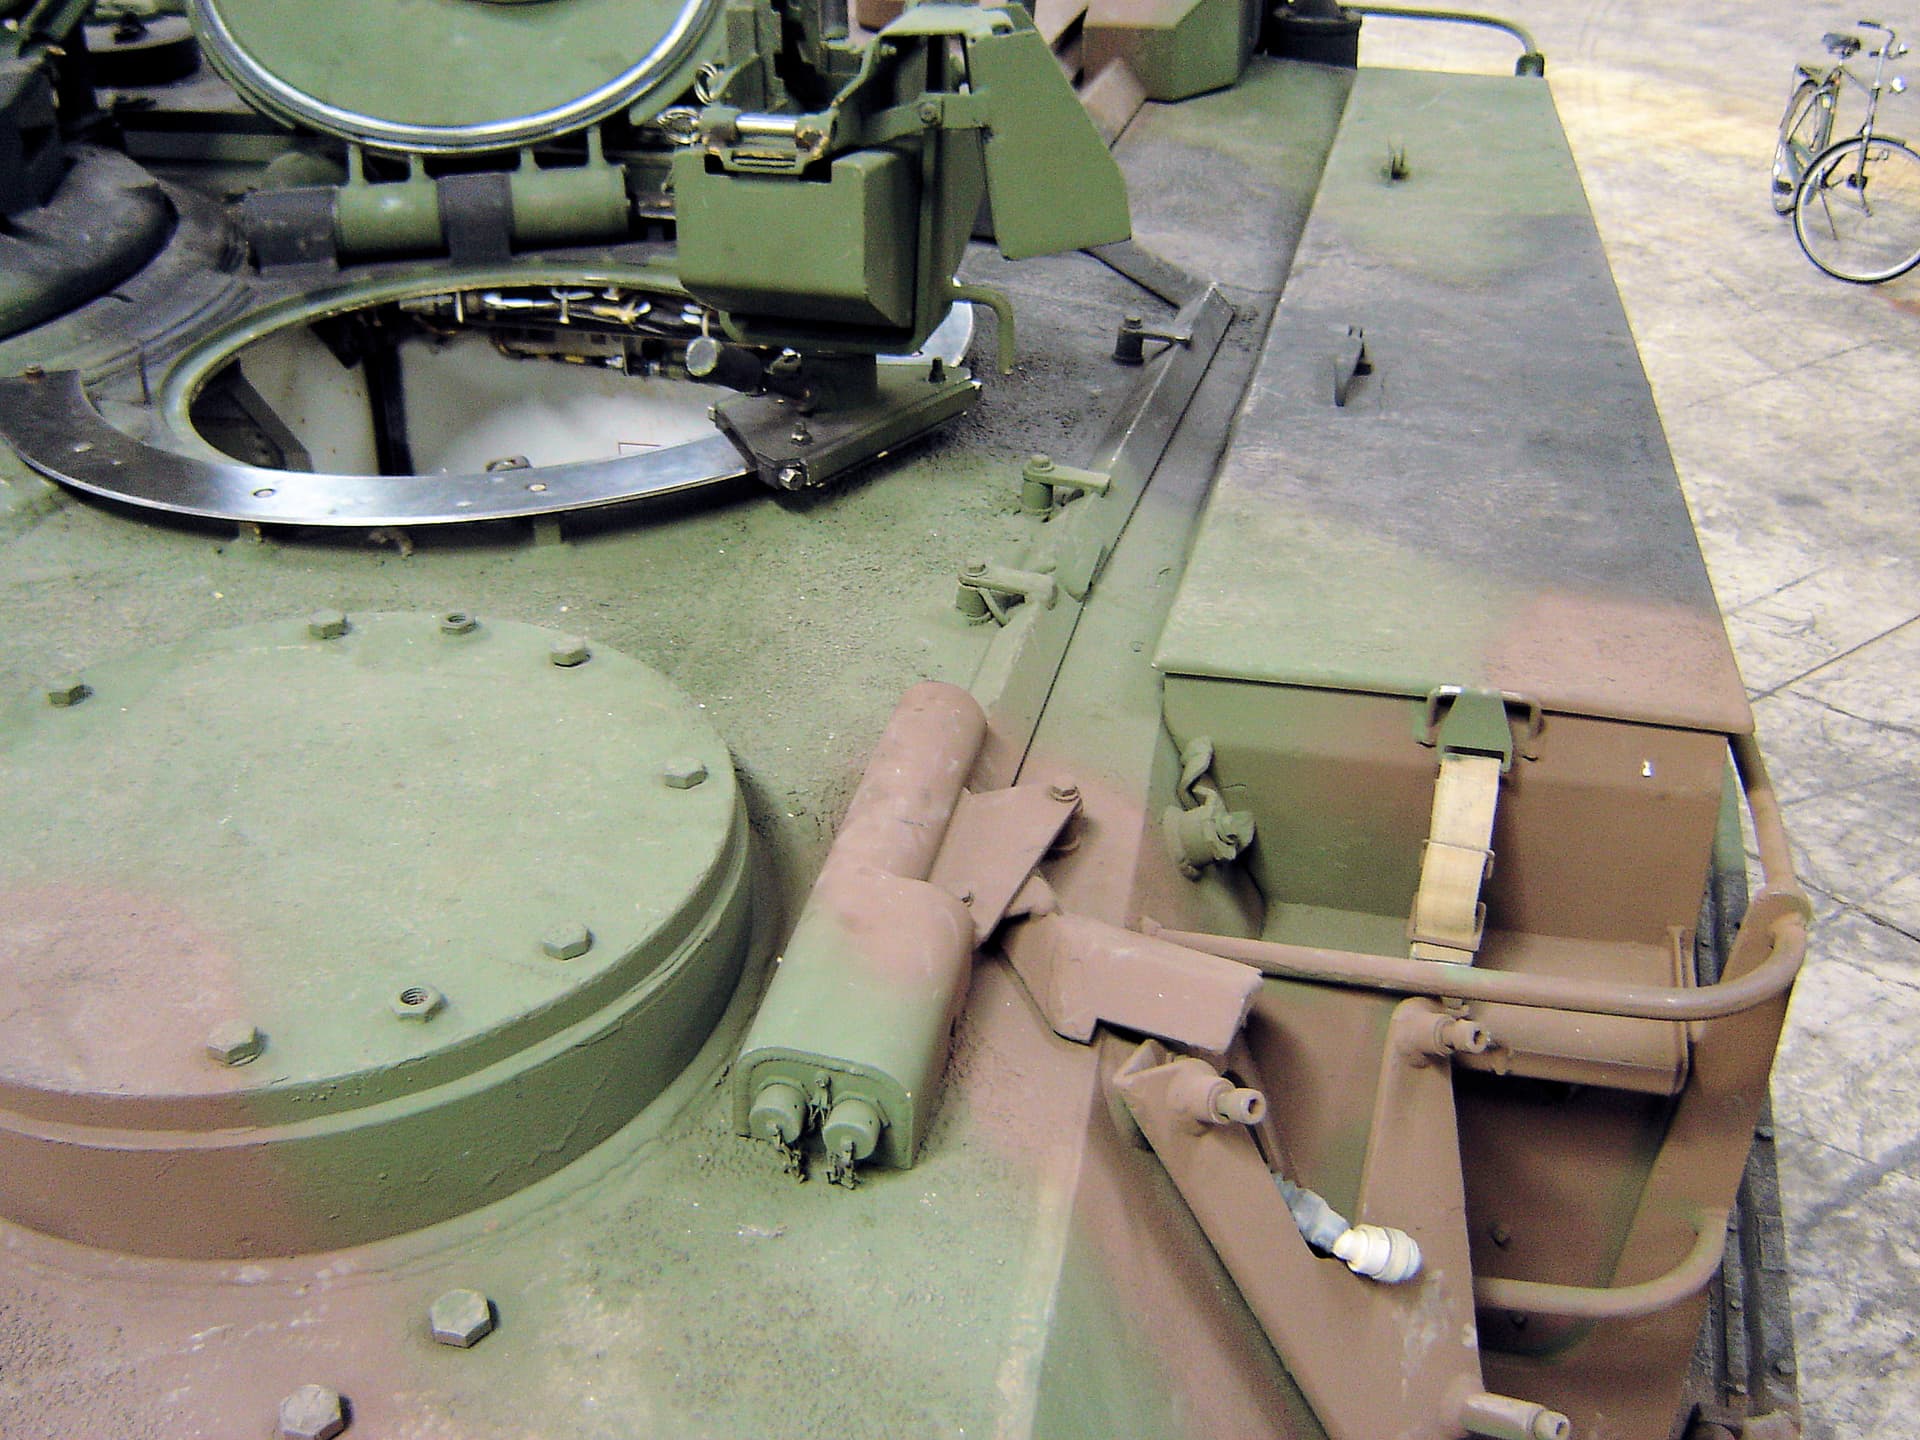
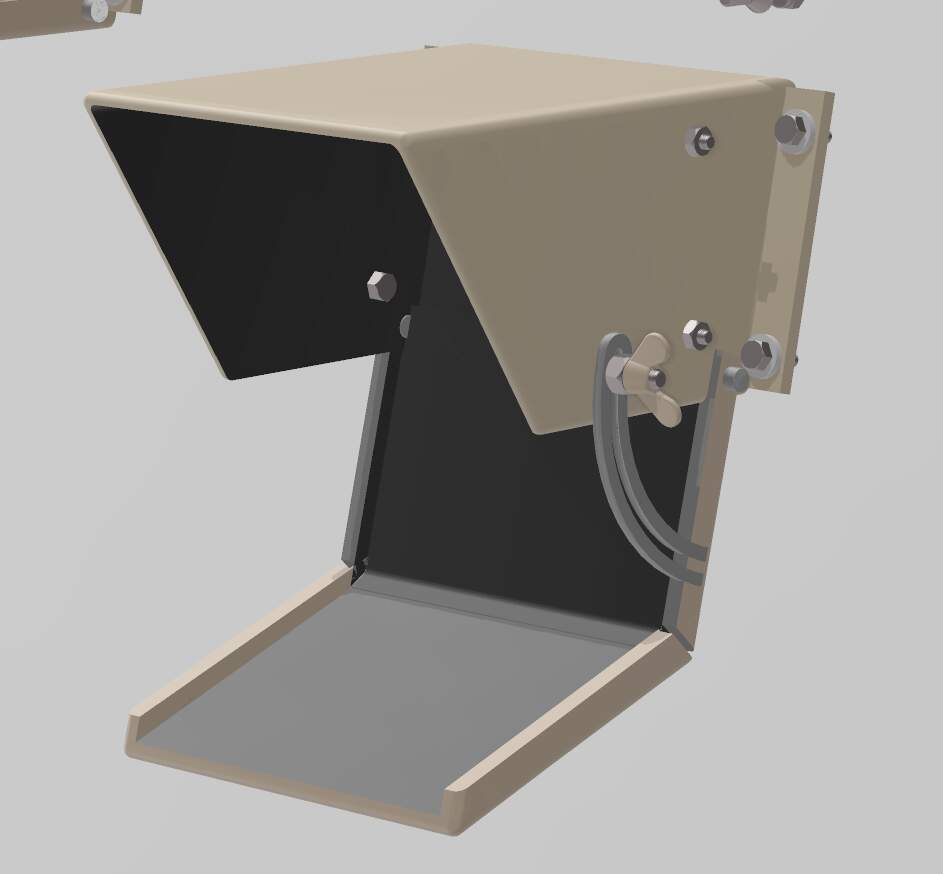
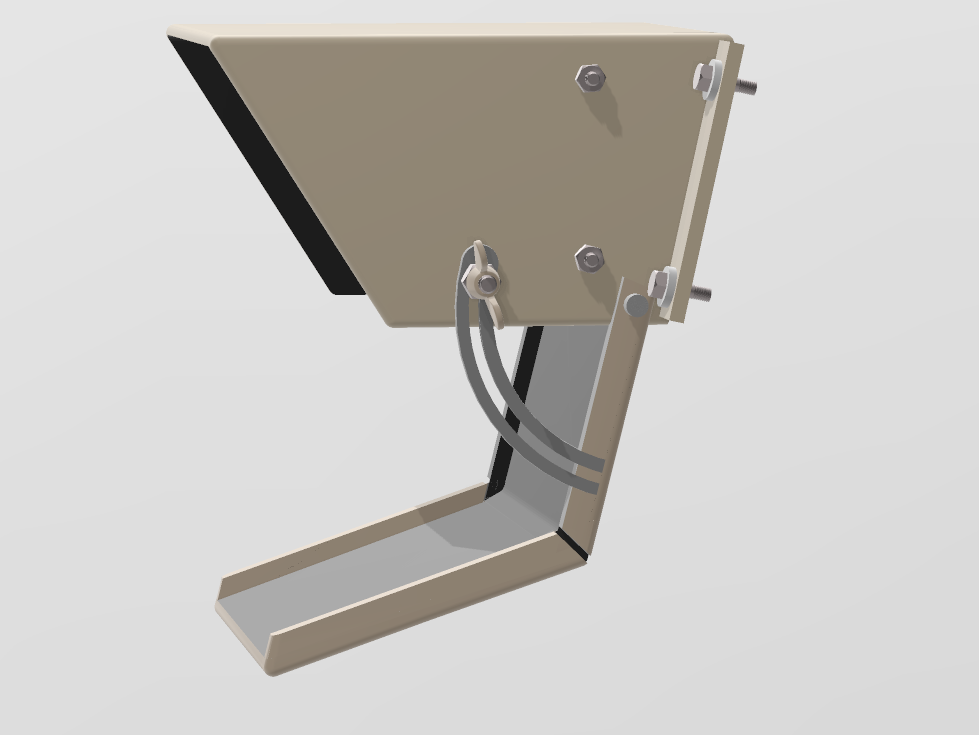
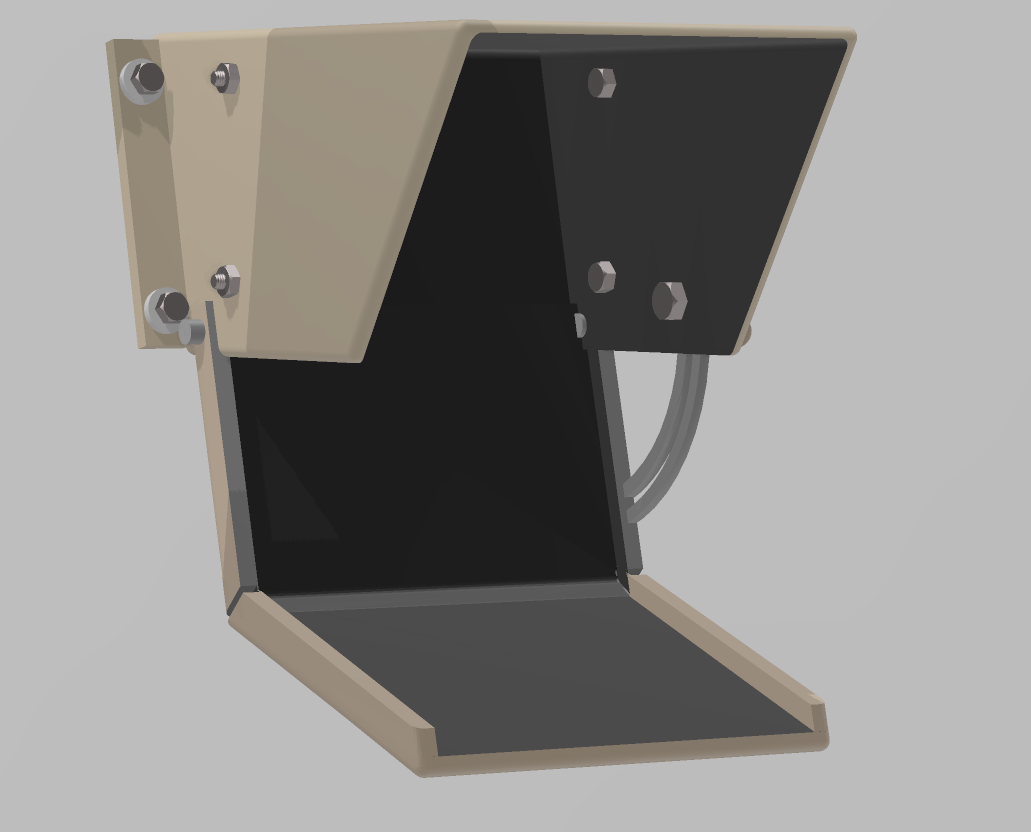
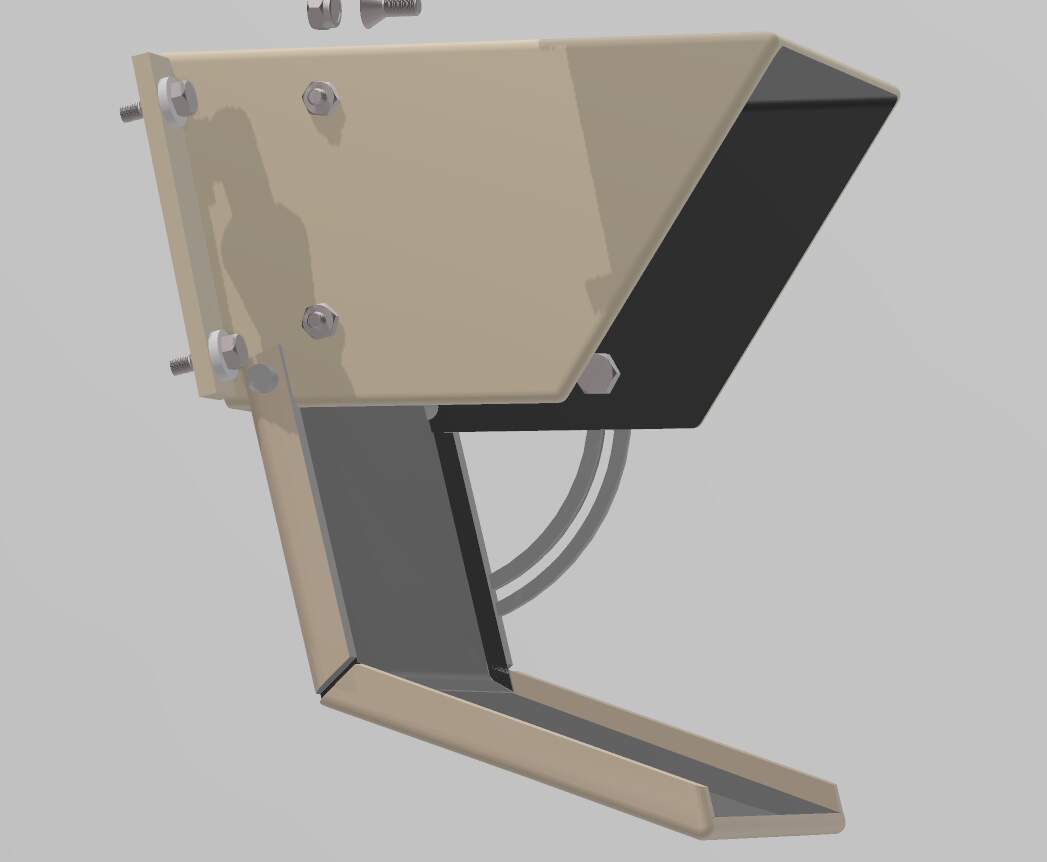
On the Abrams Loader’s station MG, there’s a marked location where the words TRAVEL LOCK is engraved, to denote where you’d lock the Loader’s M240 when the tank is either being transported or when it is on the move.
It’s barely visible here (painted over), but you can see the lines, where the mount would need to be aligned I. Forded to lock the gun while on the move.
I think @Tank_1812, @tankerken or Gino can confirm this for me.
Seems like something that they would do but I don’t recall. @Dan might also be able to confirm.
Are you passive-aggressively asking me to emboss the text, Reynier? ![]()
Just looked into this and saw these buckets, for anyone doing a BATUS Chieftain (or even Challenger) the oil carried is typically local purchase and came in drums exactly like this but in varying colours instead of the usual green metal 5 gallon drums and would be carried on the hull rear corners. Also just about every wagon would have one with the top ripped off and bottom punched out to use as a toilet. You can see the toilet drum hanging by its heavy gauge wire handle off the back of 11Bravo.

Confirm what? The skate ring question?
Correct.
I mean, you don’t have to - nobody does it in kit form, so…
Yes, there is a etching there as you mentioned
I am going to need a better reference photo to see how it’s laid out though. Plus, not sure if the text will show up in 1/35.
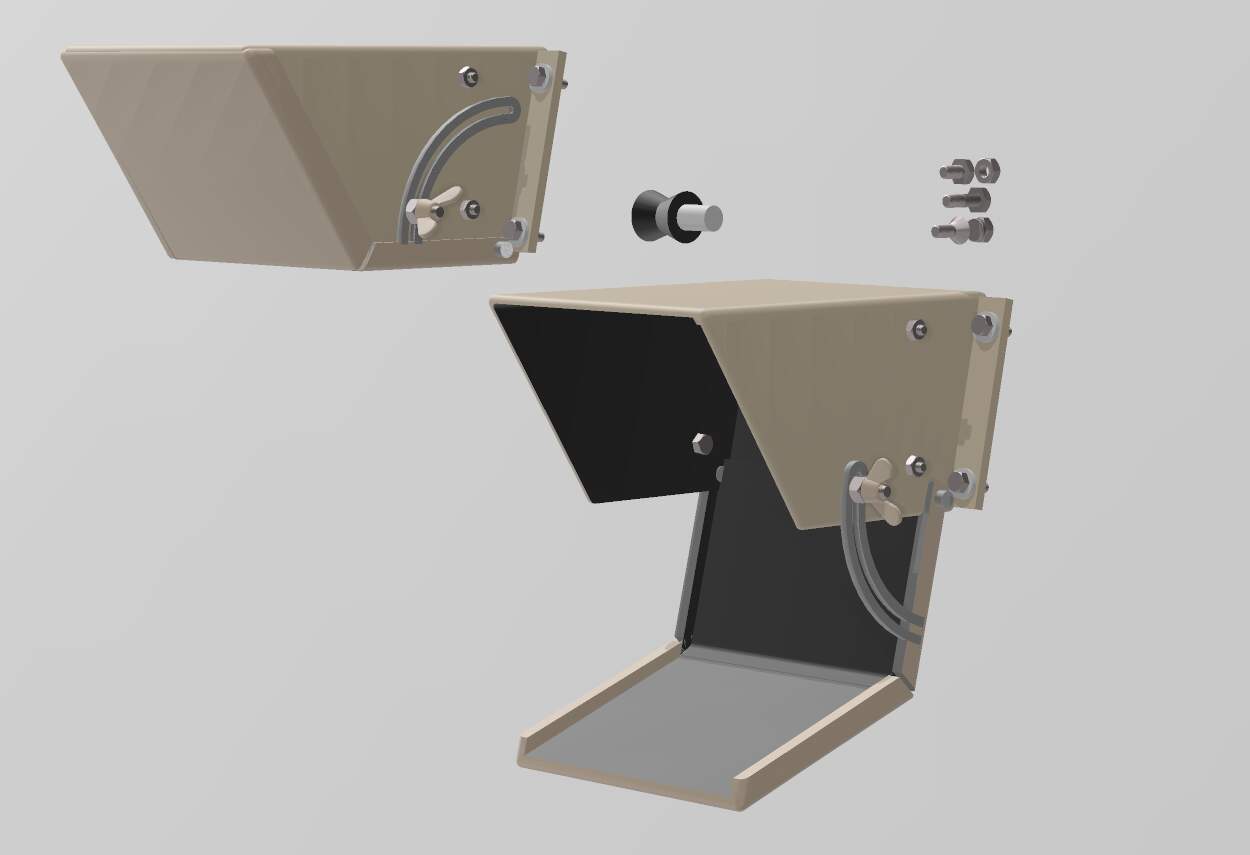
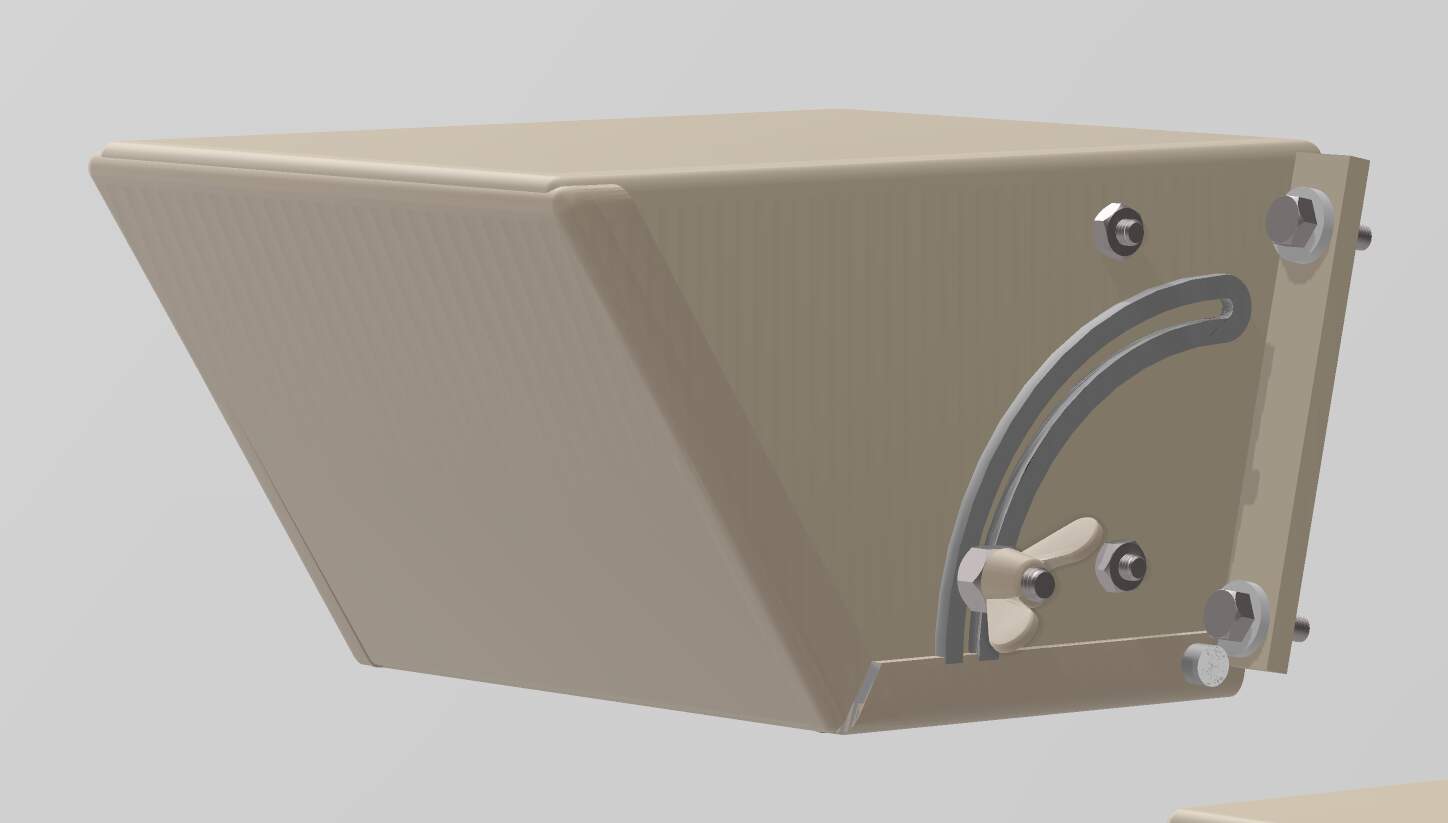
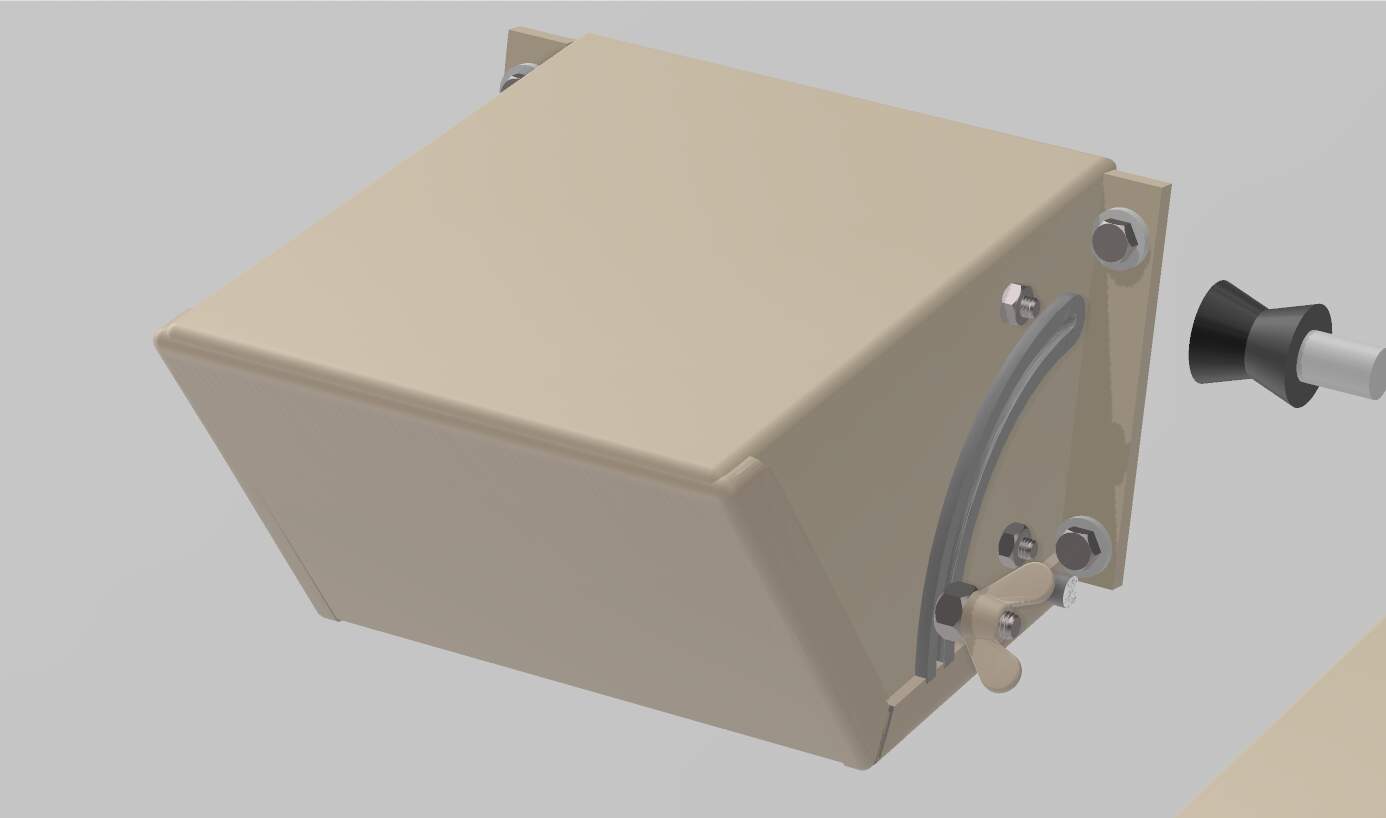
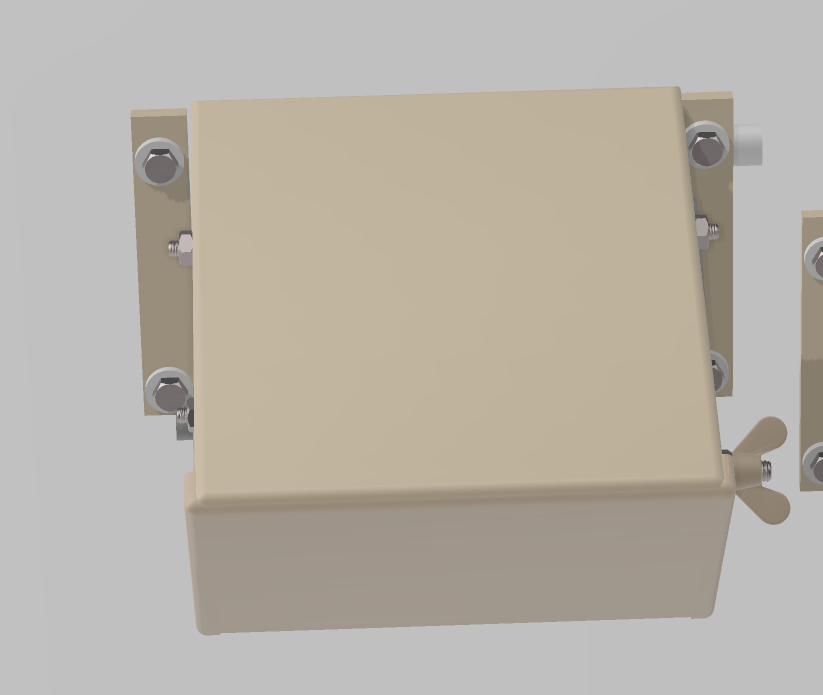
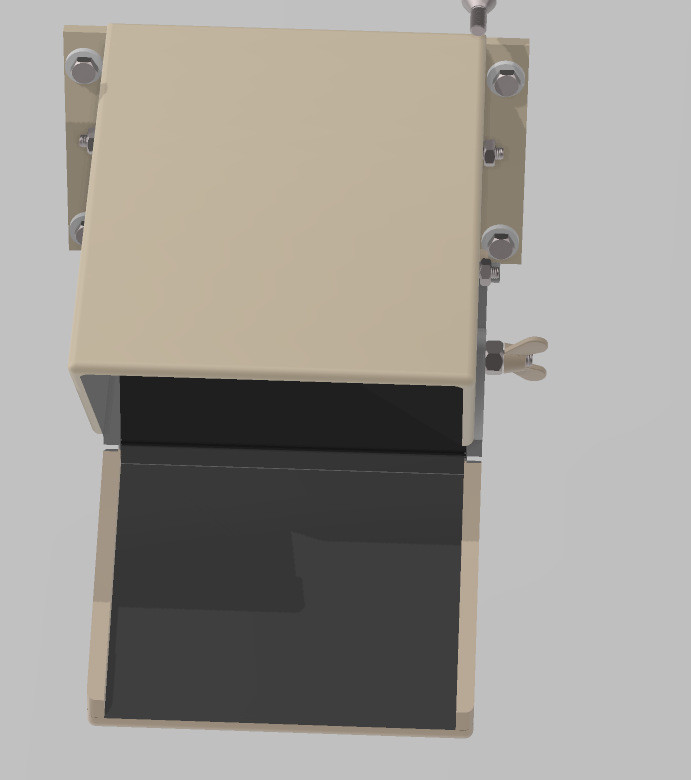
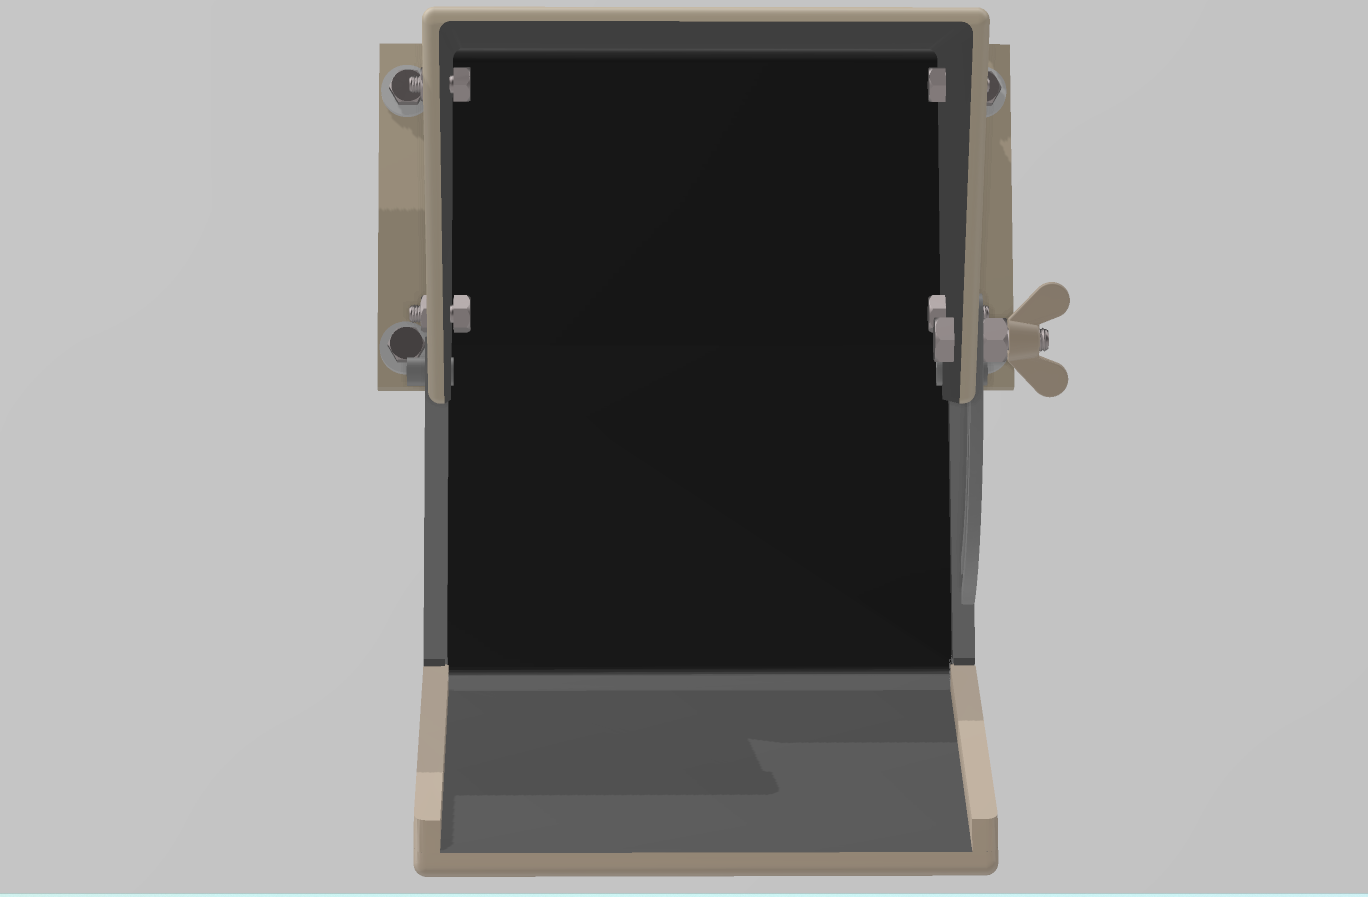
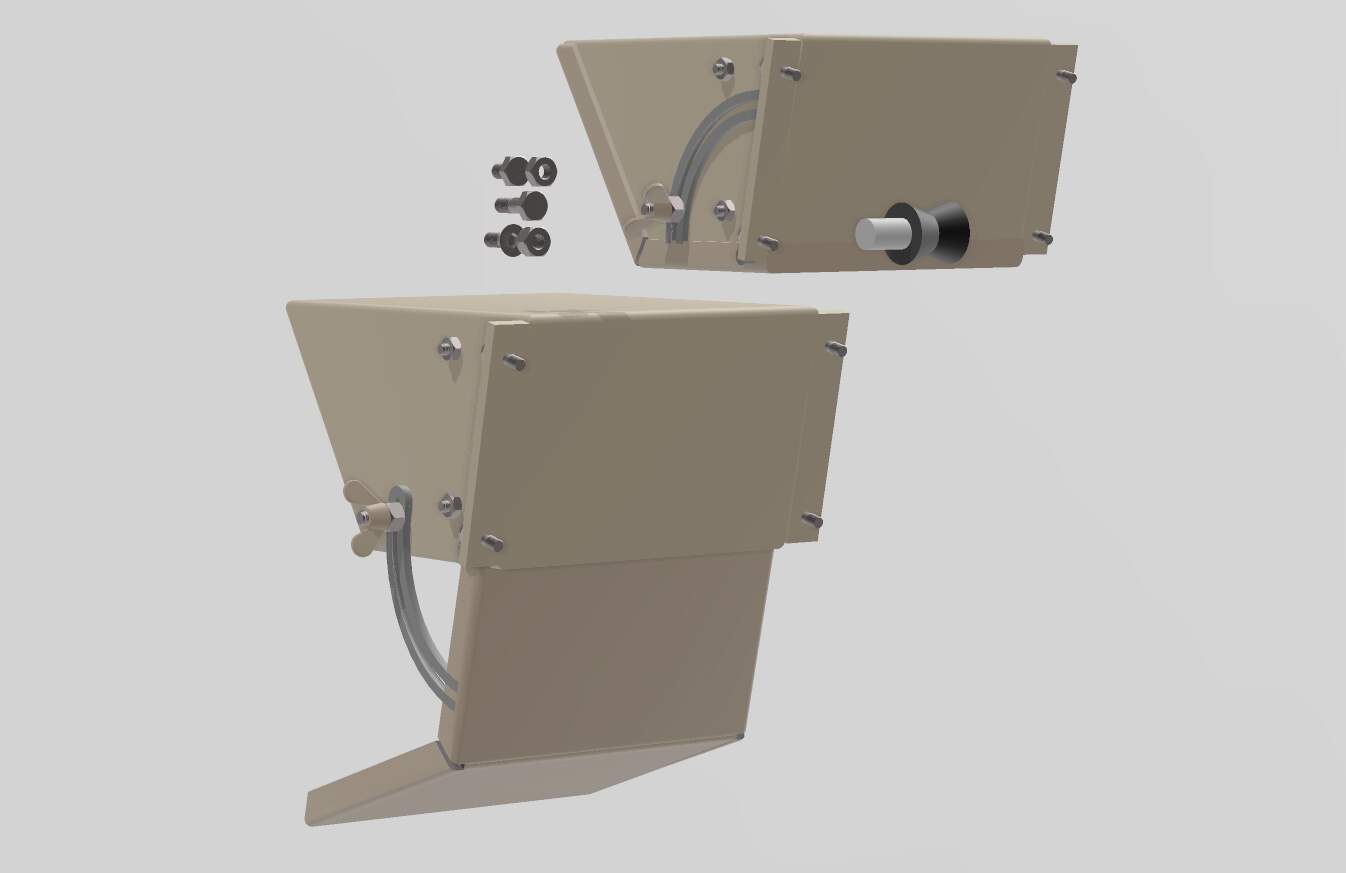
Huge progress on the CAD work for AMX-30 EBD rear light indicators. Need to move onto the lenses.
Open position - lenses inside need to be made:
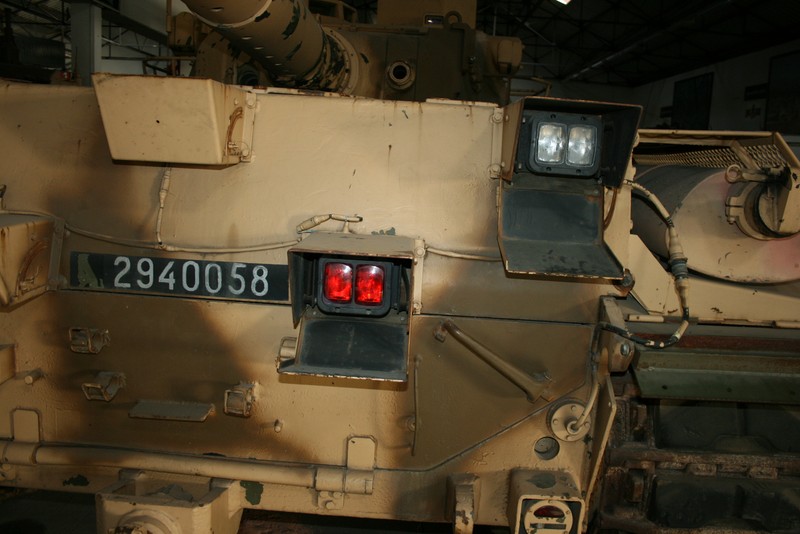
Reference photos
Rear:
As always, very nice work.
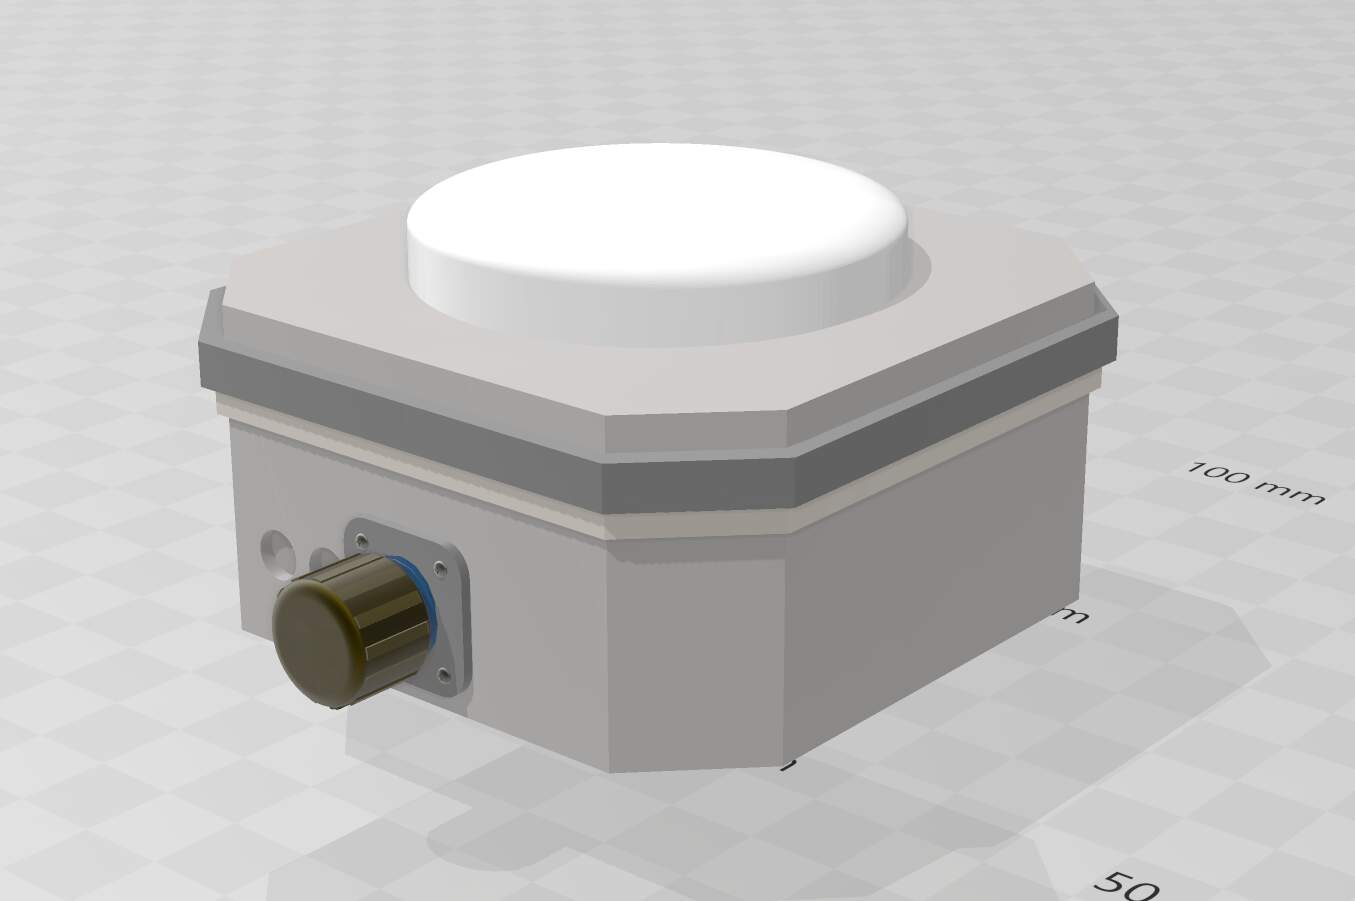
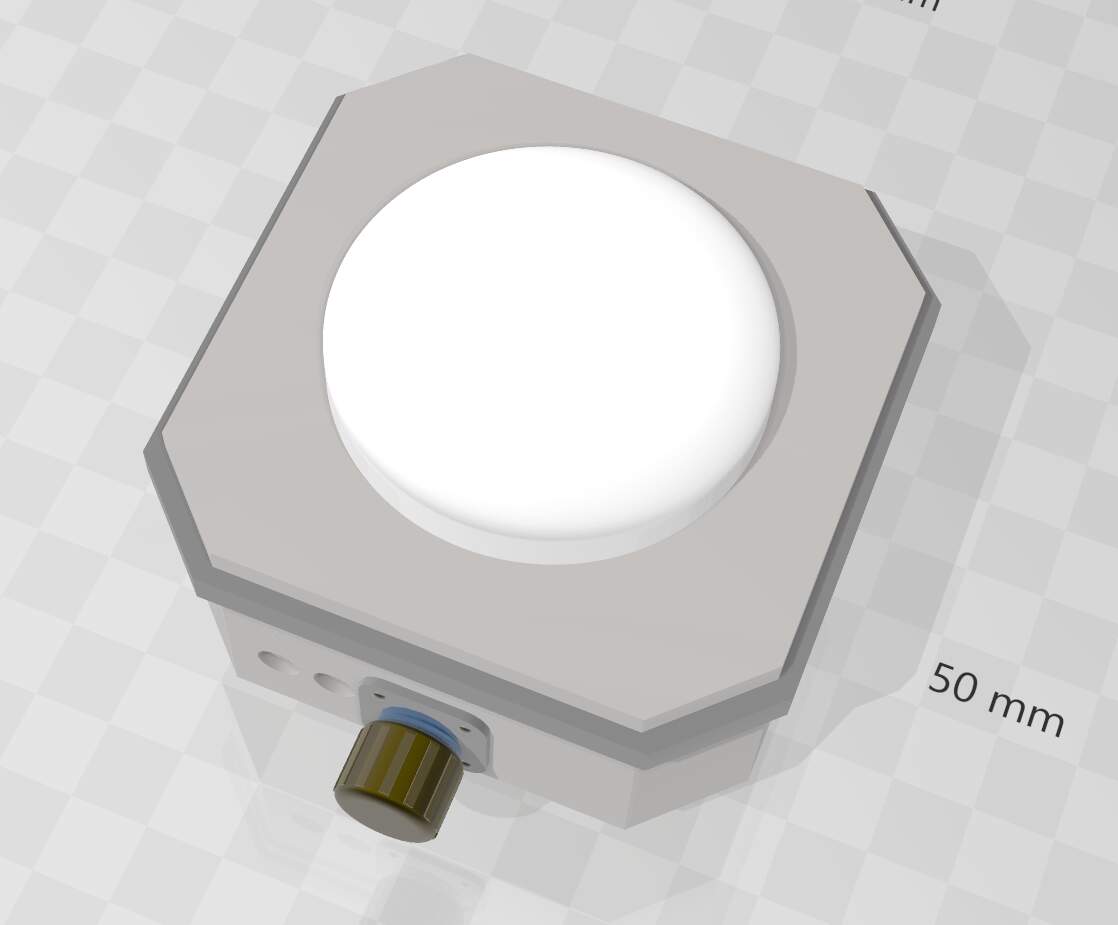
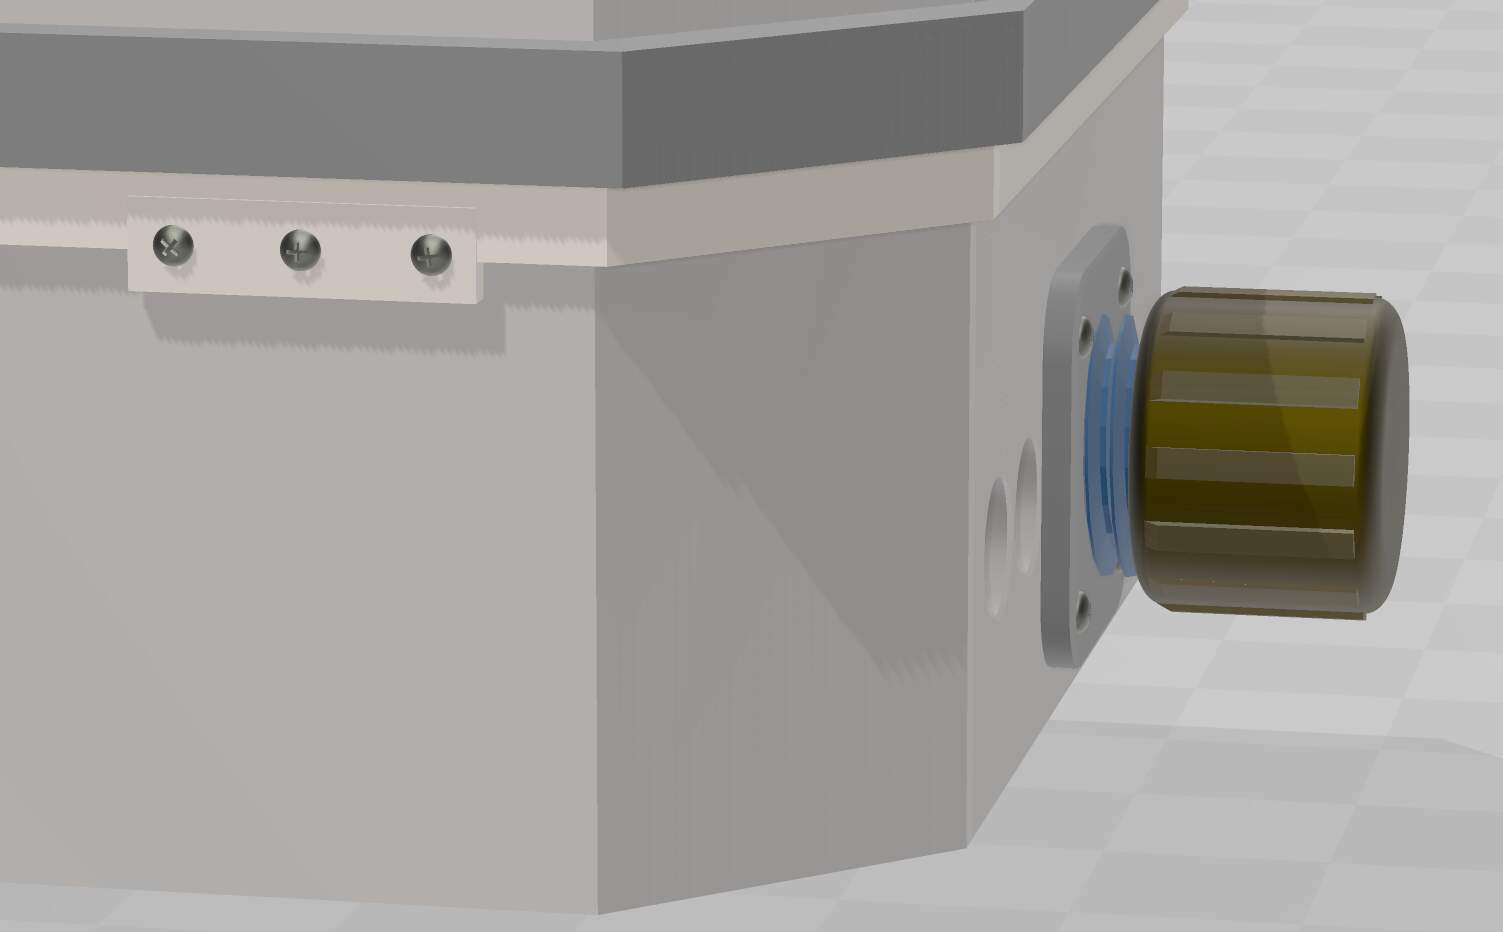
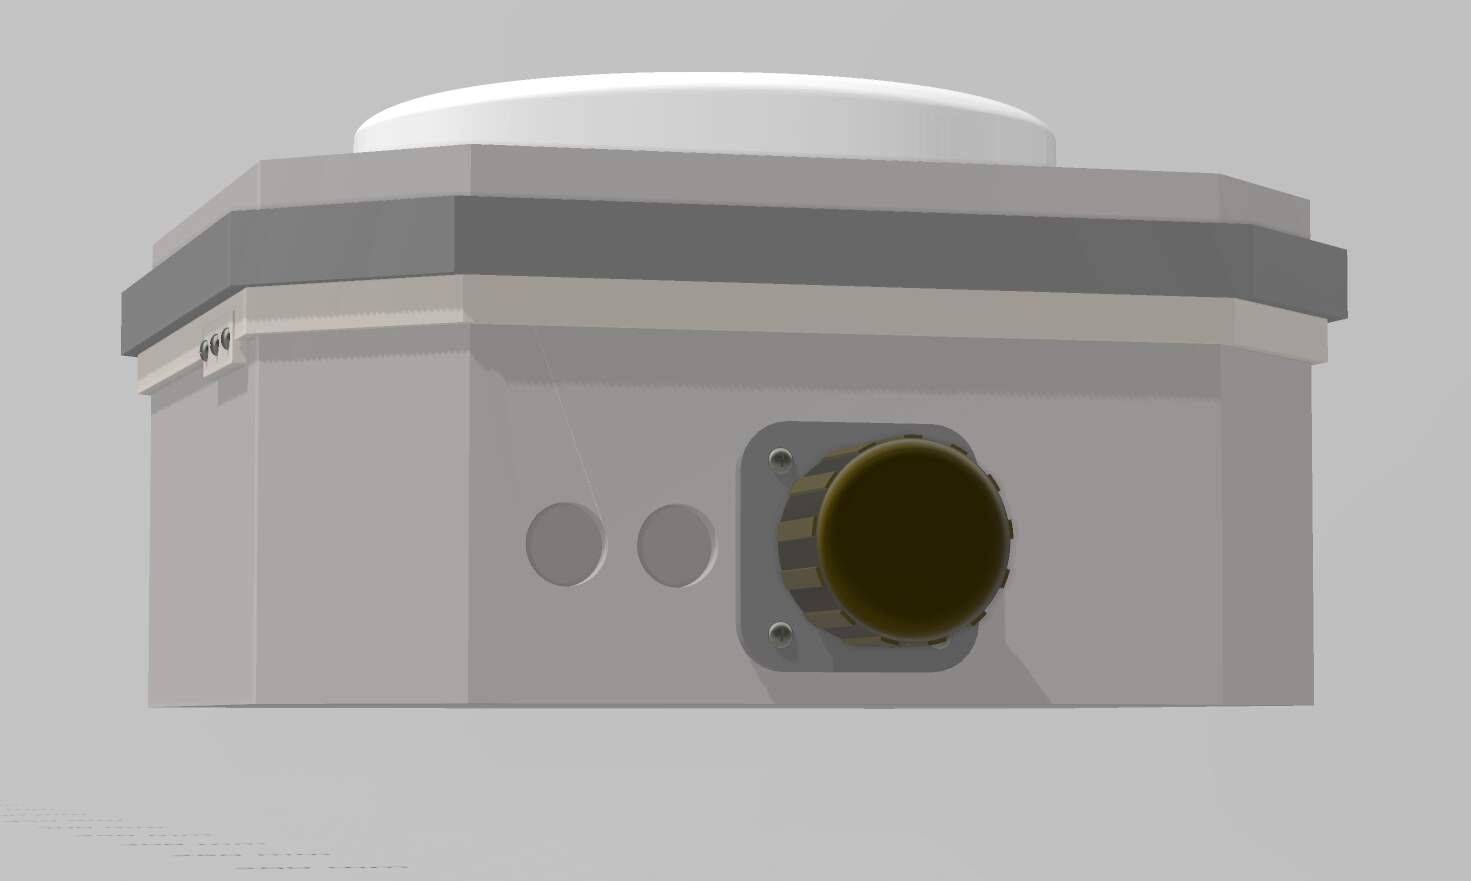
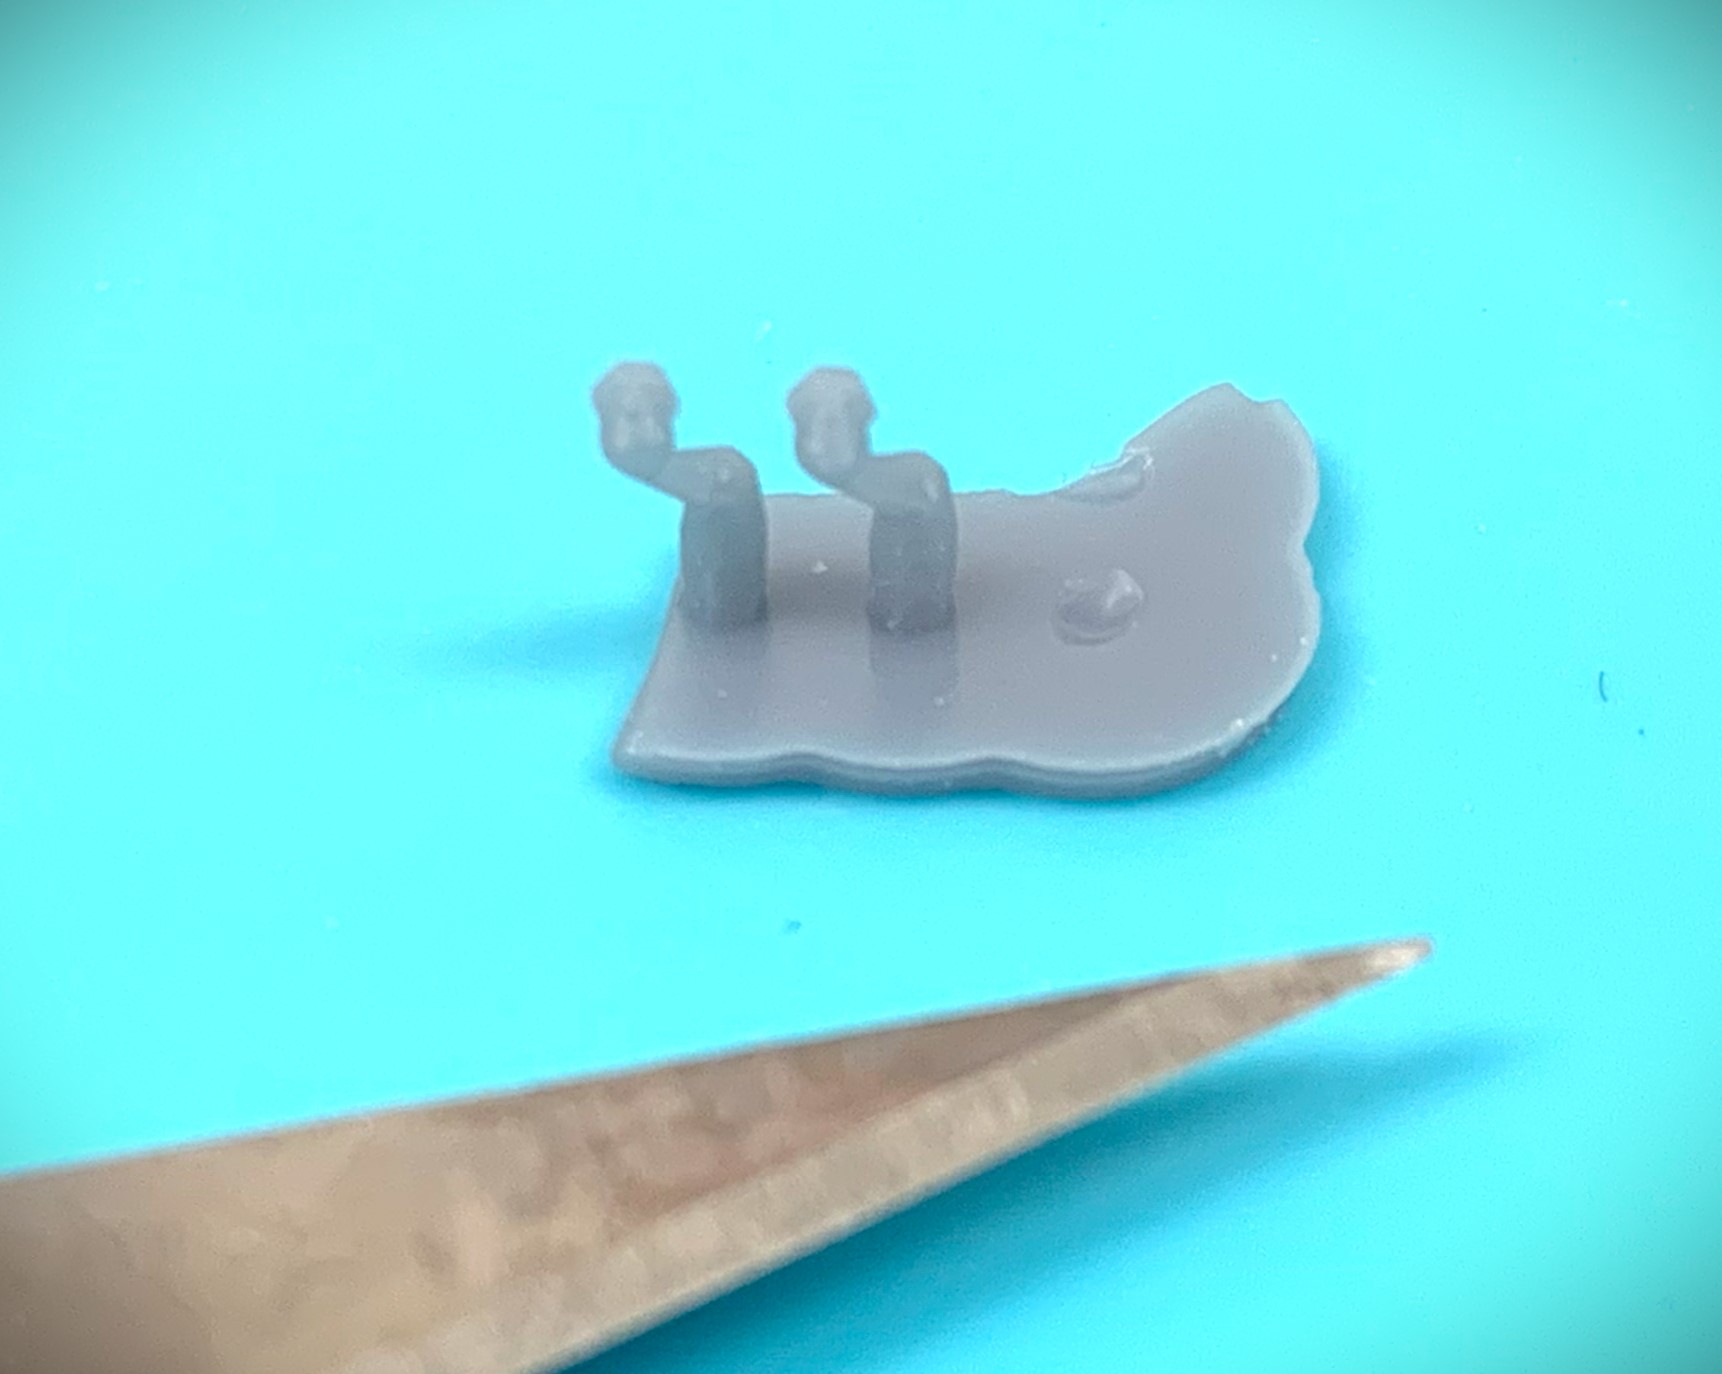
James- Thank you for the 1/35 Blue Force Tracker antenna files. My printer supports need some work, but thought these looked good for a first pass.
The antenna toppers are just beyond my present skill level!
Hi Stewart,
I’d recommend trying the thinnest (and possibly many) supports setting possible for the BFT antennas and the antenna toppers. And raise them up a bit from the plate: height of at least 7-8mm to make the support removal easier.
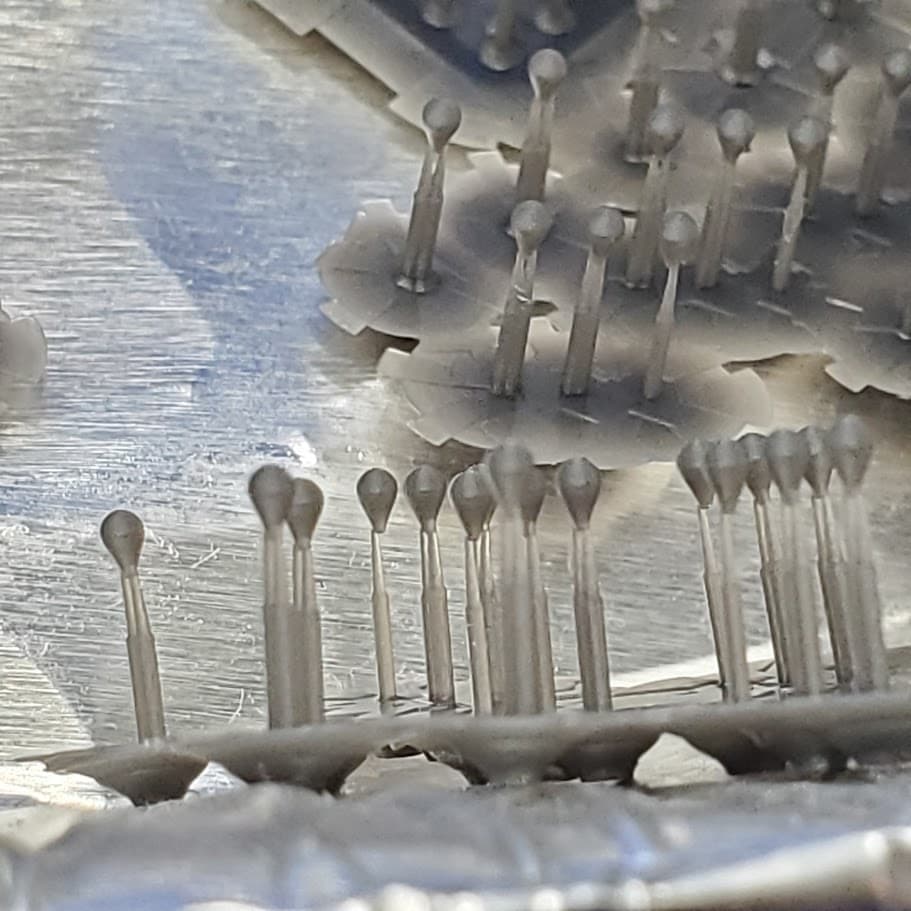
What you see below are my thinnest support setting:
The end diameter is at 0.12mm and penetration of 0.15mm in depth.
And I wouldn’t fully UV cure them after printing - makes them too brittle. Maybe like 30 seconds in the UV curing machine then take it out.
The BFT antennas may have to be printed in an angle 45+ degrees to get the connector detail come out correctly. My 2 cents.
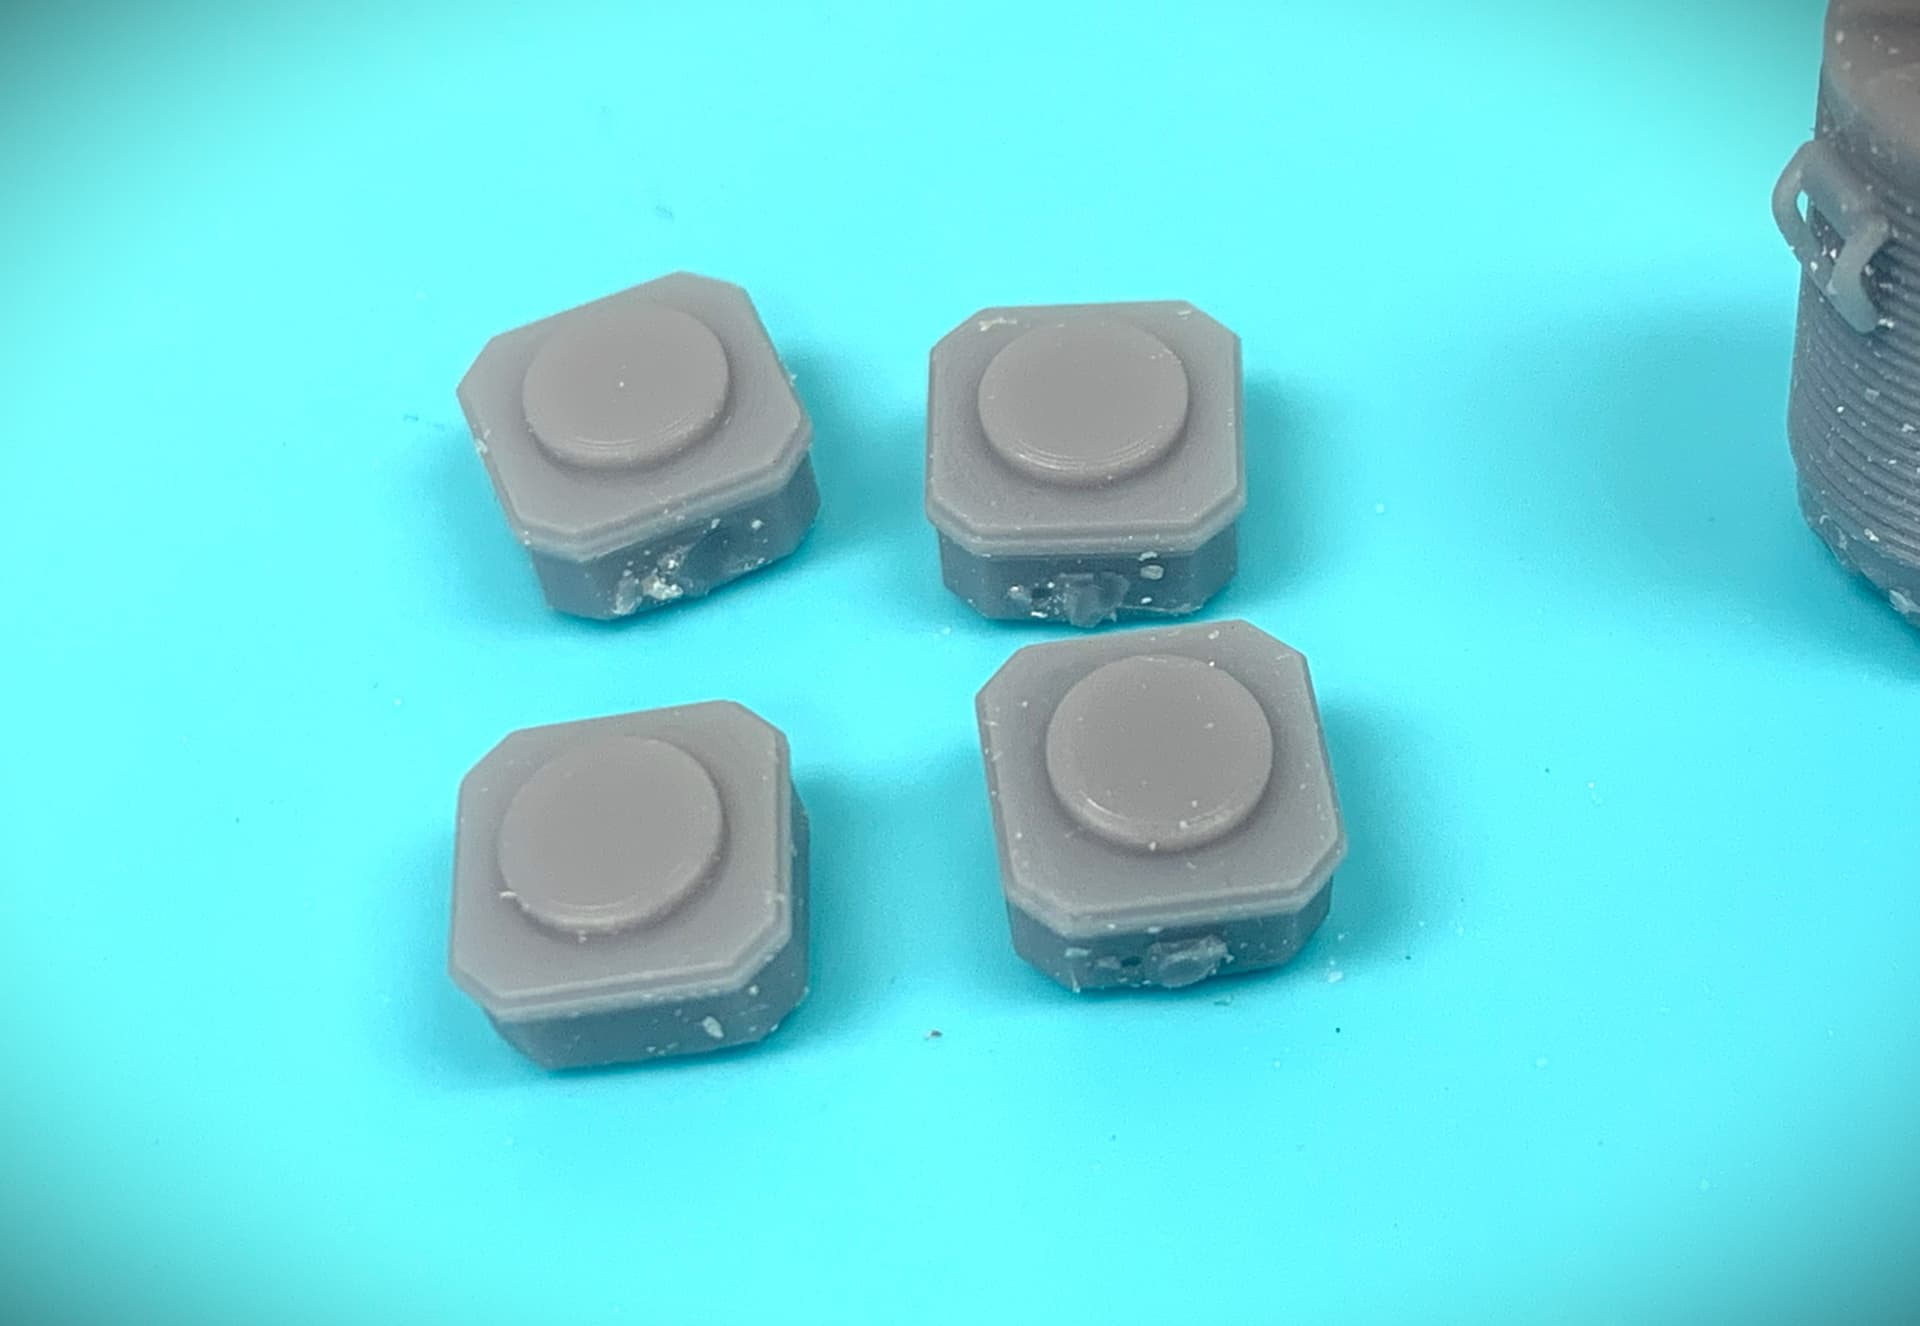
Thank you James! This is exactly the information that I needed for my 3D print! I had tried the default “LIGHT” support setting on the Anycubic slicer software earlier only to get a completely failed run. These GPS unit parts pictured, used the default “MEDIUM” setting. It leaves divots in the part. Also I cured these for 7 minutes so very brittle. I am going to try your recommended settings next. Thank you for sharing. Another question: This was all done with the Anycubic Grey resin. I have an order of the “HD” Grey coming and please looking for your comments on the resins?
Hi Stewart,
Yeah, I wouldn’t rely on the “default” settings - It will take a lot of personal tweaking to make things right to your preference, and there are many ways to achieve the right result.
7 mins of curing are too long. The time should be max 4 mins. Learned from my previous mistakes… I remove most of the supports (especially for bigger parts) before curing (and after washing and air-drying) unless they’re attached to delicate/small parts. For delicate parts, 30 sec.- 1 min. UV curing for a semi-hardening, remove the supports, then UV cure some more for a couple of mins.
Based on my experience, Anycubic resins were generally all good. Not sure how much better HD gray is, maybe it’s better for 8K+ resolution prints? I have been getting good results from mixing water-washable Rich-OPTO, Sunlu, or Phrozen black resin (75%) and 25% ABS-like gray resin of the same brand to get the easy clean and flexibility I need. Many say that the quality of resin affects a lot but not so sure. Some warned not to mix a water washable kind with the regular UV resin (isopropyl alcohol washable) but I have not had any issues. That’s just my experience. I hope this helps.
I often have to use medium supports, the thin ones don’t support and the heavy ones break the part!
I did an experiment on UV curing (16 tests of 4 different times repeated in two resins). It definitely makes them brittle. I found that no curing is actually stronger! Here’s the video: UV Curing Testing video
As the saying goes, there are many ways to skin a cat. ![]()
i can see how a surface post cure of the resin could make the outer layer more brittle and prone to small micro cracking. That small surface crack in bending is where the stress point concentrates at the crack tip. The same load locally builds up and breaks the part. A softer surface distributes the same load through out the cross section and fails more material. Hope our fracture mechanics and crack propagation folks will jump in here to comment! I post cure so the part is not sticky to touch. Now I only wish I could properly level the build plate and get the first layer exposure time right, My parts have not been sticking to the plate correctly with the HD (darker) Anycubic resin, Press on