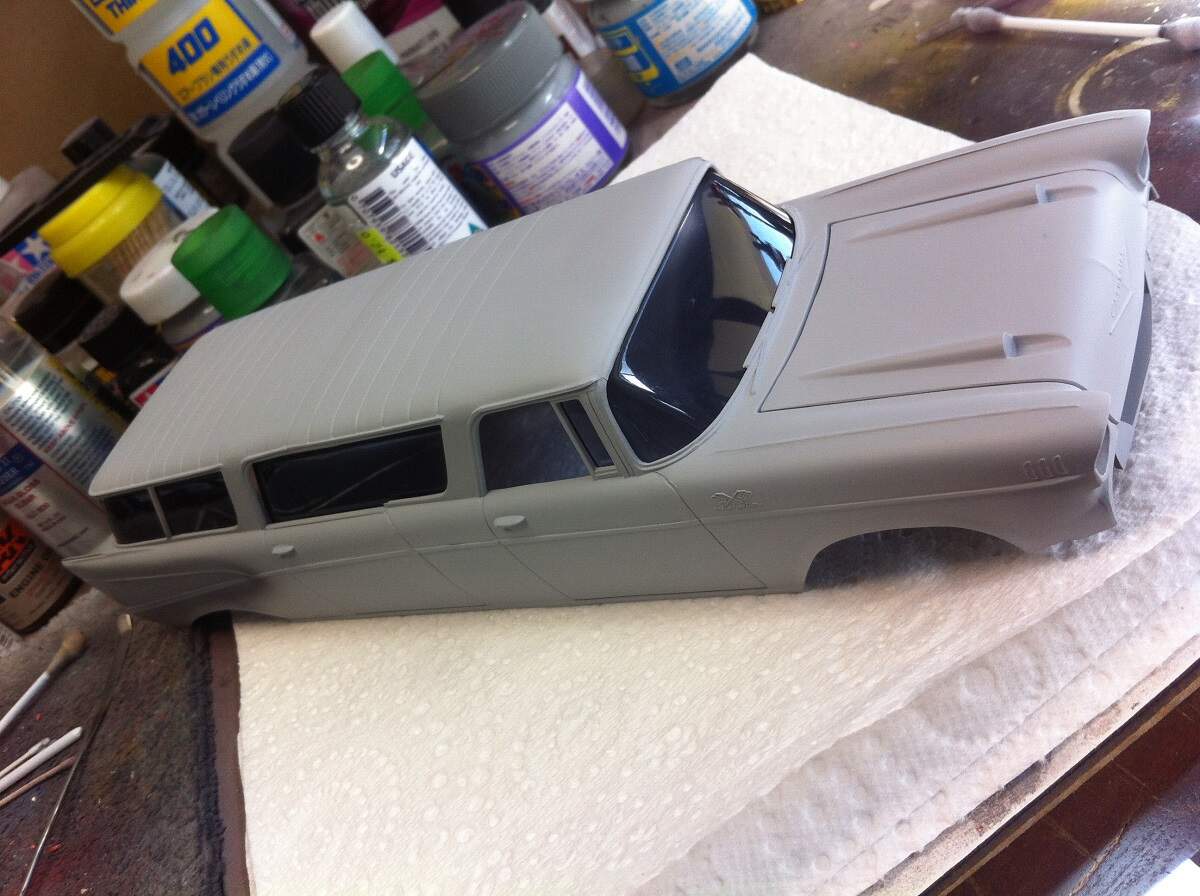
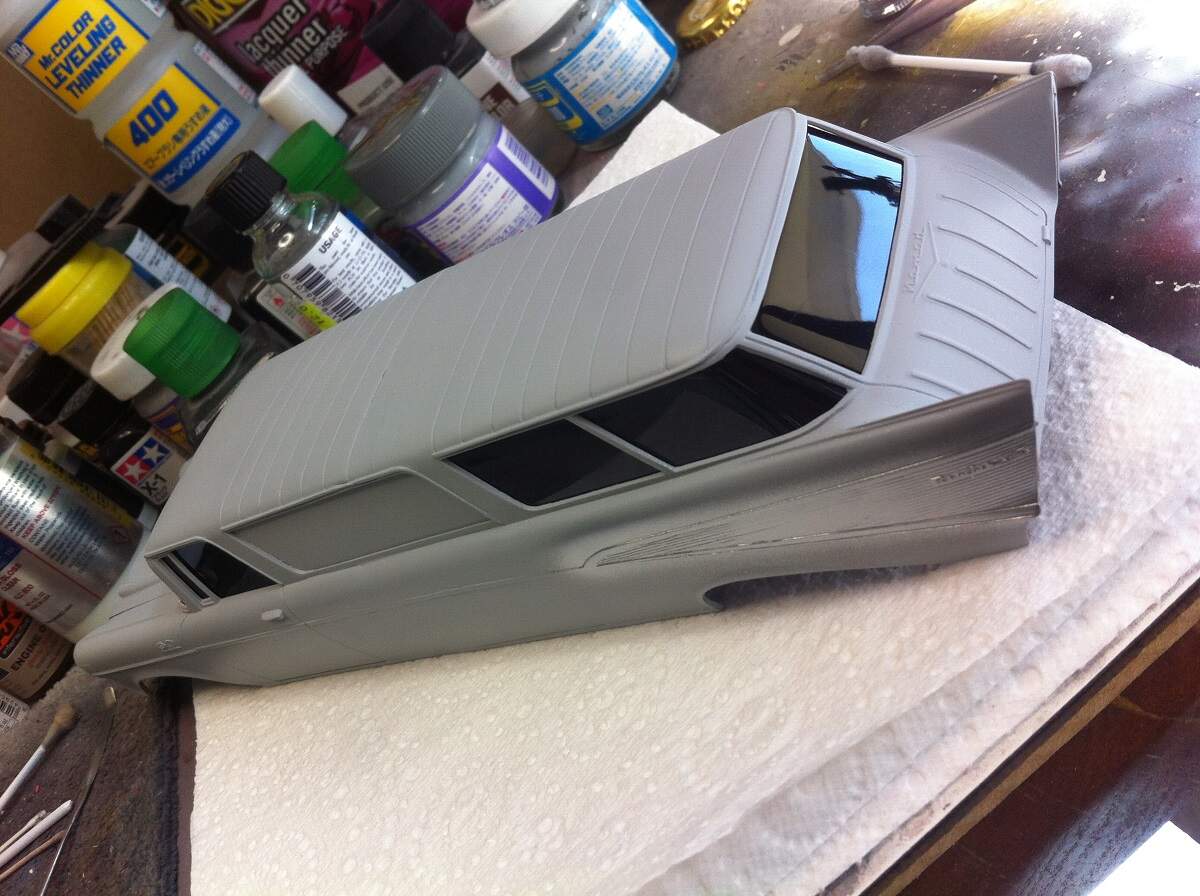
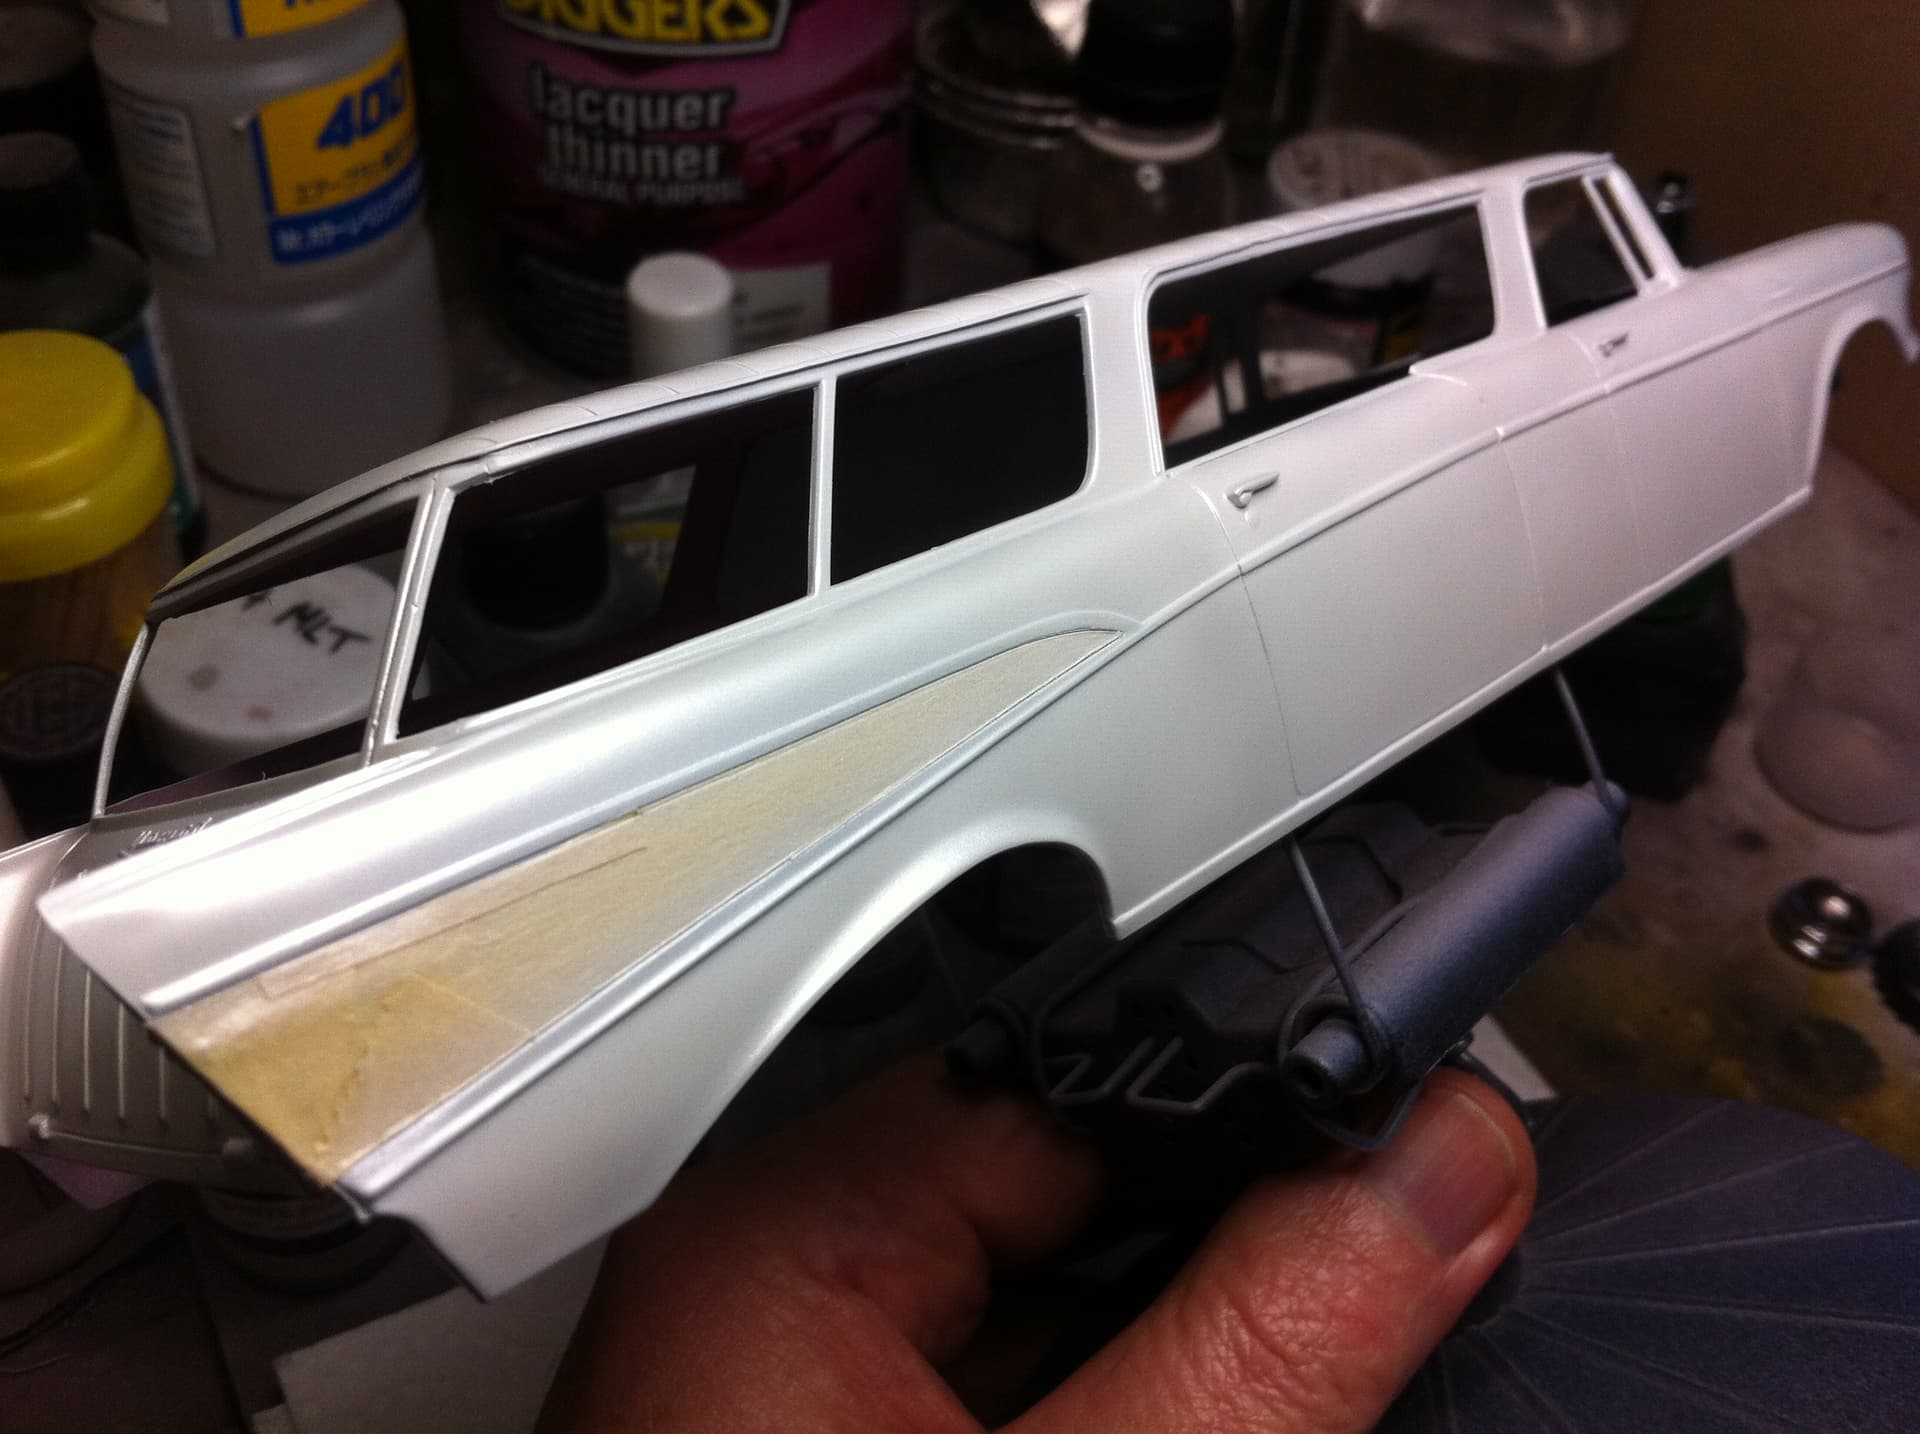
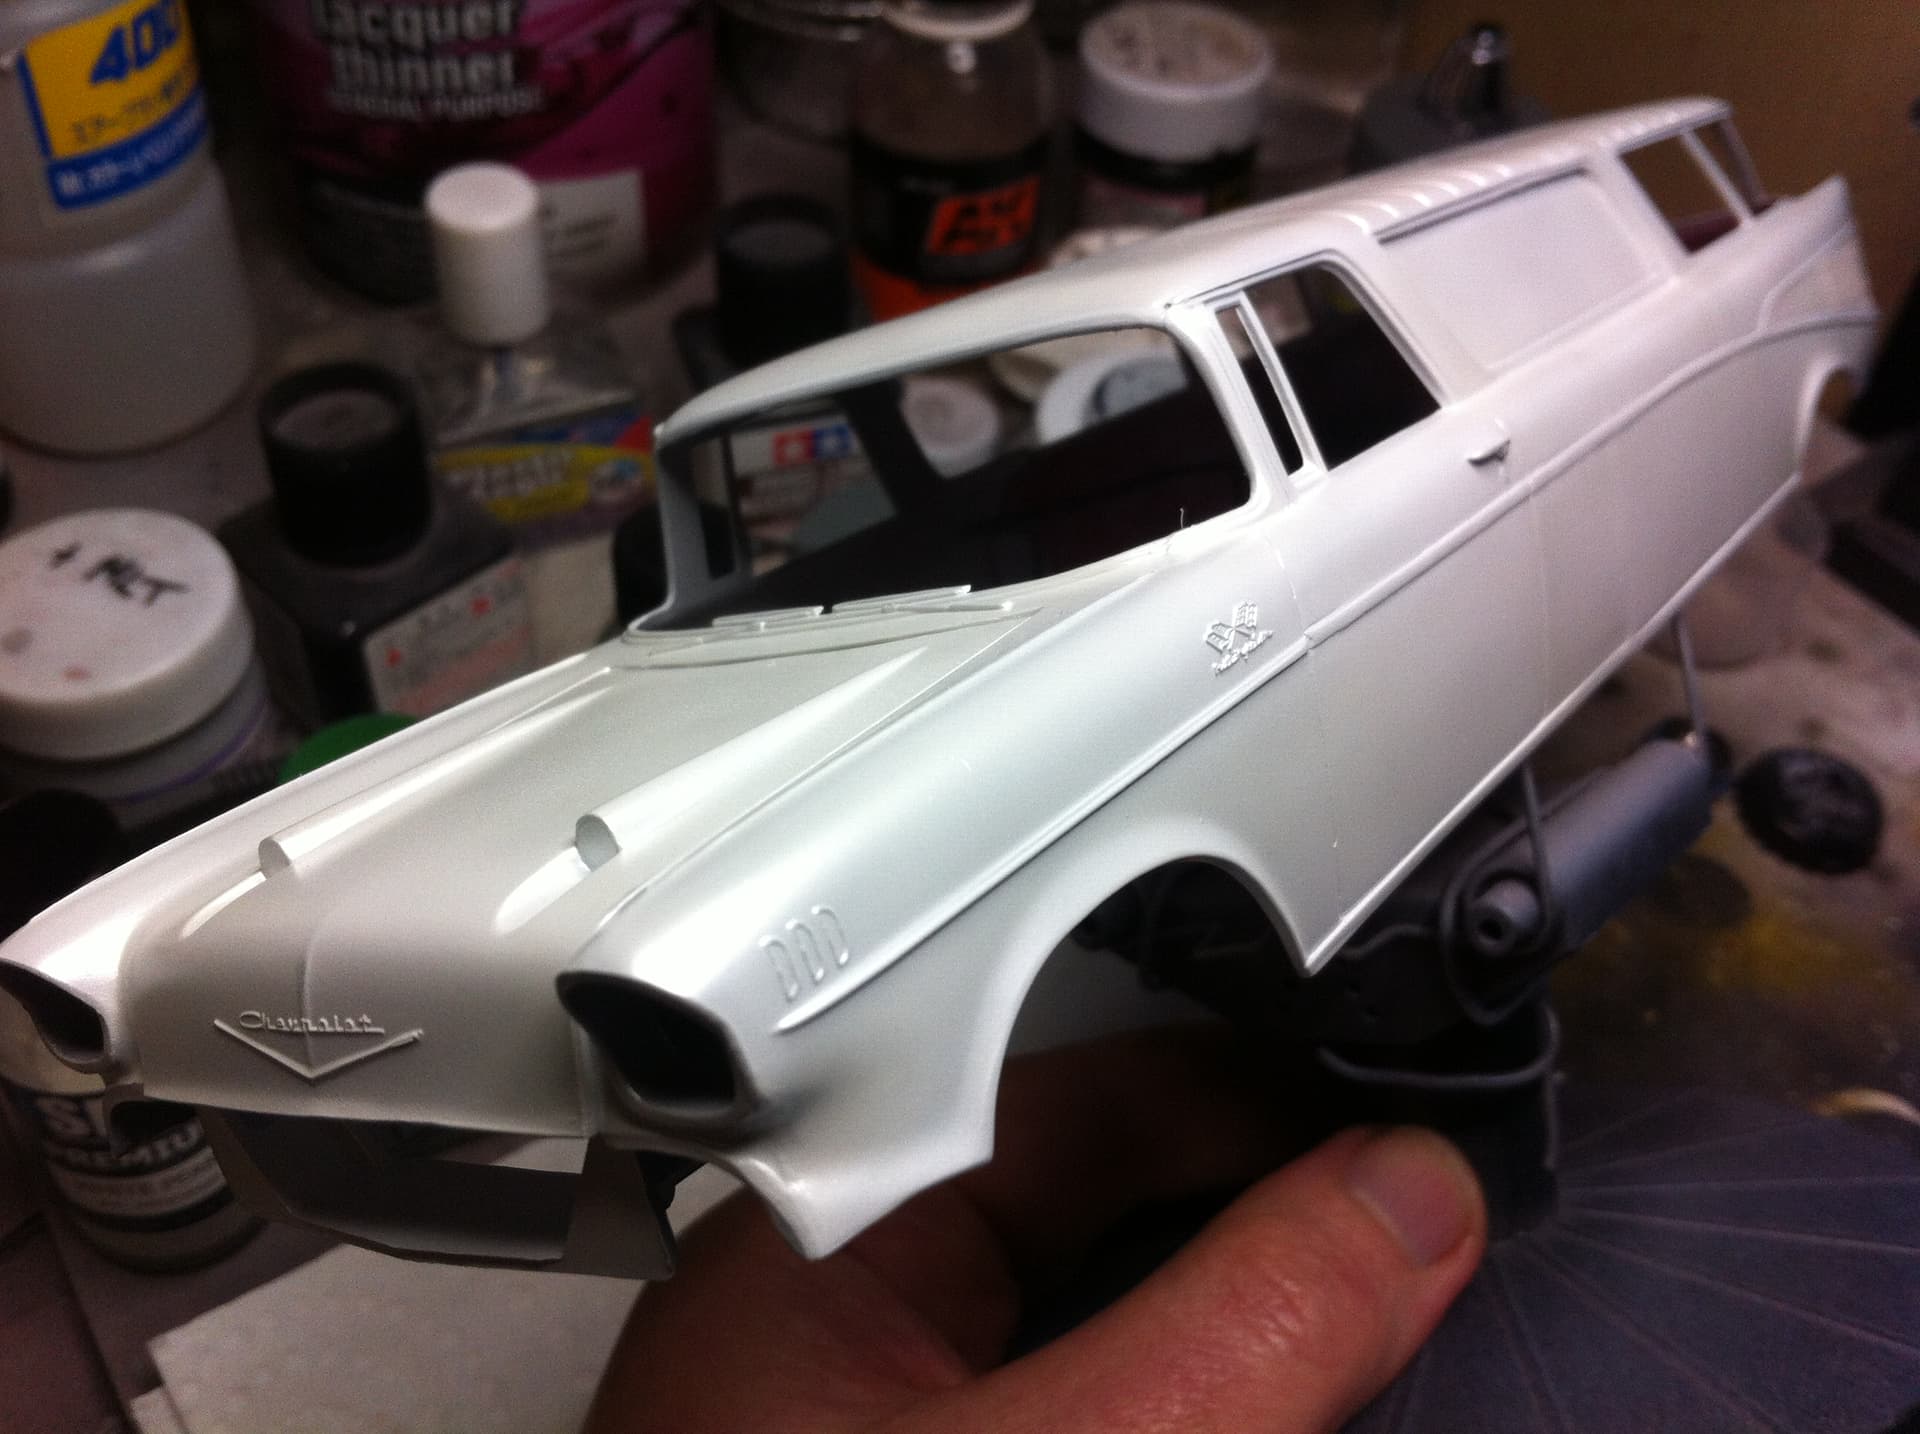
The body work is as done as it’s going to get on the 2-Mad, so I shot a final coat of grey primer and a bit of black on the side flashes, time to get on with the colour coats!
I also had to remove the small vertical frame at the leading edge of the passenger rear door, it kept getting knocked and loosening up. I will just cement it directly to the side clear part once it’s in place.
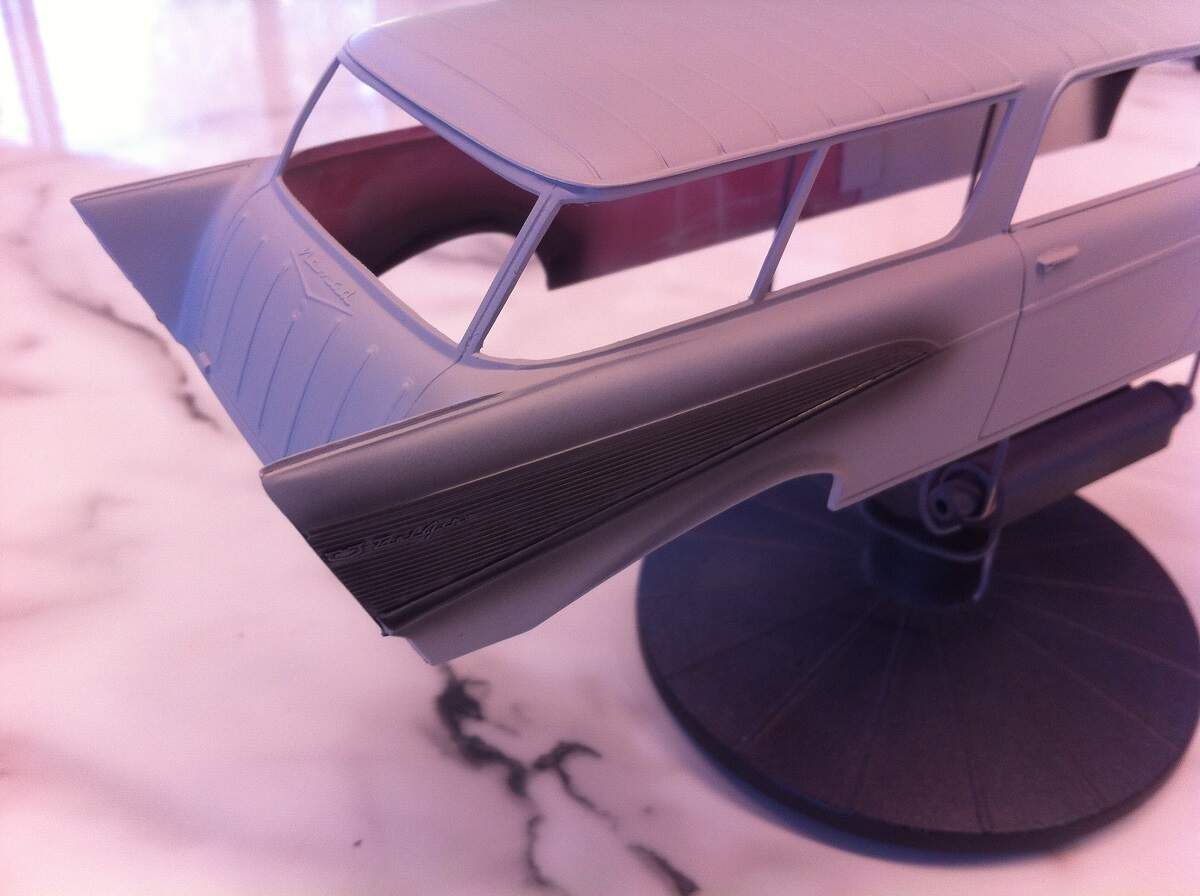
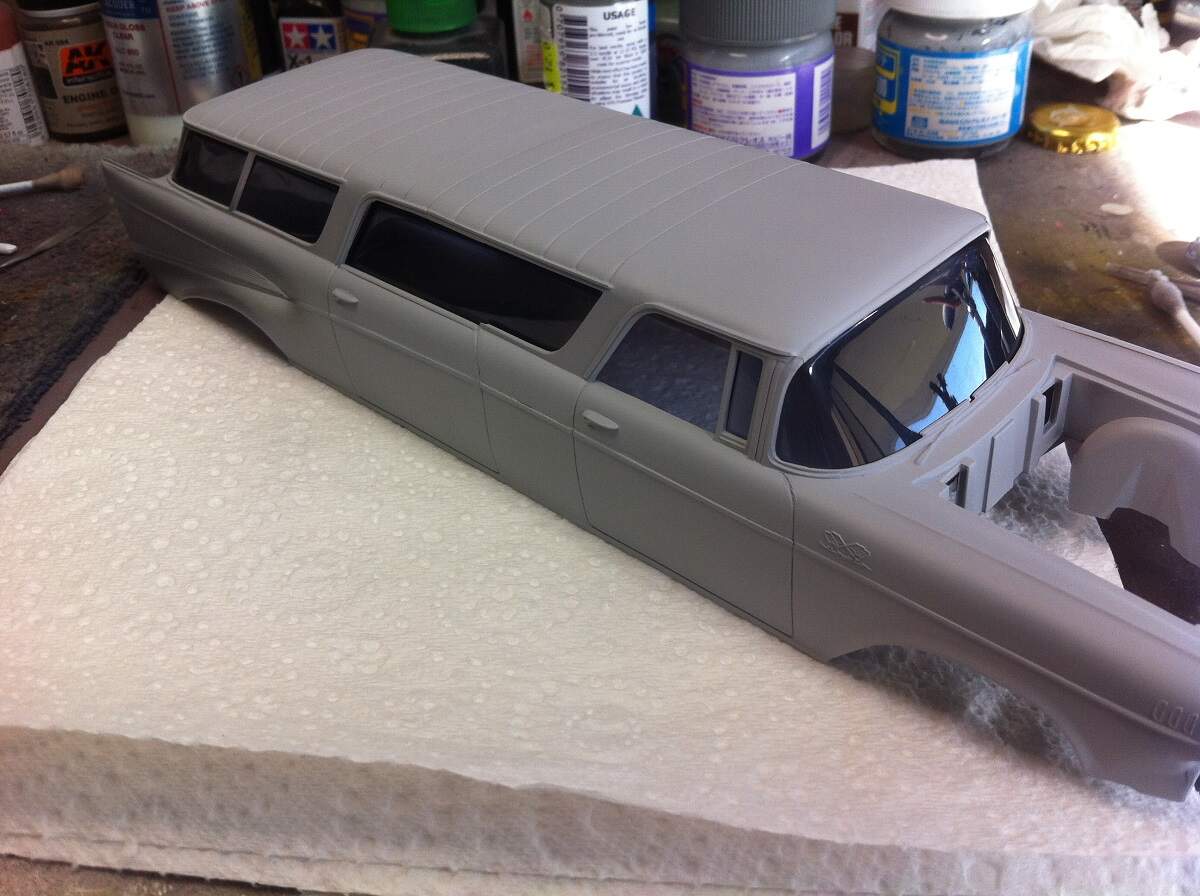
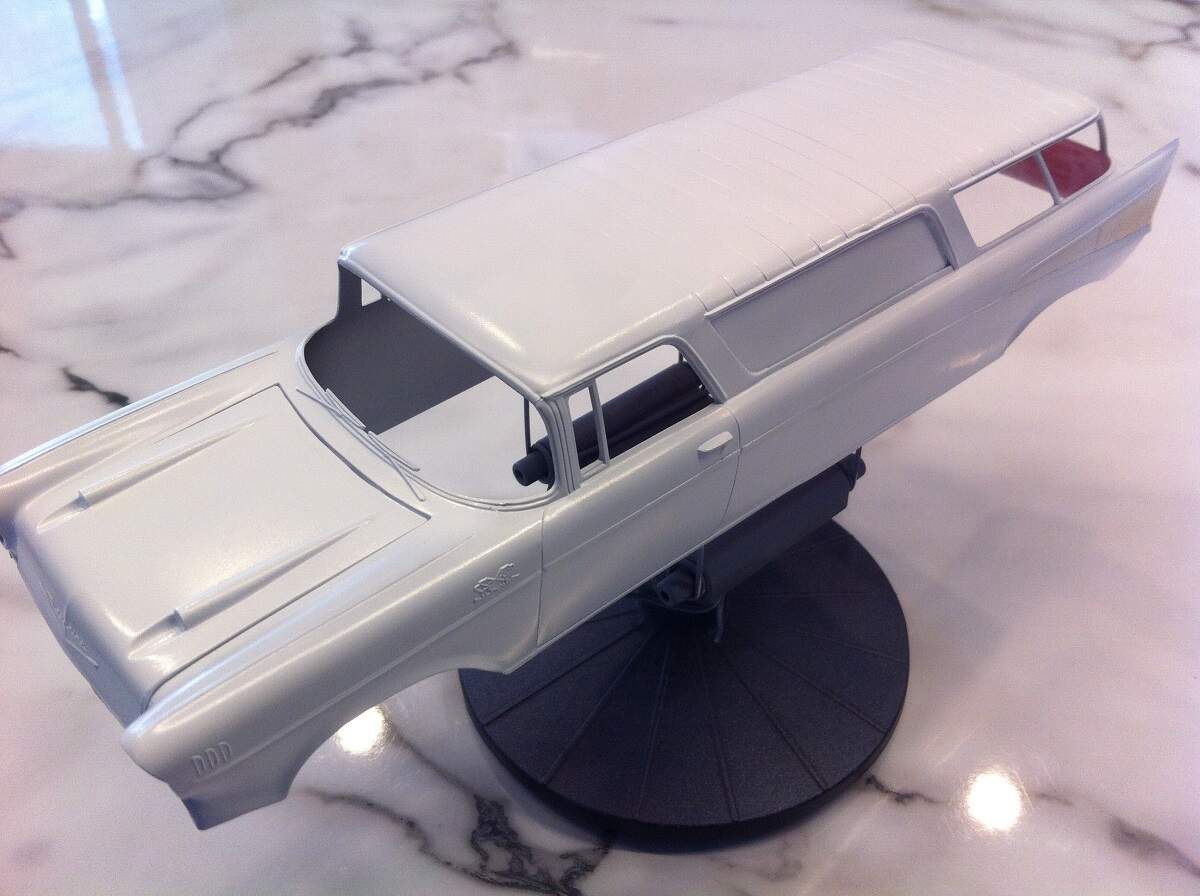
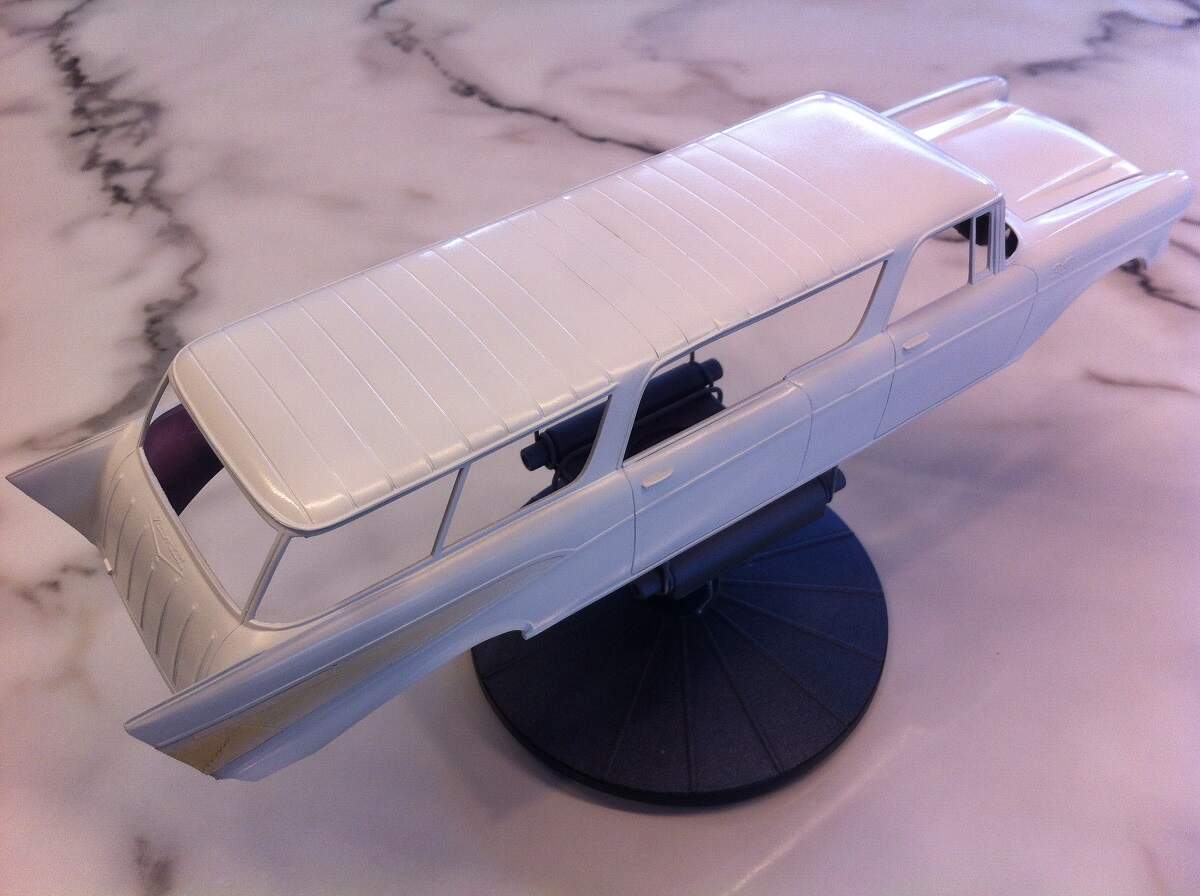
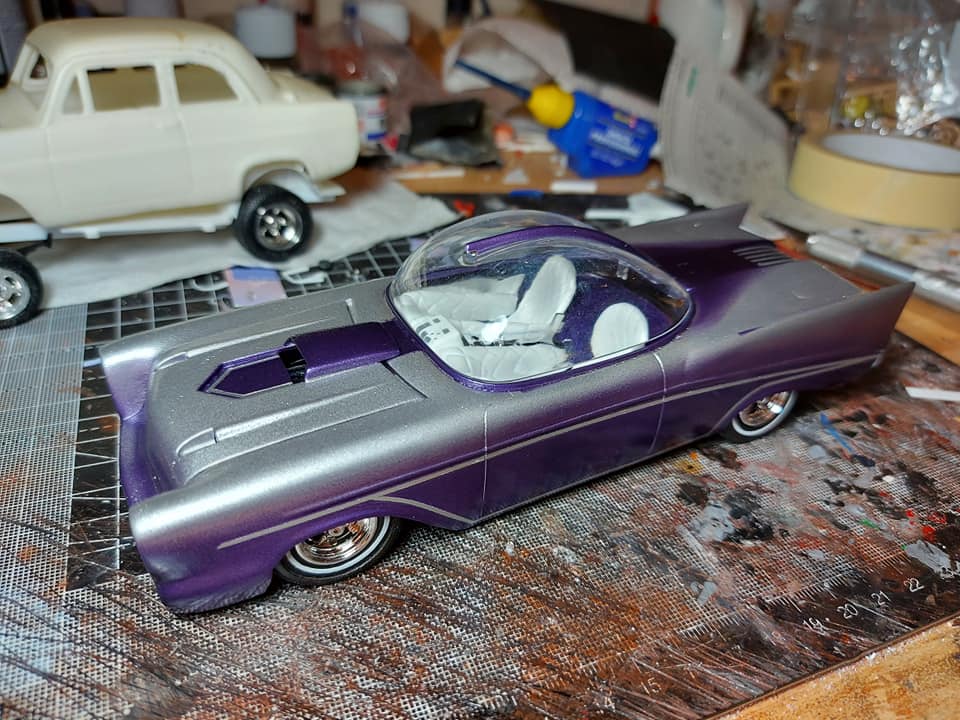
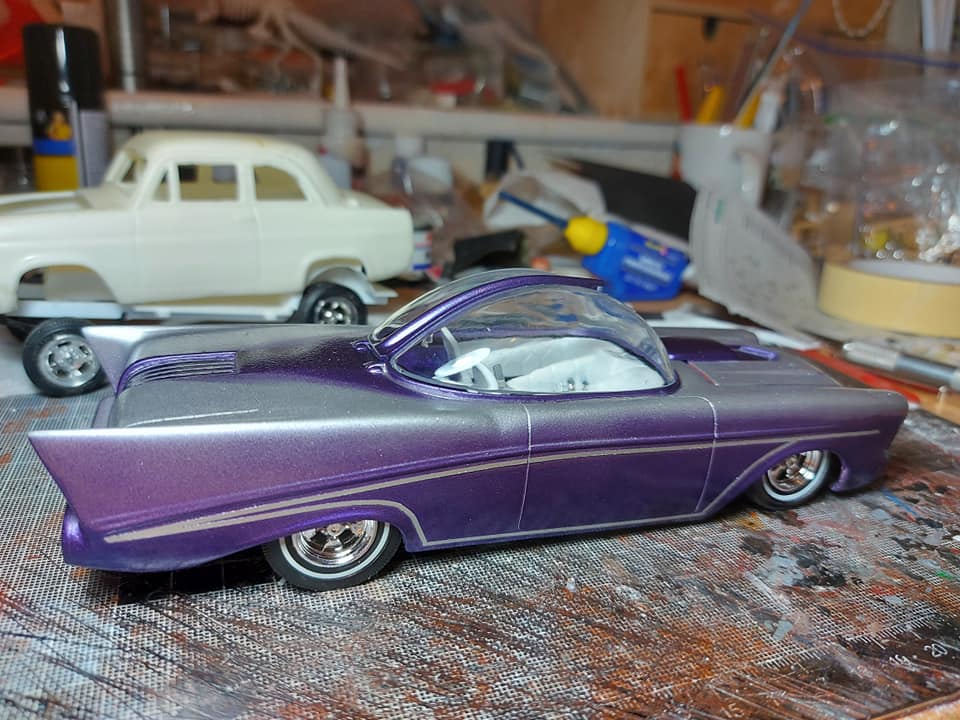
Some more work done, I have cut and fitted the side and front glass sections and tinted them, given side flashes some Aluminium paint, then masked and painted the body with a first shot of White.
The side flashes are quite rough from the paint stripping process, and the body will get a wet sand all over before another white coat, but I’m really glad to be getting this one moving again.
D,
Great progress on the Nomad Limo. she looked darn good in primer, but with a coat of white paint, it’s a real major step. And those tinted windows do look darn good.
The “2-Mad” Limo got a couple of light shots of White Pearl tonight after the base coats of white was cleaned up a bit. Crappy old iPhone pics don’t do it justice, hopefully a new phone soon to show it off after some more progress.
D,
Your FB group certainly has some very interesting builds going on. Love the bubble as I fondly remember so many of the custom cars of the 1960’s having them in both the real deal and kits.
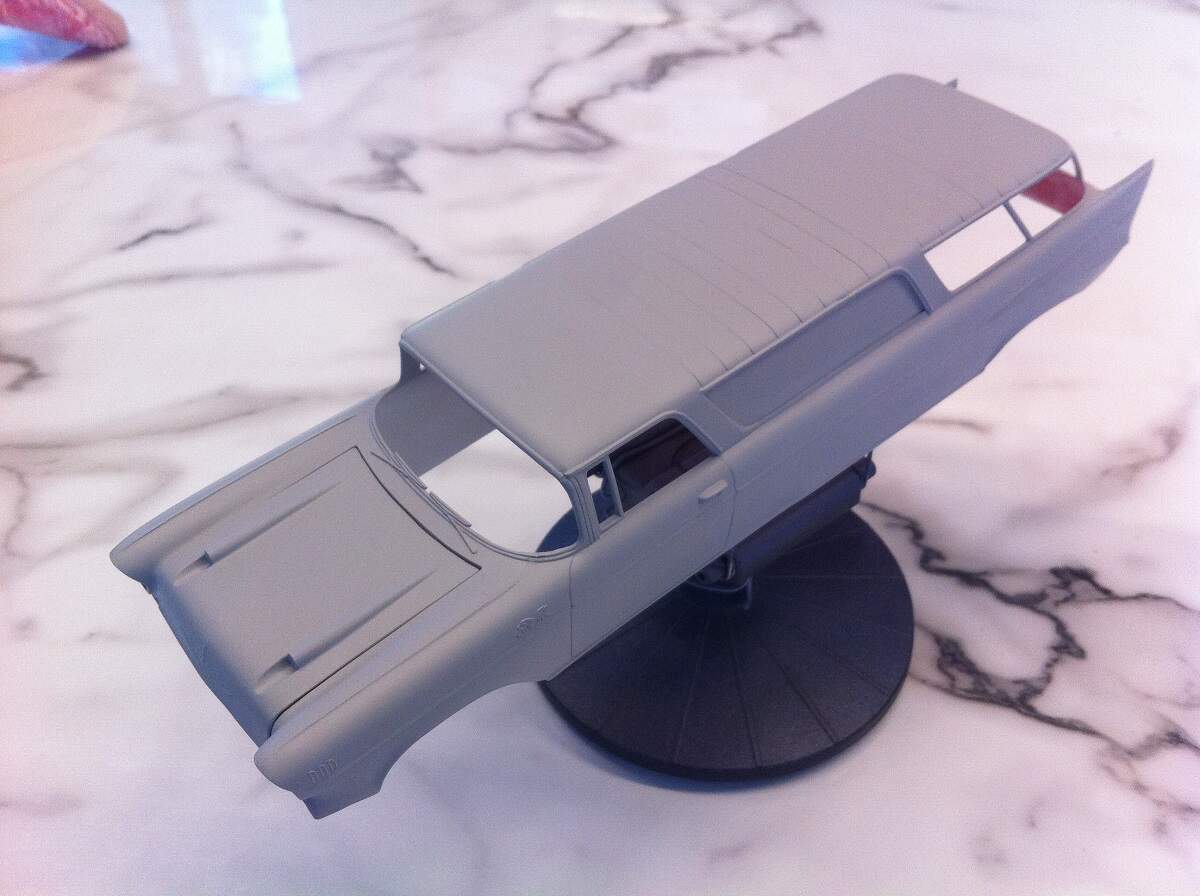
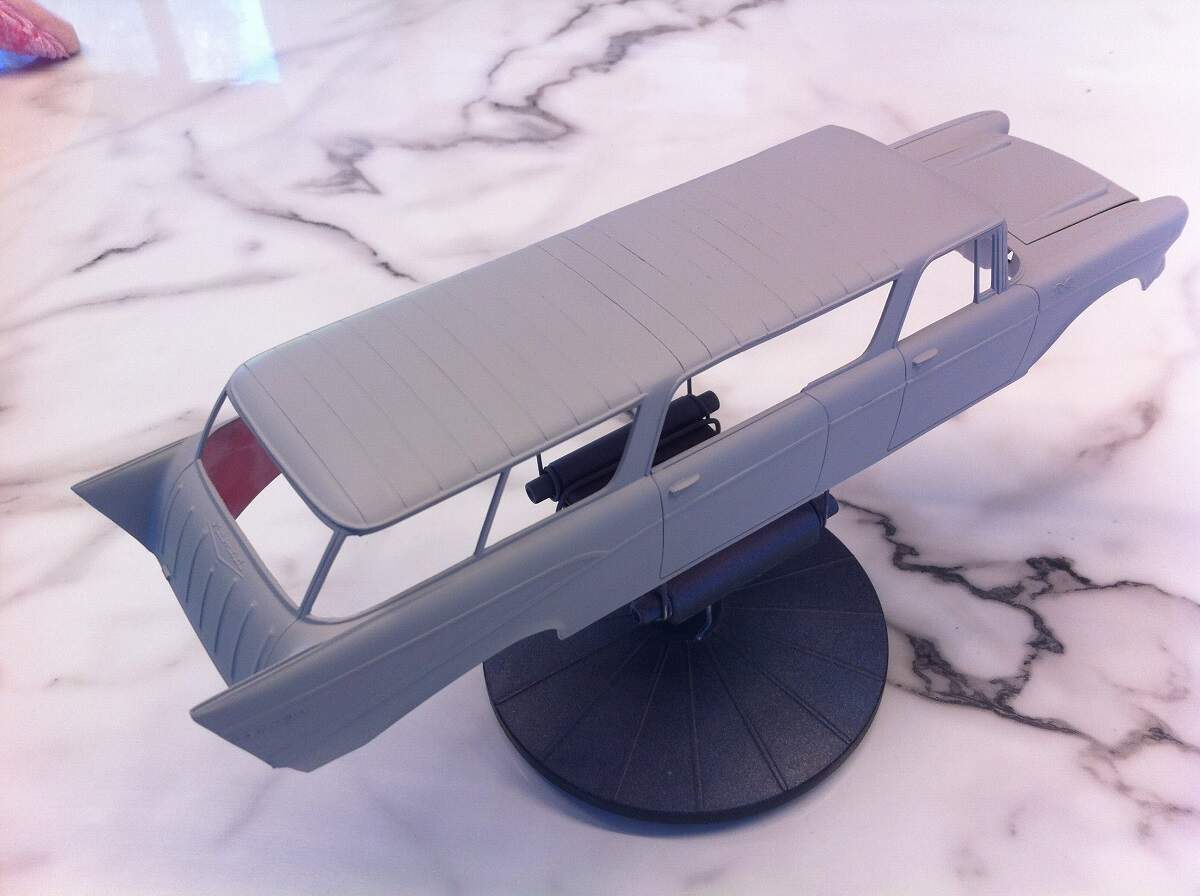
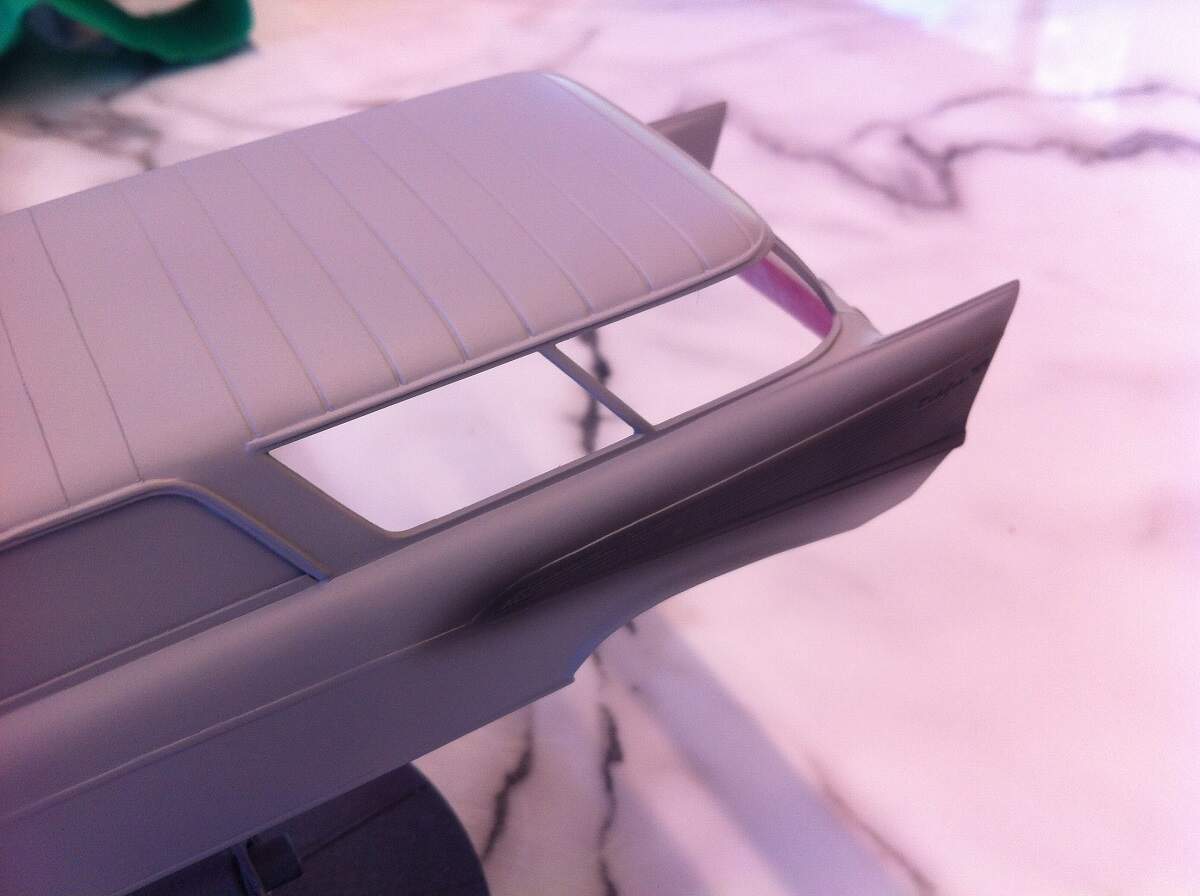
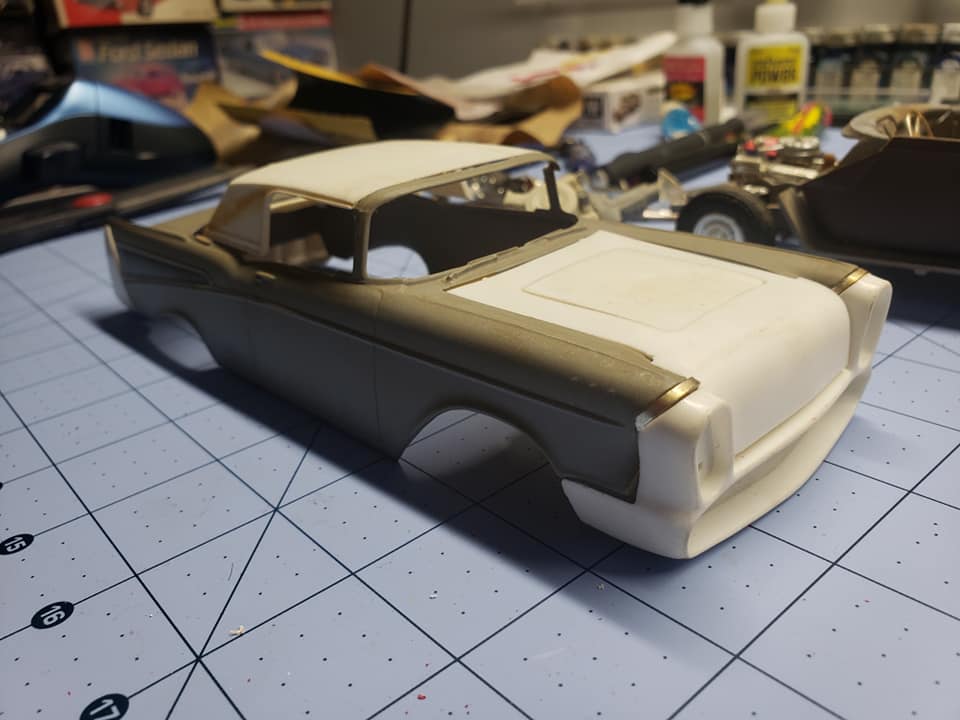
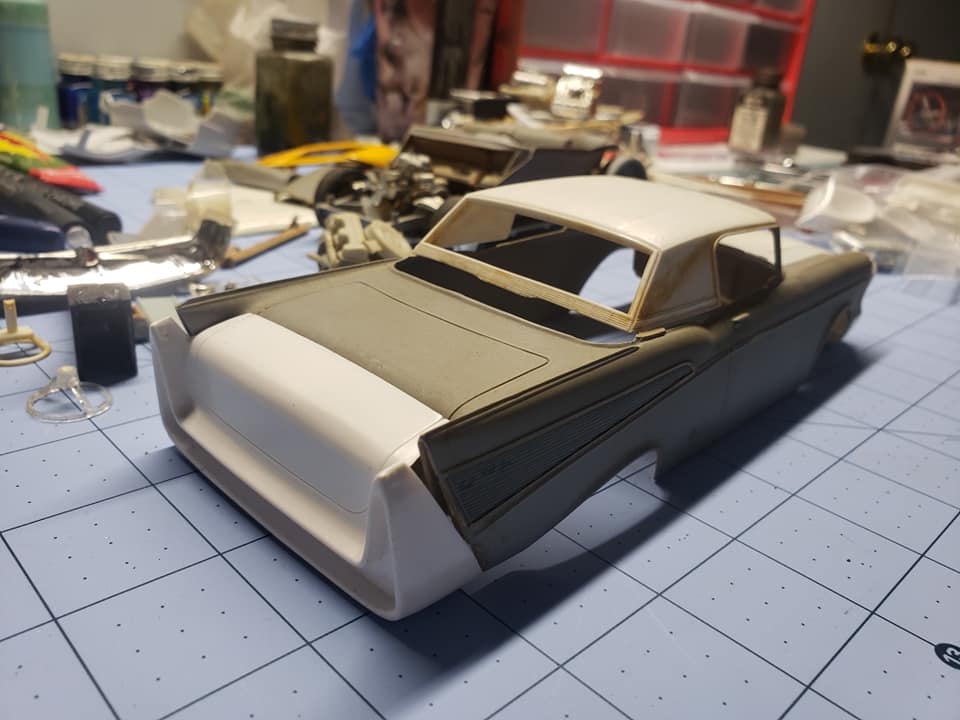
Not sure I understand the 2nd extra rear clip other then to stretch the total body length. but the top that’s going to be graphed to it looks like a major project to pull off.
Joel, the rear end of the '57 will be trimmed back so the rear clip sits at the same length. It’s just tacked on in the image to show the look. The roof is off a '57 T-bird and will definitely take some work to fair in to the body, but it will look very nice!
D,
I figured as much for the rear end clip, but I really don’t see how he’s going to get that T-Bird top to blend in so it looks like it was molded at the factory that way.
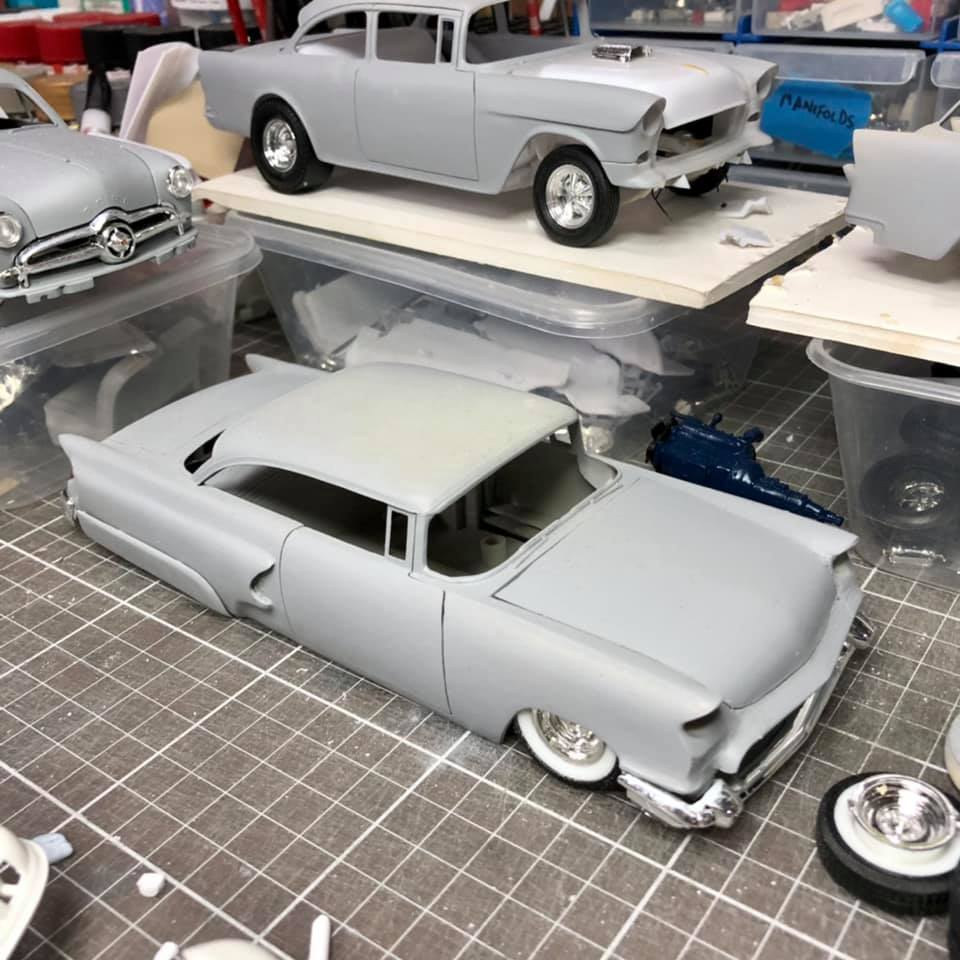
Well I had to man up some time and get the heavy duty chopper out! Seems to have worked out ok, I even managed to get the wheel base right! The images tell the story - Happy Days
When I was at school in the UK in the early 70’s, if you’d announced you were getting out your “heavy duty chopper” the guys would have fallen about helplessly, the gals either scattered or asked you out on a date, and you’d have spent a night in the cells. Anyhow are you sure that joint will hold up on its own without bracing (yeah yeah I know that’s another story)…I guess it should once bonded to the body?…oh jeez will it never stop
@Dioramartin , Tim, you’ve outdone yourself there with the double entendres my friend!
The join will definitely be braced from inside the floor pan, the surfaces either side are nice and flat and won’t be visible so I can use some heavy styrene sheet there. The fun will be fairing in the second transmission tunnel, but I have a couple of ideas there.
It would seems with the details like the quad mufflers and transmission tunnel to sort out, you could chop off the area between the wheel wells and use card stock to replace the floor, beams and other details. The existing plastic could be used as a template for detail placement.
Tim,
Now that’s one great explanation of the meaning of the British phrase One’s Heavy Duty Chopper. I’ve never heard that phrase before, but I’m from a much earlier era then you guys.
D,
great job with the Dremel Big Boy cutting wheel. The fit looks darn good. I’m curious as to your plans for matting the two transmission tunnels.
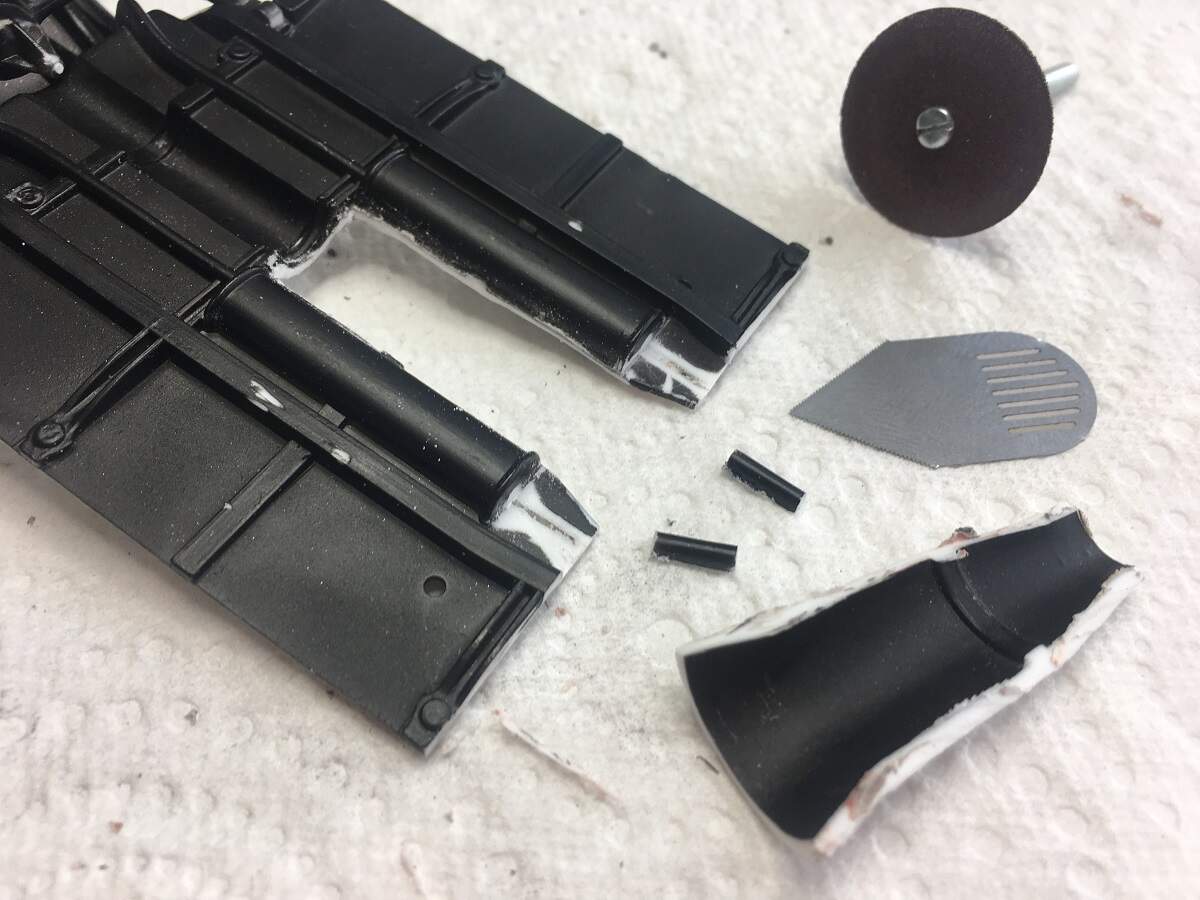
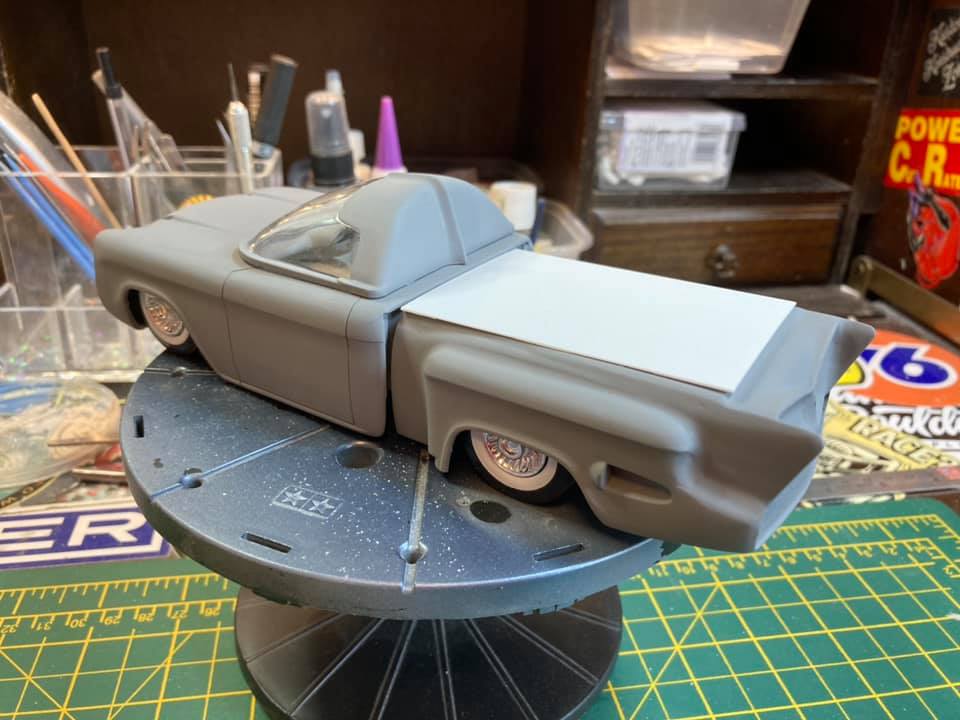
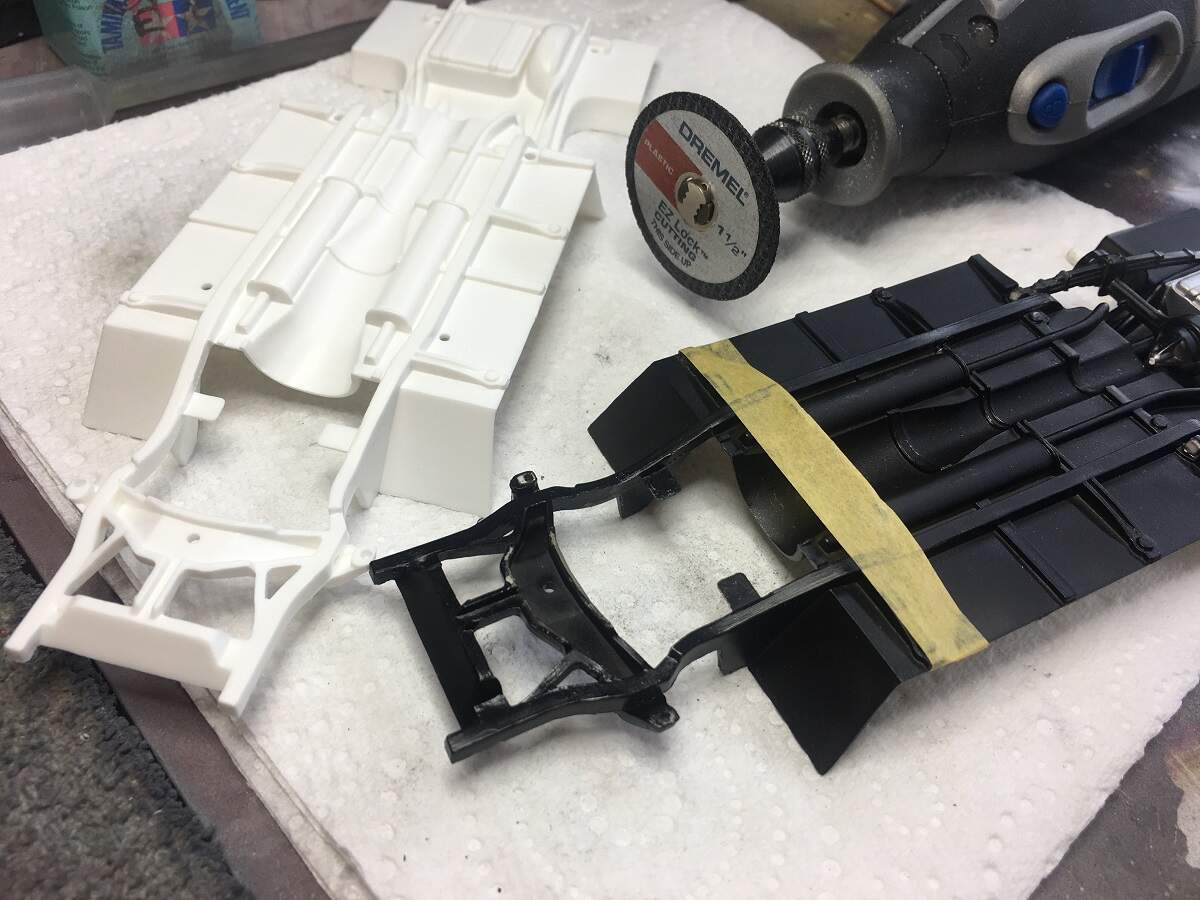
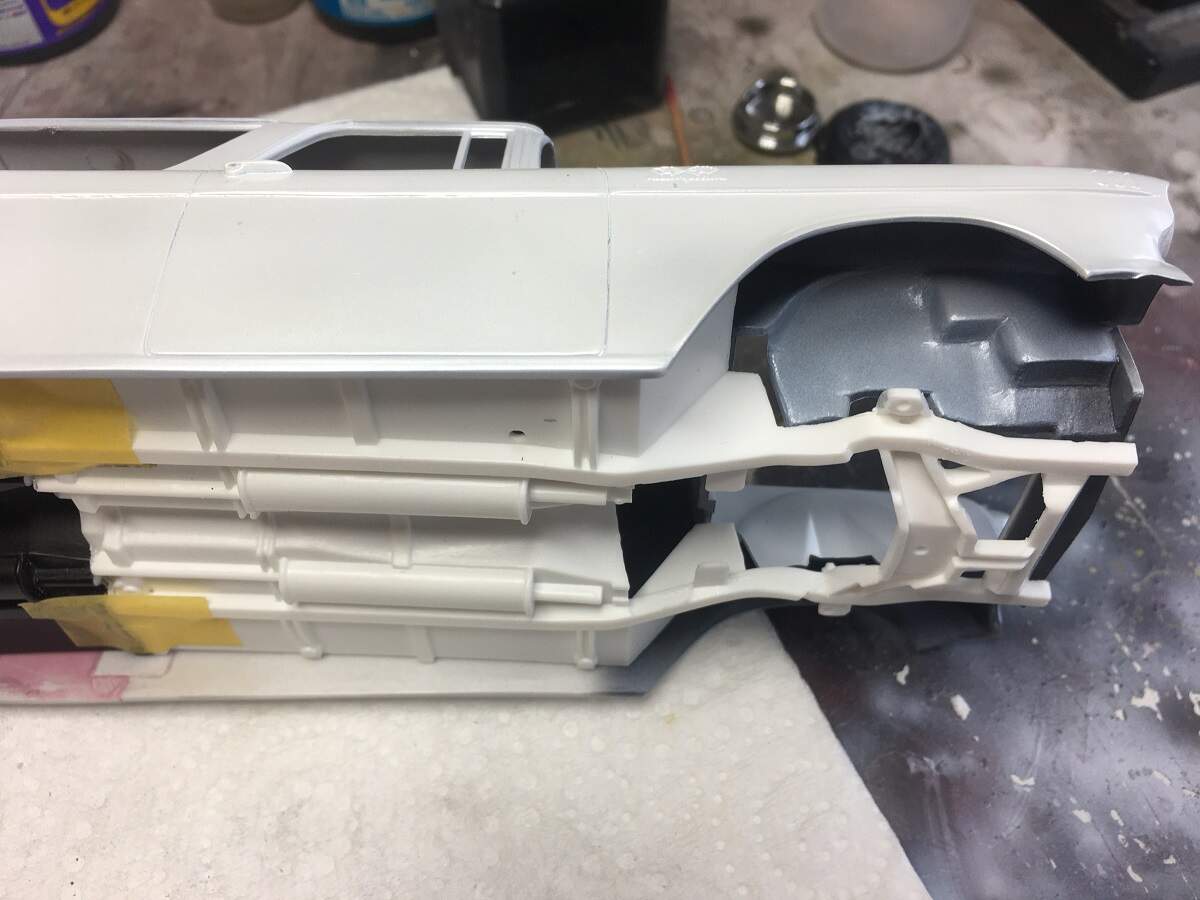
To keep @Dioramartin smiling I pulled out my Light Duty Chopper for the Dremel and carved off the flared section of the transmission tunnel, and used the fine razor saw to trim off the short sections of exhaust pipe that didn’t line up.
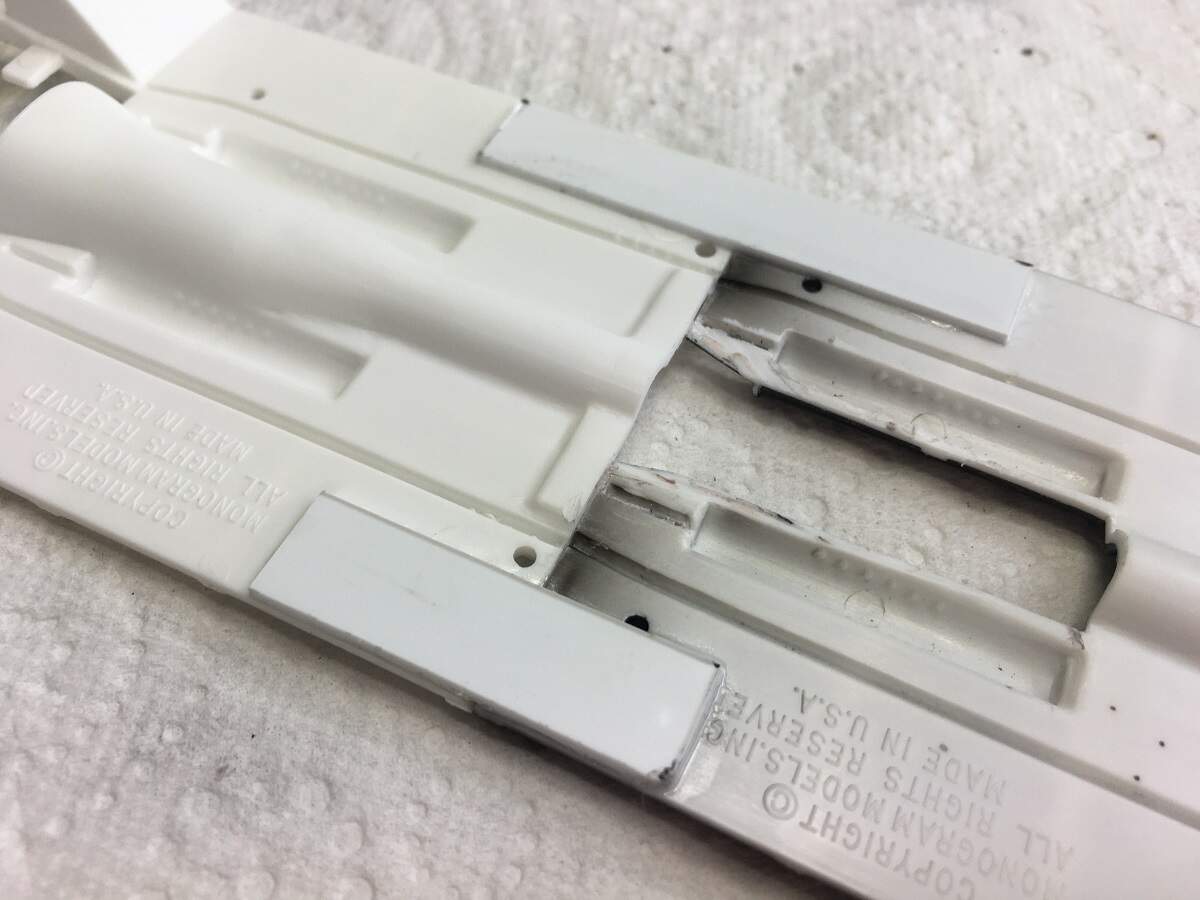
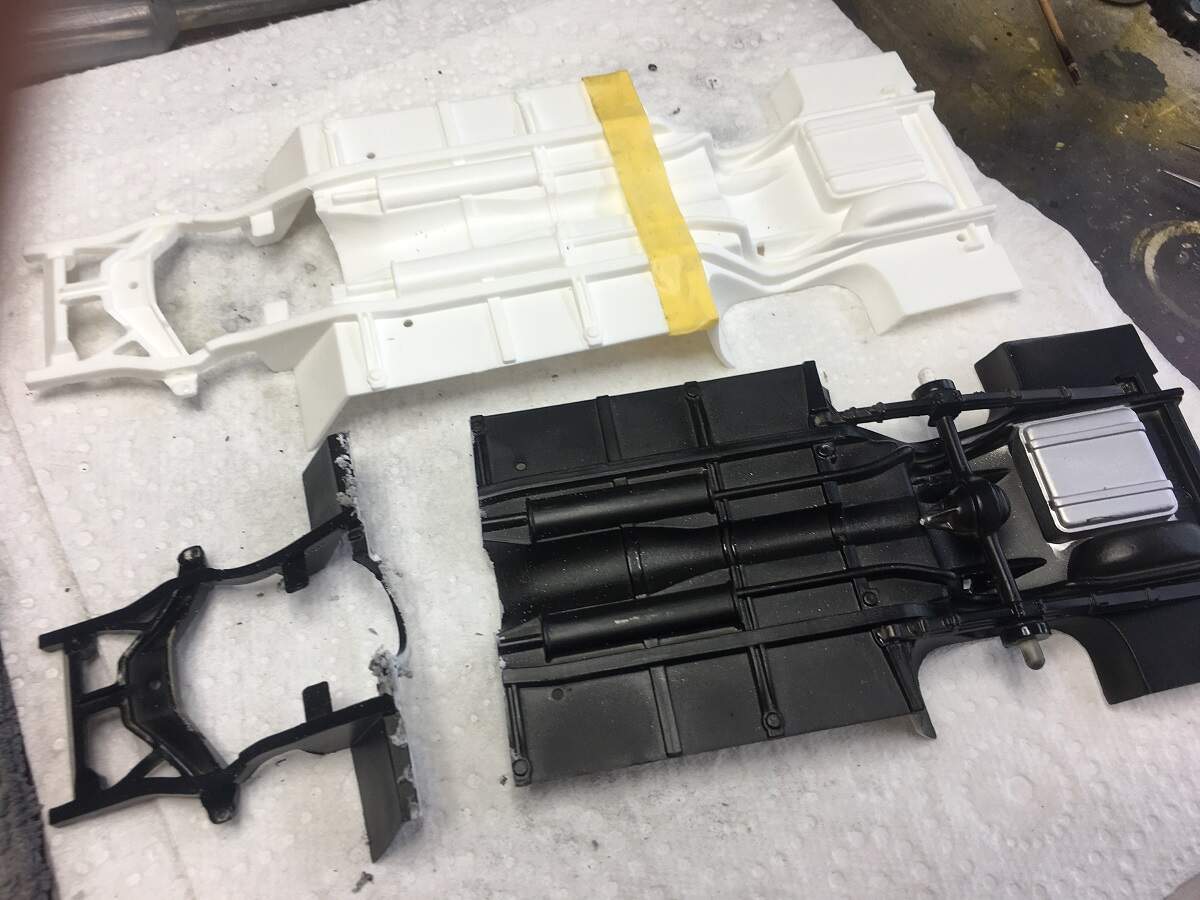
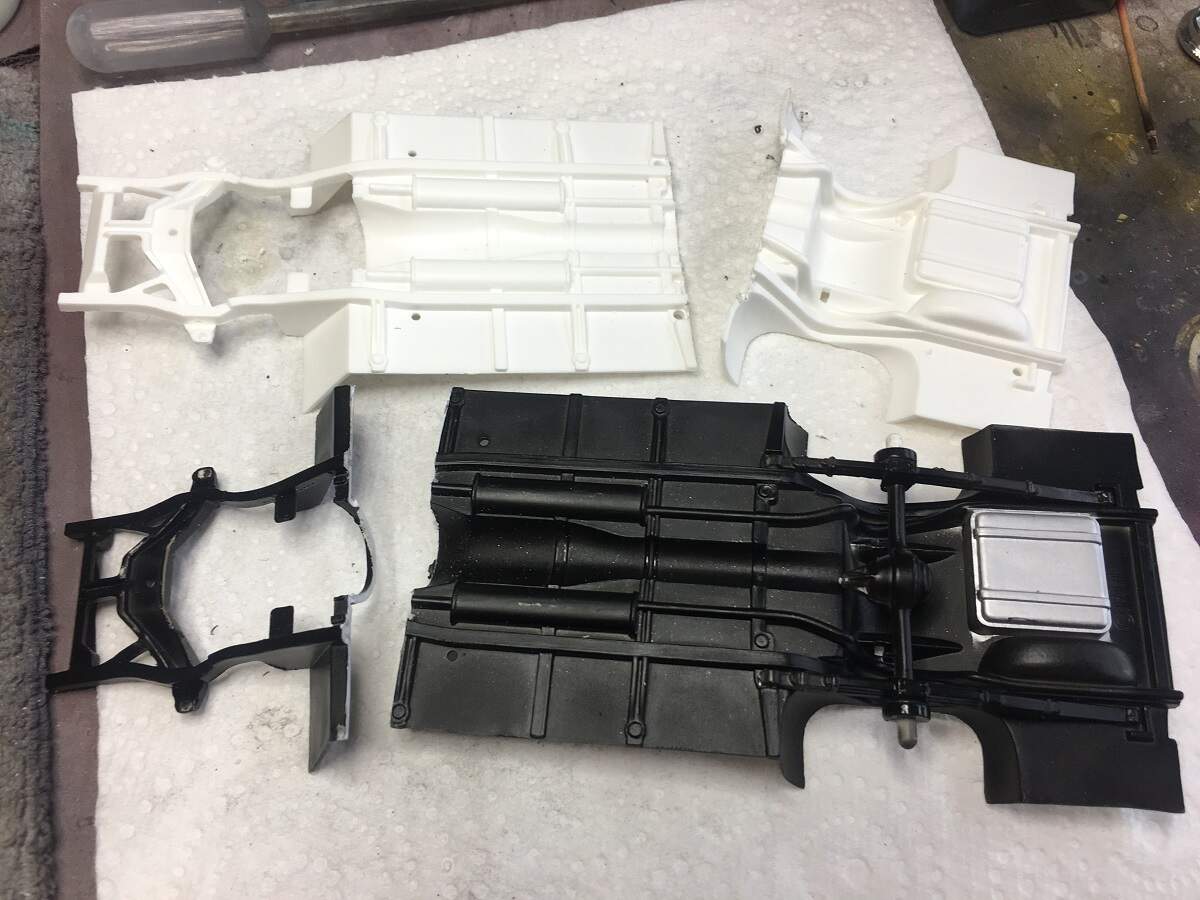
I cleaned up the cut-out section a bit then united the two halves with some heavy card stock bracing on the back. I will fill the underside join with some thin CA around the frame details to give it some extra strength, but it lines up nice and square and feels solid so far.
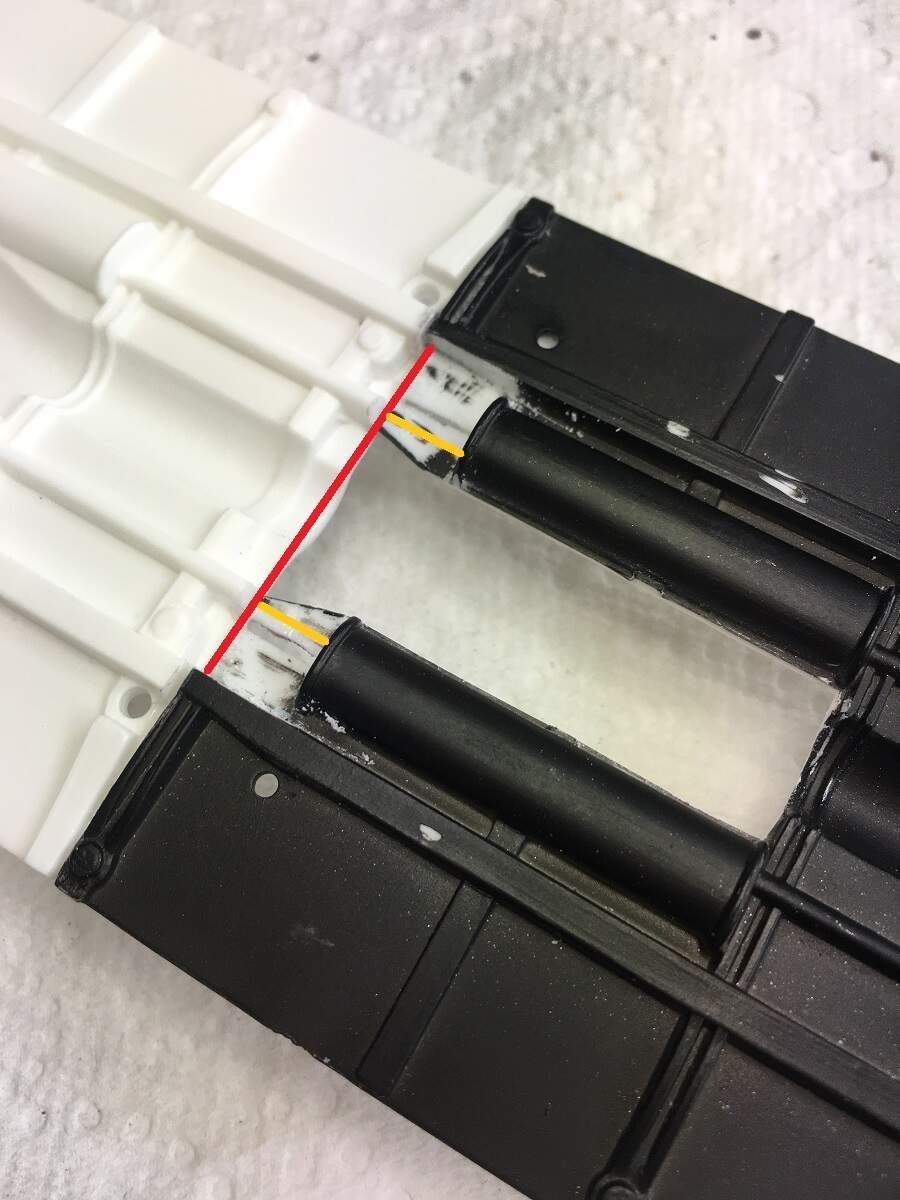
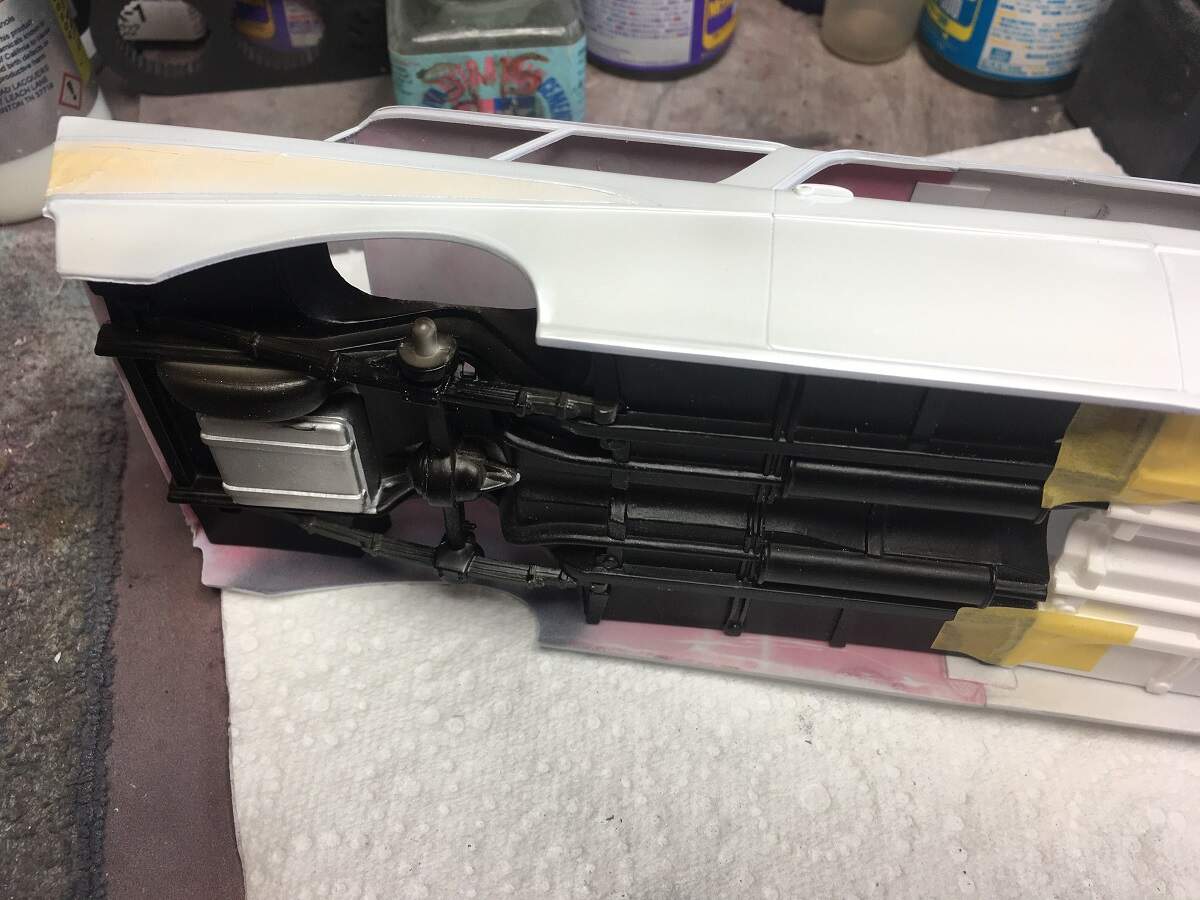
On the underside, I will scratch up a frame with a transfer bearing to join the two drive shafts (where the red line is), and then trim and fit the short exhaust sections (orange lines).


 When I was at school in the UK in the early 70’s, if you’d announced you were getting out your “heavy duty chopper” the guys would have fallen about helplessly, the gals either scattered or asked you out on a date, and you’d have spent a night in the cells. Anyhow are you sure that joint will hold up on its own without bracing (yeah yeah I know that’s another story)…I guess it should once bonded to the body?…oh jeez will it never stop