8 Wheelers from 1965 - to Present

The beast is painted. It seemed to just keep going on and on and on…

The weapons turntable is assembled, and the main sub assemblies are just dry fitted to the chassis at the moment. The Spartan is to compare size.

Have started detail painting the smaller bits now like the clear lens and the tracker heads . Wheels still need the dust wash applying.

Can side windows need putting in and that’s about it then. Once detail painting and a few touch ups are done, it’s weathering and washes.

10 Likes

Did you buy the gallon size paint can for that?

3 Likes

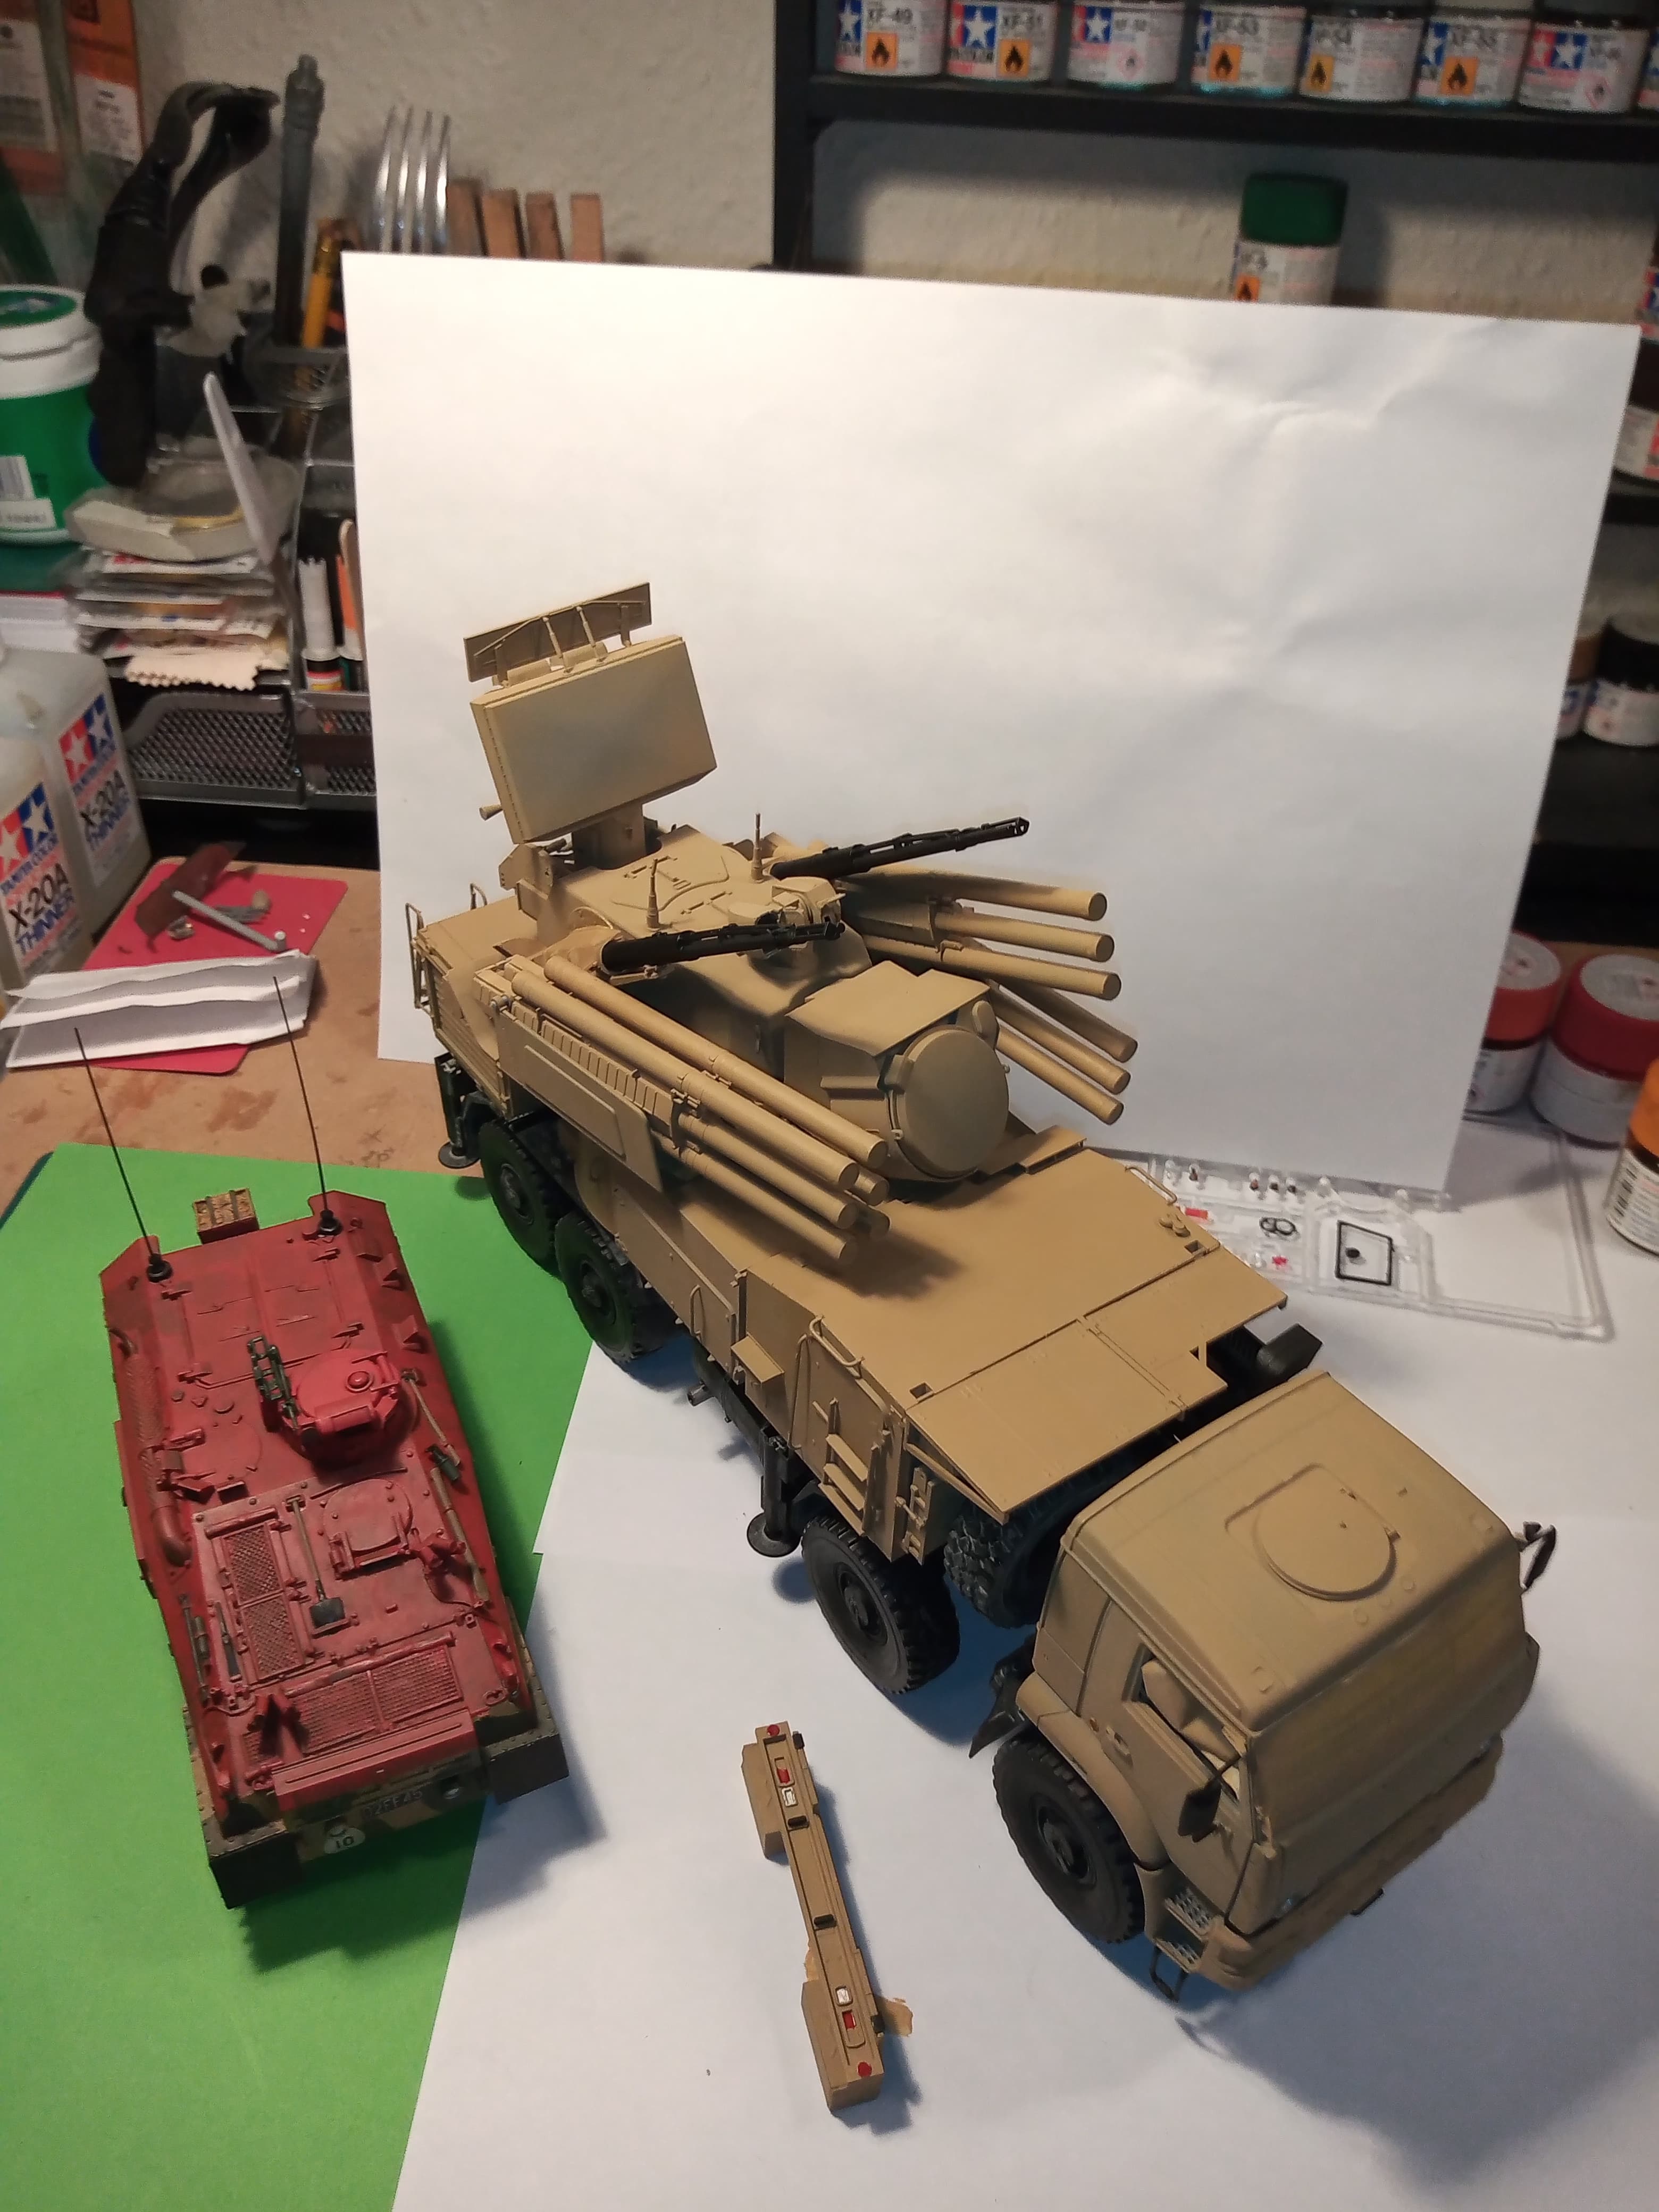
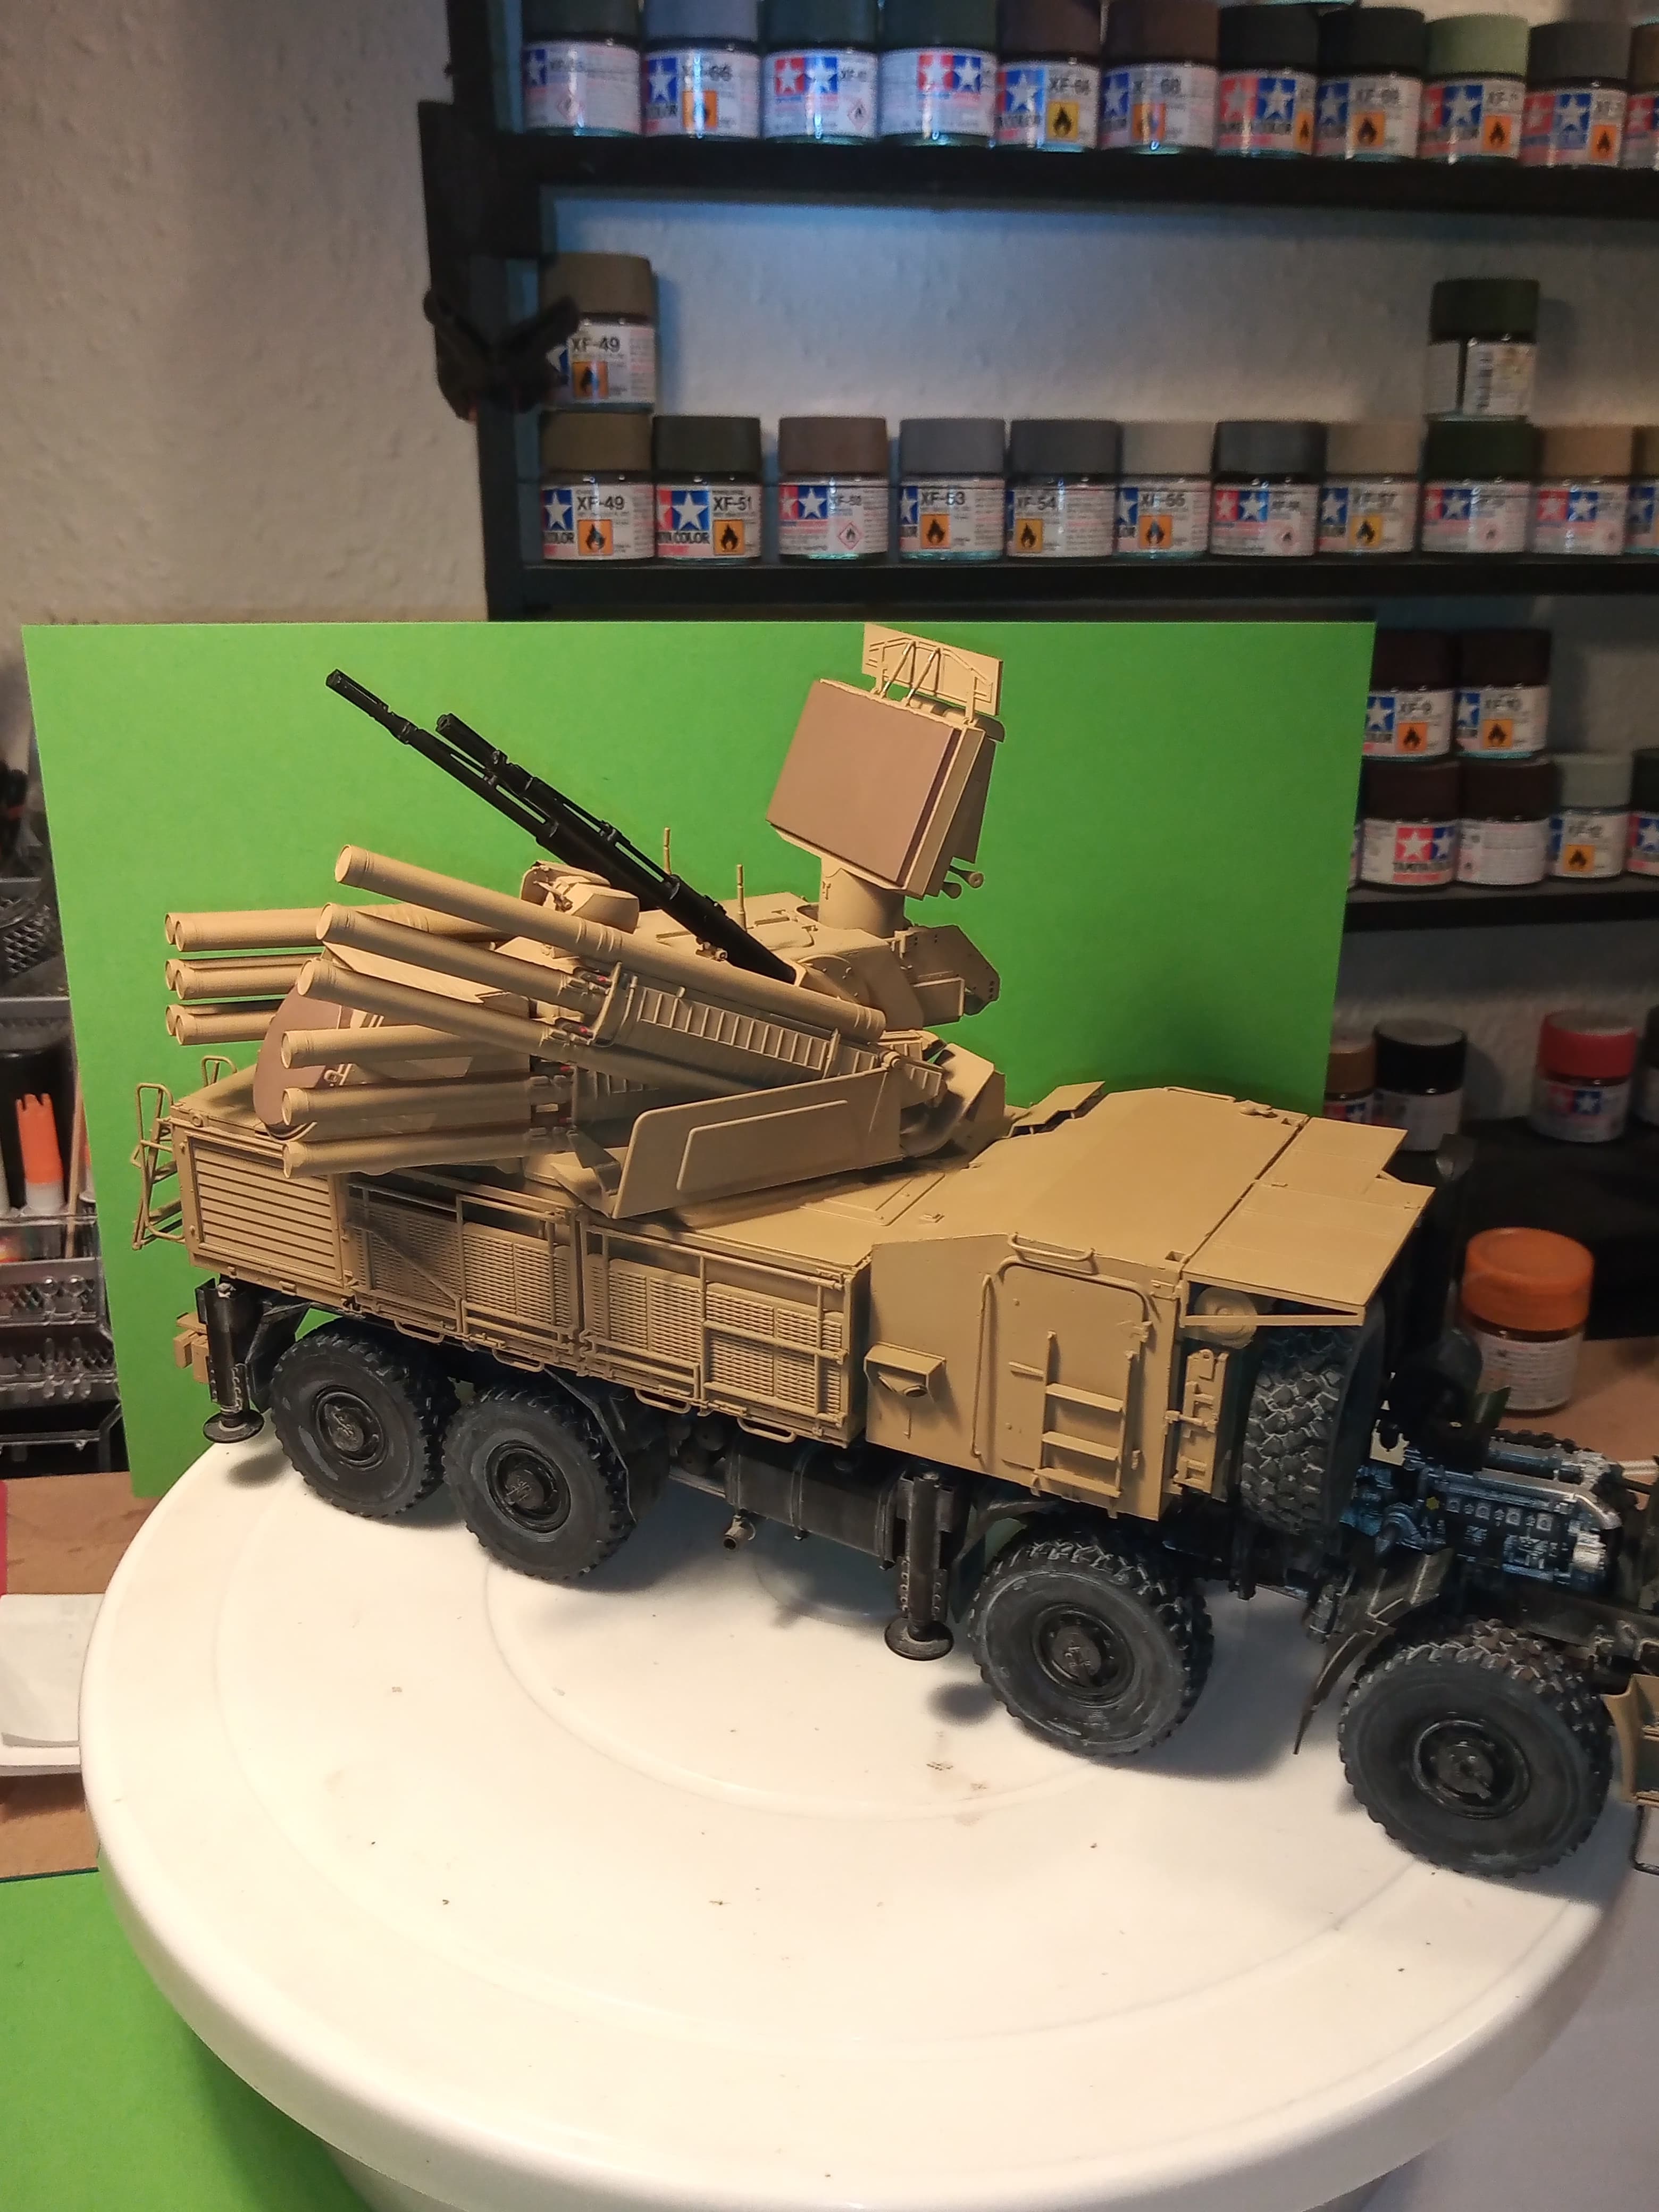
Felt like it lol… I mixed Tamiya XF 59 and buff 50/50 and then split that between 2 mixing jars and then thinned that down about 60/40… Used 1 and a half of the mixing jars worth … enough left to touch up some areas if needed.

2 Likes

Looks great and good thing you made extras.

2 Likes

Looks spectacular with the paint on it John. What a marathon session it must have been! Man this thing is a monster!

1 Like

It certainly commands a presence :grin:

2 Likes

Thought it would be worth having a last look at the bottom view of the chassis, probably be the last time it sees the light of day.

Started securing the rear, center and front box sections onto the upper chassis.


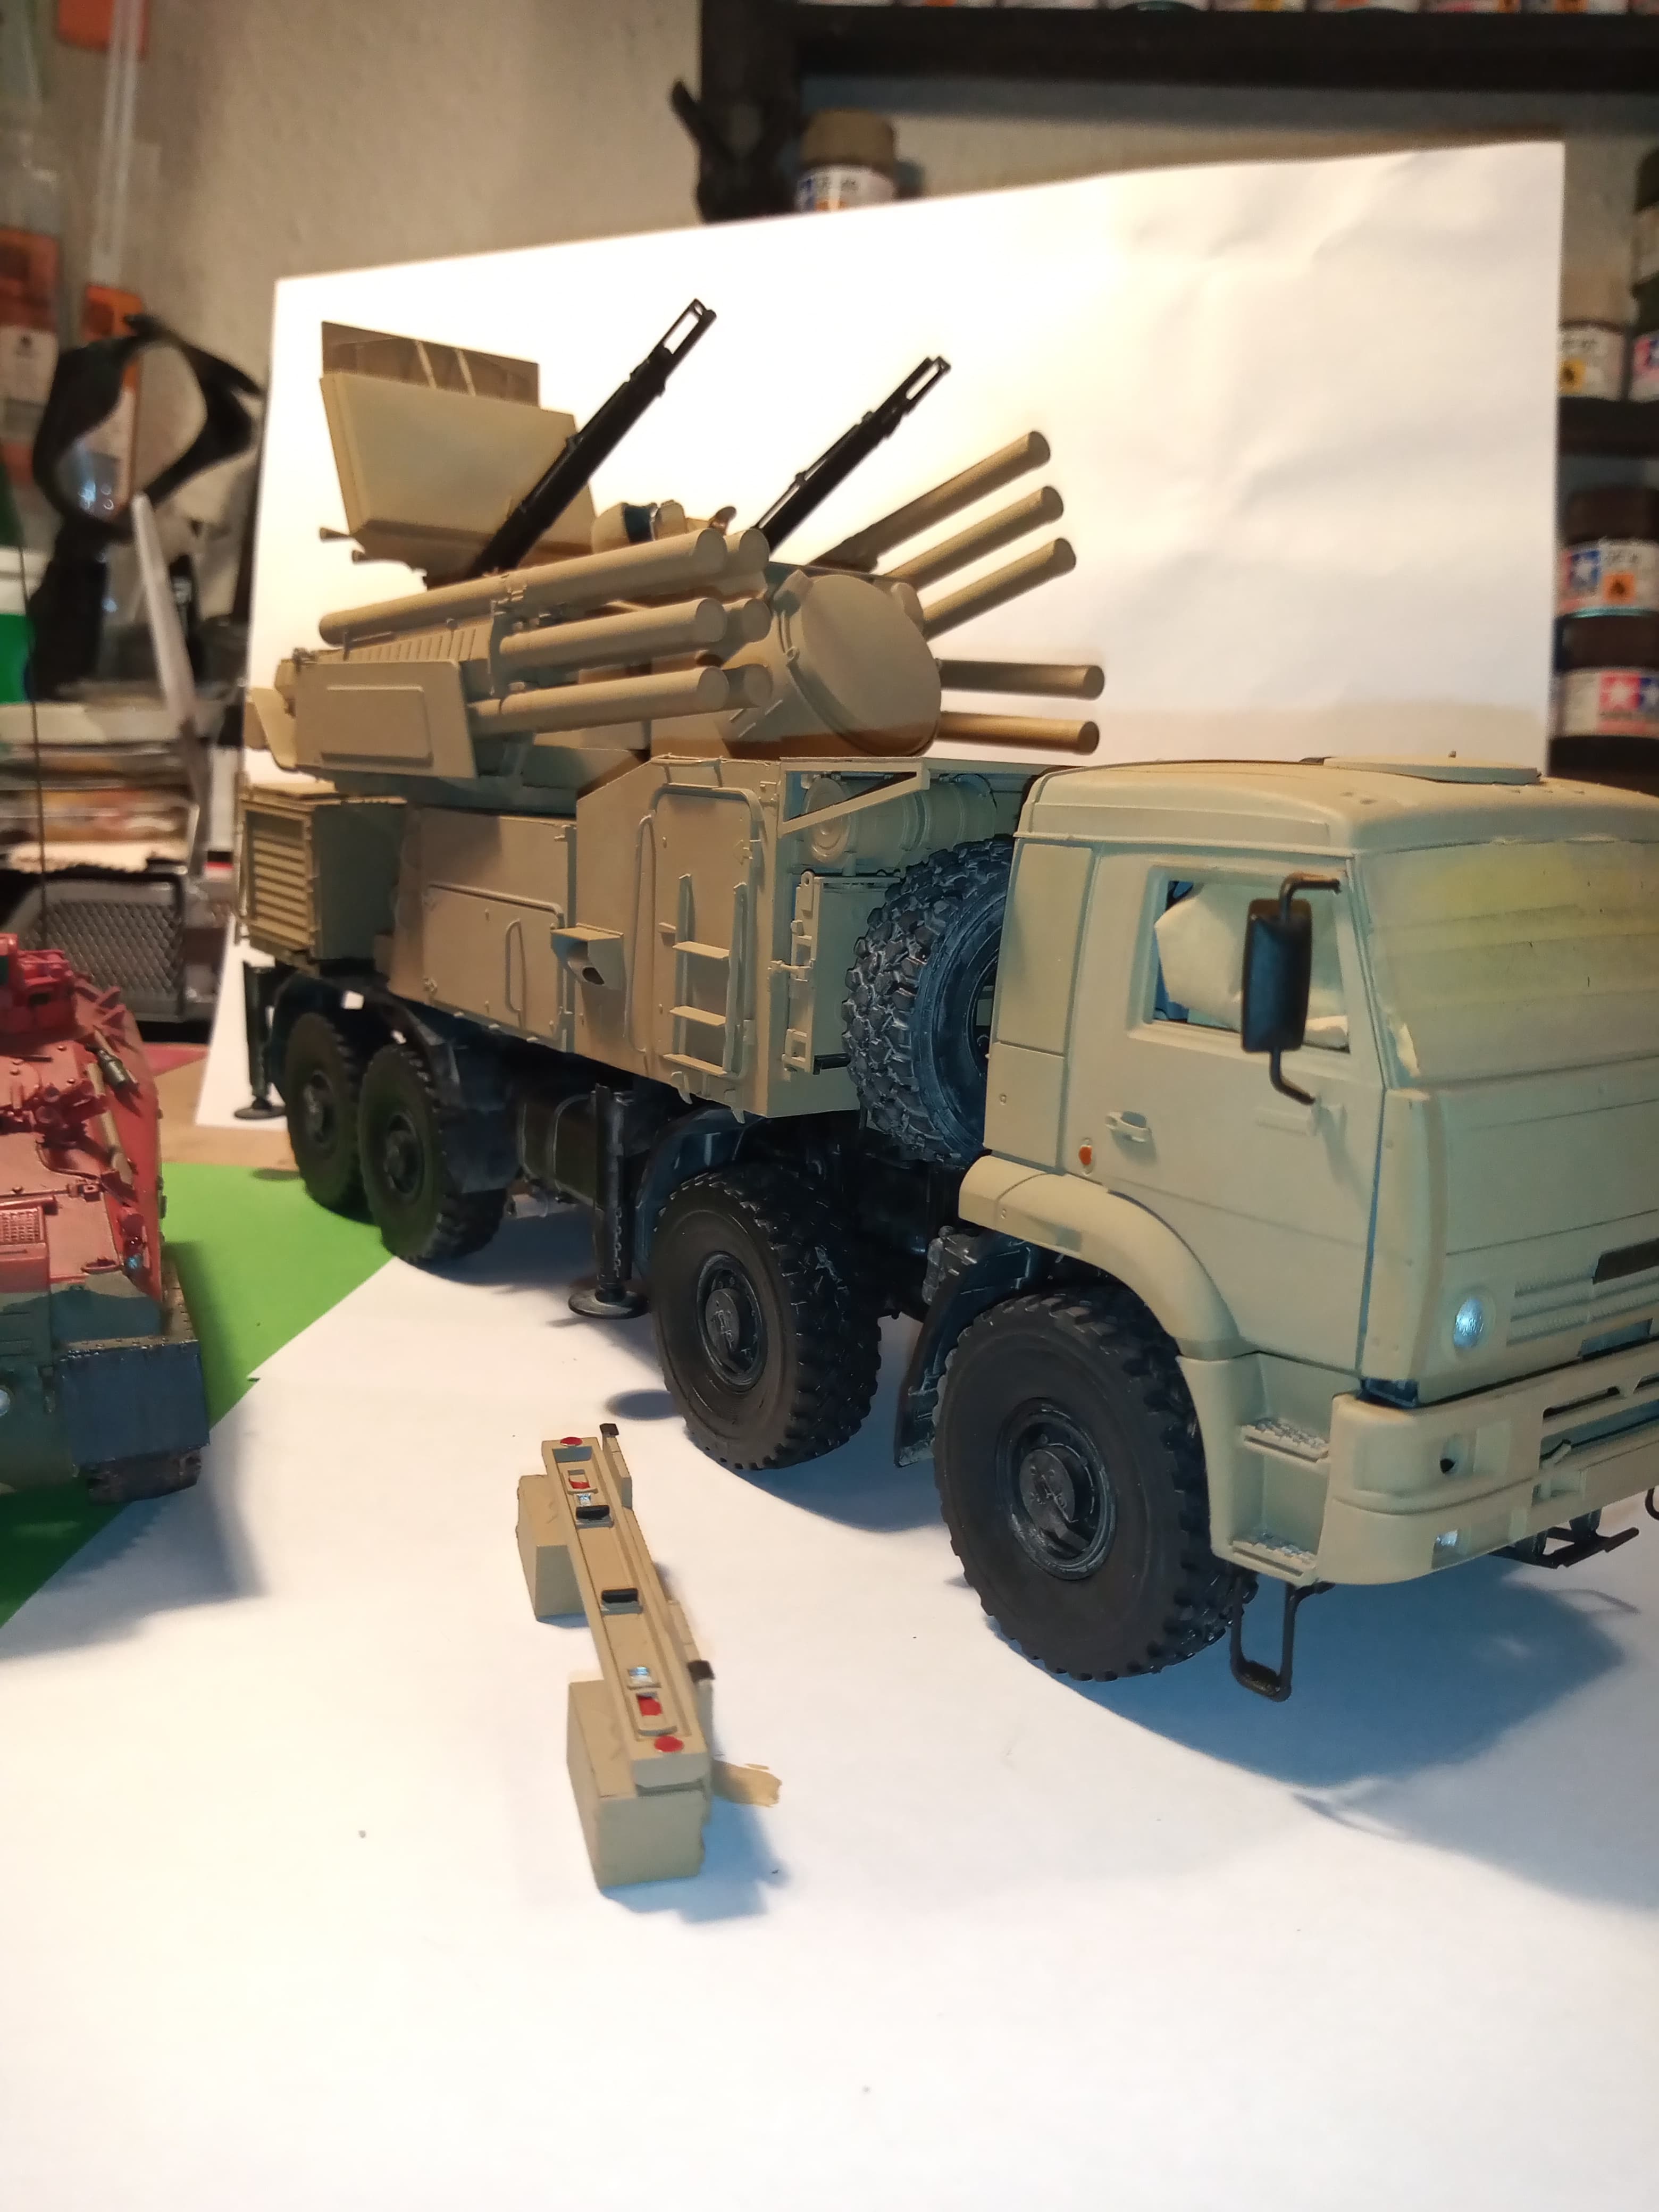
Have left the cab off till last, as the lenses for the light have to go in, the windscreen needs the black rubber surround painting, and the door glass has to be fitted
Then it’s wash and filter time.

8 Likes

Such an enormous beast w all the weapons bristling. The overall sand looks good on it

I havent made any progress, buried w honey do lists and traded my truck for something smaller. That should make home improvement store trips more exciting

1 Like

It really is big lol … its a nice kit though, so very happy with it.

Ok, so anyone want to guess how sad I am just about now lol…

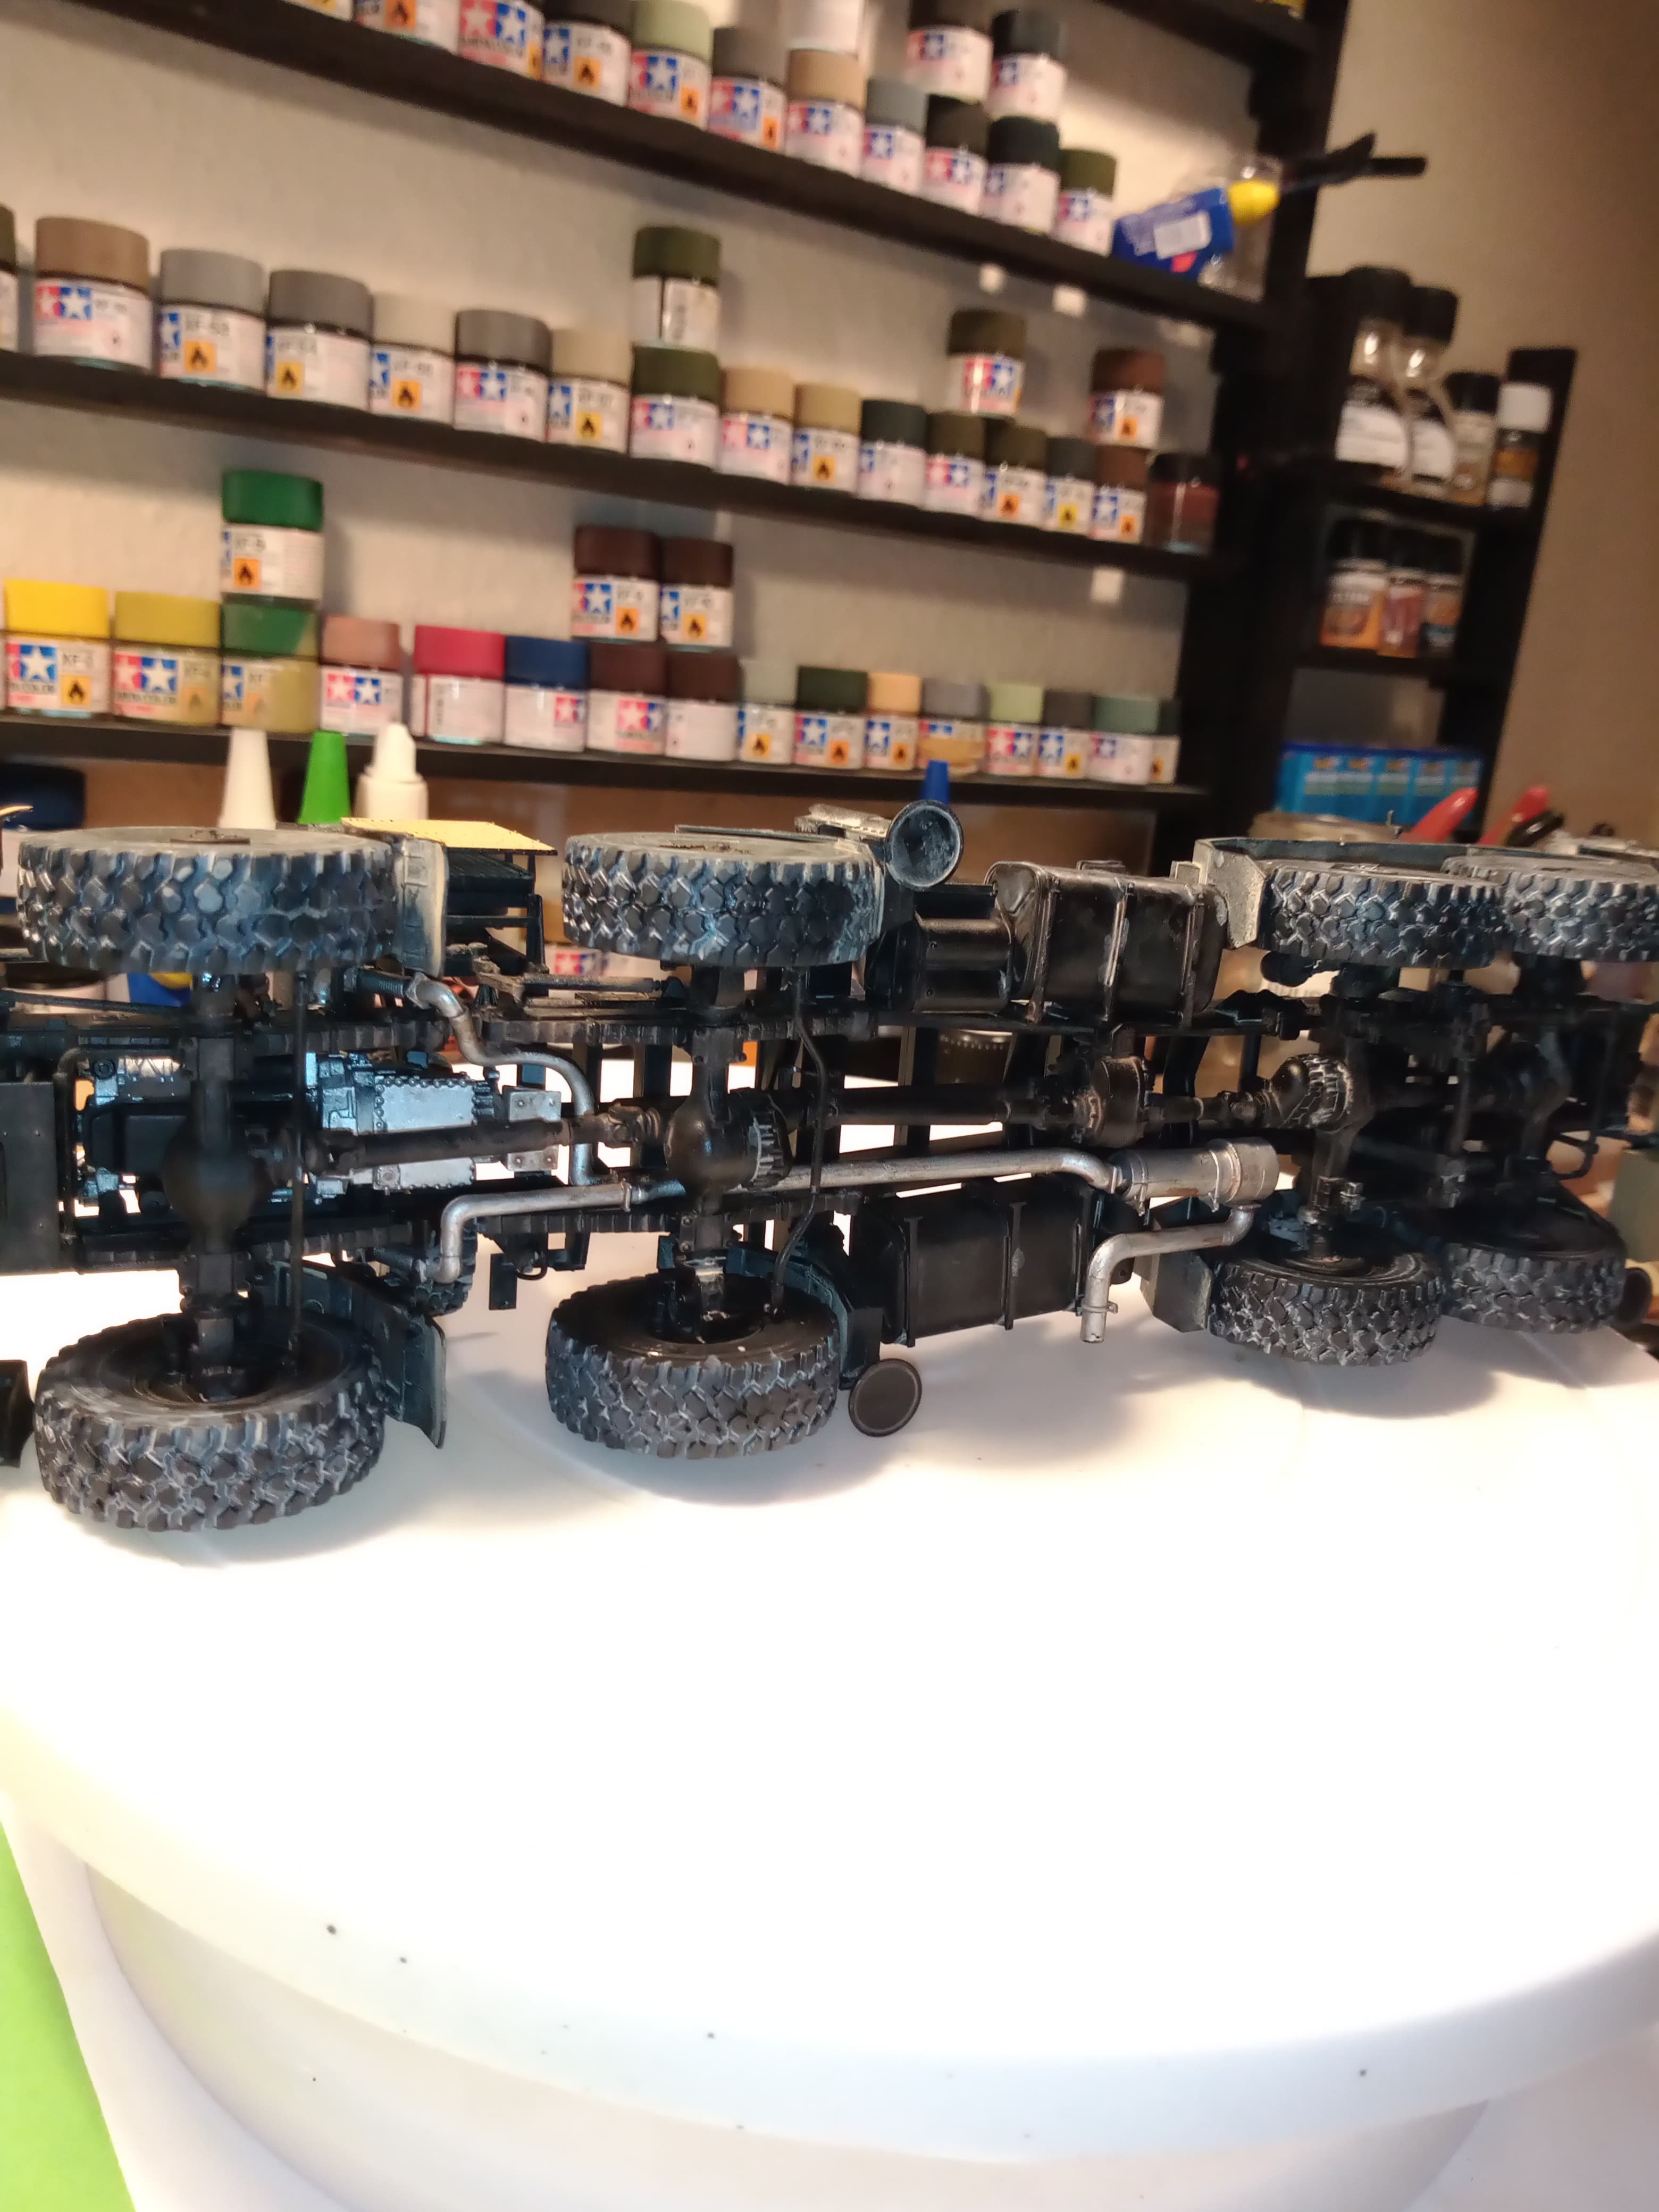
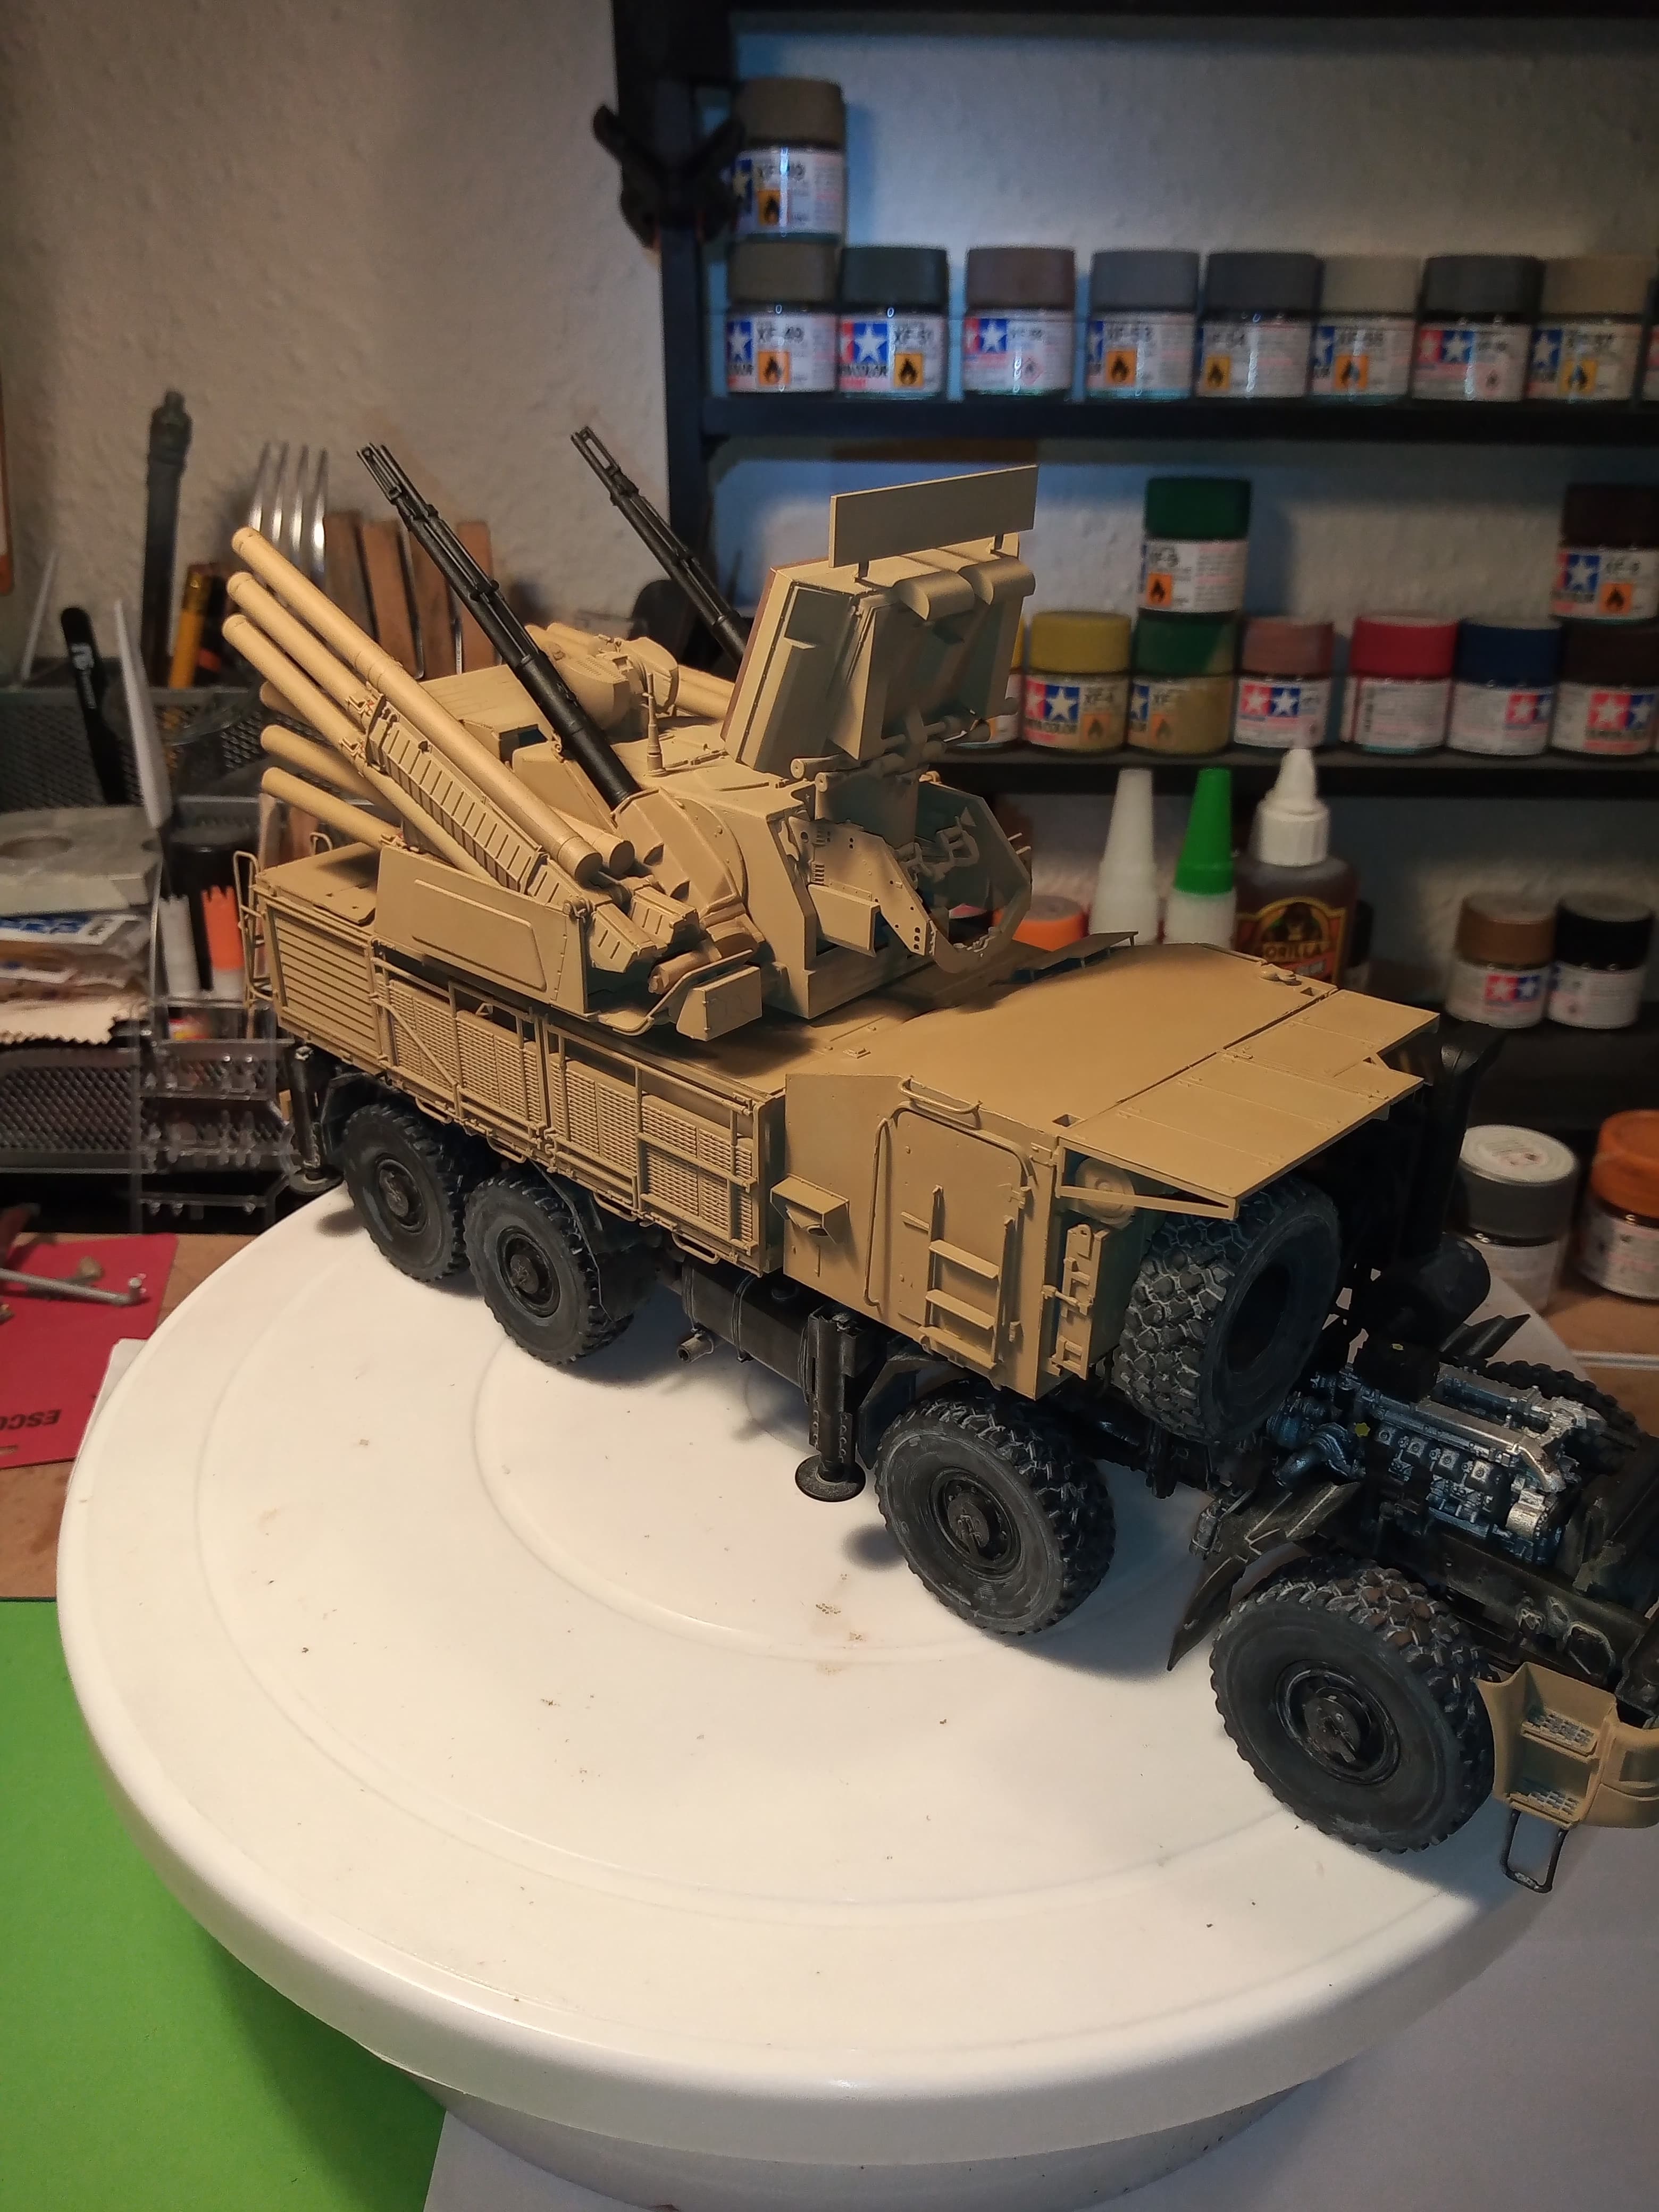
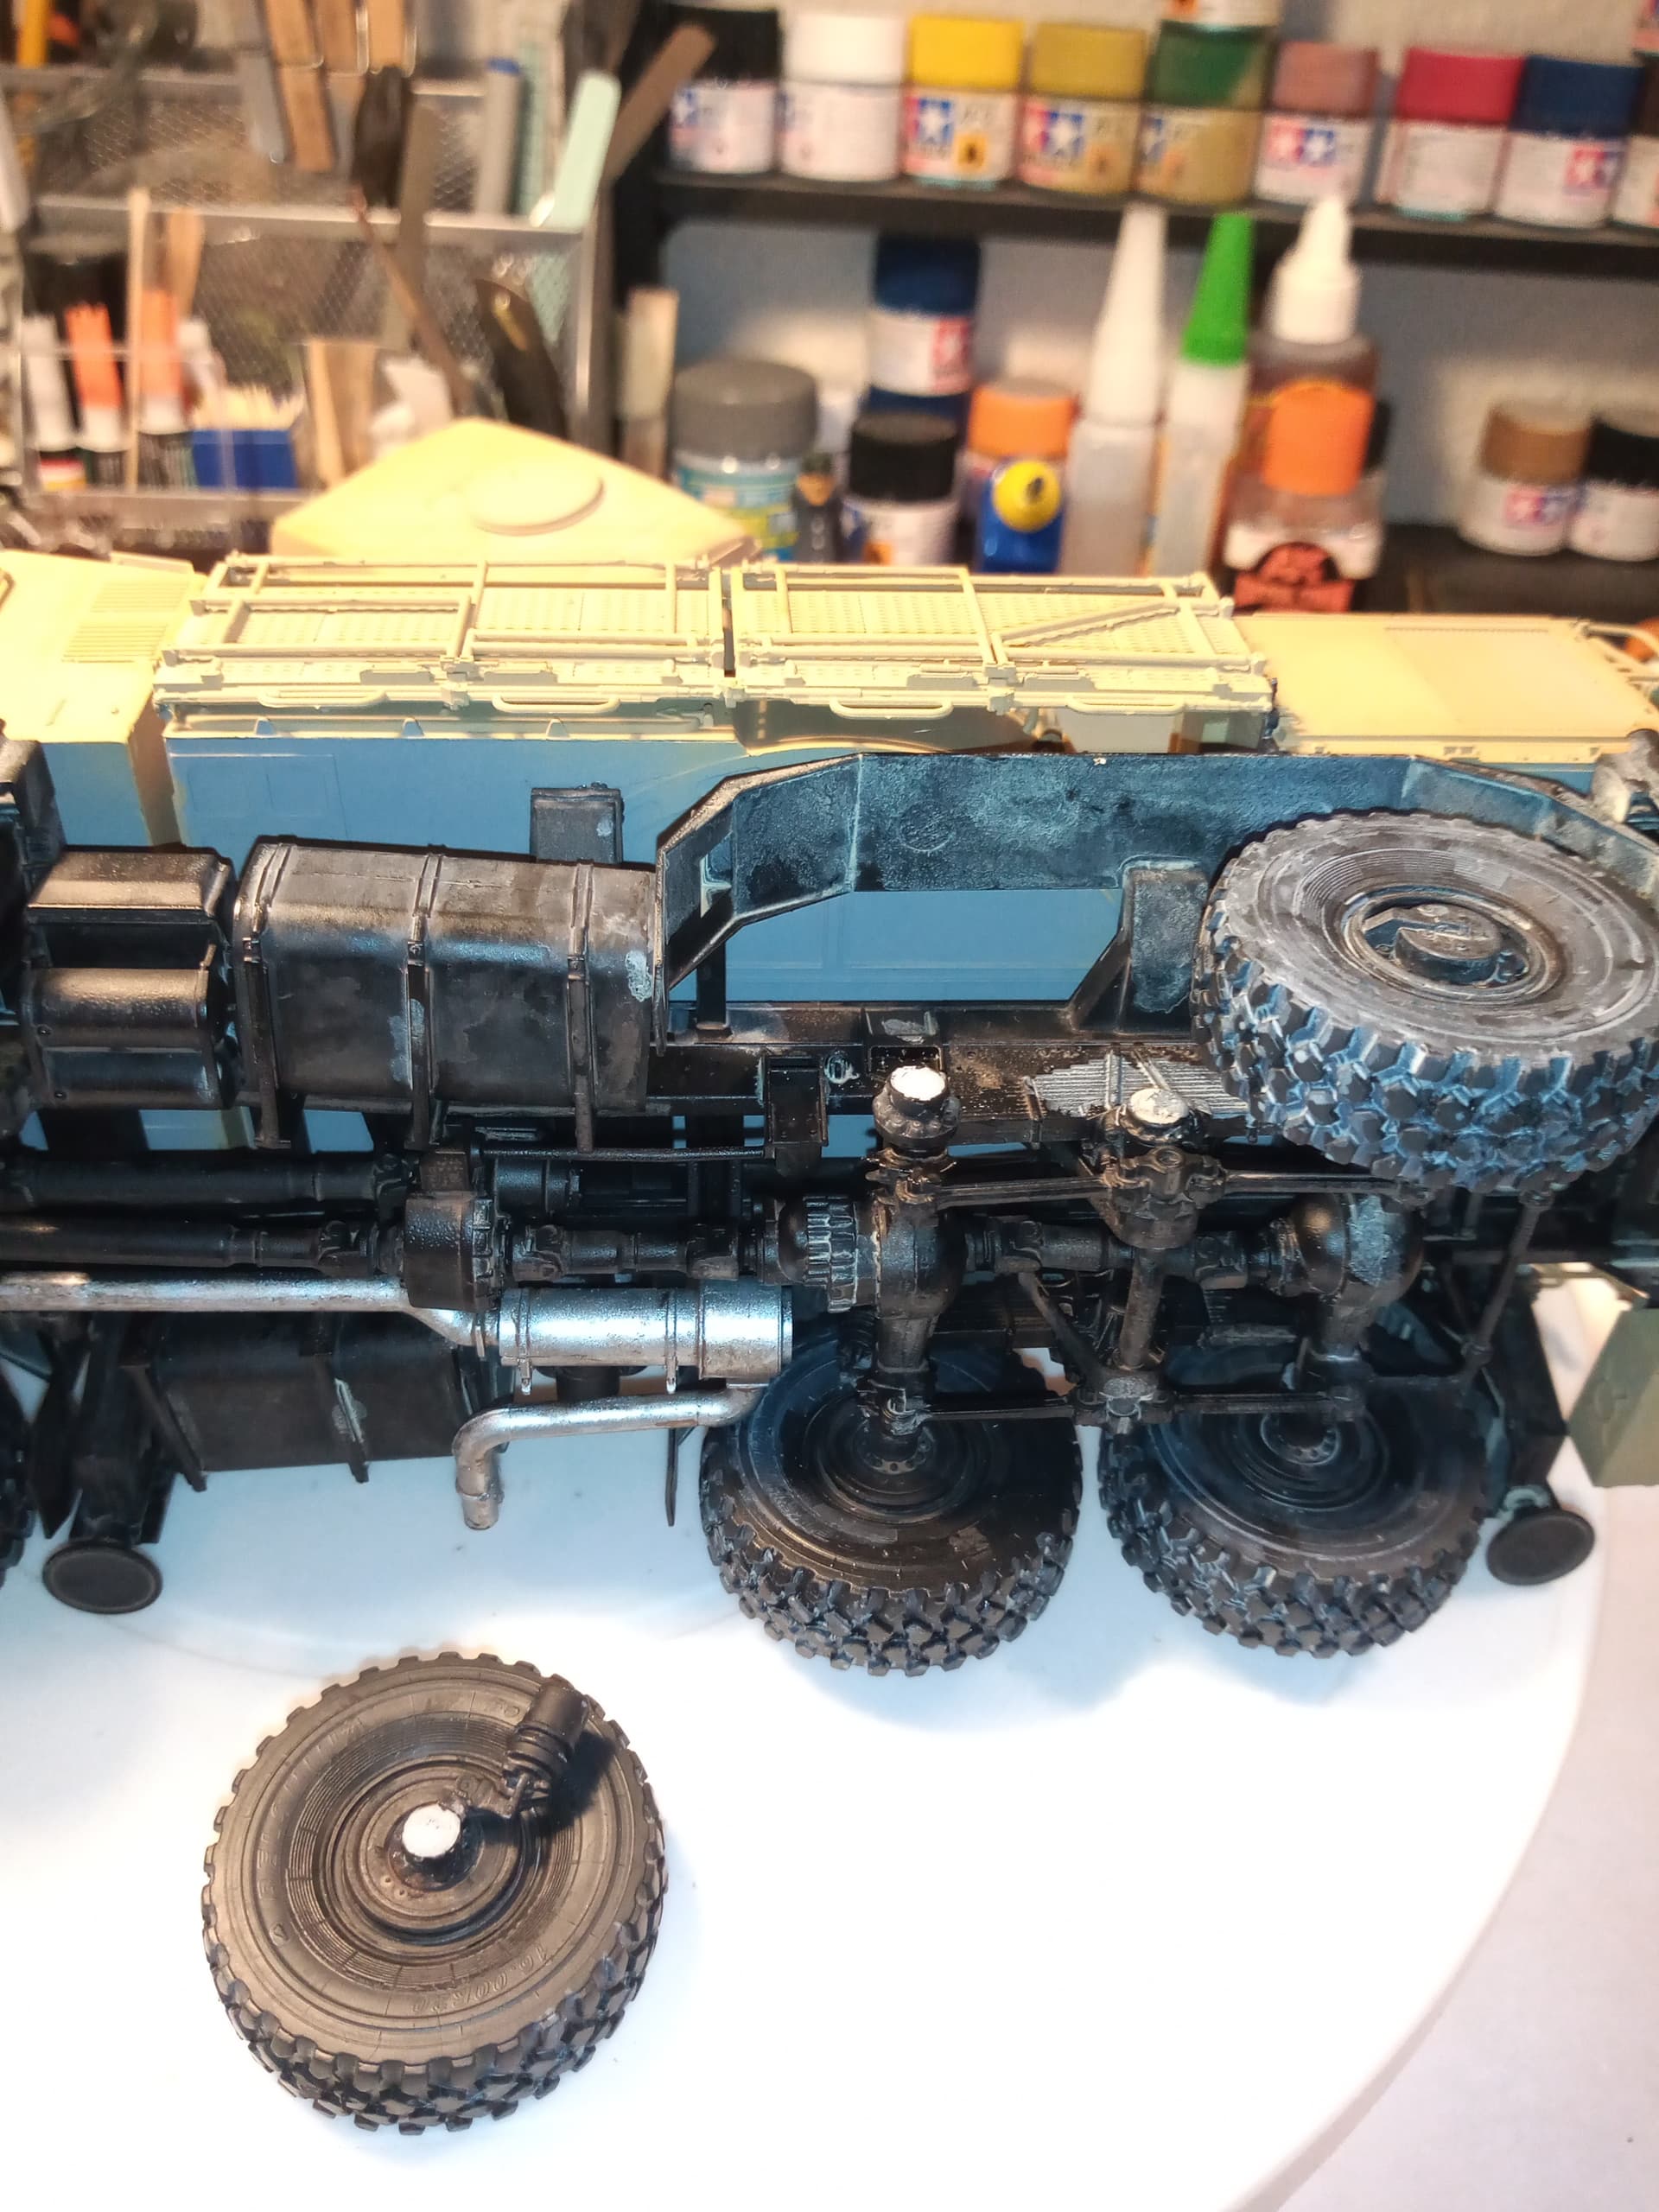
This is the only major issue I think this kit has, and some of it may be down to me … The way the rear wheels connect to the axles… Very very weak … And an obvious break point…
@SSGToms … When you get round to this kit and doing the rear wheels, I would really suggest looking at a way to pre strengthen the connection … drilled rod or similar ? Just be wary of it :+1:

I’m not going to attempt to reconnect unt the cabs on and I’m at the weathering stage… Onwards and upwards lol

3 Likes

Ouch….:sob: where is the tractor battalion to tow him away?

2 Likes

Cursed yourself there didn’t you John?

This is one of those times that the manufacturer really should have thought of providing a straight through metal rod with the axle housing two parts with a half round interior slot to hold it.

Hope it lines up when you re-attach it John.

2 Likes

Oh ouch! What a calamity. Thanks for the warning John. I will certainly take that into consideration when building mine - unless you’ve been pushing it around the carpet too much - :wink:

4 Likes

Lol… Maybe I did jump the gun there…

@SSGToms … For warned is for armed :+1:

1 Like

I have faith that you will recover nicely. You probably have already thought of this but I would drill a hole in each part and pin it with a metal rod. Good luck.

3 Likes

I am thinking of that route DV … And 2 part epoxy just to make sure :+1:

Other than being fixable the silver lining here is that it is in an area that is difficult to see if it’s not a “clean” repair.

1 Like

The main effort will be getting the wheel aligned with the rear one, and flat on the deck…

1 Like

Yes, getting everything squared up will be a challenge. The break does look pretty clean.

2 Likes

“Gotta’ pin-it to win it.” … Why do manufactures do such nonsense? :face_with_raised_eyebrow:
On the bright side: That’ll buff right out. :slightly_smiling_face:

—mike

2 Likes