Ok… Now I really want one… That’s massive. You don’t a great job on that Jeff, it looks really clean … Excellent 
It is beautiful and huge…  that will take some paint…
Thanks! it’s been so much fun building, everything fits well. I’ve had a few small issues to cope with. The biggest issue that popped up was the order of assembly. They have builder attach the grill first , then plug the cab into its hinges under the bumper, rolling it down onto its mounts. The grill has a corner that hits cab, so I just installed cab first then the grill.
Thanks, yes, it’s going to consume plenty of paint! Choosing the scheme, I wanted took a few days, I have so many straight green trucks I wanted something different. I built a Dana a few years ago with a temporary winter scheme, and it still gets remarks
1 Like
Enjoy the paint job Jeff. Hope you’ve replenished your stock of paint 
Olivier
1 Like
Looks great! I can’t wait to see how the paintjob turns out. I have a KZKT that should end up in a similar scheme and hope to pick up some pointers 
1 Like
Thanks ! I relearned a very important detail today, always wash your trumpeter kits before painting. I sprayed primer on the cab and engine cover…and watched the fisheyes explode all over the entire thing…argggg I knew better than not clean the sprues. They must wash their kits in silicone before bagging.
I promptly wiped down everything else, and shot a light coat of flat black. This wasn’t planned, since the light gray areas will end up dark…oh well. Its a preshade I guess.
3 Likes
So, I did a Matt black coat on the lower chassis which came out nicely.
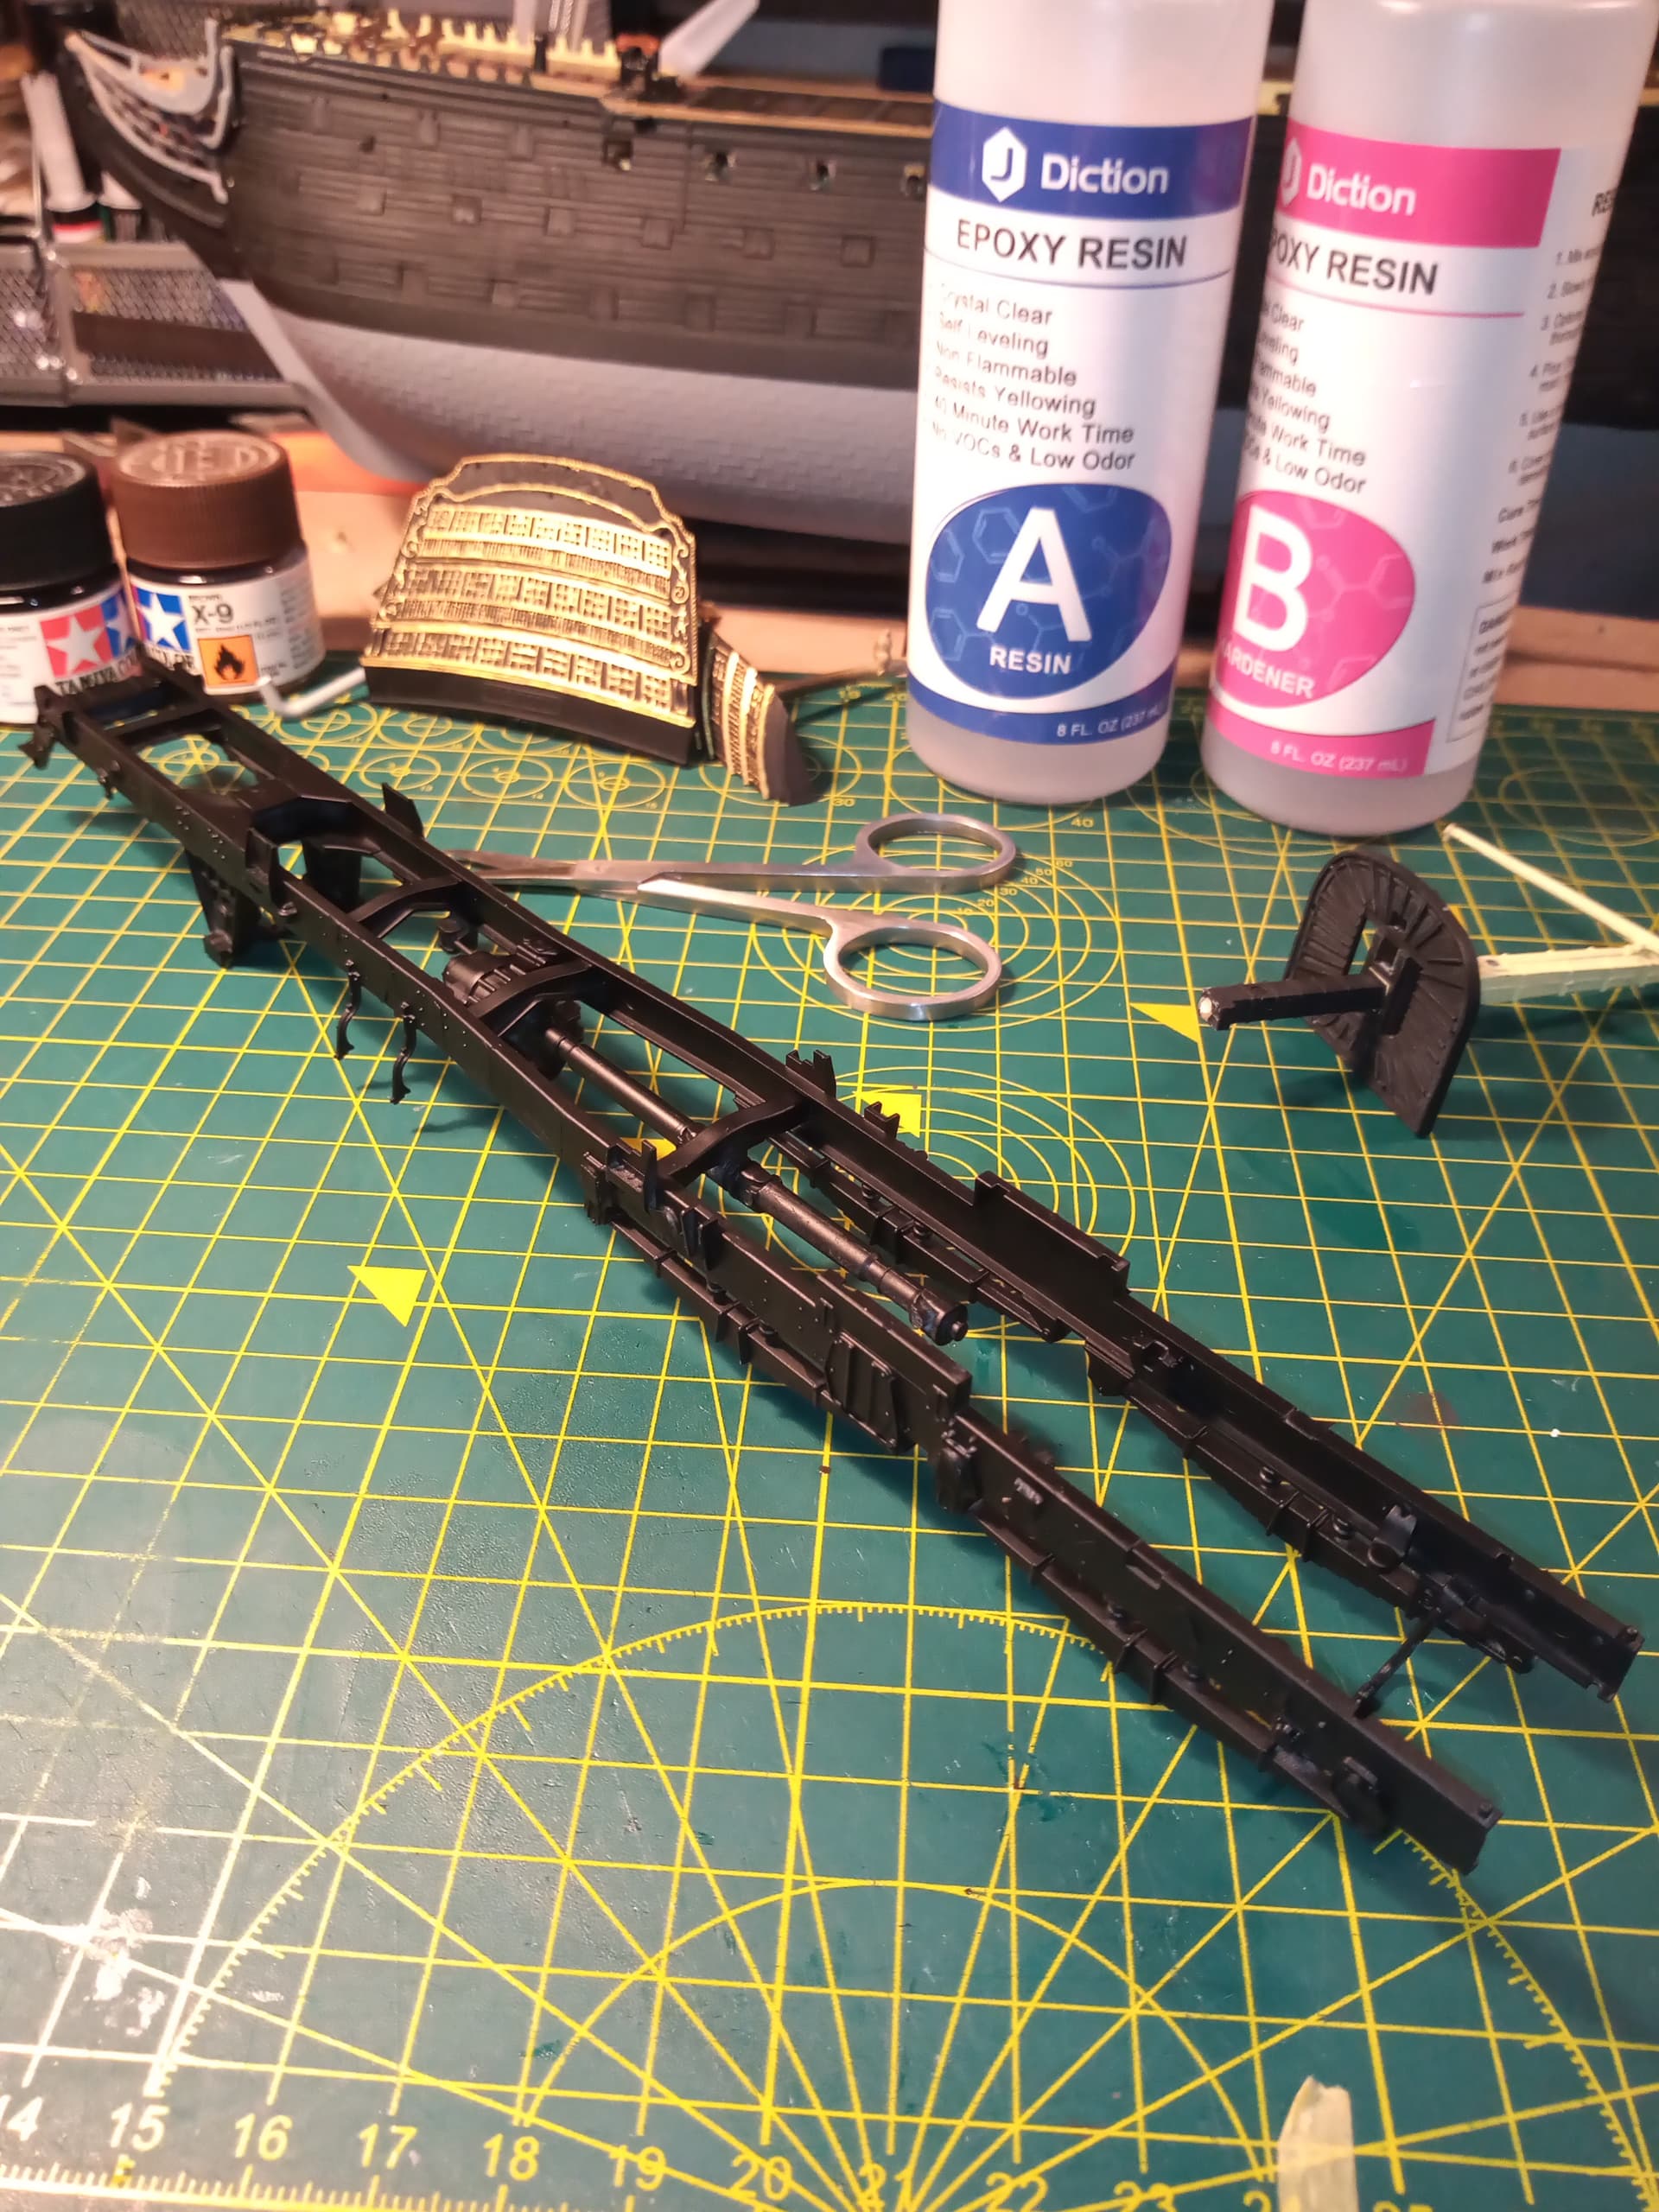
I forgot to remove all the masked areas for the other chassis parts but I thought it best to paint the chassis before I mount the engine then add or assemble and add the remaining chassis parts and paint them individually …

With the engine dry fitted in situ.
5 Likes
Nice progress on the Pantsir. I haven’t been working on mine the last few days our daughters had a mild cold …I swear she’s really getting tired of covid tests for school
1 Like
Putting the black on has given it a nice look. I am going to go back to the cab now and start building that up again and get back into the correct sequence.
Tossed on the camo today, started w the light gray then moved onto the green. I planned to mask w this tacky stuff from hobby lobby .nope it wasn’t gonna hold. Freehand won out this time. The green is a 50/50 mix of nato green and buff. I struggled w tip drying using tamiya thinner as usual, switched over to mr color thinner …excellent stuff yet pretty stinky, glad I had a vented booth
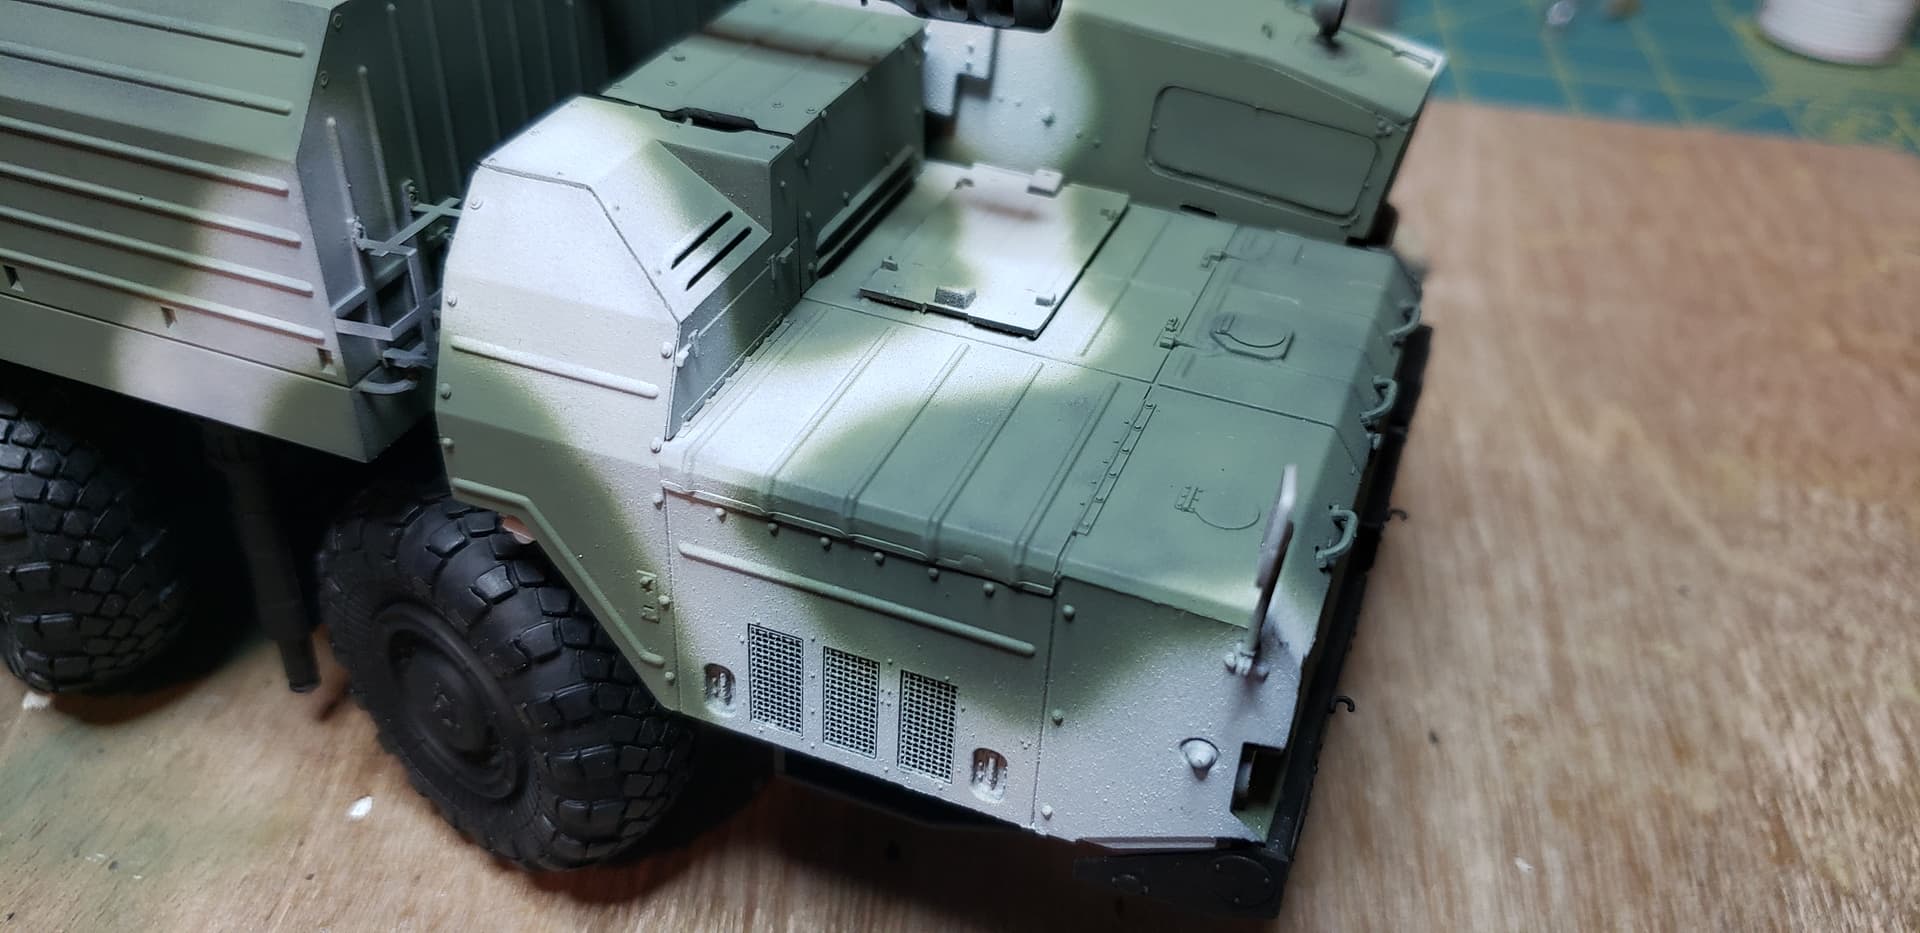

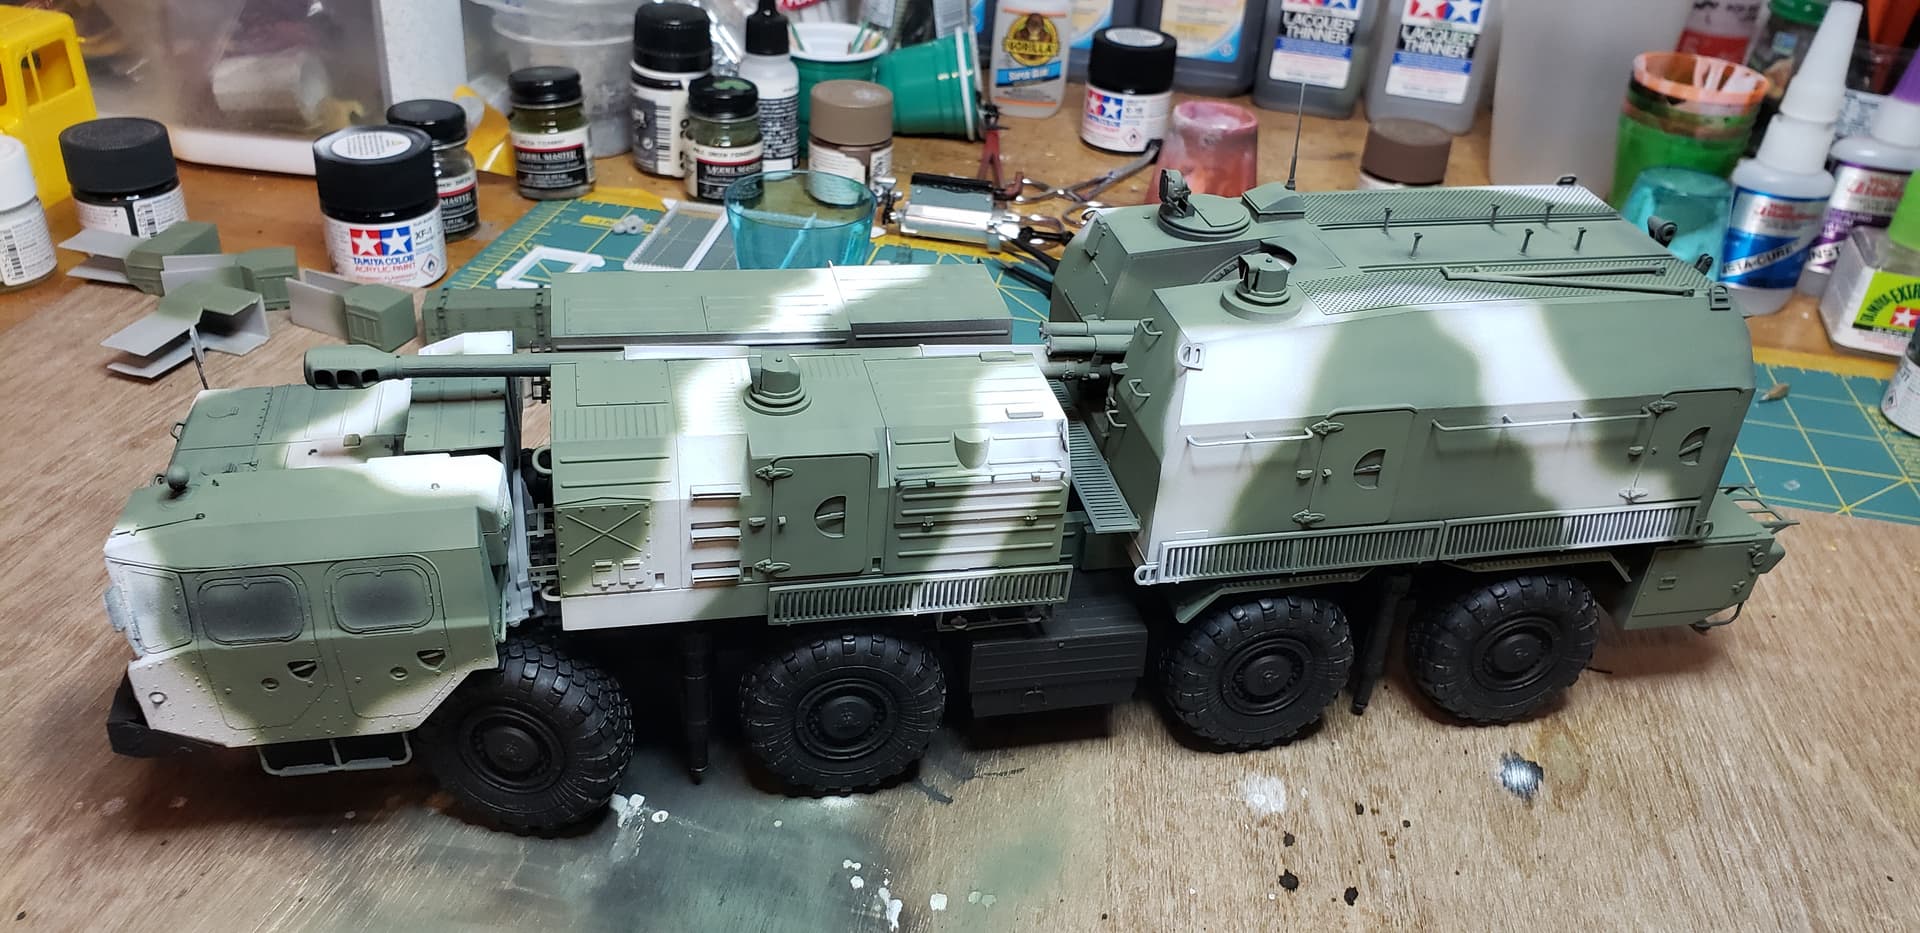
I’m not very good at weathering, so this likely won’t get much…most photos show these pretty clean
7 Likes
That looks amazing! I think free hand was the right decision. The soft edges look really nice and I think suit this very well.
Nothing wrong at all with keeping it clean Jeff… All I would do is a gentle wash to show off the panel lines and recesses and give it a bit of a dusting on the tyres… My Pantsir will be clean as well. And it looks terrific with the cam scheme you’ve picked… And very steady freehand as well… Really nice work
1 Like
Looks great! But I shudder to think how many of those 10ml jars it took…
2 Likes
Thanks its been along time since I’ve airbrushed something so large . Surprisingly I used less than half of a 10ml jar of green. I thinned it about 50 percent to avoid sputtering like I fought on the gray
1 Like
Thanks @Canmedic - I definitely like the soft edges.
Thanks @Johnnych01 doing that method of weathering sounds like a plan. Ill seal the paint w future before adding a wash and dust
The camo looks great!! And d@ng, that thing is big
1 Like
Excellent finish. The free hand has definitely come out trumps.
Have you tried Tamiya lacquer thinners with retarder? It has an orange cap. I just bought some and after using it with AK Real Colour I found the tip drying issue vastly improved.
3 Likes
I use AK Real Colors with Mr. Color Leveling Thinner and have no tip dry, ever. Perfect, completely trouble free, glorious airbrushing.
2 Likes