Here is the start of my M985A2 HEMMT.
2 Likes
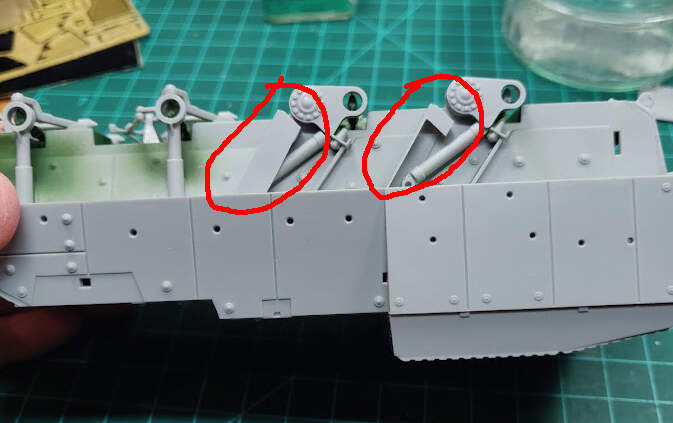
I’ve pretty much finished the undercarriage if my M1133, but noticed that Trumpeter only provides a slapdash fix for the incorrect shock covers. The plastic parts represent the smaller, solid shock covers used in pre-production Strykers. To represent the correct covers, Trumpeter would have you add a PE part on top of the plastic part, which leaves the solid part covering more than half of the perforated mesh of the PE part (as you can see on the left in the picture below). You can’t use the PE parts by themselves as these only provide one of the two sides necessary to glue the covers onto the lower hull. So I went ahead and modified the plastic parts by cutting off most of the material that blocks the PE mesh (you can see the modified part on the right in the picture). I just wish I had thought of this before gluing two of the plastic covers on. I thought about trying to pry them off, but they’re not coming off. Oh, well, at least the two I glued down are the ones partially hidden by a box.
2 Likes
Nice fix 
Just watched one of the daily news updates about the Ukraine/Russian face off, and it had a good clip of a battery of S-400s and 1 Kamaz Pantsir S1 -so I take it the Pantsir acts as a point defence guard for the S-400s ? Suppose that makes sense to have a heavy hitter like that acting as overwatch.
Now the LAV AD is done, I can get back on track with the Pantsir.
Gone back in step with the instructions and starting on the internal cab.
All goes together so well and no real issues with any flash or other problems.
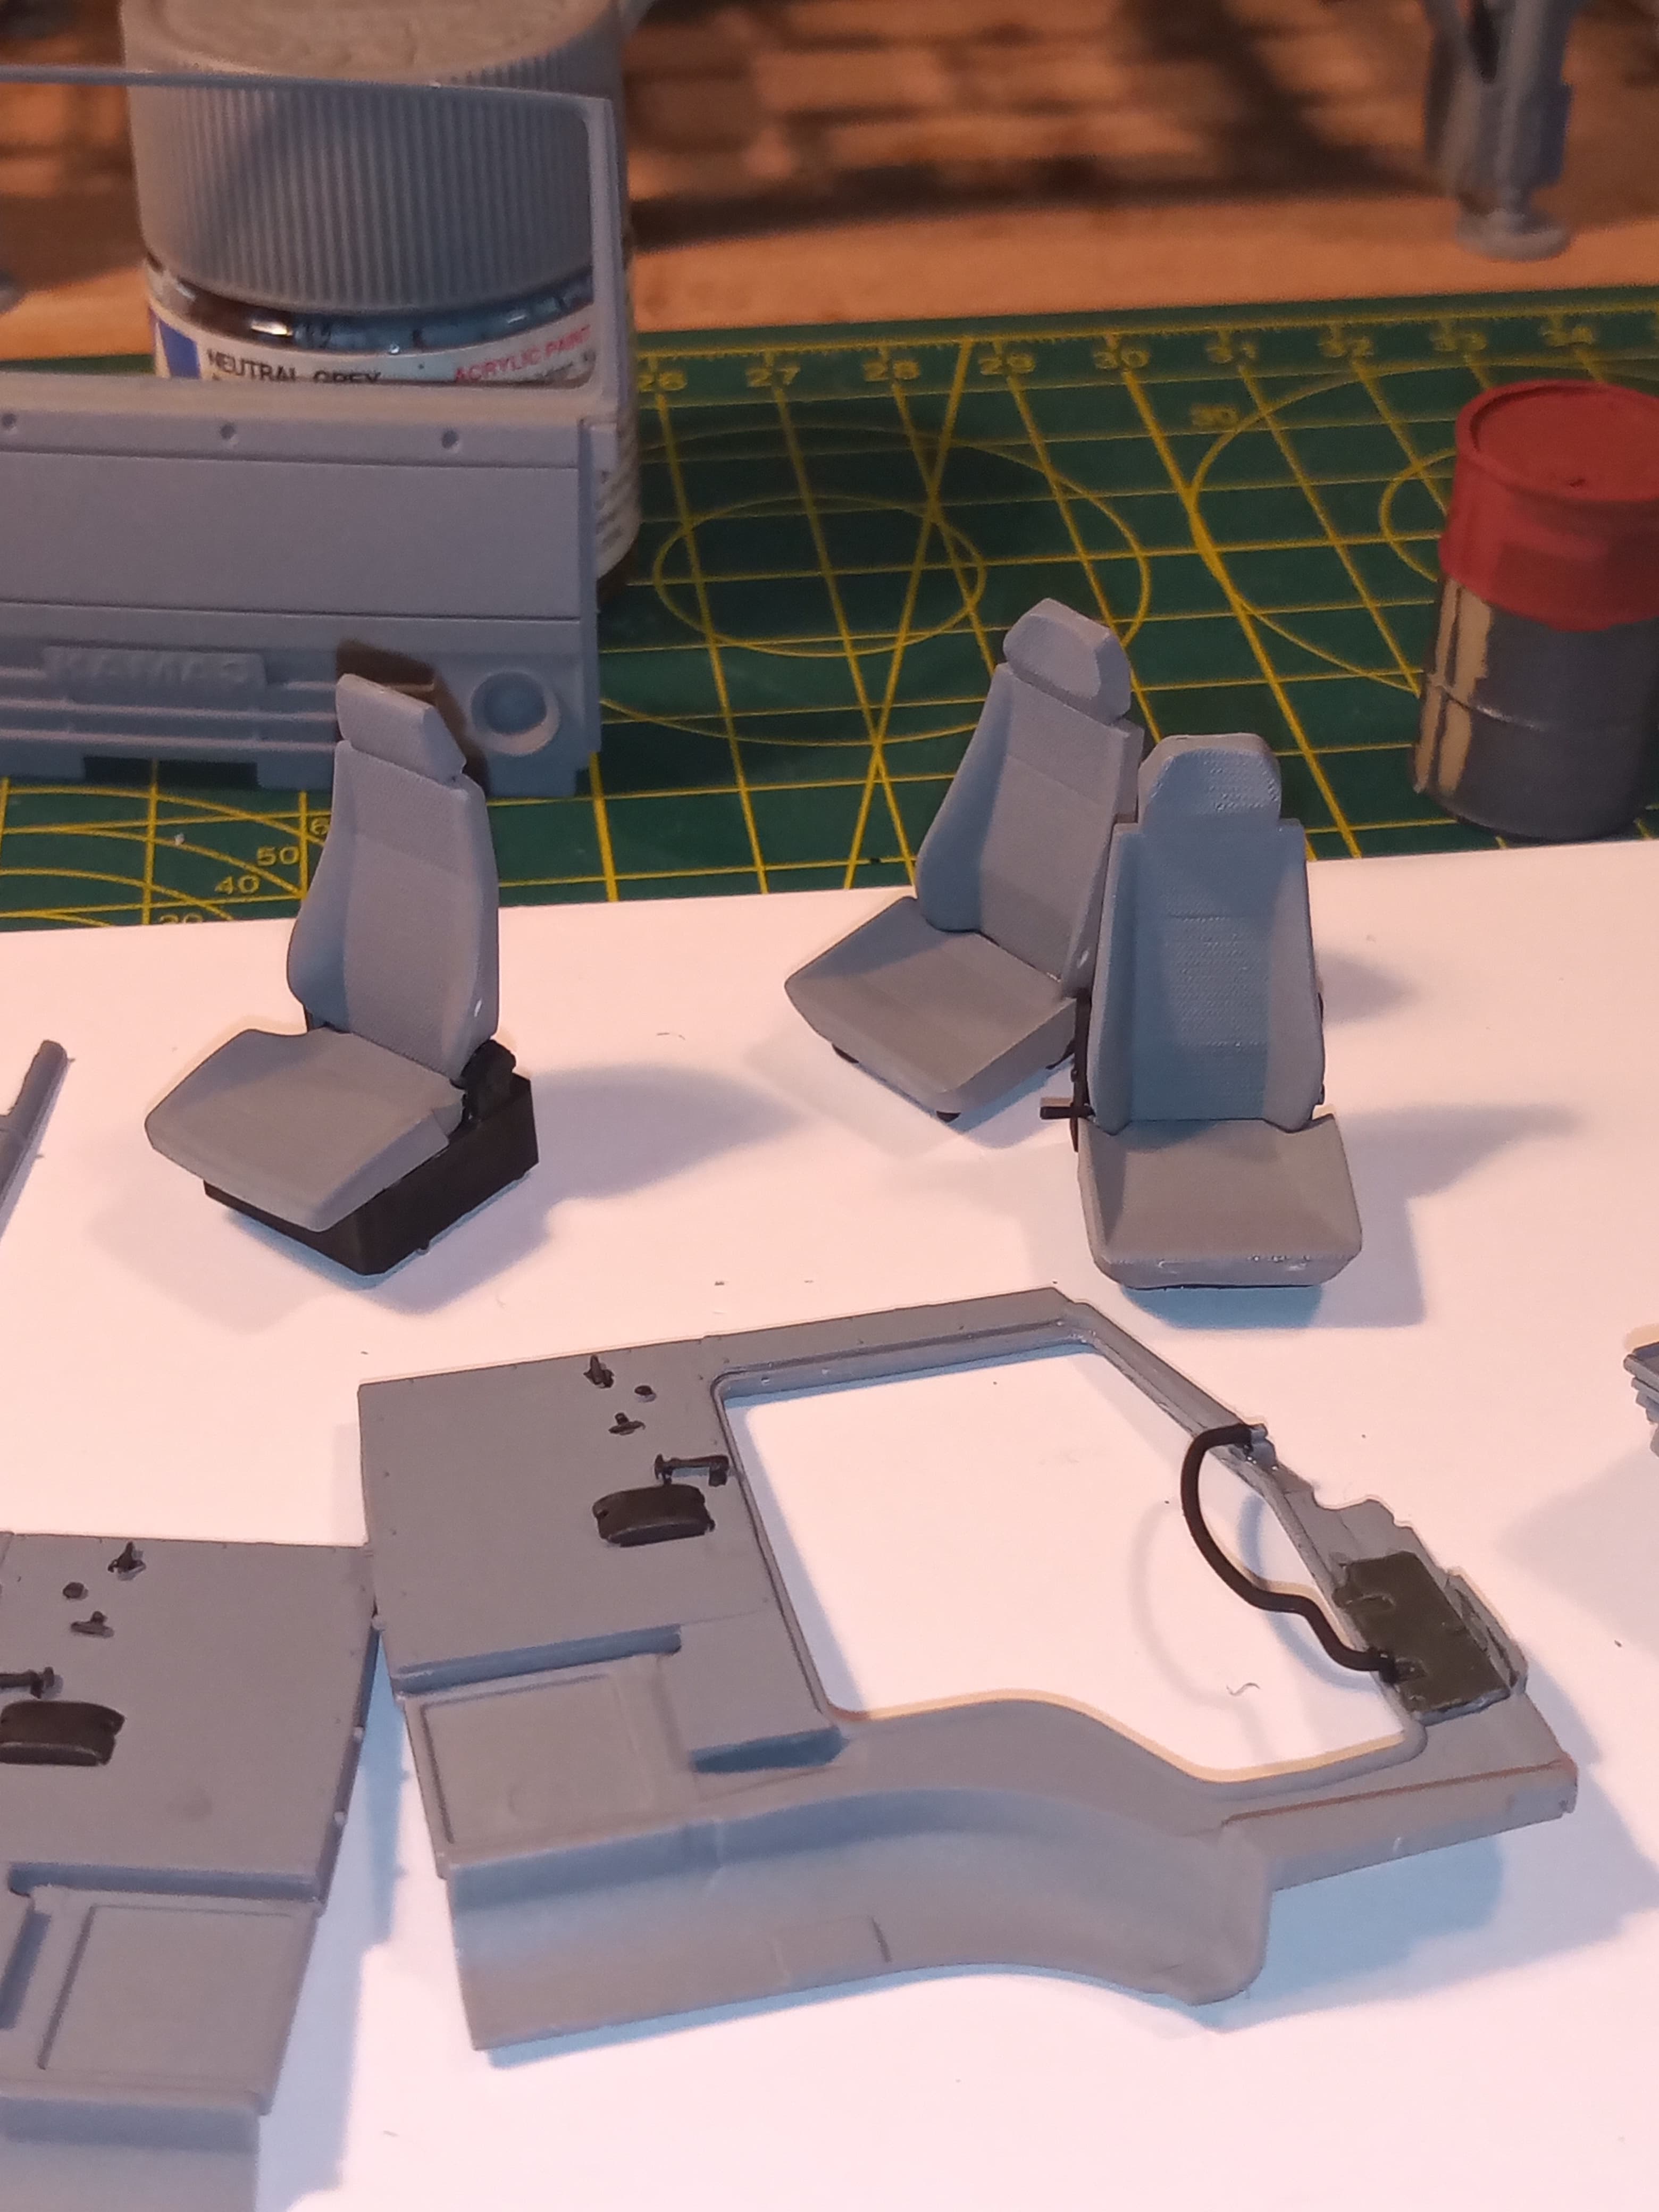
The 3 seats are nicely detailed, they are built up with either 5 or 6 pieces. Going to leave all the clear parts till the very end.
7 Likes
Got the main bulk of the cab done and put together.
Have to go over the grey again before I put the front on.
The dash, doors and front air vents are cut and ready to go together but will do that tomorrow, then I can finish off the external parts of the cab less glass work which will go on towards the end of the build before painting.
4 Likes
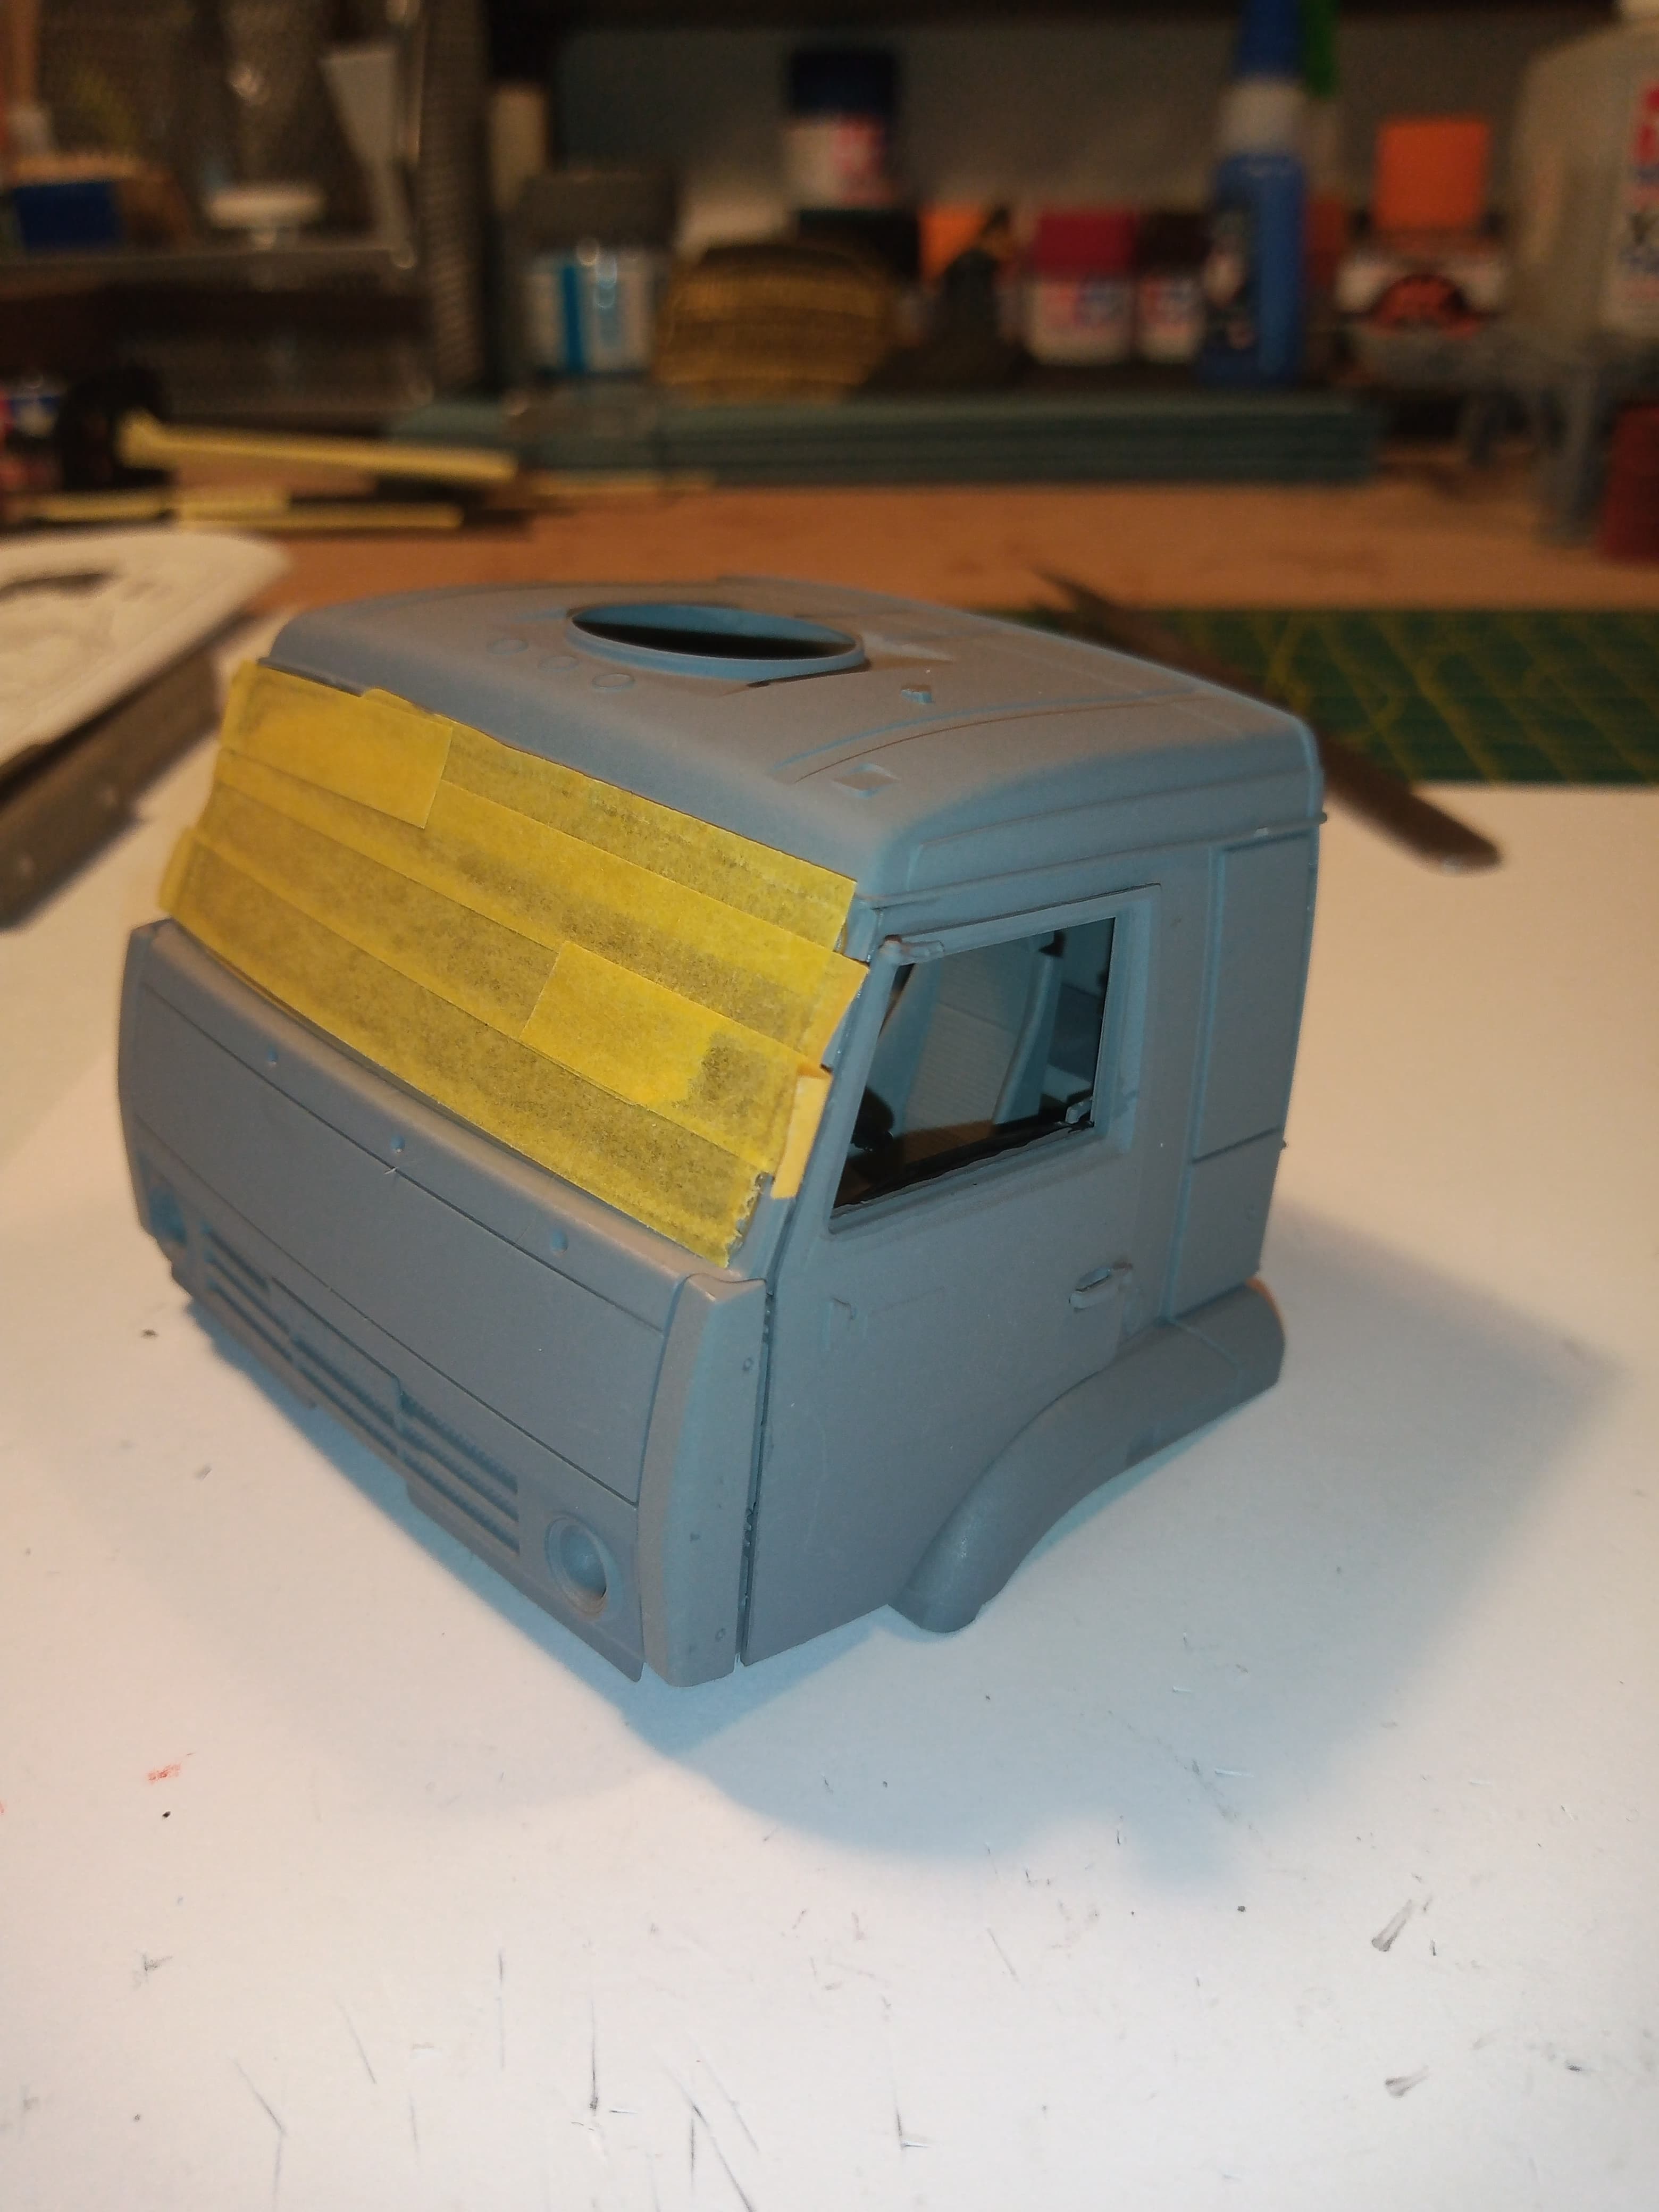
Cab is now done. Again, this went together really well and the fit is great.
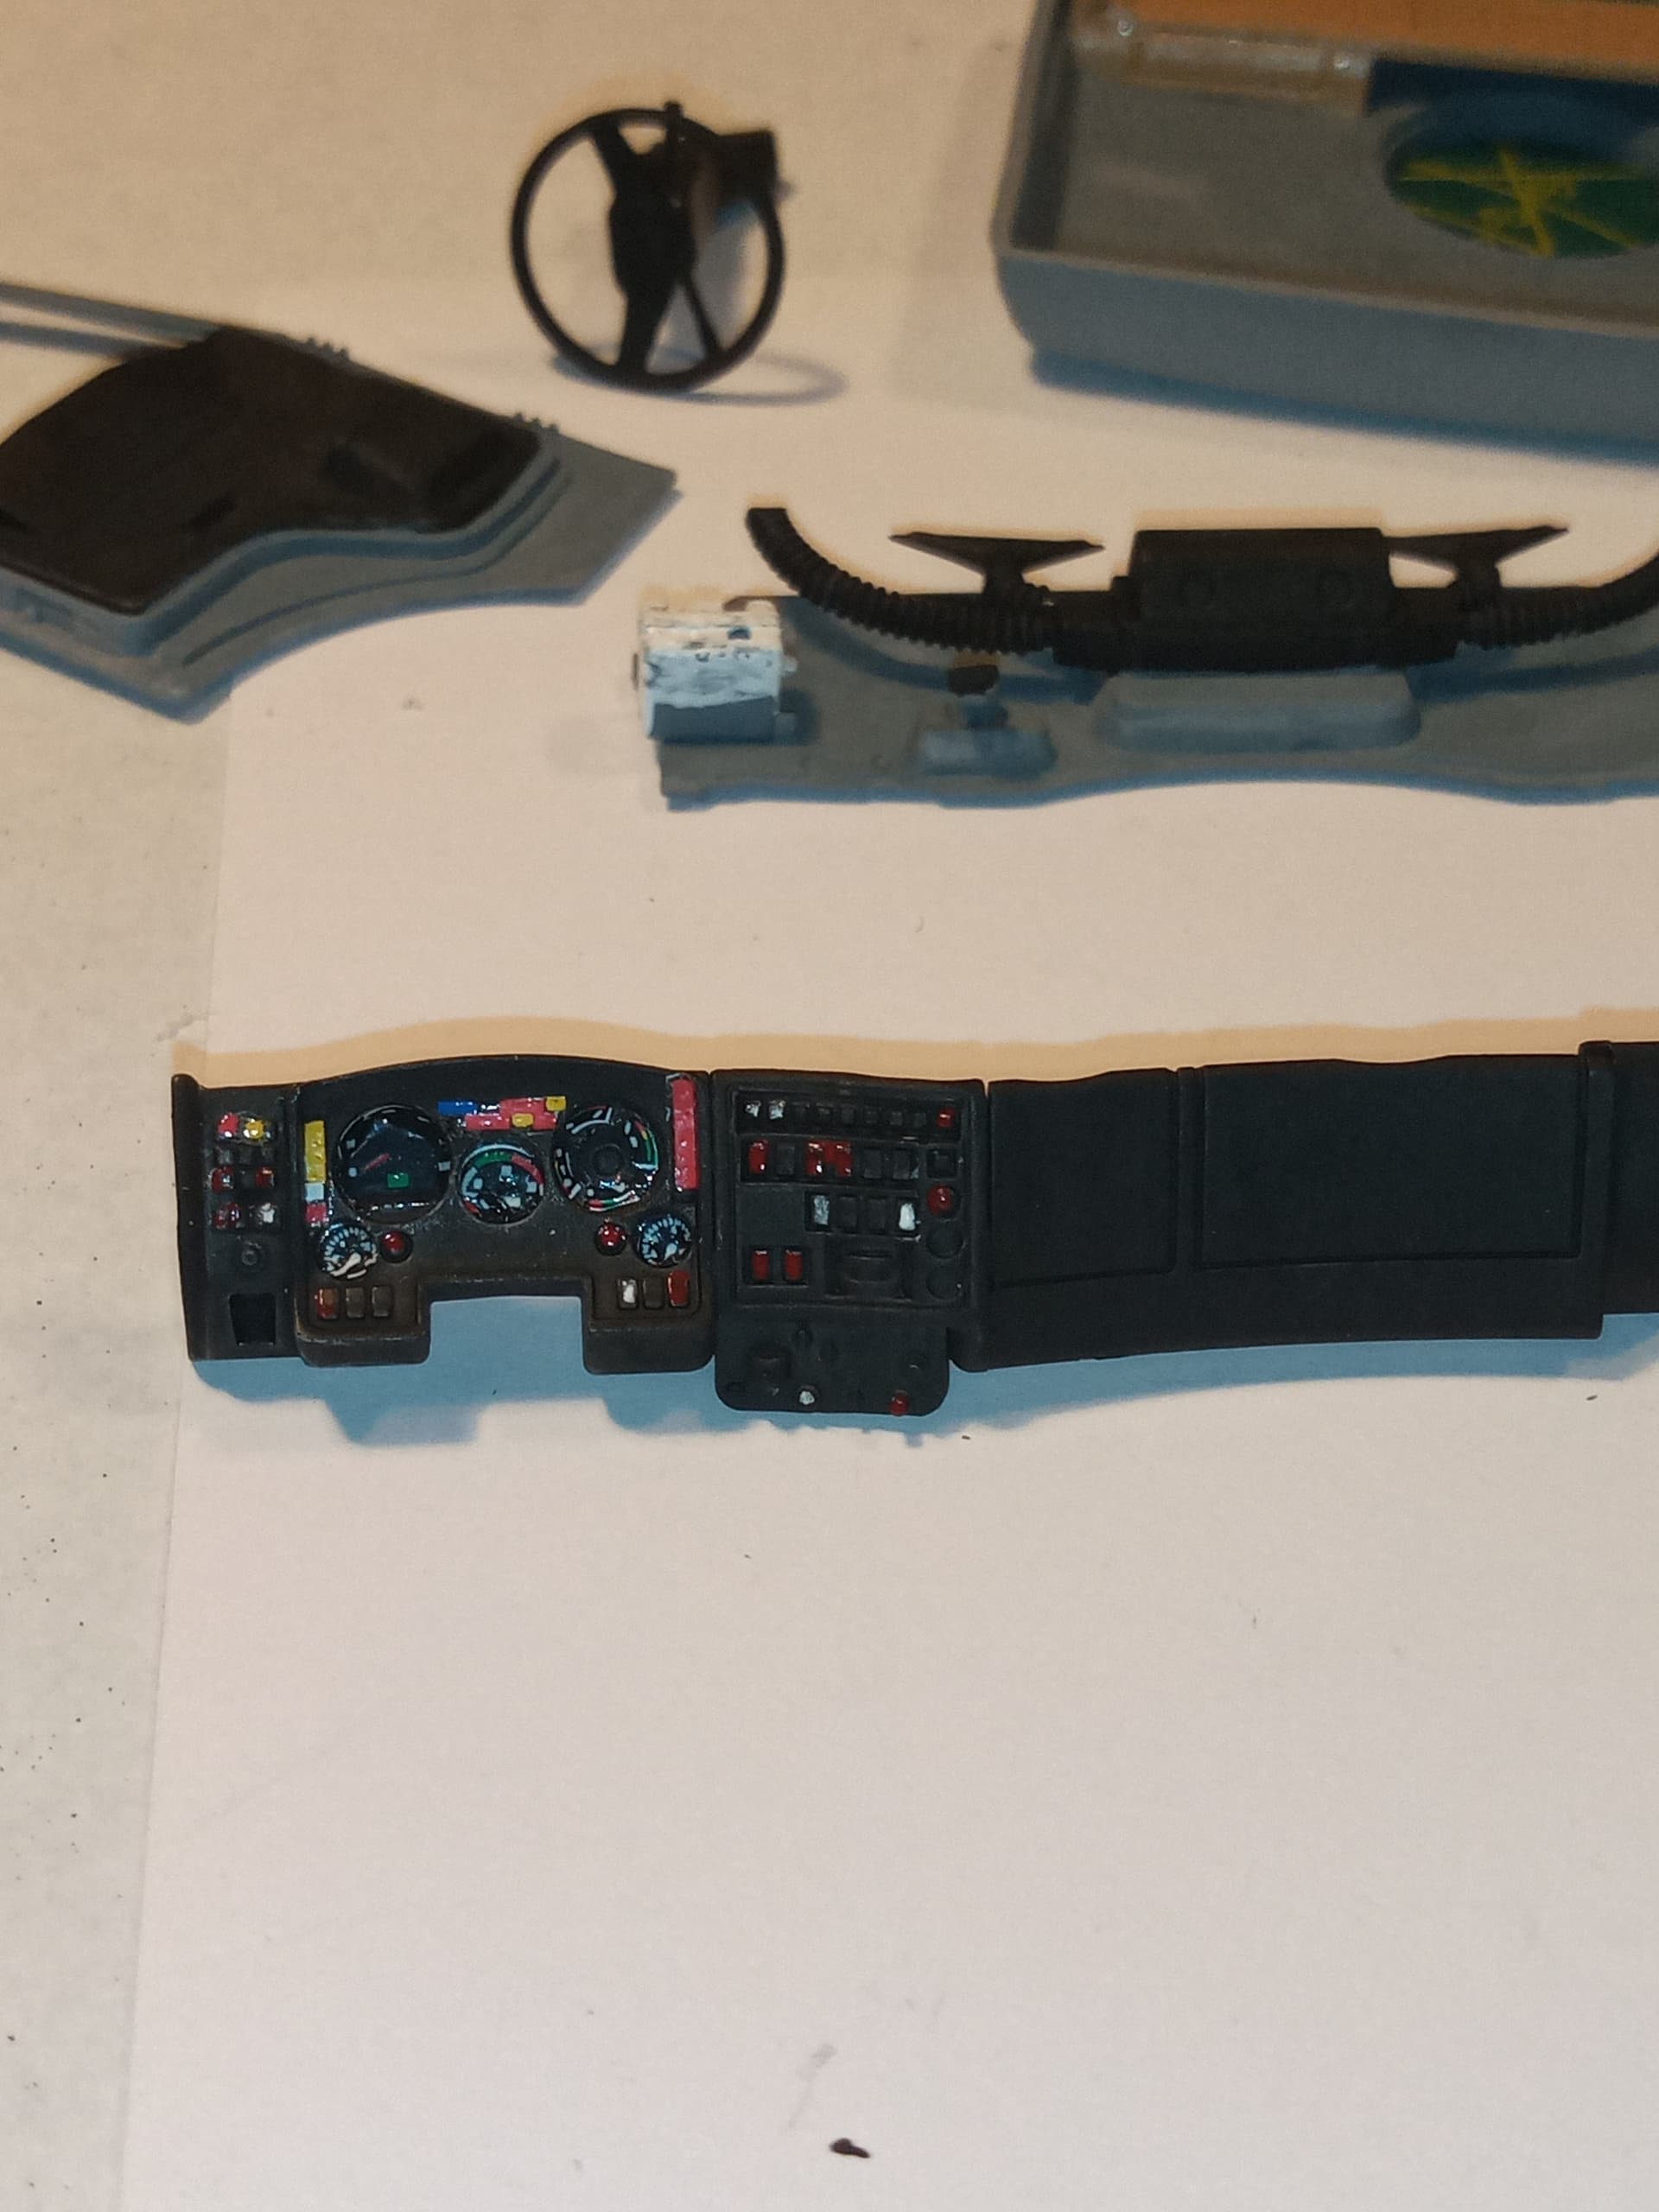
Dash decals look ok, no problems with them, just fiddly as they are so small. The actual dials went it ok as I just place them over the hole and pushed them in with a damp cotton bud.
I also added some extra paint to a few switches to give a bit more contrast to the black.
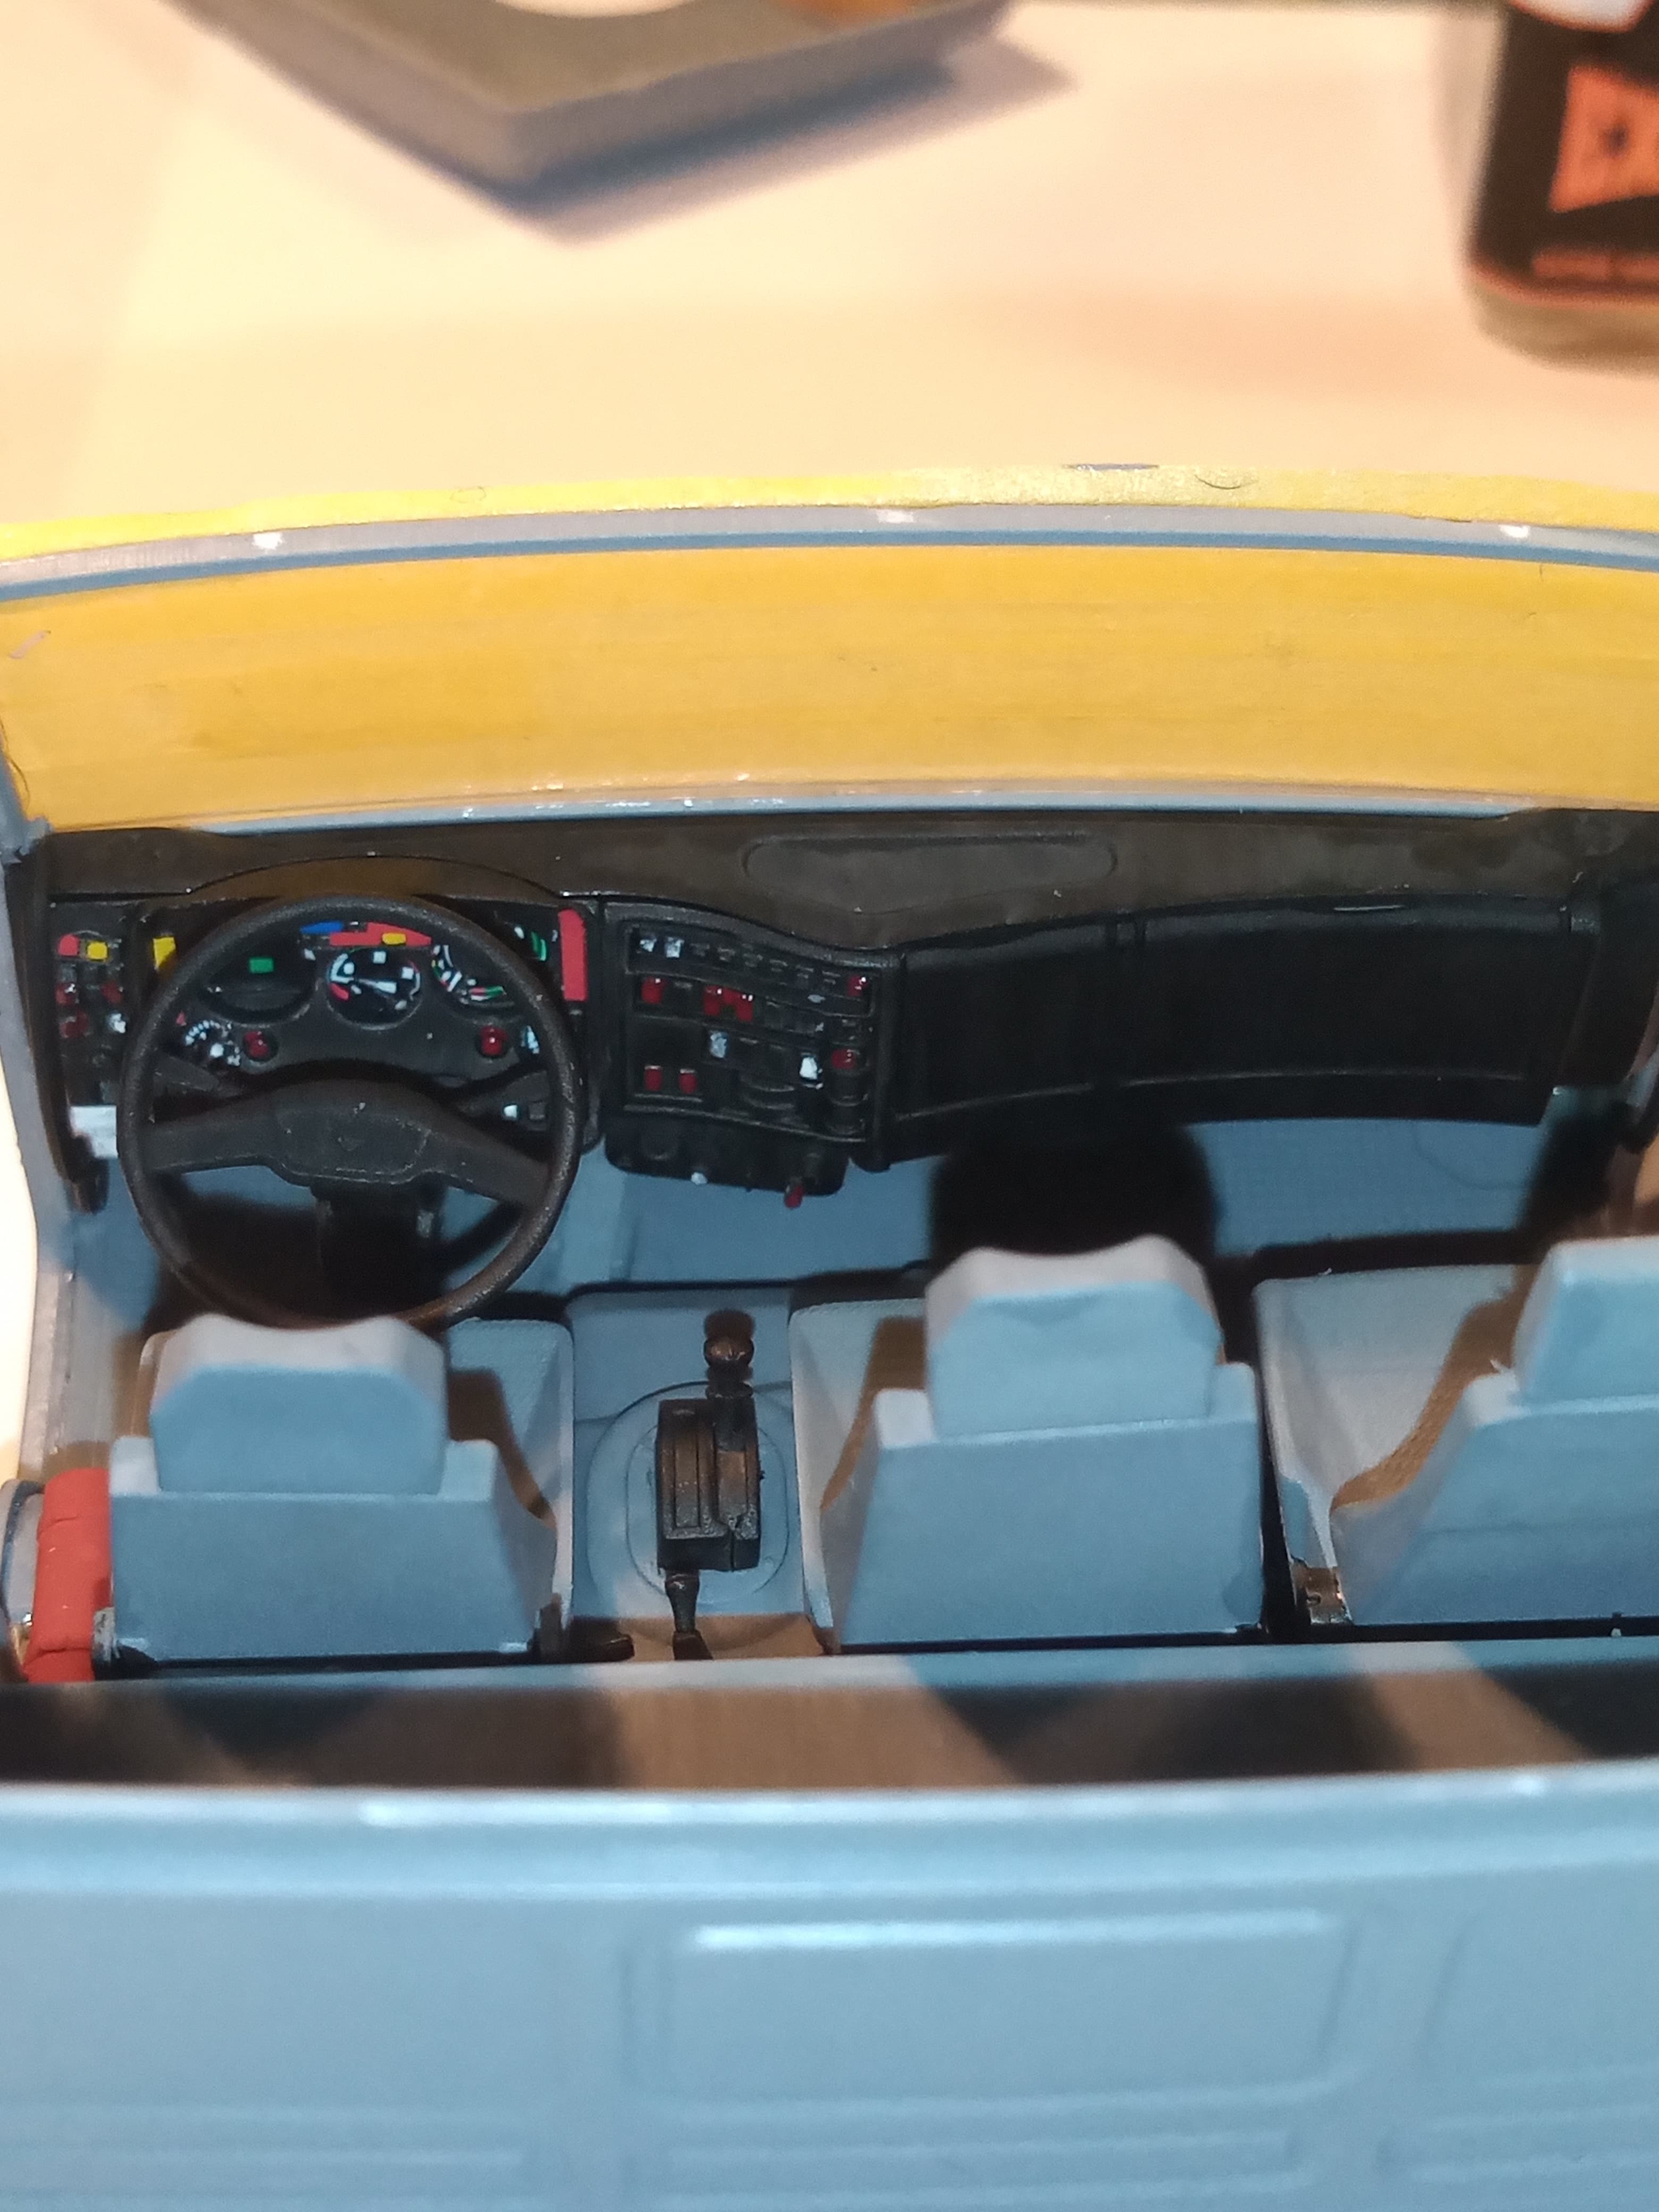
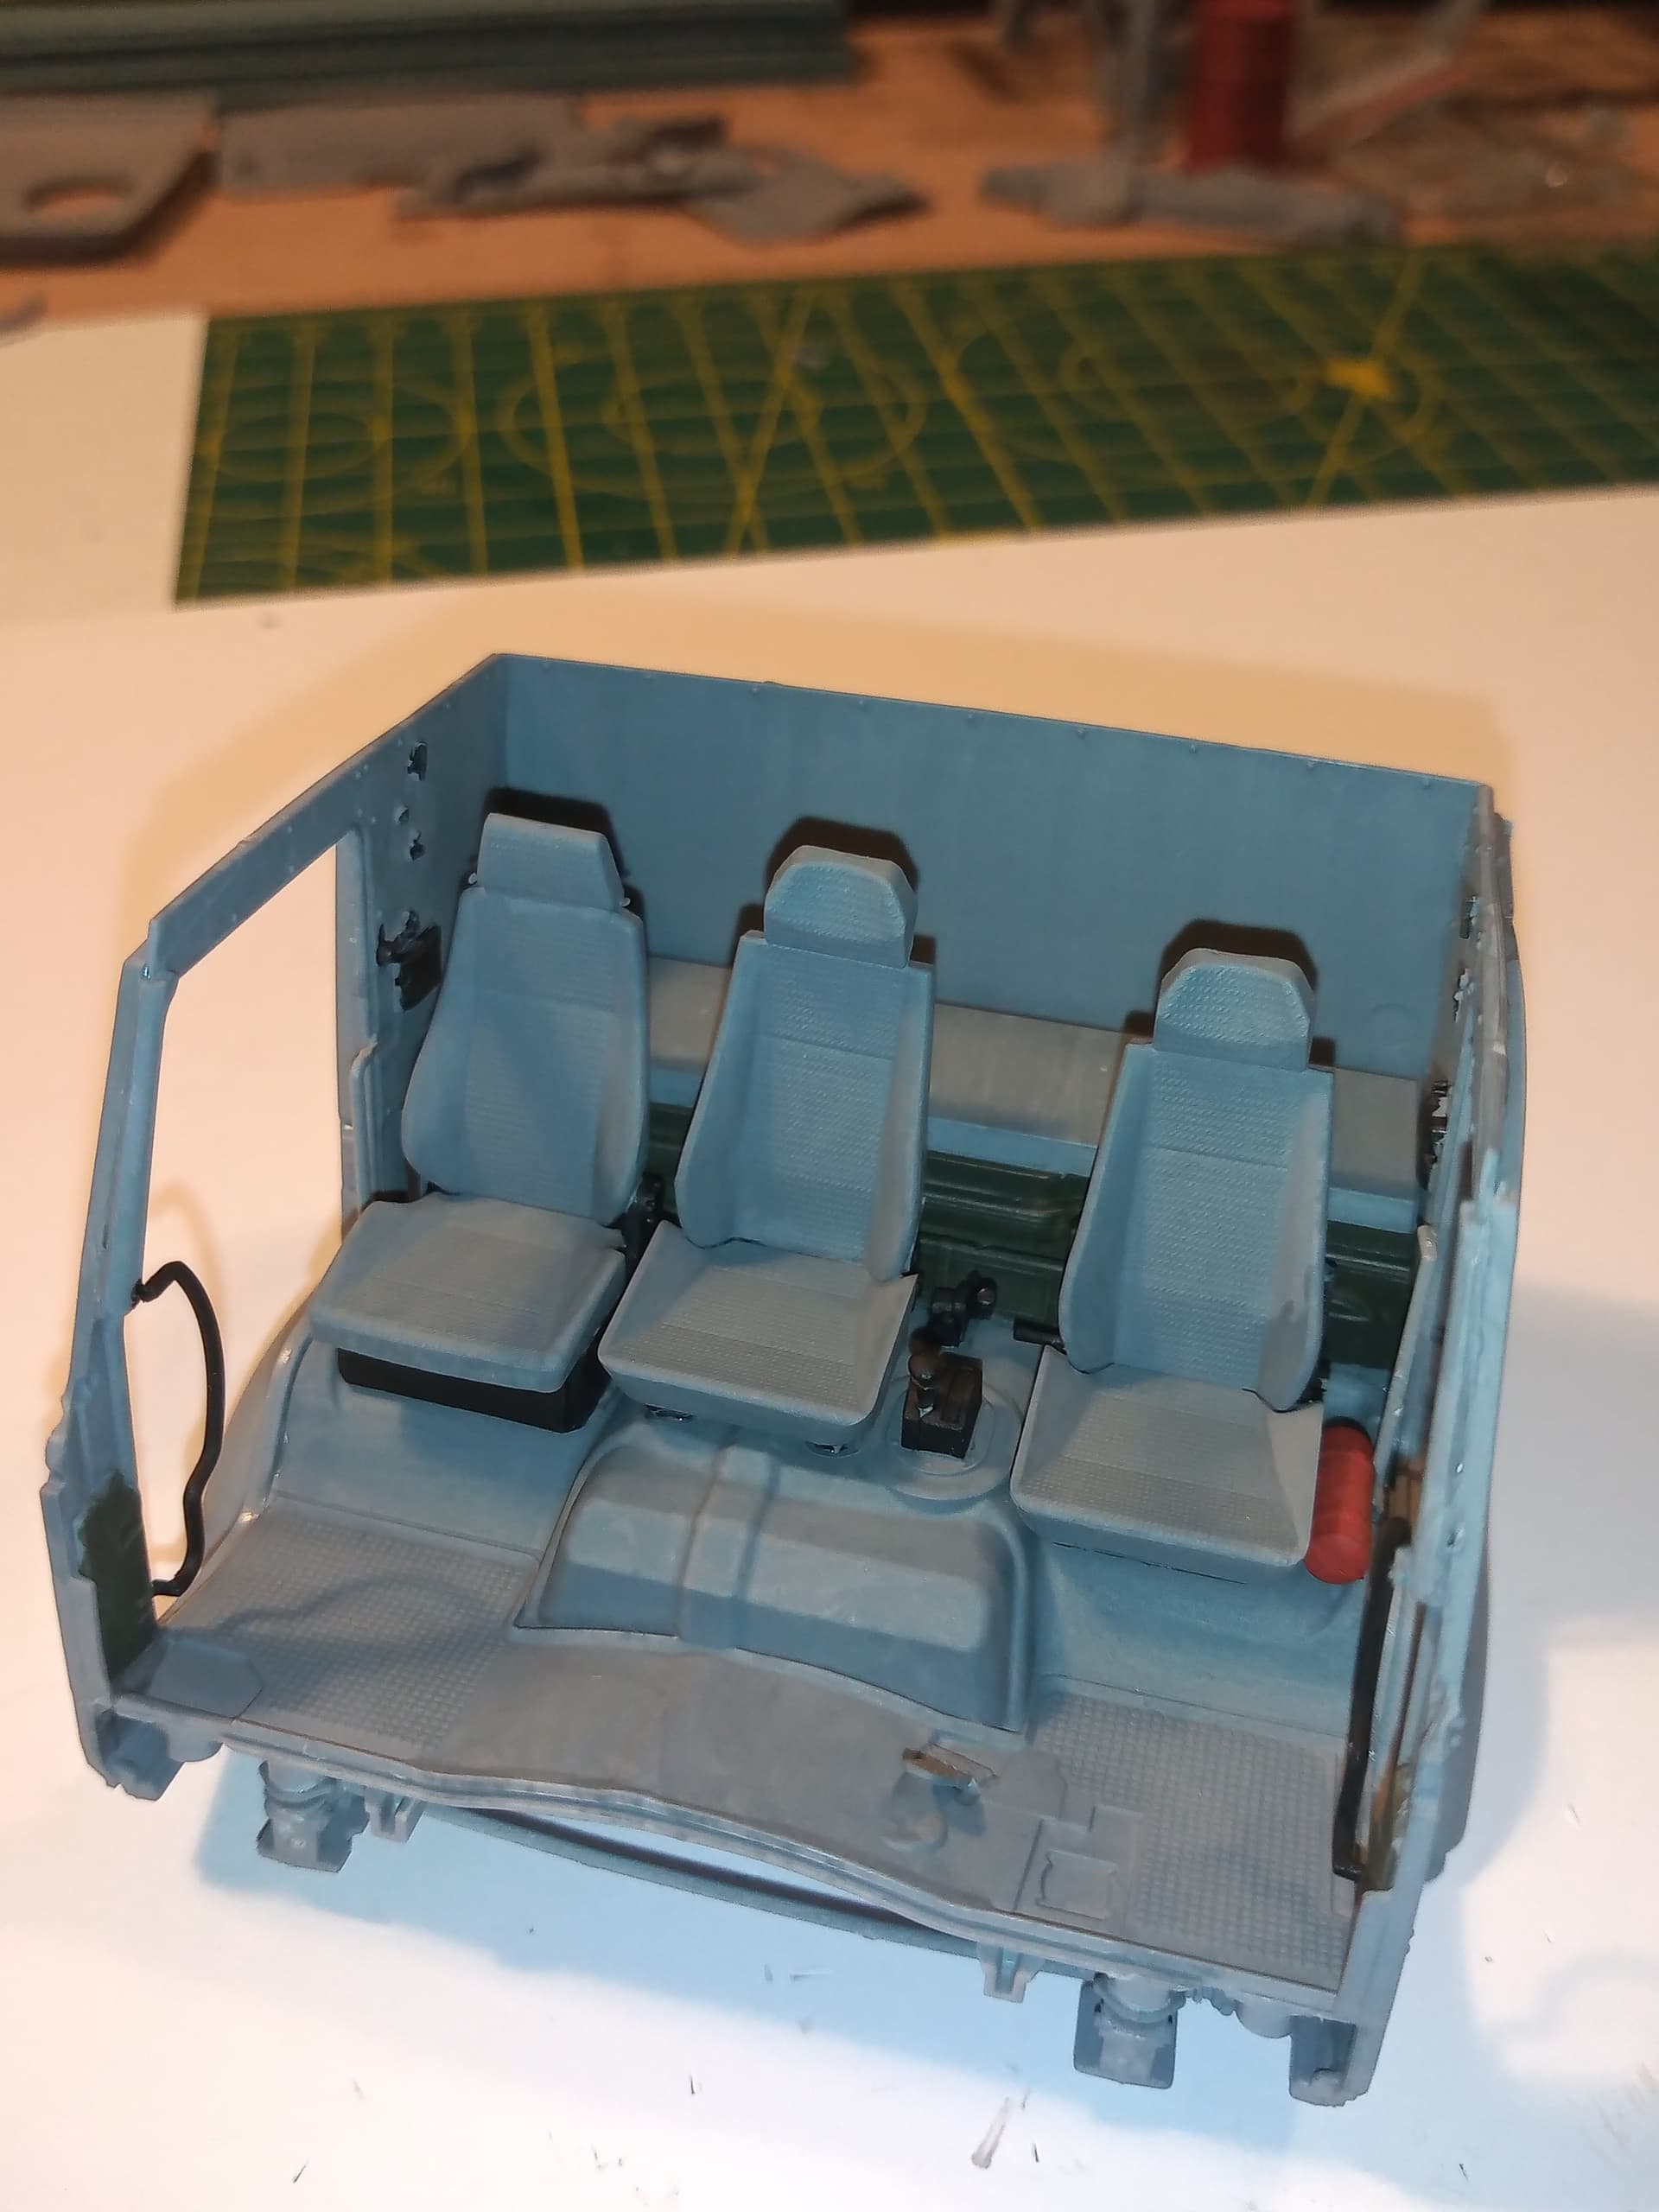
Looking down from the rear before roof goes on
And everything on. I wasn’t going to add the windscreen till the very end, but the top part of the windscreen frame on the cab front panel is pretty flimsy and didn’t hold its shape well when I dry fitted it. So I masked the windscreen up then secured it in place … Seemed to work and the masking tape will stay on till nearer the end now.
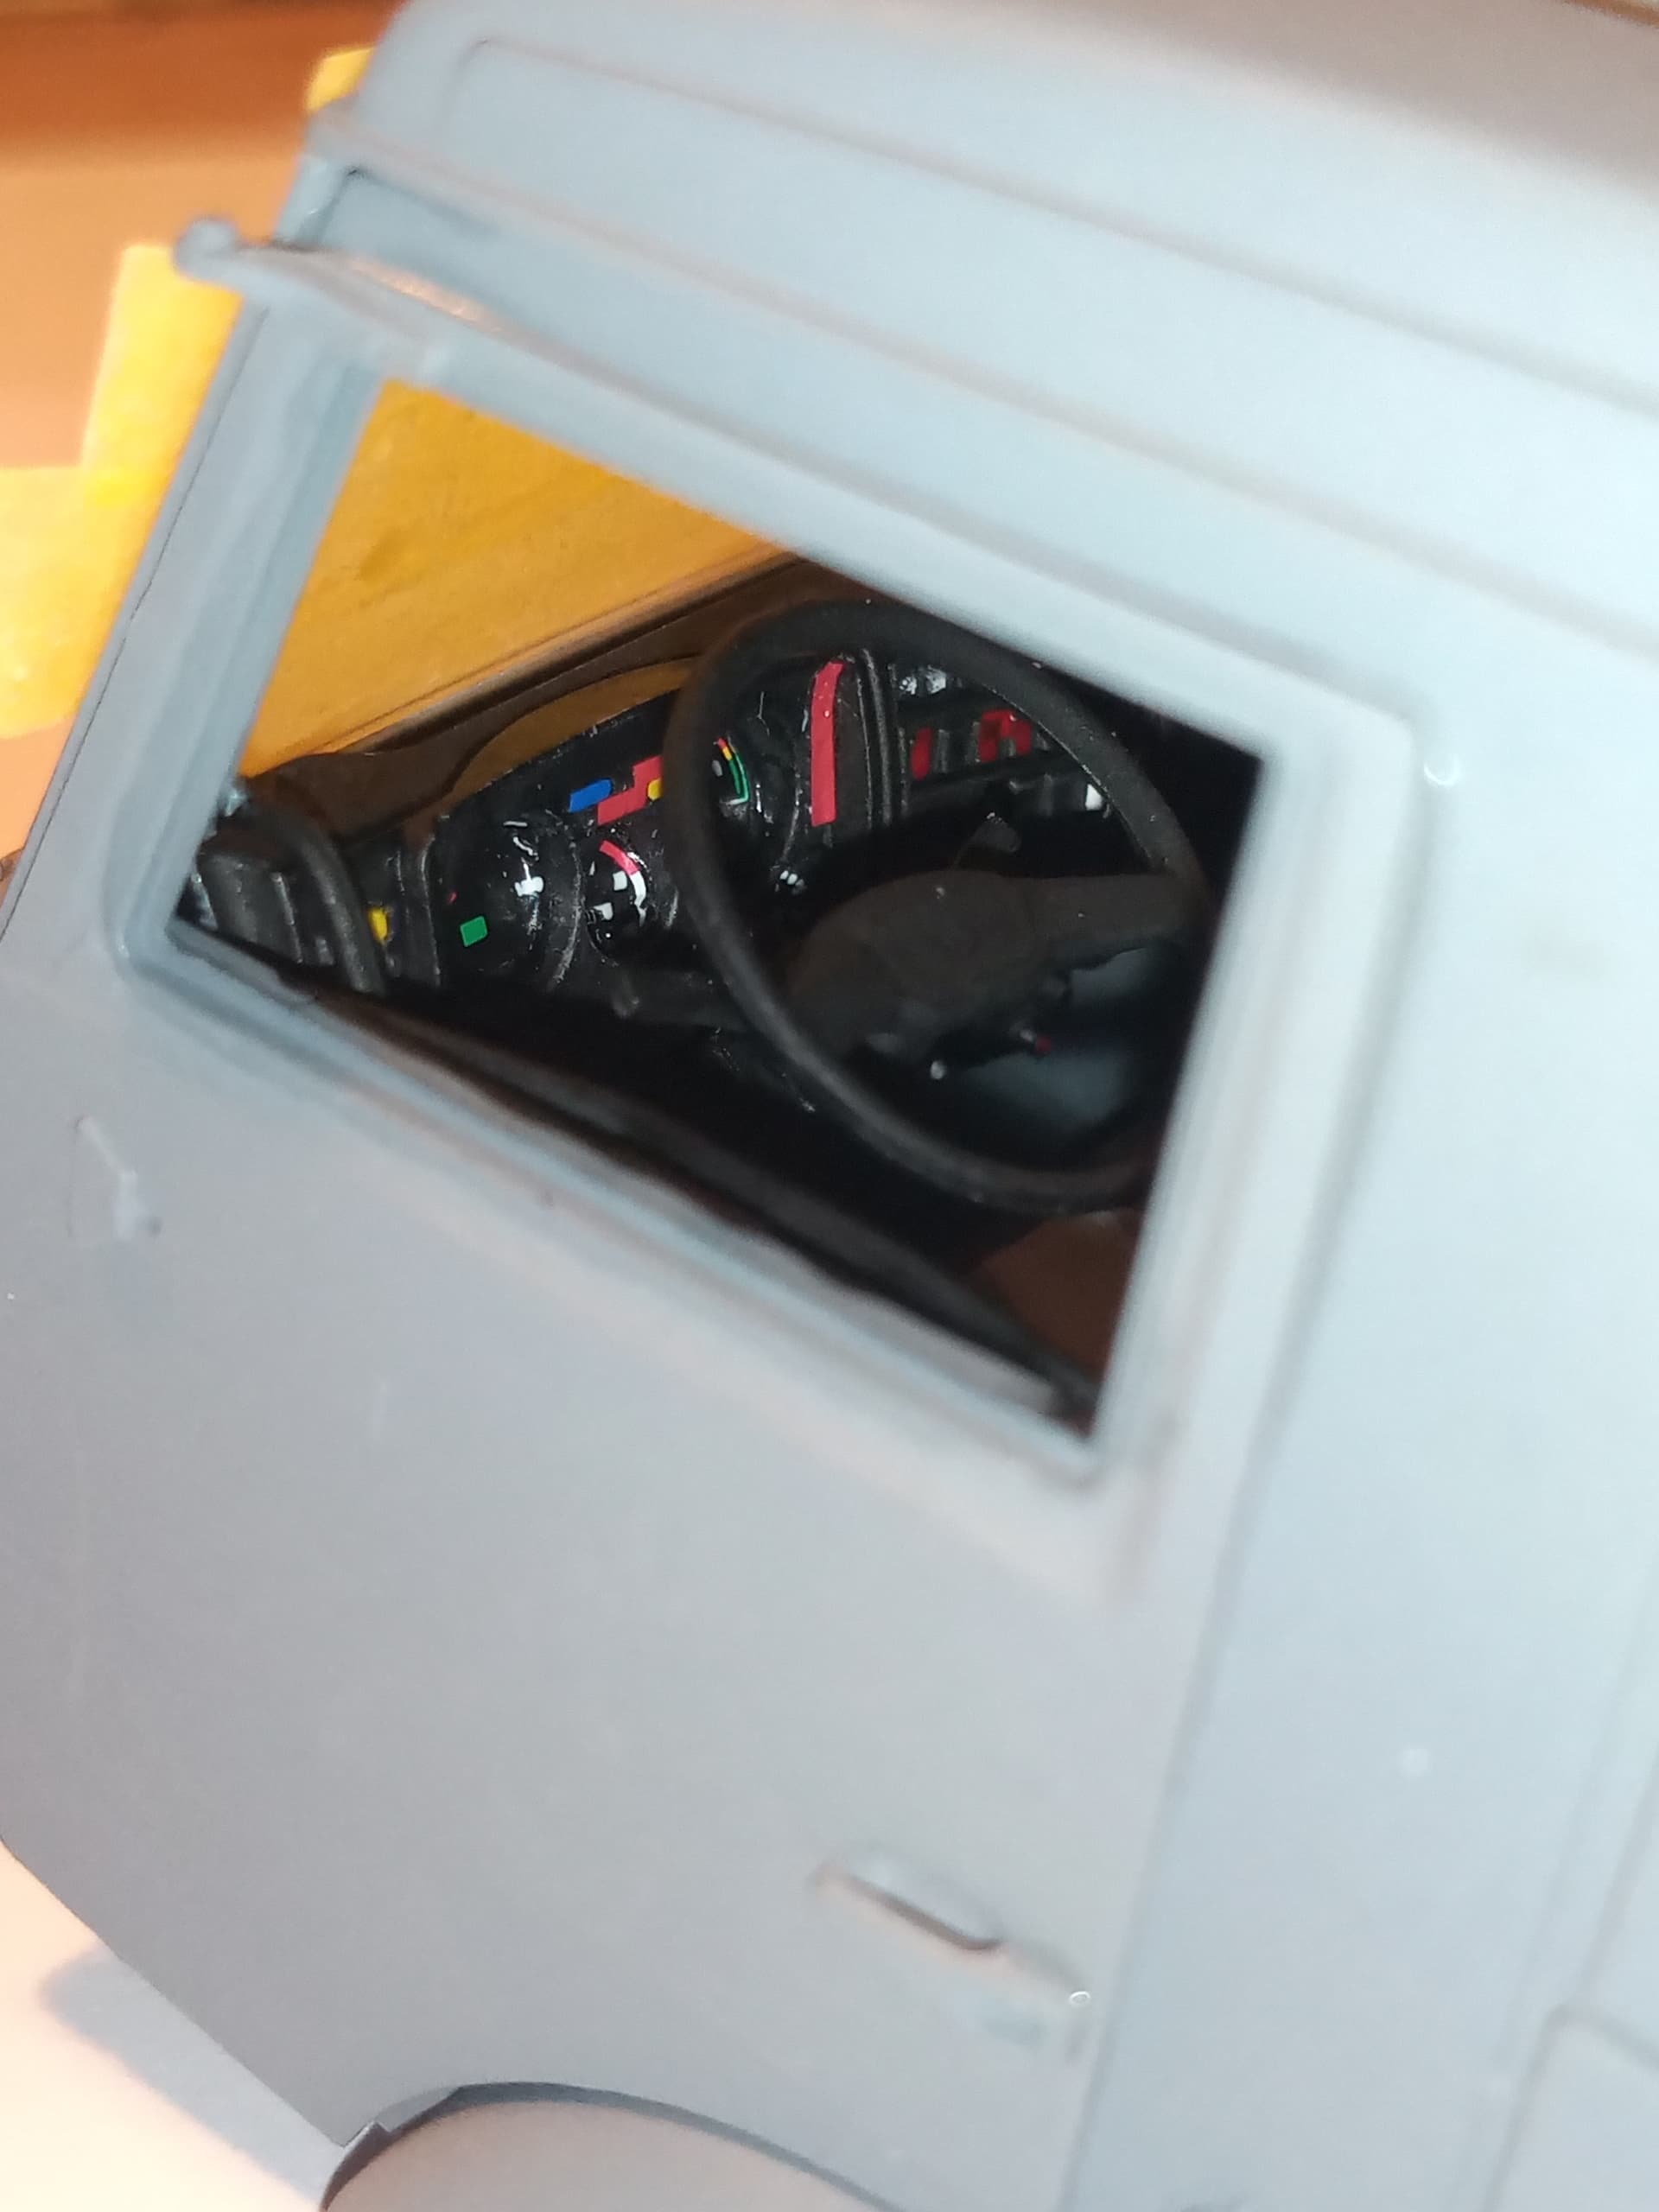
And last one, looking through drivers can window.
Next will be building up the lower chassis and drive train.
8 Likes
Thats looking very nice, love the details on the dashboard!
2 Likes
Cheers Bert, it is super detailed so looking forward and at the same time daunted by the sheer amount of little pieces and sub assemblies that still have to go on the chassis… At least 3 pages with a minimum of 30 sub sections… Crazy amount of plastic… But in a good way.
1 Like
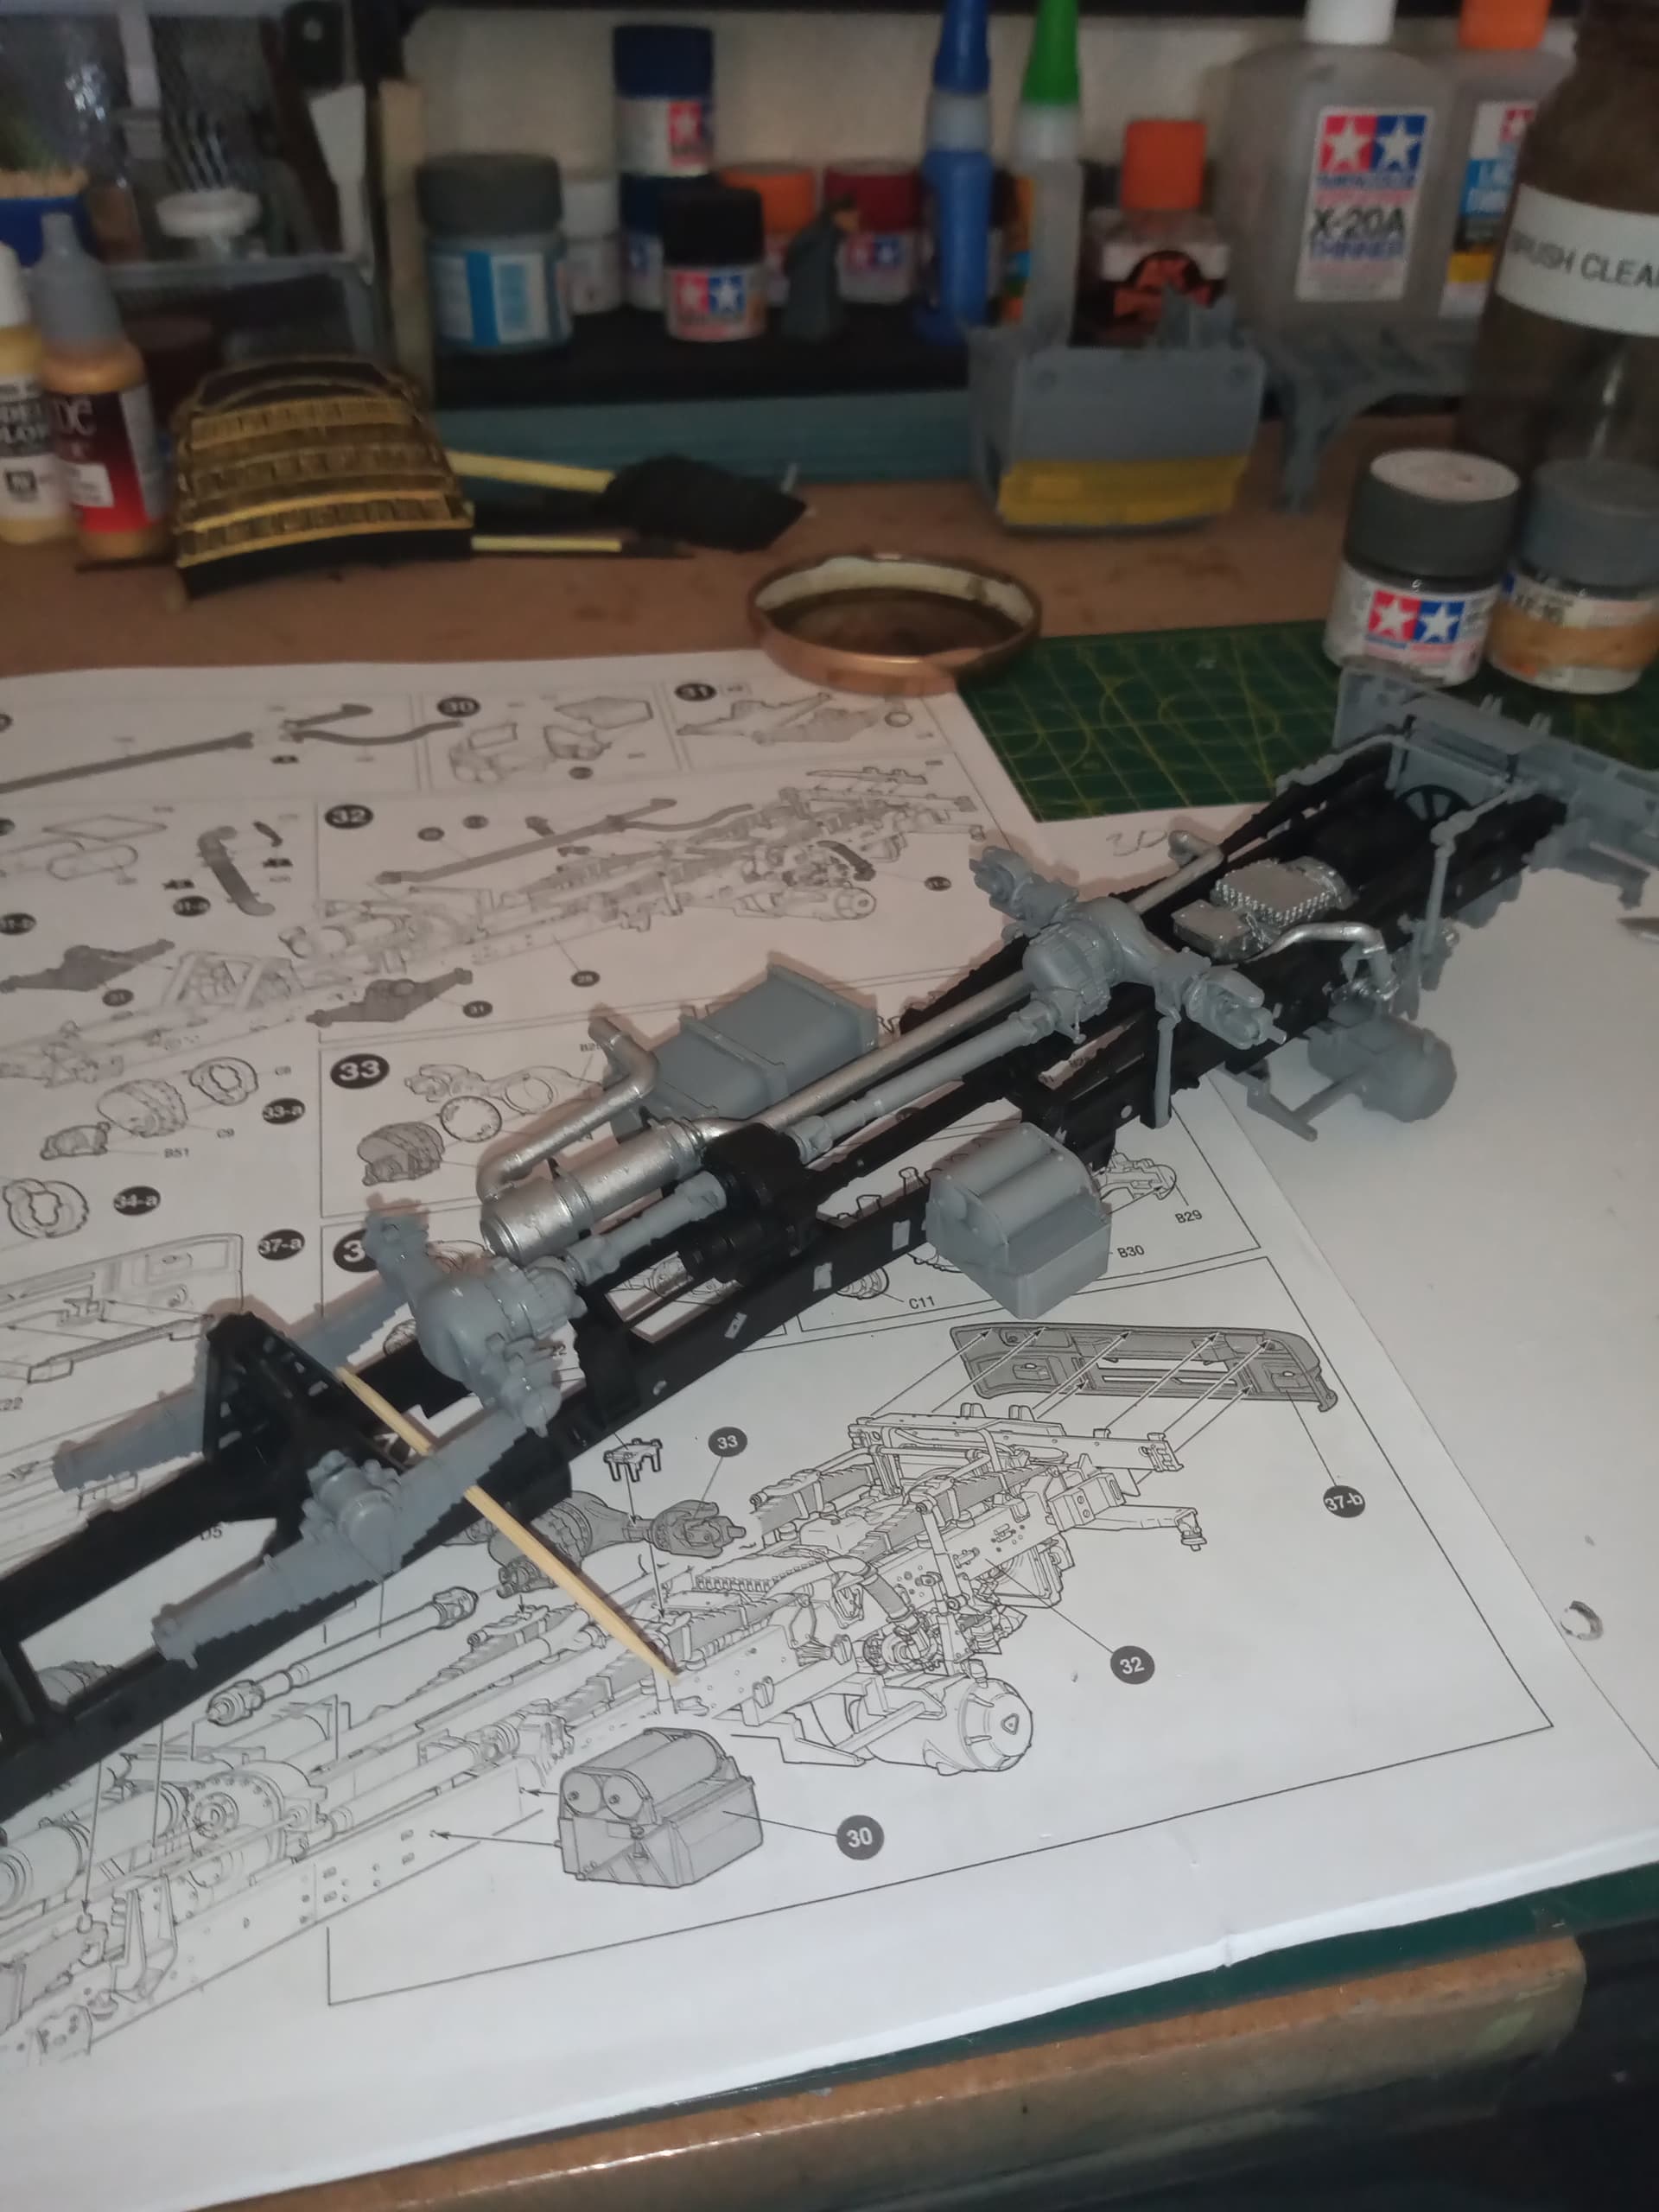
Chassis update.
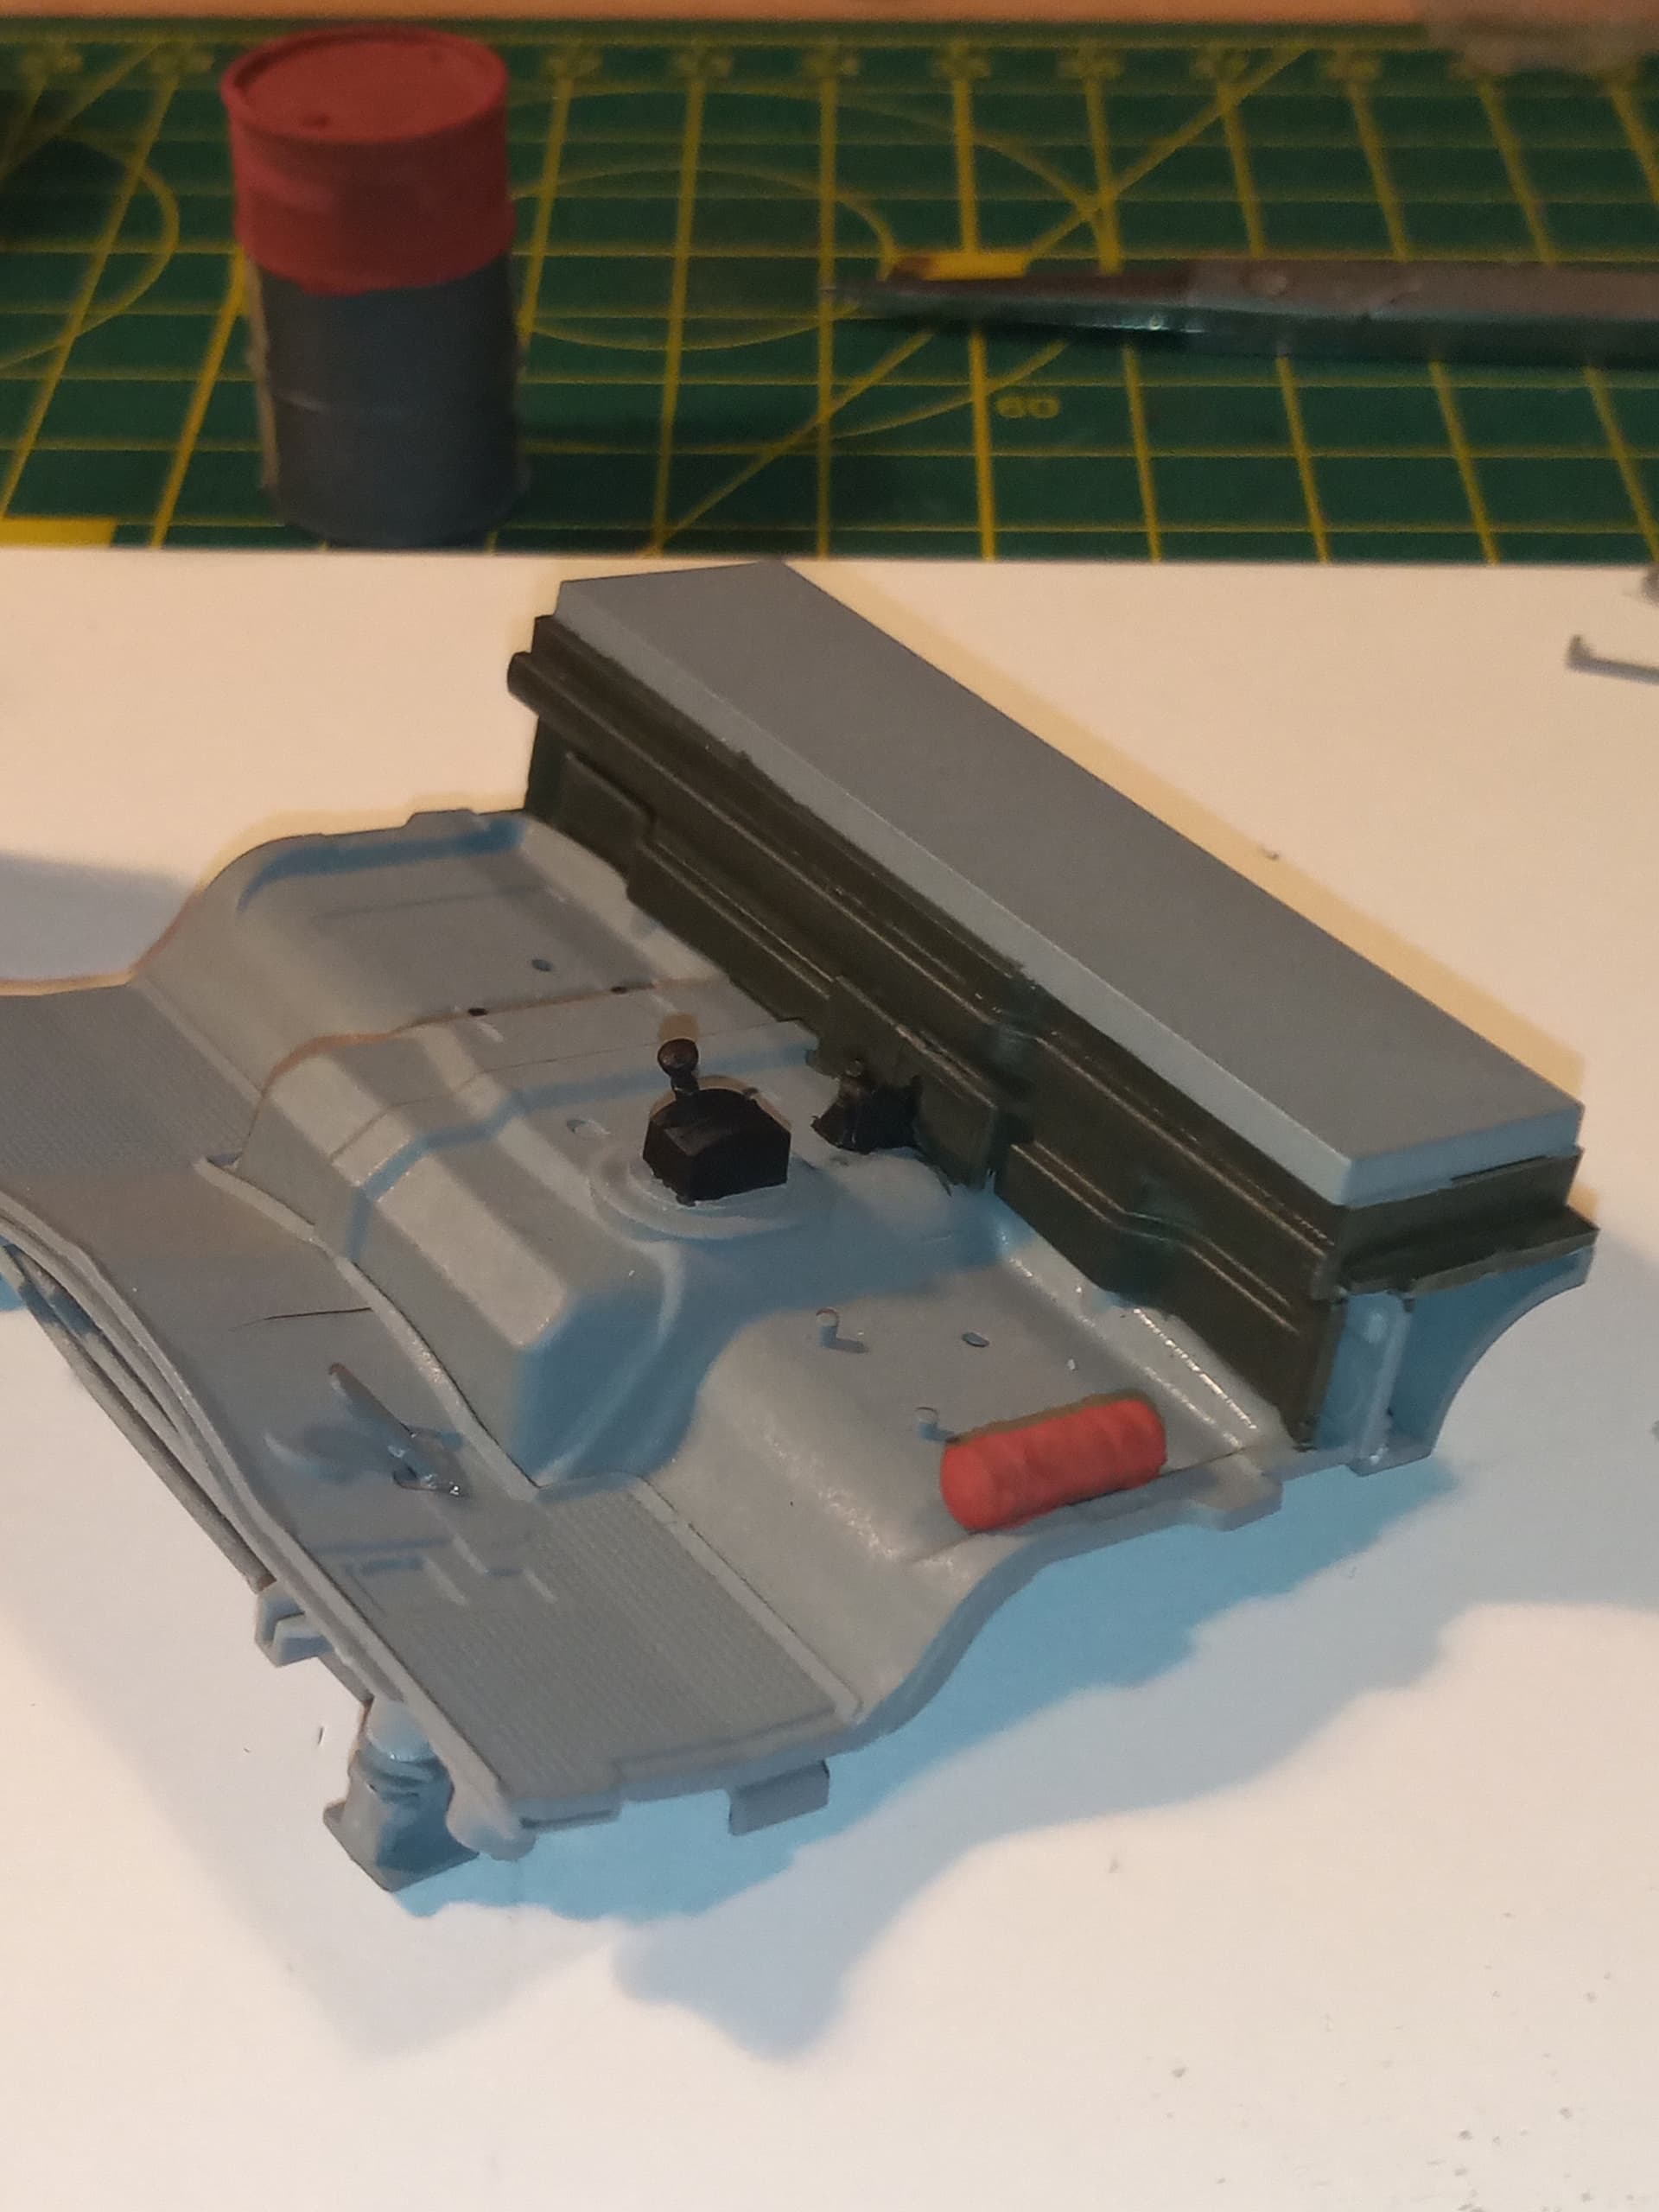
This part of the top side of the chassis.
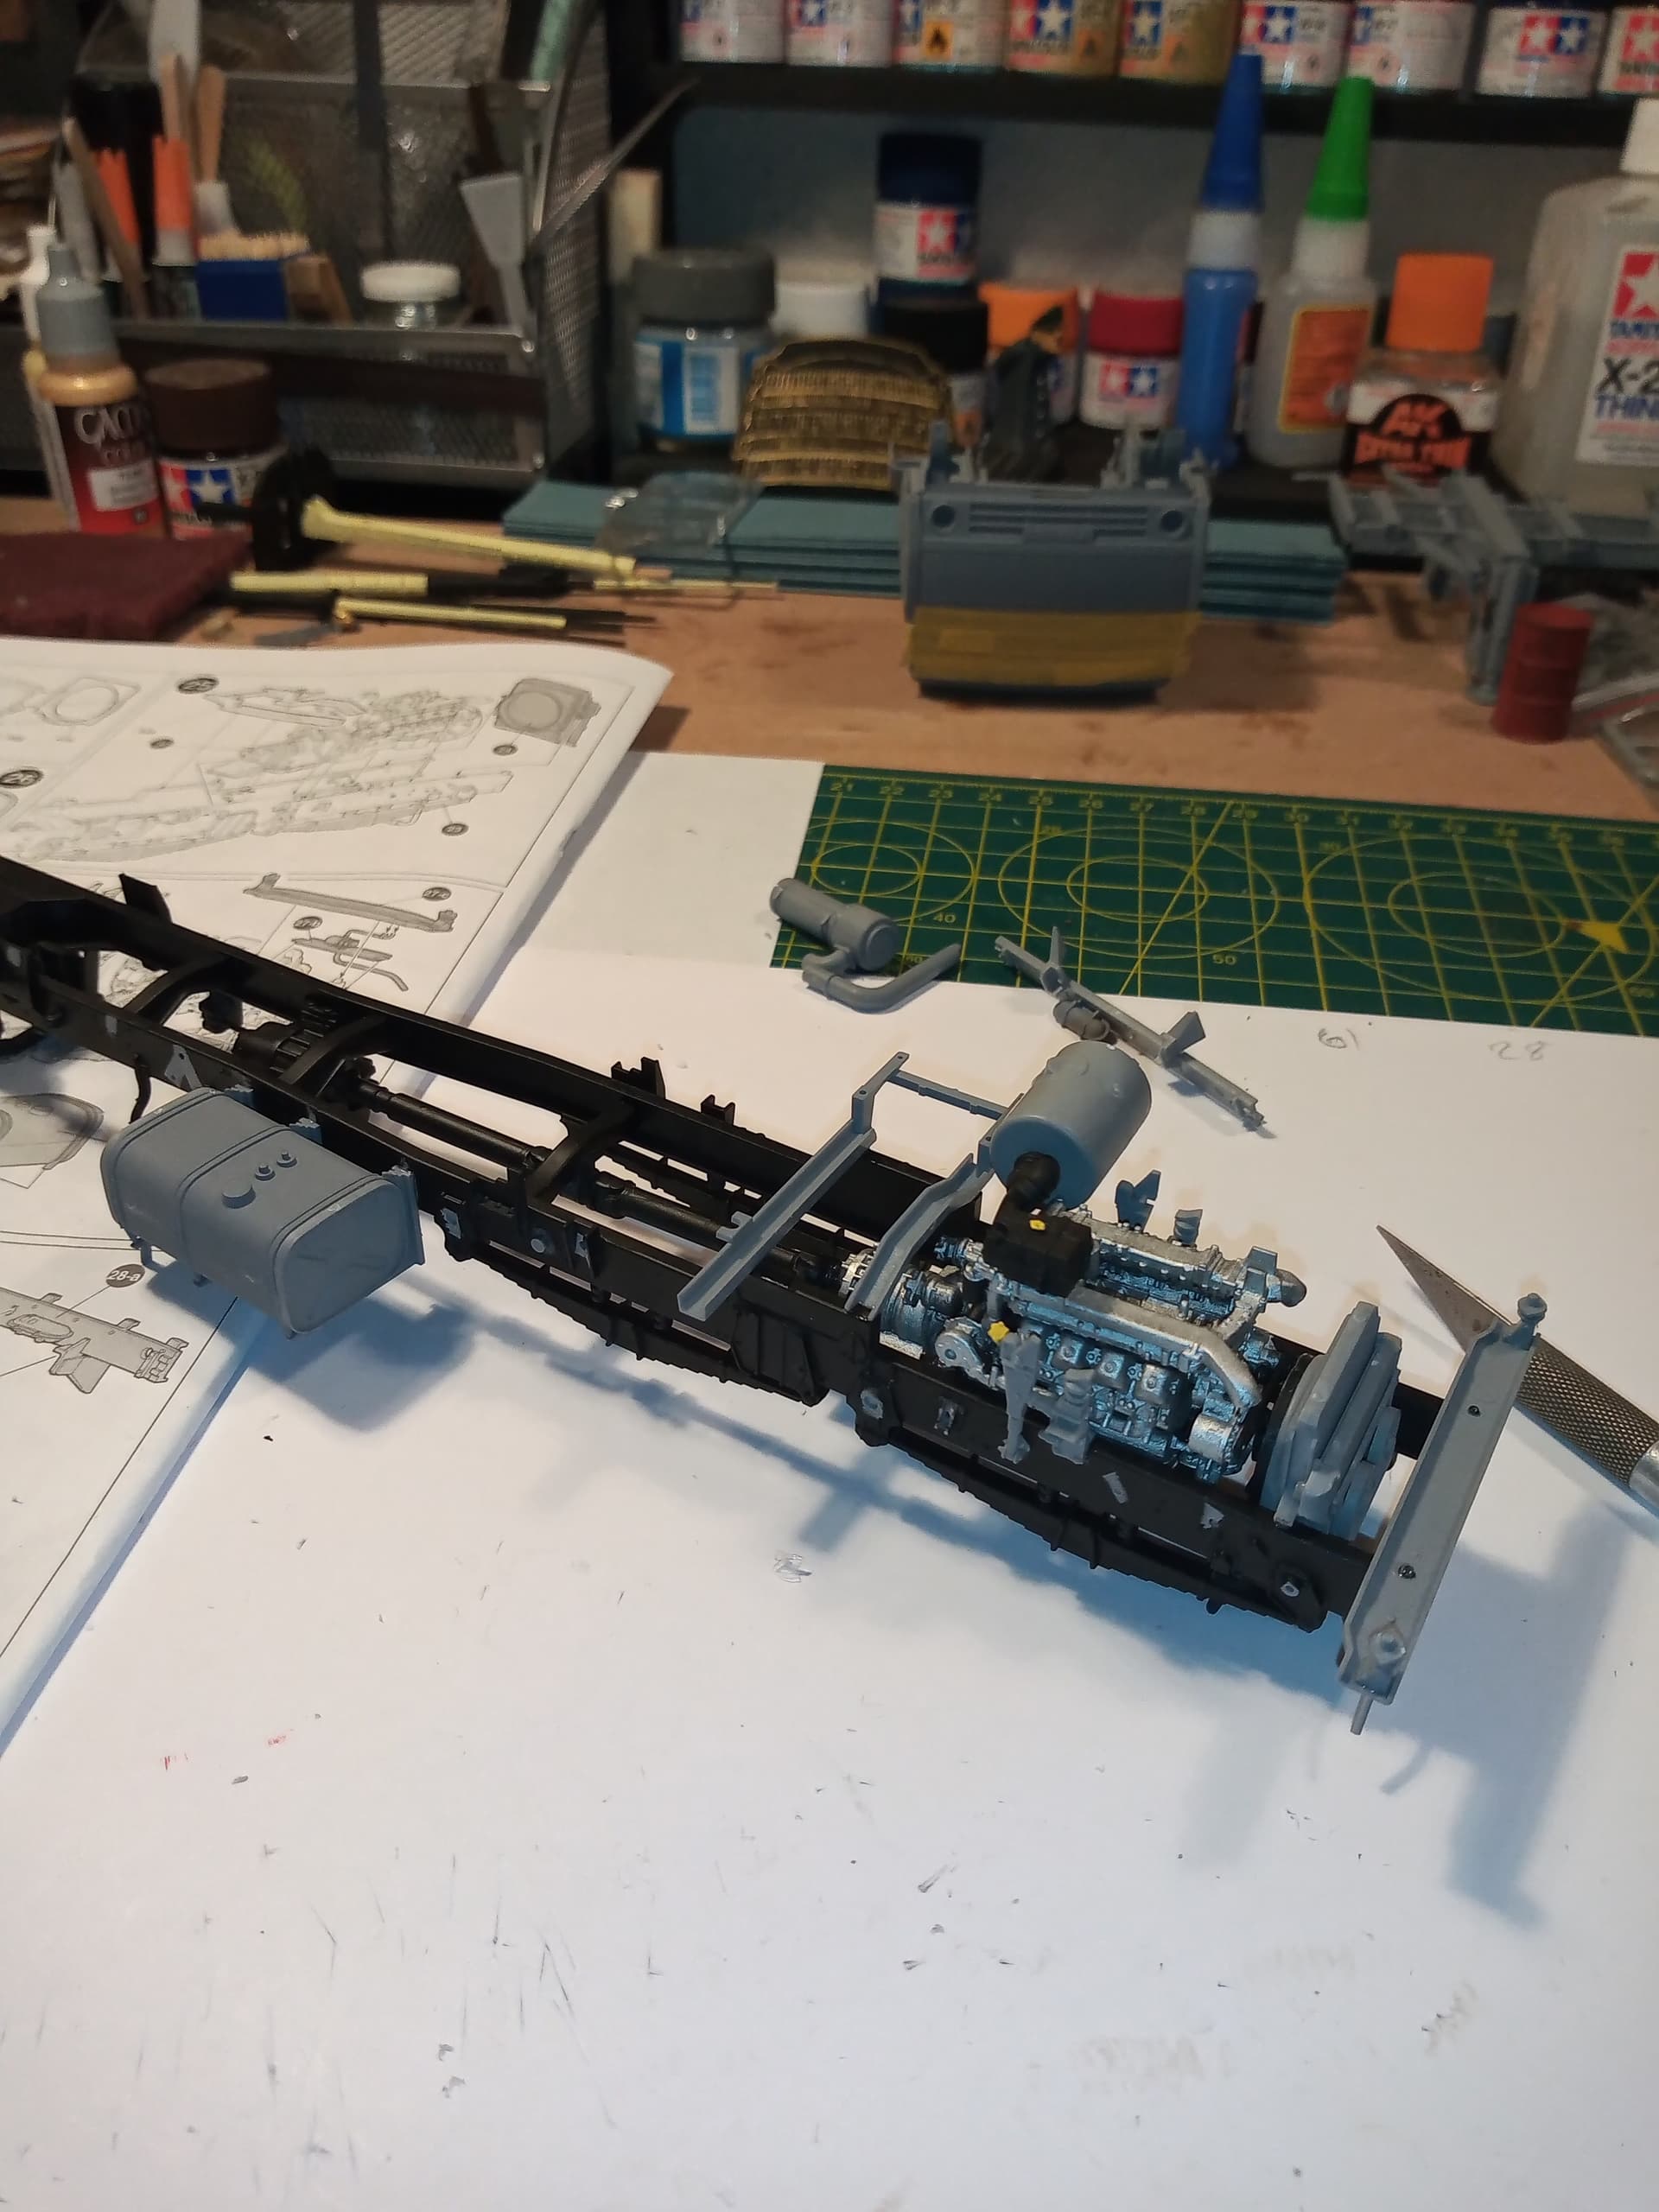
The engine sadly is pretty much hidden away now inside the chassis. All the new grey parts will be black and the grey areas on the chassis are just where the tape was masking holes for parts.
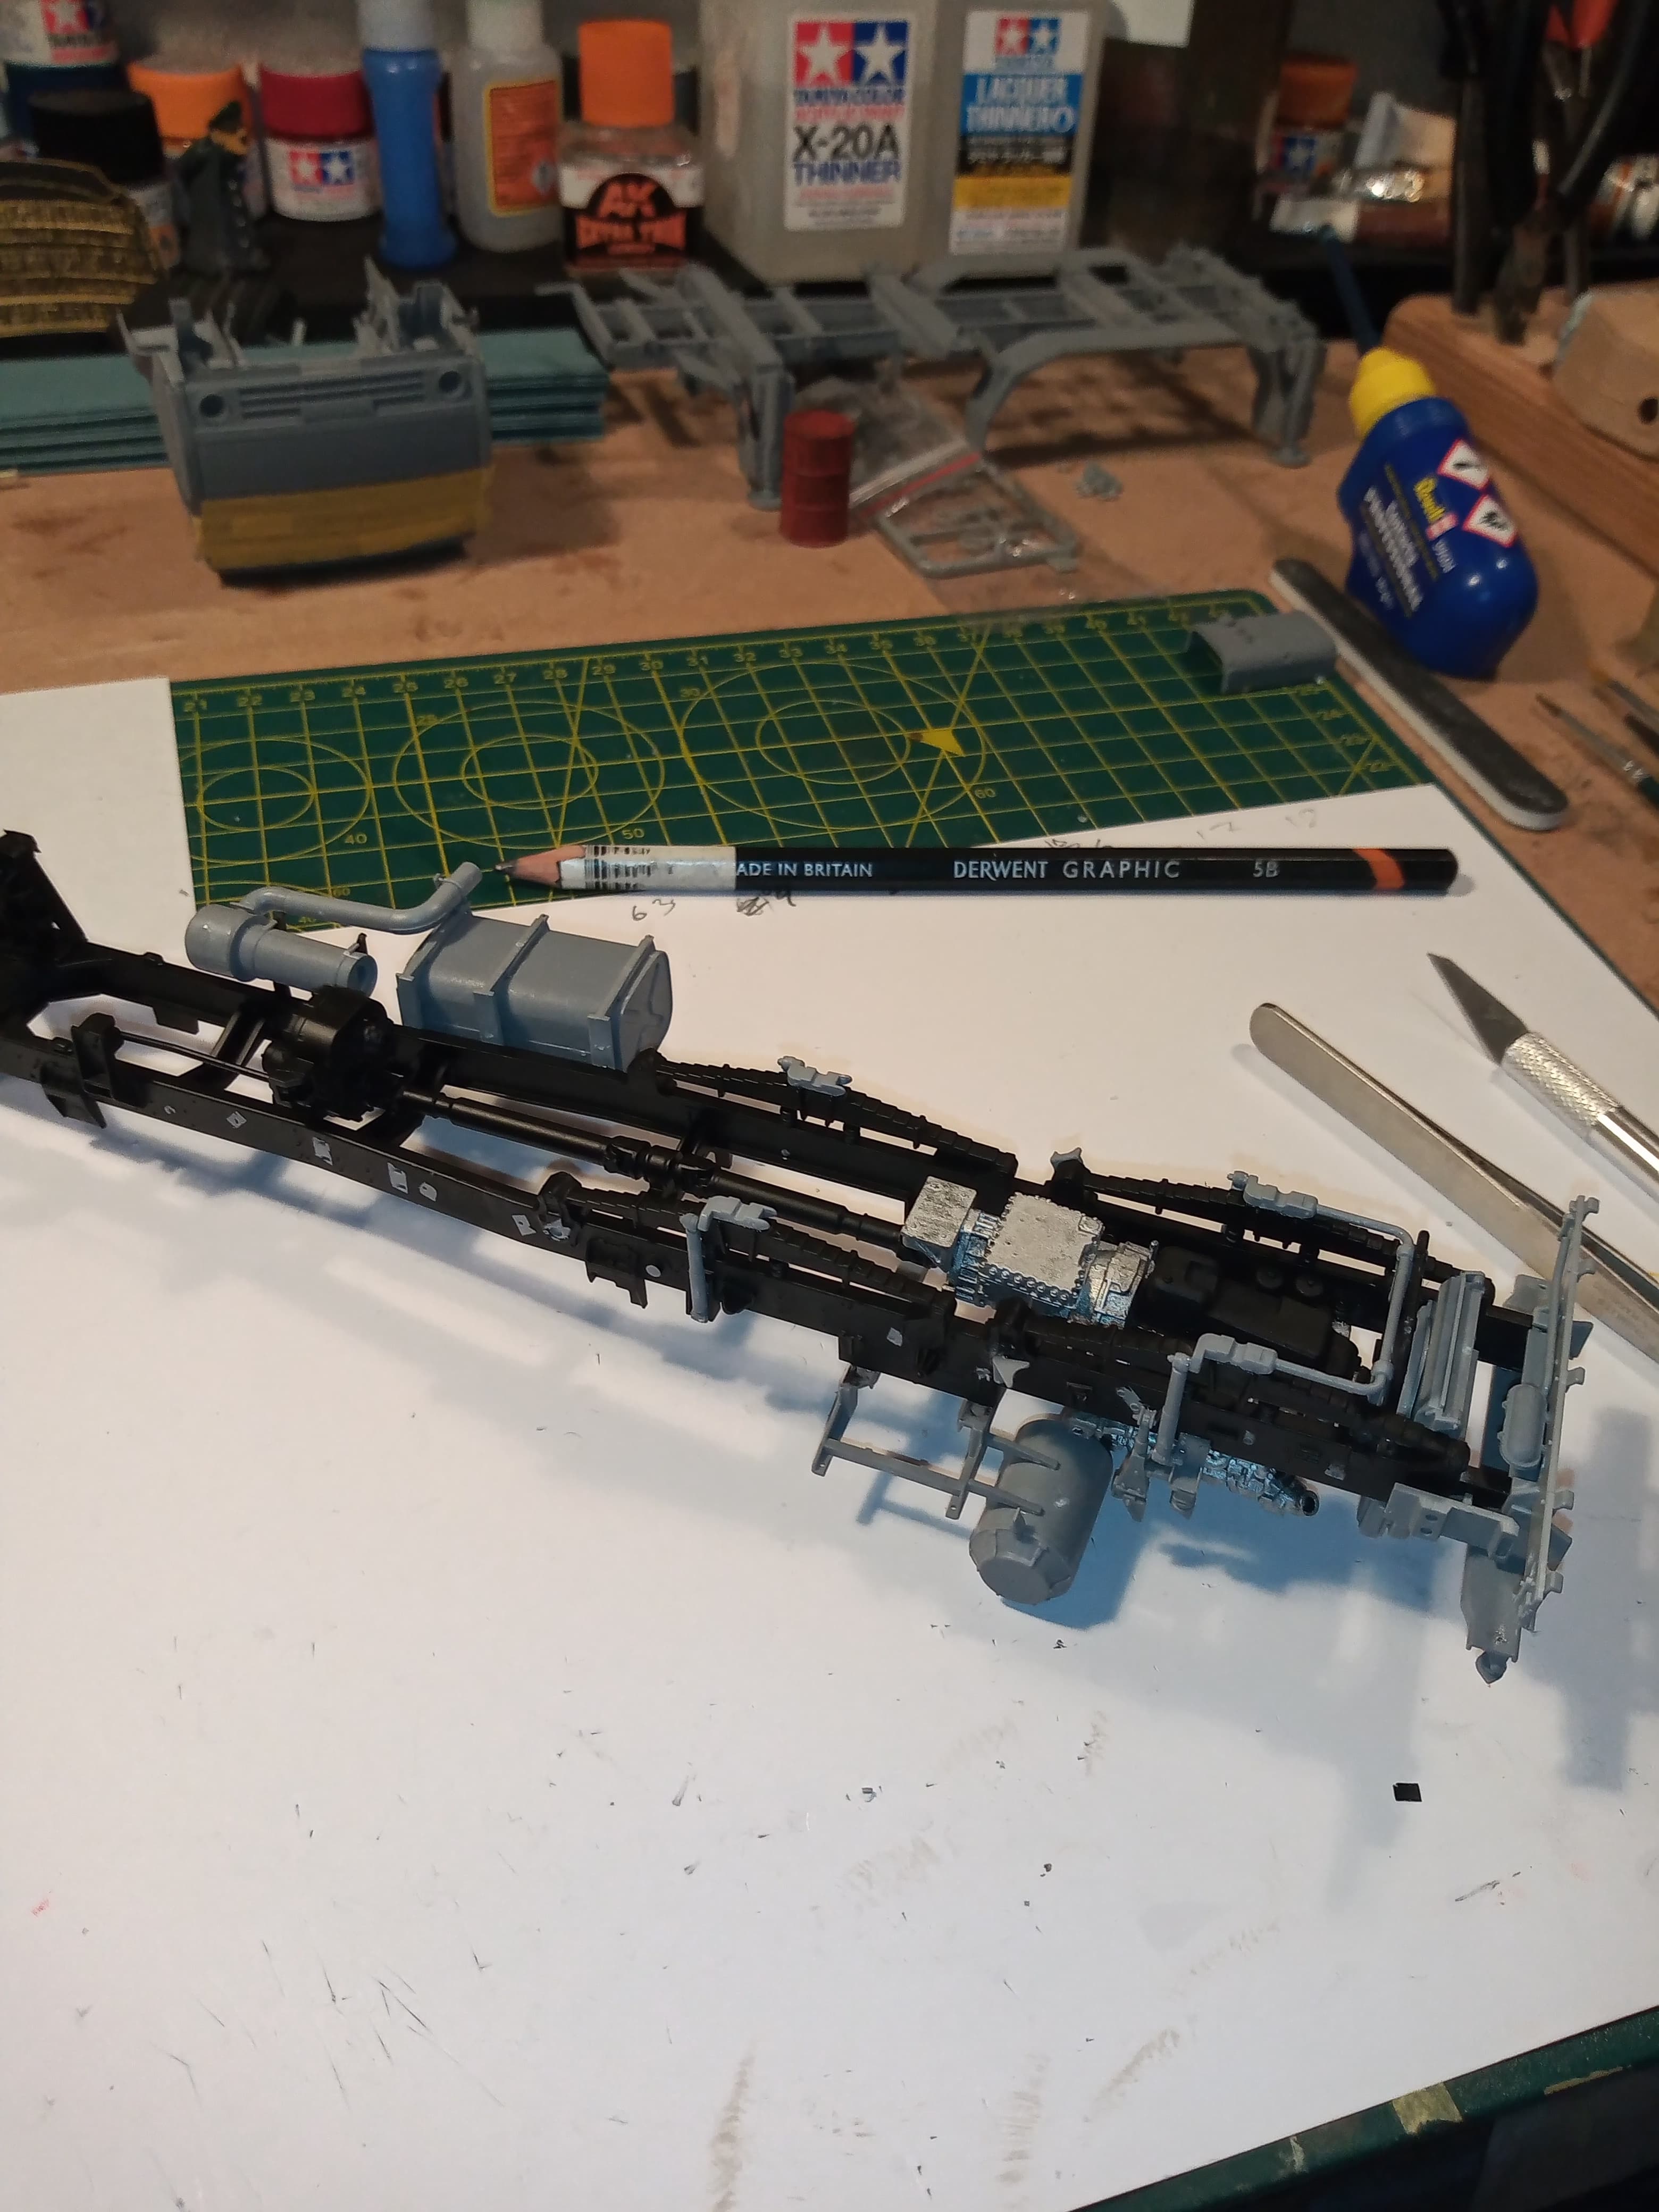
Same detail for the underside of the chassis. A lot major parts to go here including axles, exhausts and other air tanks etc.
@@SSGToms , Matt you’ll love doing this but it’s going be full on mate… Lol
4 Likes
Just keep posting those pictures, great reference material for whenever I start mine…
1 Like
Why have I never thought to do this?
2 Likes
I usually do tape or very small balls of blue tac, but I’d run out of that
1 Like
@Johnnych01 Yeah John that’s a full project and I have 4 PE sets for it - that’s why I have it saved for 2023.
1 Like
I forgot about the PE sets you’d got for it… That will be epic in itself… Will be tagging along for that ride definitely
1 Like
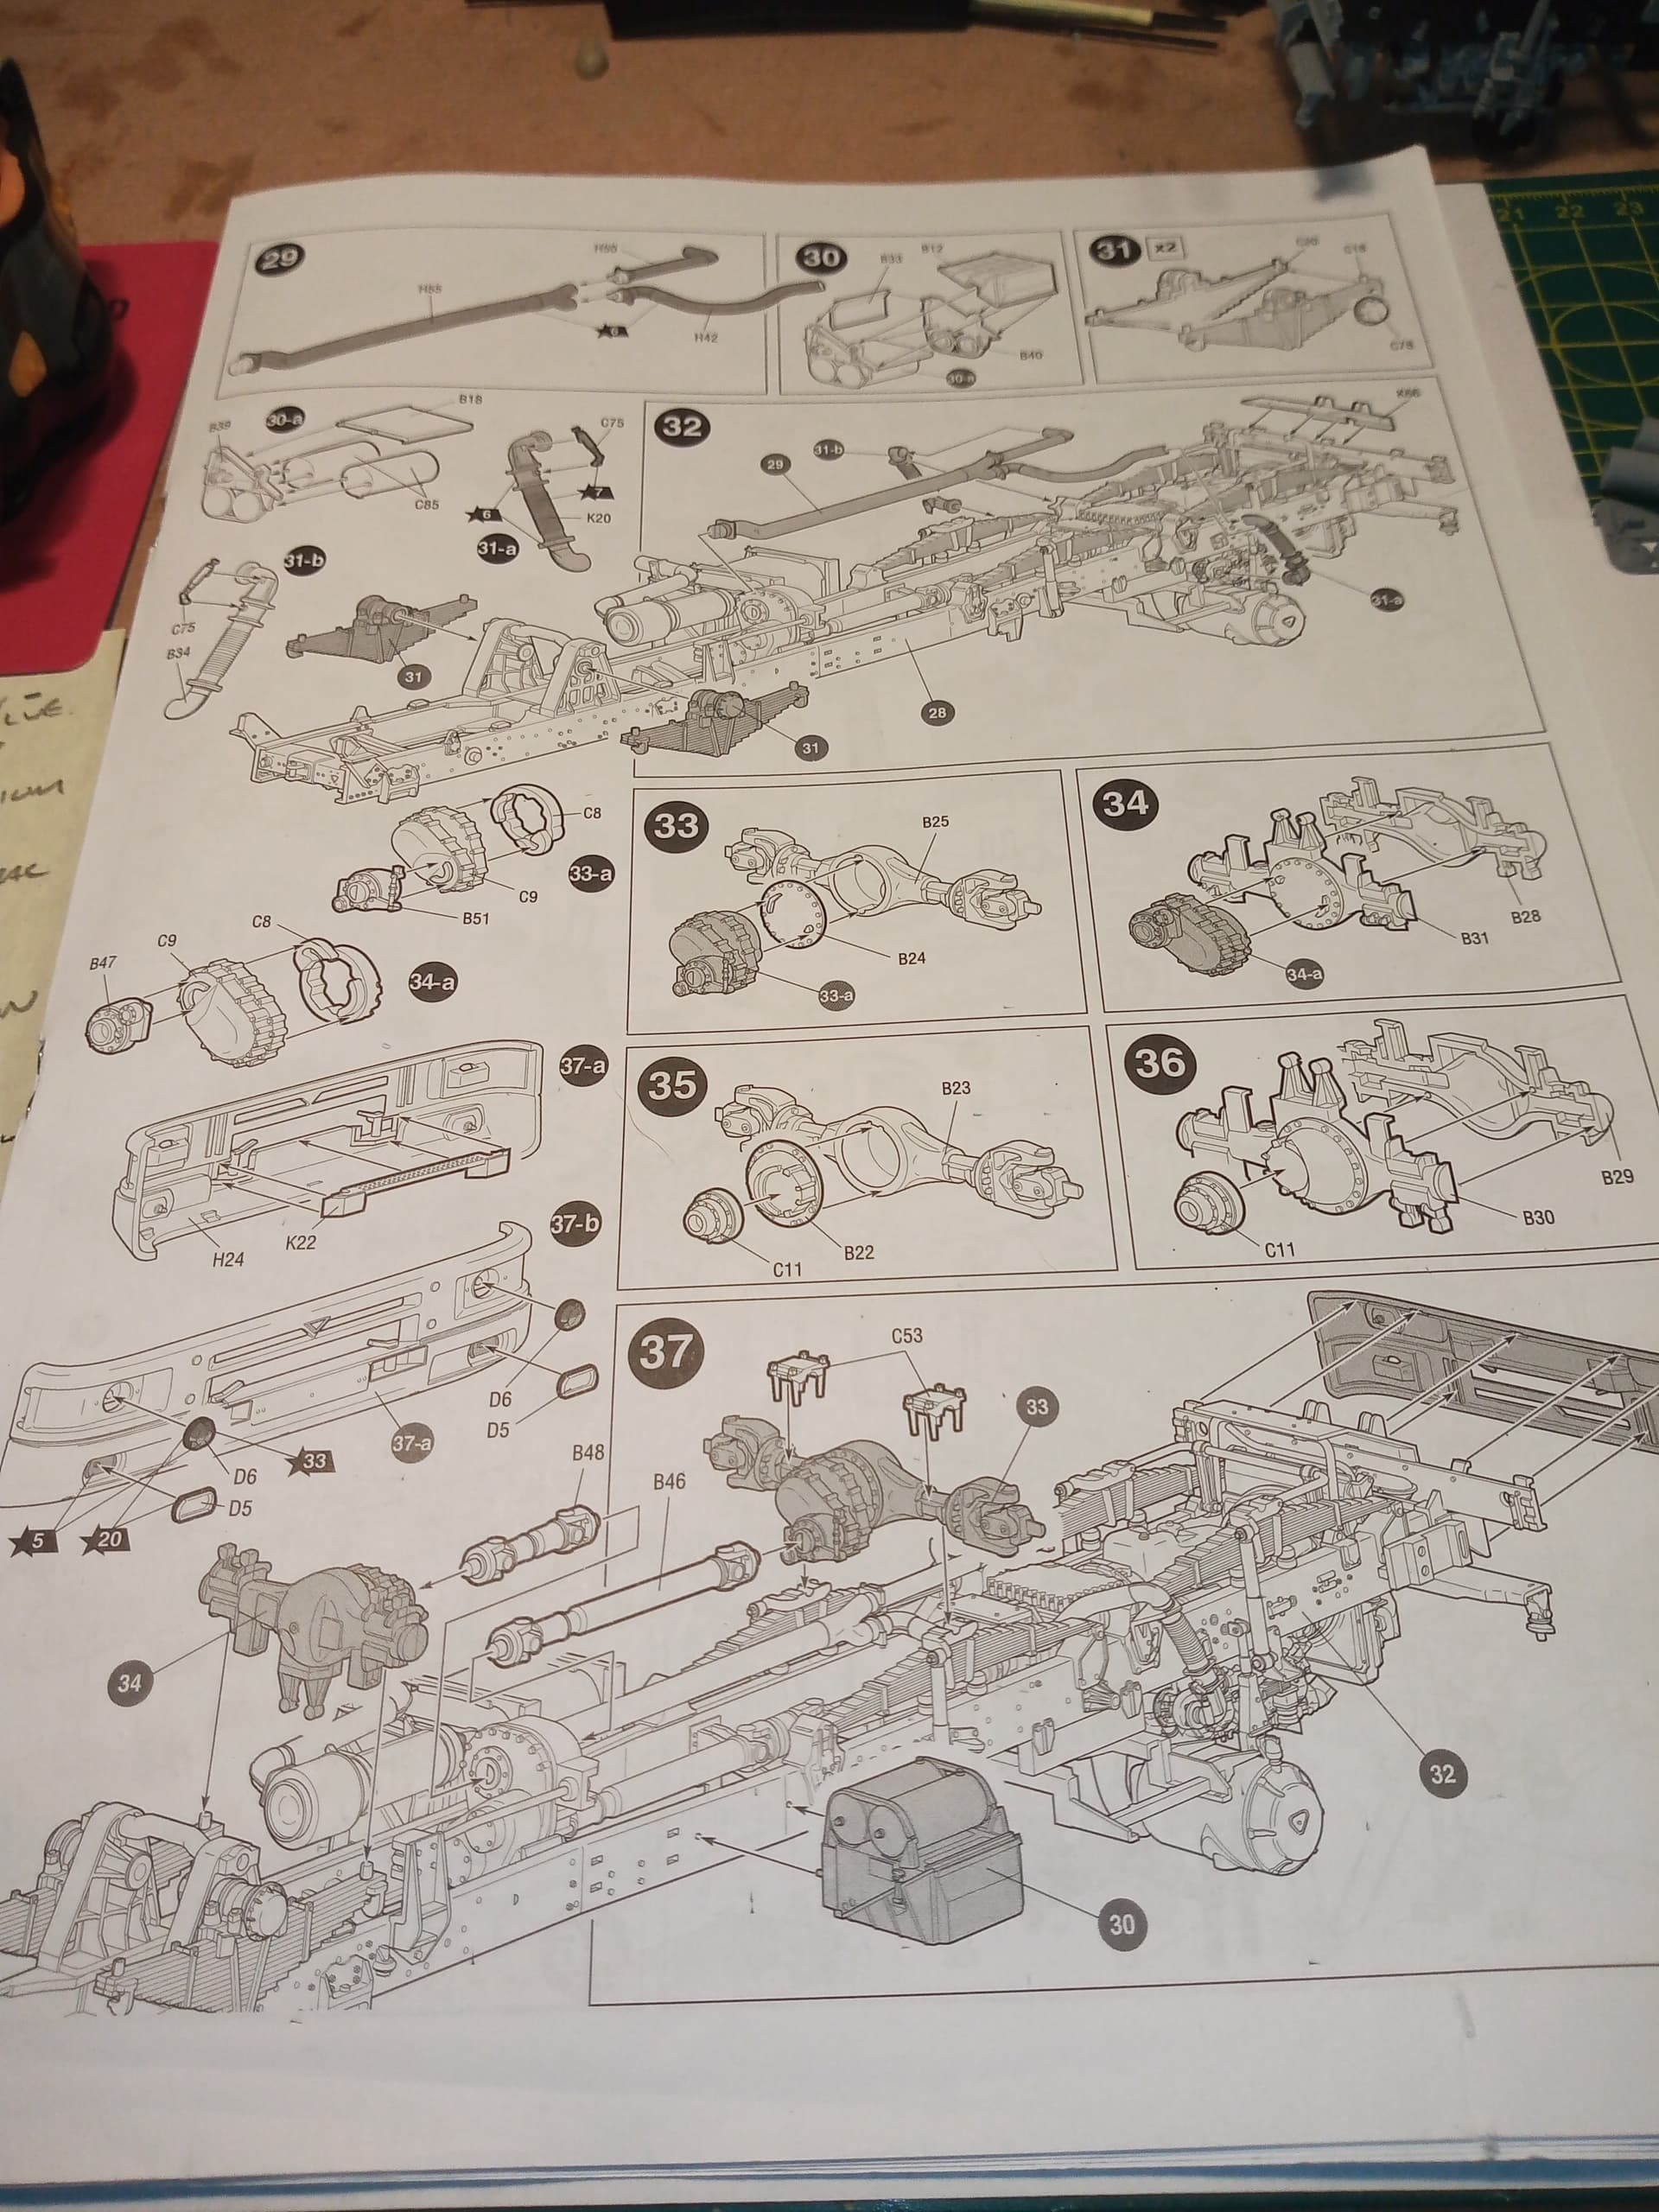
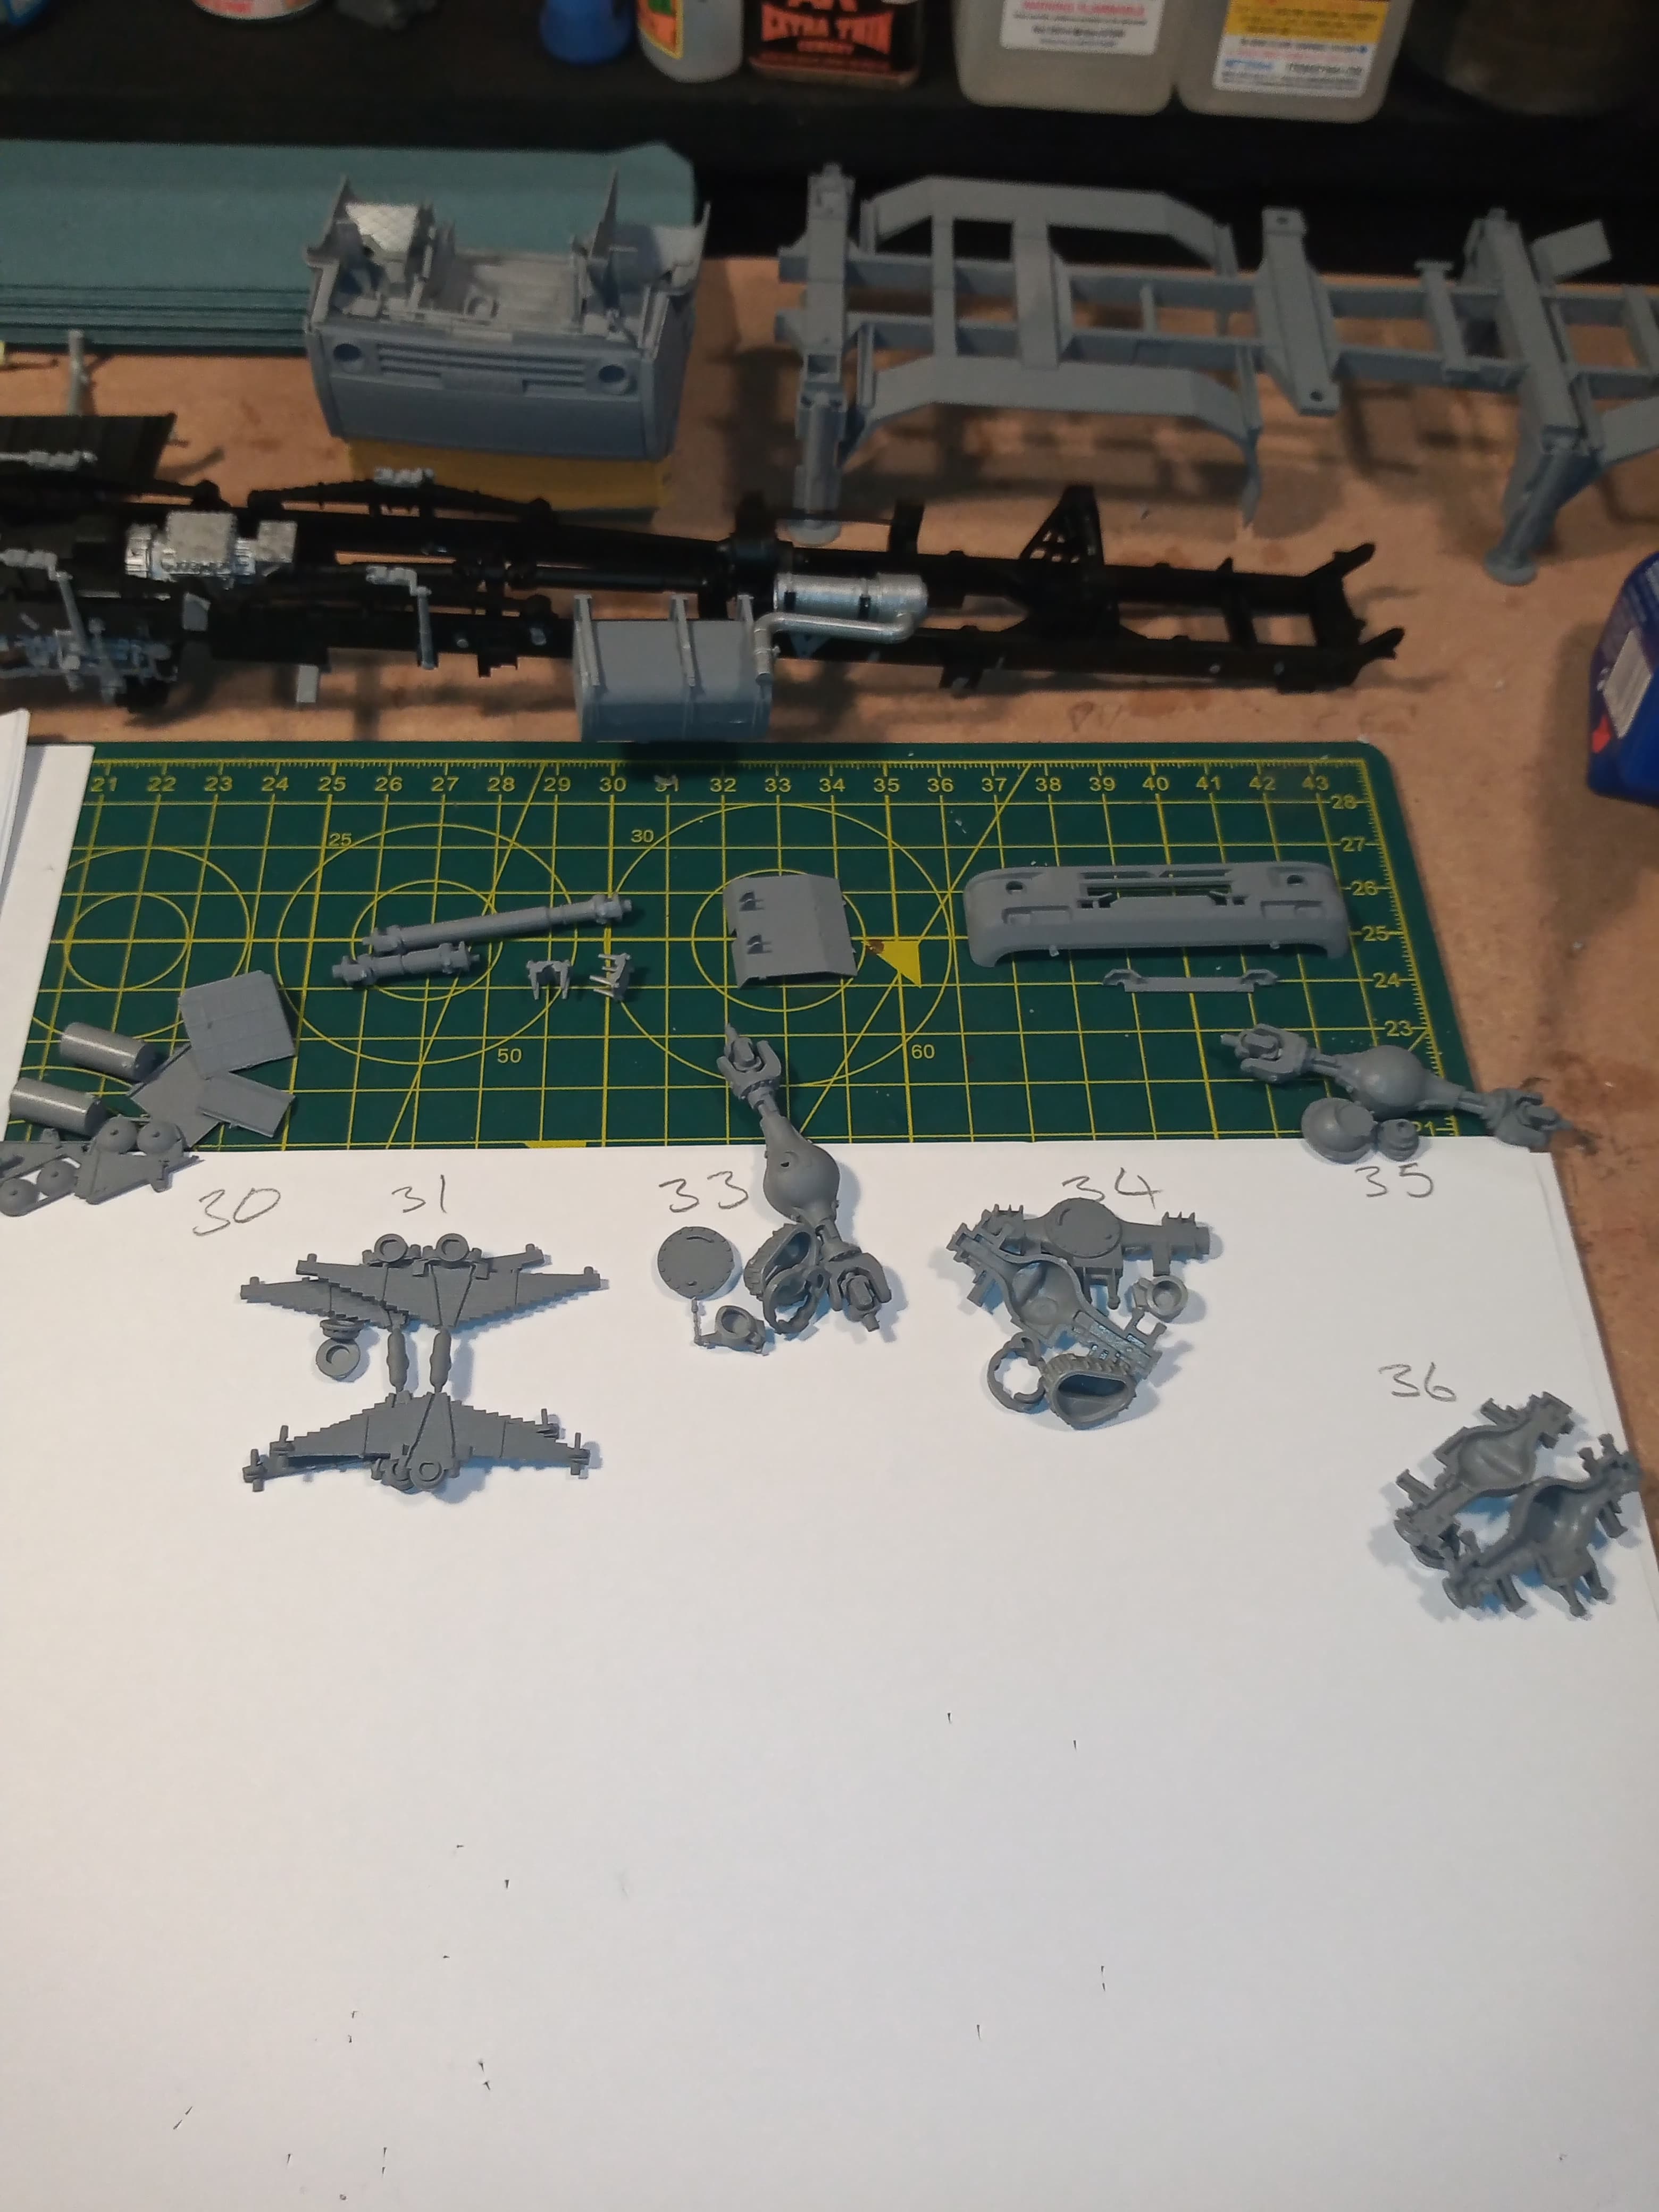
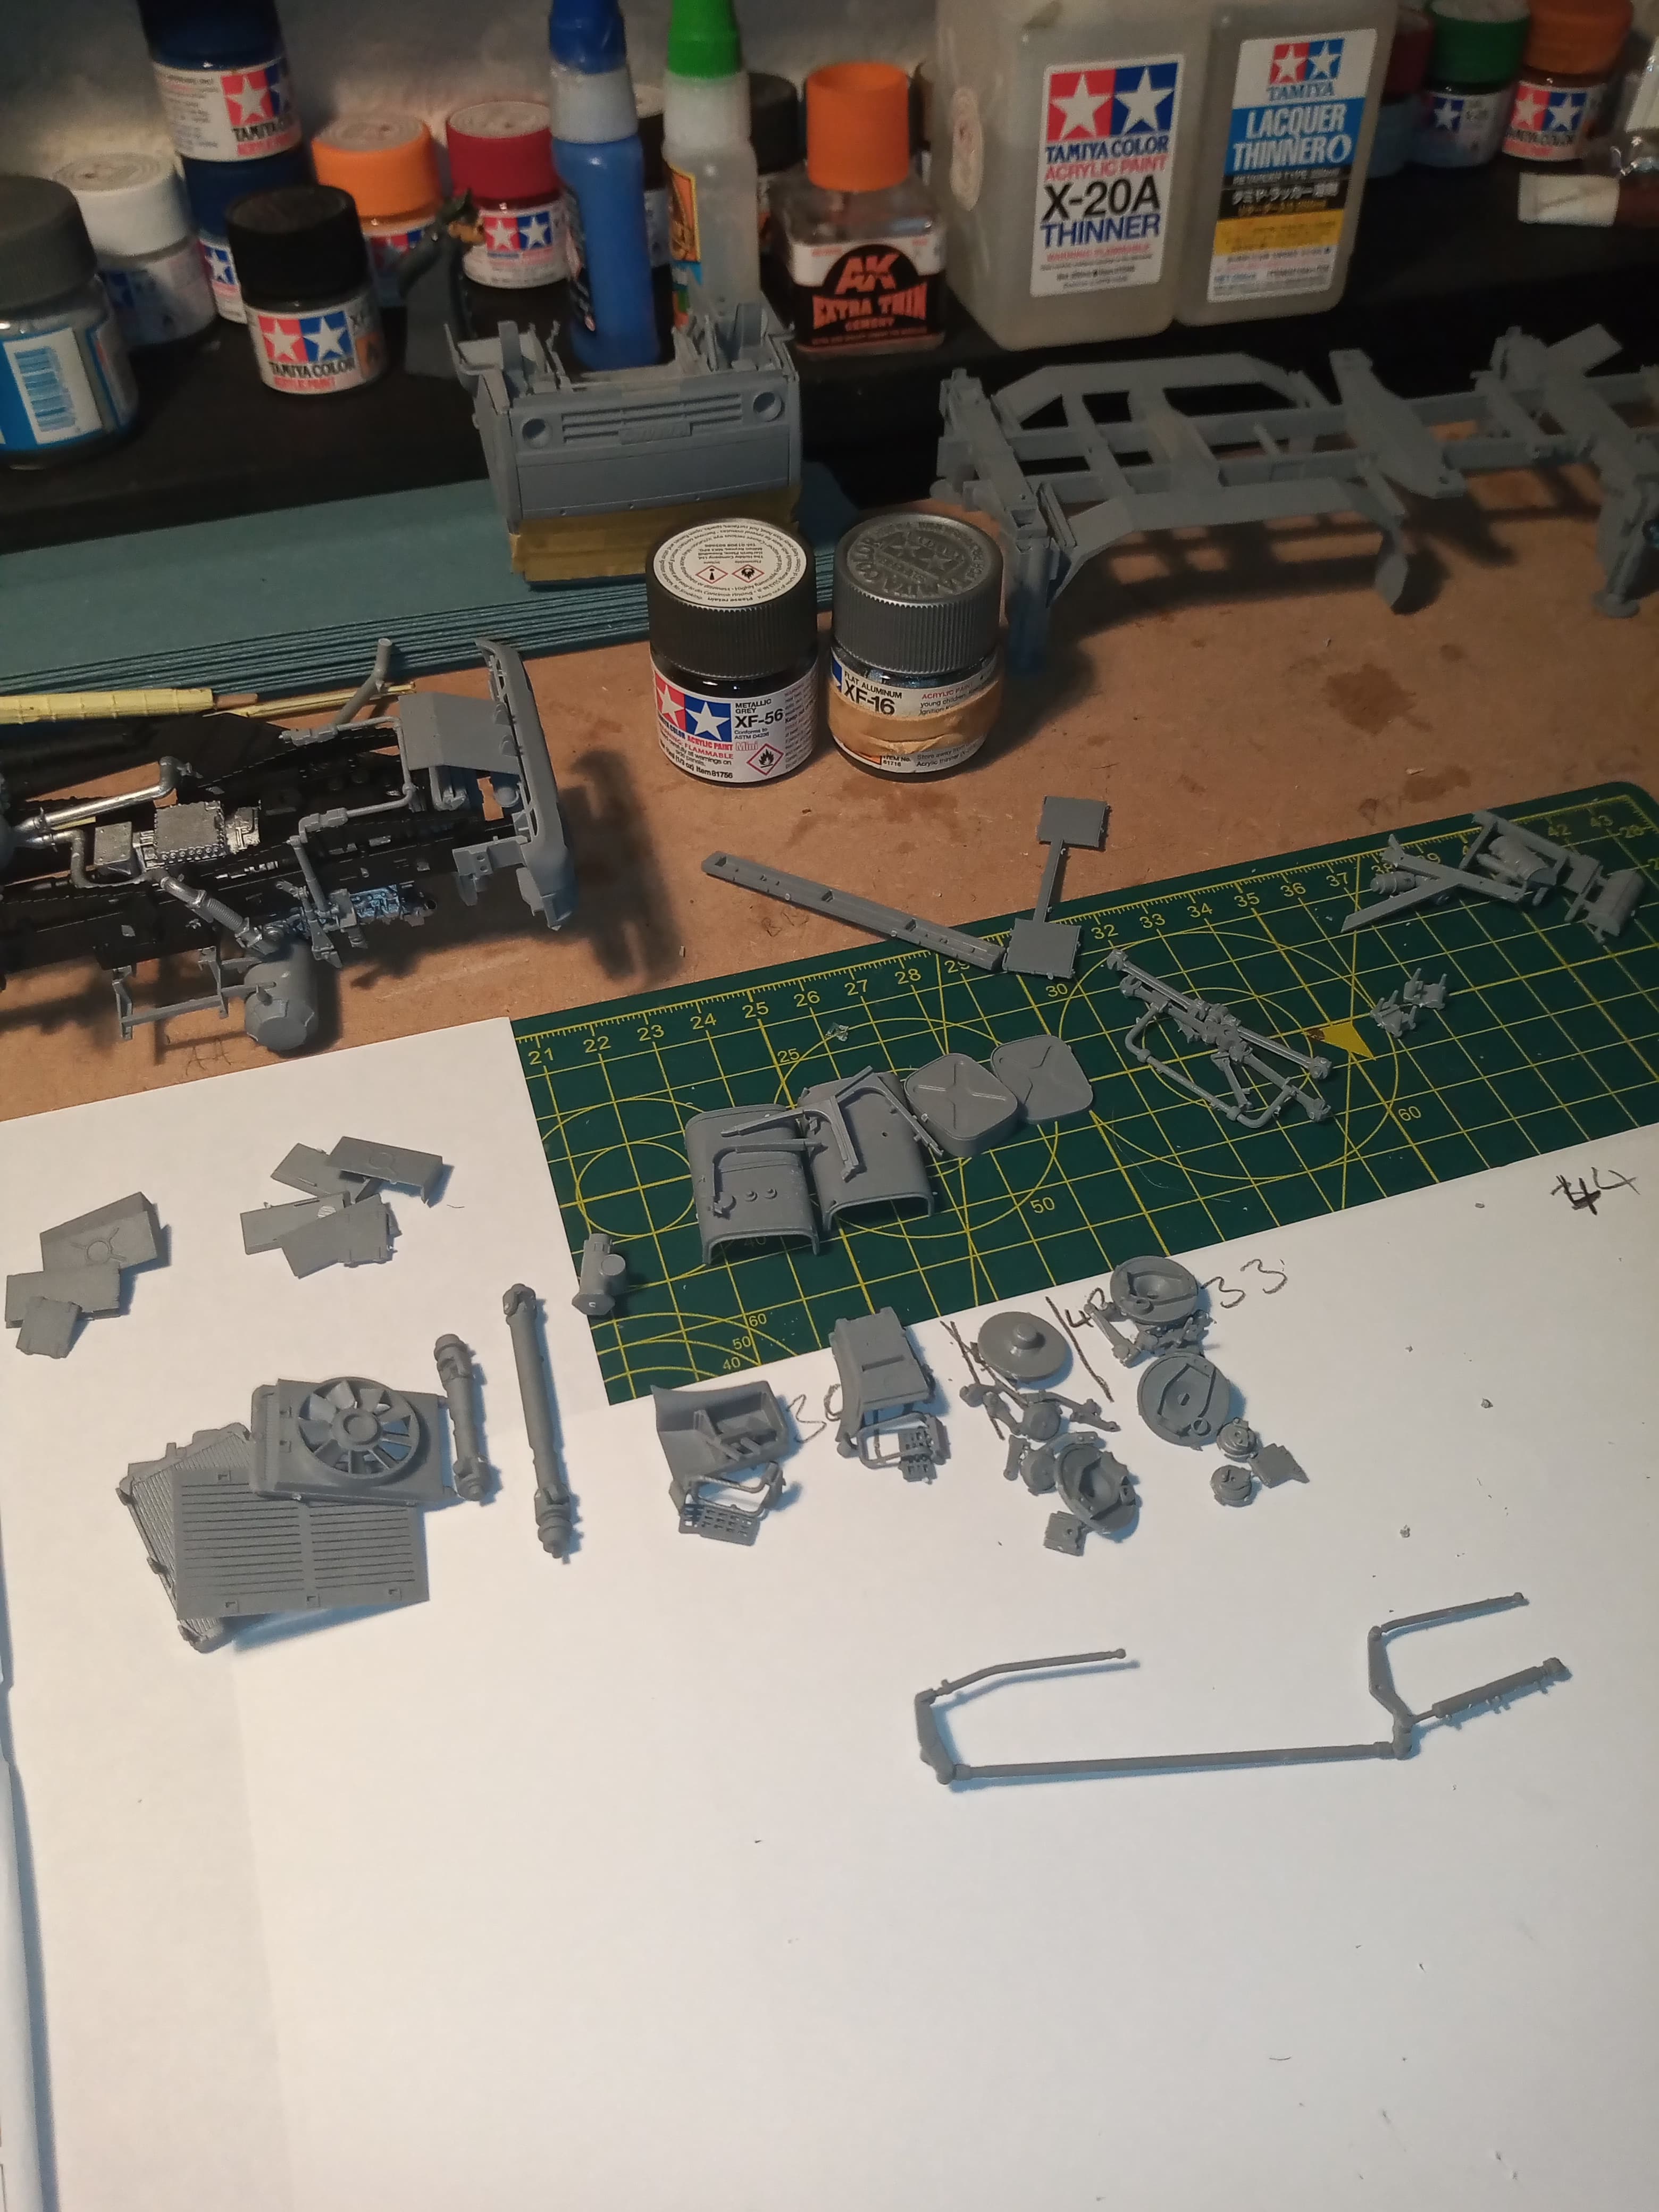
Remember I said crazy amount of plastic…
The next steps… 29 through to 37
And the parts off (less a few on painted on it) the sprue… Ready to be trimmed and fitted.
5 Likes
All those bits were put together and a exhaust painted (still have to do the metallic grey parts)
And put on the chassis. All this will eventually be Matt black.
View from the front.
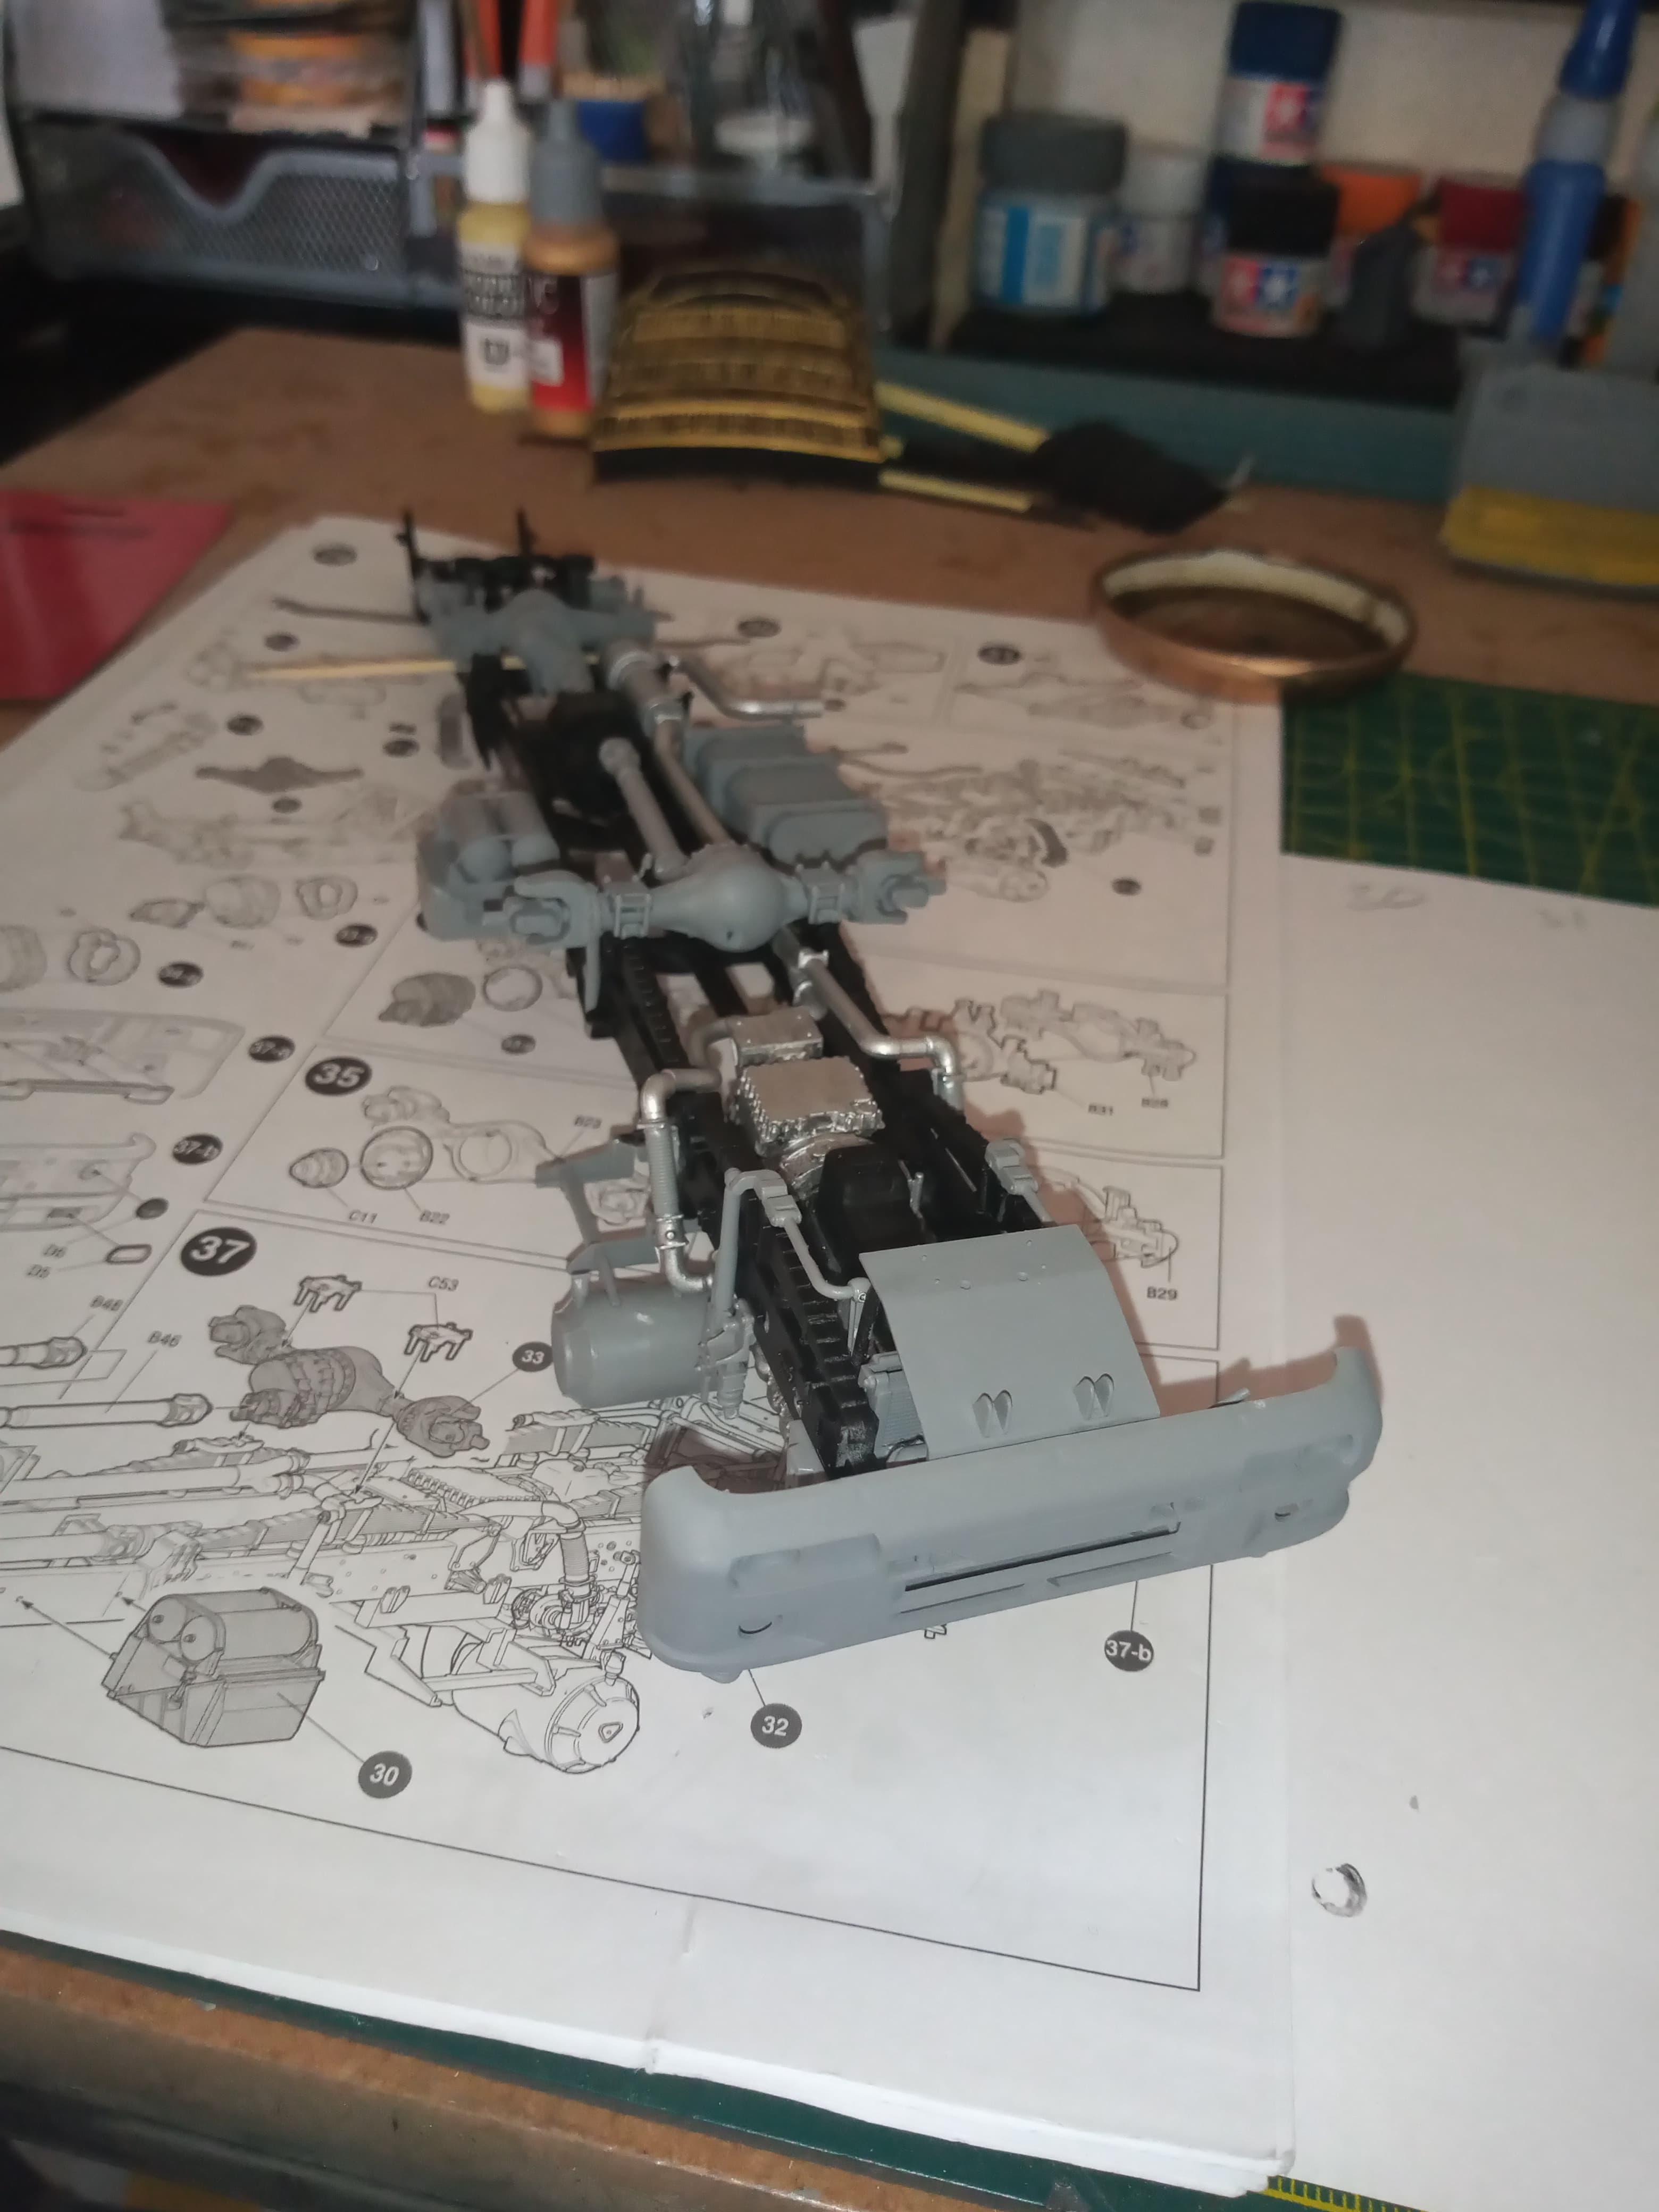
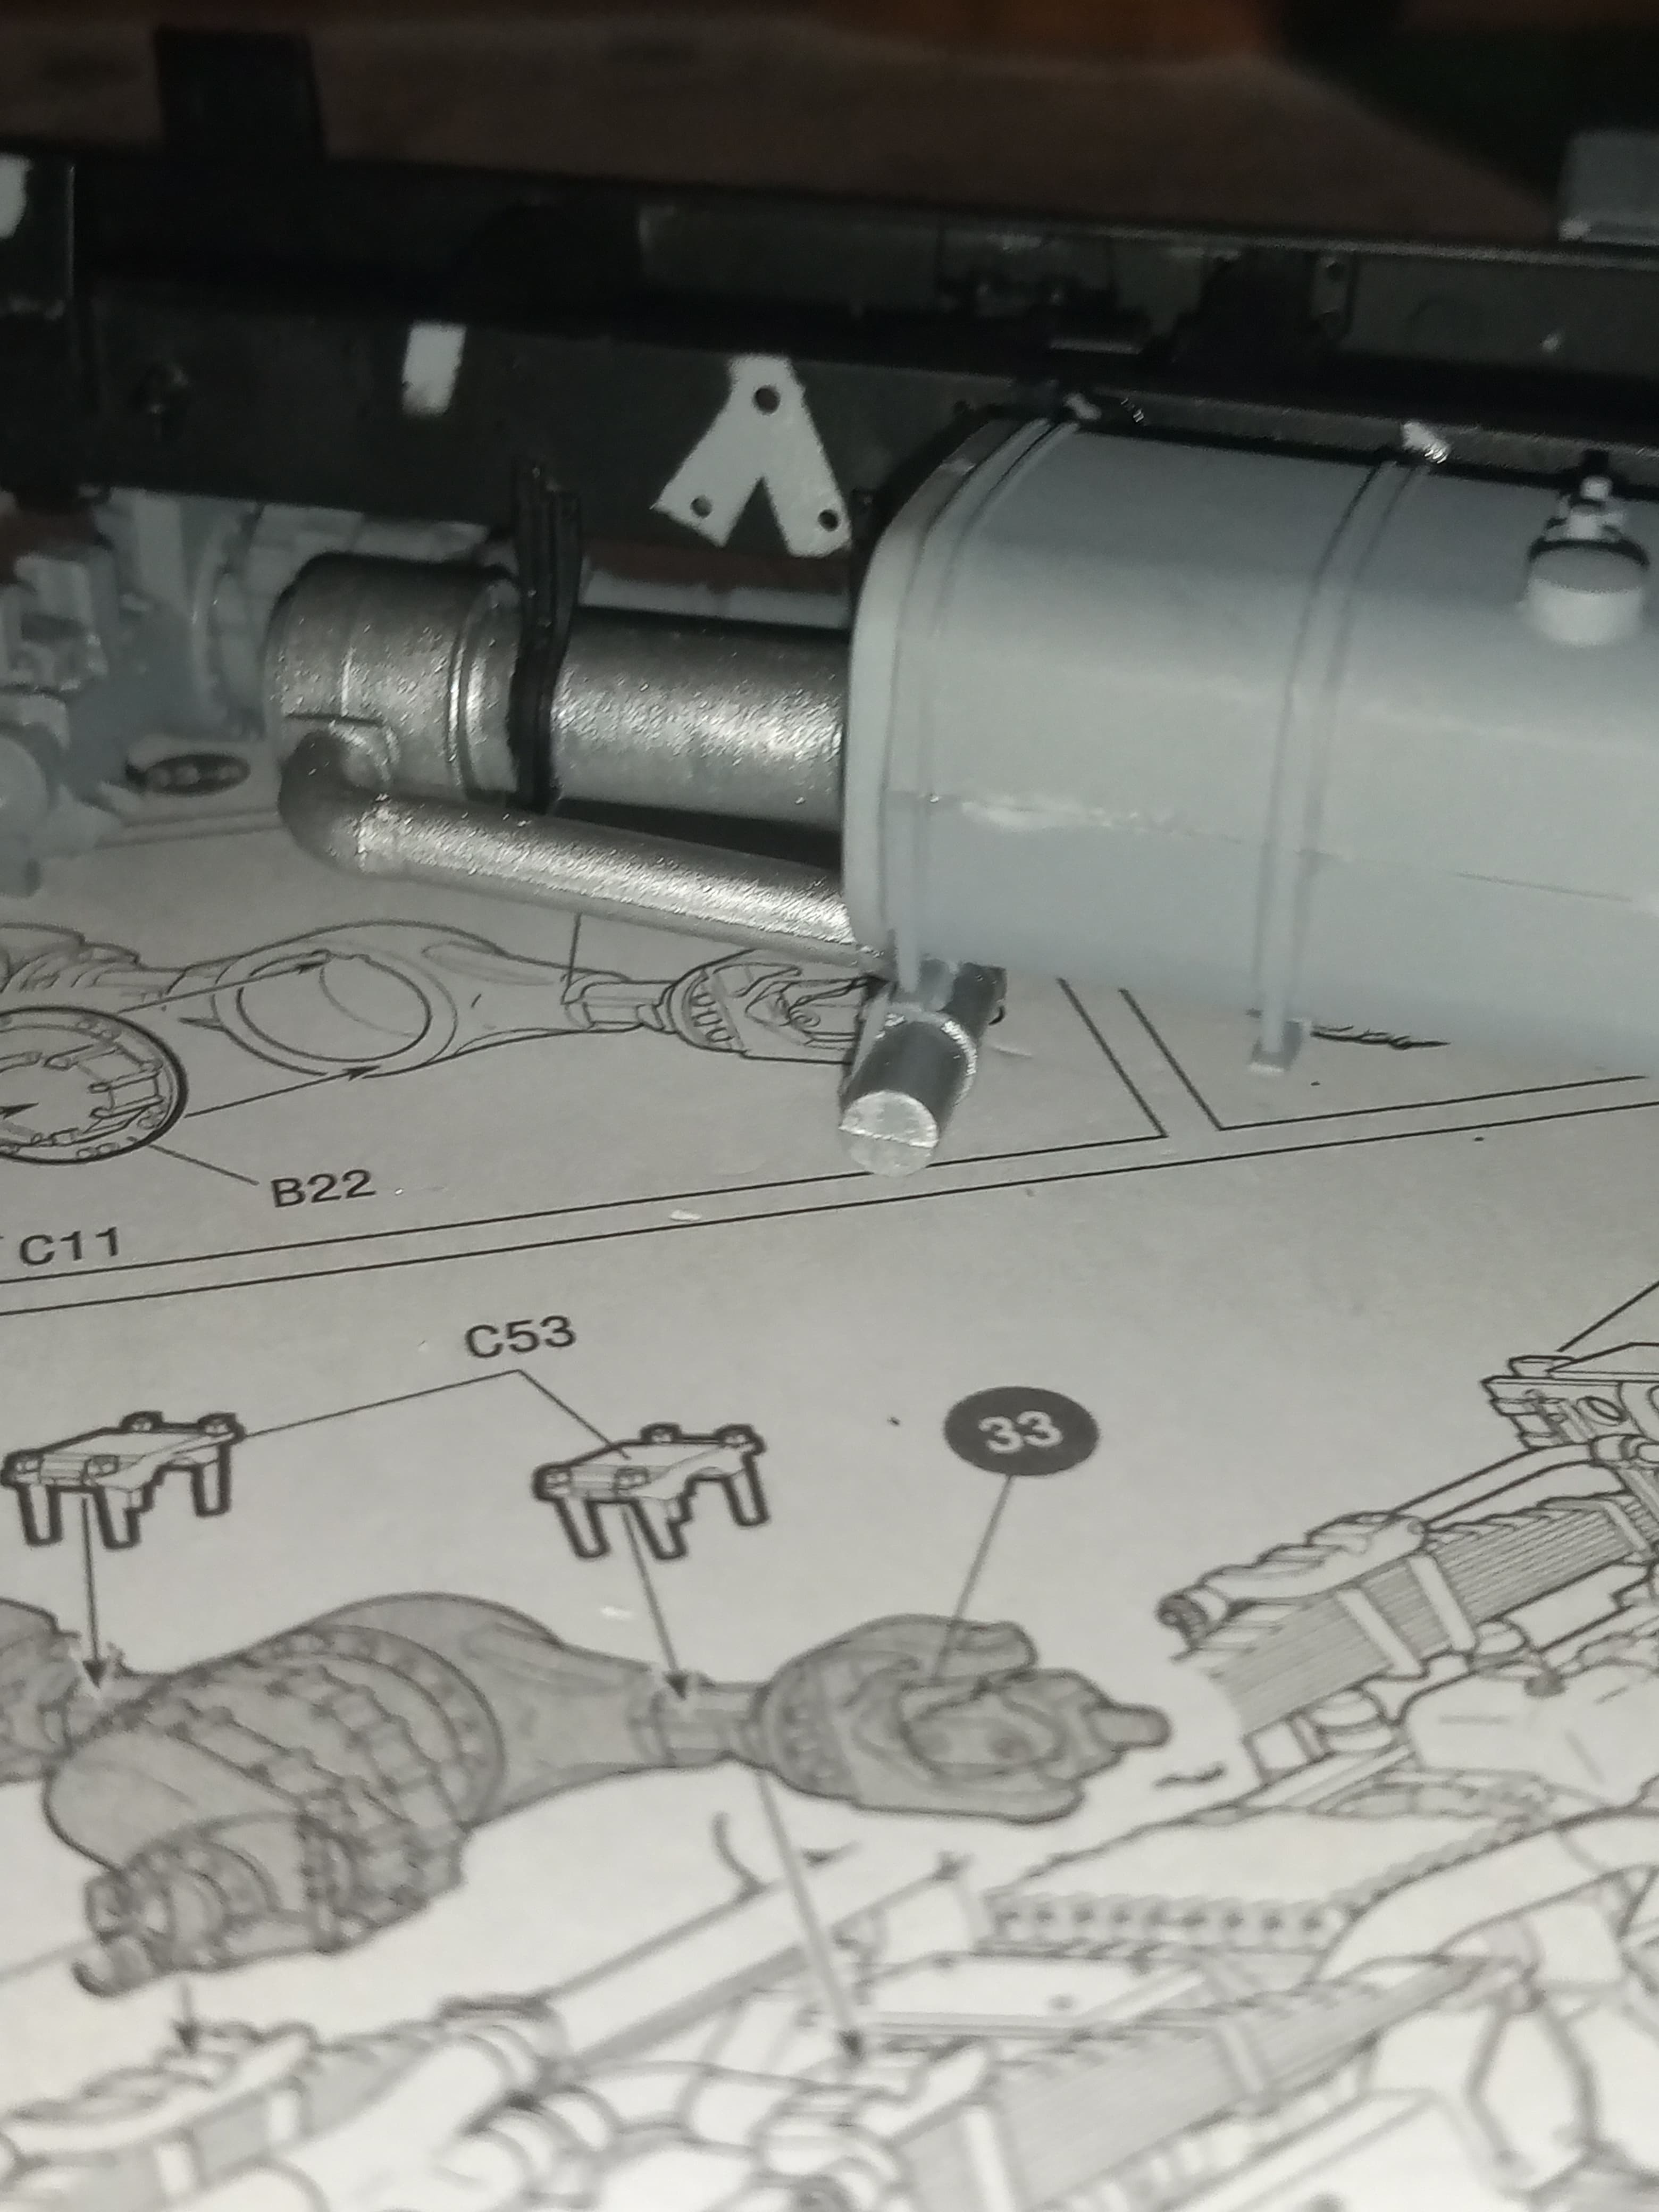
One thing which seemed odd considering the amount of detail Zvezda put into this, is they didn’t bother to give you an open end pipe for the exhaust, I know it’s an easy fix, just seemed odd to me.
And onto the next page and still on the chassis. Plastic cut and ready to do the sub assemblies.
And after this there is still one more page of chassis parts to do 
5 Likes
@Johnnych01 - your Pantsir is really filling out ! it’s crazy how much detail is packed on the chassis.
I’ve been tempted to order an S400 system since the Ukraine standoff is brewing
1 Like
There has been some good footage of the S400s and Pantsirs. From what I’ve seen they have 2 Pantsirs as what must be close air support to a battery of S400s, pretty lethal combination…
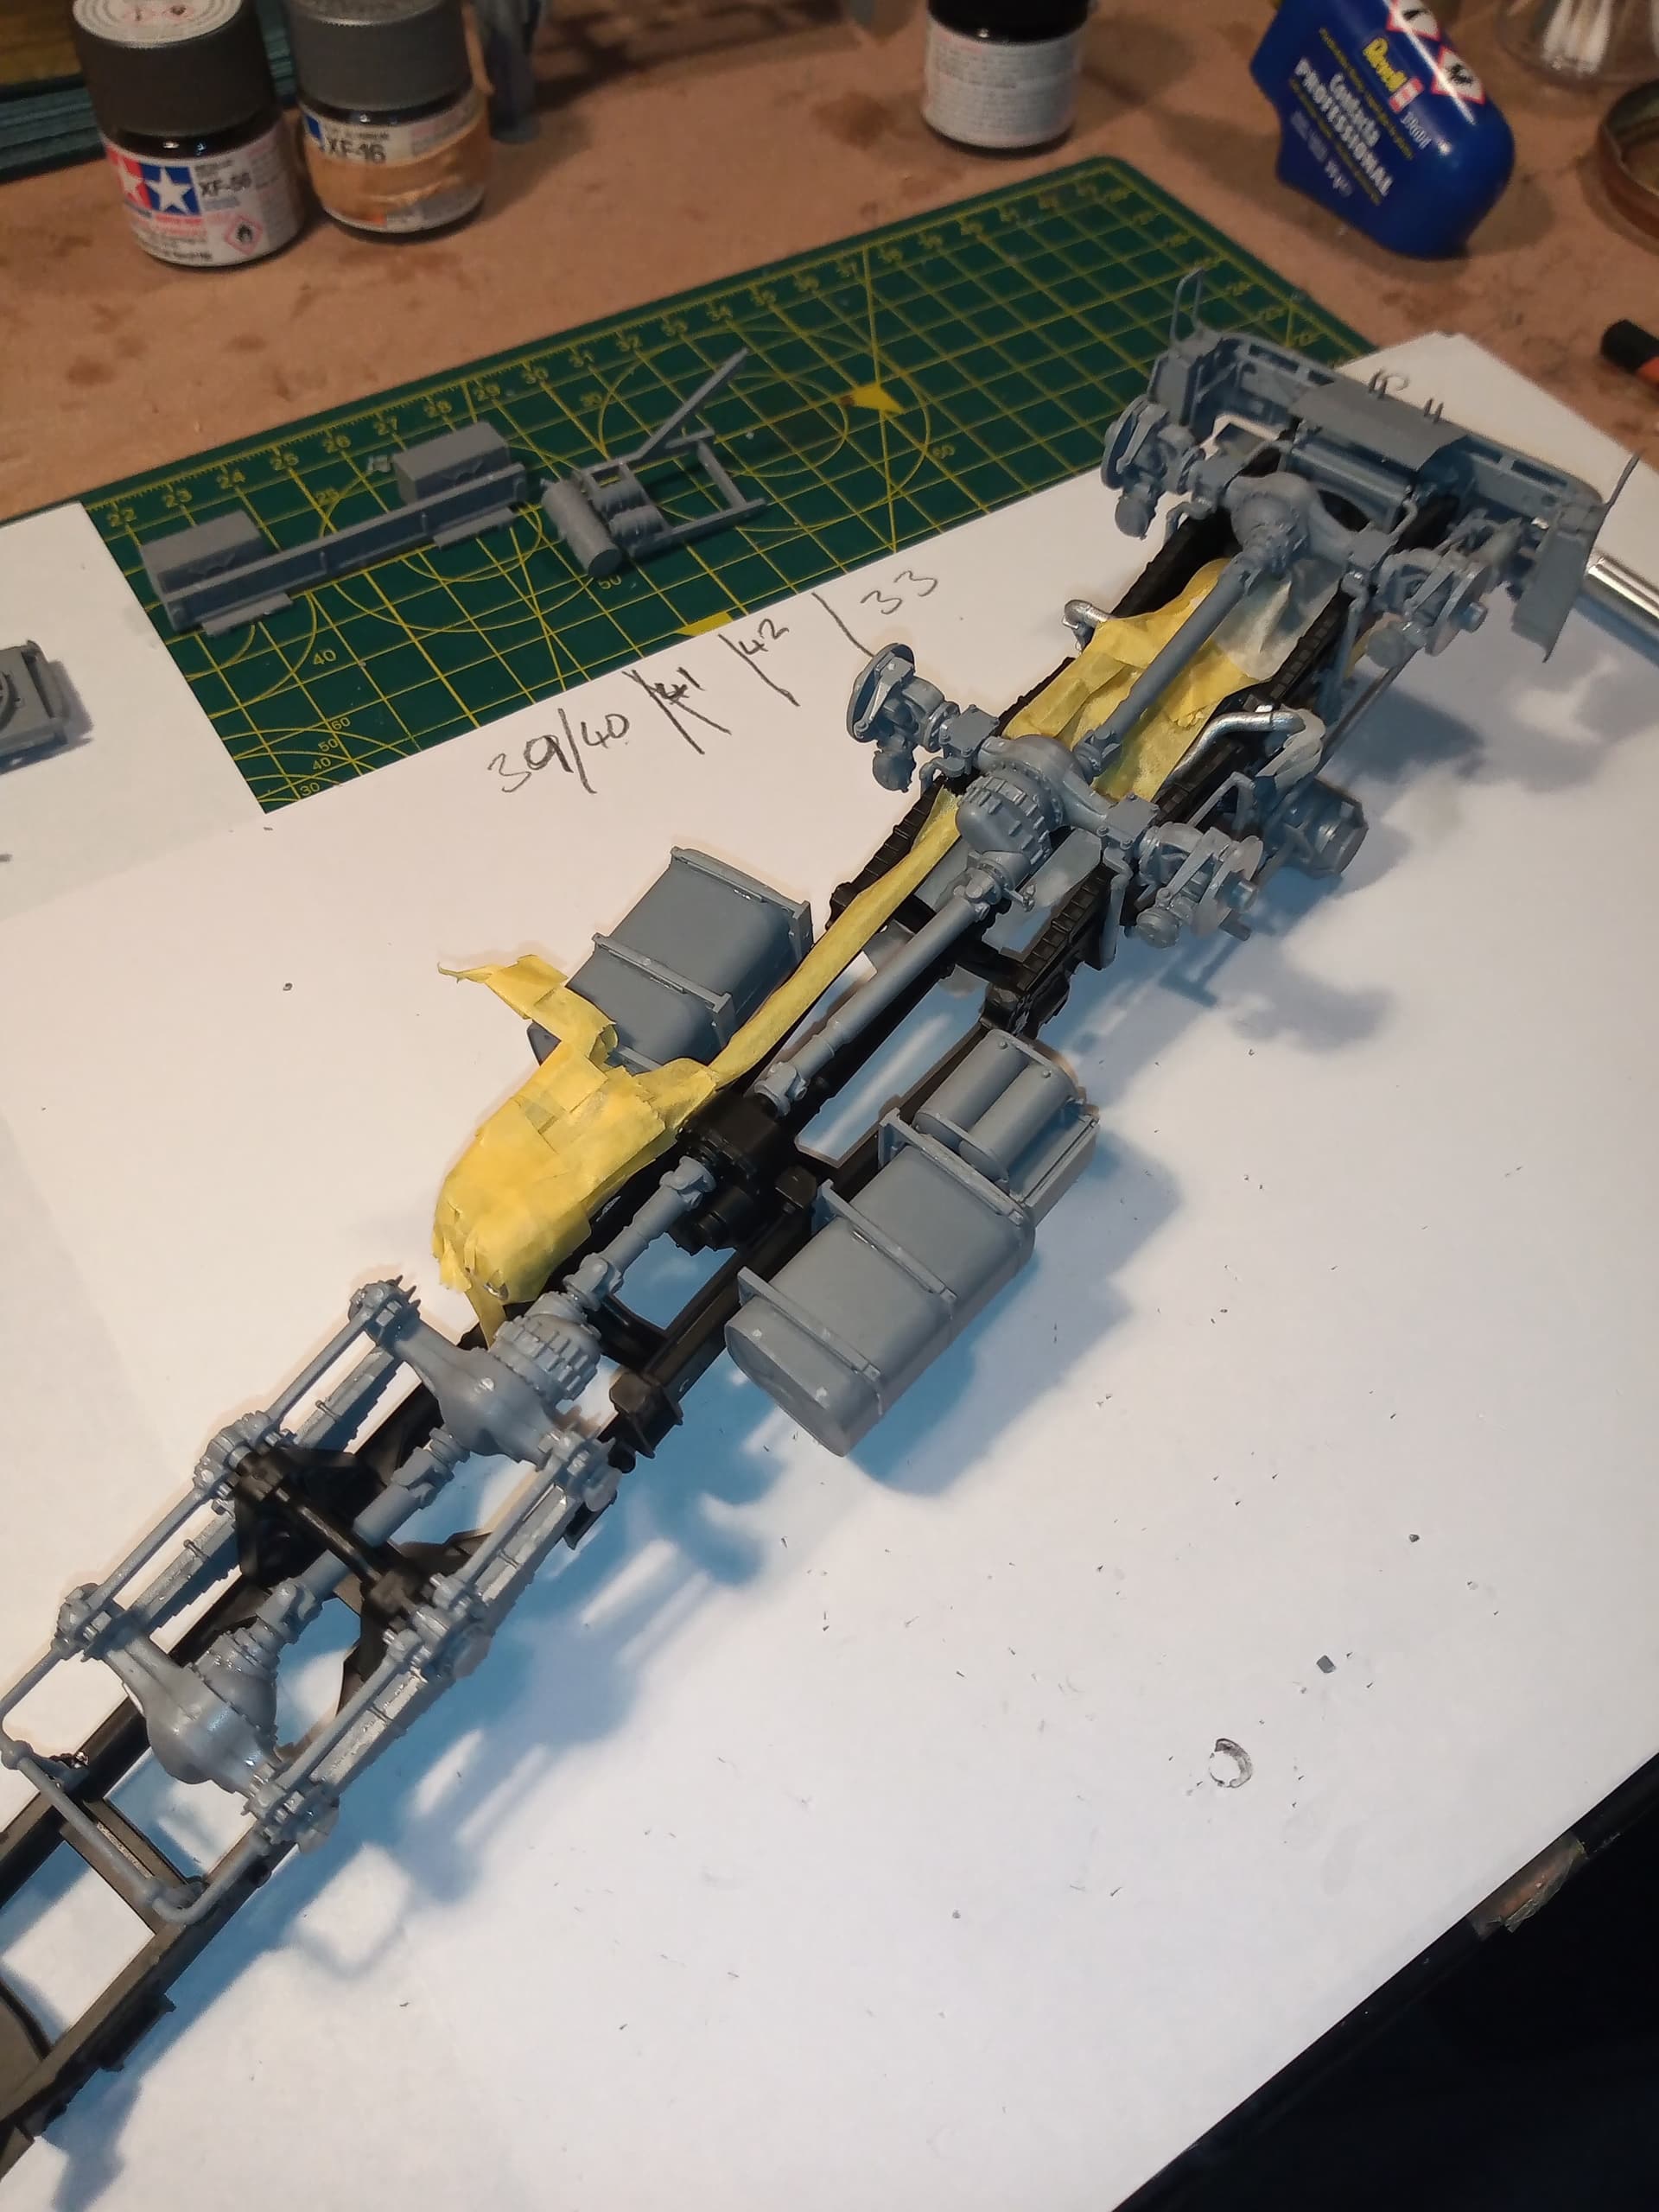
Some more crazy plastic time.
After this only one more assembly page of chassis parts … Yay… Lol
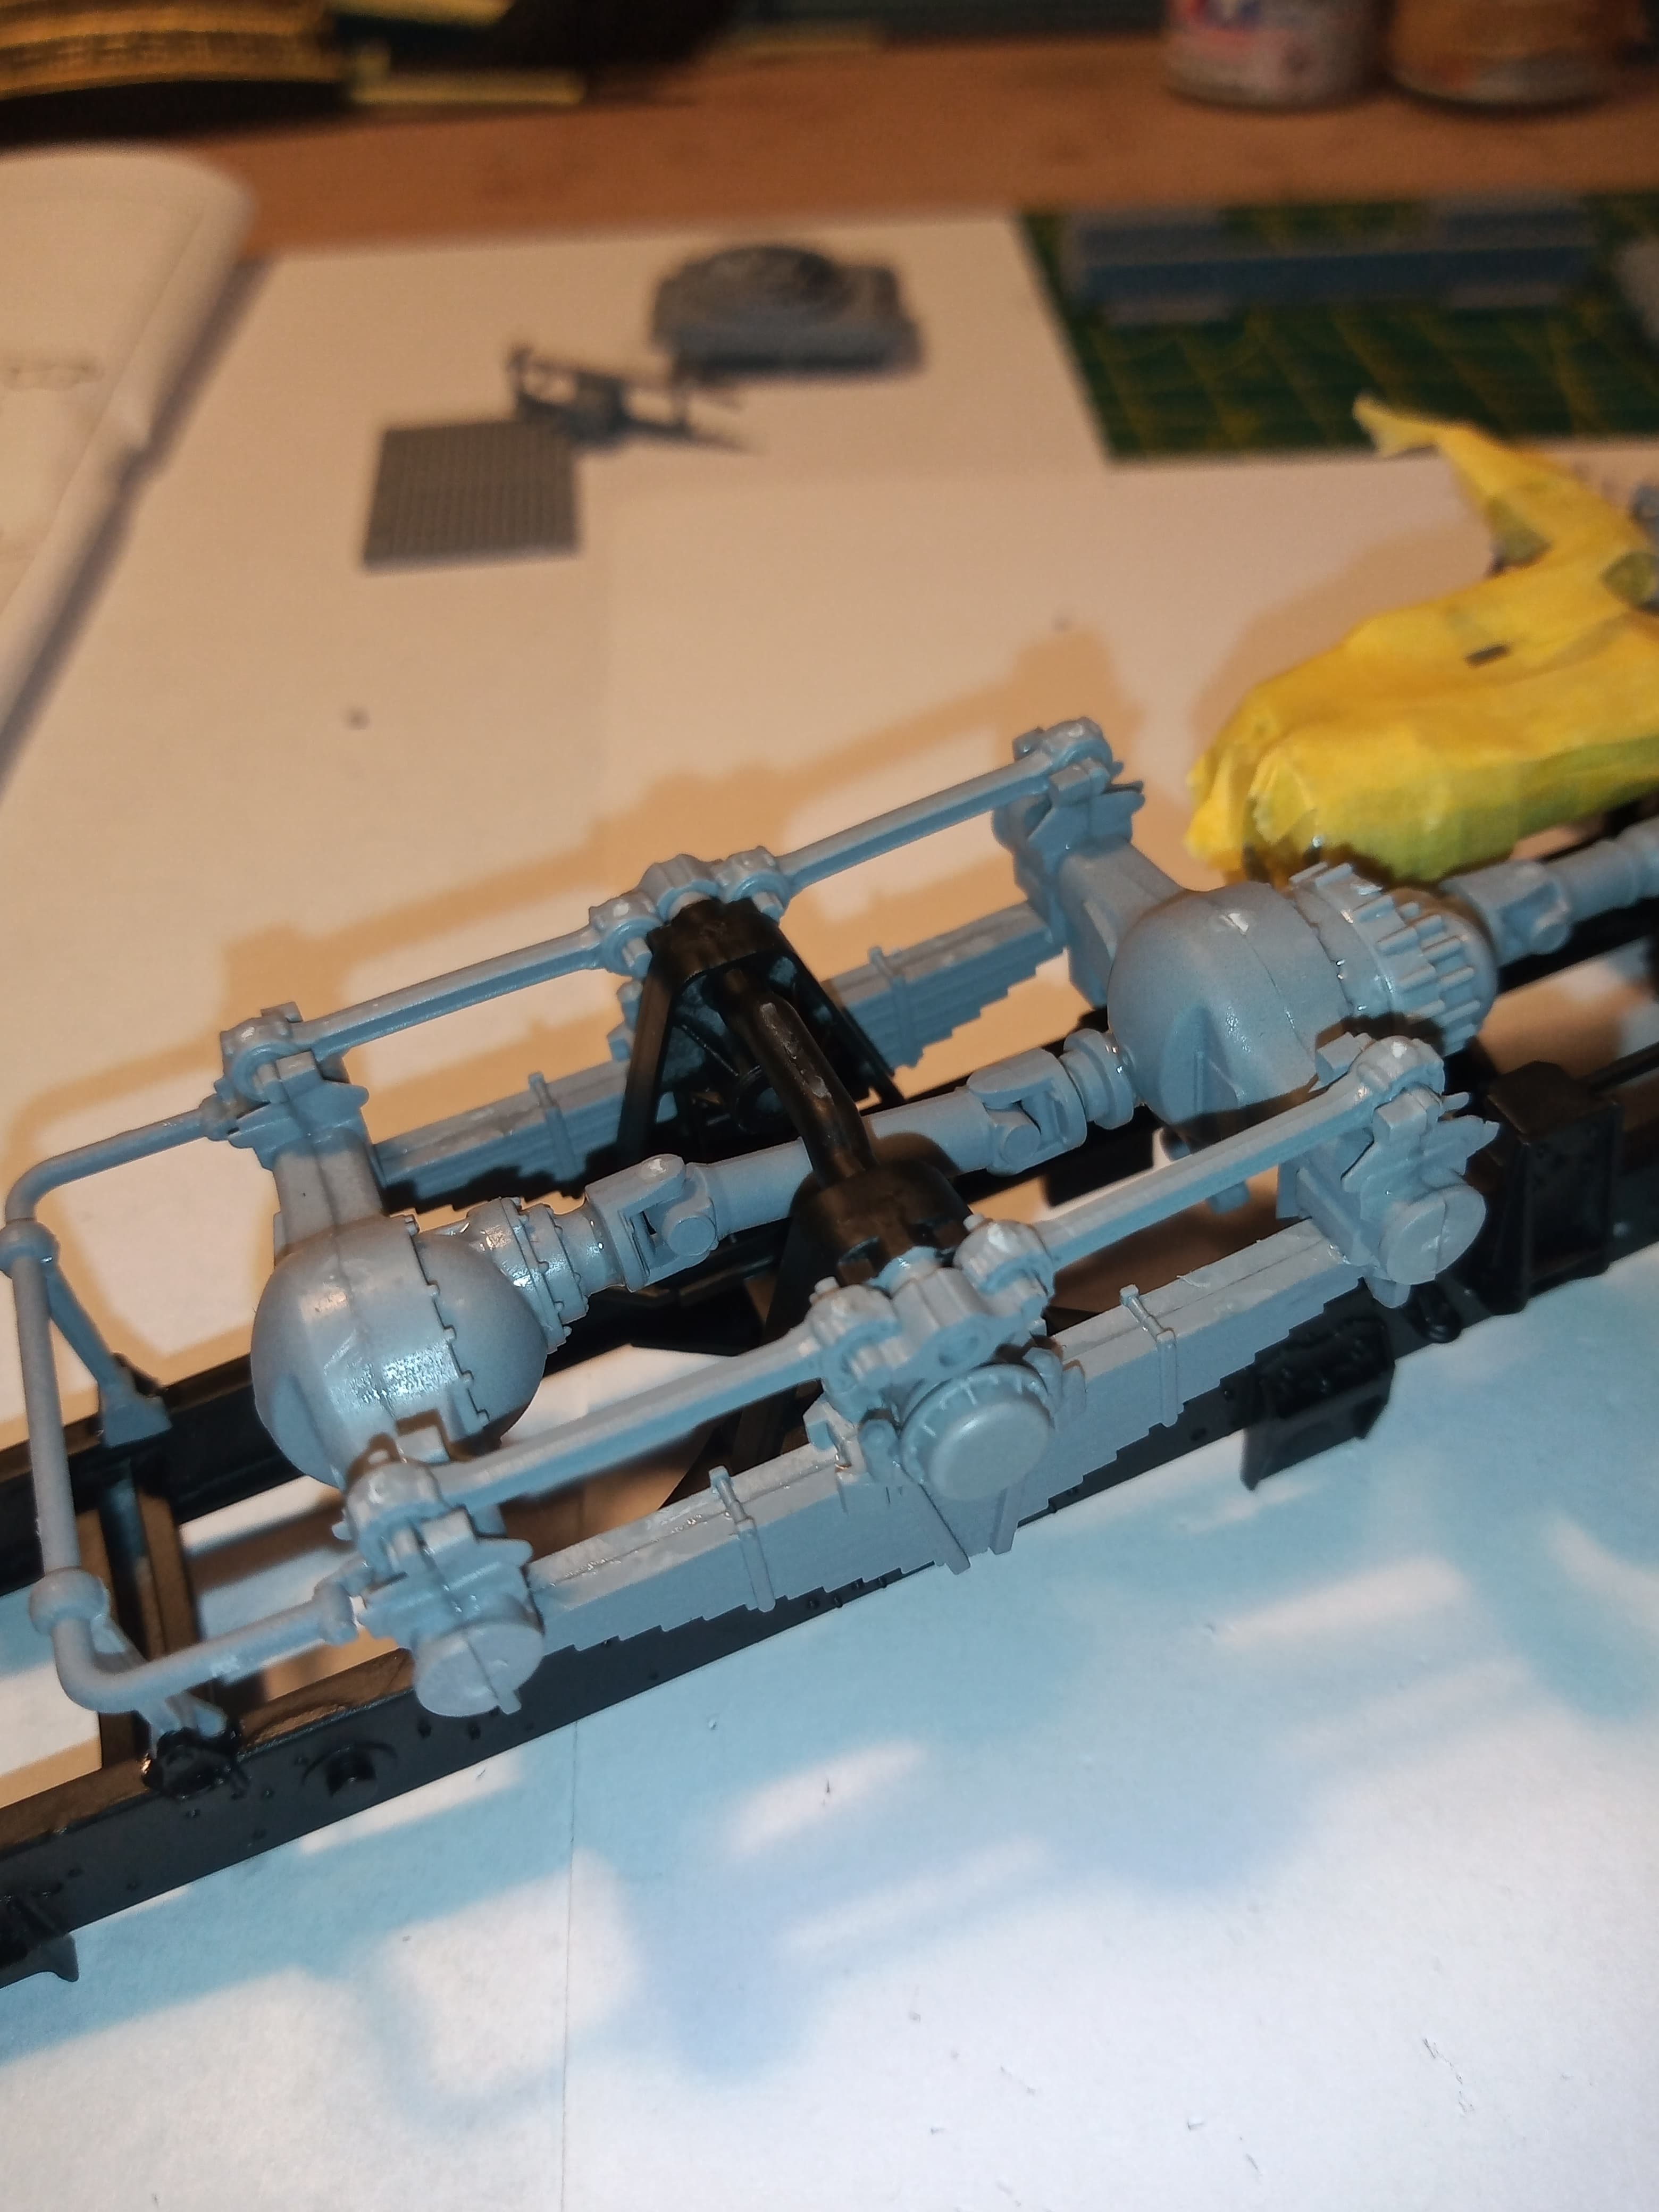
Here’s the bits I did today all fitted or painted awaiting fitting.
Front wheel hubs.
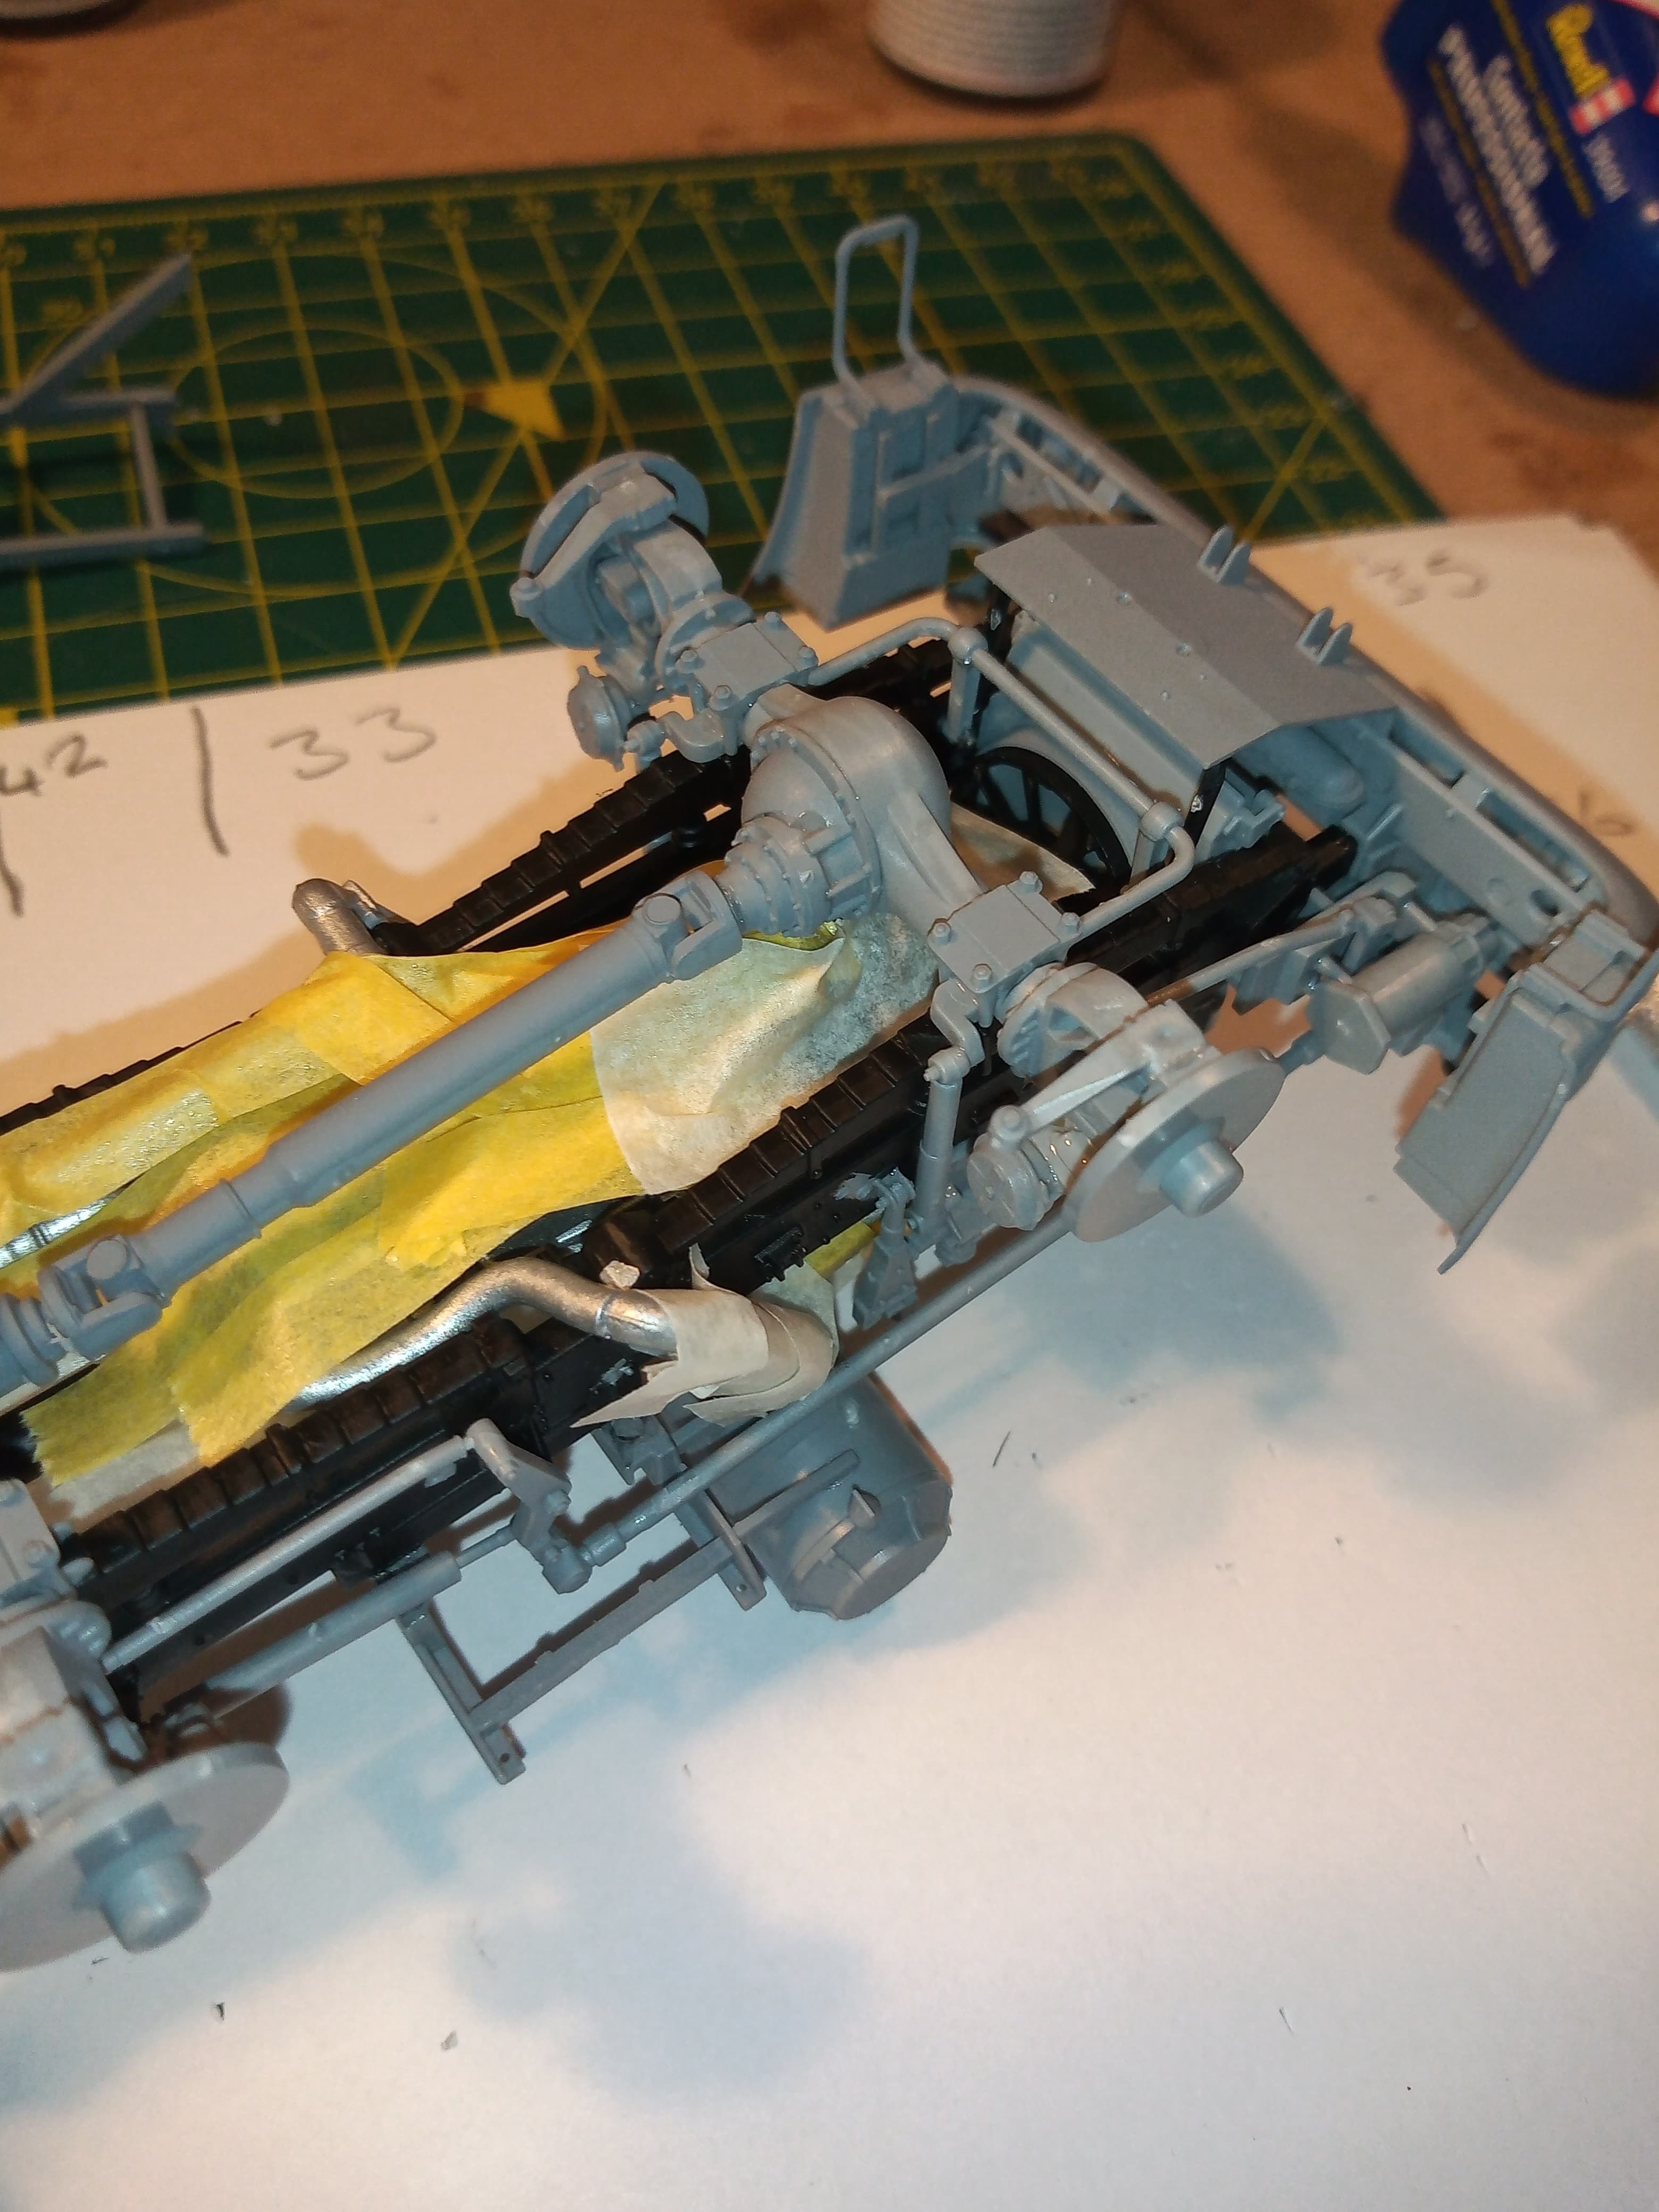
I have masked as much of the engine and exhaust system as possible as when the rest of the chassis is done, I will go over it again with the Matt black Halfords rattle can…
And the rear section up close
Once chassis is complete I will build the rest in large sub assemblies and paint individually before fitting onto the body… I’m leaning towards the sand coloured version … Need to check which AK one that is … Stay tuned.
6 Likes