I have seen that video too, was on the news here, now wouldn’t that make a nice little diorama… ![]()
1 Like
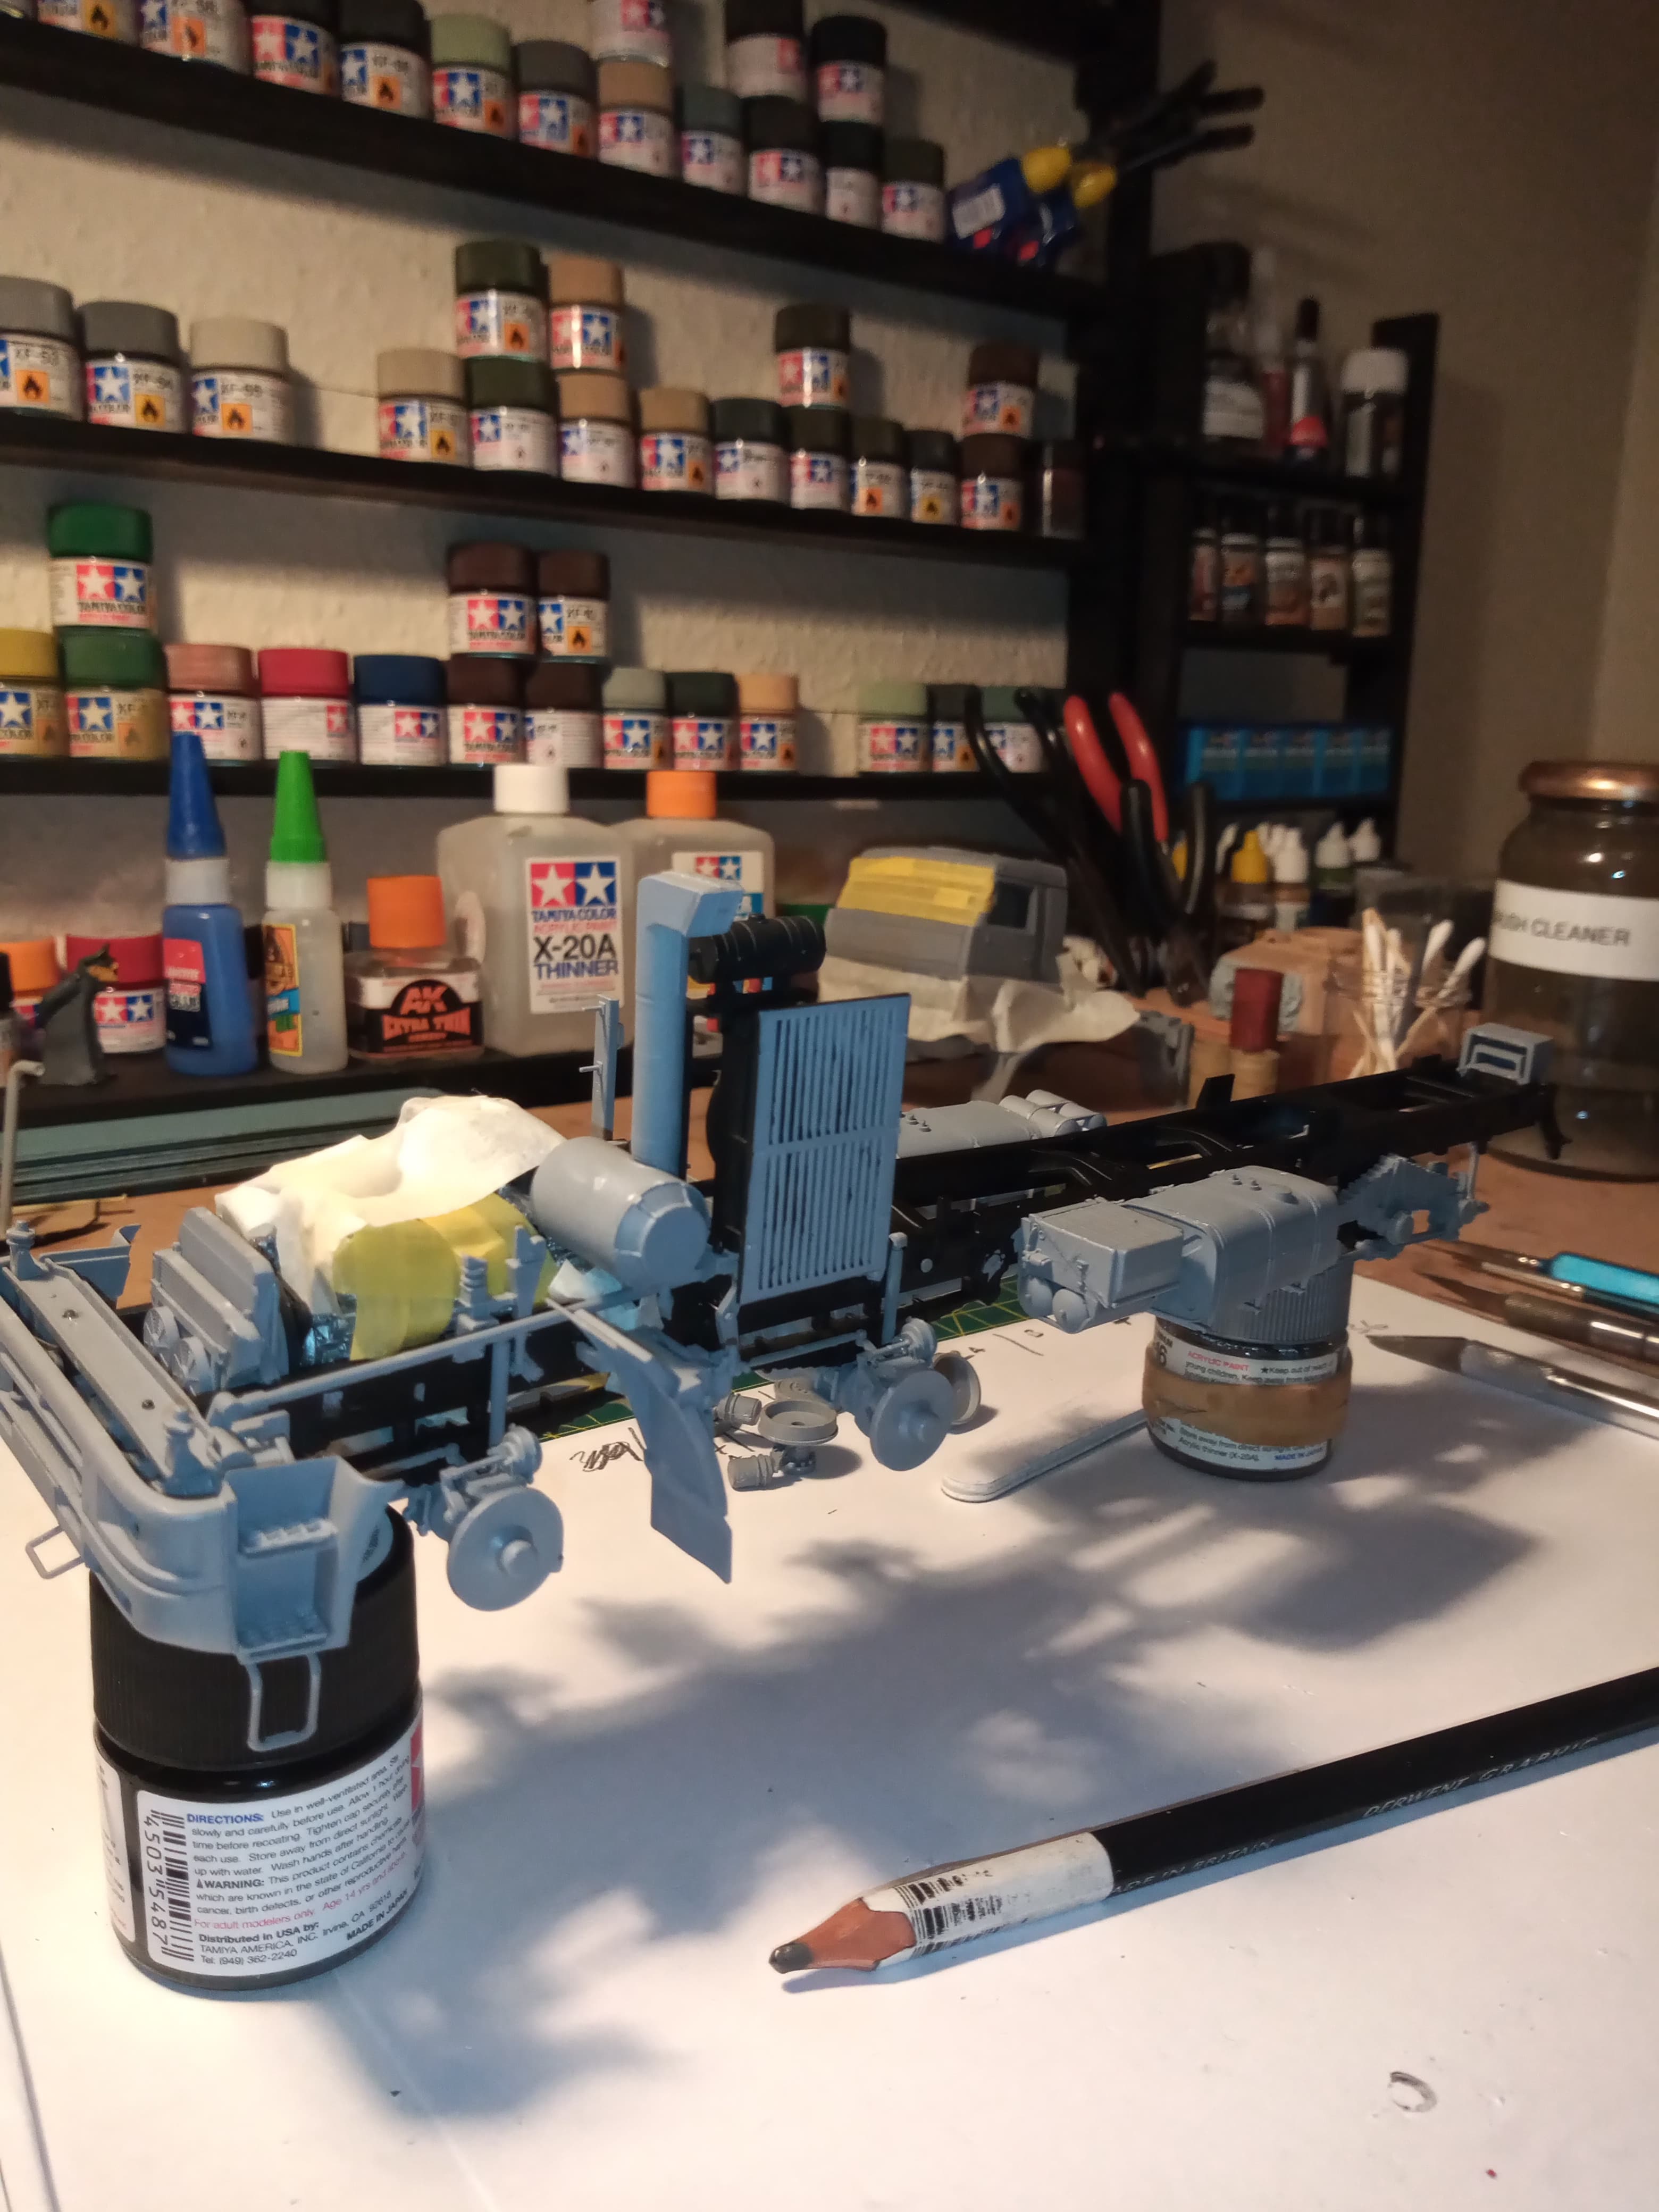
Right a couple of minor hiccups.
One for you Matt @SSGToms , part B2 has the location holes on the wrong side to connect the drop link (you can see them next to the part and indents on the wrong side)
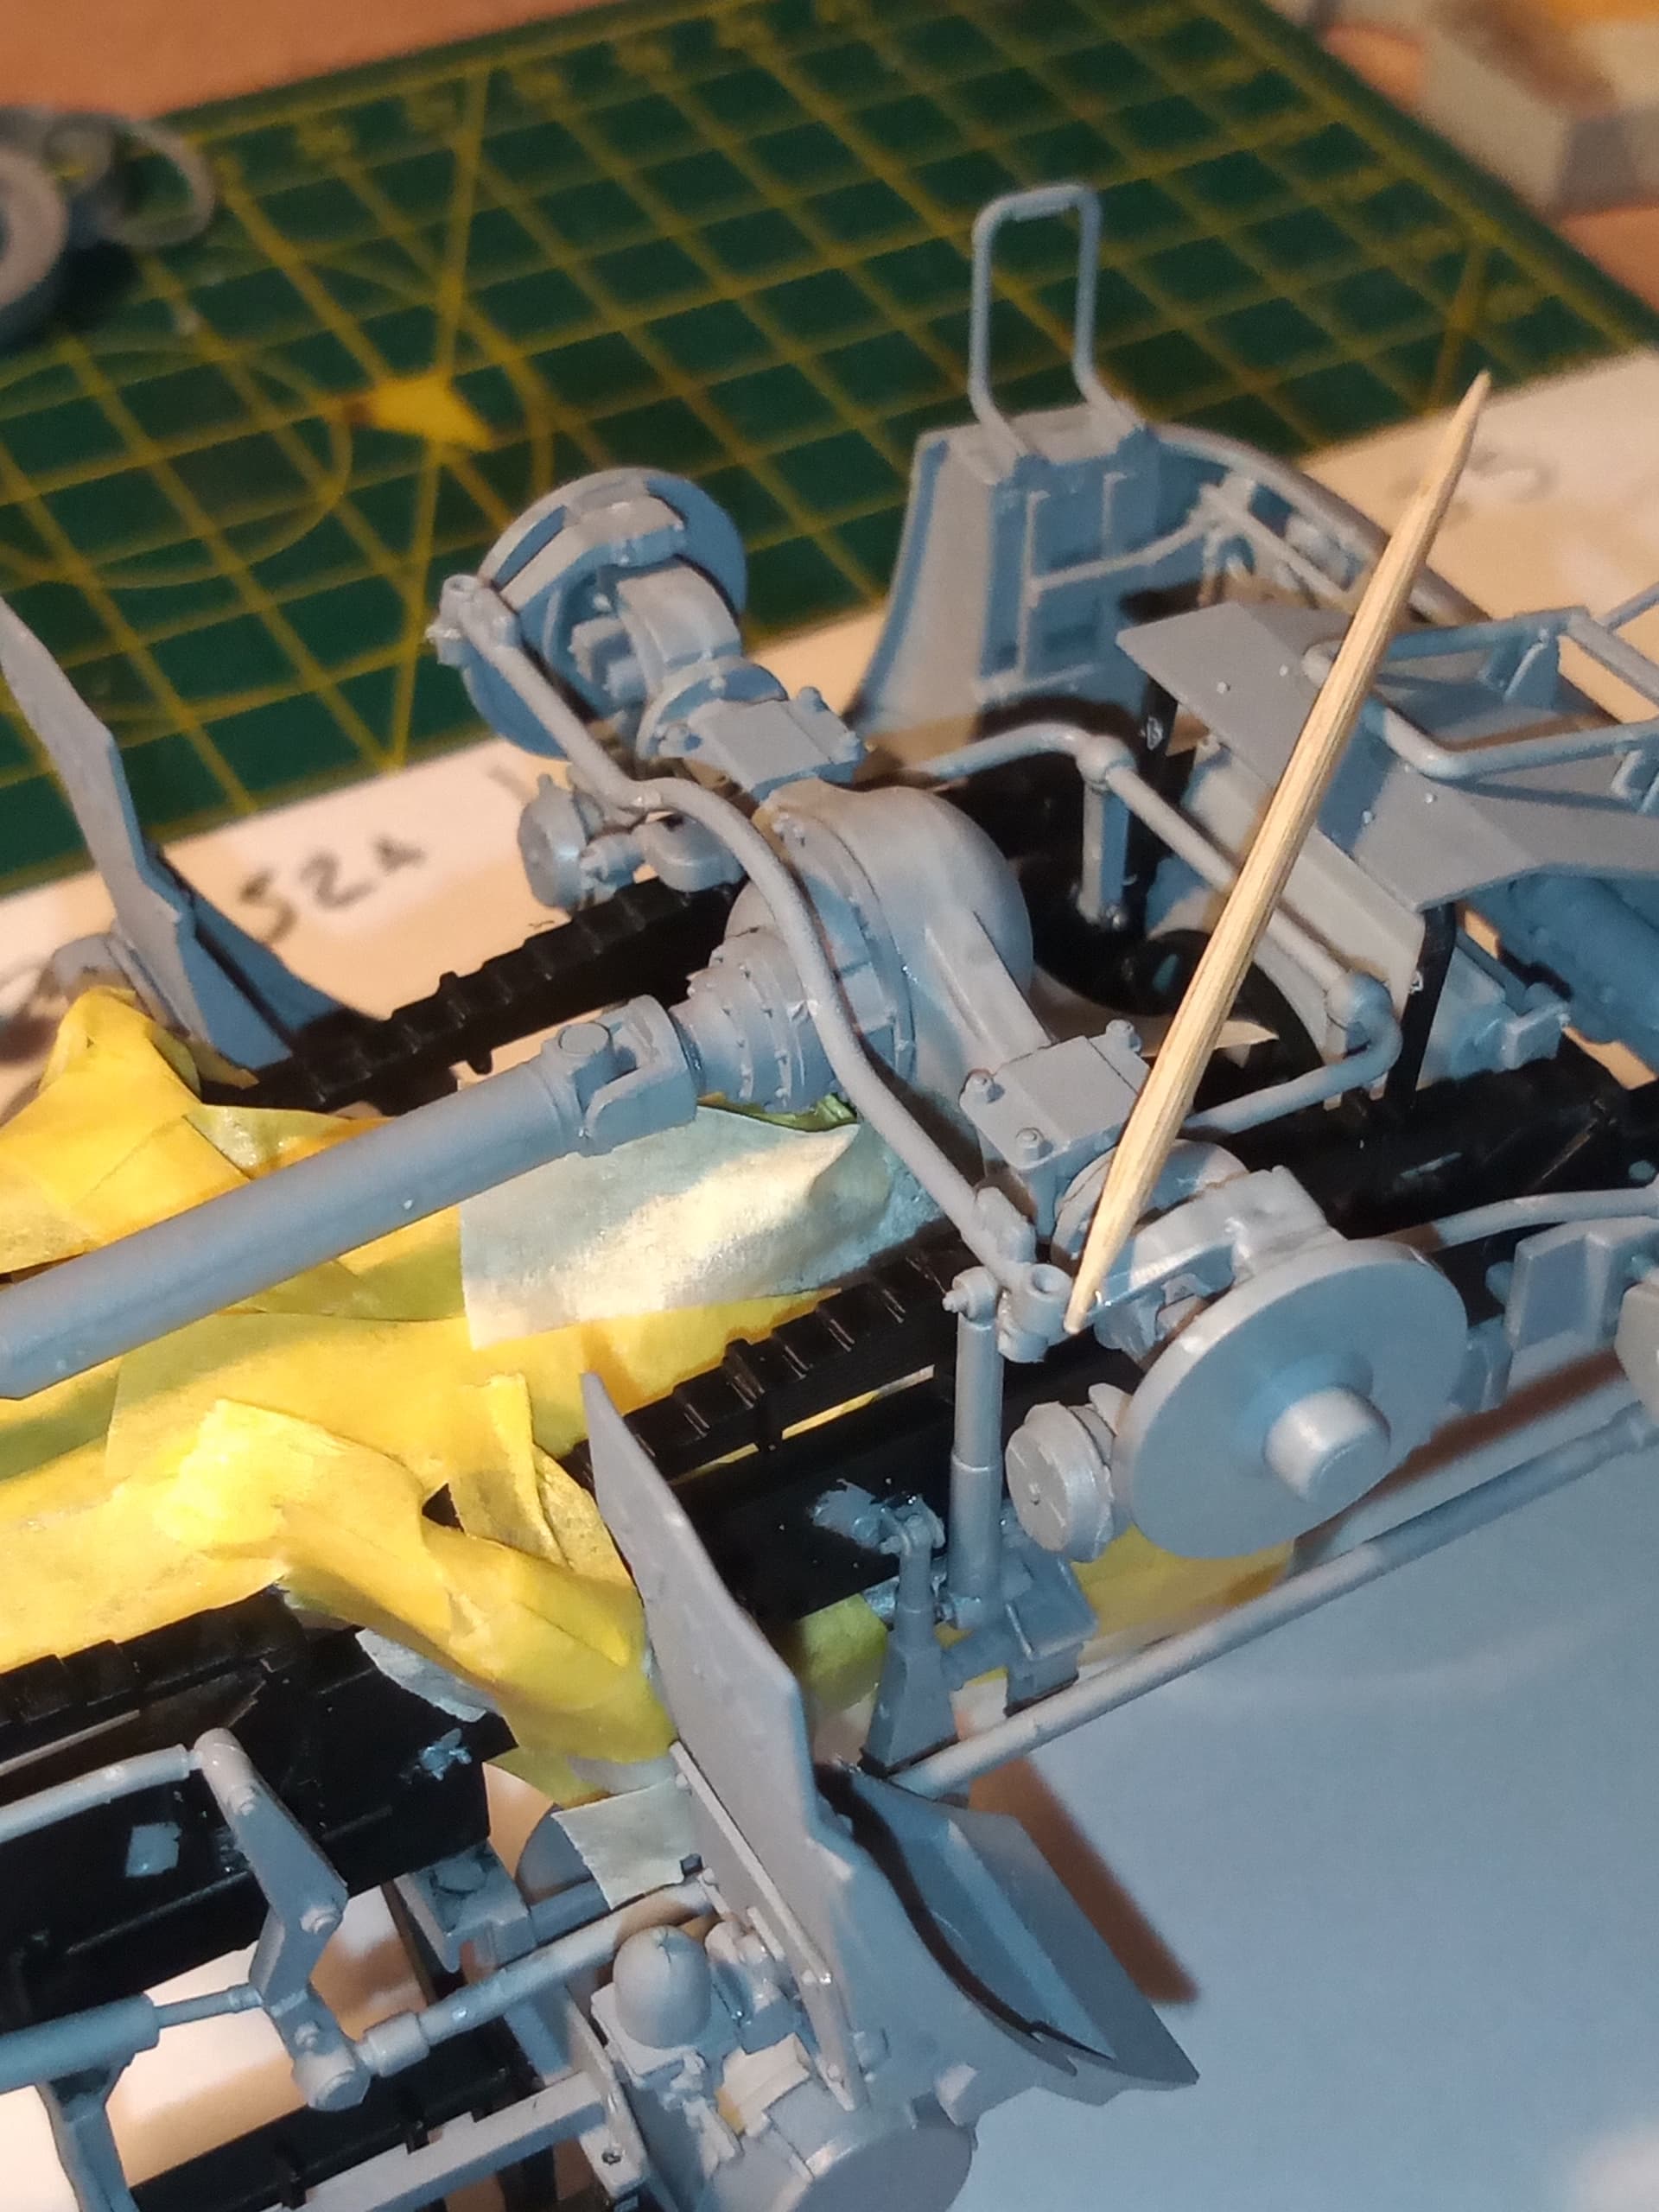
Not a massive issue but I also must of nudged the link when handling as it was slightly off and they didn’t marry up as you can see… But I can live with that as it won’t be seen once it’s all done.
Another slight pain was the connection for the rear part of the front mudguard was a tiny, very very tiny half oval which dry fitted fine, but as soon as glue went near it started to melt, so that was sliced off and then the arm super glued into the small square recess. Think it should be ok.
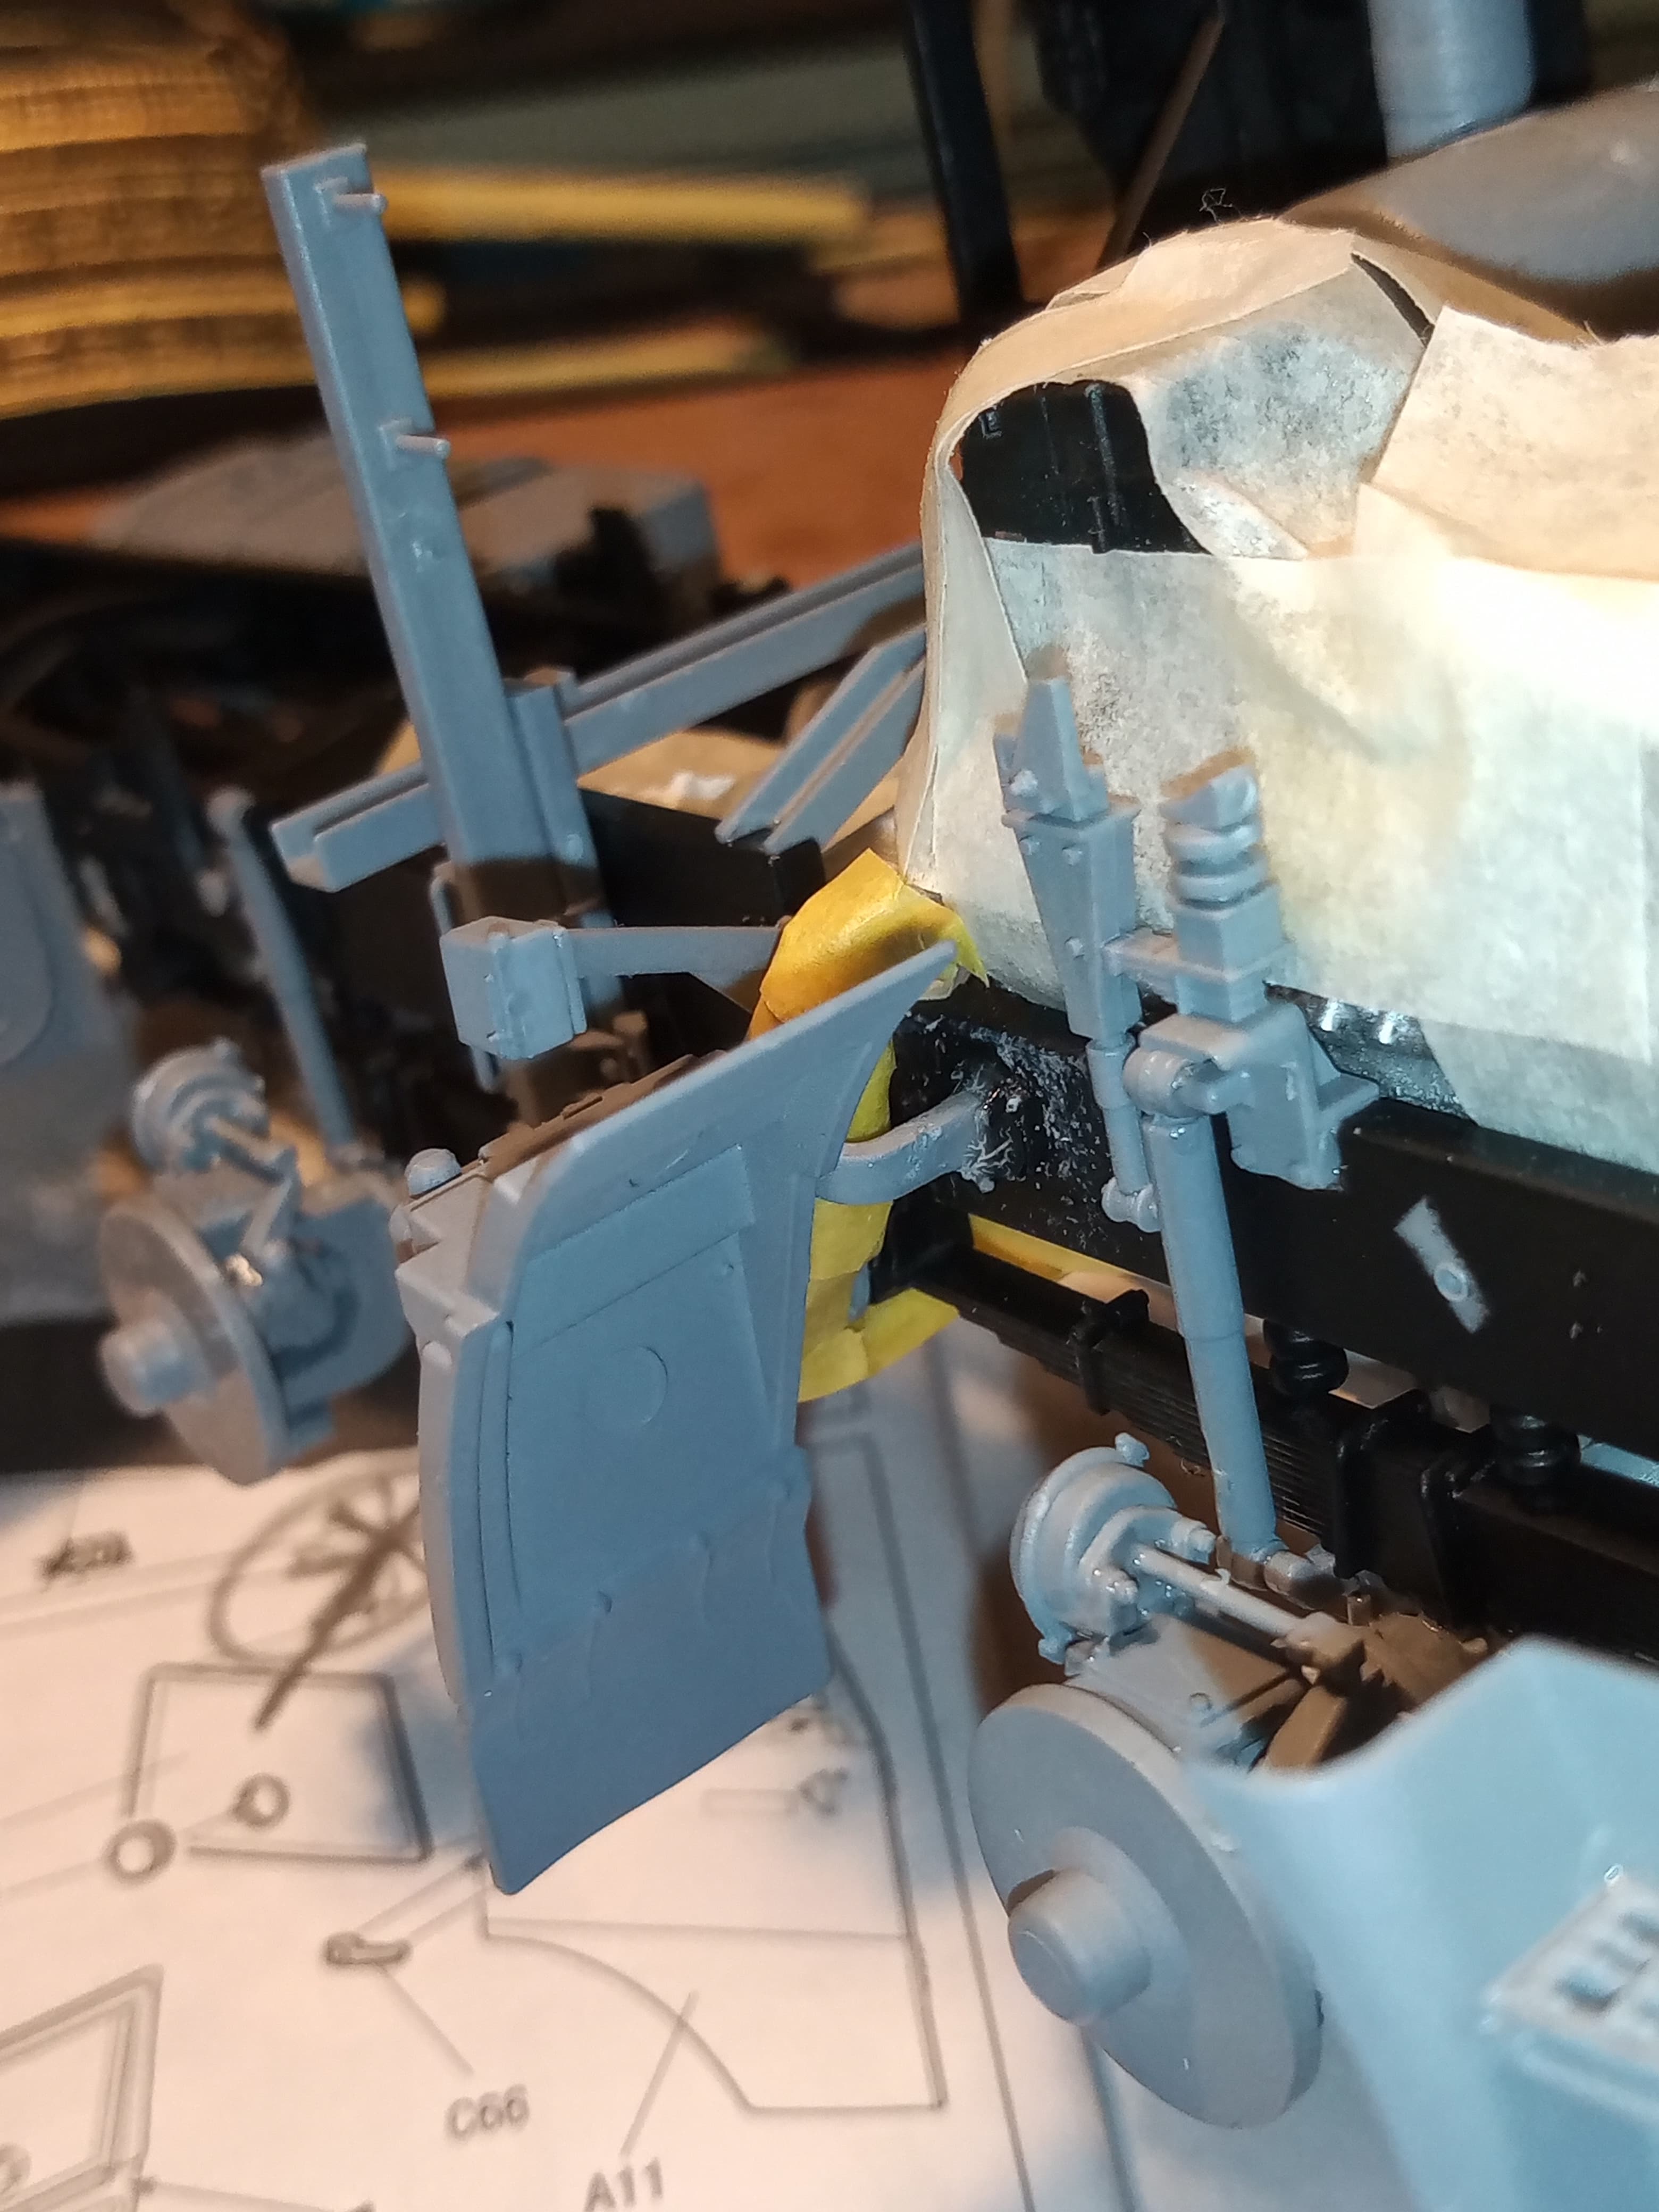
Now the next one is a bit more problematic. The rear wheel hubs. On the dry fit, there is a lot of play in all directions, now this may be user error, but I’m not sure. The female side of the hub as a slightly raised half
which should mate with the axle ends raised/lowered halves
You can just make out the different sides in the pic above. But even when they mate up, it’s not a snug fit and as it’s the wheels, and I want all 8 on the deck, I am not going to fit the hubs until the chassis has had its last coat of black, then I will do all the wheels at that point and get them sitting true and all on the deck.
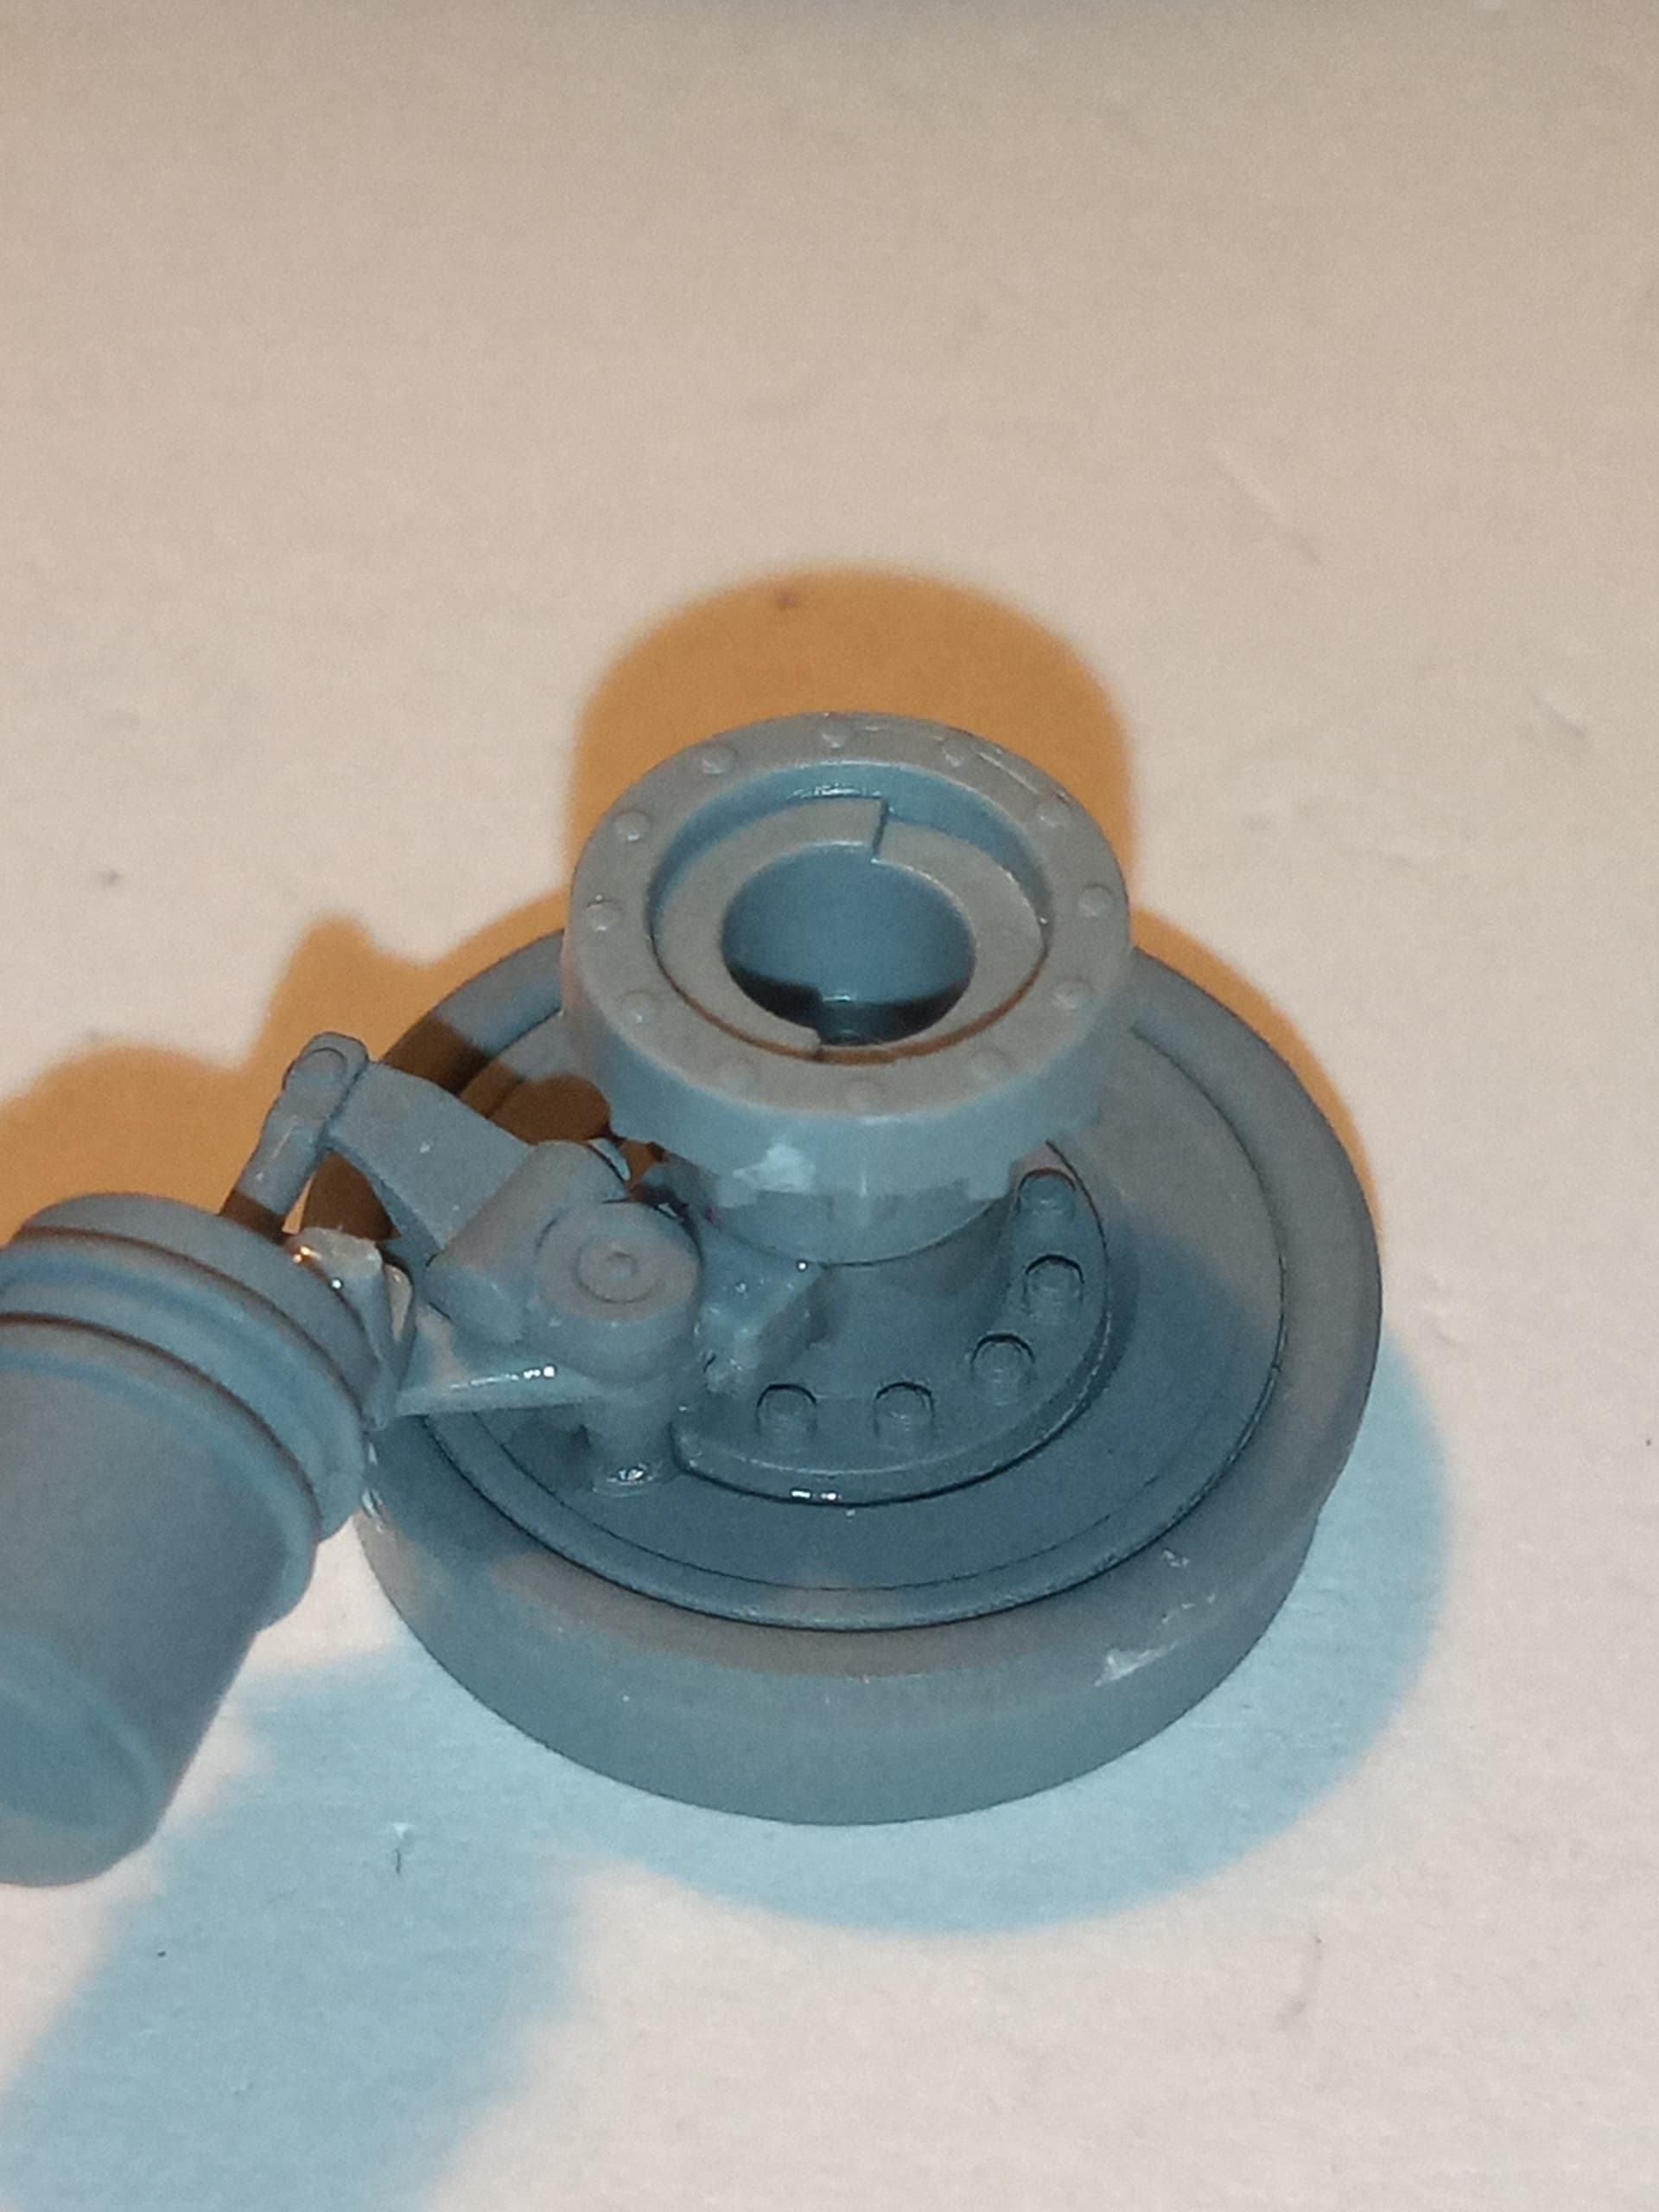
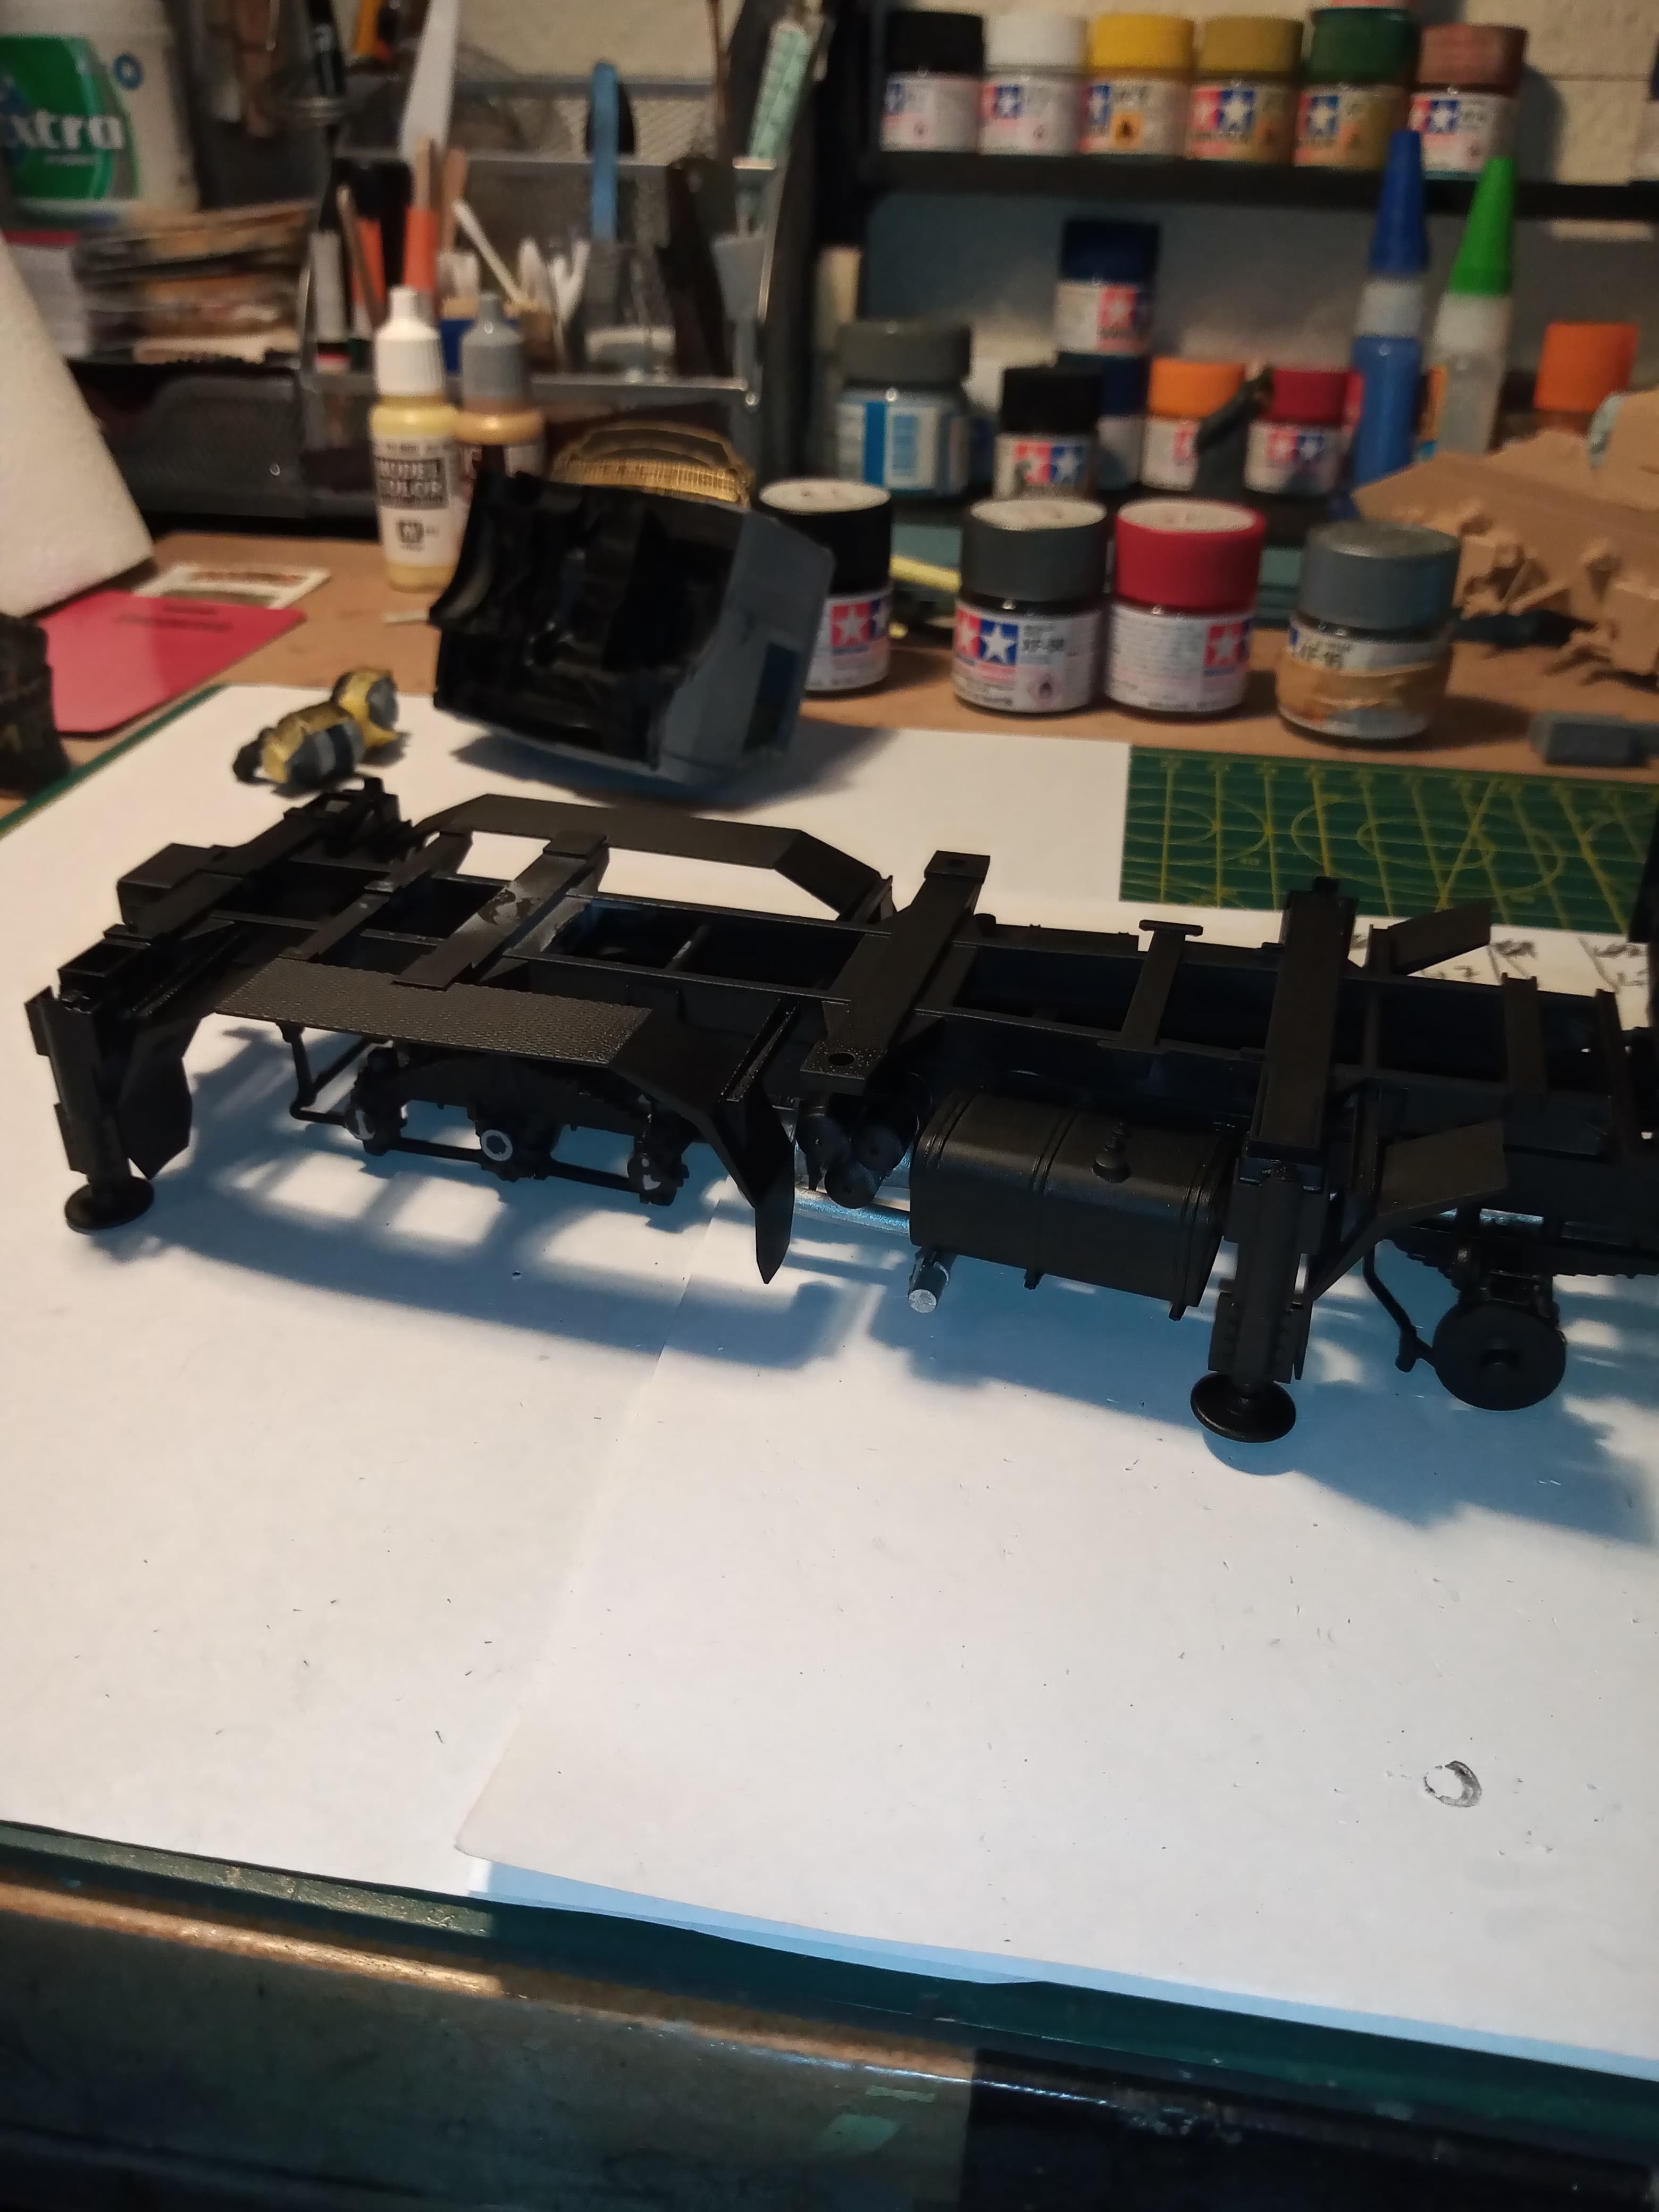
So, to that end, the chassis is now complete. Everything is on bar the rear bumper and hubs and spare wheel.

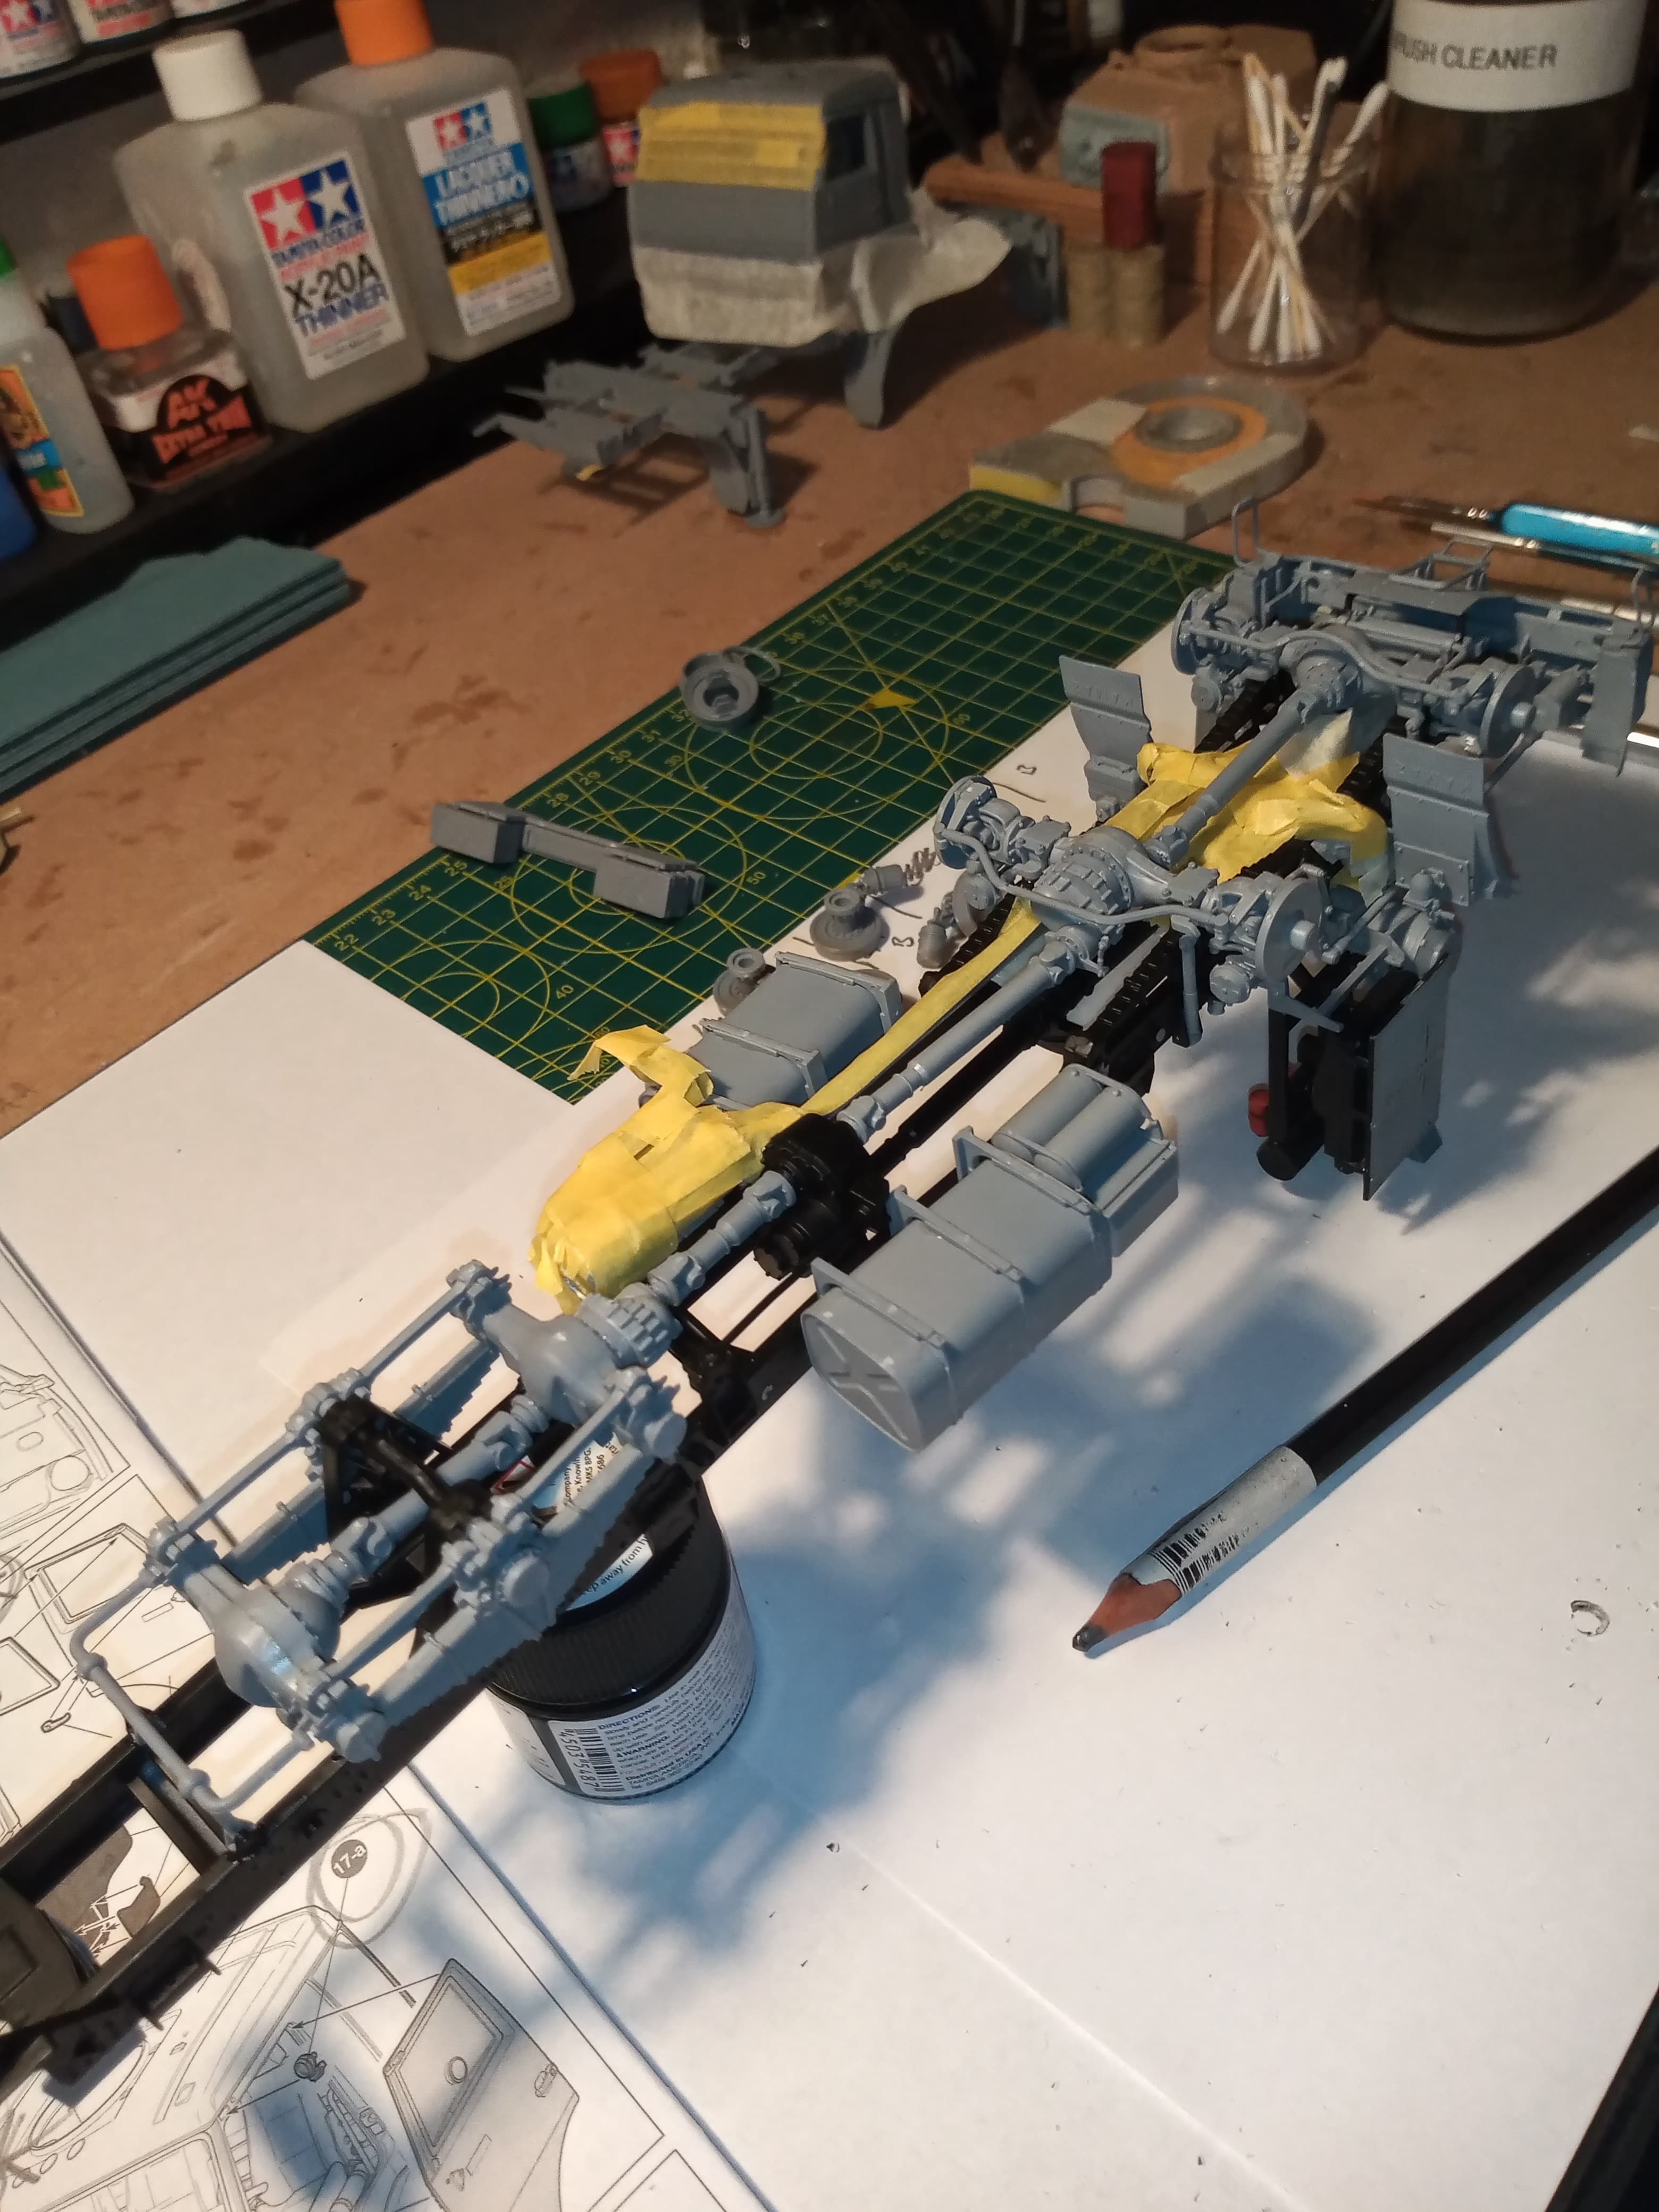
Will get the chassis, the weapon housing chassis frame and the cab underside done in black tomorrow and then move onto the upper superstructures. Enjoy 
5 Likes
Thanks for the call outs John your tips and suggestions are pure gold. This is a real monster and a stunner of a kit.
1 Like
No probs Matt, better you know before hand and at least you can work round them in advance  . You’re right, it’s a beast of a kit, I thought the chassis would never end.
You have 3 options for the final look, you can have the support platforms up with the radar down, or platforms down with the radar up… I’m doing an option 3… support platforms up and radar up as well lol. I have decided on the sand finish for this one… Need to get some AK dust for this one … I have the AK RC modern Russian armour colours so that’s taken care of
1 Like
That’s a monster of a piece. Really like these oversized Soviet/Russian trucks but I have no place to put them. Coming along at a good pace.
1 Like
Thanks for sharing your build experience on the Pantsir Johnny. Hopefully when I start mine I won’t forget to look back at this thread.
Olivier
1 Like
Thanks DV and it’s true about the size, it will take up a fair bit of shelf space…
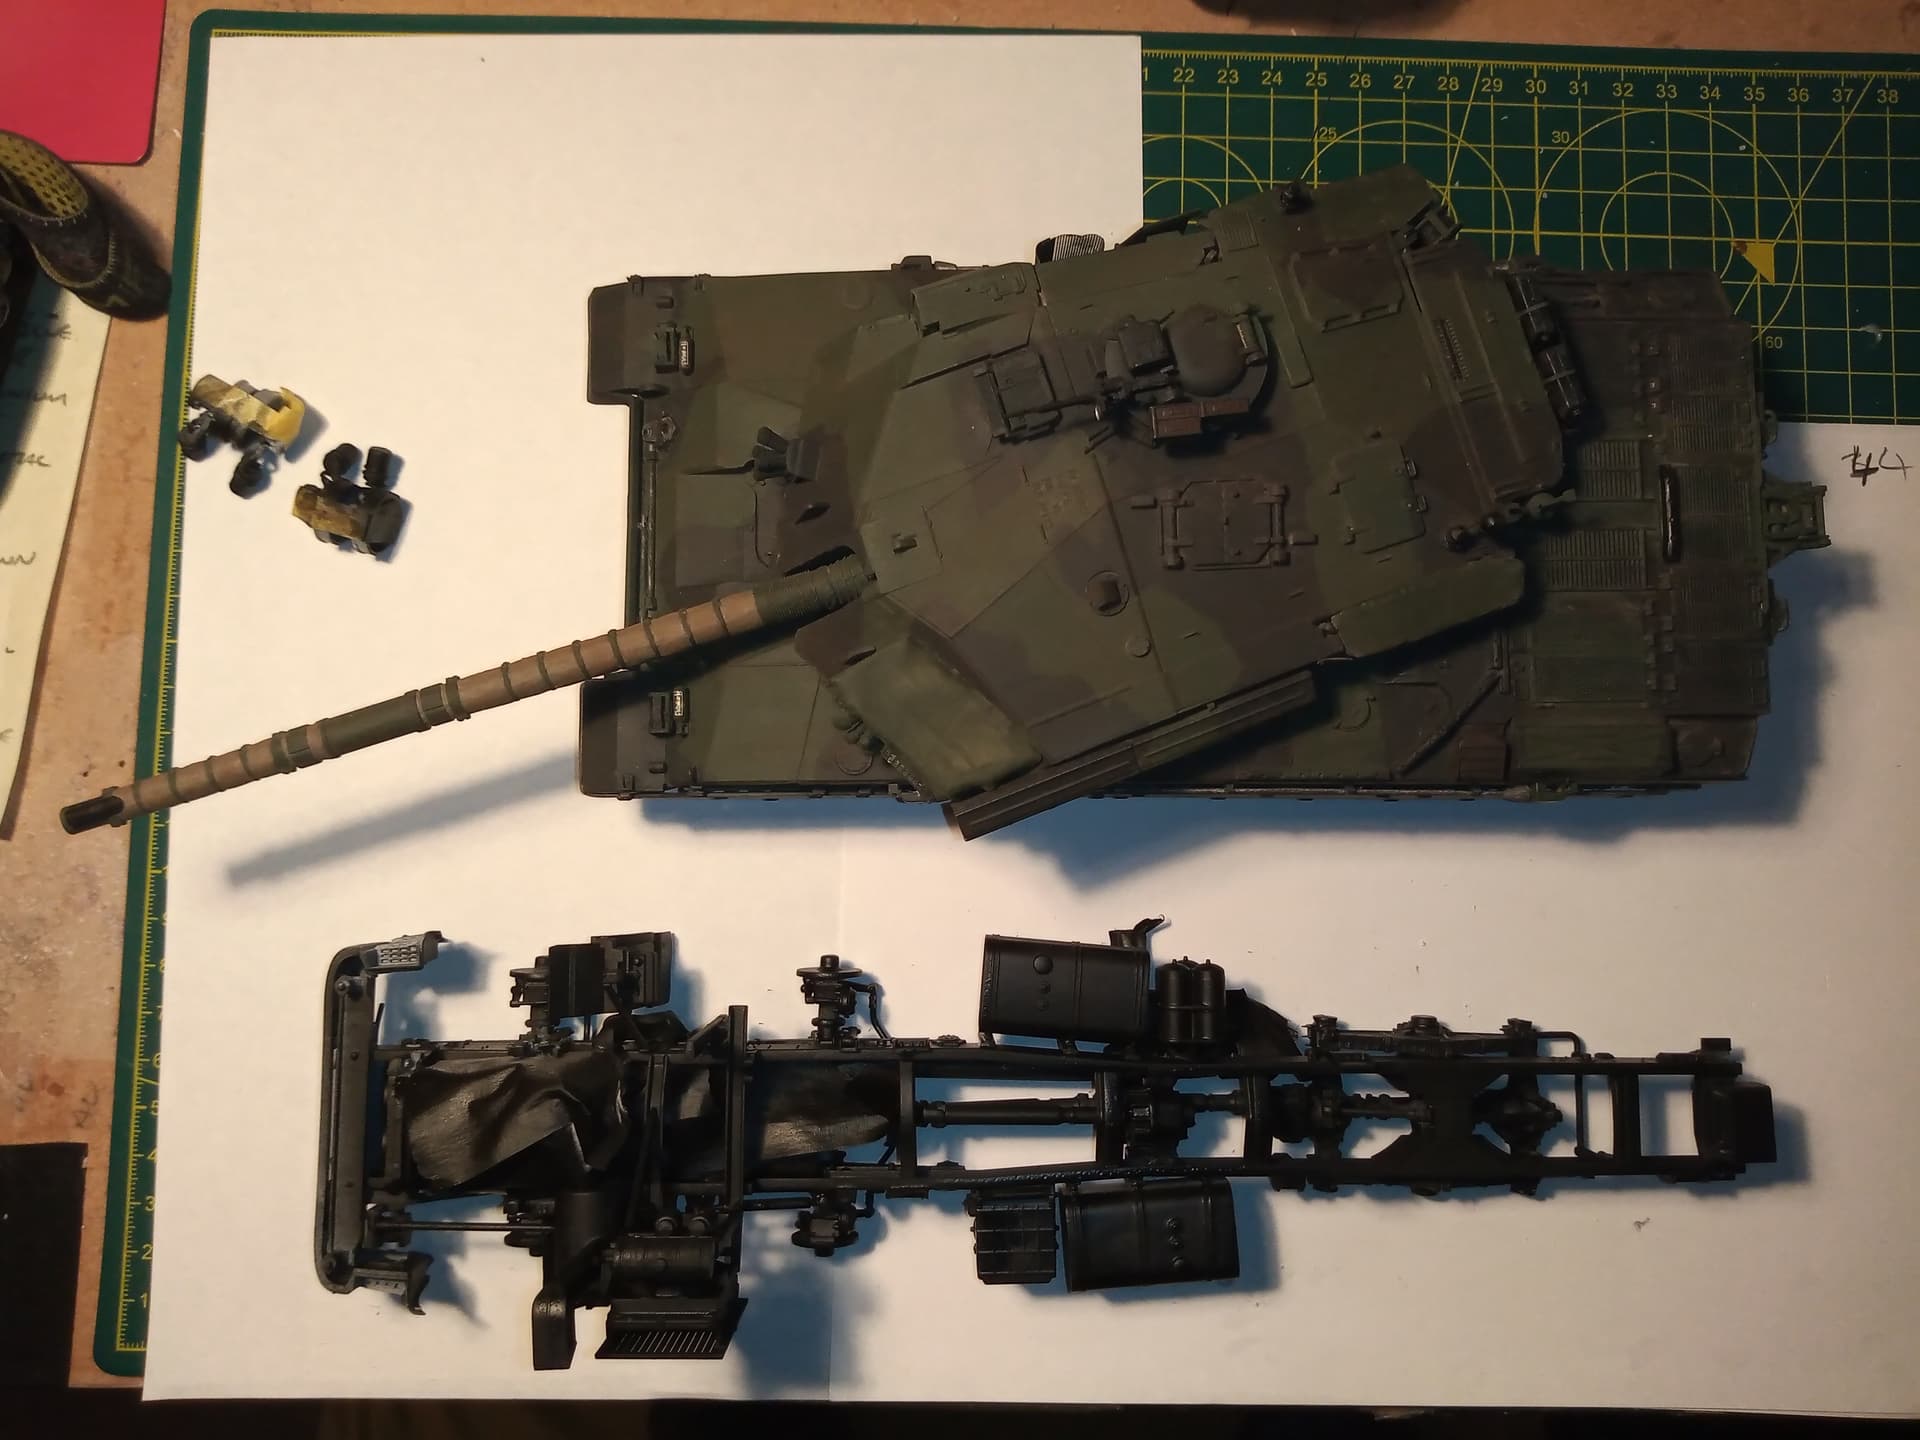
With just the chassis next to my Ch1.
I’m sure you will love building this when it gets onto your bench Olivier. Apart from the few very minor things I’ve mentioned, this kit is a real pleasure to build up to this point. Nice plastic, nice detail, and goes together great.
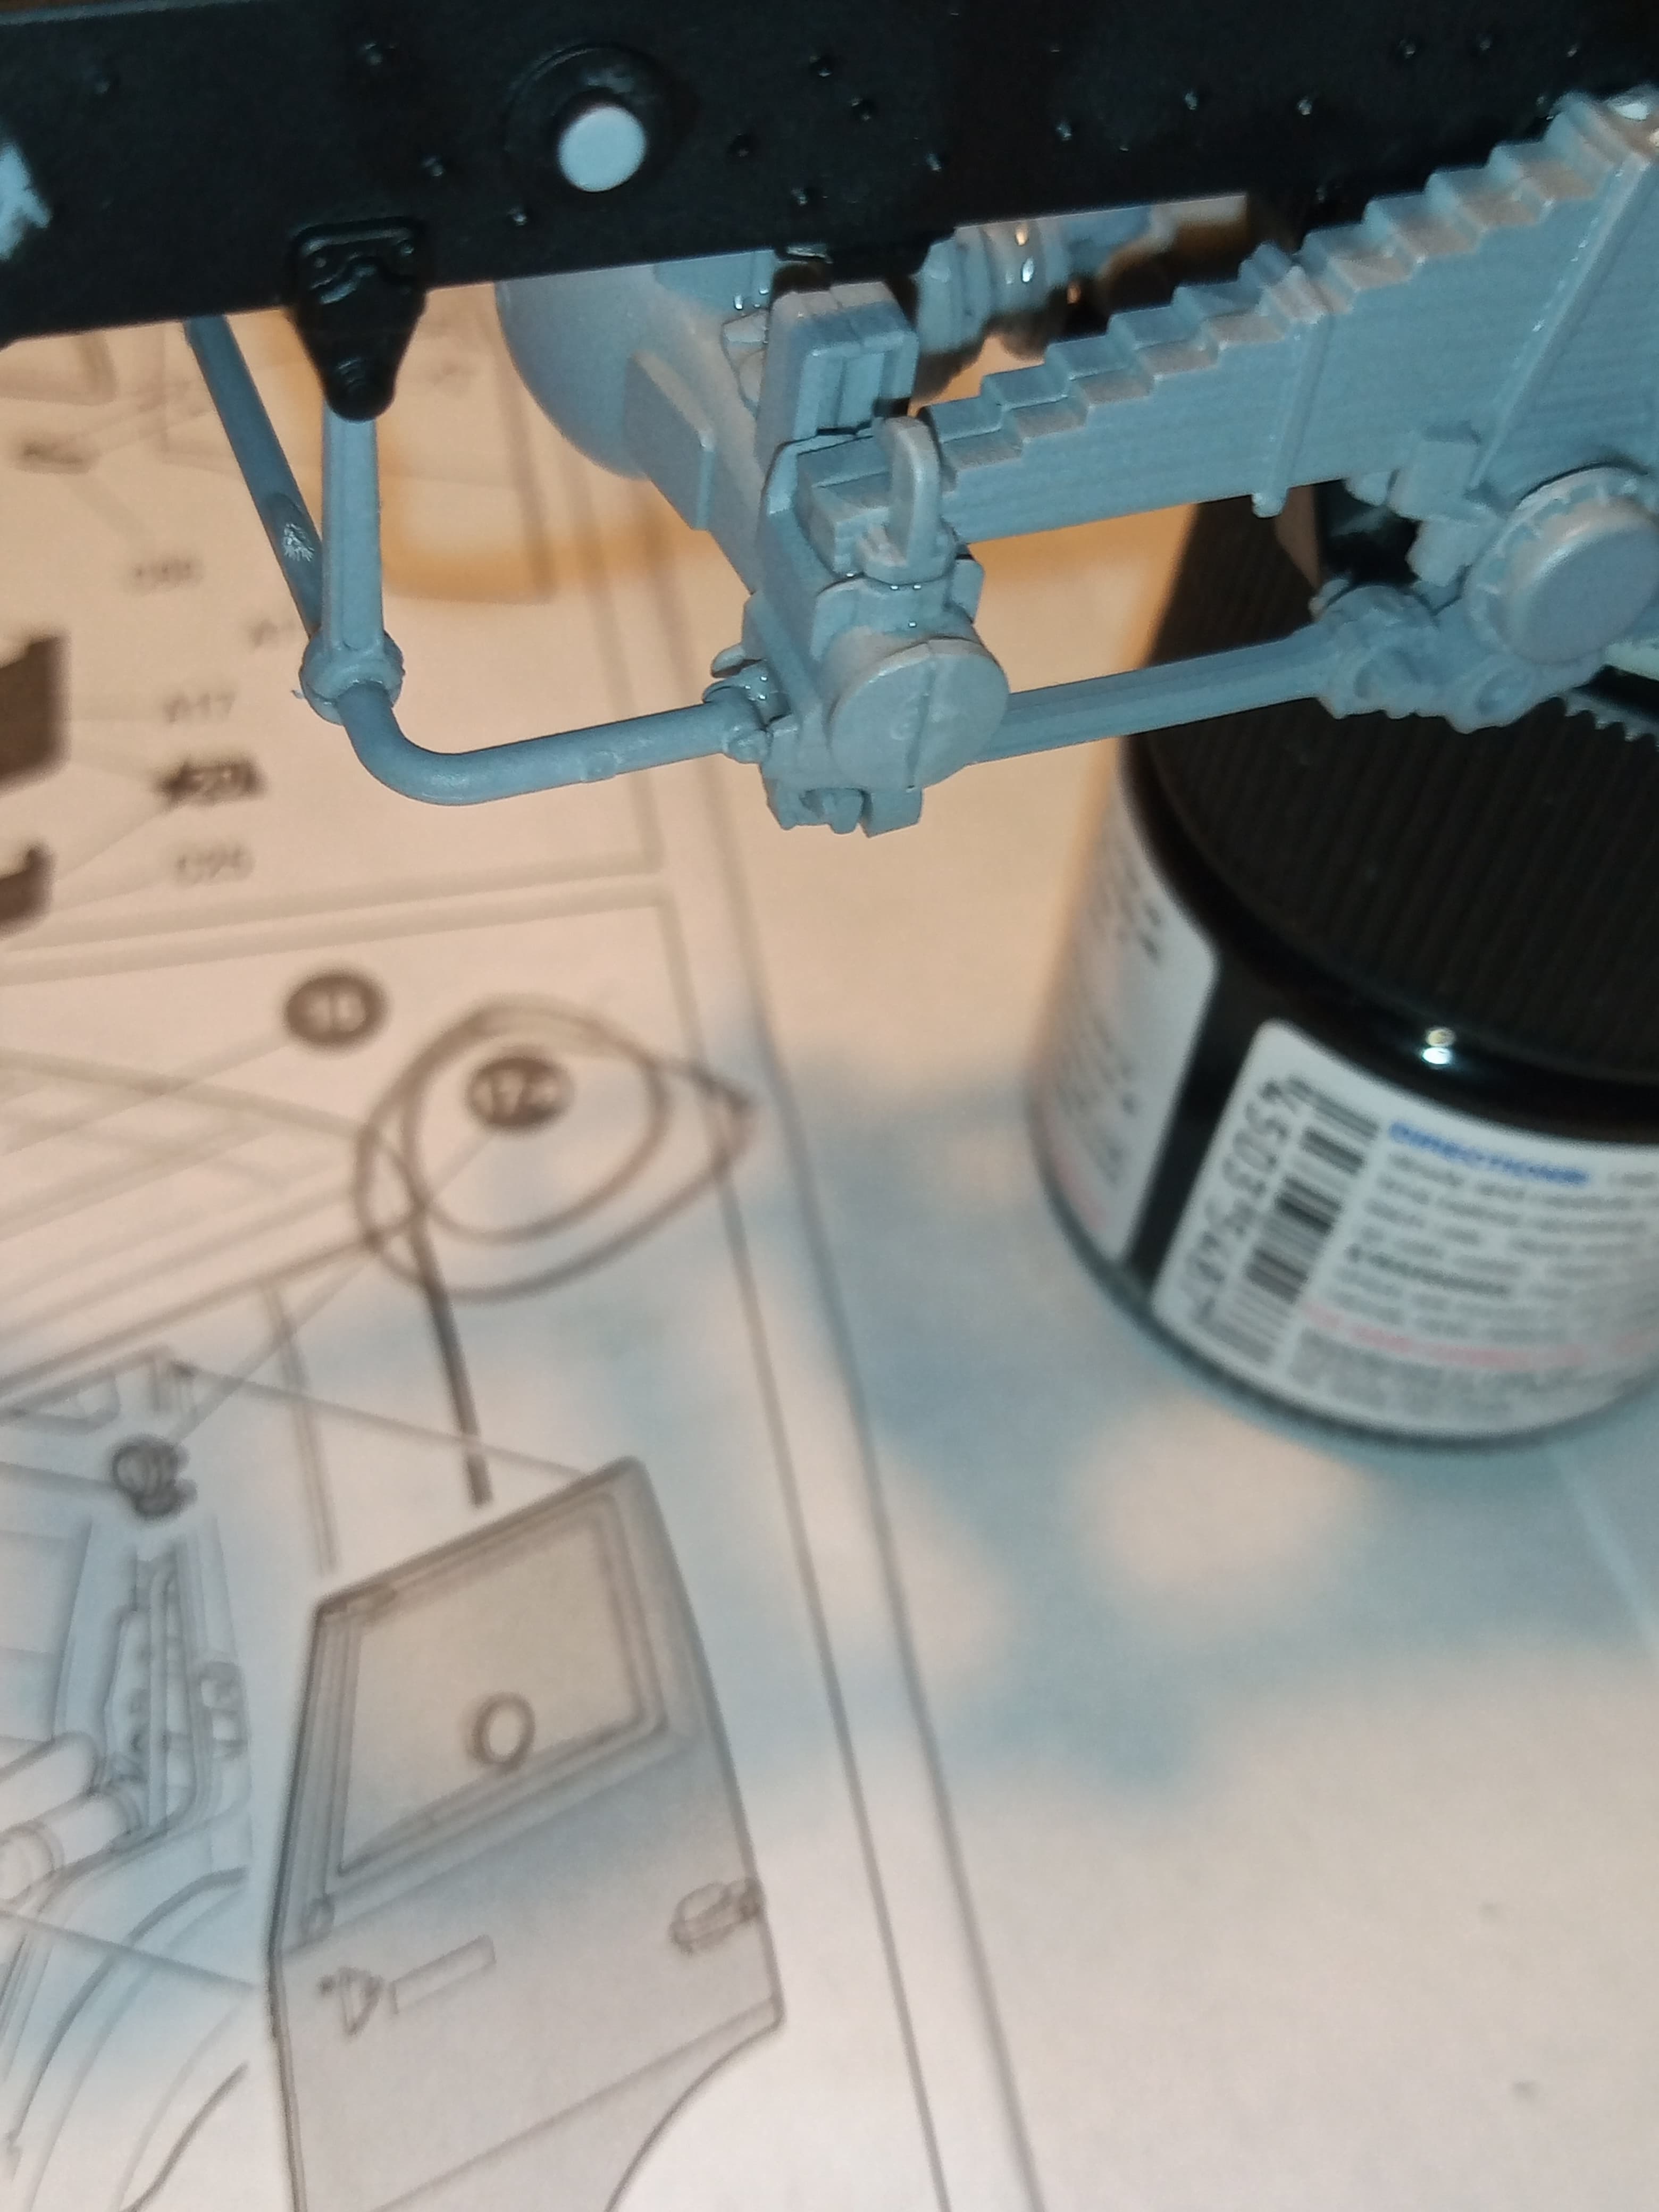
Some images of everything painted black and the engine/exhaust unmasked.
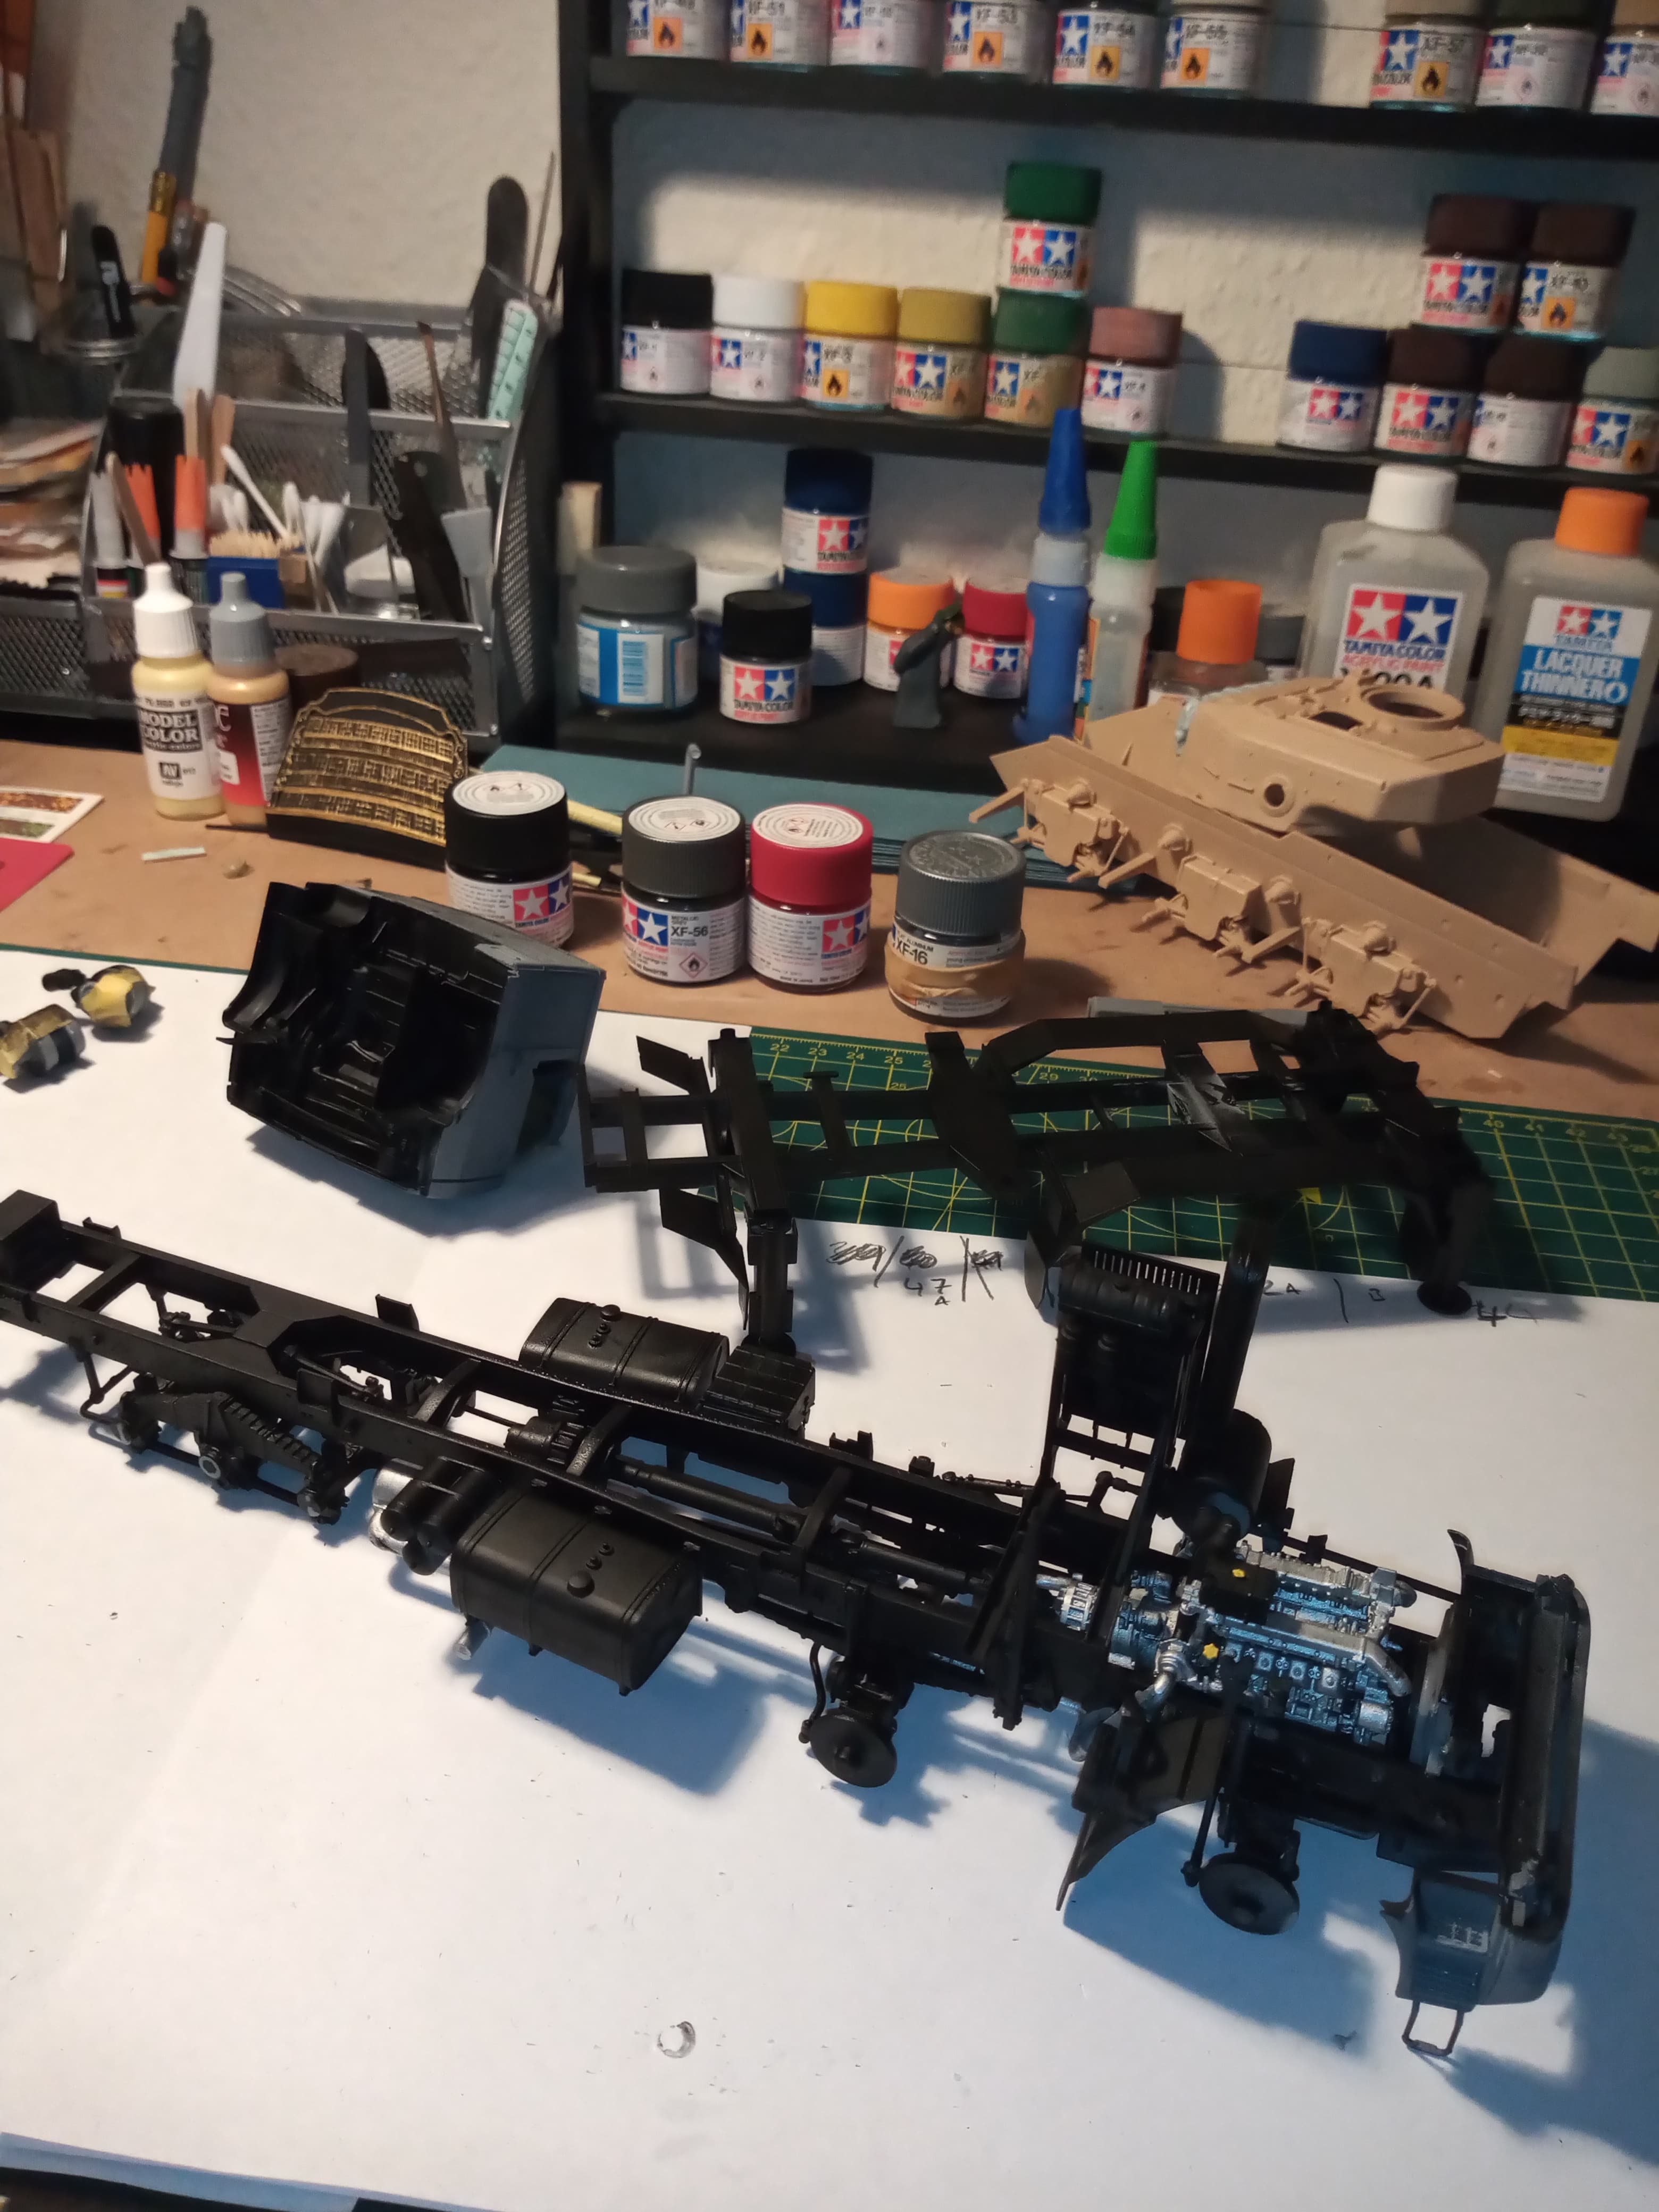
There are a few areas I need to do black which were missed but wil do that later, and retouch the exhaust where needed.
With the weapon station chassis dry fitted in place.

4 Likes
Johnny ~ as to the exhaust pipe without the end hole was there any other evidence of Z using slide mold technology in this kit?
The opened ended exhaust would have required either a multi-part slide mold or at least a pin, auto inserted into the mold which would have greatly increased mold cost and required a more complex molding machine to do the work.
To me it looks like this kit was manufactured using just the older two part mold process except perhaps for the cab.
As you say; a problem easily fixed.
1 Like
No evidence for my untrained eye Michael, it’s probably as you thought… And it is an easy fix though …
1 Like
could anyone suggest a suitable wash for the Bereg ? Im unsure which color tones to purchase to help bring out the details. There are so many options available, its head spinning choosing one lol
I just airbrushed the black edges around the camo, once my daughter is finished playing her school games on my phone, I’ll share a few photos, I’m really pleased
1 Like
You can’t go wrong with Umber. Something like Paynes Grey would probably also work.
1 Like
@Canmedic - great thanks ! I’ll have a look for those
If you’re getting oil paints, that’s what I’d go for. If you want something pre-made, AK has a whole pile of options. Their Dark Wash is kinda black-brown, Brown Wash for German Yellow is very Umber and their NATO wash is close to Paynes Grey. They may already make something for modern Russian armour too.
2 Likes
Moved onto the sub assemblies for the various superstructure parts.
First was the box body for behind the cab.
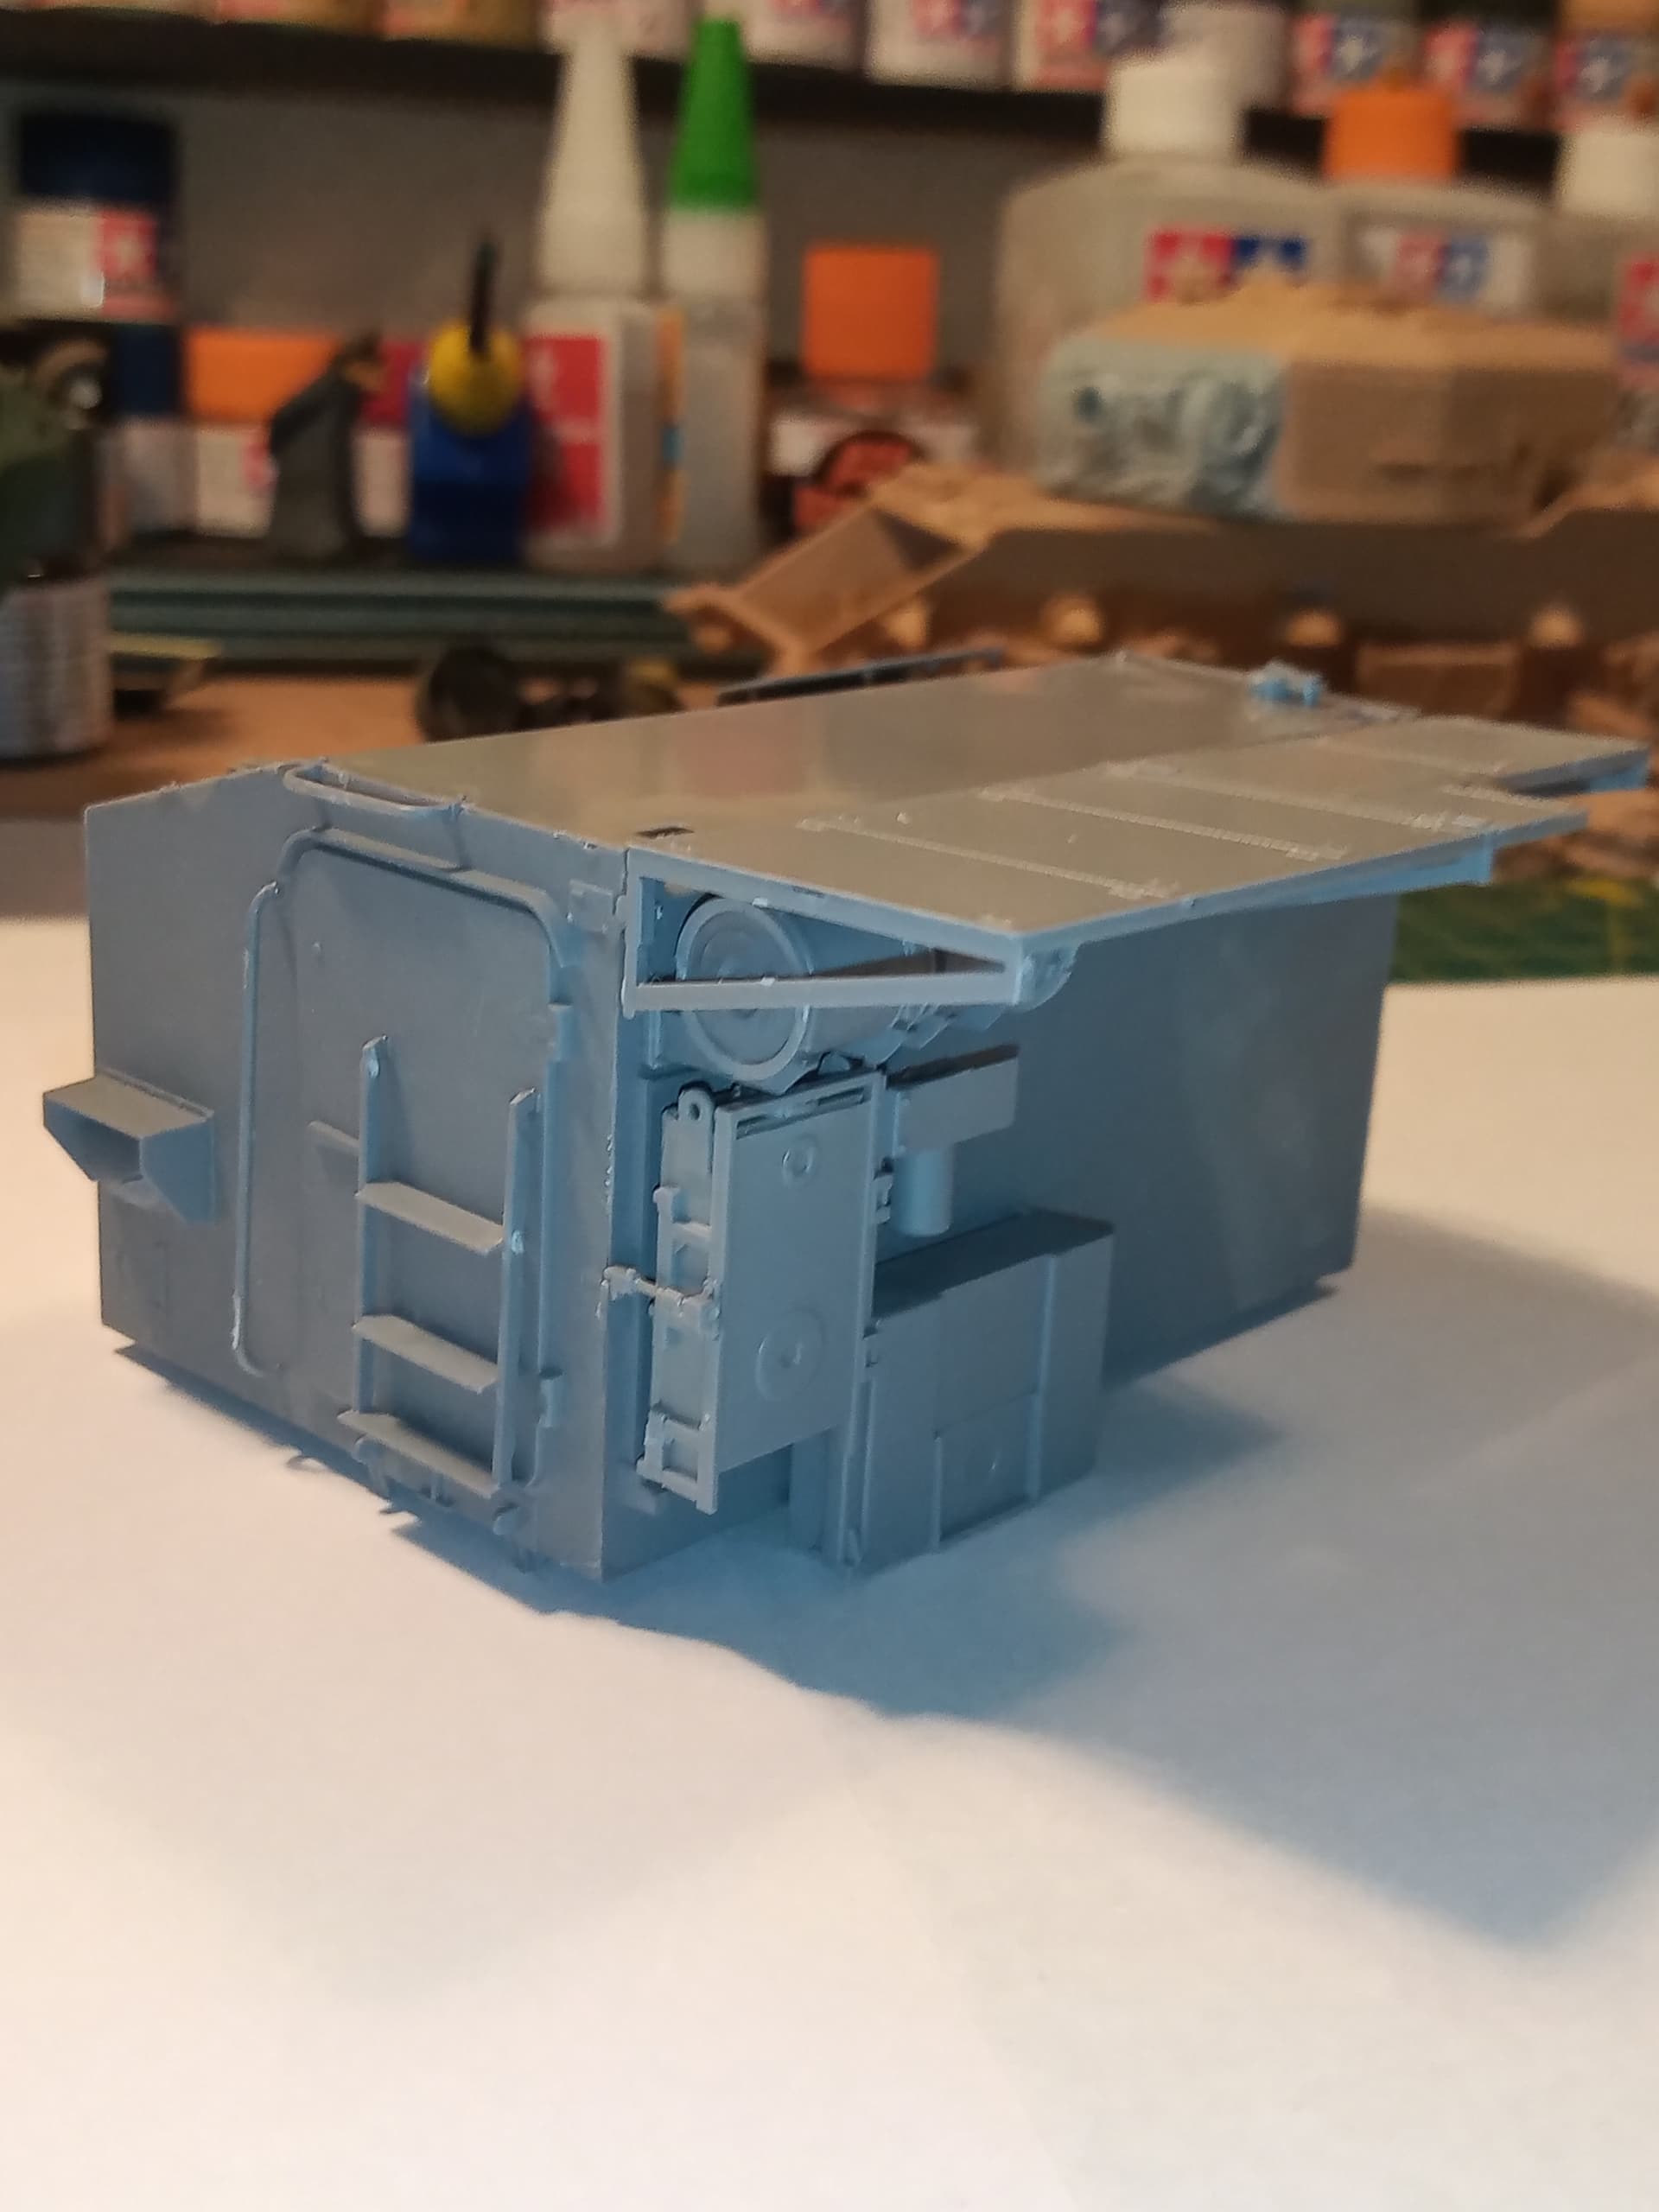
Goes together really well, no problems with it at all.
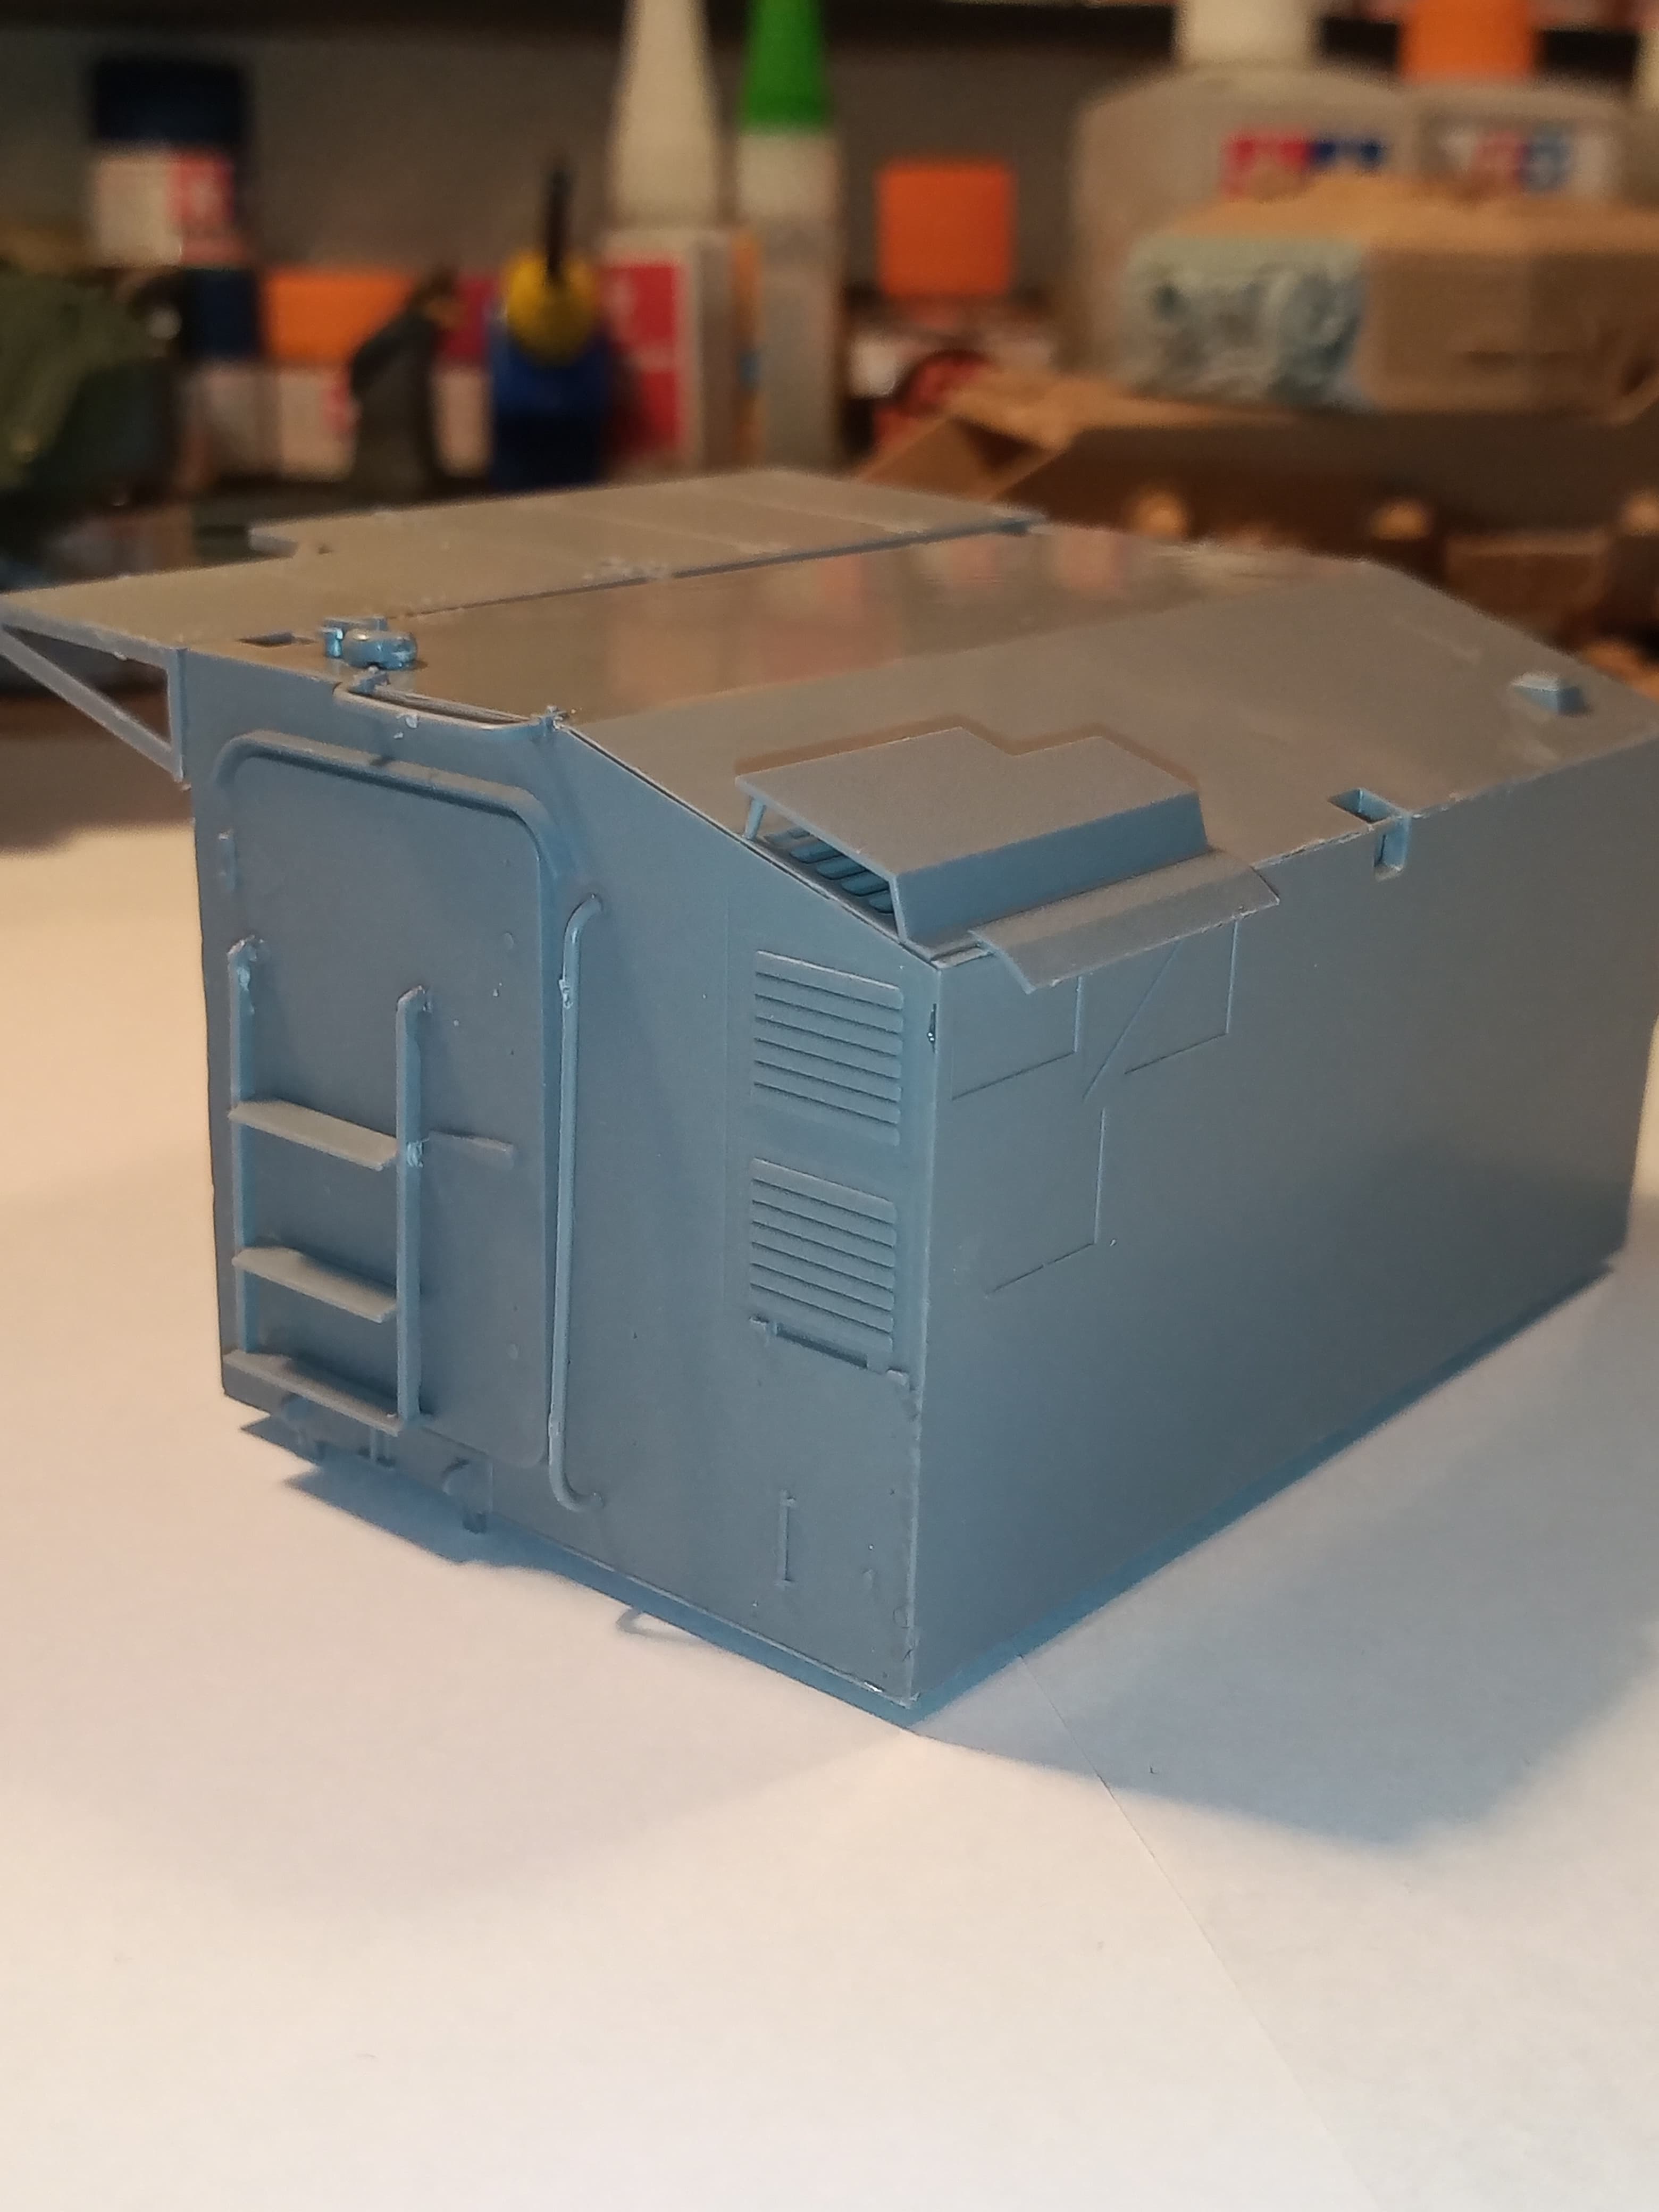
The good thing about all these is they are all going to be the same colour, so will build them all up and paint as one then detail paint any smaller areas that require it
5 Likes
Heres the photos of my Bereg after spraying the black outlines .
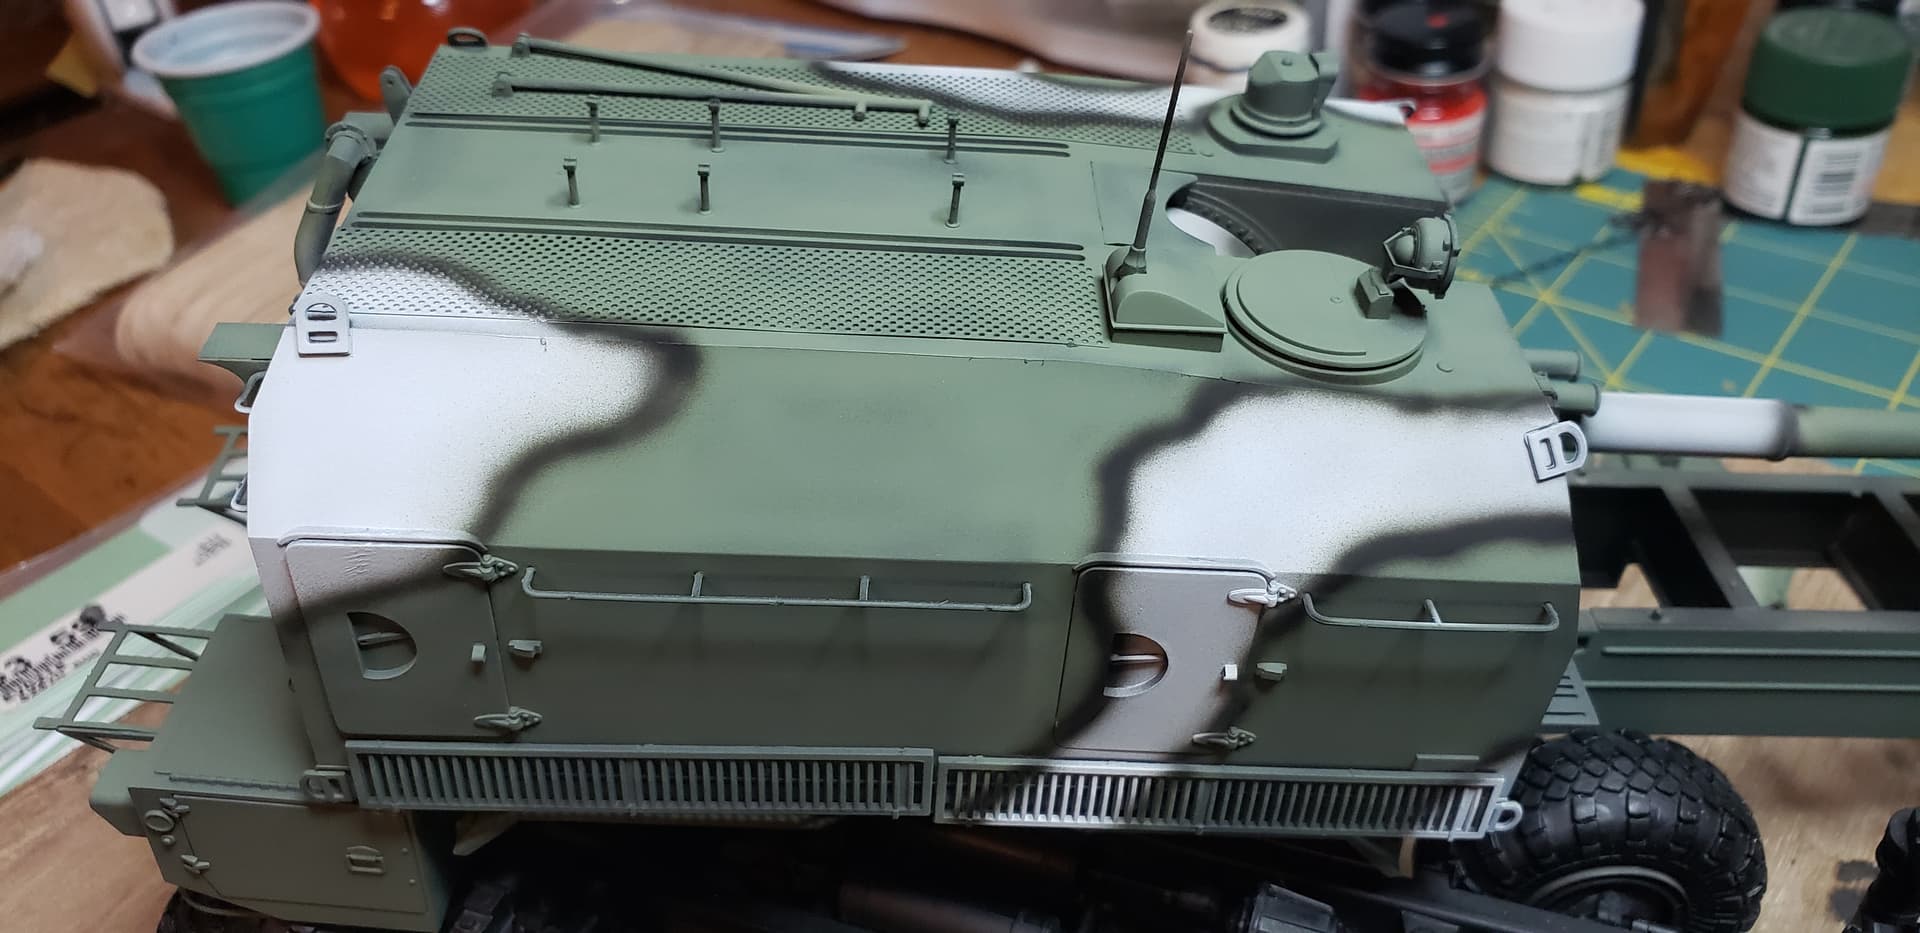
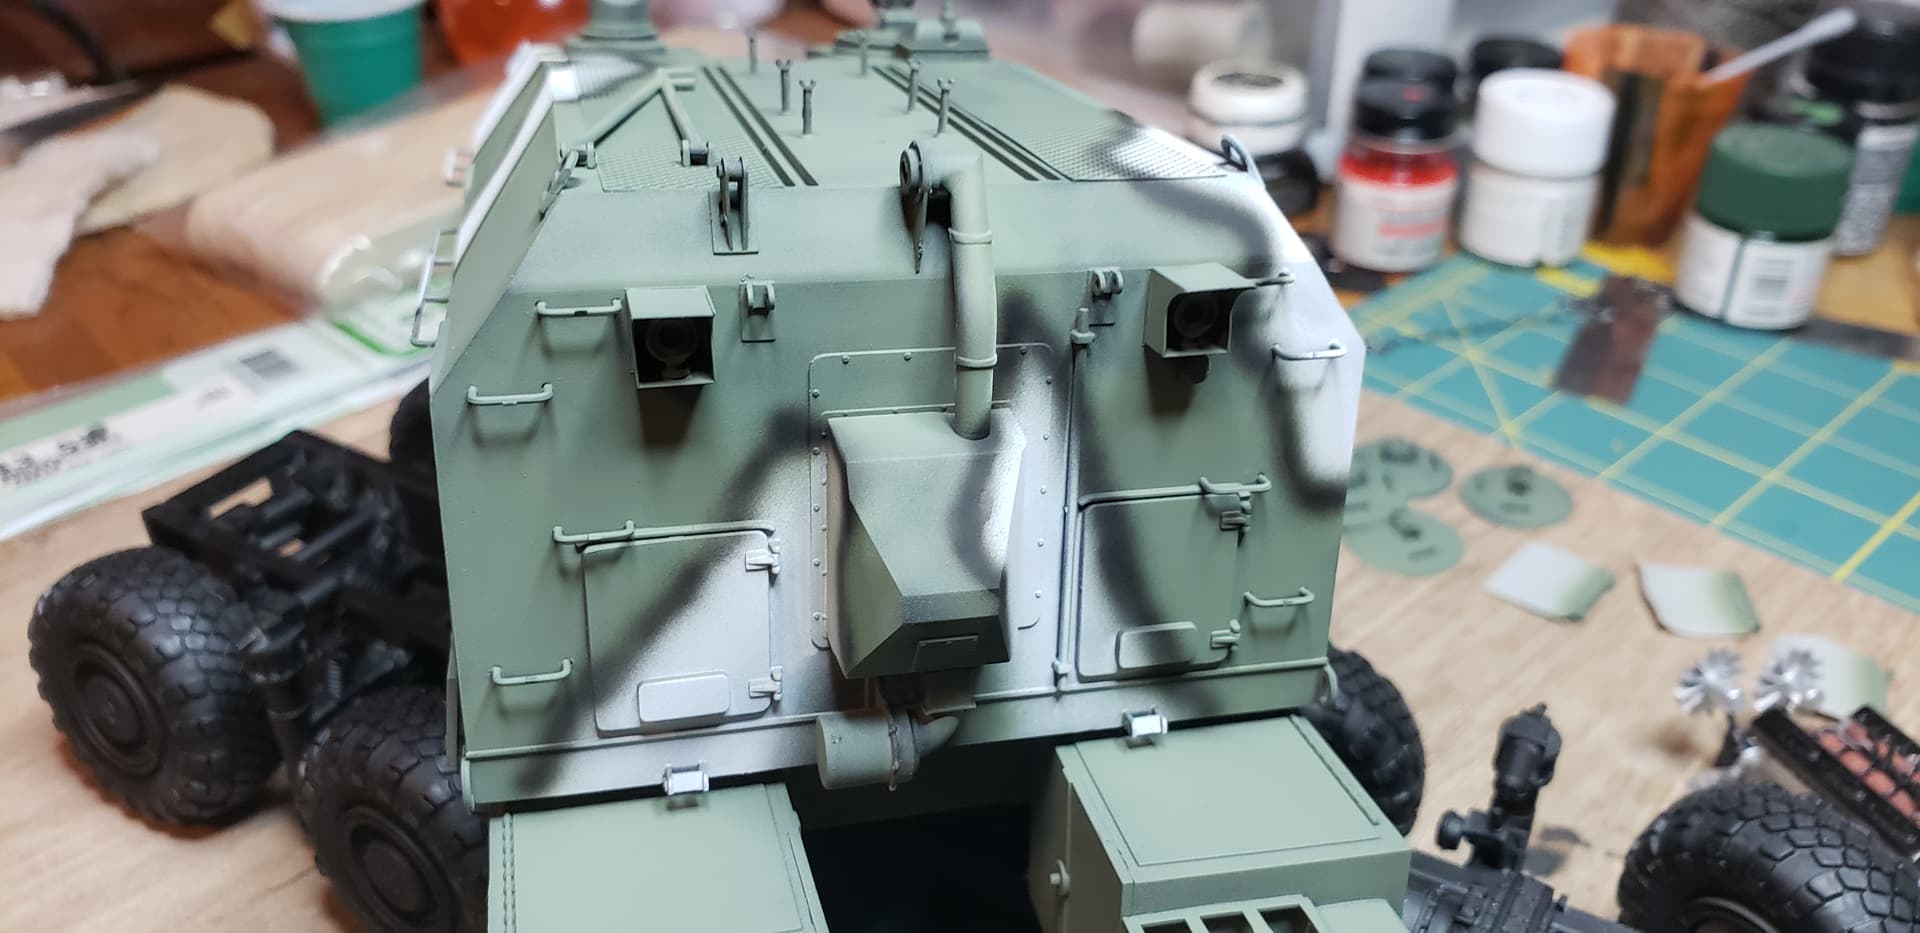
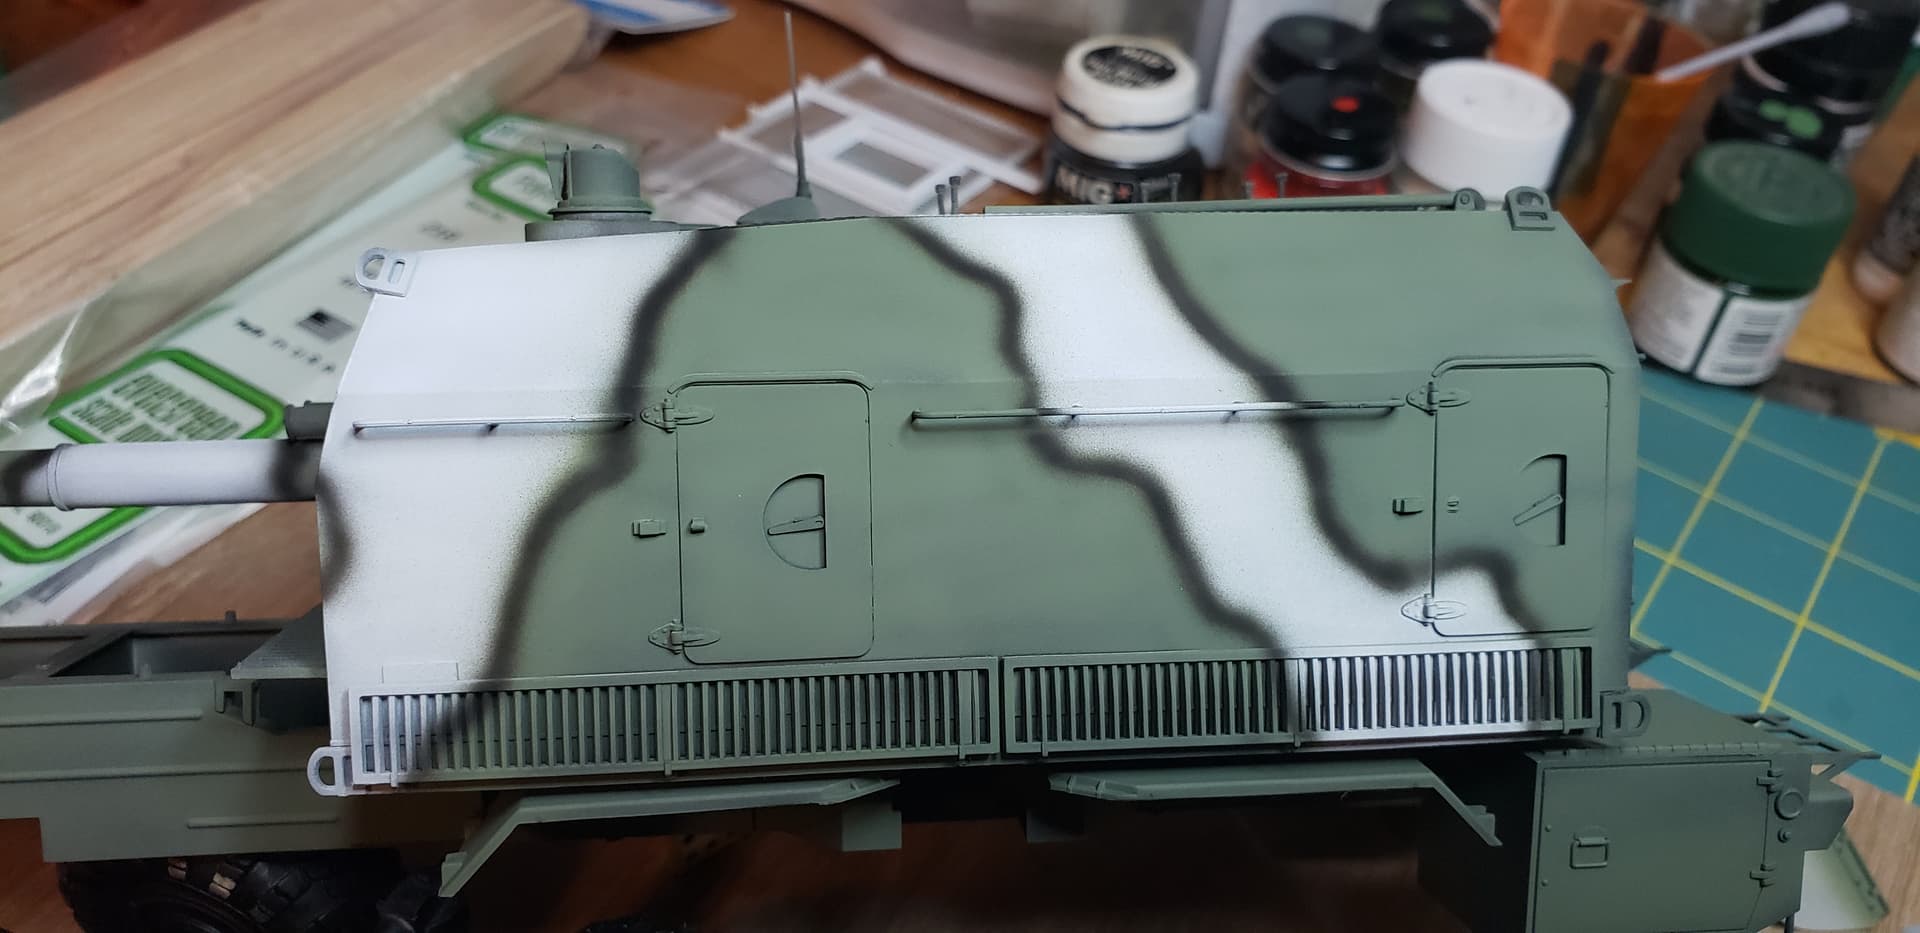
Definitely a different scheme that will stand out on the display shelf
9 Likes
Very eye catching looks cool
Have put together all the main parts for the superstructures and cab.
Once they are fully set, I will start adding the smaller details to all of them.
All dry fitted here to get an idea of how it will look.
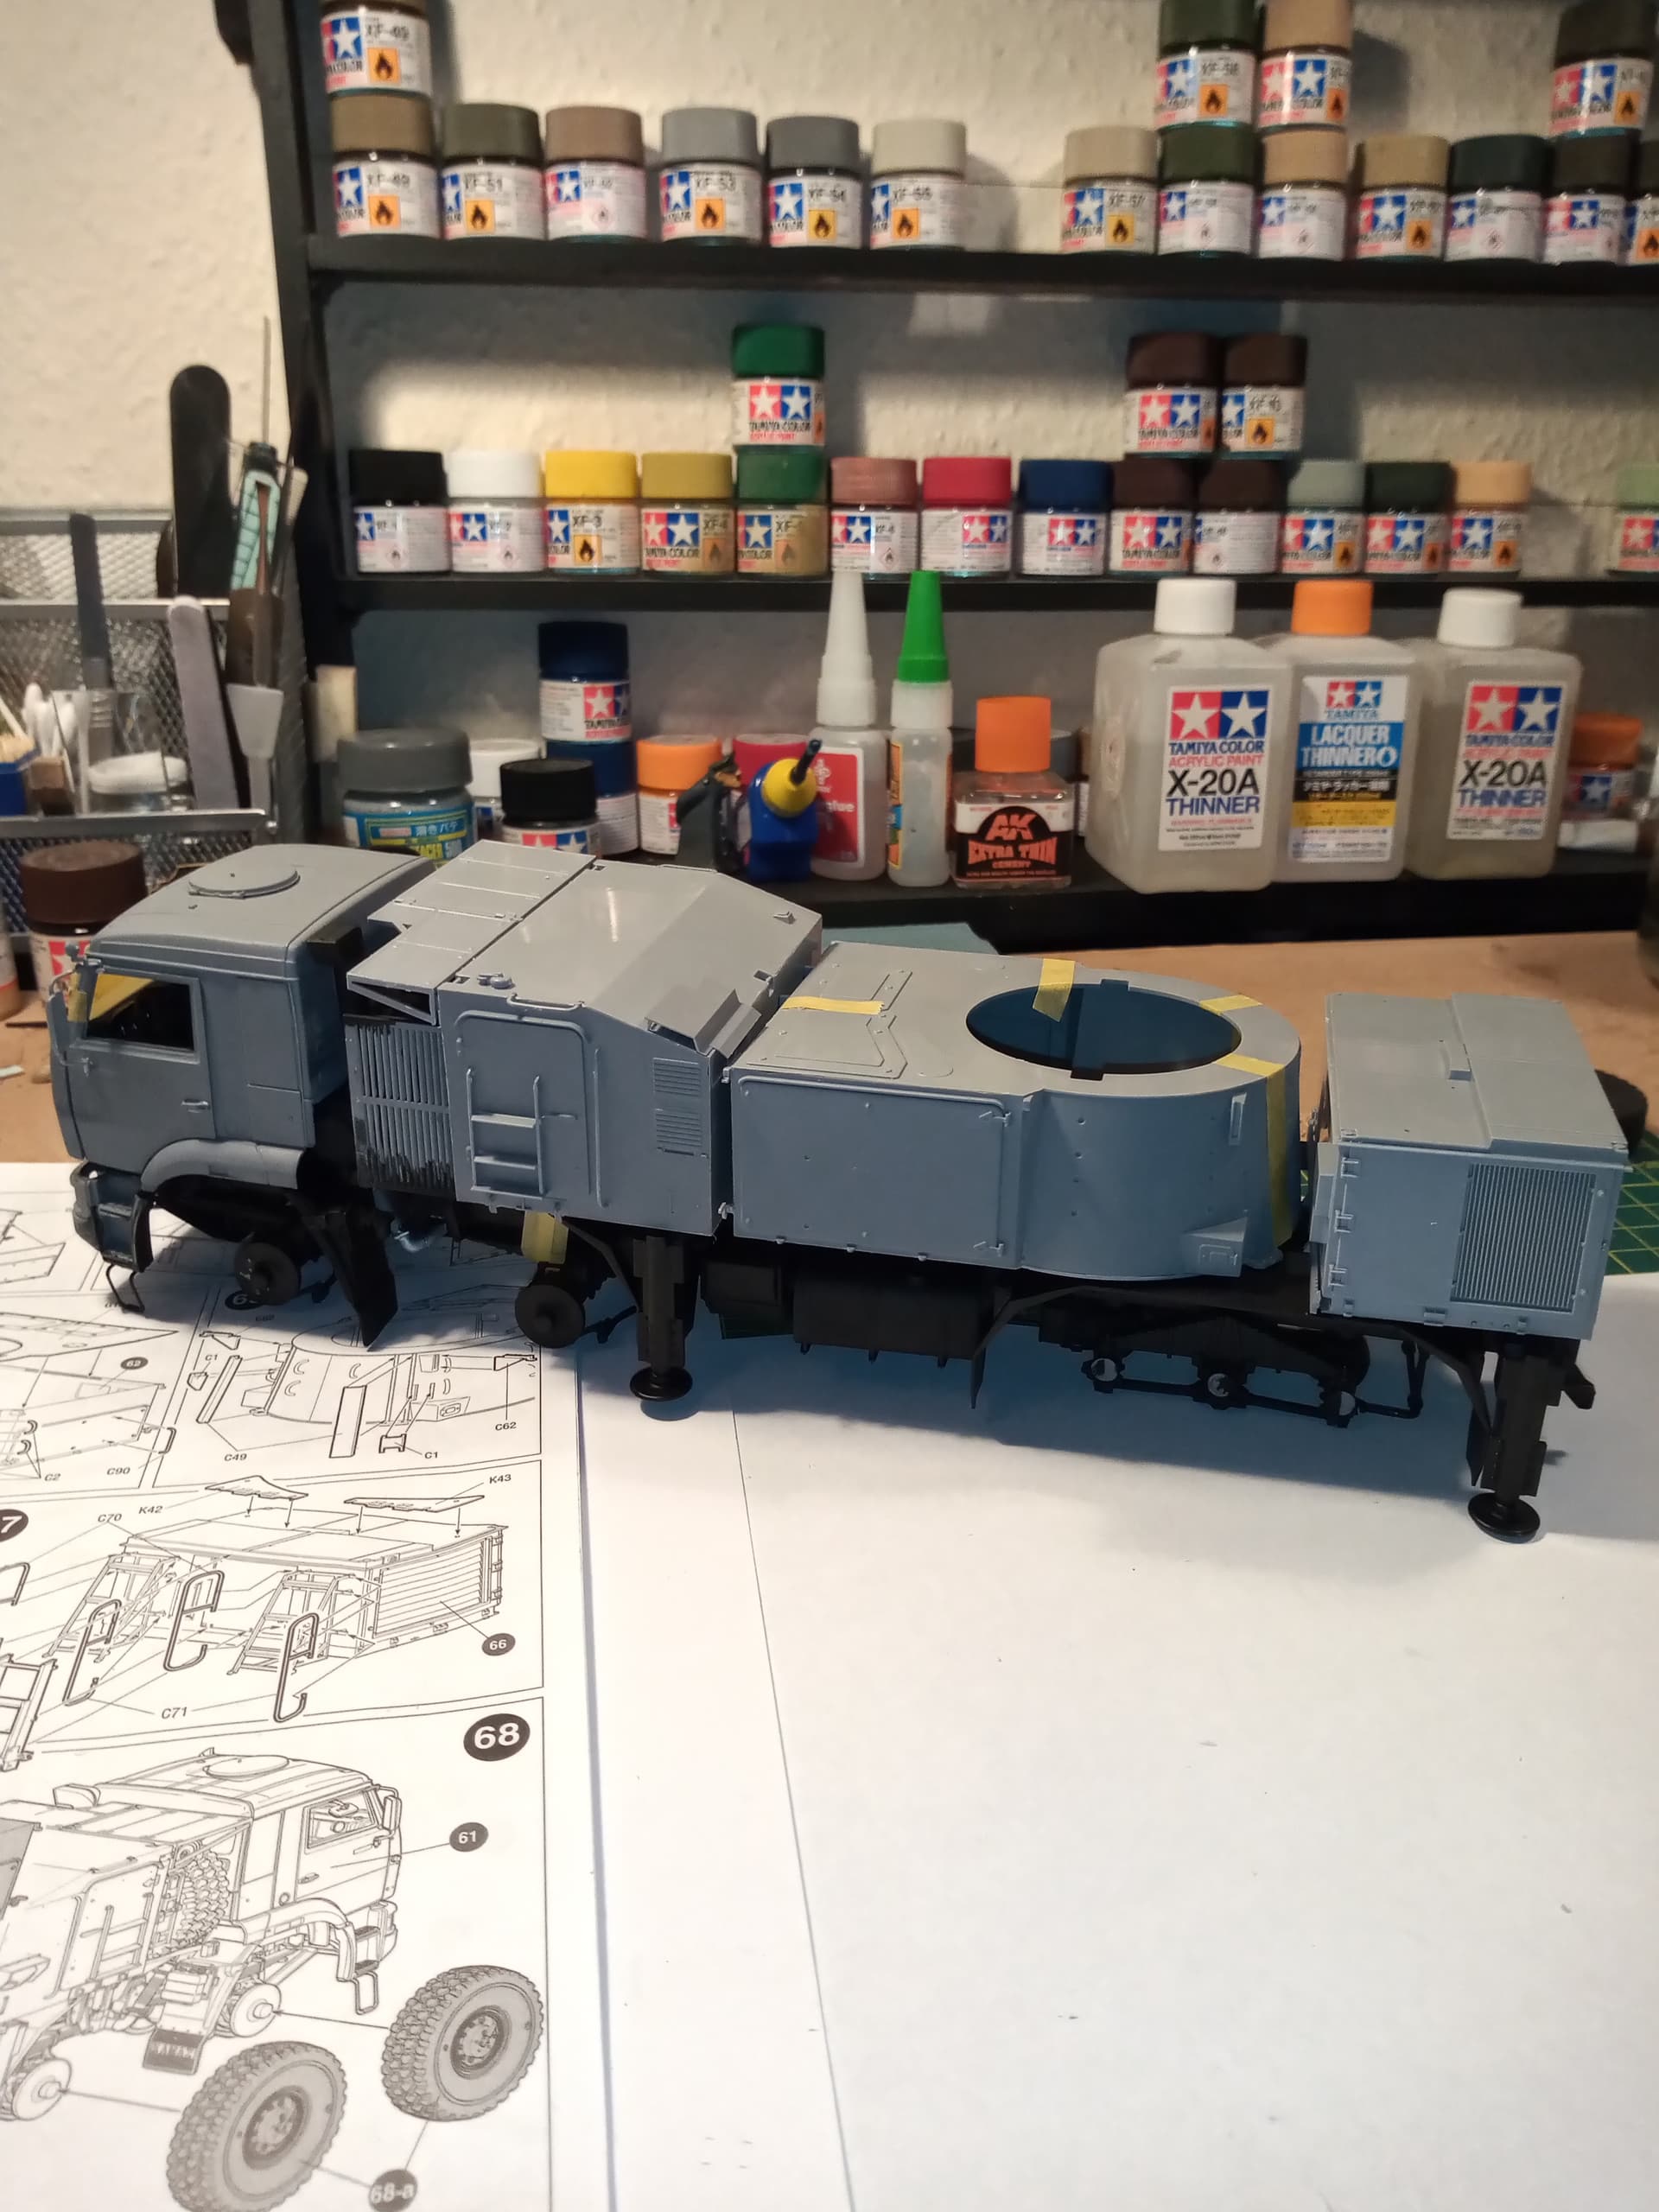
It’s big lol… And I still have the weapons and radar to do.
6 Likes
Damn. That’s one honki’ big ass piece of equipment.
2 Likes
It’s massive. Will do a couple of size comparison shots tomorrow with the LAV and Styker
1 Like
Very nice Pantsir ! Its really growing up now, wasnt aware of how large they actually were.
Spotted a few watching news today