@SSGToms @Elefant6
I just read “Brazen chariots”… blimey… hard to put it down for 3 days! Good thing I had to work in between!
The picture @SableLiger posted shows that 3 R.T.R. also had Caunter camouflage, if that indeed is Crisp’s Honey. It also still has the side MG’s.
2 Likes
Indeed Ron, a great read!
Great book!
1 Like
I remember that book! Great read.
1 Like

Sweet! OOTB, I assume? Any pitfalls?
I have to empty the Shelf of Shame a bit, before continueing on the Quest of Stuarts.
1 Like
TeeAge. Could you give us some info on where and how you cut the M8 to lengthen it?
1 Like
Yeah. Fully OOTB; trimmed the fenders up and added some stowage from my spares box.
1 Like
Useful if you wish to do a turretless recon variant.
Cheers,
M
2 Likes
![]() Yes Sir, that’s exactly what I had in mind. And maybe a civilian dozer version as illustrated above by @Frenchy
Yes Sir, that’s exactly what I had in mind. And maybe a civilian dozer version as illustrated above by @Frenchy ![]()
1 Like
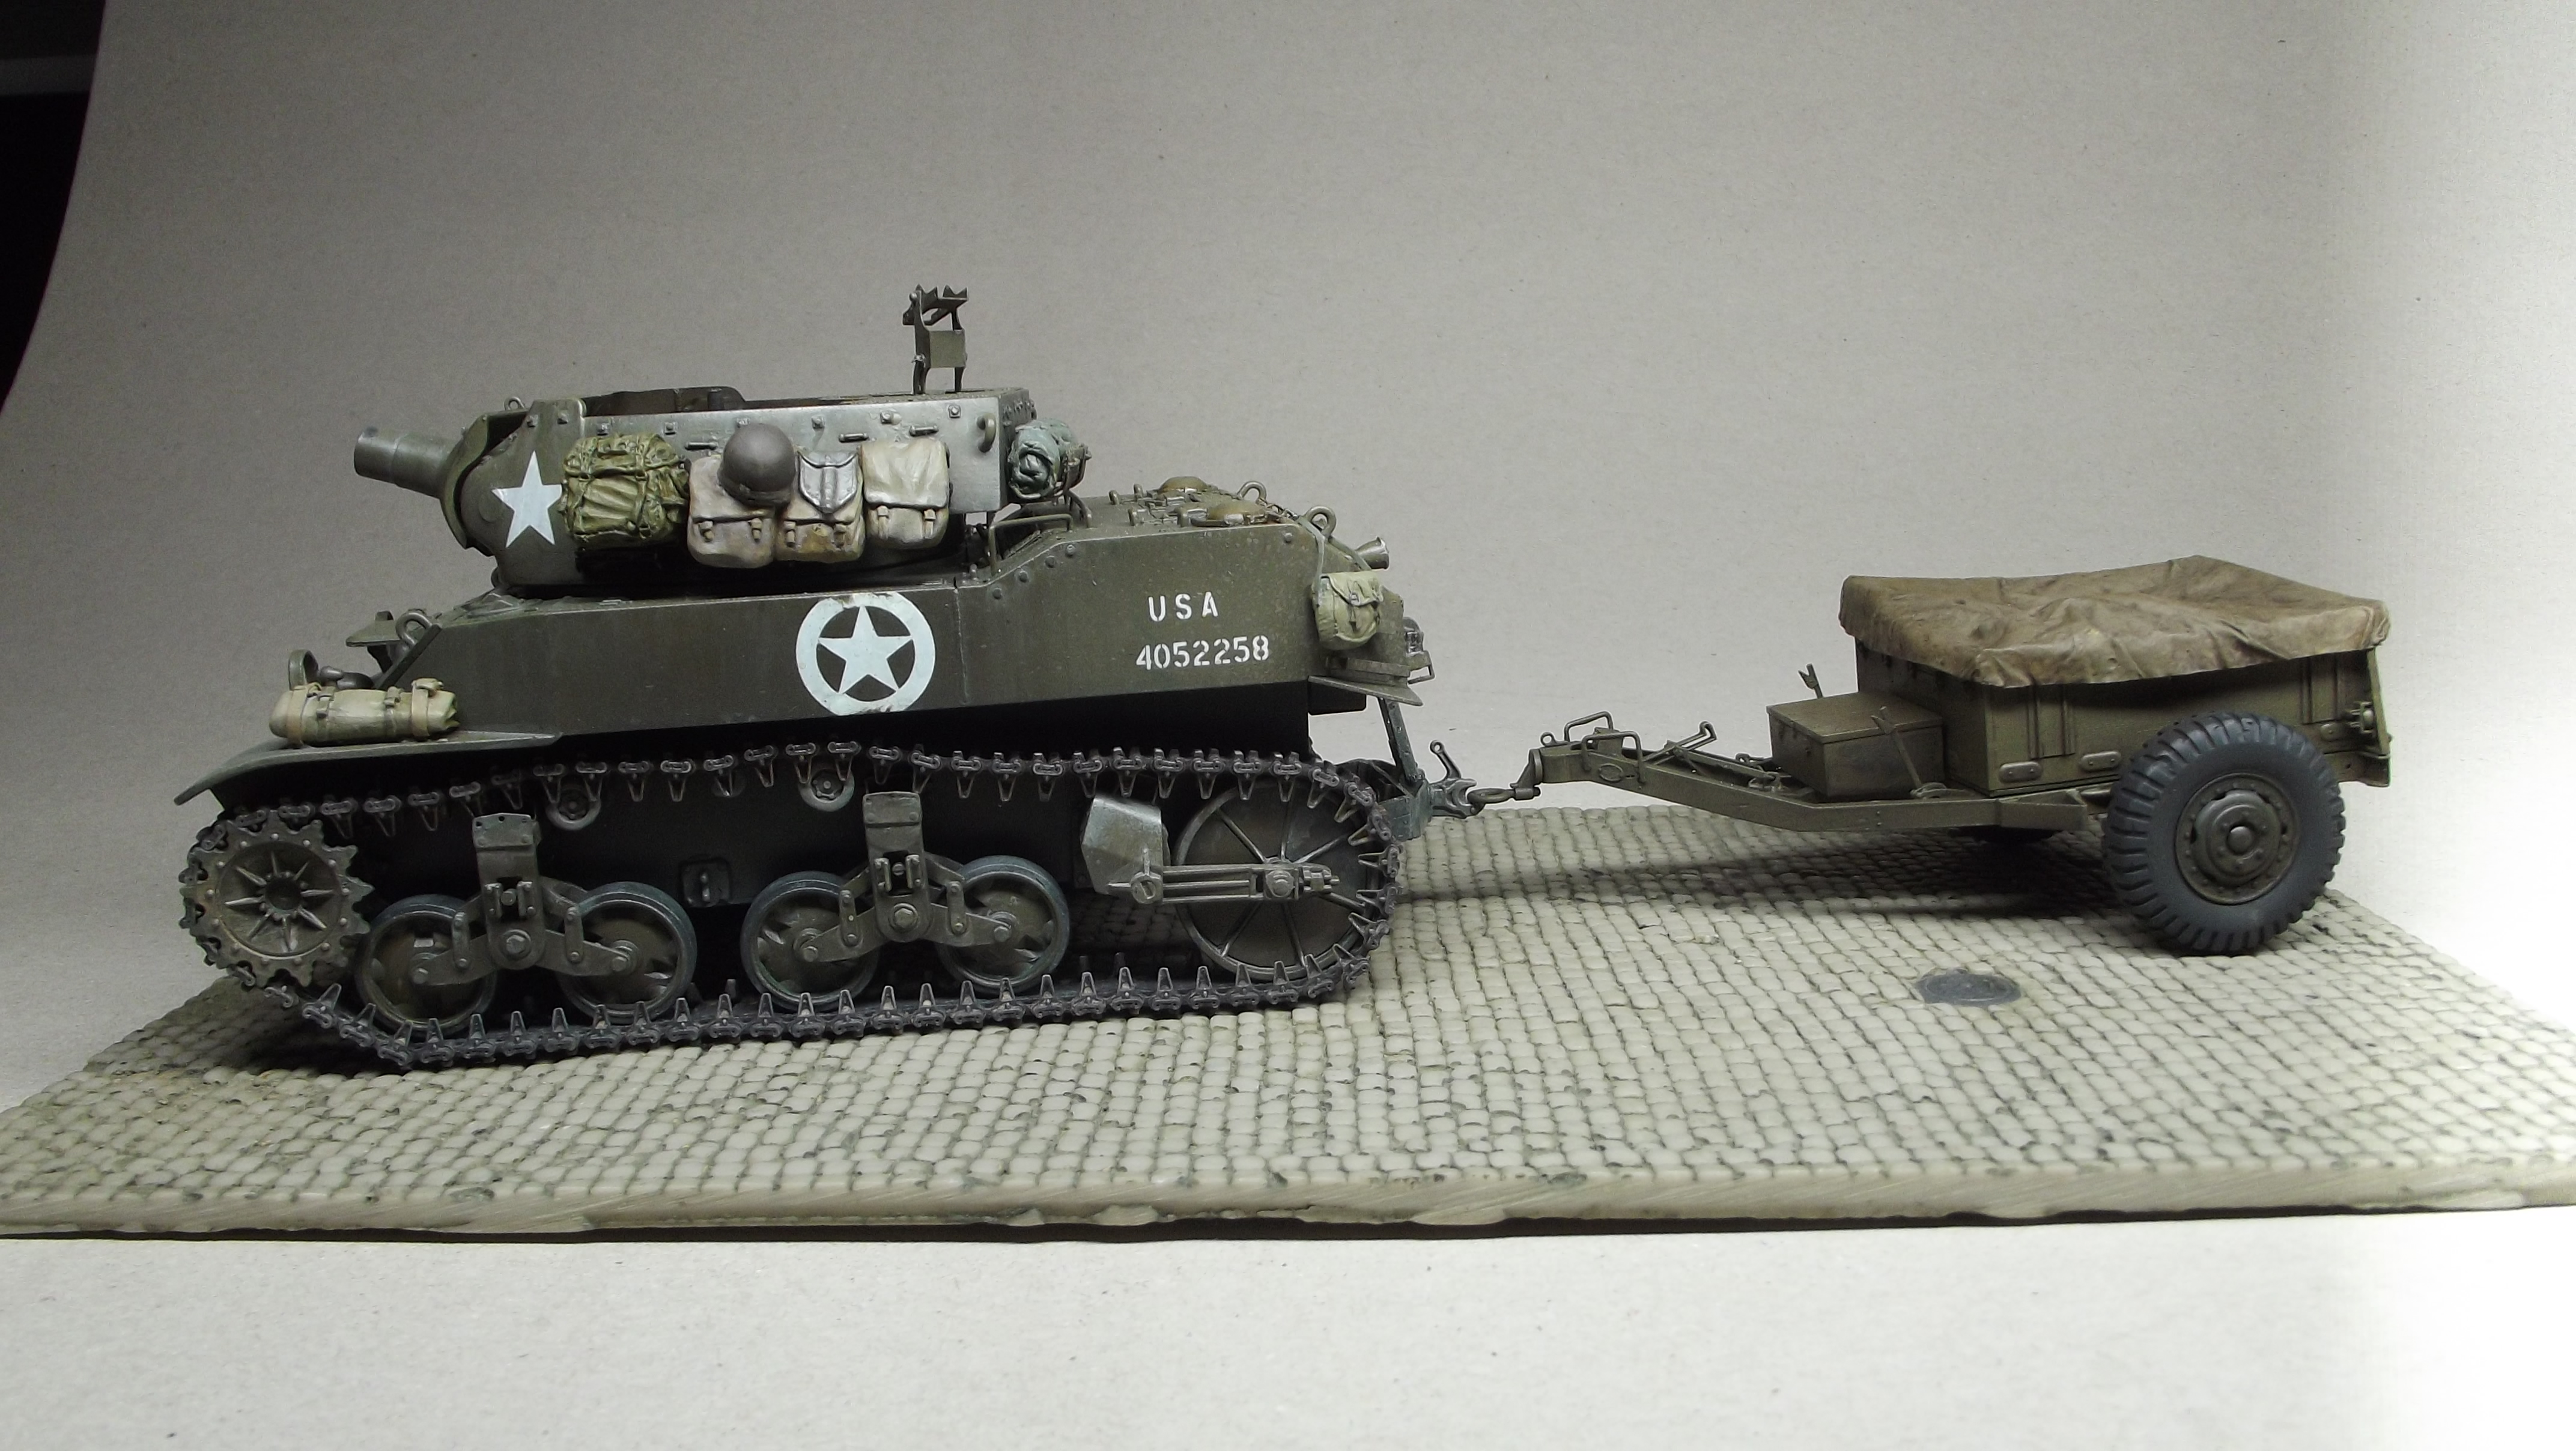
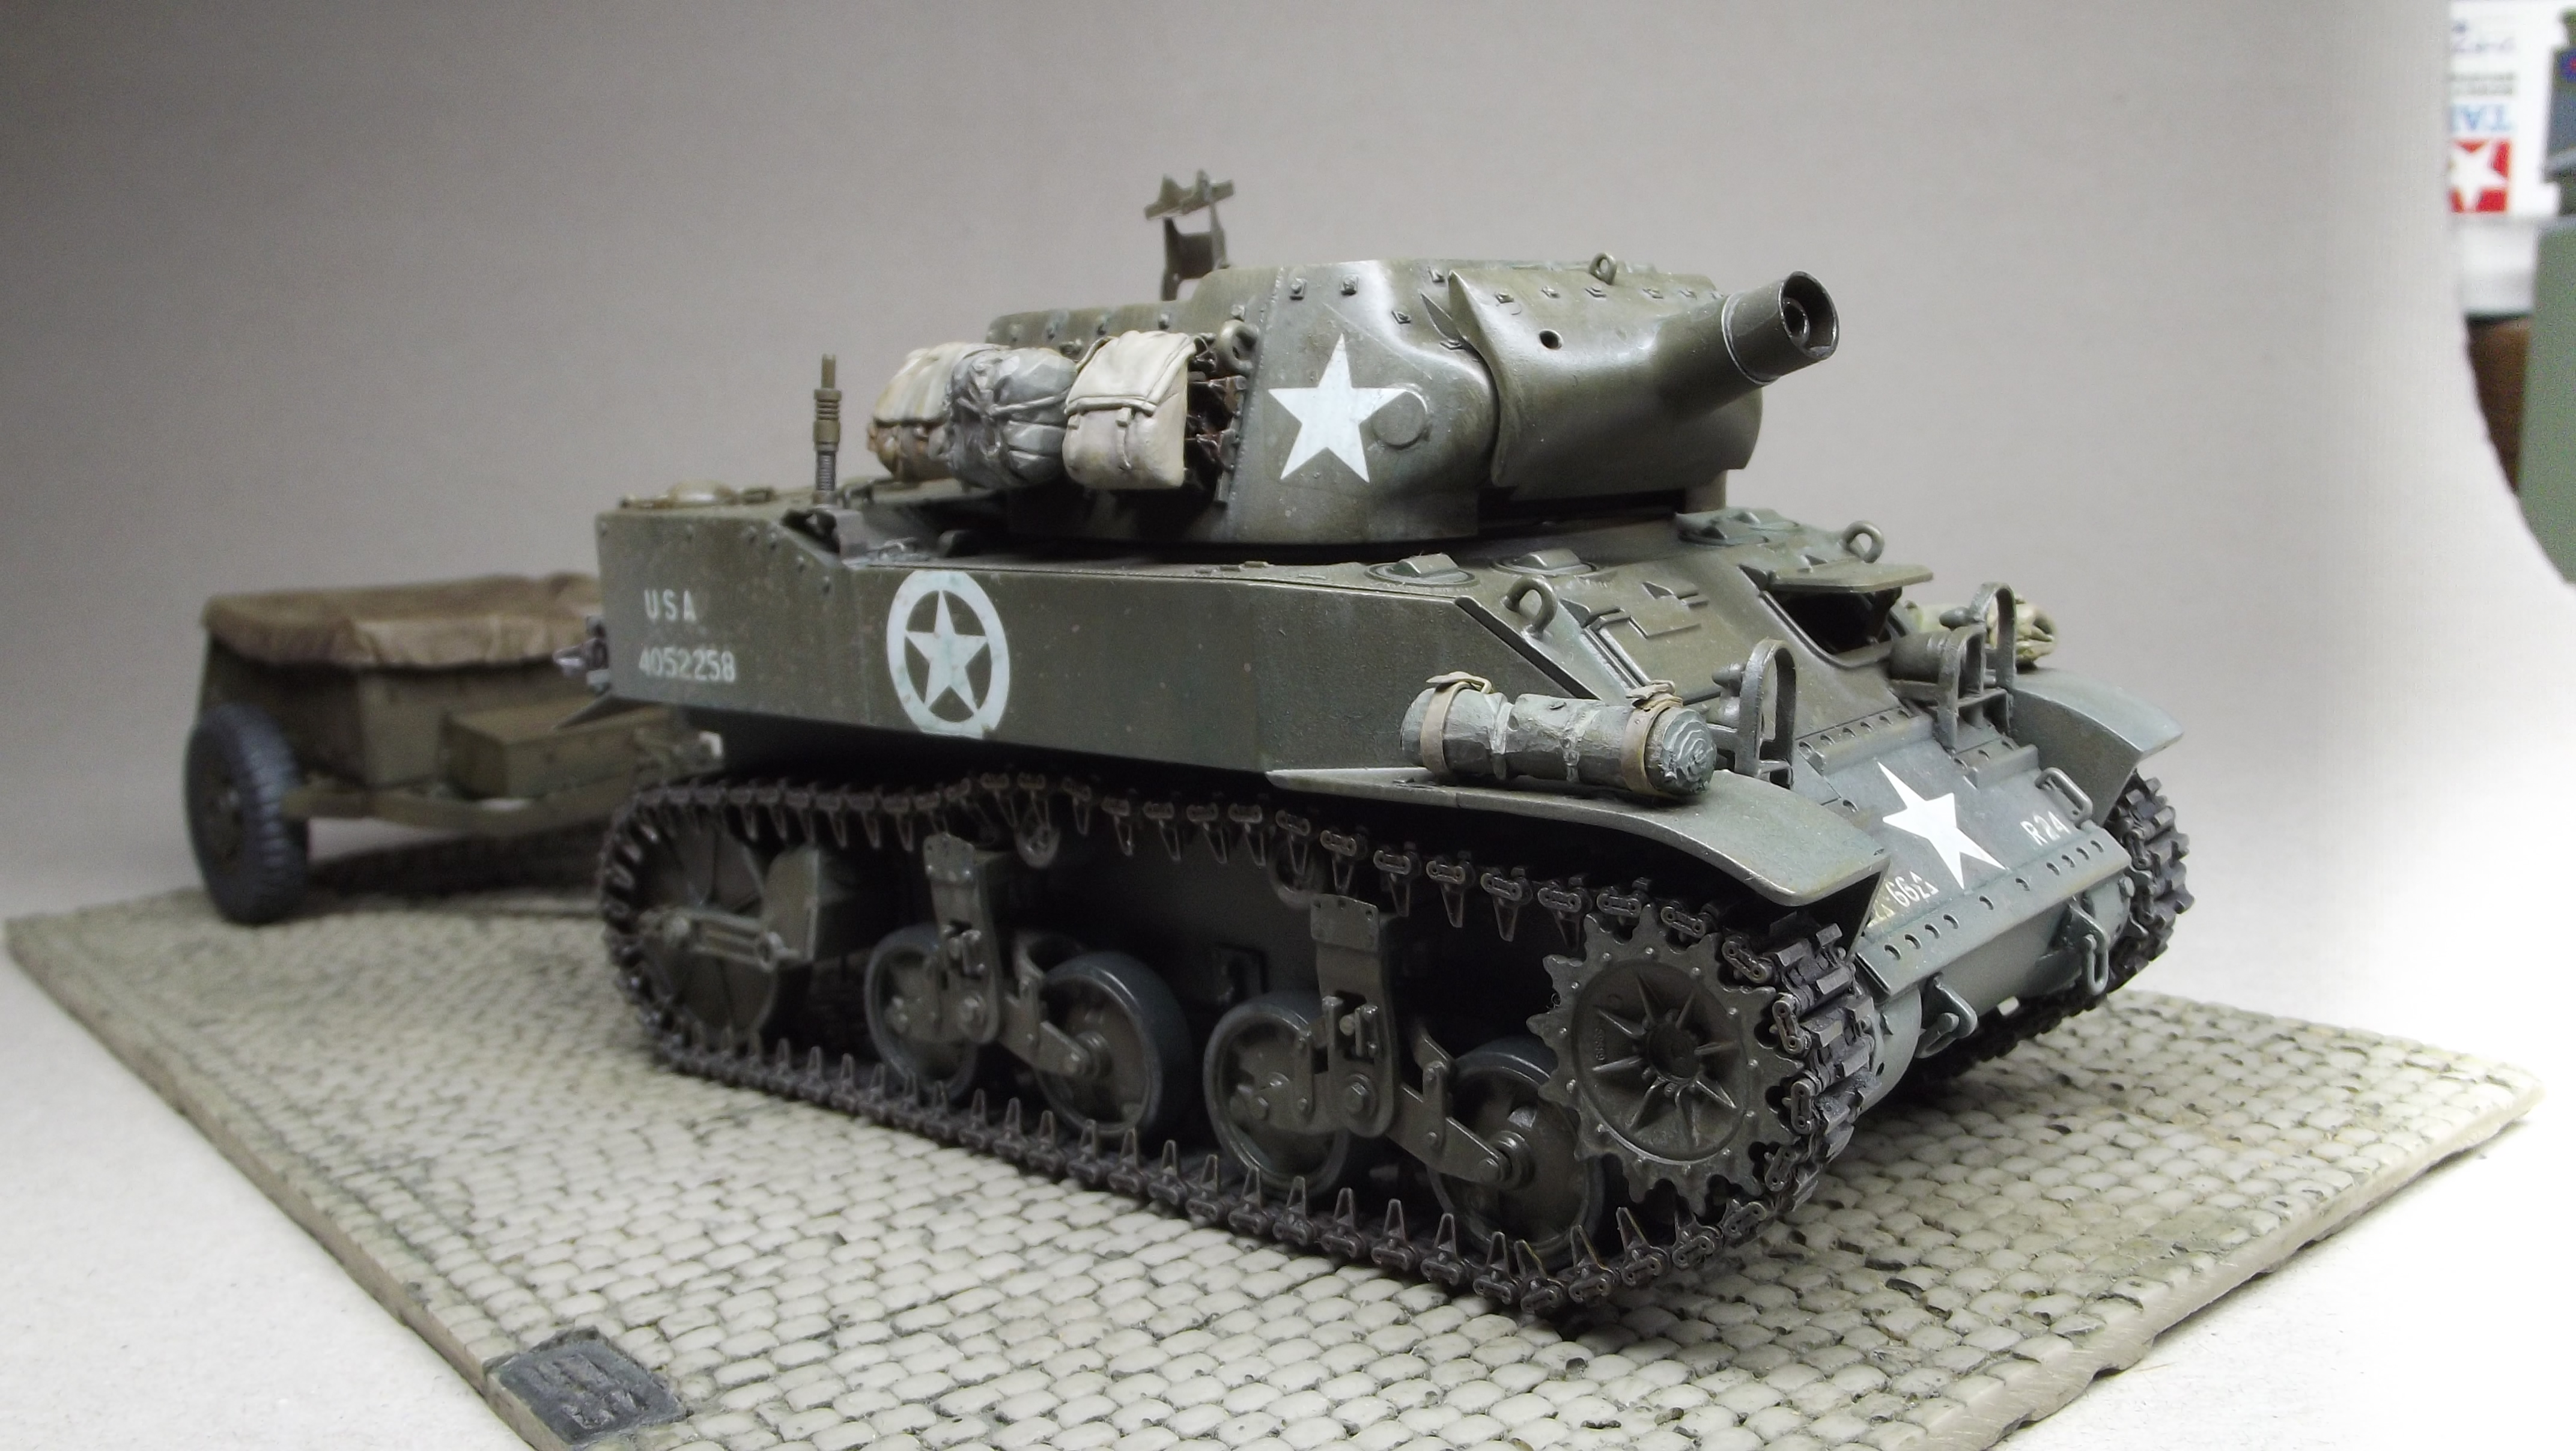
I build it with two issues of Military Modelling, vol. 29 no. 14, “Patton’s ghosts” from Steven Zaloga building the M8 and vol.29 no. 10, “Eyes of the Armoured Divisions”, from Cookie Sewel, building the M5.
As both have the same wrong Tamiya measurements I followed Steve for the upper hull, and Cookie for the bottom hull.
You can see some building on the Dutch Twenot site (unfortunately in Dutch)
I reccon I can’t show pictures of the issues here, so get in contact if you are interested.
With regards
9 Likes
Thank you for the post reply!
1 Like
A great build to look at!
1 Like
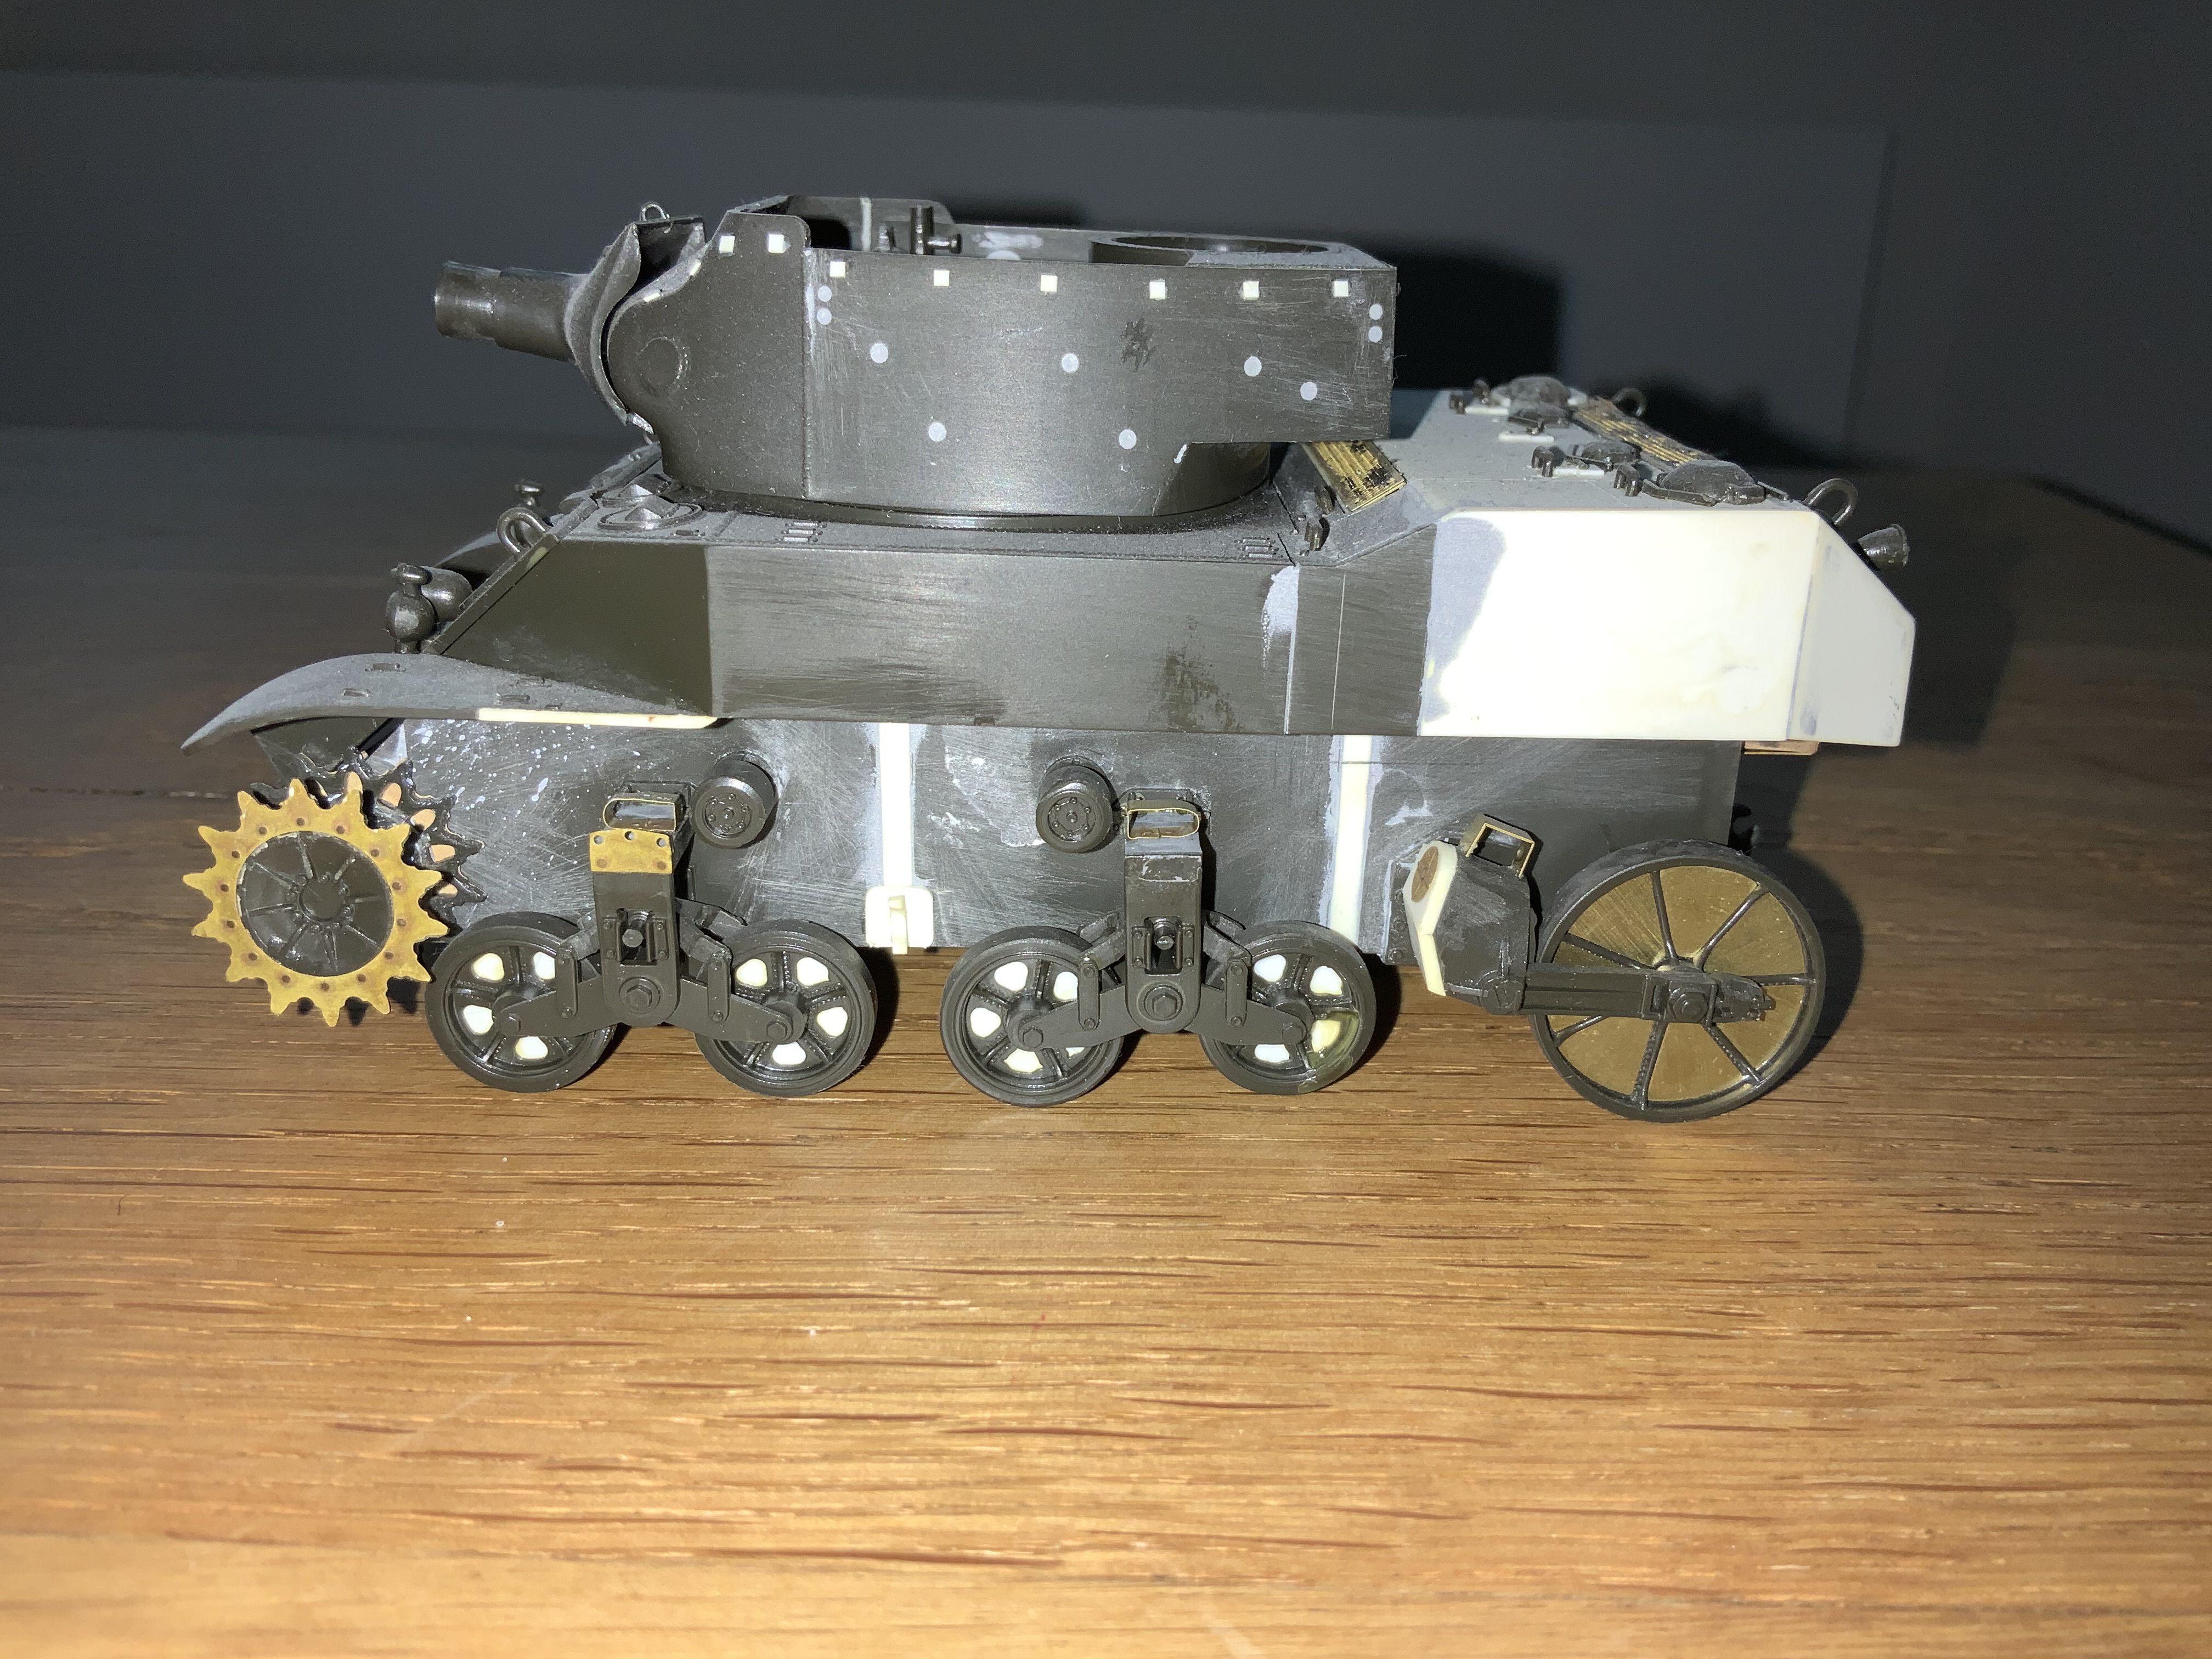
Most of the kits that could be finished, are done, so time to do some more work on my Stuart-project.
I tried painting the interiors white. What a mess. Luckily most will not be seen, but I should have used the airbrush on the interior first. I did not feel like messing around with ovencleaner, so had to brush it on. After 3-4 layers still not properly covered…
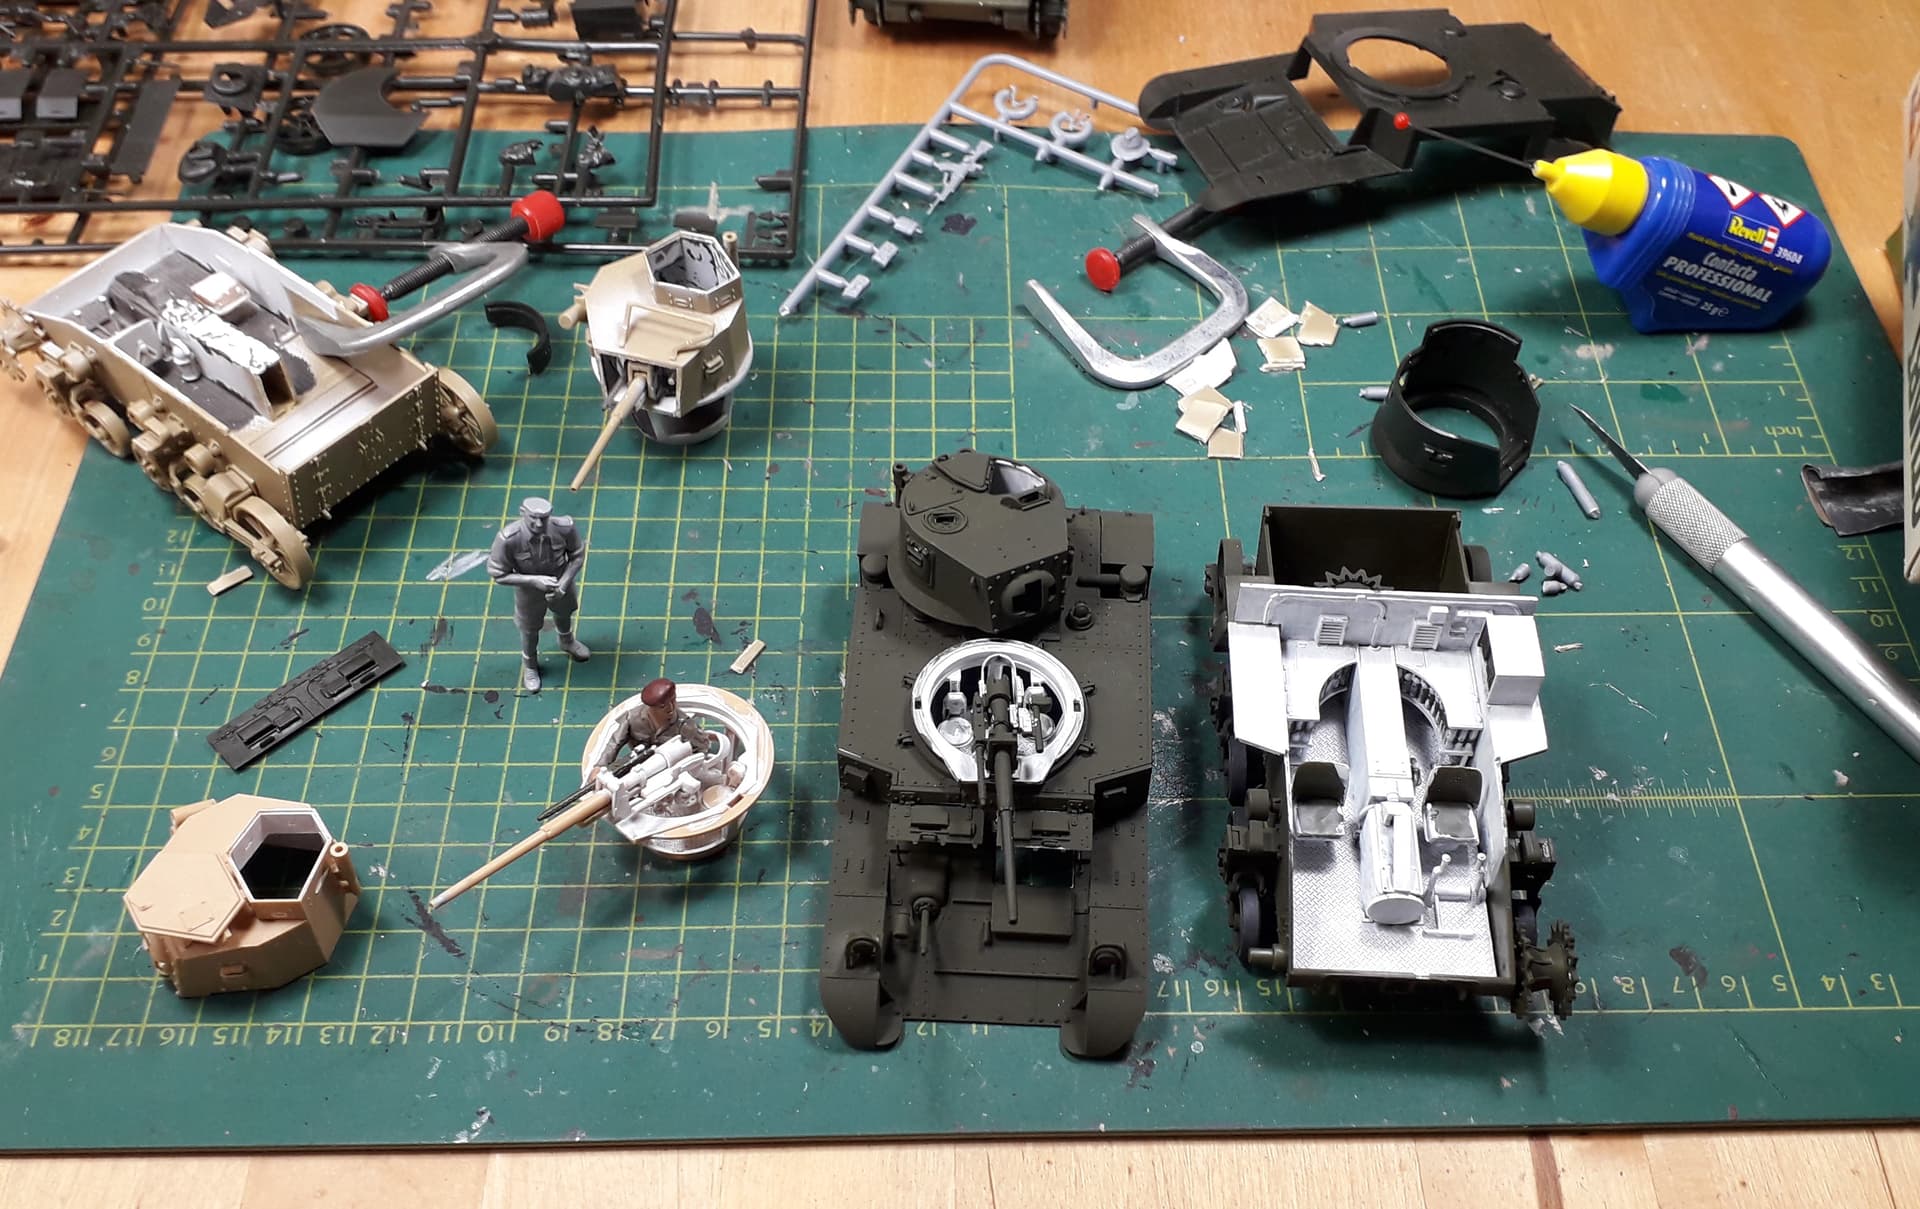
I also felt like doing some work on the Australian M3-to-be. One issue was the diesel enginedeck of the Tamiyakit, but it turns out that Australia received a number of those through various means, including the UK.
With that issue tackled it was time to look at the turret. Which is way to small! I’ll be using a spare Academy-turret for correct size and Tamiya parts for correct positioning of hatches and such.
6 Likes
This is a fun project! ![]()
Maybe 6 years ago, during a very brief fling with model building, I had the same idea and started a Tamiya M3, Academy M3A1, and AFV Club M5. After putting maybe 20 hours into each model, they all went into the closet. Unfortunately, I have too many unfinished projects and campaign commitments to work on them now.
Edit:
Tamiya’s old M3 definitely has a few issues. I ended up scratch building a new turret using Milliput for the collar around the base. It turned out fairly okay. all things considered.
In my experience, most white paints are useless for brush painting. Vallejo Game Color White works better than most because it is designed for brush painting gaming miniatures.
I think my favorite Stuart variant is the T18 Howitzer Motor Carriage. It reminds me of a Polish 7TP.
2 Likes
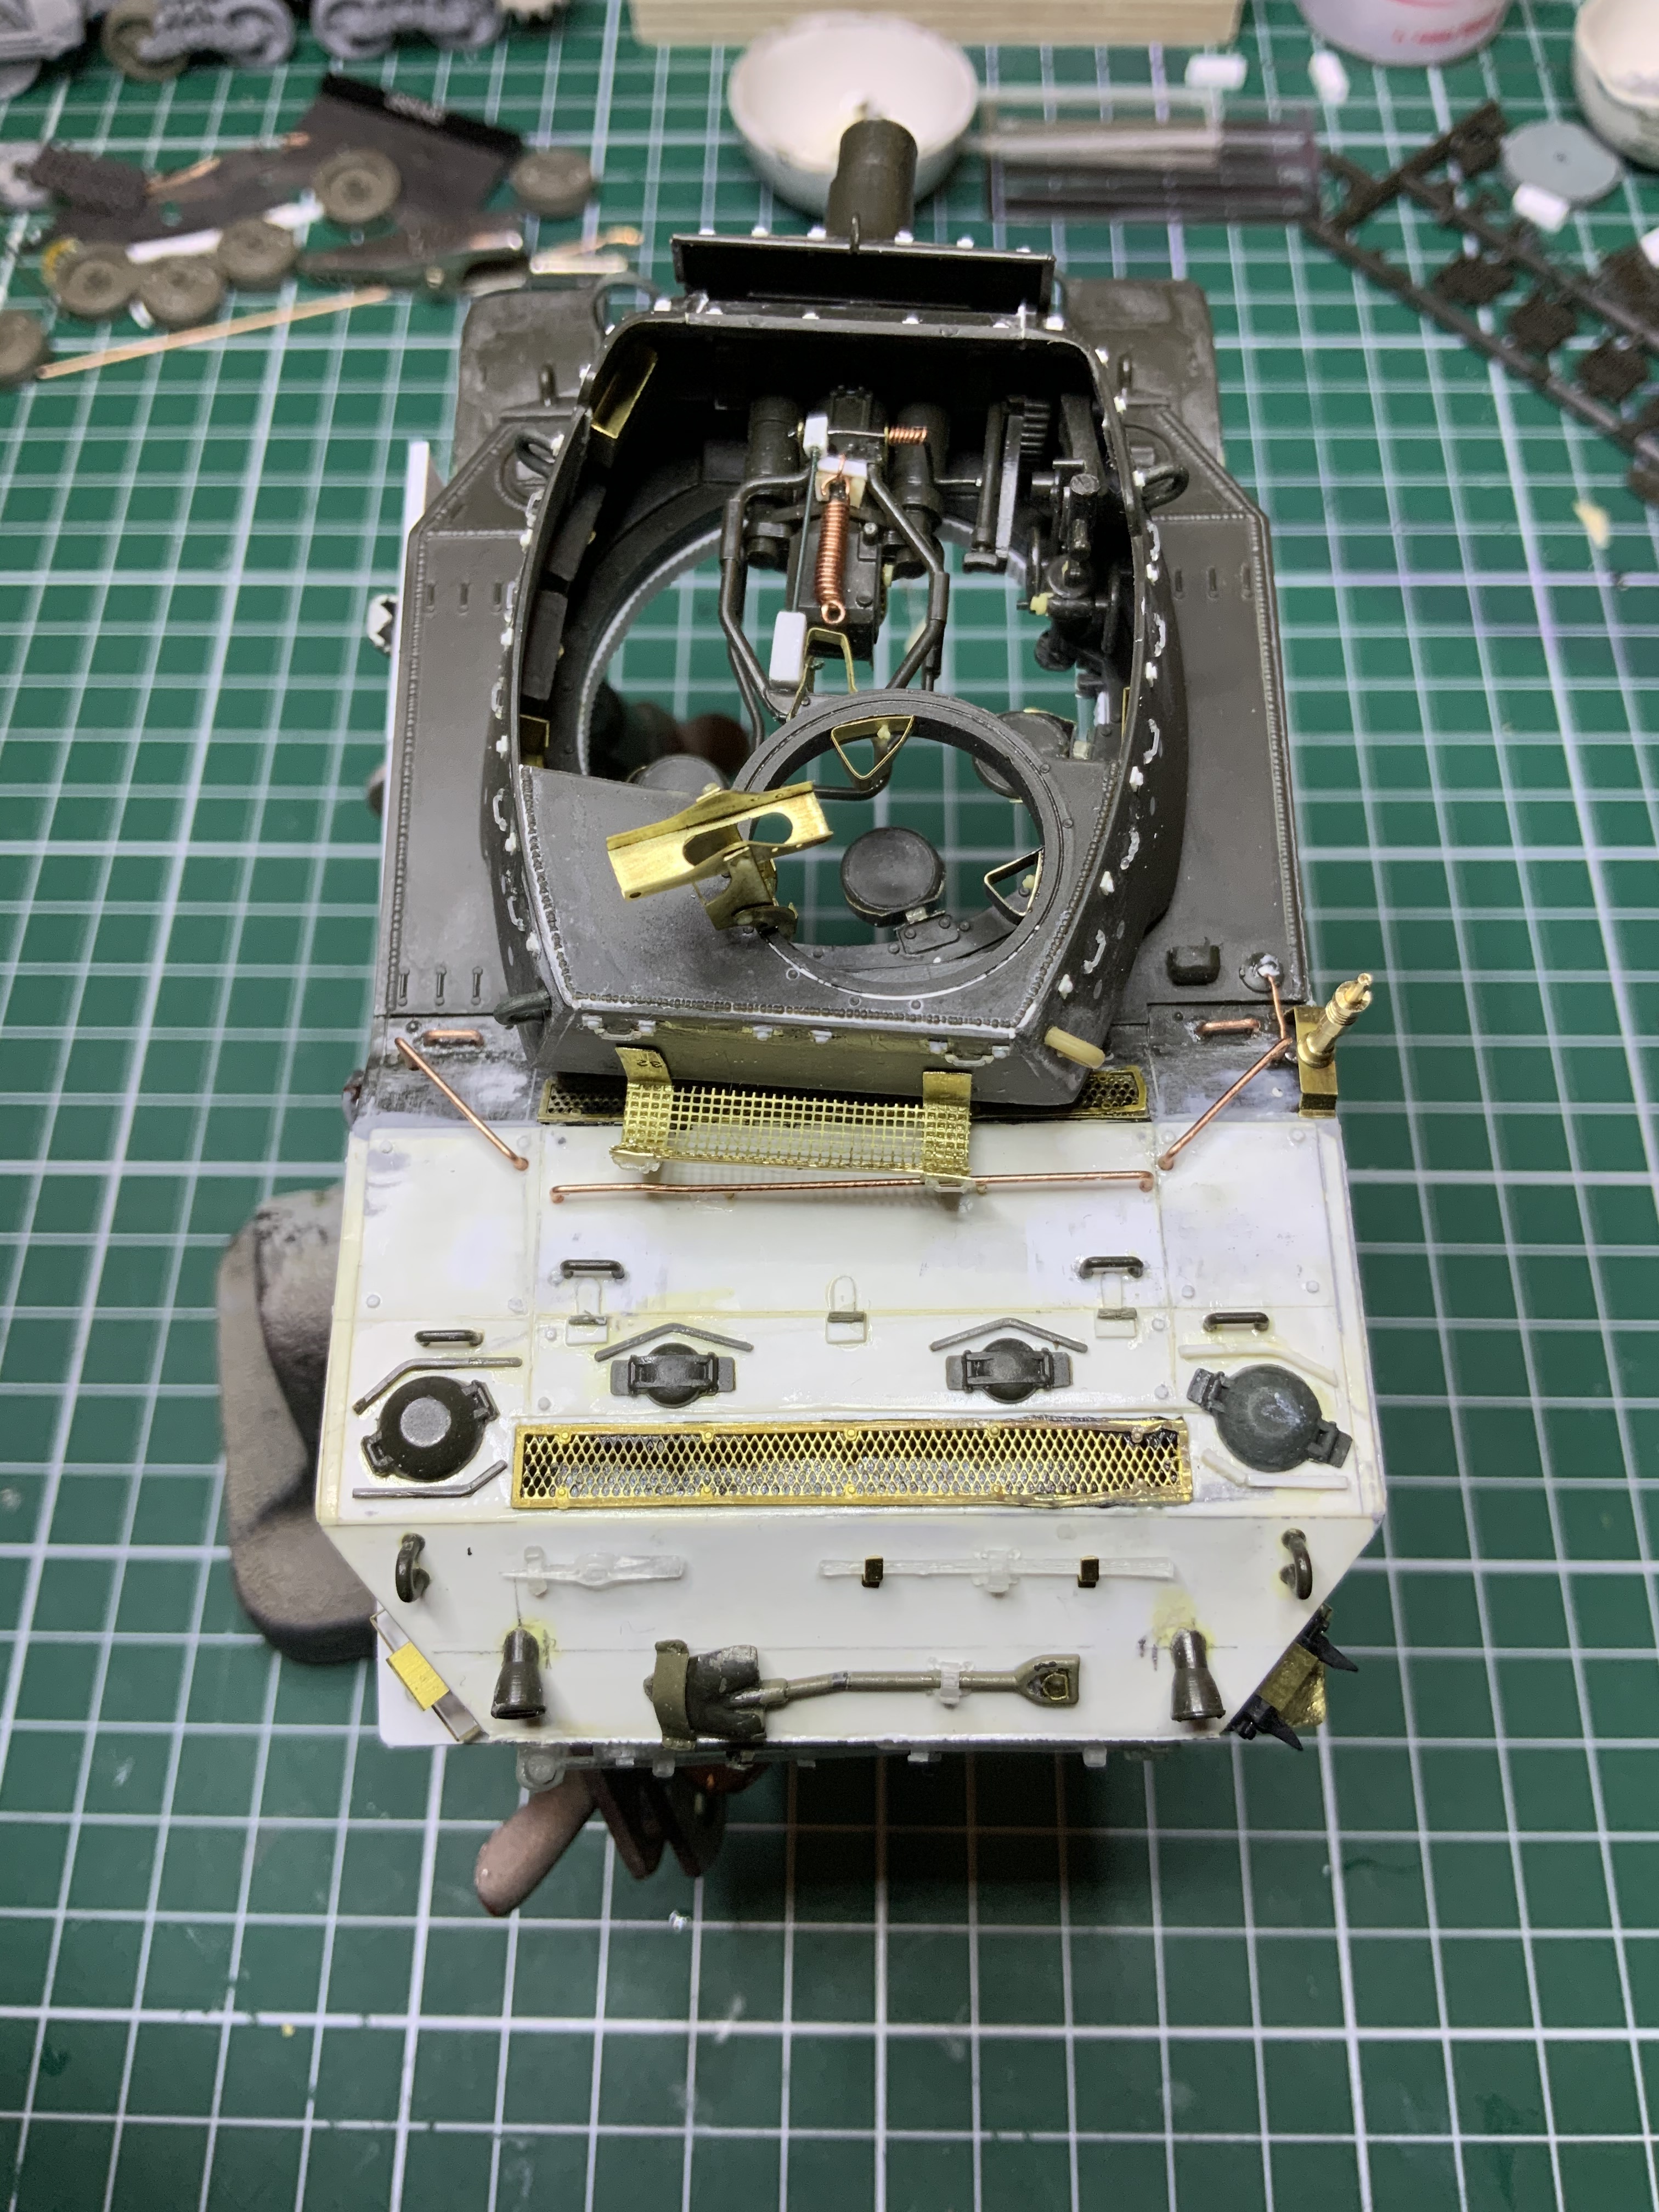
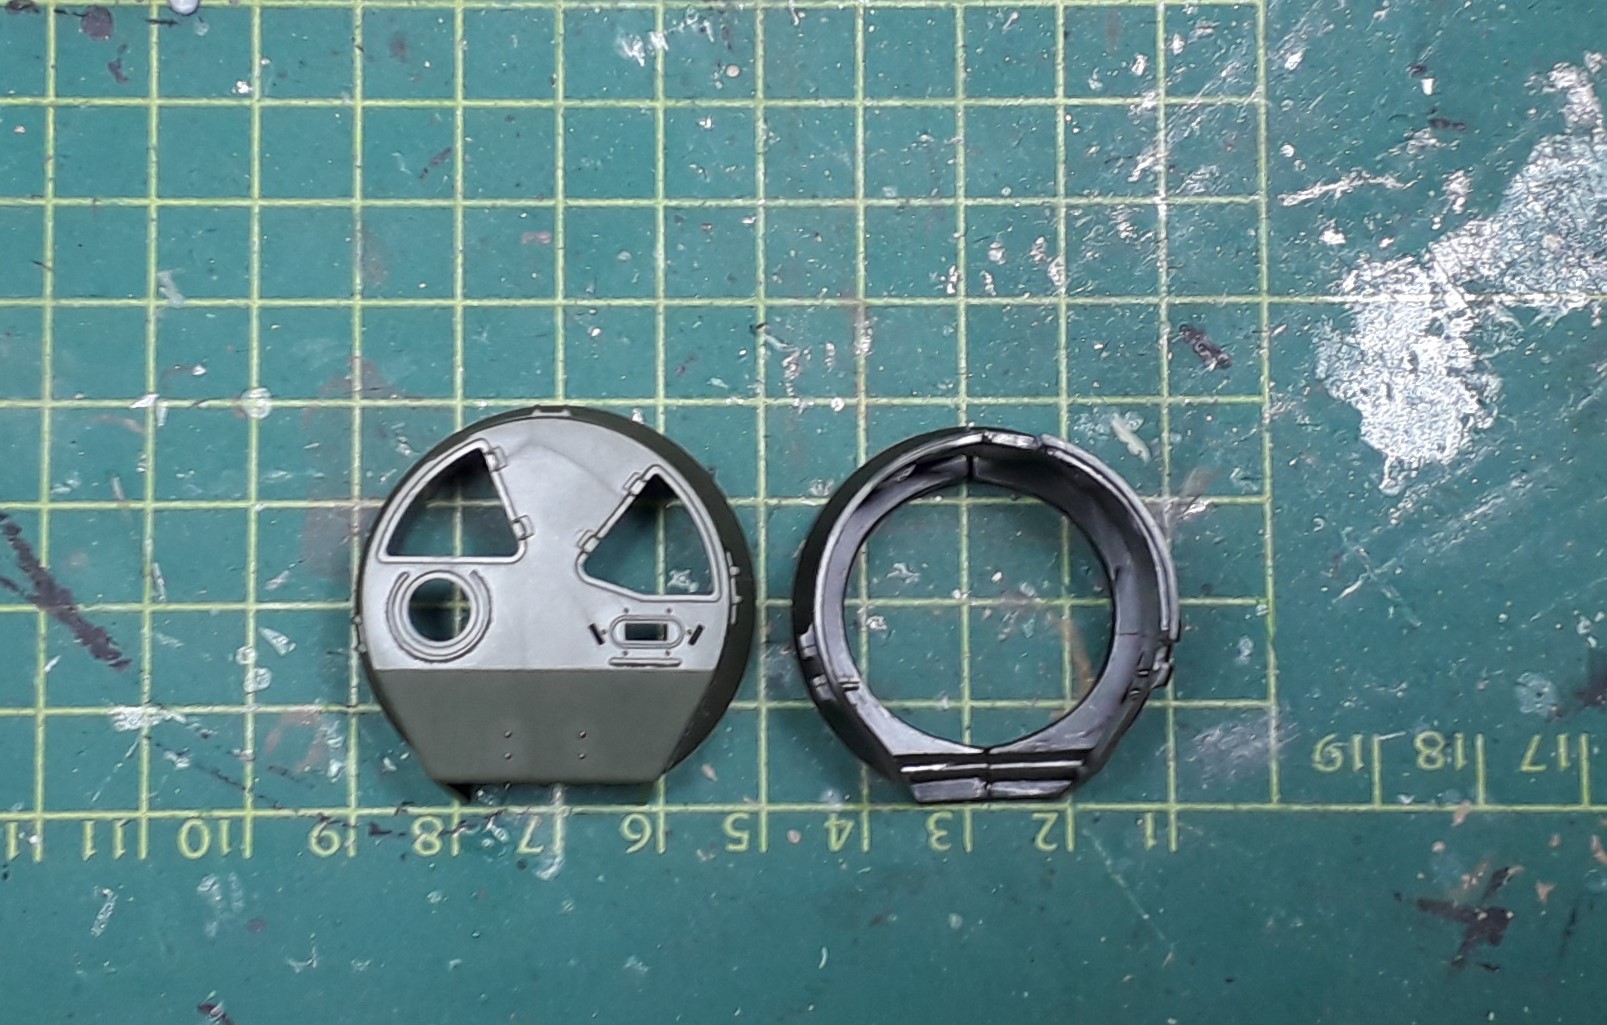
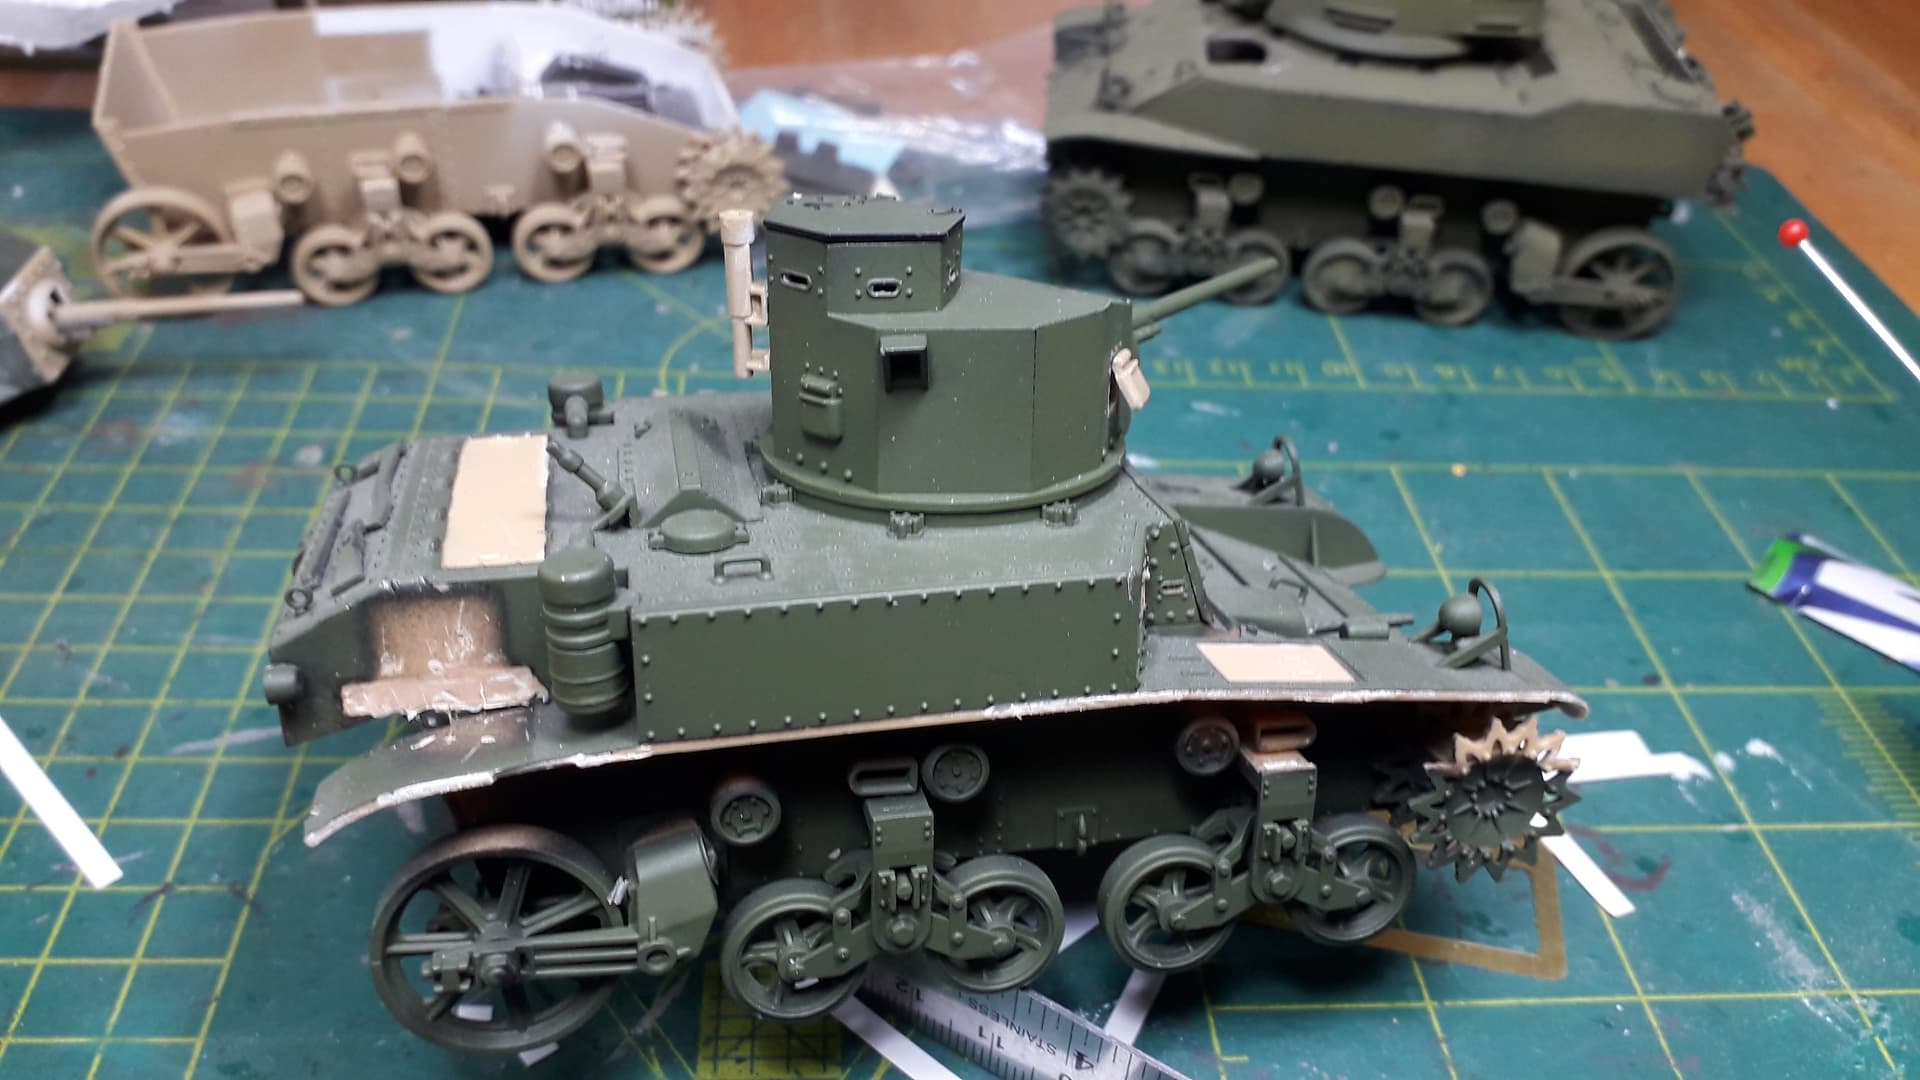
I really stepped outside of my comfortzone here and turned Tamiya’s wat too small D39273-turret into a correct sized one, based on Airfix’ D58101-turret (with the 2 triangular hatches).
I used Tamiya’s as a template, cut out the sideports, placed those on the right locations in the new turret, filled and sanded it all and it looks surprisingly good!
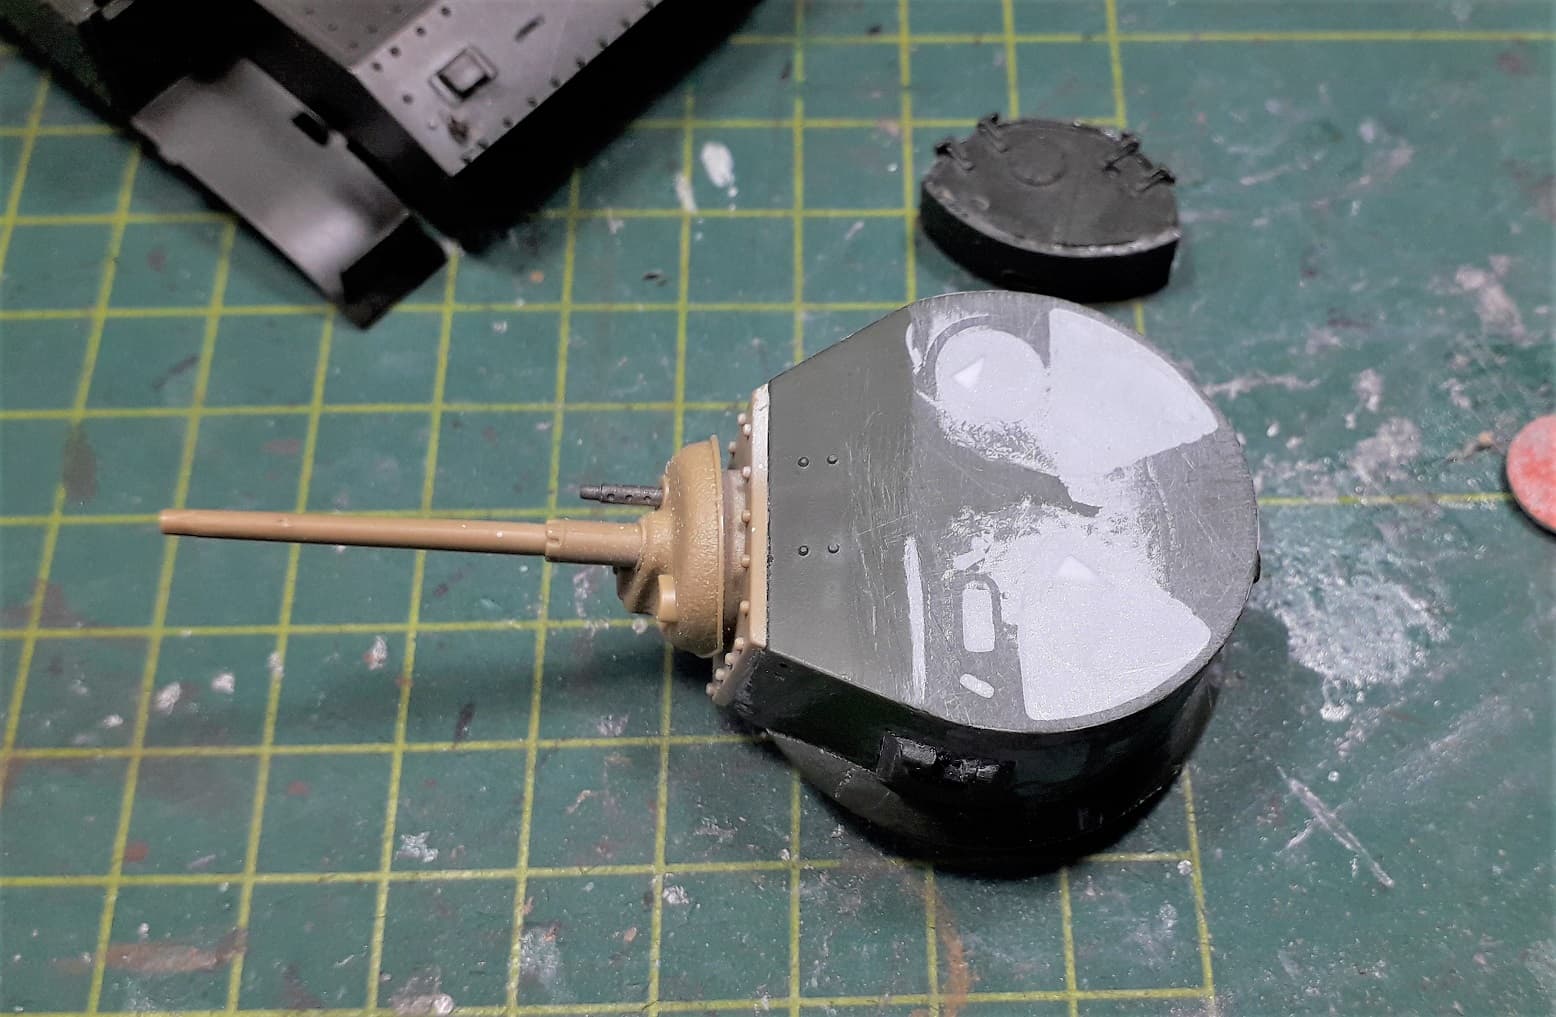
There were a number of other issues to tackle, due to the turret switch. First of all I had to use a spare turretring from a Honey-turret, which is different in size and shape and off course the hull ring was too small too. So a lot of adjusting, cutting and sanding was done.
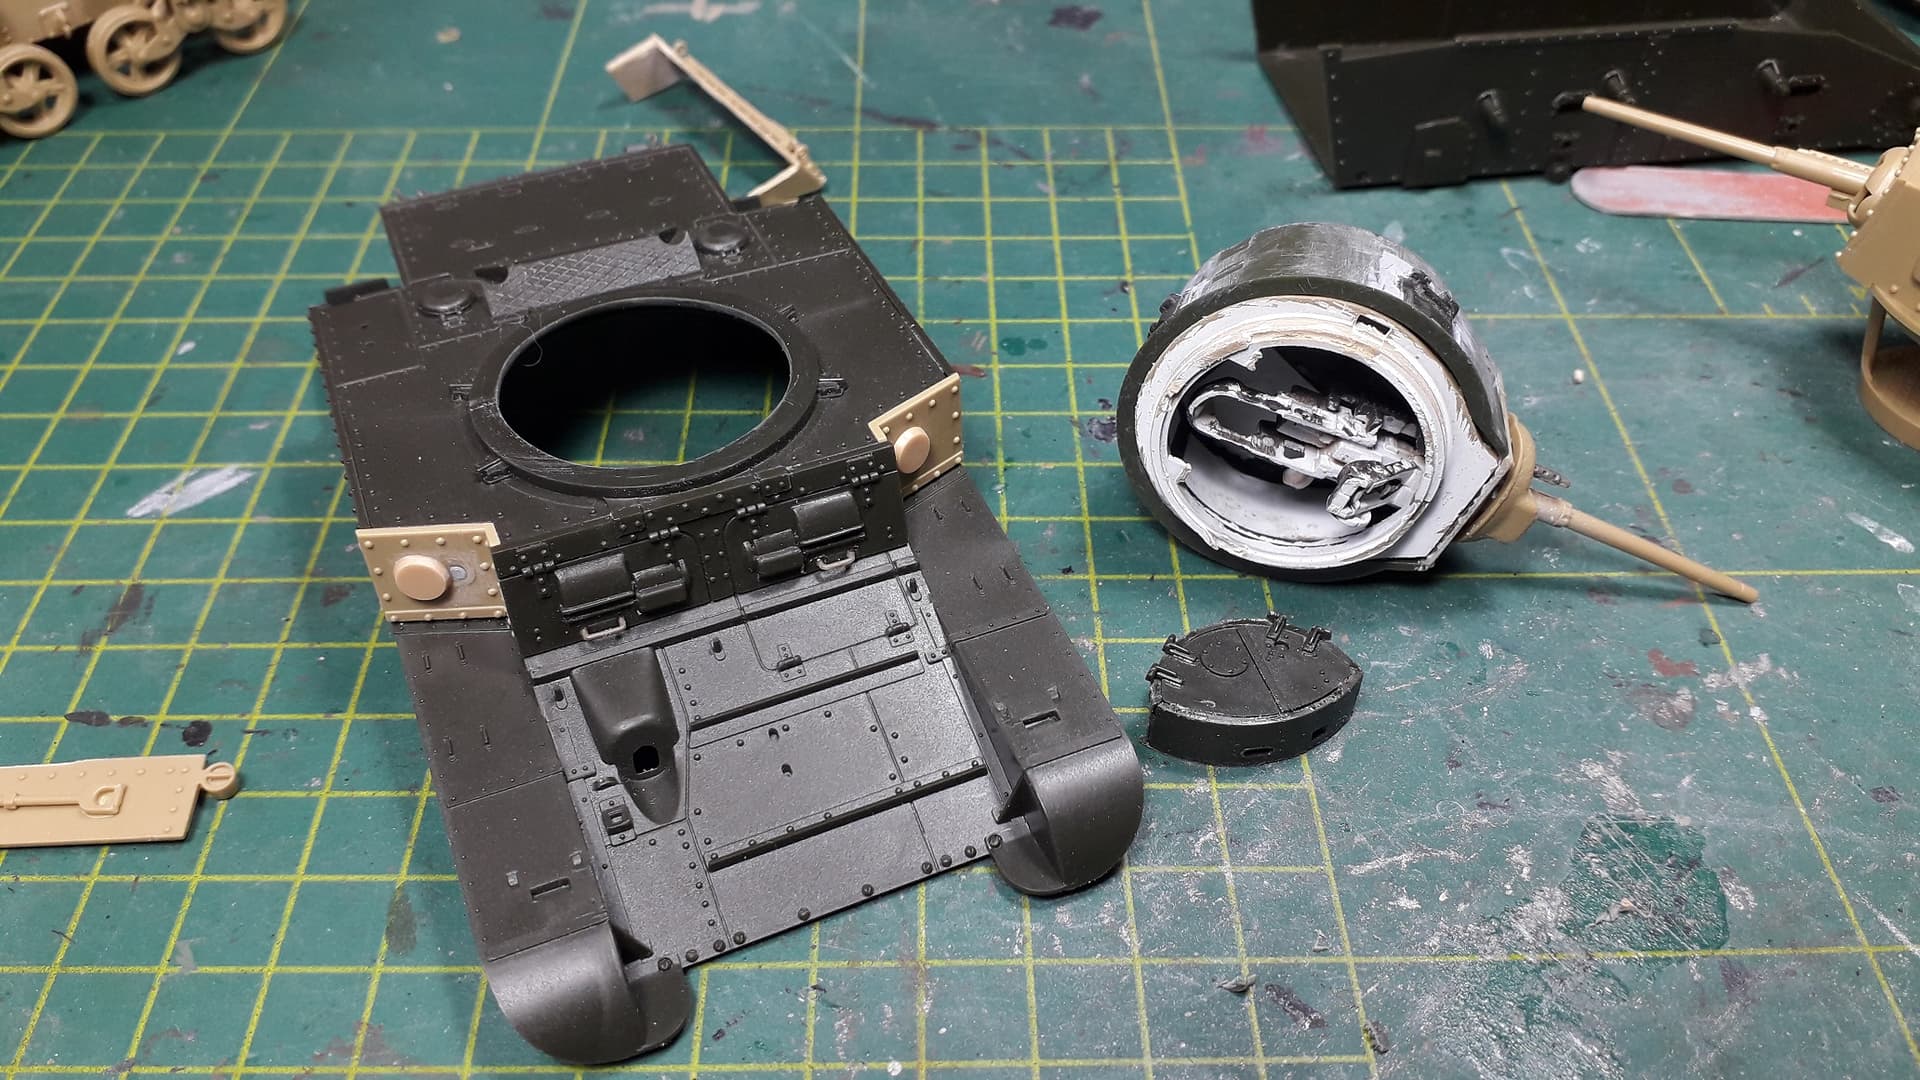
Also the rightside .30 port is in the wrong spot! It should be to the right, off center. Tamiya has got that right. All the others (Academy, italeri, Airfix) simply rehashed that error. Also noteable is that all the domension of these 4 manufacturers are identical! You can swap out parts, even use a tamiya upperhull and an academy lowerhull It fits perfectly!
5 Likes
Technically and even that is suspect but you have the Tamiya boxing and Academy boxing. Italeri and Airfix are reboxings of Academy kit so it all should be the same plastic parts. Academy like other models they have made of that era have a real likeness to Tamiya kits. I will let the lawyer types argue the terminology on what the differences is and what companies may or may not have agreed to as I wasn’t in the room.
1 Like
They are not exactly the same. All the small details have been improved. But the main lines, panels and sizes are identical.
2 Likes
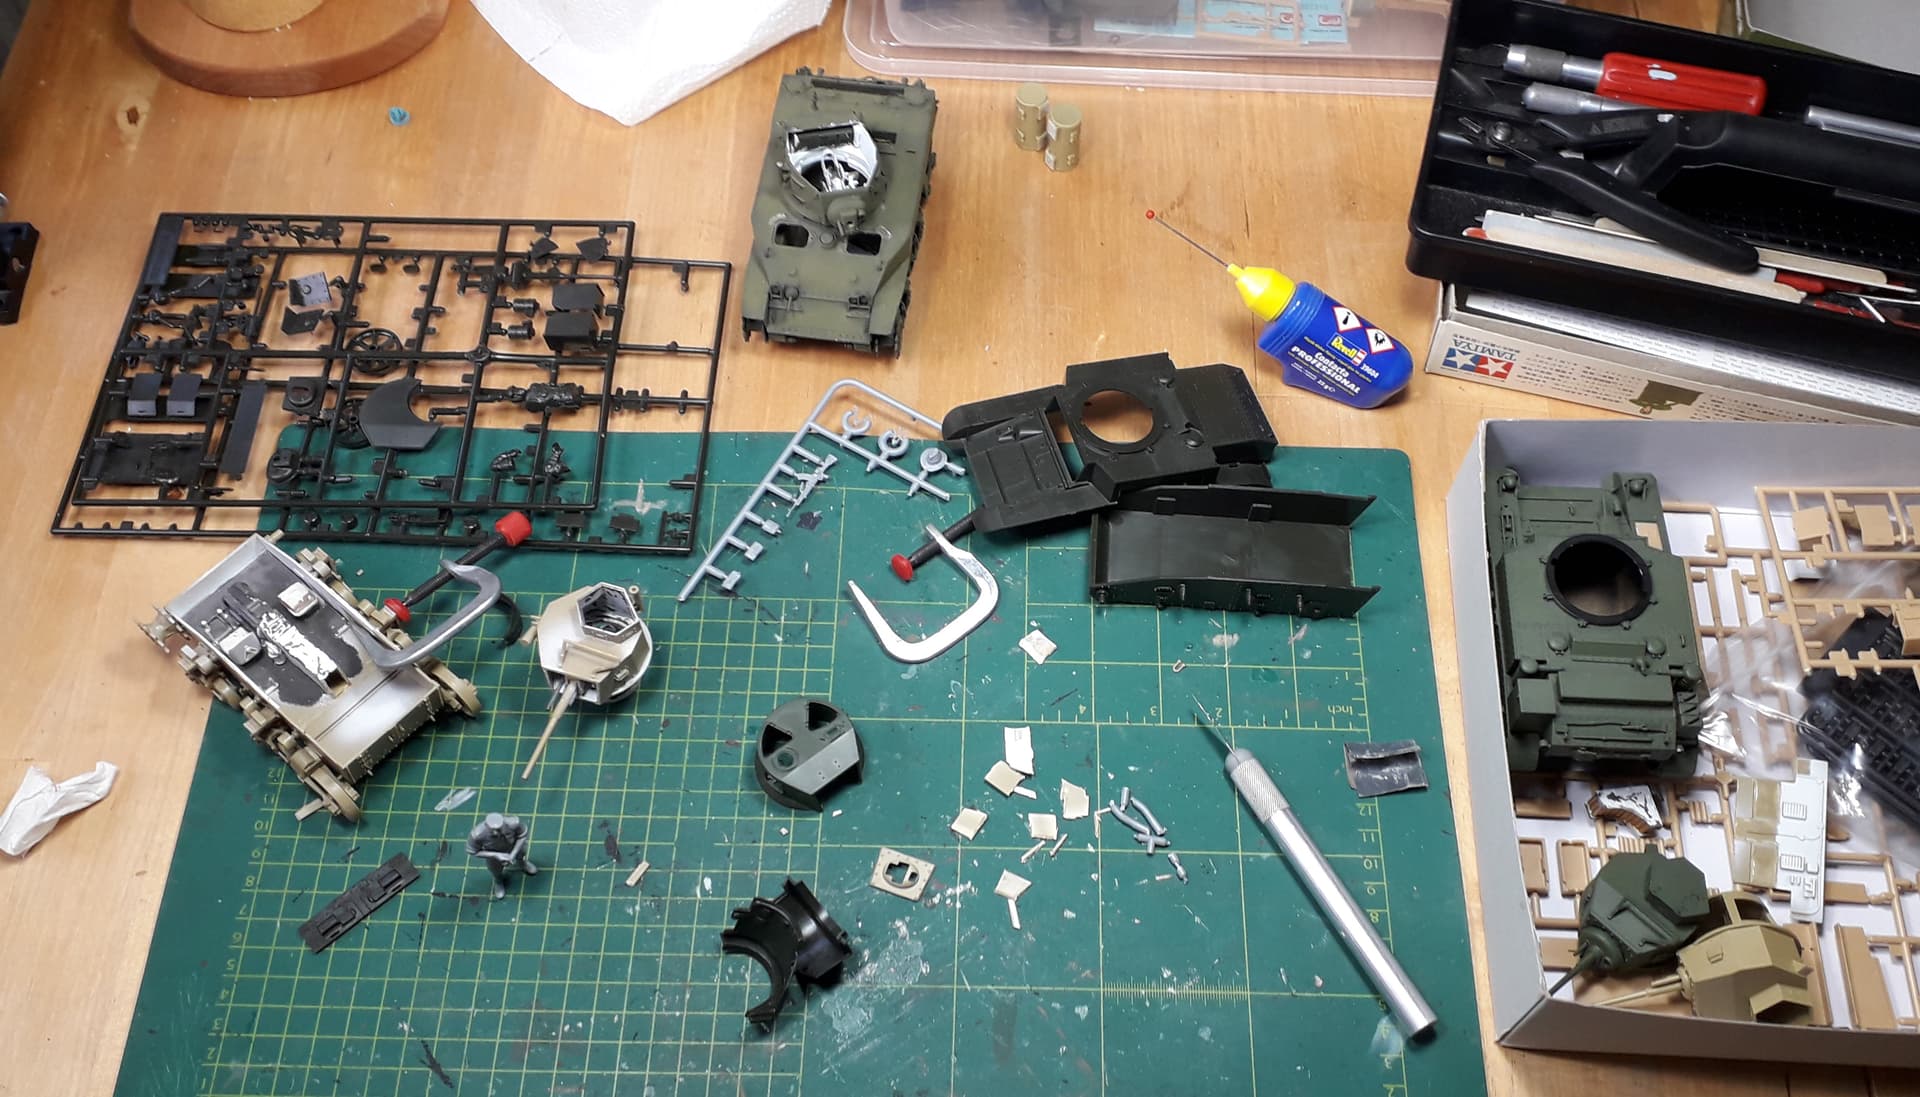
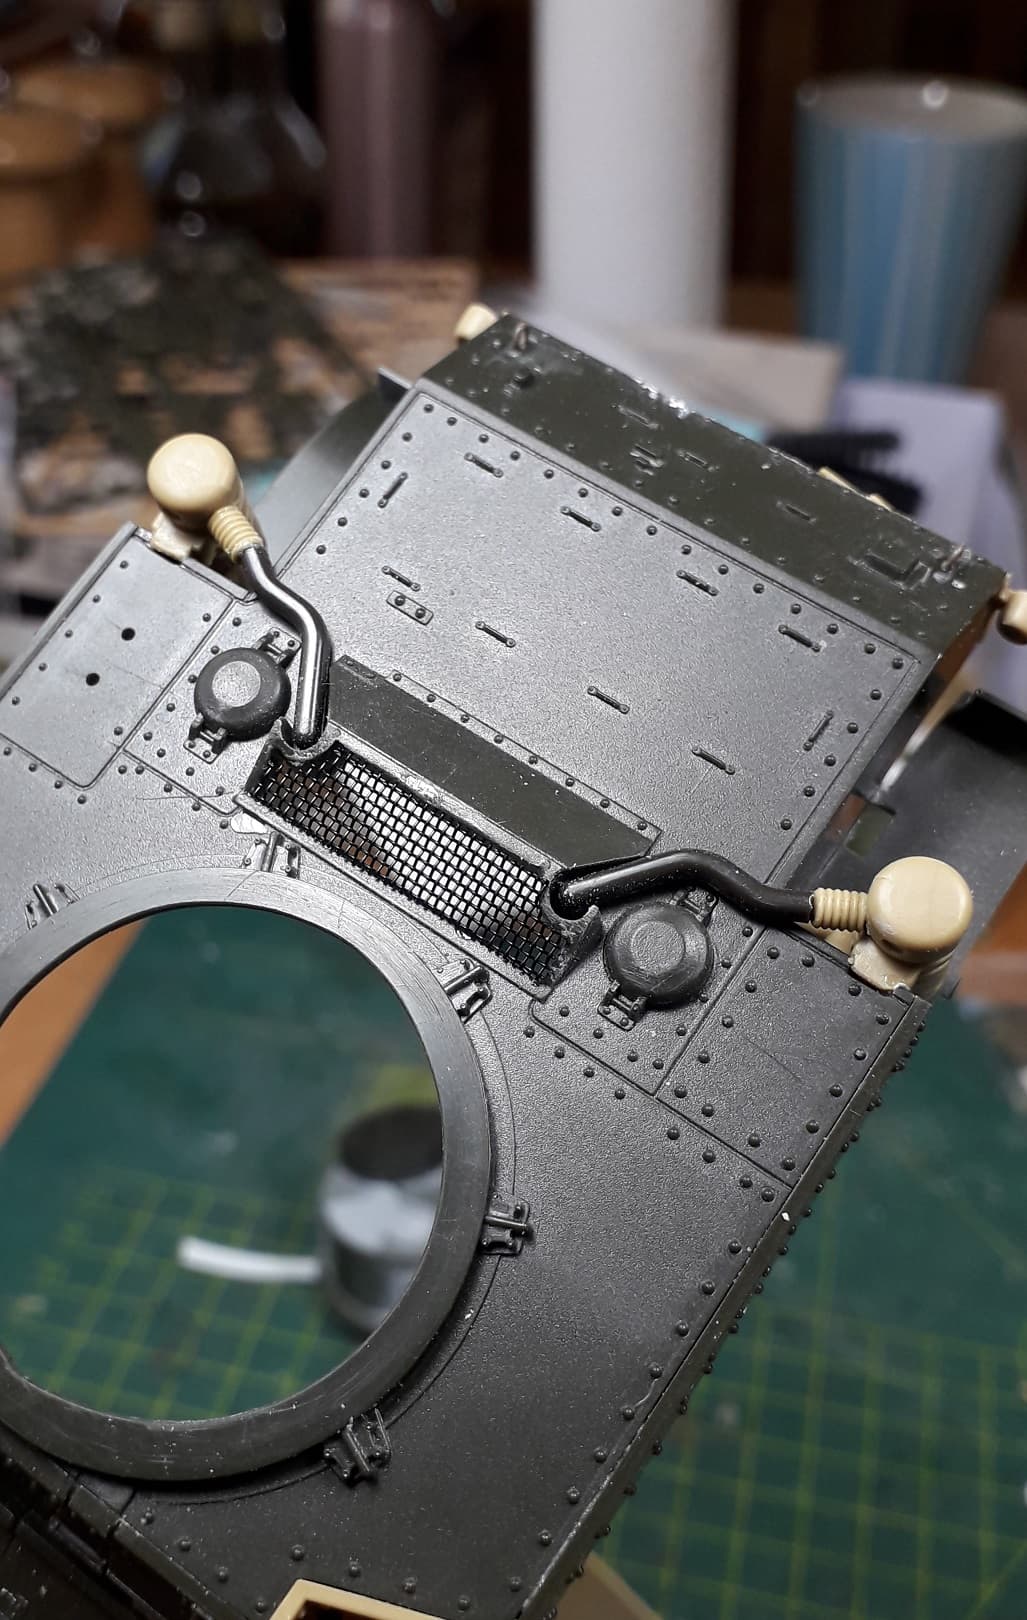
Apart from the quest for the right colours and paint for the Aussie M3 (see separate thread on that) I did some more work on it by redoing the airfilters, completing the turret and redoing the mesh on the vent on the enginedeck.
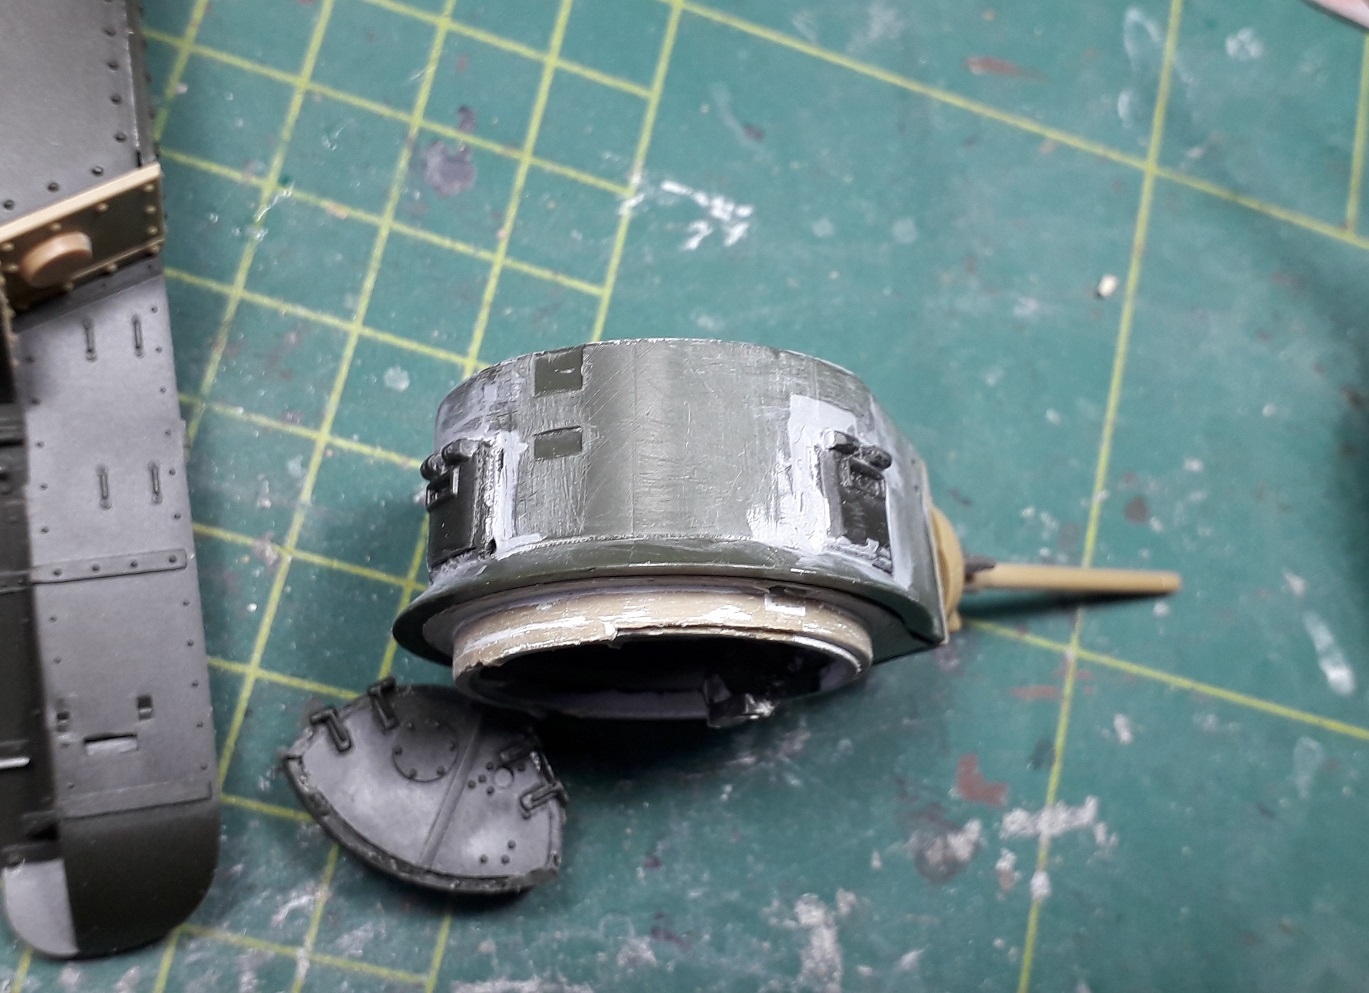
The final sparepart Stuart will become a Soviet Lend Lease-M3. Since it came as an assembled British Honey, some demolishing was needed. This did not always go well.
I drilled out the visionslits in the cupola and cut a hole in the turret side and added a port in an opened position. Just to break the monotony.
6 Likes
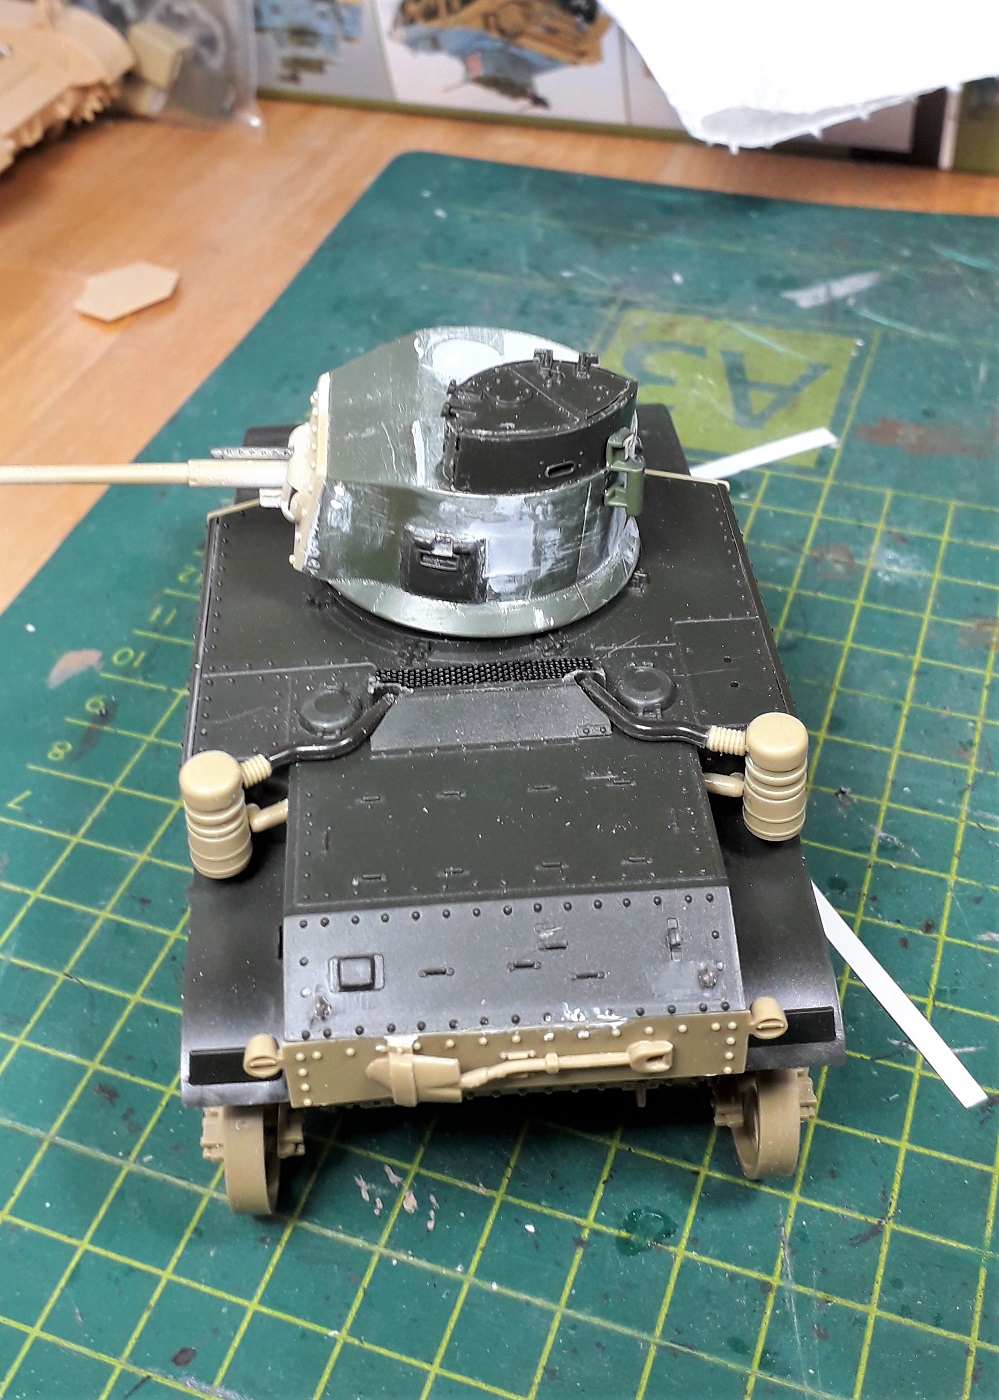
I tried something new; working with strips cut from a sodacan, which made the rounded shapes a lot easier, due to its natural springy-ness.
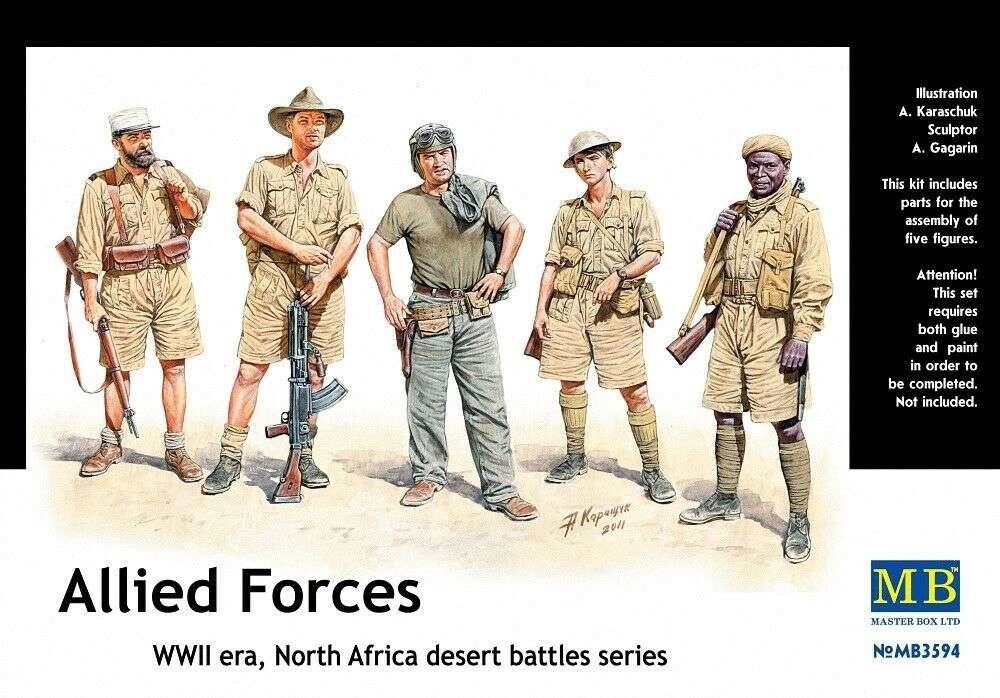
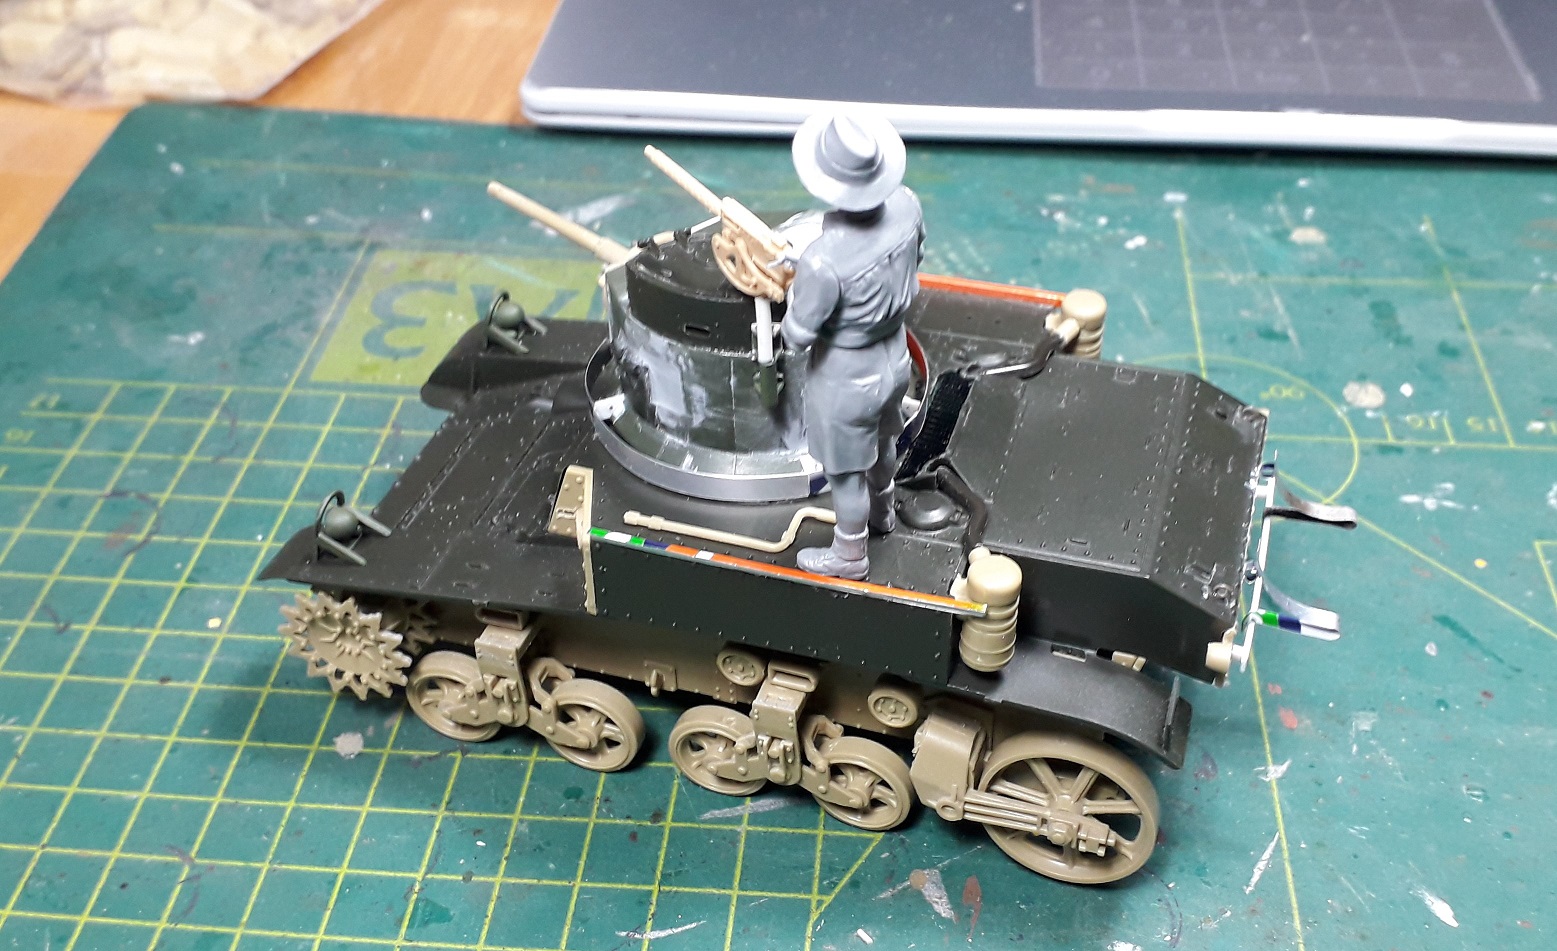
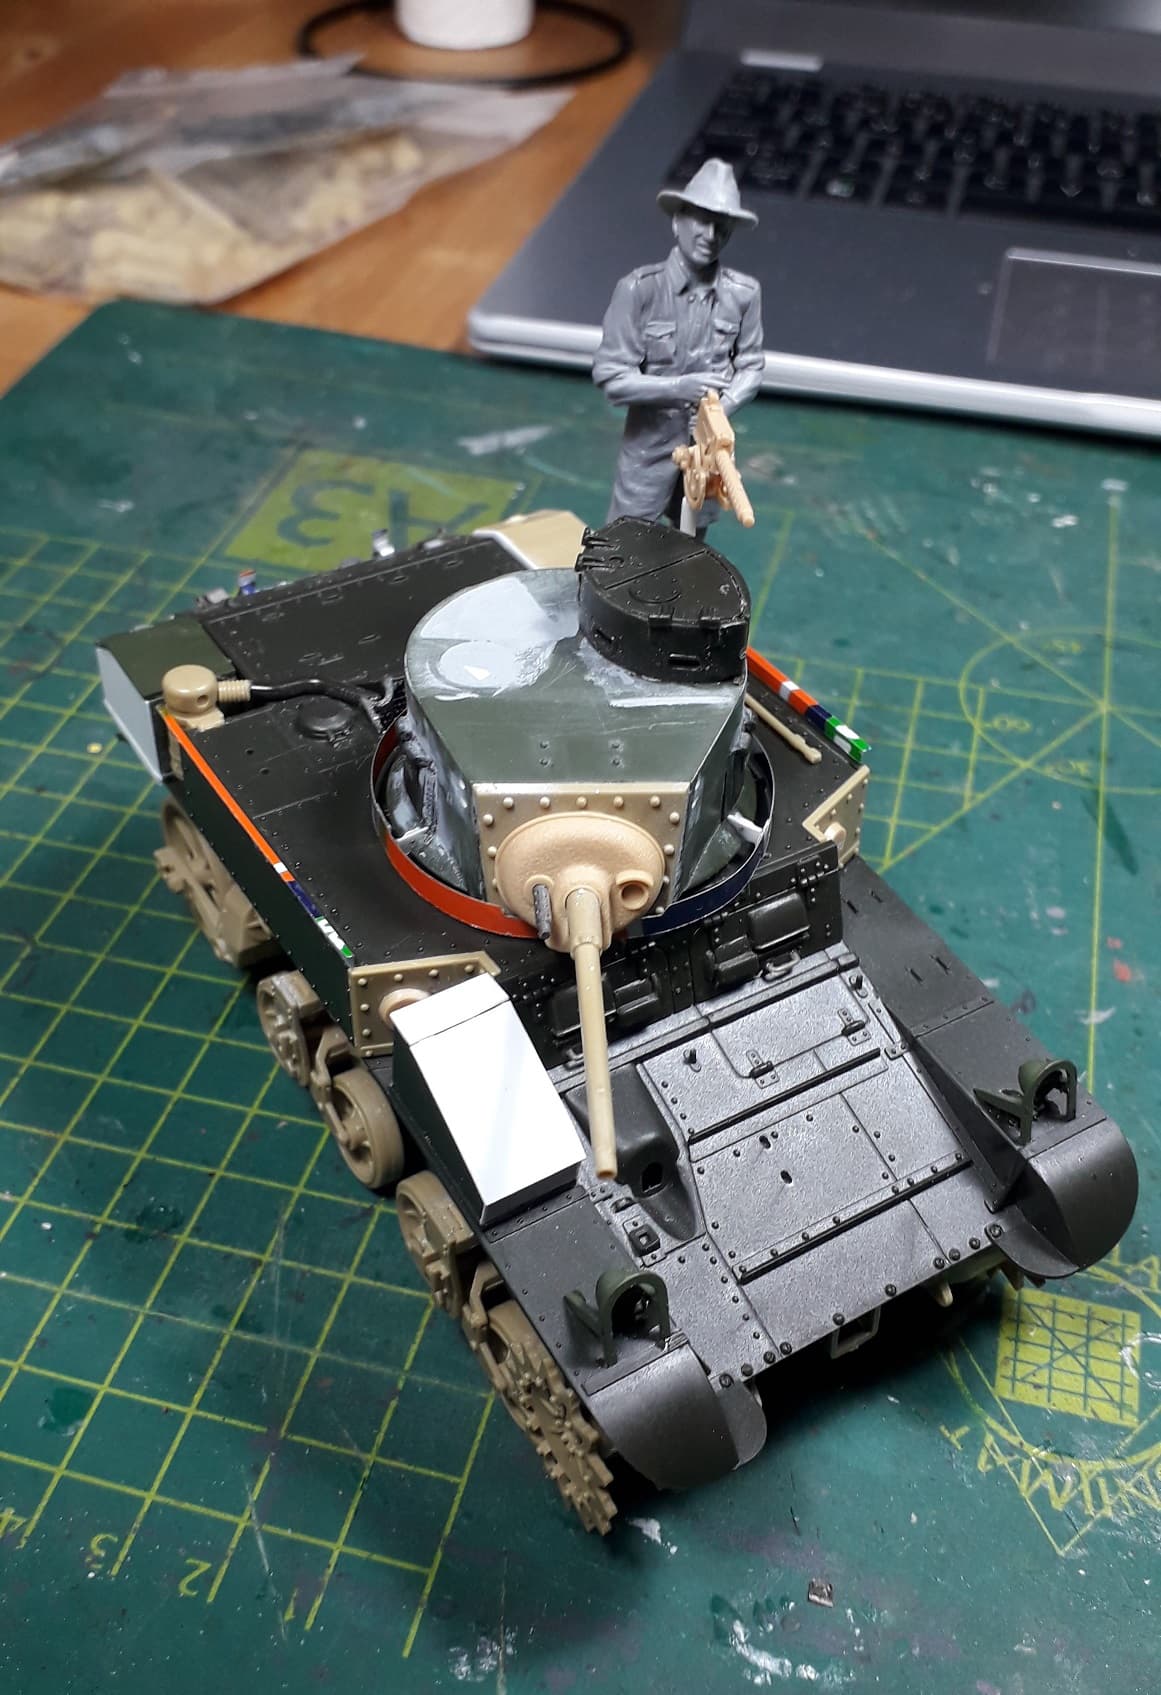
Also added an Australian soldier from a masterbox set, to further enhance the Anzac-theme.
What more did I add?
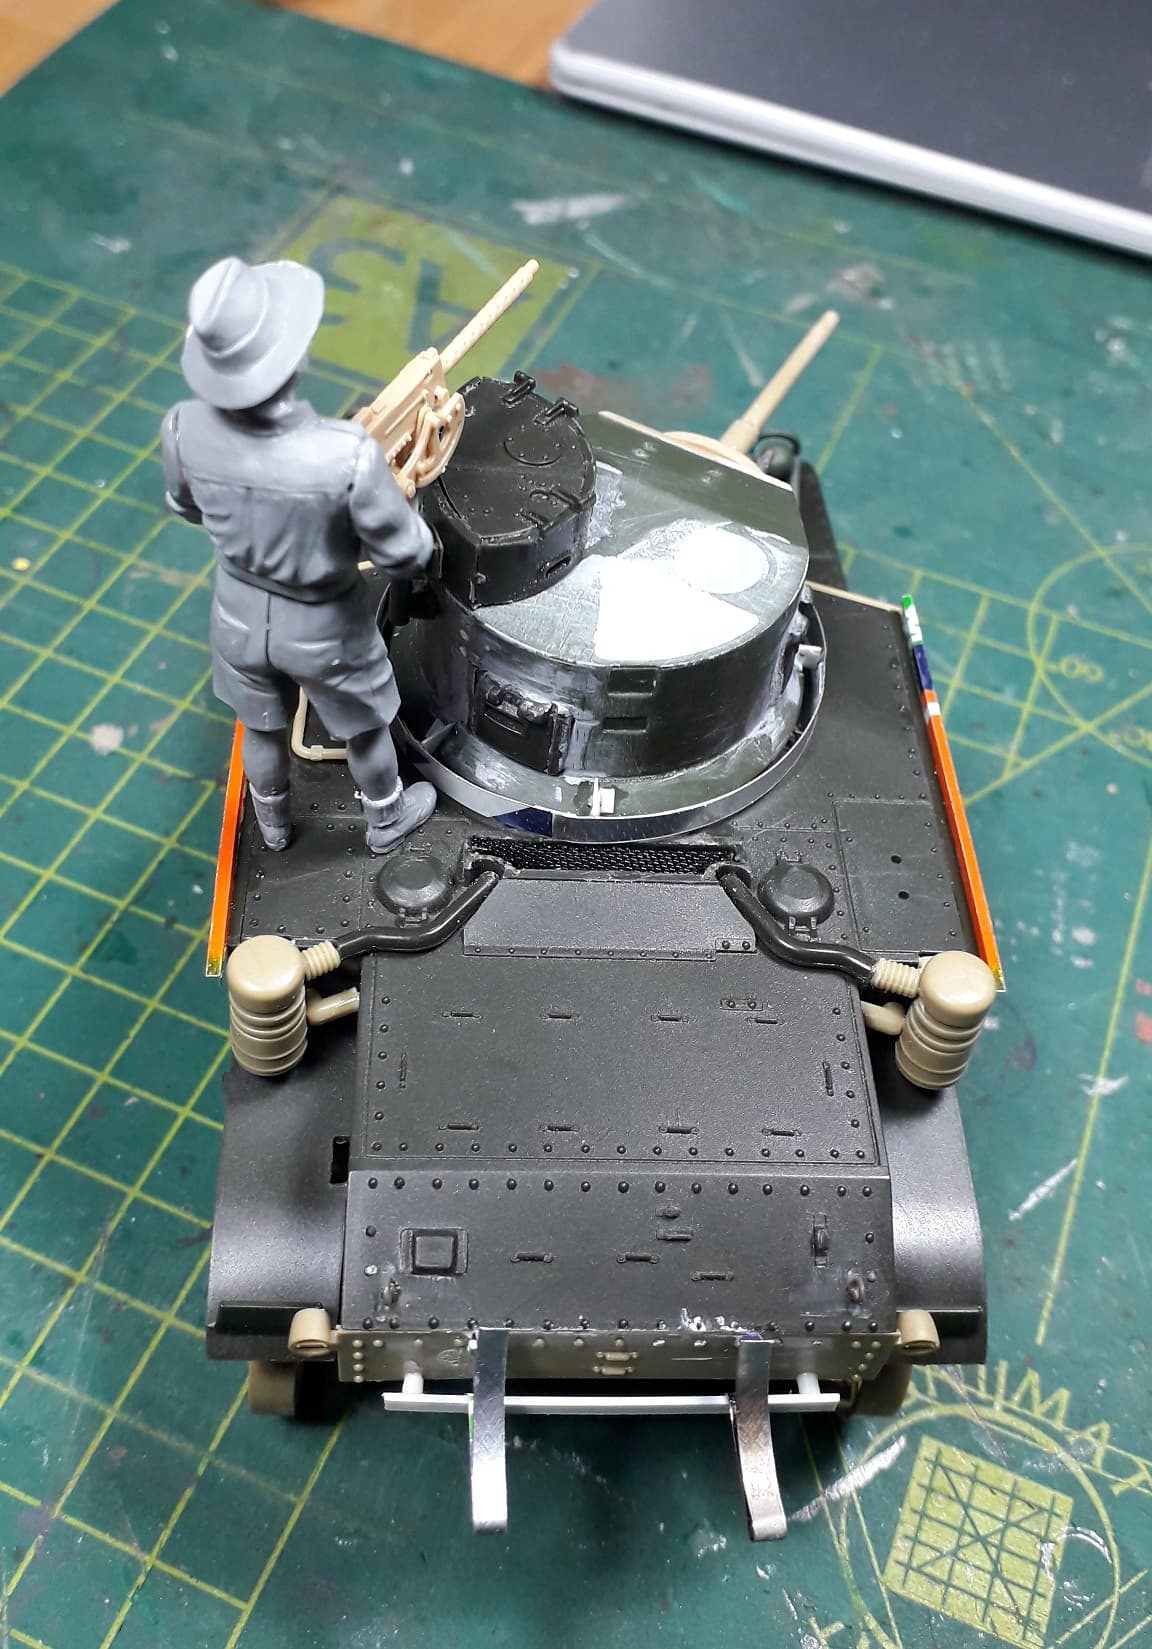
The typical ring around the turret; there appear to be several versions and I opted for an apparently earlier one which is still open at the top. matches with the lack of other, later modifications. I added what looks like fueldrum brackets. Not so sure I like mine. Might redo them.
The top rails for fastening grousers. The bottom ones will be added once I have some grousers to measure the distance inbetween.
Several stowage boxes, not attached yet, still need touching up.
10 Likes