It’s crazy that the support beam size looks much thinner compare to the kit’s part.
As I progress with the build I noticed that there are a LOT of oversize parts or bad measurements.
There are even point where I start thinking of rebuild some areas.
In the end I just decide to fix a small issue which is very apparent.
Thanks for the tip
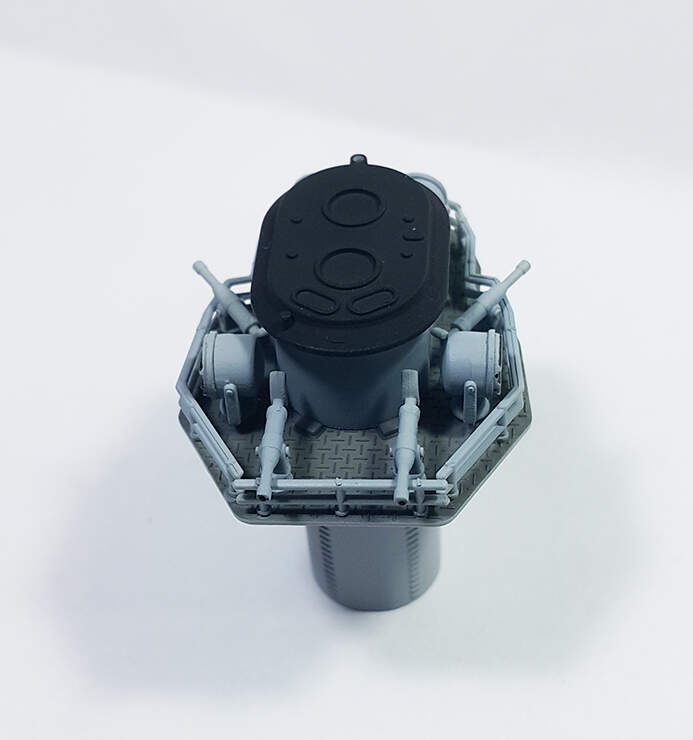
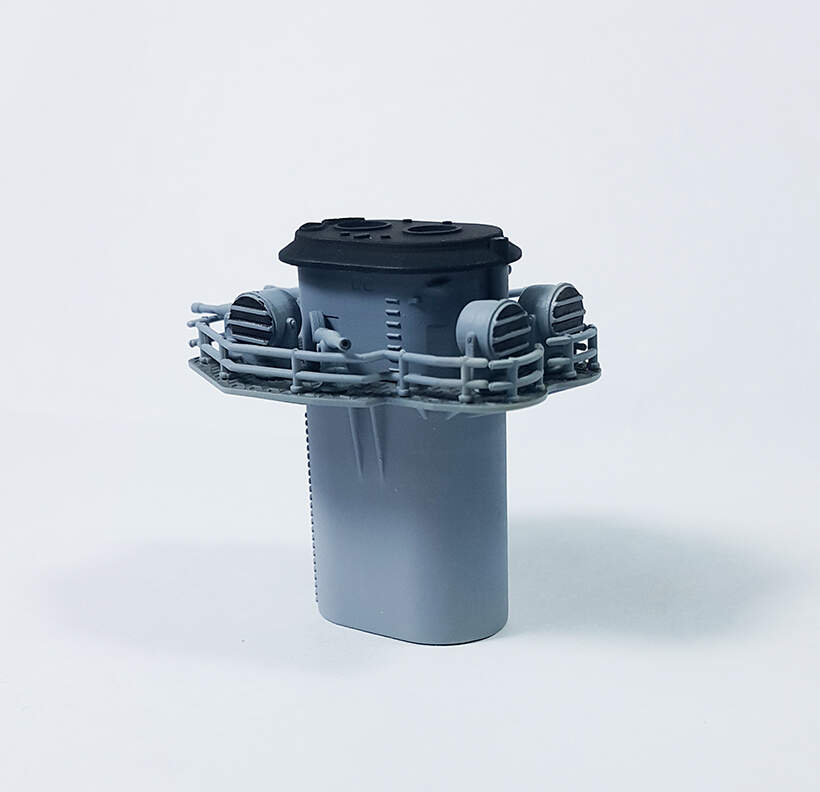
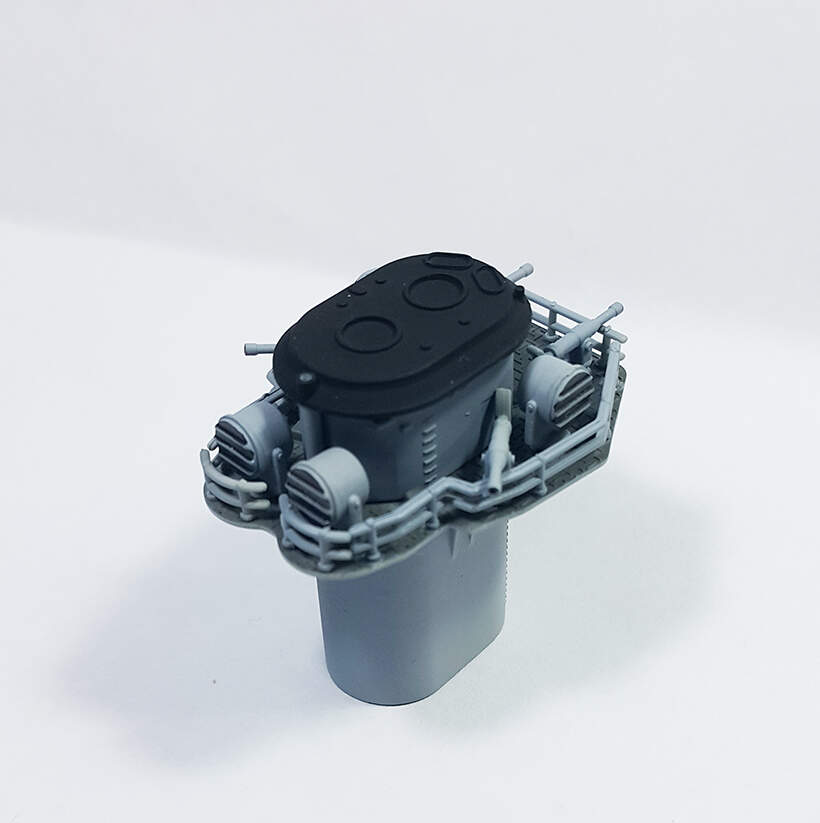
Section of the chimney is done. Please note that the antenna pole was not installed. I dont want it damage.
There are lots of pars that are oversize.
Some of the holes for the parts needs to be re-drill.
Luckily the holes for the fences pole all fits and align properly.
All the cannon hole has been drilled.
Yep, I agree with Tom @Shanghaied : it’s best to replace the plastic kit masts with brass replacements. Not only are they more to scale (thinner) but stronger too, allowing you to tension the rigging.
Also, just as Tom said, don’t check too many references, as they’re often a bottomless pit. Many times contradictory too depending on what time period the photos were taken
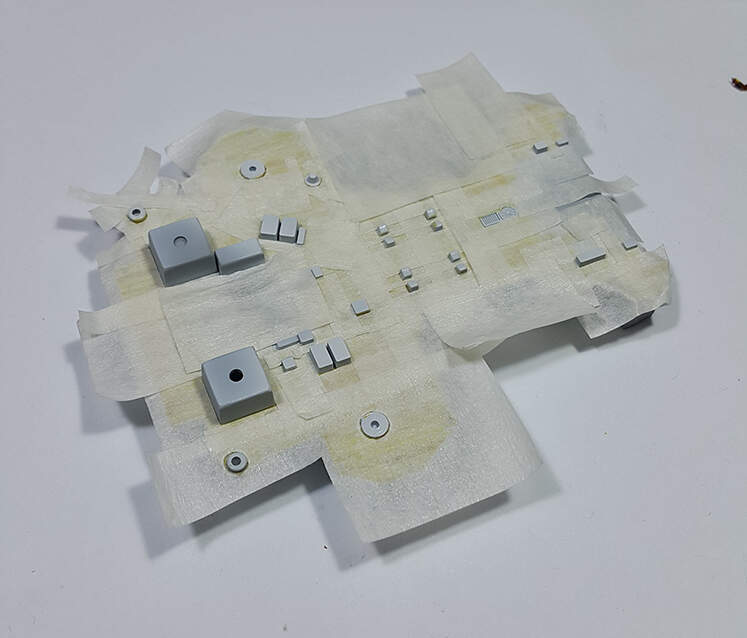
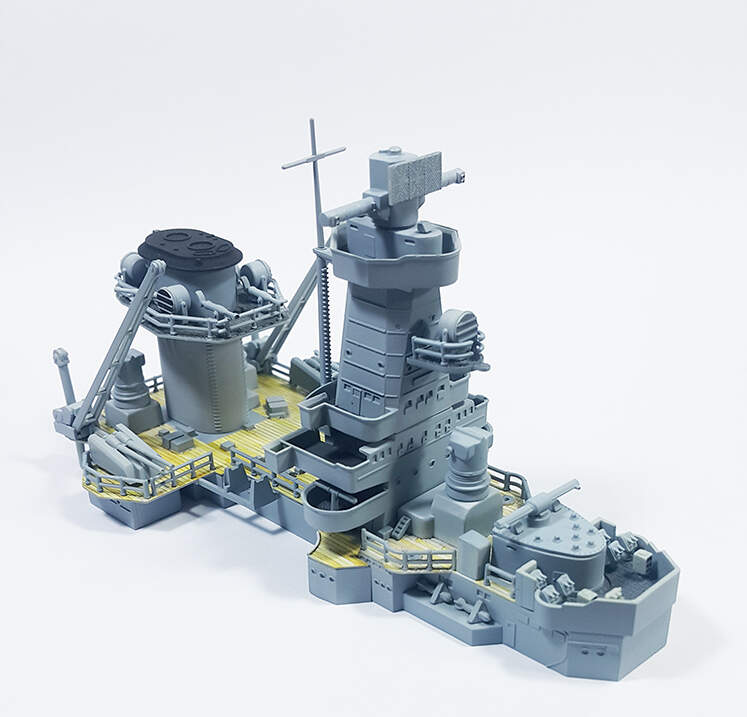
Some updates here. The front part of the ships upper section is done. Just need light weathering and antenna lines.
There are some issues:
The guns and the search light on the chimney are all to big. They wont be able to turn at all, and the space given barely fit.
The crane collided with the railing. So the entire crane units tilt a bit. There is no way around it unless you are willing to modify or rebuild the crane unit.
The small cannon located in front of the crane also oversize. Once place the cannot dont have space to even turn a bit.
At this moment I have not glued any sections in the pictures. Just in case placing them on the deck required some mods.
Comments and suggestions always welcome.
Very nice and clean work!
Have you tried PE for the railings? Its not that difficult to work with and you can use generic ones just cut it to size. You have such a nice deck, a PE railing would improve the look further.
Thanks for nice words there Tom. I also watch your build, very interesting approach in building this kit.
Also for Tom and @Russelle, as I have said earlier, that this is my firstly build ships. So currently this is going to be just OOTB. I need to learn the technique first on how to build ships. Once I got the basic technique on building ships, adding aftermarket parts such as PE or resin is not a big problem for me.
Thanks again guys and keep those comments/suggestions coming
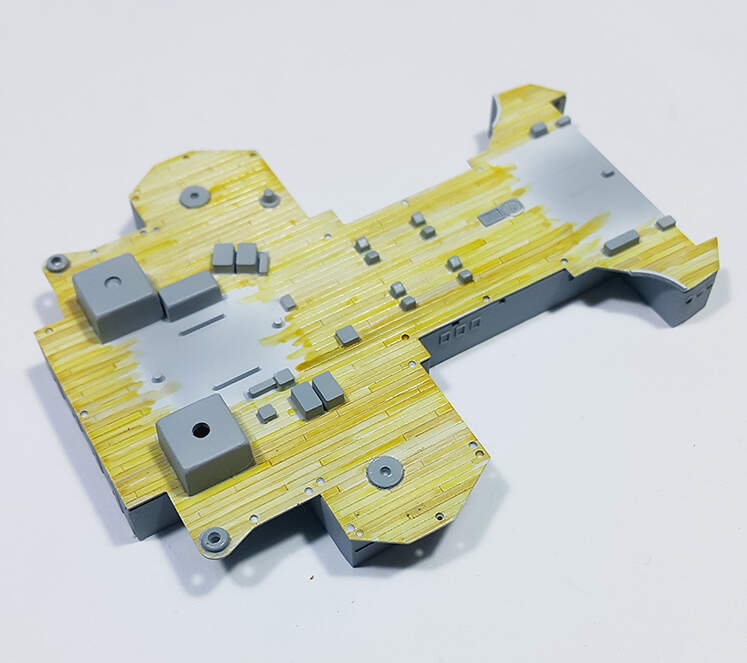
I was thinking of filling it either with putty or superglue. Then sand it a bit. For the injection mark which in located in between the plank, same method then use 2~3mm plastic to fix the plank.
I see. OOTB limits the options …
Stay away from the putty and go straight for the bits and pieces of styrene.
Invest in a punch and die set to punch out small styrene disks.
I am usually lucky that the punch sizes match the ejection pins.
Even if you don’t find a perfect match it is still easier to fill and sand a narrow
rim than trying to get the whole circle consistent …
If you are lucky then a piece of sprue might fit into the hole in that seat.
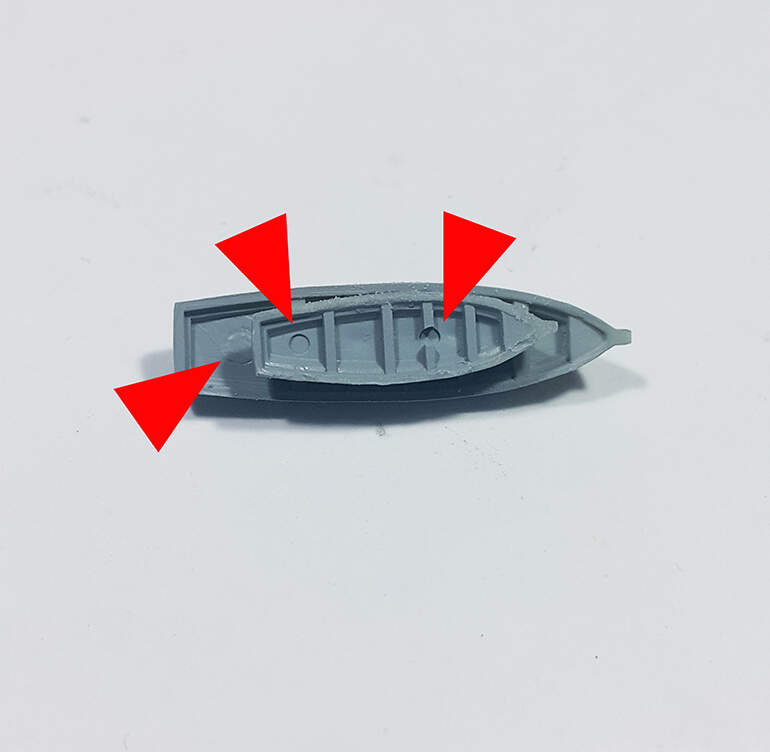
It is typical when building ships OOTB that parts crowd each other. For the sink marks go with Robin’s suggestion, it does make filling them in tight spot much easier.