Thanks for the advice, but i’m not building it.
Yes, shown in the photo is the German Telemeter, consisting of a long rangefinder cross tube atop a mechanical target tracking/fire control computer. This unit could control up to 5 Flak 88 guns to concentrate on and track a single target aircraft for devastating results.
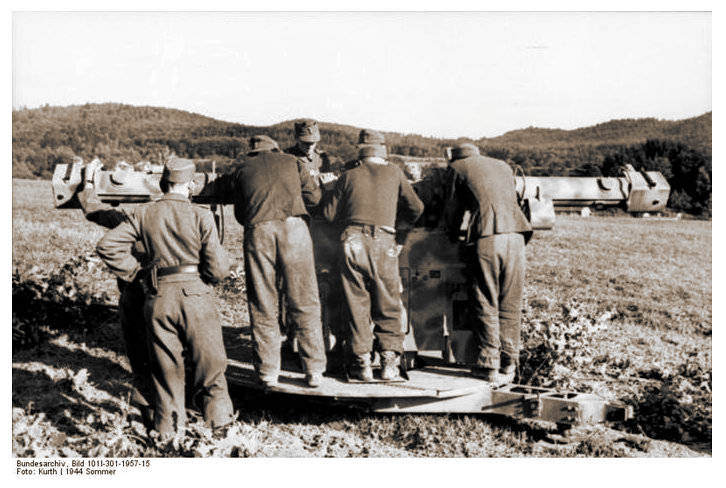
The Telemeter actually took a specialized vehicle for transport as the long rangefinder tube was a delicate instrument that required dismounting from the assembly to then be carried in a special cushioned case.
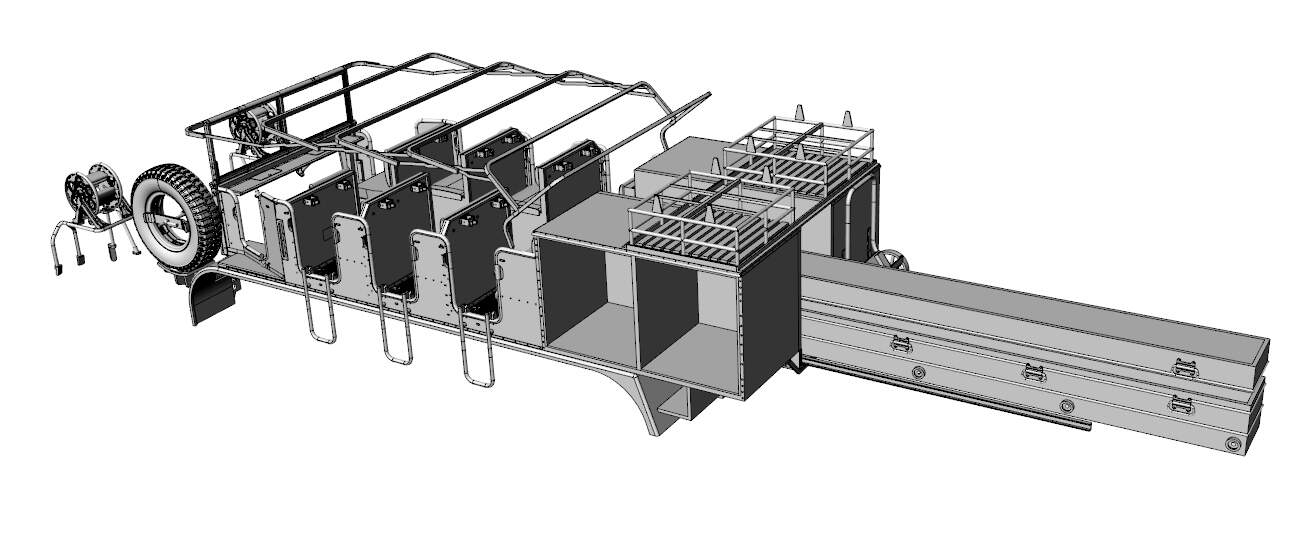
(This split-seat halftrack variant is available as a resin conversion kit from Panzer Concepts in 1/35th resin.)
1 Like
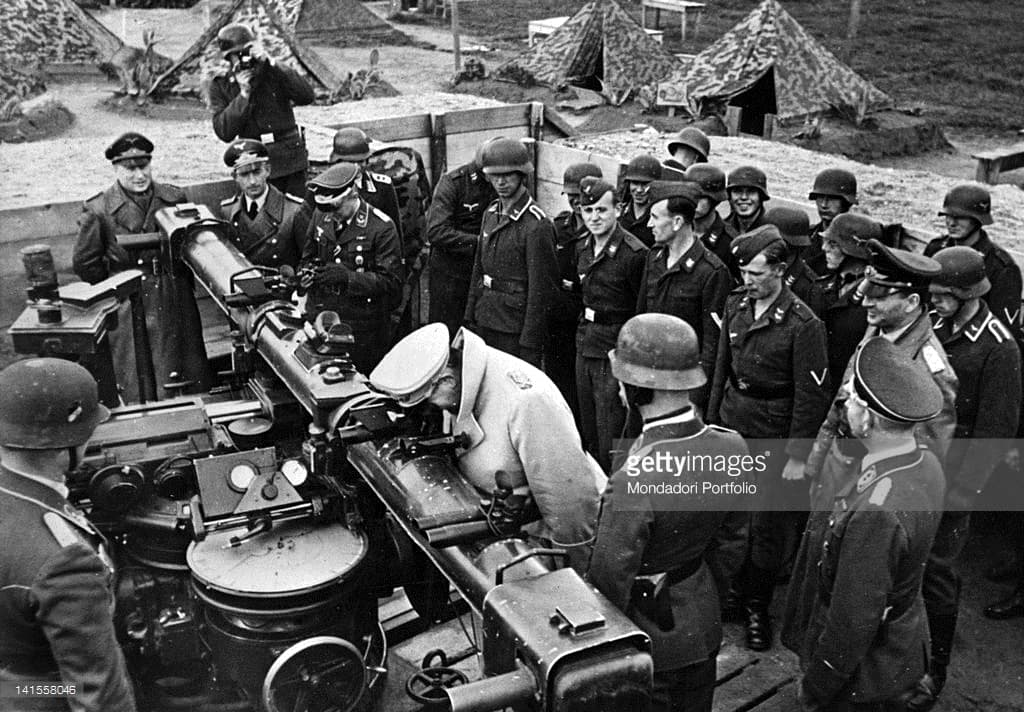
More info on the Telemeter KDO Mod. 40 from Bronco, as seen in the archives.

Following with interest, I love German half tracks! Have a few in the stash and want to add an SWS
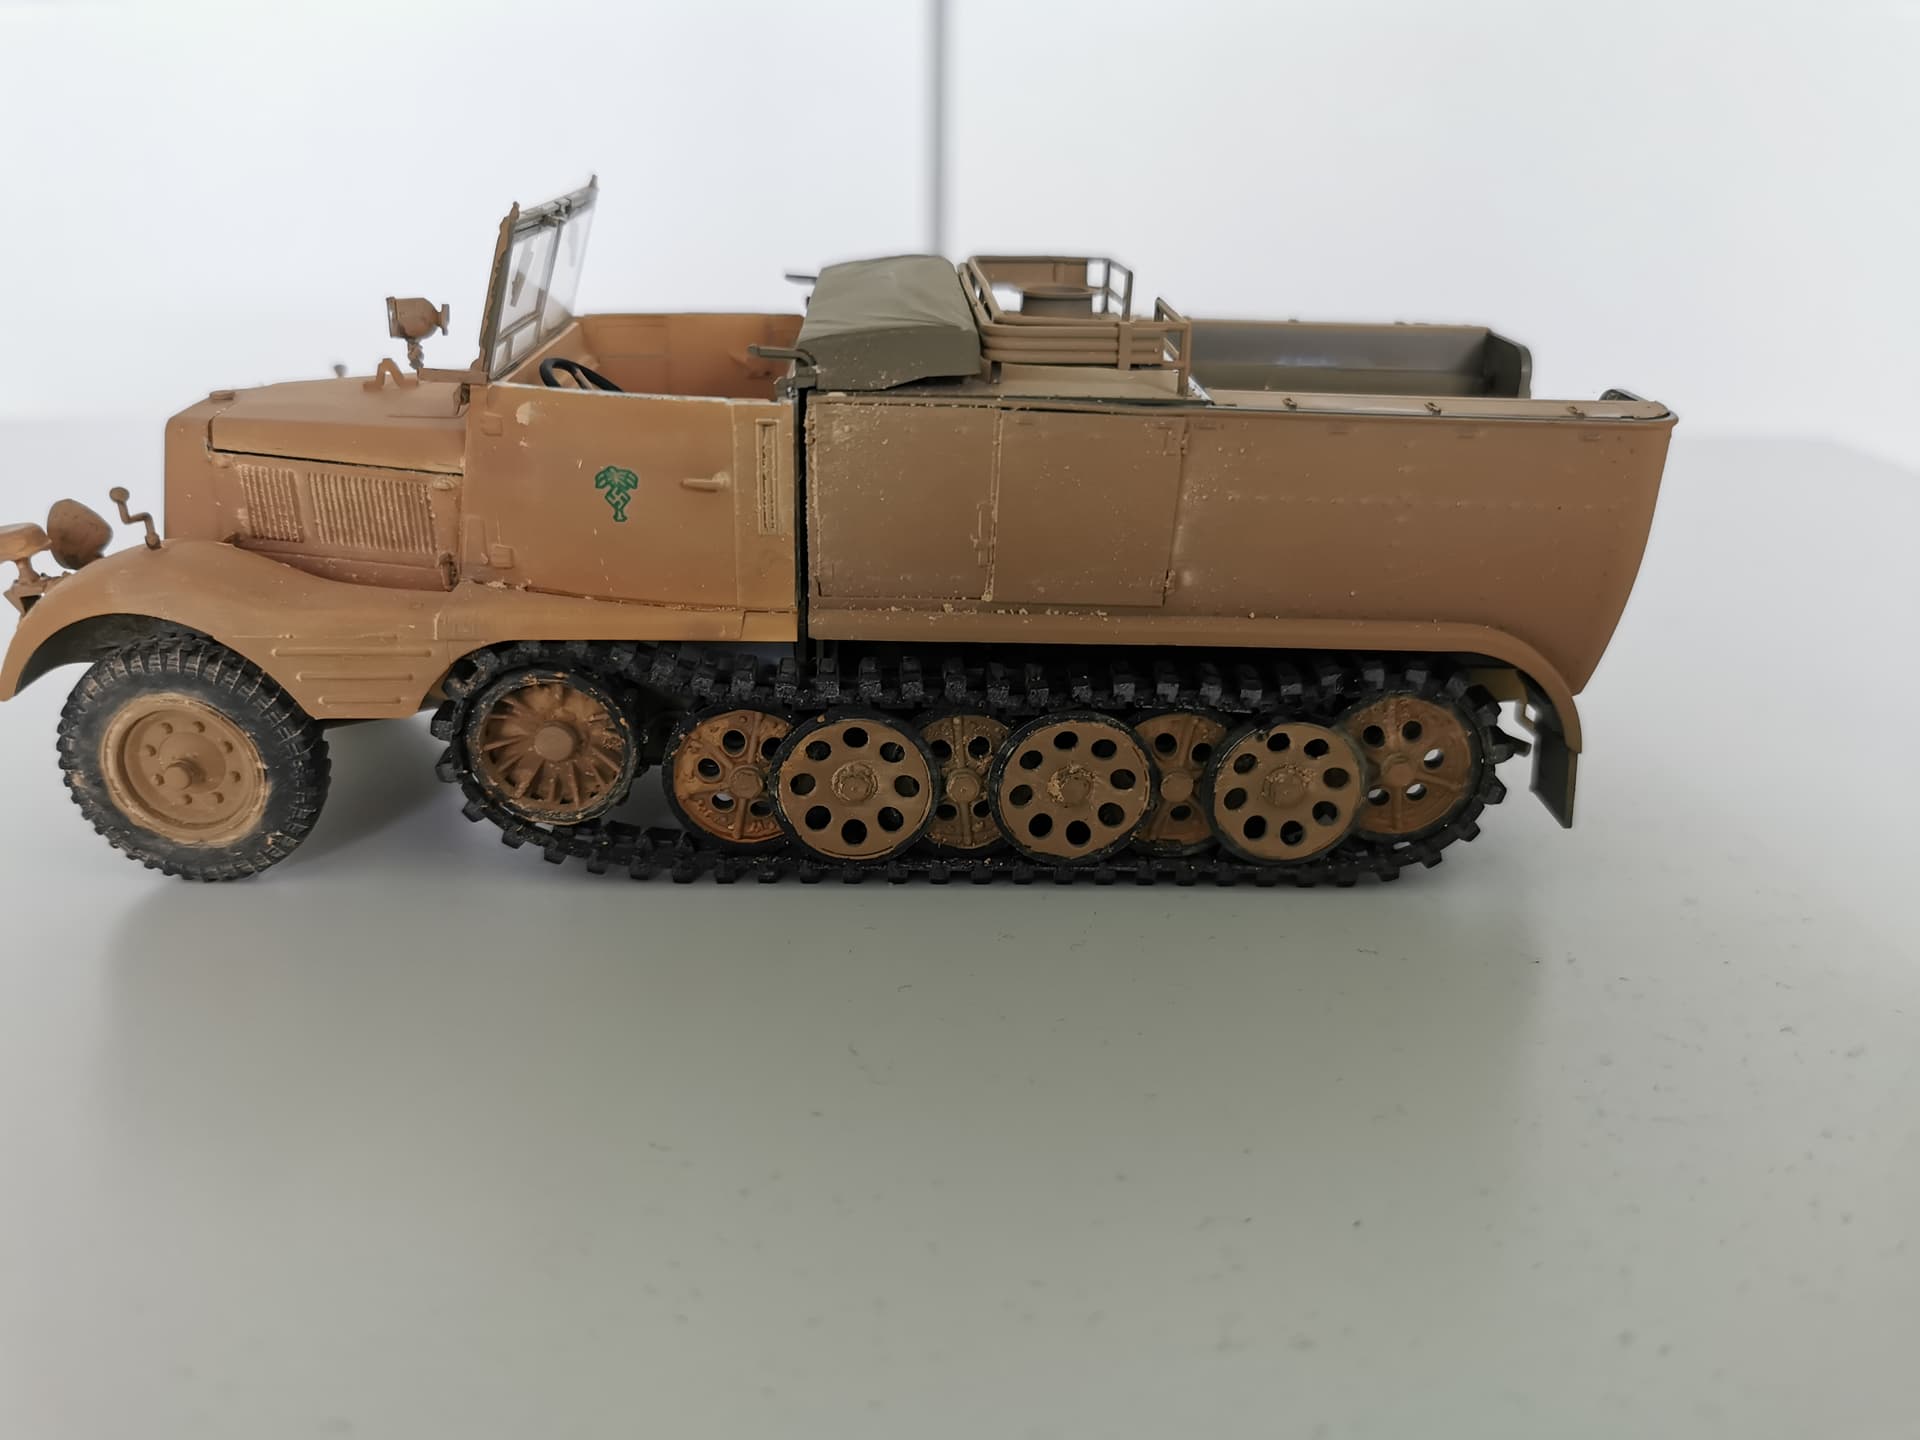
@Khouli May I remind you kindly that this is a topic about the Sd. Kfz. 11 I’m building?
I would appreciate it if you keep on the topic.
@165thspc Thank you for all the examples, that is some usefull information.
@Smorchan Thank you for the tips, I have written it down.
Update on the project: I’m still in the early study phase of the project. I have to decide how far I wanna go with my studying. My plan is to only use books. I have my reasons for this choice. But I’m not going to list them here.
1 Like
May I remind you kindly that it was a perfectly legitimate question about an item of equipment that had had a picture of it posted on this thread.
If you don’t like it, pass it over and don’t read it. You never know, you might actually learn something if you do.
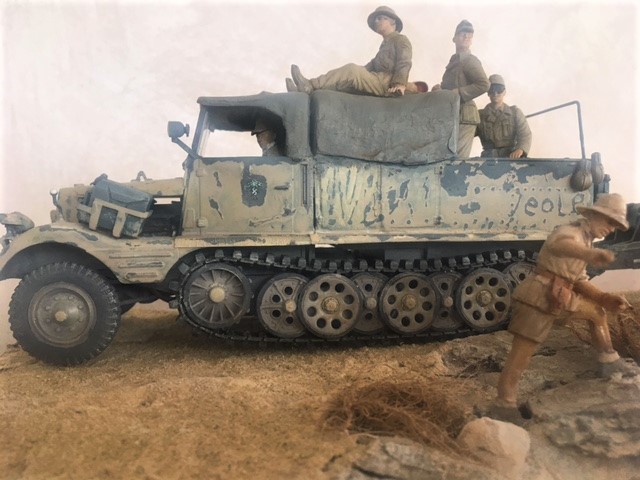
Another kind of DAK camouflage from photo I did, hand-made with mud, sand and water or gasoline, maybe, with graphiti… I would write ‘lavami’ ‘wash me’ but Germans were not, perhaps, so ironical… and are we?
3 Likes
It looks very interesting, how did you make the camouflage and weathering? And how did you do the roofs of the vehicle?
Sorry, roughly 15 years ago so i don’t remember but surely scratchbuilt and maskol for camo. Original photo by panzer colour
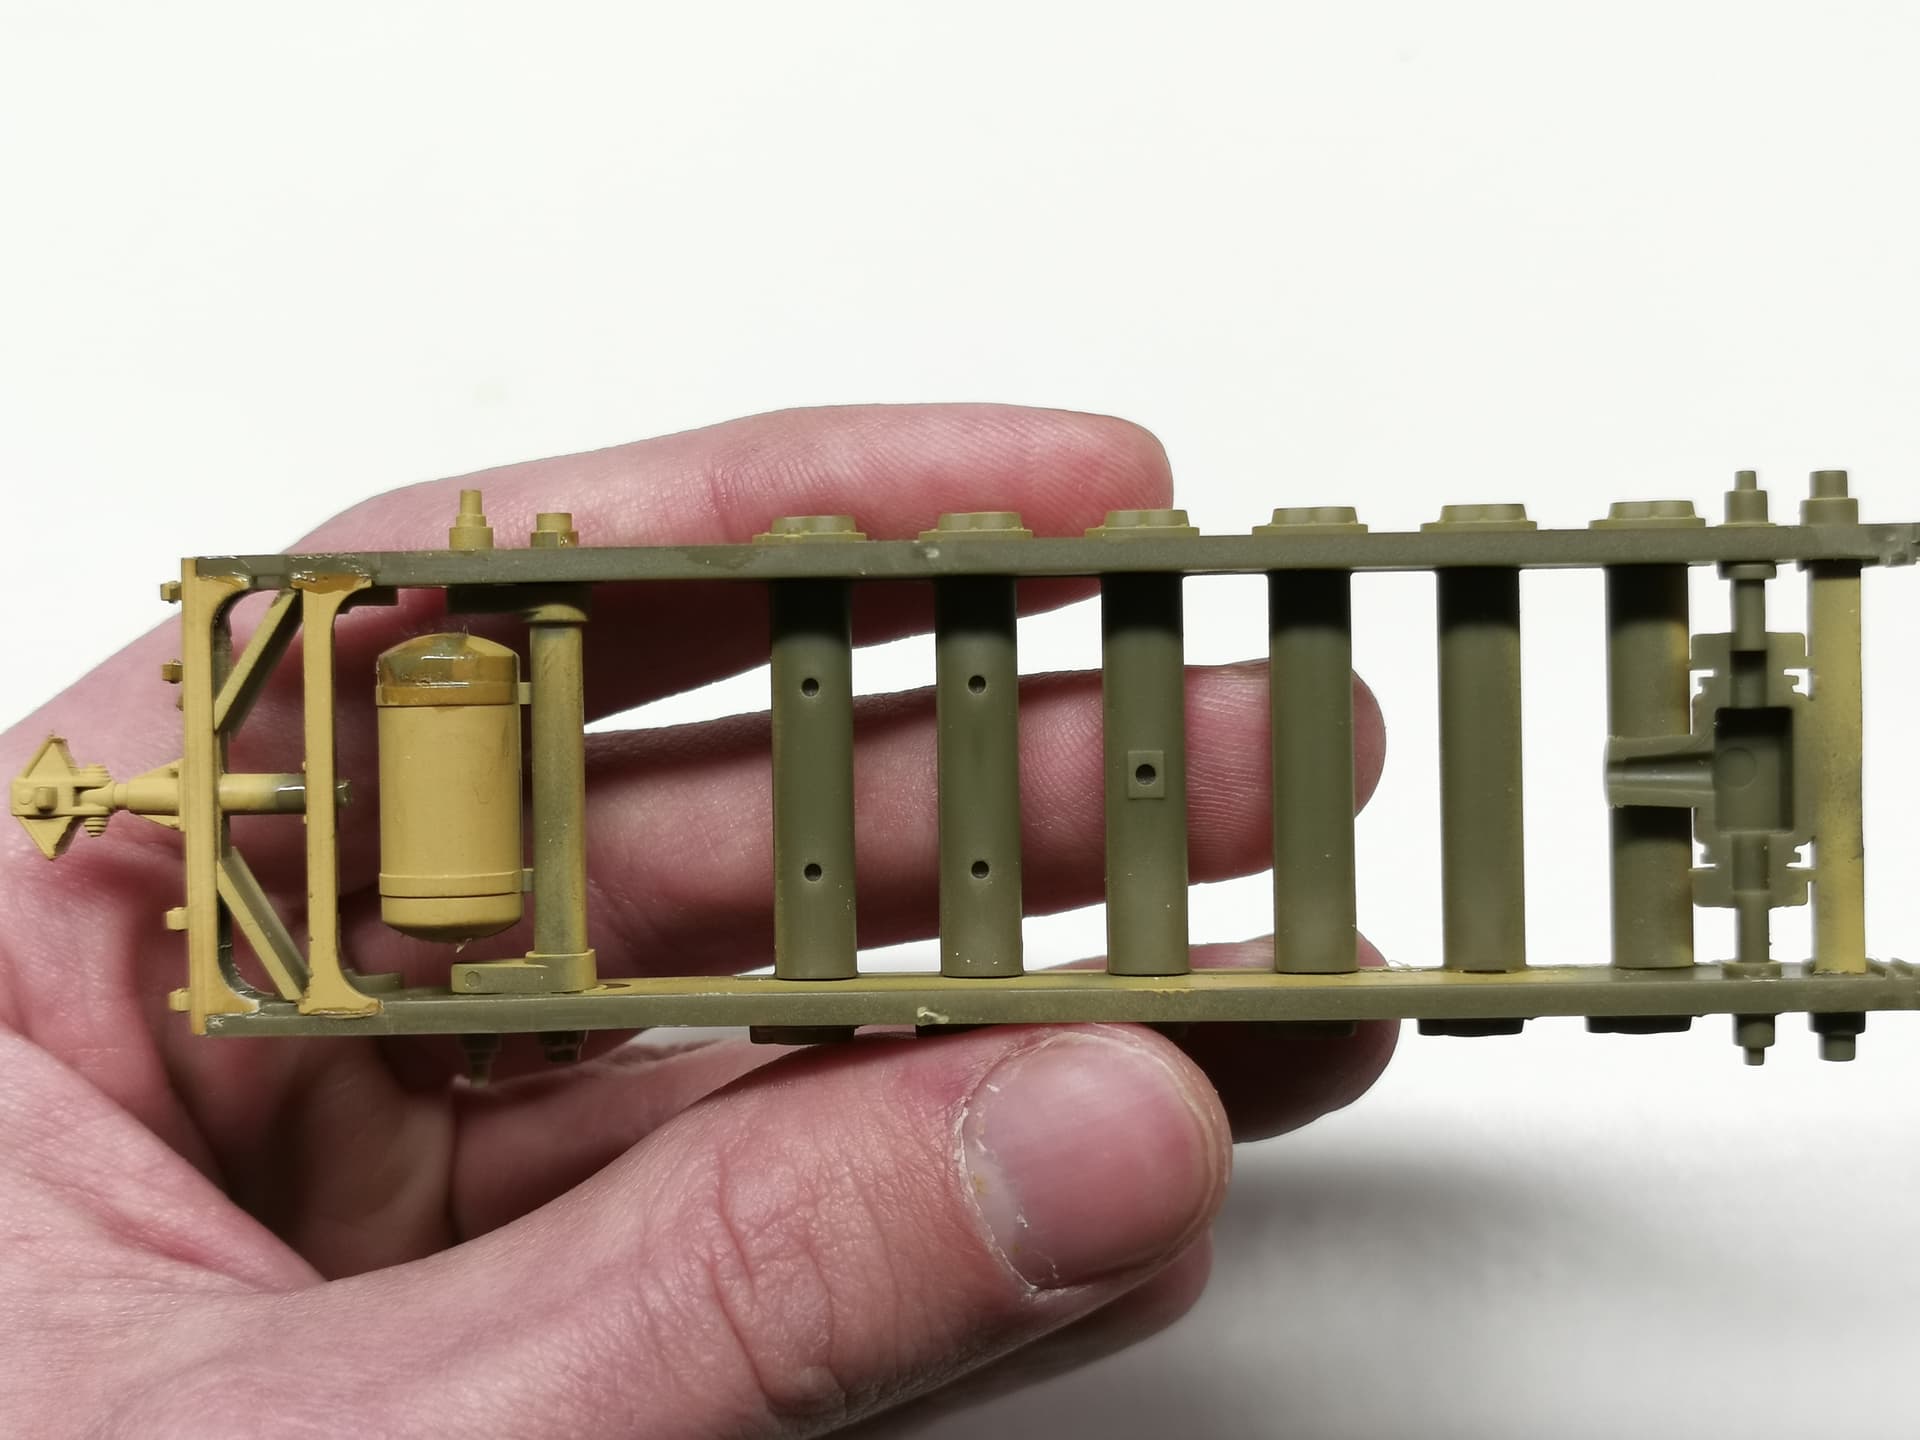


First time in a very long time I’ve actually worked with my airbrush that the thing actually did the job. I think I did a decent enough job on painting the parts one by one. According to the lessons I’ve learned from my previous project I’ve made.
I also just recently bought a bottle of MIG Standard cement, because I got fed up with the Revell Contacta glue of which the needle always clogged up. And I ended up throwing them in the trash. It’s time to try and test new glues out as I’m going along with more model building projects I’m going to do.
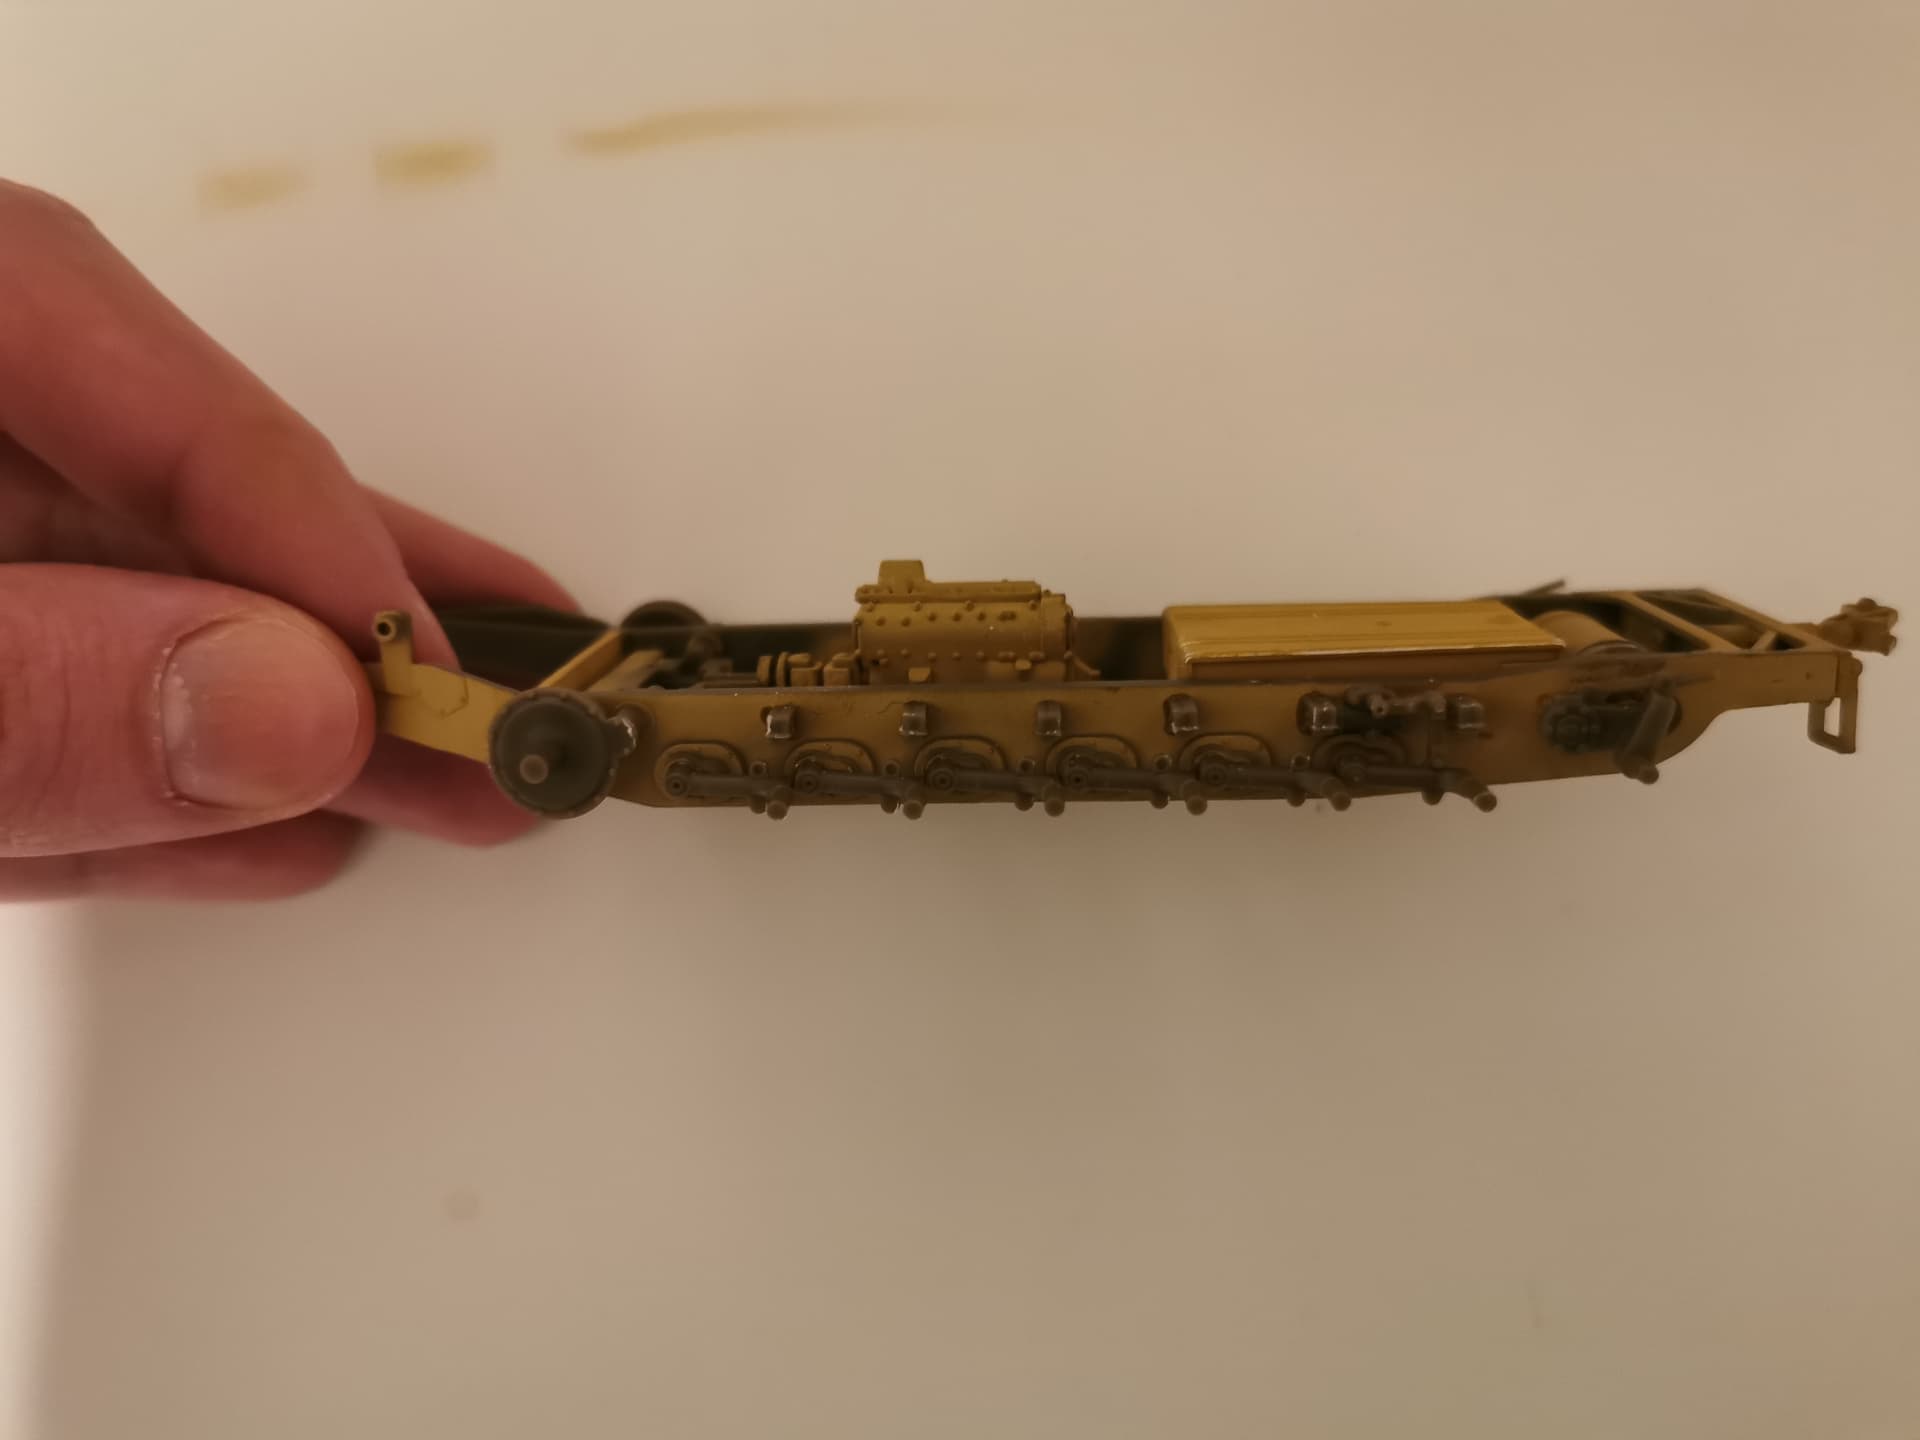
This is also the first time I’m actually finding I’m having a lot more cleaning and fixing up work to do on a model kit I’m building. This was also the first time ever I had a go at filling some level differences in the chassis parts on the left and right sides. Because there was a difference in height. Now I’m writing this, it could also be a mistake of my part because there could be parts going to be attached. But I will find out soon enough.


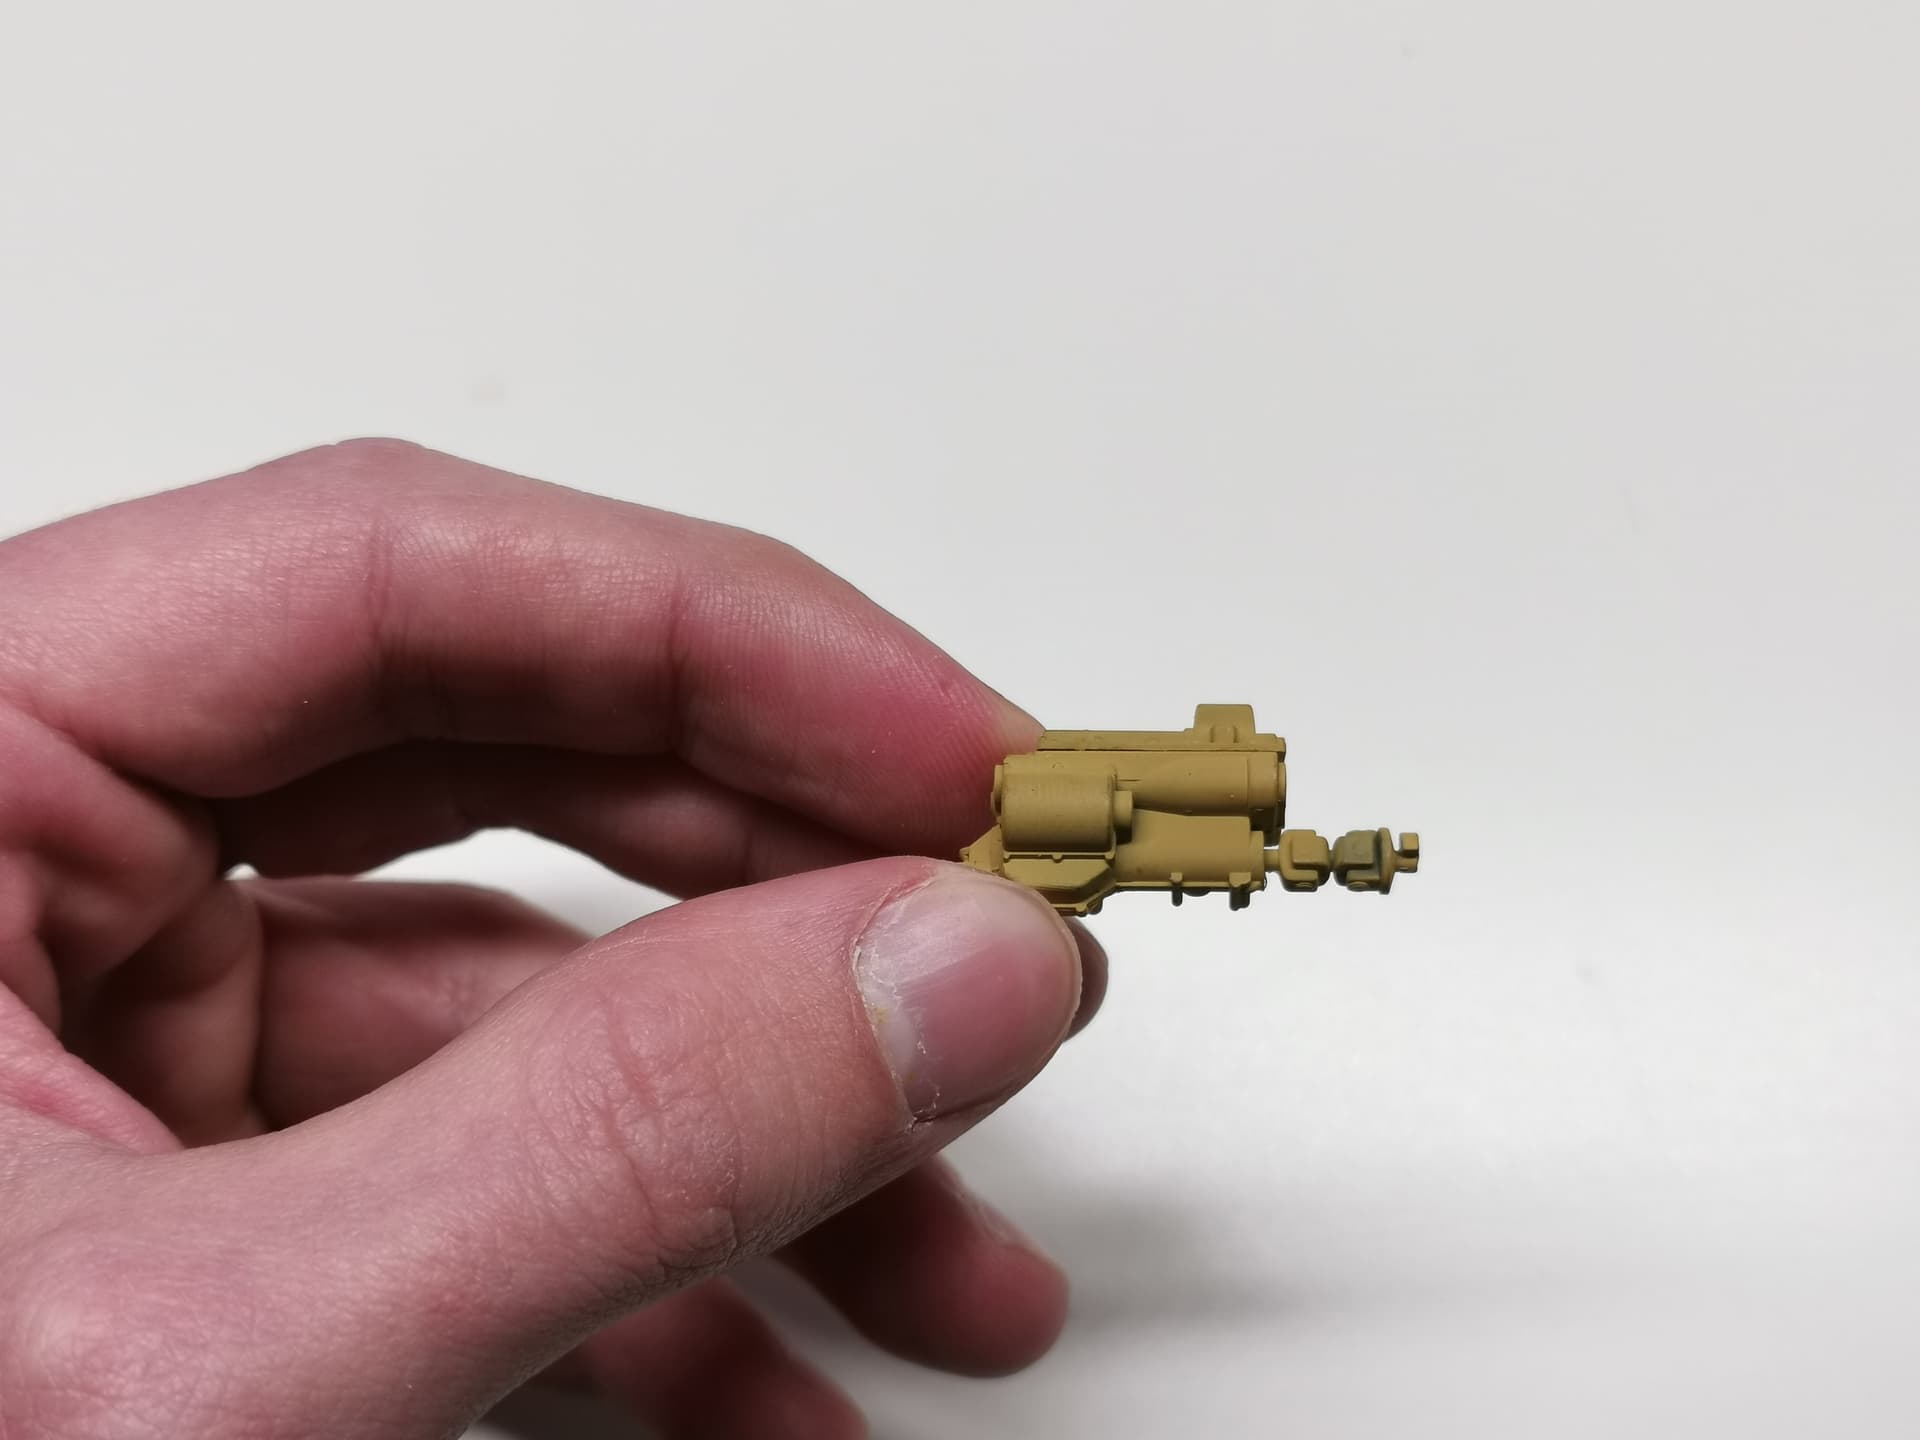
I also assembled the transmission.
First I did cut the parts of the sprue, then file them and then glued them together.
To finally spray them with my airbrush.
I think I’ve done a decent enough job with it.
1 Like
Looking good!
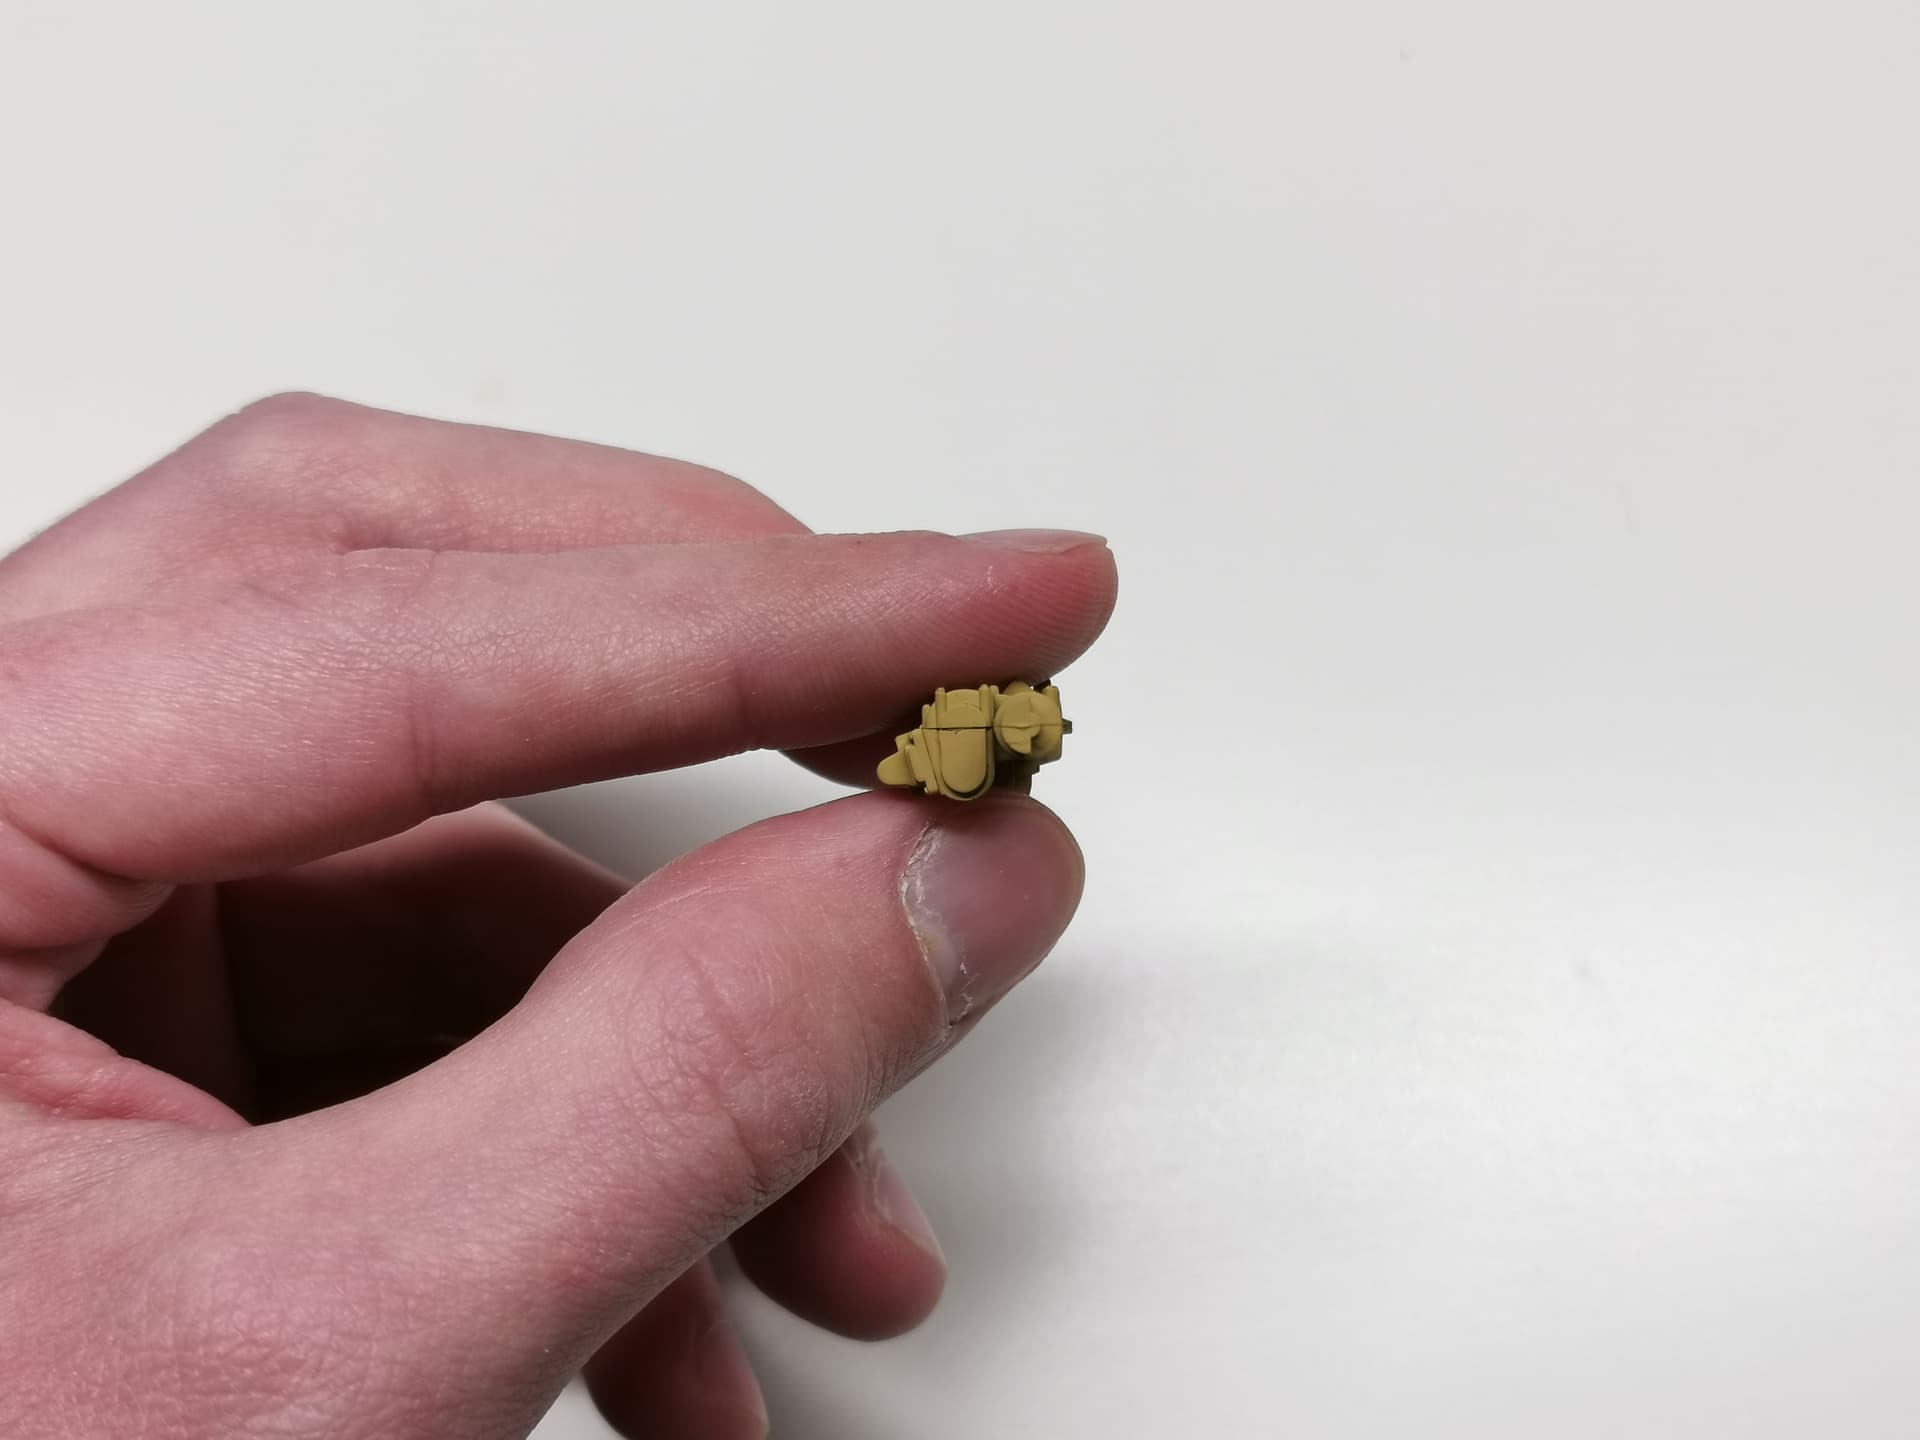
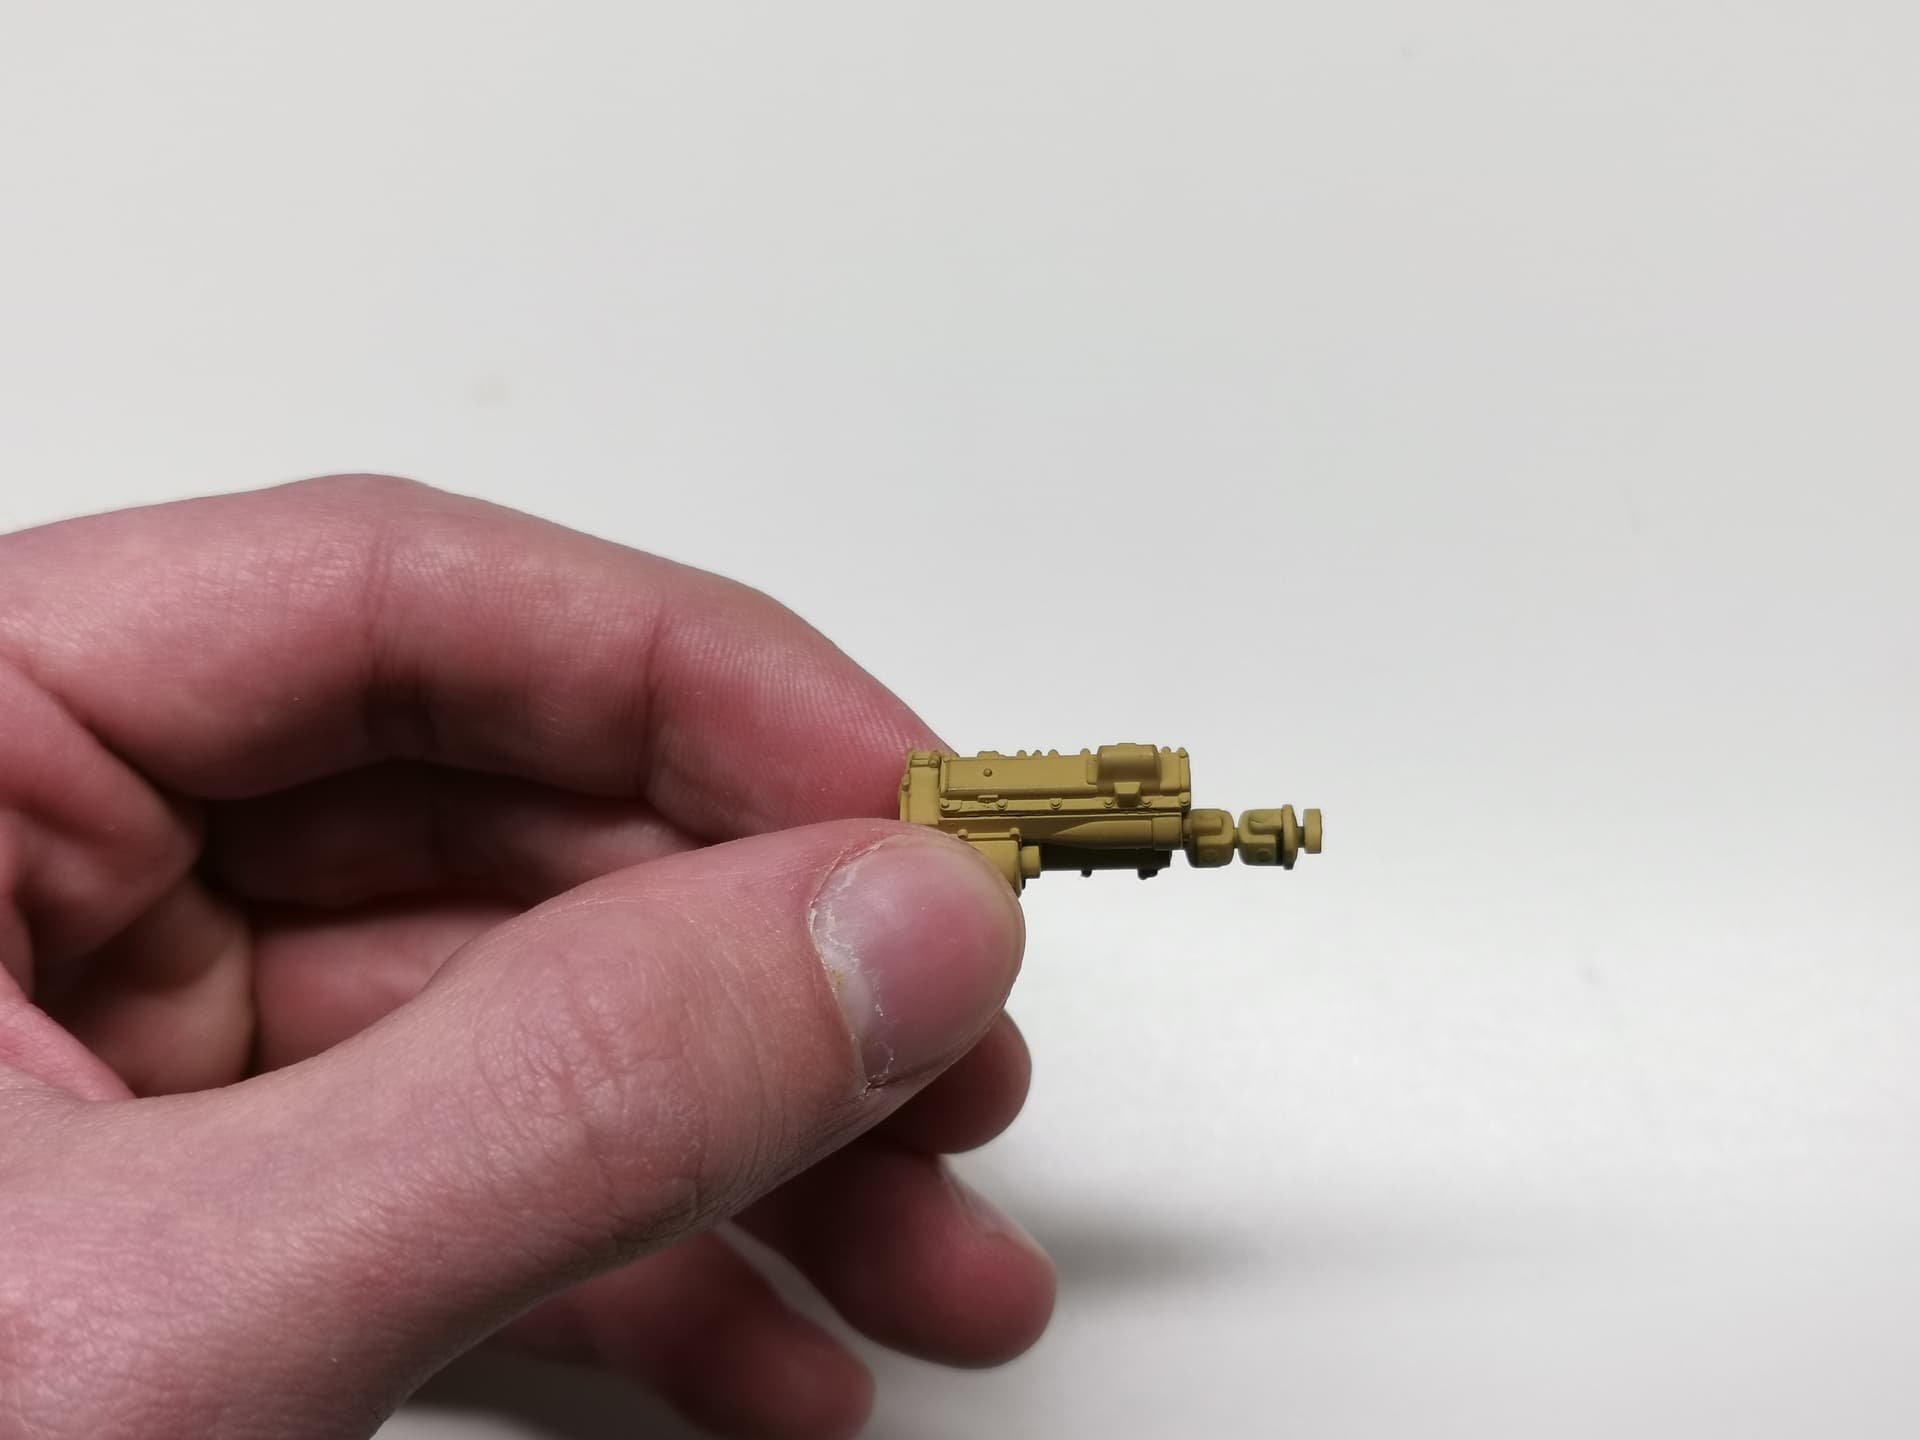
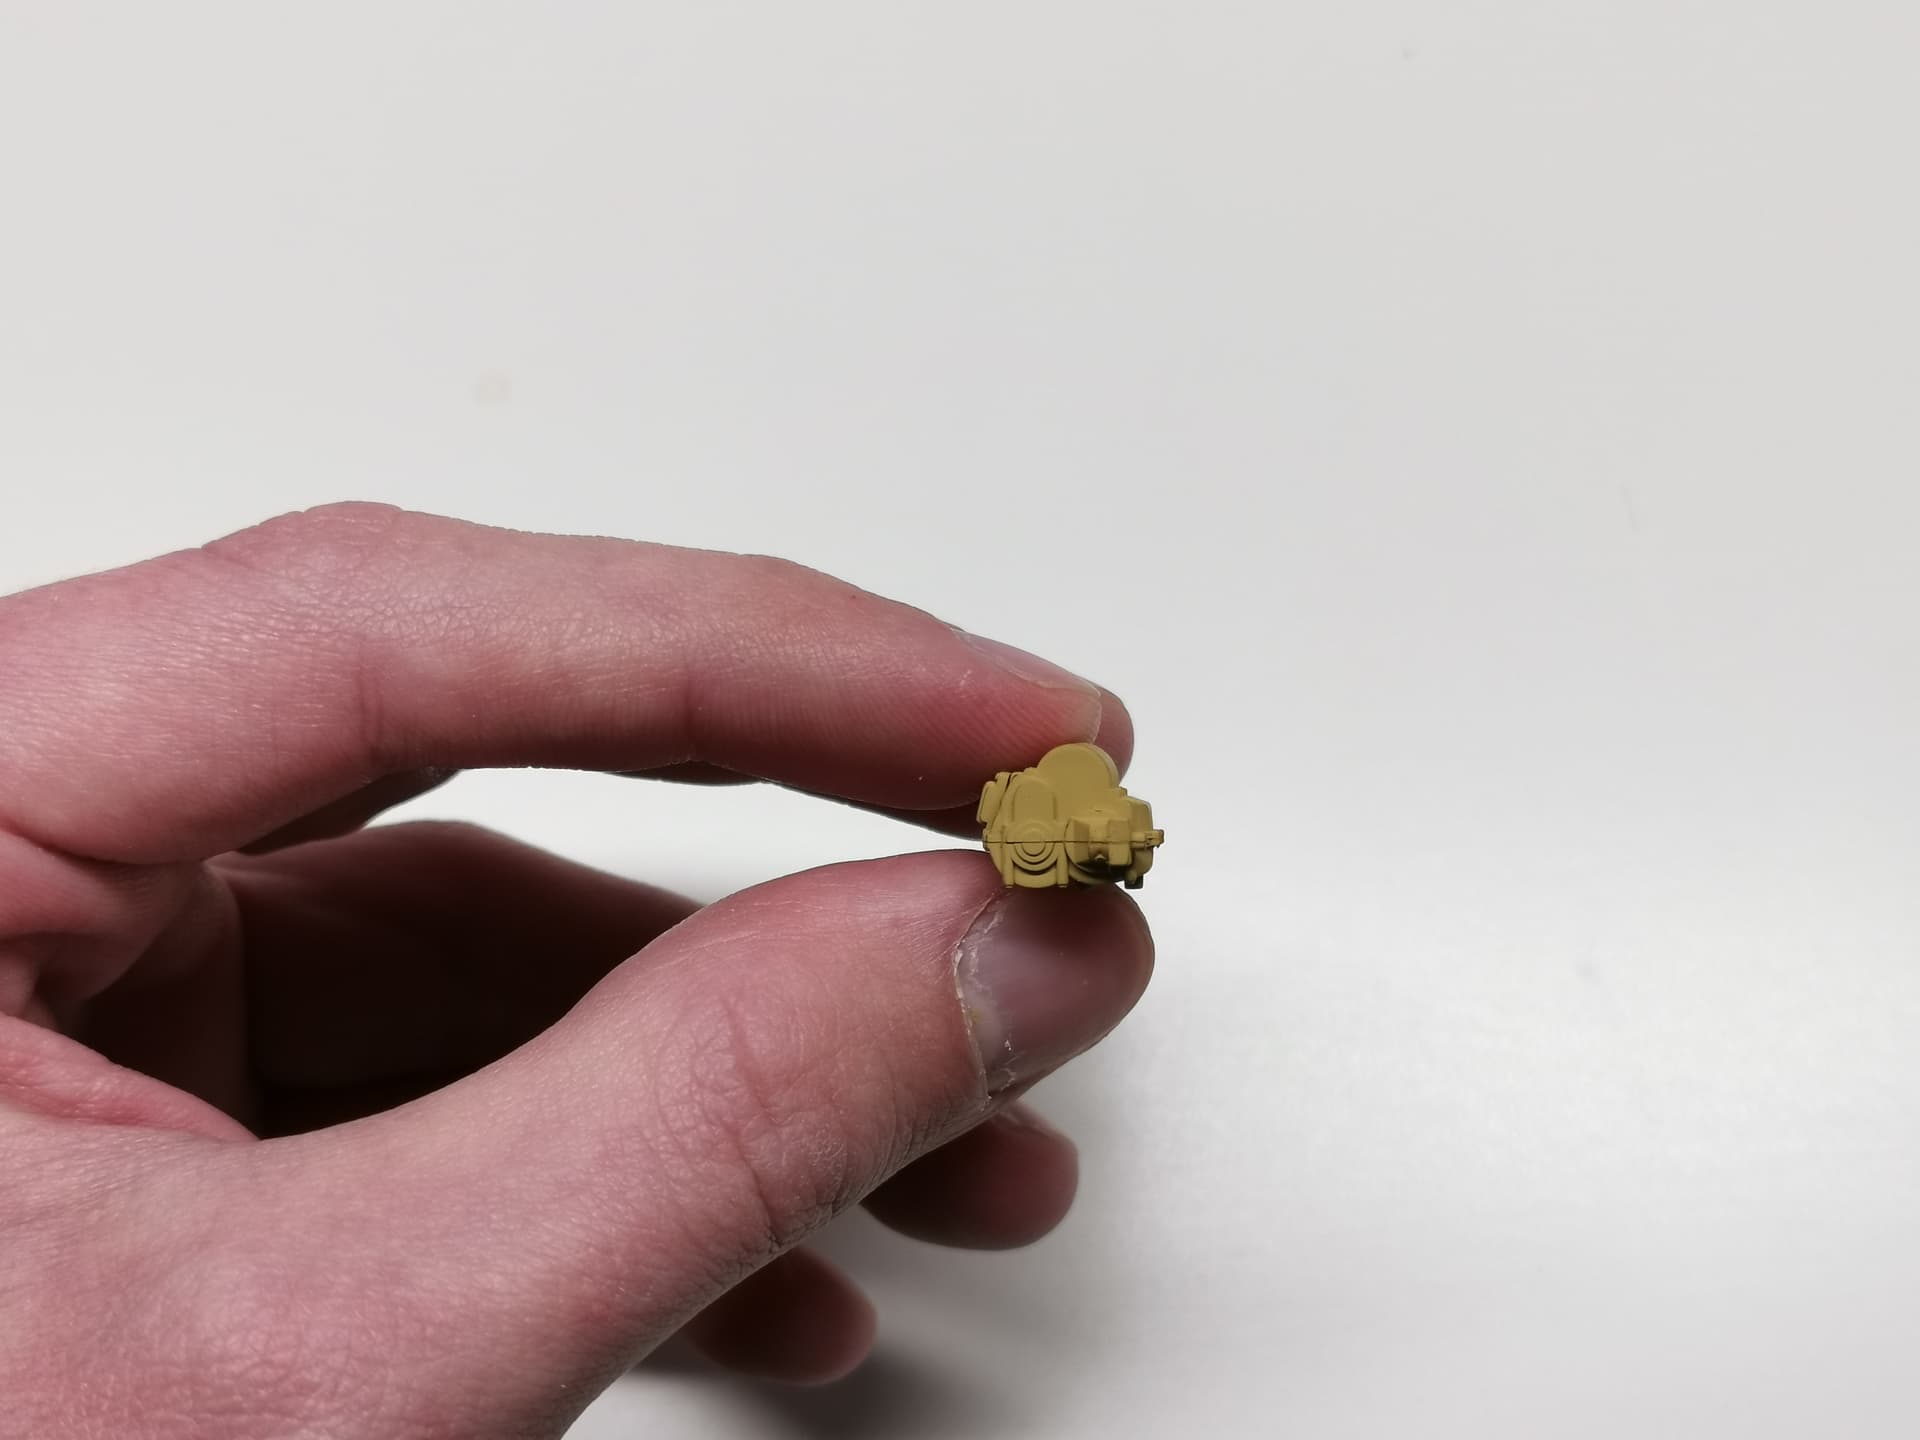
I’m presenting to you my latest work in progress on my project.


So far I’ve managed to do all the painting by airbrush.
And I have done everything part by part.
The results are looking good enough for me.
I just don’t like the kit very much, because of some fitting issues and some other small ‘flaws’ of the kit.
5 Likes
Looking good, hope this doesn’t come off the wrong way, but you are improving quite rapidly! Good work!
As for flaws and fit issues could you expand a little more?
2 Likes
First, thank you for the compliment.
A lot of time has gone into the progress I made so far.
And you are looking at whole days of work, from the early morning till around the end of the afternoon.
Processing the parts on my room and then taking them to the barn to paint them using the airbrush.
I have learned my lessons from the Famo project and I’m now applying them on future projects.
I’m still spending a lot of time searching, discovering and learning new stuff and it doesn’t come easy.
Because of the overload of information and me not knowing what I need to look for at all.
Taking even more time and energy to get the right amount of knowledge.
Luckily I found a playlist at AK Interactive official YT channel called Modelling from zero which helps me and provides just what I needed for a very long time regarding knowledge.
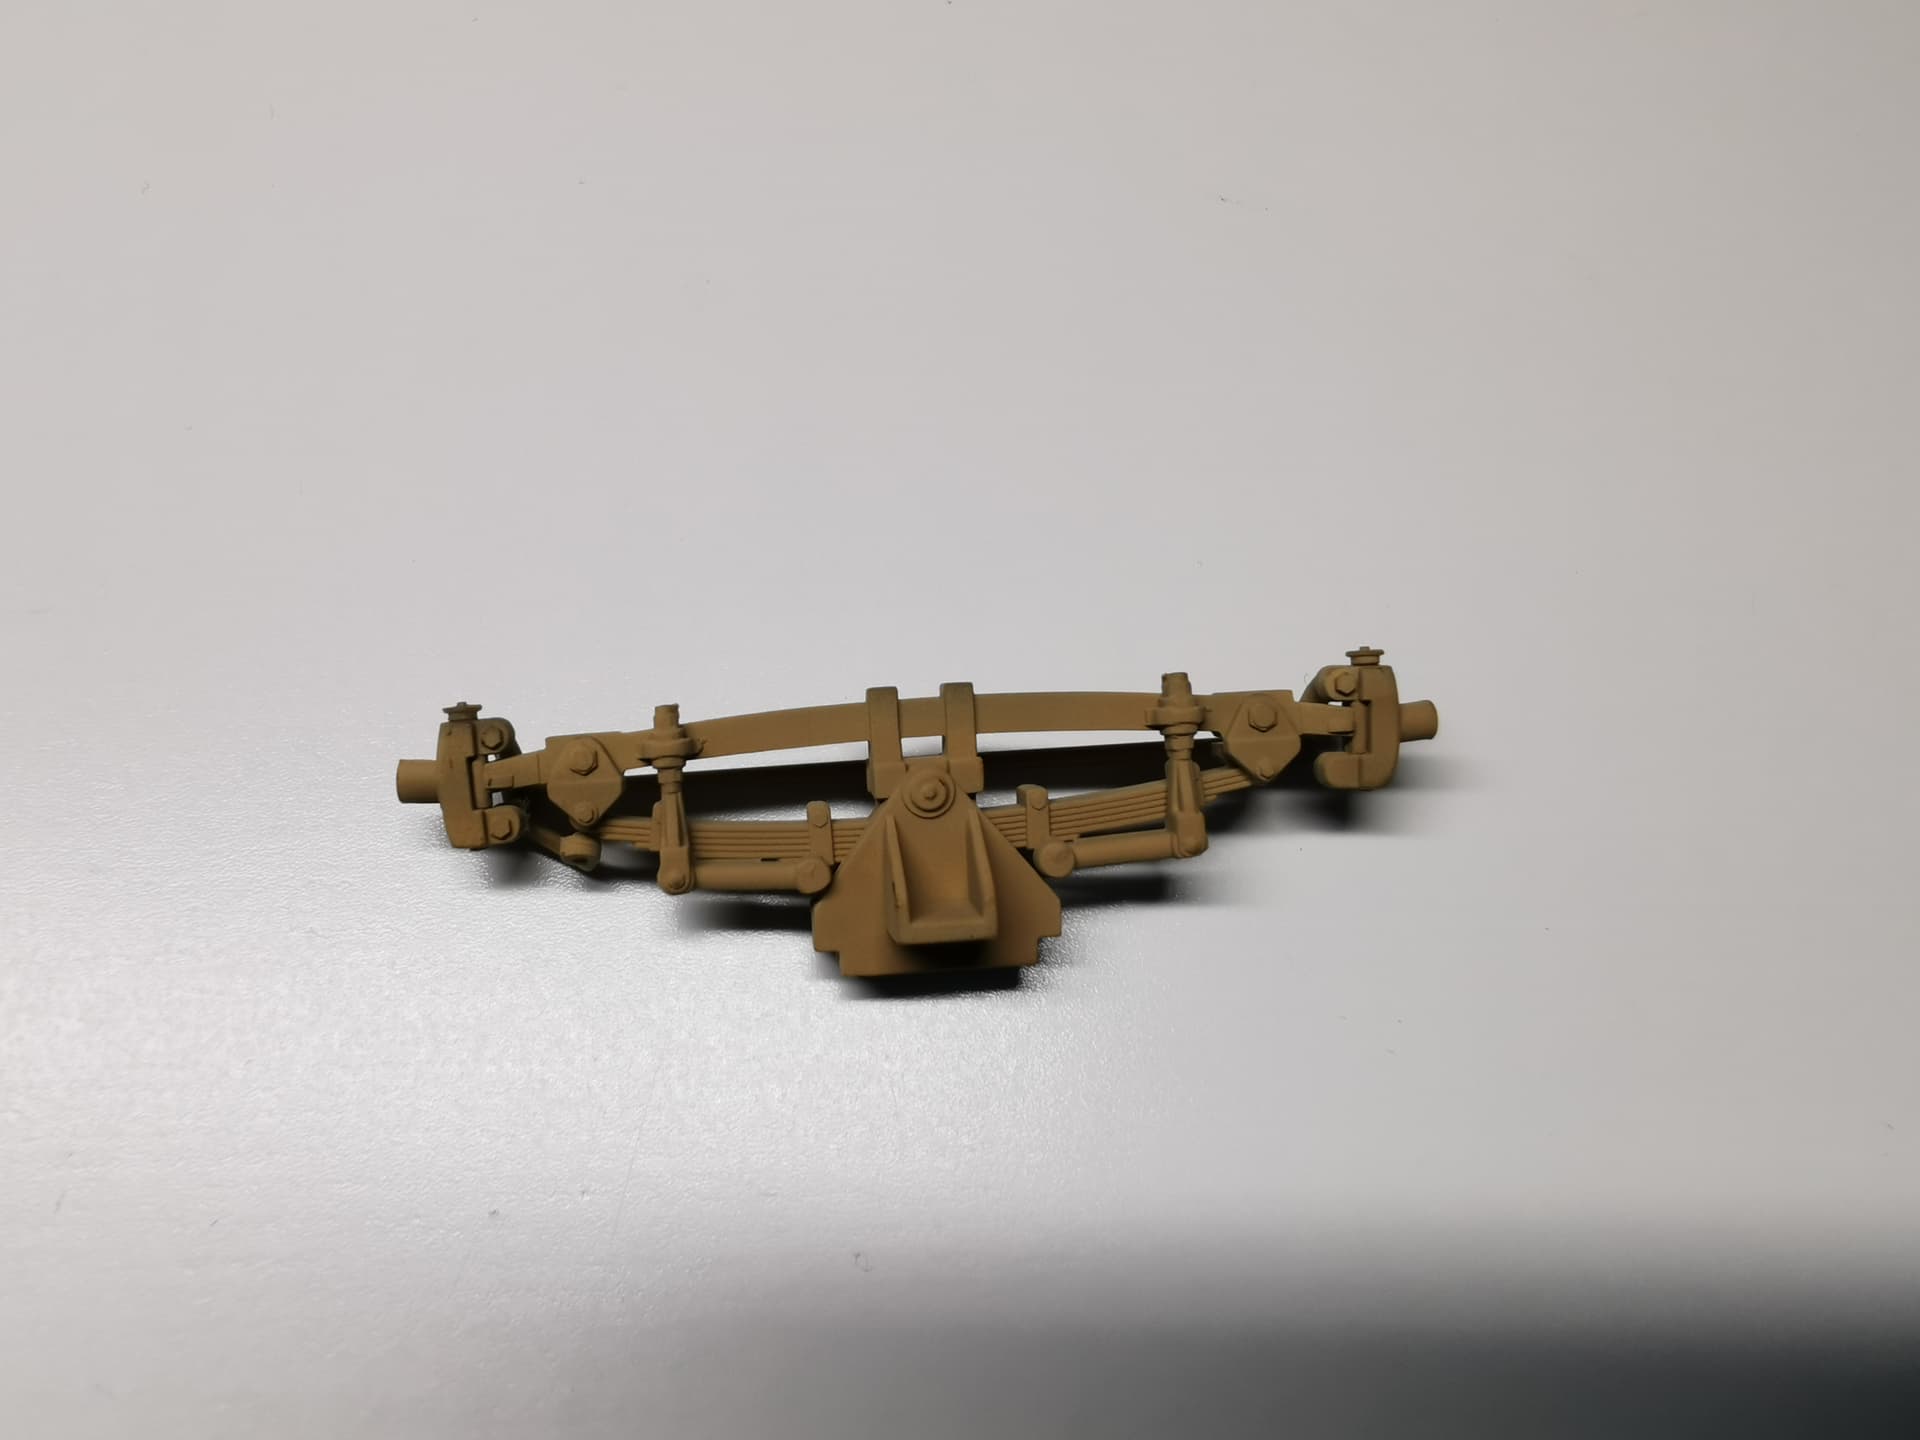
I remember that the front suspension of the model had issues with not perfectly getting the points in the wholes where it was supposed to be glued in. Tried making the wole bigger, didn’t work well. And finally decided to glue it because it didn’t got any better.
I had to smash the sproke up wheel with a bottle of Mr. Masking Solution because I couldn’t get the parts together otherwise correctly in order to mount the tracks of the model later on.
And yes, I did test fit with the tracks on the sprokup wheel and I was right so it was not a error from my part.
And I think that’s about it for any major fitting issues so far, but I’m certain I’m going to find more.
So far, the kit didn’t impress me much in terms of quality and detail and I think I won’t be buying an AFV Club kit anytime soon again.
If you have anymore questions I’m happy to answer them when I have more time to spend.


I have finished my AFV Club Sd. Kfz. 11 a few months ago now.
Somewhere in the middle of the project the fun was long gone.
After some big sadbacks I wanted to throw the towel in. But my dad succeed in convincing me to plow on. And after a very short time in minutes. And after a day with a good night sleep. I decided it wasn’t looking to bad after all. Still the fun was long gone.
I have been rushing the completion towards the end. And it was a suffering all the way for me.
I was planning to do weathering with chipping and North African Dust from MIG. But I was in a hurry because of lack of time. Will post seperately what that was.
Now I’m just happy it’s finnished and it doesn’t look so bad after all.
So, learned my lesson and there will be following a lot more.
3 Likes
I think it really does look pretty good - your Father was right to convince you to carry on. I think you’ve done a nice job on this despite the setbacks.
Sometimes I get like this with a build - especially if halfway through, i’ve ordered the next project - my mind tends to gravitate towards that and I lose a little interest in what i’m doing right now.
To combat this ‘hobby fatigue’ I usually switch between subject matter - from AFV to aircraft and back again. For me, a revelation has been switching not only back to AFV from aircraft builds, but from WWII German AFVs to modern IDF. I never could see myself doing anything modern, but I really enjoy it.
Variety is the spice of life.
Keep up the great work and try not to become disheartened from time to time - and it happens to every one of us I promise you.
1 Like
Excellent idea, to vary with subject matters.
I might be starting with putting some different countries in my ‘portfolio’ of model making. I’m already having some variation in building the German WW II Kits. In the sense that I’m having different types of vehicles. A Jagdpanther is still waiting, same goes for the Marder III M from Tamiya, the Puma from Italeri the Tiger I of Academy and the figure sets of Tamiya.
All of them are having their own ‘problemss’ that prevent me from getting started with them in the first place. On top of that is the summer now, usually with very high temperatures, which make it for me impossible to do anything with my modelmaking in the sense that I’m working on anything. I’m studying now, which you can find the blog post here somewhere on the forum.
I’m going to try and take you advice of variety and see what comes from it, I might use this for studying as well. It’s such a universal advice you gave me.
But first, let’s get through the summer with the study and start when it is autumn and the weather ‘improves’.
“There must be a begynning of any great matter, but the continewing unto the end untyll it be thoroughly finished yeldes the true glory."
Sir Francis Drake
Cheers,
M
2 Likes
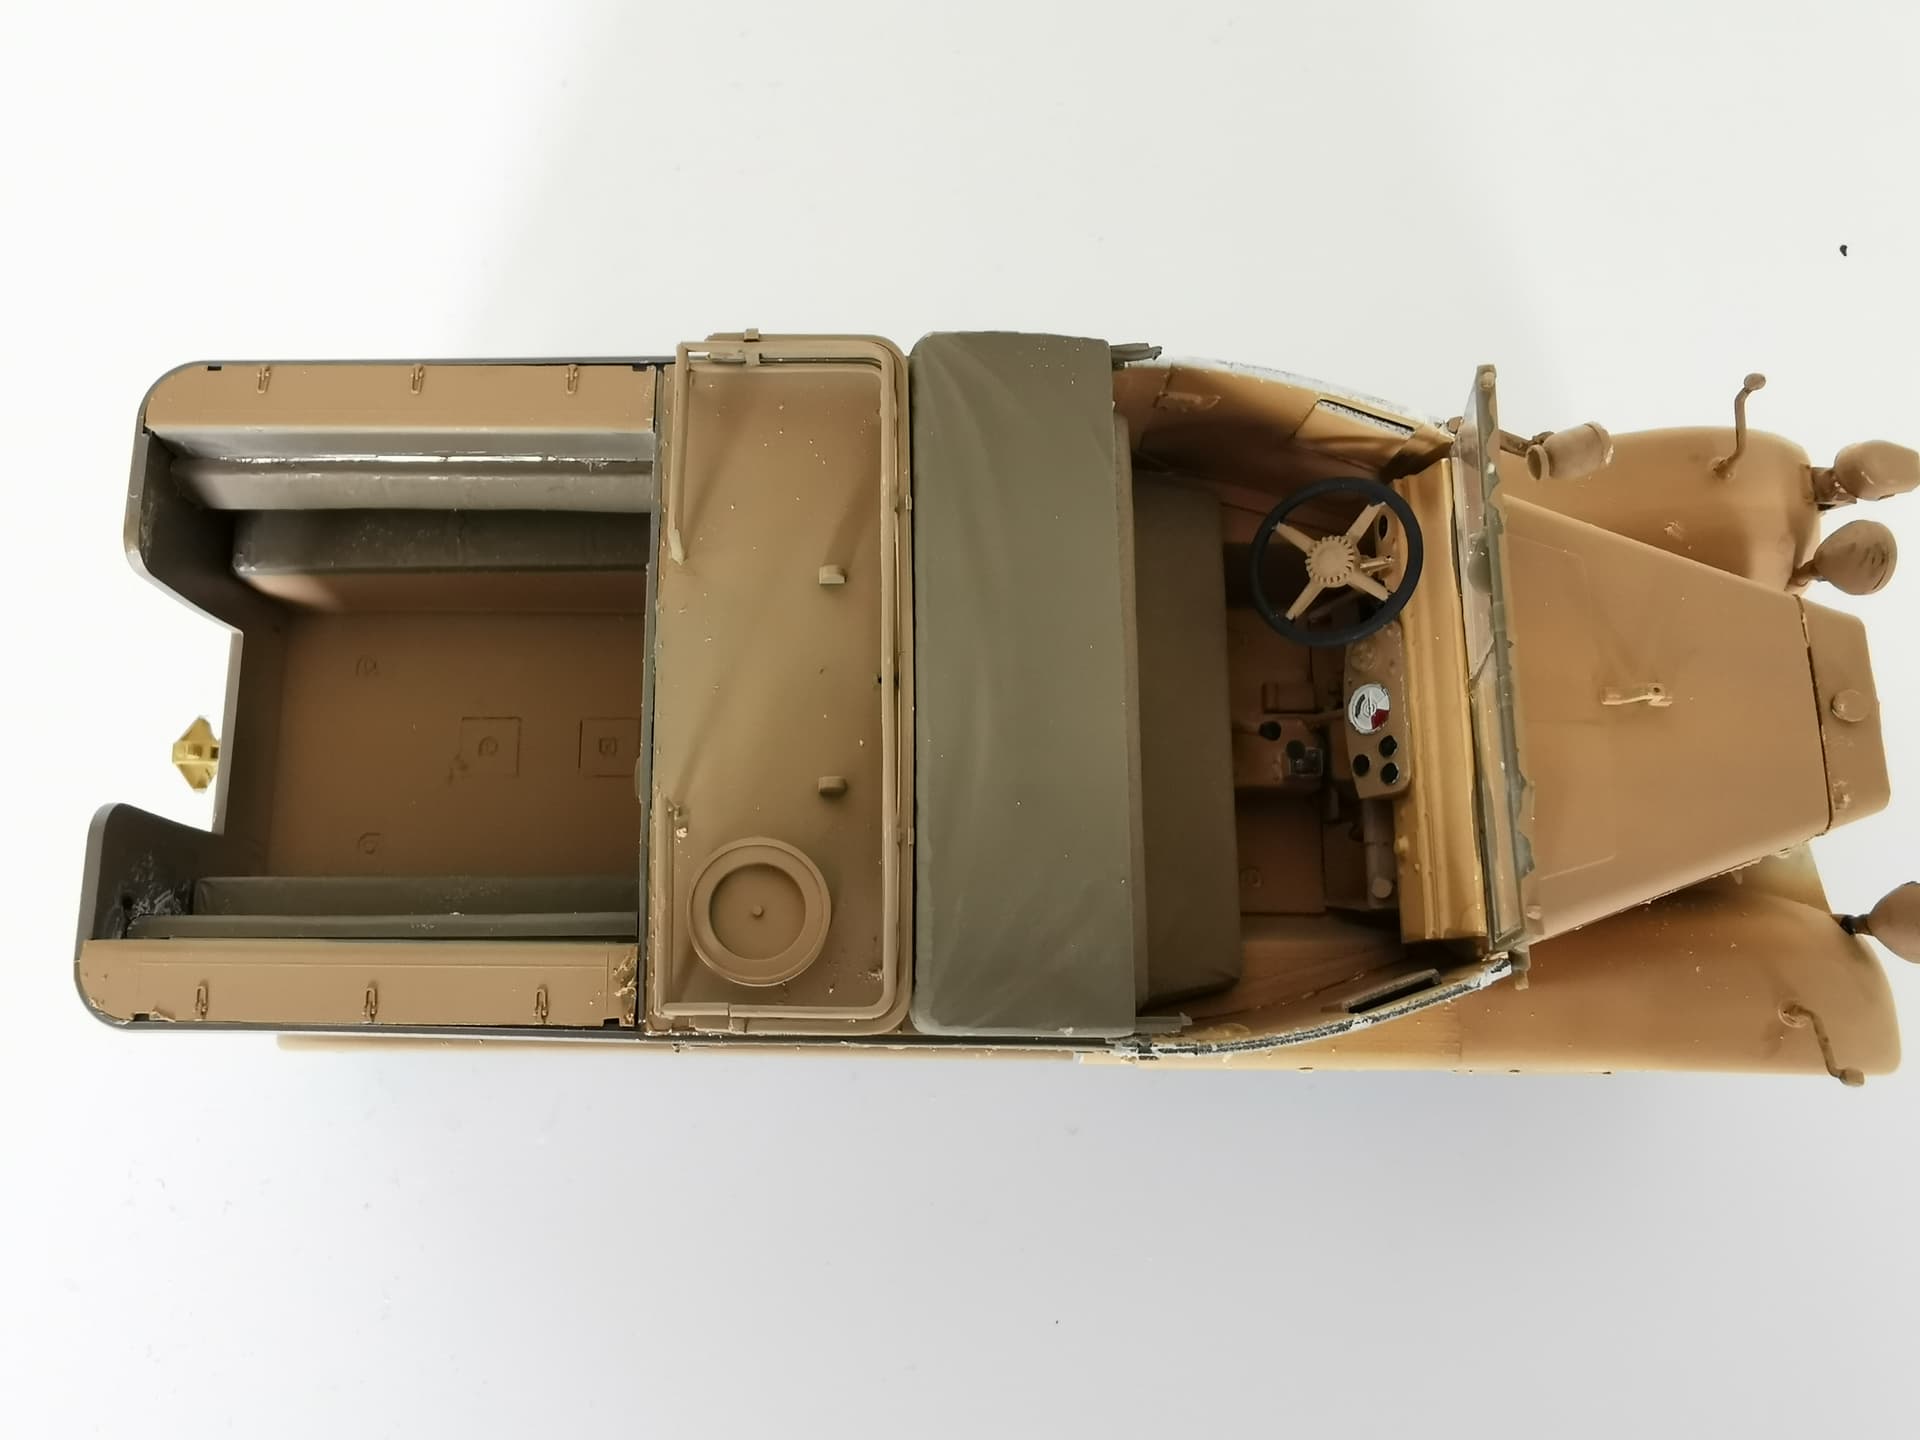
It’s finished and it looks OK. I did this kit some years ago, but I seem to remember there was some issue with the fitment of the rear of the body where the seats and lockers go together. I think fairly drastic surgery was required to get it all to fit. When completed something looked “off” with rear seats, they were kind of too narrow.