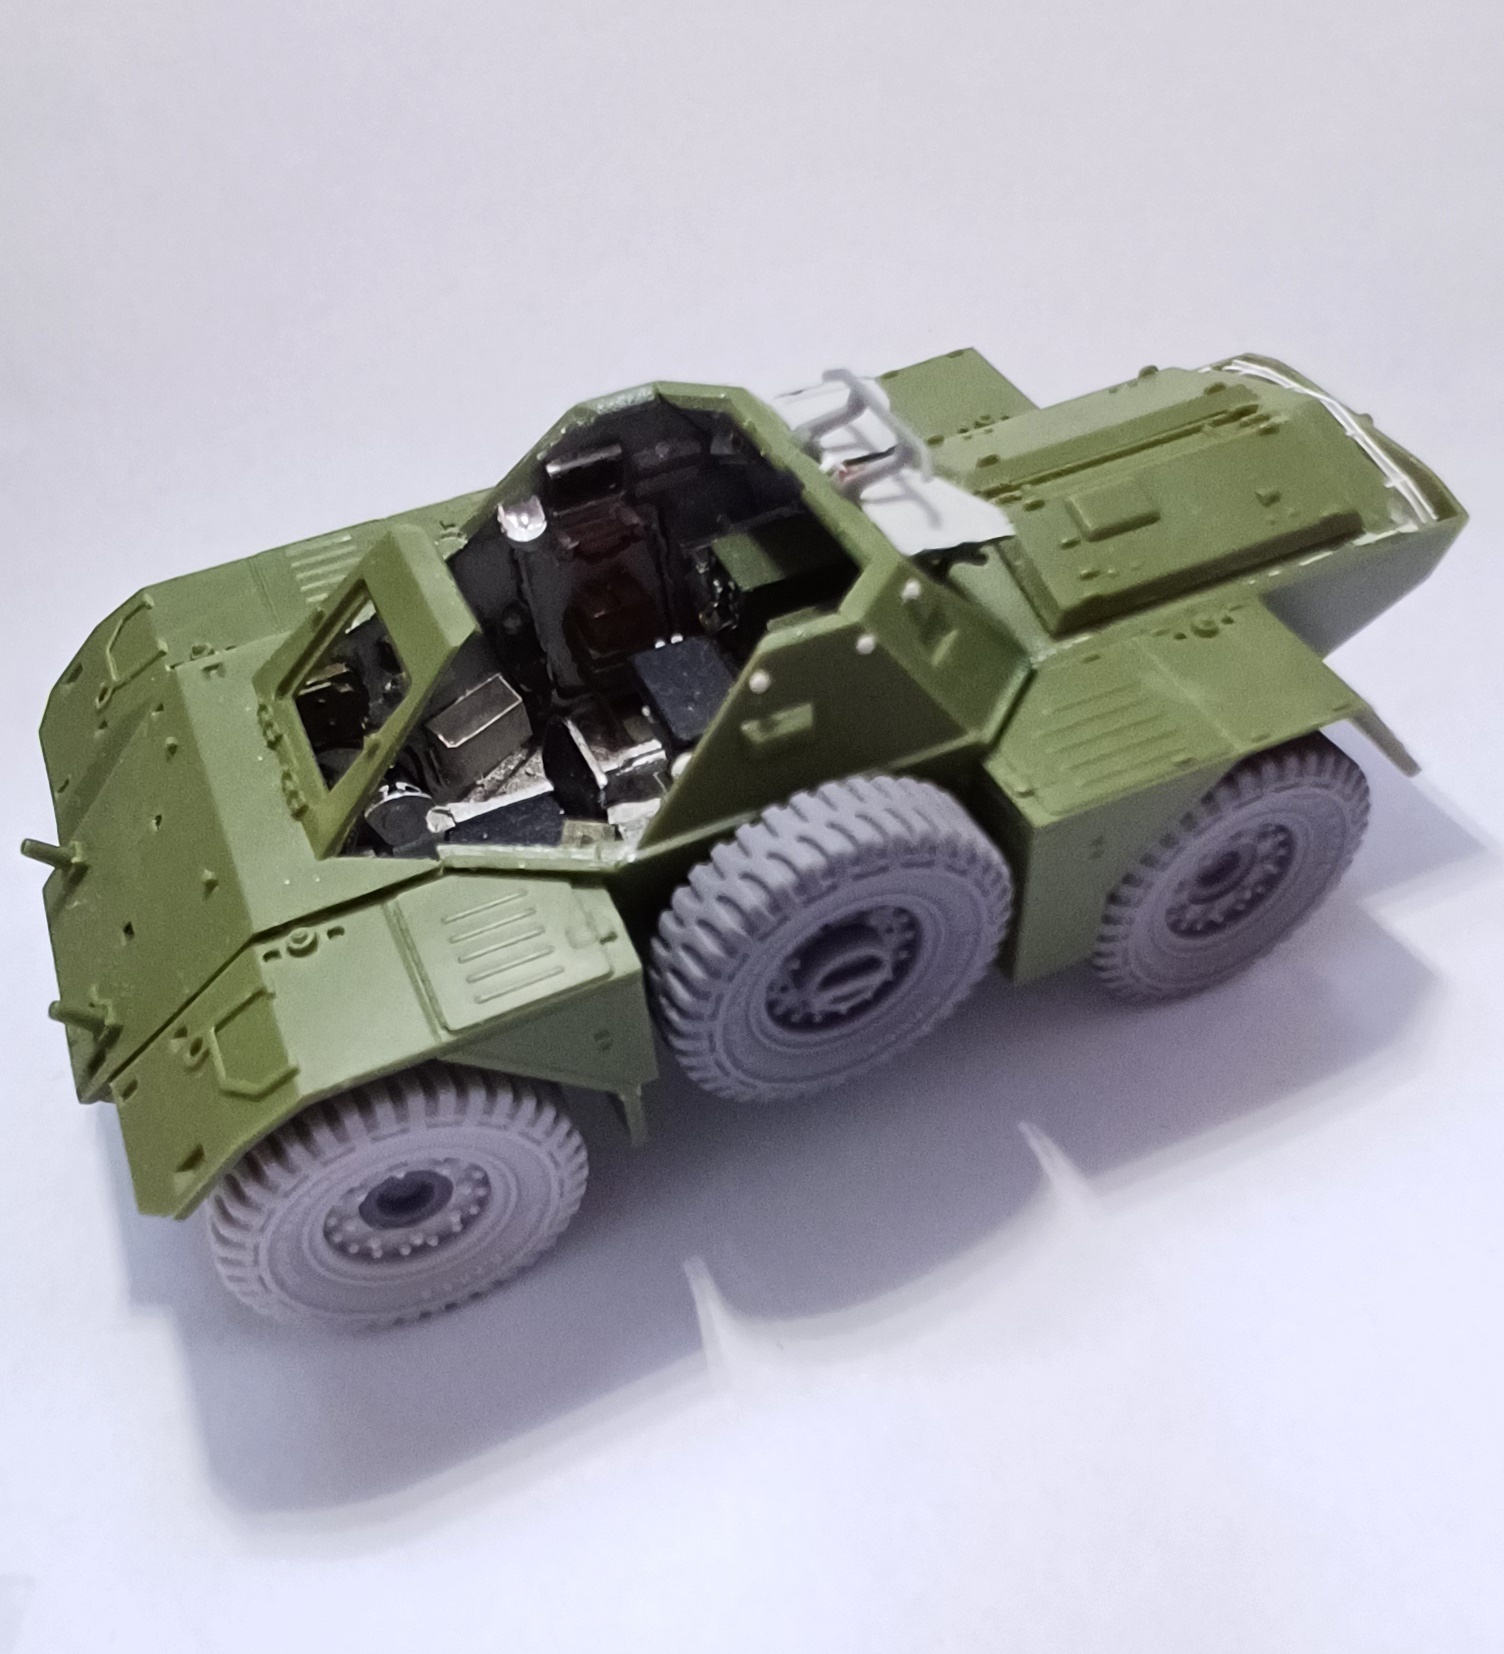
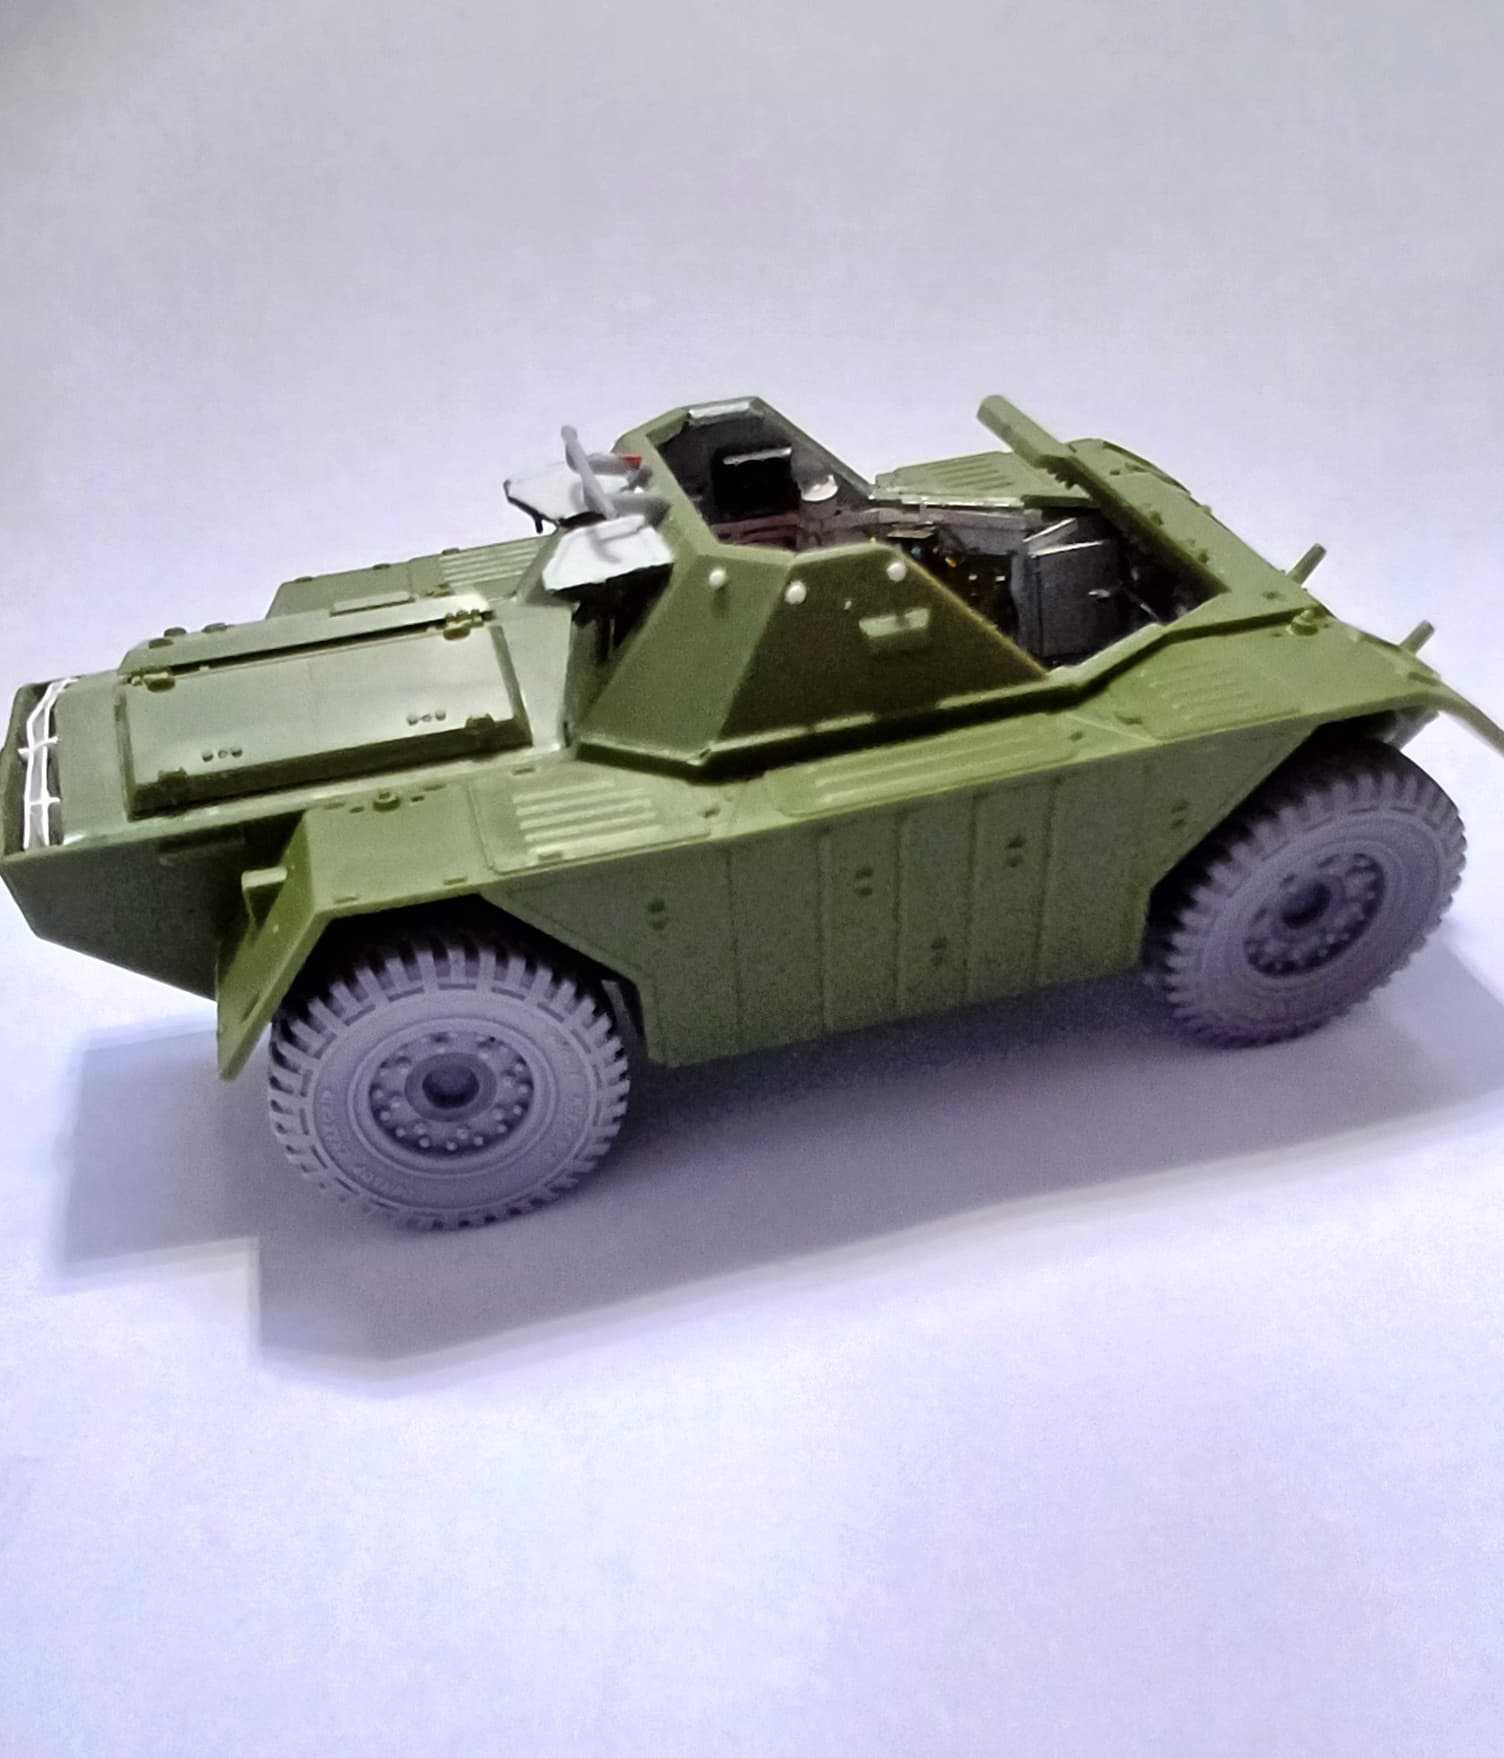
Mudguards and bins fitted, spare wheel housing fitted but all the wheels are just dry fitted at the moment.
8 Likes
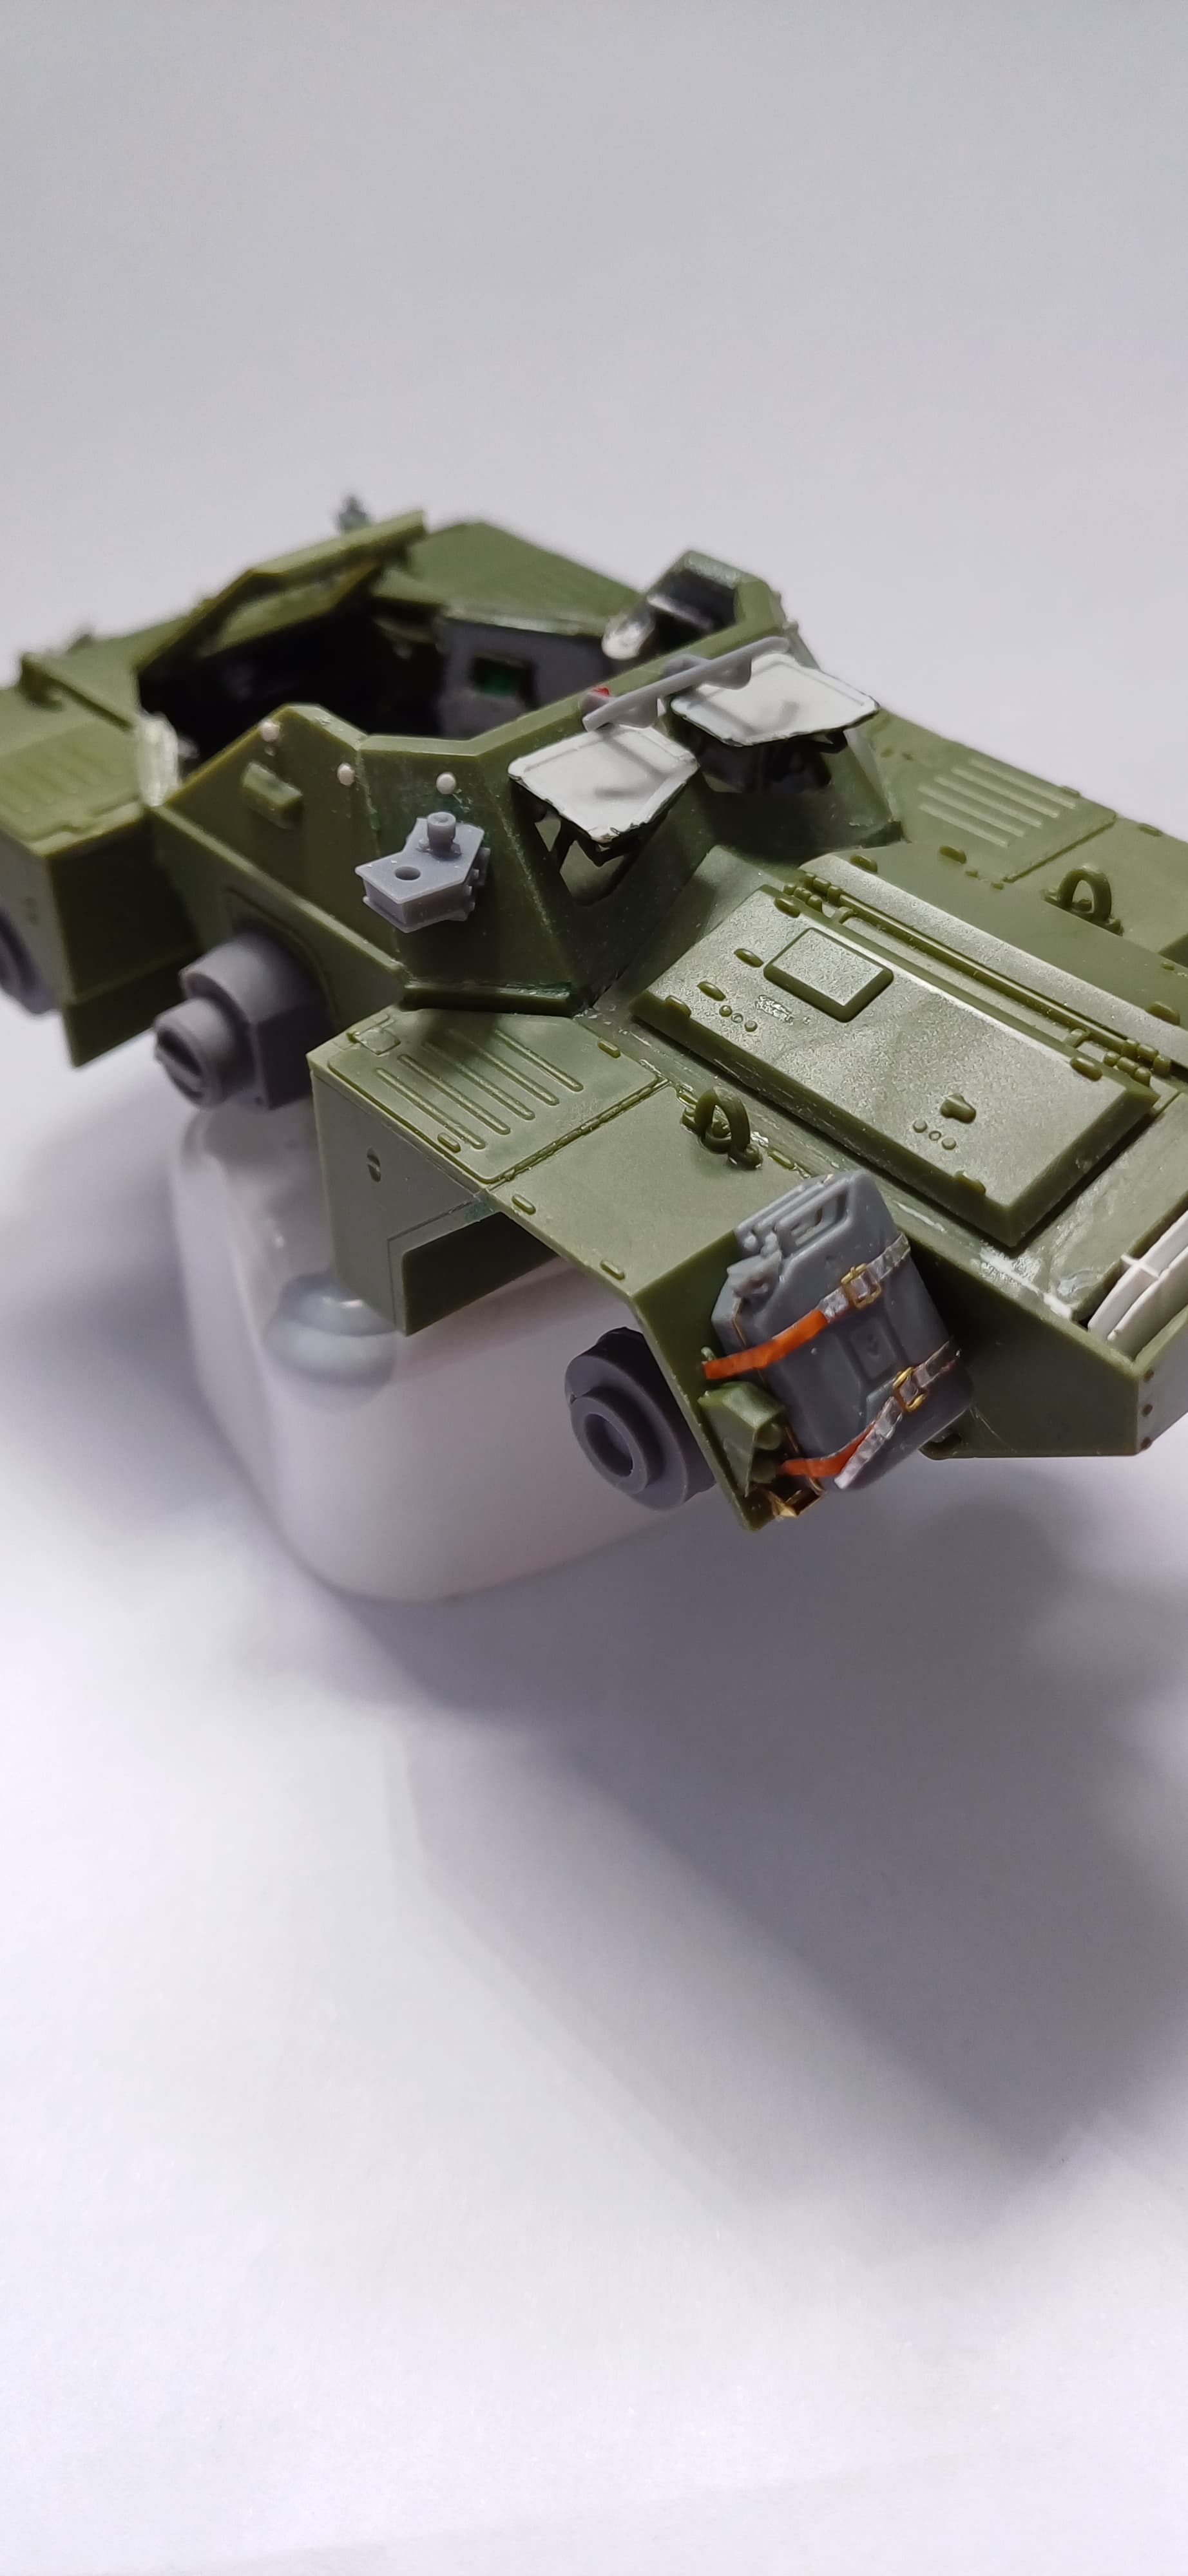
Fitted a few bits and pieces from various sources, kit, SMM updates and Gecko. The antenna bases and mounts are from the SMM update set as is the shovel. The jerrycan is from the Gecko modern British fuel and water can set, they are really quite good and are more in scale than the kit parts. There’s also the rear of the exhaust pipe leading from the engine bay which isn’t visible. Haven’t fitted one antenna base yet as I’ve a feeling it will get in the way of some sanding later.

7 Likes
Super job and the detailing is excellent ![]()
![]()
1 Like
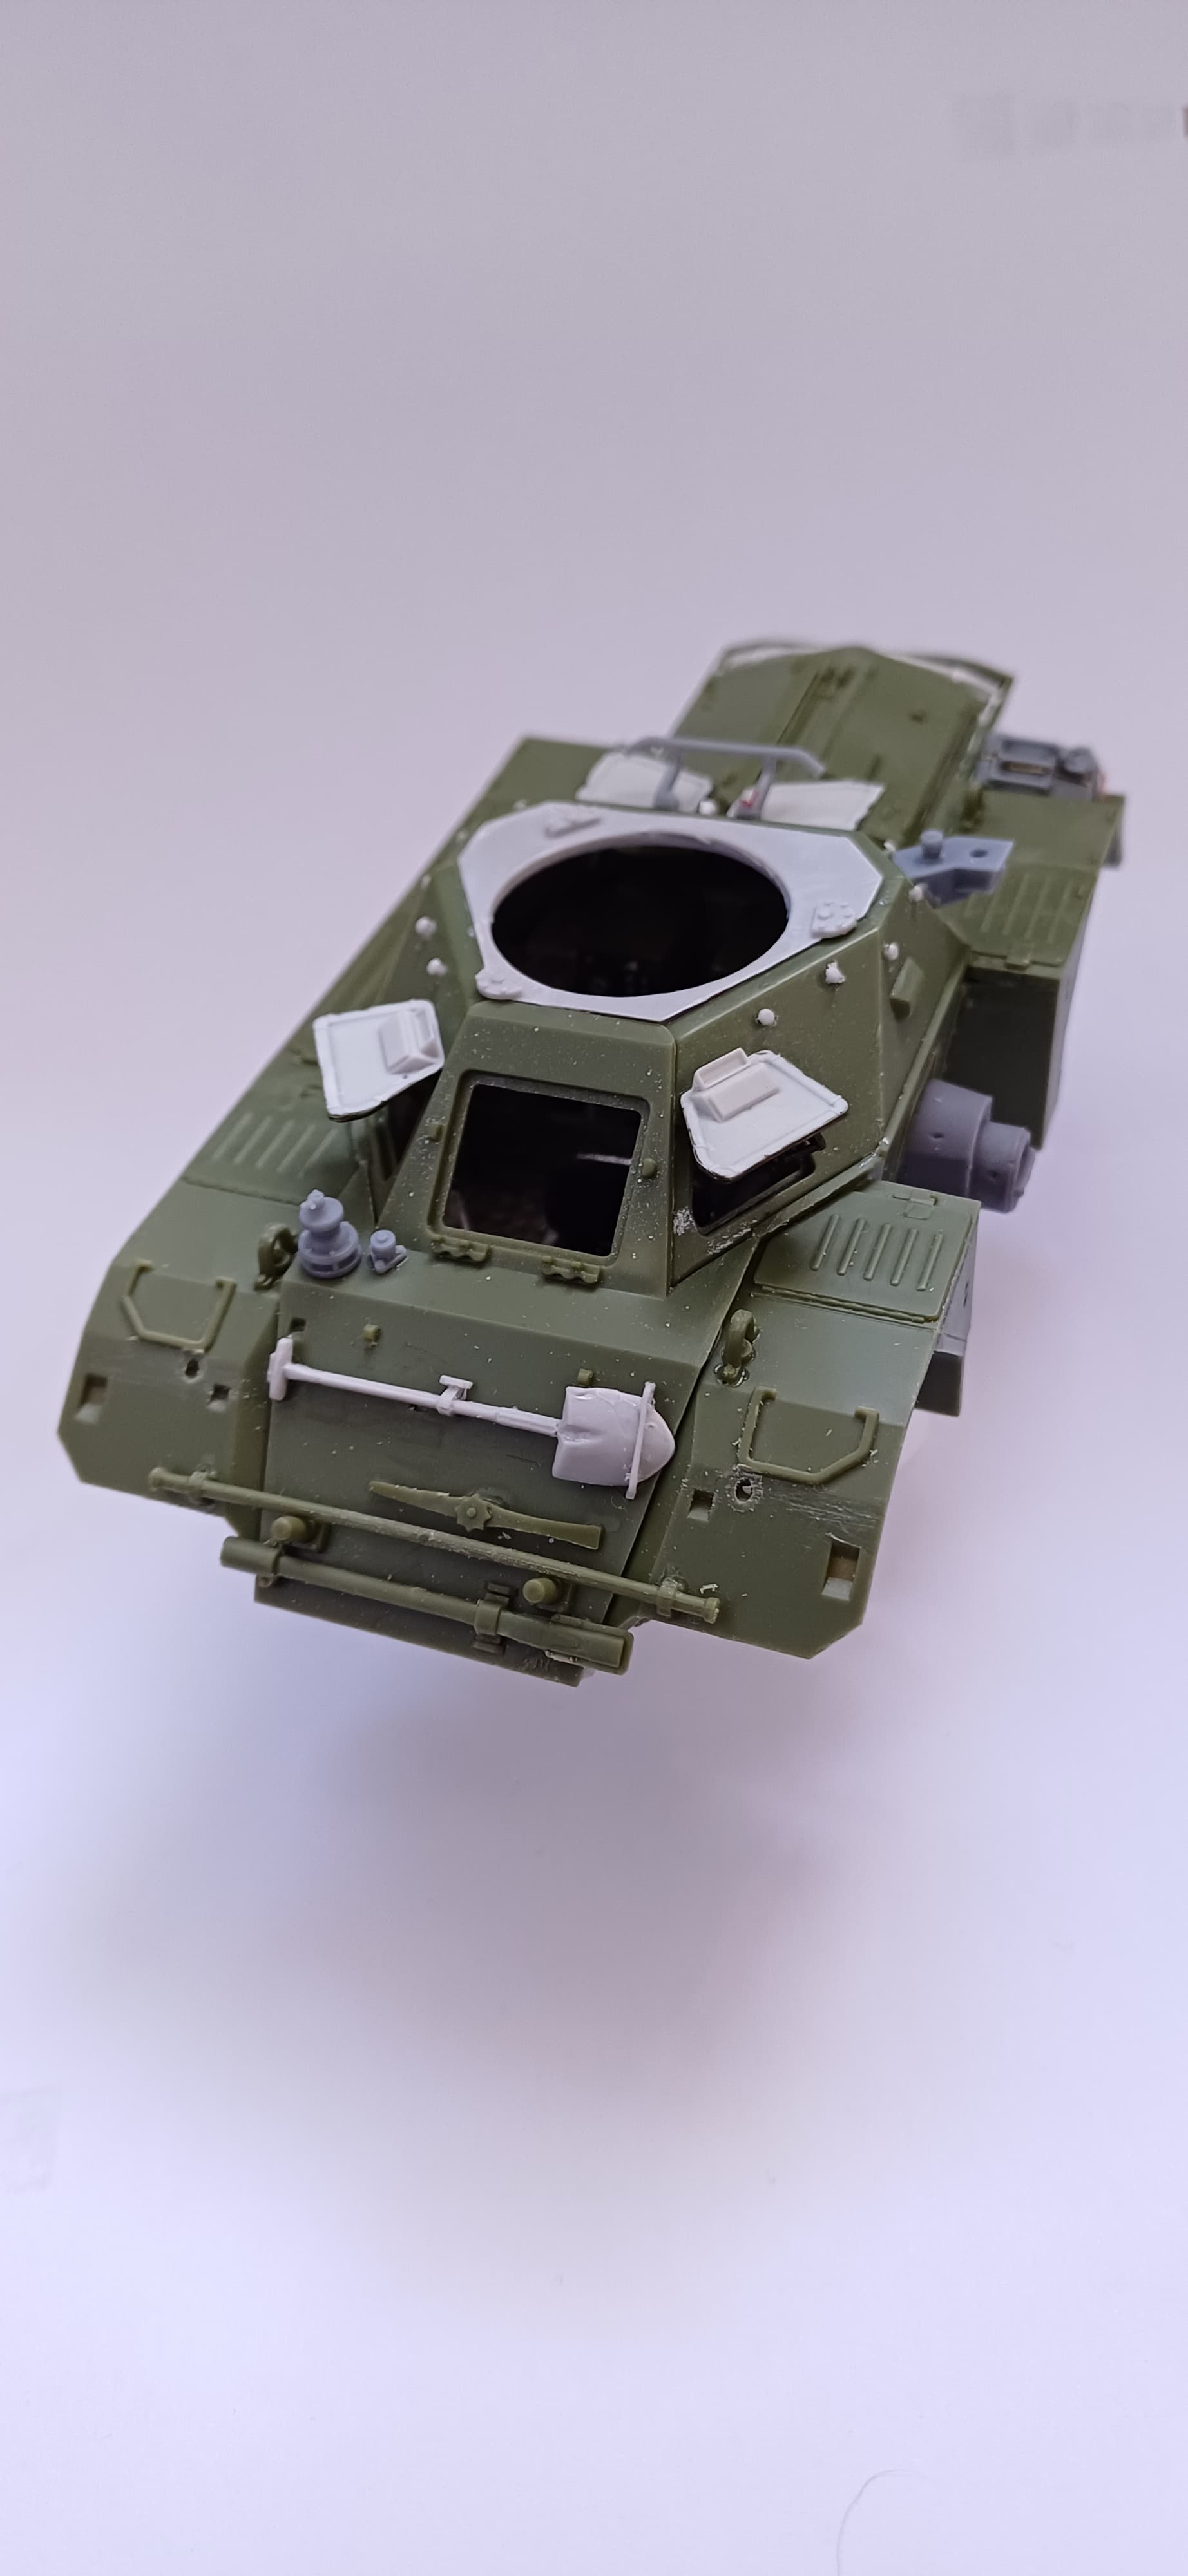
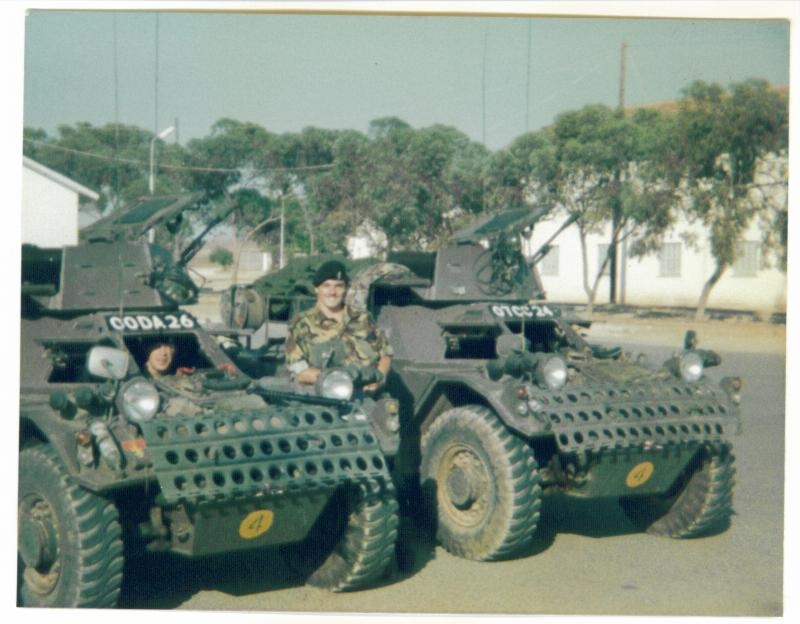
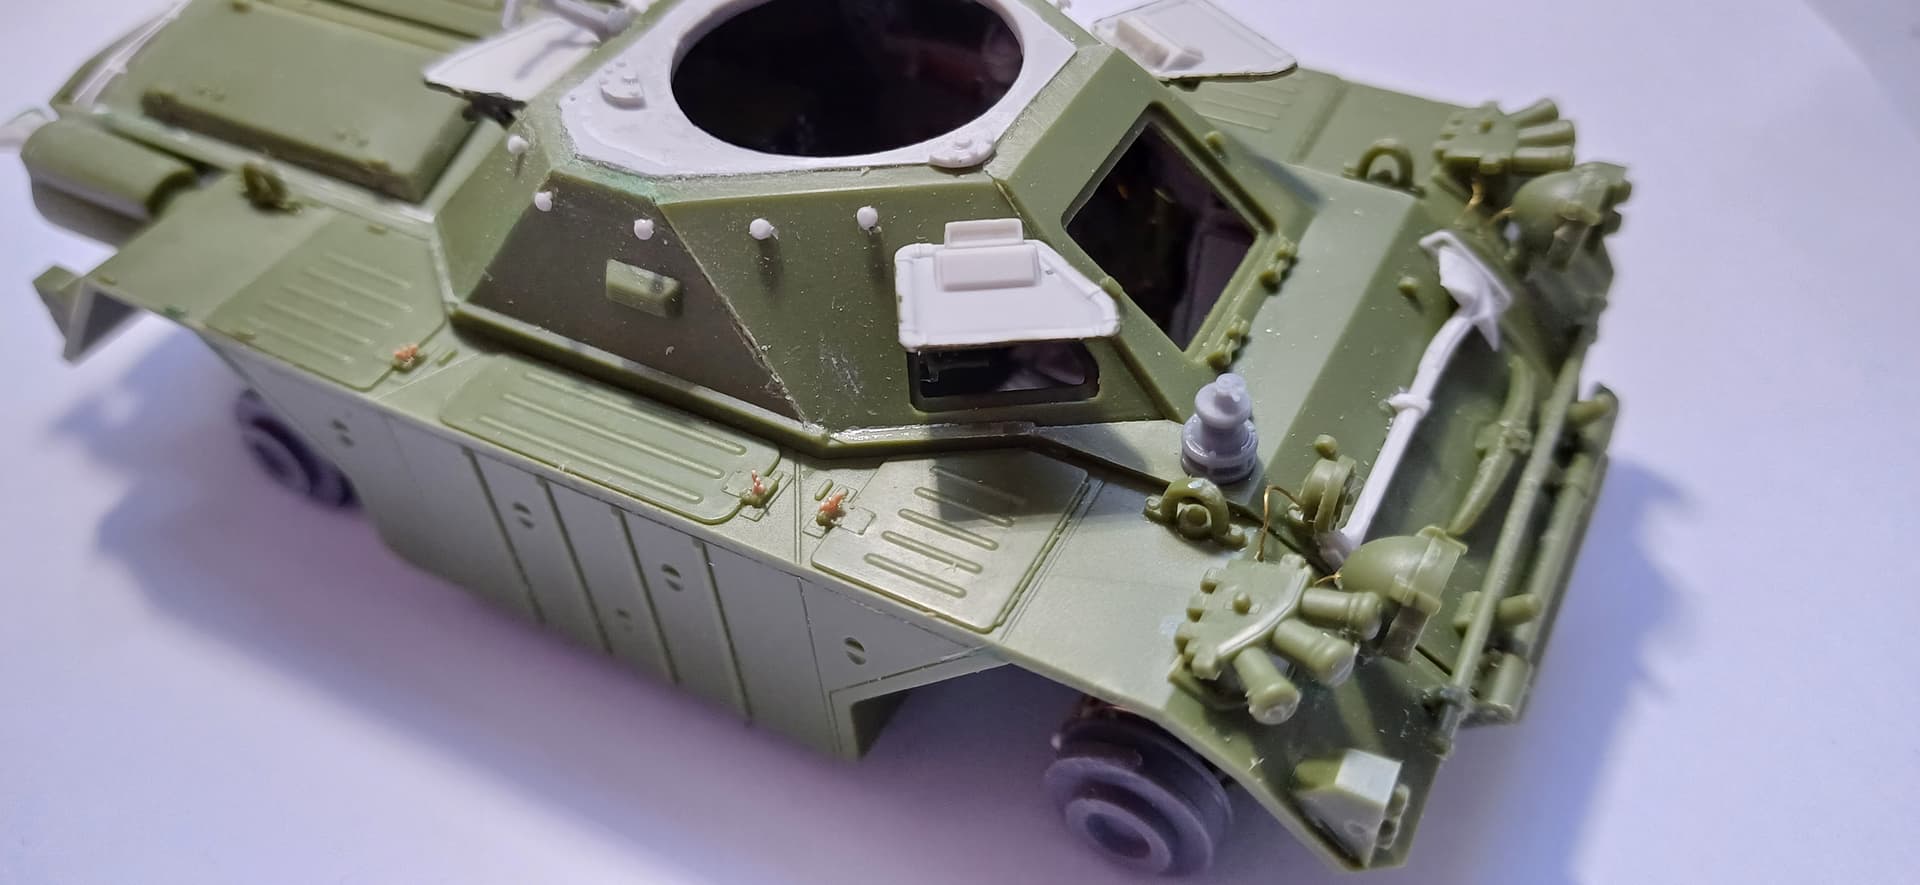
I’ve dry fitted the front drivers hatches and armour and also the hull roof. Excellent fit from the SMM parts but also the Airfix parts, very little filler if any will be needed for the upper hull sections. I’ve shaved away part of the mounting point for the wing mirrors as it was incorrect and just looked wrong. I’ll likely fill the holes and re-drill as I’ll be using brass rod for the mirror arms. I’ll also be drilling the wings so I can wire the lights, horn and smoke grenade dischargers. I’ve also shaved the extinguisher mount off as we had our extinguishers mounted on the front right wing just inside where the side light mount is, as you can see on the picture.
5 Likes
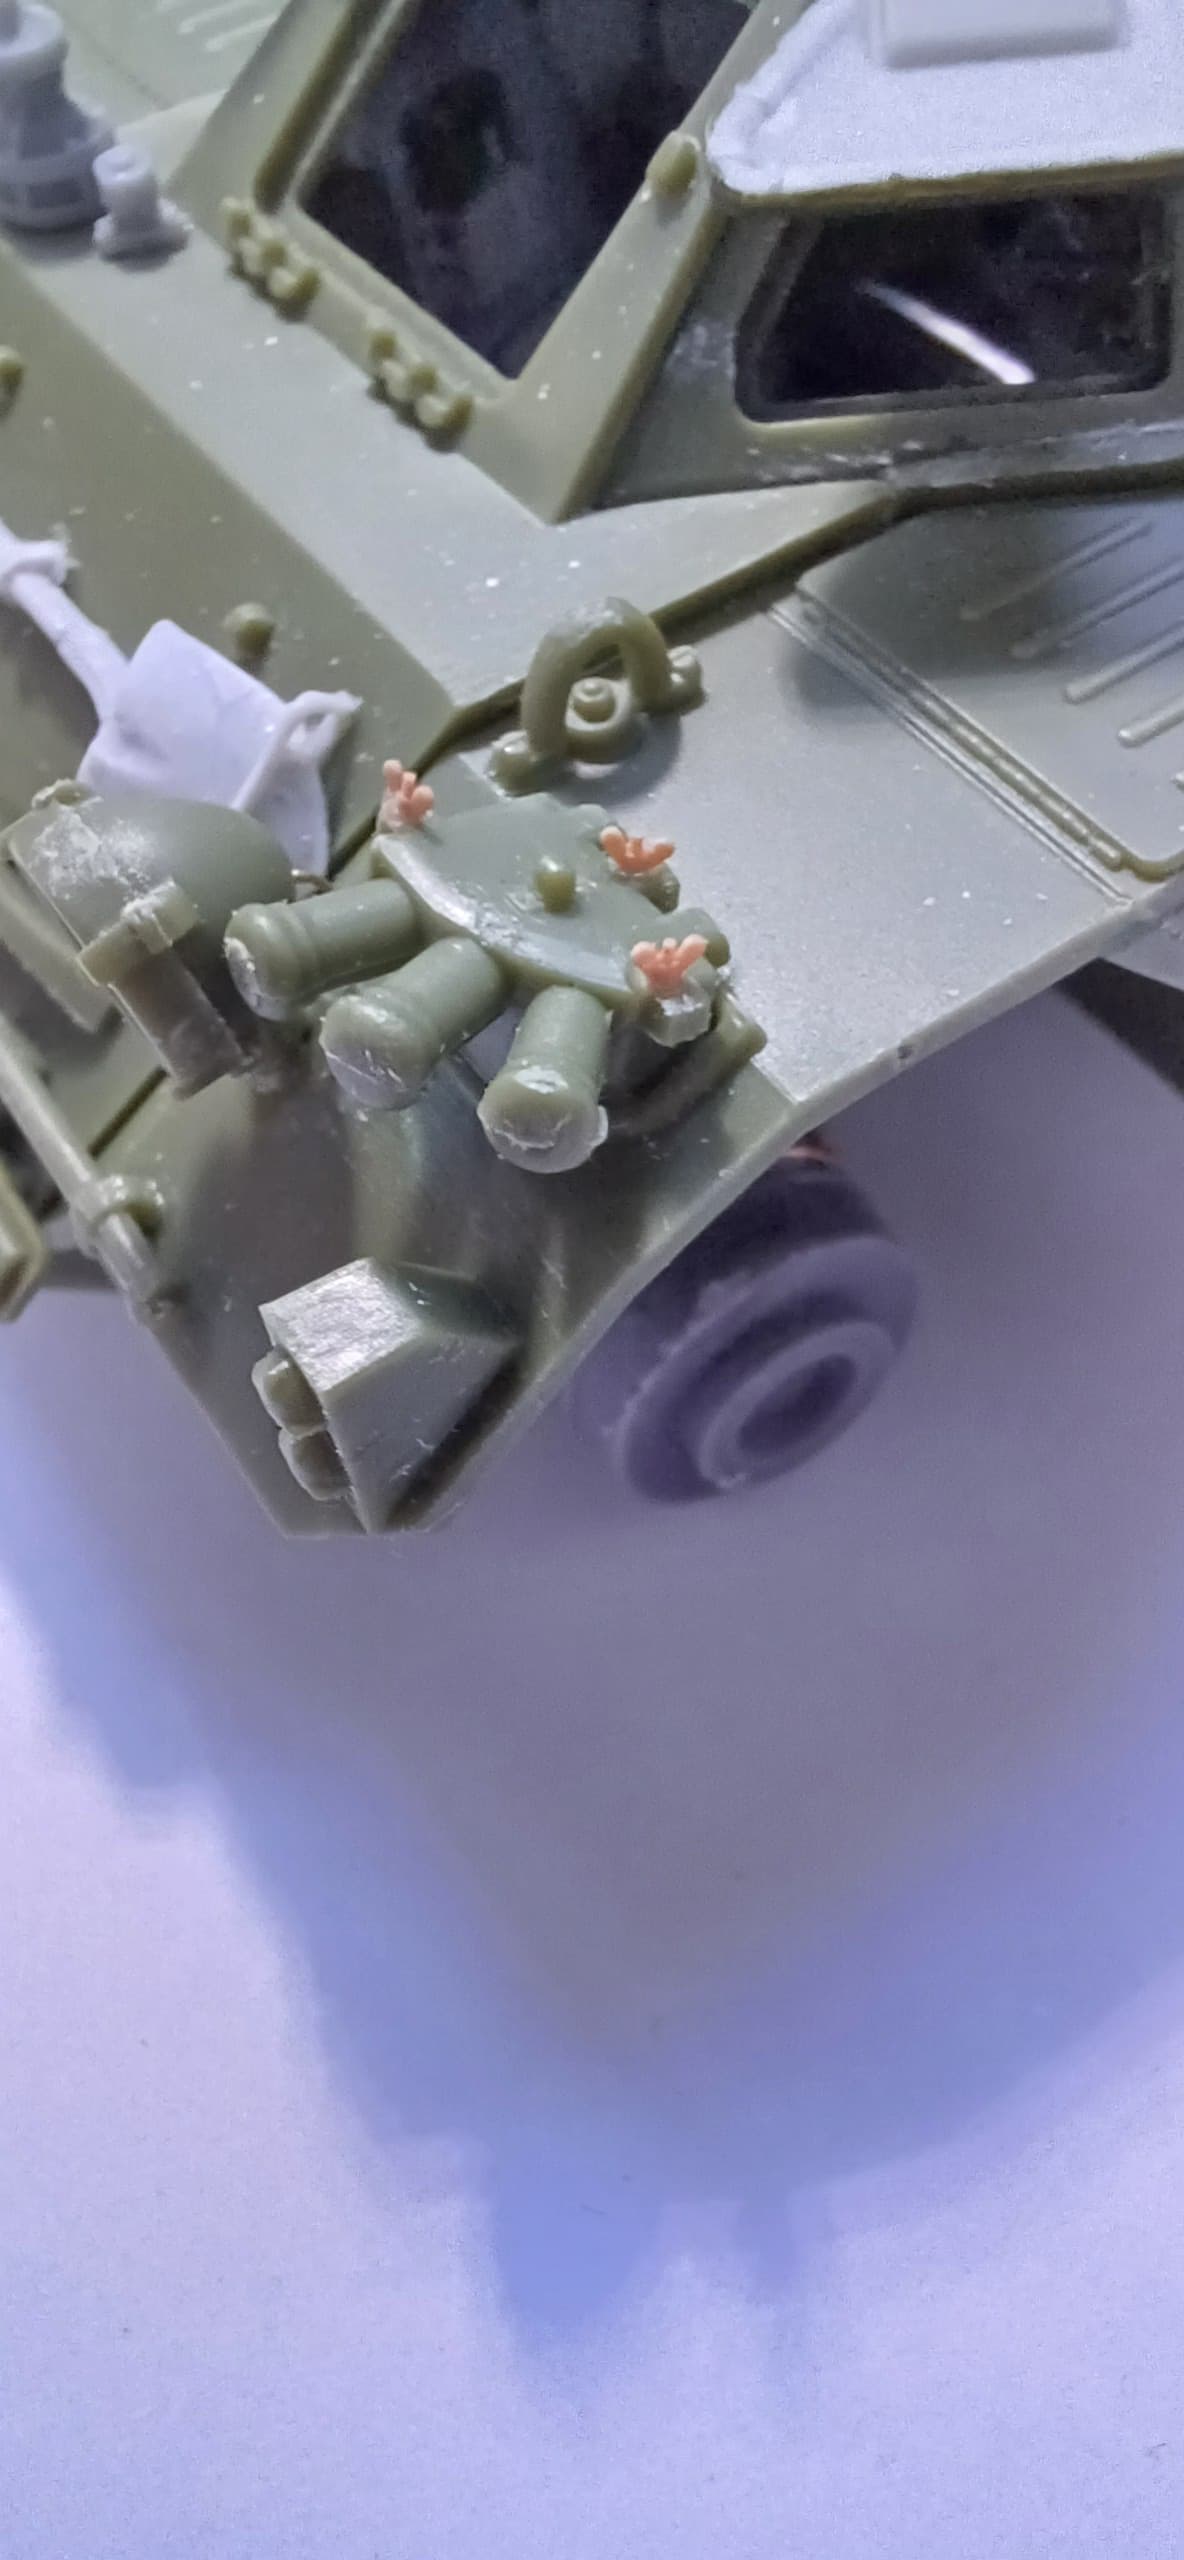
It’s not until you take a close up picture that you notice things. The mold lines on the smoke grenade dischargers for instance and other places ![]() . Anyhoo, they’re fitted along with the lights and horn and wired up. Sidelights put on the front and rear left, right hand rear left off so I can do the exhaust and shield. The shield will go on after painting methinks.
. Anyhoo, they’re fitted along with the lights and horn and wired up. Sidelights put on the front and rear left, right hand rear left off so I can do the exhaust and shield. The shield will go on after painting methinks.

6 Likes
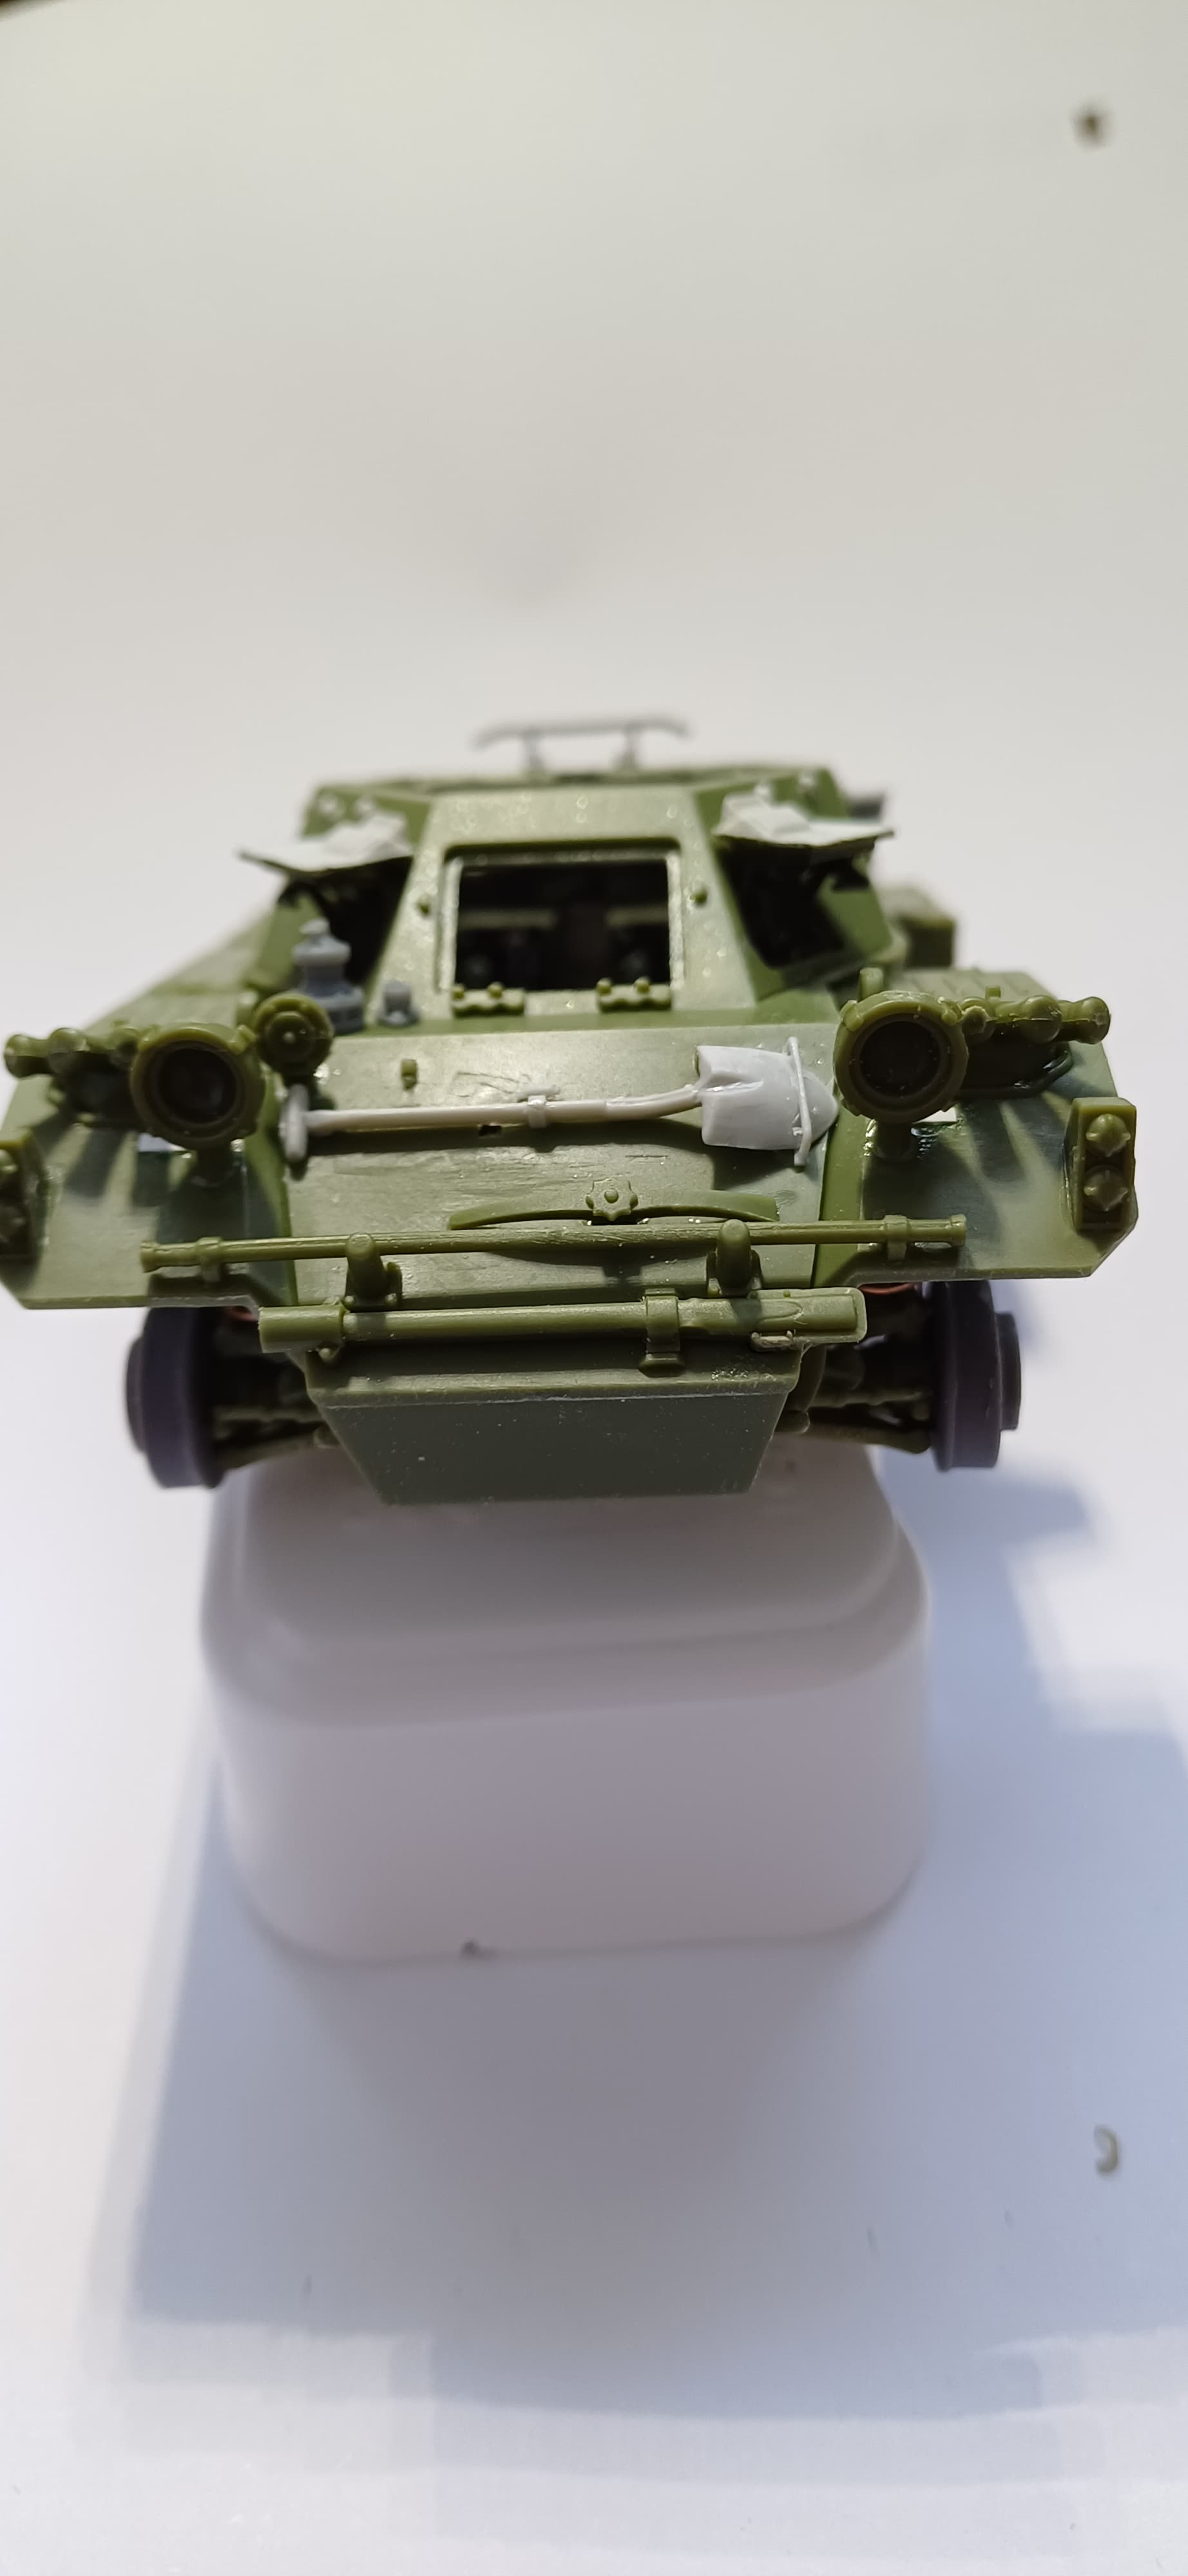
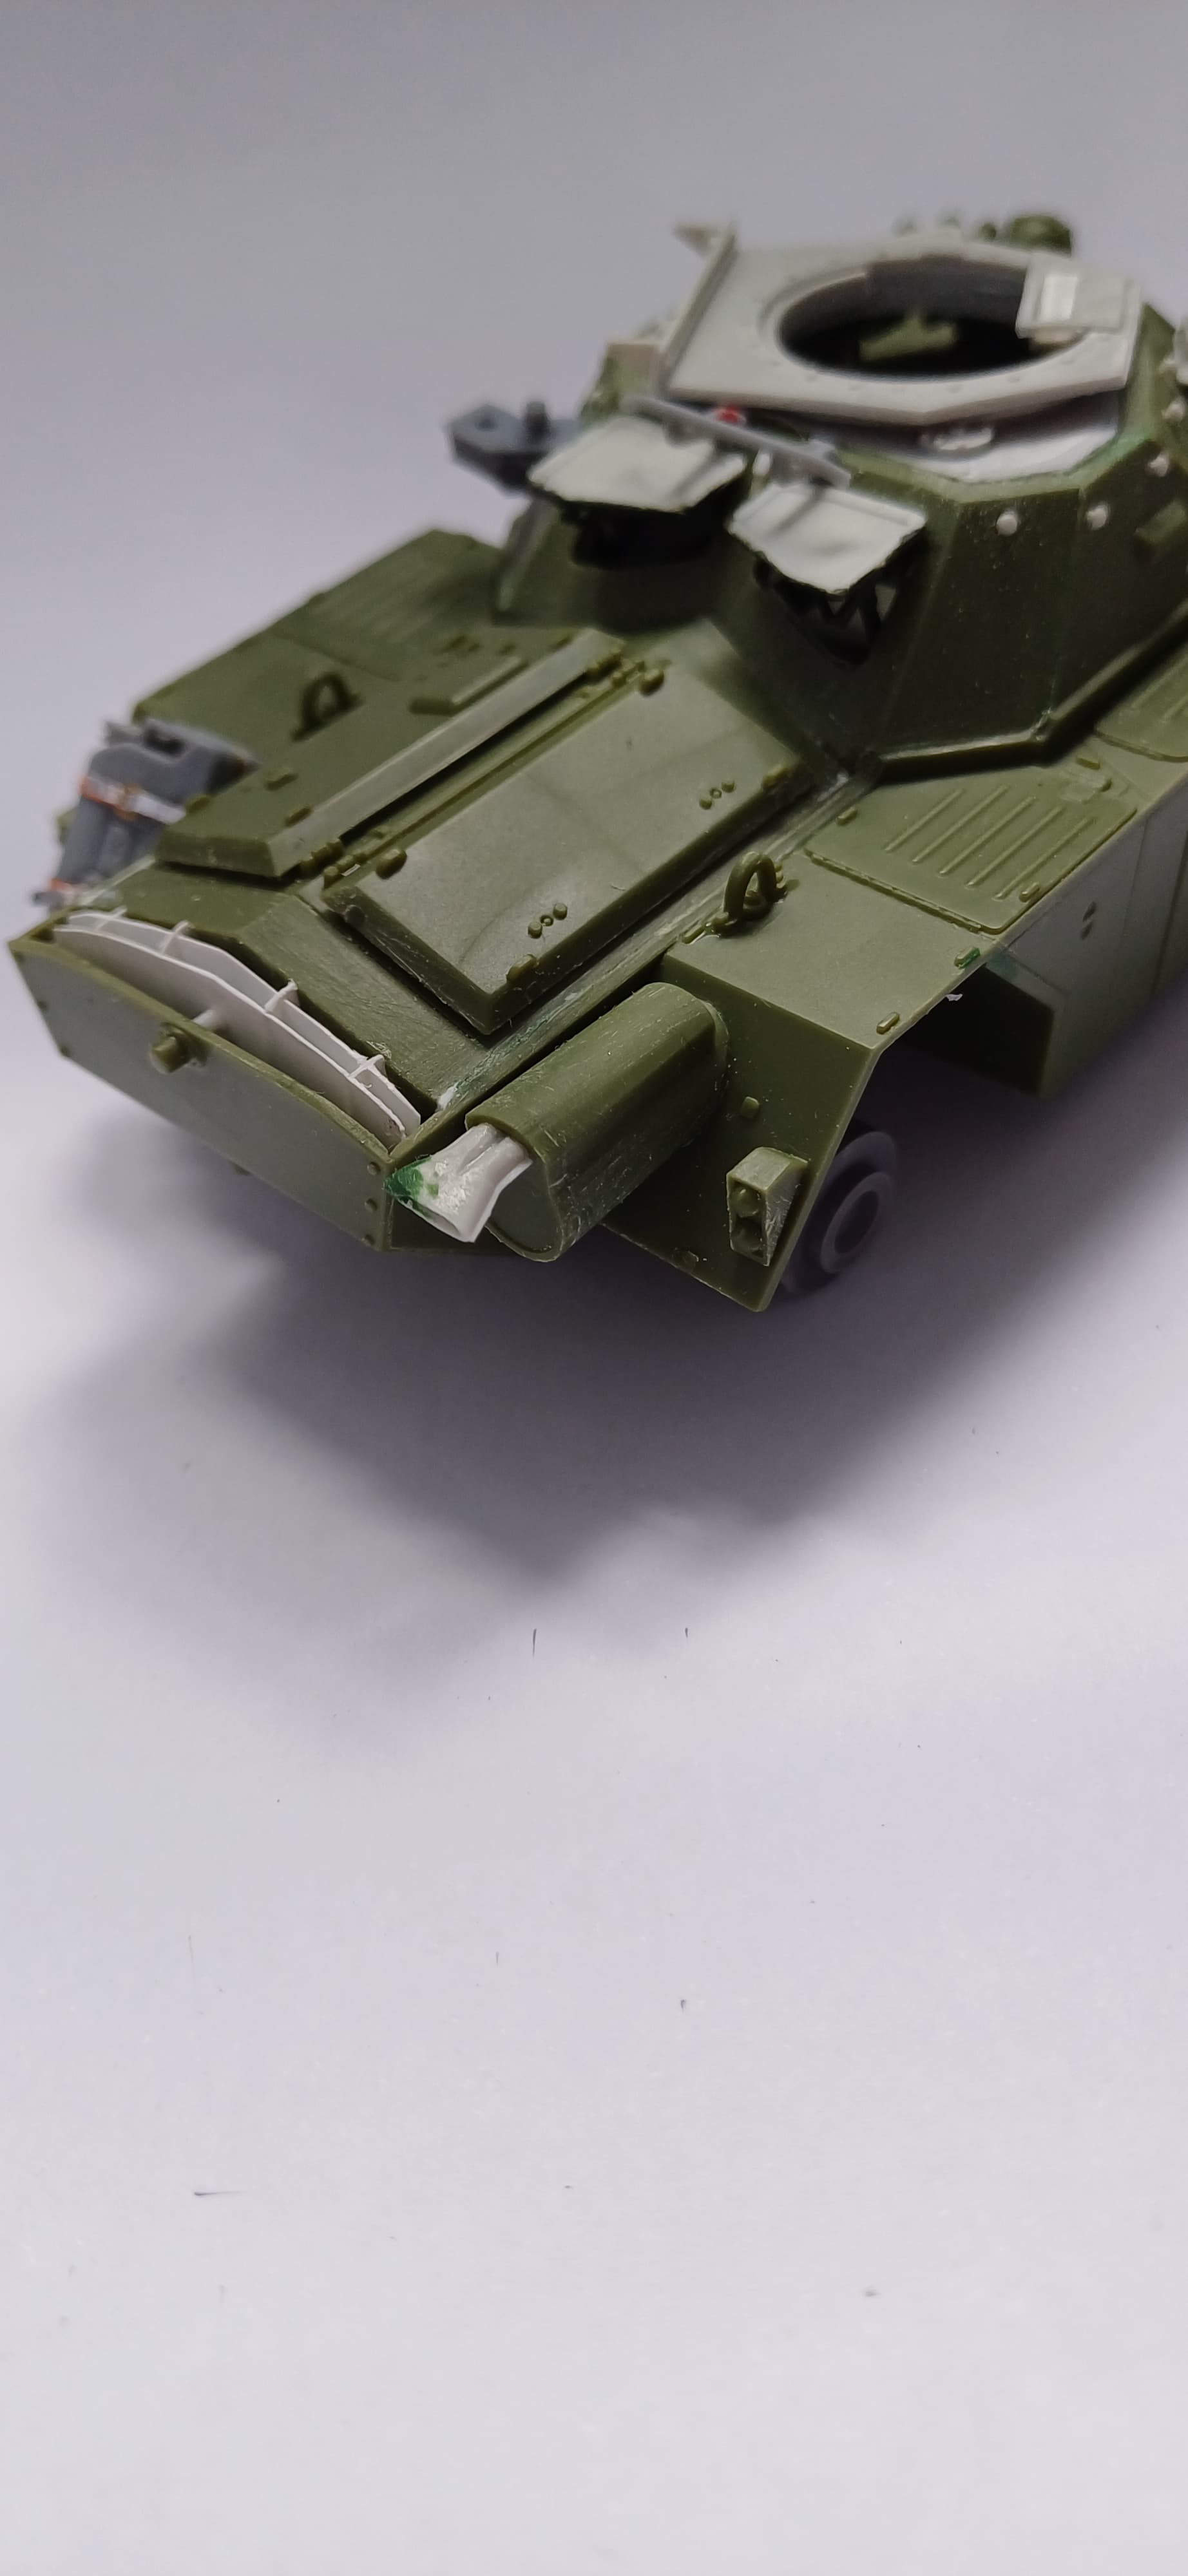
Hull roof put on, as is the exhaust and fishtail. Slight bubble in the fishtail so it had to be filled with green stuff and shaped. The turret is just plonked on there to see what it looks like. Turret interior will be the next thing to be done.


7 Likes
Looks great G … that scratch rear venting looks great as well … I am undecided about the turret set and whether to get it or not. I will be getting at least 2 or 3 of the Ferret update sets, plus a set of decals … and mine is all going to be closed up as well …
1 Like
Excellent job so far. Love the detail work. I’m still debating which sets to buy.
1 Like
To tell the truth there isn’t much visible of the interior but I’ve enjoyed doing it. The turret is a must in my opinion, it is quite a bit bigger than the kit turret and gives you a GPMG mount. The wheels are way better and the external detail set gives you the etch mesh for the exhaust.
1 Like
I’ll definitely have to get those sets then
1 Like
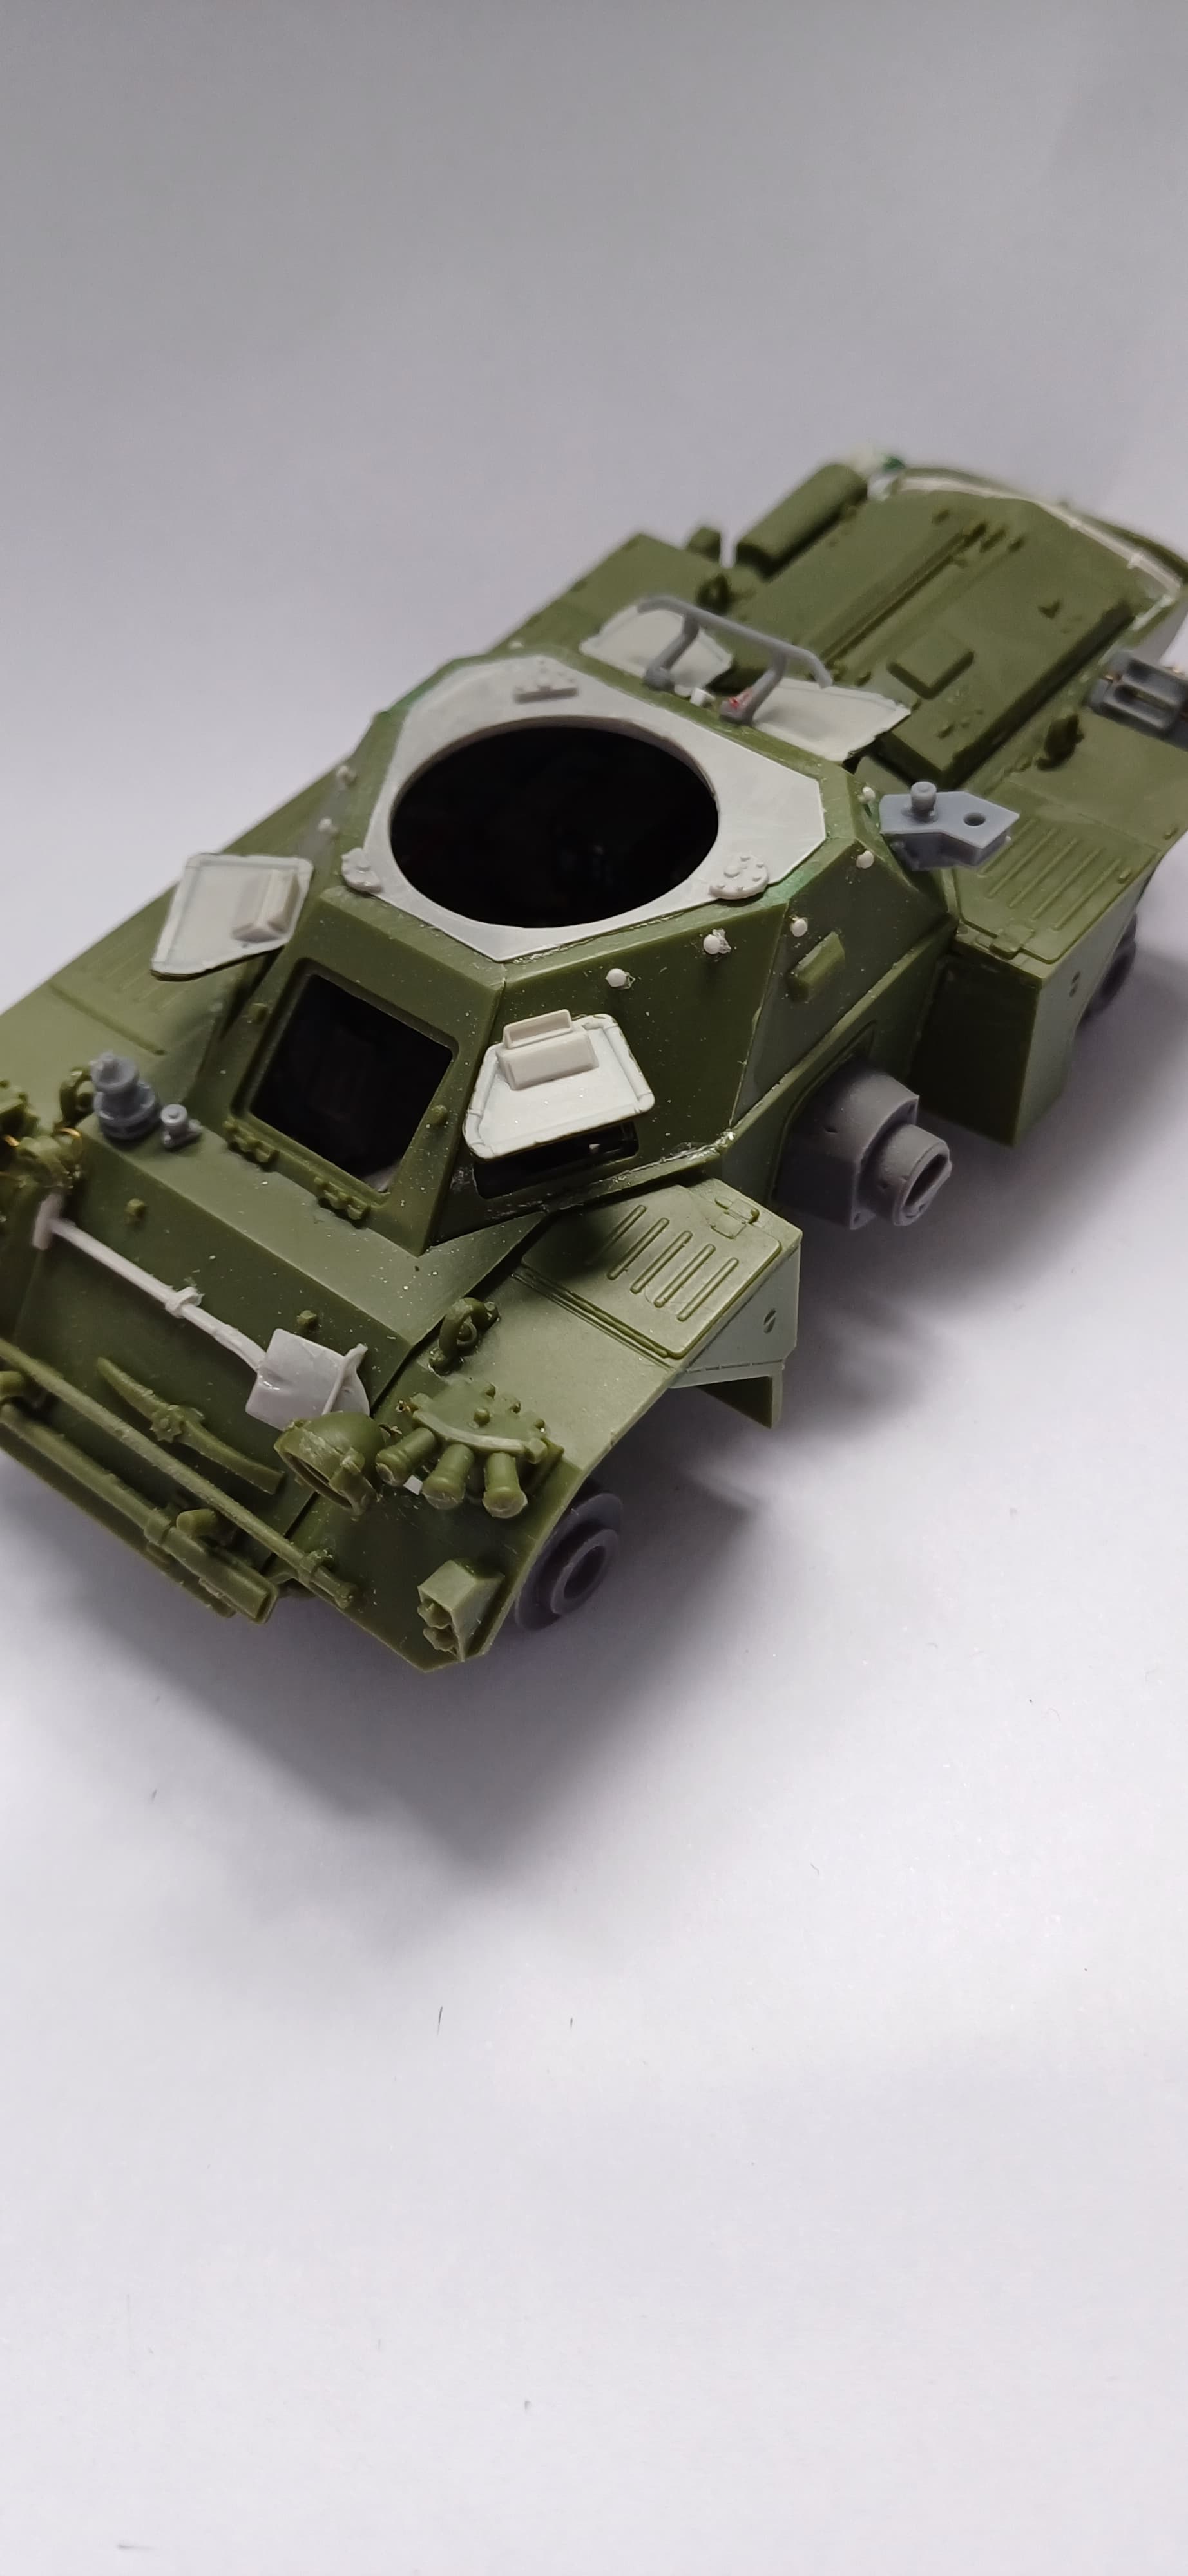
Bin catch wing nuts added using Heavy Hobby 0.7mm wingnuts. You get 0.7 & 1mm wingnuts in the set. I was originally going to just surface glue them but then decided to drill a 0.6mm hole, leave a little piece of the stalk on there and CA glue them into the hole. In my opinion they’re worth adding. Also added them to the smoke grenade dischargers. The 1mm wing nuts will be added to the drivers hatch when it gets fitted

8 Likes
They just look the part, pity most would miss them when looking.
1 Like
They do look perfect.
1 Like
Apologies for hijacking your conversation.
I have almost completed my 1/72-scale Ferret Mk.2,
and wonder how long the antennas would need to be.
If anyone knows the length they would be in real life,
I can convert the measurement to 1/72. Am I correct in
thinking that the two antennas were different lengths?
Thanks,
Paul
1 Like
Love those wingnuts close up pics. Makes for a huge difference. ![]()
1 Like
Clansman antennas are two metres long. I’m led to believe that Larkspur antennas were 2.4 metres or 8 feet in old money.
1 Like
Maximus,
Thanks for that confirmation.
Paul
1 Like
This is turning out rather well👌
1 Like
Thank you for all the kind words guys. It’s always the little less noticeable bits that improve a kit in my mind.
1 Like
Would the SMM turret fit on the kit base or would I have to do some surgery if I decided to replace mine?
1 Like