Matthew,
I seen a few of the new tooled Airfix kits reviewed and built and was pleasantly surprised as to how the detail have improved. However, to see what this kit is like and what you’ve needed to do to make it presentable was a shock. Way back in days of yore I as a young child built the original Airfix AO1308 1/76 Tiger I and despite my original minimal skill level I don’t recall any major build problems. You are doing an exceptional job of turning this, “apparition of a Tiger I” into a near as possible representation of the original feline.  Good luck and smooth sailing with this build.
Cheers,
–Jan 
2 Likes
That’s what baffles me. Compared to their new aircraft, the Spit VC released the same time being a good example, I can’t understand why they did a bad job with this. It does seem like a rushed job.
1 Like
Hi Jan, Stephen, Johnny. Totally agree, something has gone wrong with Airfix’s execution of this kit, and by other accounts, the same applies to the Firefly. I recall reading in an Airfix email that they’d given the task of the Tiger to a new Cad designer, and I suspect that lack of experience and perhaps a certain youthful naivety (ignorance if you want to be harsh) has led to the 3D CAD model being based on superficial research, and perhaps an attitude that inaccuracies didn’t matter too much. You’d think there’d be a review of the work by a more experienced team and perhaps an expert consultant before it was committed to the mould makers. But perhaps not. Nothing ever surprises me in corporate decision making.
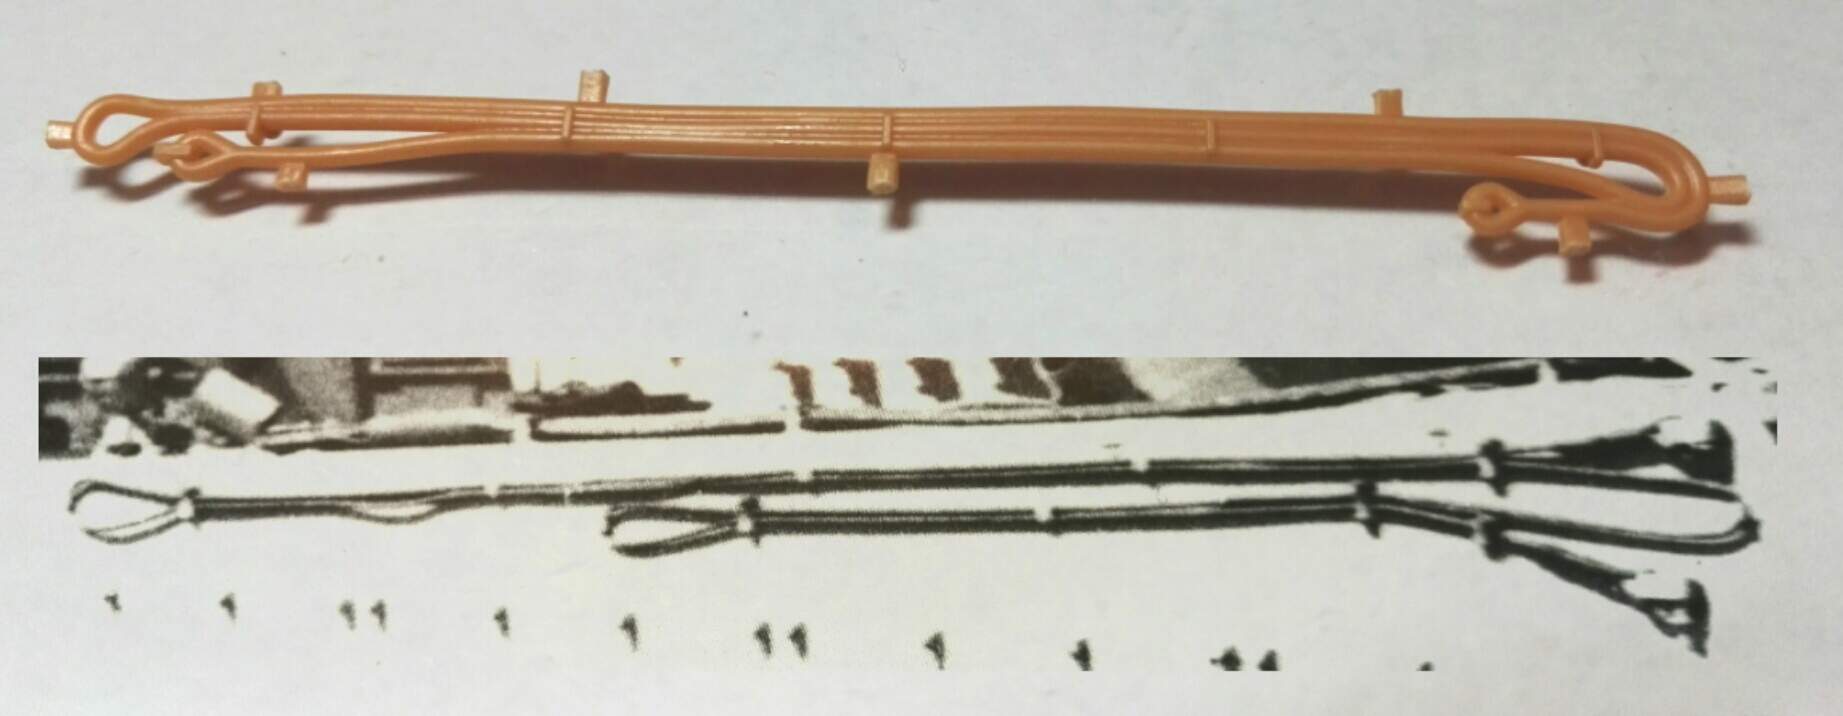
Anyway, the big tow cables seem to be a bit too big, as in thick. This is sitting on a photo which scales out at almost exactly 1/35 and you can see that the kit cable is about the same thickness, so about double what it should be. I’ve taken the eyelets off and drilled them to take a 0.4mm cable.
Not sure if this will be flexible enough, as it’s a piece of “real” steel cable which has been turned to a tighter twist.
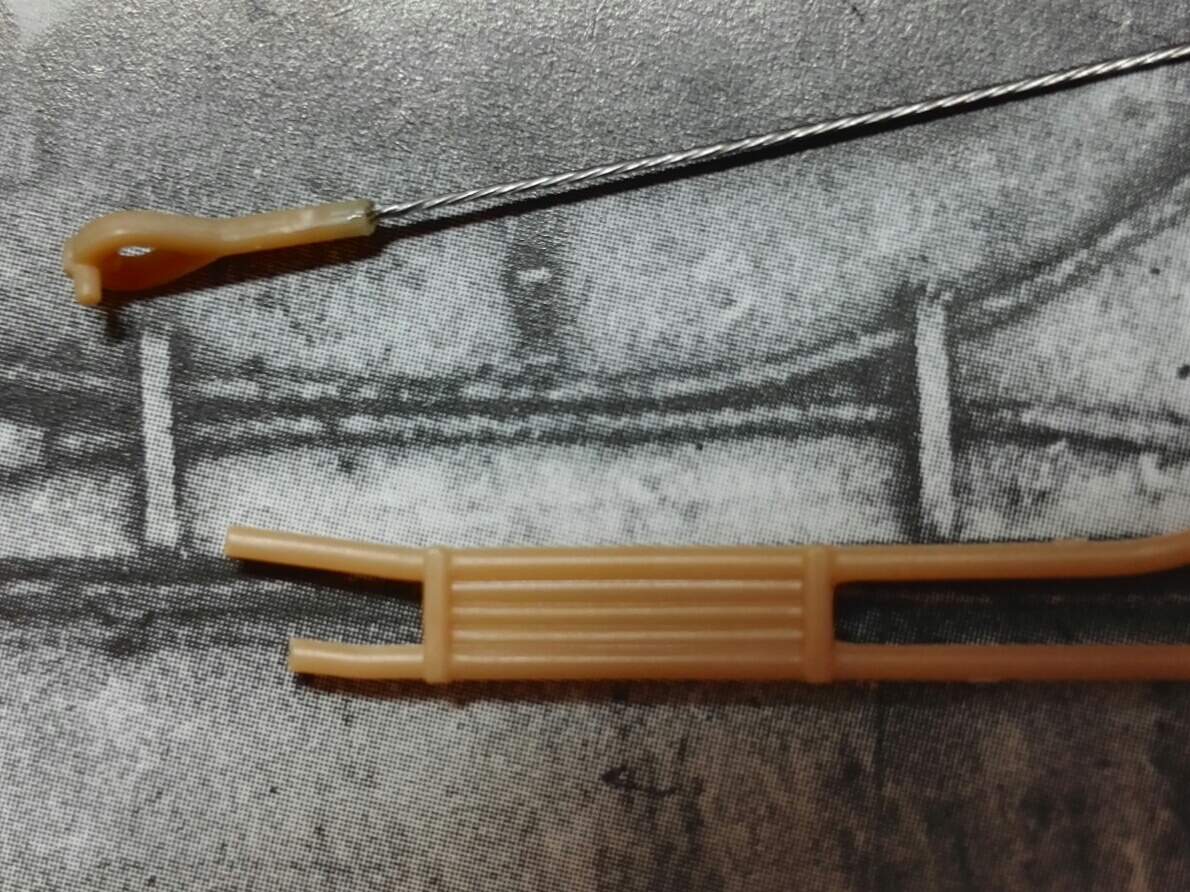
The lack of cable texture on the kit part seems poor, although as modellers I think we like to exaggerate that cable appearance. You can also see however that the cleaning rods that stow in the clamps between the cable runs have been kind of truncated so that there’s nothing protruding beyond the clamps. Perhaps it wasn’t clear to the designer what they were.
1 Like
The cable diameter was 32mm, so that’s a good choice.
Speaking of consultants, I told Airfix years ago that I was available if they ever wanted to tool a Tiger.
David
1 Like
I think some harsh criticism of this kit should be published where more people can see it. And Airfix themselves.
I would suggest their Facebook page, but it’s a toxic place to modellers who care about such things. One modeller was recently mauled and called everything under the sun, just for pointing out that the Top Gun A-4 was the wrong variant.
1 Like
Blasphemy !!! Burn the heretic lol… Some of these people who immediately start having a go just because someone says something need to chill out…
I doubt a lot of their followers on FB have ever picked up a kit. Some of the things I’ve seen are ridiculous. And if I had a penny for every time I’ve seen someone demanding a 1/24 Vulcan I could retire!
I do think Airfix need to pulled up on this one. It’s not acceptable.
1 Like
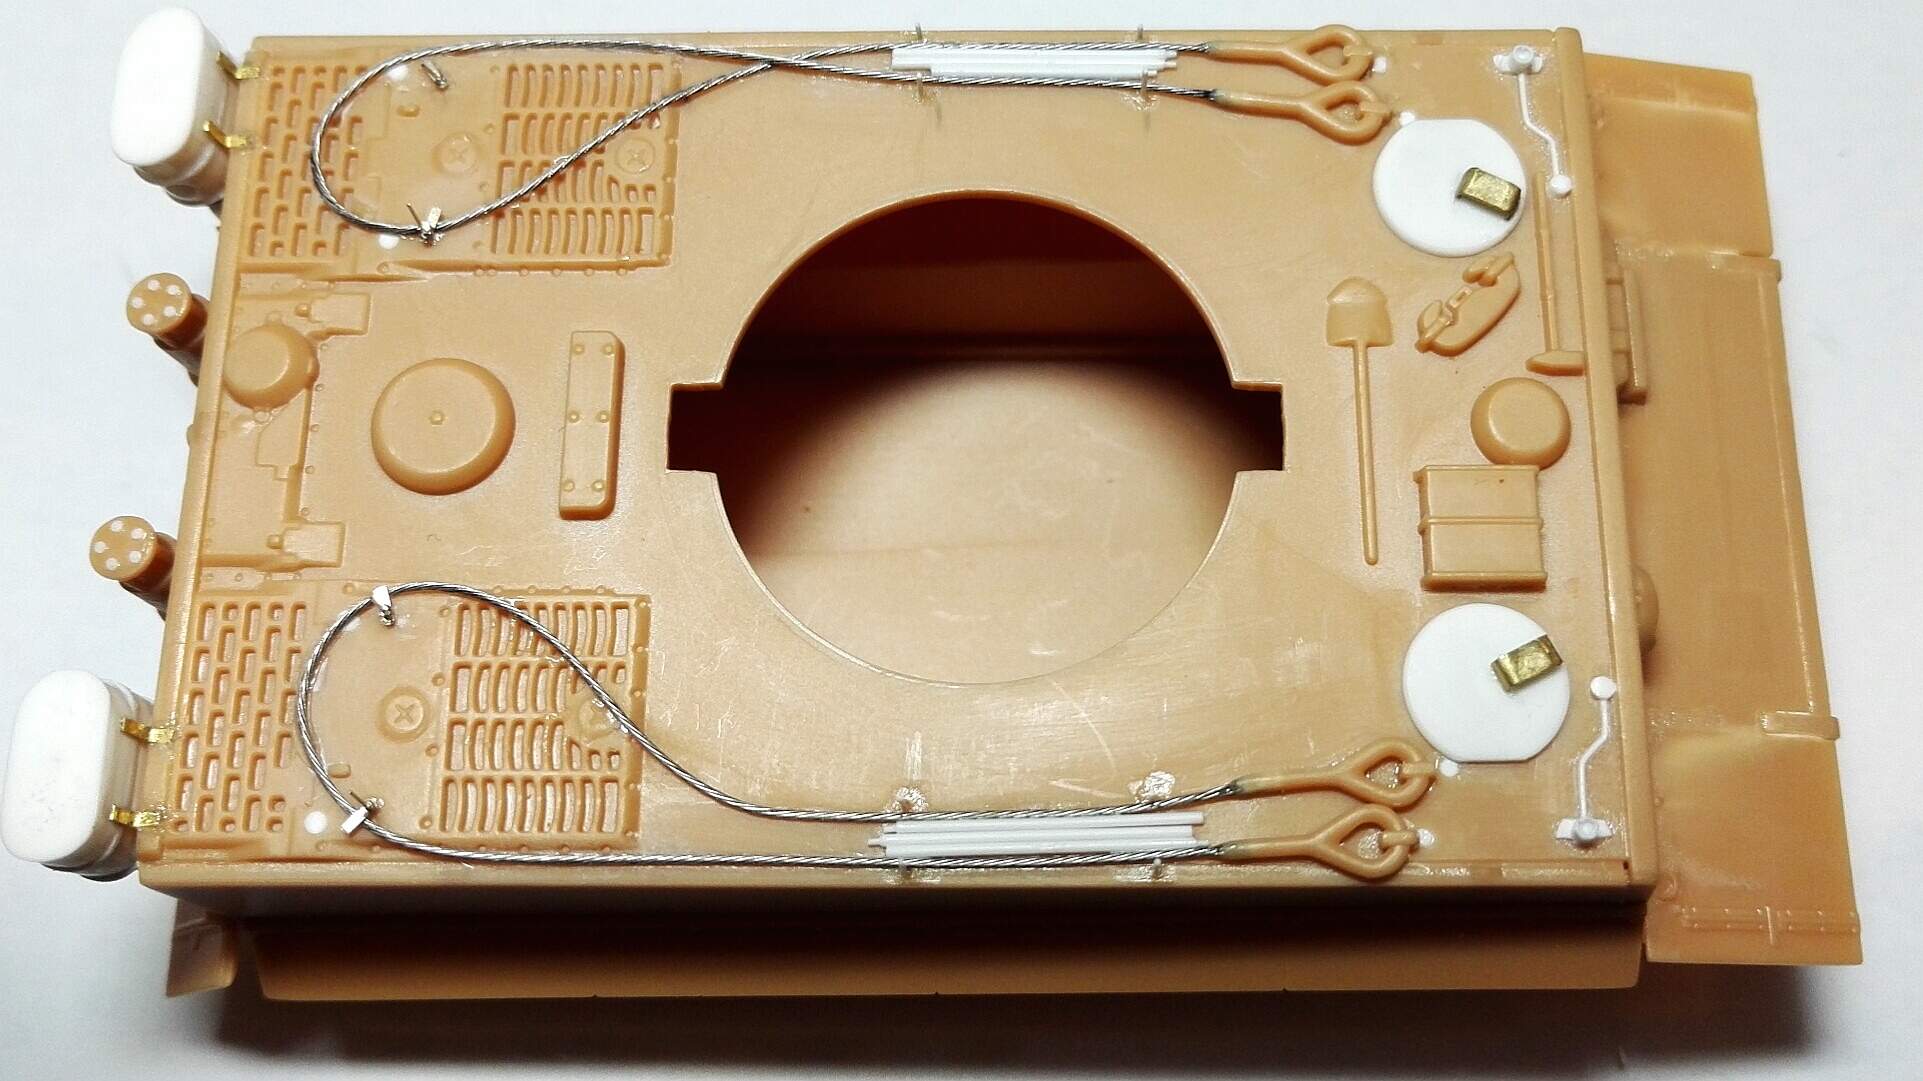
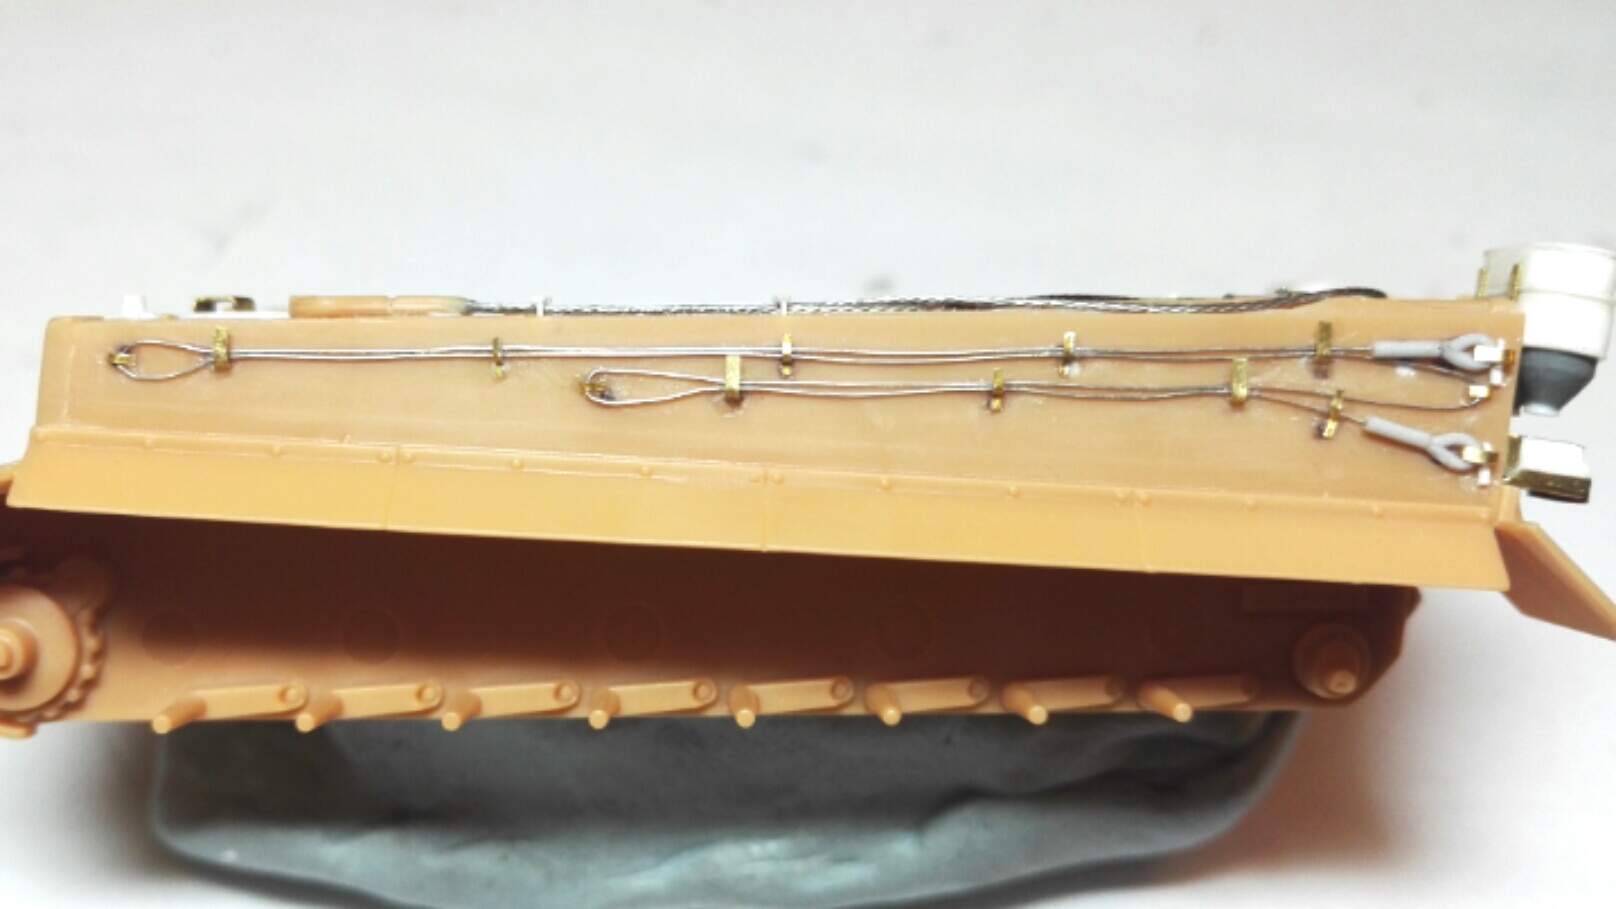
Feels like some major progress with the cables and cleaning rods now on. Had a bit of trouble getting the cables to the right length, still a little bit long, but hopefully not too noticeable, one twisted for a bit of variation.
Start:
Almost finished, just the clamps over the rods to add, with the vertical bars already in place, and the rear cable clamps to be trimmed and tidied:
I started researching finishing options for the relatively uncommon version I’ve contrived to represent, and starting to think that one of Airfix’s decal choices may not be far off the mark: s PzAbt 501, Eastern Front 1943-44, winter camouflage. I can find a few photos purporting to be of this formation where the new turret appears to be in use on multiple vehicles, one or two of which appear not to have the single central headlight, and none of which appear to have Zimmerit. No rear views, but this seems to be close enough. Seems to make some sense, as I understand that the battalion was reformed in August 43 including remnants of personnel from the formation of the same name that was destroyed in N Africa. Presumably the Tigers would have been new, then it seems the formation was destroyed again in winter 43- spring 44, so none of these early new turret examples survived. Maybe… 
Realise I forgot to reshape the cable ends before cementing in place. Oh dear.
2 Likes
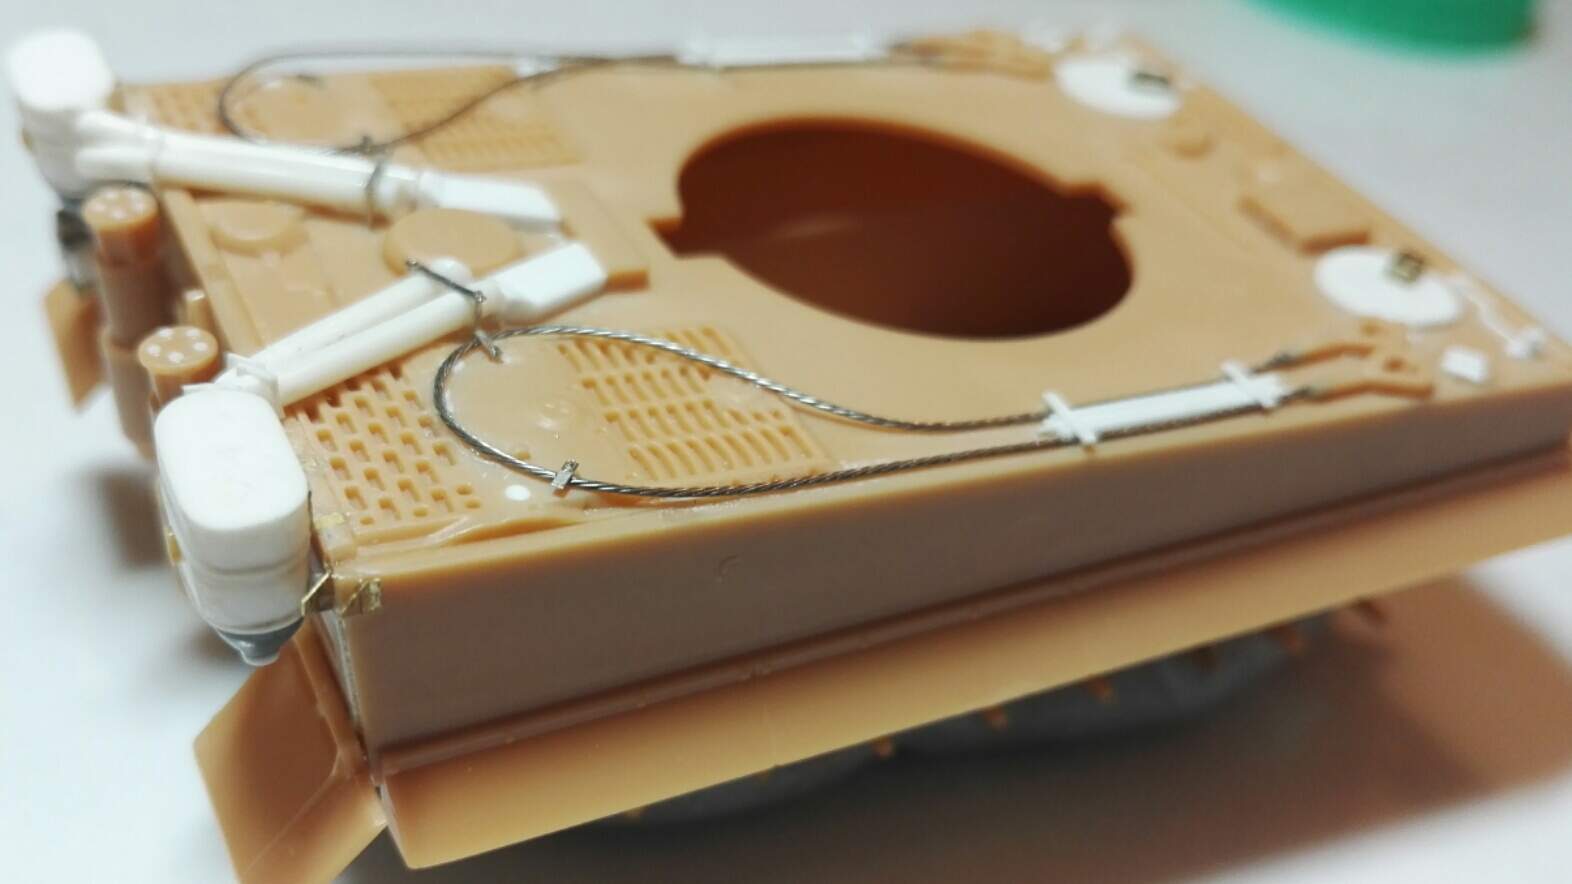
Back to work so slow progress. The duct for the Fiefel hoses is in place:
While glue sets on the hoses themselves (a royal pita to get the correct shapes) I started looking at the track replacement cable. The kit item represents the later post August 43 pattern of stowage brackets, so I’m going to attempt to change that to the earlier configuration. Plus the cable is too thick.
So my XXL cable set arrived, but even the thinner cable in the set seems too thick, looking about 0.4mm, so the same thickness I’ve used for the main tow cables. I think it should be about 0.2mm. Even on nice clear photos there isn’t a clear cable wound pattern visible, so I’m just going to try using 0.2mm plain wire.
Didn’t have a very good start with the XXL cable ends -

3 Likes
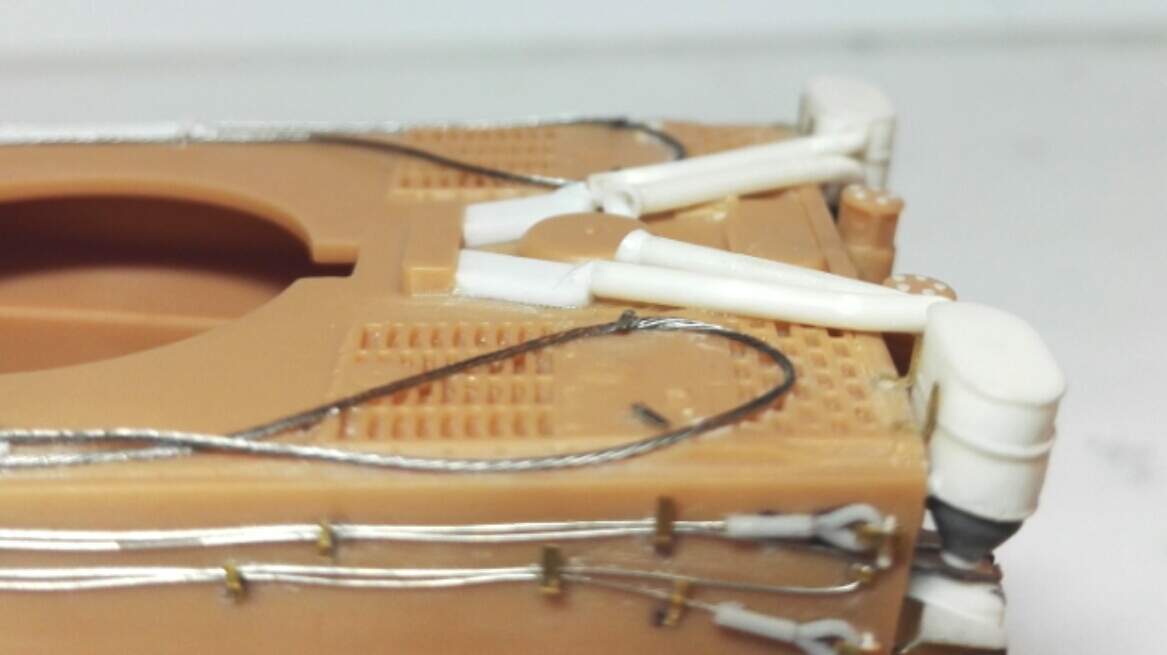
The track replacement cable is on, with all the seemingly endless number of four types of clamps and brackets. Despite being something like scale thickness, it does look thin.
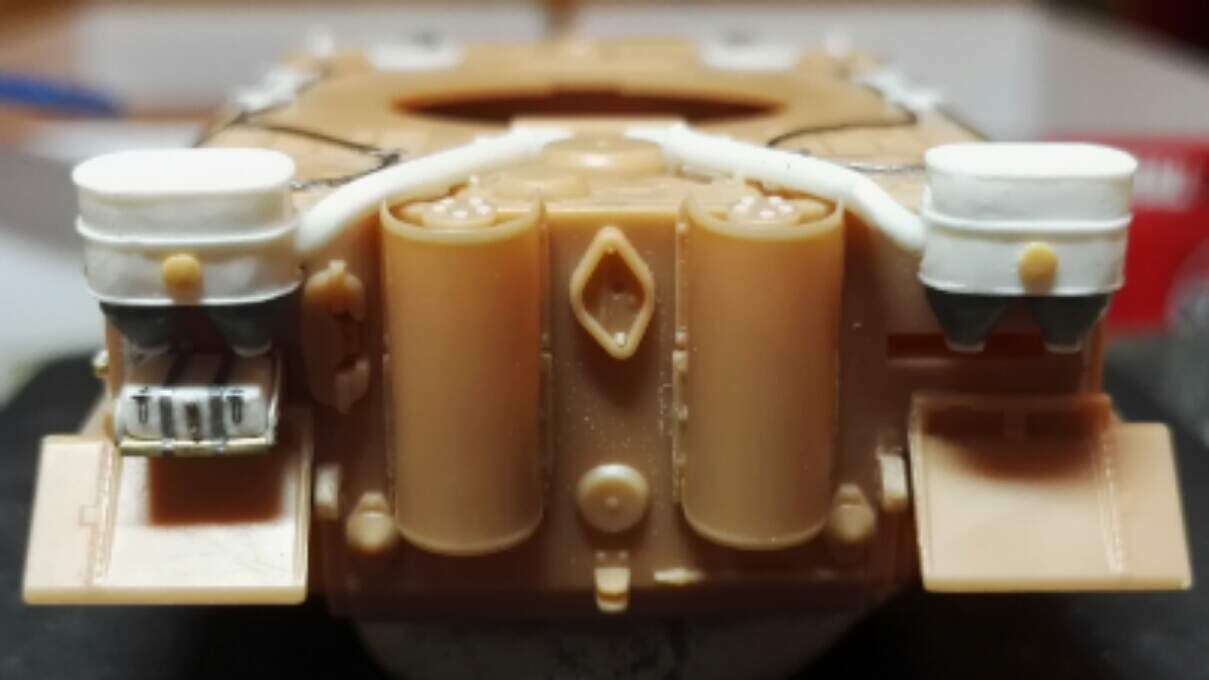
The lower / inner Feifel tubes were added:
Then the upper / outer tubes.
Will tidy up and add brackets when it’s set. Inevitably one of the bottom ones popped out a little, but I’ll touch it up with some dissolved putty. Have to say those were quite difficult… Getting the bend tight enough and the right shape using hot water.
6 Likes
The hard works been worth it. Looking so much better.
1 Like
With all your extra work this qualifies as a scratch-build! 

4 Likes
Looking good!
Amazing improvement over what Airfix provided in the box. A+
A lot of time and care has been put into this, hats off to you for and its been great watching you making it look so good
1 Like
Thanks for the positive feedback, appreciate it.
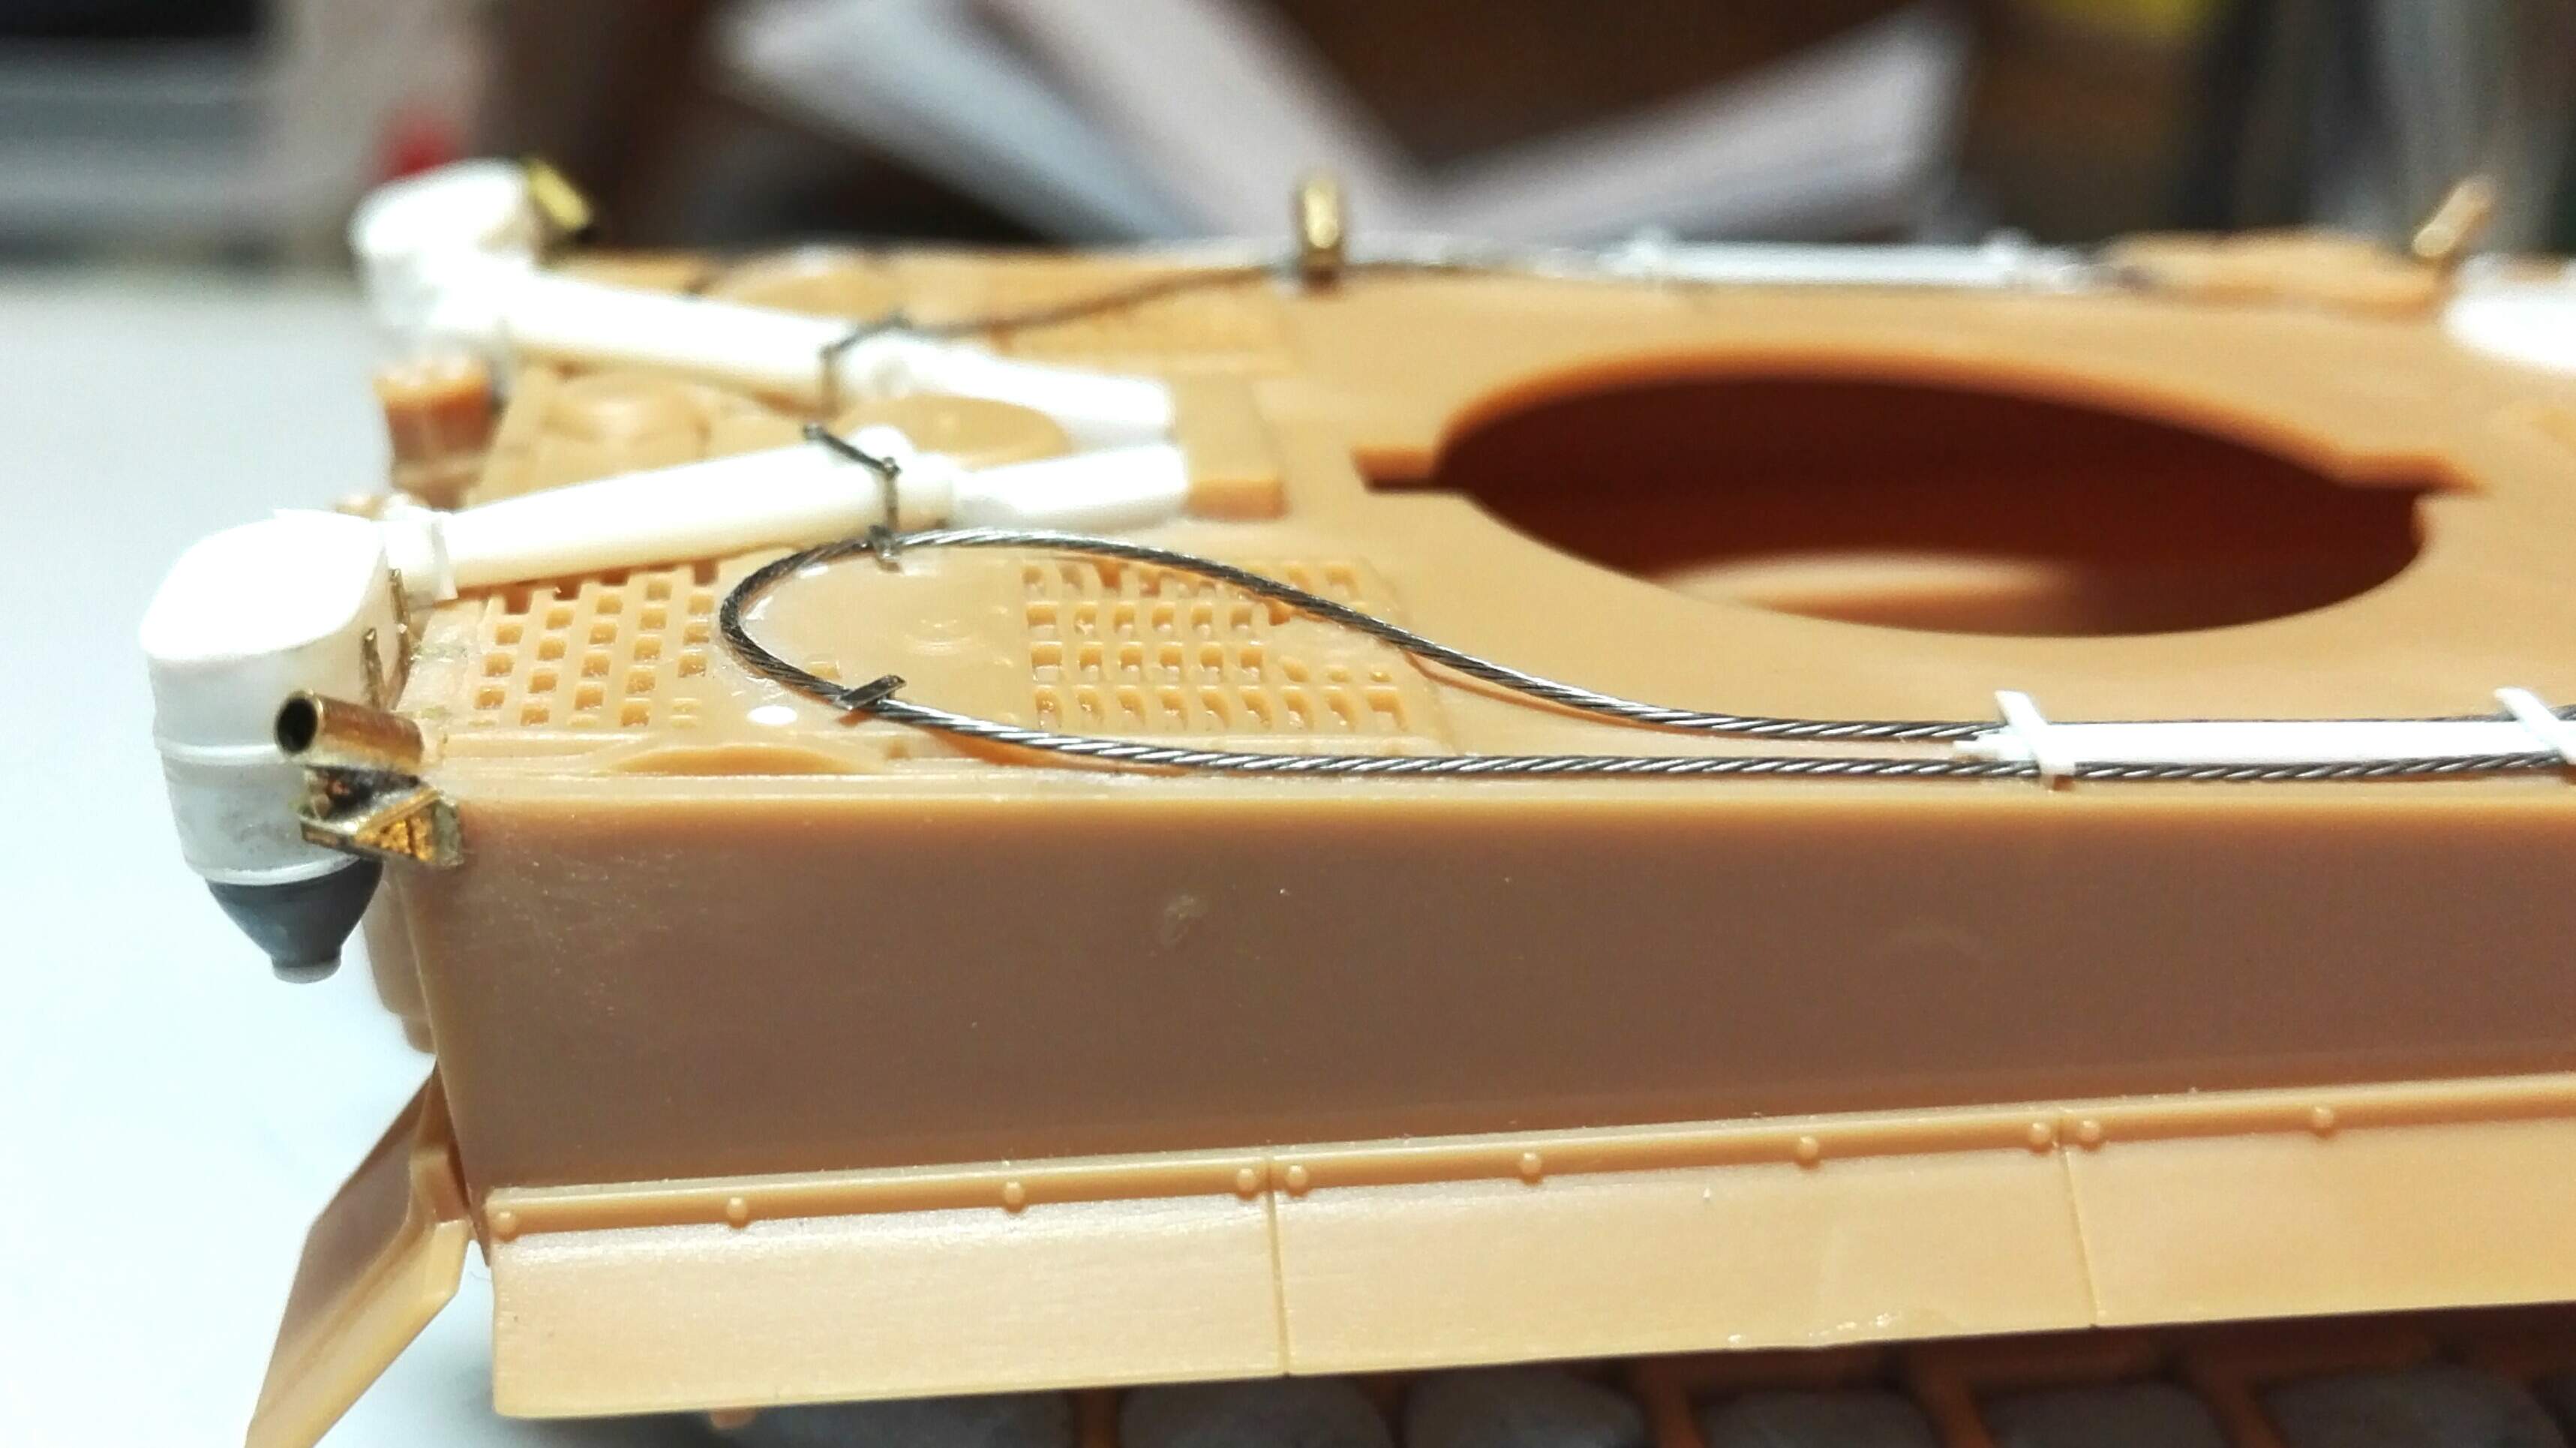
I ended up taking off and reshaping / making the upper hose to get it flat on the deck, and without destroying the rest of it.
Slightly better shape at the back I think too.
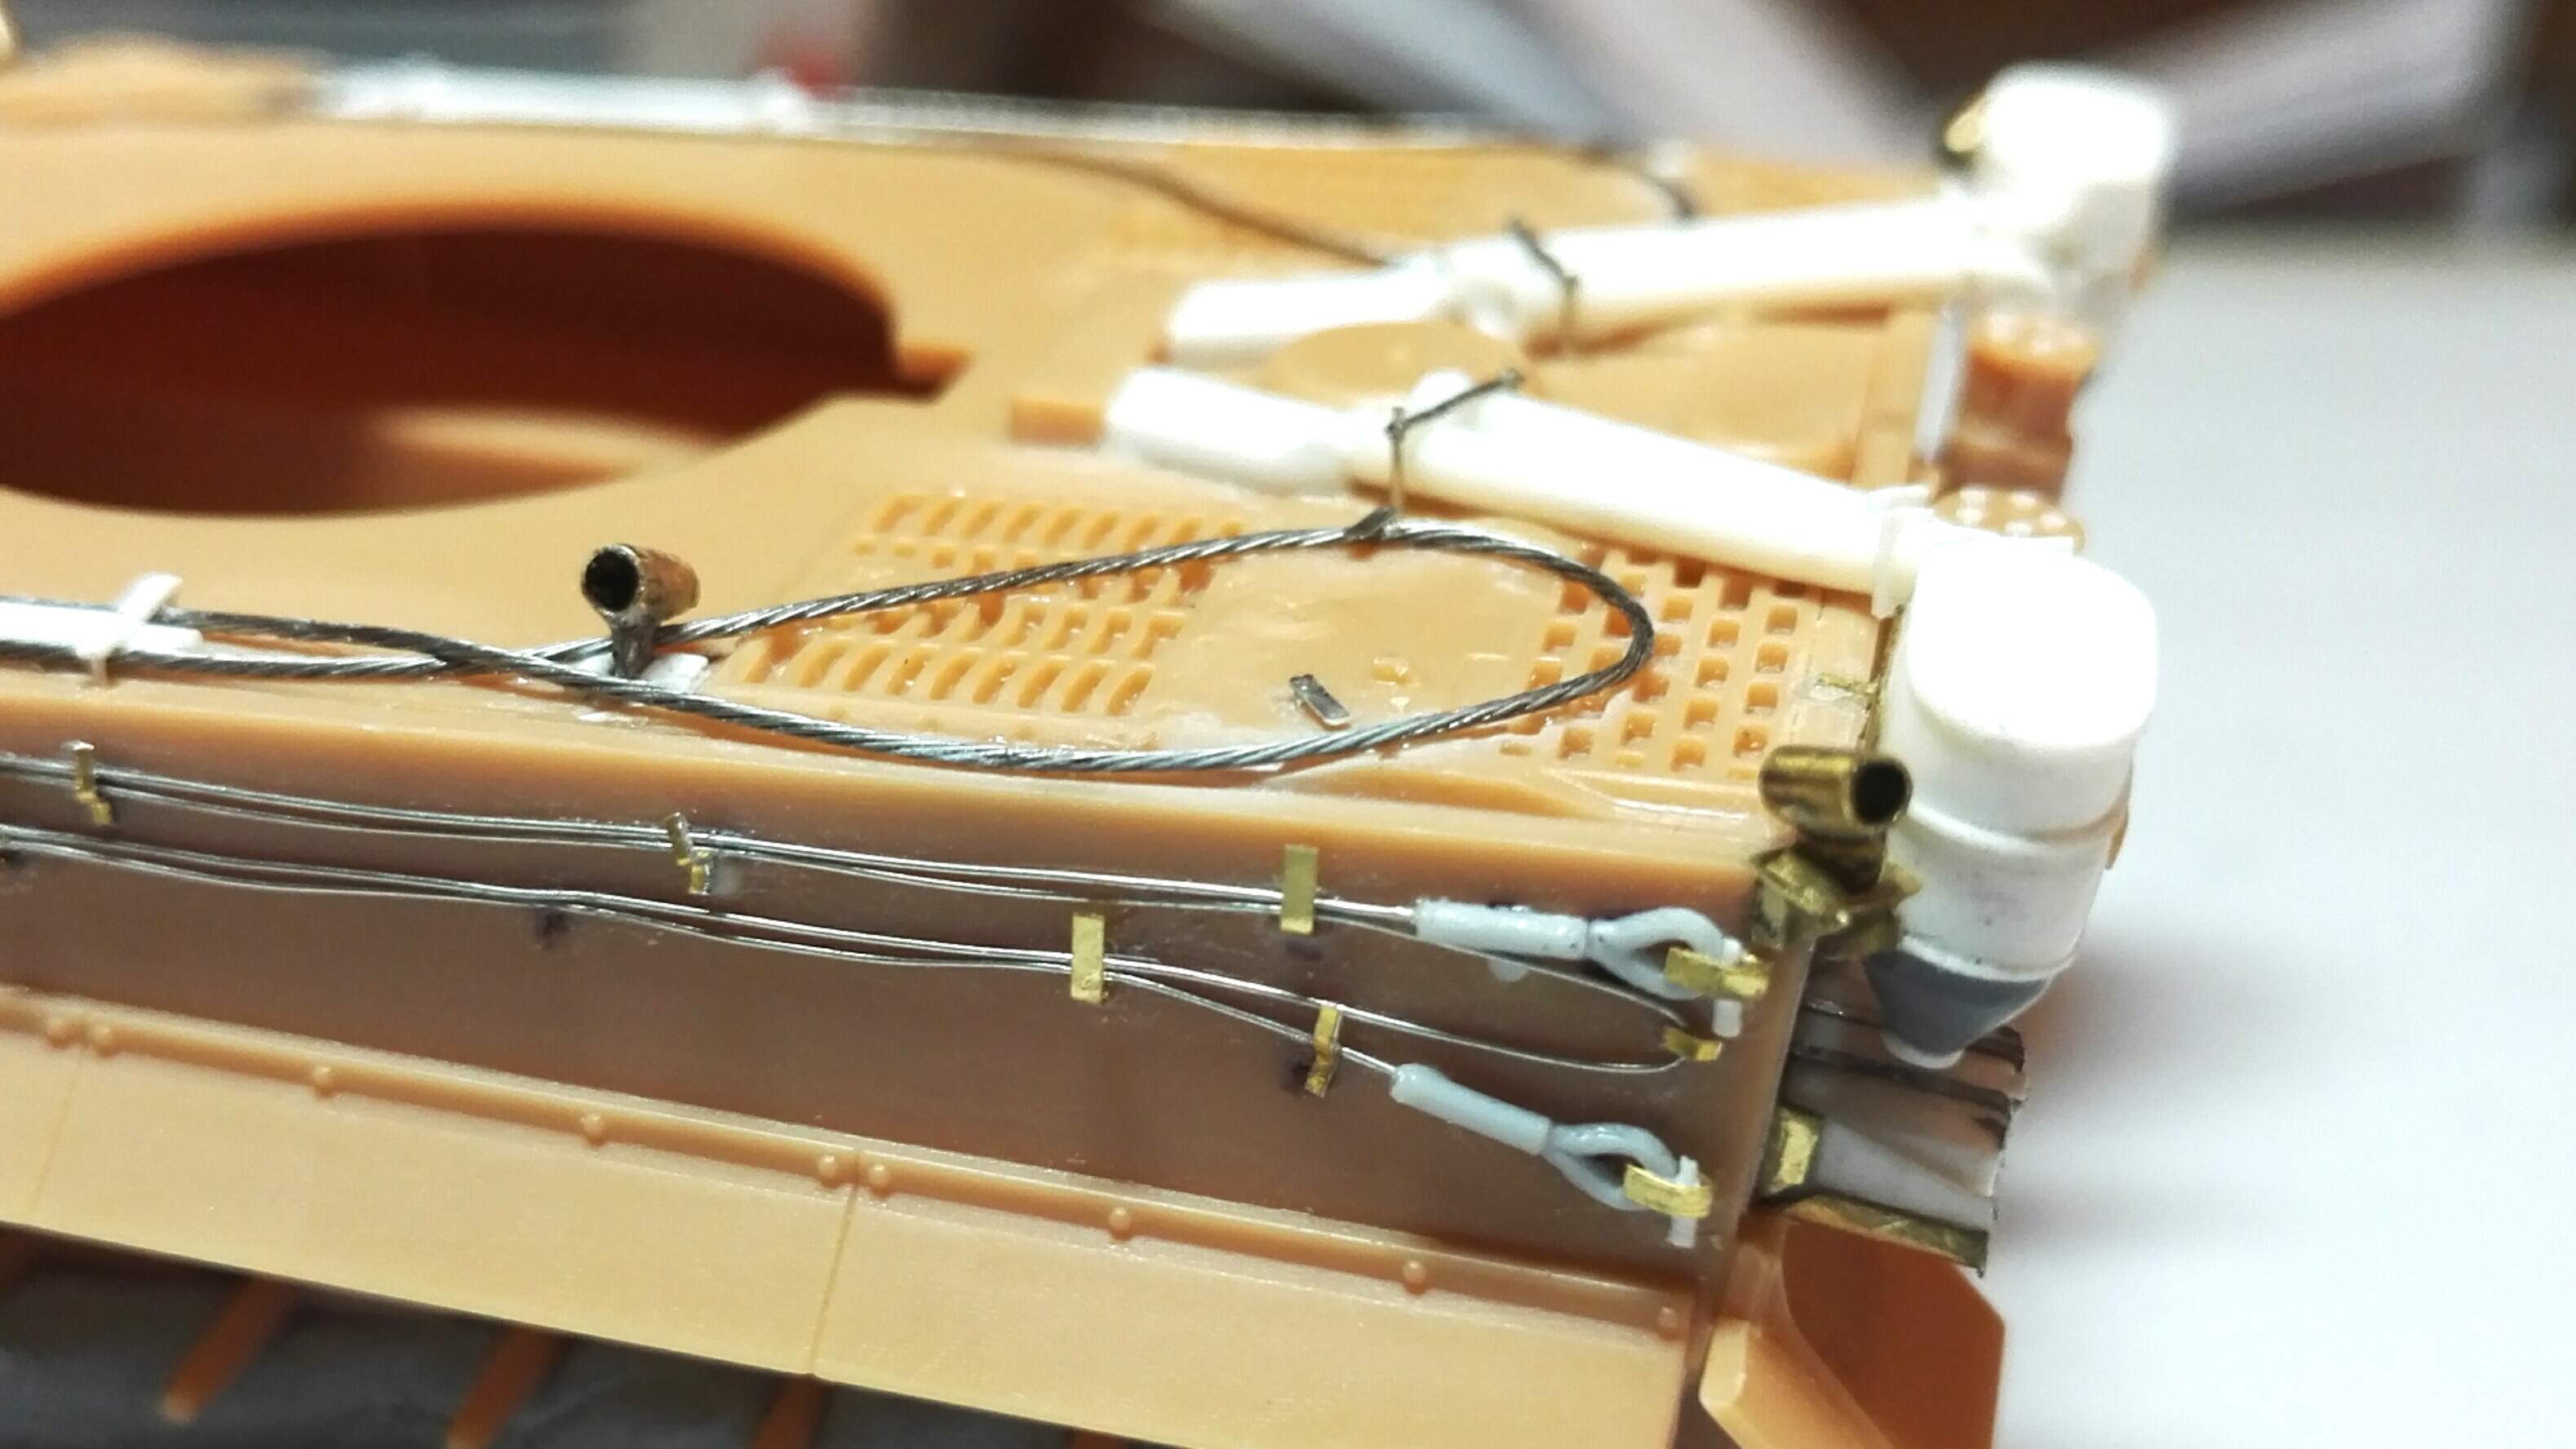
This evening I’ve added the eight flanges, at least most of each of them. Bit flaky, but again should be able to tidy them once they set. Amazing how it’s plastic to plastic using cement, and they end up sticking to the tweezers instead…
Also added the clamps that hold the hose ends down on the engine deck, wires to be trimmed once the CA is set.
5 Likes
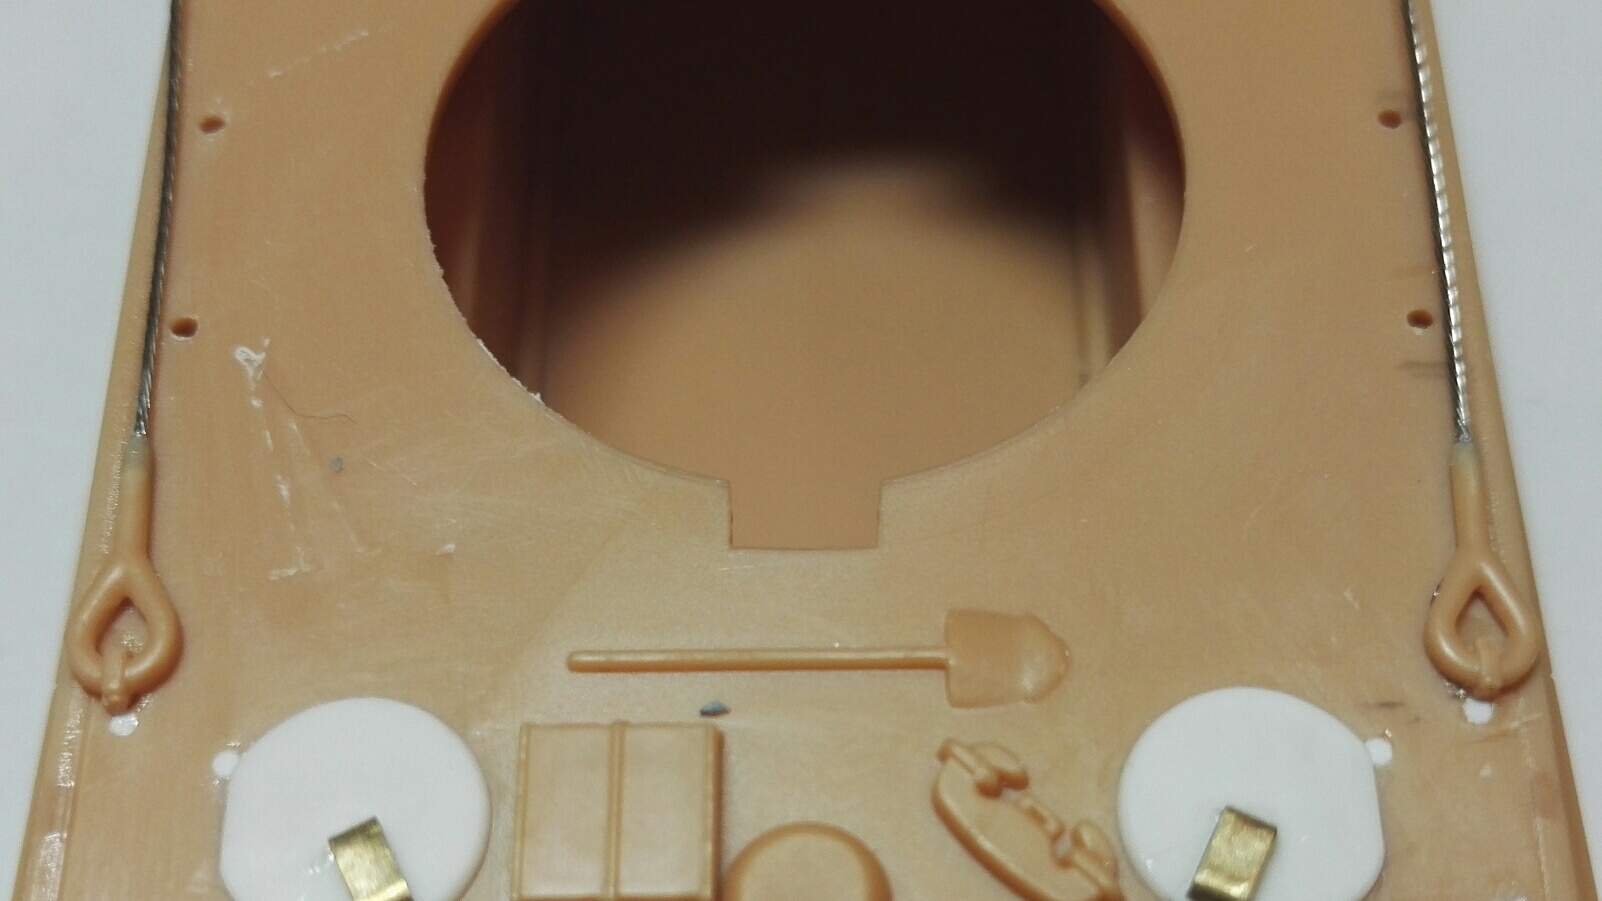
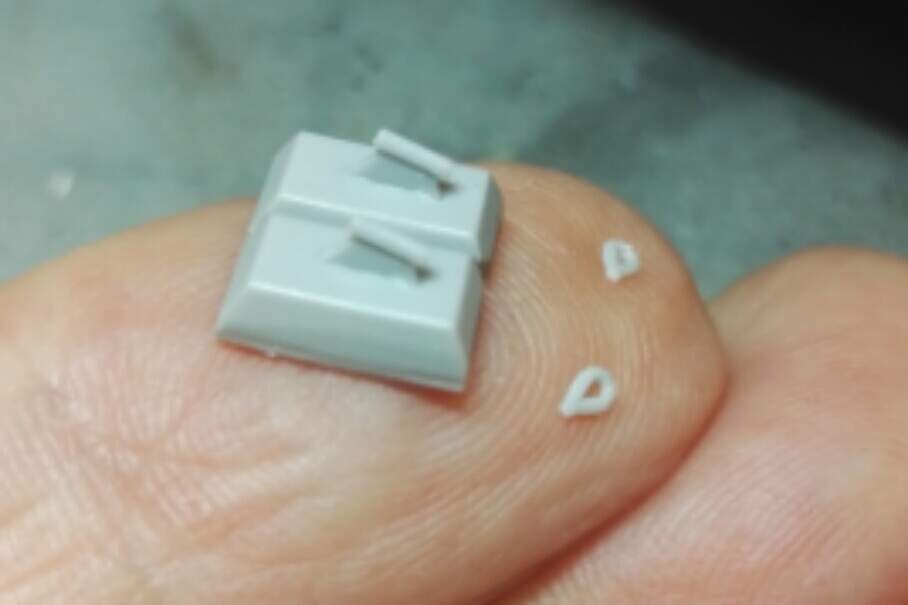
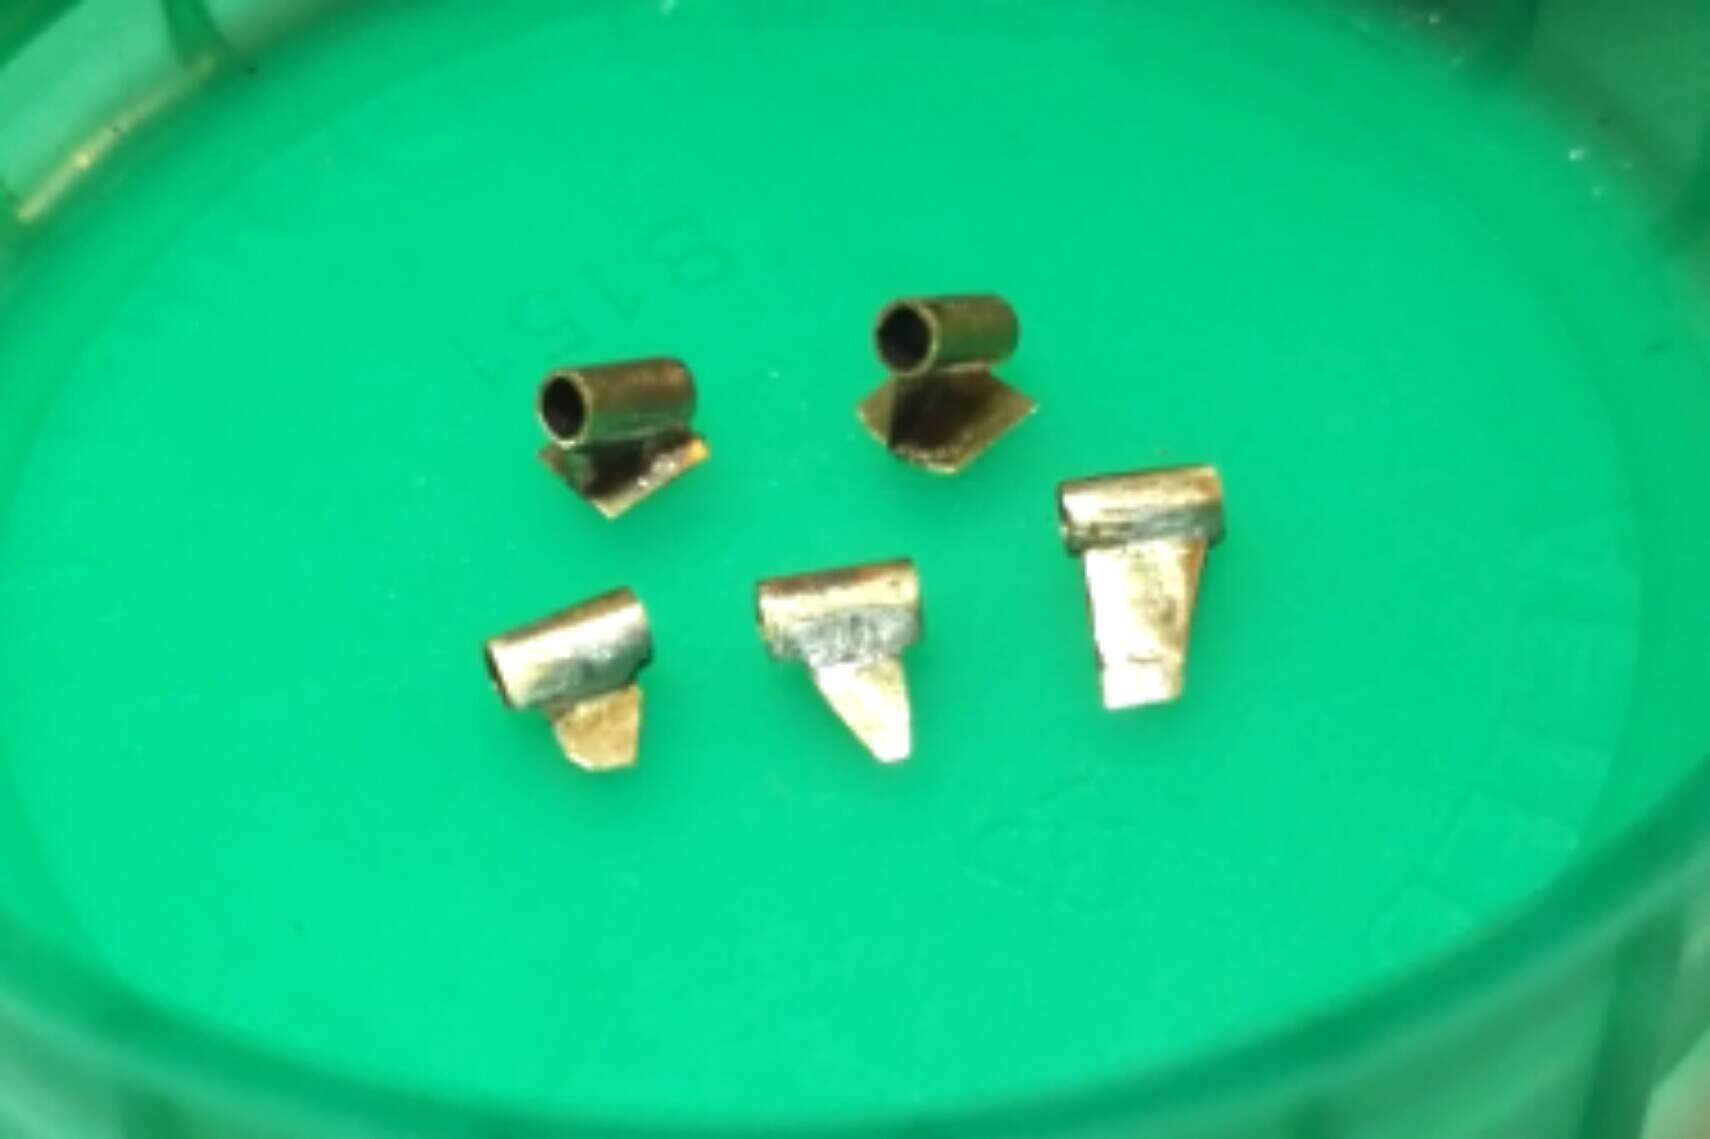
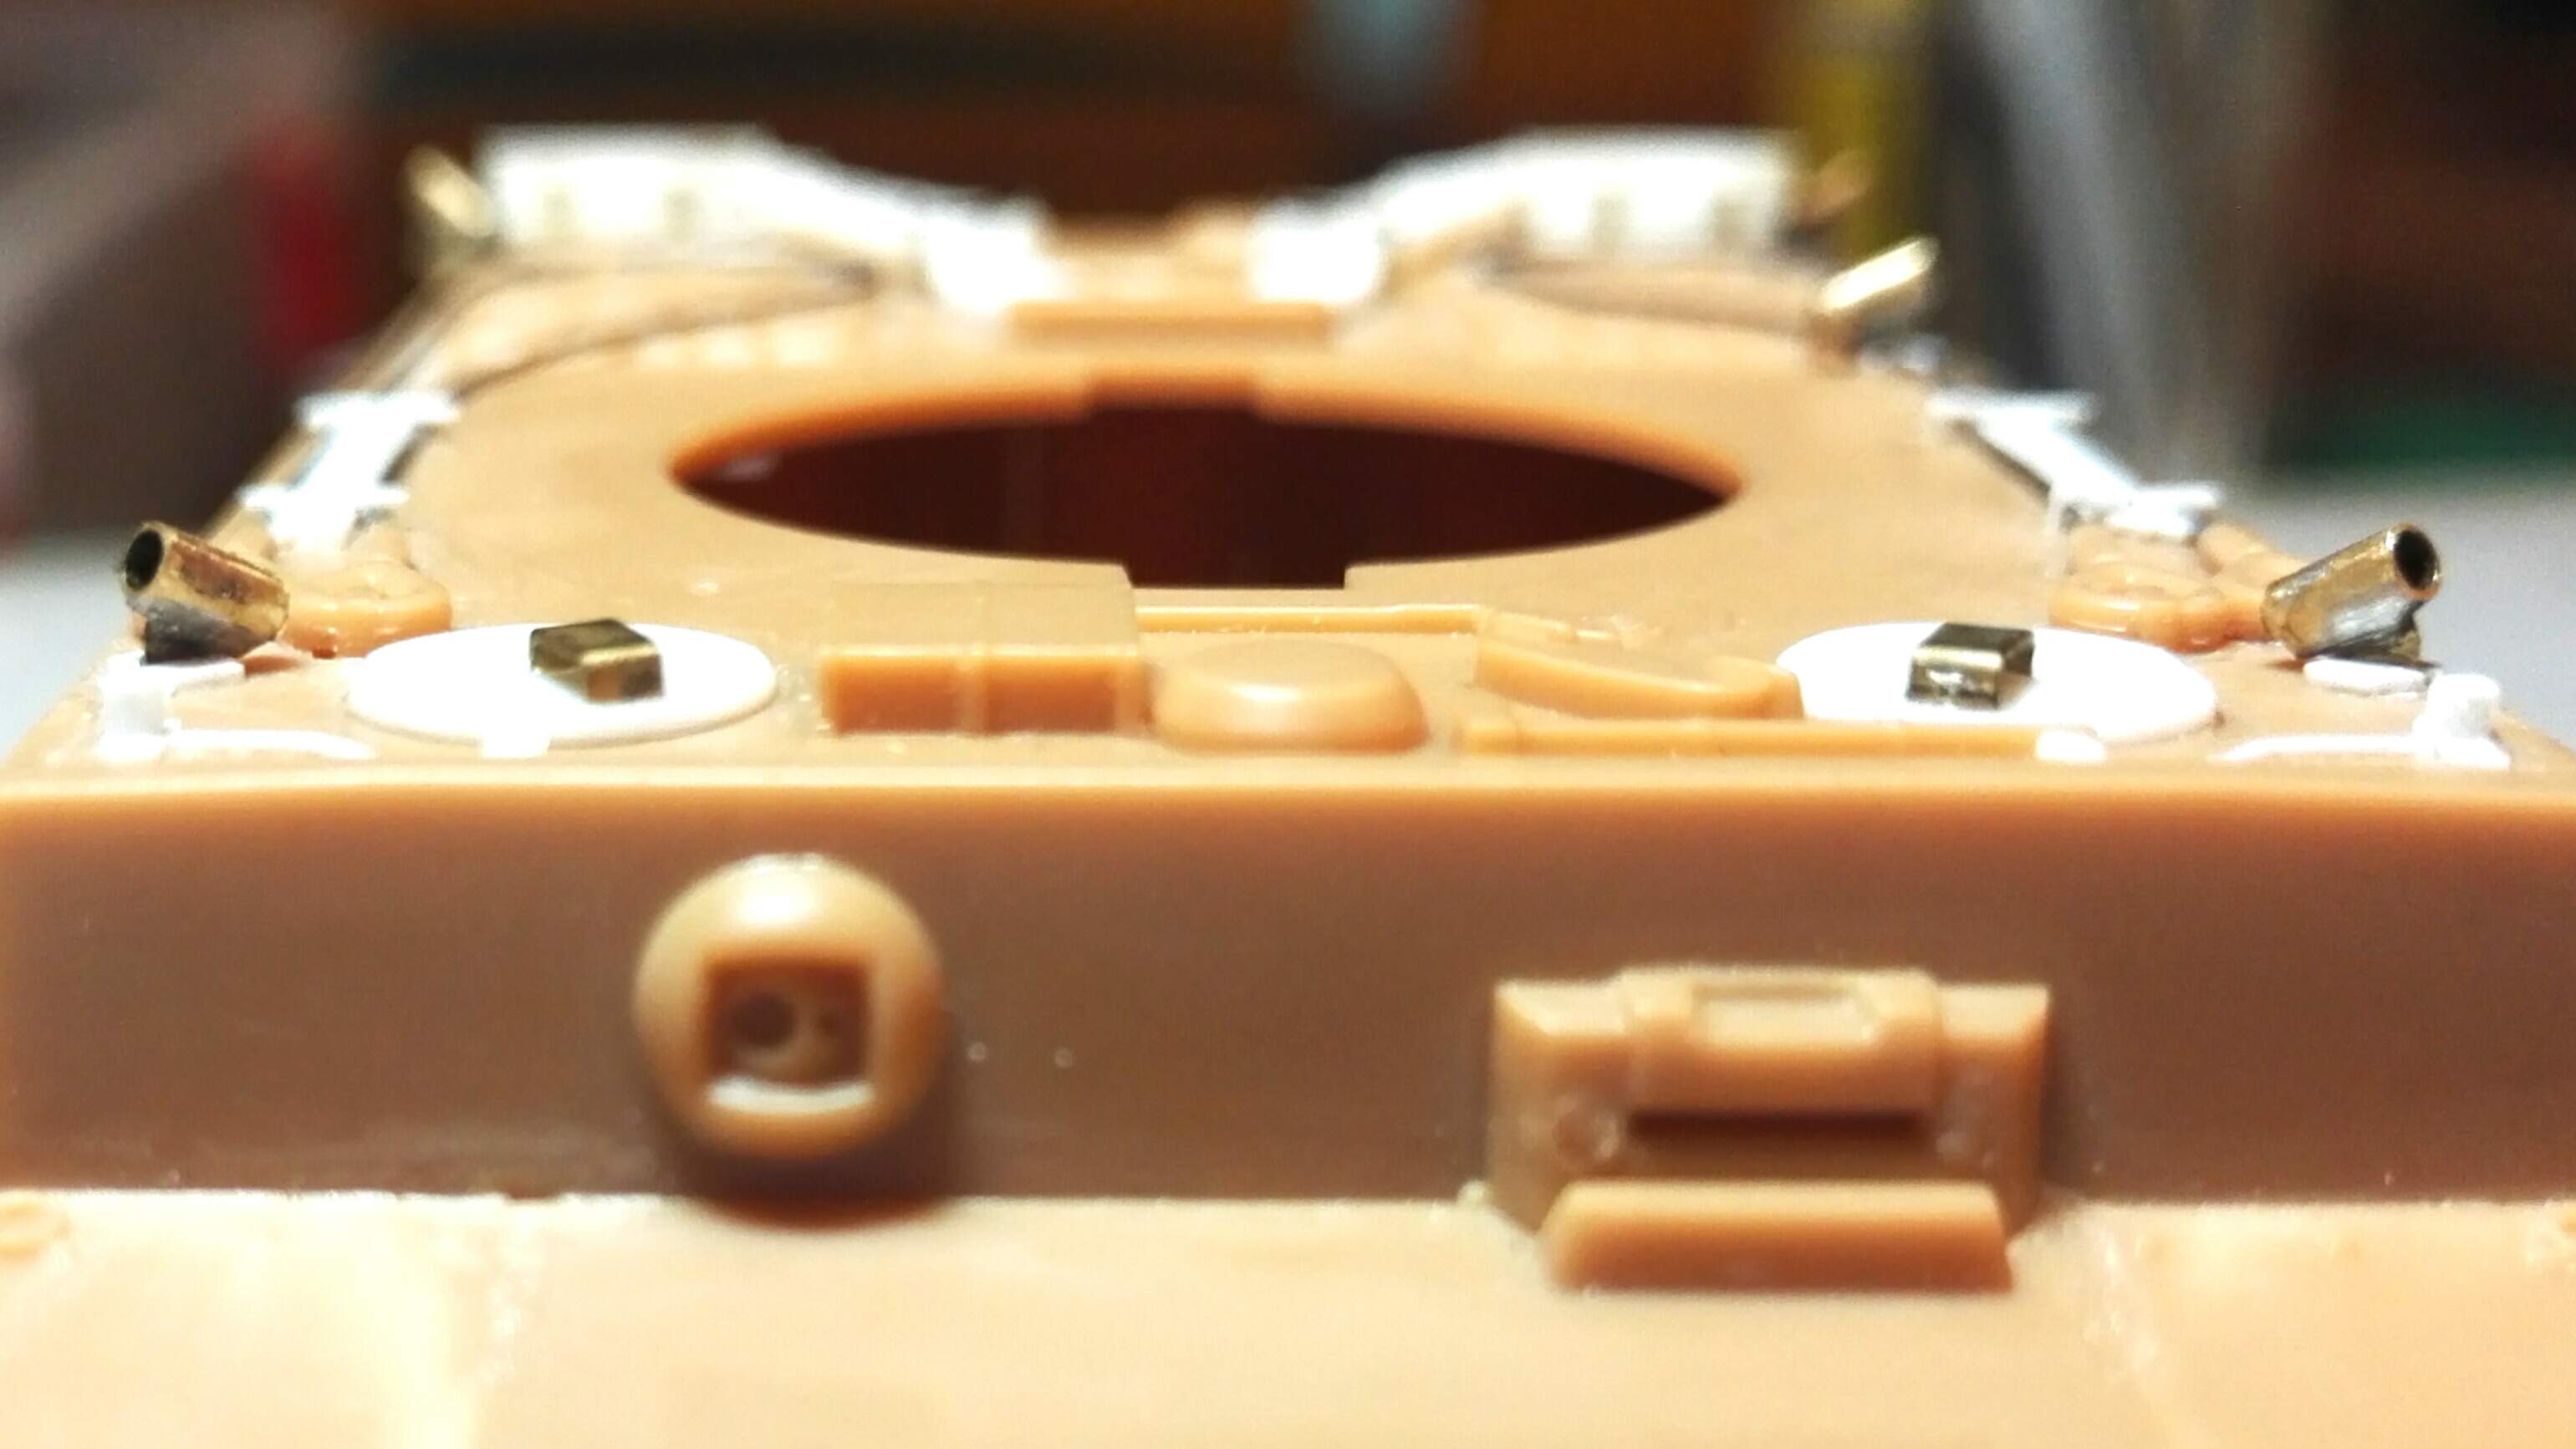
Spent this weekend session trying to solder together five S-mine dischargers from 1.5mm tube and some brass sheet. Having bought a new soldering iron that can get hot enough to do this kind of thing, I had the sort of bad luck to almost succeed with the first one I attempted, actually managing to get the tube on the bracket, and the bracket on the base. Not straight, but not that bad. Spent several hours trying to repeat that, but every subsequent attempt resulted in desoldering the first joint when attempting the second. In the end I gave up, I think they’re just too small to avoid reheating the first join, and settled for just attaching the brackets to tubes. One of the rear ones is CAd to the base, the other is that first one (the top two below). The others will mount into a slot between two plastic strips.
Also added brackets for the two at the back that don’t sit on the deck, just to be awkward. Now waiting for everything to set before adding the soldered assemblies.
4 Likes
Airfix should make you head of future developments after this epic salvage job… They owe you !!
1 Like
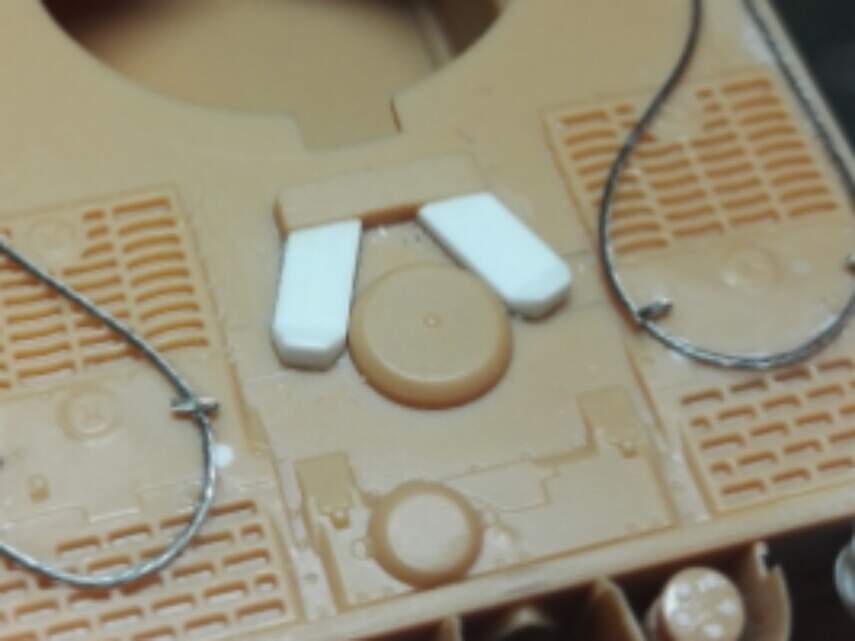
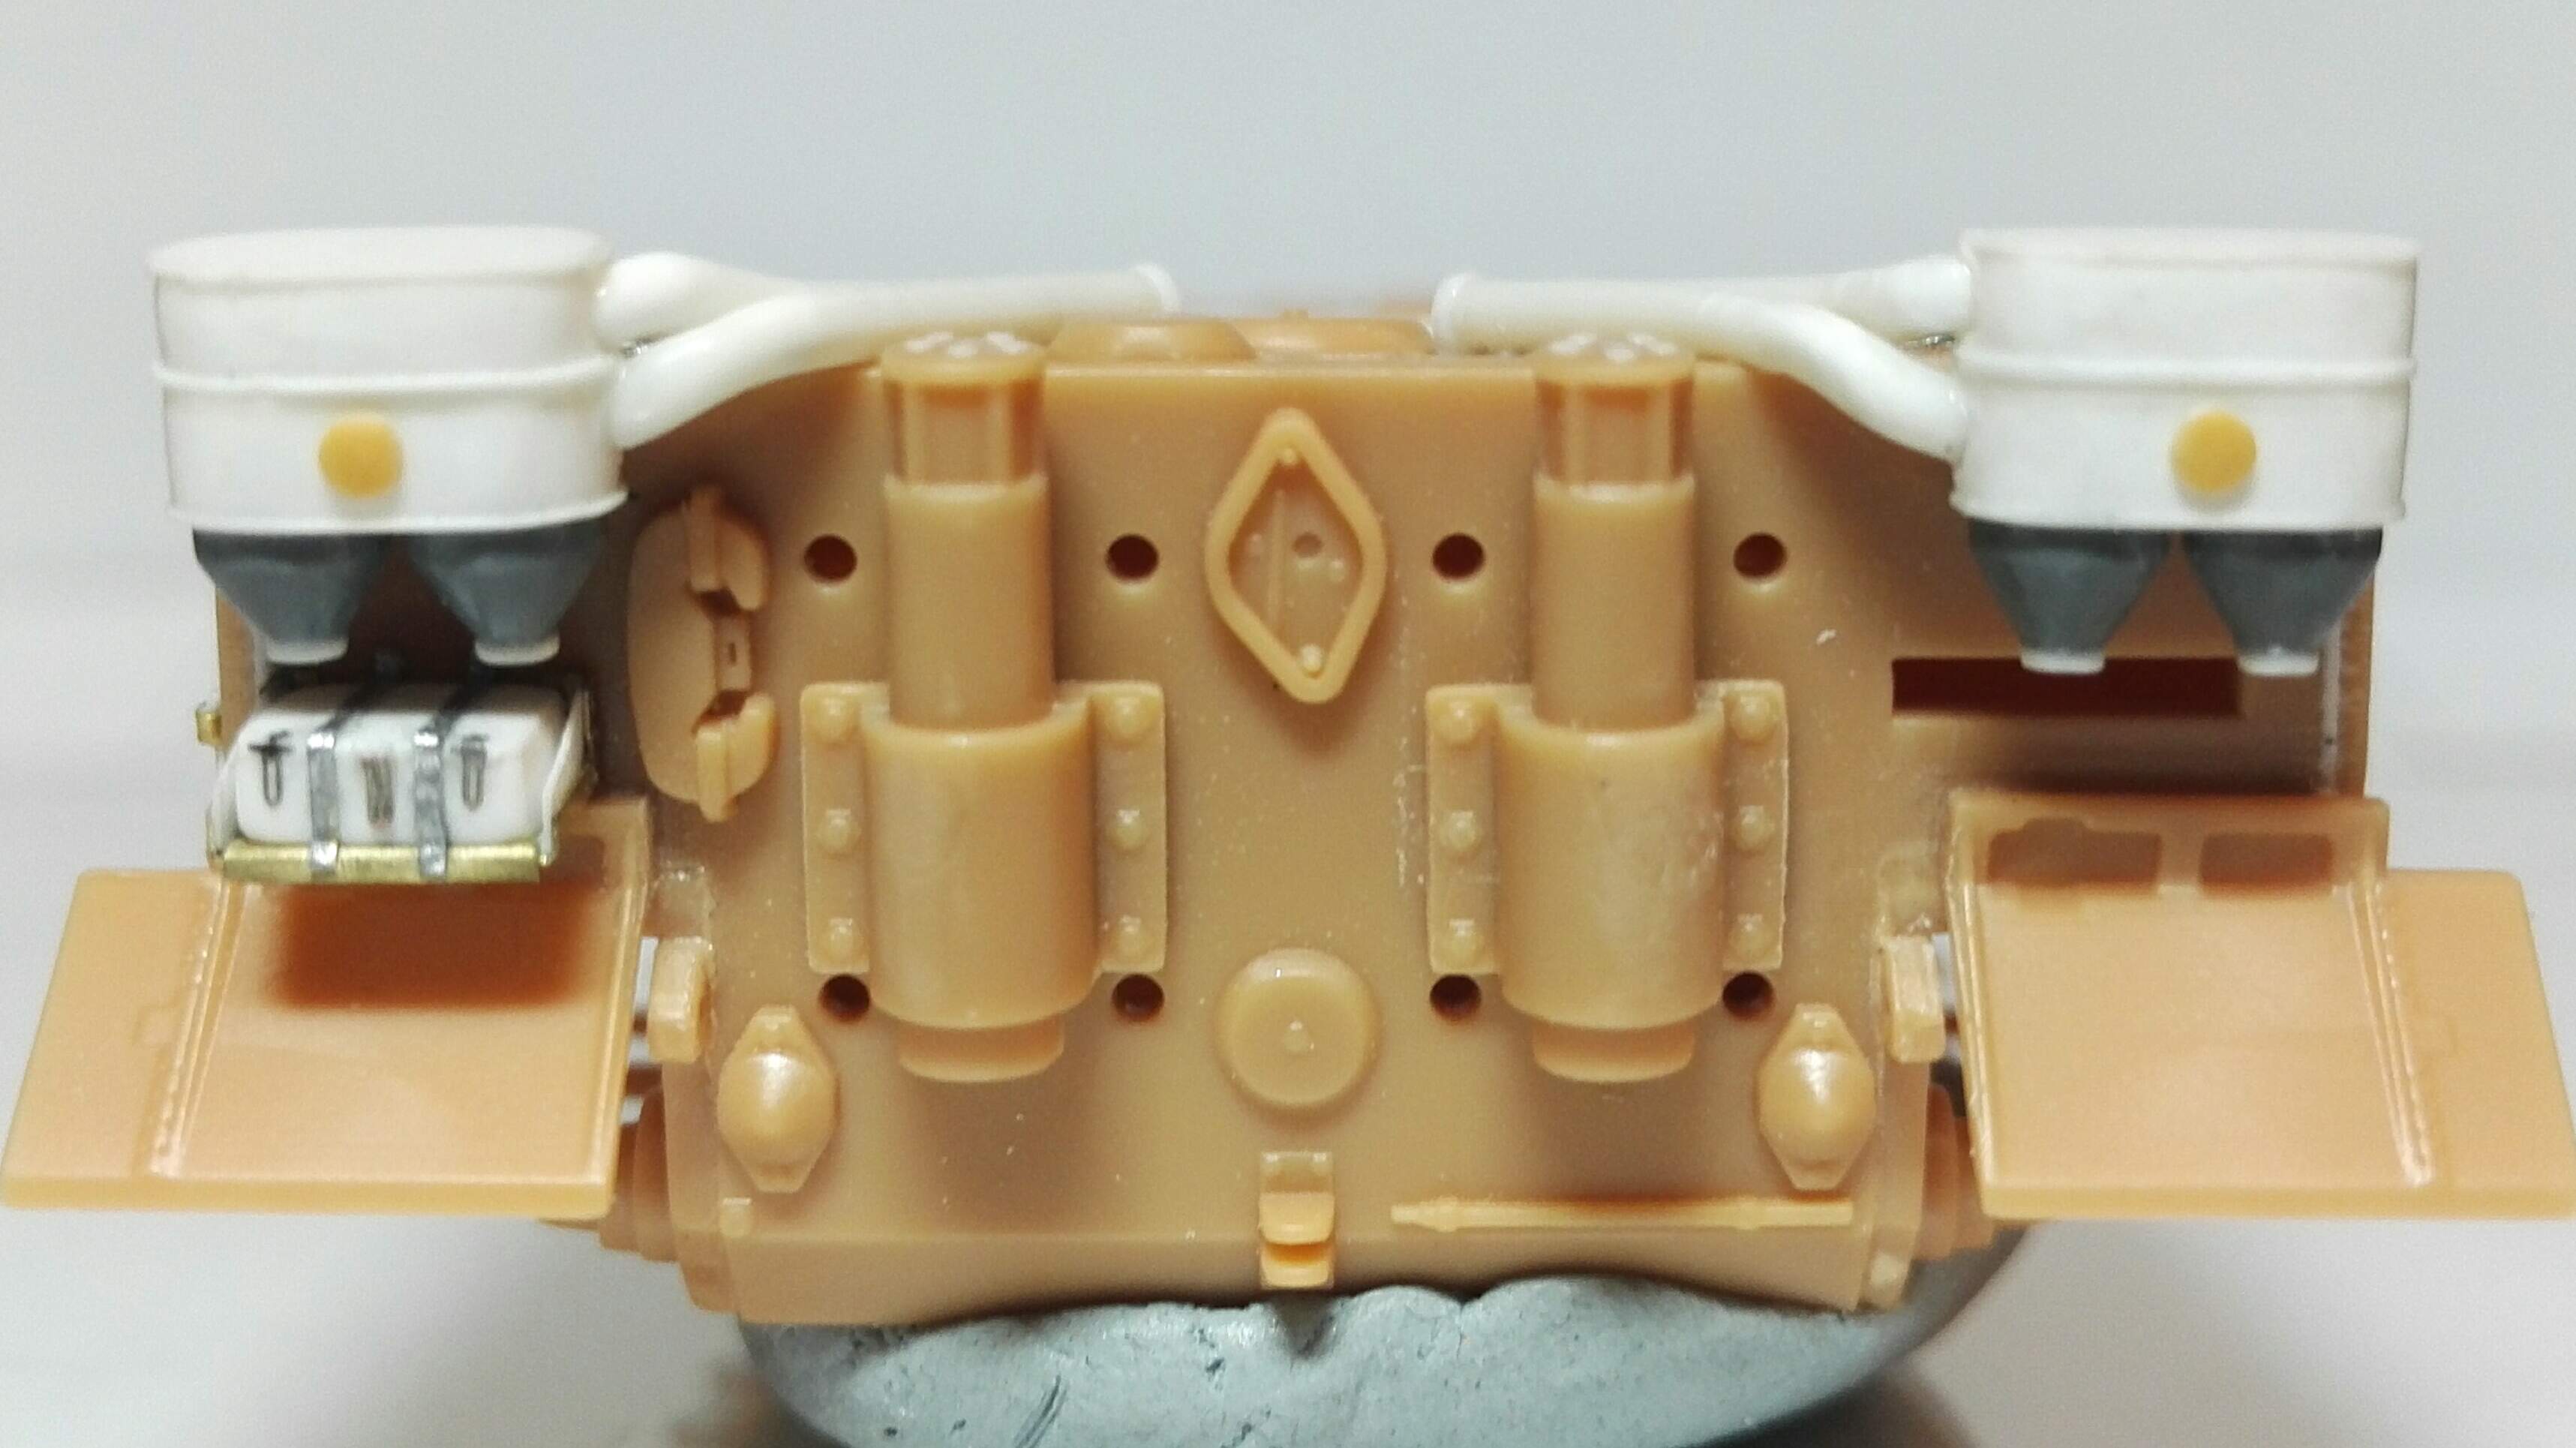
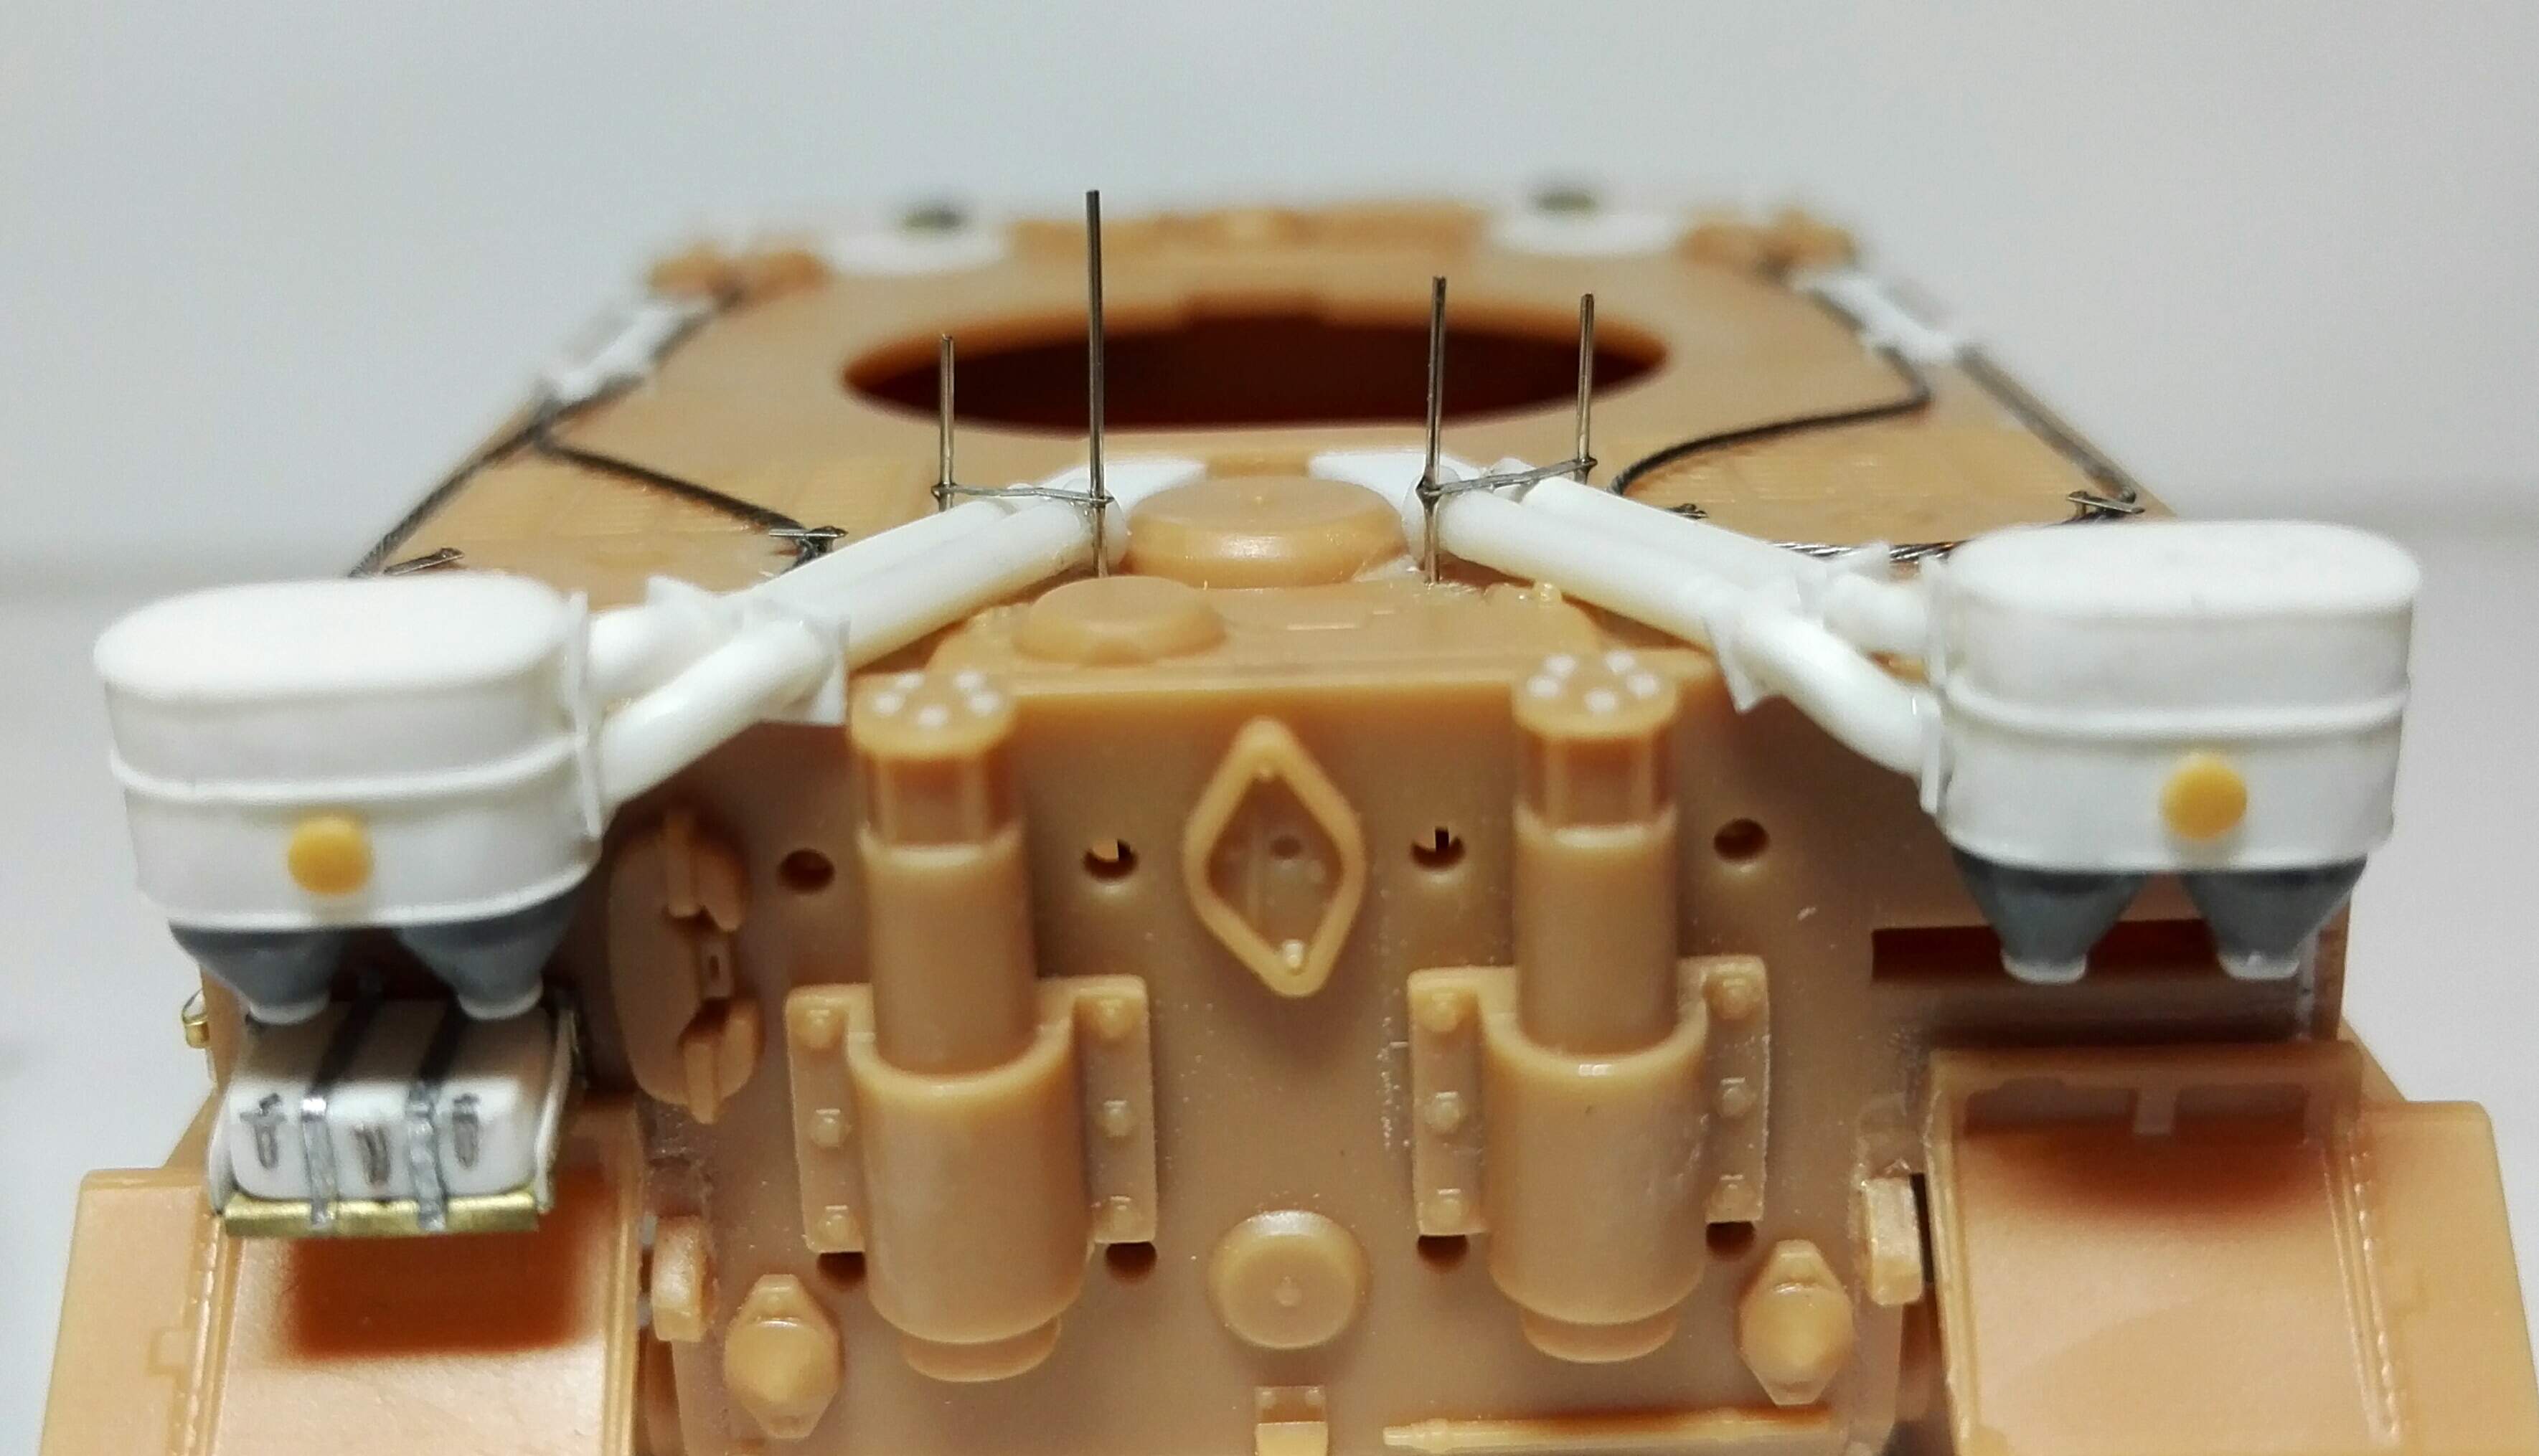
The S-minen discharge tubes are on. Bit too fiddly really, and my impatience means things are never really quite straight. Not sure how some people do things of this small size so precisely. I only managed to get the back strips on three of the five. Might try the two at the back later, just so you can’t see straight through them. Usual tidying up to do…
4 Likes
Are those mold release pin marks on the driver’s visor?? 
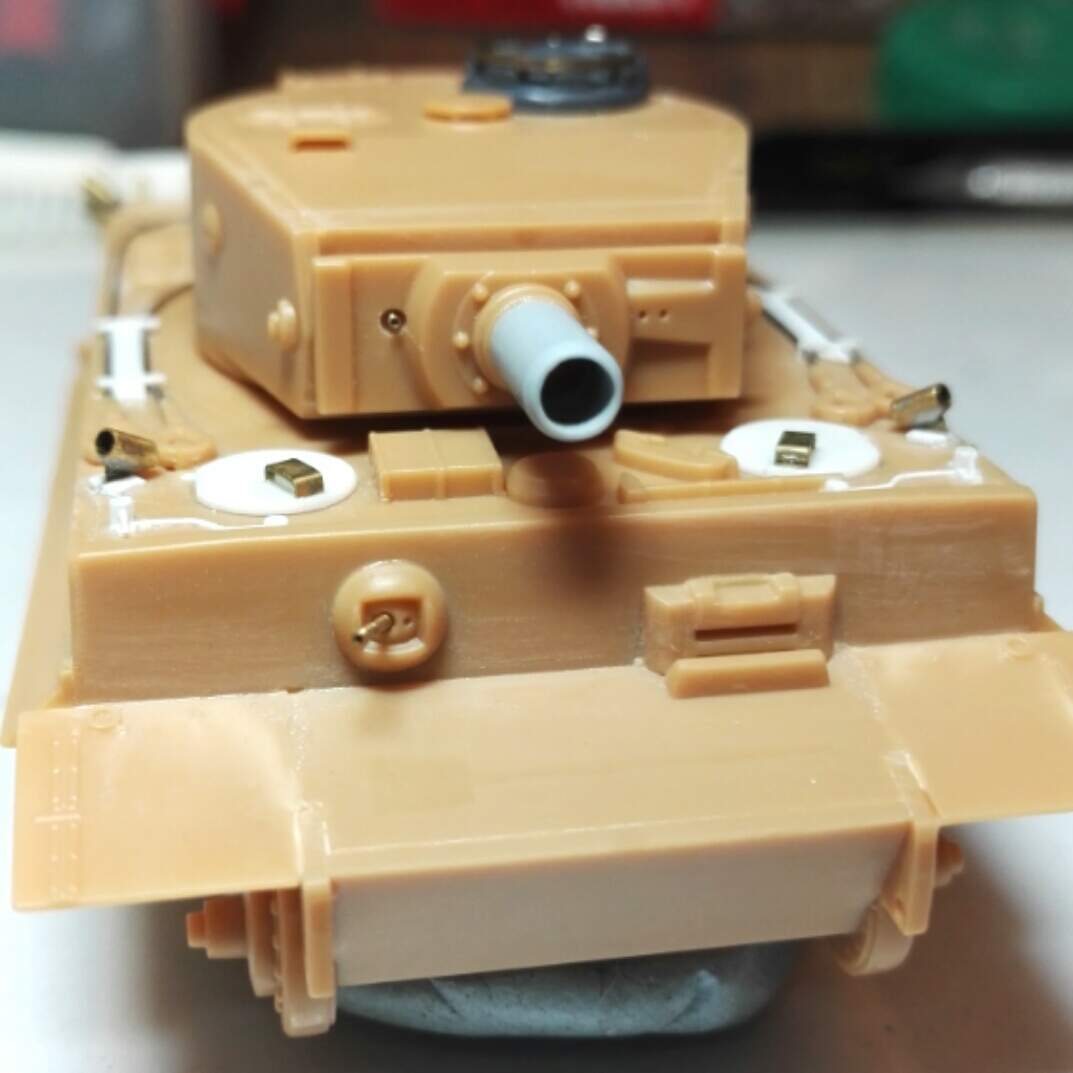
Something like that - two pimples… Seem to show up much more in the photos, almost but not quite gone now. I’ve had some Aber machine guns for several years, so thought I might as well use them, replacing the stick provided for the hull, and adding detail to the mantlet.
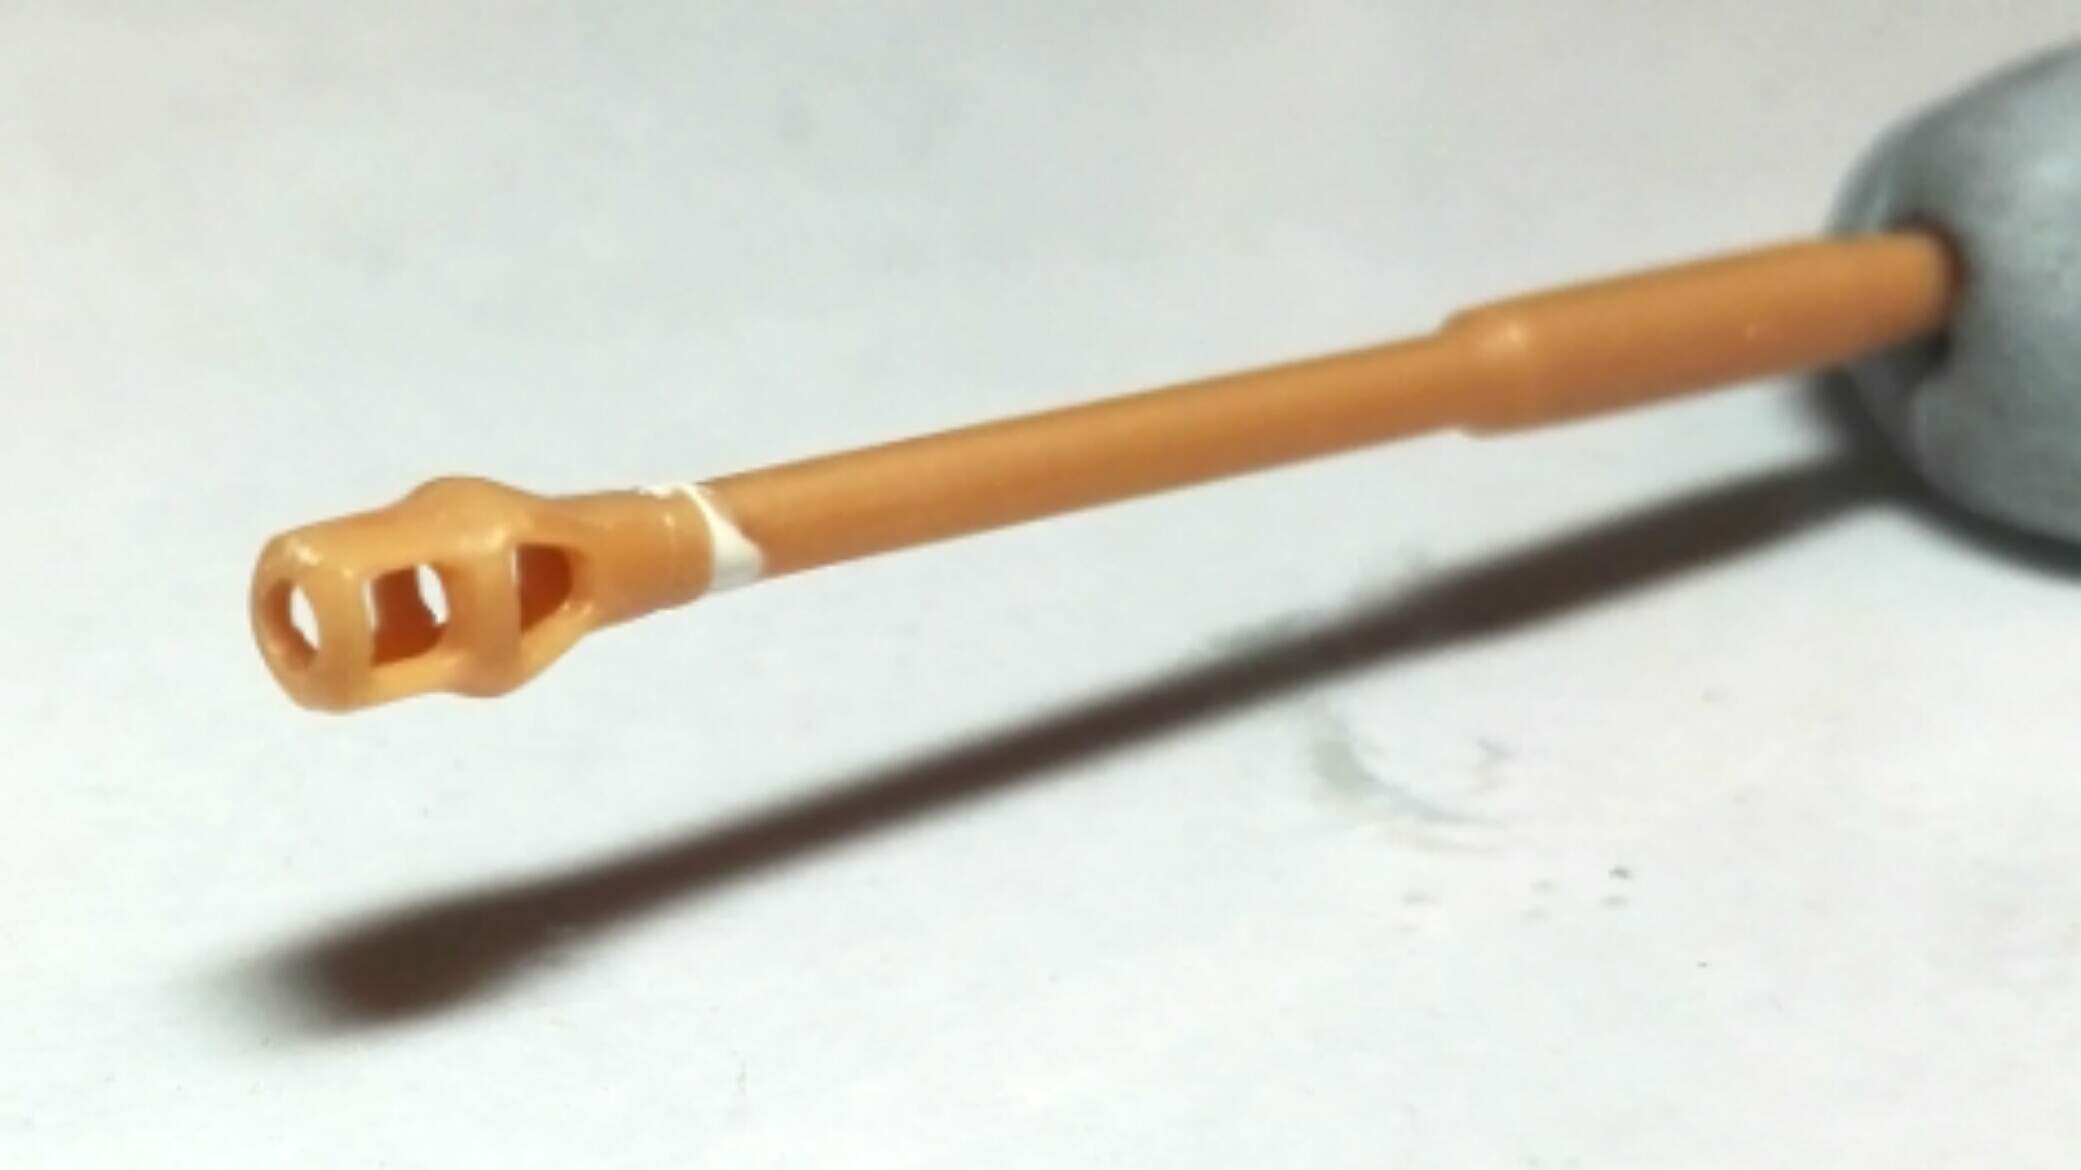
The big gun is shaping up not too badly, having filled the little gap behind the side of the muzzle brake, and the seams, to be filed down tomorrow. Dimensions seem OK.
5 Likes