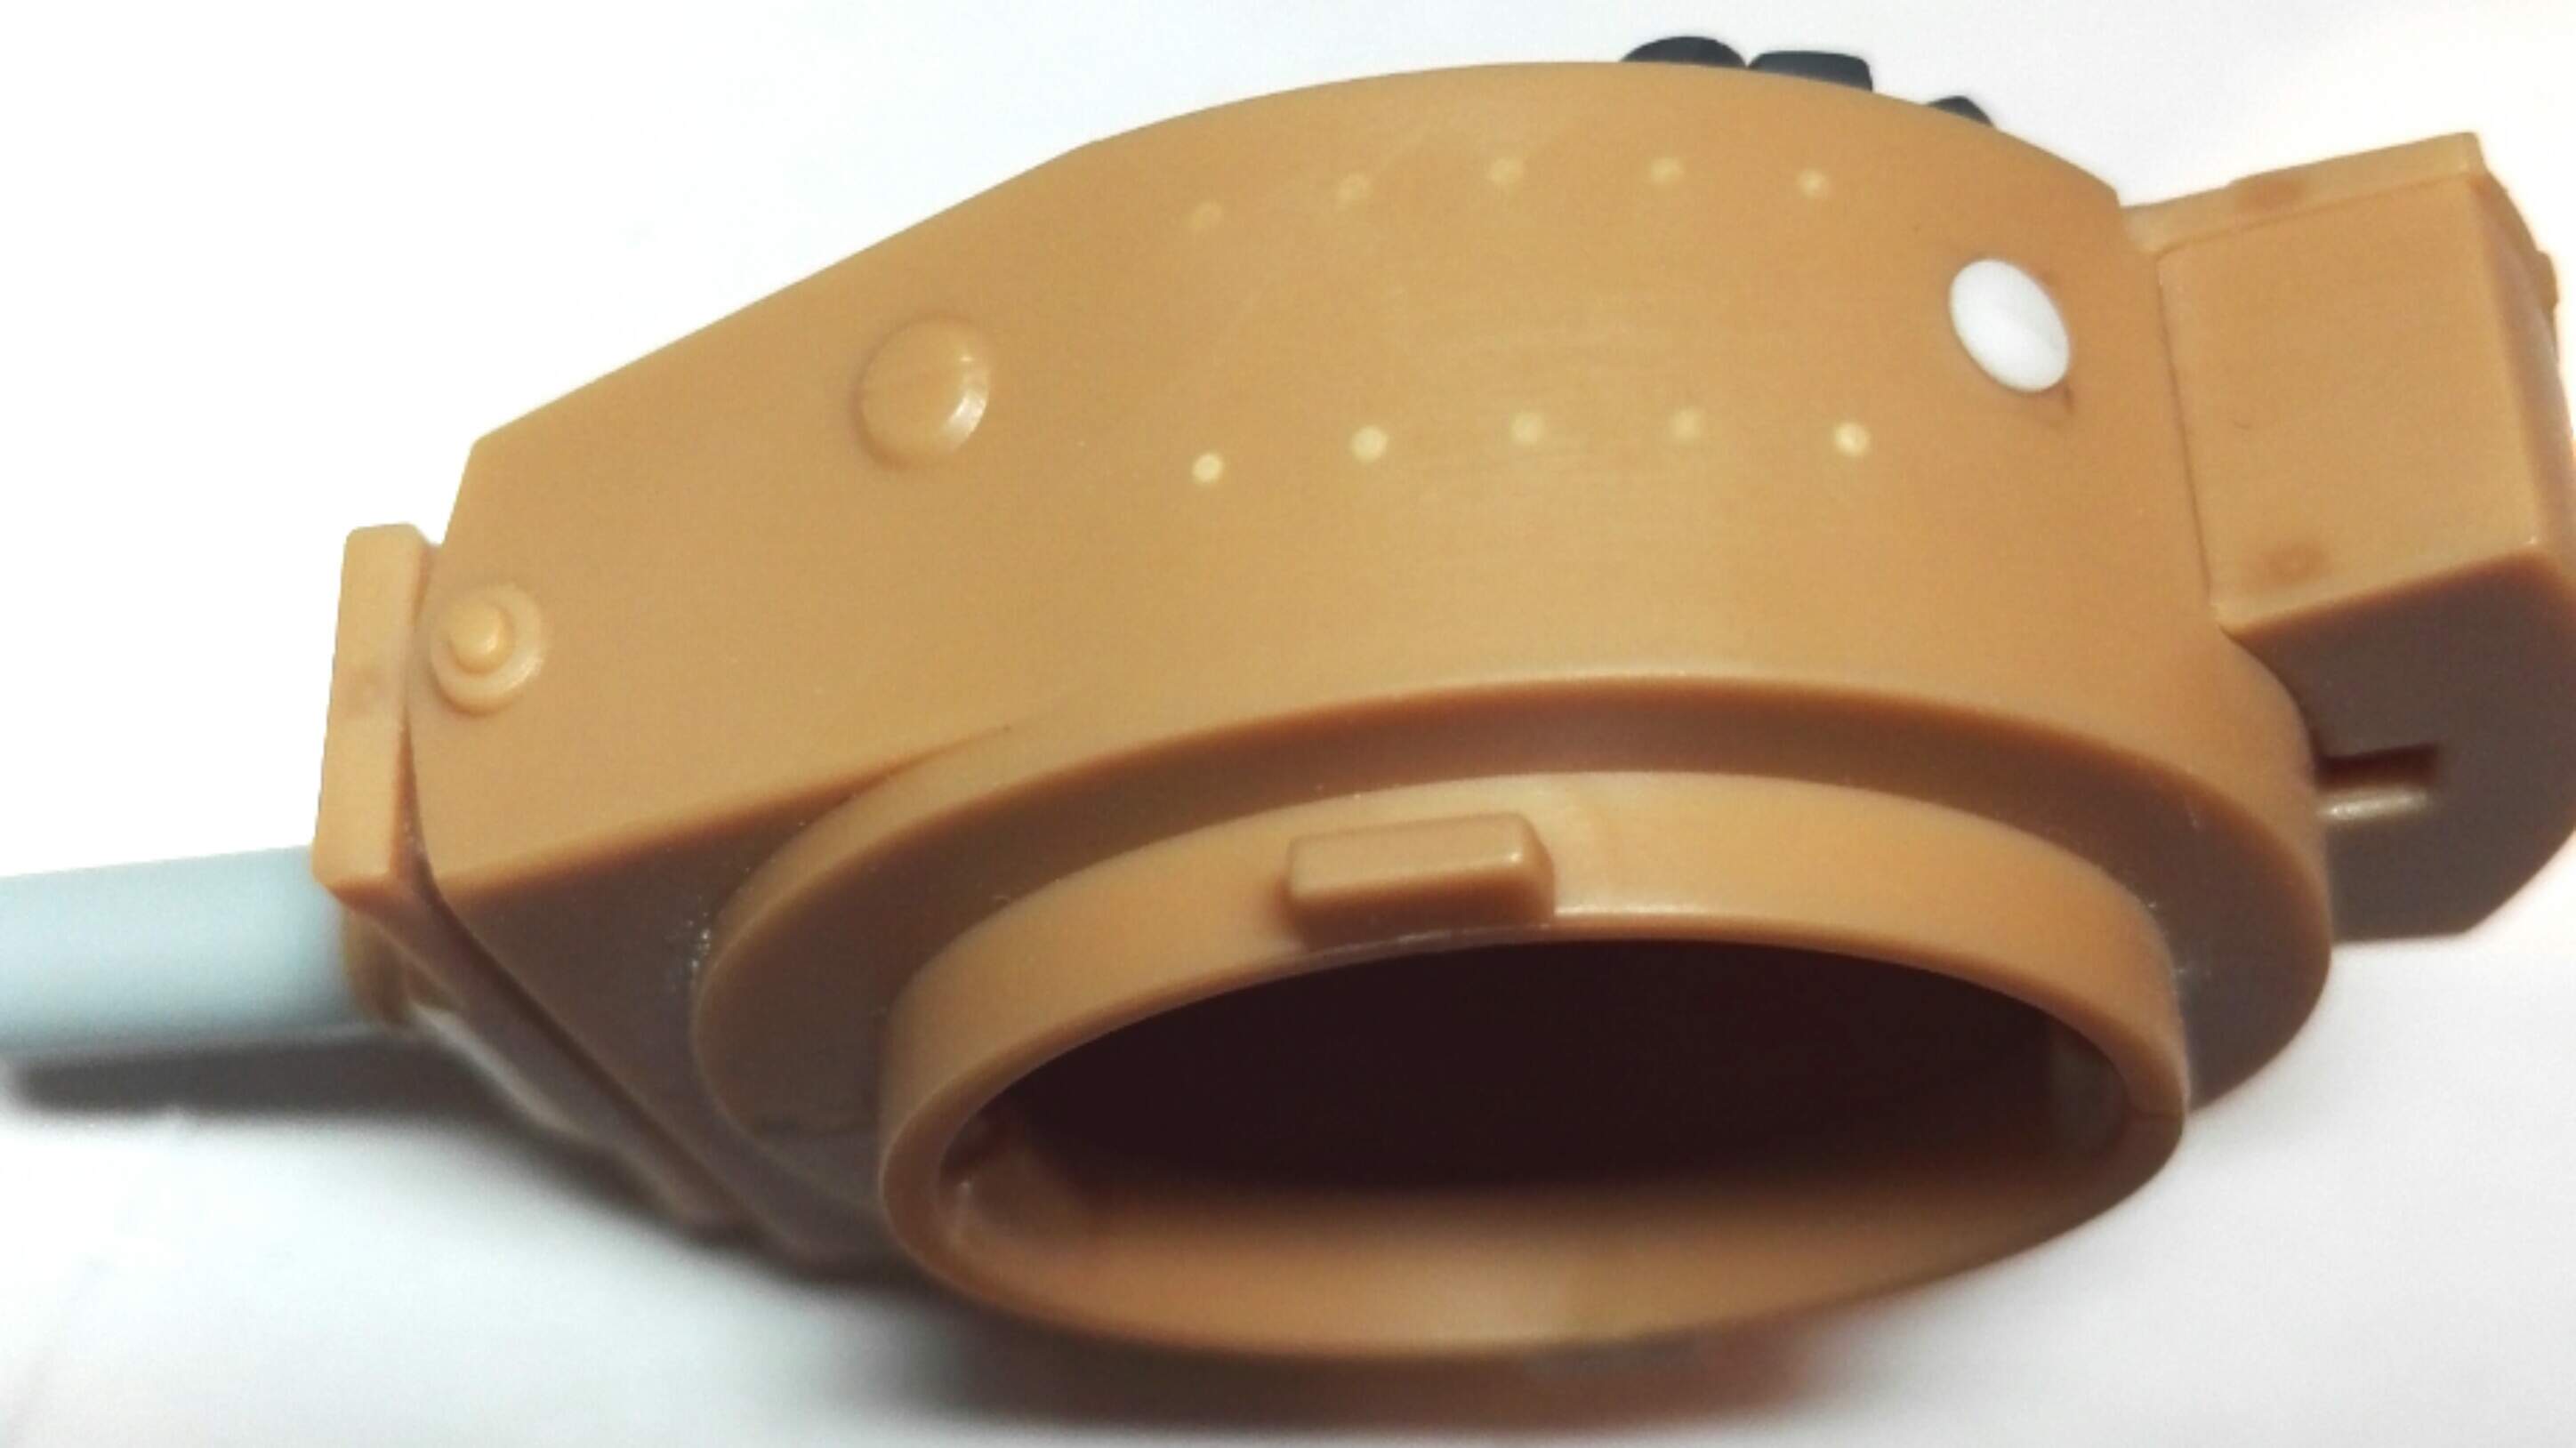
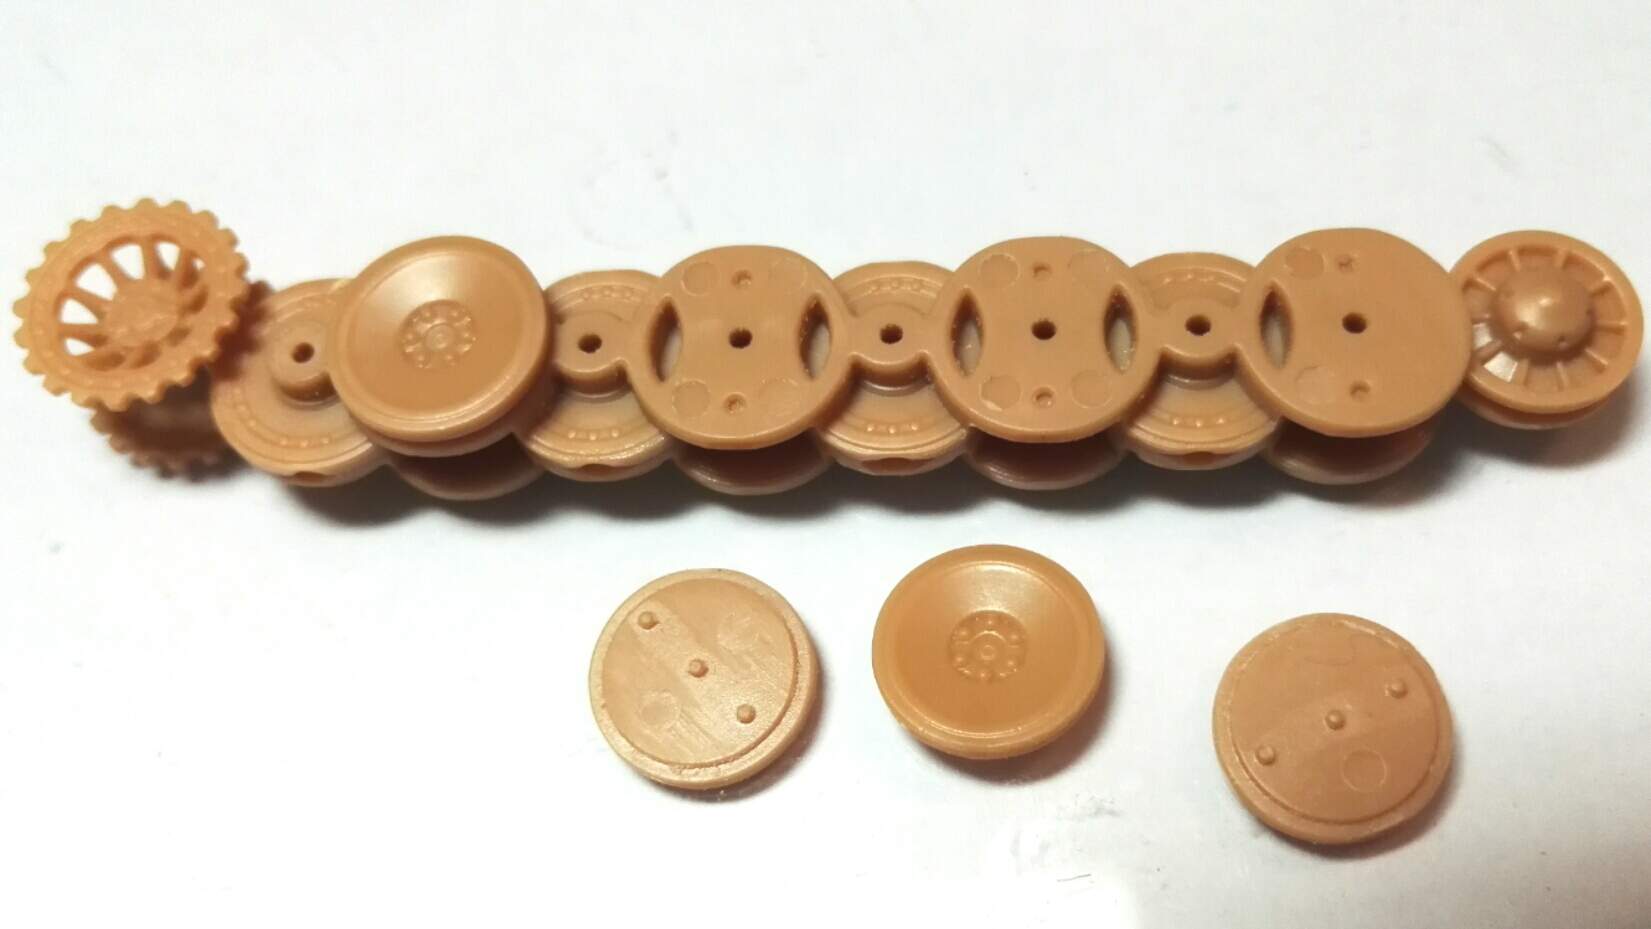
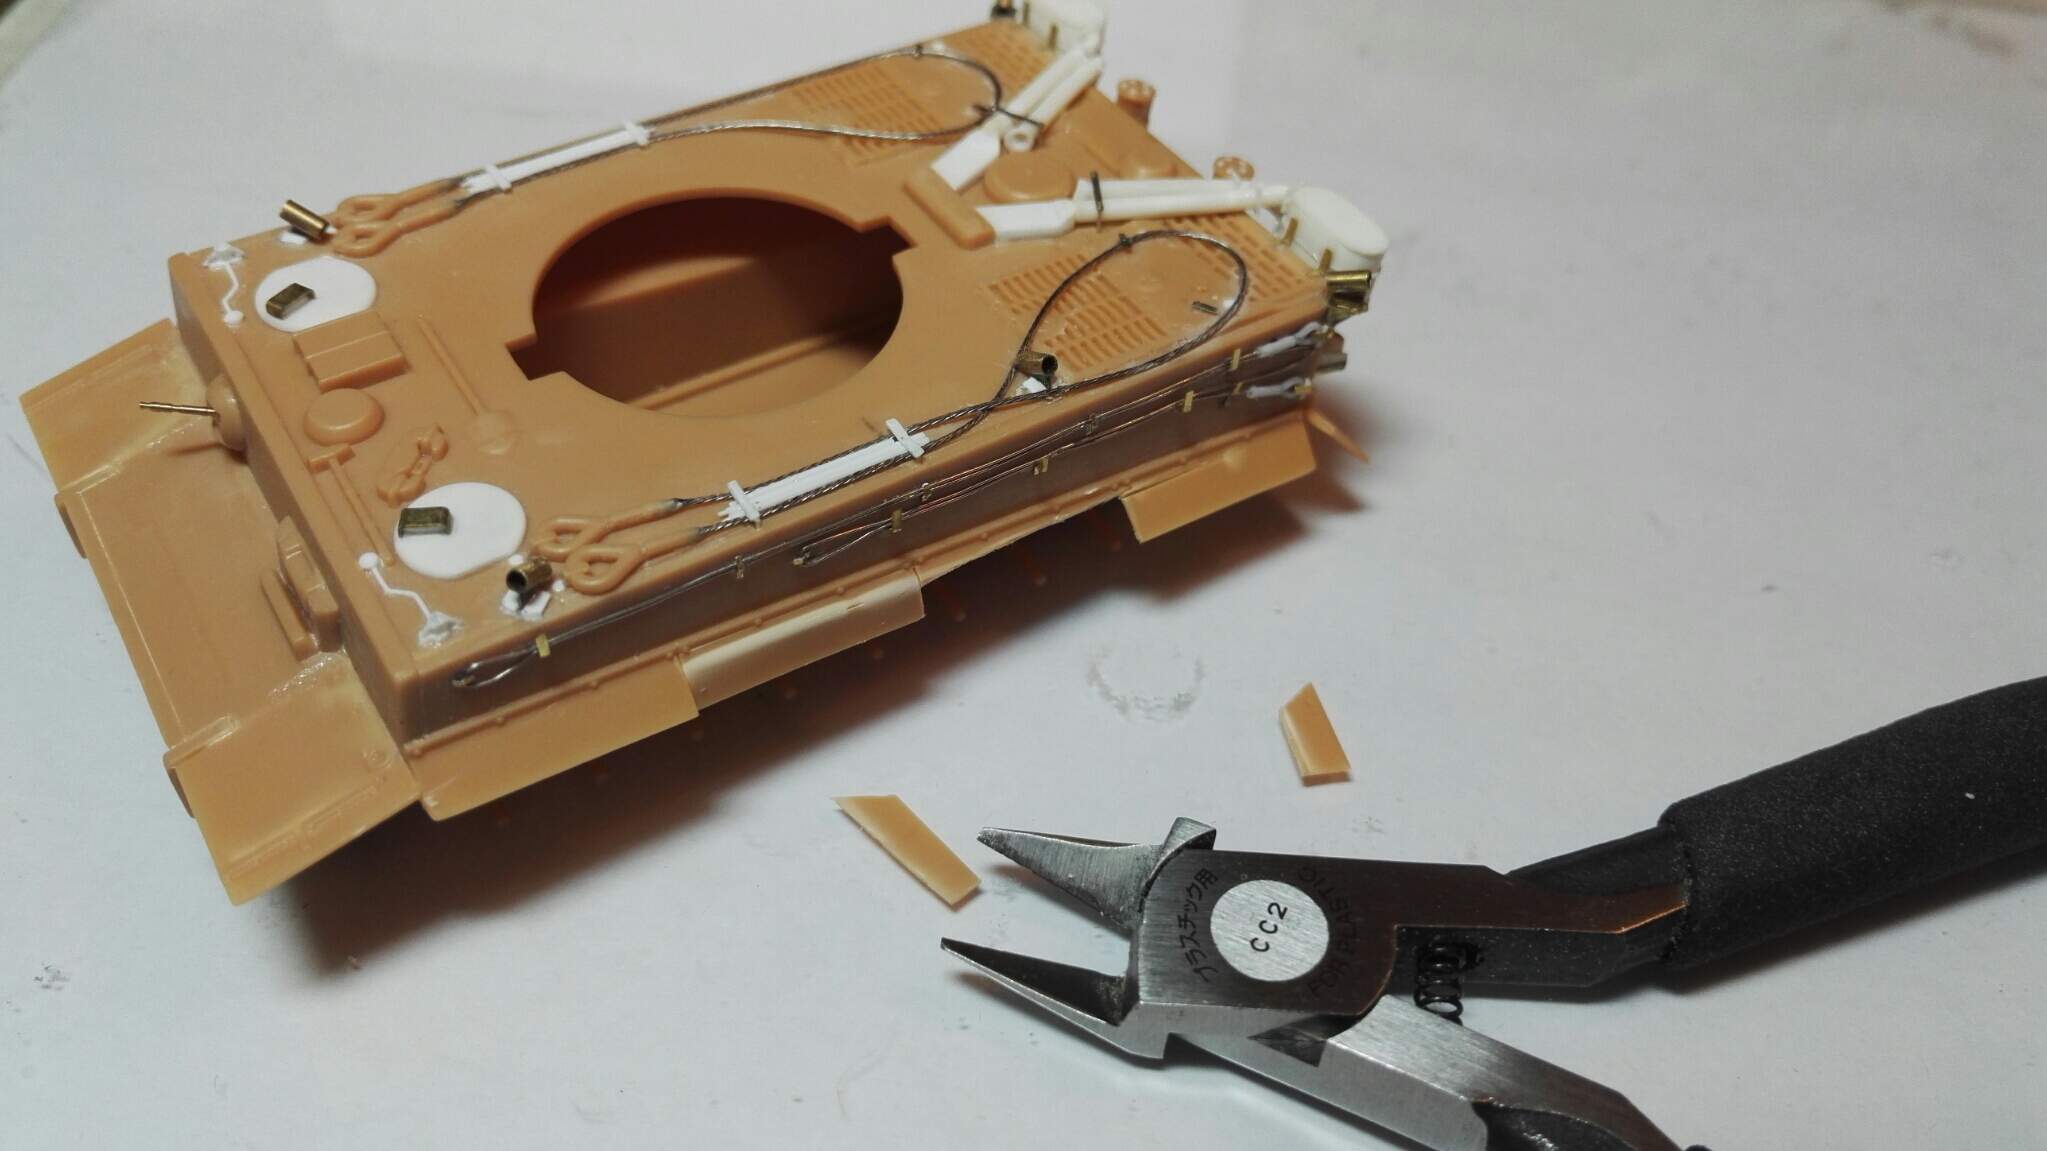
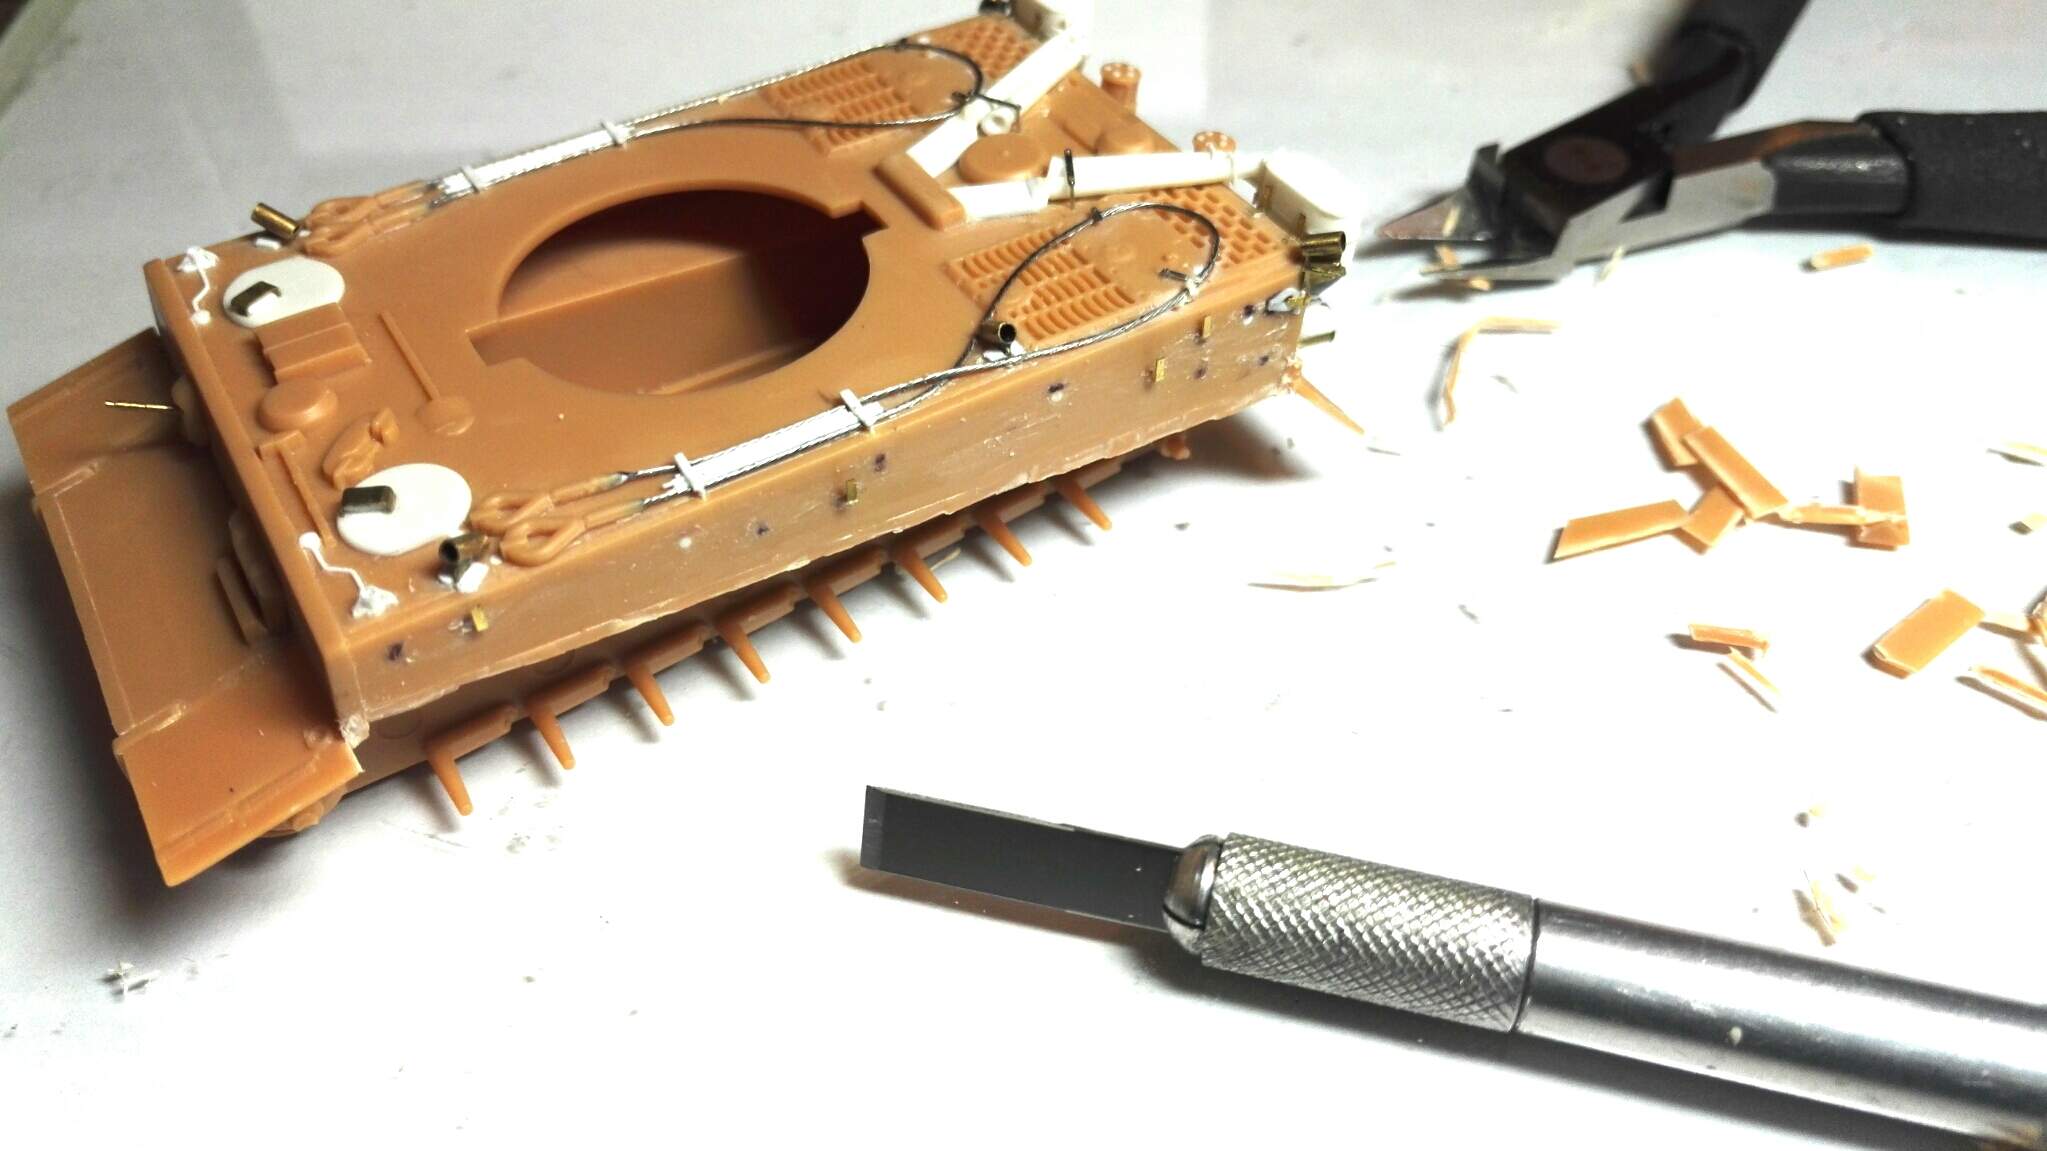
Spare track links - there are holes with instructions to be drilled through if using the spare links, which are shown as optional. To avoid the pegs being visible, I just pushed a needle into the holes to mark the position, and snipped the pegs off the links.
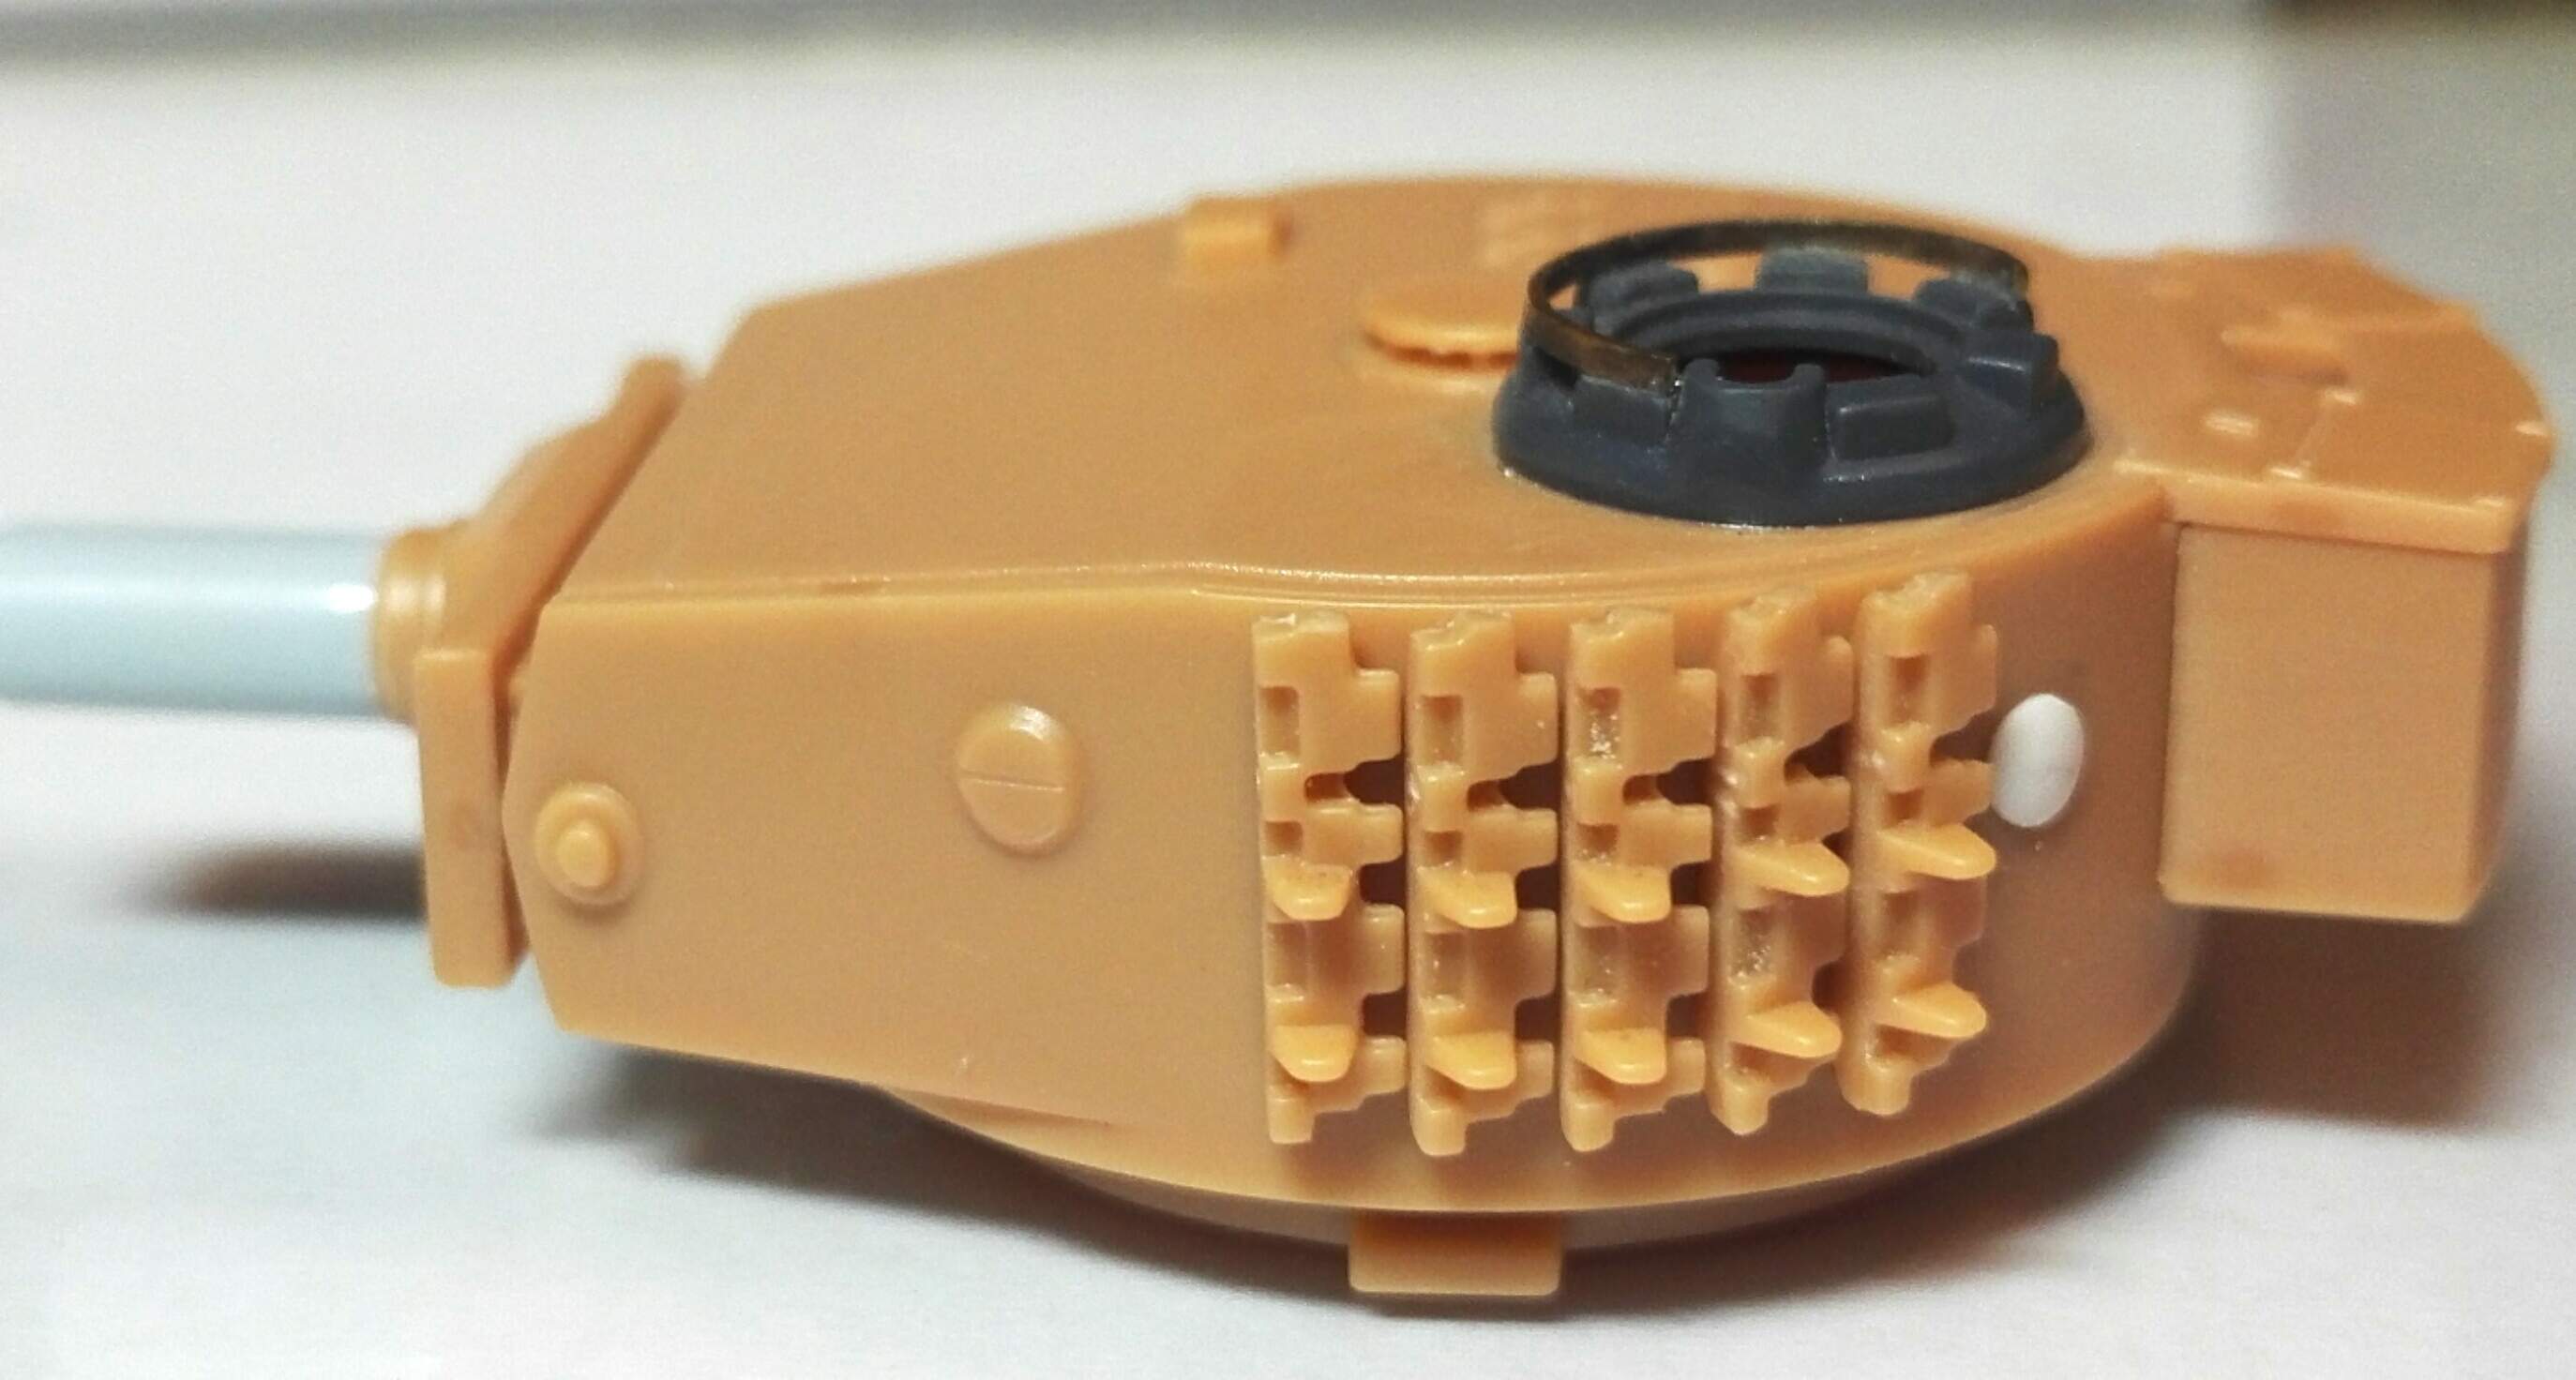
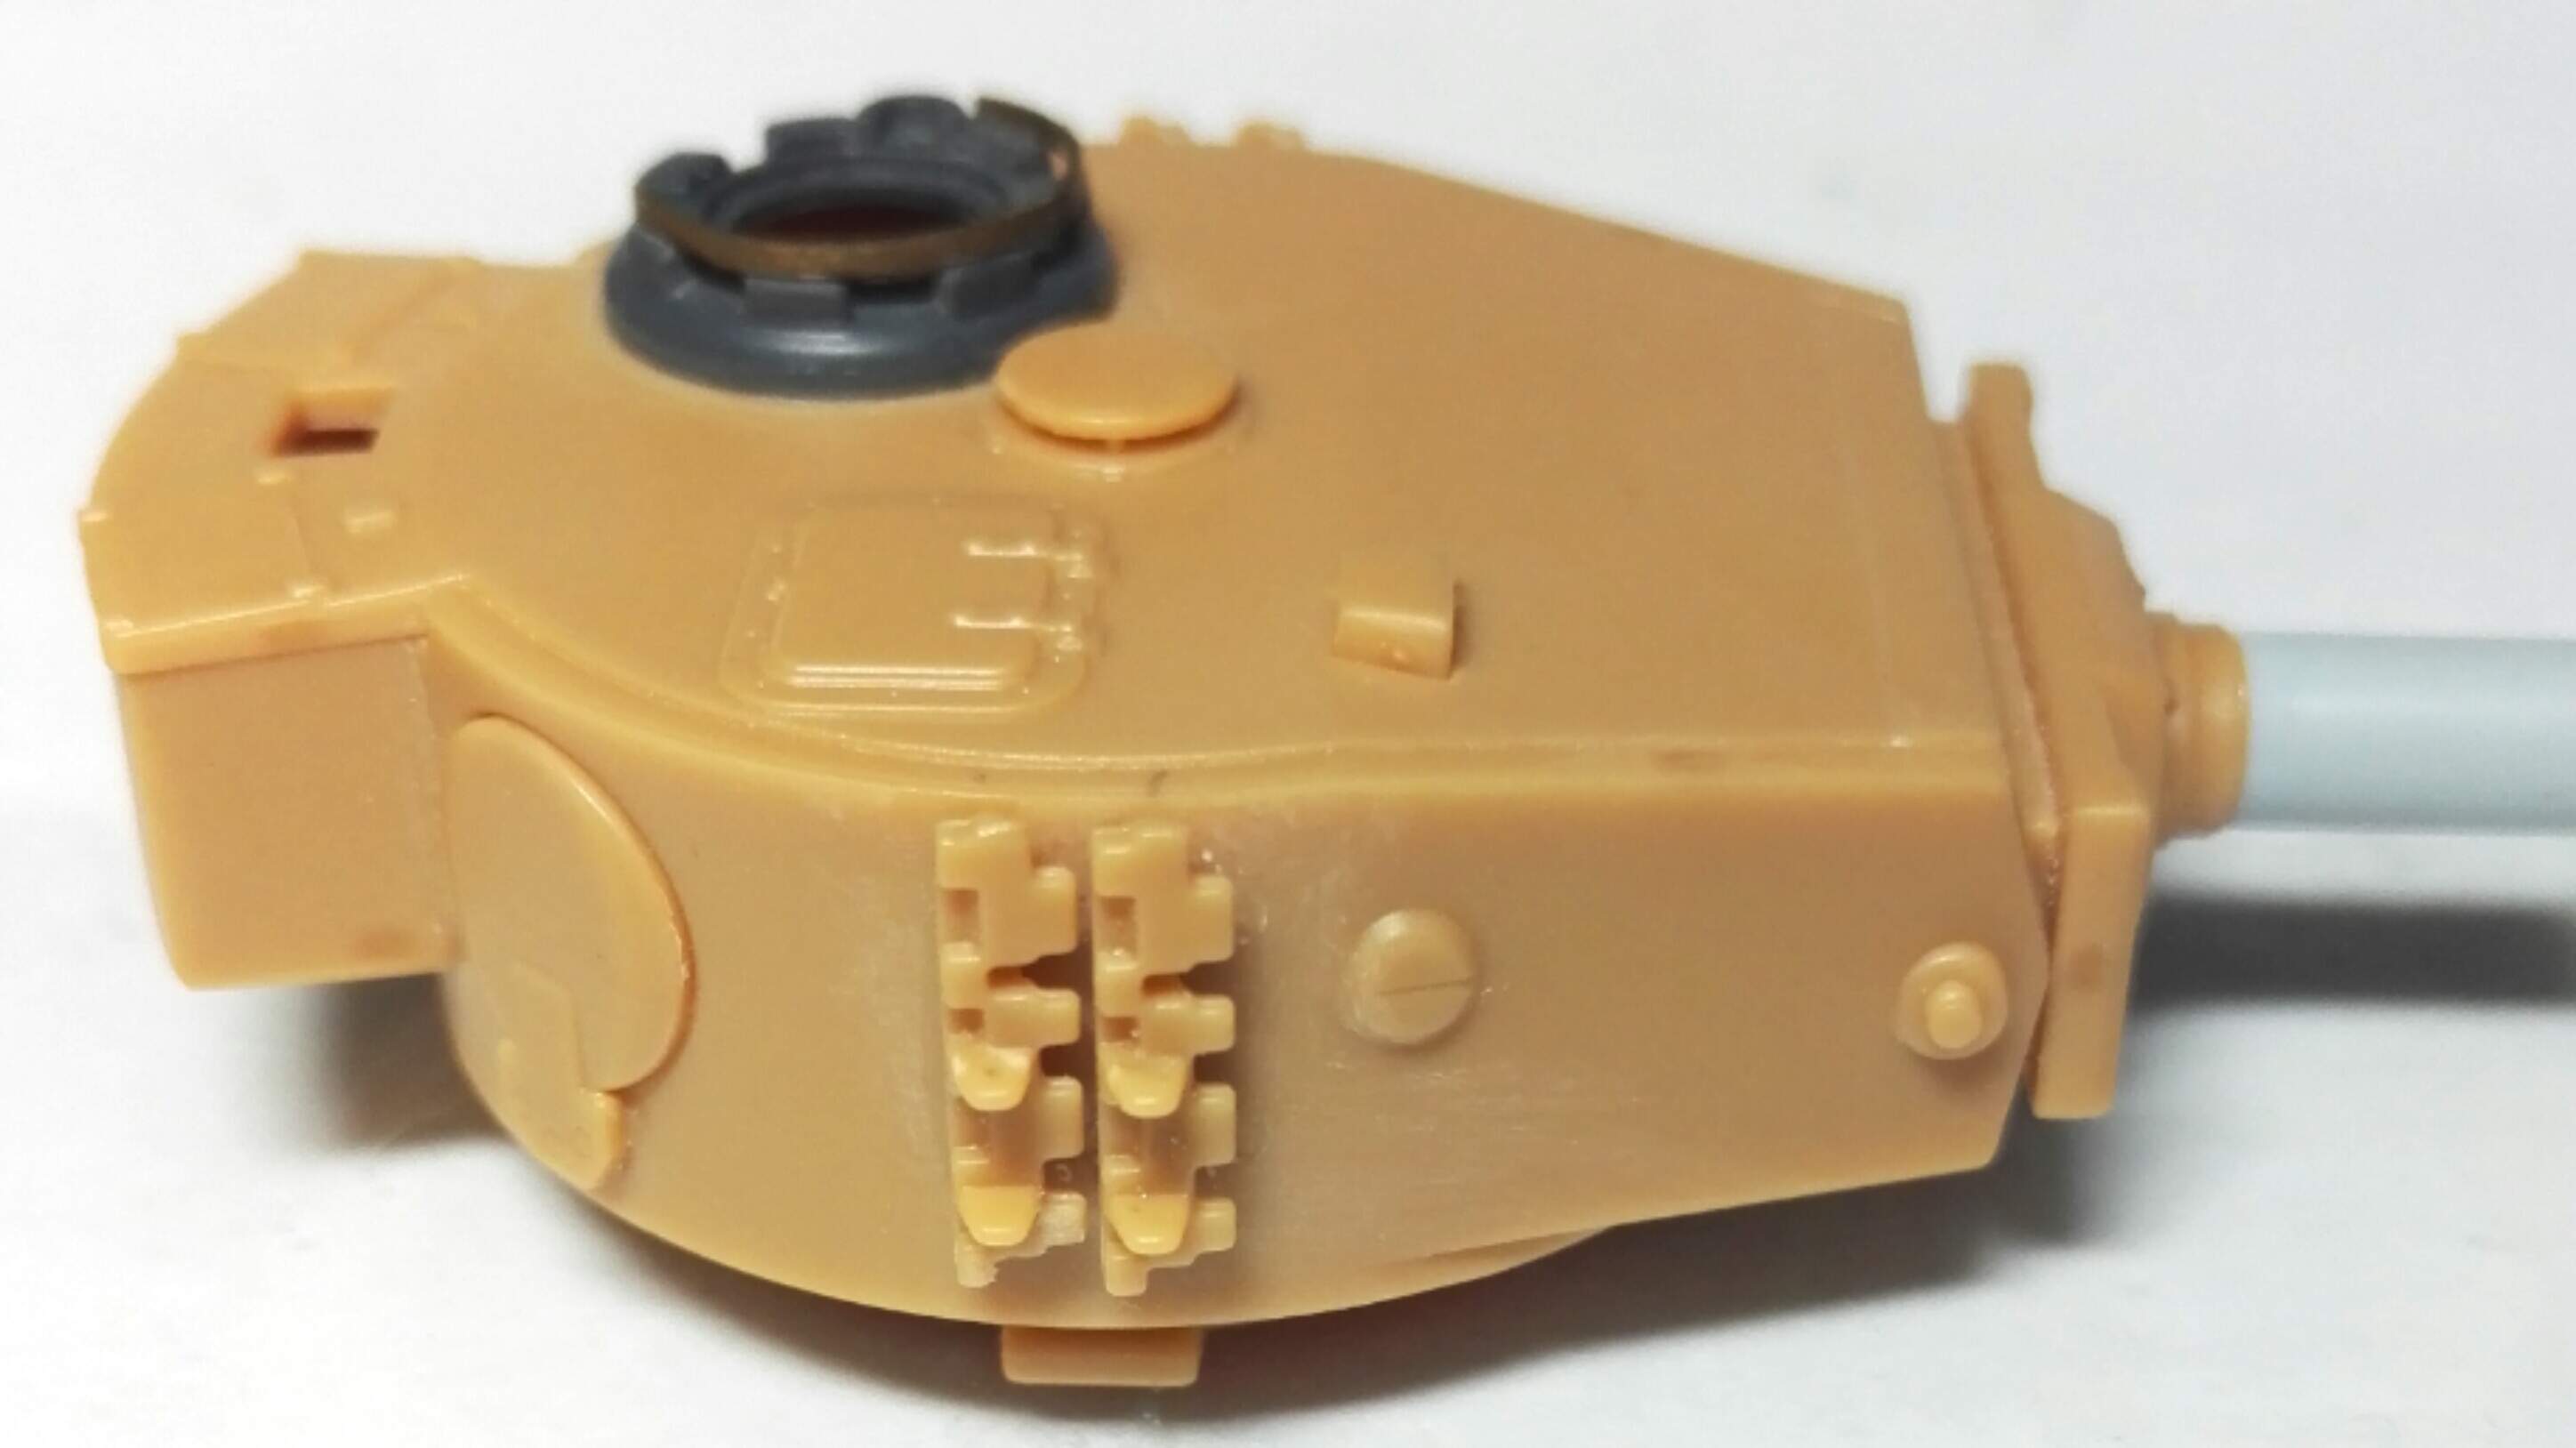
I think the links on the turret left are in an OK position. The only problem is that they are just links, with no detail of the brackets that they were hung on. So I’ll add them, then work out how to detail the bottom and top brackets.
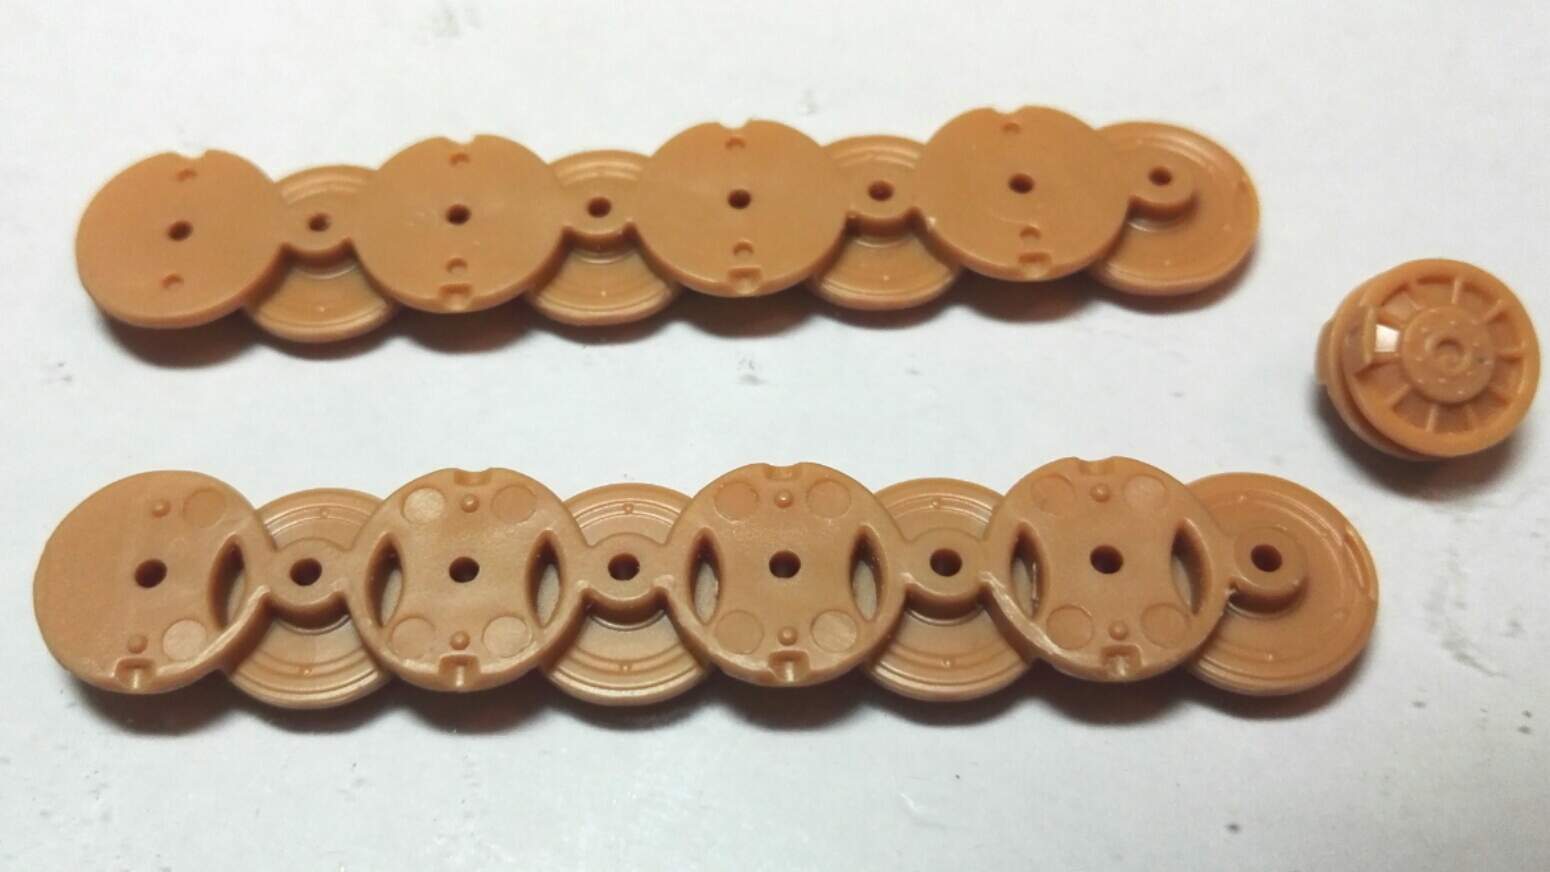
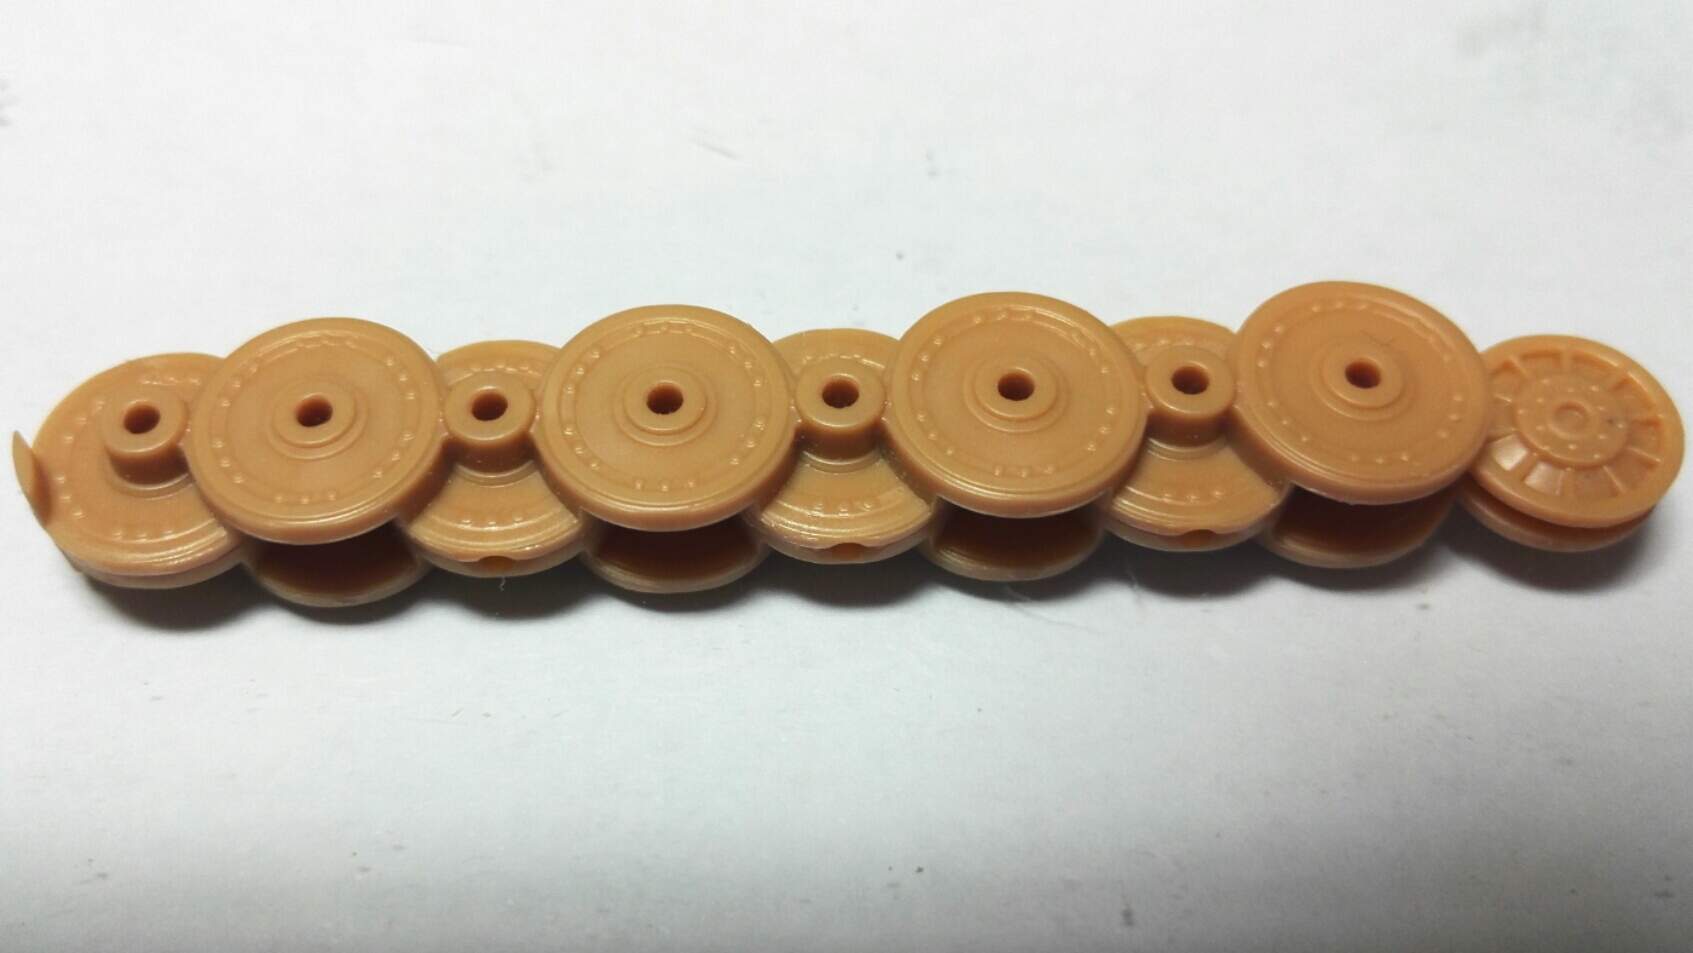
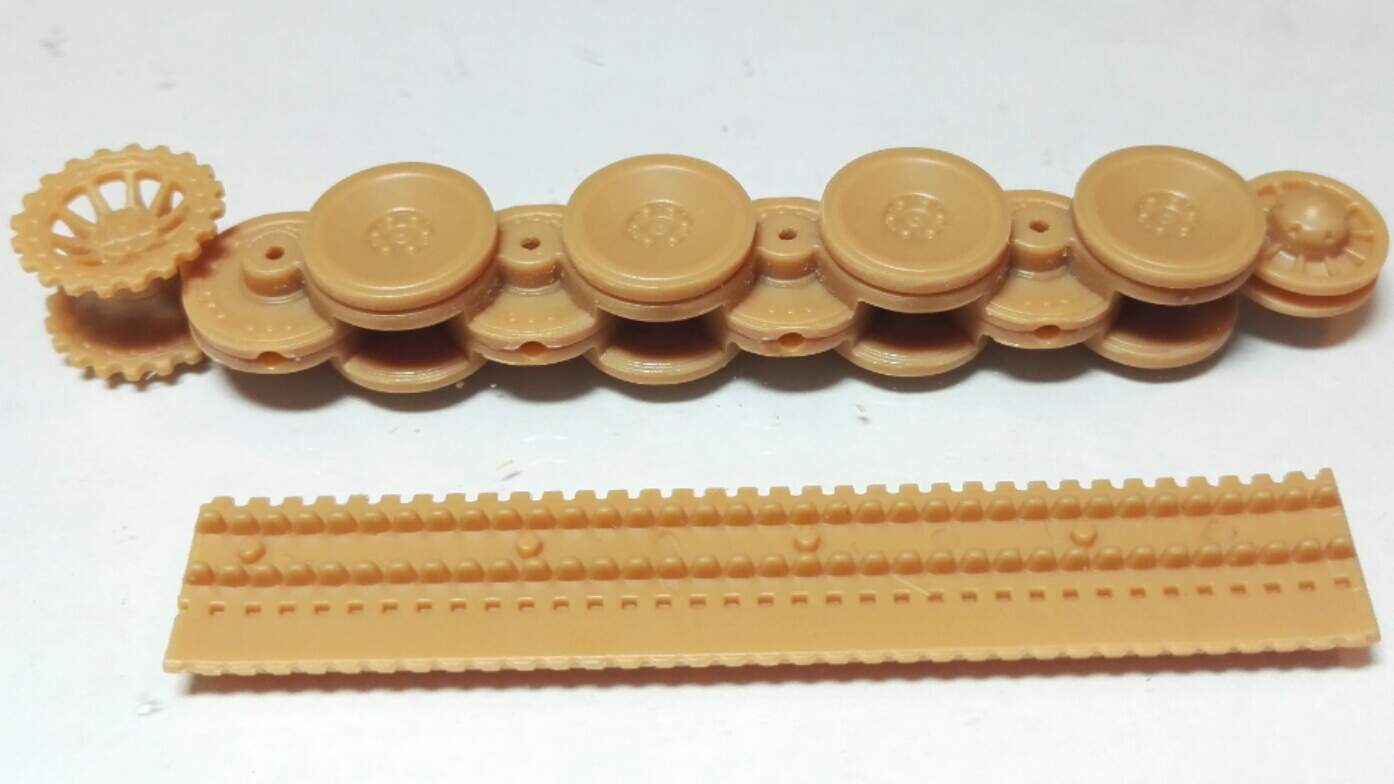
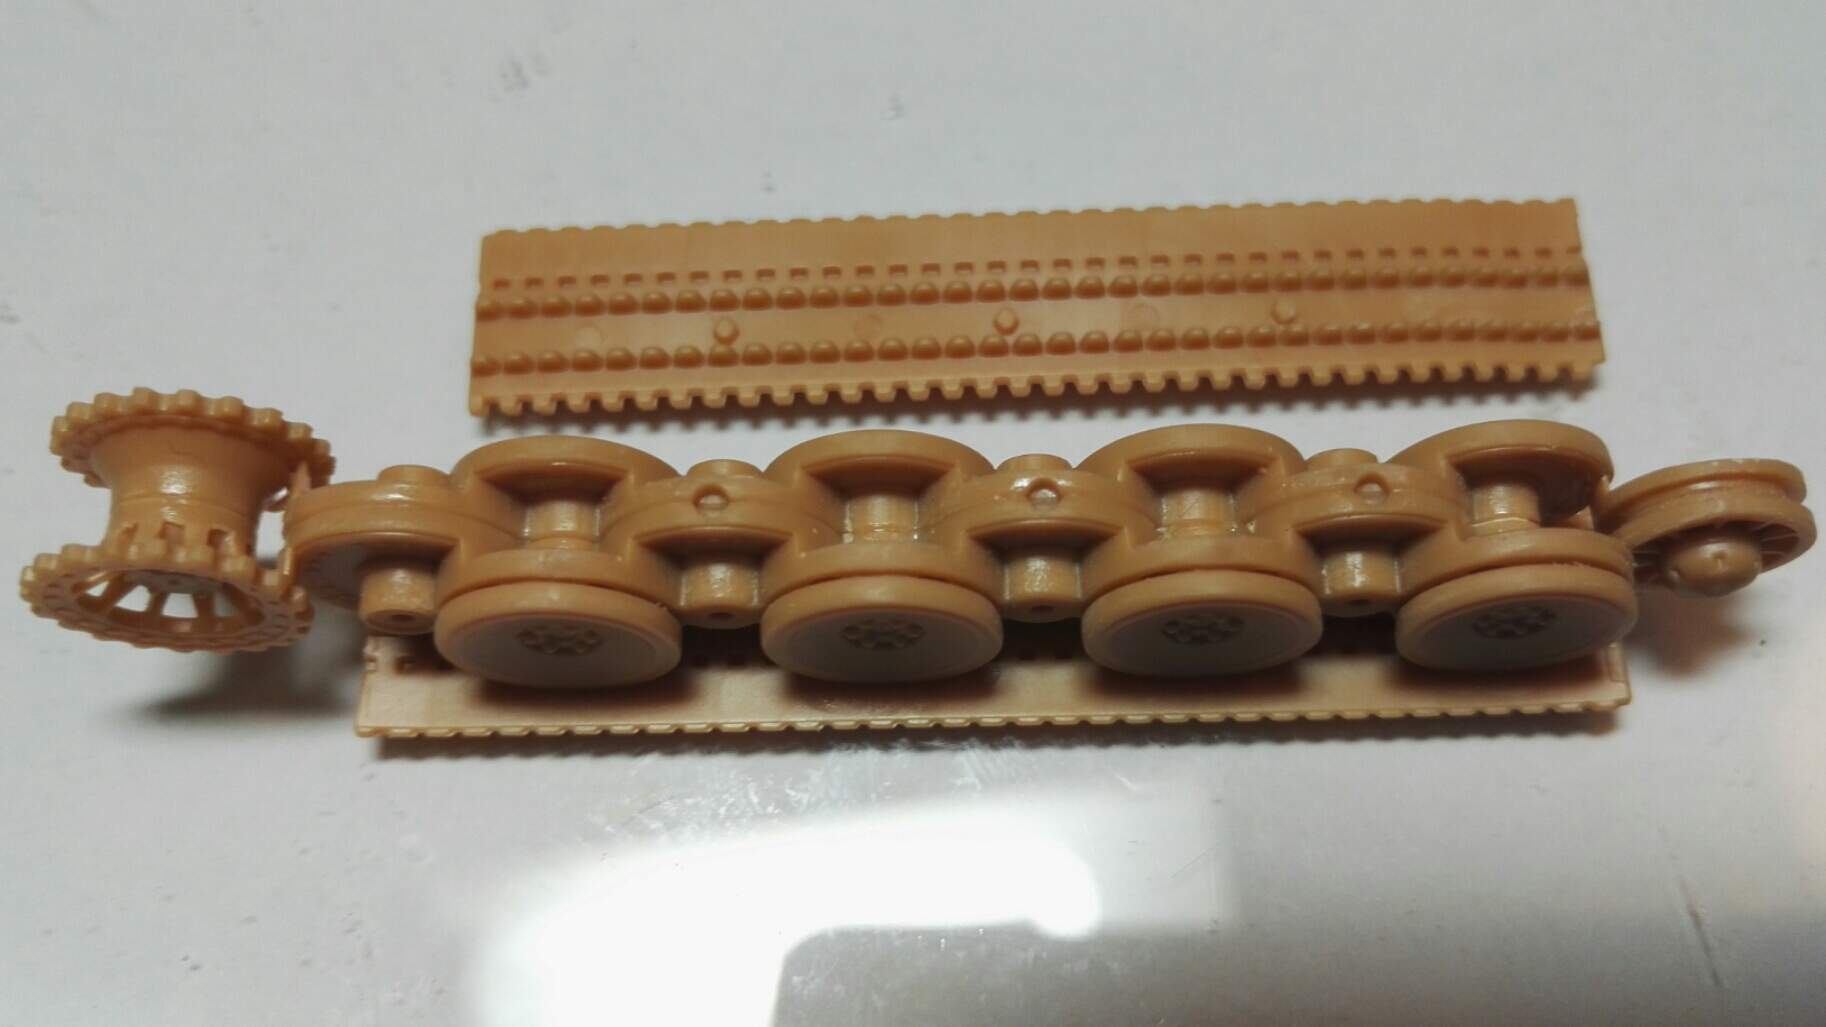
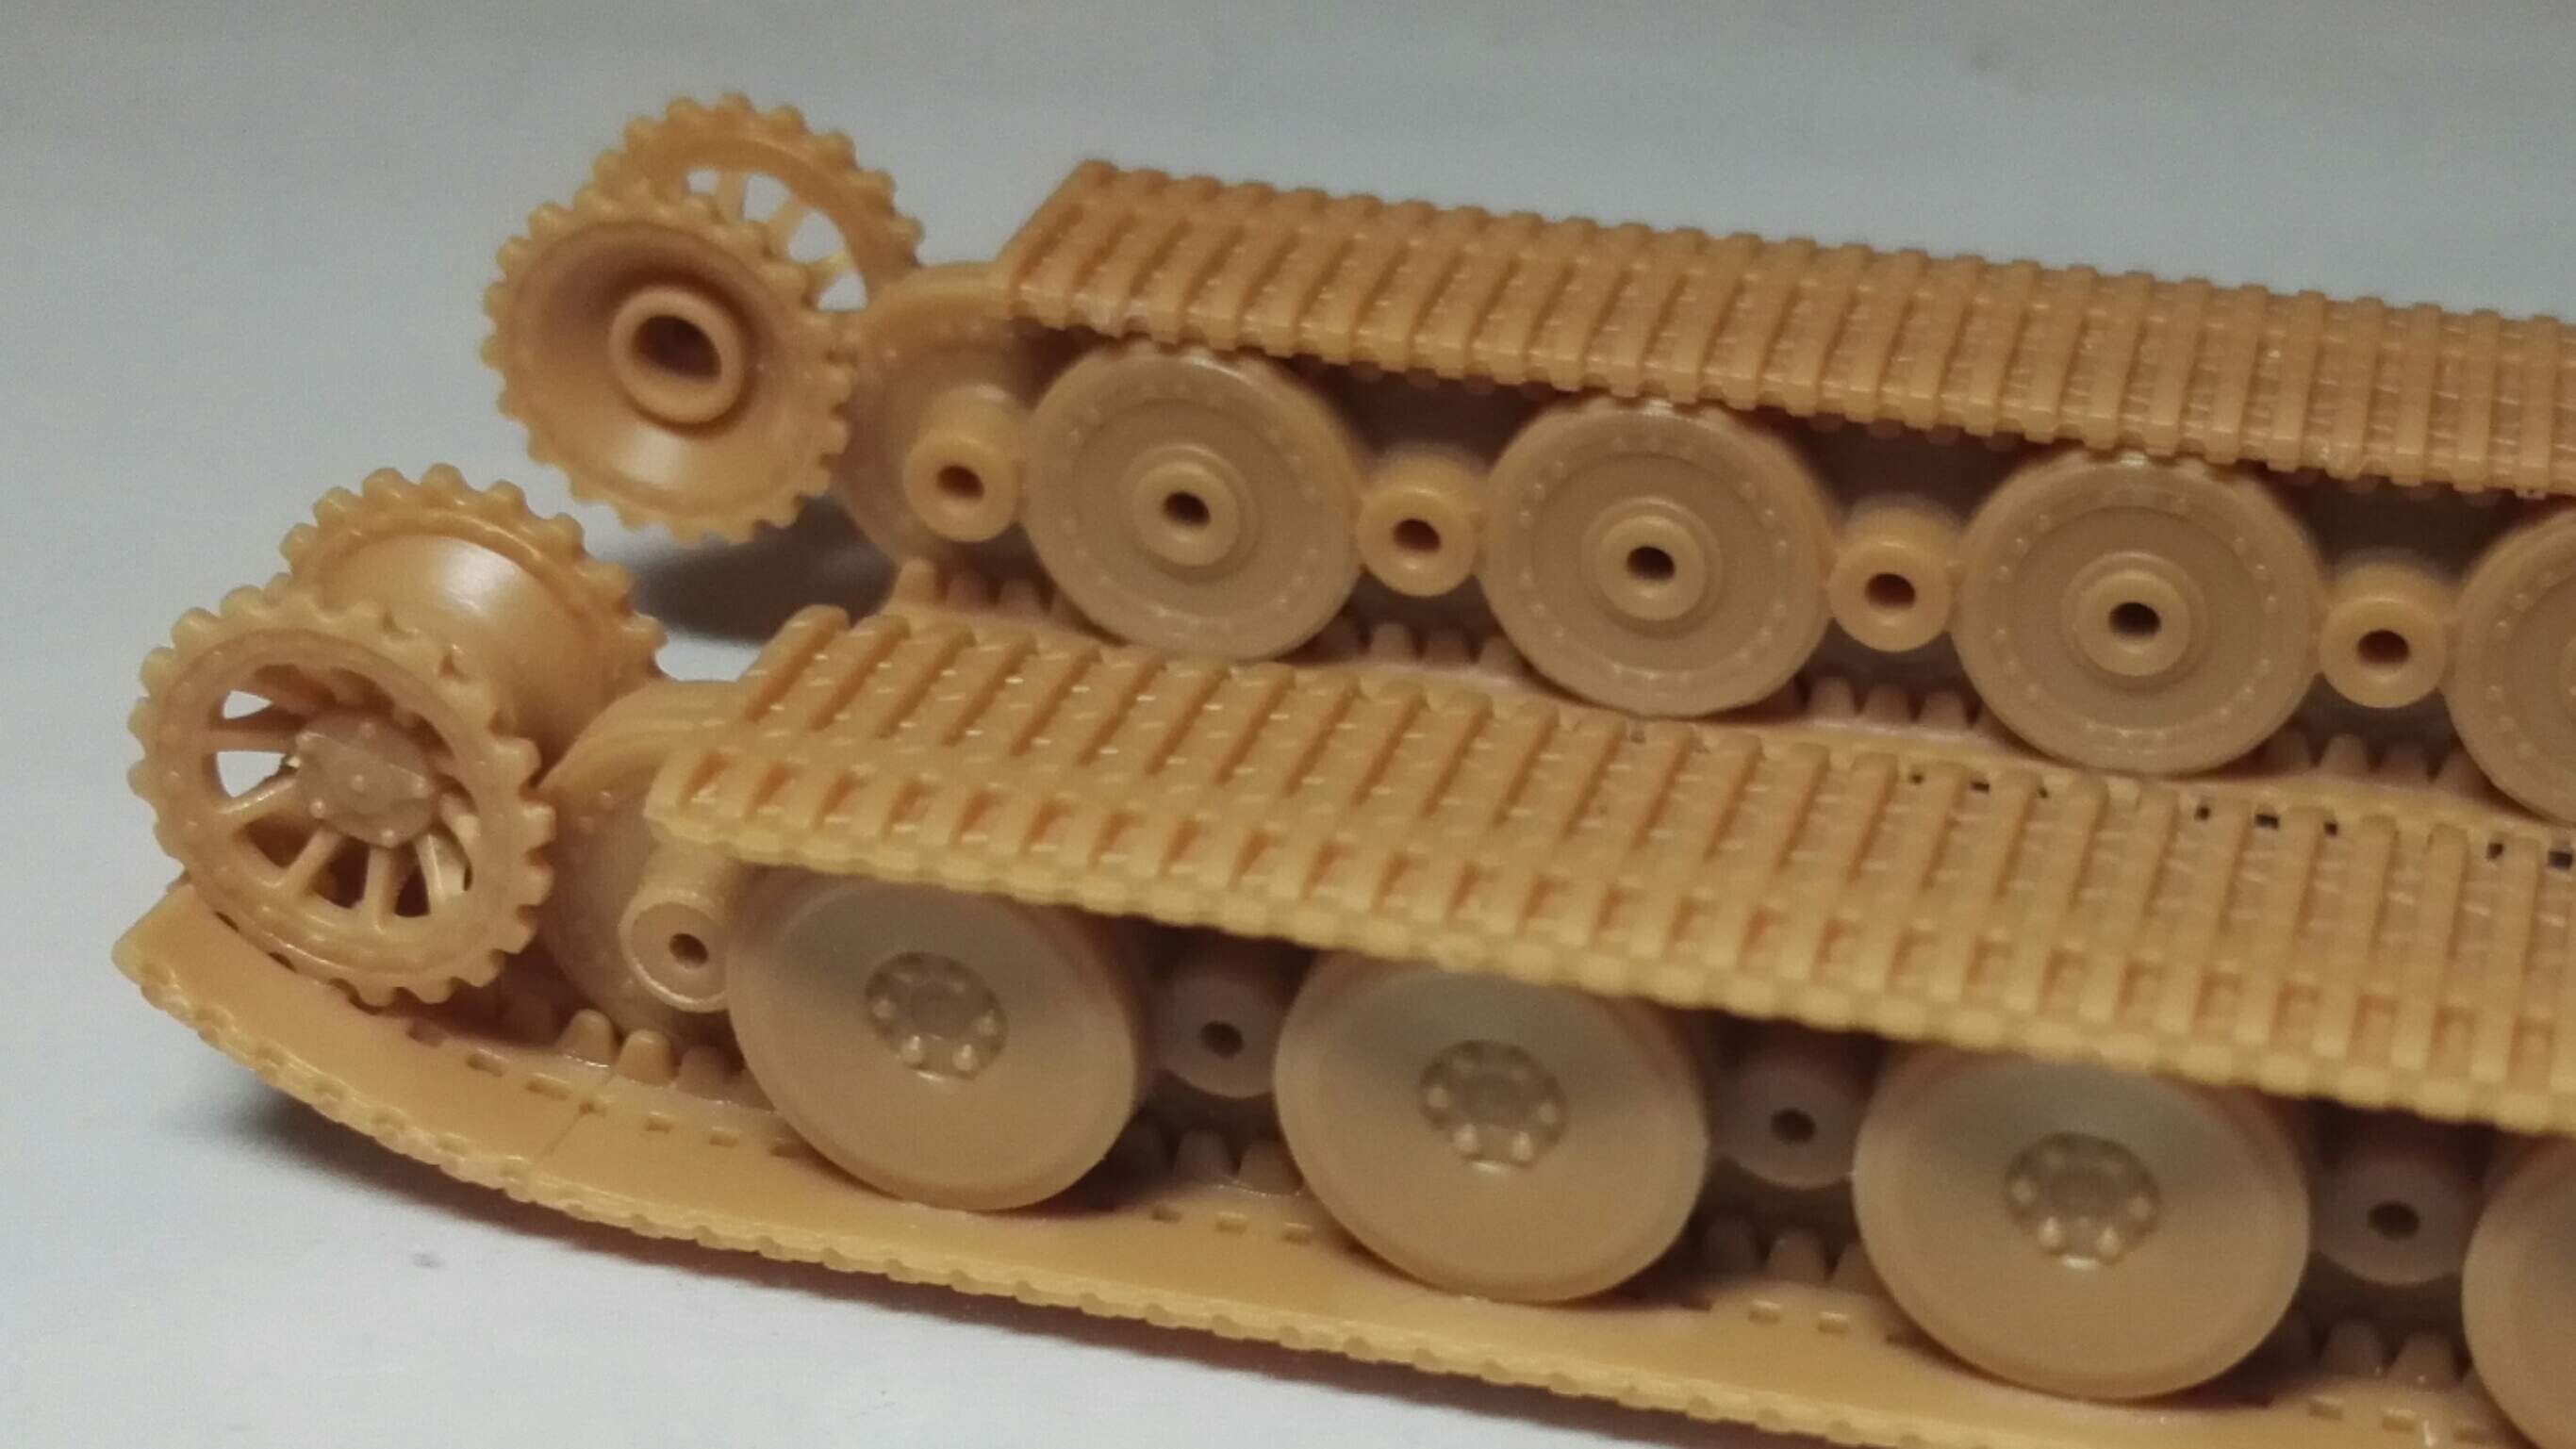
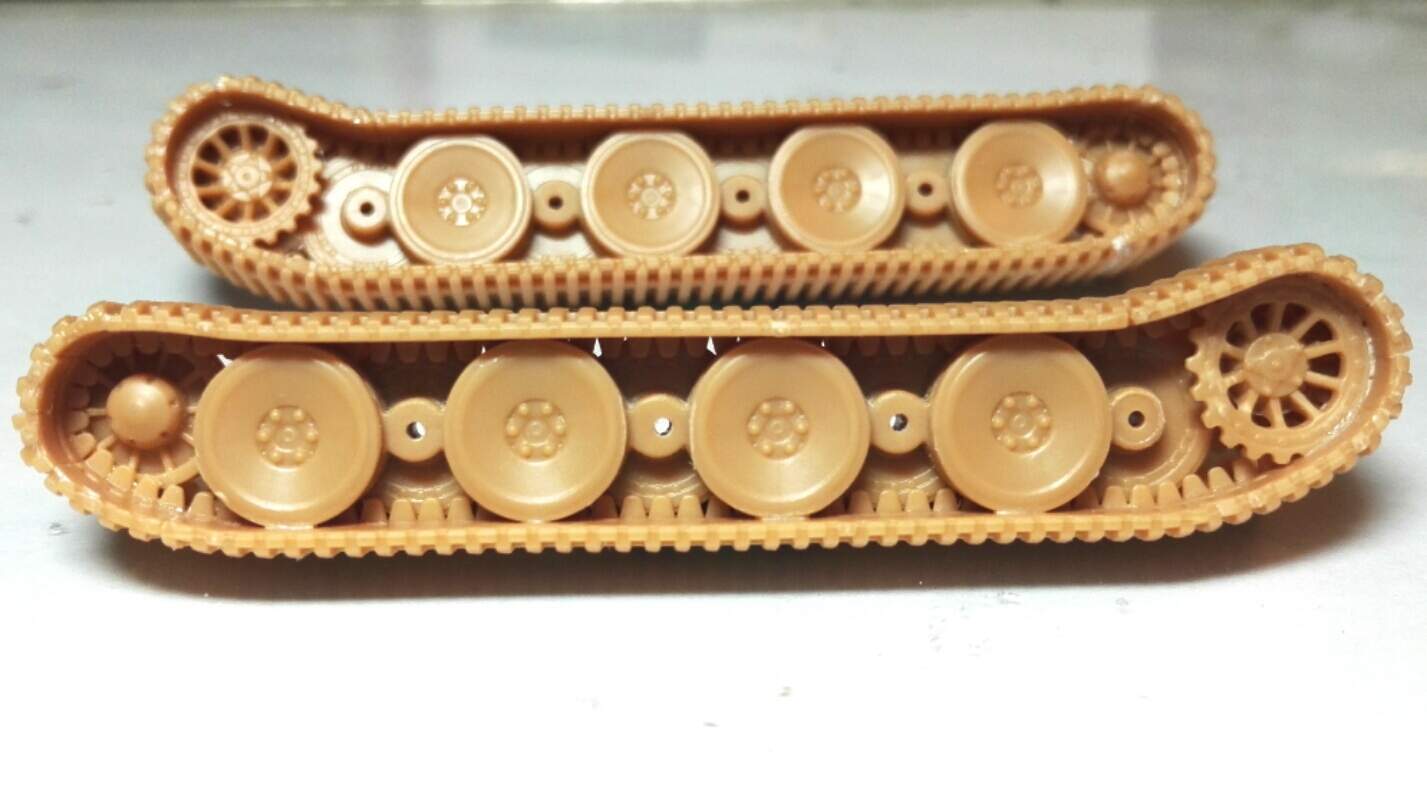
Sprockets are quite nicely detailed, but care is needed to join the right halves as they are mirrors, not identical - I managed to mix them up so the recesses shown here were on opposite sides.
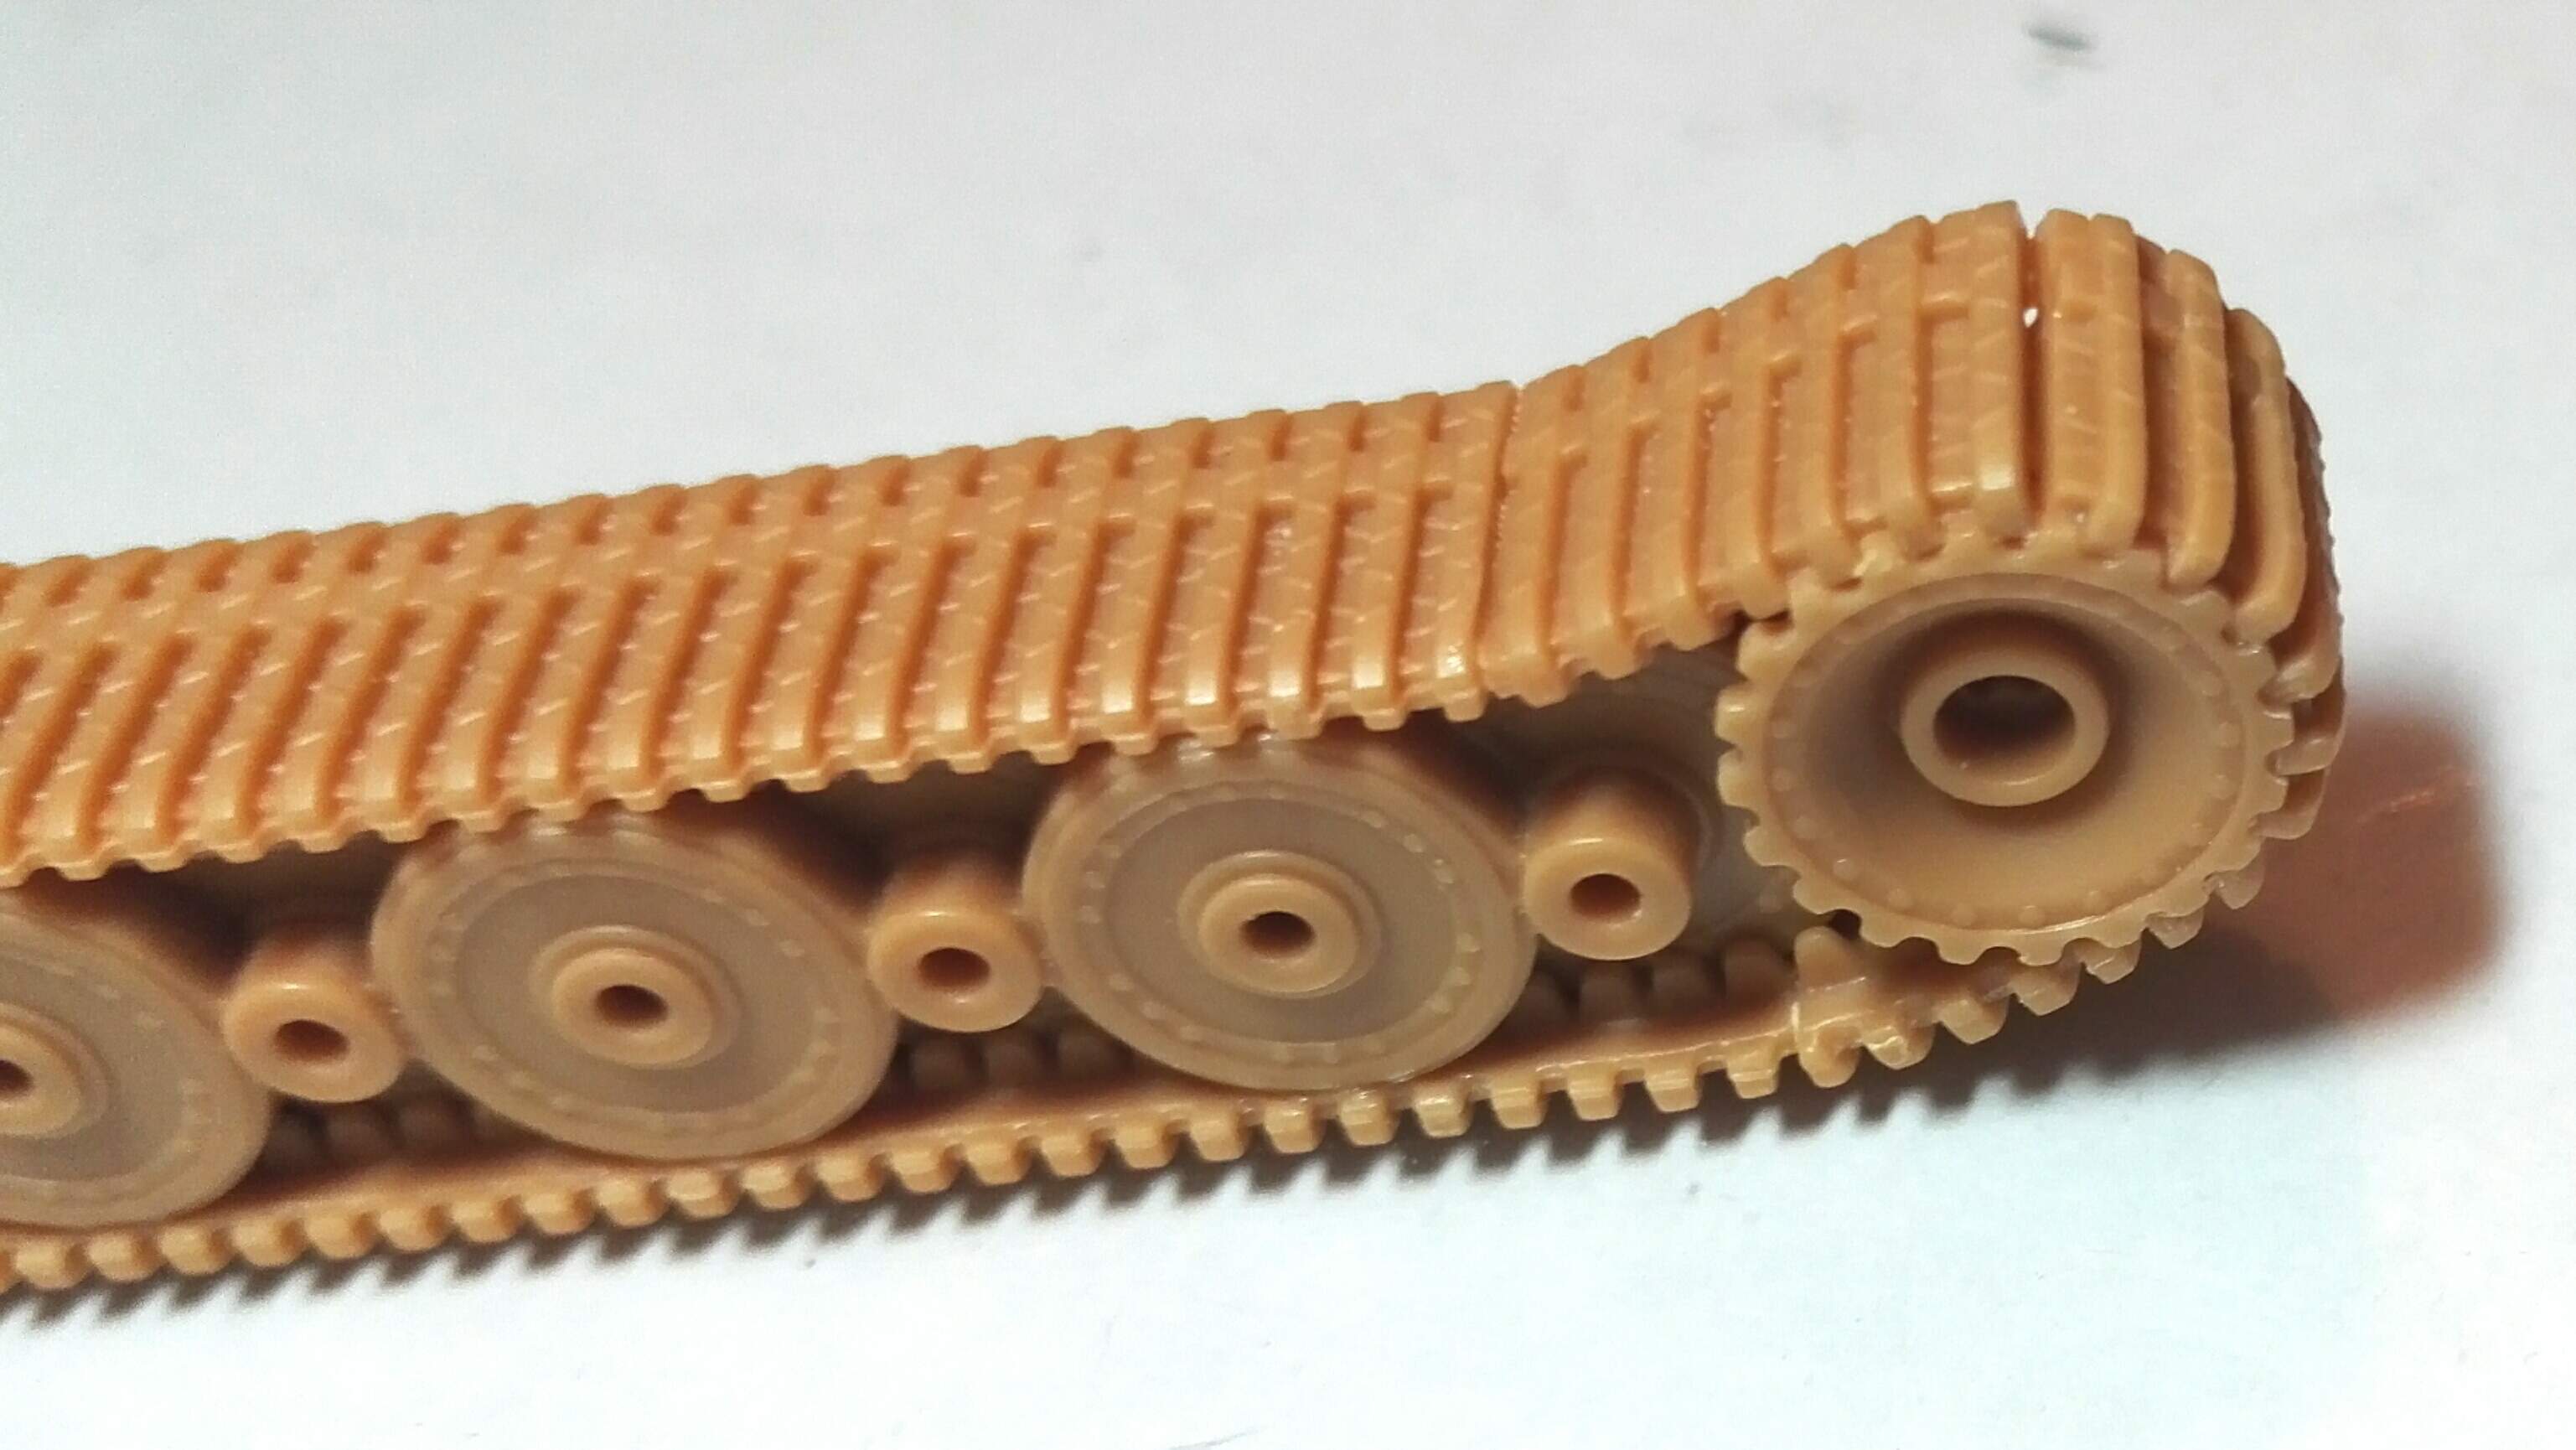
These are the “advanced” modeller tracks, not the simplified set in the kit… So still simplified though with no detail at all in the inner side. That seems a bit odd when the lower run has detail on the underside of the lower run that isn’t really needed.
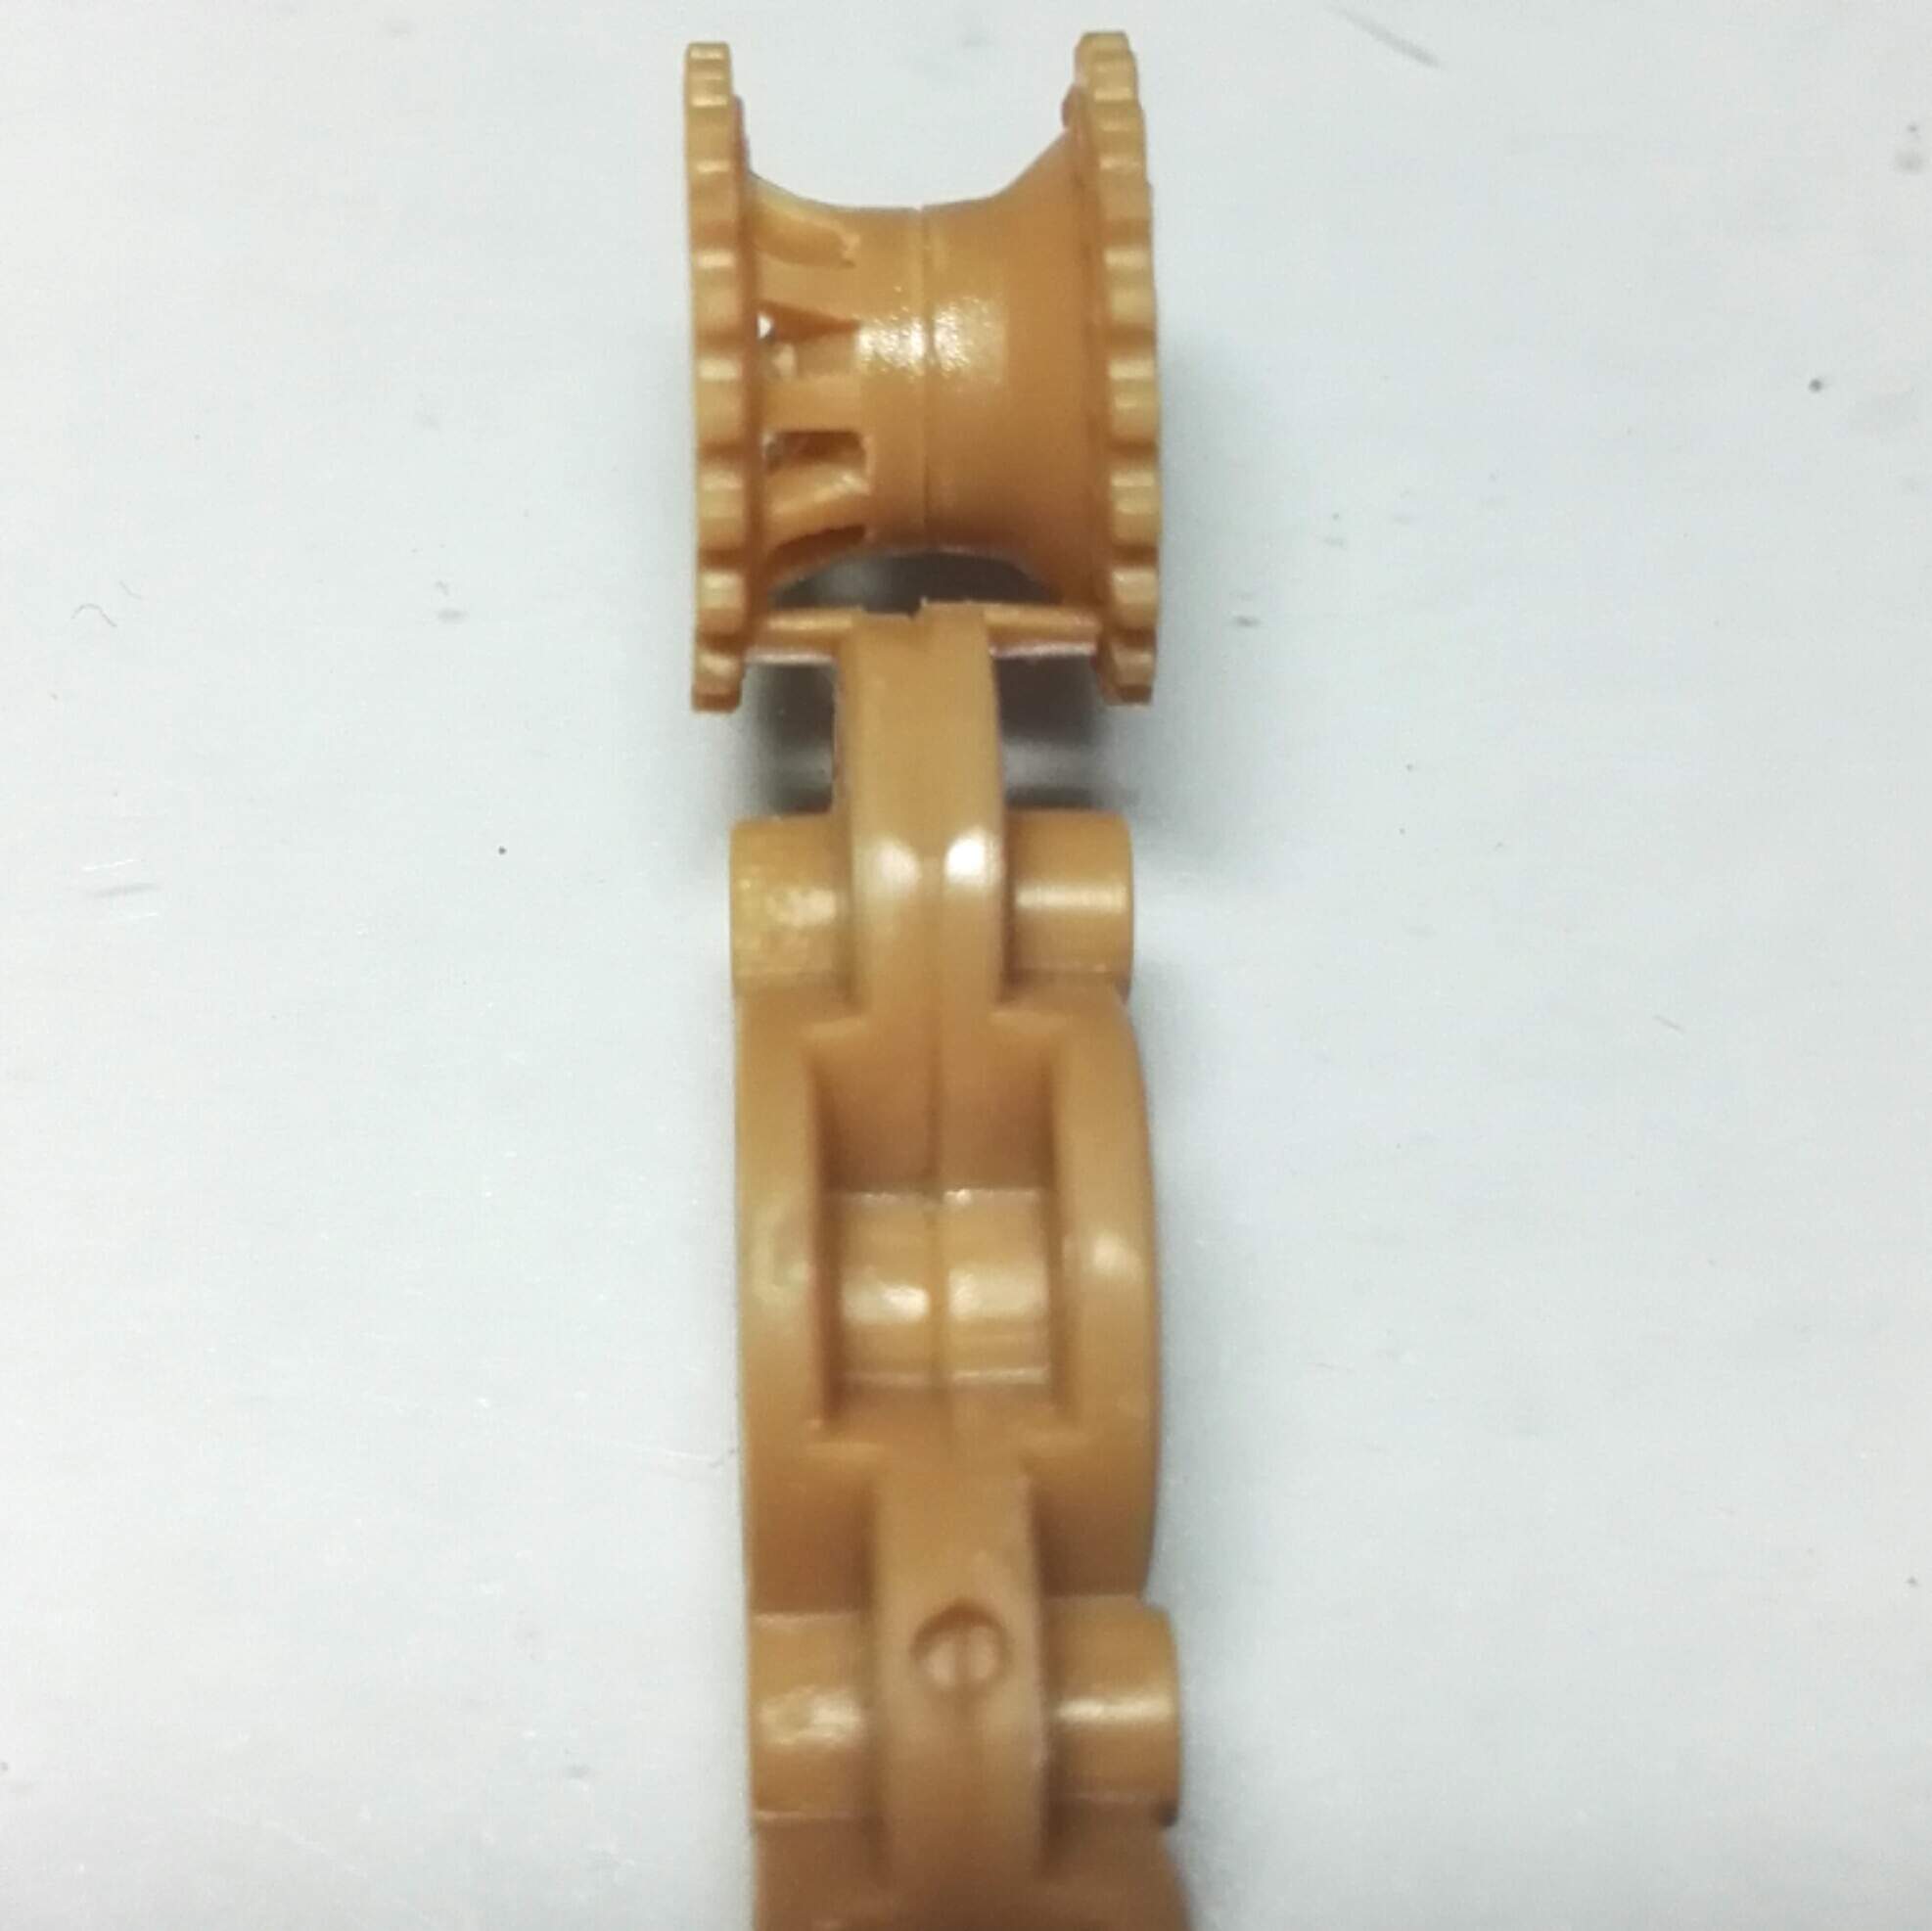
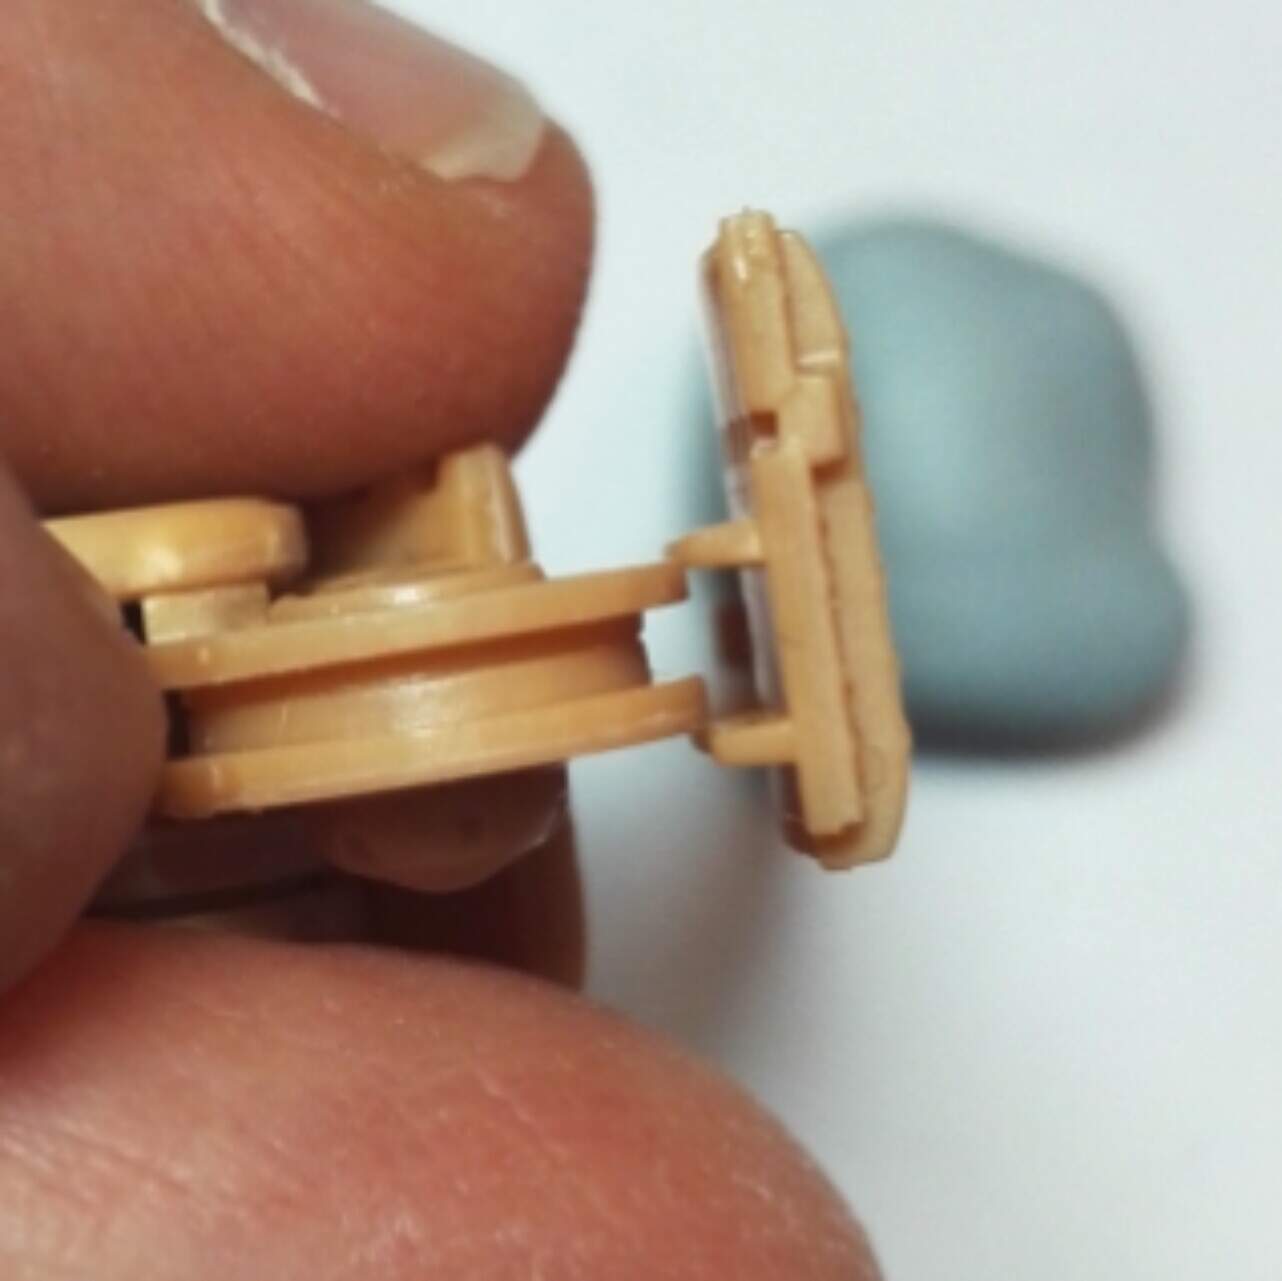
When it comes to adding the lengths around the idler, the idler didn’t fit between the guide horns of any of the sections. Is this the CAD dimensions being identical again?
Similar with the sprocket end, this time the outer teeth sit in a channel, with the channel needing to be deepened to allow the teeth to sit in properly. Obviously there’s no teeth through the track detail on the outer side, though there is on the inner side where the teeth are on the track edge.
Yes, anyone who can still get hold of one probably should do that. I had a look for one of the ones with Zimmerit, and it seems like not all of them are available these days.
Then there’s the Zvezda and Trumpeter kits, I guess.
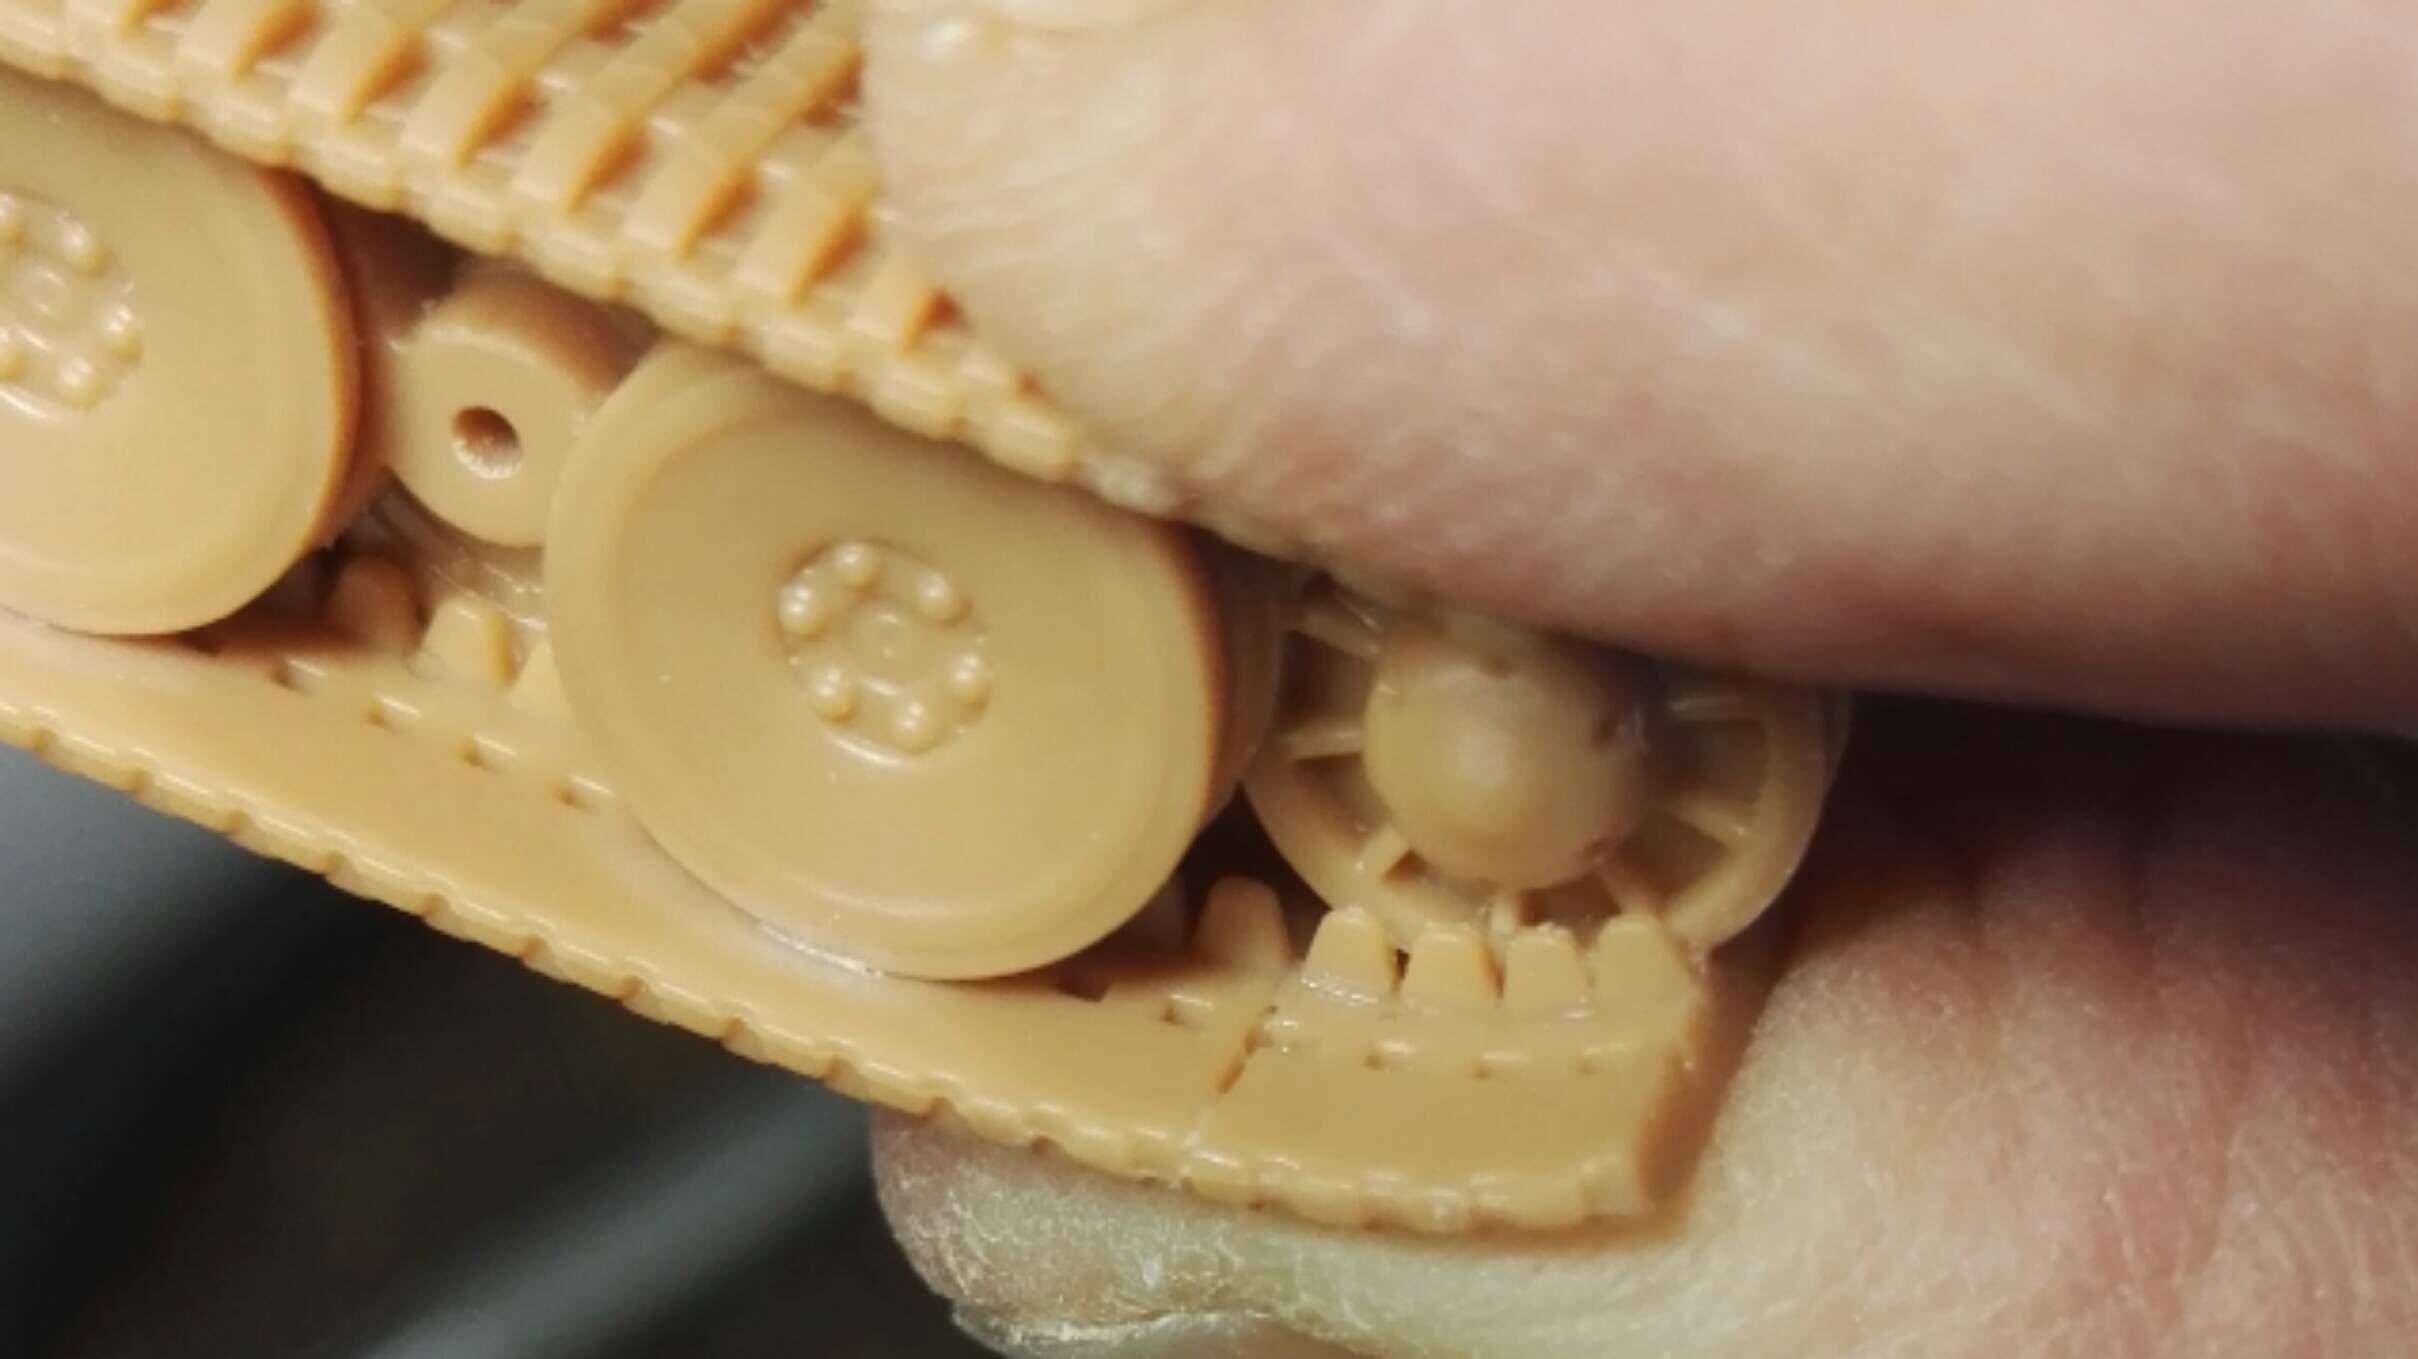
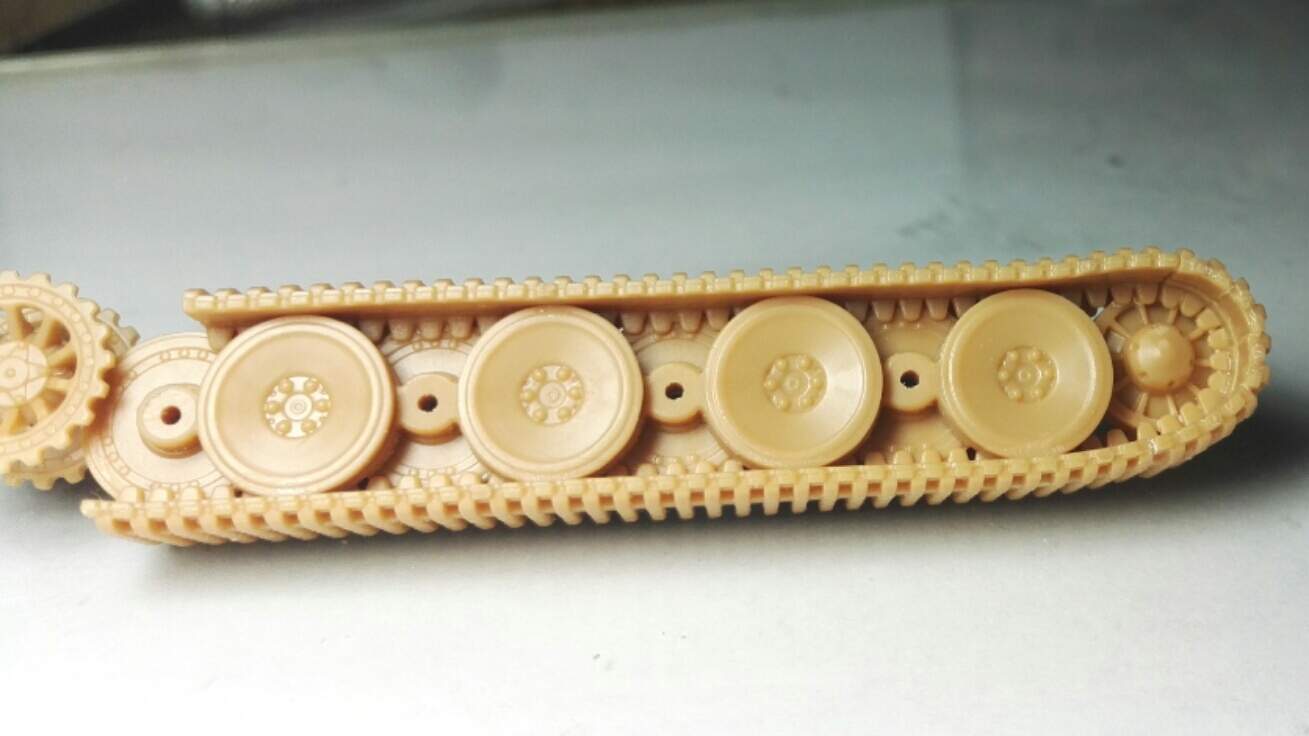
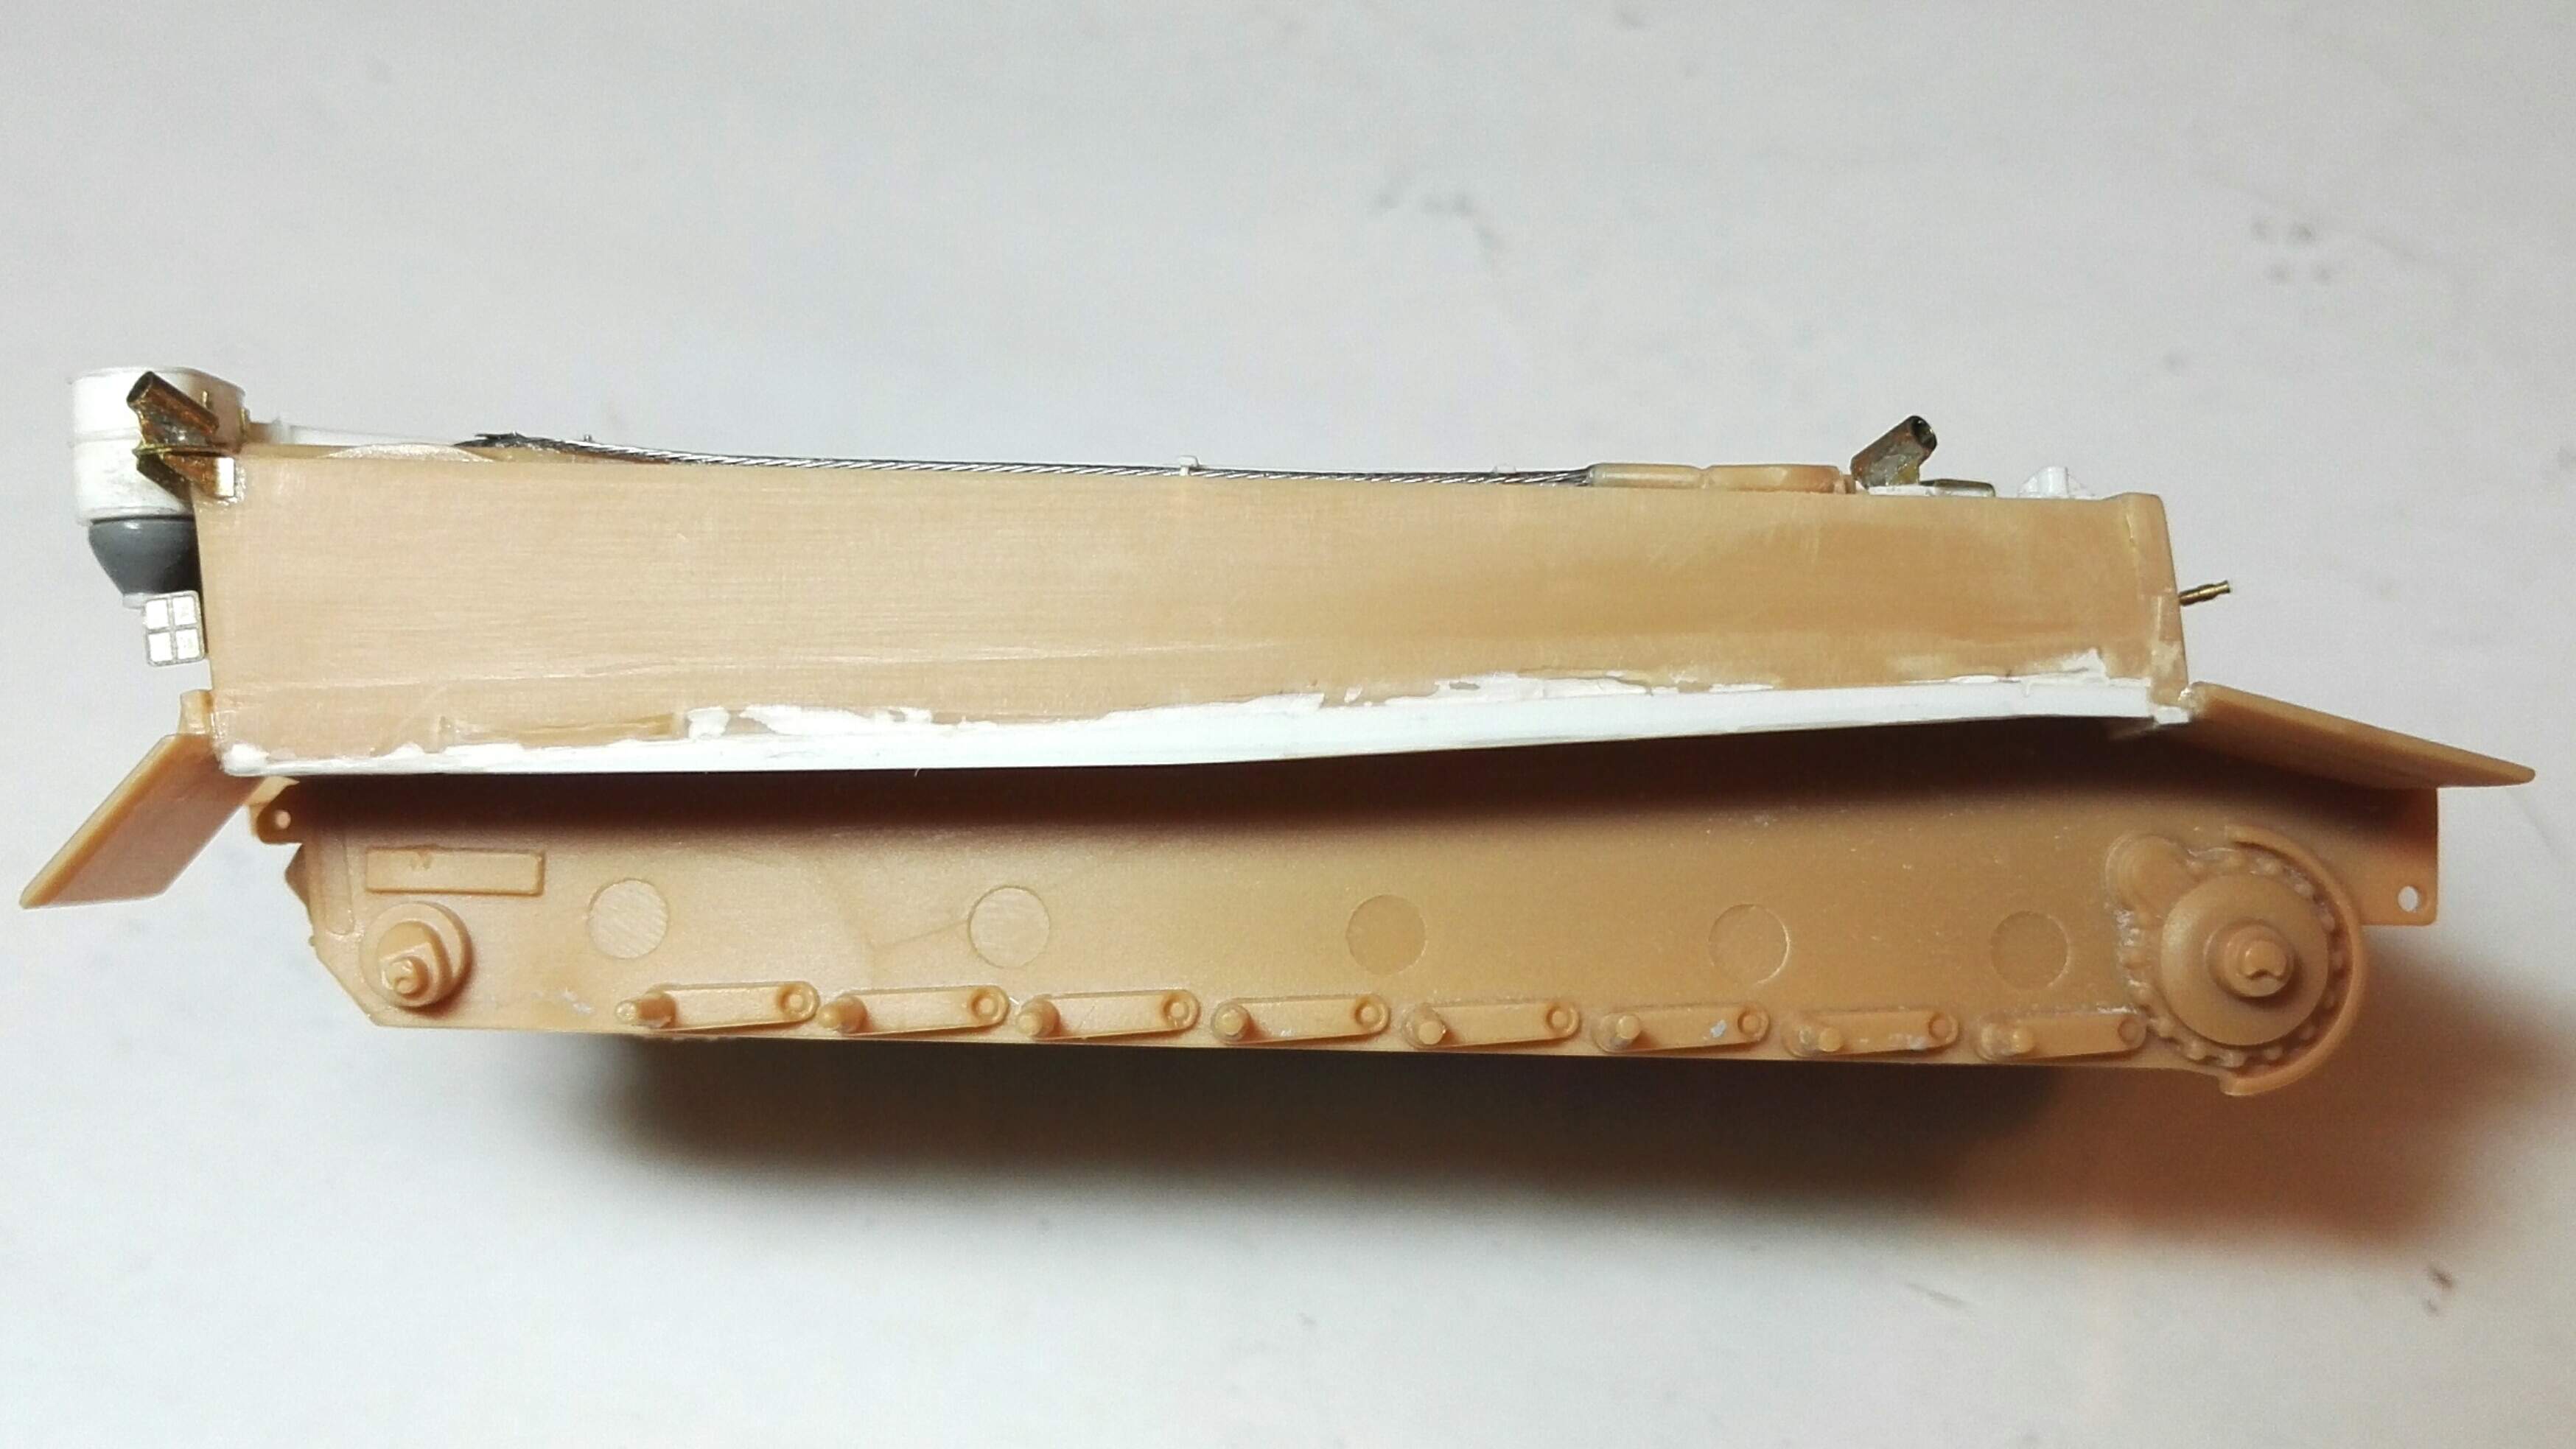
I’ve seen some discussion elsewhere about the overall shape being wrong, and with the tracks test fitted, perhaps I can see what the problem might be. The overall length and width seem about right, but it’s a little bit too tall, though not by much from what I can tell, maybe 0.5-0.75mm. However it looks wrong in that there’s too much of the side armour visible above the mudguard - because the mudguards are too low. The side armour above the very front of the mudguard should be about 3.5mm, instead it’s about 4.8mm. At the back, it should be about 7mm, instead it’s nearer 9mm - the error difference there scales up to almost 6 inches.
It’s obvious with the tracks in place because the lower edge of the mudguard is virtually on the track top at the rear, when it should clear it by a couple of mm.
So, given this, and that I now only need to detail the track link holders and cement the barrel in place, I think my work here may be done. I think removing the track guards to raise them up may be too much. Or am I now talking myself in to it? Looks reasonably simple to make new ones from sheet metal…
If its just the side that probably won’t be too bad. If the rear fender mud guards move up a couple mm will they hit the air cleaners on the rear? If it gets into moving the front fenders as well that might be a can of worms.
In my humble opinion worth doing if it doesn’t involve changing much else.
I think it is just the side mudguards that are wrong, the front and rear end ones are more or less OK, in fact I think more of the side guards should be visible above the end guards.
I’ve been browsing reviews and, although the Forces of Valor Tiger l is a different mark, the detail and general quality and accuracy seems to be much better than Airfix. Forces of Valor Tiger I
Yes, it looks about the same level of simplification, perhaps less hobbled by accuracy issues, although the stretched track top run is a bit of a turn off.
Also a bit odd that the finished model doesn’t look like the kit, in that it has no side mudguards, they appear to be moulded on in the sprue shots - unless the modeler cut them off. Maybe they were too high…
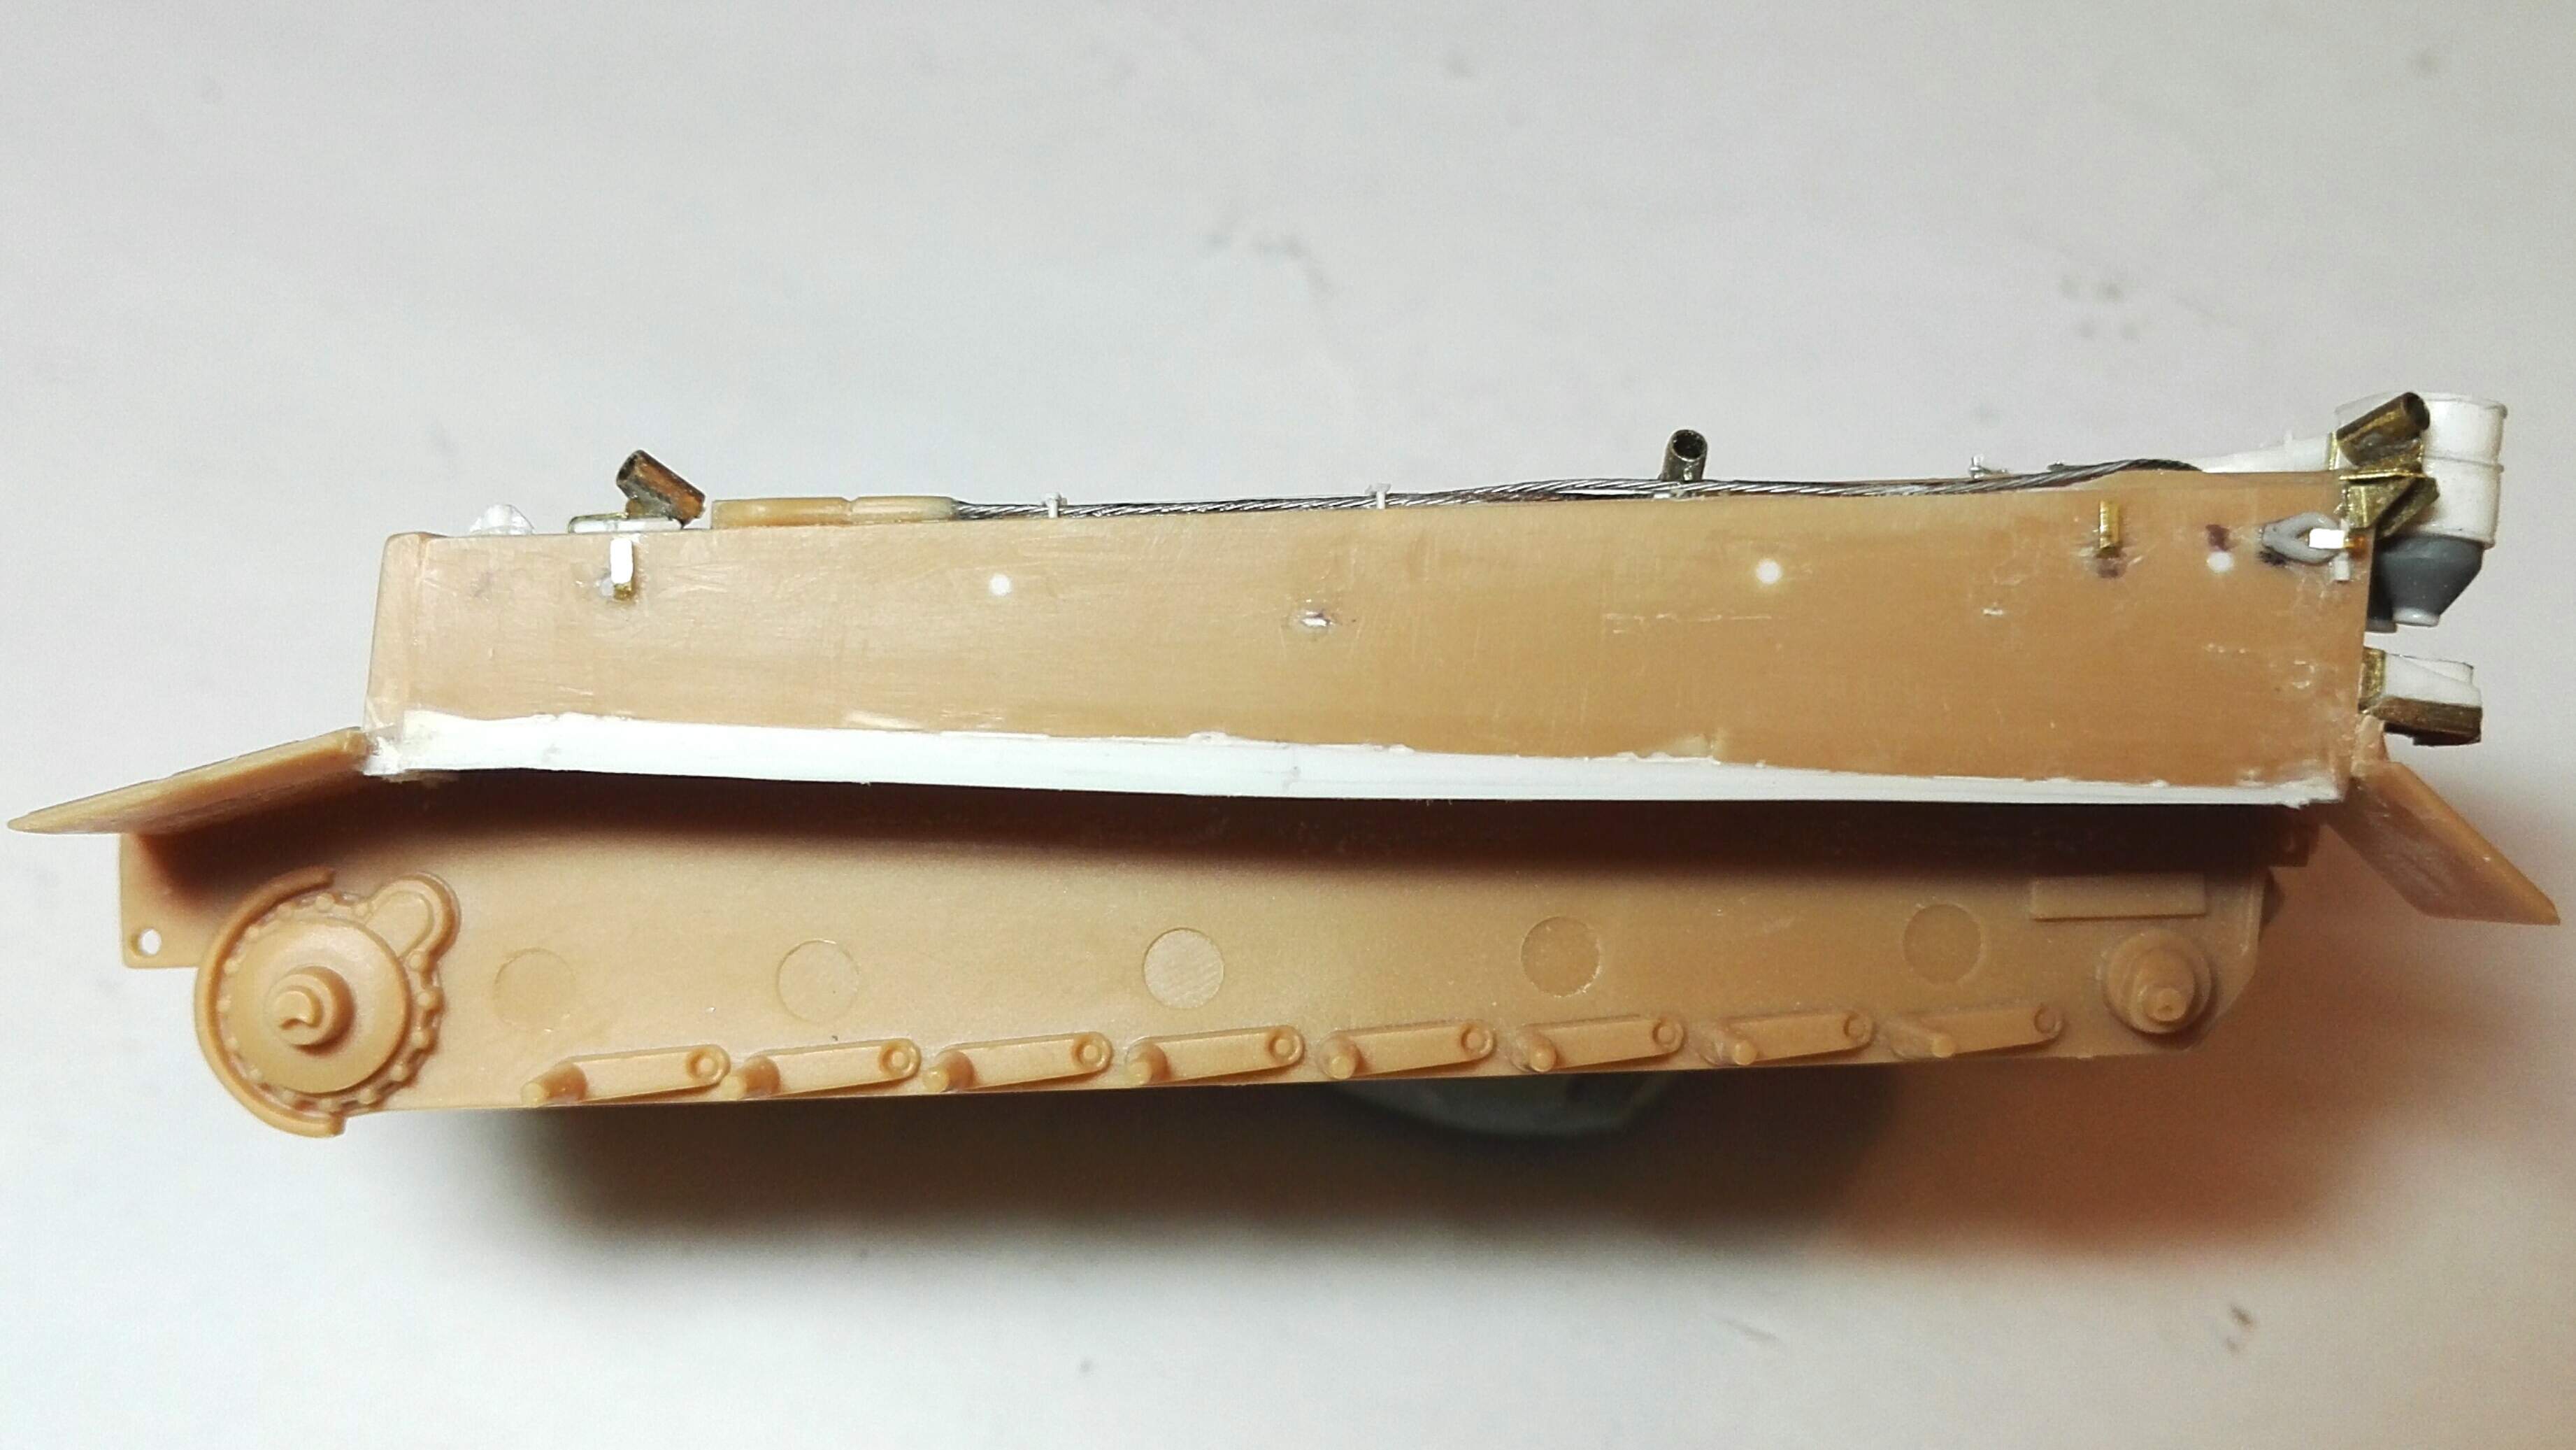
Not really sure why I did this, considering I was only going to replace the side mud guards, and slightly higher up, but I’ve now built down the sides and reshaped them to something nearer to the correct profile. Must say that the difference in the angles of the section are quite subtle, and I’ve had to build it up with tapered strips. Not sure if there was a better way of doing it. Anyway, almost there, a bit more filling and sanding to go. If it’s good enough I may be able to have a section exposed to view.