Aloha,
I’d like to get in on this. Not sure what to do. Most of my ideas are something I’ve already started. Possibly a quarantine enforcement vehicle.
Happy Modeling,
Zon
Aloha,
I’d like to get in on this. Not sure what to do. Most of my ideas are something I’ve already started. Possibly a quarantine enforcement vehicle.
Happy Modeling,
Zon
Post what your working on and let @phil2015 decide if it’s too far along or not.
I’ll do that! Our rule of thumb on campaigns here seems to be stuff that isn’t more than 25% started.
Got a bit side tracked with the submerged T72 and finishing the CTT…
Will get the Land Rover box out and make start over the next few days …
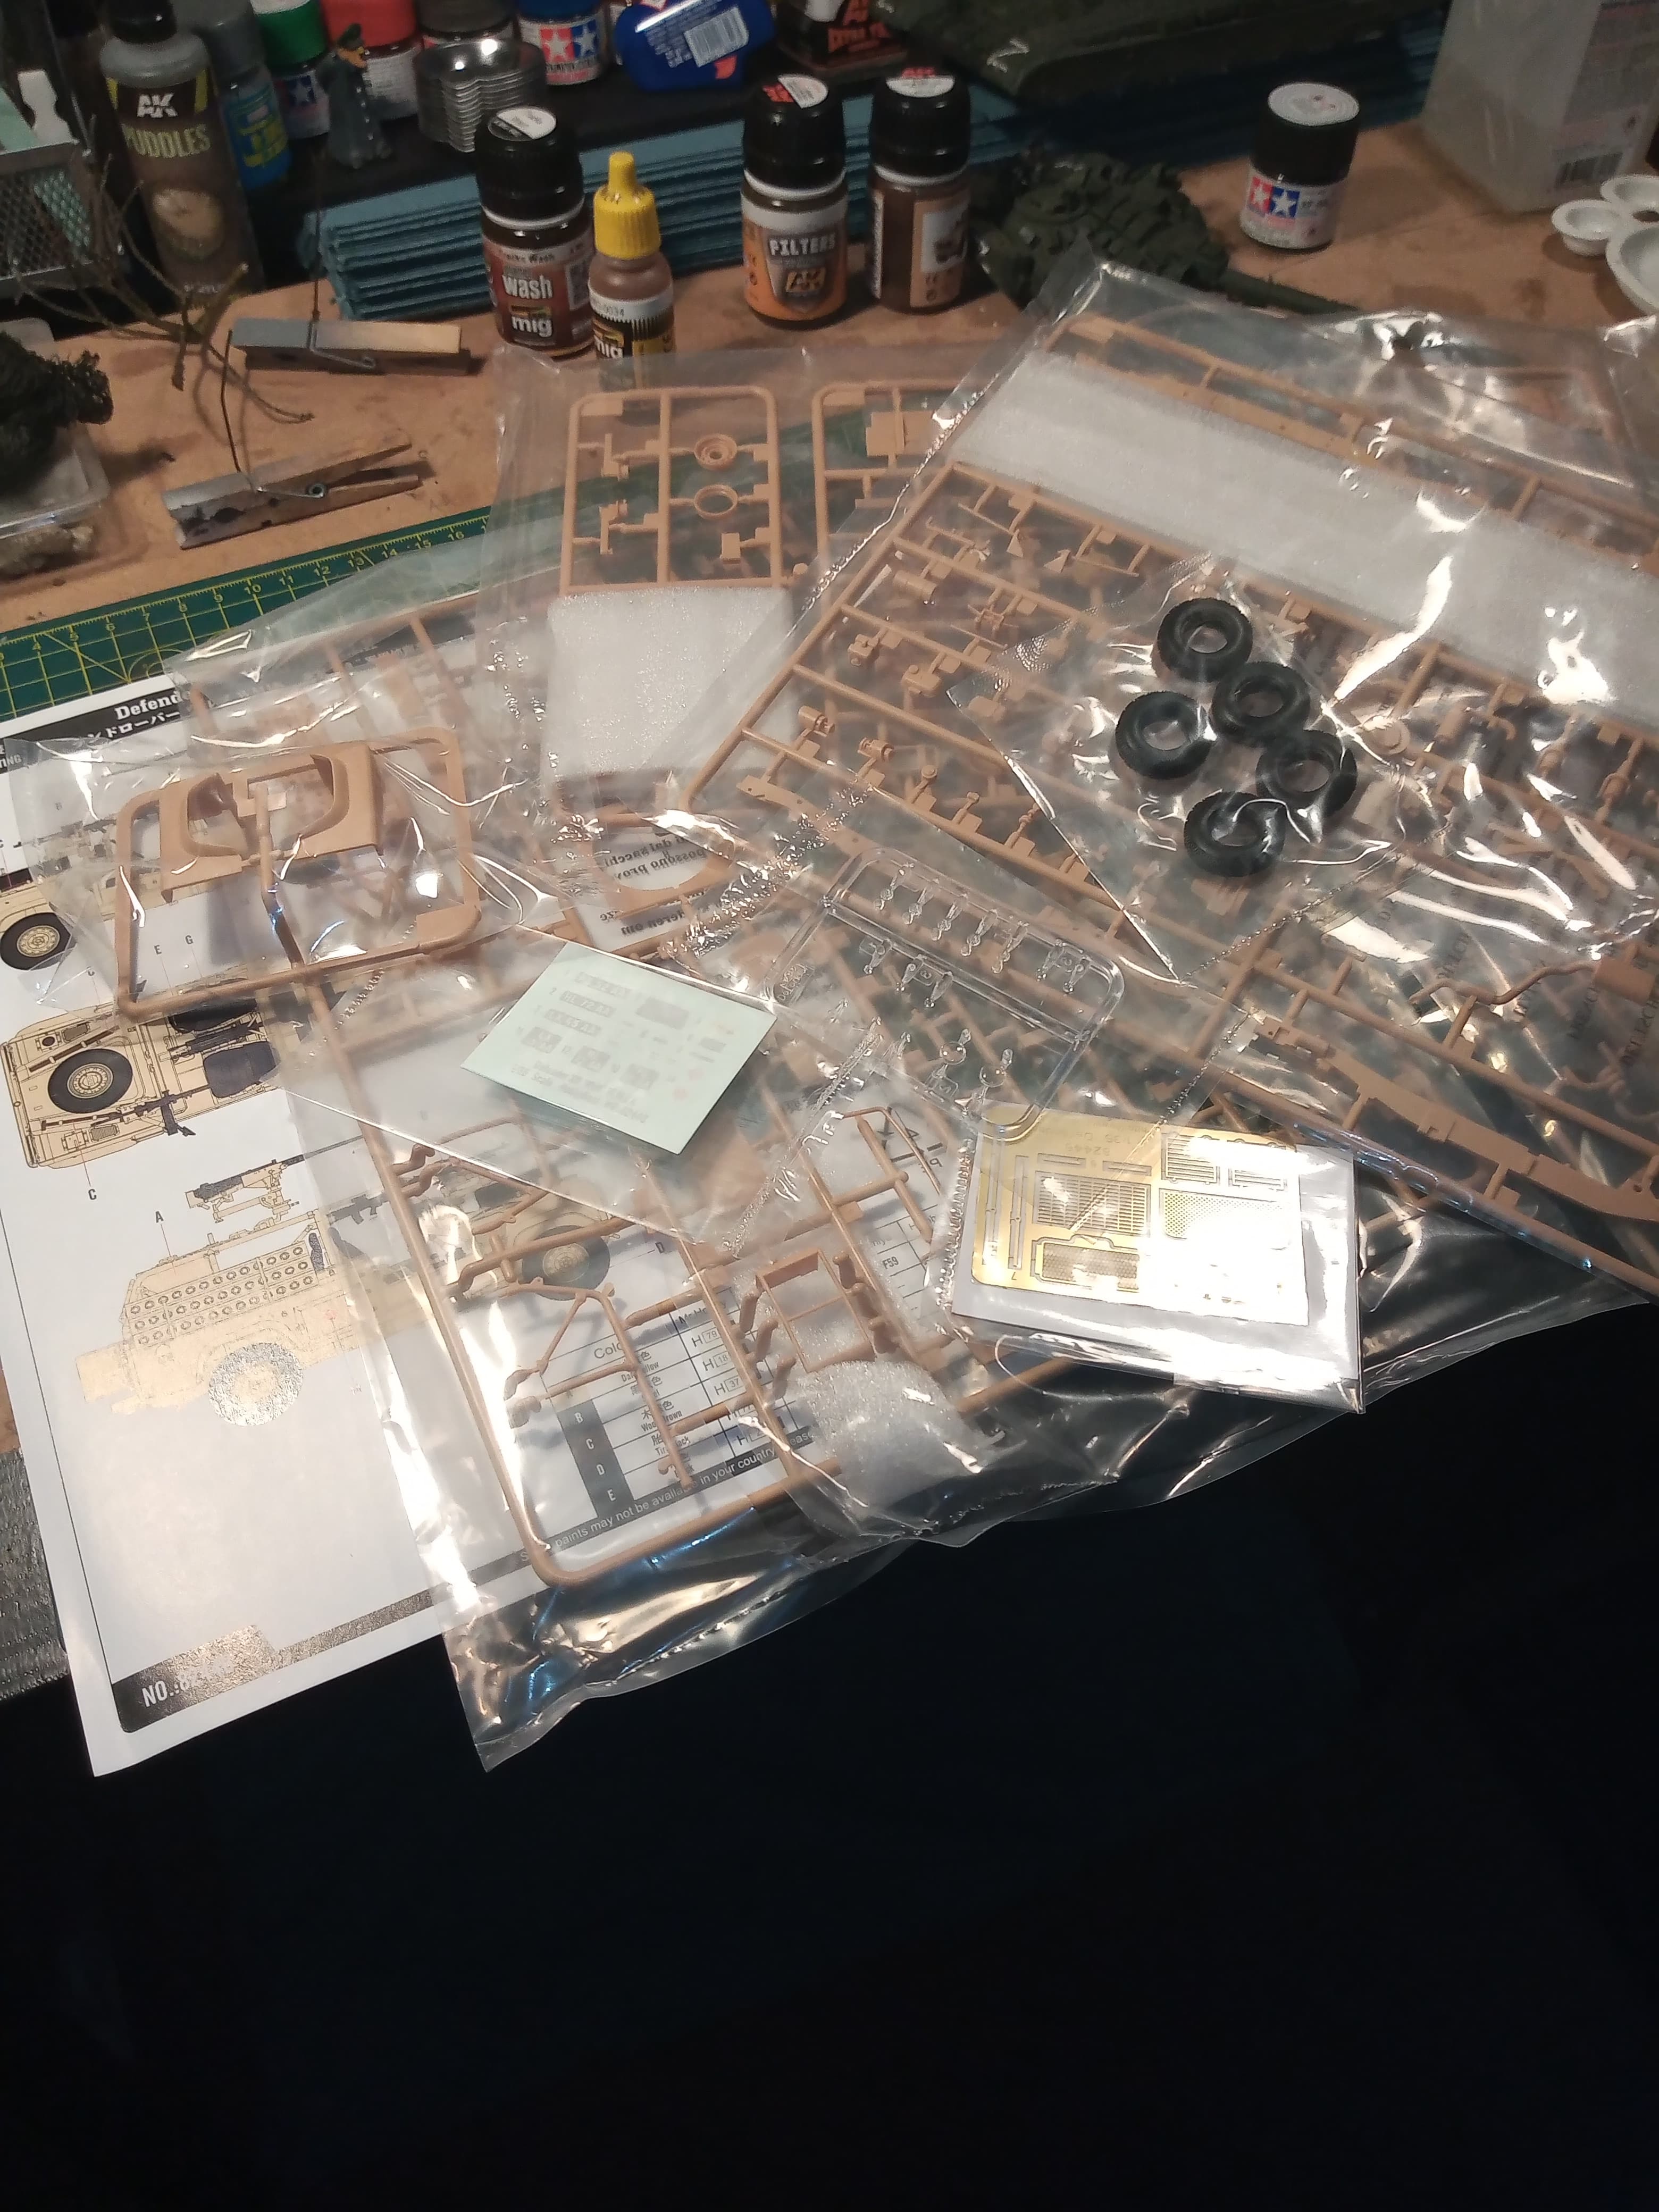
The box …
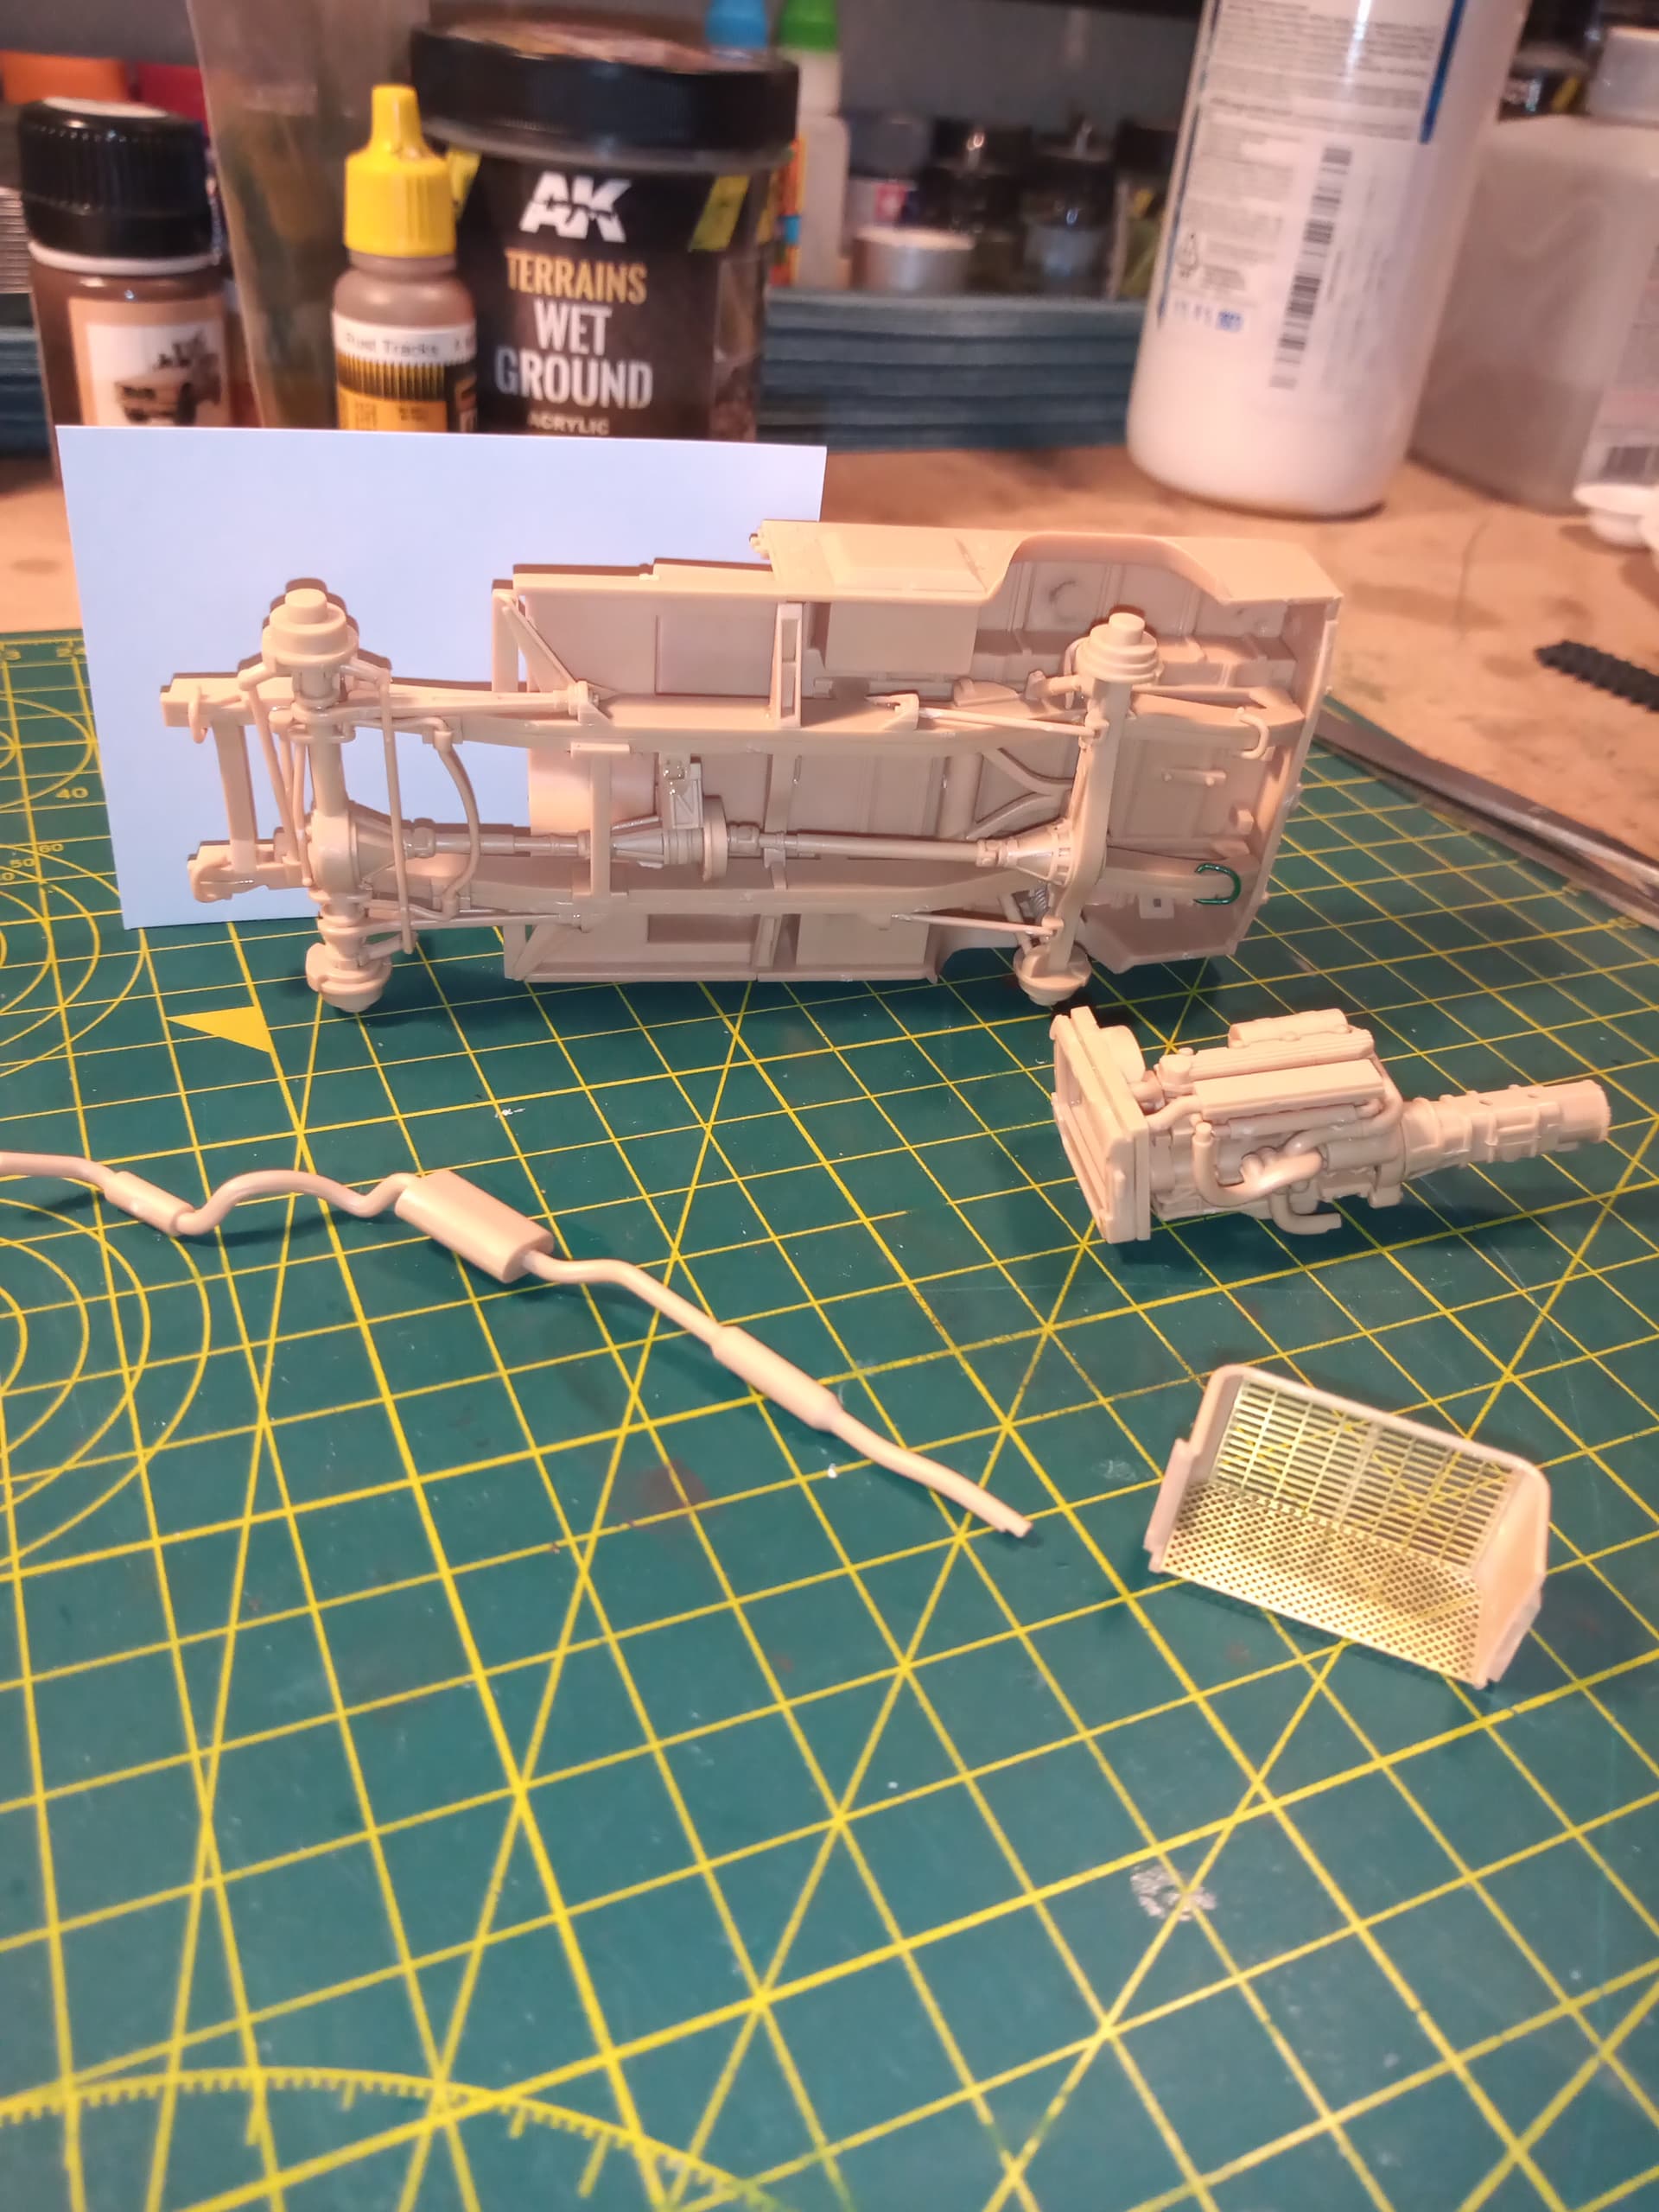
And the contents …
Will pick up on Peter’s @Petbats corrections that he did for his and then add a few post apocalyptic bits and pieces …
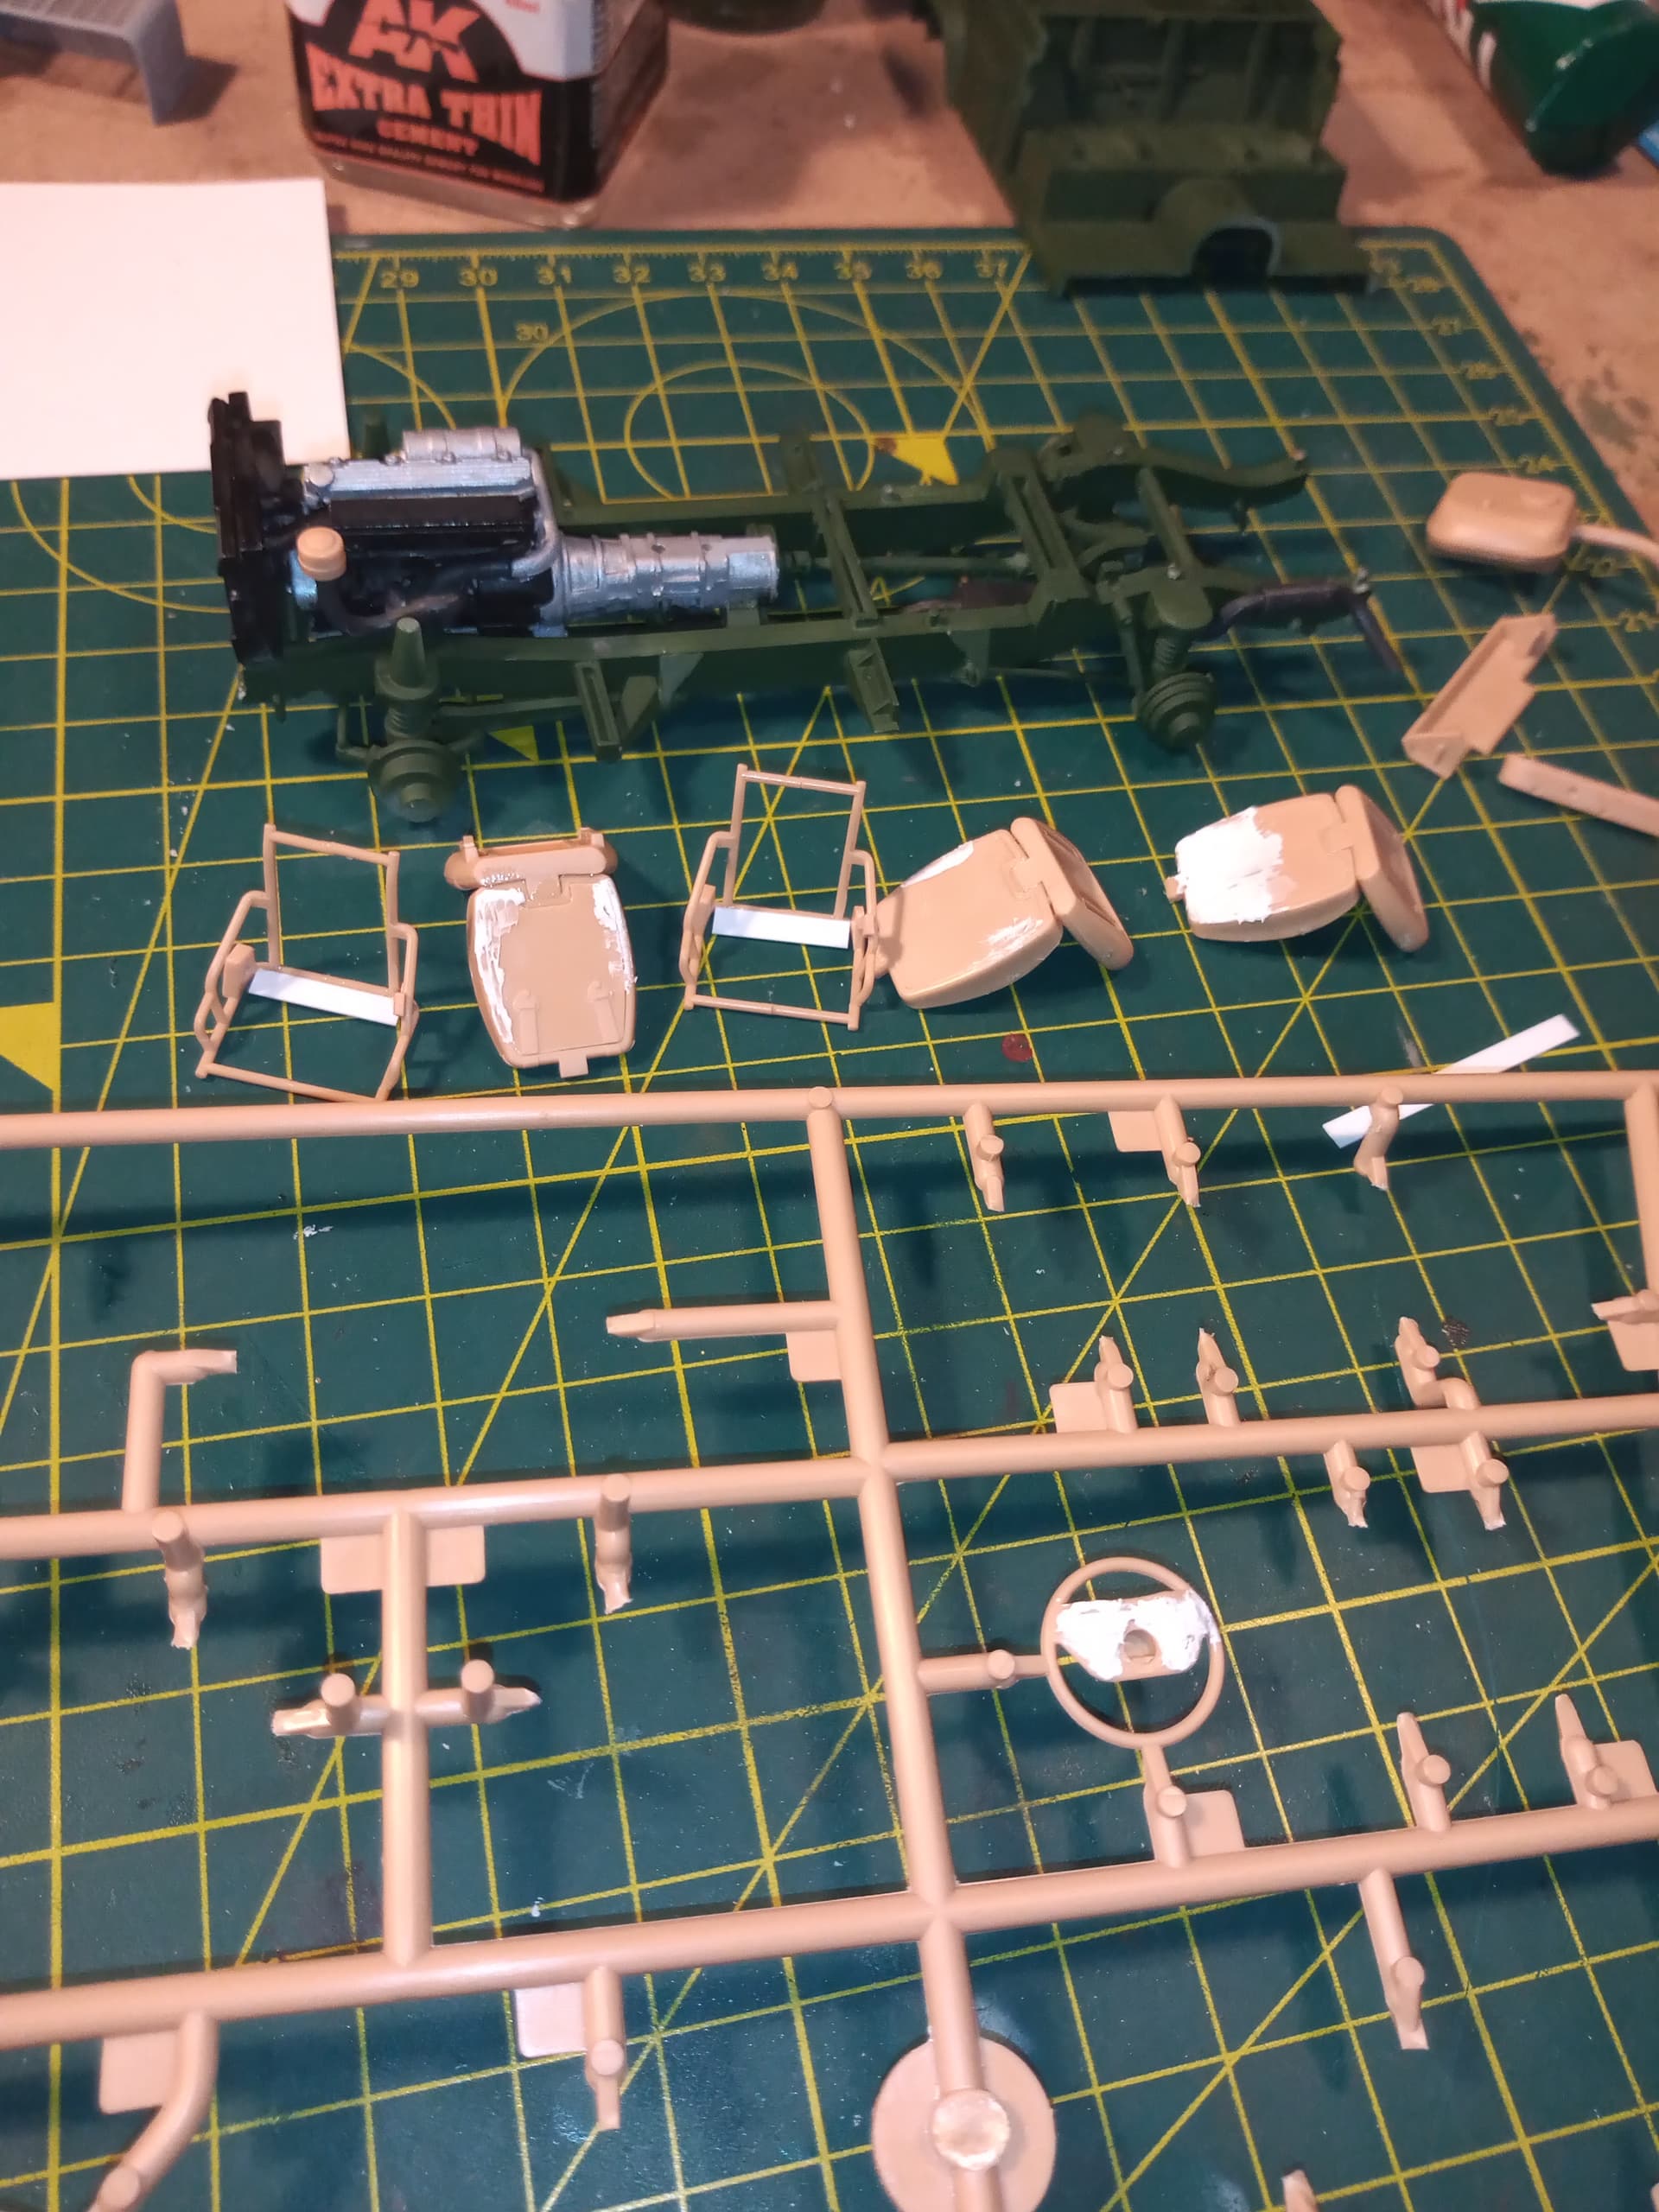
Cut some plastic and glued it together…
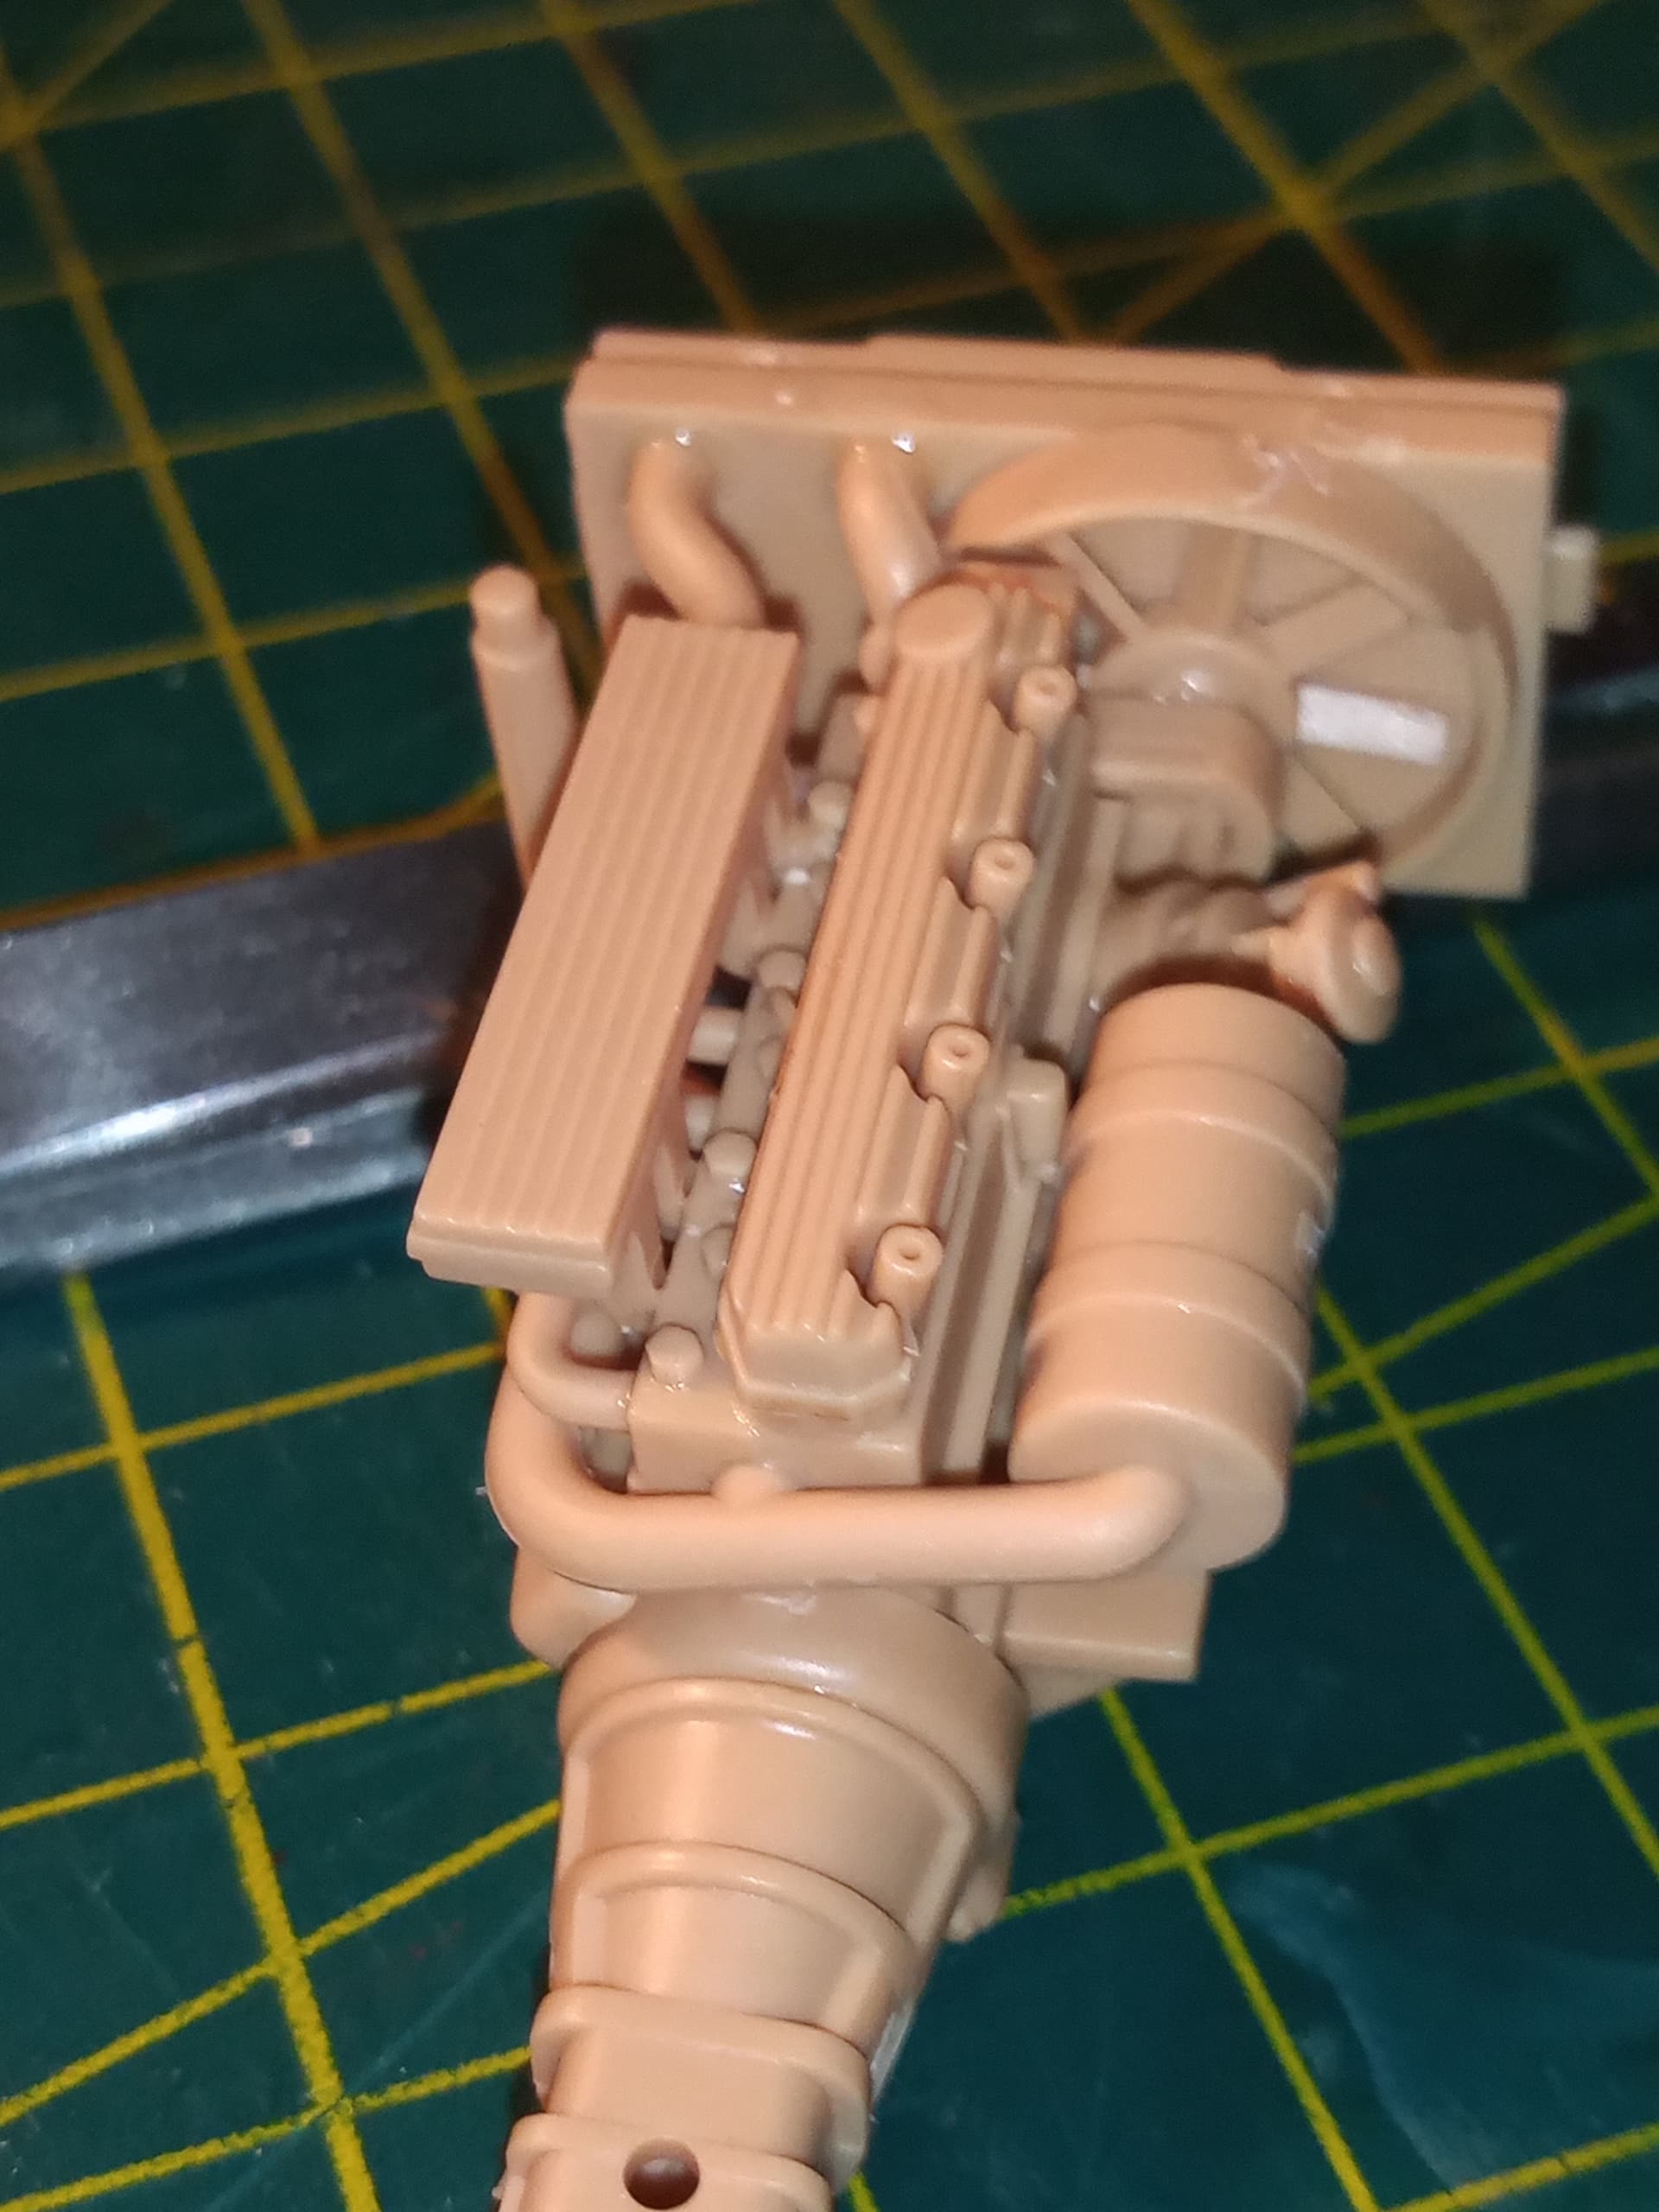
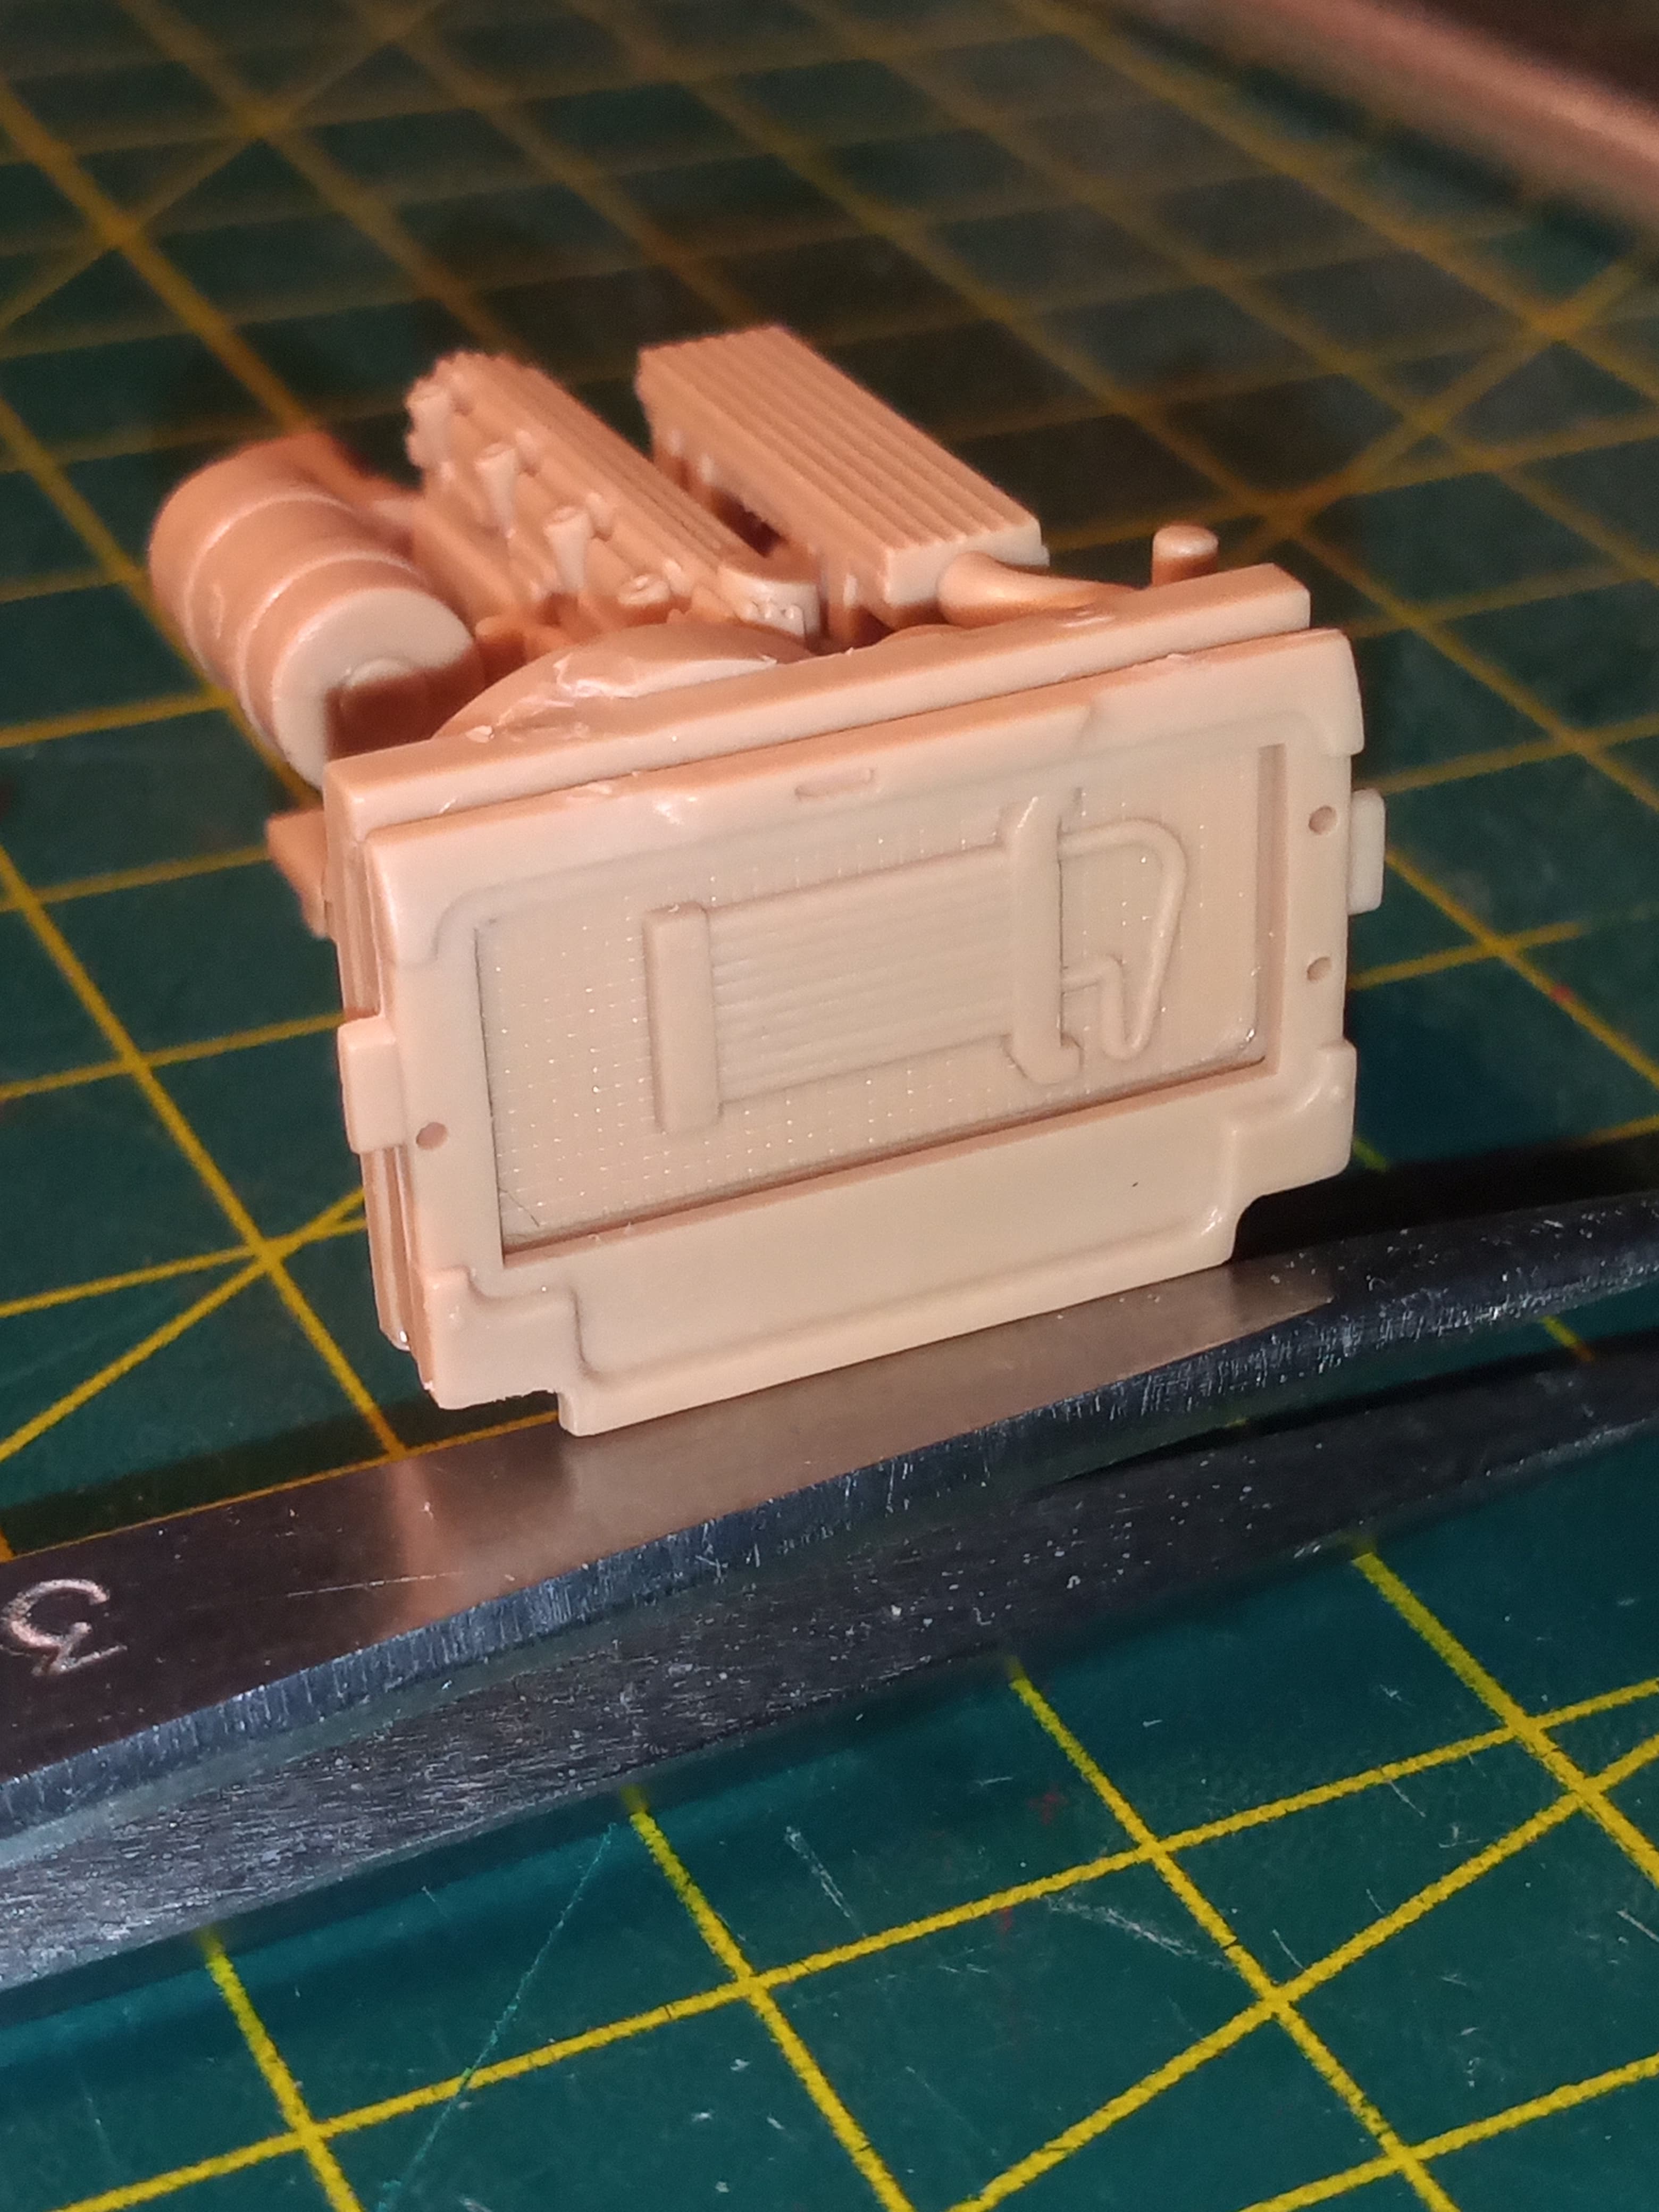
The engine… Looks quite nice and has some nice detailing… With some very minor additional wires and piping you could happily have the bonnet up if you wanted it displayed like that
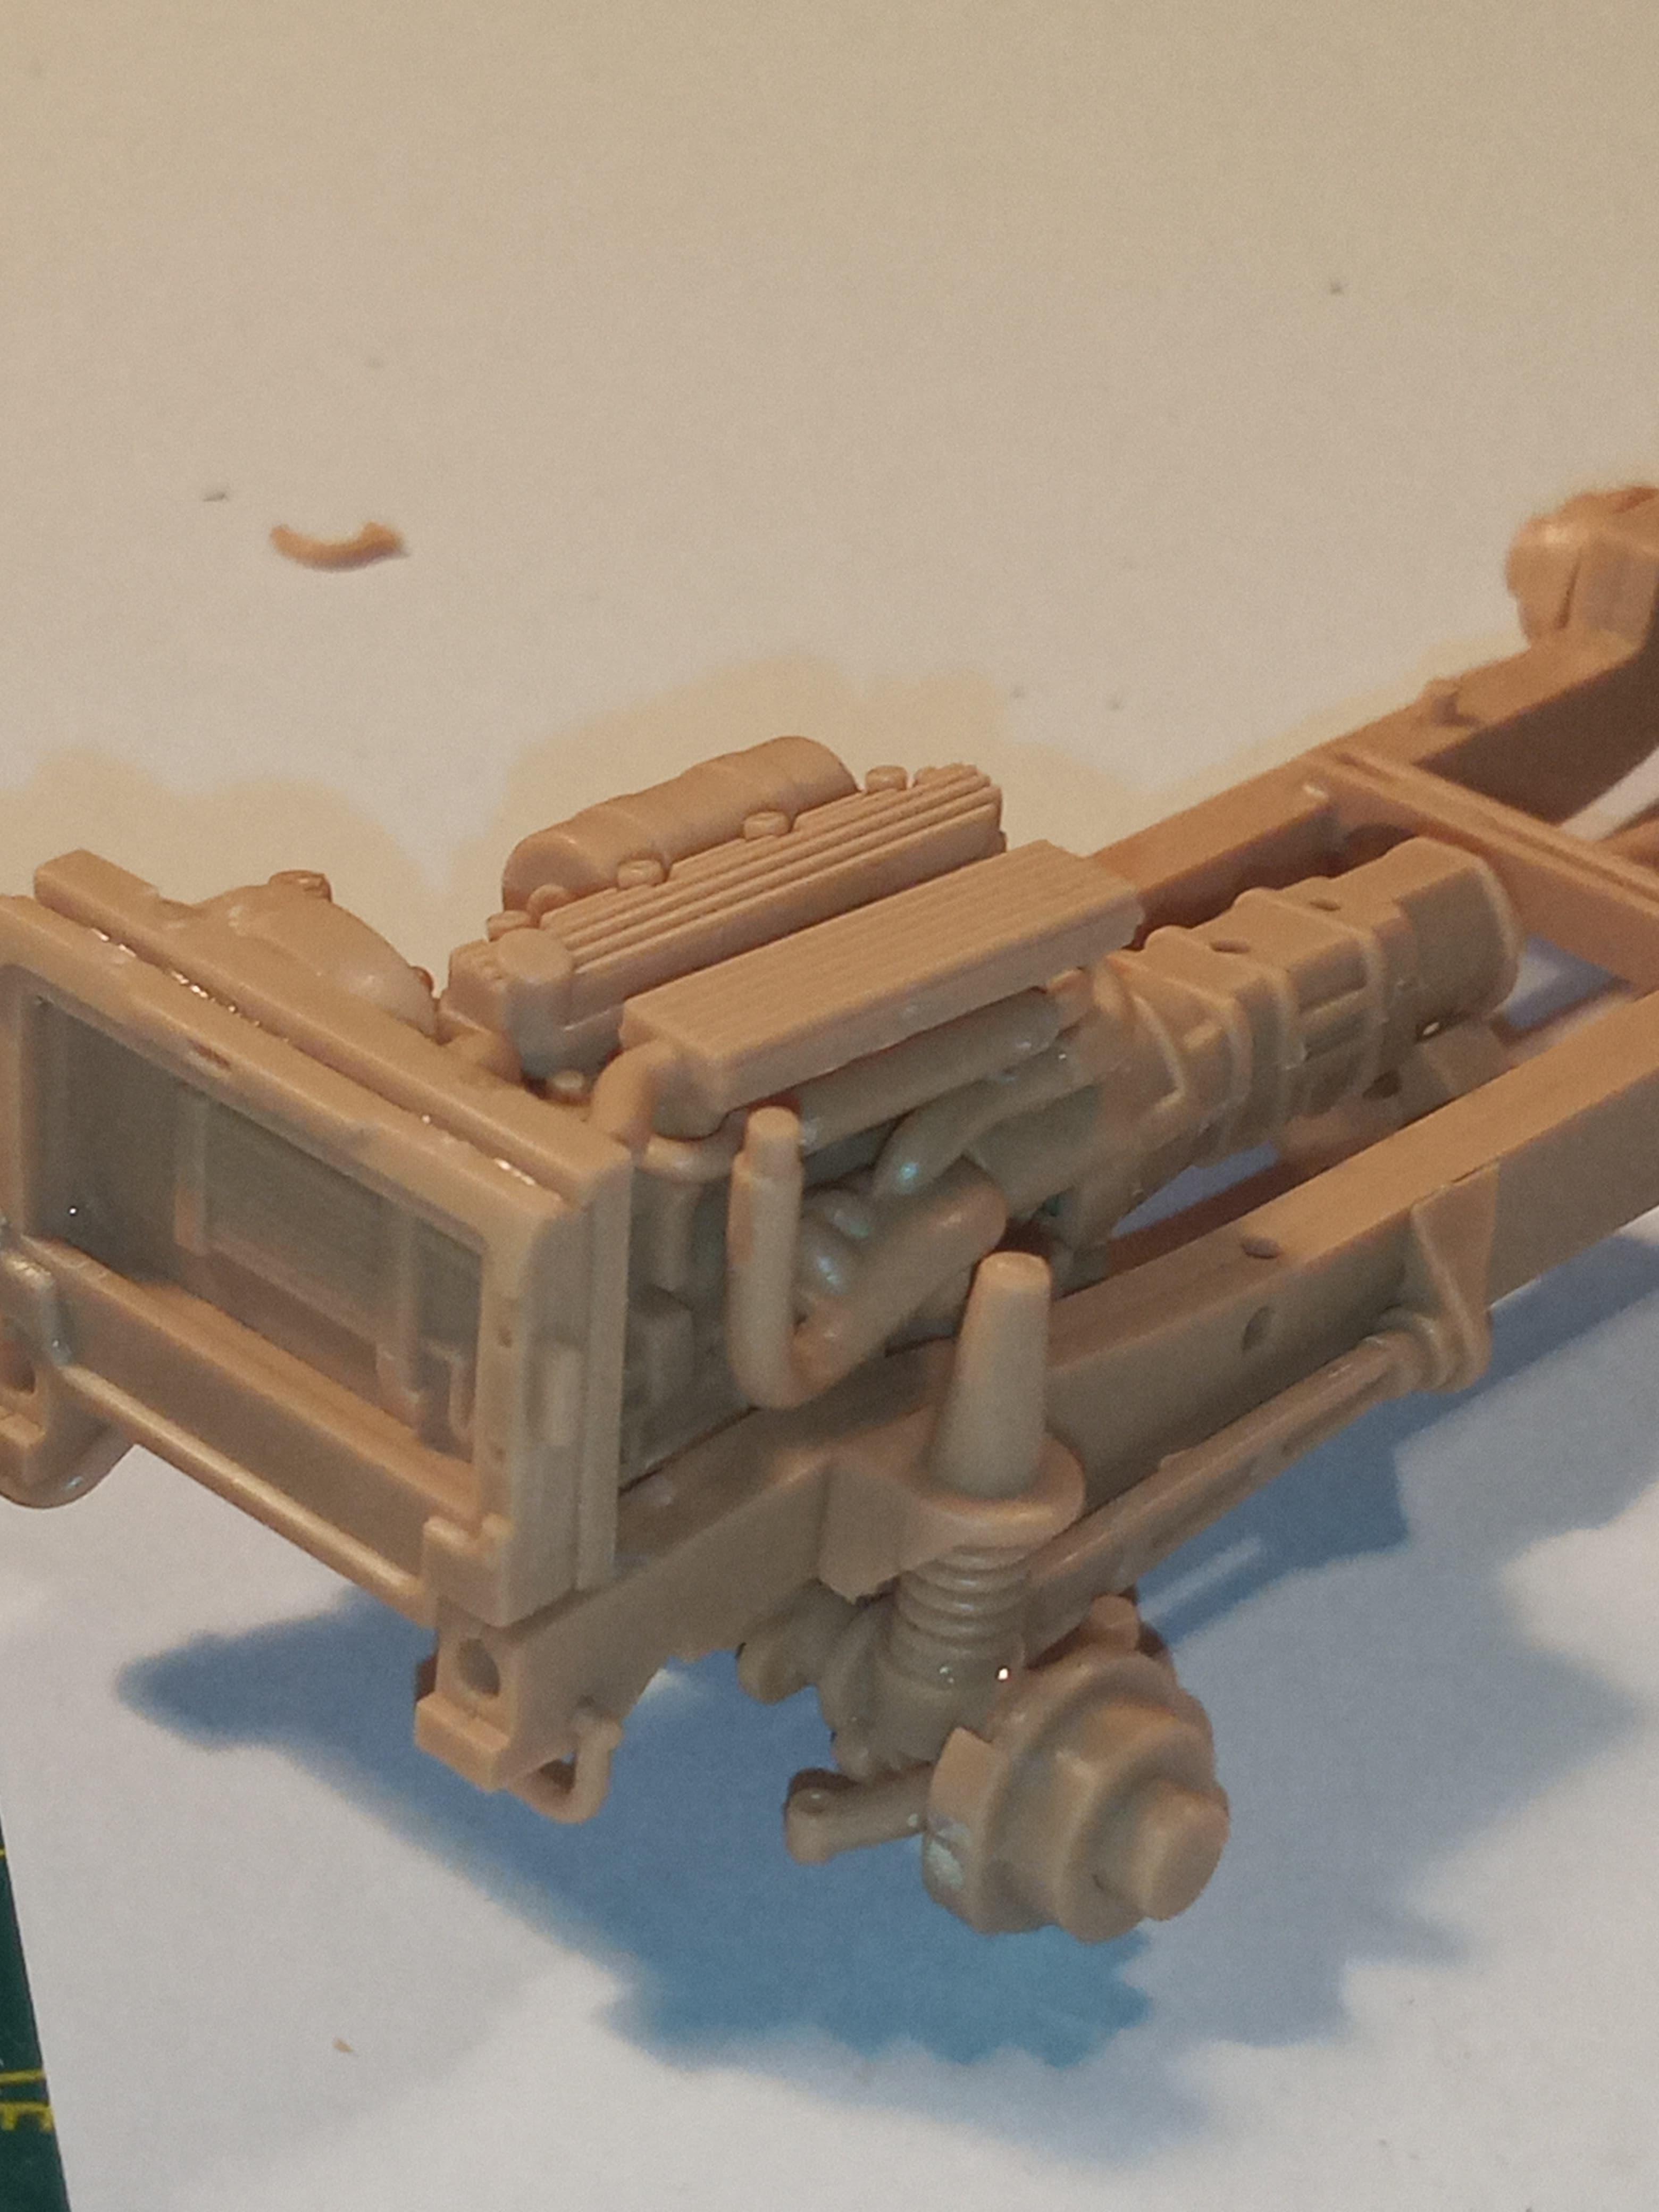
Have also built the basic chassis frame.
More to come tomorrow…
Some more work on the chassis …
Dry fit off the engine … And everything sits properly plus all the axles are sitting true and even…
Will be able to do various bits to this as the T72 is going to be a bit more drawn out now I’m getting to stage of adding groundwork that needs longer to fully dry …
Chassis is 95% done now. Going to try and prime that and the engine up tomorrow
Exhaust is ready to go on once primed and engine and chassis are painted.
Also did the rear storage basket.
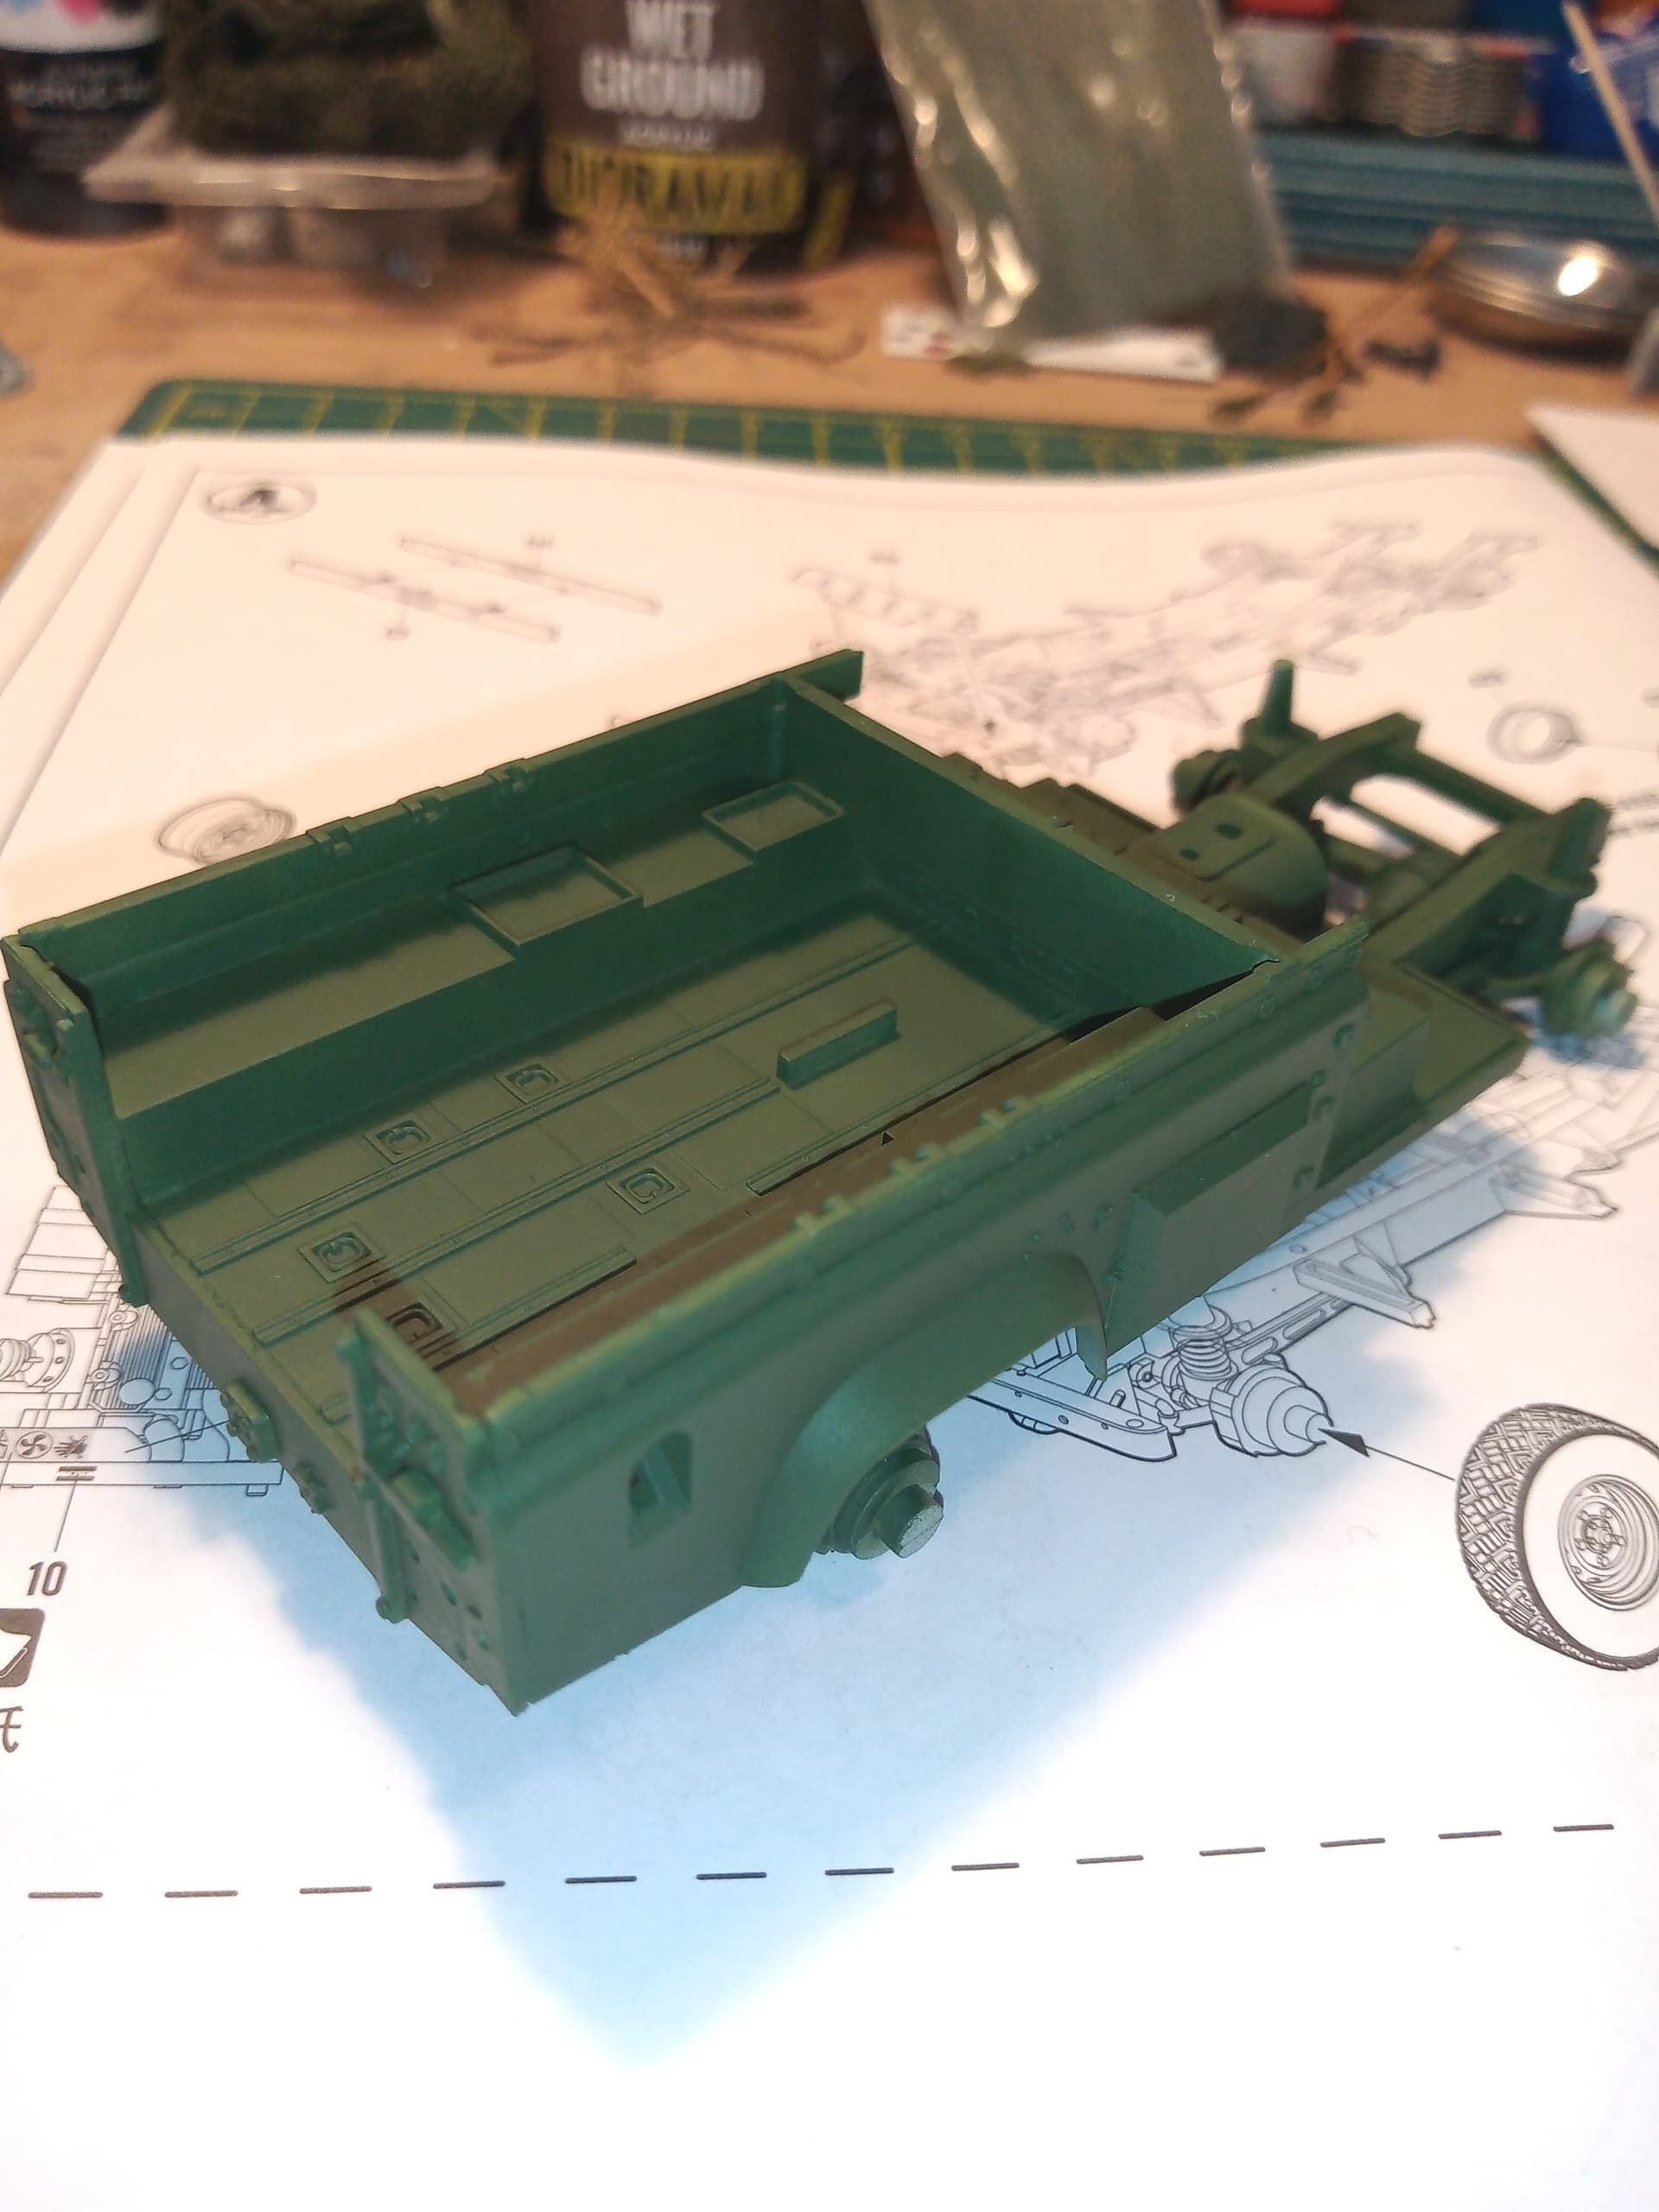
Rear cargo body is also done to the basic build up…
Stay tuned ![]()
Nice squared up basket… ![]()
![]()
Are you planning on adding stuff inside on the ‘shelf’ to hide the knock out marks on the rear compartment walls John?
When you get to the decals, make sure you give them a coat of clear first. Mine broke up in places.
Yeah everything will be hidden…but I am going to think on how to make it more apocalyptic… One thought was to use the roll cage and totally enclose the rear area and make a rear door of some sort or just armour up the sides … also want to add some door protection, wheel protection, make a winch and big crash bars on the front …
Spikes. And flame throwers.
I suppose it depends what you are defending from. Your typical zombie outbreak probably wouldn’t need ballistic protection, but a post-Nuclear holocaust, fight off the evil warlord hordes situation is a different matter. Then again, it maybe just civilian unrest/looting in a disease outbreak you are going for. Each has its own needs.
Of course then there is just your every day “Mad Max” insanity build…
Personally, I’d be looking at mesh upgrades and some plate, rather than just a lot of armour plate - simply due to weight considerations. The poor old Landy chassis and suspension wouldn’t survive the first speed bump/zombie body drive over otherwise.
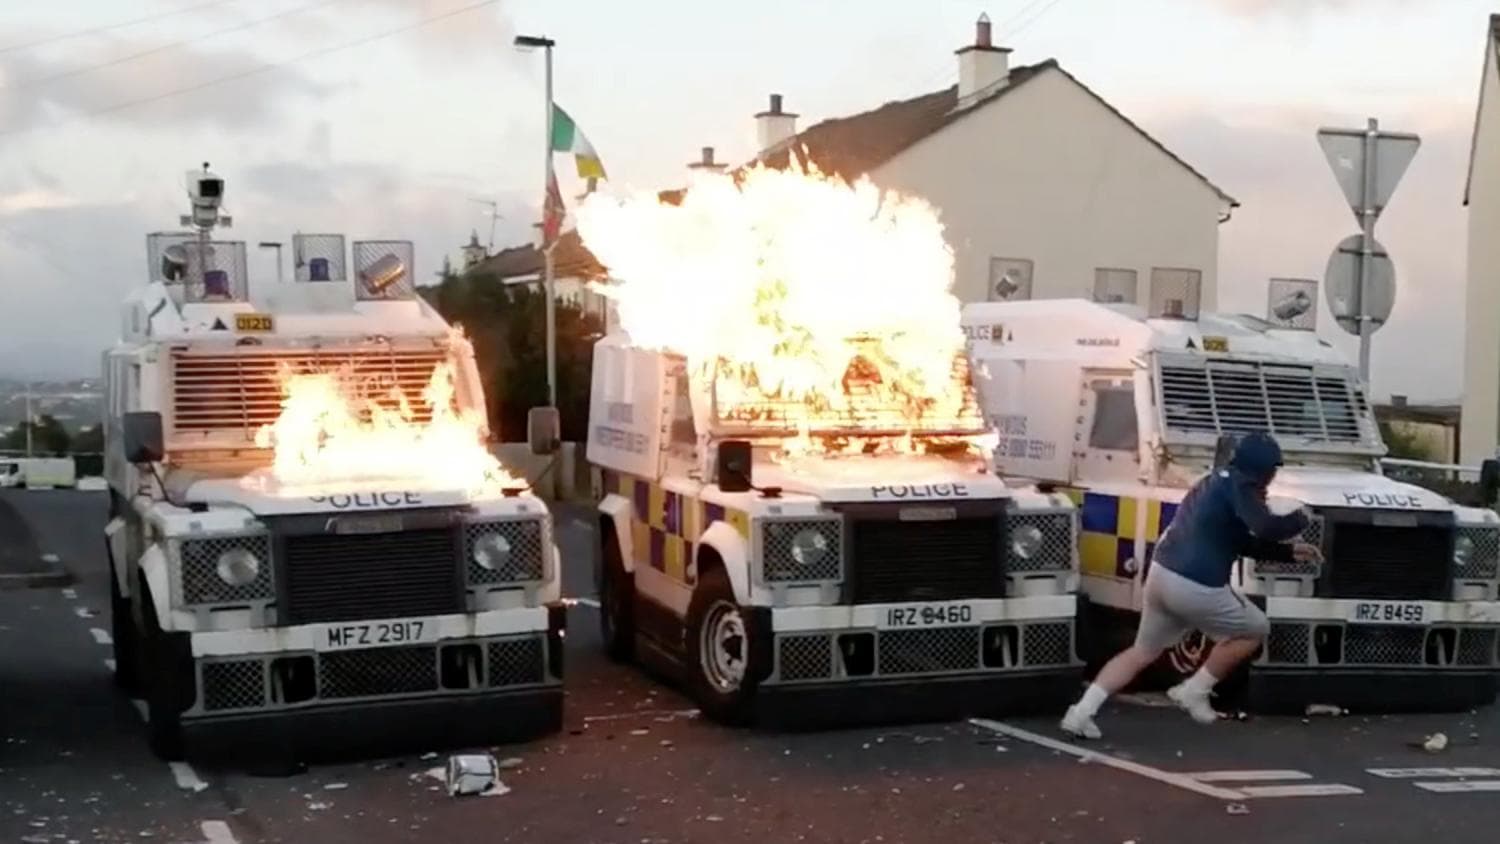
I’d look for vehicles during ‘The Troubles’ for inspiration.
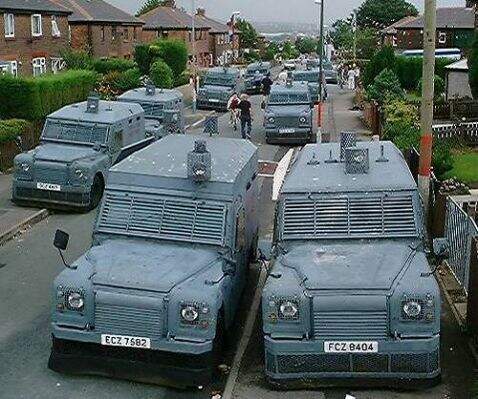
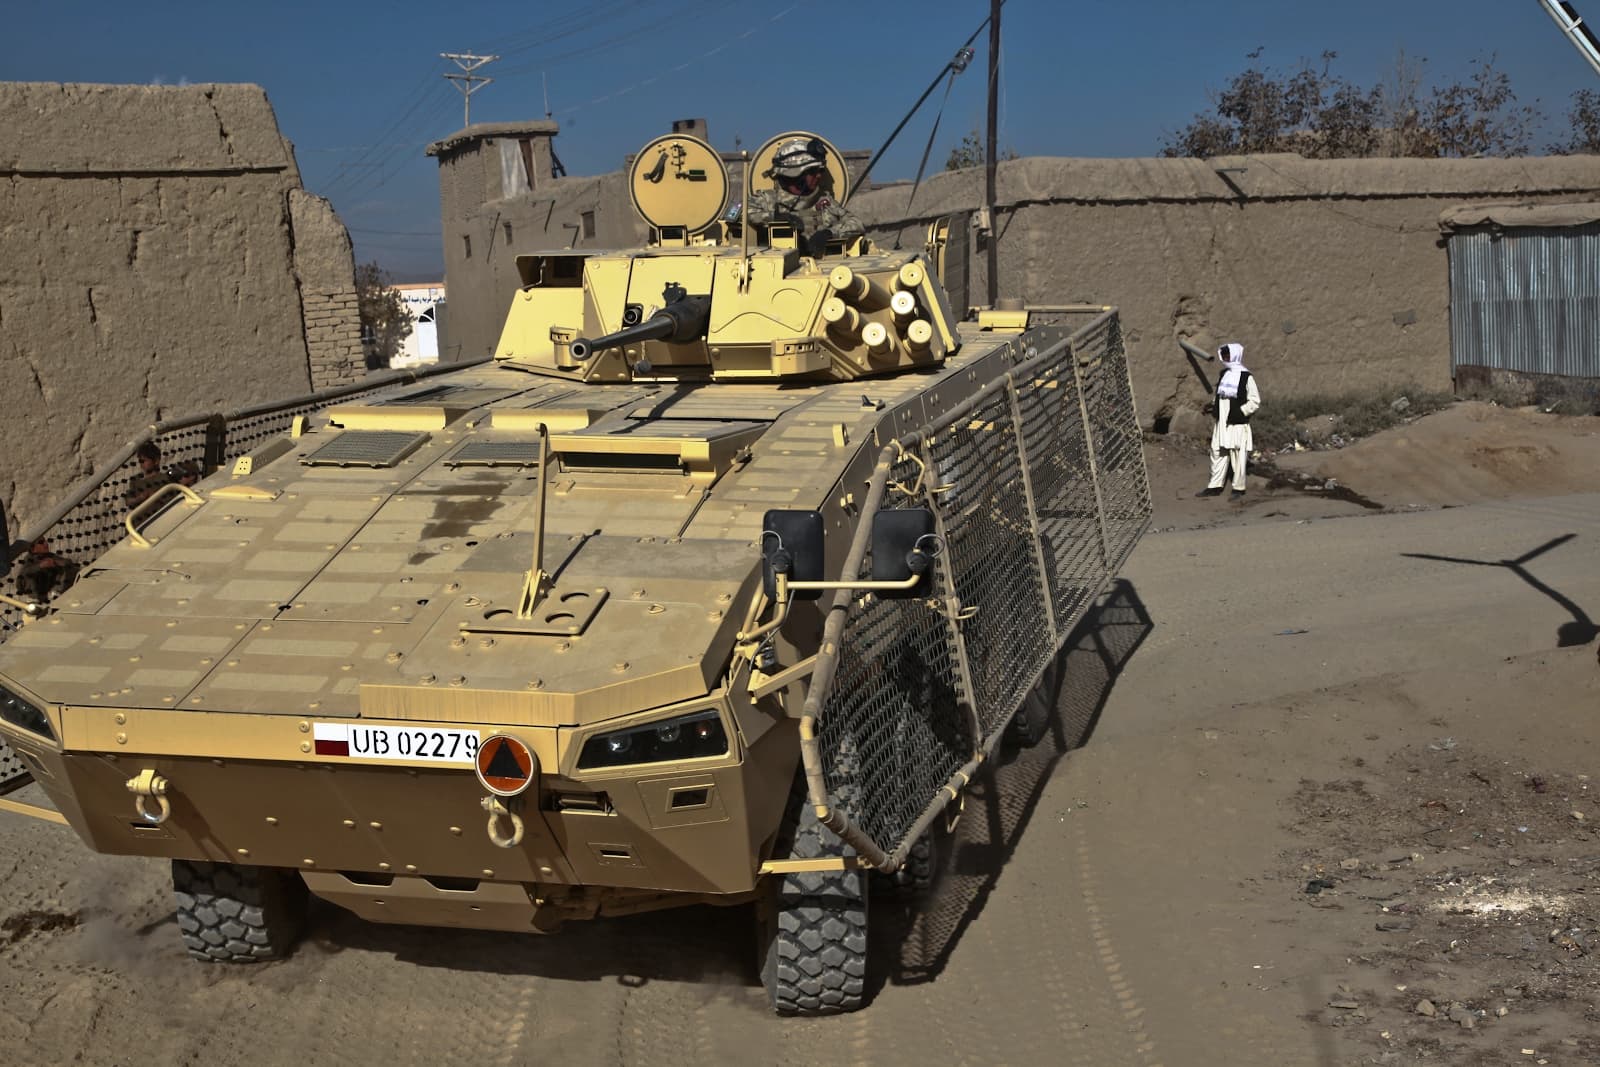
Or consider slat type armour ideas for wheel protection, etc:
Haberdasheries or other fabric retailers will have Tulle that would likely be fine for chain fence mesh, etc:
Looking good Johnny. Slats and light armor, in a homemade manner, is probably the way to go. Or maybe mesh over the windscreen / side windows. Then lots of machine guns ![]()
I’m pretty sure anything I have going would be well beyond the 25% range, so I will start fresh. Lots of ideas for this category.
Happy modeling,
Zon
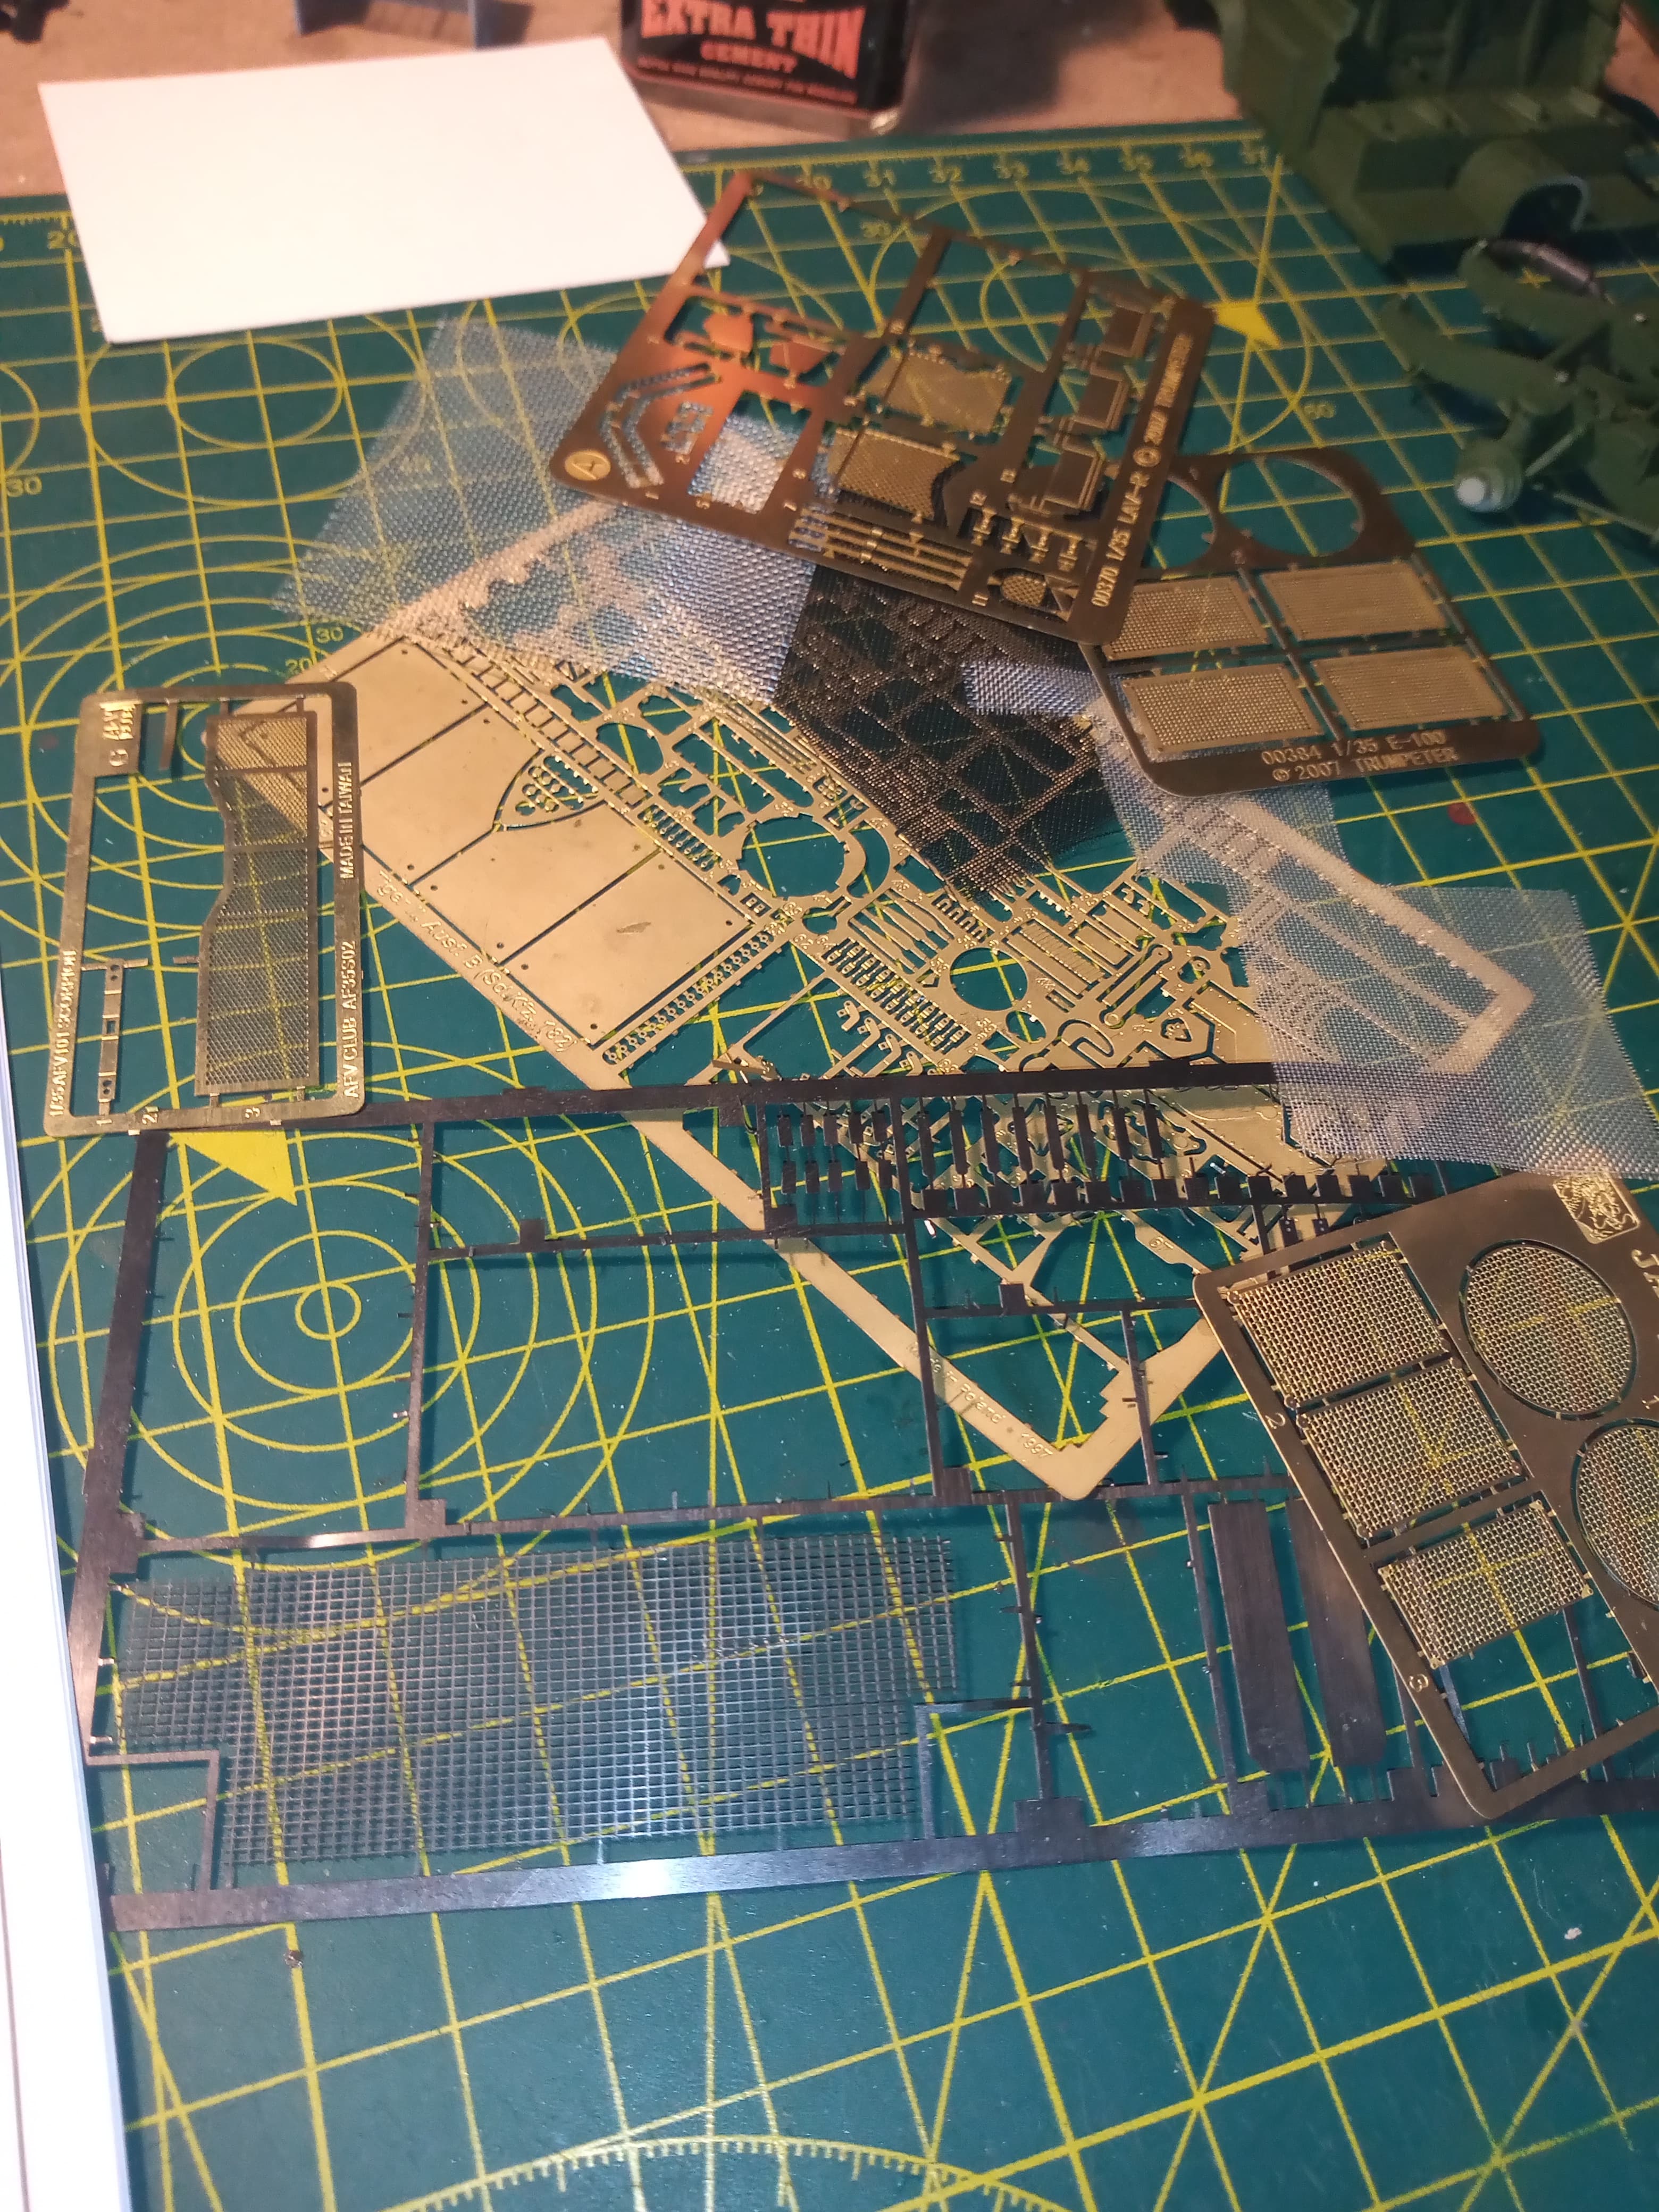
Thanks Zon… Yes, slatted and or metal mesh is what I will be doing …have already dug out lots of old PE engine screens and mesh…![]()
Got the base coat on the chassis and rear body, used AK NATO green…
And engine painted up.
All dry fit at the mo.
Keep smiling ![]()
Seats, frames, some other bits …
All I did on my frames was add a thin piece of strip to the bottom bar to help the swat sit a bit more upright.
Put some plastic putty on the rear of the seats, and as Peter @petbat indicated, I have filled the void on the rear of the steering wheel… Just needs sanding back …
Probably going to snip the ends off the front bumper and build a frame that goes onto the chassis so it can hold the winch ( I have yet to make) and some extended bull bars …
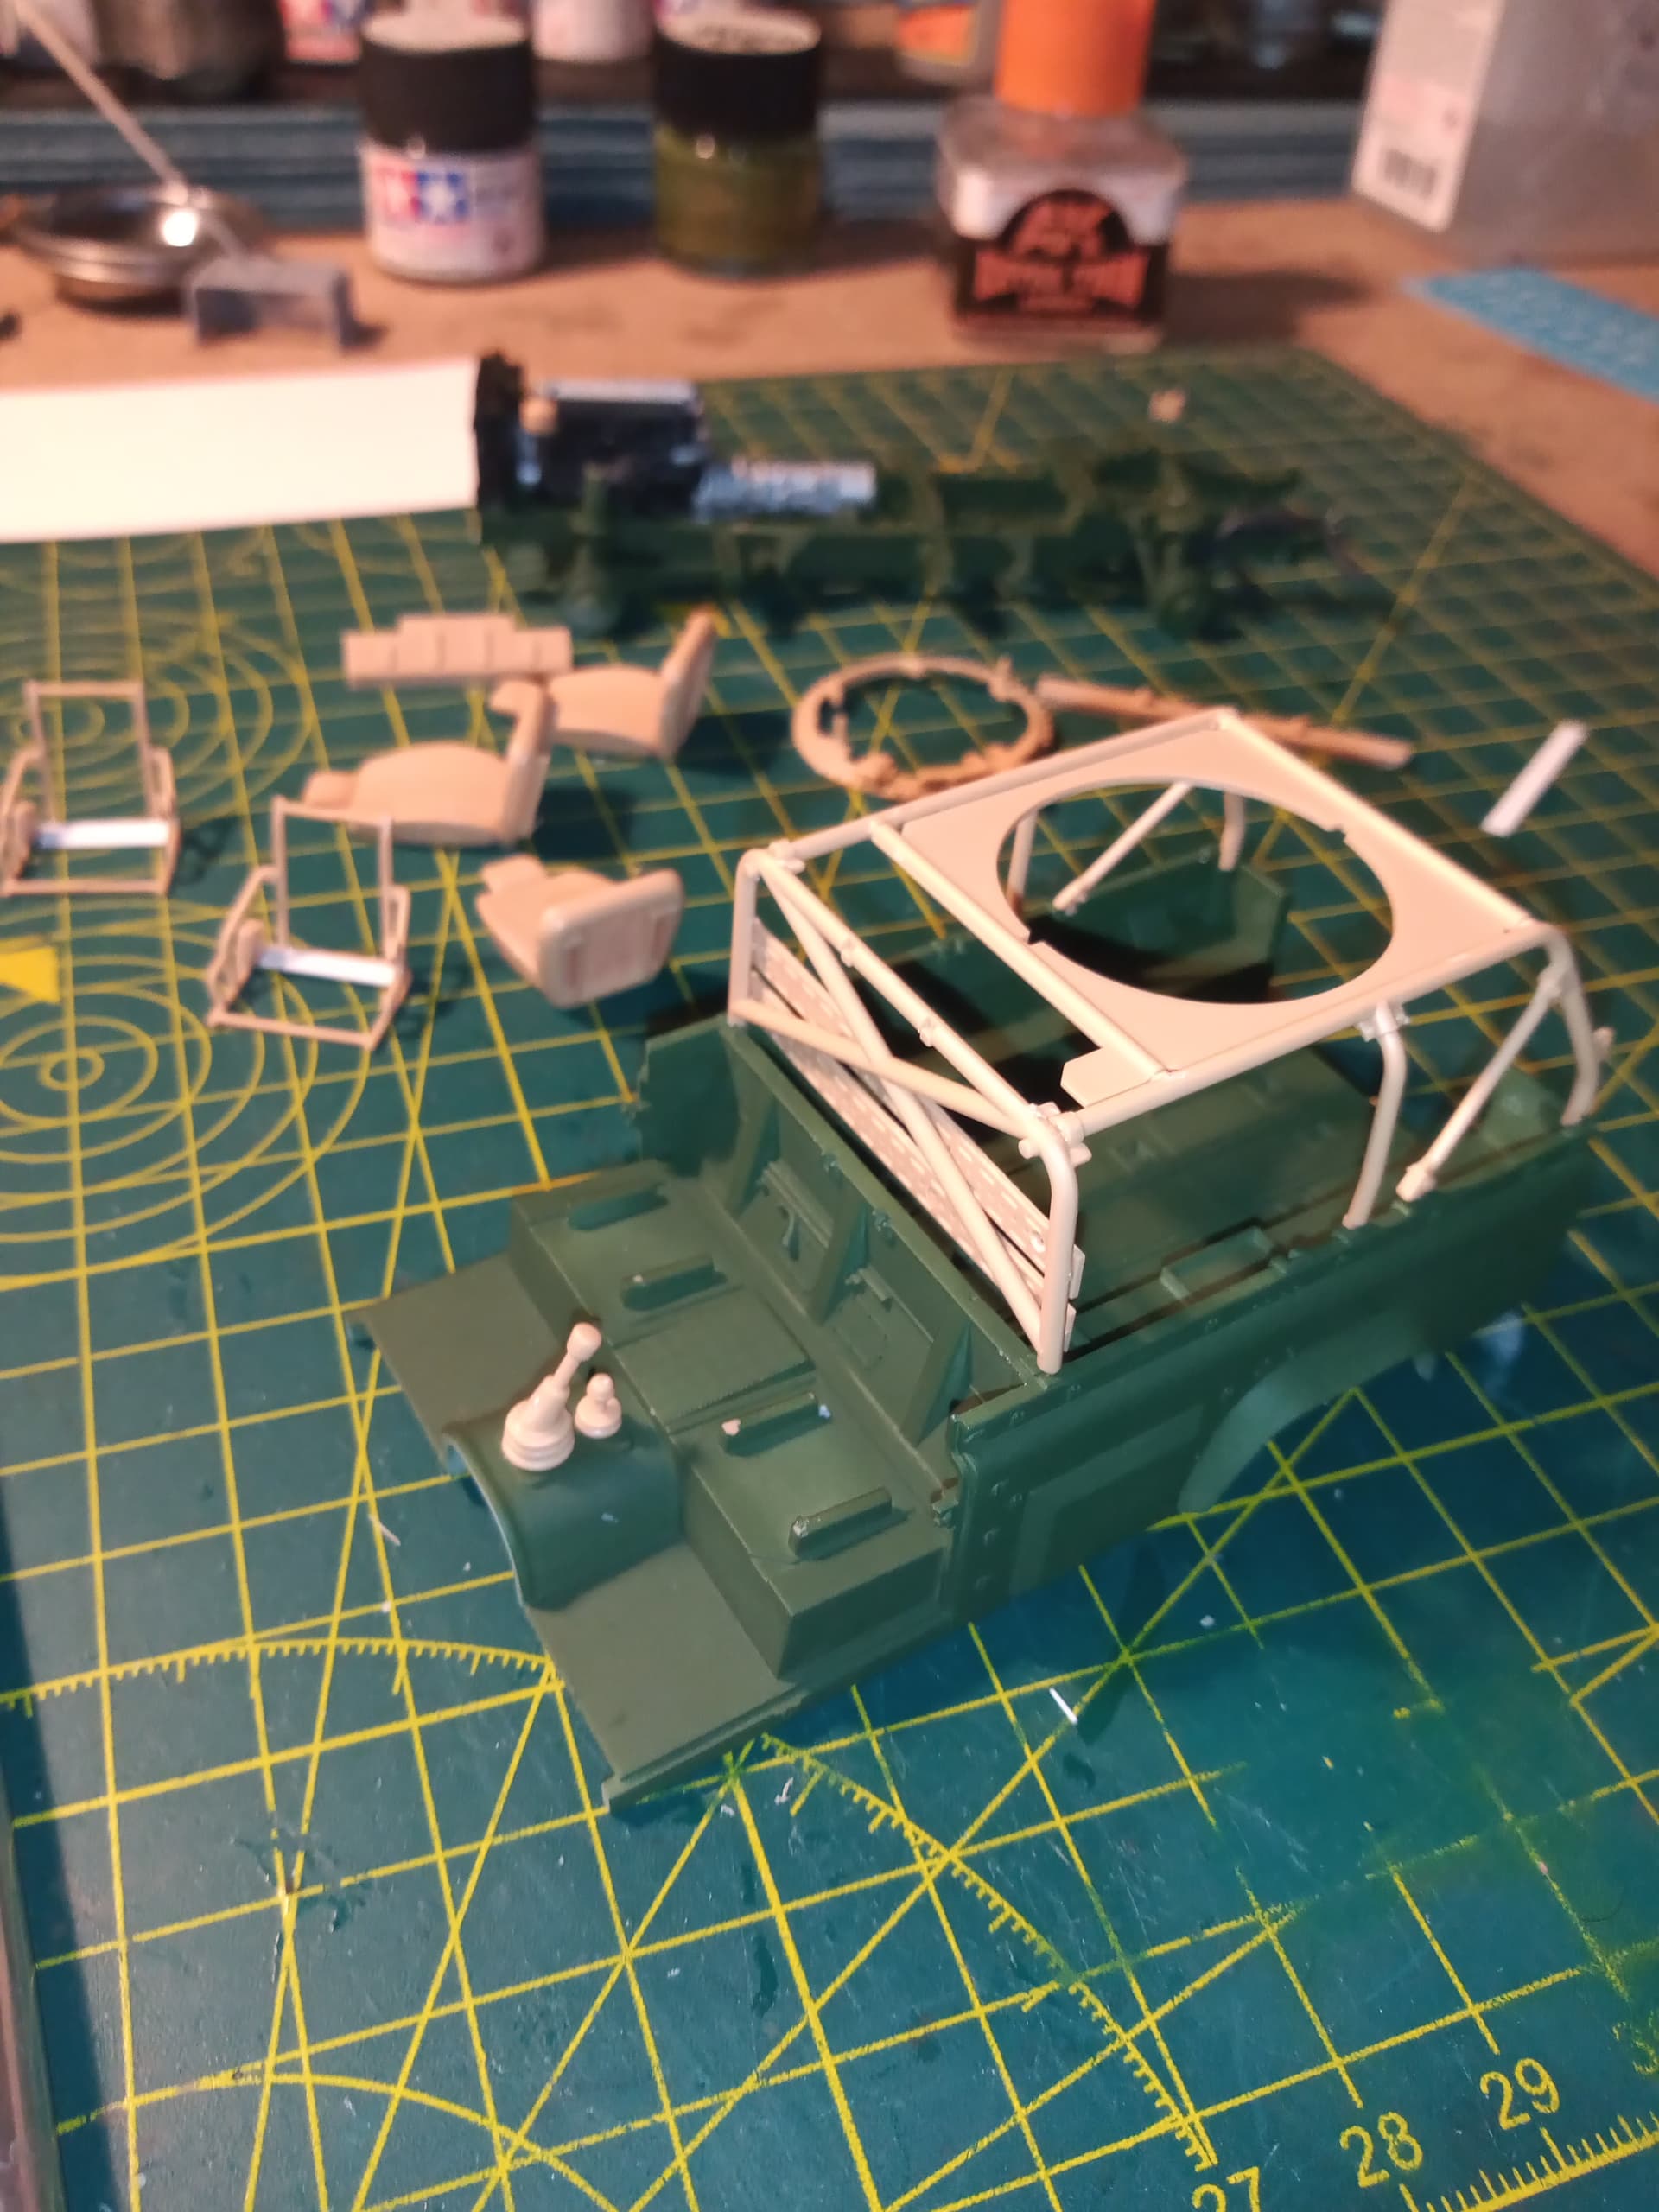
Put the ring mount MG frame/ roll cage together and dry fitted it to the body so it dries true. Once that’s done, I’m going to build up the add on armour areas so it’s easier to handle .
Looking great John. This is going to be an excellent “boonie buggy” when you’re done.
Making the add on armour …
It may be a while lol…
And I will try and do some for the doors … And a fold down windscreen for at least the driver, maybe passenger as well…
Have measured, cut and prepped nearly all the rear body add on armour, just a few tweaks and bits from spare PE to find.
So … the open rear area.
I will be having a mesh door sat between an armour plate each side of it, and an upside L where the tailgate would normally be …
I will have it with one door open … Hopefully you get the idea… And yes, they are Panther engine screens.
This one is for the front LH open section … The small square bit at the front will be incorporated into some protection for the passenger
The RH side one will be practically the same. The other areas will be a combo of armour plate and mesh screen.