Looking good. I just got this same Mk. I conversion kit and will be watching to see how you tackle it.
You should consider this new build for the ongoing Mustang campaign that started at the beginning of the year.
Looking good. I just got this same Mk. I conversion kit and will be watching to see how you tackle it.
You should consider this new build for the ongoing Mustang campaign that started at the beginning of the year.
Thank you for the kind words! Yes. I will add a link with this build to “The Mustang: NA-73X to the Enforcer” campaign as well. Still test fitting the resin wing leading edge modifications, so please share what you are finding for this mod kit. All the best-Stuart
I am calling the seat and harness complete. Installed it looks okay for a closed canopy. Need to add the fire extinguisher initiator box and gunsight still. Closer ever closer.
Crash inertia initiator for fire extinguisher circled in red
That looks amazing! Really nice work! ![]()
—mike
Thank you Michael! You have always added encouragement that is most appreciated.
Great job
This is my rendition of the crash switch for the fire extinguisher from Evergreen plastic square strip and stretched sprue.
Modified the leading edge with the port gun camera opening. This will be filled with Gesso medium gel as on the earlier wheels up model i tried in this thread above. The bit of wire was added only as visual interest for the camera.
Wing brass ejection ports were filled and recut for the 50 cal / 30 cal AG633 gun combination per the Colin Ford reference and photos.
The resin inserts for the wing leading edges were blended in with thick super glue, Tamiya white putty, liquid surfacer and lots of sanding. Would have been easier if I had not over estimated the slot cut in the wing leading edges. Really a 1.210" span across is all that is needed. Slow sanding removal of the opening edges to fit is suggested.
Next to re scribe some missing panel lines and rivet patterns. I know there are many that do the panel lines as a complete step after assembly, but I have scribed as I go. Wings first-scribe-add fuselage-scribe-add horizontals-etc. I feel like if I wait, I will miss areas as I seldom remember to come back to a portion until after it is too late with paint and decals applied!
I loved HGBARNES’ panel line work. Unmatched! He was an inspiration and is truly missed.
More learning here and comments are always welcome. Thank you for looking in- Stuart
Big work!
Slowly working on the wings. I again used Liquitex medium acrylic Gesso for the clear lenses at the landing lights and the gun camera. It took a long time to cure and harden. Weeks. With sanding and polishing Gesso gave a good result that gets more clear with time. Here are some more in process photos of the port wing opening and lens.
\Lots of sanding
Yes Dan. You are correct! This is our hobby and there is a lot of sanding ahead!
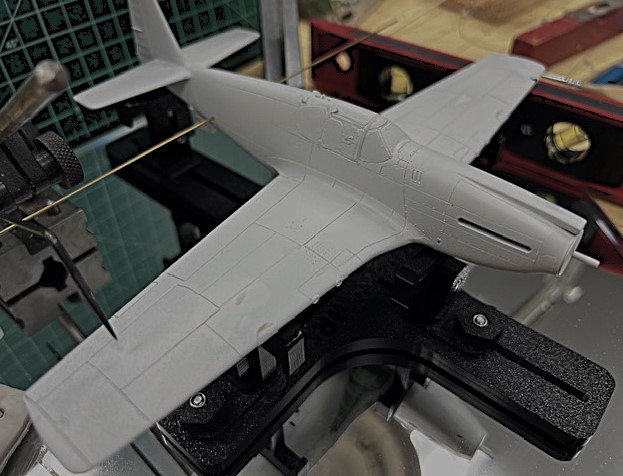
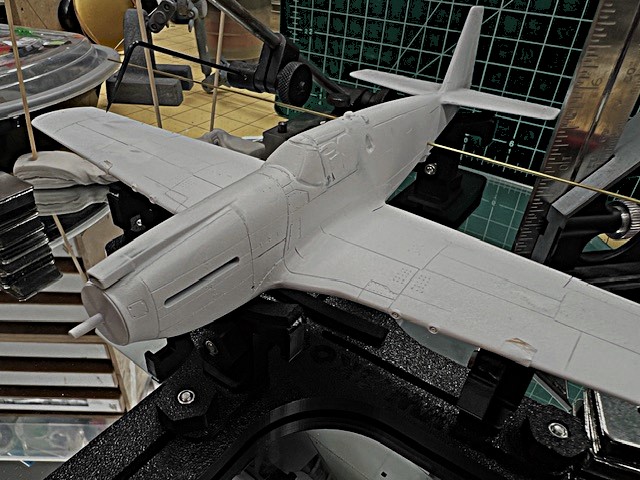
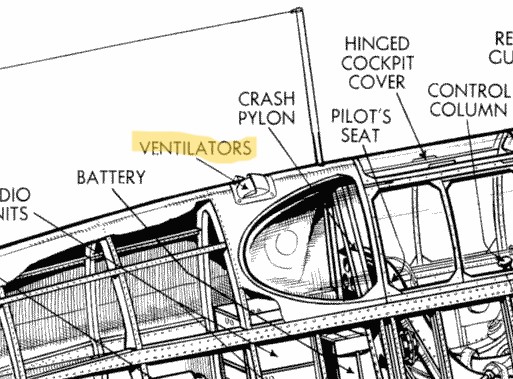
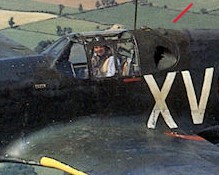
Added some bits and bobs while in the fill and sanding phases. The AG633 photo showed the air ventilation ducts added to help cool the radio and camera area at the cockpit roof. I ignored this feature on the previous attempt. Hope some Evergreen square sprue could be cut down and sanded to match the grainy photo references. Please share if you could provide anymore detail here specific to serial number AG633 in July 1942? The kit feature I added in this photo still needs to be shaped and scribed with square outlines.
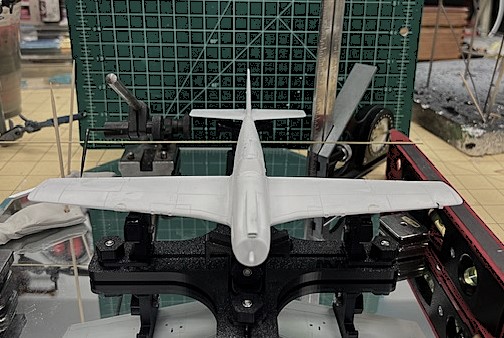
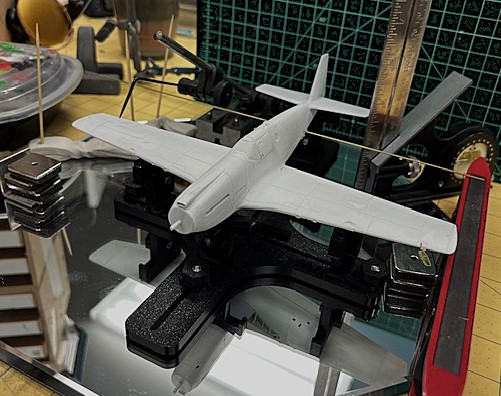
Double checked the general alignment prior to more work with the airbrush. Moving forward slowly.
