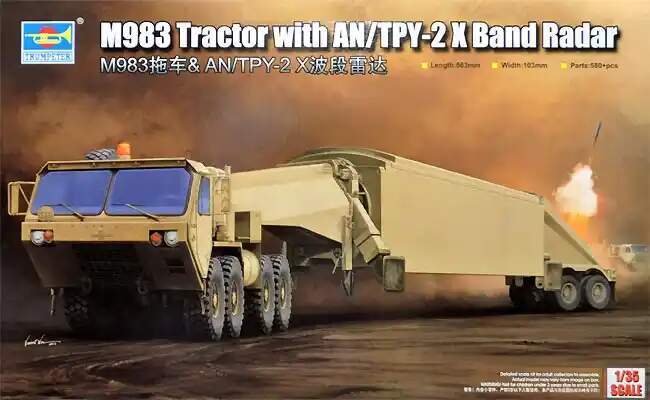
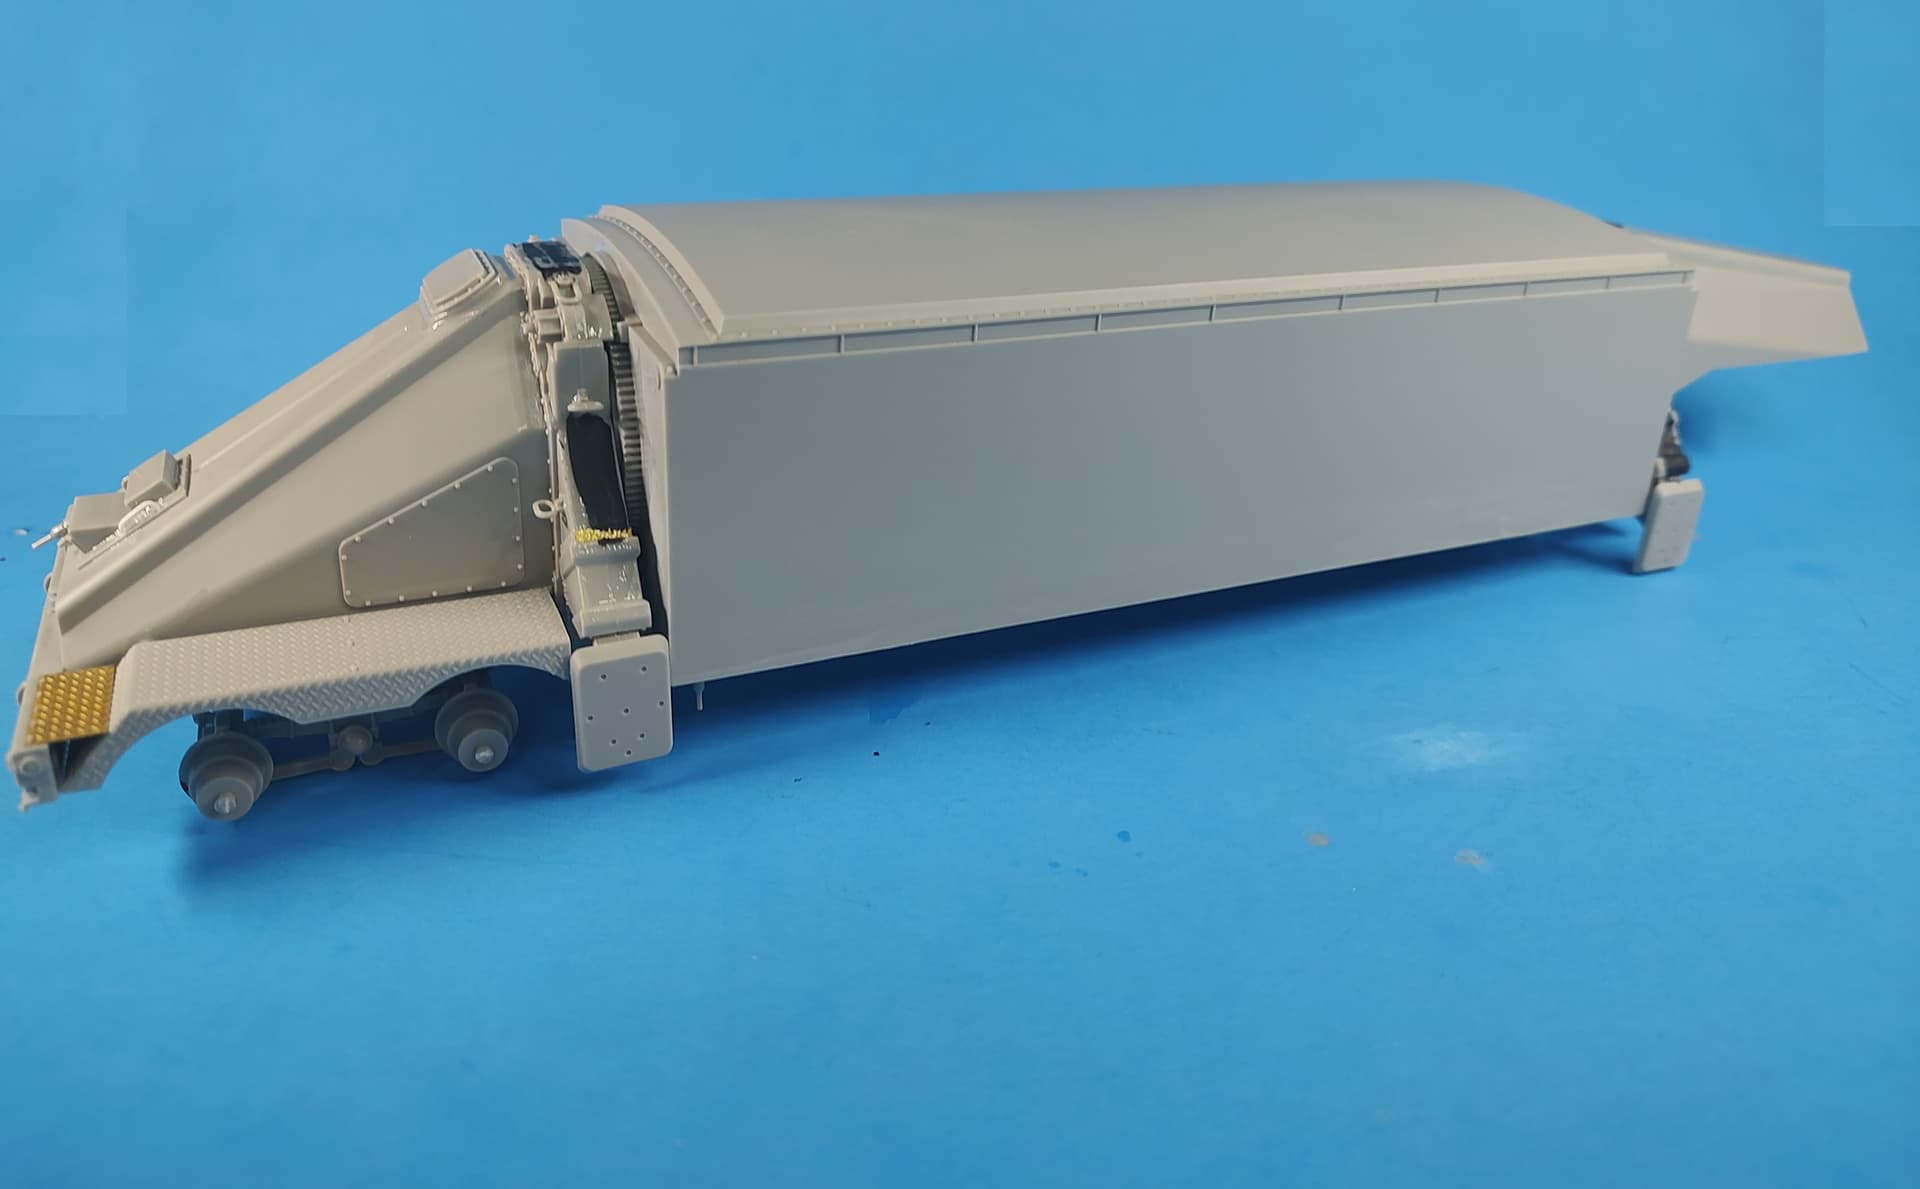
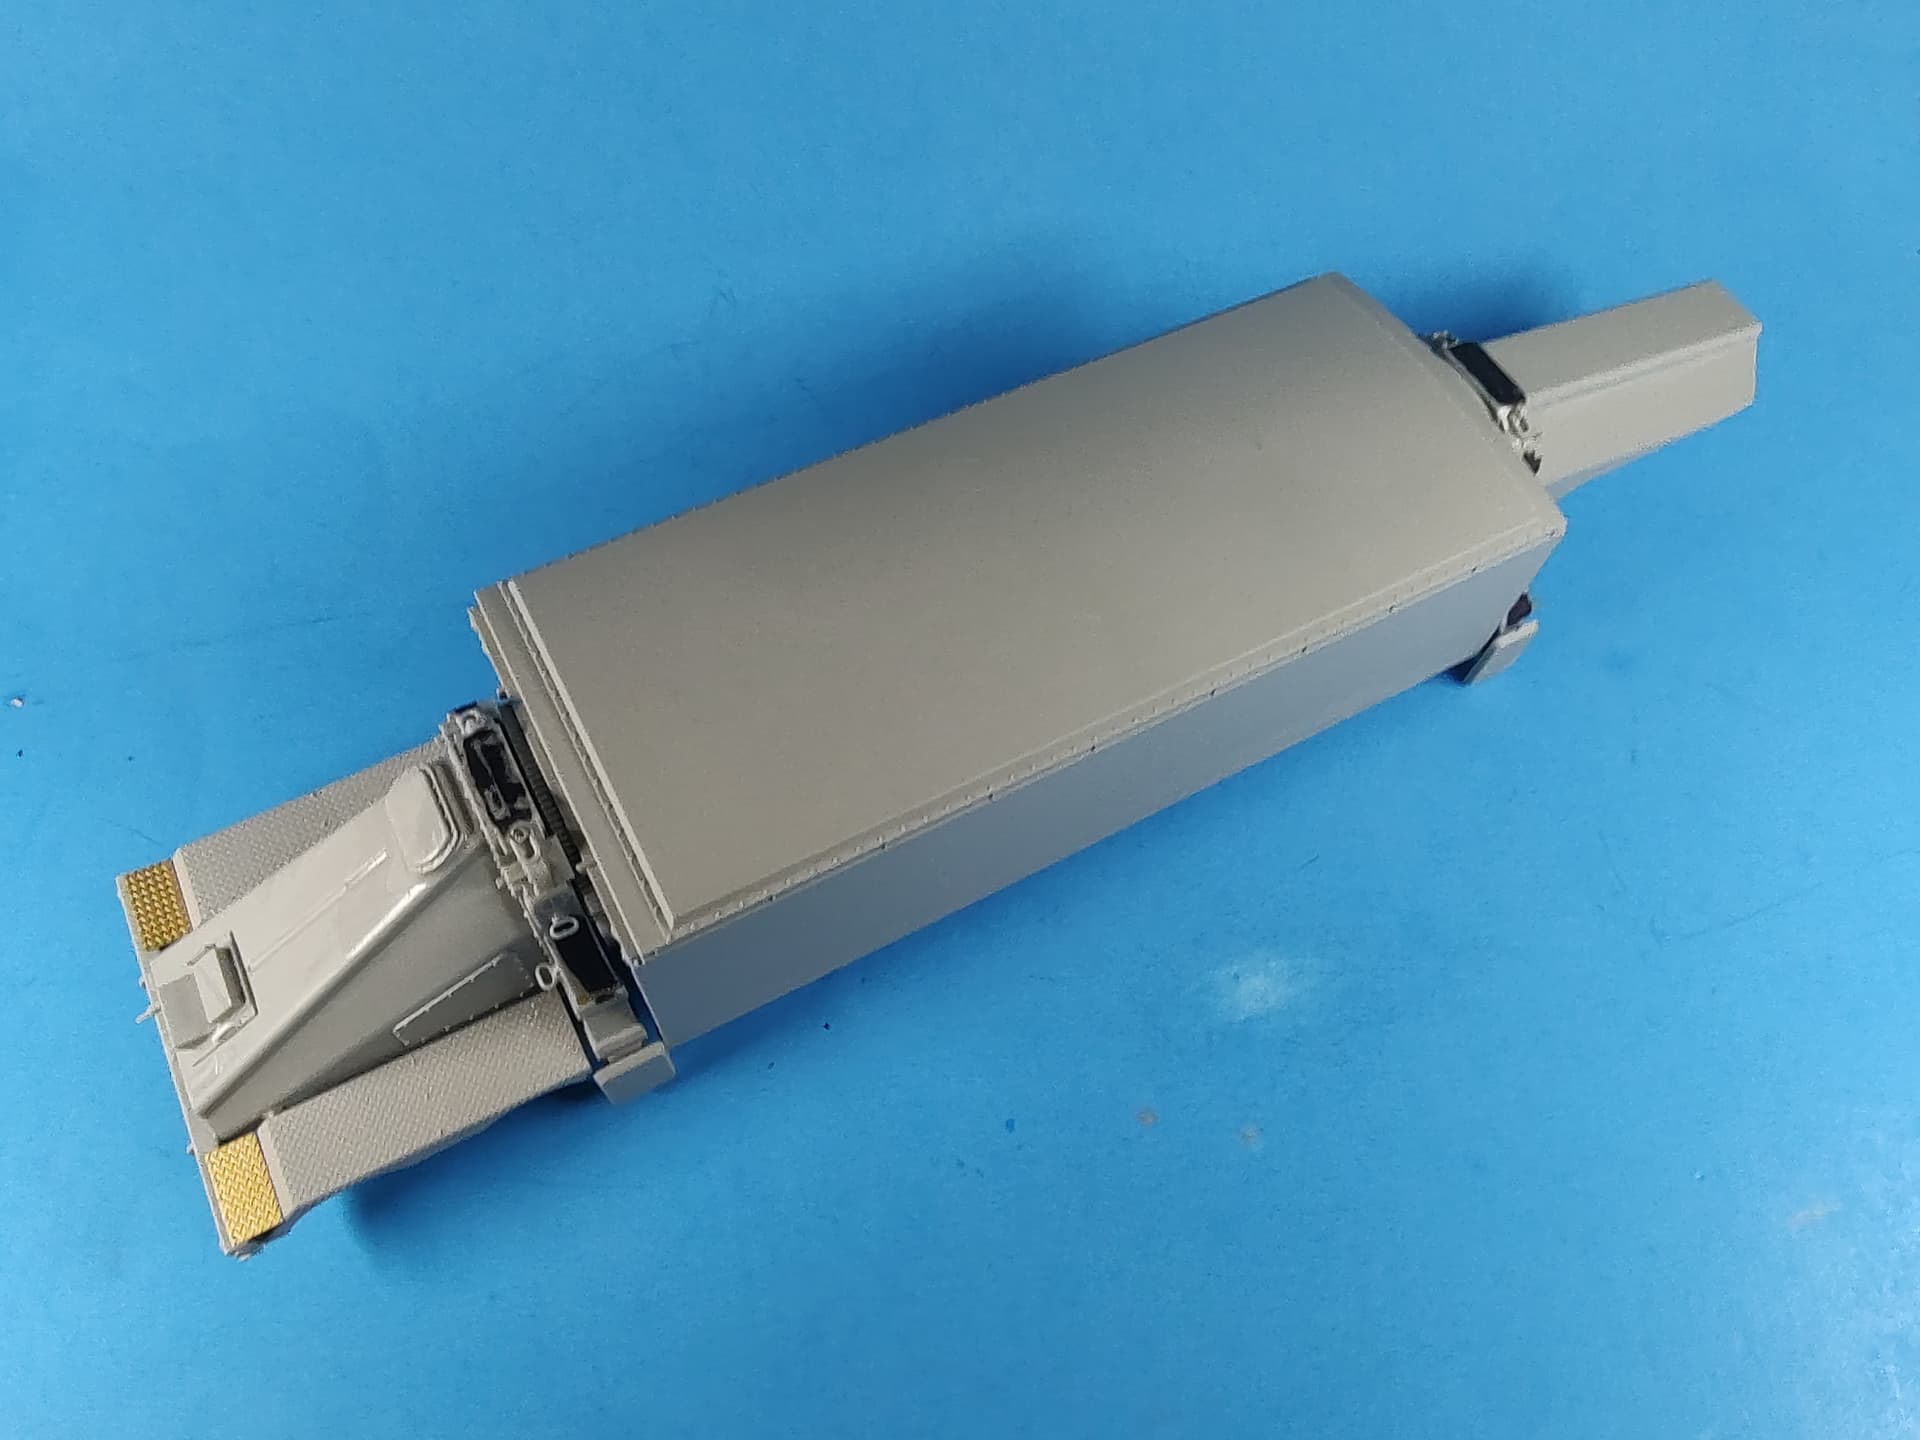
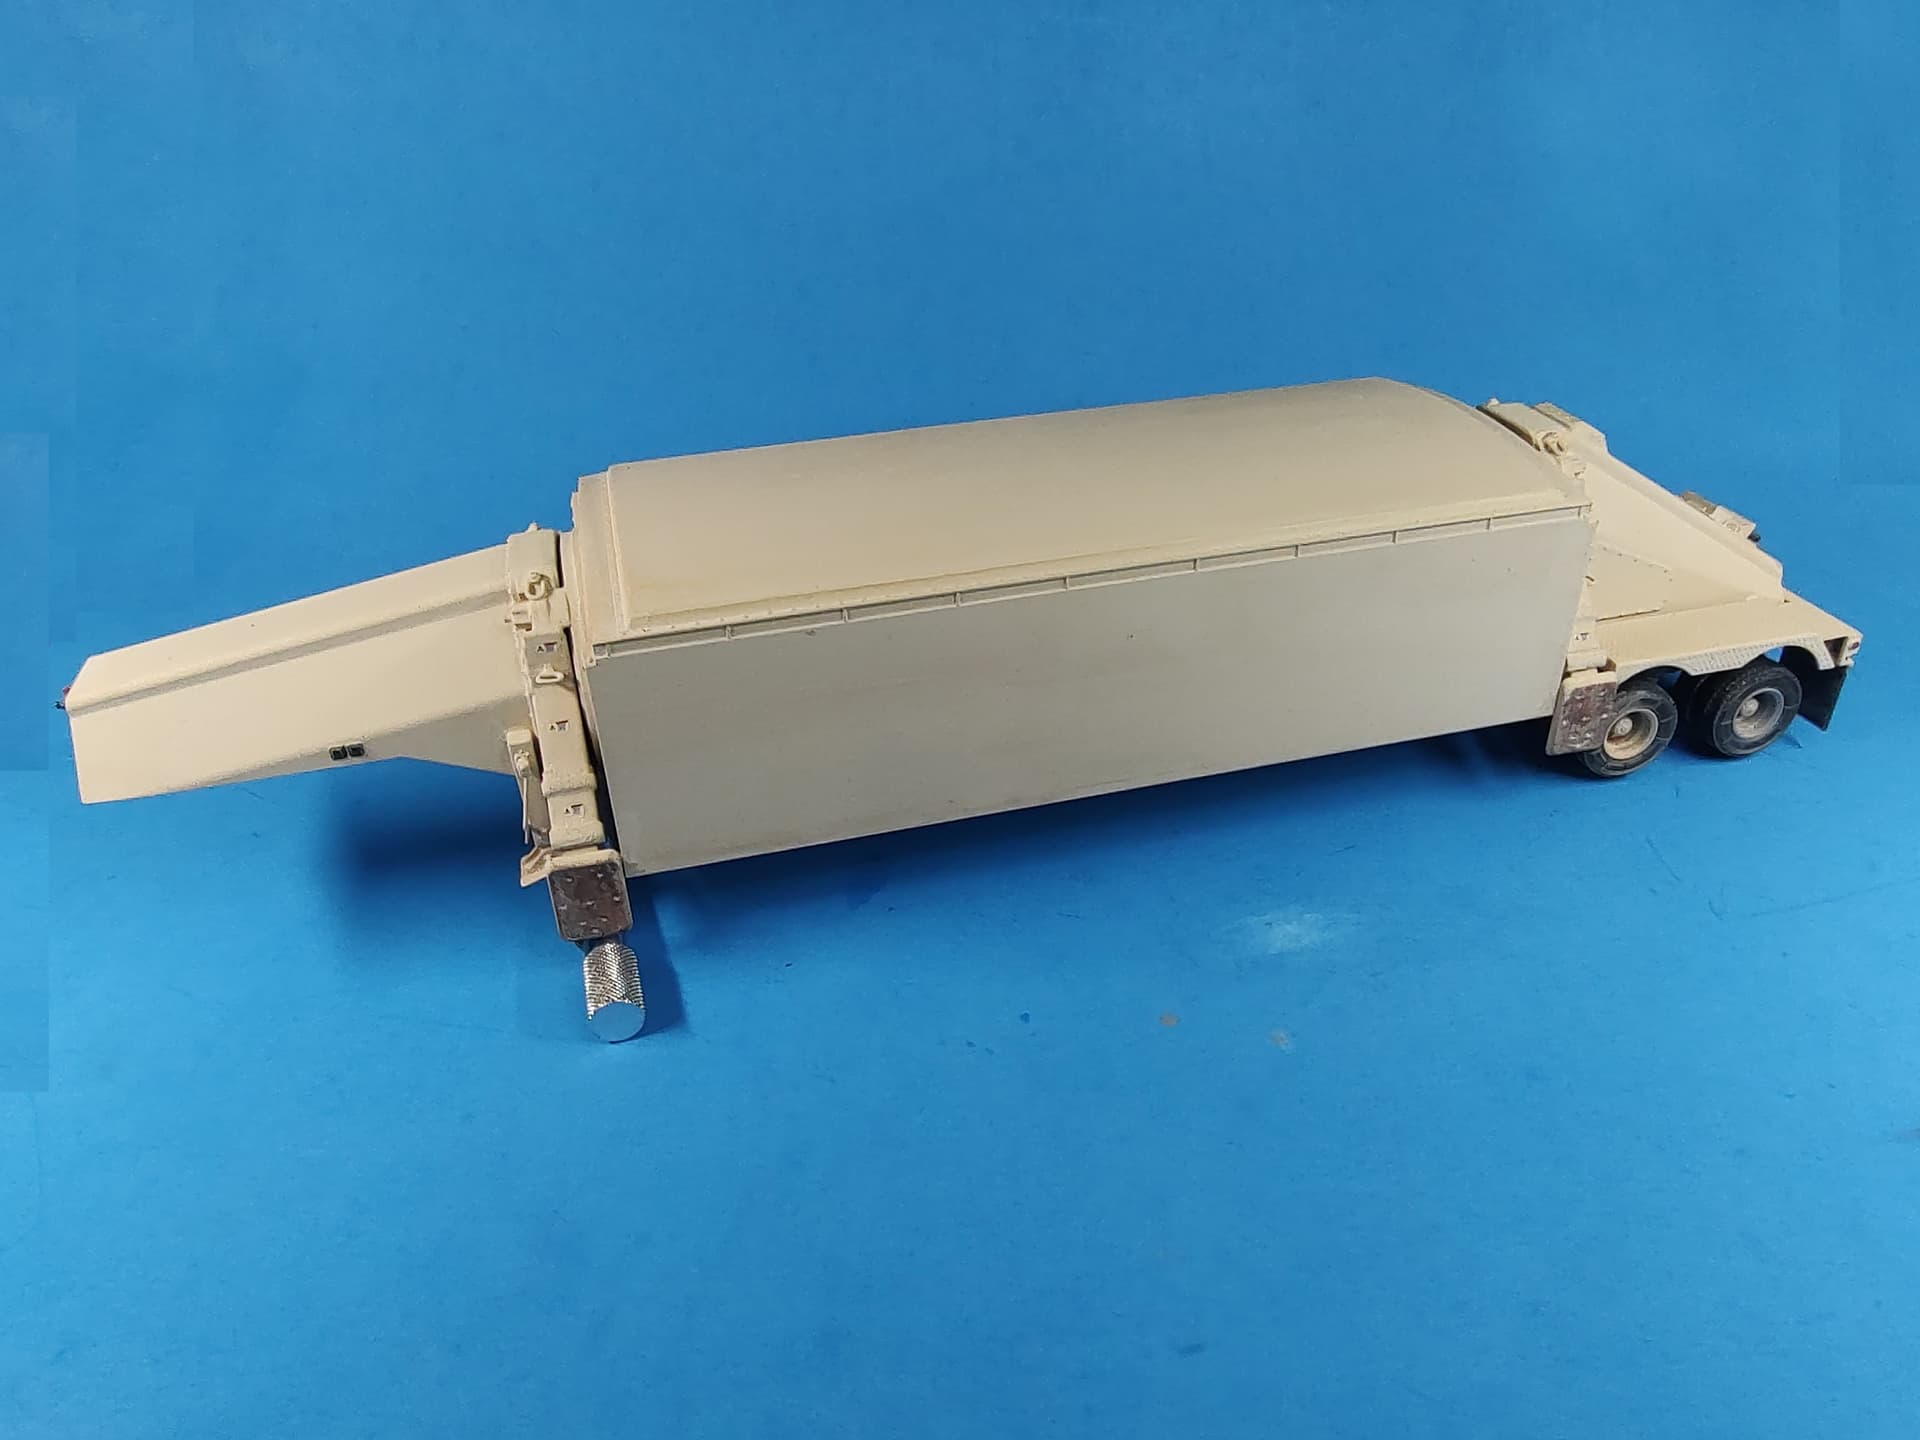
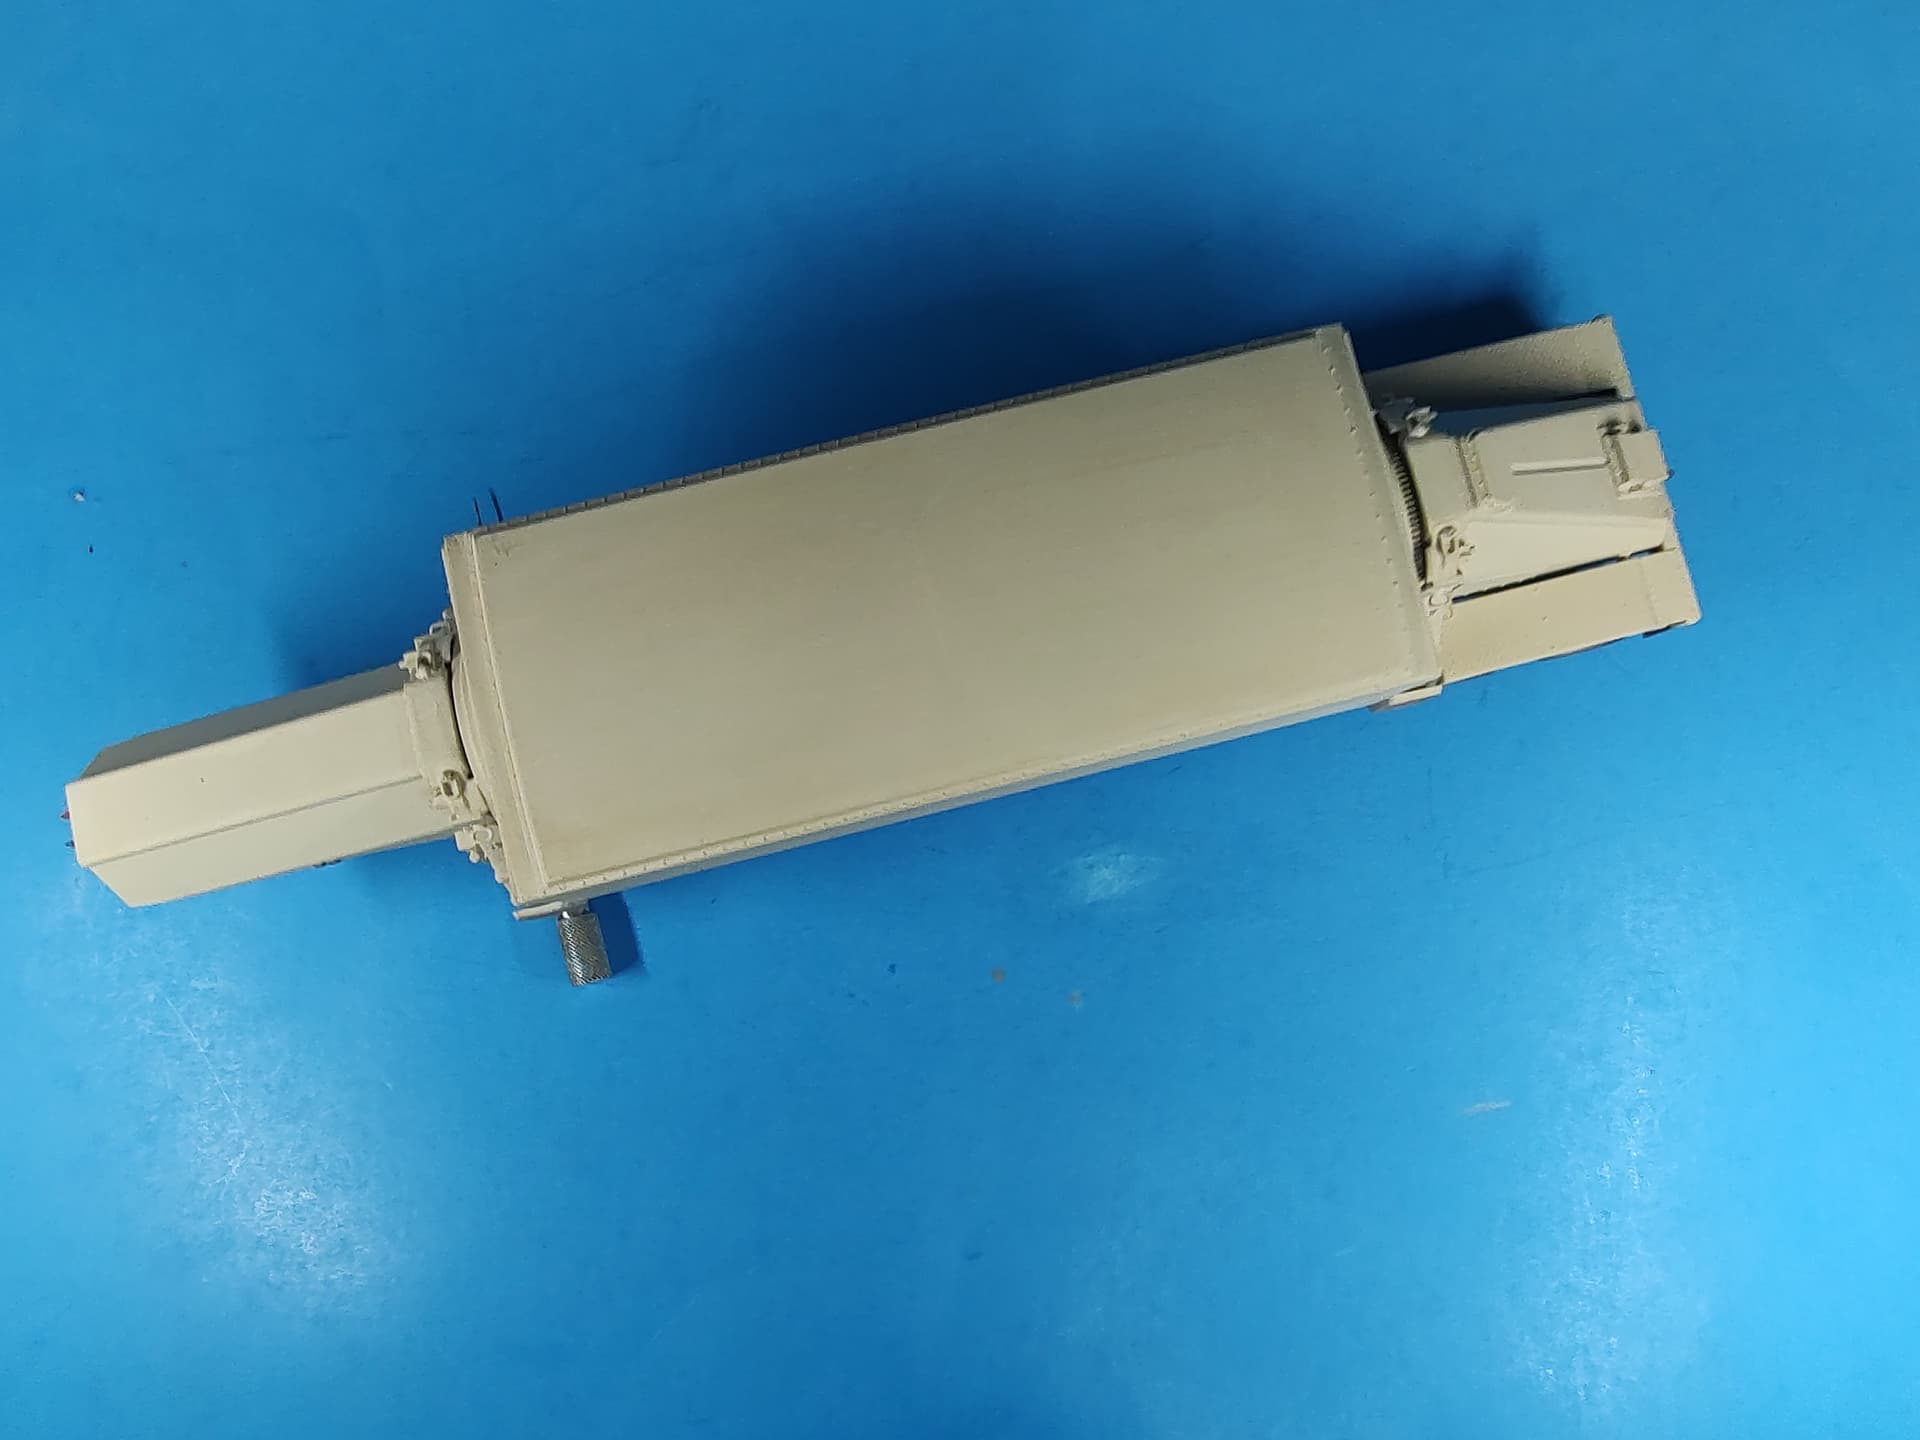
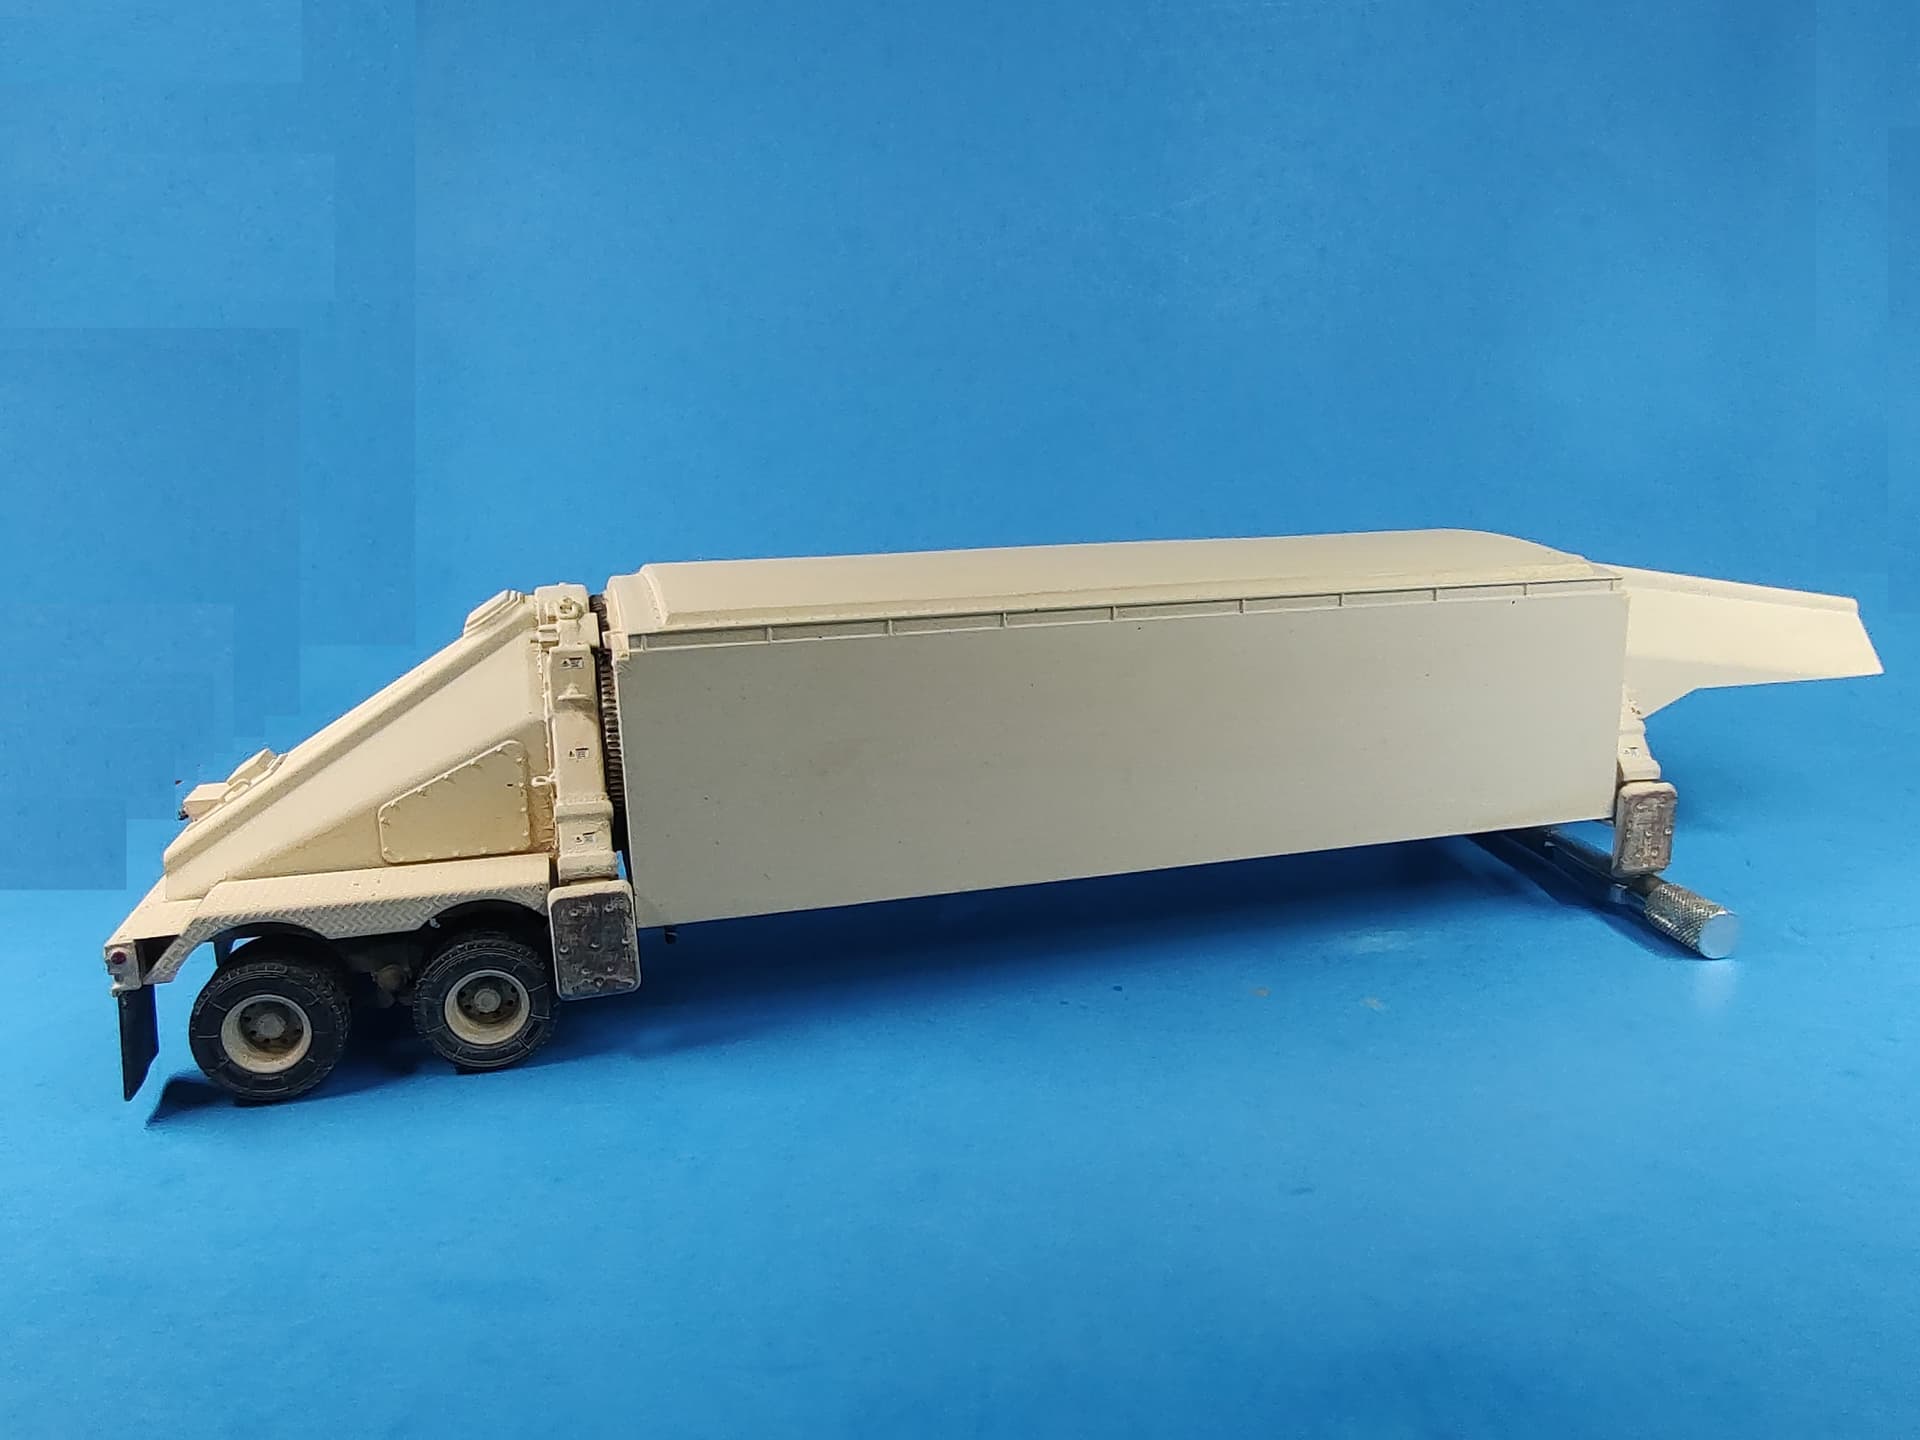
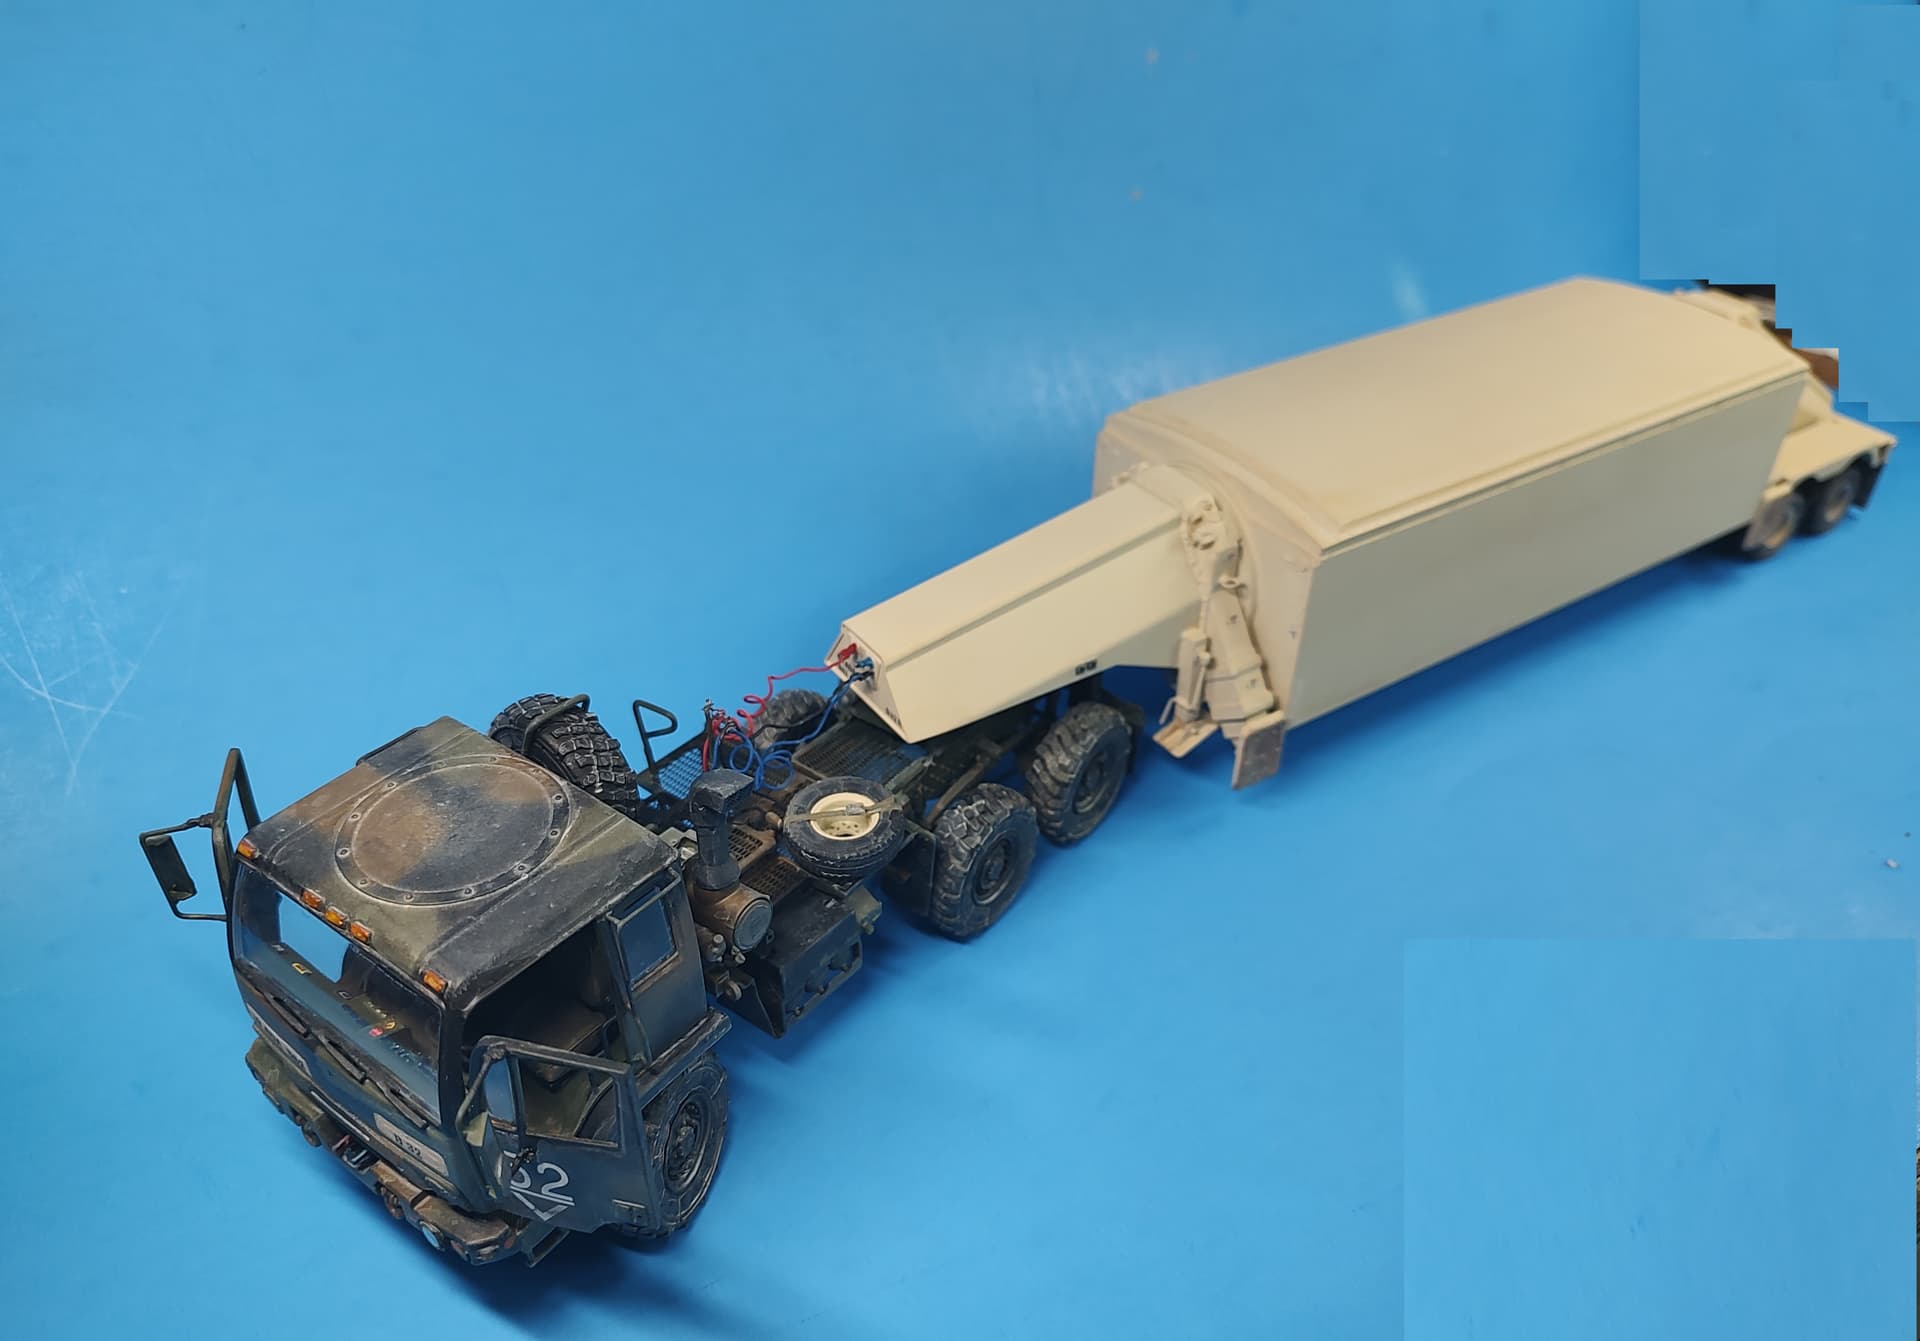
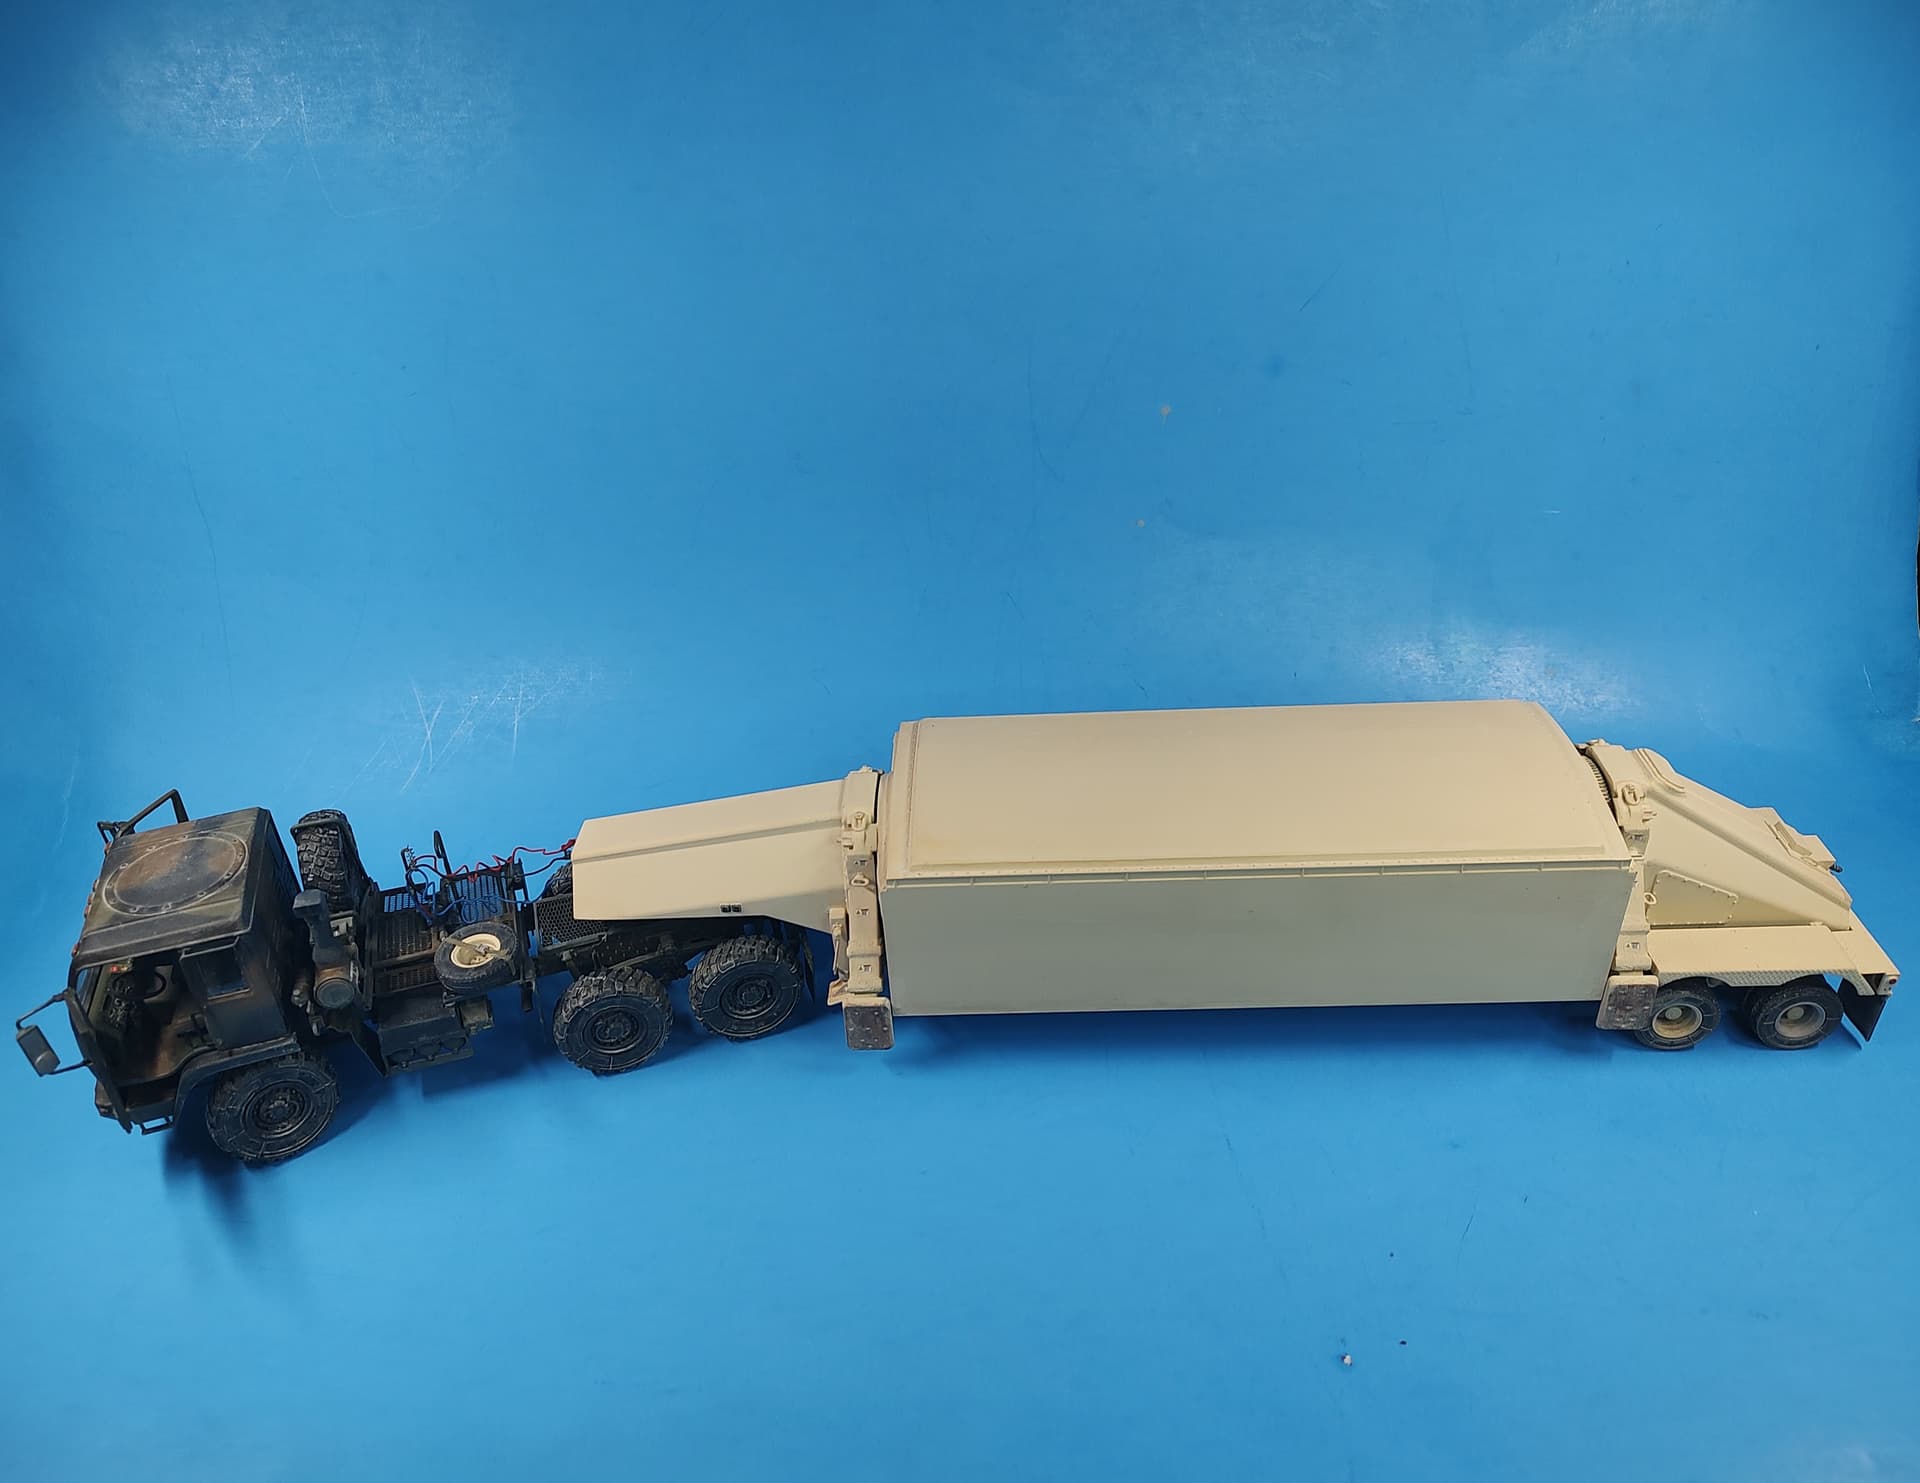
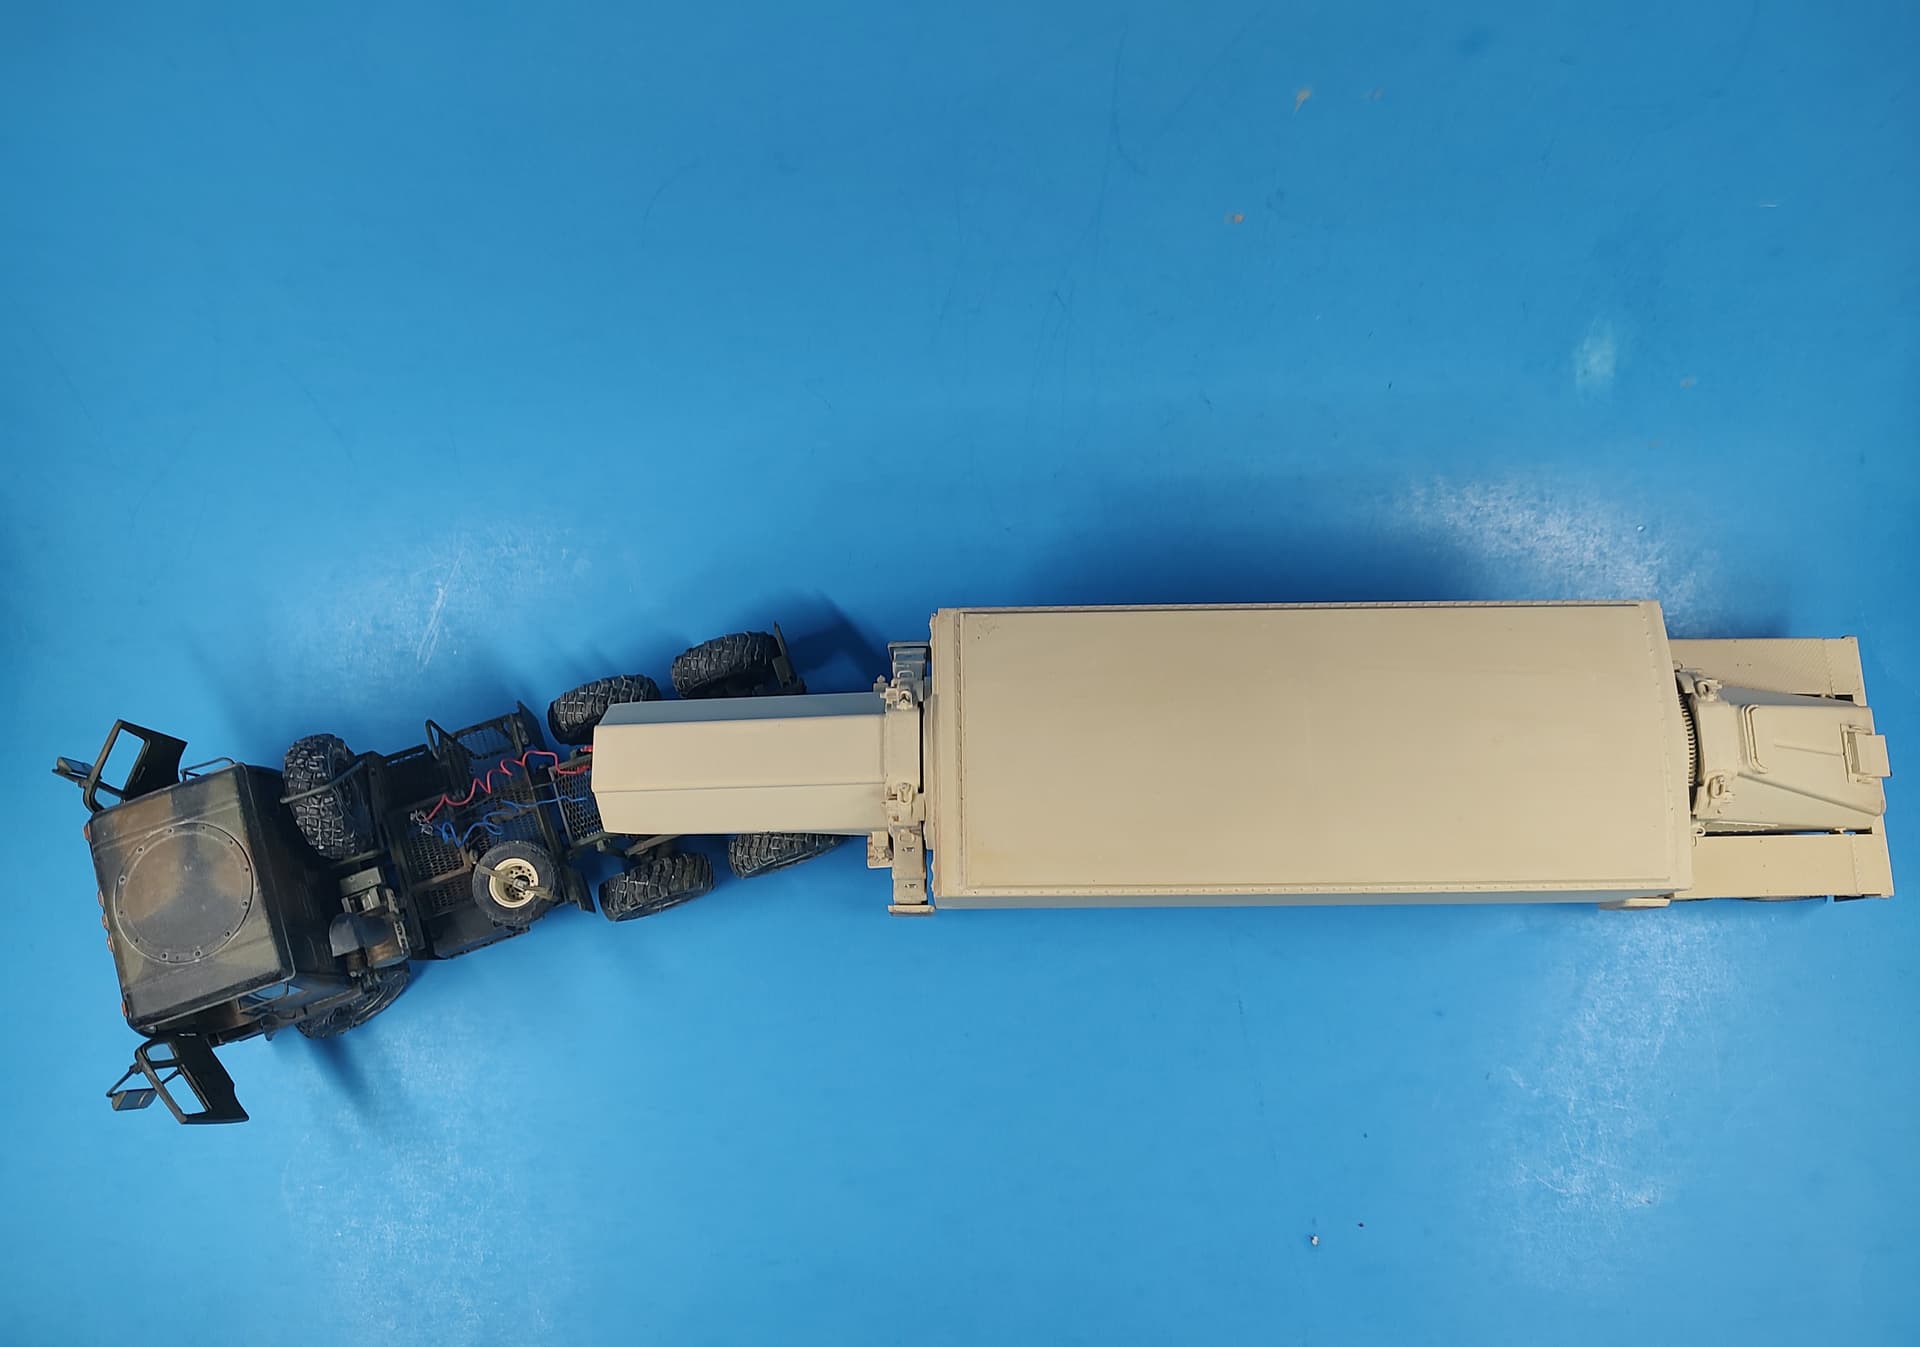
I started another project over the weekend. I am building the Trumpeter 1/35 AN/TPY-2 Radar trailer used by THAAD systems to acquire targets.
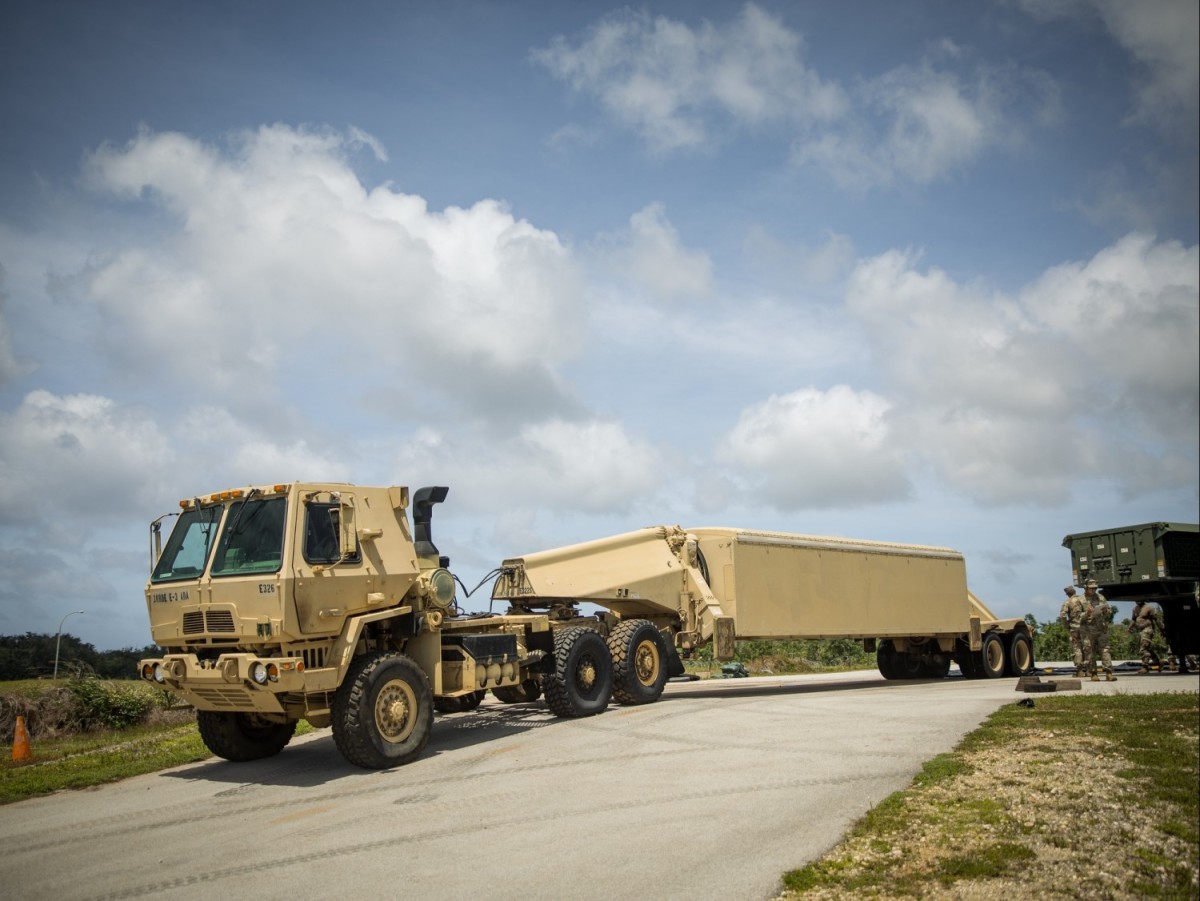
I am building just the trailer and will mate it to my M1088 5-ton tractor that I built a while ago. These are not pulled by M983A2 HEMTT tractors as Trumpeter paired it with. The HEMTT is overkill for the trailer.
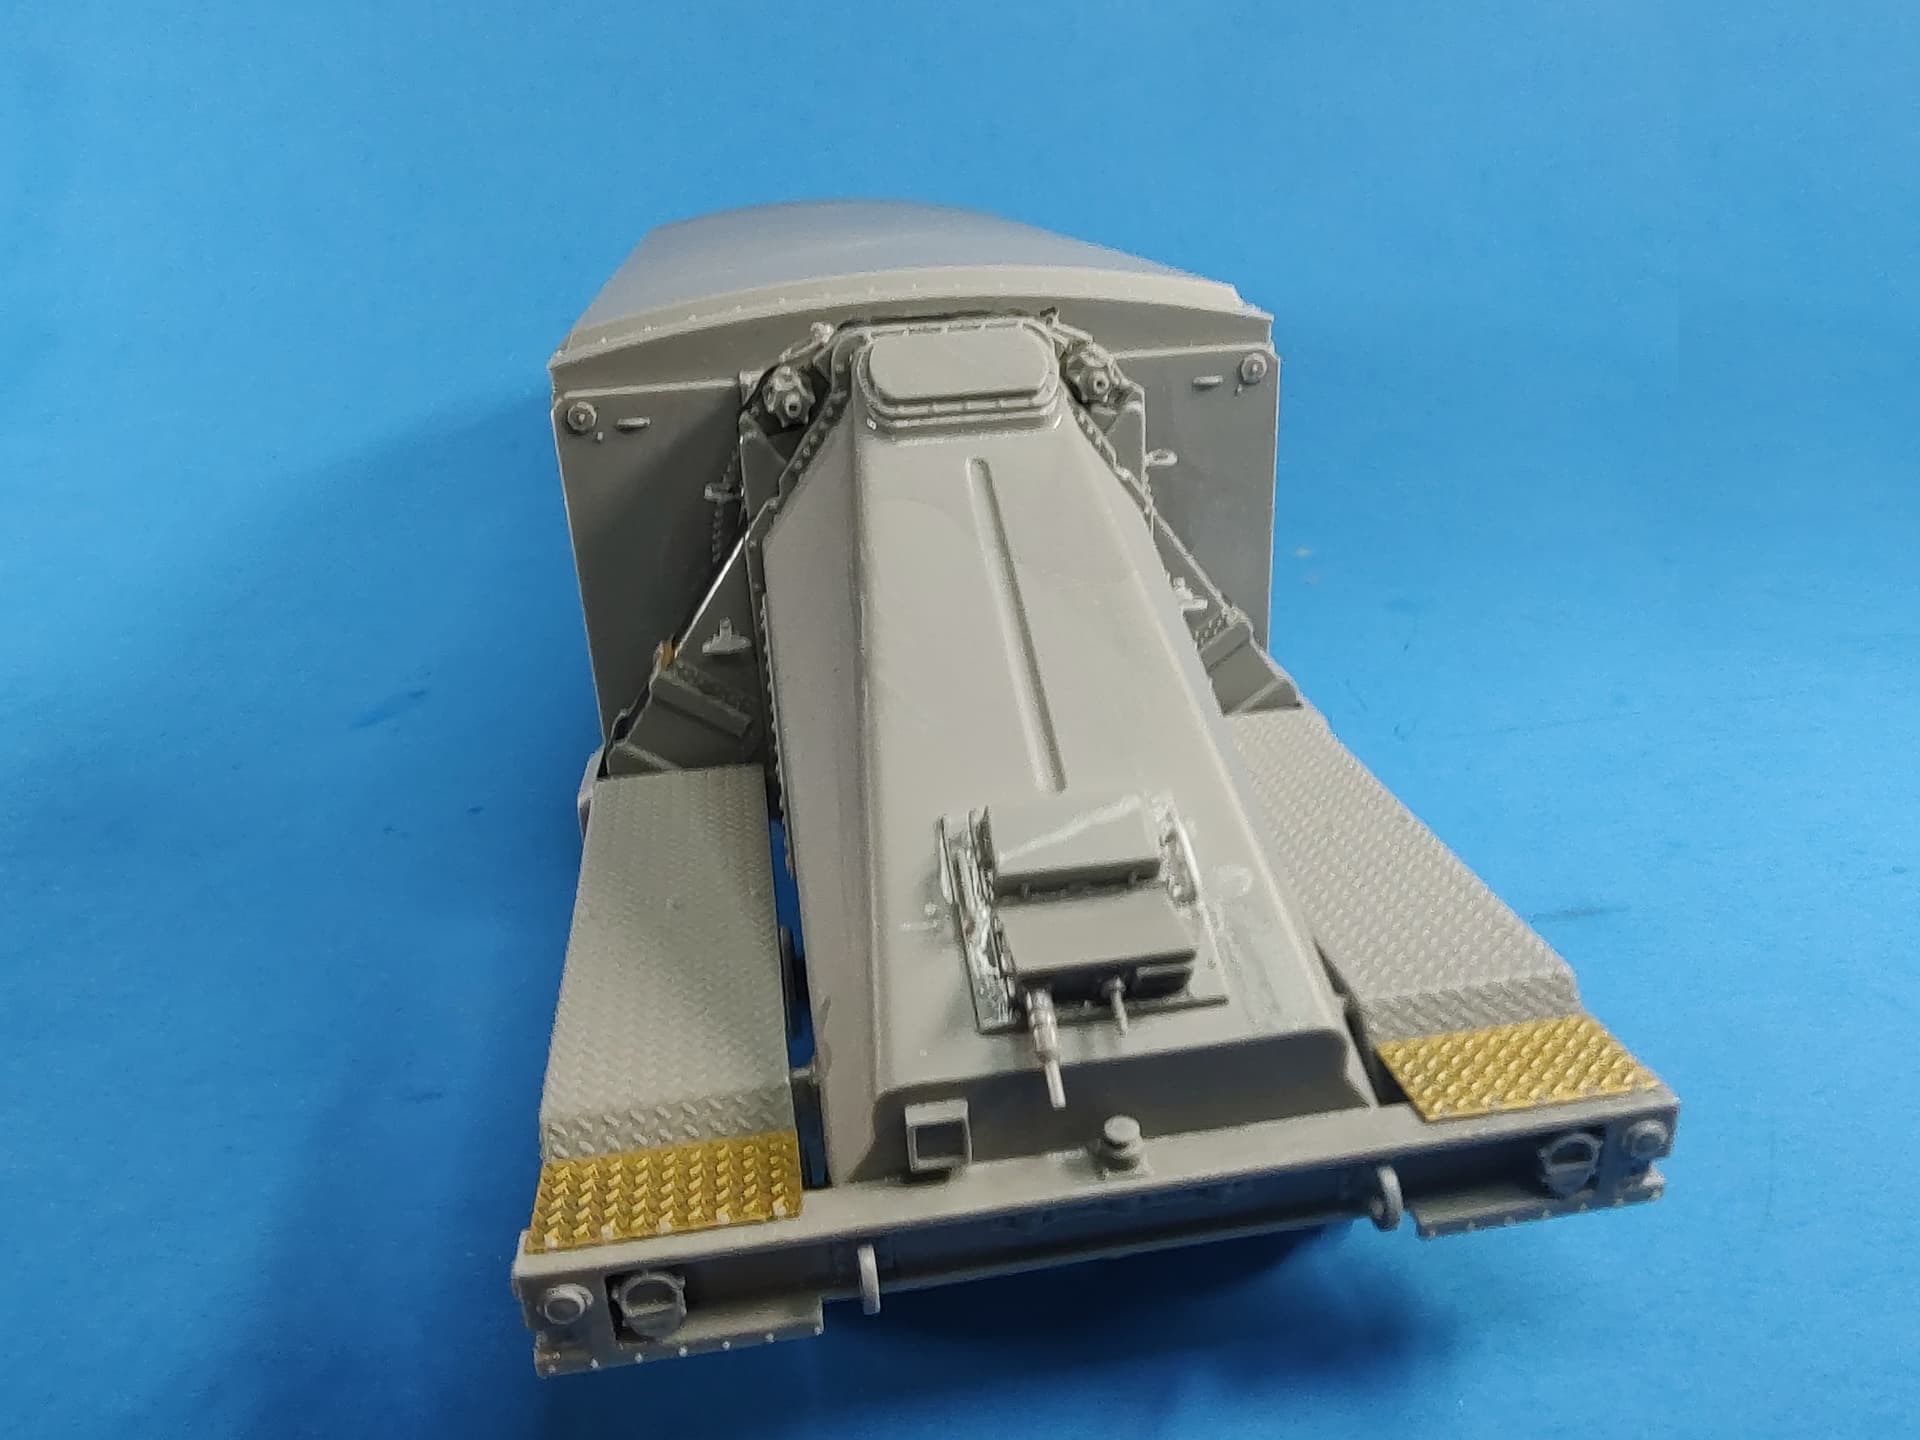
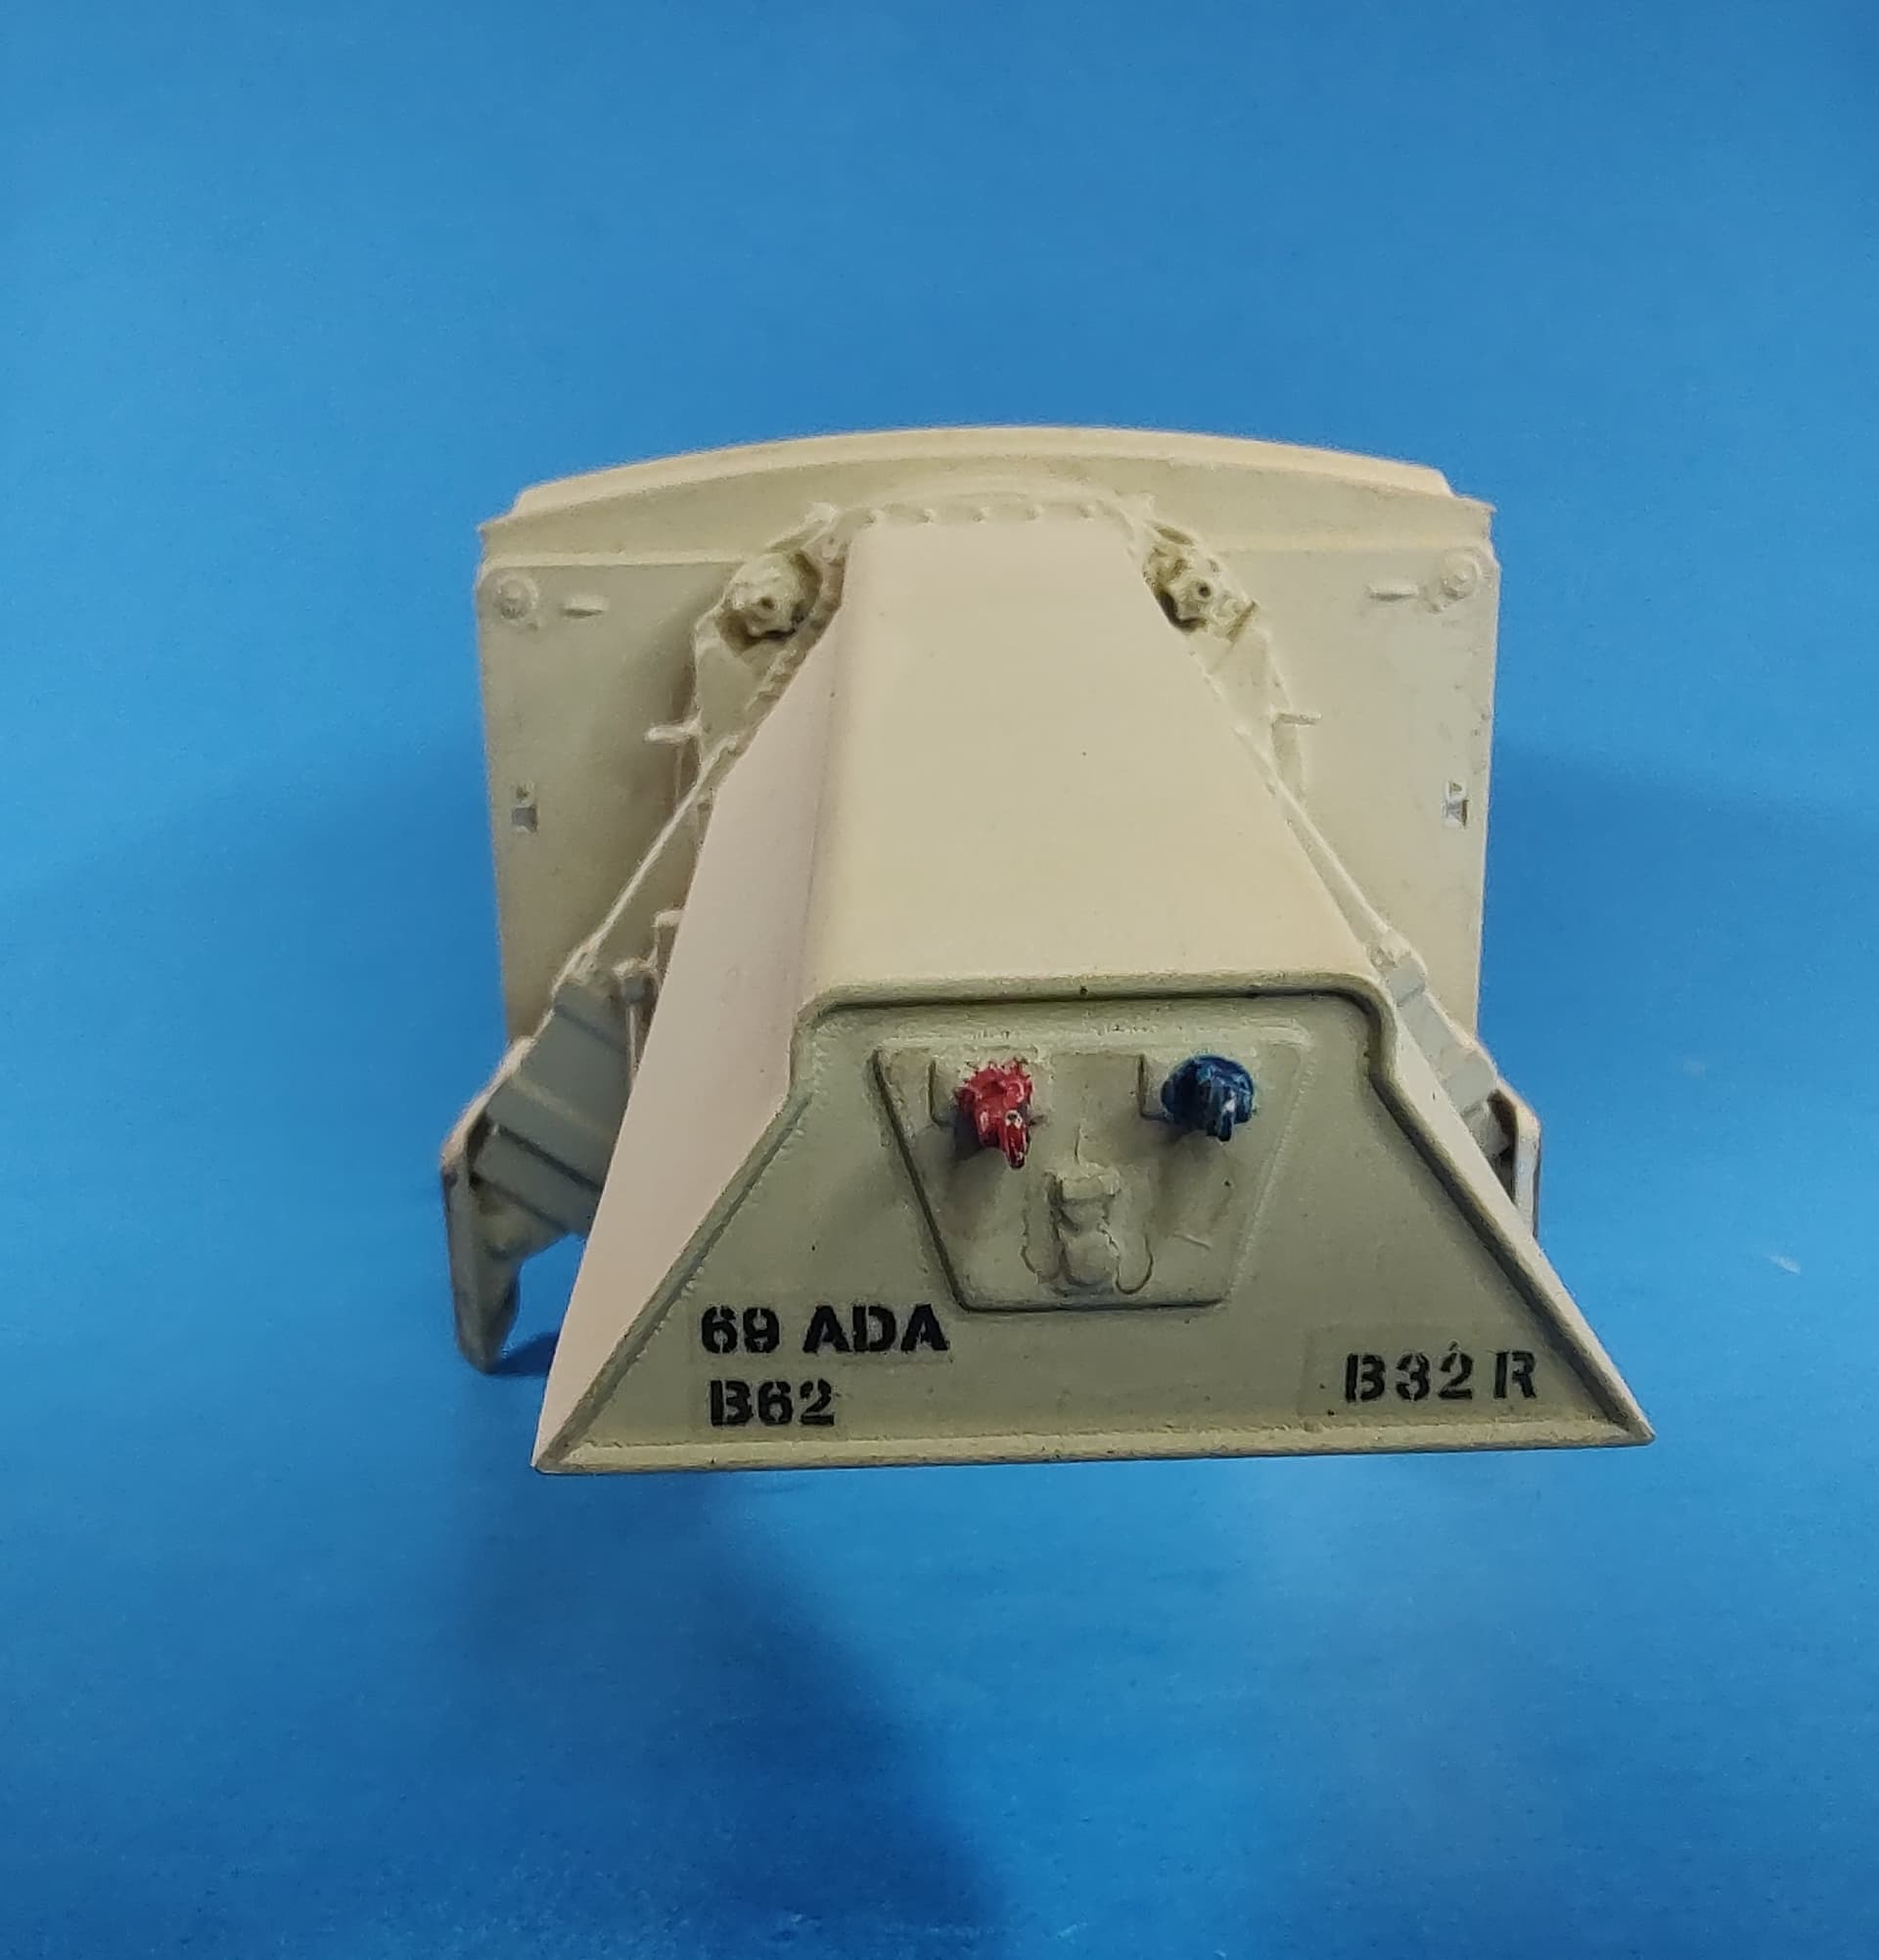
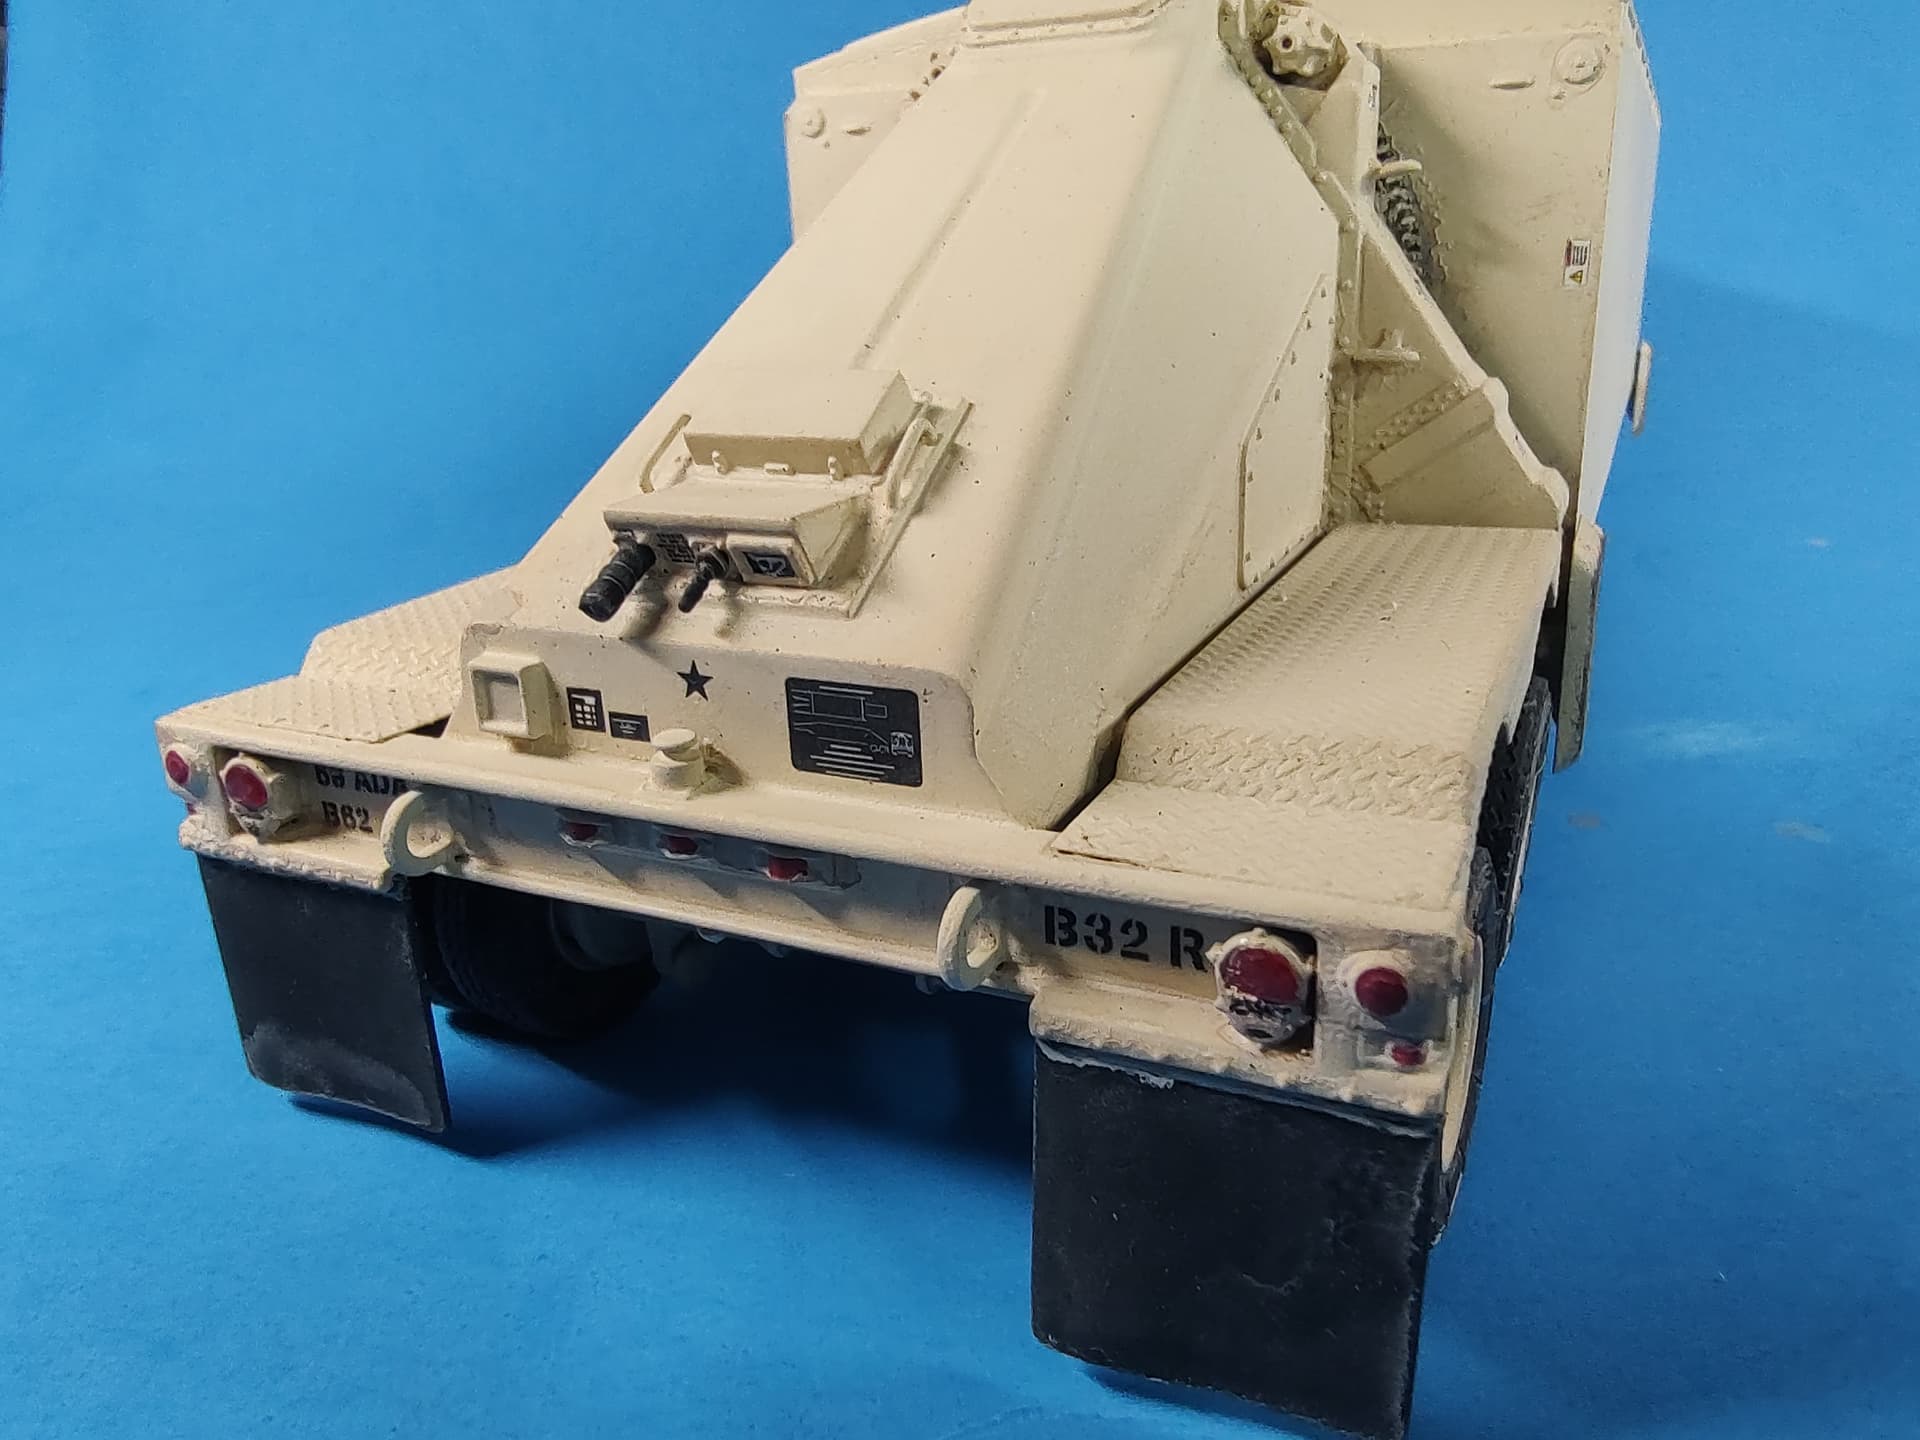
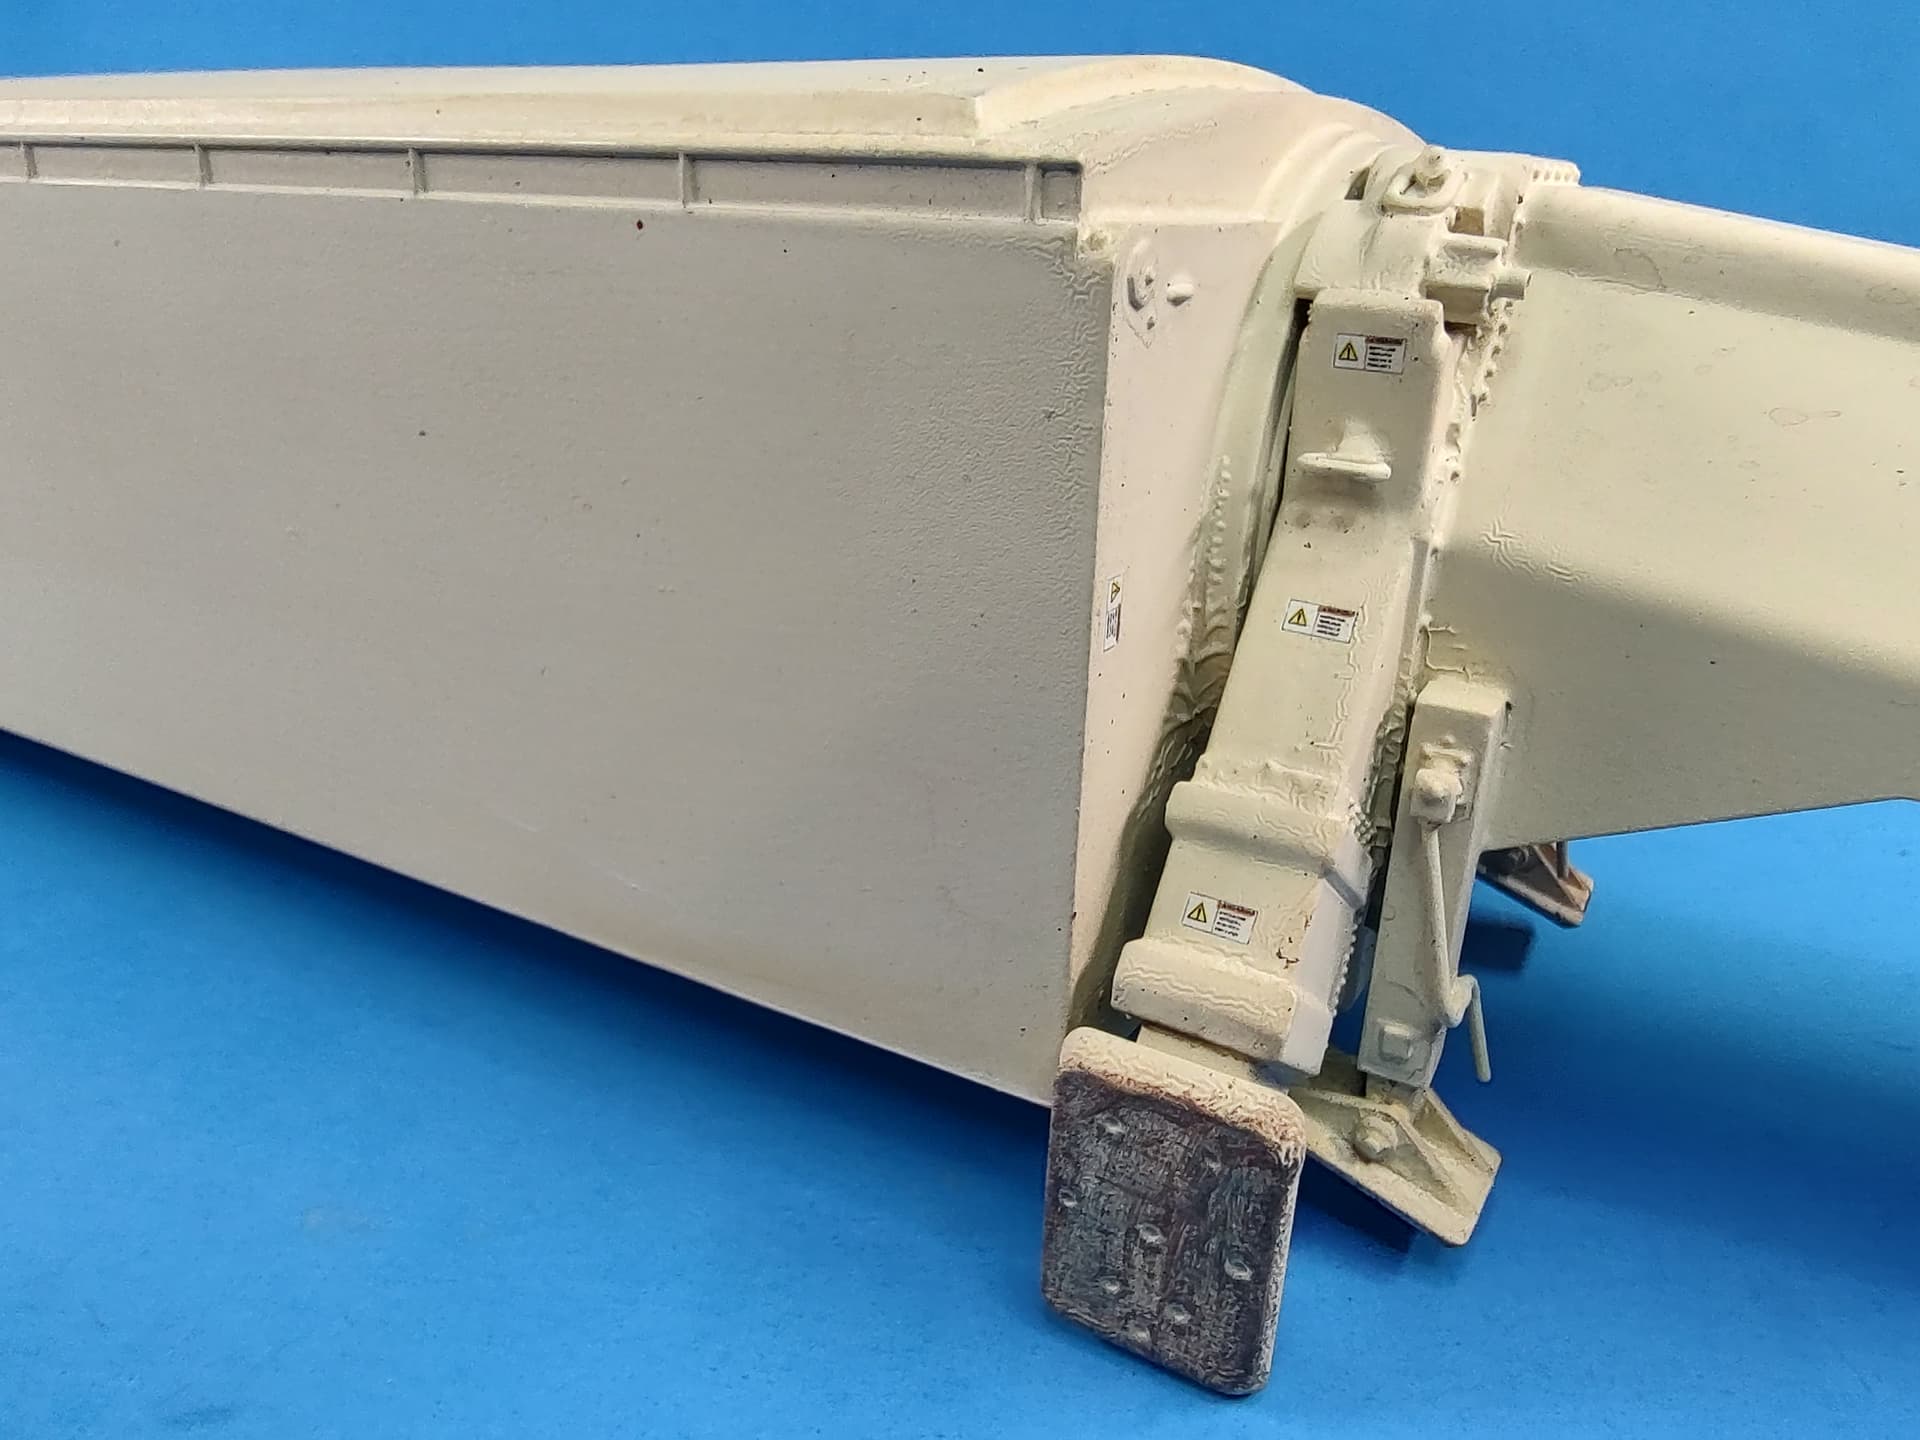
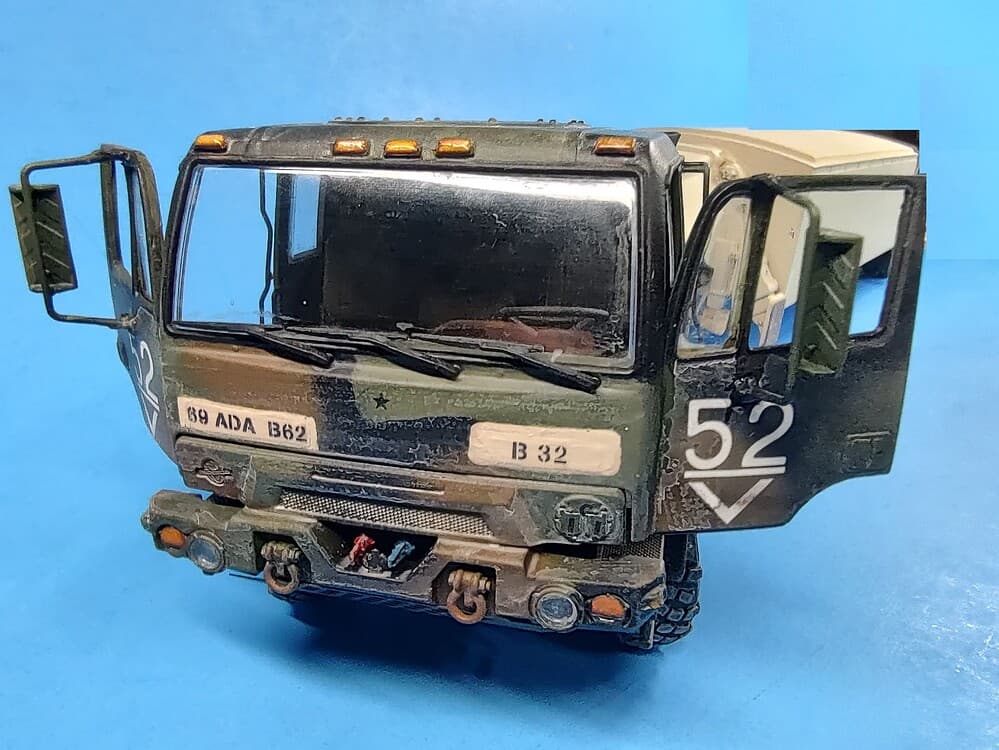
It is very detailed, but I added a couple things. On the front, I added open gladhands as the kit comes with ones with covers. I also added a connector for the brake lights cable and replaced the kingpin as it was too big to fit the M1088 5th wheel (the M983 has a larger 5th wheel).
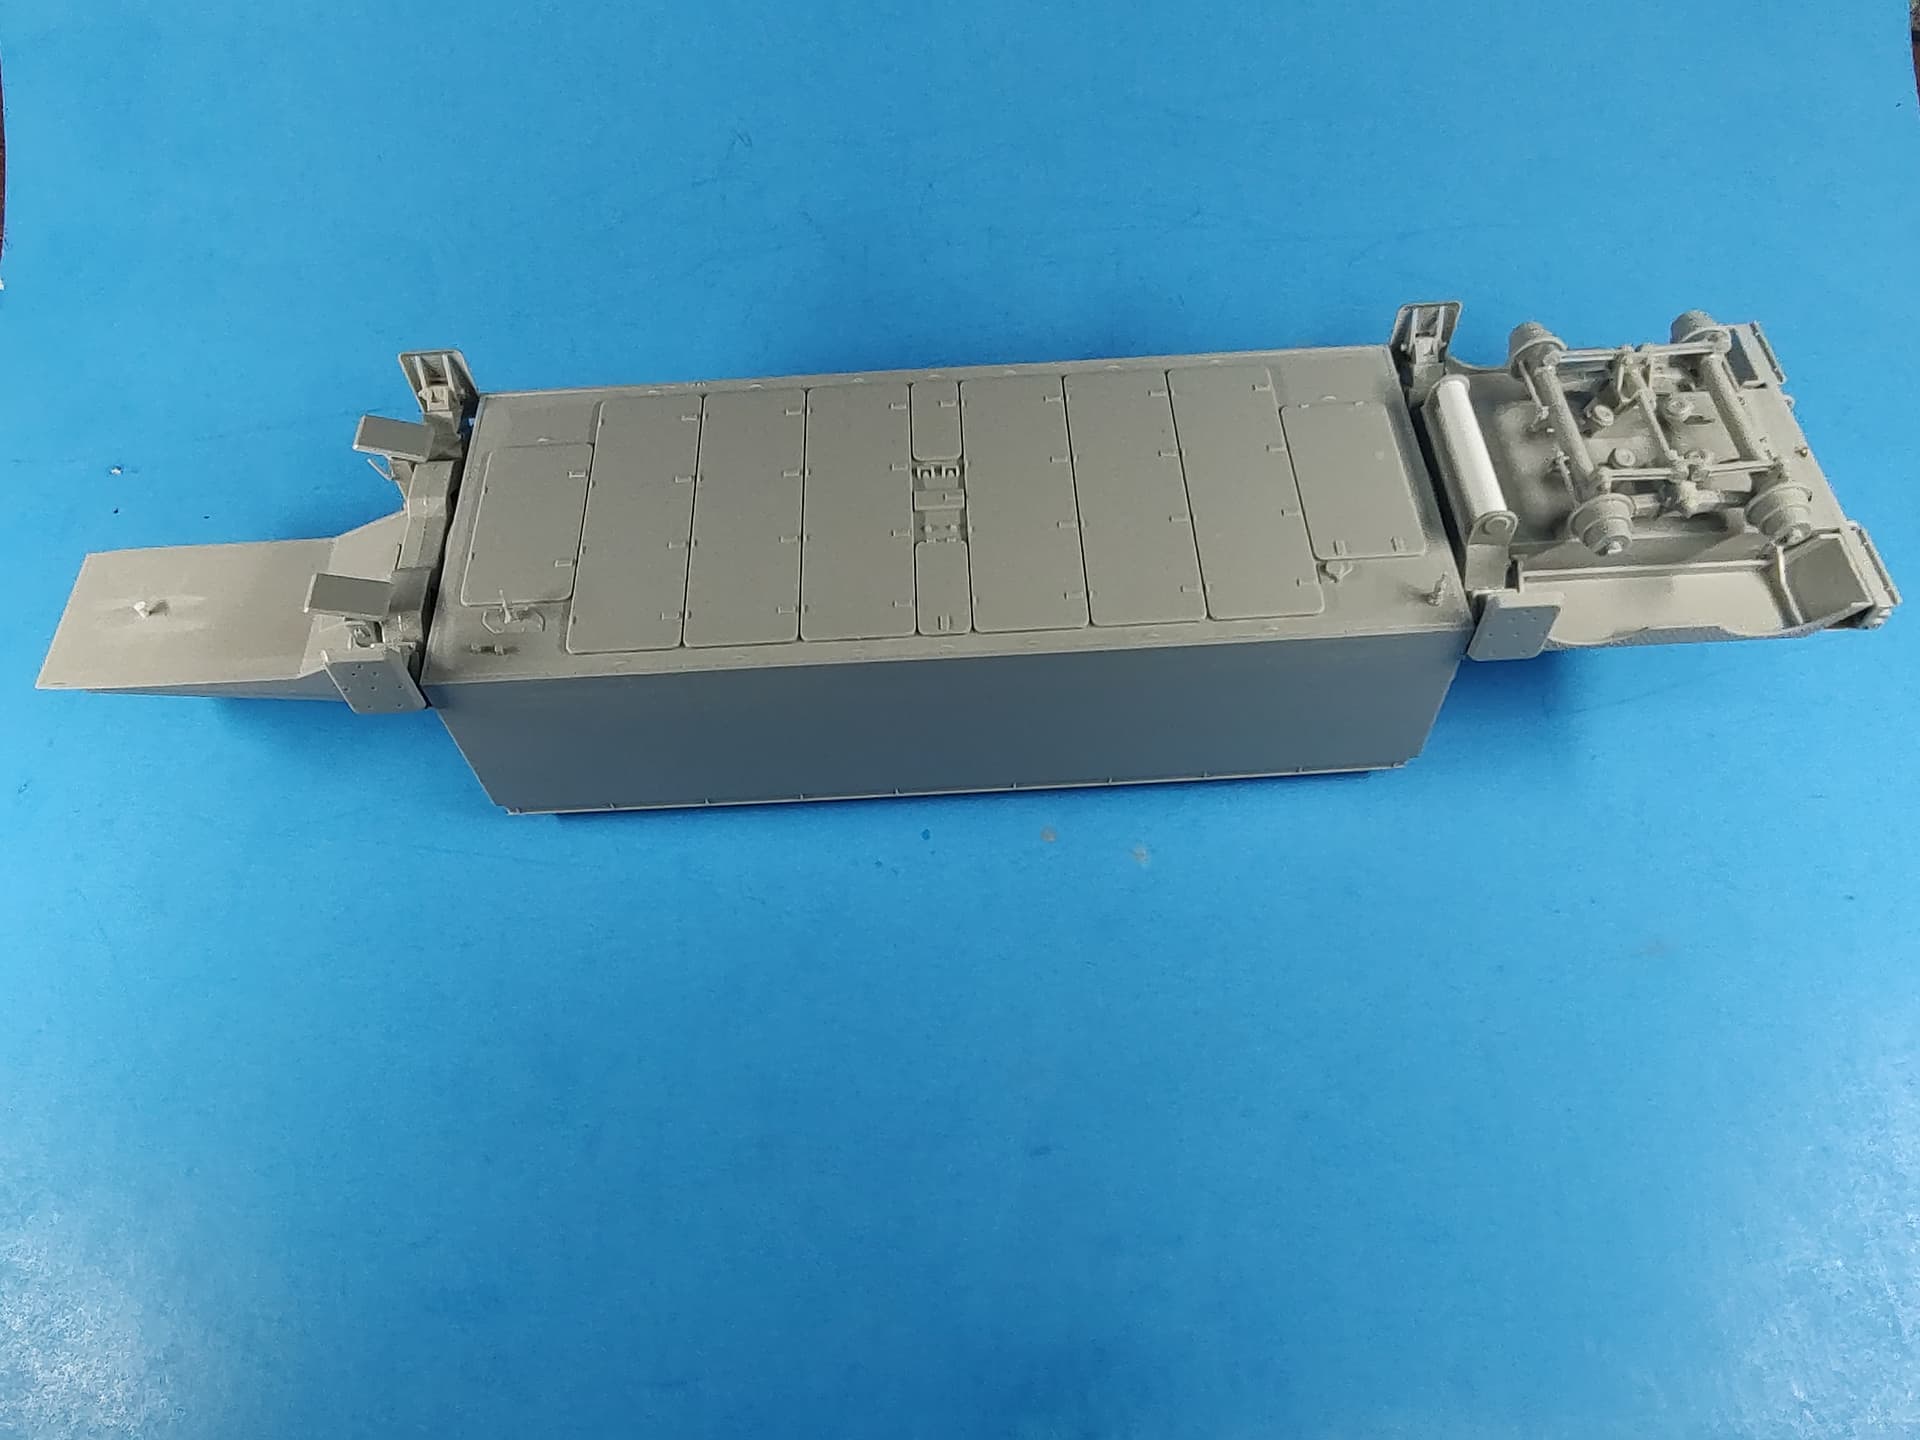
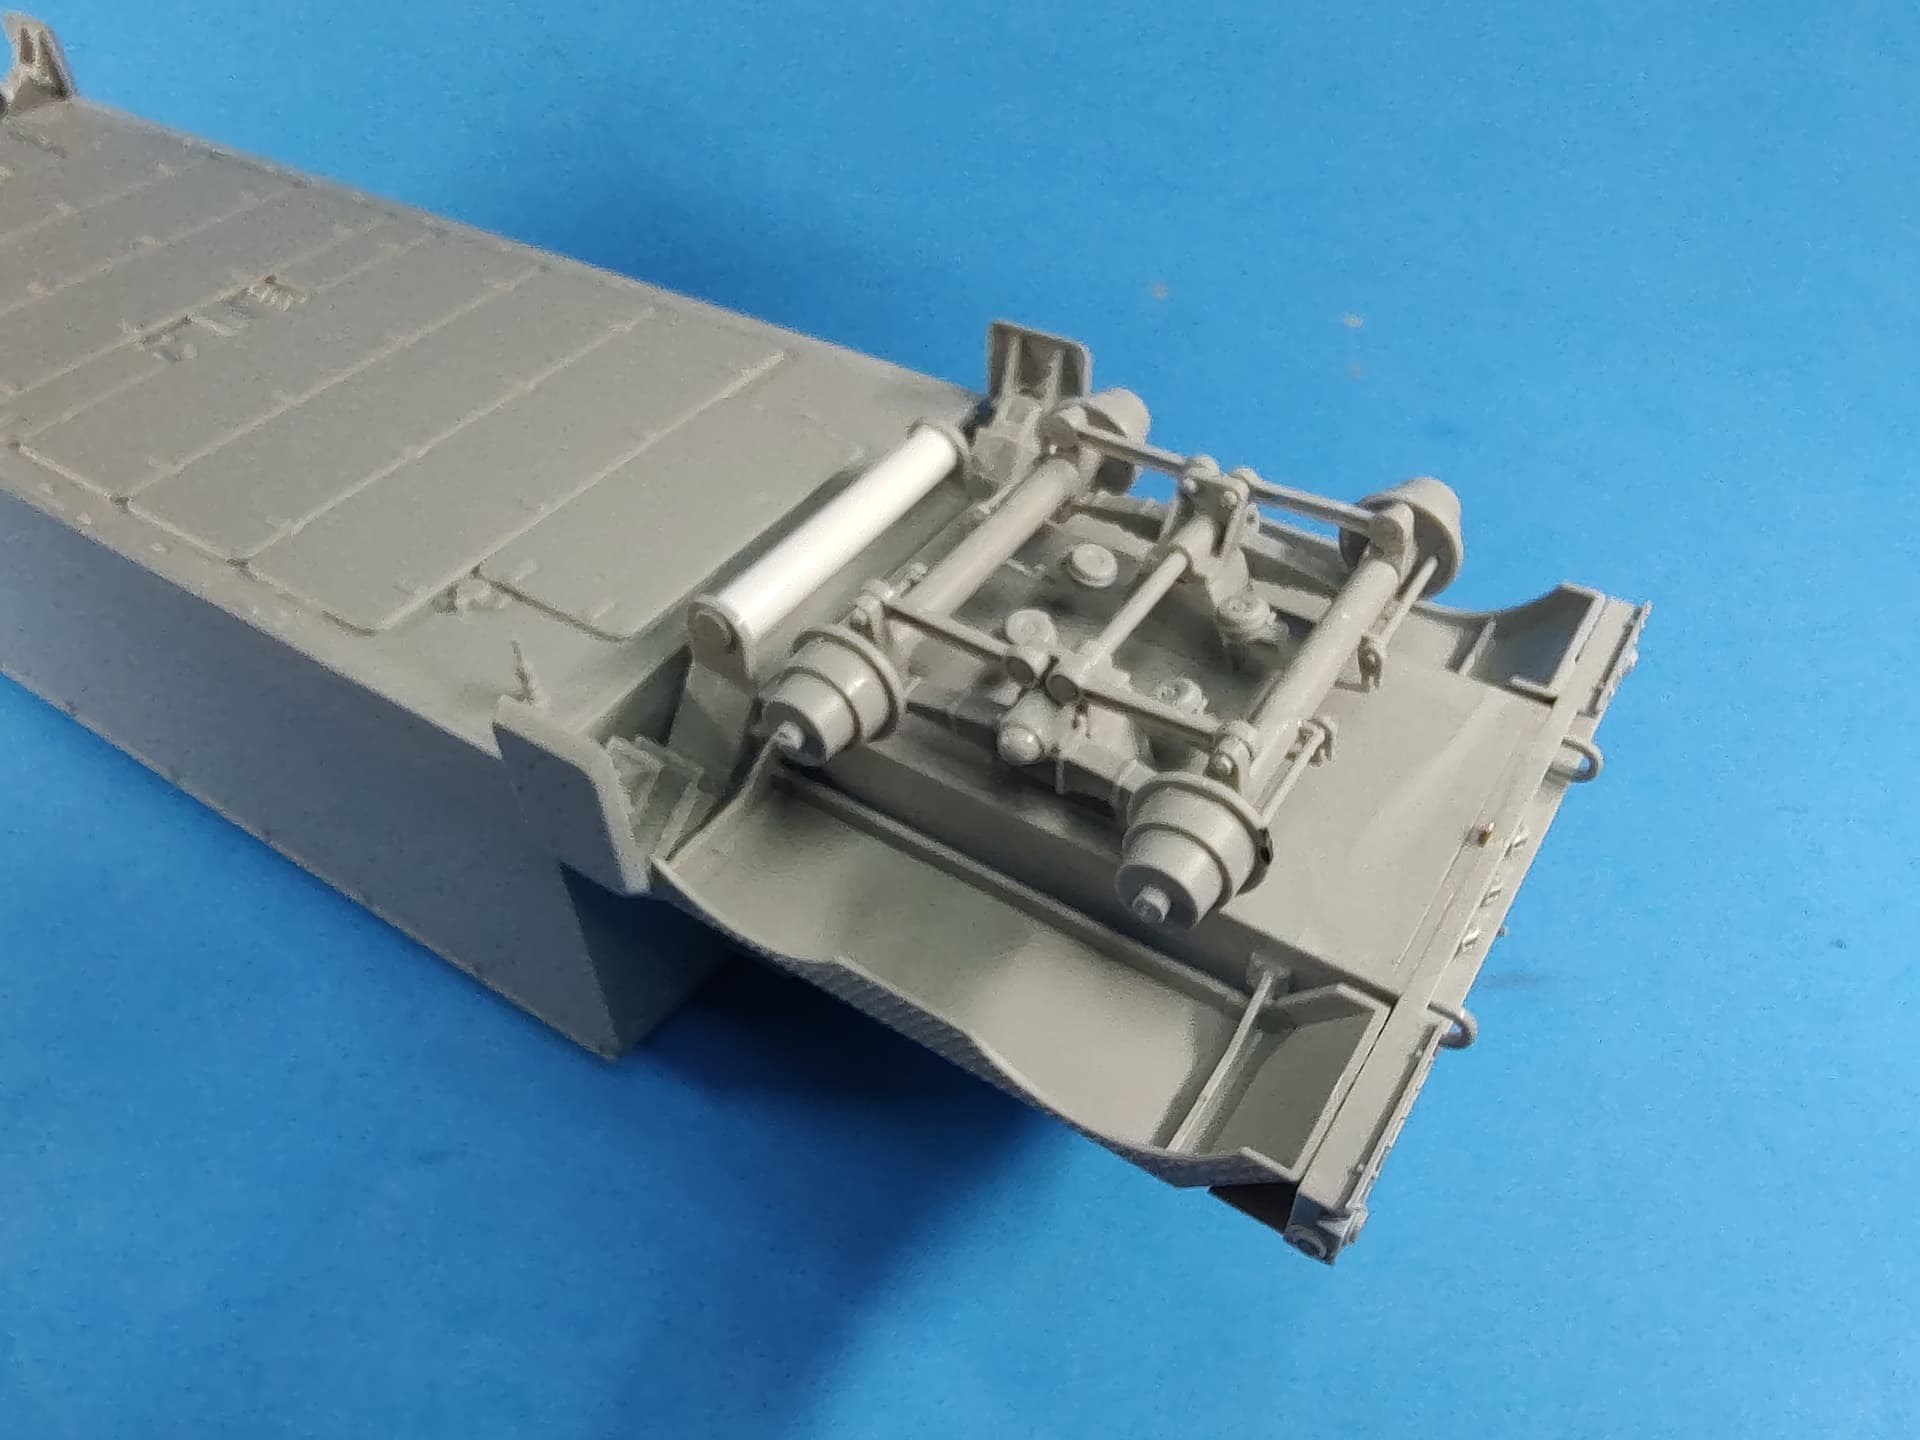
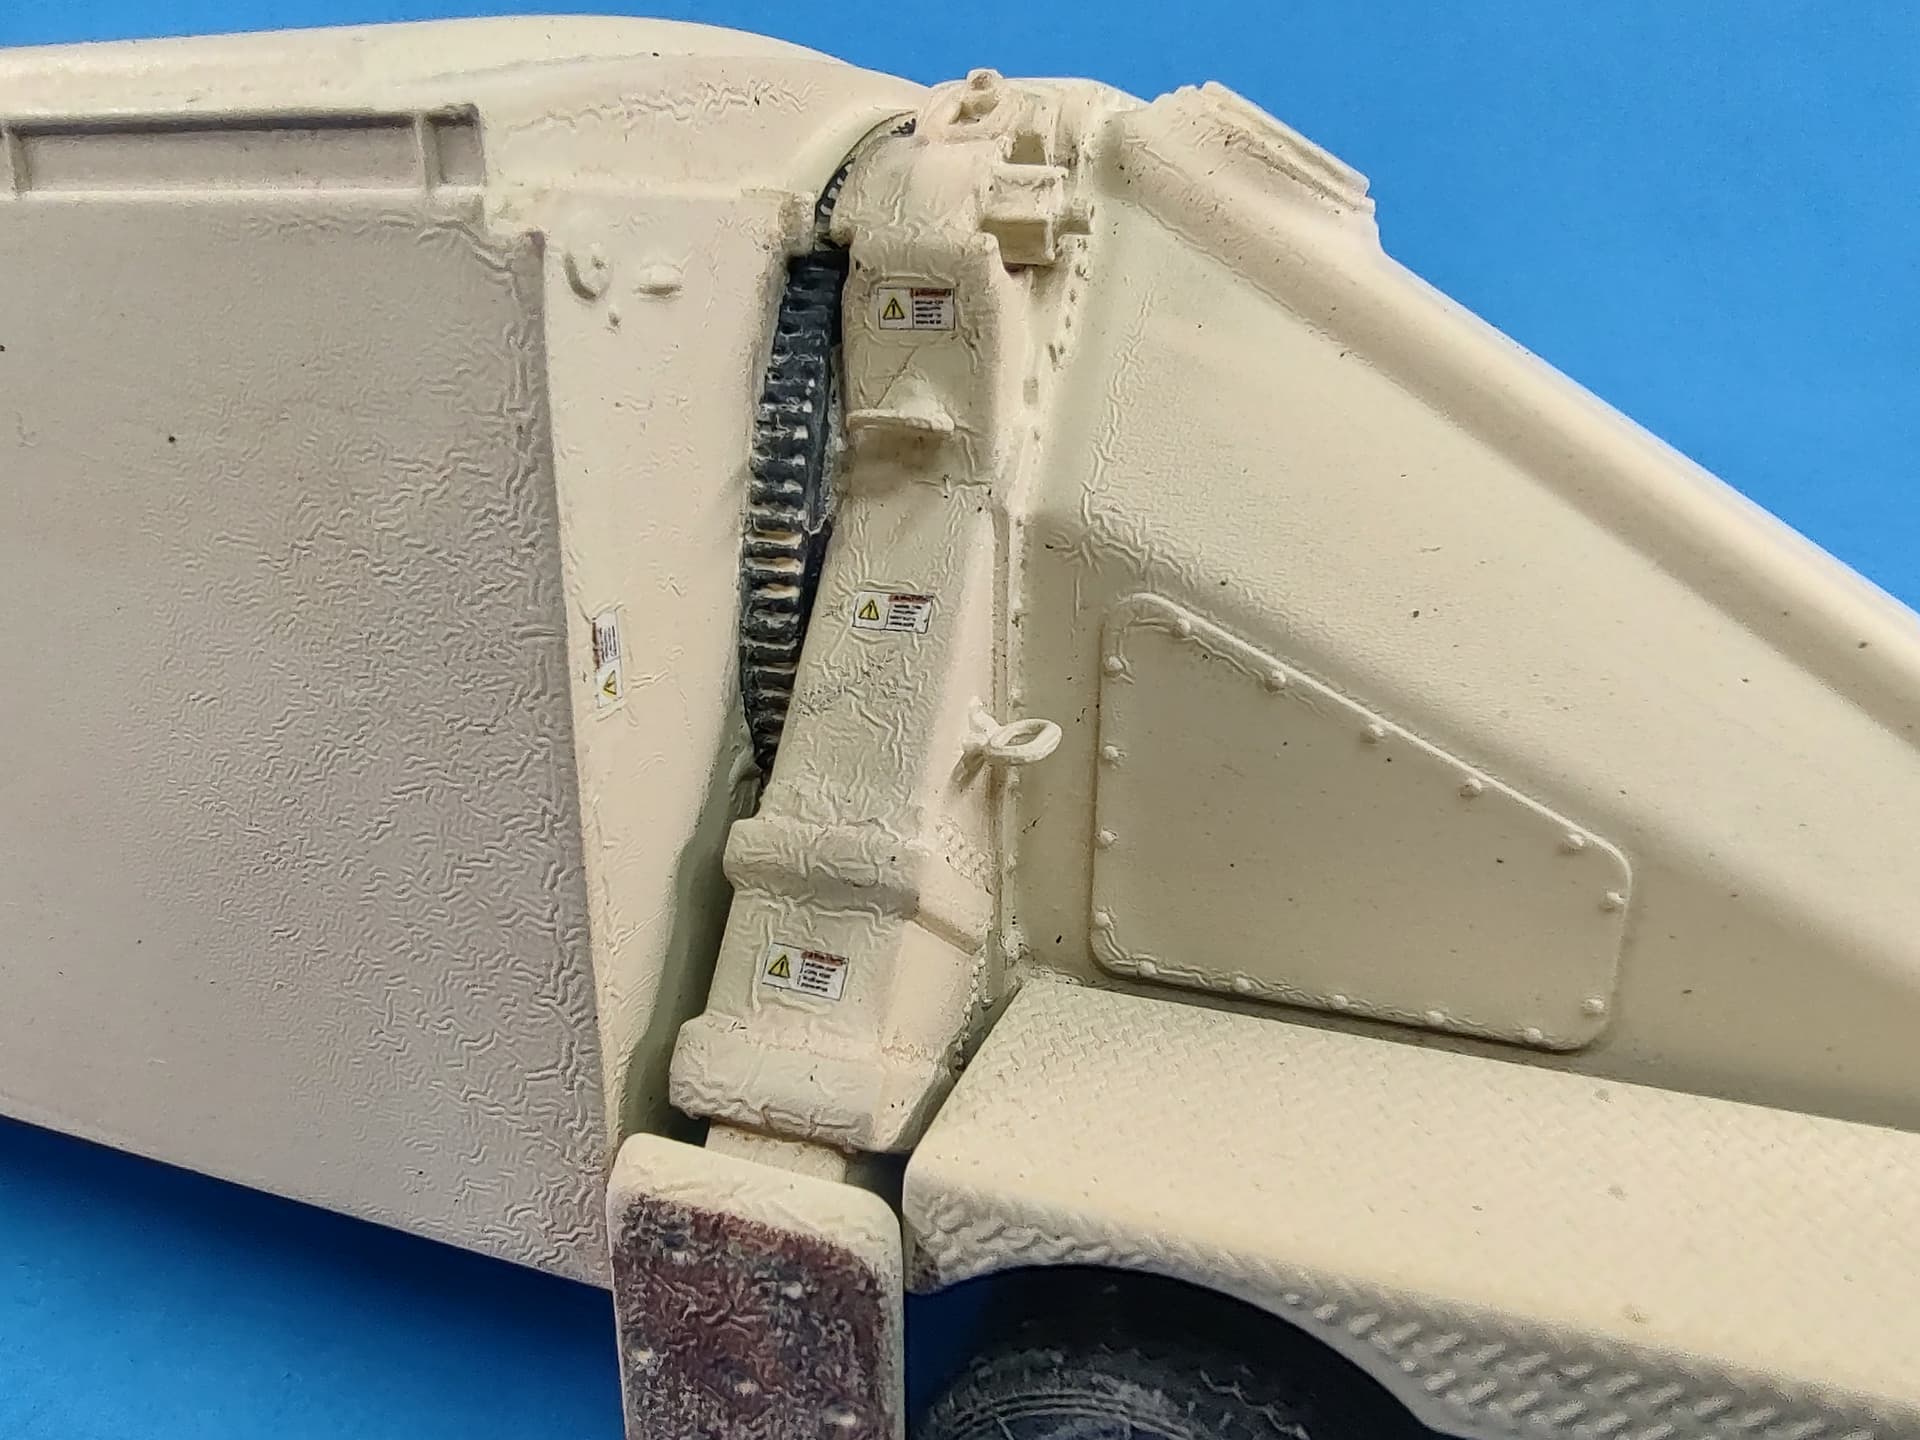
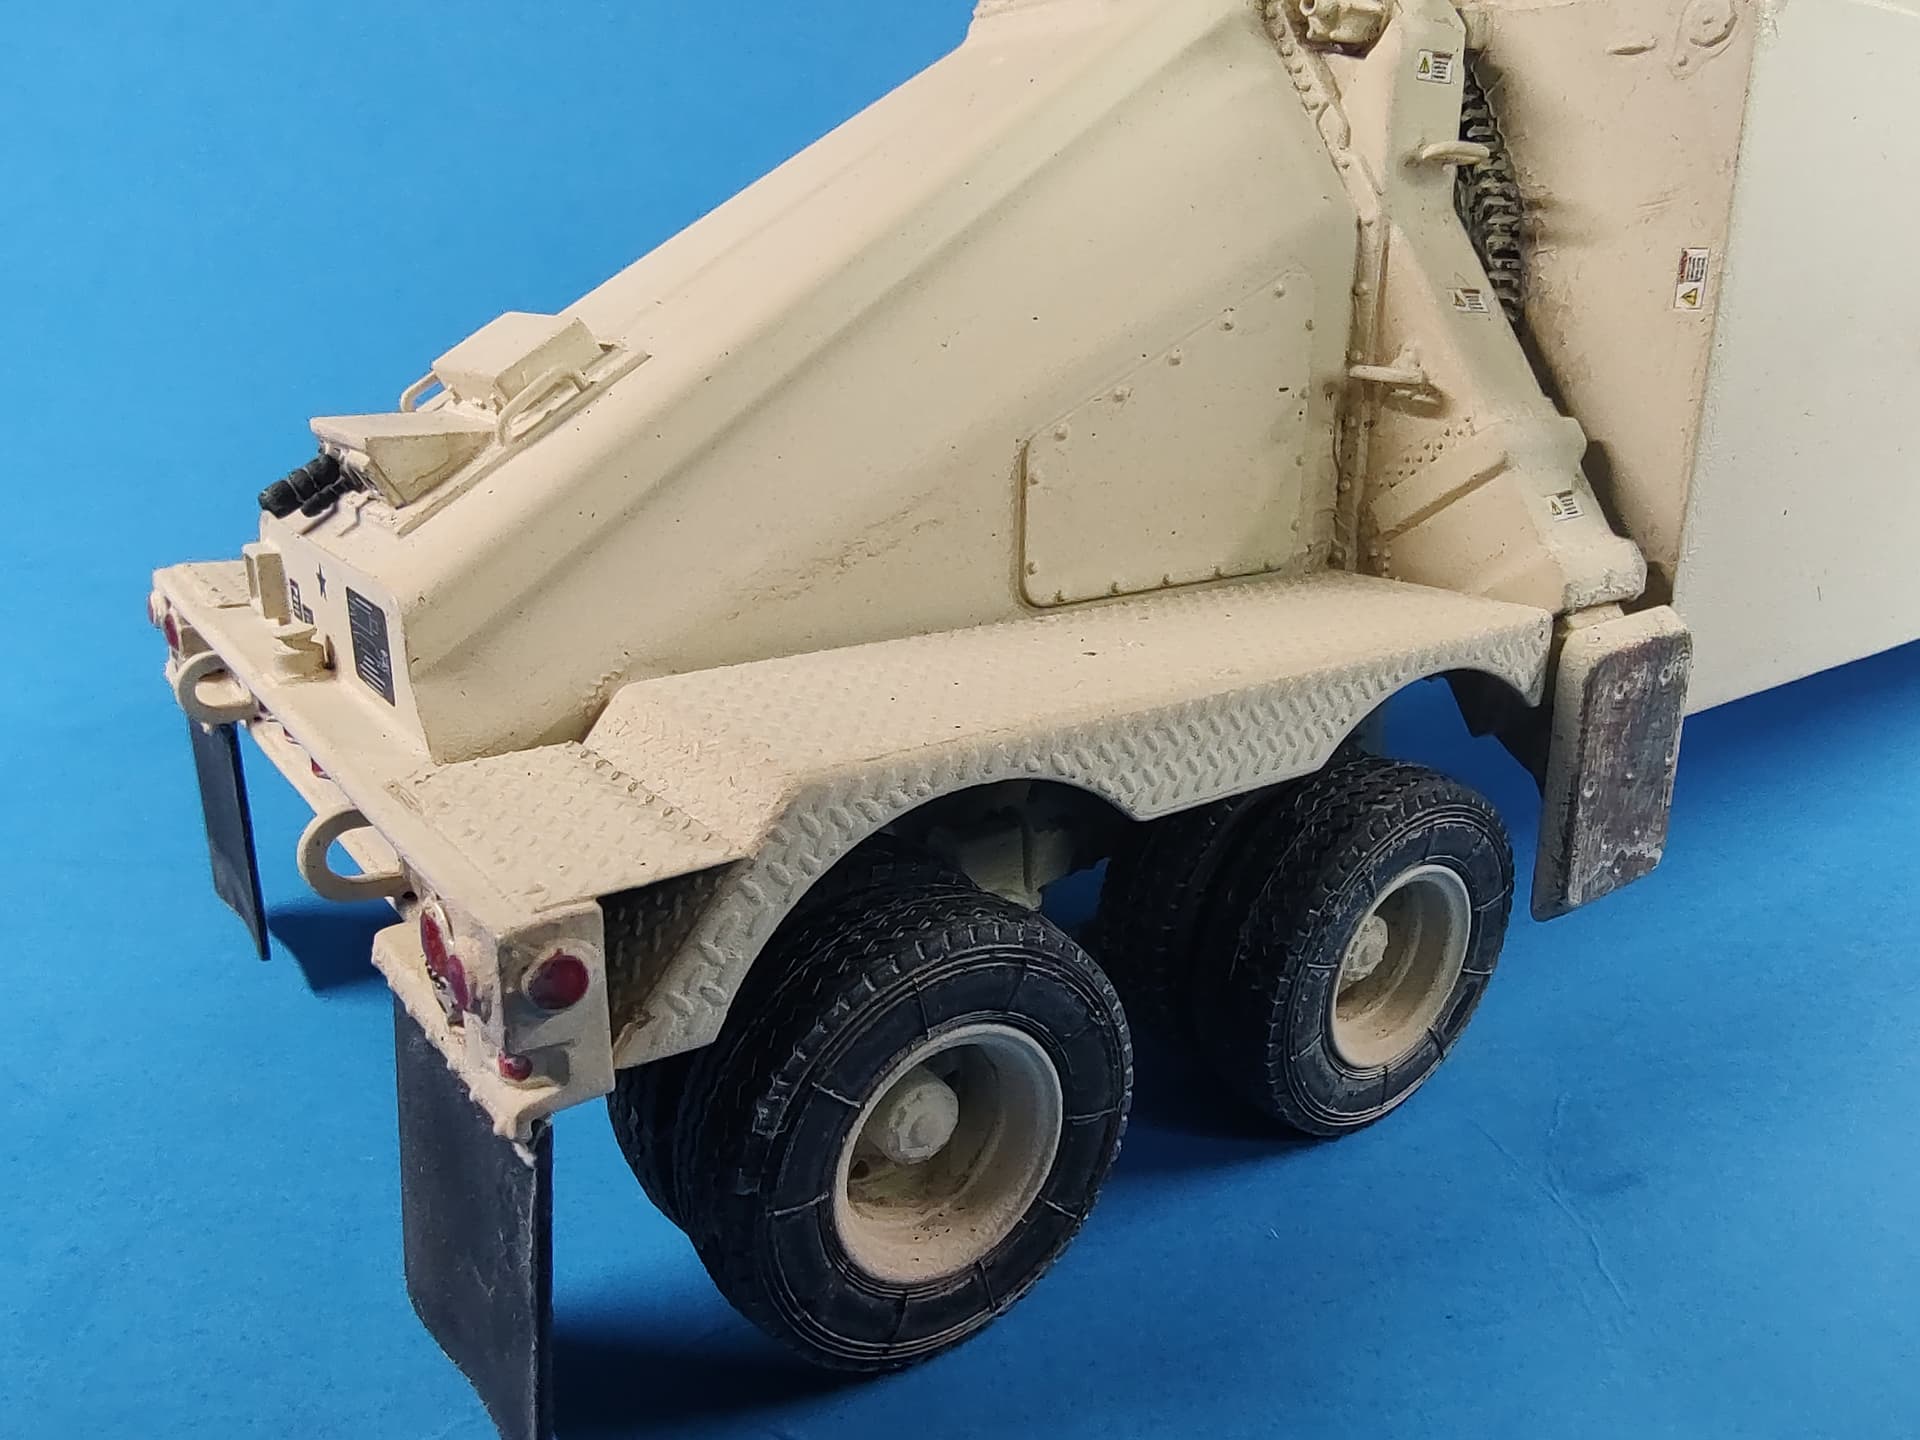
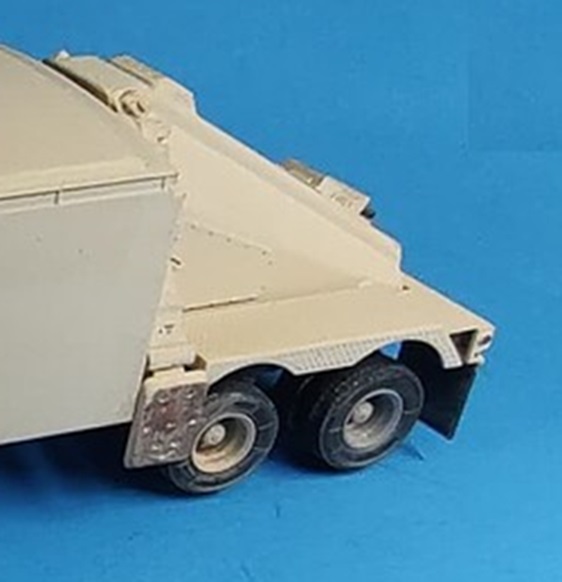
The rear axle is very detailed with separate air brake parts. I did add an air tank. There are two half-circle pieces that come down from the frame that holds an air tank between them, which is not in the kit. I added the tank from styrene tubing.
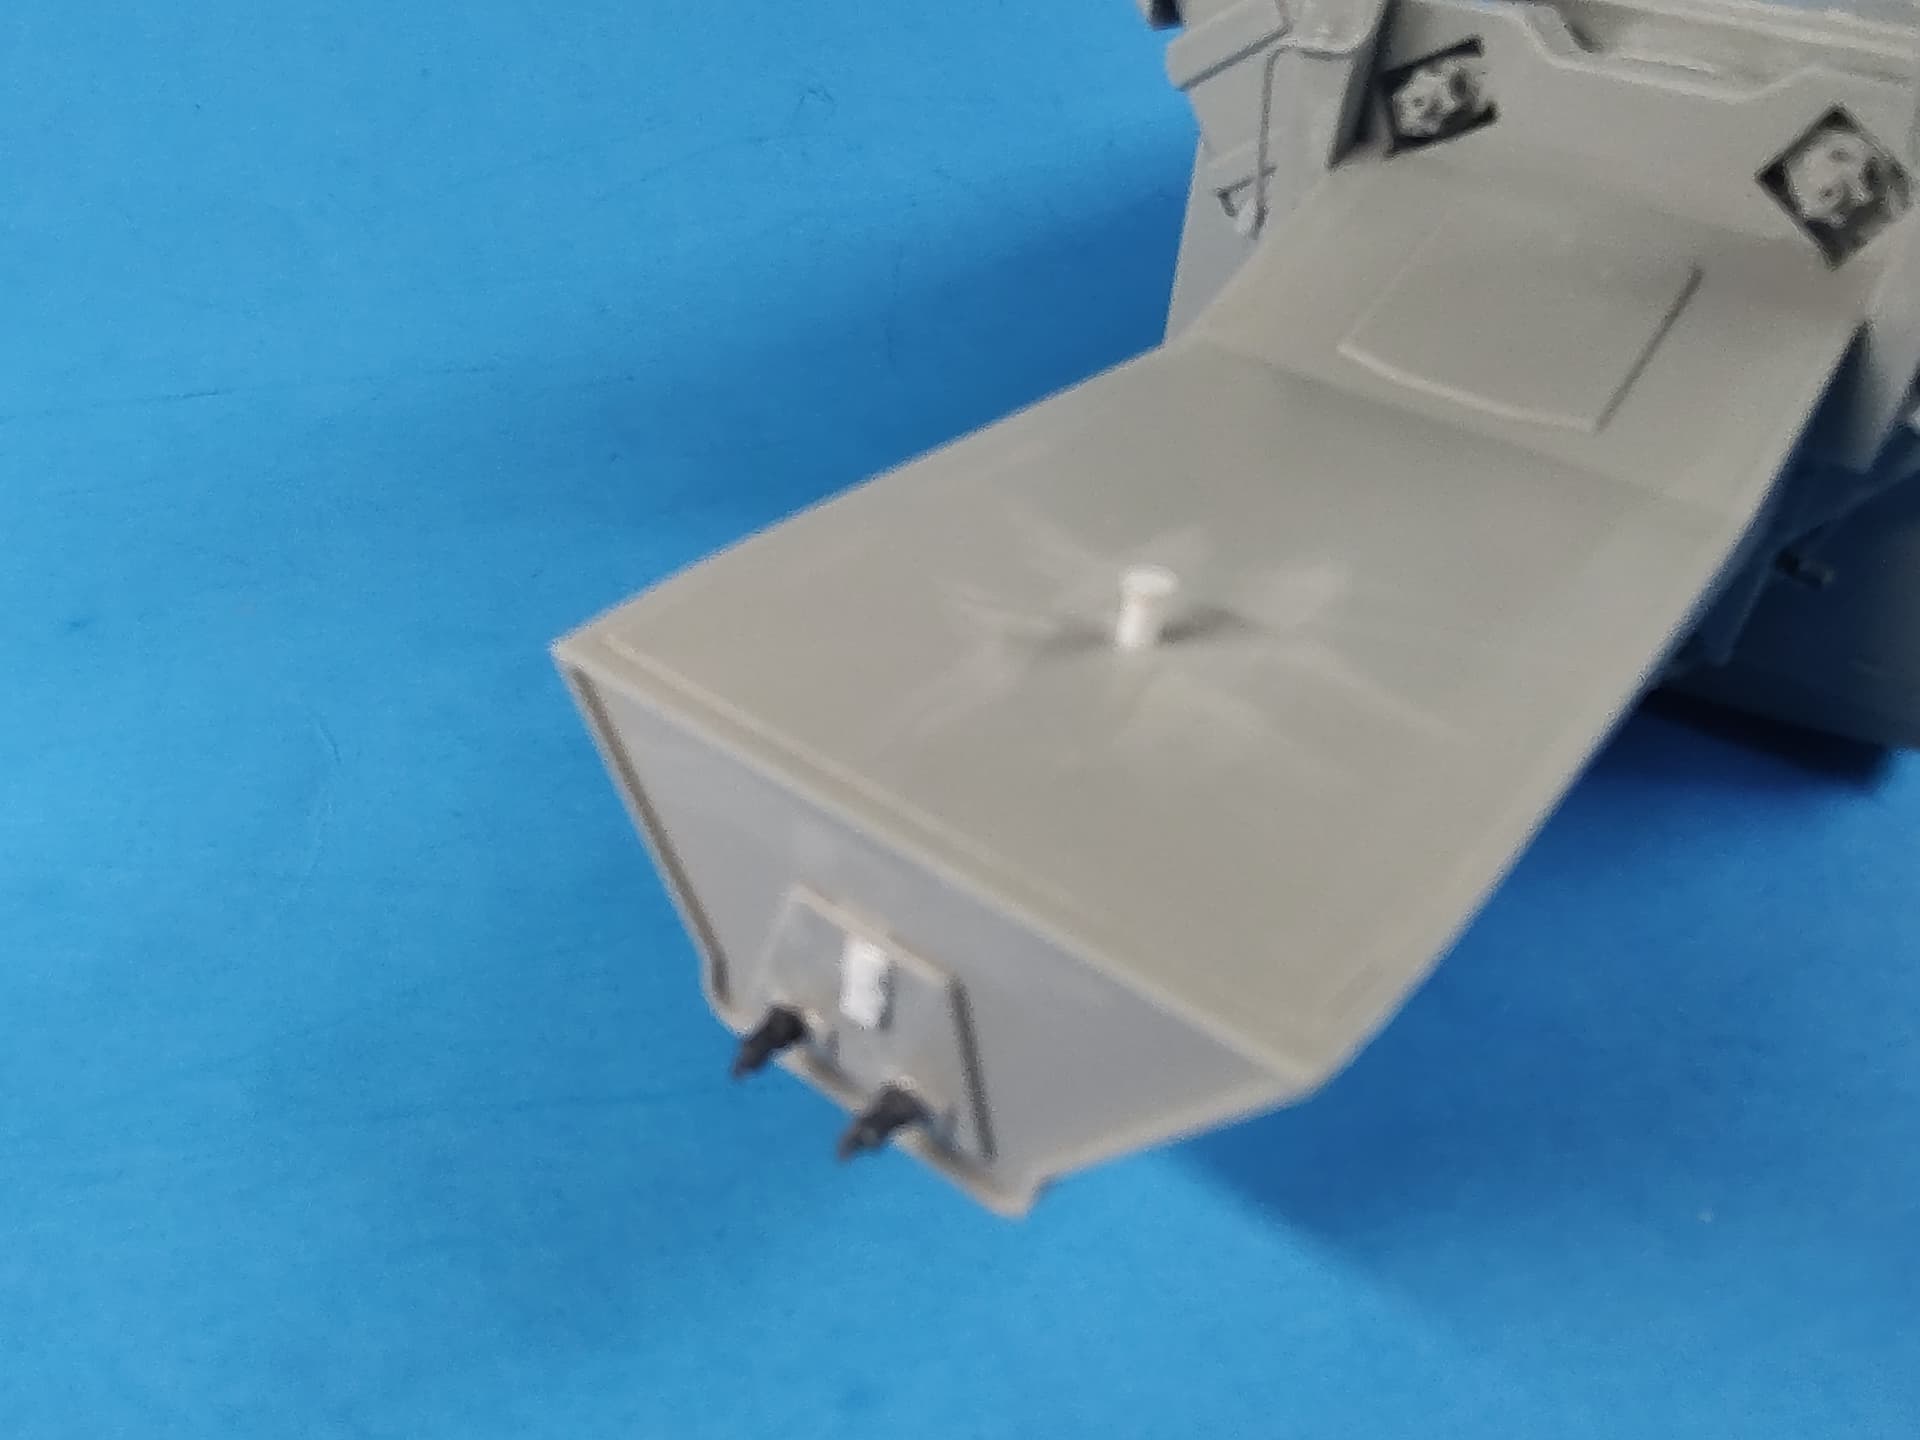
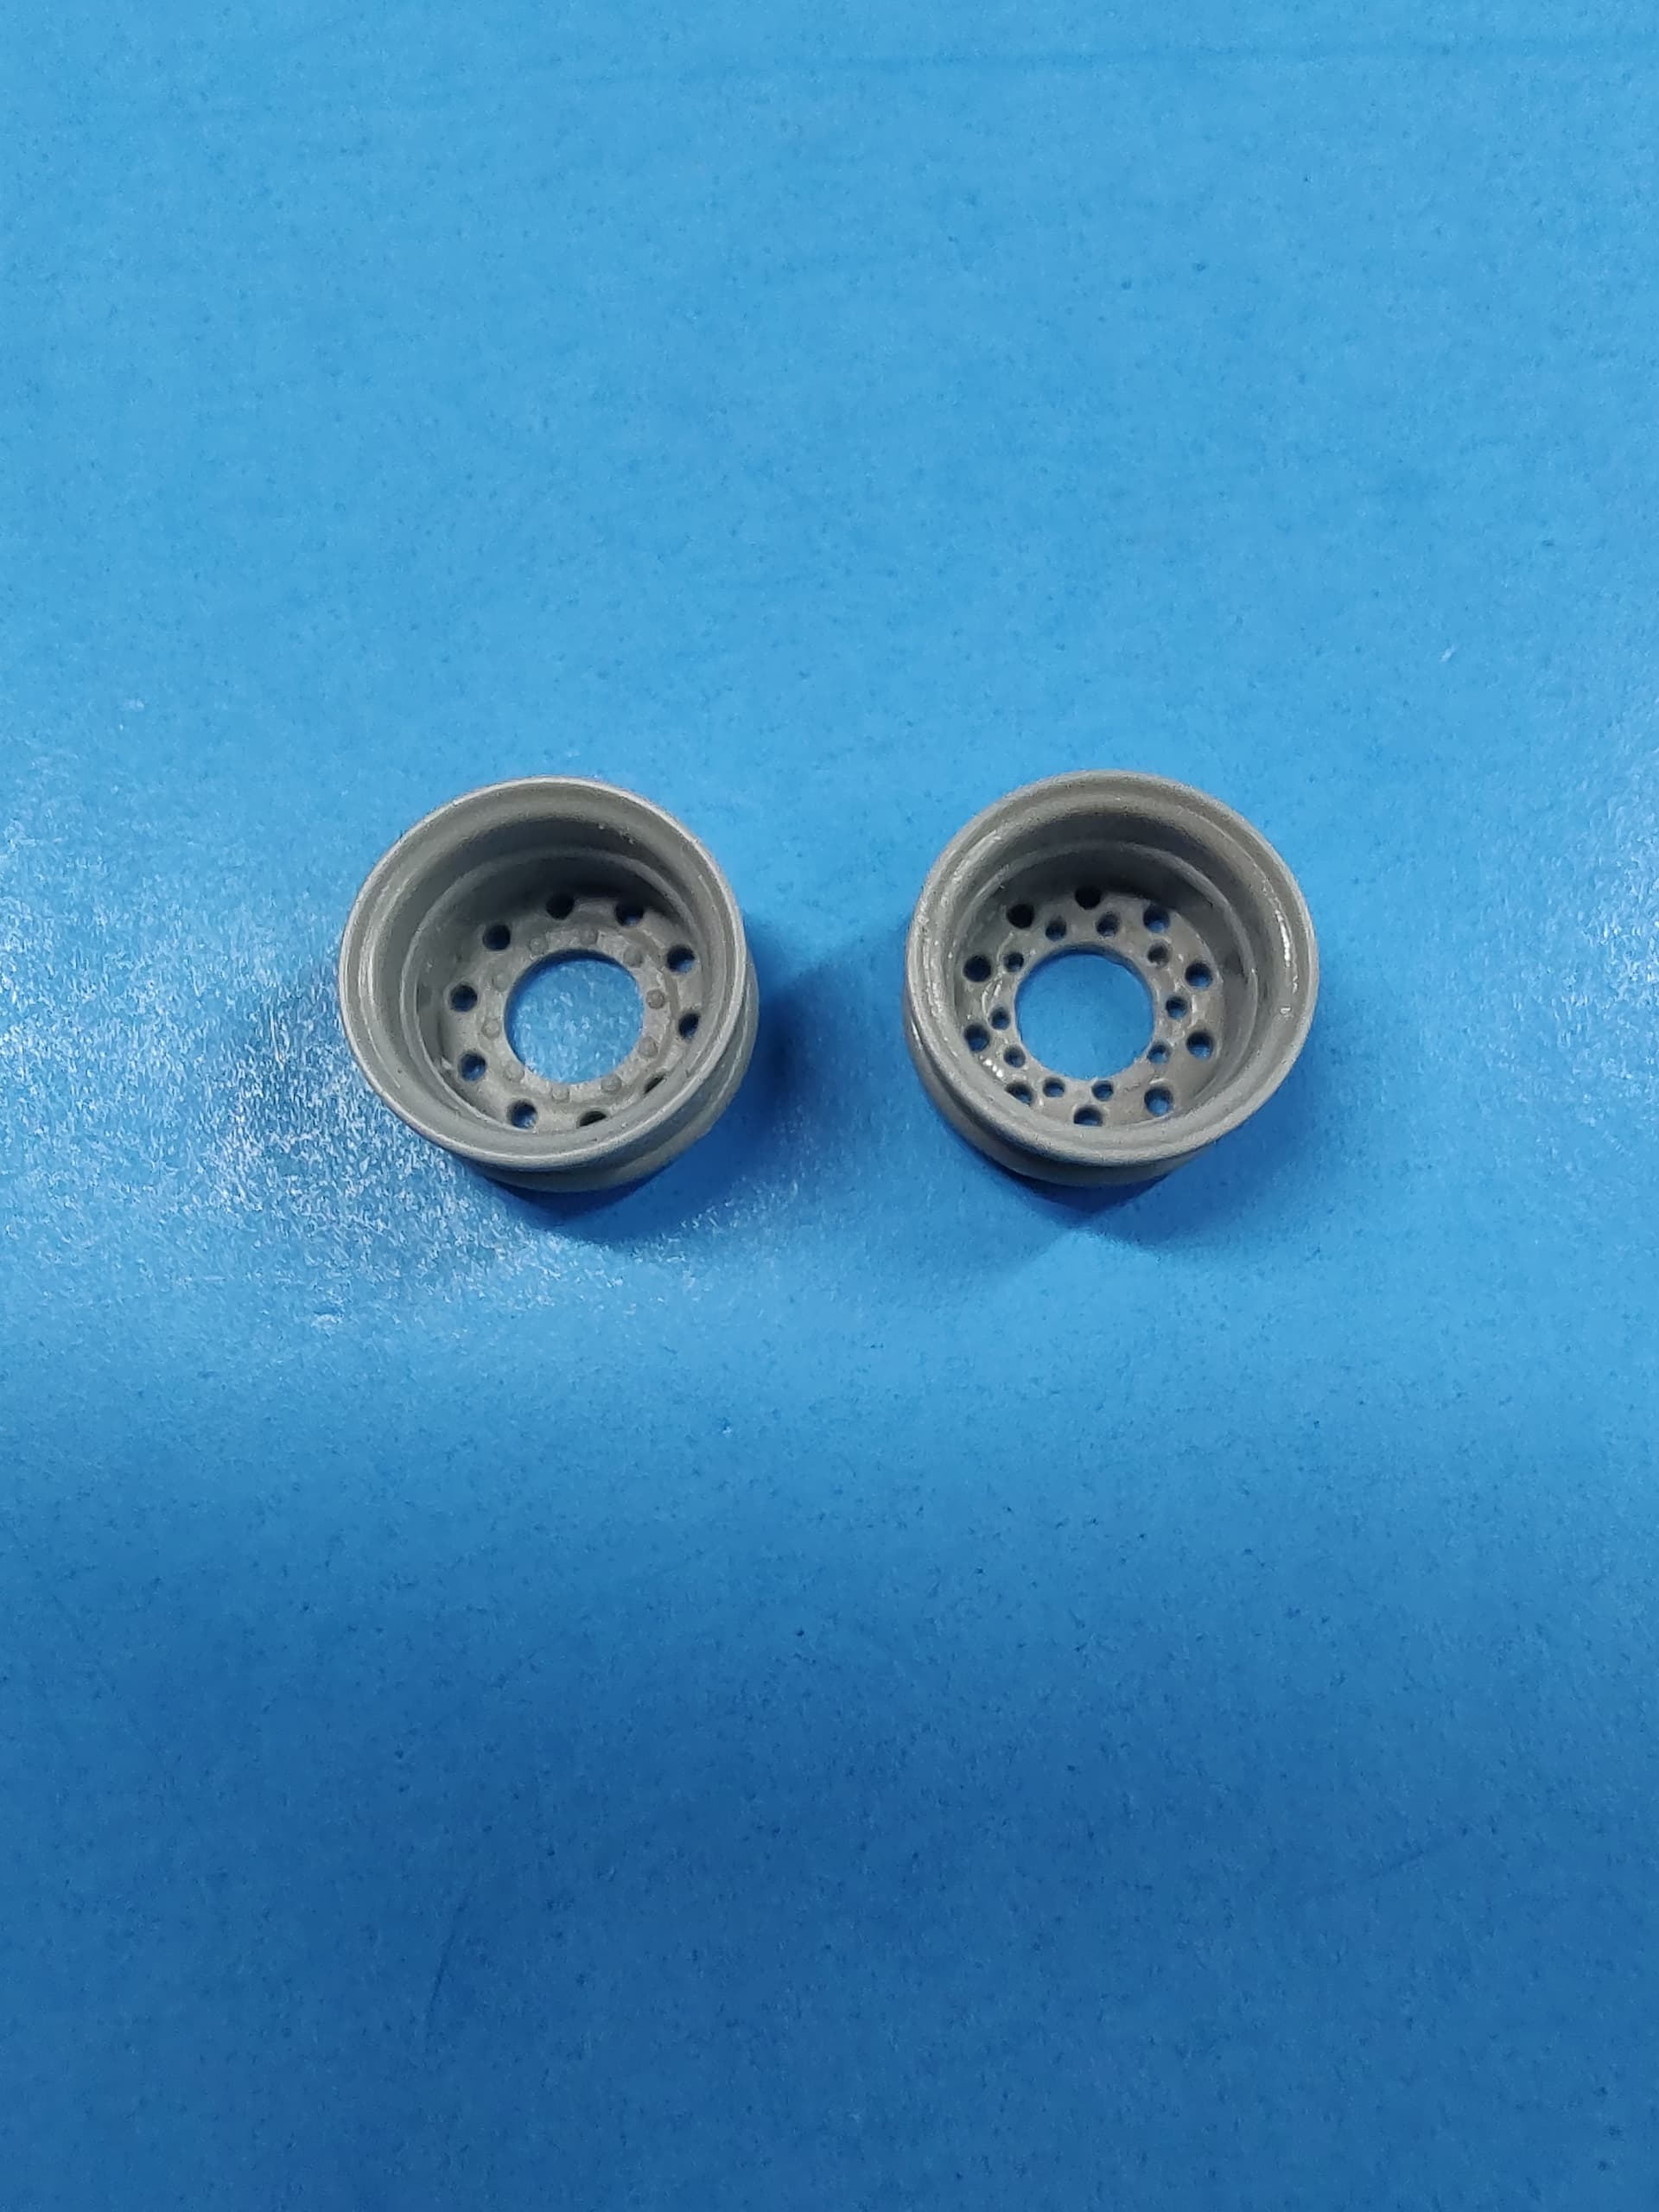
Lastly, I drilled out the lug nut holes on the spare wheel as it came molded with lug nuts in the kit. On the left is how it comes (there are two wheels in the kit), with the right one drilled out.
Thanks for sharing, Gino. What are you using for reference on the radar? I’ve asked Skyway Model Shop in Seattle to order that kit and the THAAD for me. I’m planning to branch into US Air Defense Artillery once my US Field Artillery collection is complete. I’m running out of easy FA builds and have mostly conversions and resin kits left to build. So, I’m starting to buy the ADA kits that are available before they go OOP.
I might suggest using a smaller drill bit for the holes on the second wheel. The ones that have been drilled look to be as big around as the lug nuts. Also (a #80 can do this) you may want to drill through the nuts before removing them. That way the holes will be uniformly spaced.
That’s how I do them and it seems to give good results.
I know - horrible old Tamiya wheel, but thirty years ago that’s all we had.
Hello Gino!
Good to see you working on another interesting build! And I bet you’ll find a very good use for that extra HEMTT that you now have…
Good luck with your build and have a nice day
Paweł
I painted it in sand and weathered it with a brown and sandy wash. Unfortunately, I got some crazing/orange peeling with the clearcoat and paint reacting. Oh well, it gives it character. These are kept very clean and don’t get very dirty, so that is how mine looks.
I also painted one of the rear wheels grey to represent a replacement. The hub and lug nuts are still sand. It’s hard to see in the pic, but it gives it a little more character.
Lovely work Gino. On another topic, I’ve been researching the M920 I’m building and I had to check out your build from awhile back.
One question; did you fit those two rows of steps on the fuel tank based on M920 images you’ve seen? The kit only provides one step at each level and all the images I’ve seen show that as being the norm.
Maybe yours is a different version or maybe the full-length steps were an in-service upgrade?
But that’s on ancient CARC. You won’t see it on something new.
Honestly, I think it would be time well spent to sand that down and redo it. Heck, 600 grit might even take it down without having to repaint it - just another clear coat. After it cures of course.
The printing on your decals is really nice and crisp. Which program are you using? The only problem is the carrier film seems to be way too thick. I might suggest another brand. Or use less fixative. The visible film detracts from very nice decals.