Ahhh… the sight of the old Verlinden resin. Wonderful.  I have only made 2 or 3 of these kits, but I do love that there is no warping and details are crisp. I liked them.
Looking forward to follow your build, Olivier 
Ahhh… the sight of the old Verlinden resin. Wonderful. I have only made 2 or 3 of these kits, but I do love that there is no warping and details are crisp. I liked them.
Looking forward to follow your build, Olivier
On your marks … Get ready …
Whoops… I’d forgotten this starts tomorrow.  Better get stuff sorted and clear some bench space tonight.
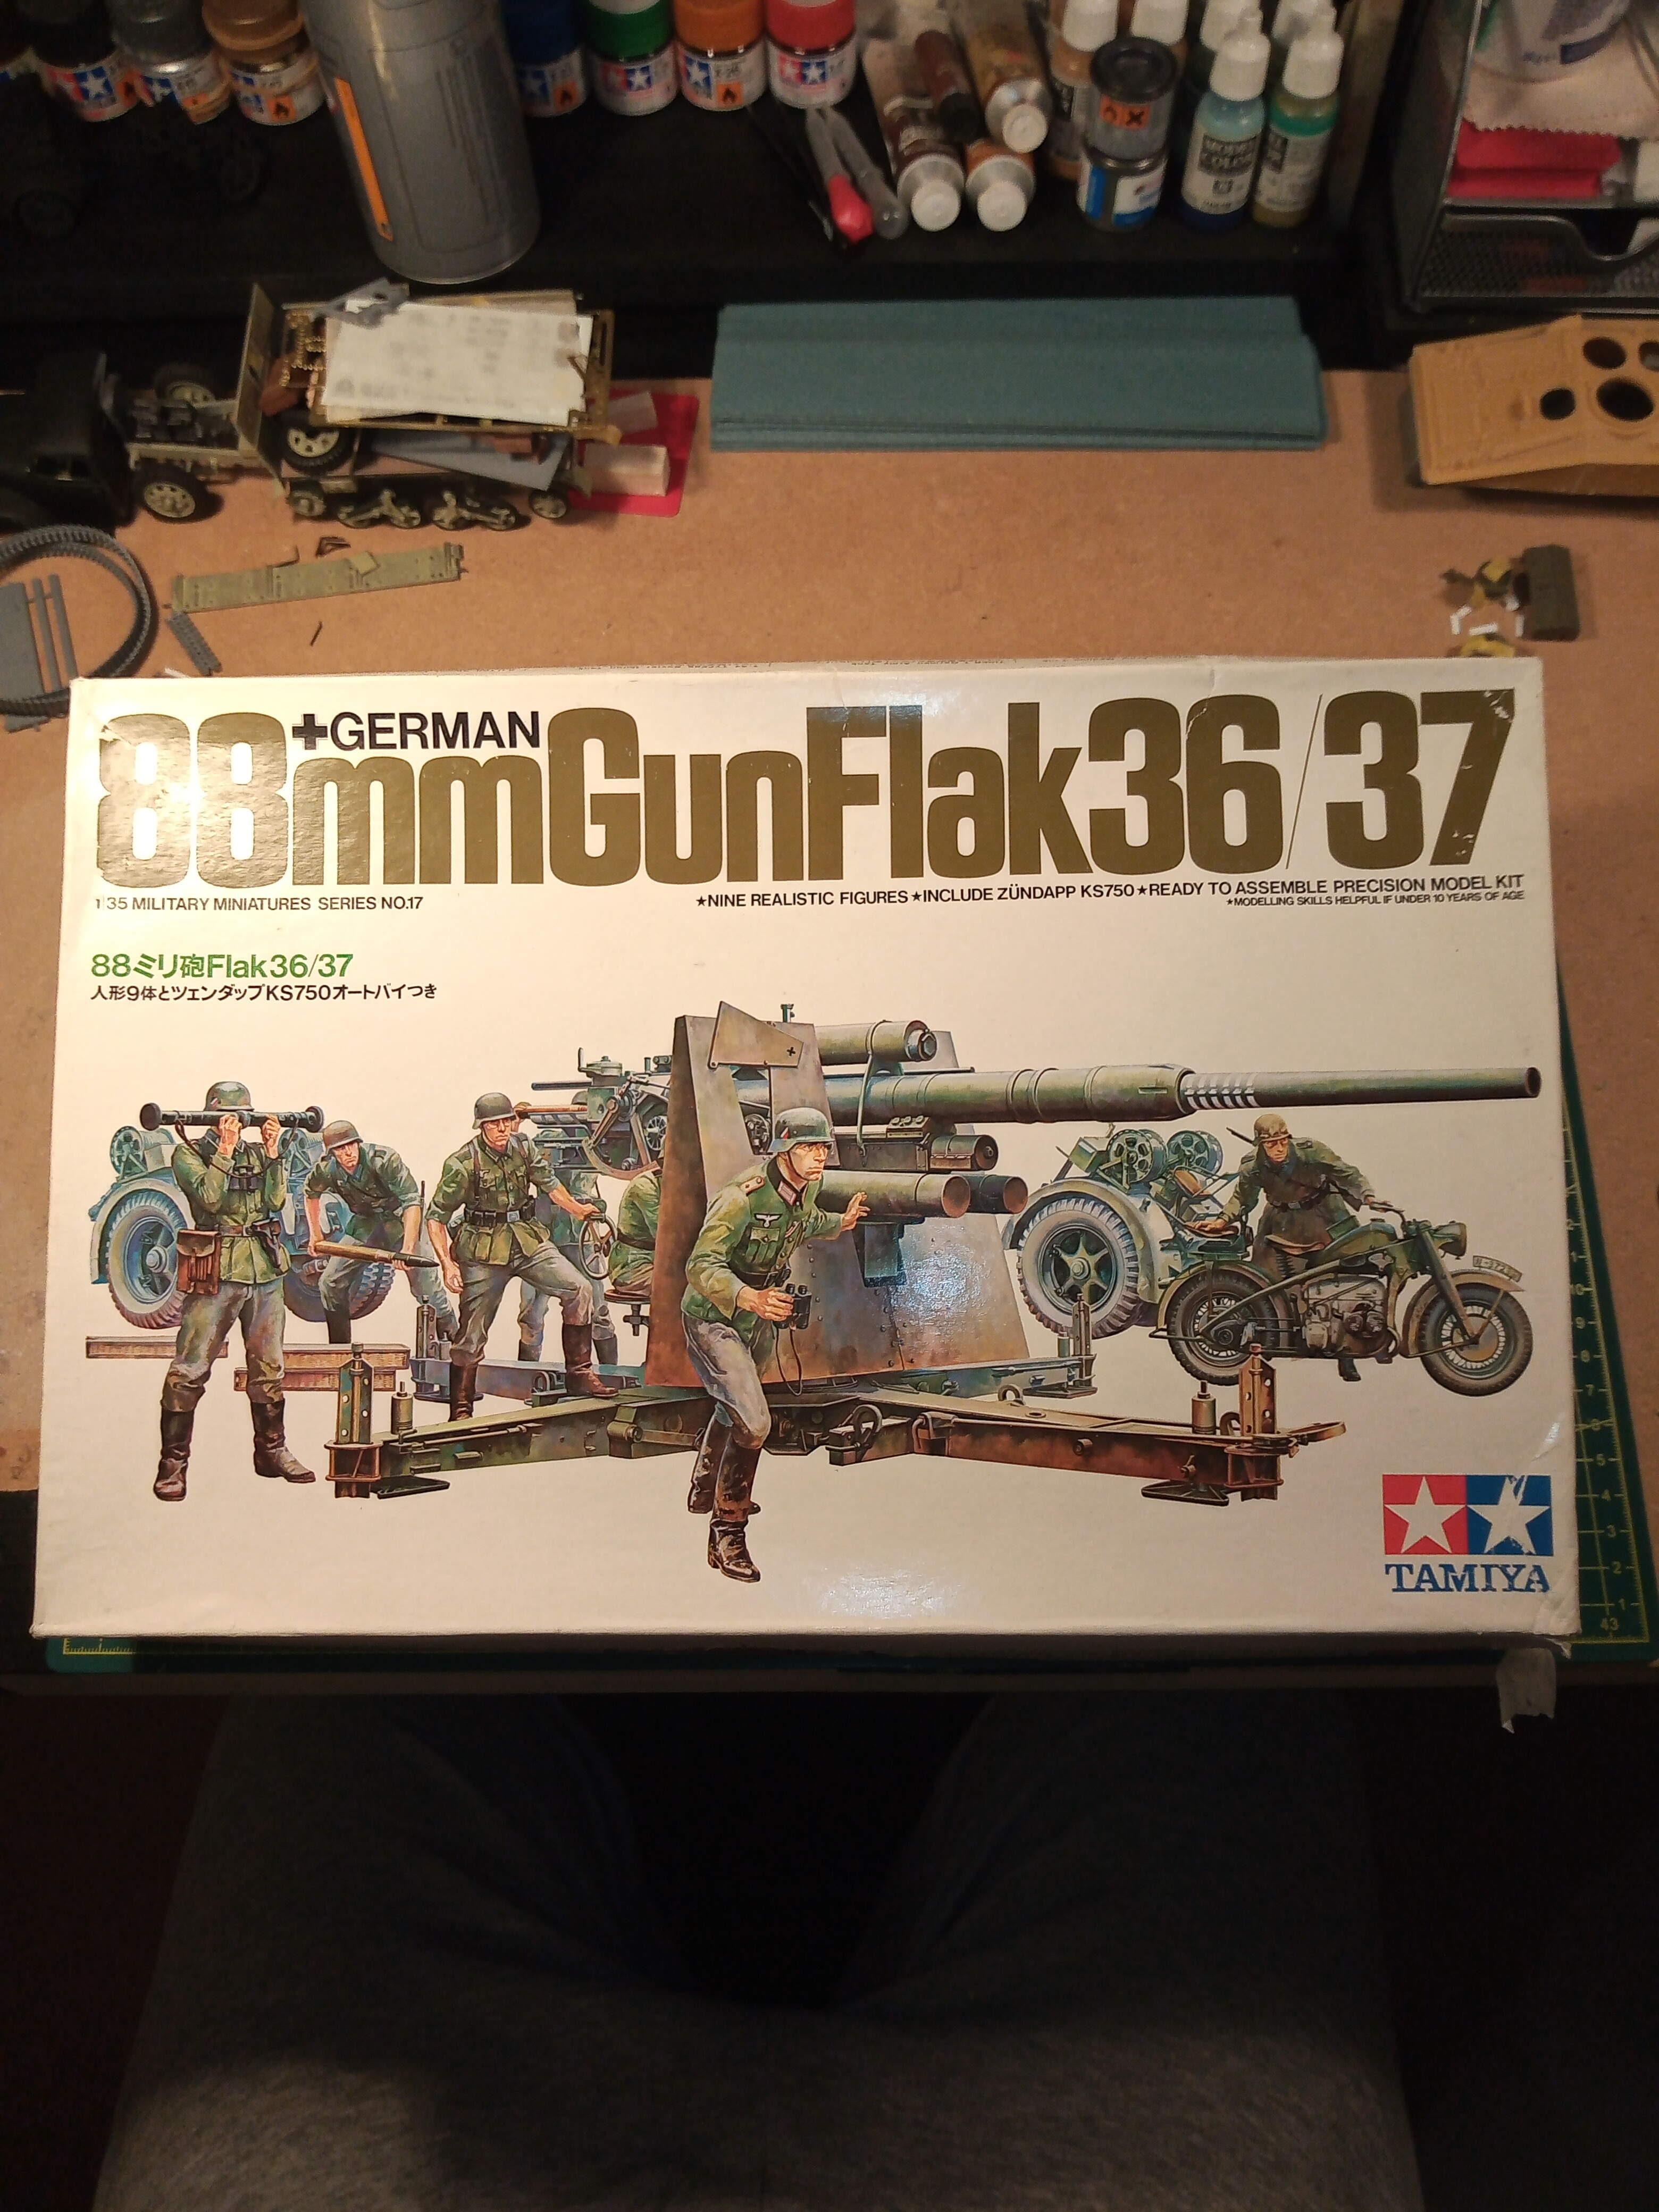
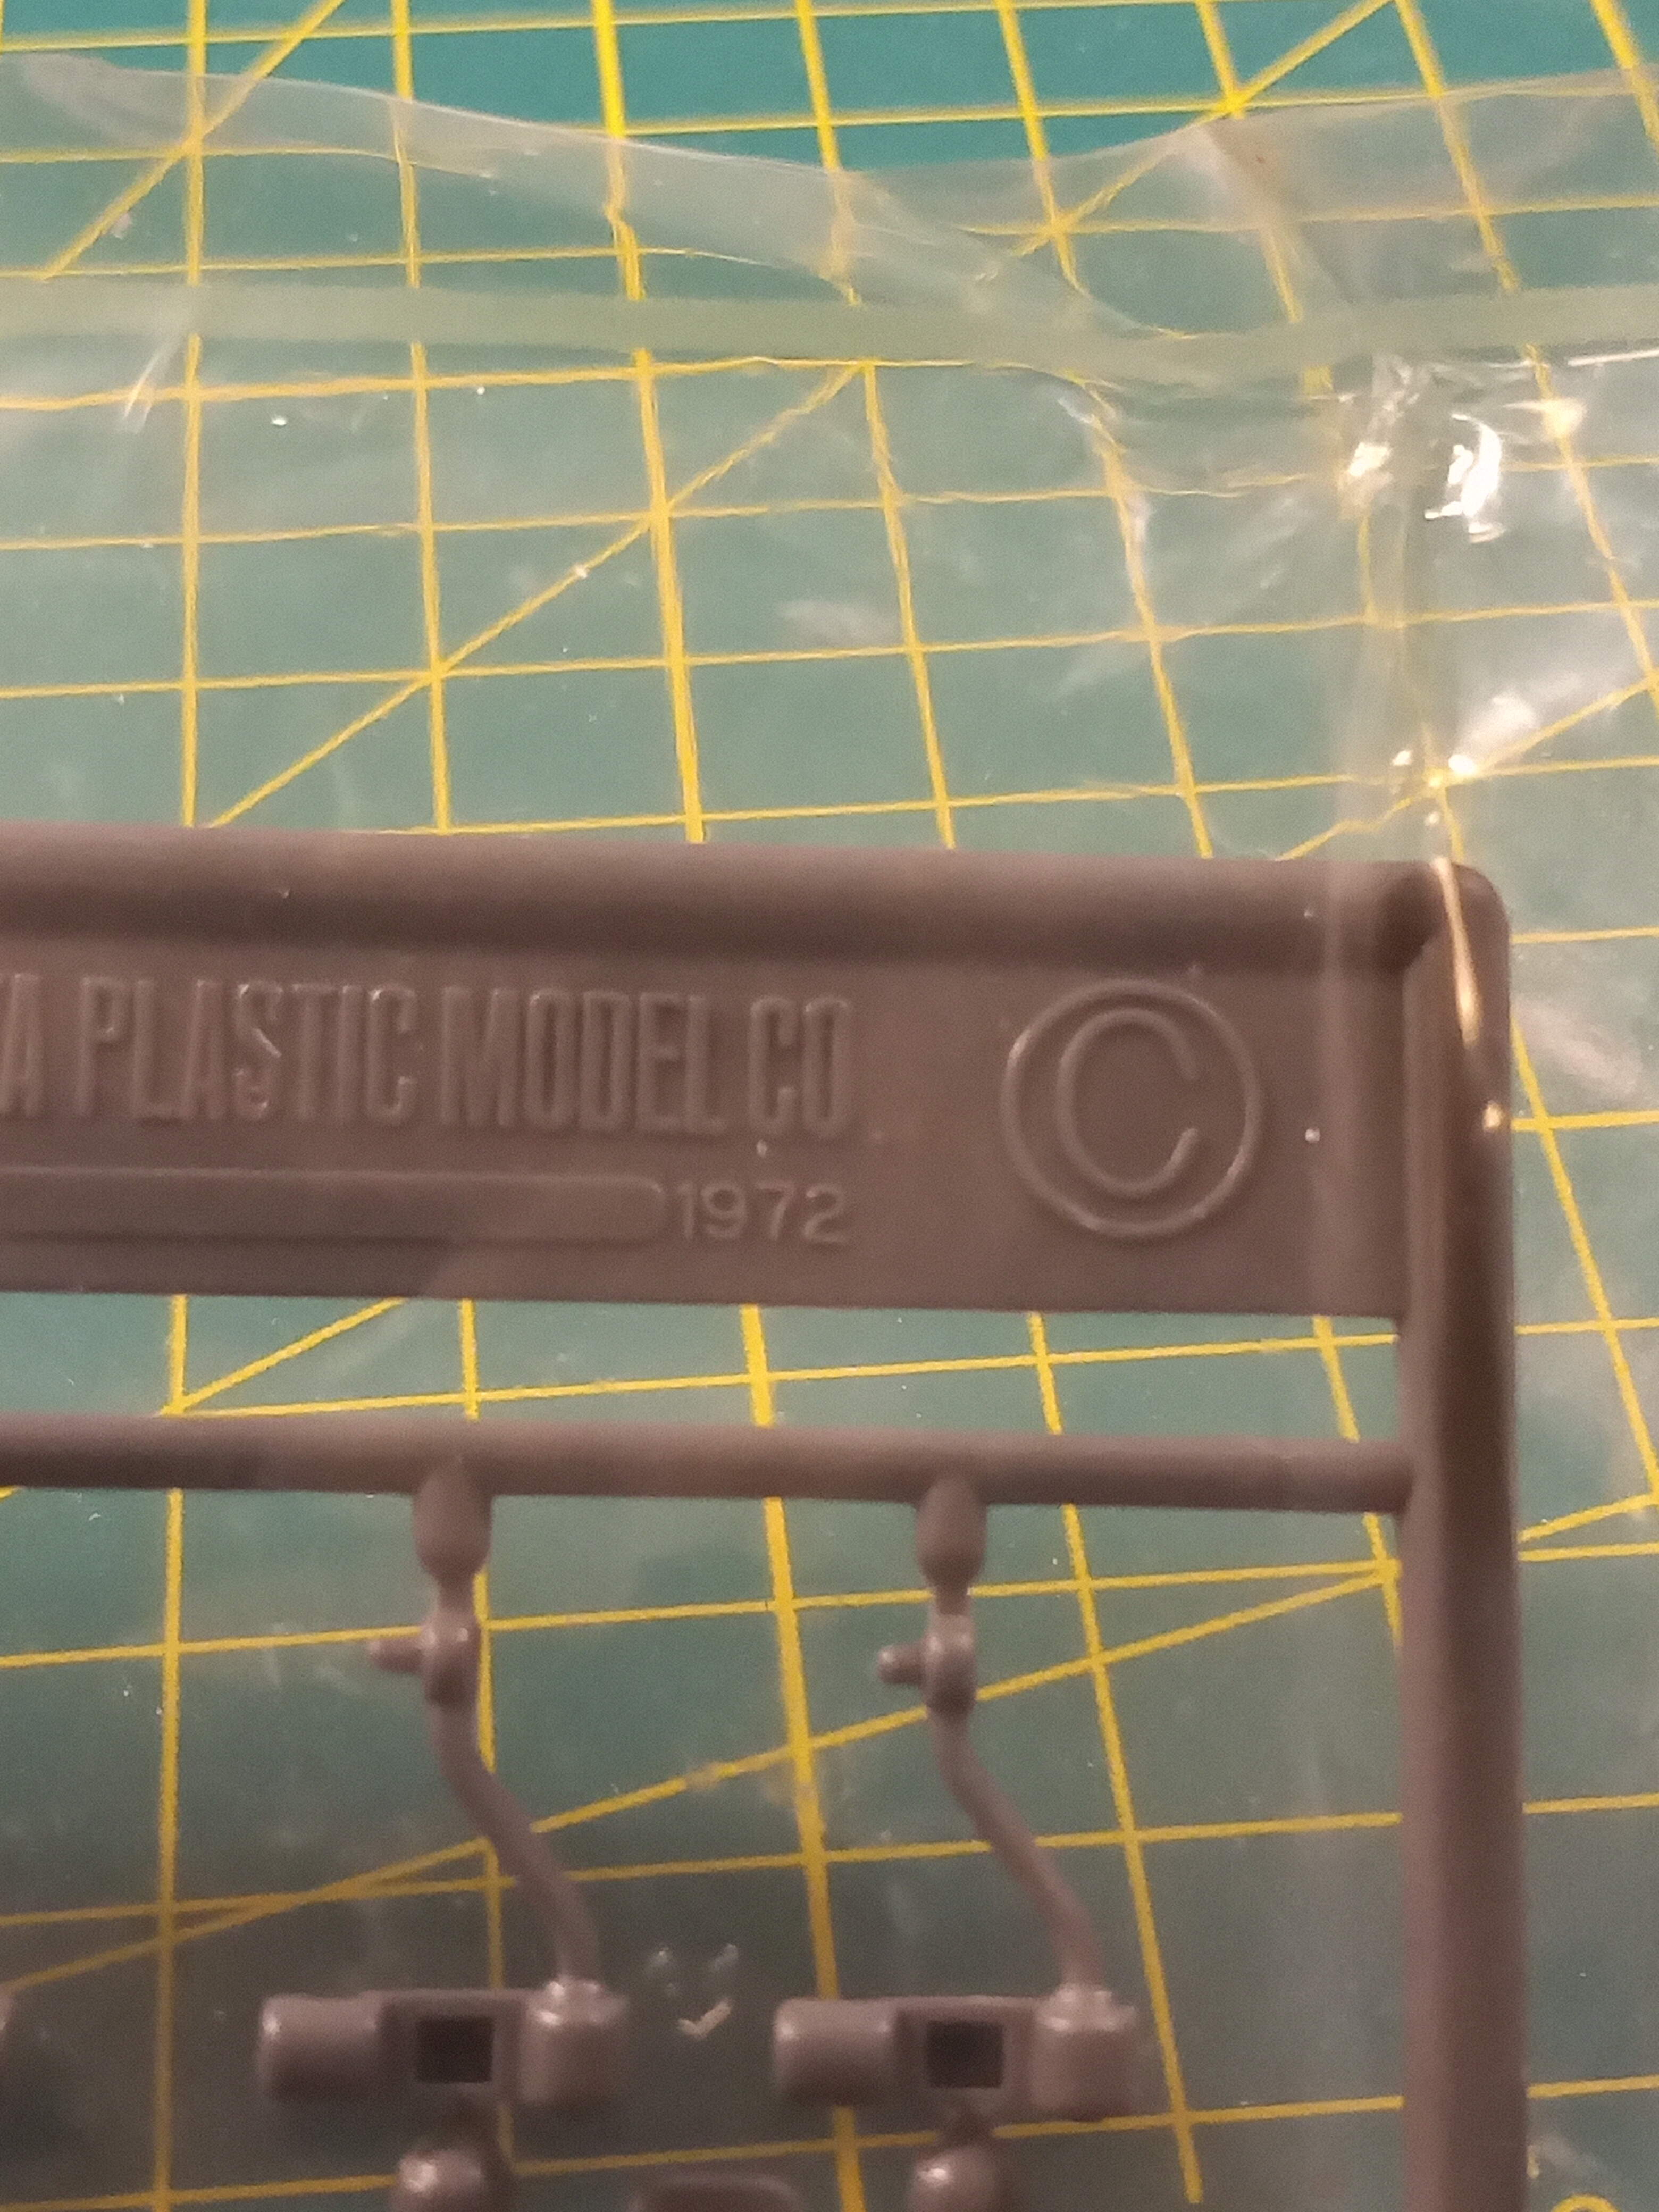
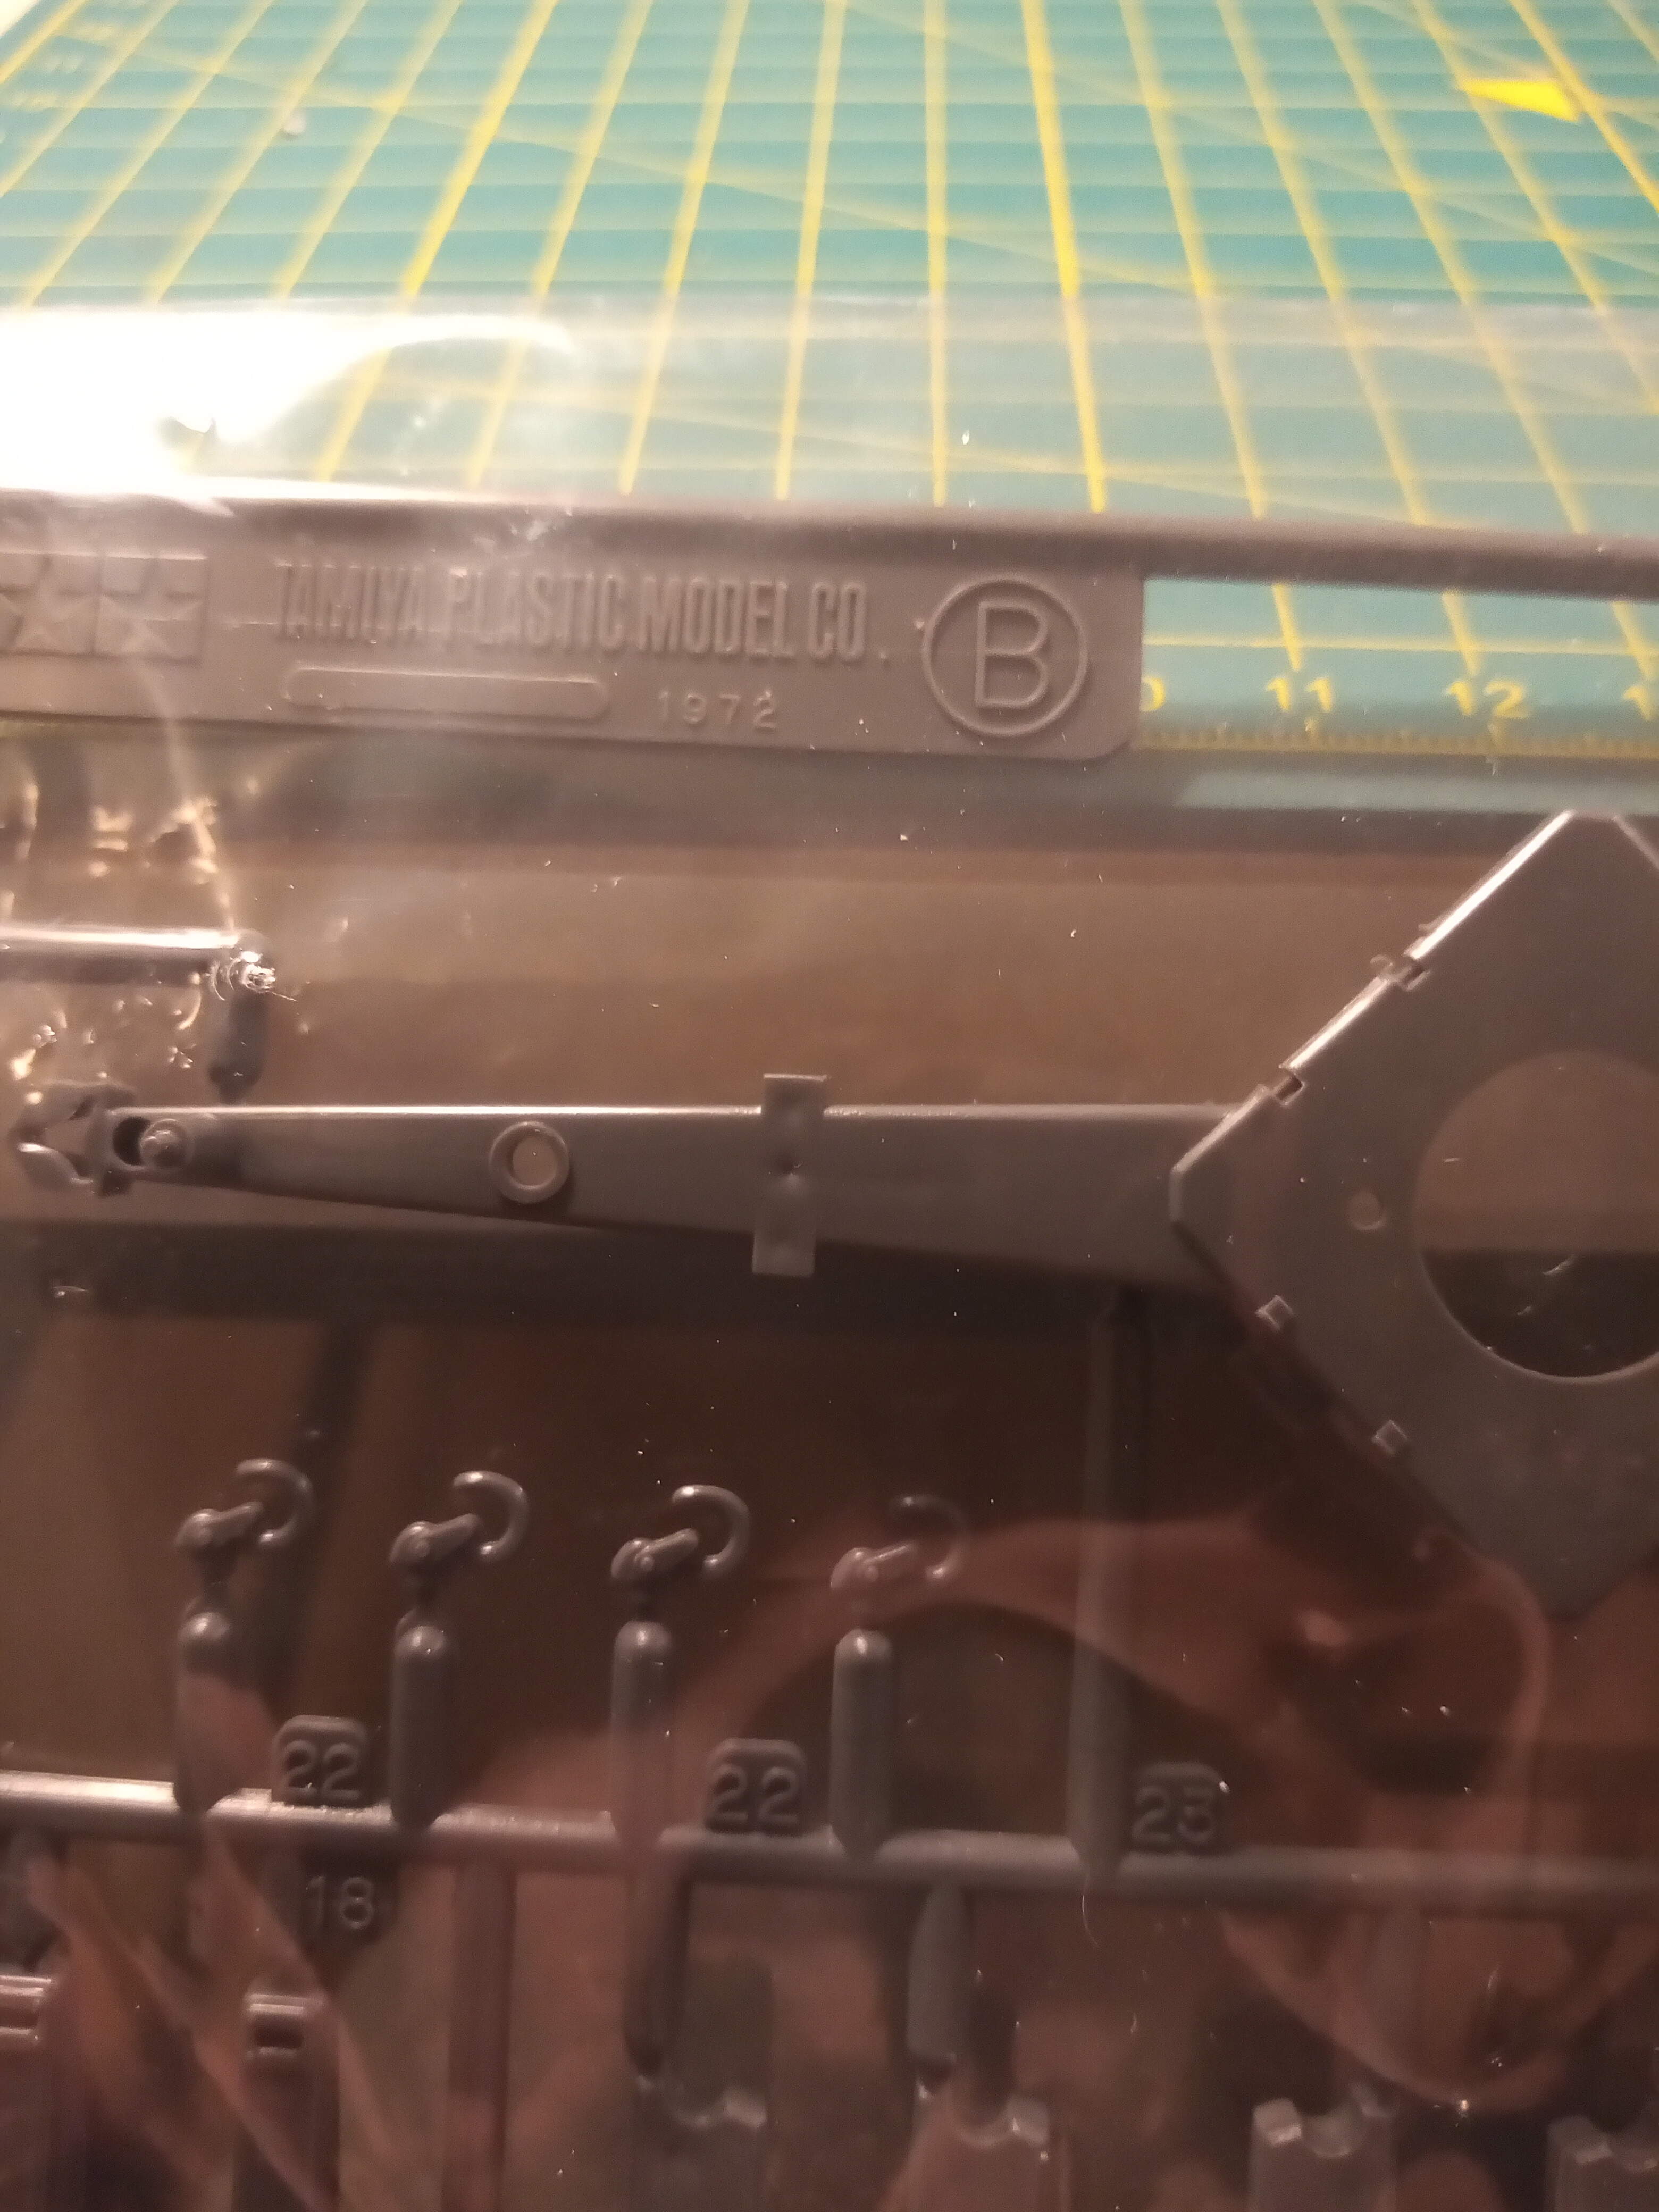
How could you forget Paul lol … shame !!! ( I was the same lol) totally lost track of time and what I had planned till my "on your marks " post above. I was looking at my 88mm I am doing, the sprue has a 1972 date on it ! Whats your topic going to be ??
I remember doing Verlinden’s V-150.
That was one hefty chunk of resin too. Horrible thing.
Tamiya JGSDF Type74 MBT winter version…
On the starting blocks …
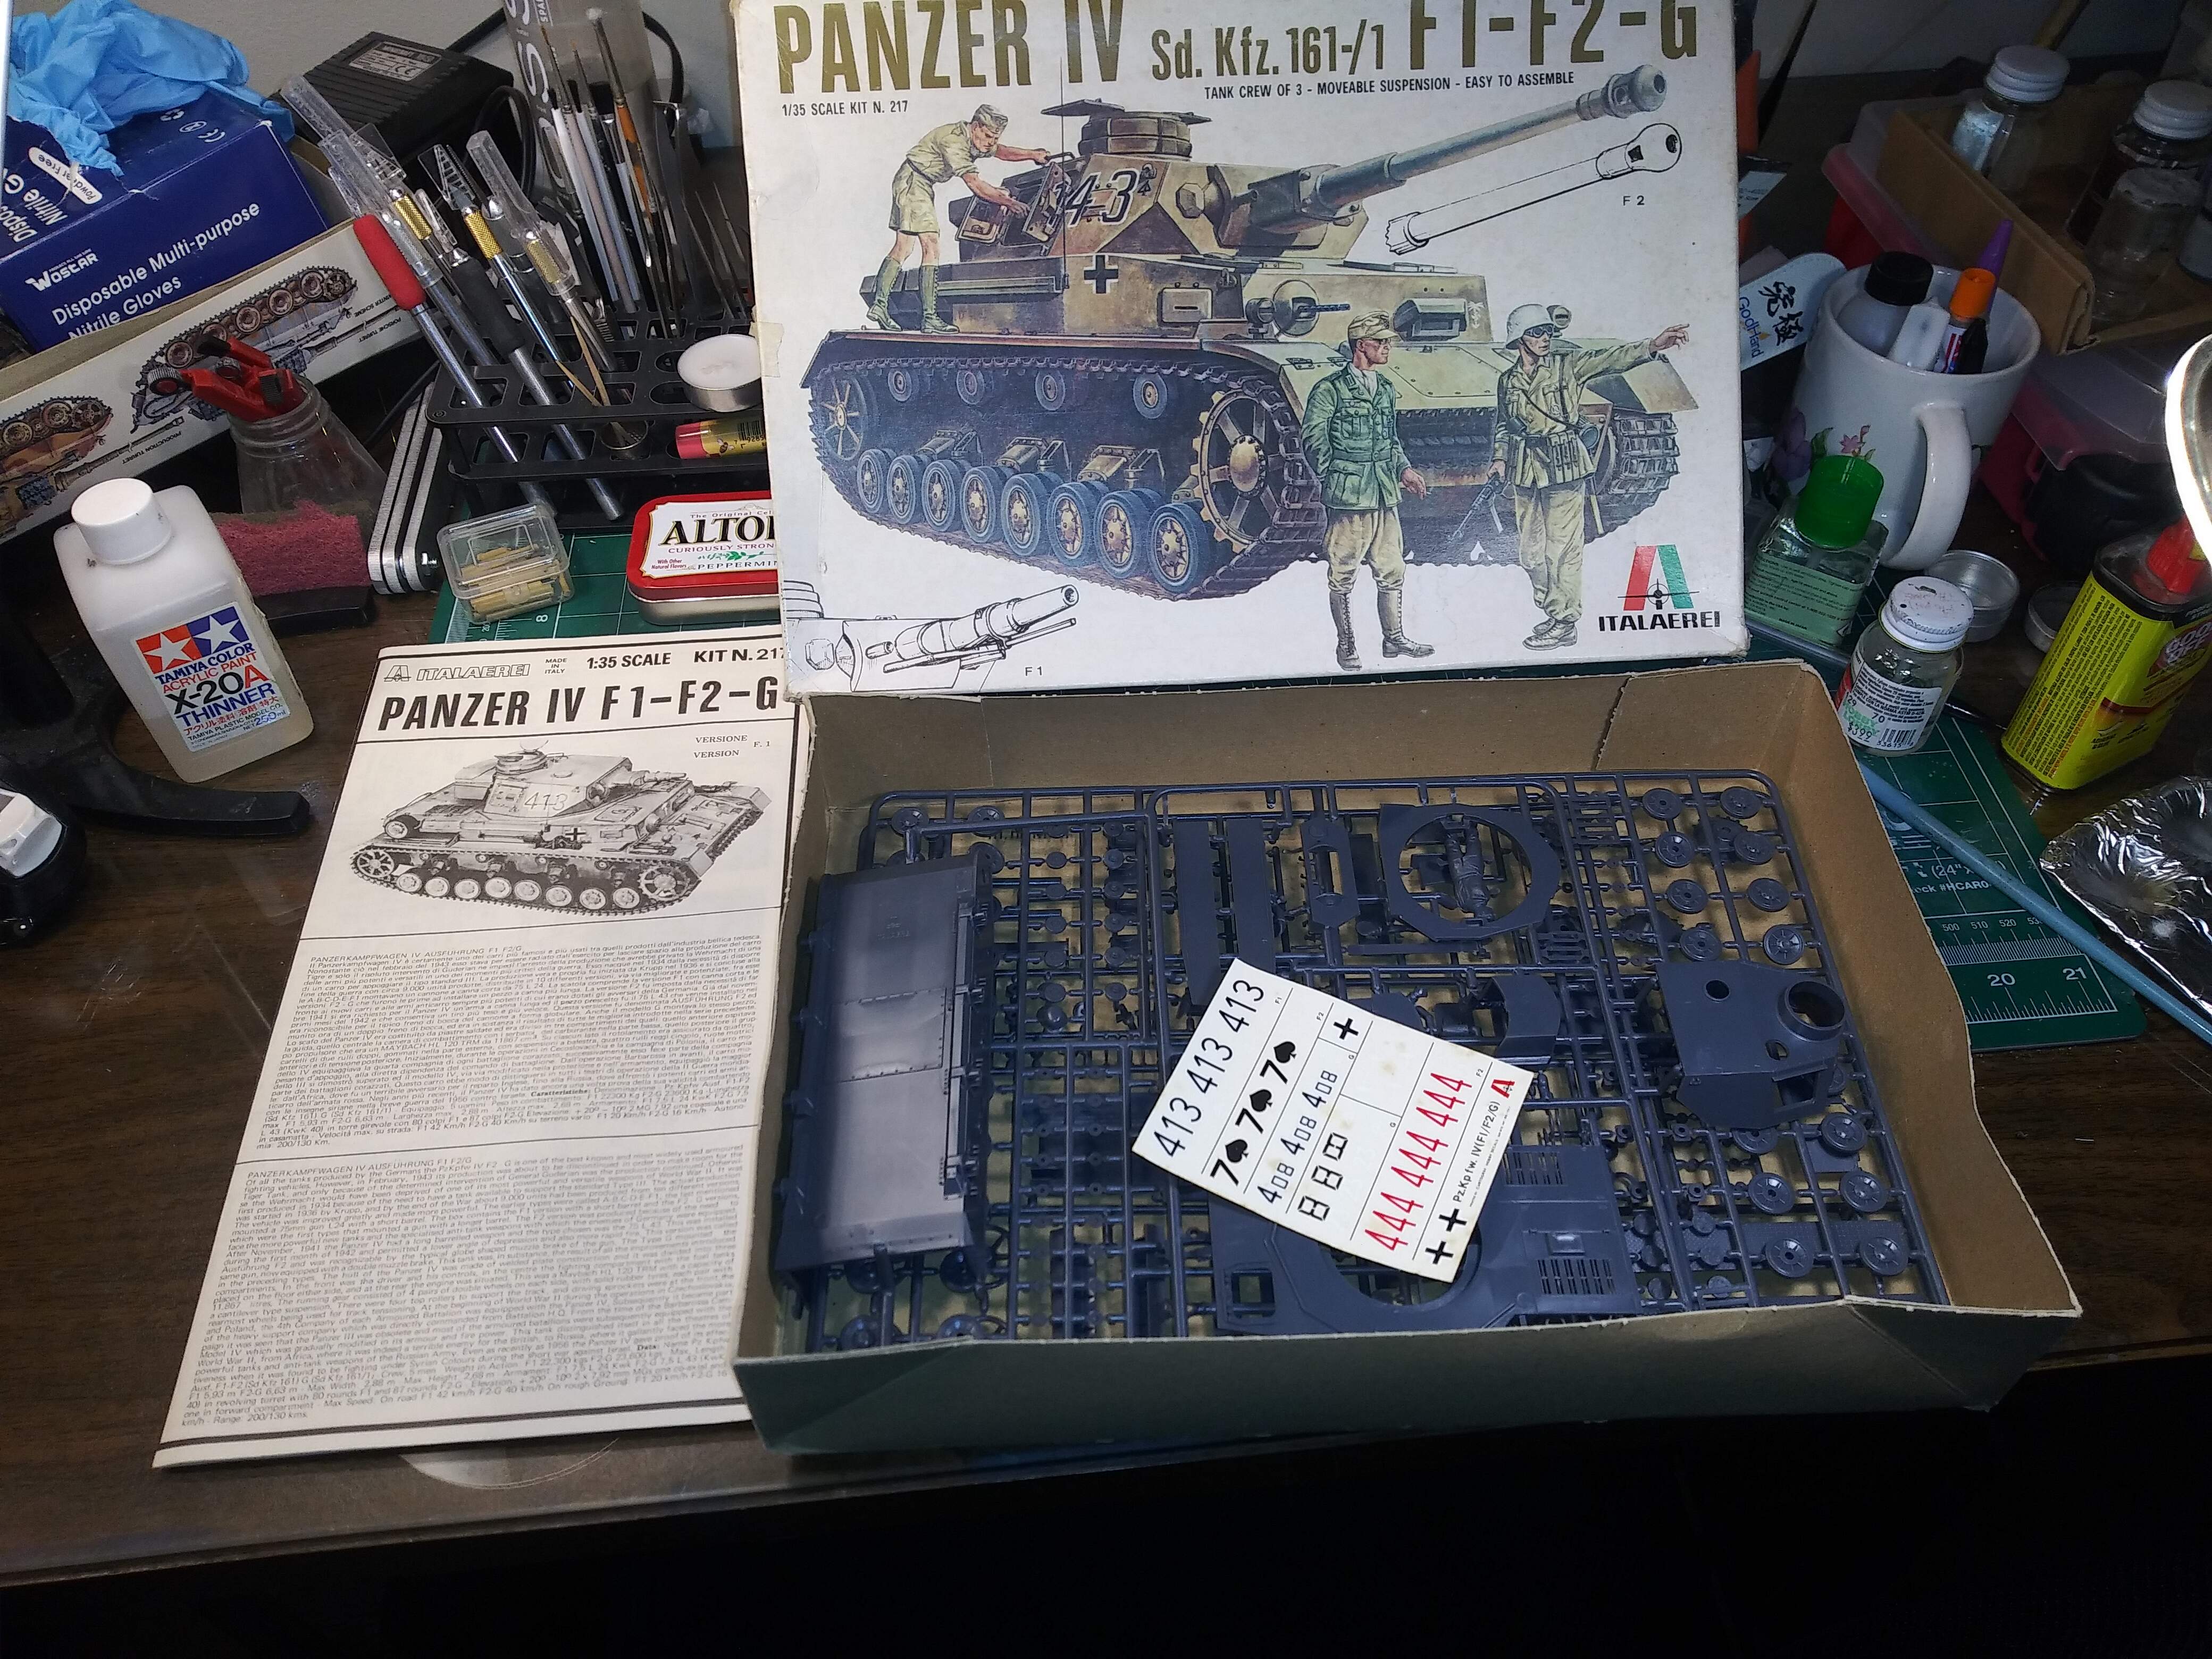
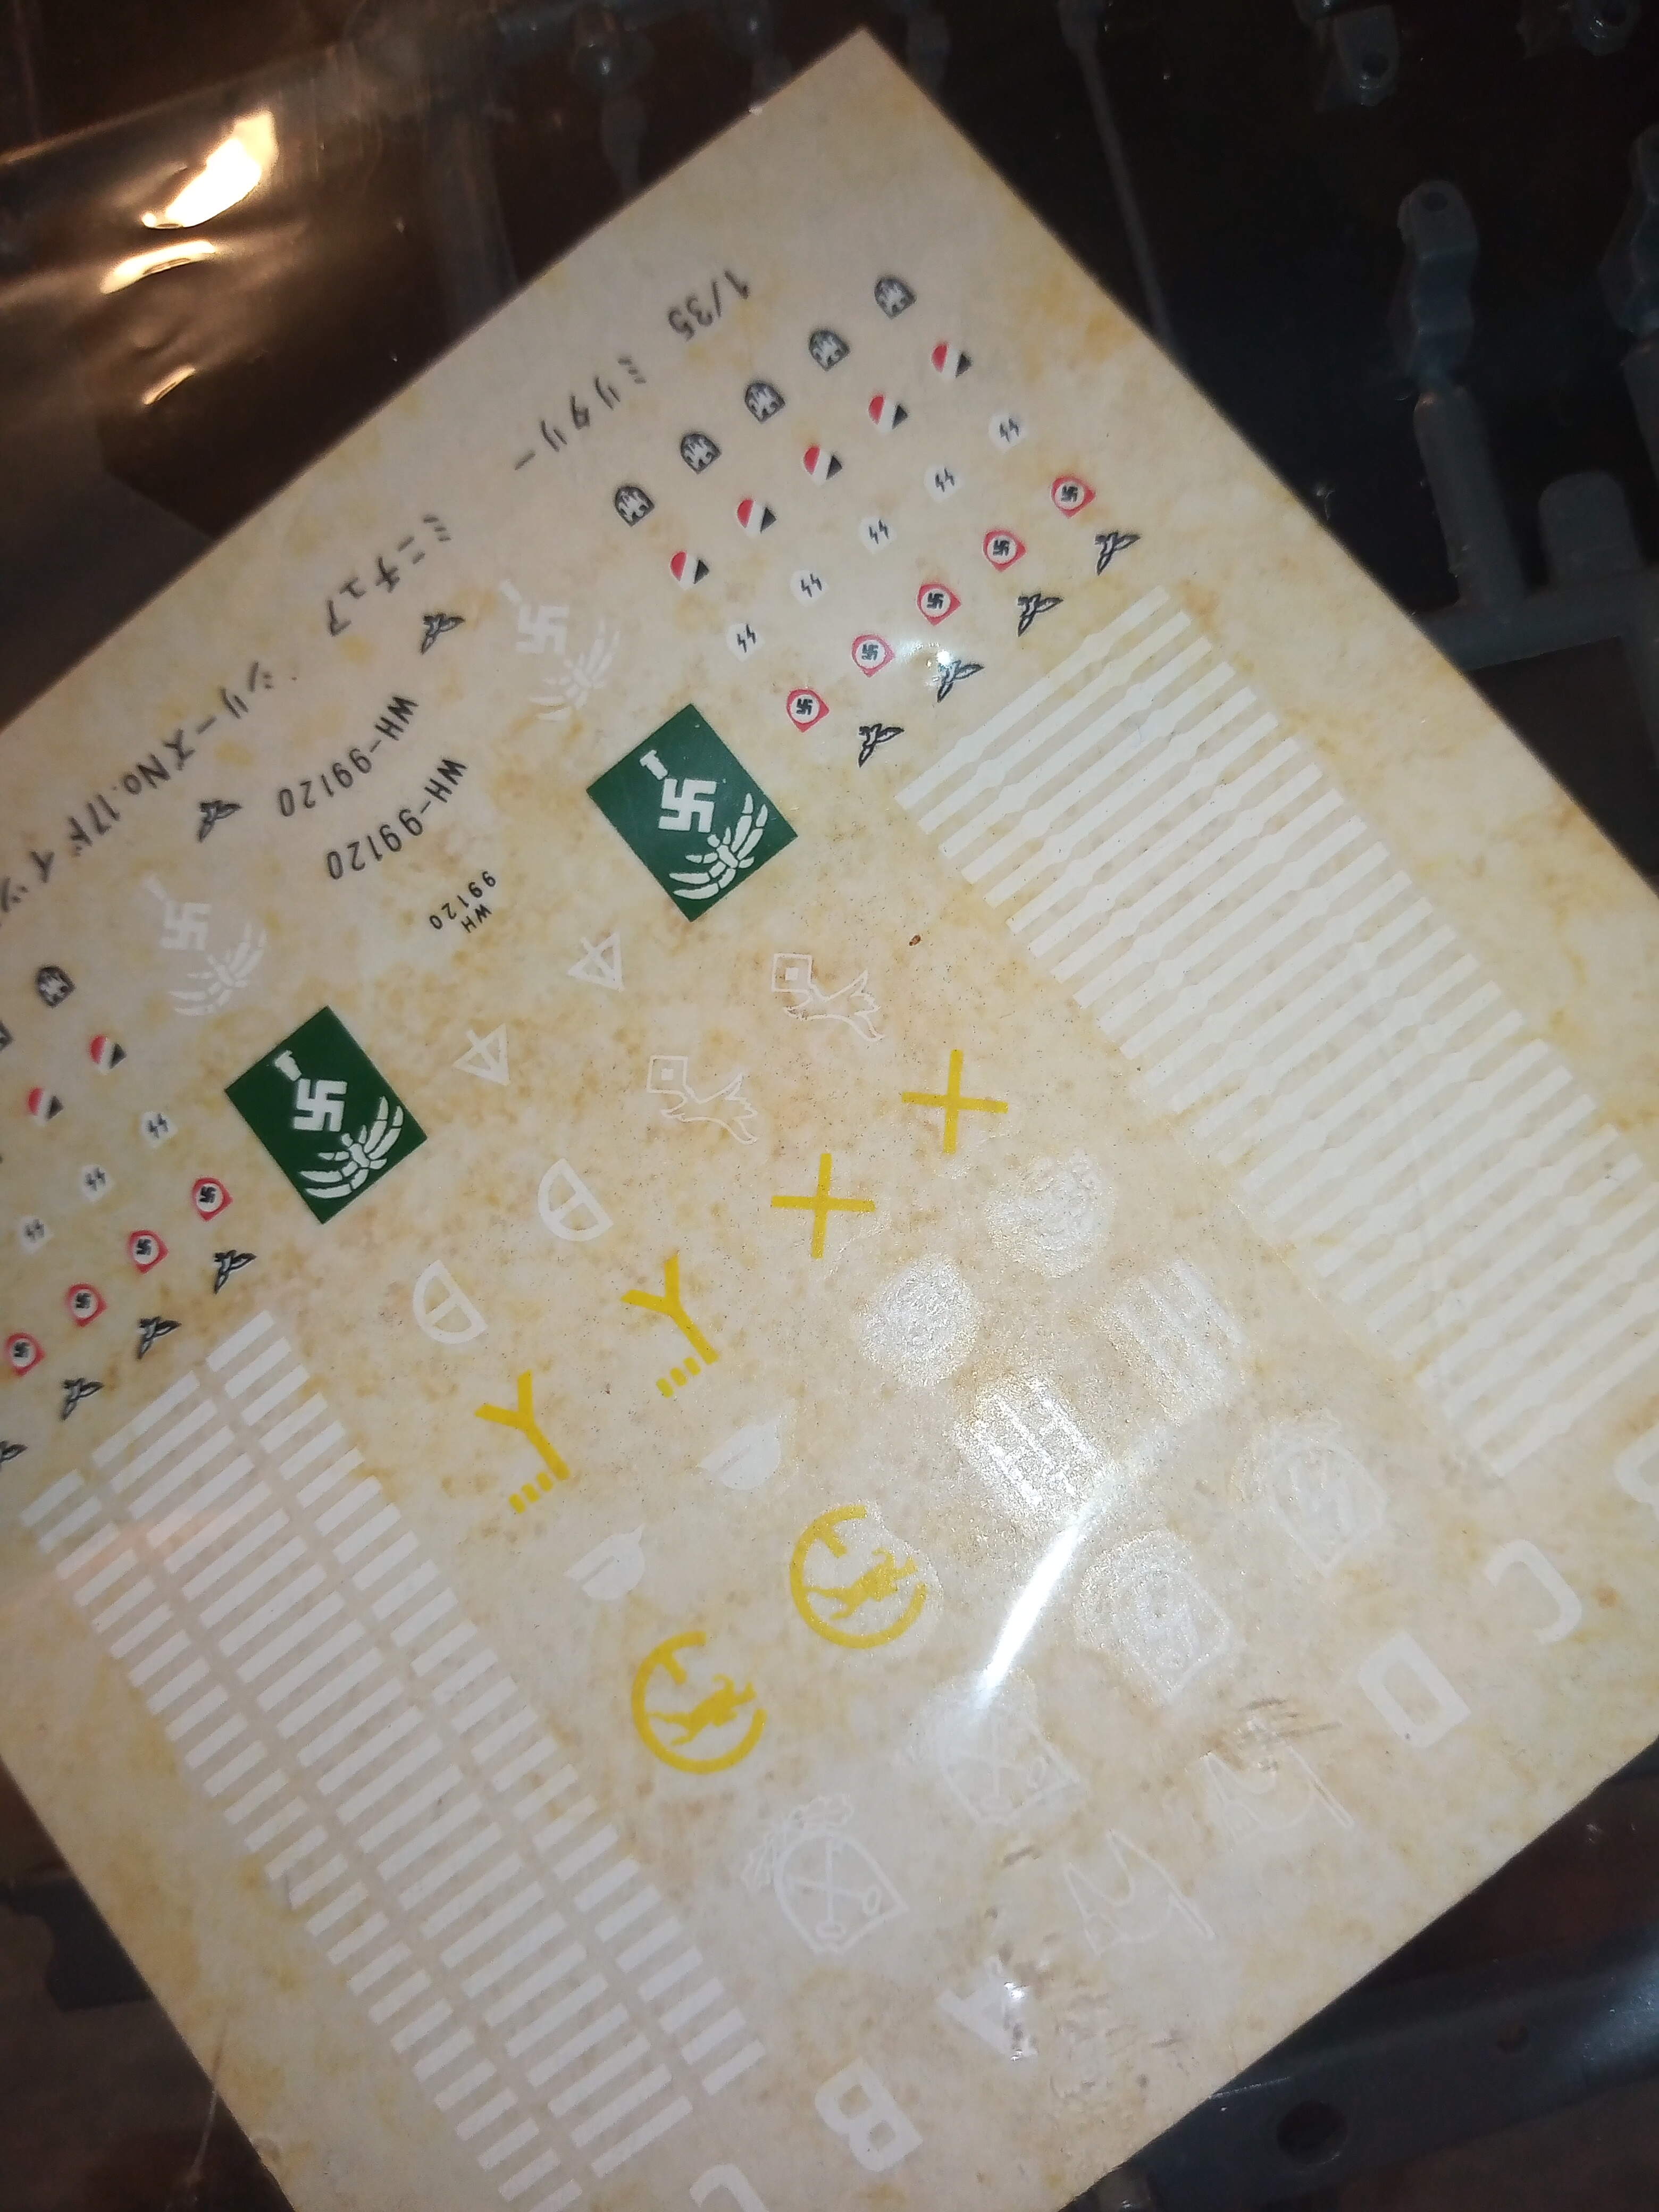
1972 - ah, the good old days, when you could print a swastika on a decal sheet without fear of social media massacre or lawsuits. The decals themselves look okay, it’s just the backing sheet that’s off color. That won’t matter. If the decals are yellow, yes put them in the direct sunlight ( you get that, what, twice a year in England?) and the UV light will bleach them white again for you. Good luck John! This is actually a great kit!
OK people!
Time to rock ’ roll!!
Panzer vor!!!
Before or after Brexit? ![]()
Enjoy your build John. With a Tamiya kit you shouldn’t be disappointed even with a 1972 vintage kit.
Away from the workbench right now I have to wait for beginning the venerable Verlinden/Trophy model. I’ll first need to drill deep inside the resin block to remove the weight in excess.
Olivier
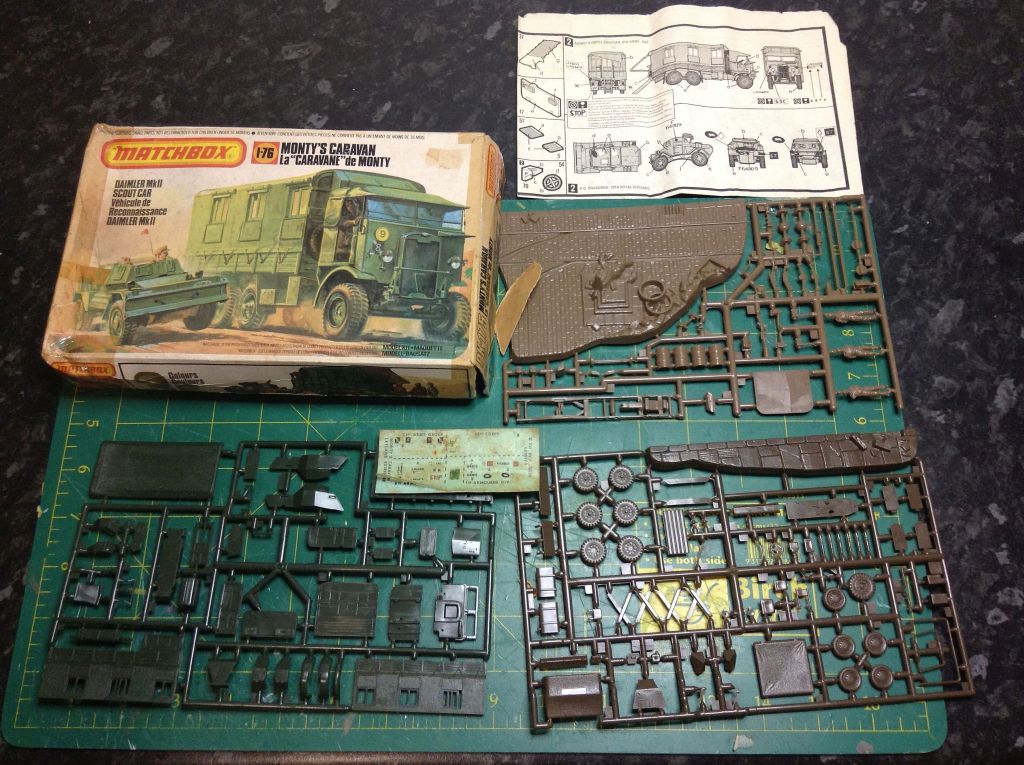
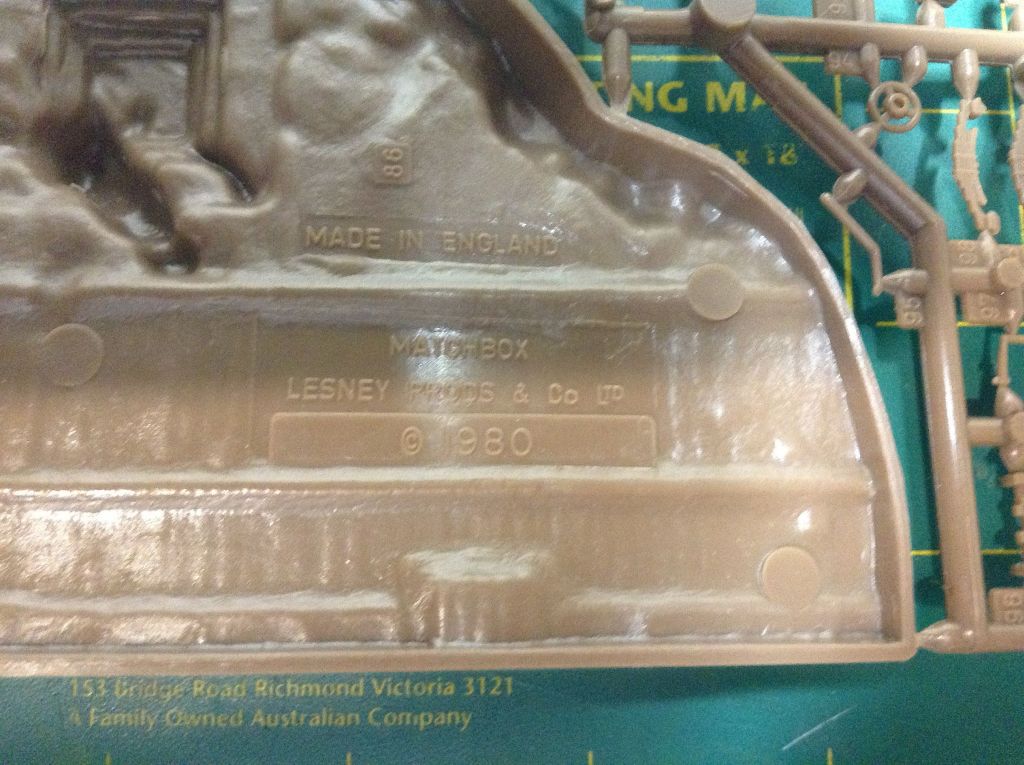
Okay, what I plan to build. An original Made in England Matchbox kit, not one made in China as many were later, and also evidenced by the box condition. I have to admit, it has not been in the stash for long, having been picked p at a swap meet a couple of years ago, but one that has waited long enough to be built.
First up, fill the usual Matchbox sink marks… "Memories, misty watercolour memories’
That should be a fun little build Peter 
Peter, That looks like a really neat little kit. Those wartime British trucks really had a style all their own. 
Ahh the old Matchbox kits…
Memories…
I see them go for the price of new 1/35 kits these days!!
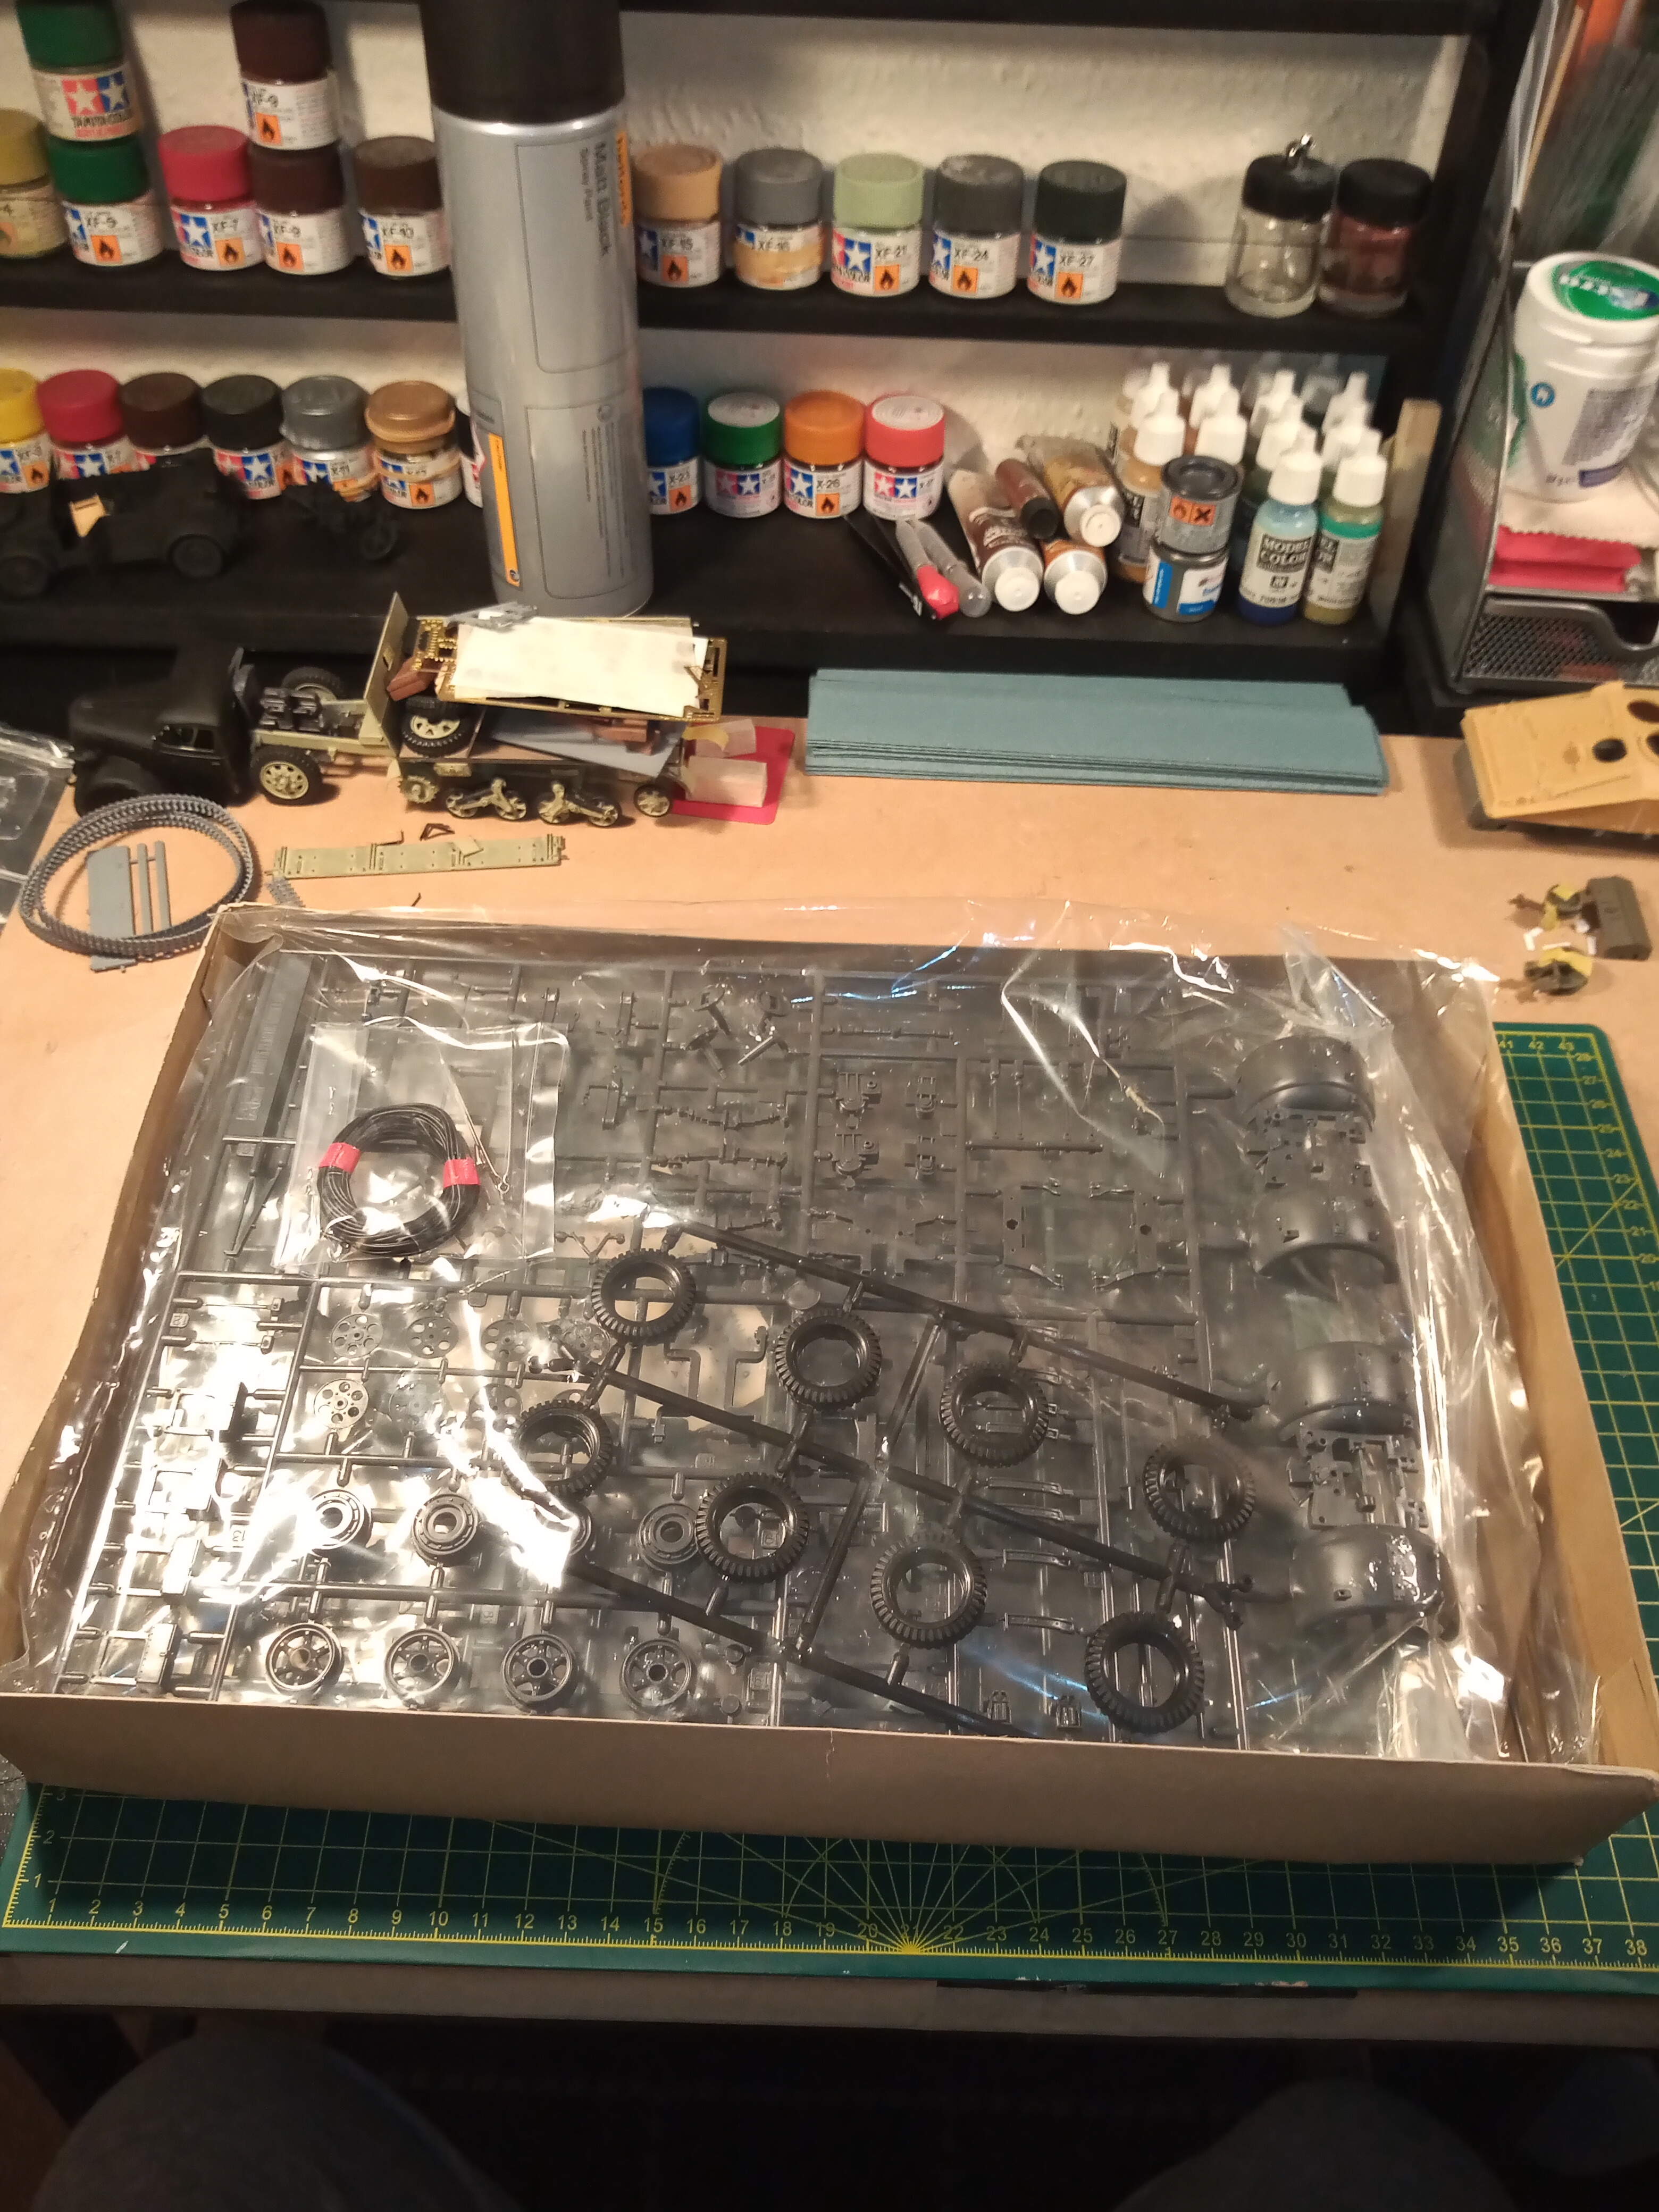
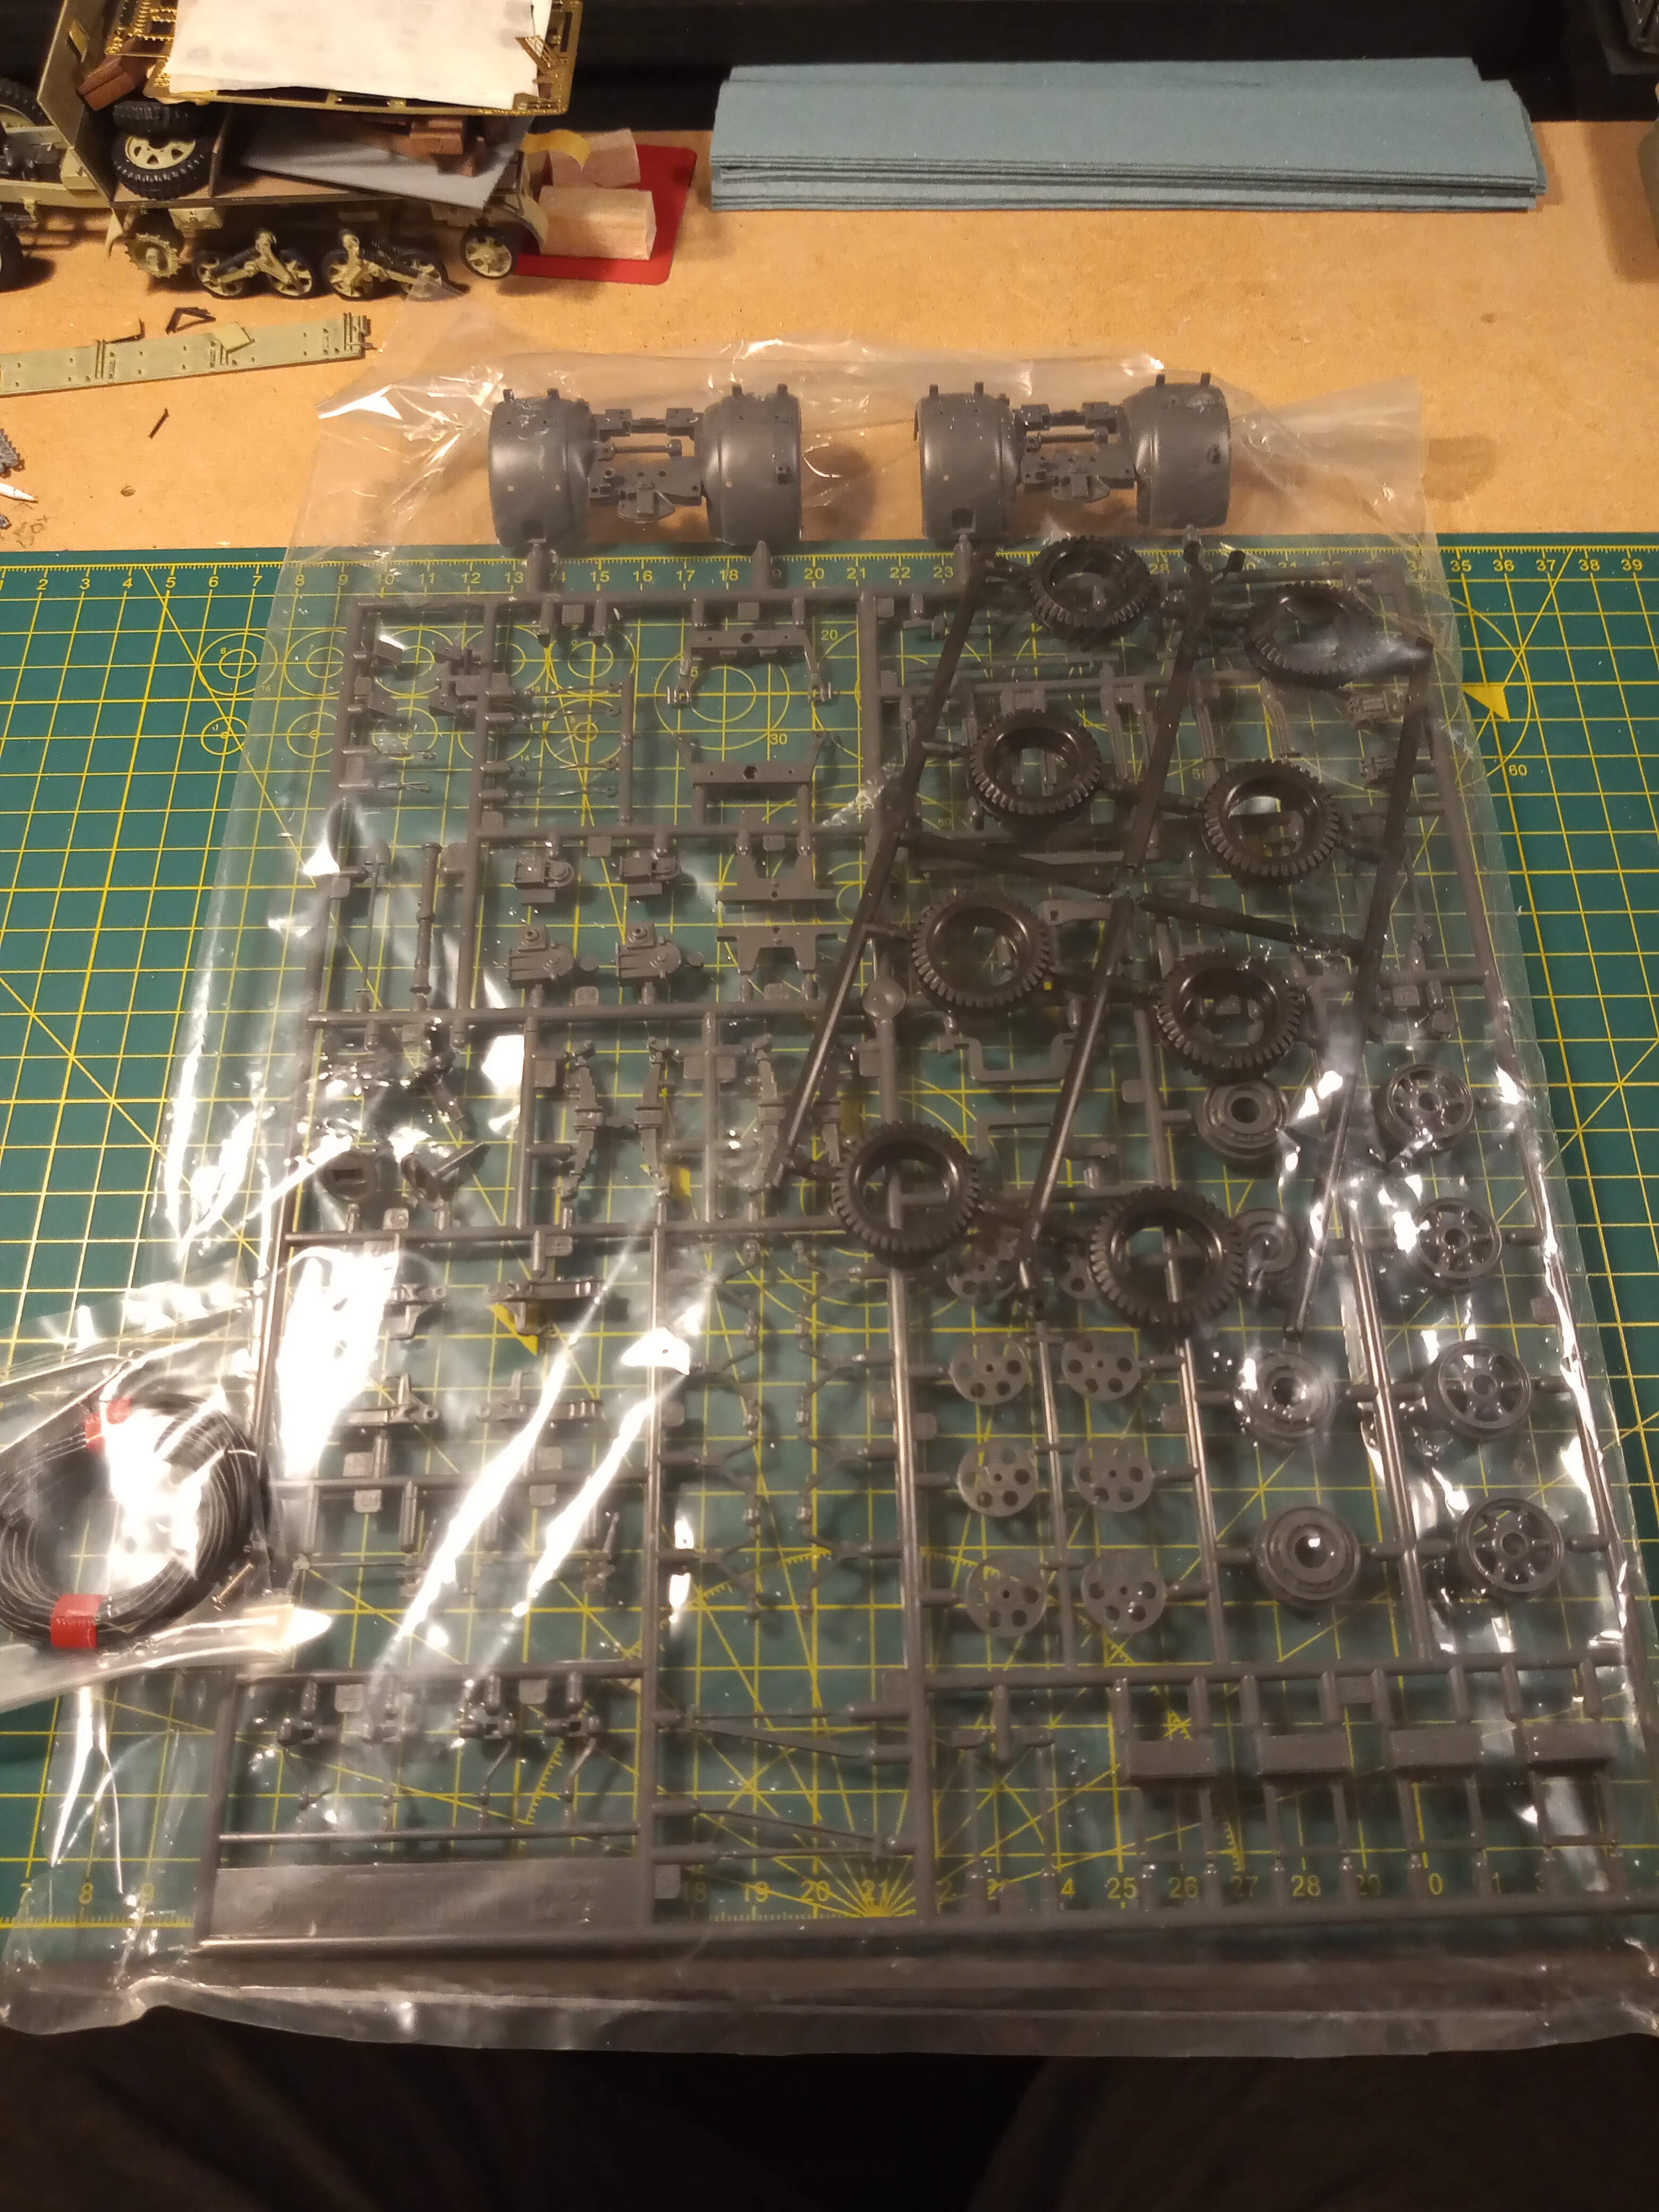
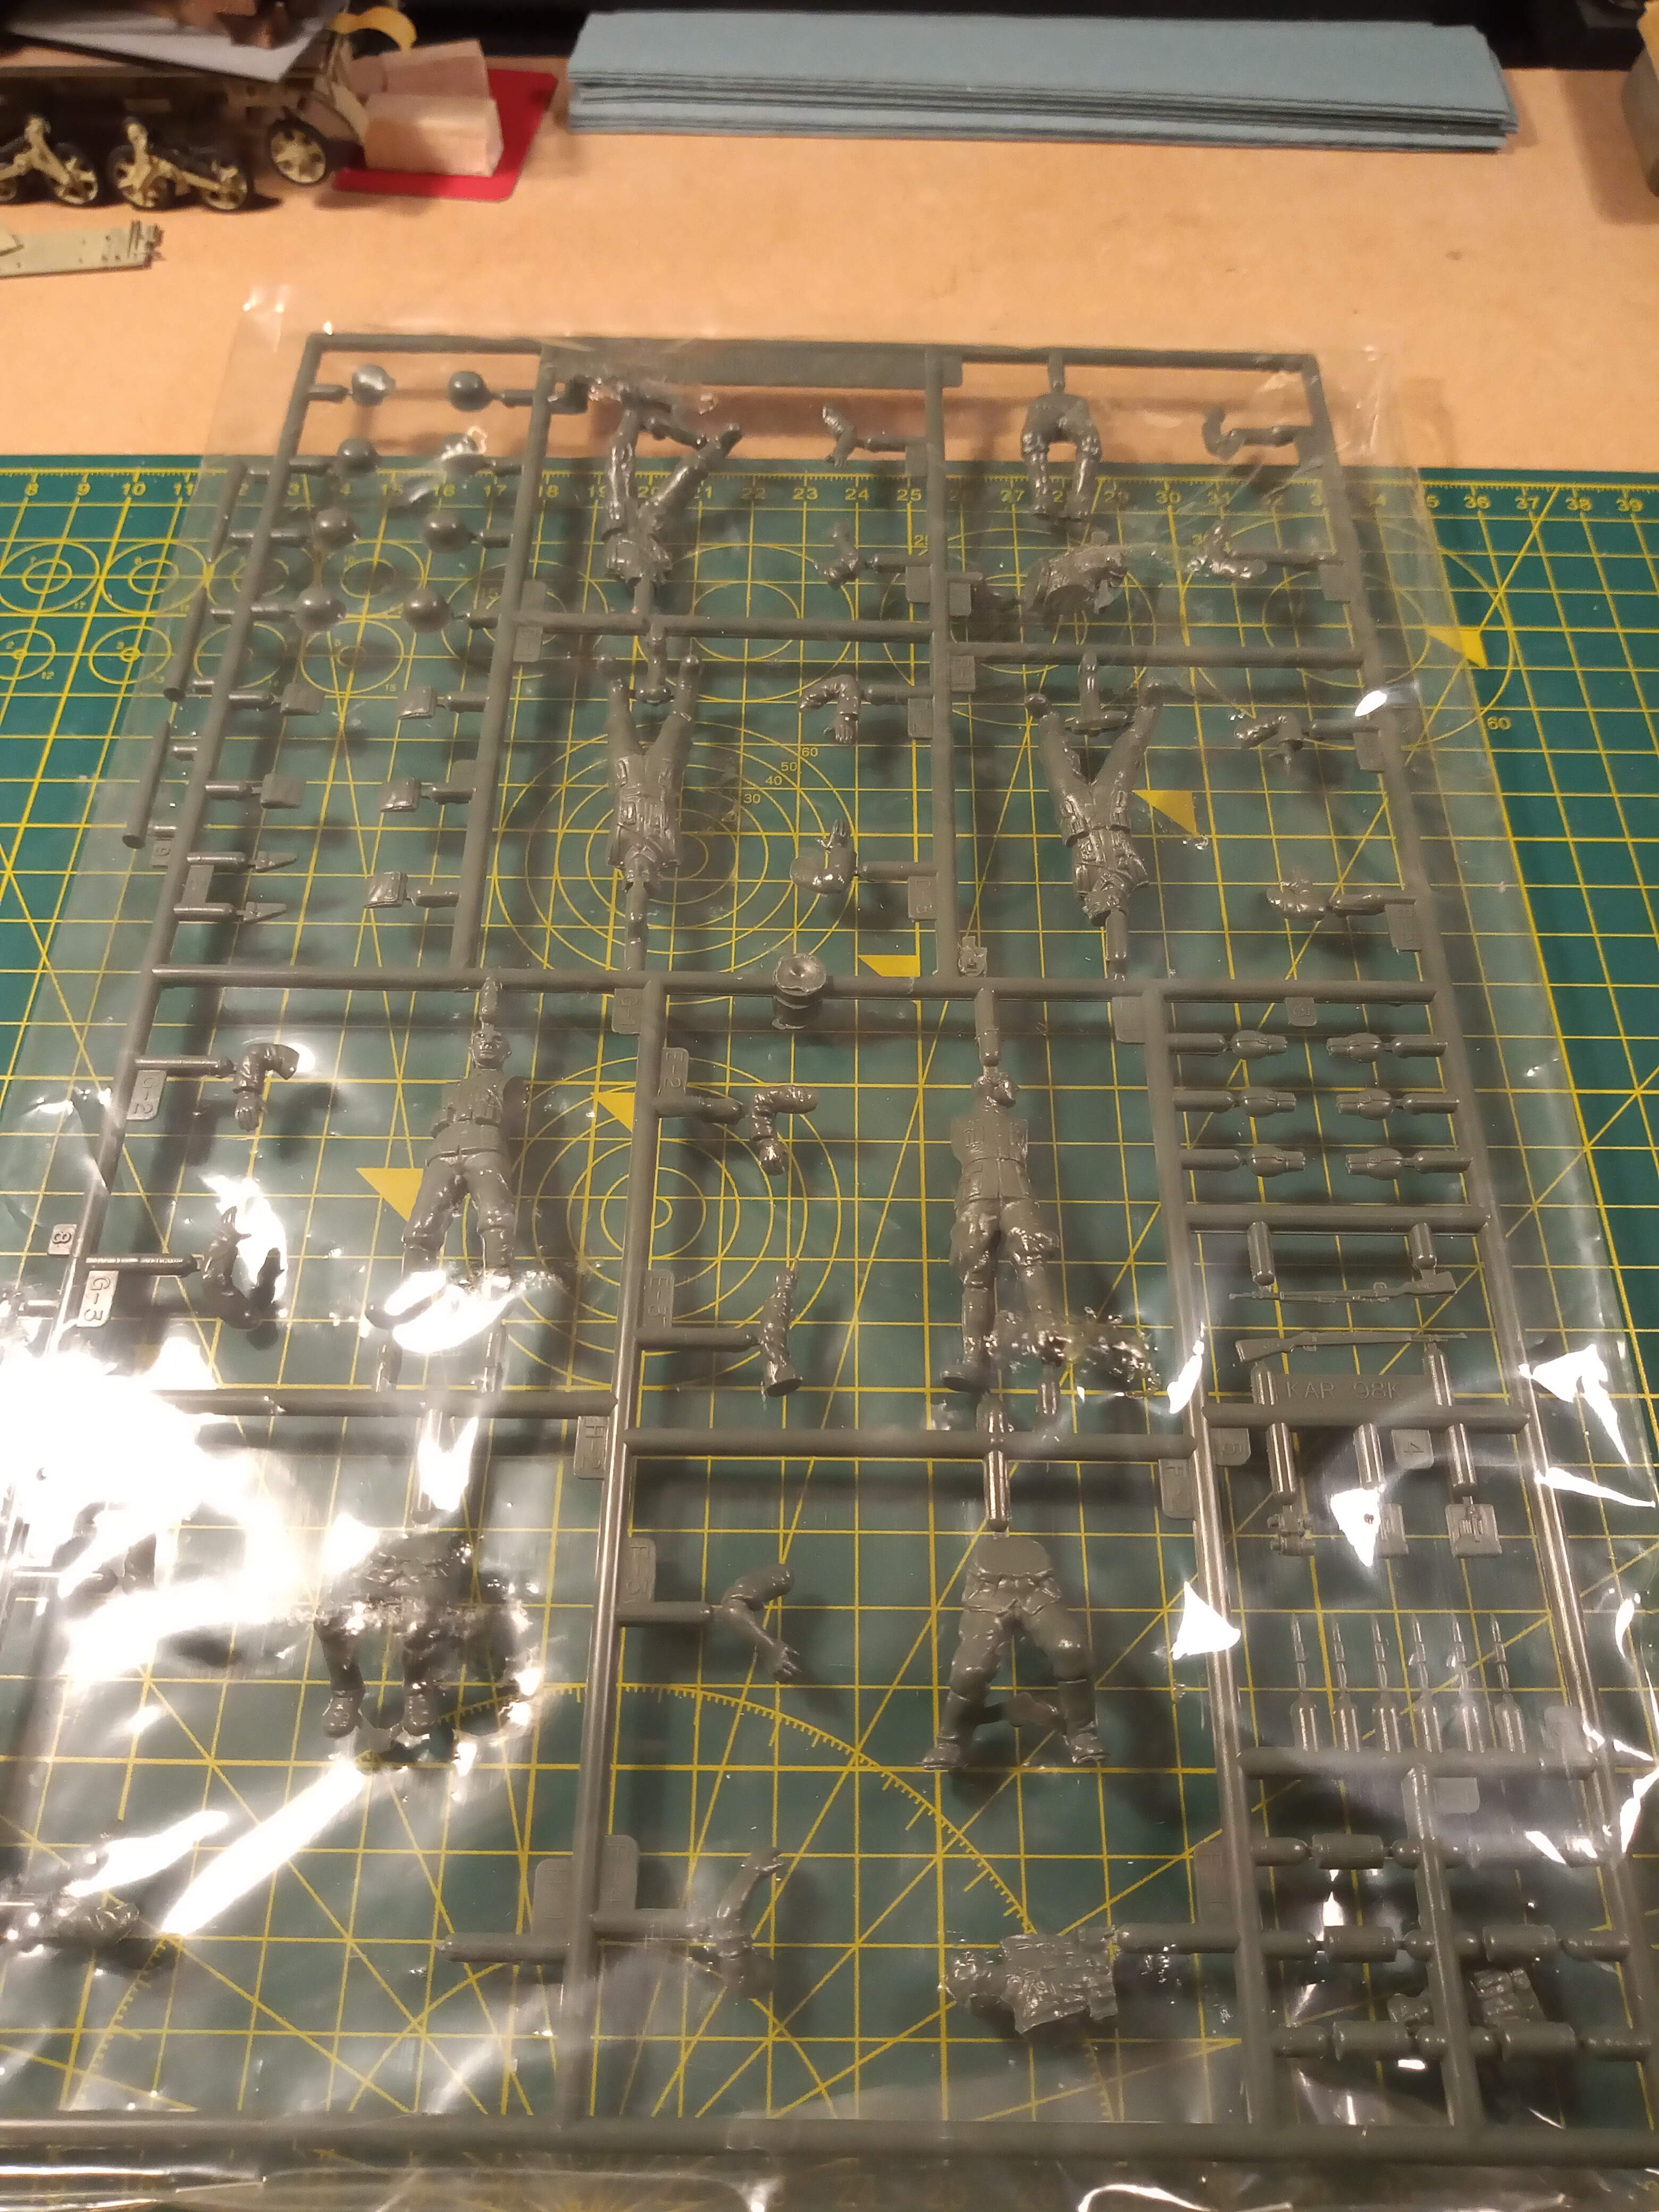
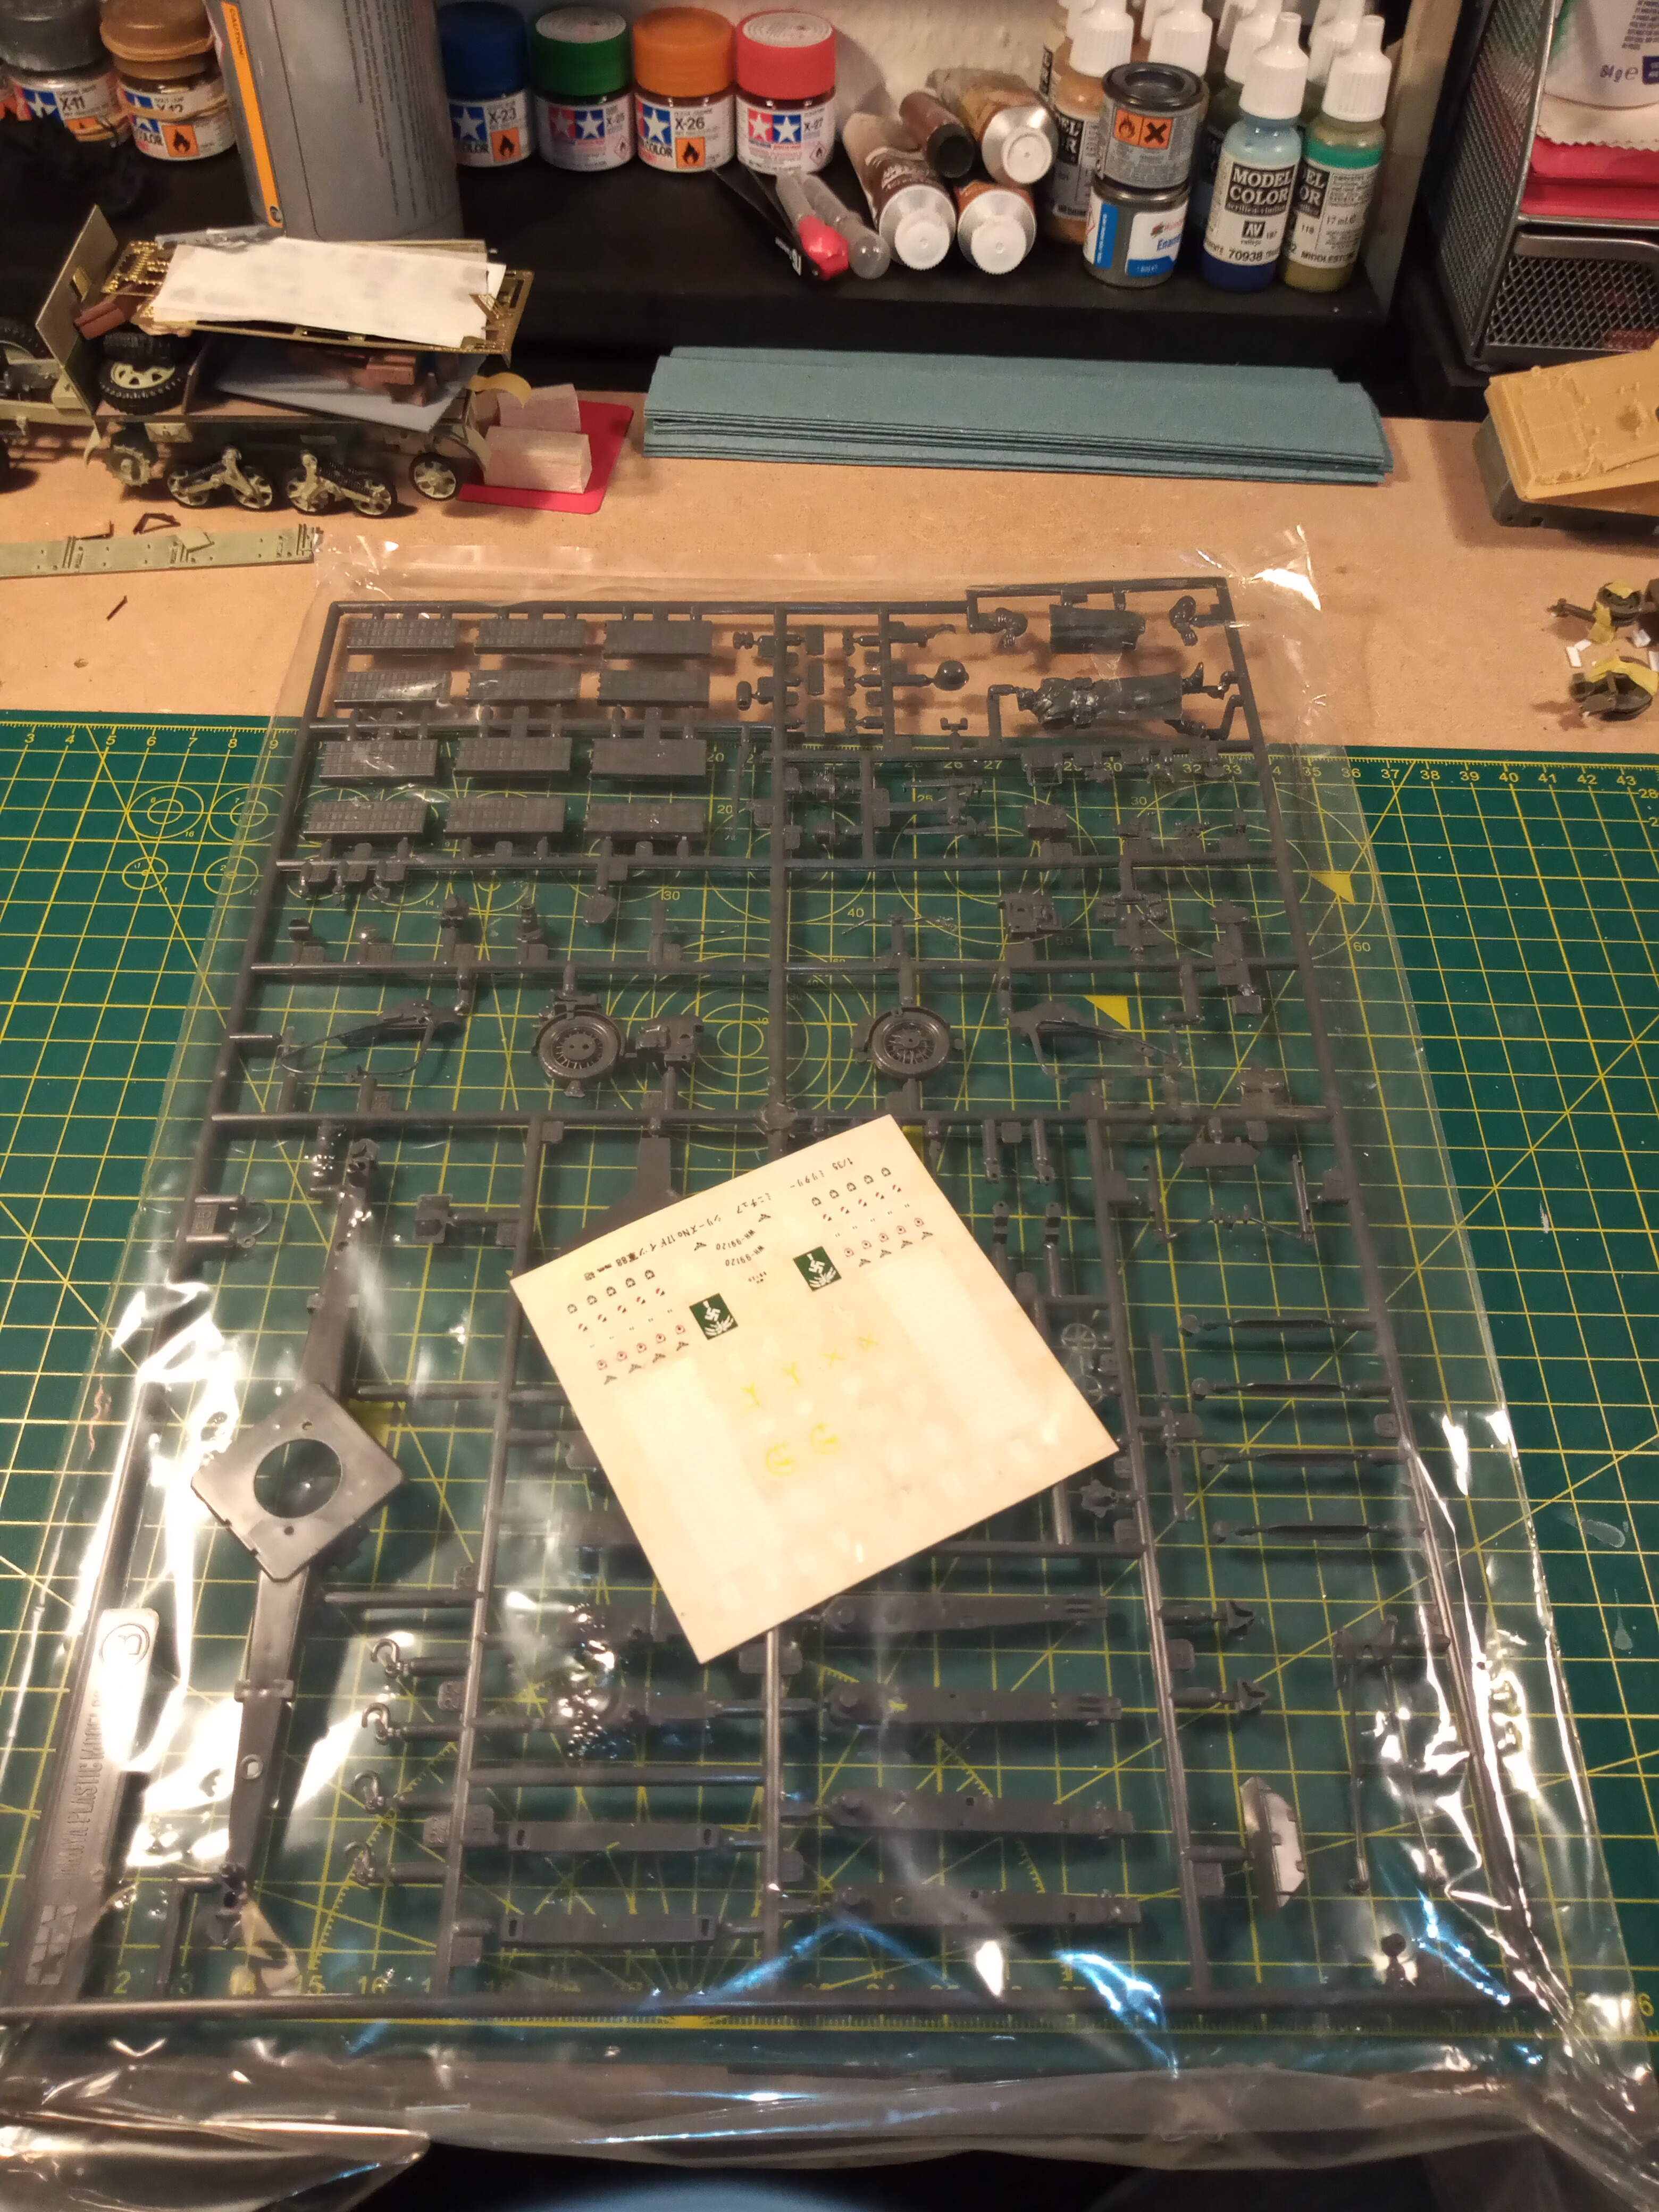
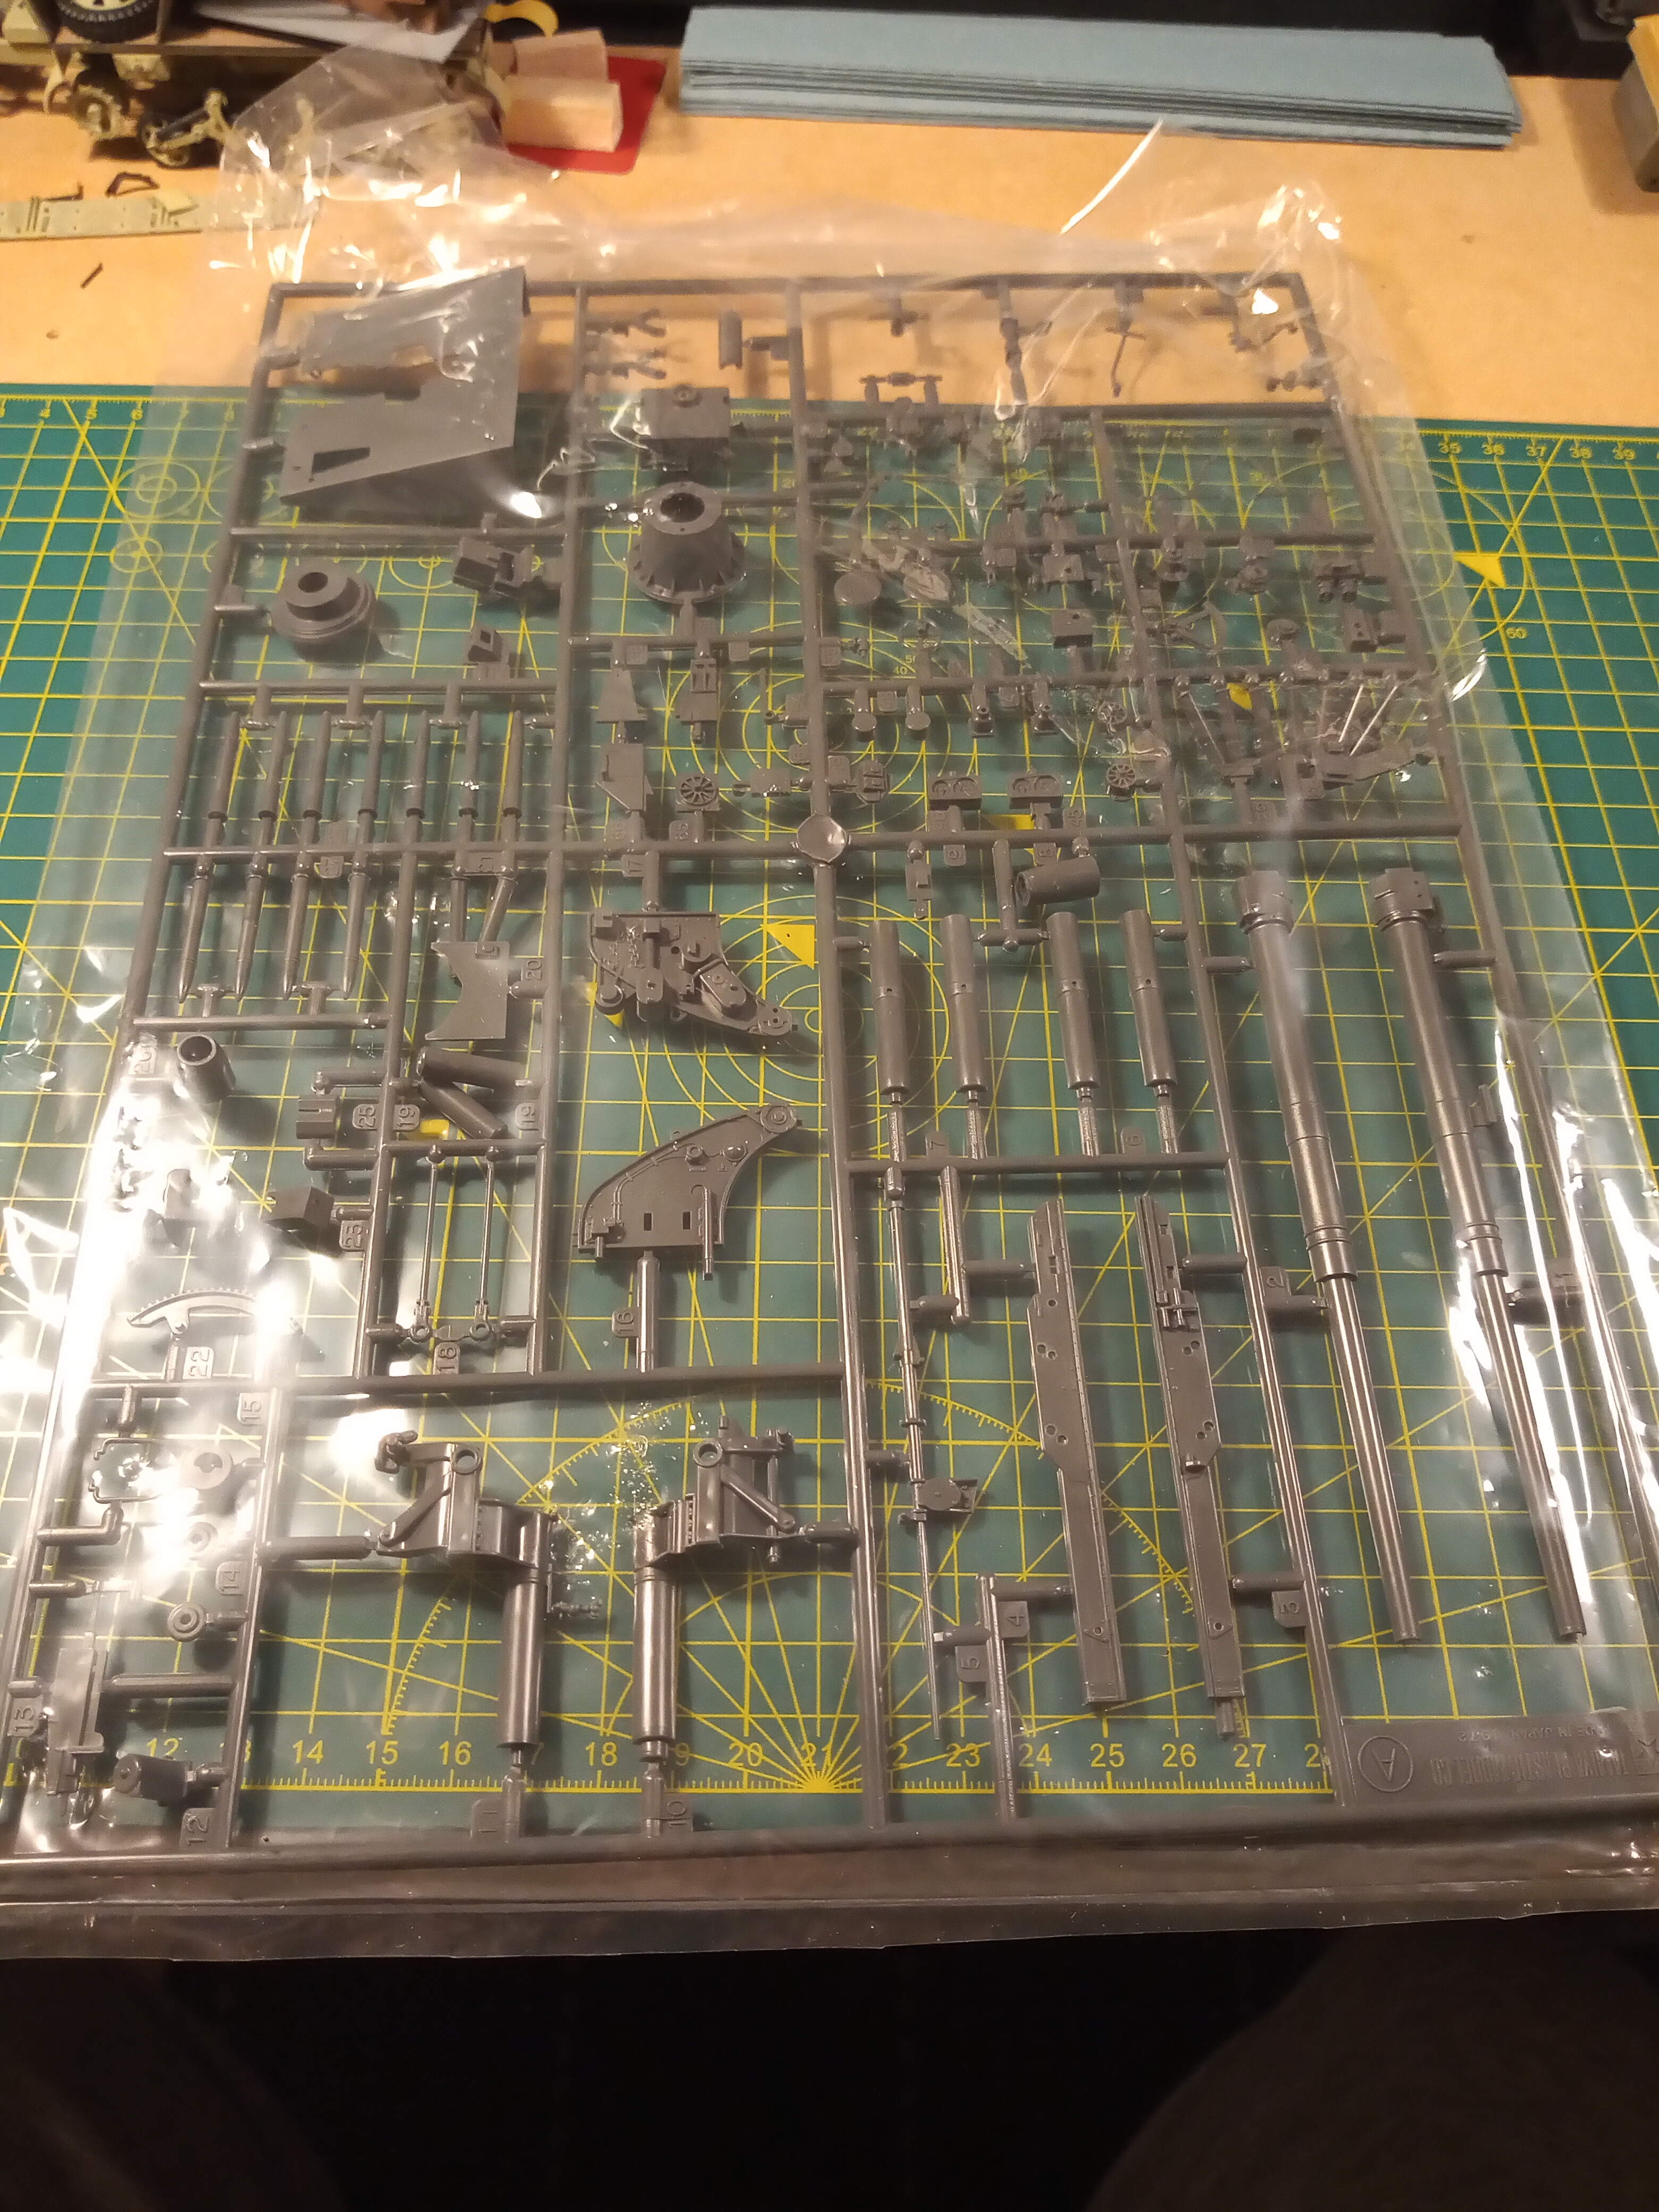
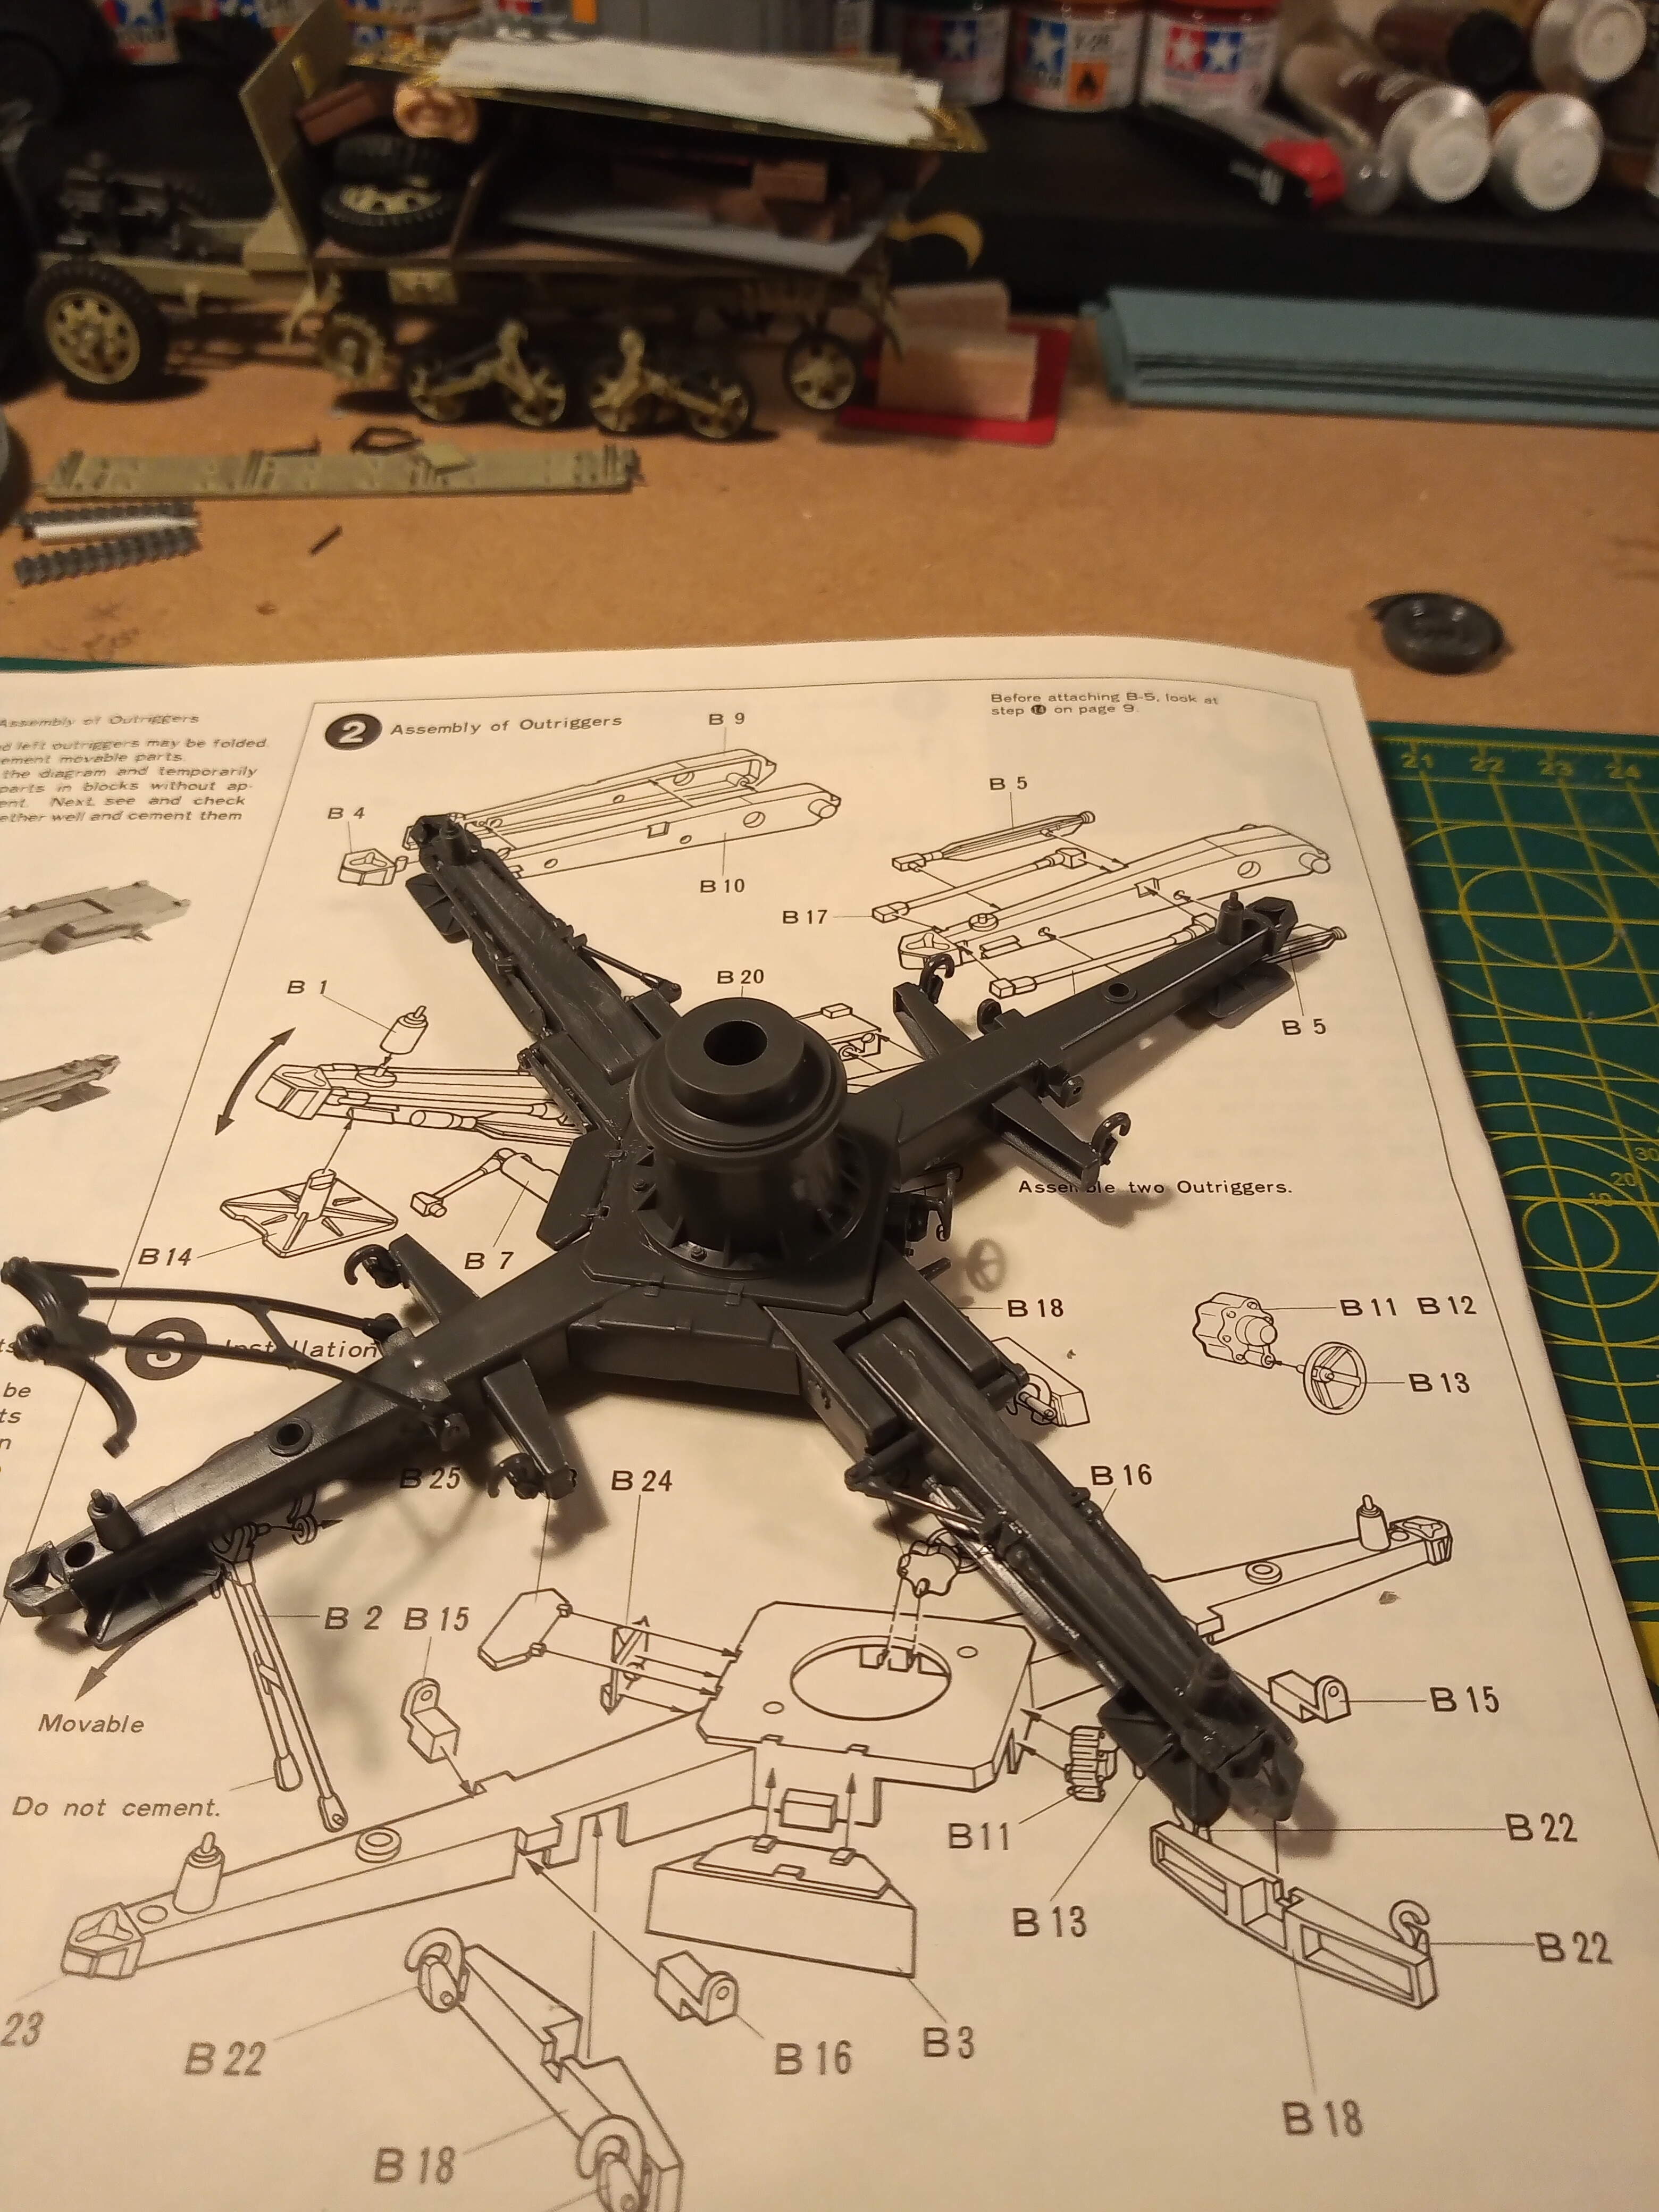
A small bit of progress on the 88.
Got the base together, nice fit all round. A very small amount of flash and a few little sink marks but they are hidden or the primer will cover them.
Had a brief look over the rest of the sprues and they all look good, with some very minor flash and the occasional sink hole… But all easily remedied.
@Johnnych01 that looks like your off to a fantastic start! Very nice!
I started cleaning up an old set of Model Kasten track links and don’t have anything interesting to post yet.
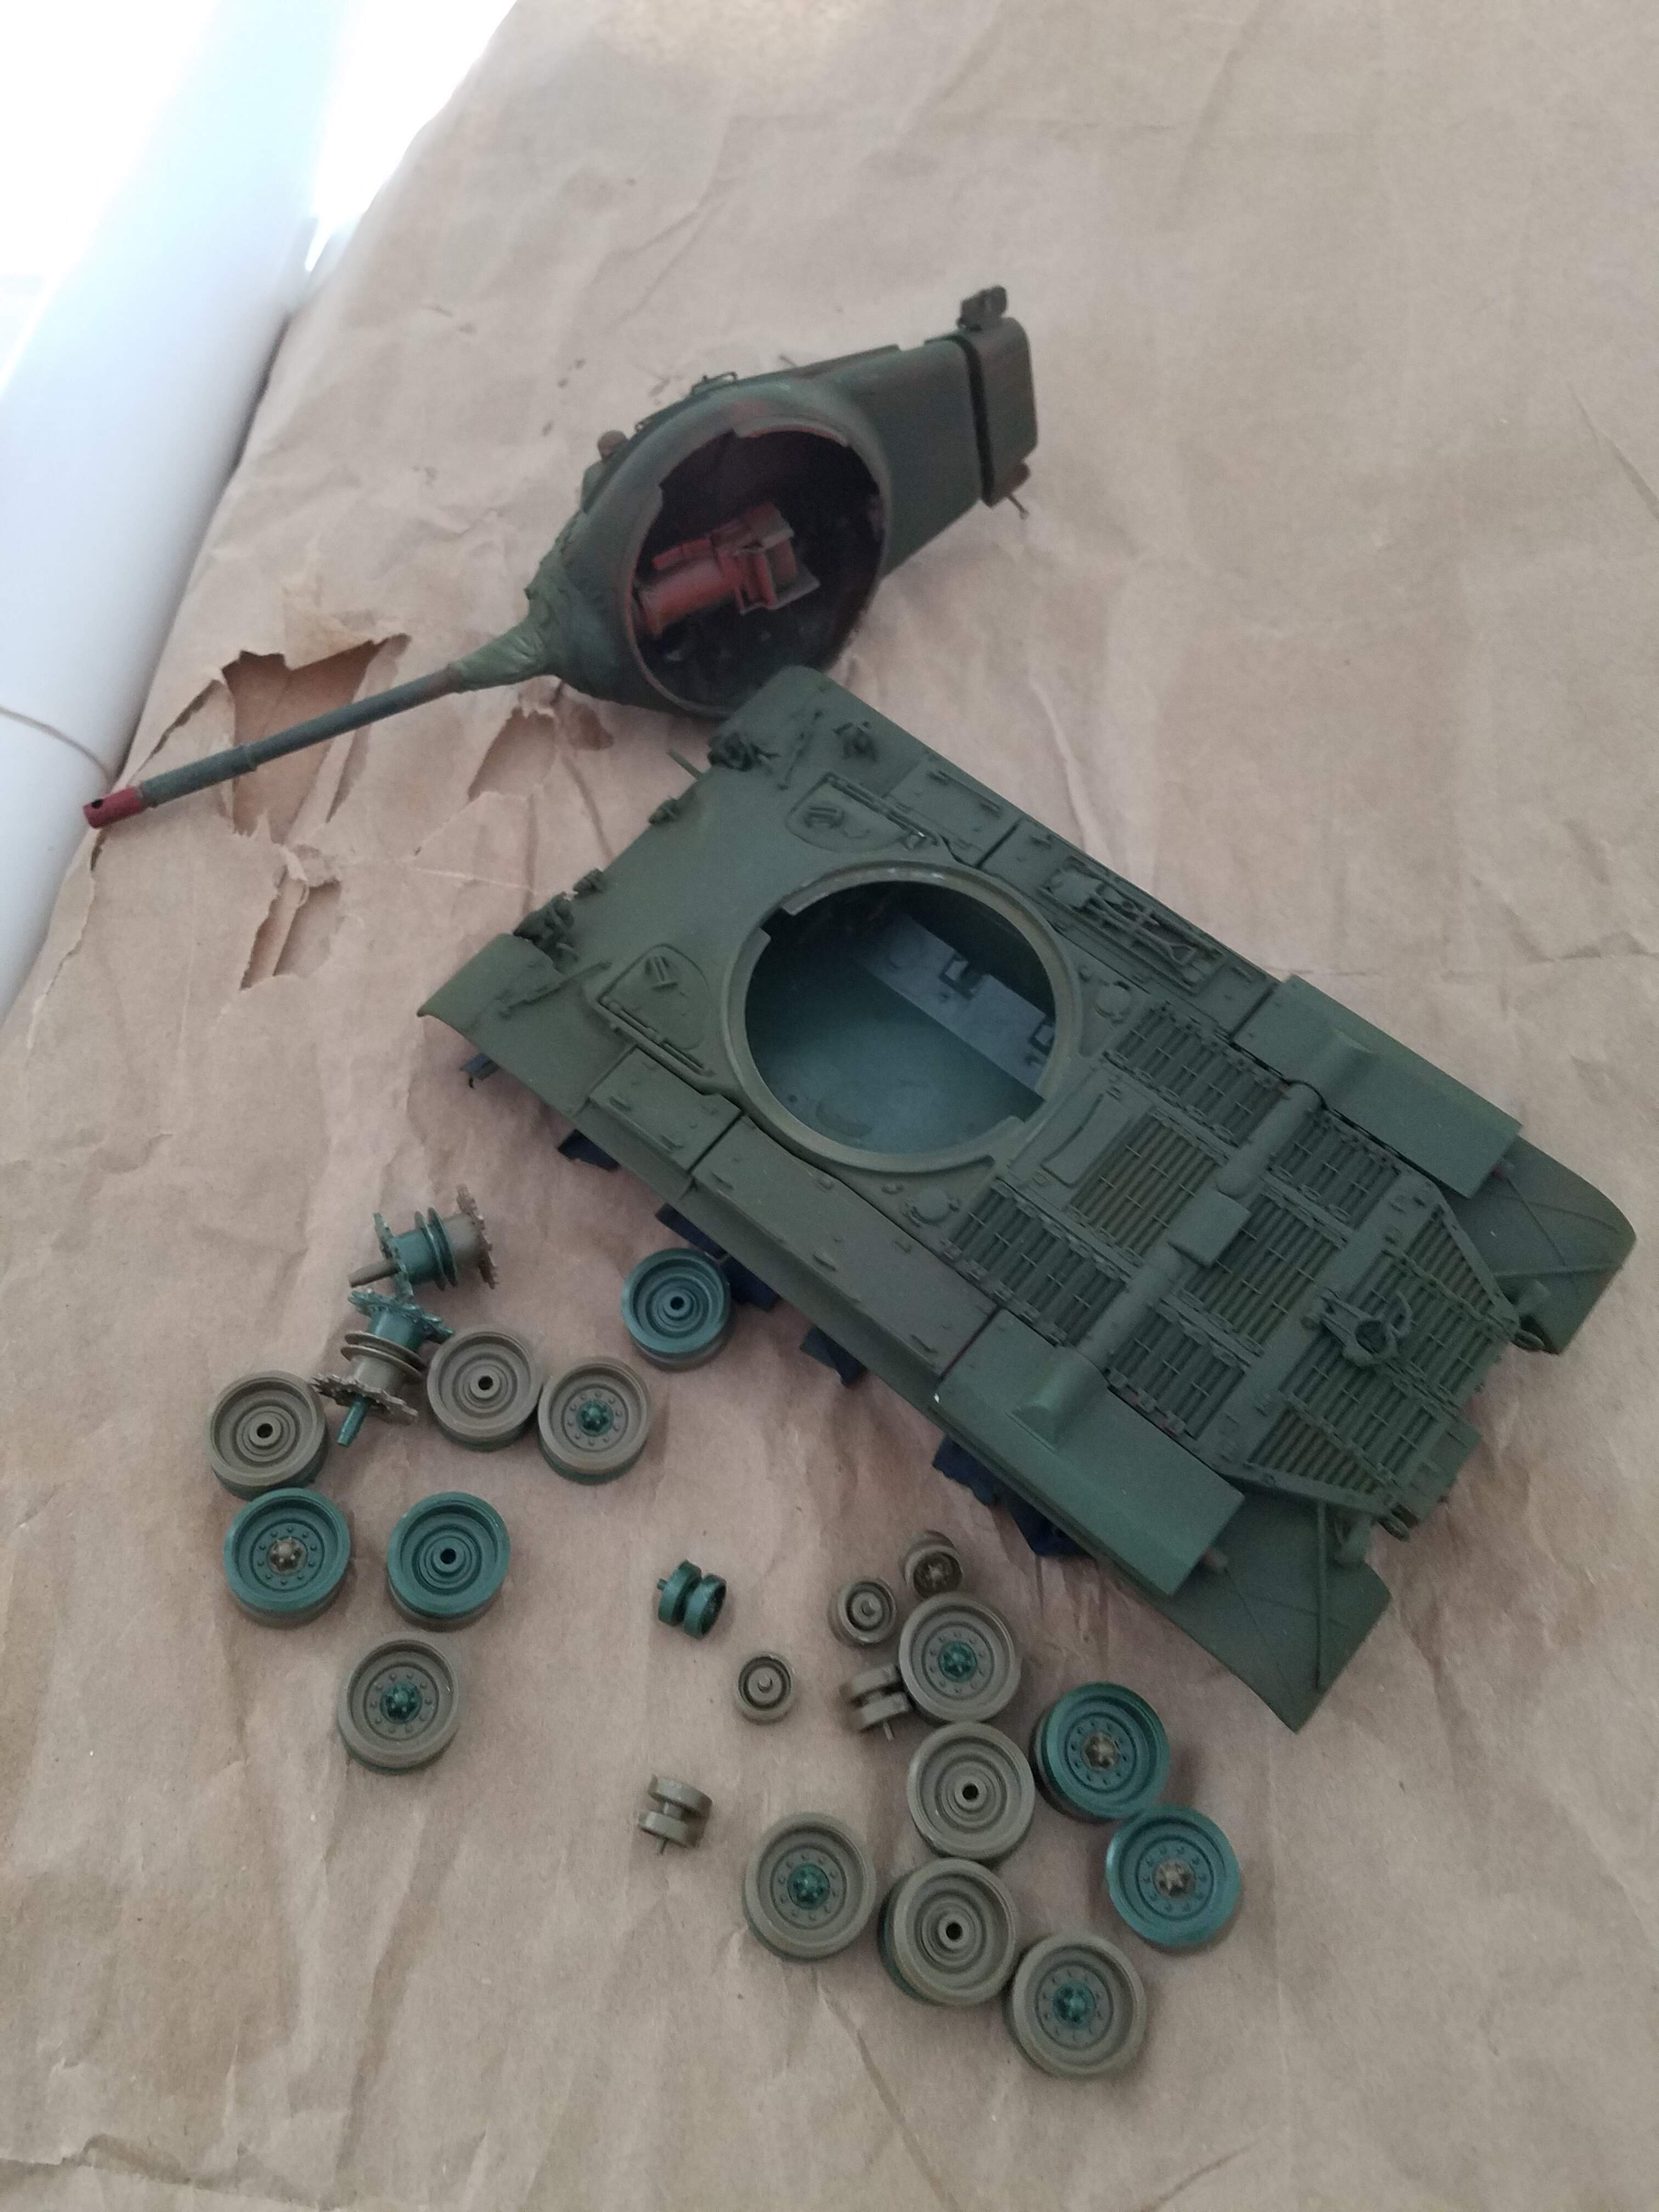
Well, I’ll give this a try and match up with the post from the original site that has the photo/post of my M47 that will need major re-work, for this campaign. The paint on the turret is horrible as well as the turret being cracked/broken in several places which will be corrected by another complete turret or the stripping of paint for repairing the plastic, or a combination of both. Then comes the clouded sealant/paint on the chassis that will need stripped/redone. Add unpainted bogie wheels. Pretty much a complete build/rebuild will need to be accomplished. I haven’t started as of yet on this mess, as I have another campaign to finish, prior to the 31st of December, 2020 (which coincidently features another M47).
The different green mold colors looks interesting. Hope to start on mine once I move the Ho-I to the paint rack after attaching the last needed bits to the rear hull.
The different color tones of the parts (at least 3 color variations) came from multiple M47 sprues found in that same parts box, from the 70’s/80’s, where I found your replacement parts. I’ve had that box hanging around for almost 40 years now. I’ve gone thru that box a number of times since I sent you the parts you needed, and that box contains a lot of warped parts/sprues, which unfortunately includes some of the M47 pieces I’ll need for rebuilding. I’ve faced worse.