Apocalypse Tank from CnC Red Alert 2

Gather ye round the bench modelling friends as I spin ye a tale of the rare aul times.

Back in the mists of a time long forgotten (er…well…the year 2000) there was a great commotion in those most ancient of places, the ‘Electronics Boutique’.

‘Has it landed yet?’ ‘Is there any left?’ ‘There better be, I bloody pre-ordered it!’ Such shouts could be heard across ye olde shoppinge malle.

And behold- that most ancient of artifacts so I can prove that my tale, tis of the truth- for here it be- a CD-ROM!

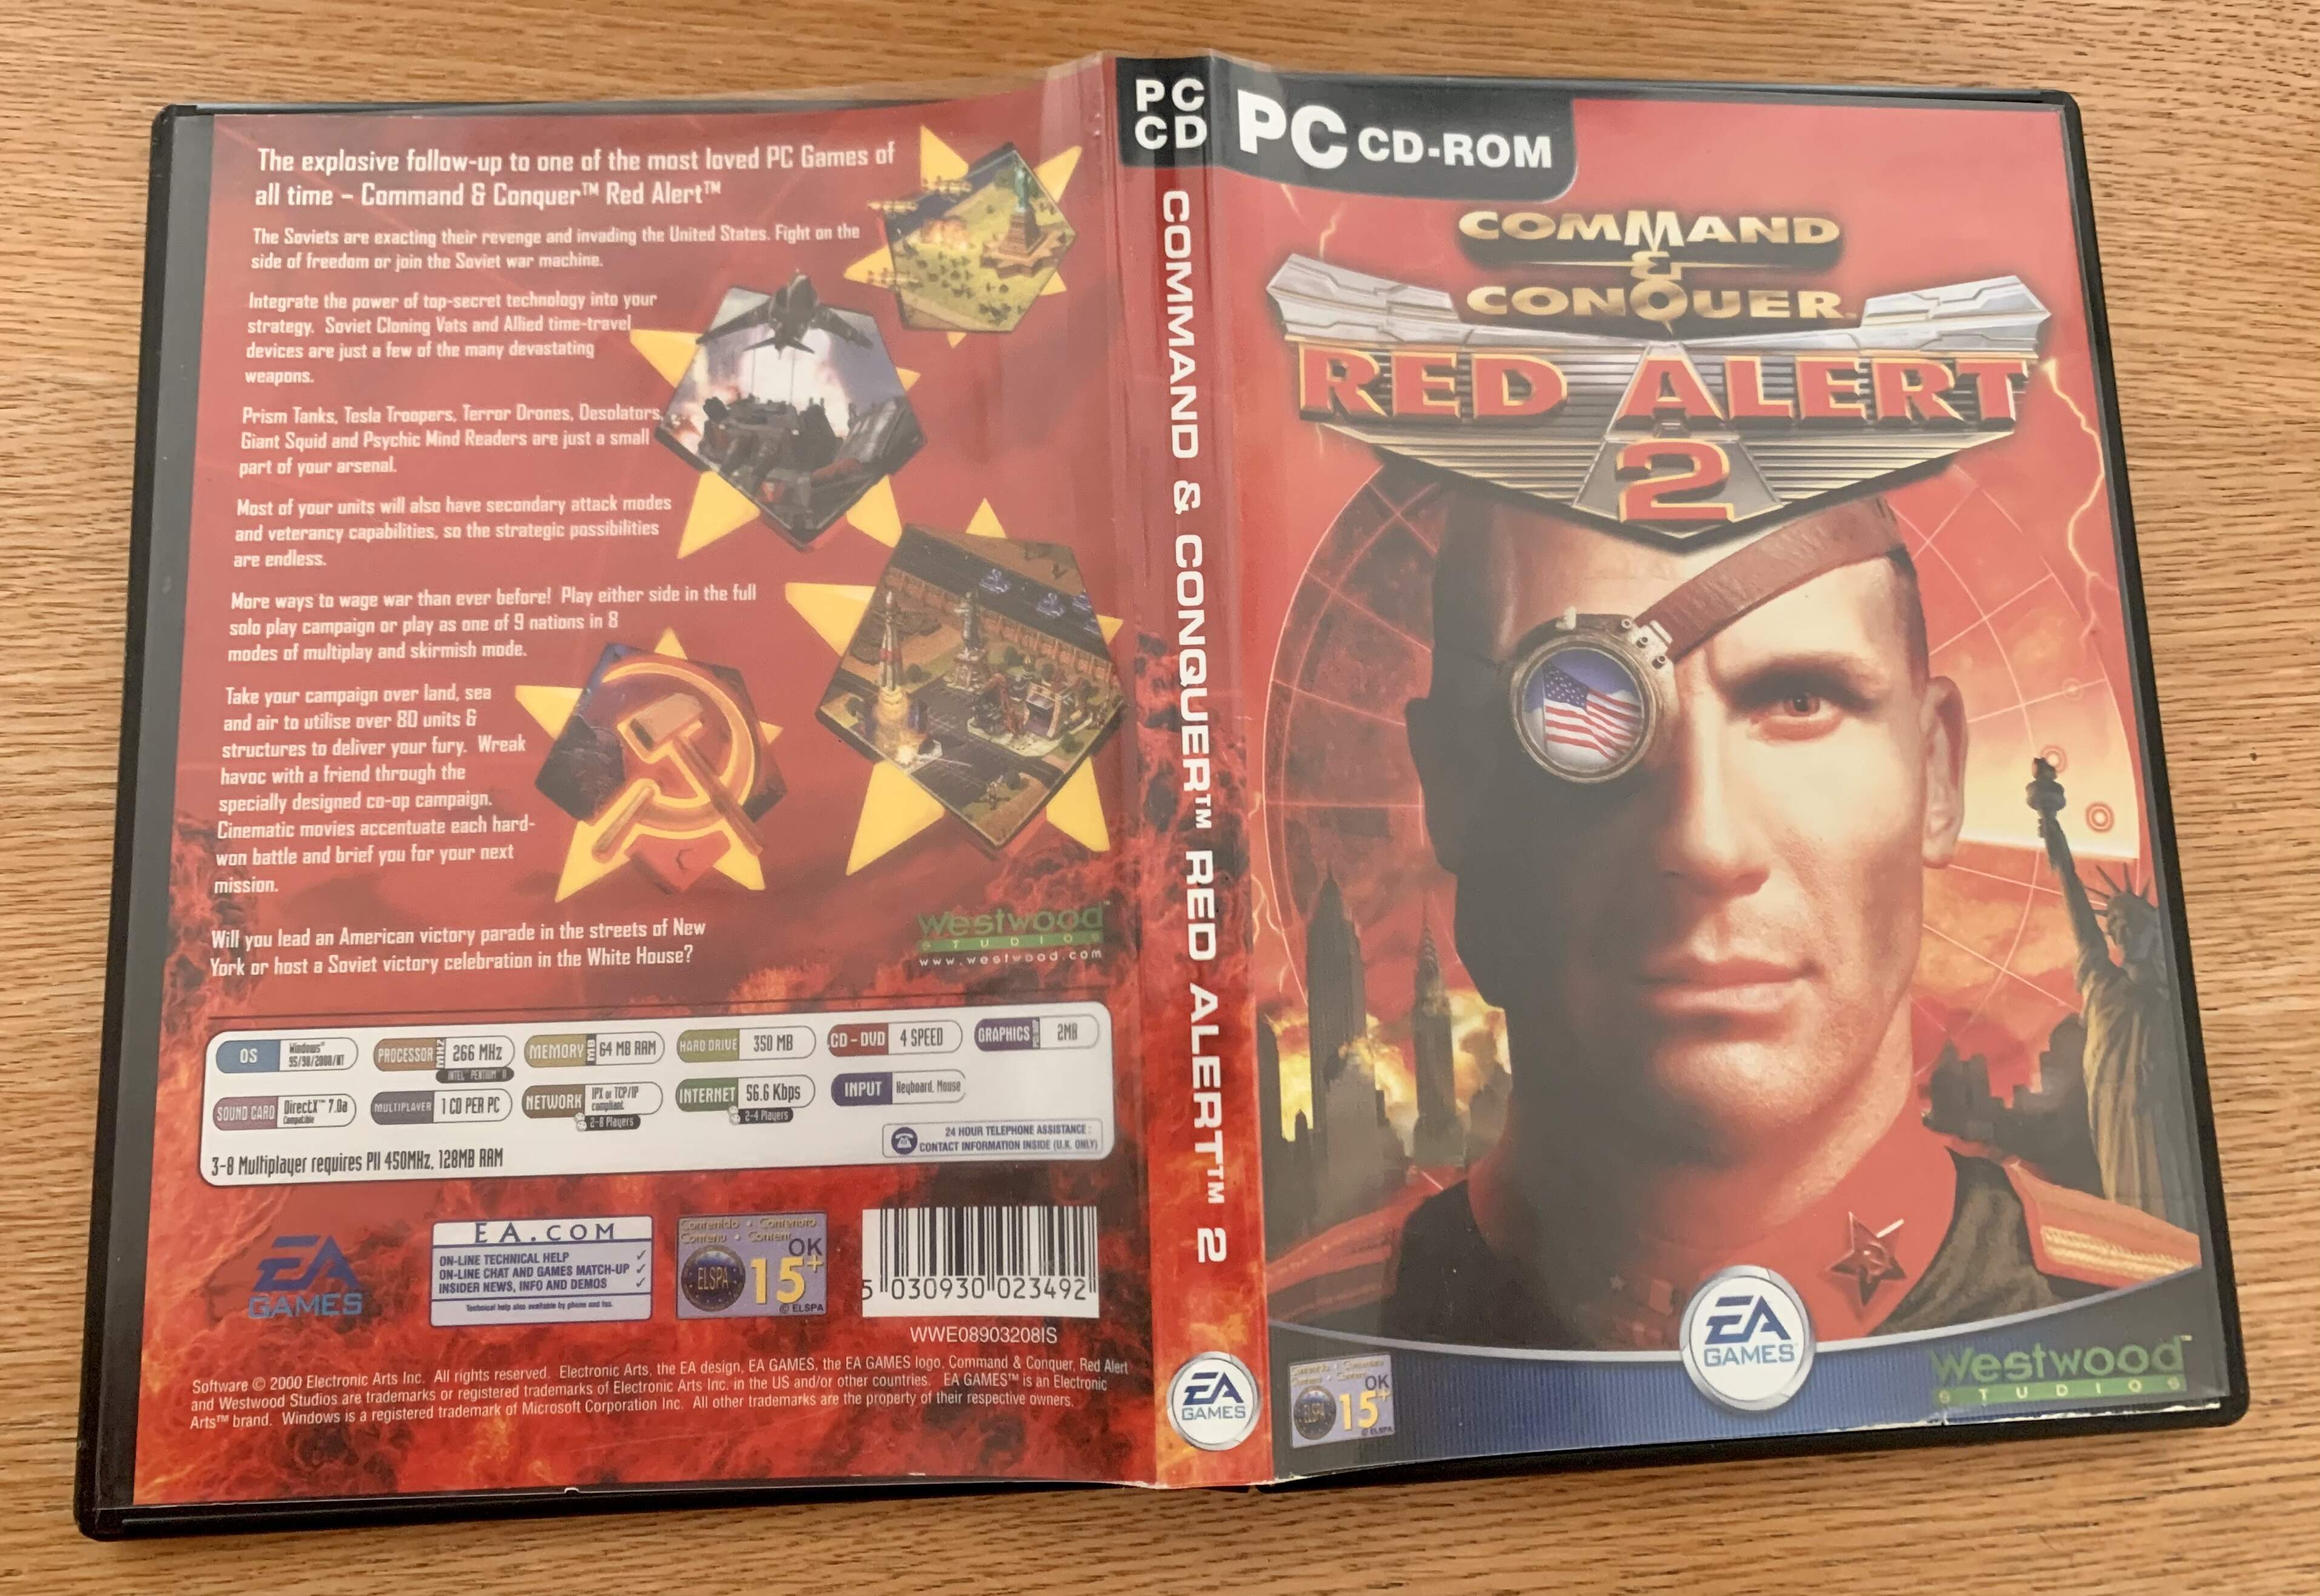
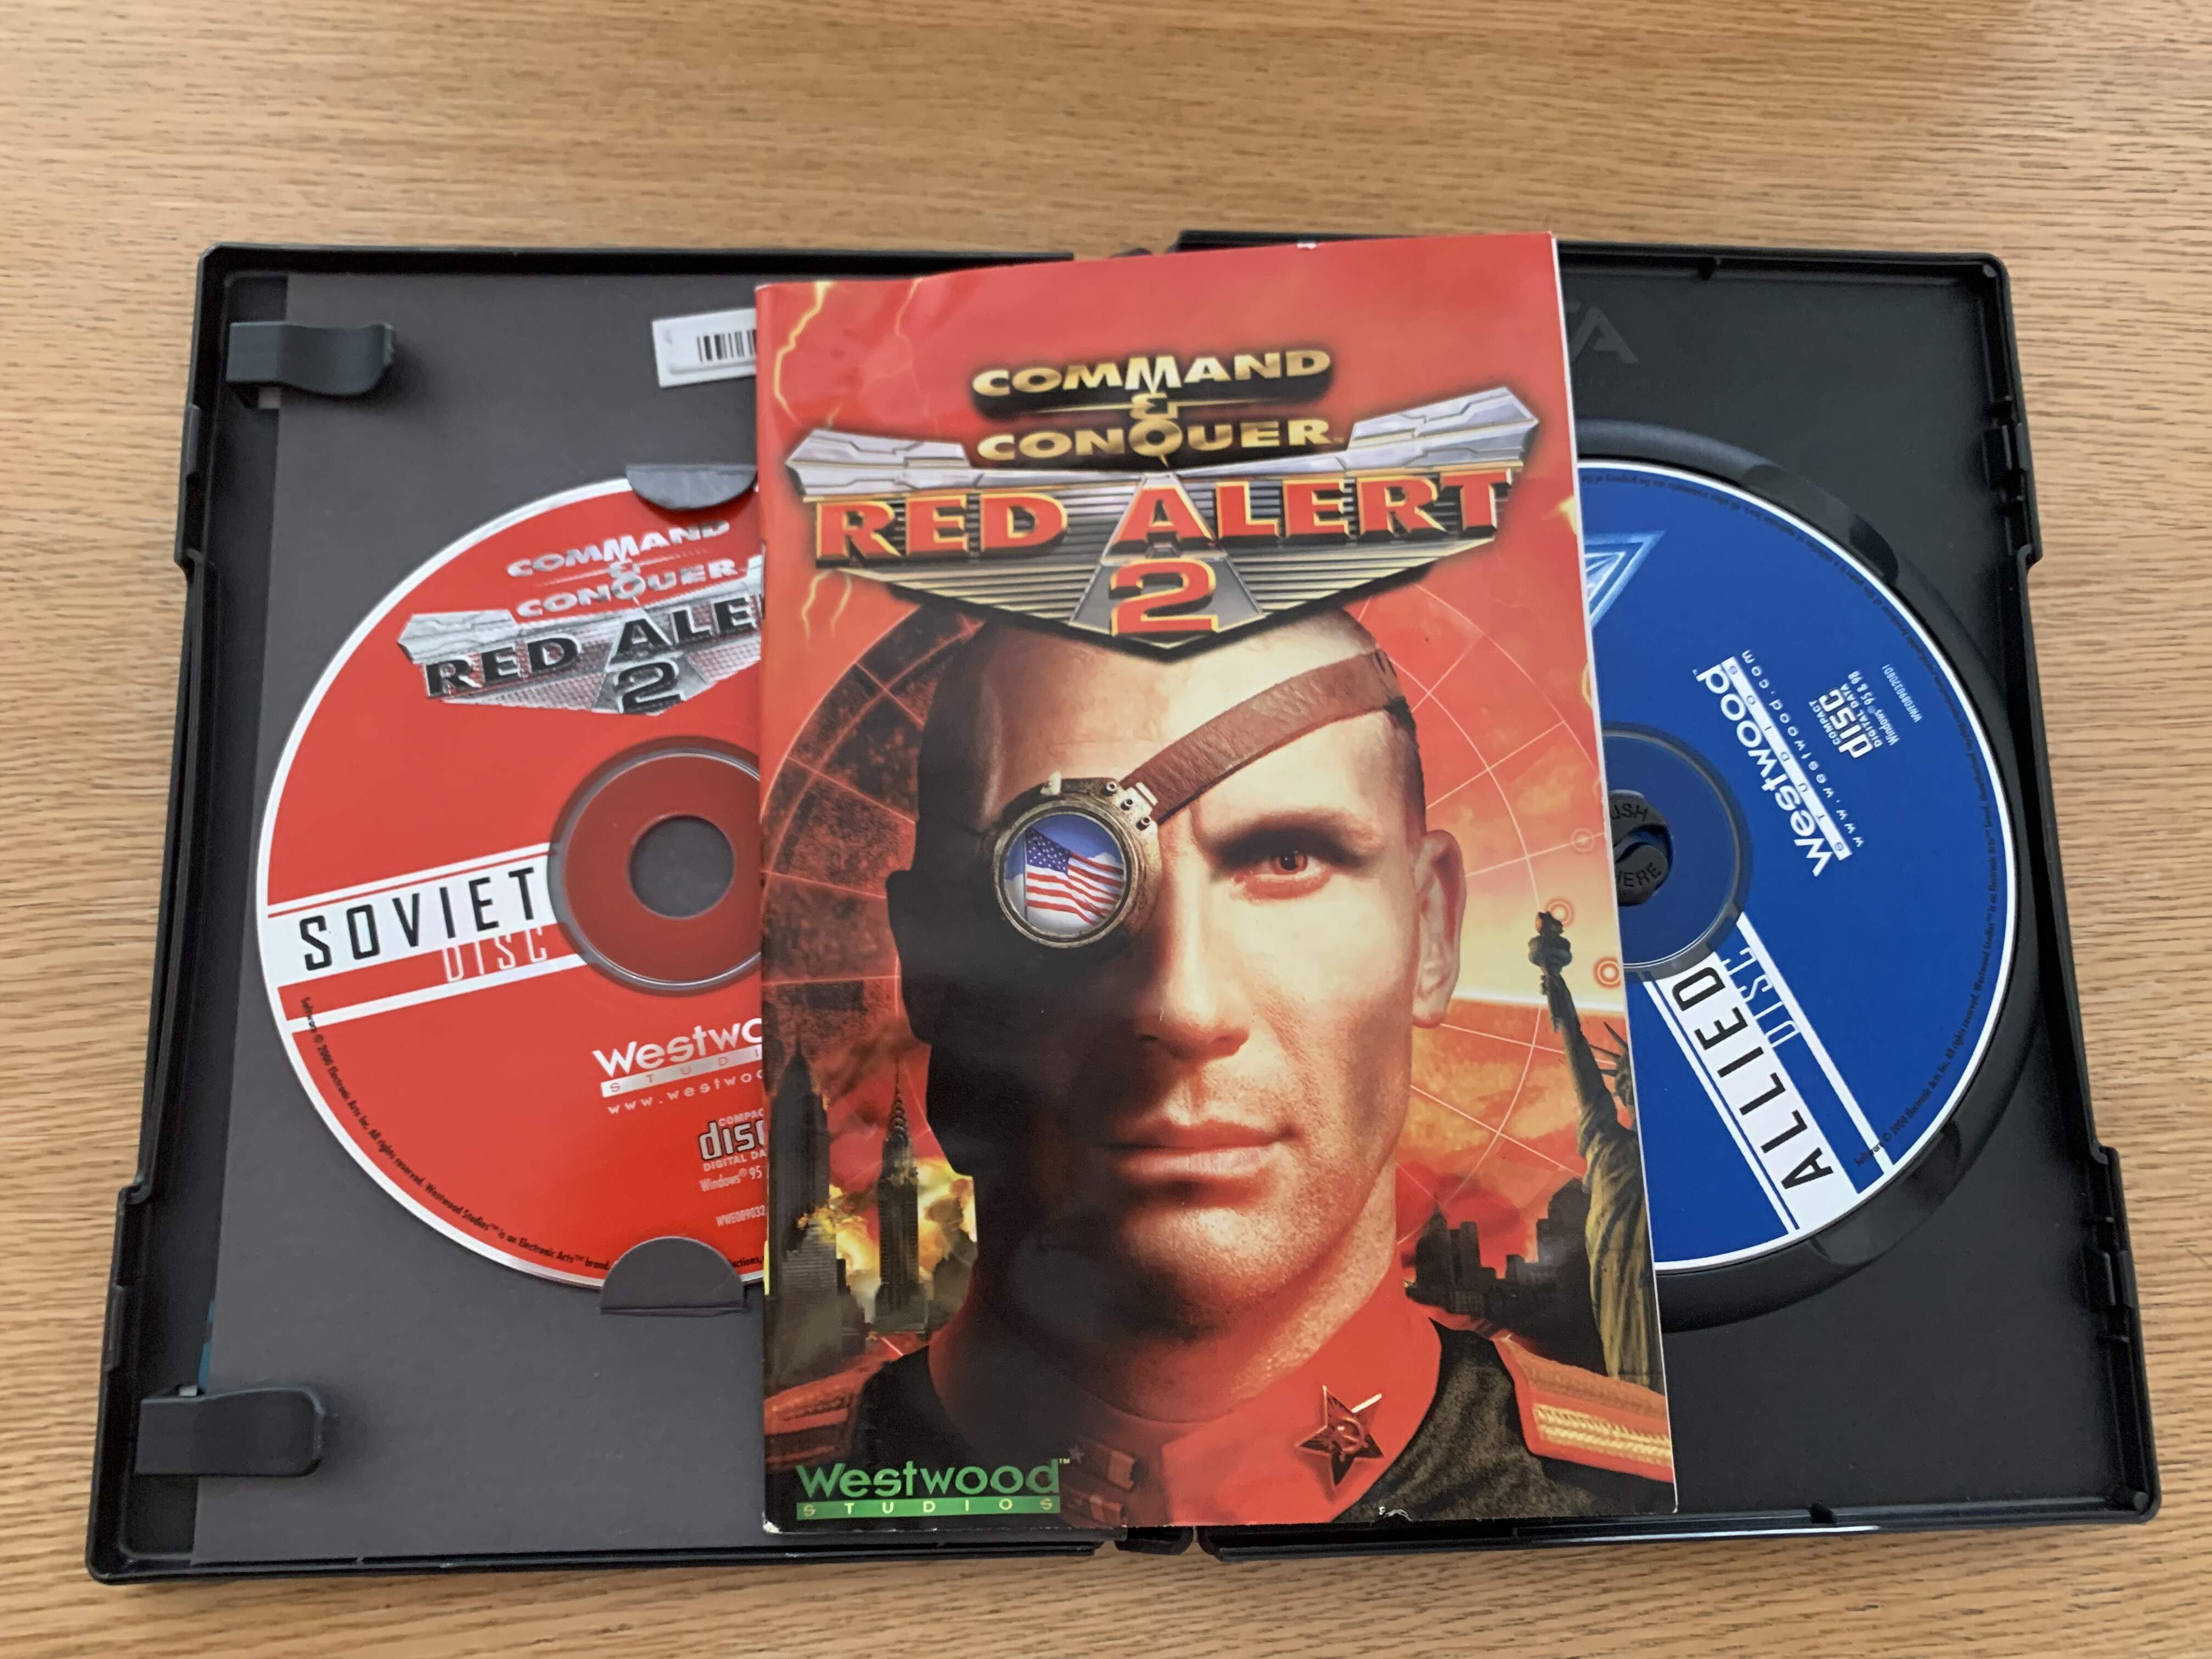
That is actually my own copy of the game, bought back in the day in a real ‘EB’ in Belfast when I was 13 and computers still had CD bits! Lost and gave away a lot of games over the years but managed to hold on to a few I liked, this one included.

For gamers, and modellers I might add, nostalgia can run deep and with this kit both these hobbies of mine are being catered for in a way that makes me grin from ear to ear both remembering the game that inspired the kit and that a company decided to do one in 1/35 plastic! An icon of the golden age of gaming in the golden age of modelling! (Opinions may vary!)

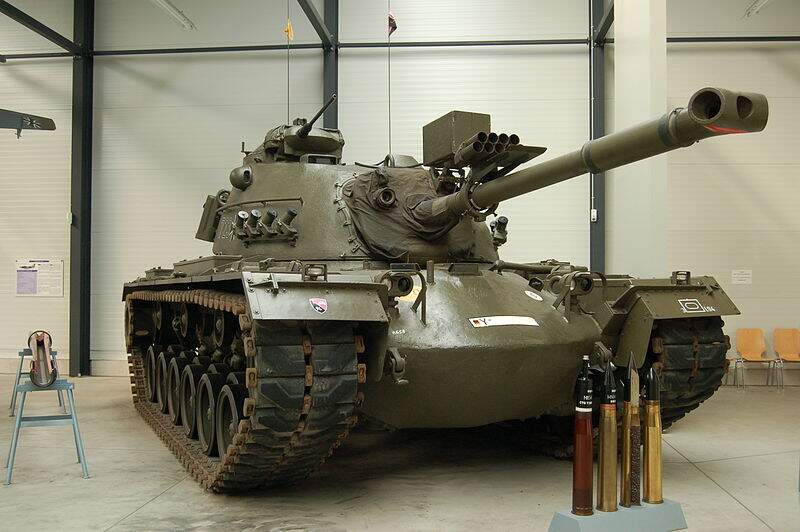
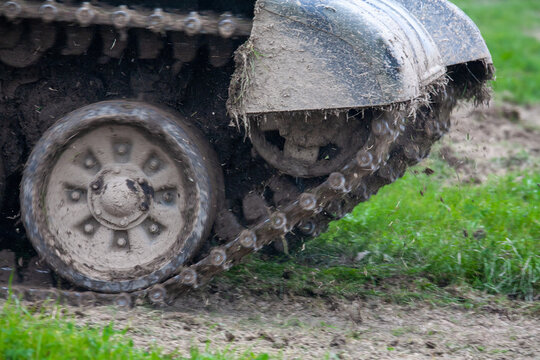
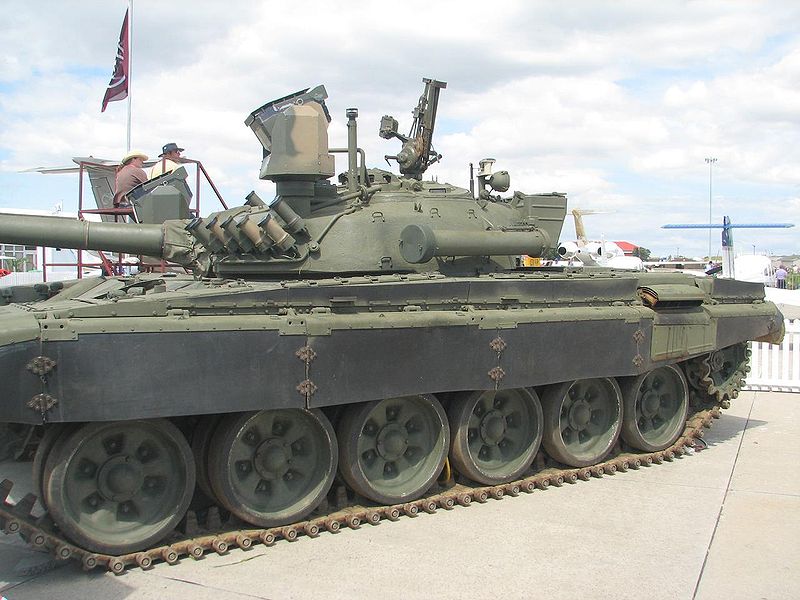
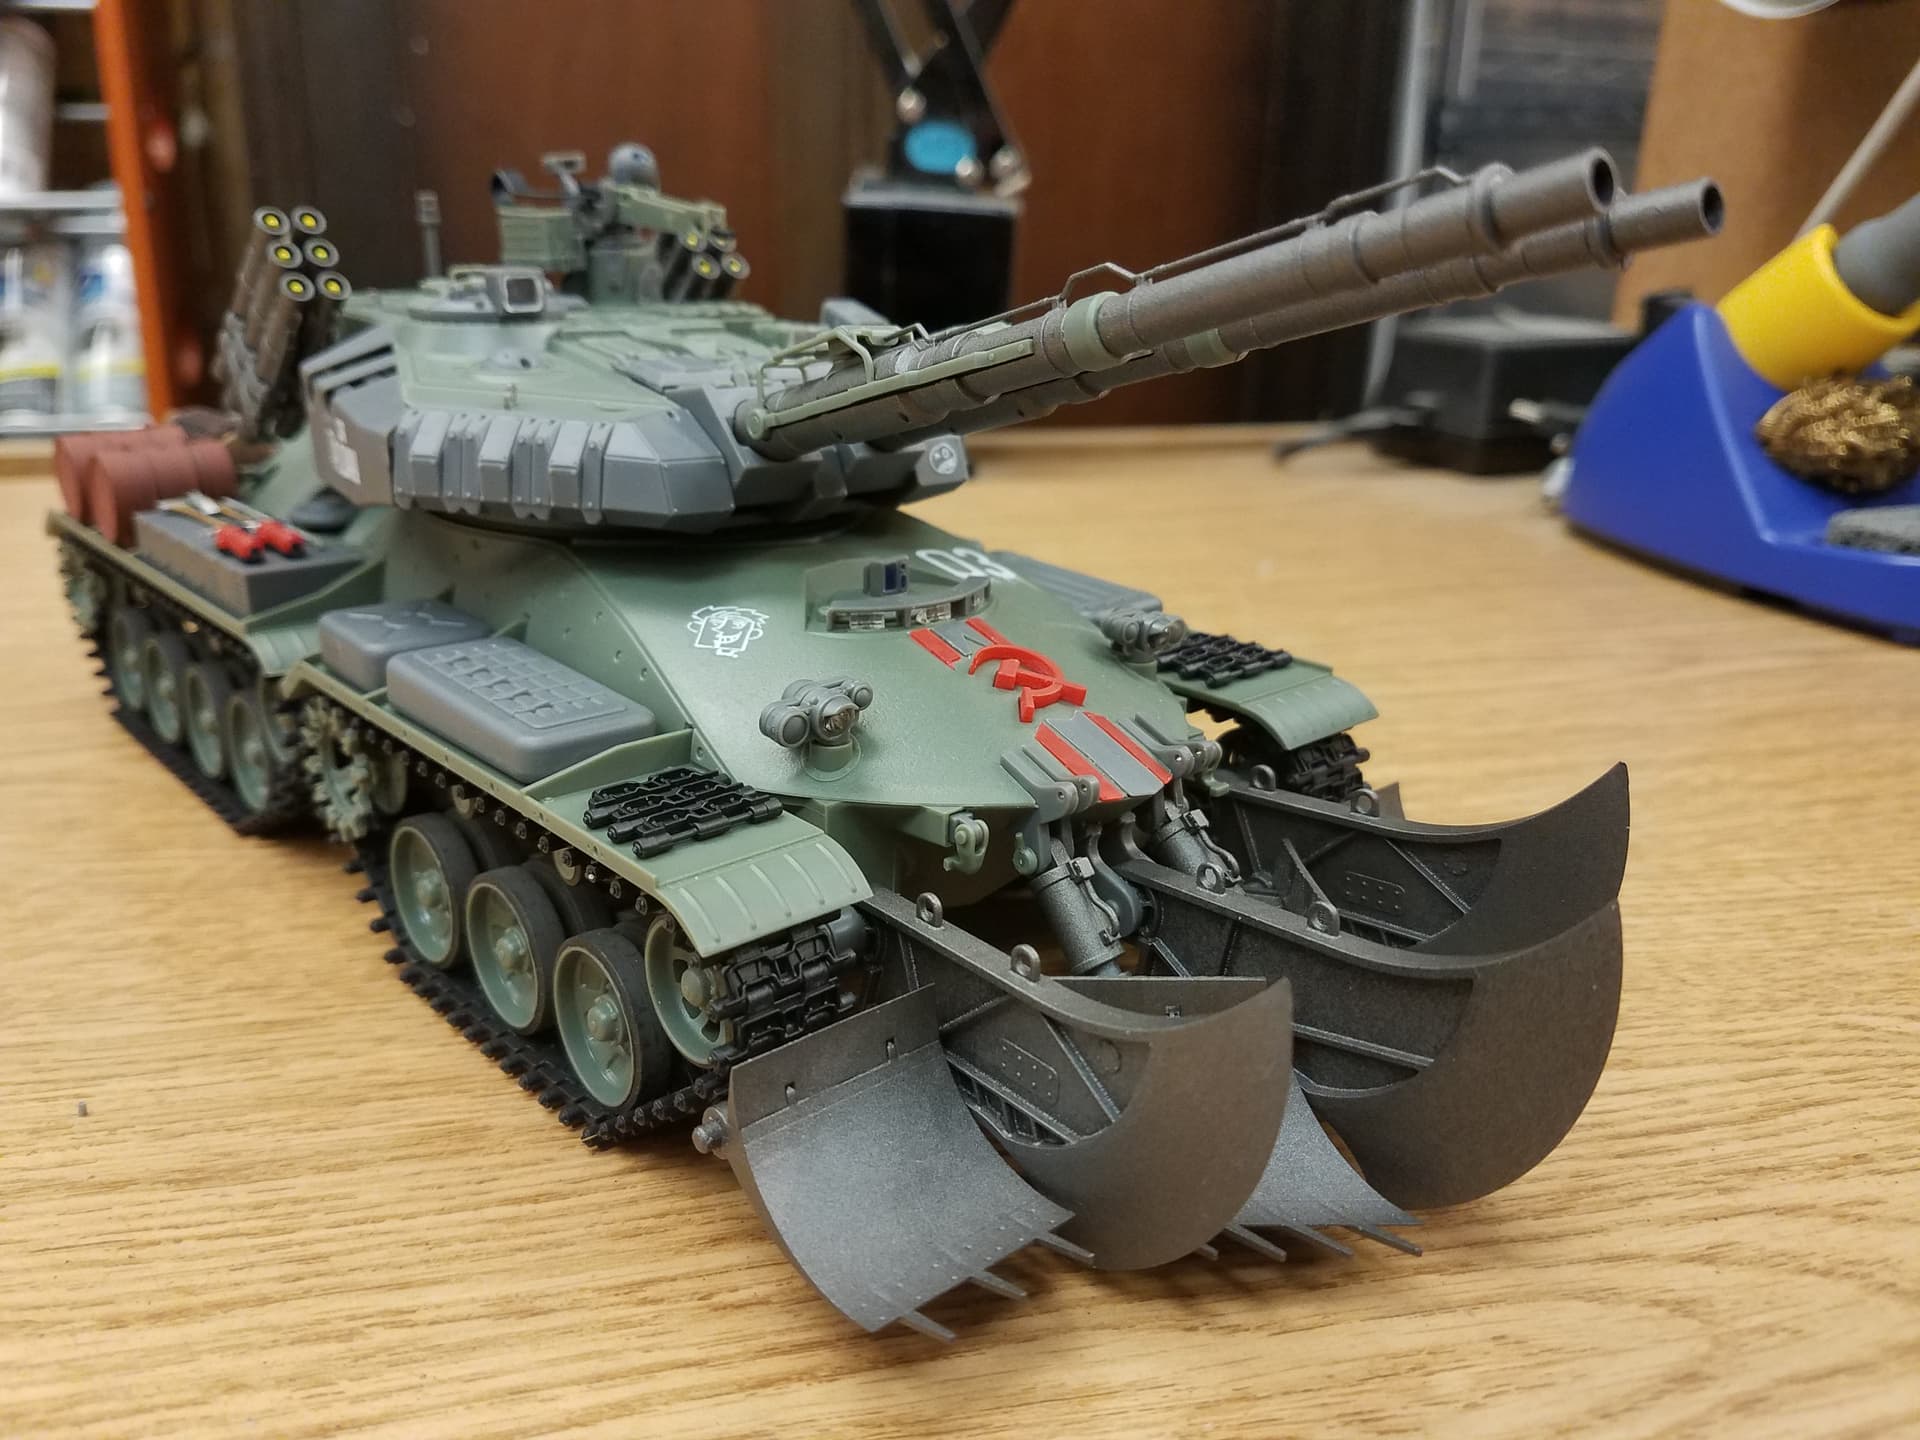
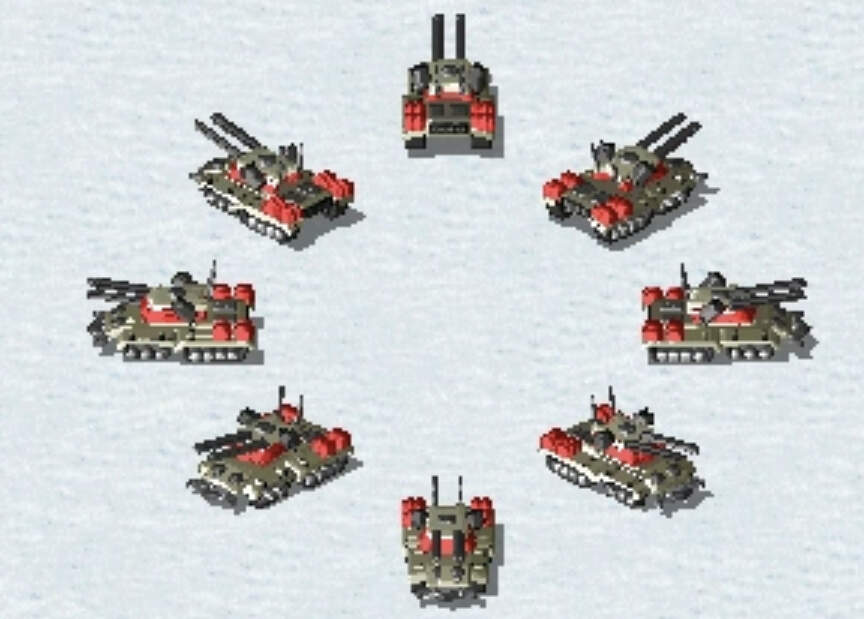
So back in an even more arcane time (1997) there was the original ‘Command & Conquer’ and its ‘Mammoth Tank’- a bulbous two gun unit used by the GDI and re-used in the first ‘Red Alert’ game by both Soviet and Allied forces.

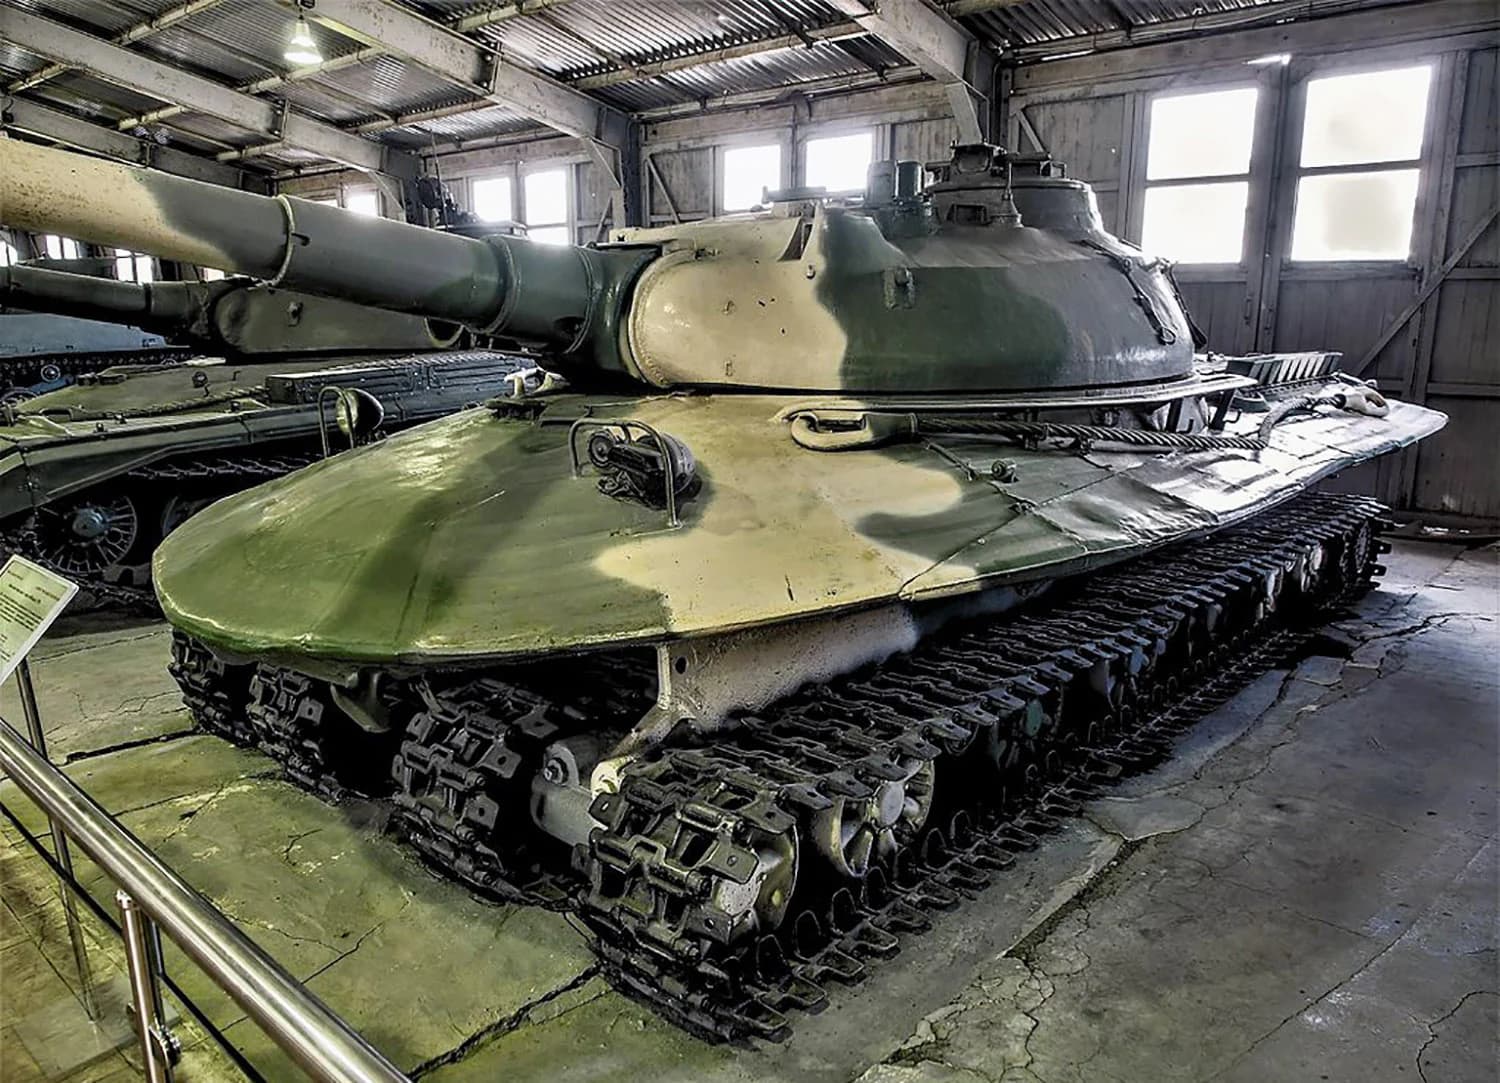
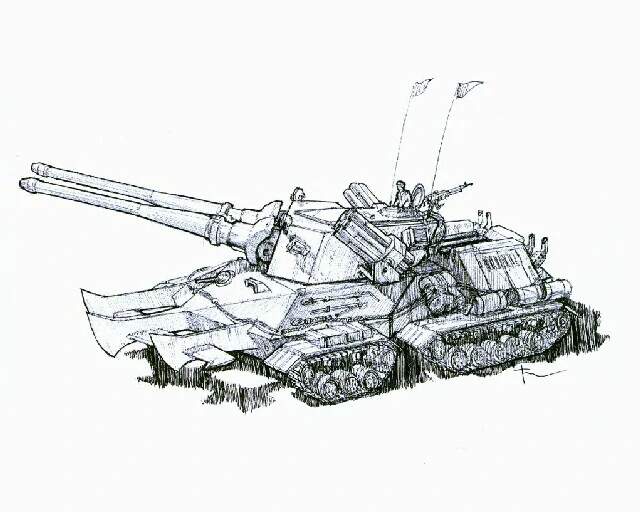
This is the Soviet Mammoth tank taken from the recent re-mastered release of the original ‘Red Alert’.

RA2 would see it reborn as a sleeker, more capable Soviet vehicle. The Allies got the Mirage tank which could disguise itself as anything you could click on like a tree and the Prism tank which fired a kind of laser.

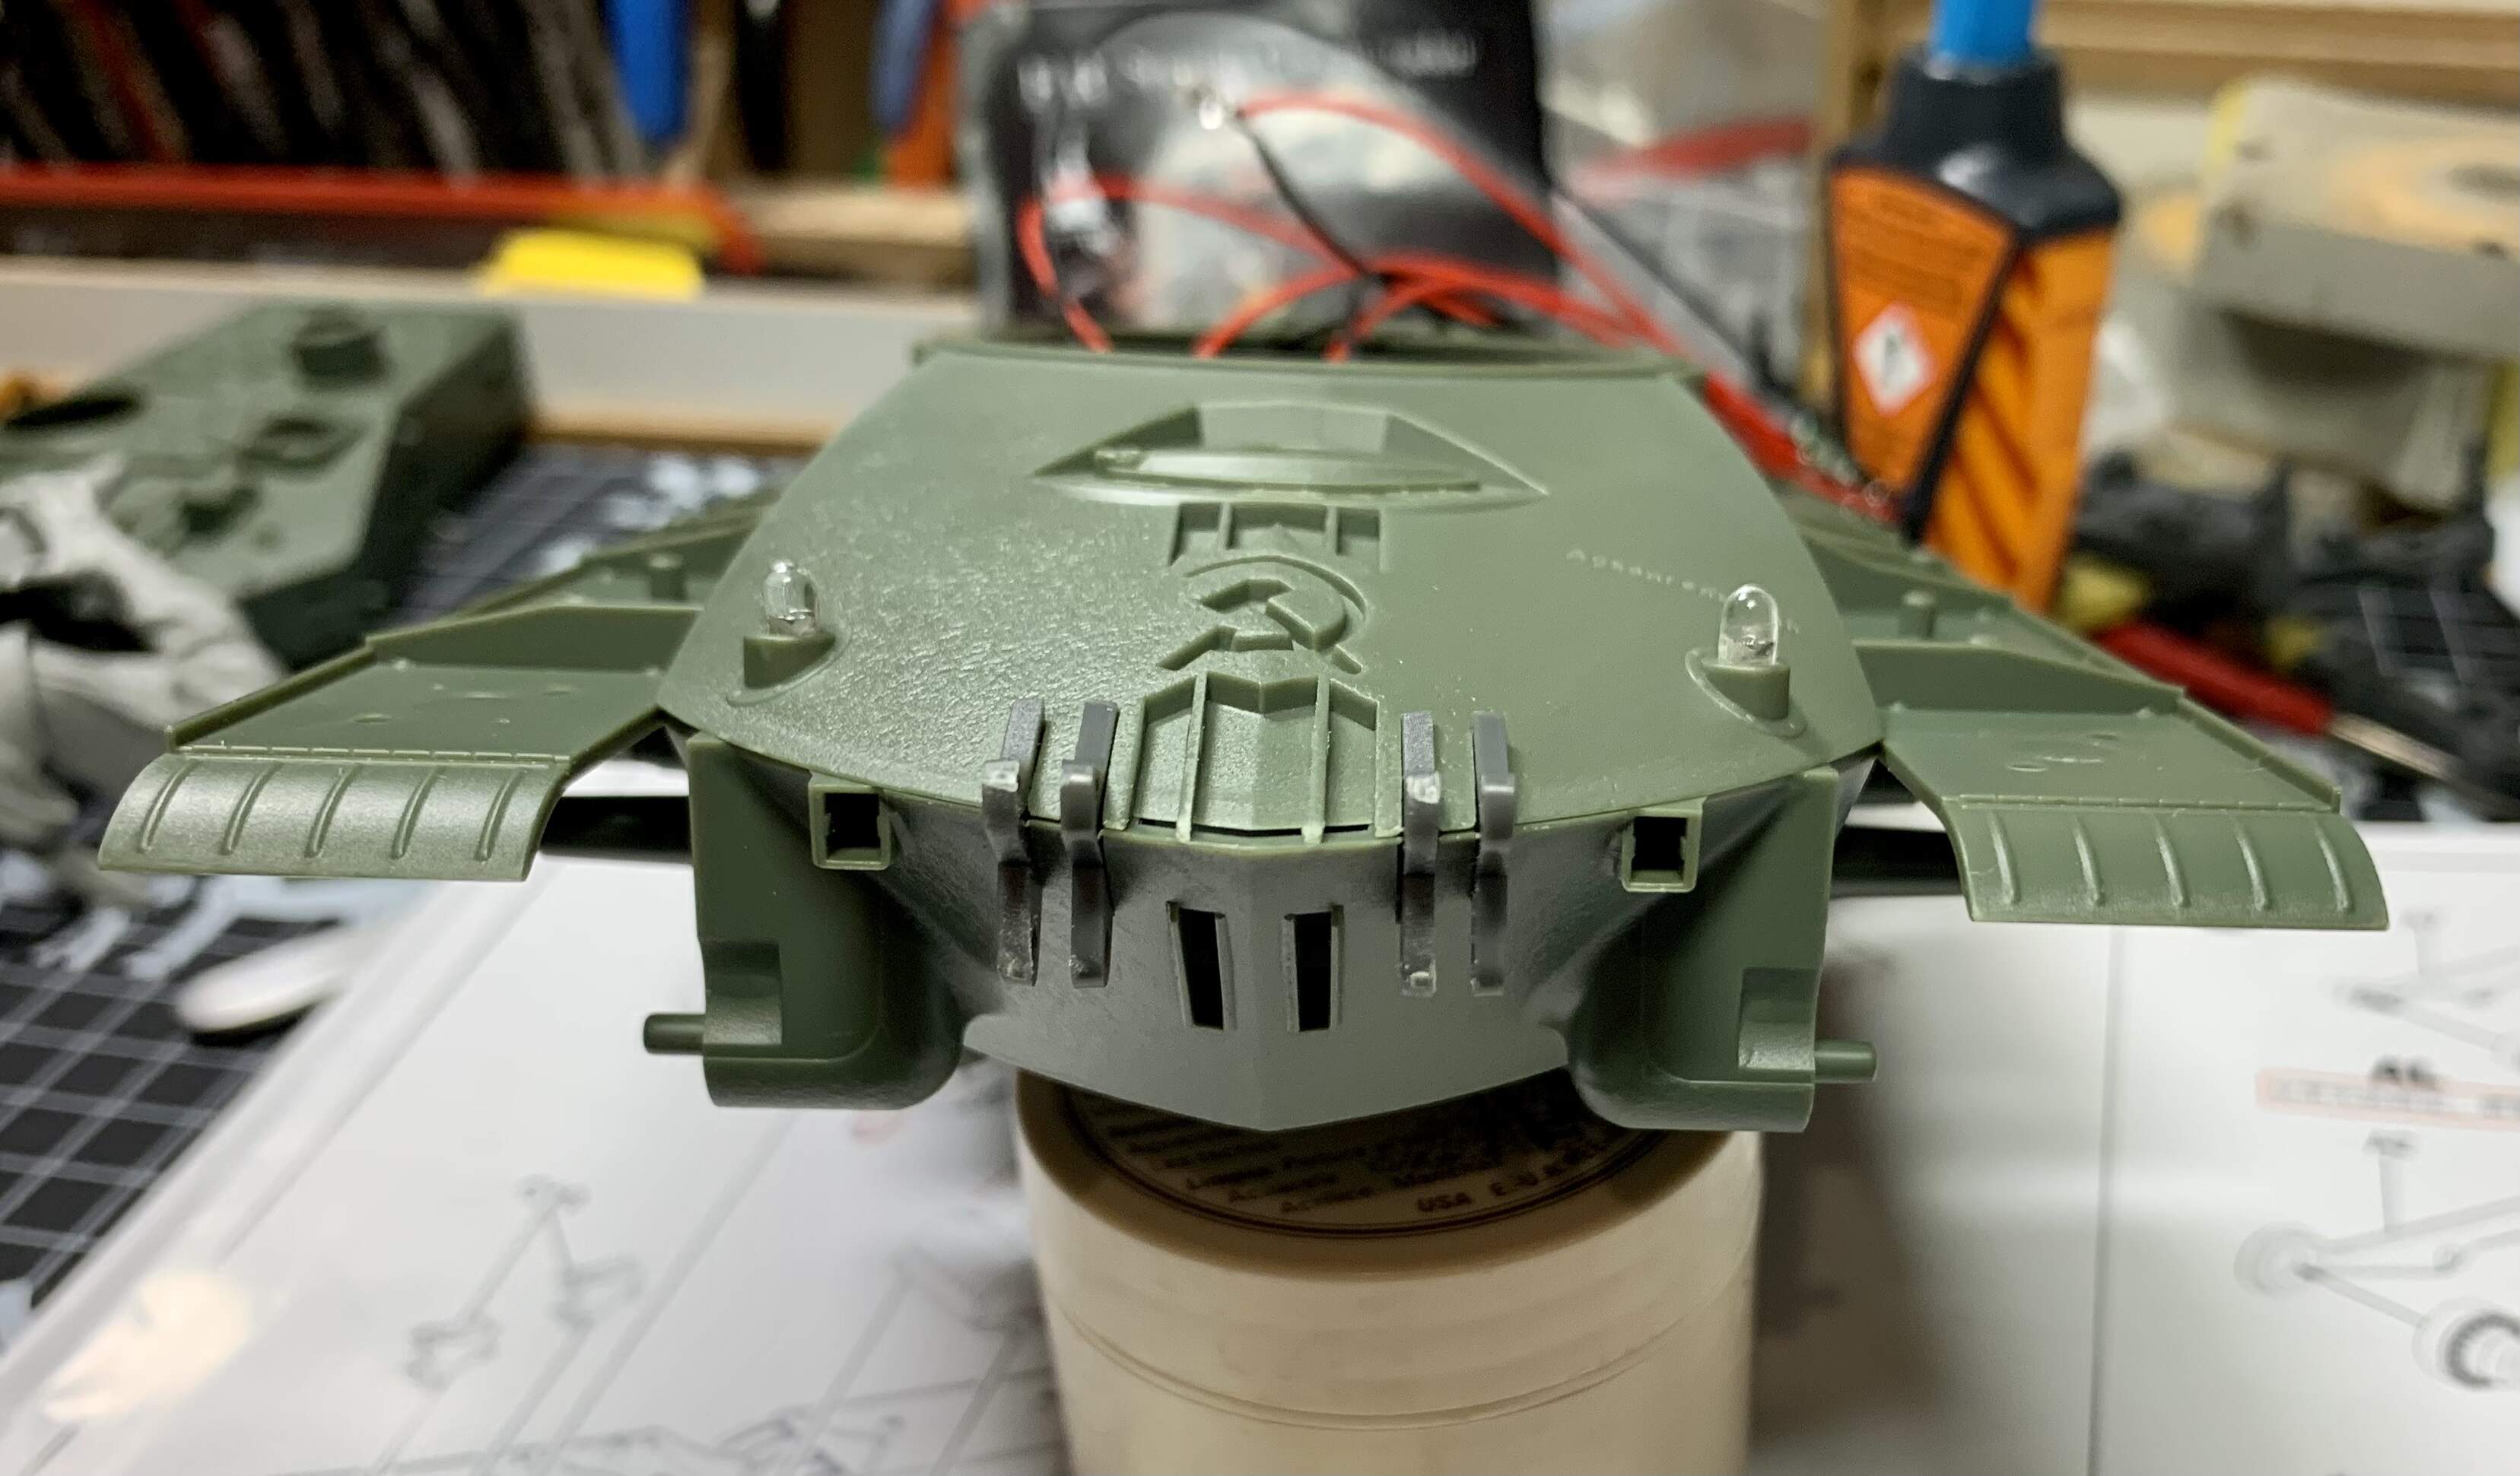
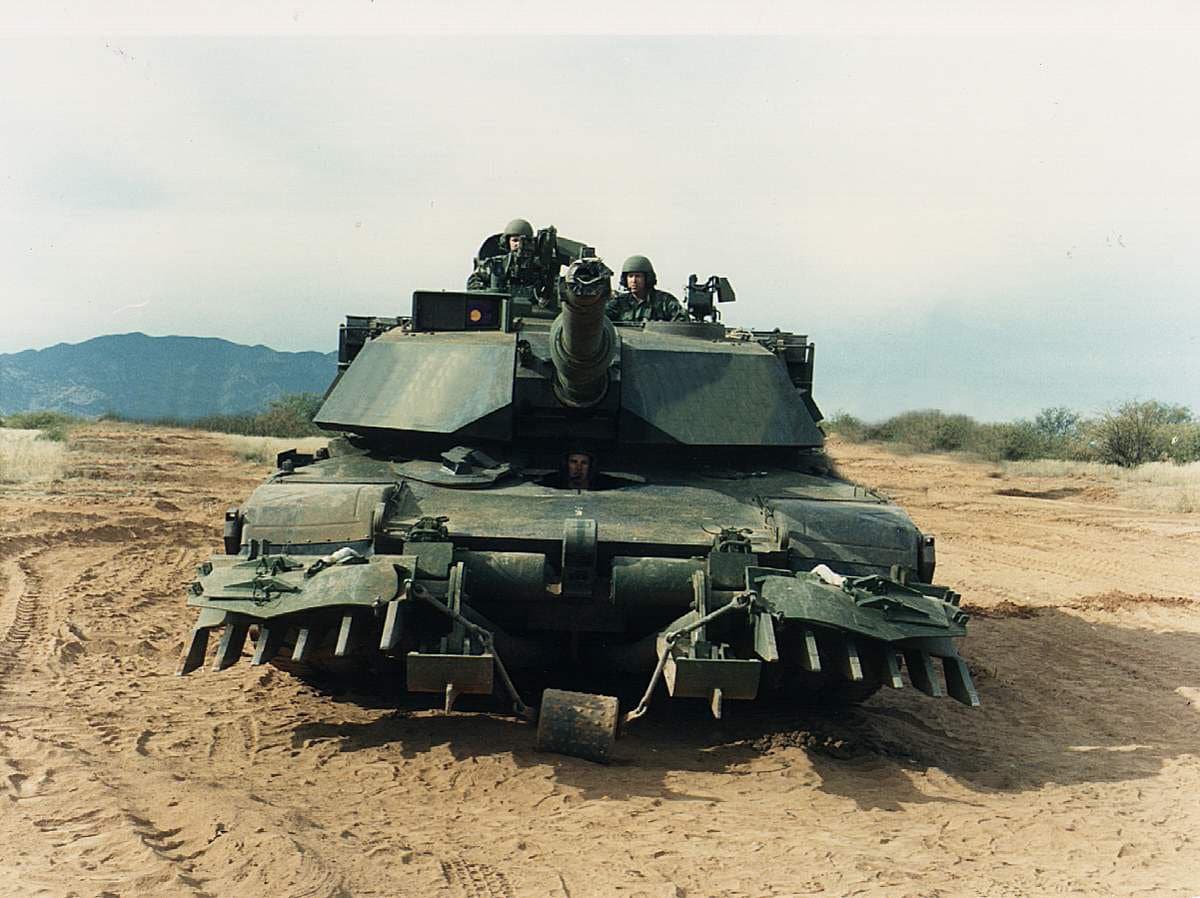
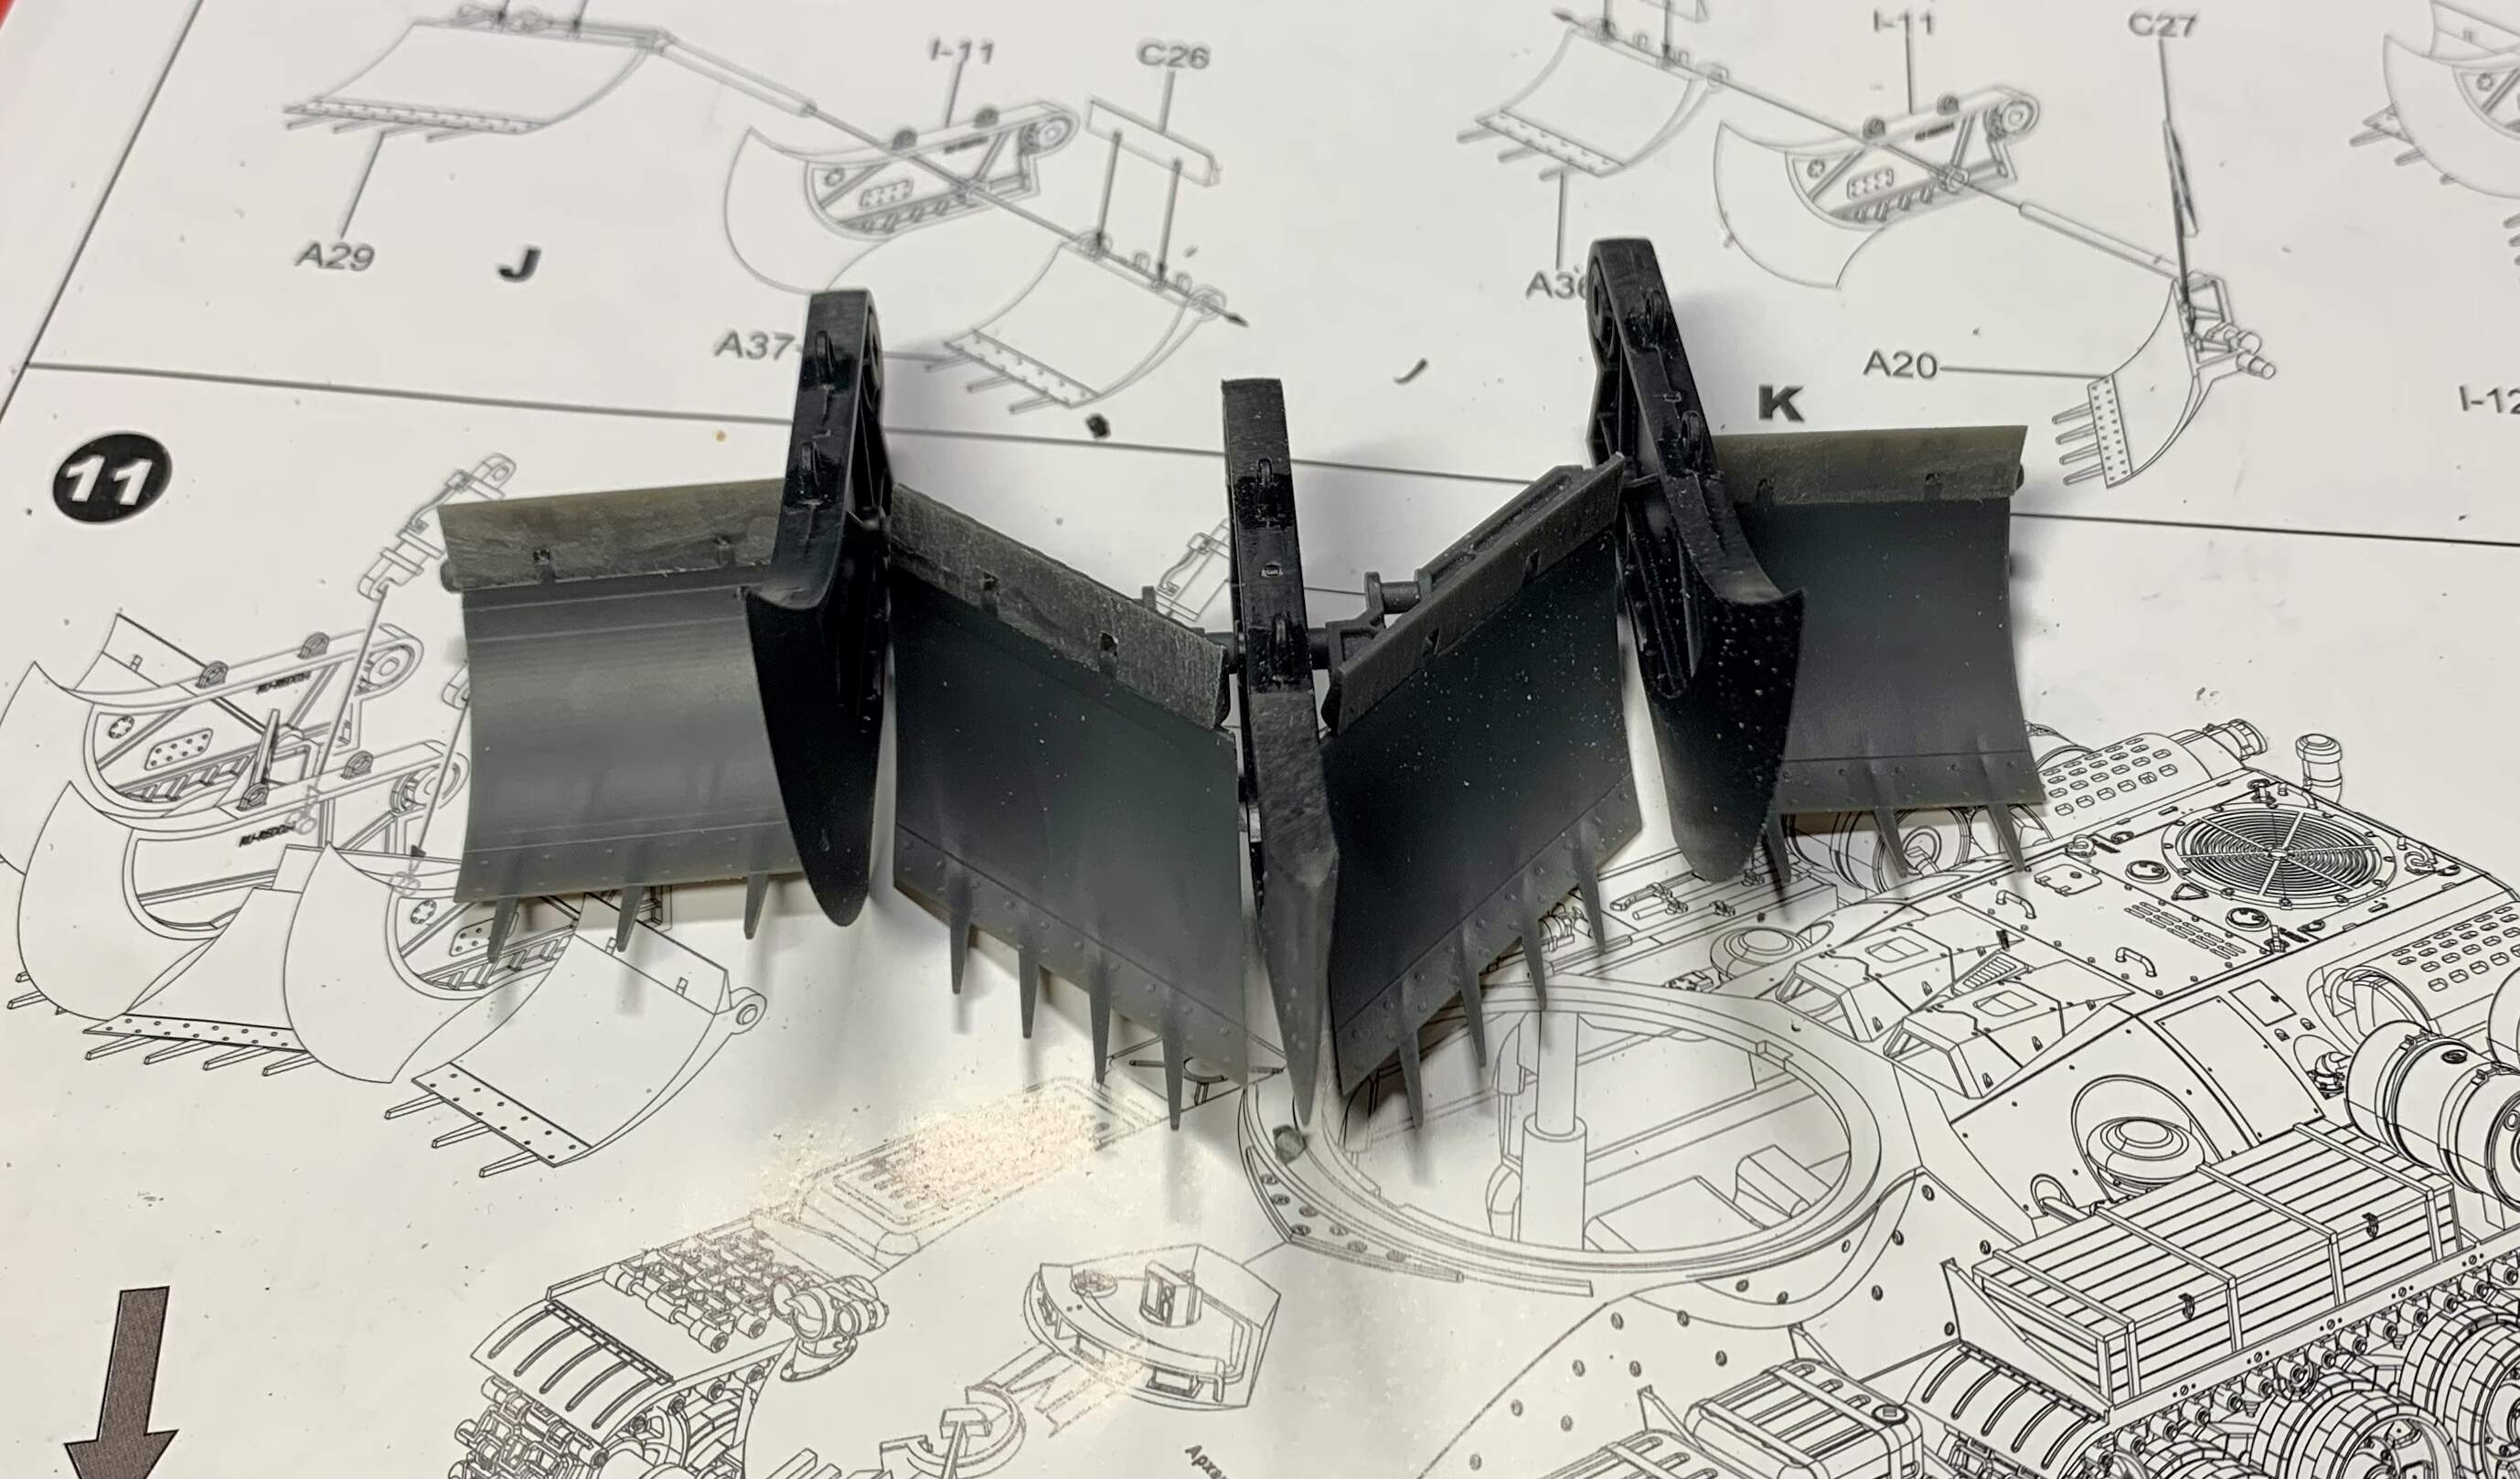
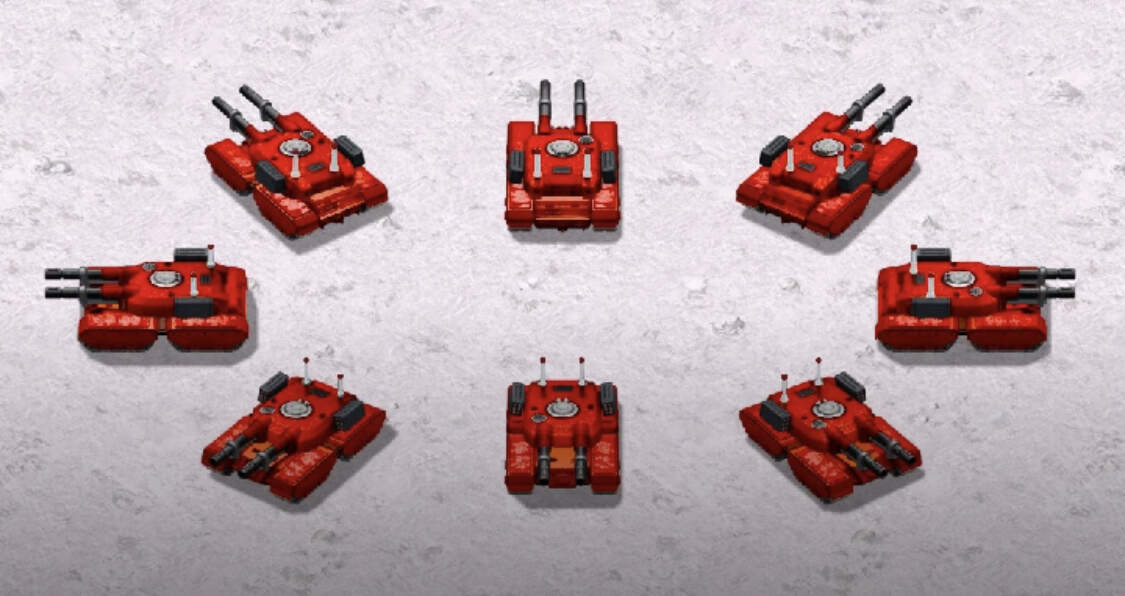
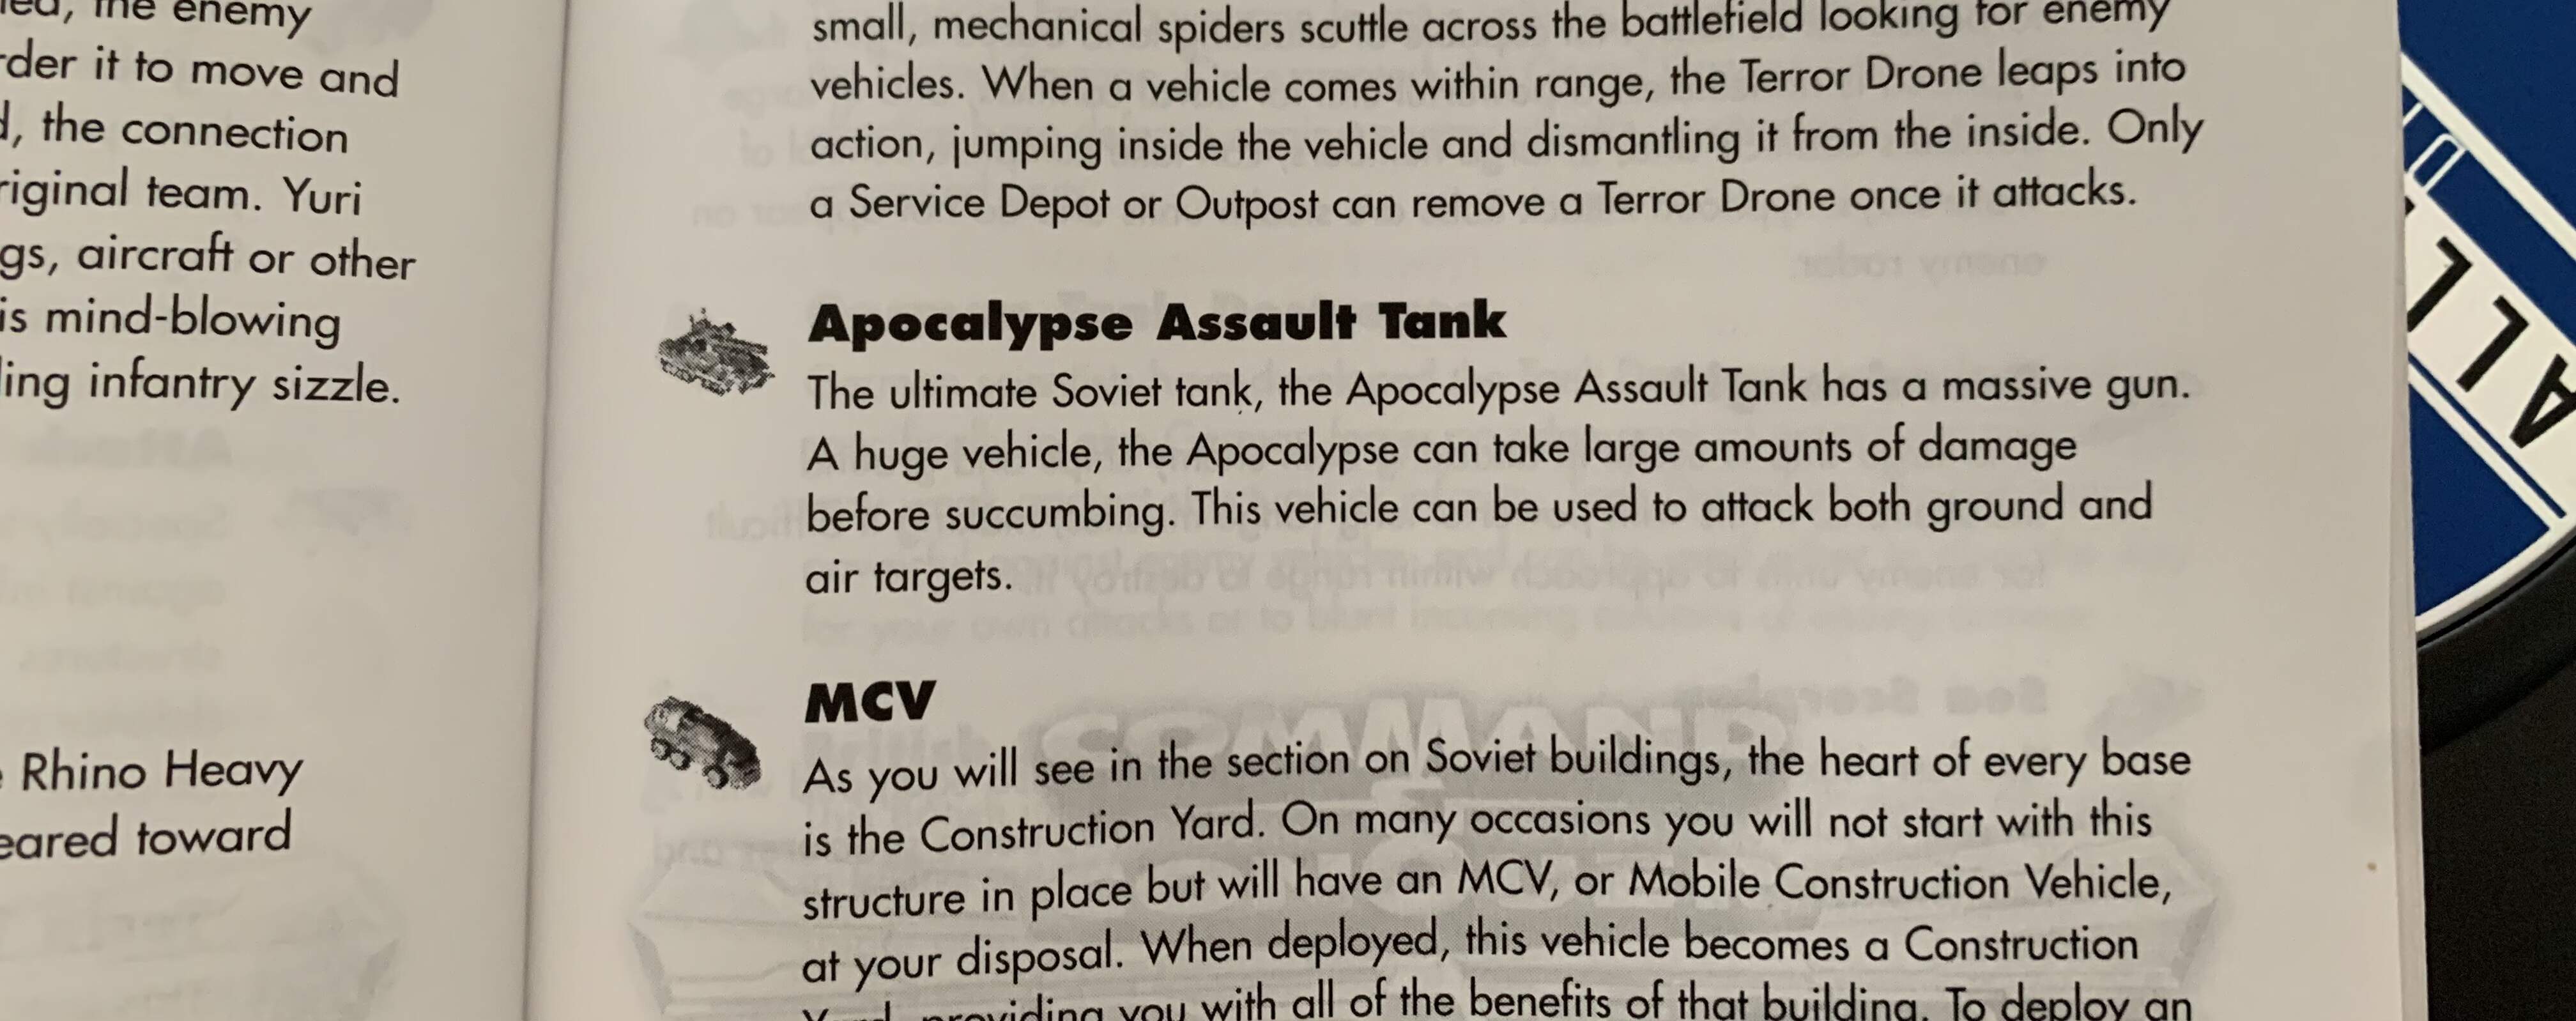
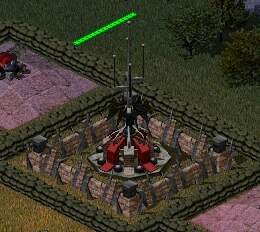
In addition to the two main guns, the Apocalypse also had a SAM launcher to counteract some of the airborne Allied threats.

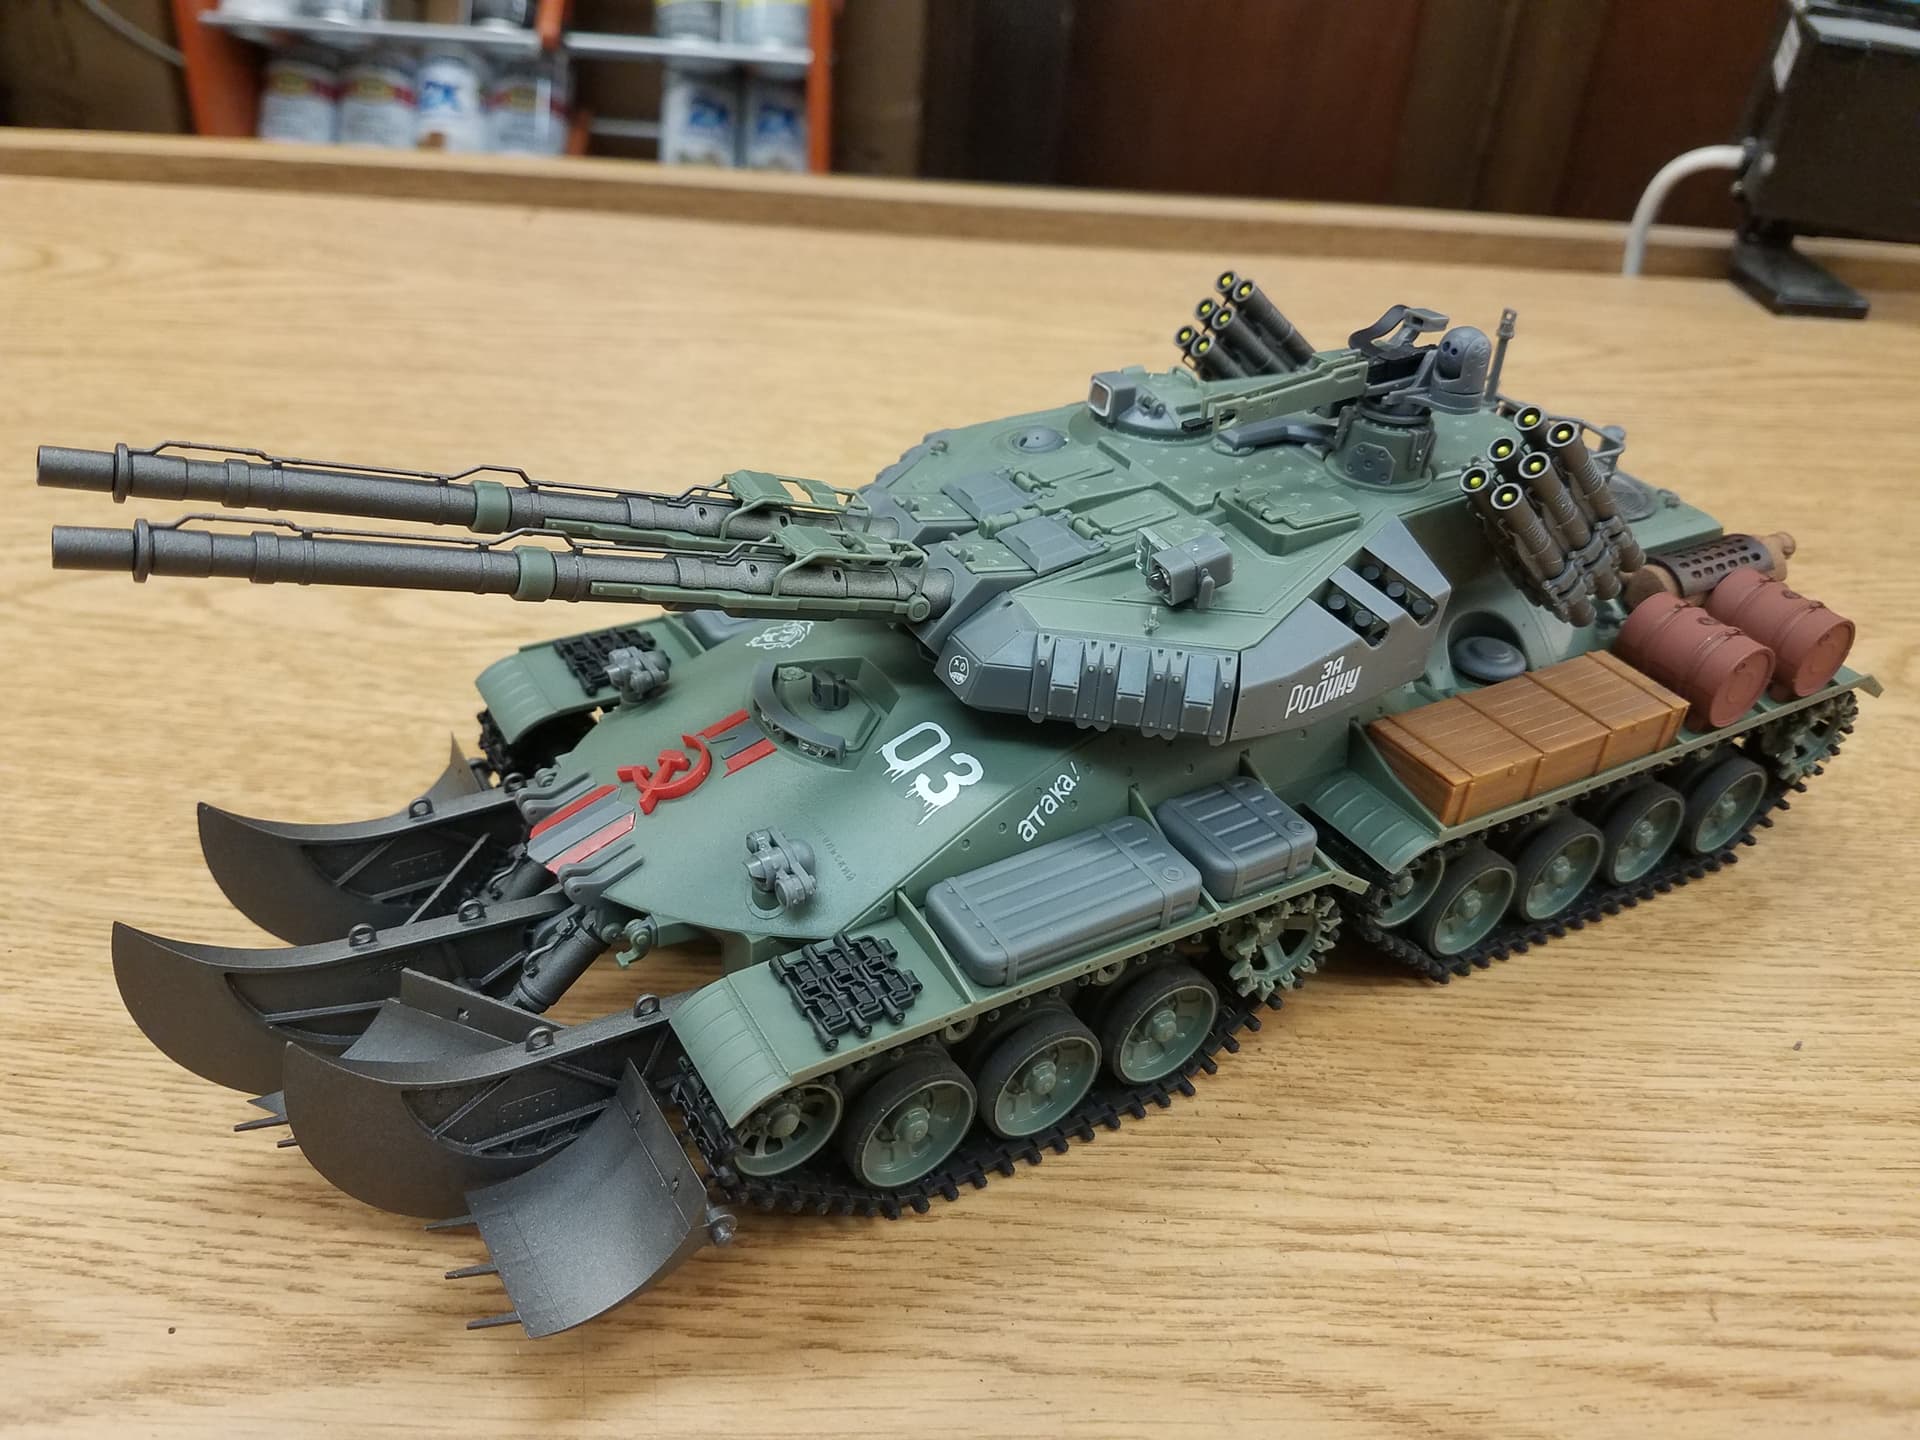
The animations for the vehicle were quite good but the projectiles were a bit crap- looking like cannon balls. Massed or deployed infantry could be a right pain but just two of these babies with full veterancy could dominate most maps near singlehanded. Suffice to say it was my favourite Soviet vehicle!

The Apocalypse tank as it appears in the game.

The blurb from the instruction manual.

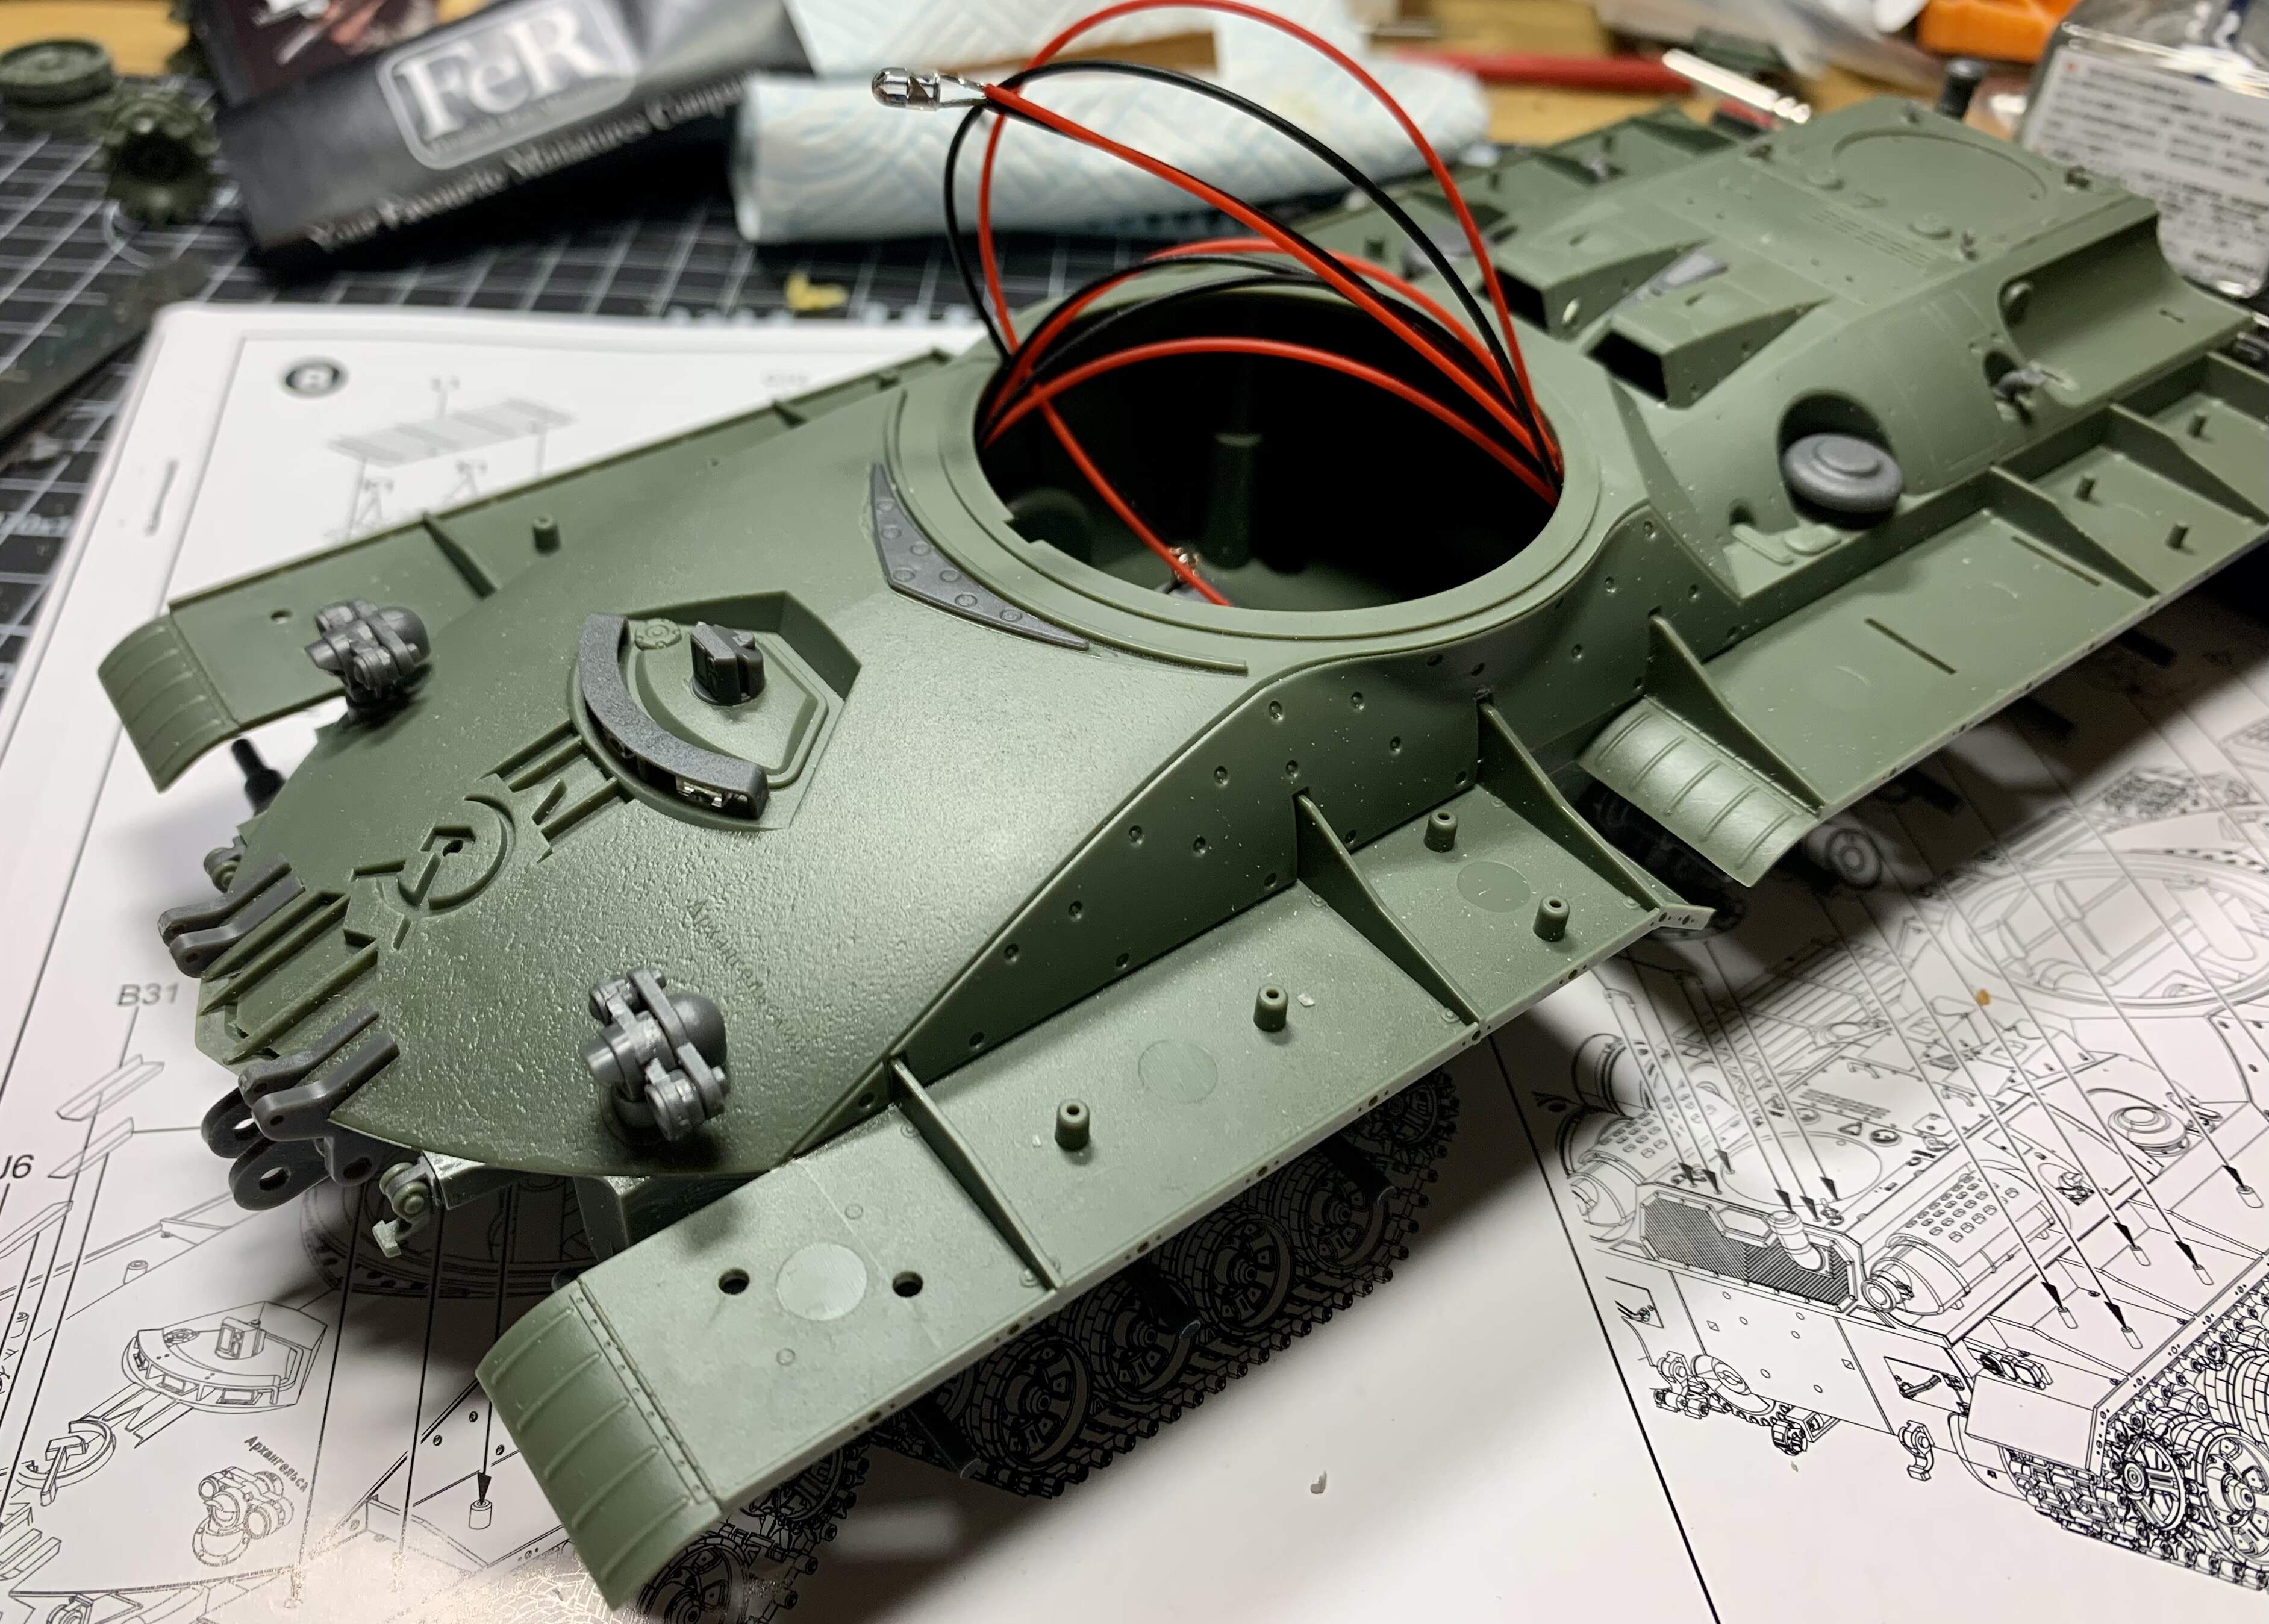
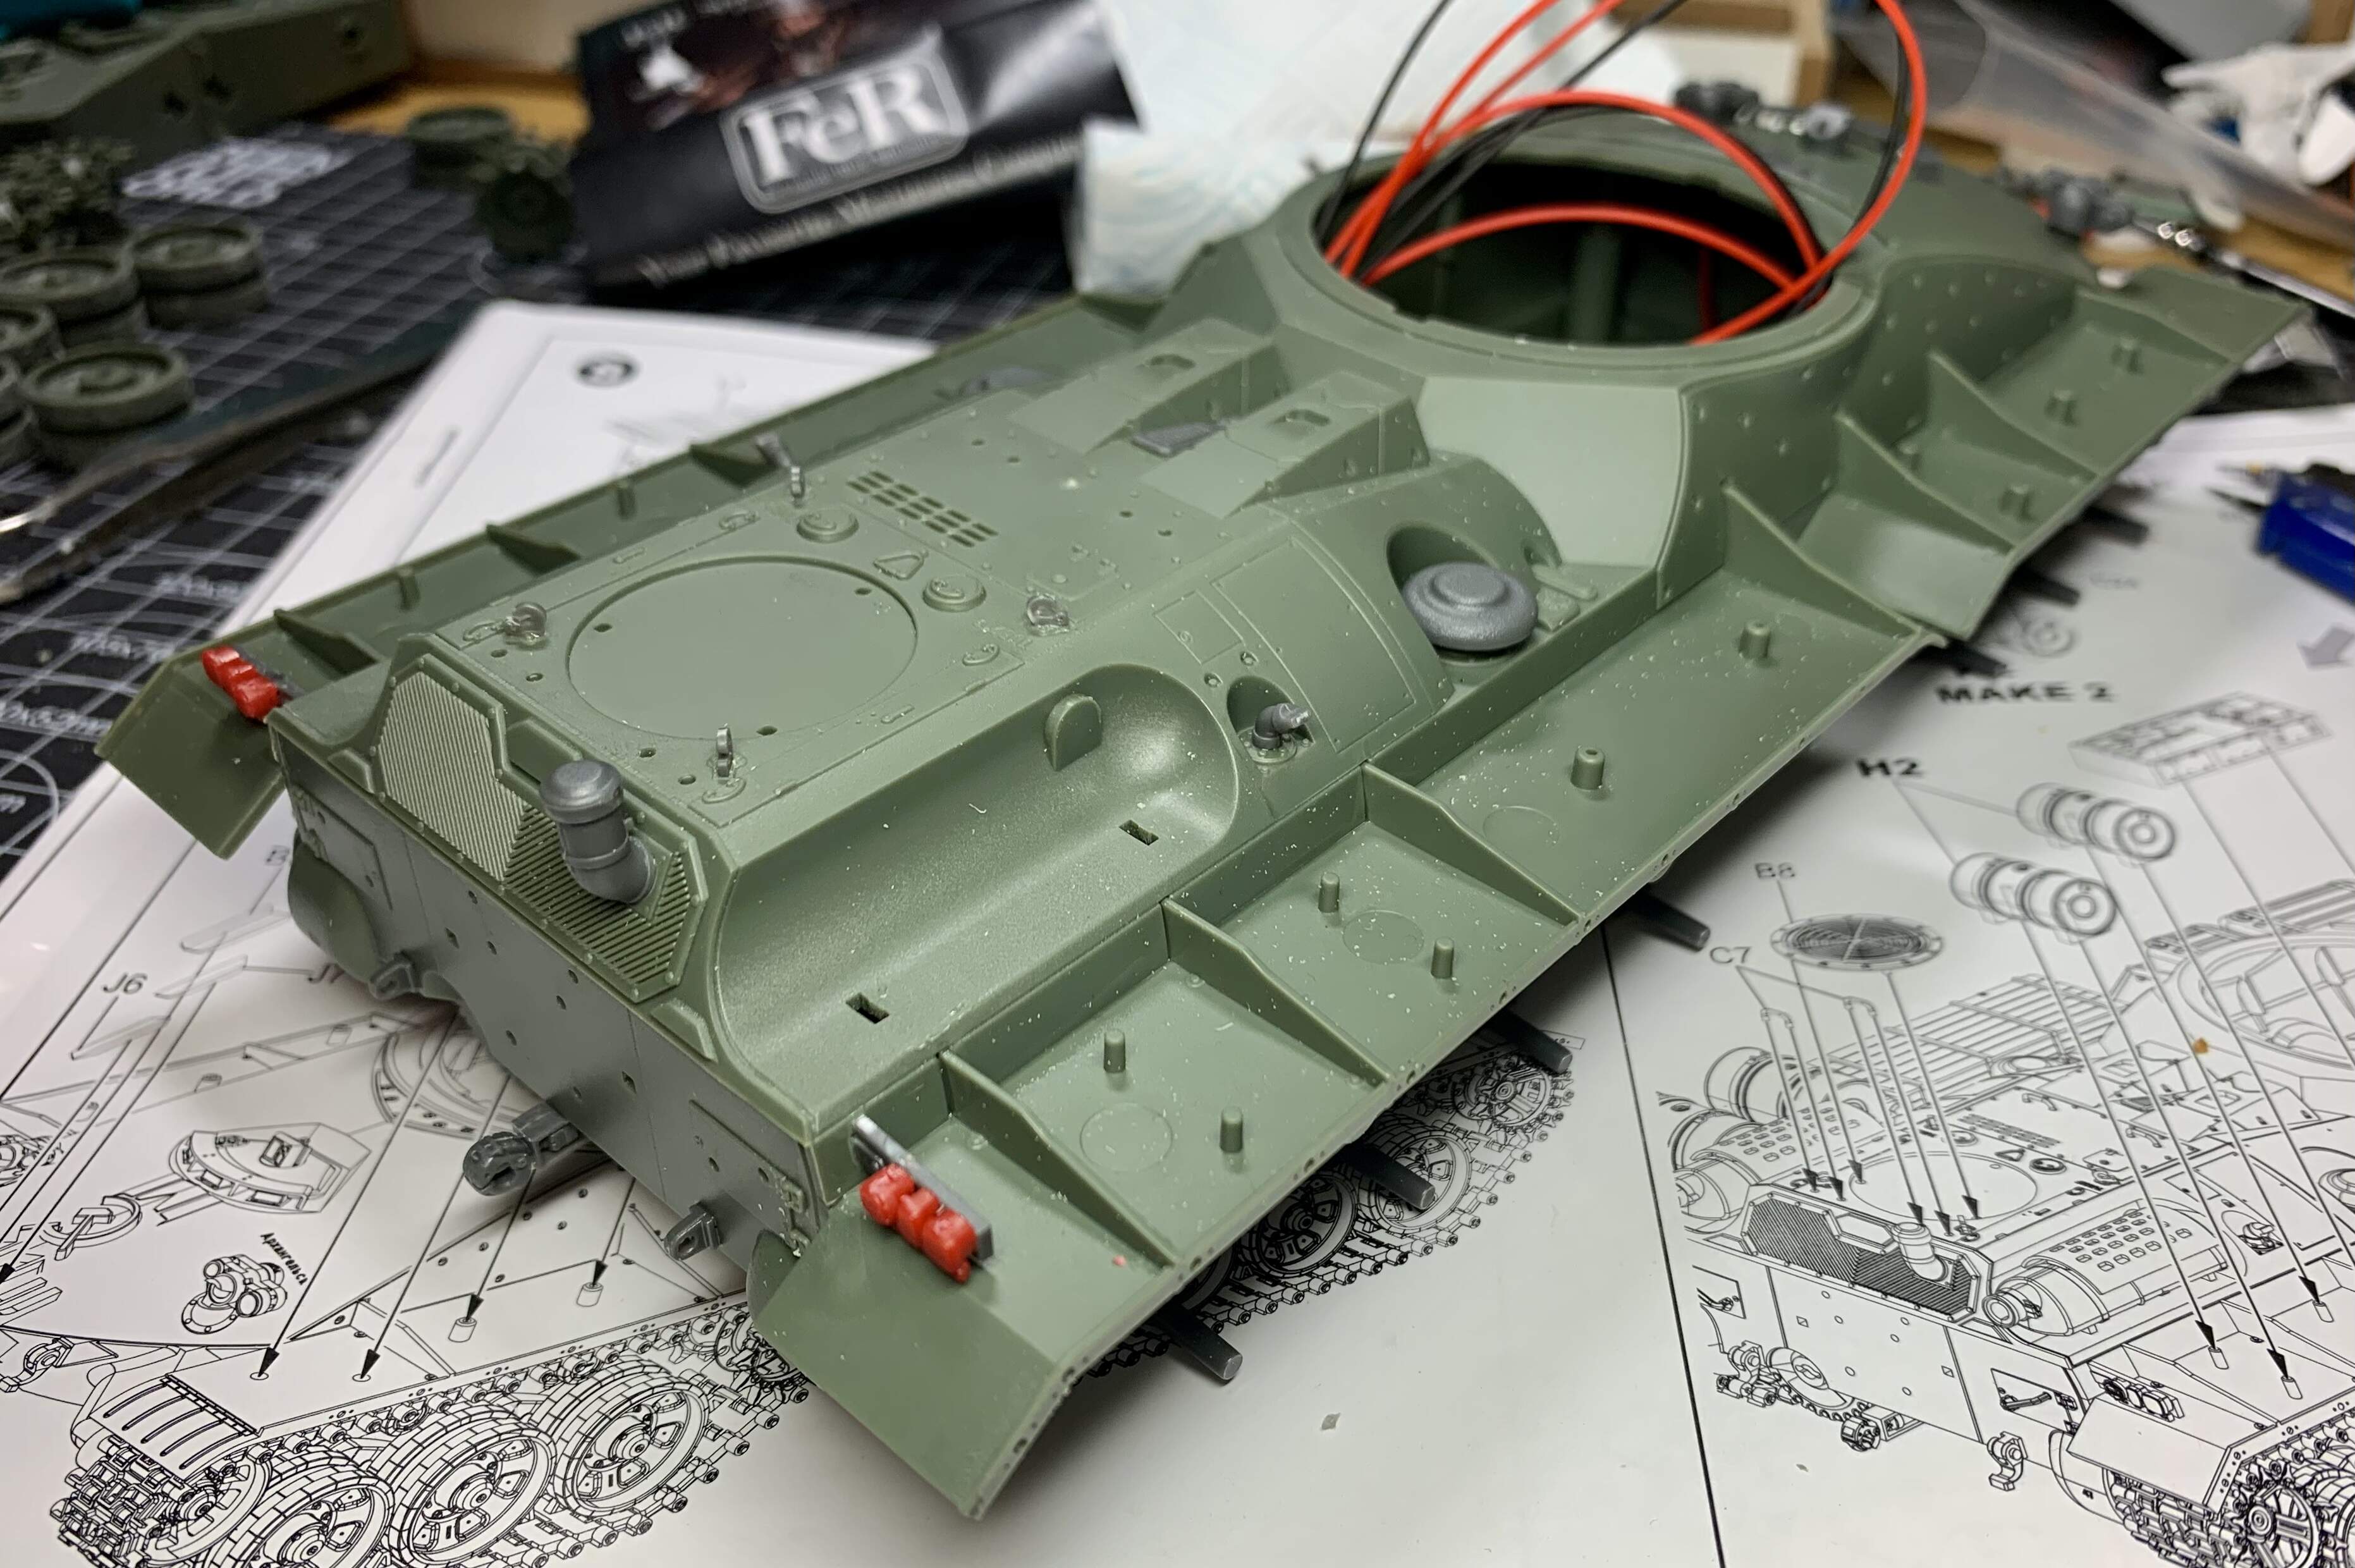
But I digress from modelling so we’ll get back to it.

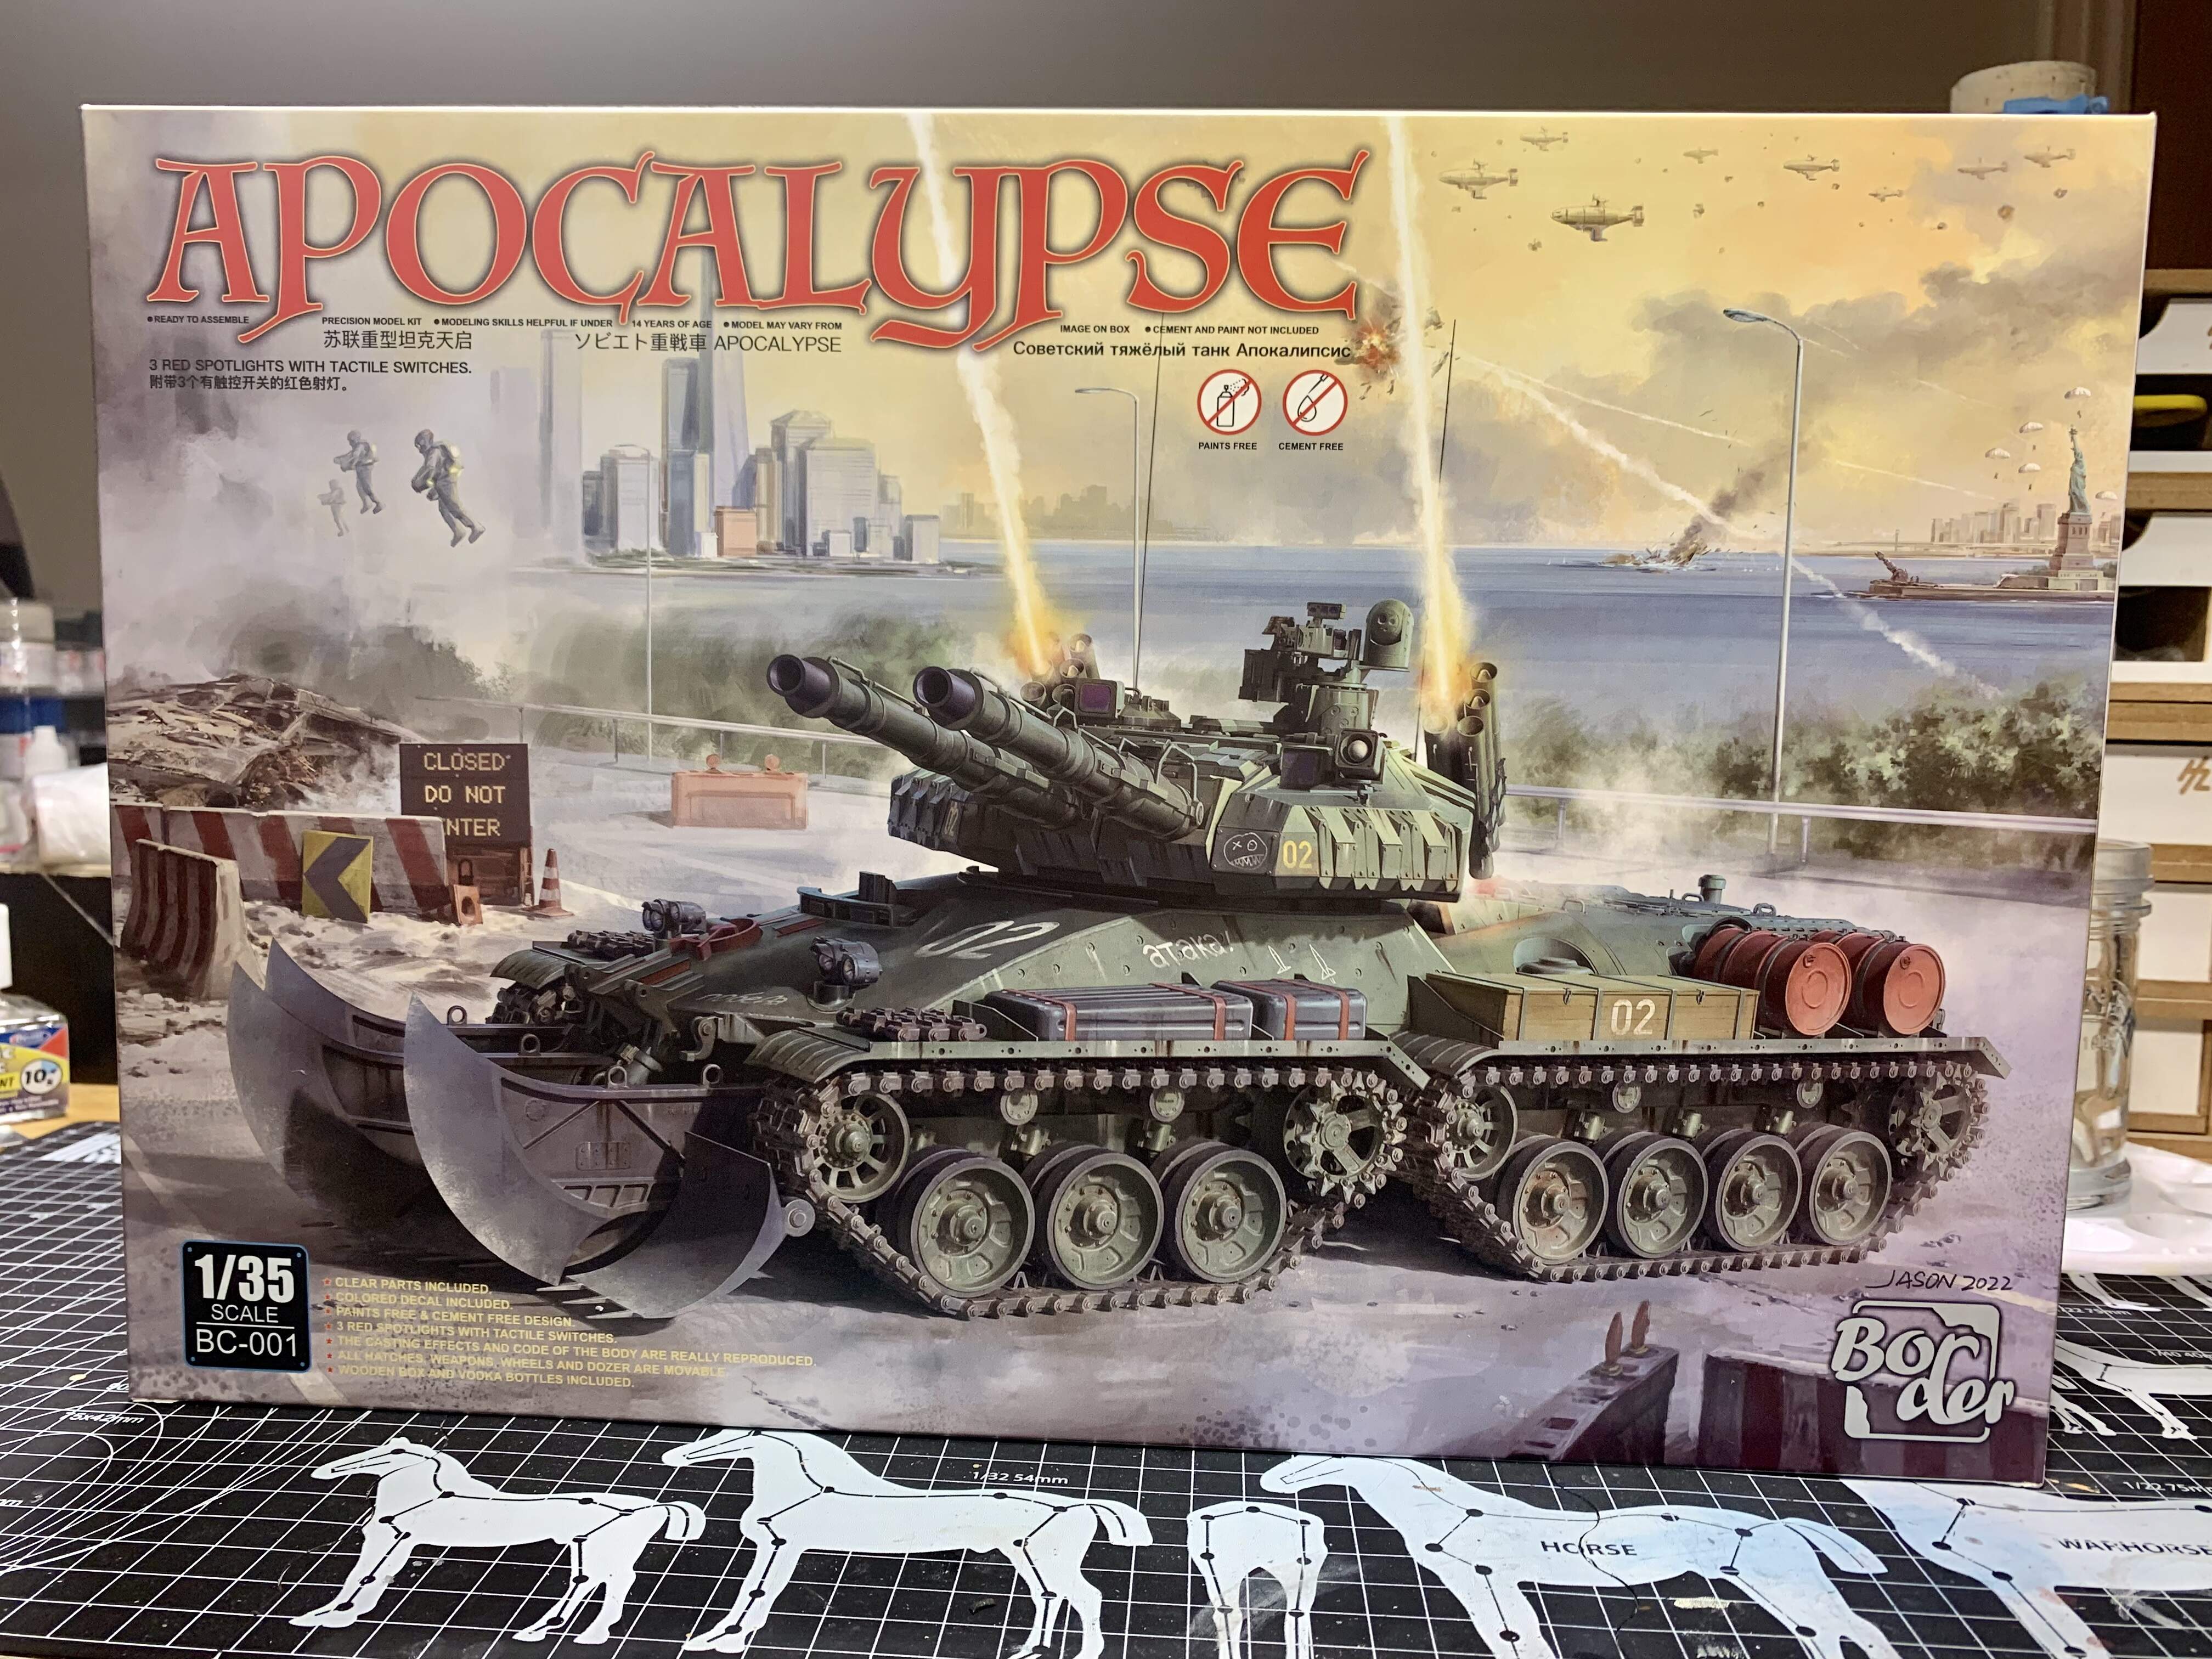
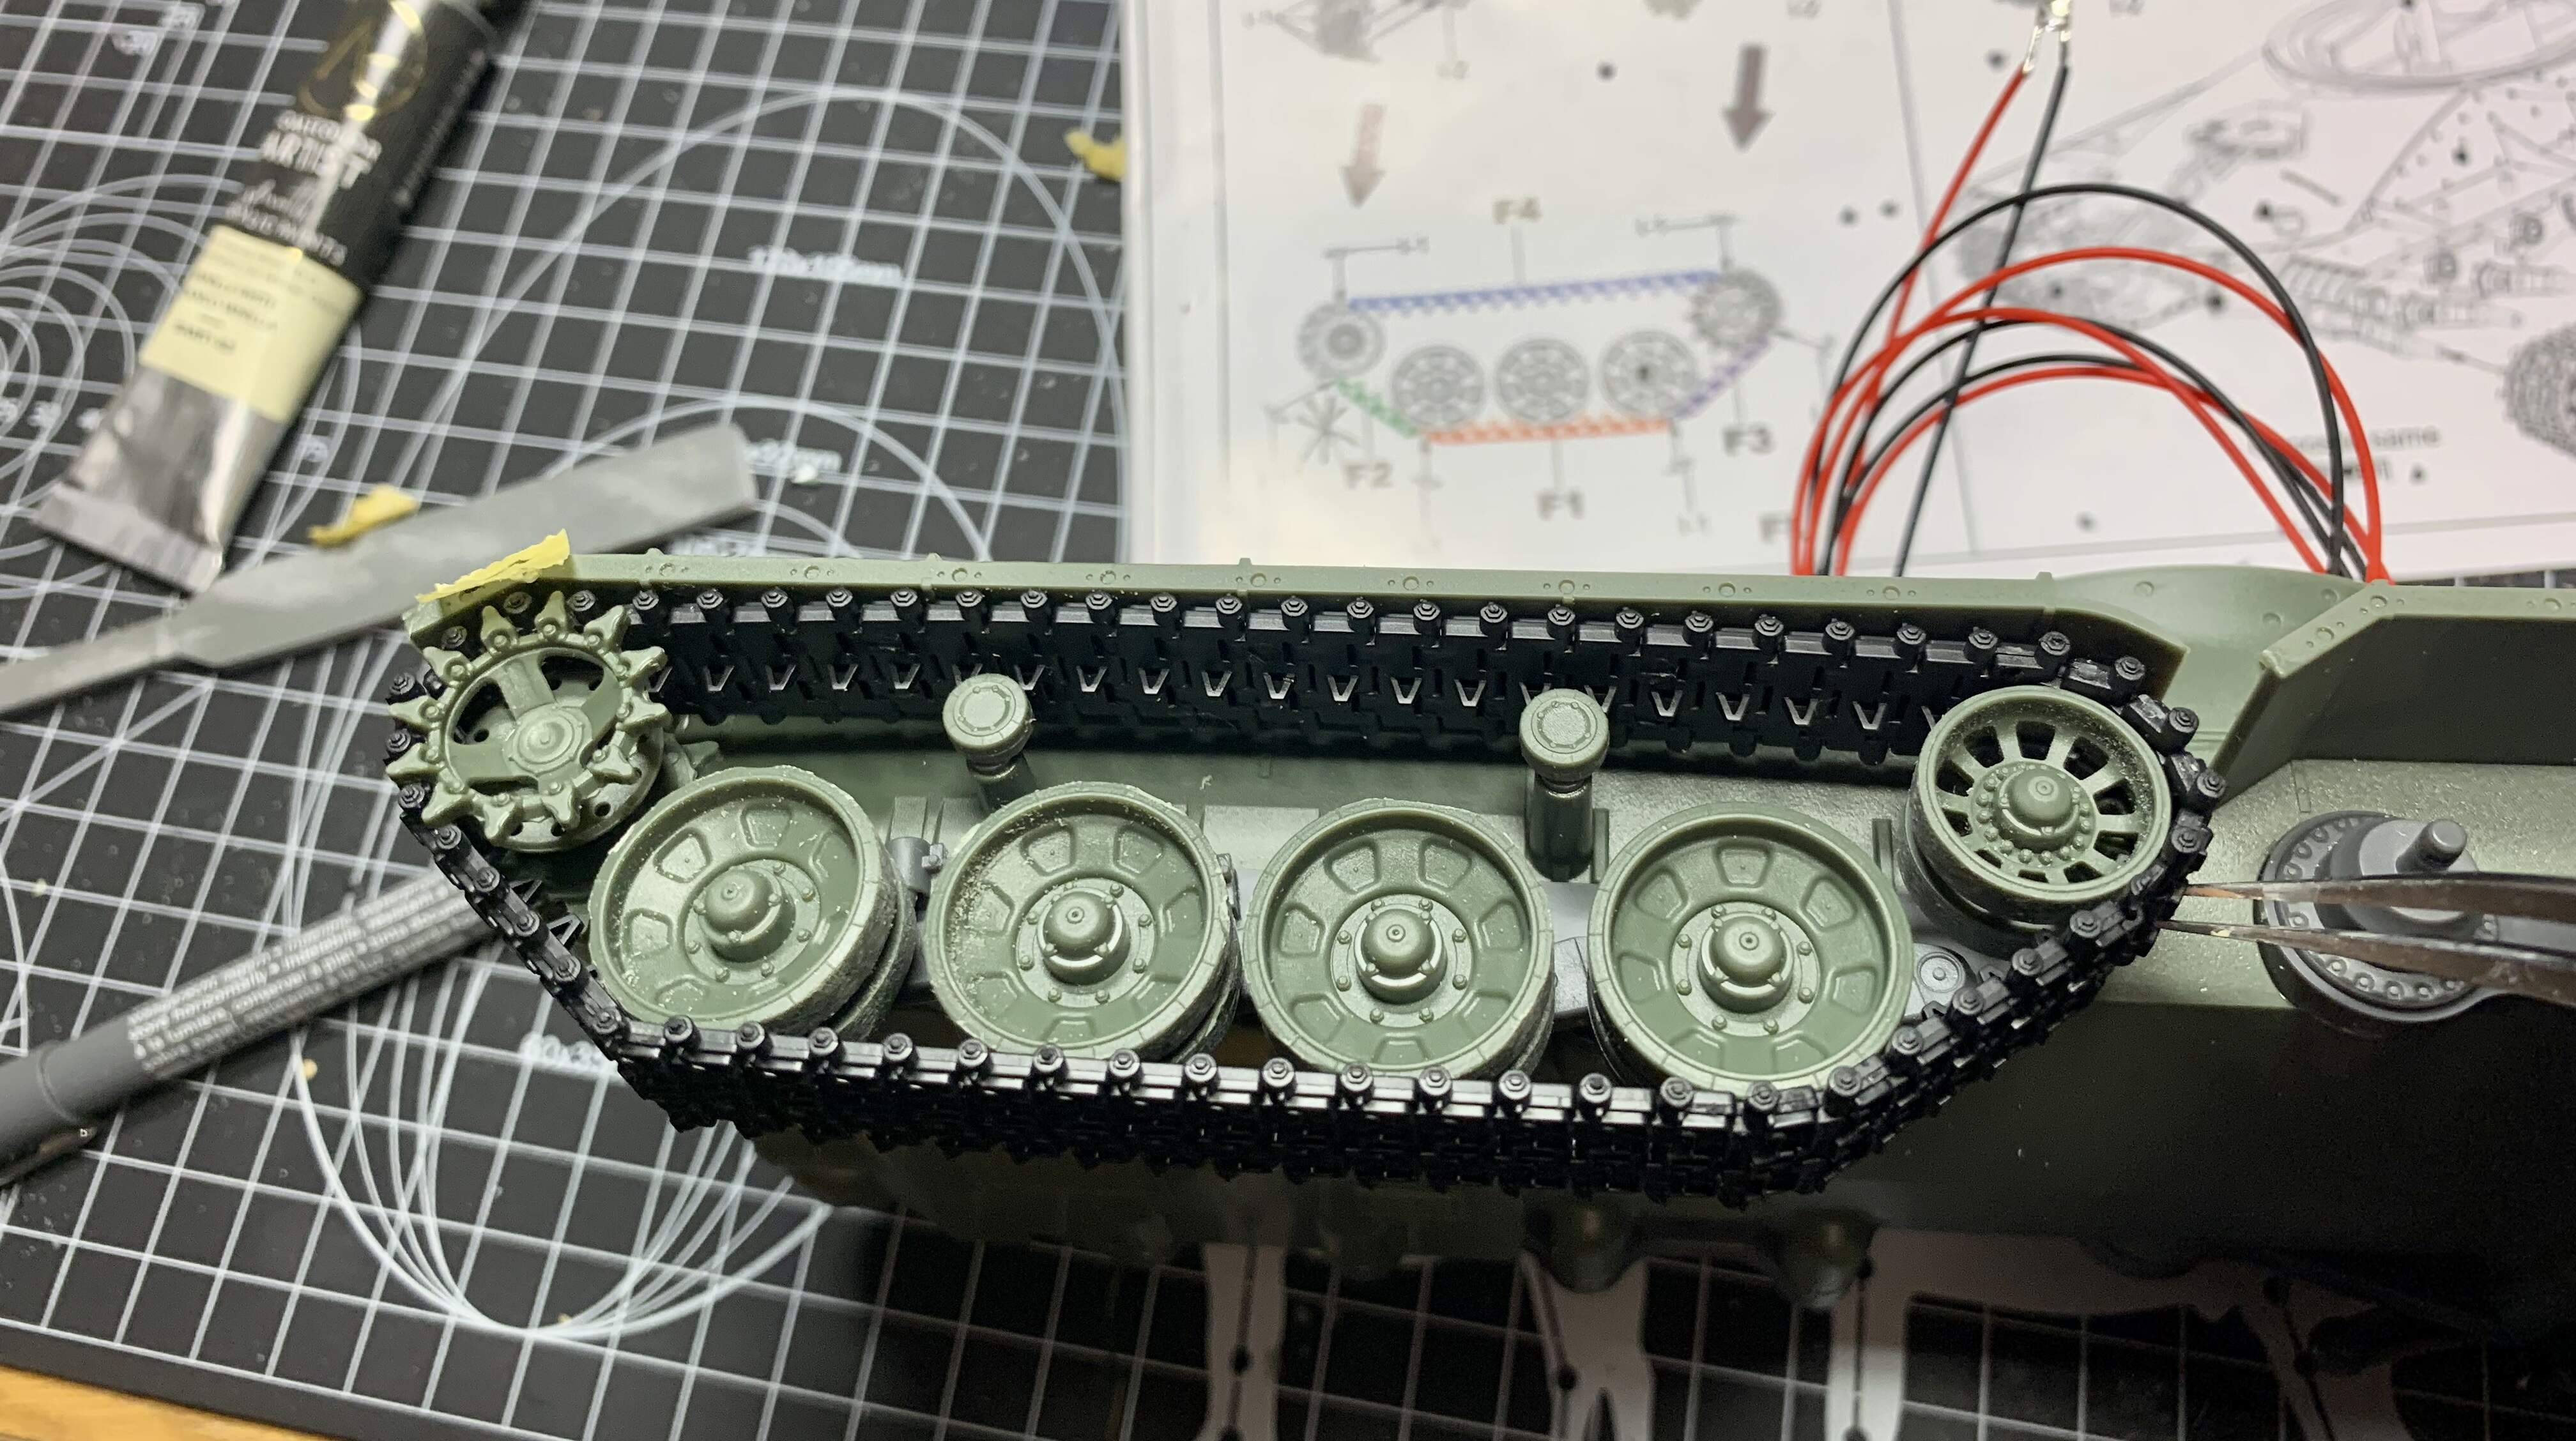
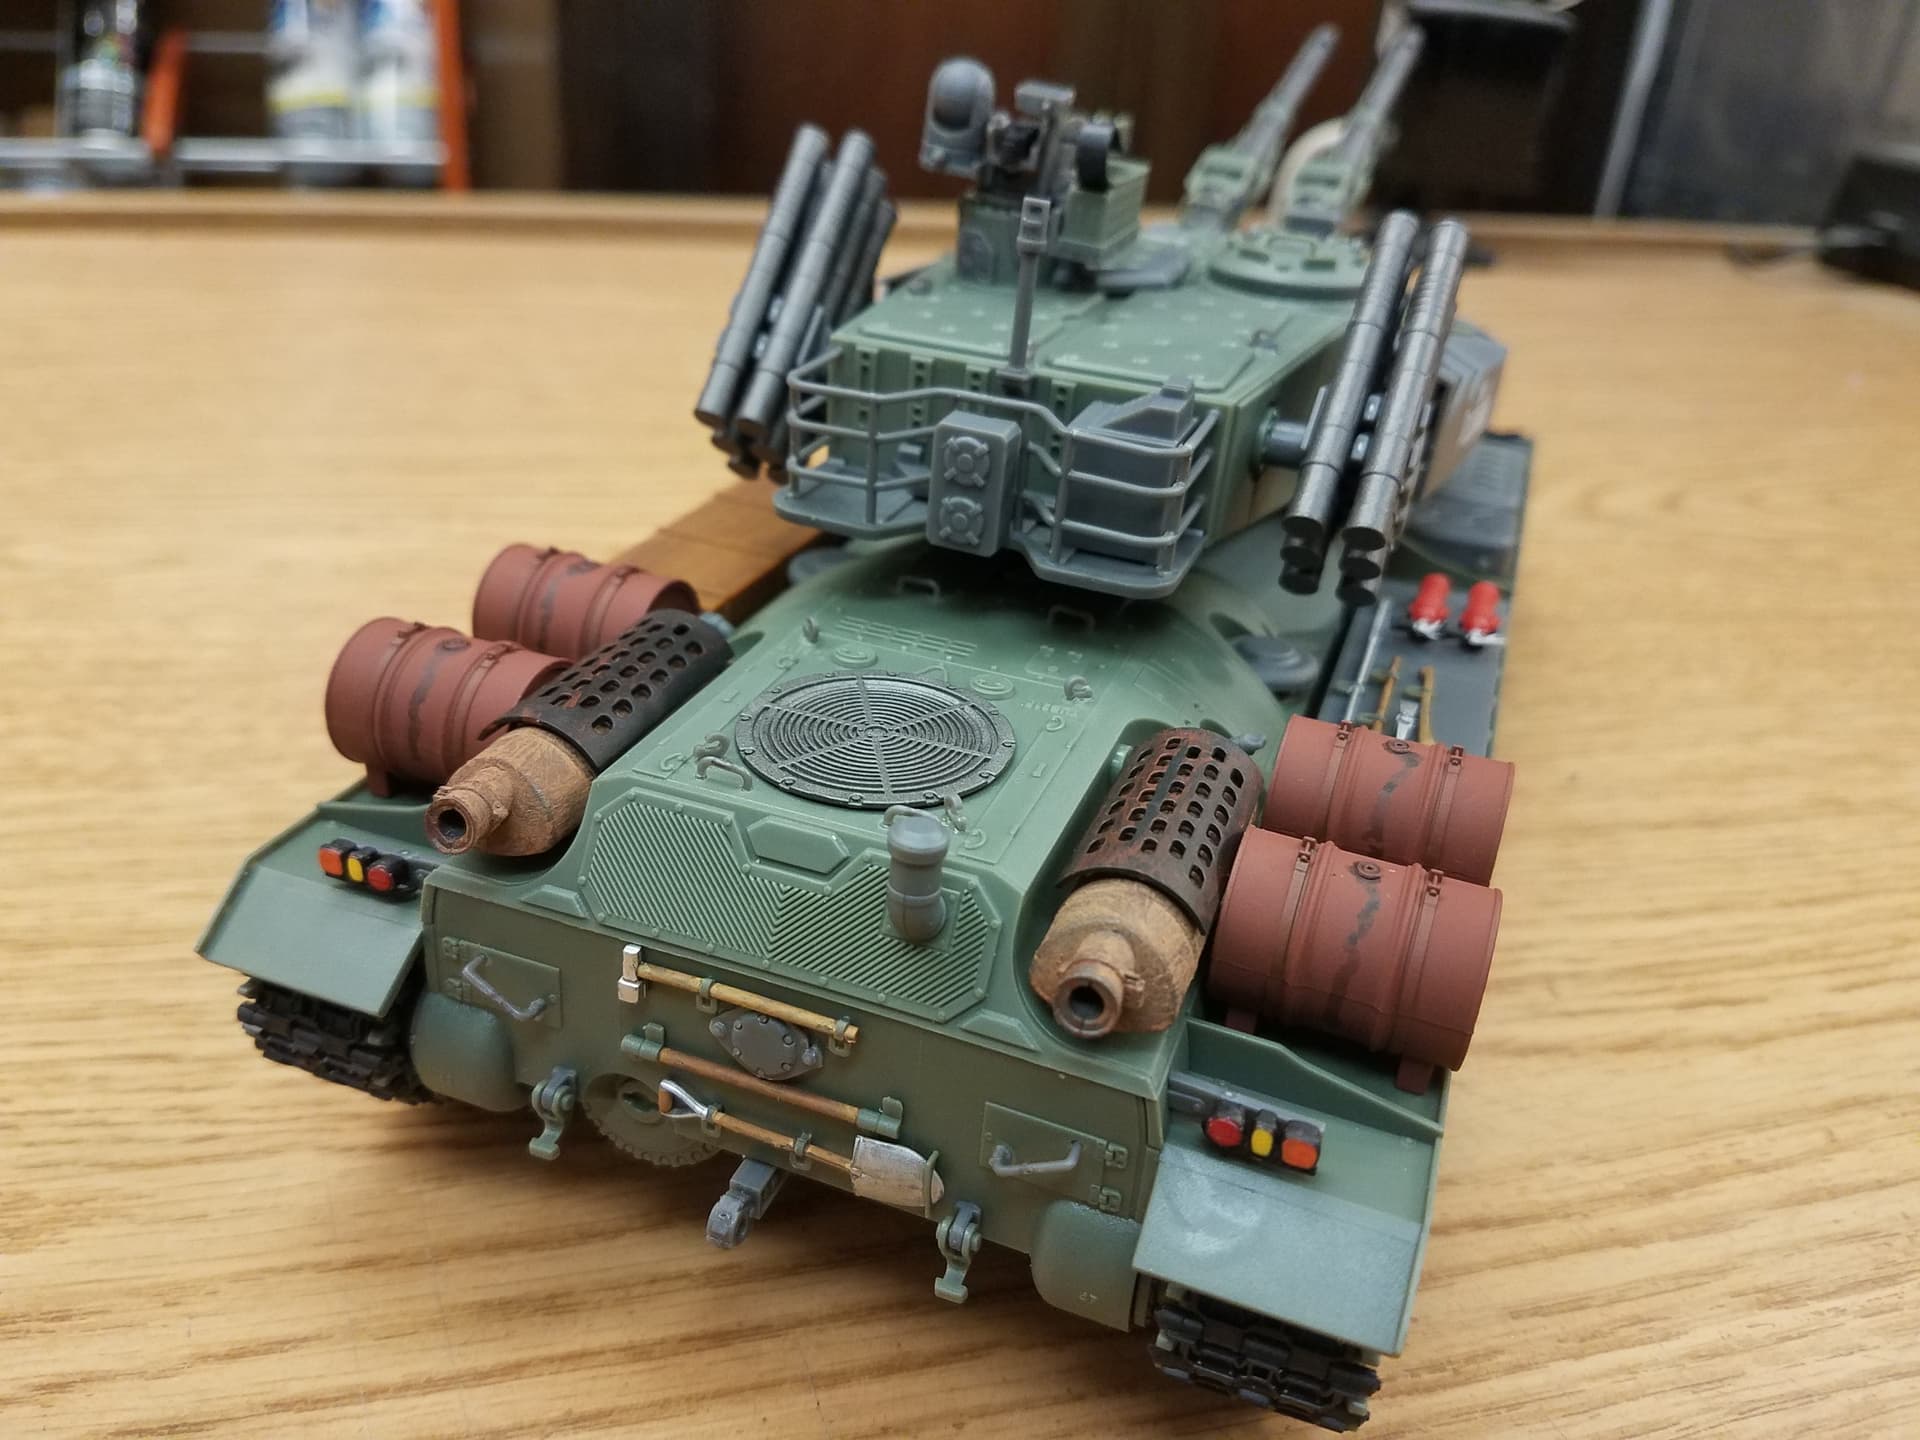
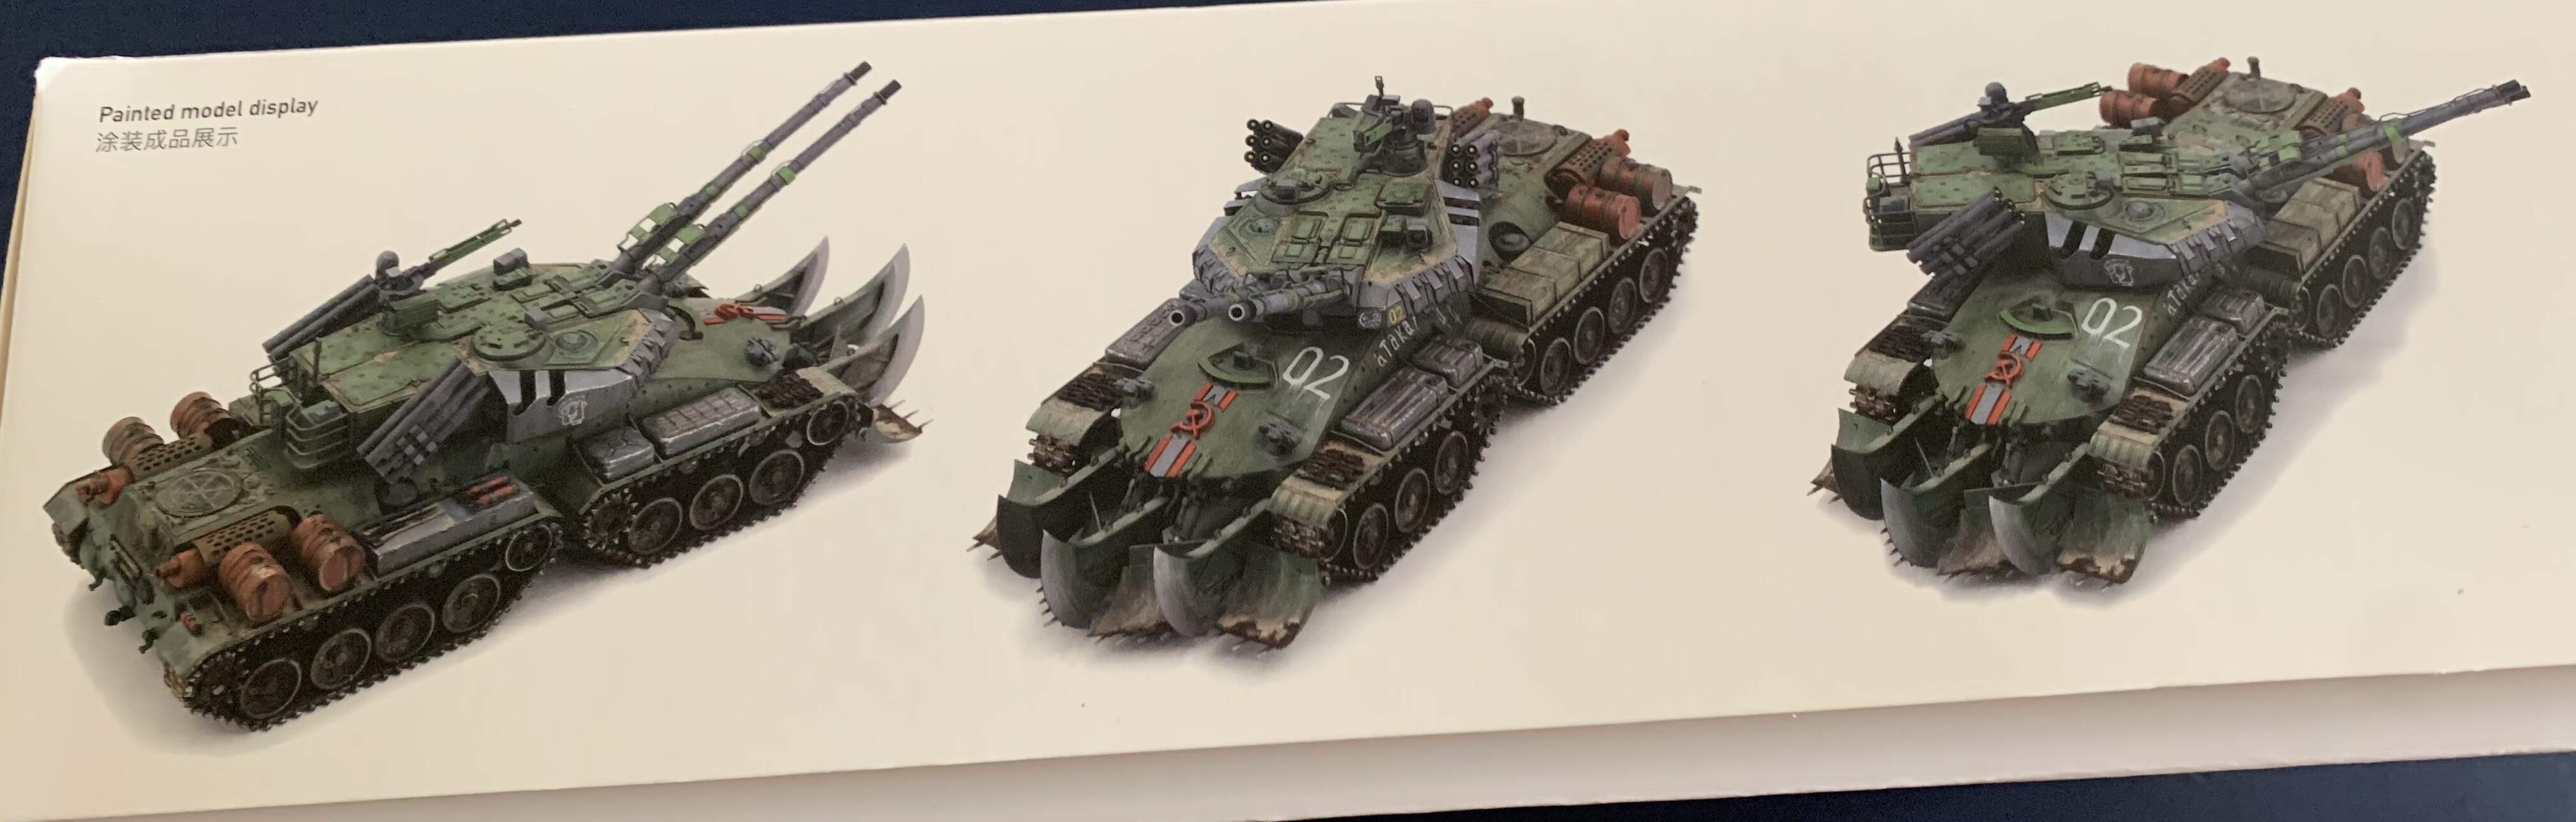
Border model decided to make this kit both pre-painted and with glue-free assembly. On examining the plastic I can see it has an okay color but the fully built version on the side of the box in the bare plastic looks decidedly toy-like compared to the painted and weathered version.

Paint free version on the box side.

Painted version on the box side.

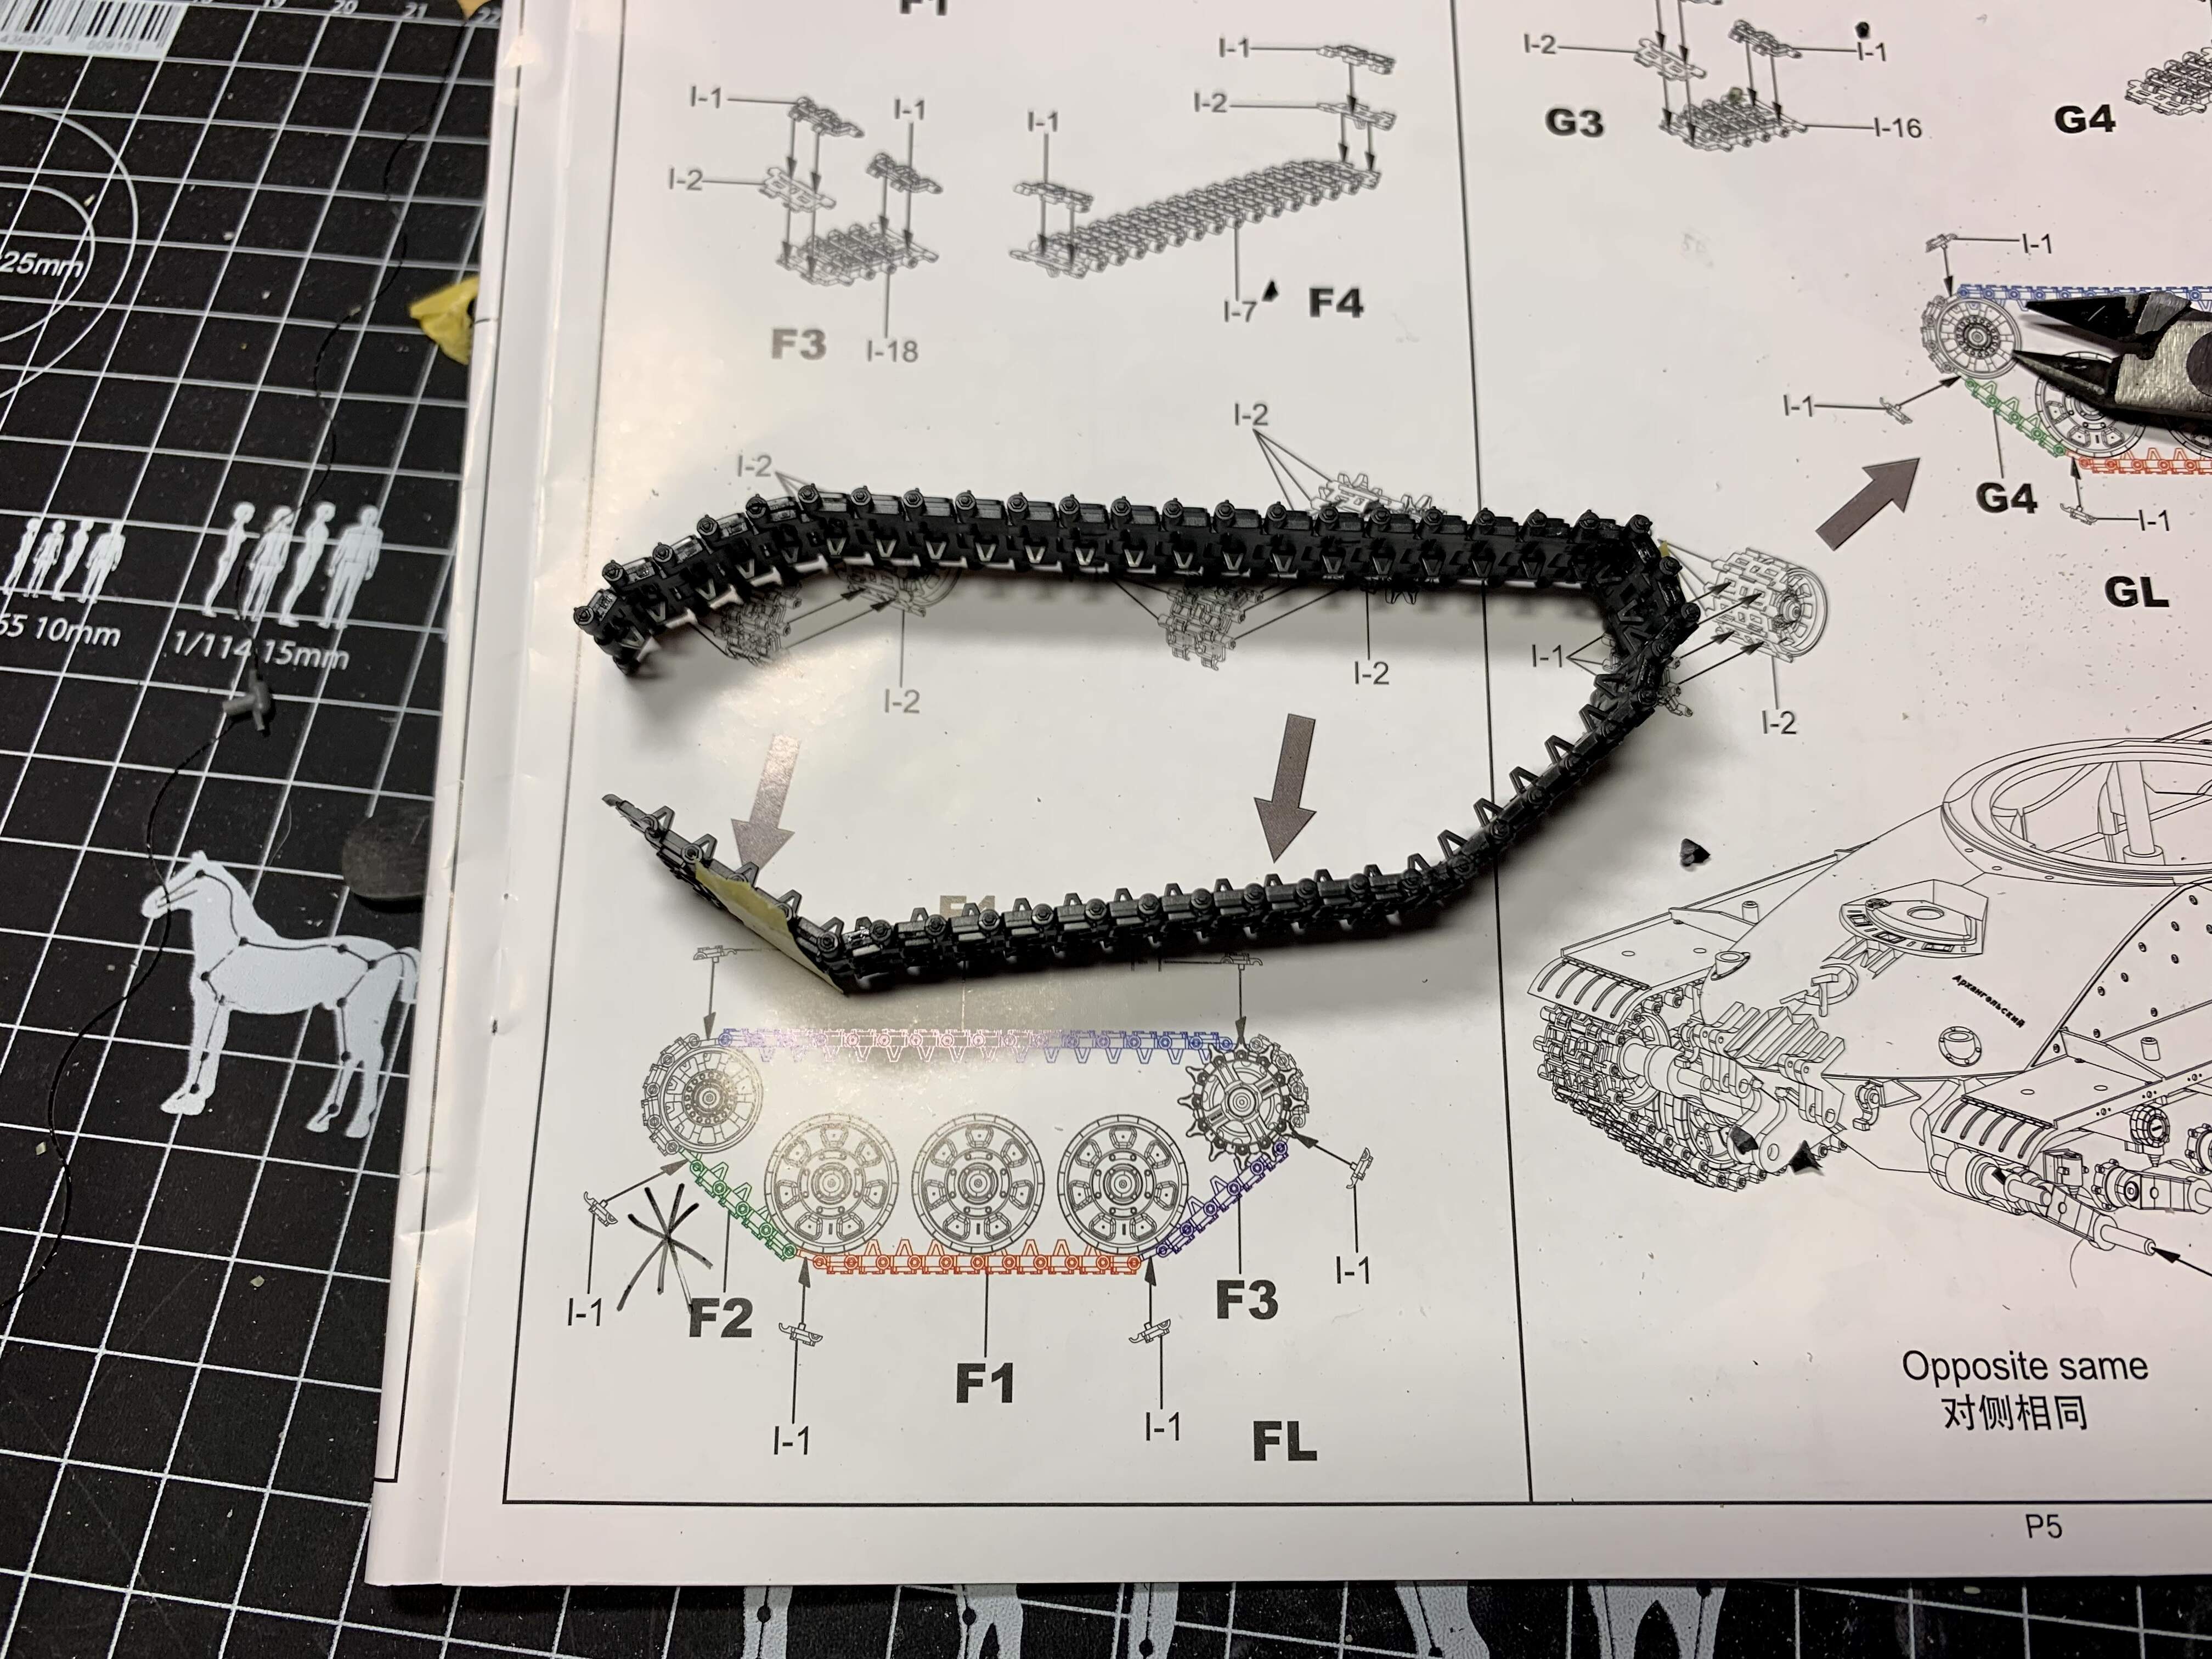
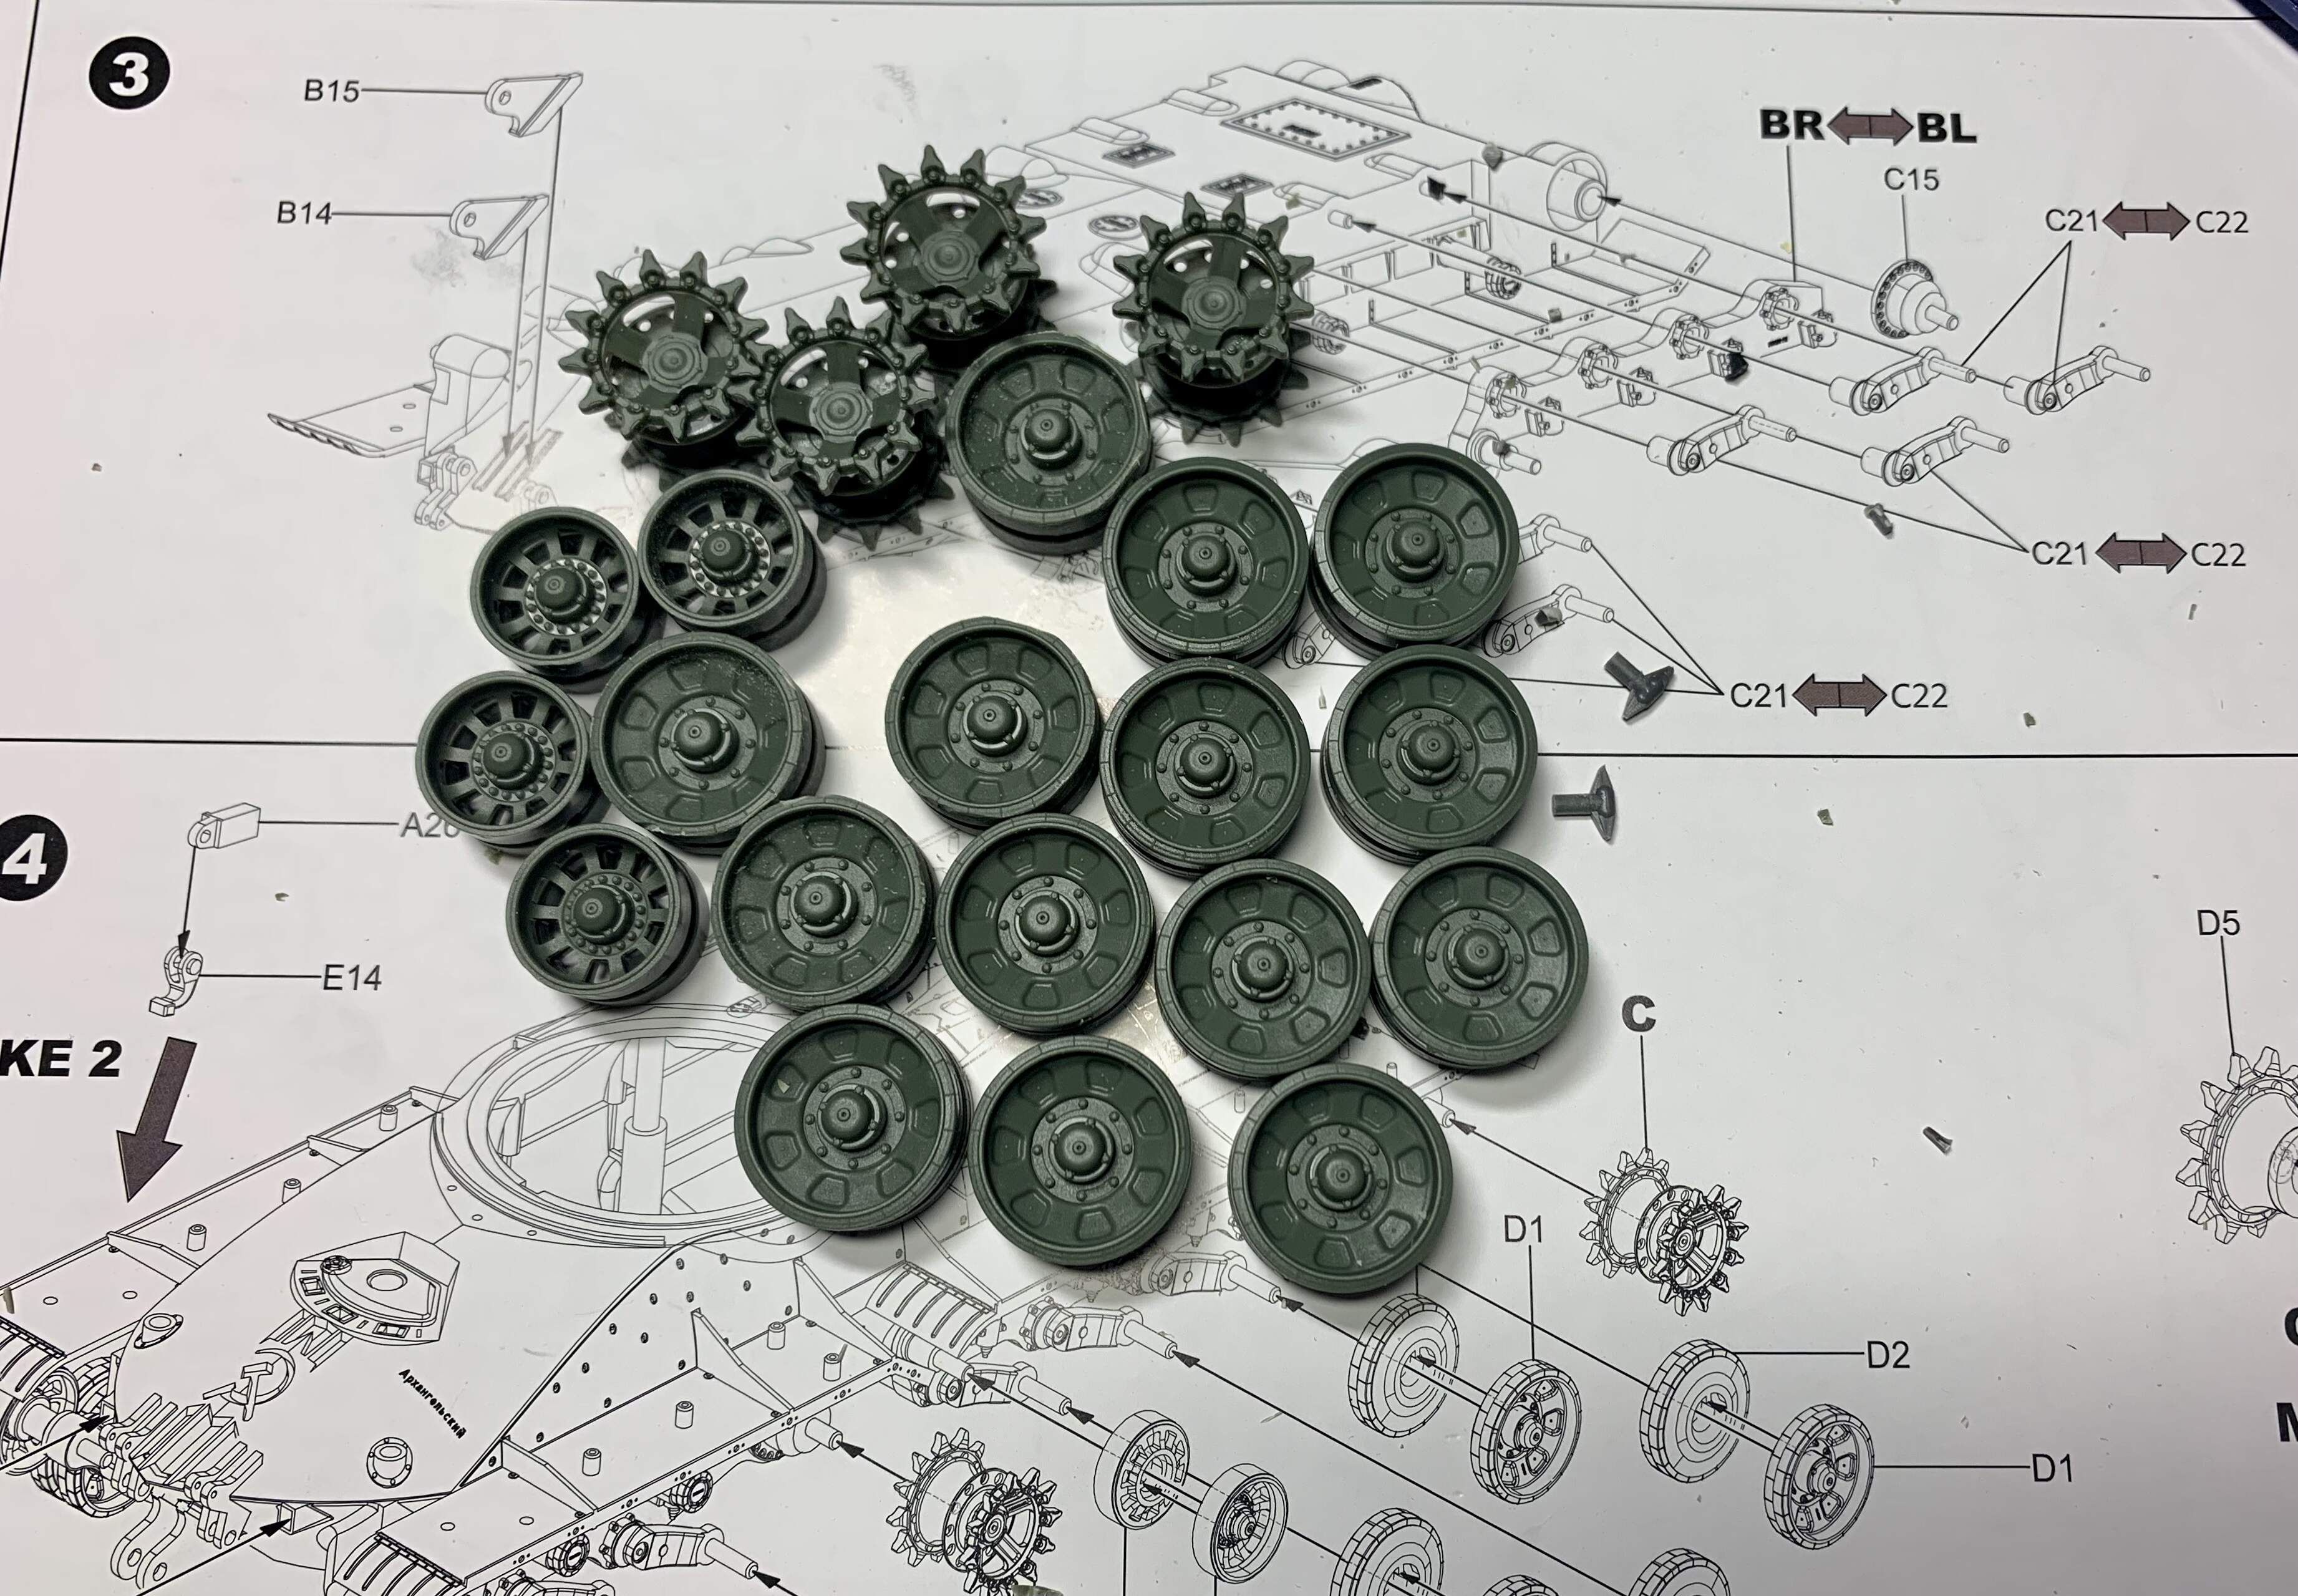
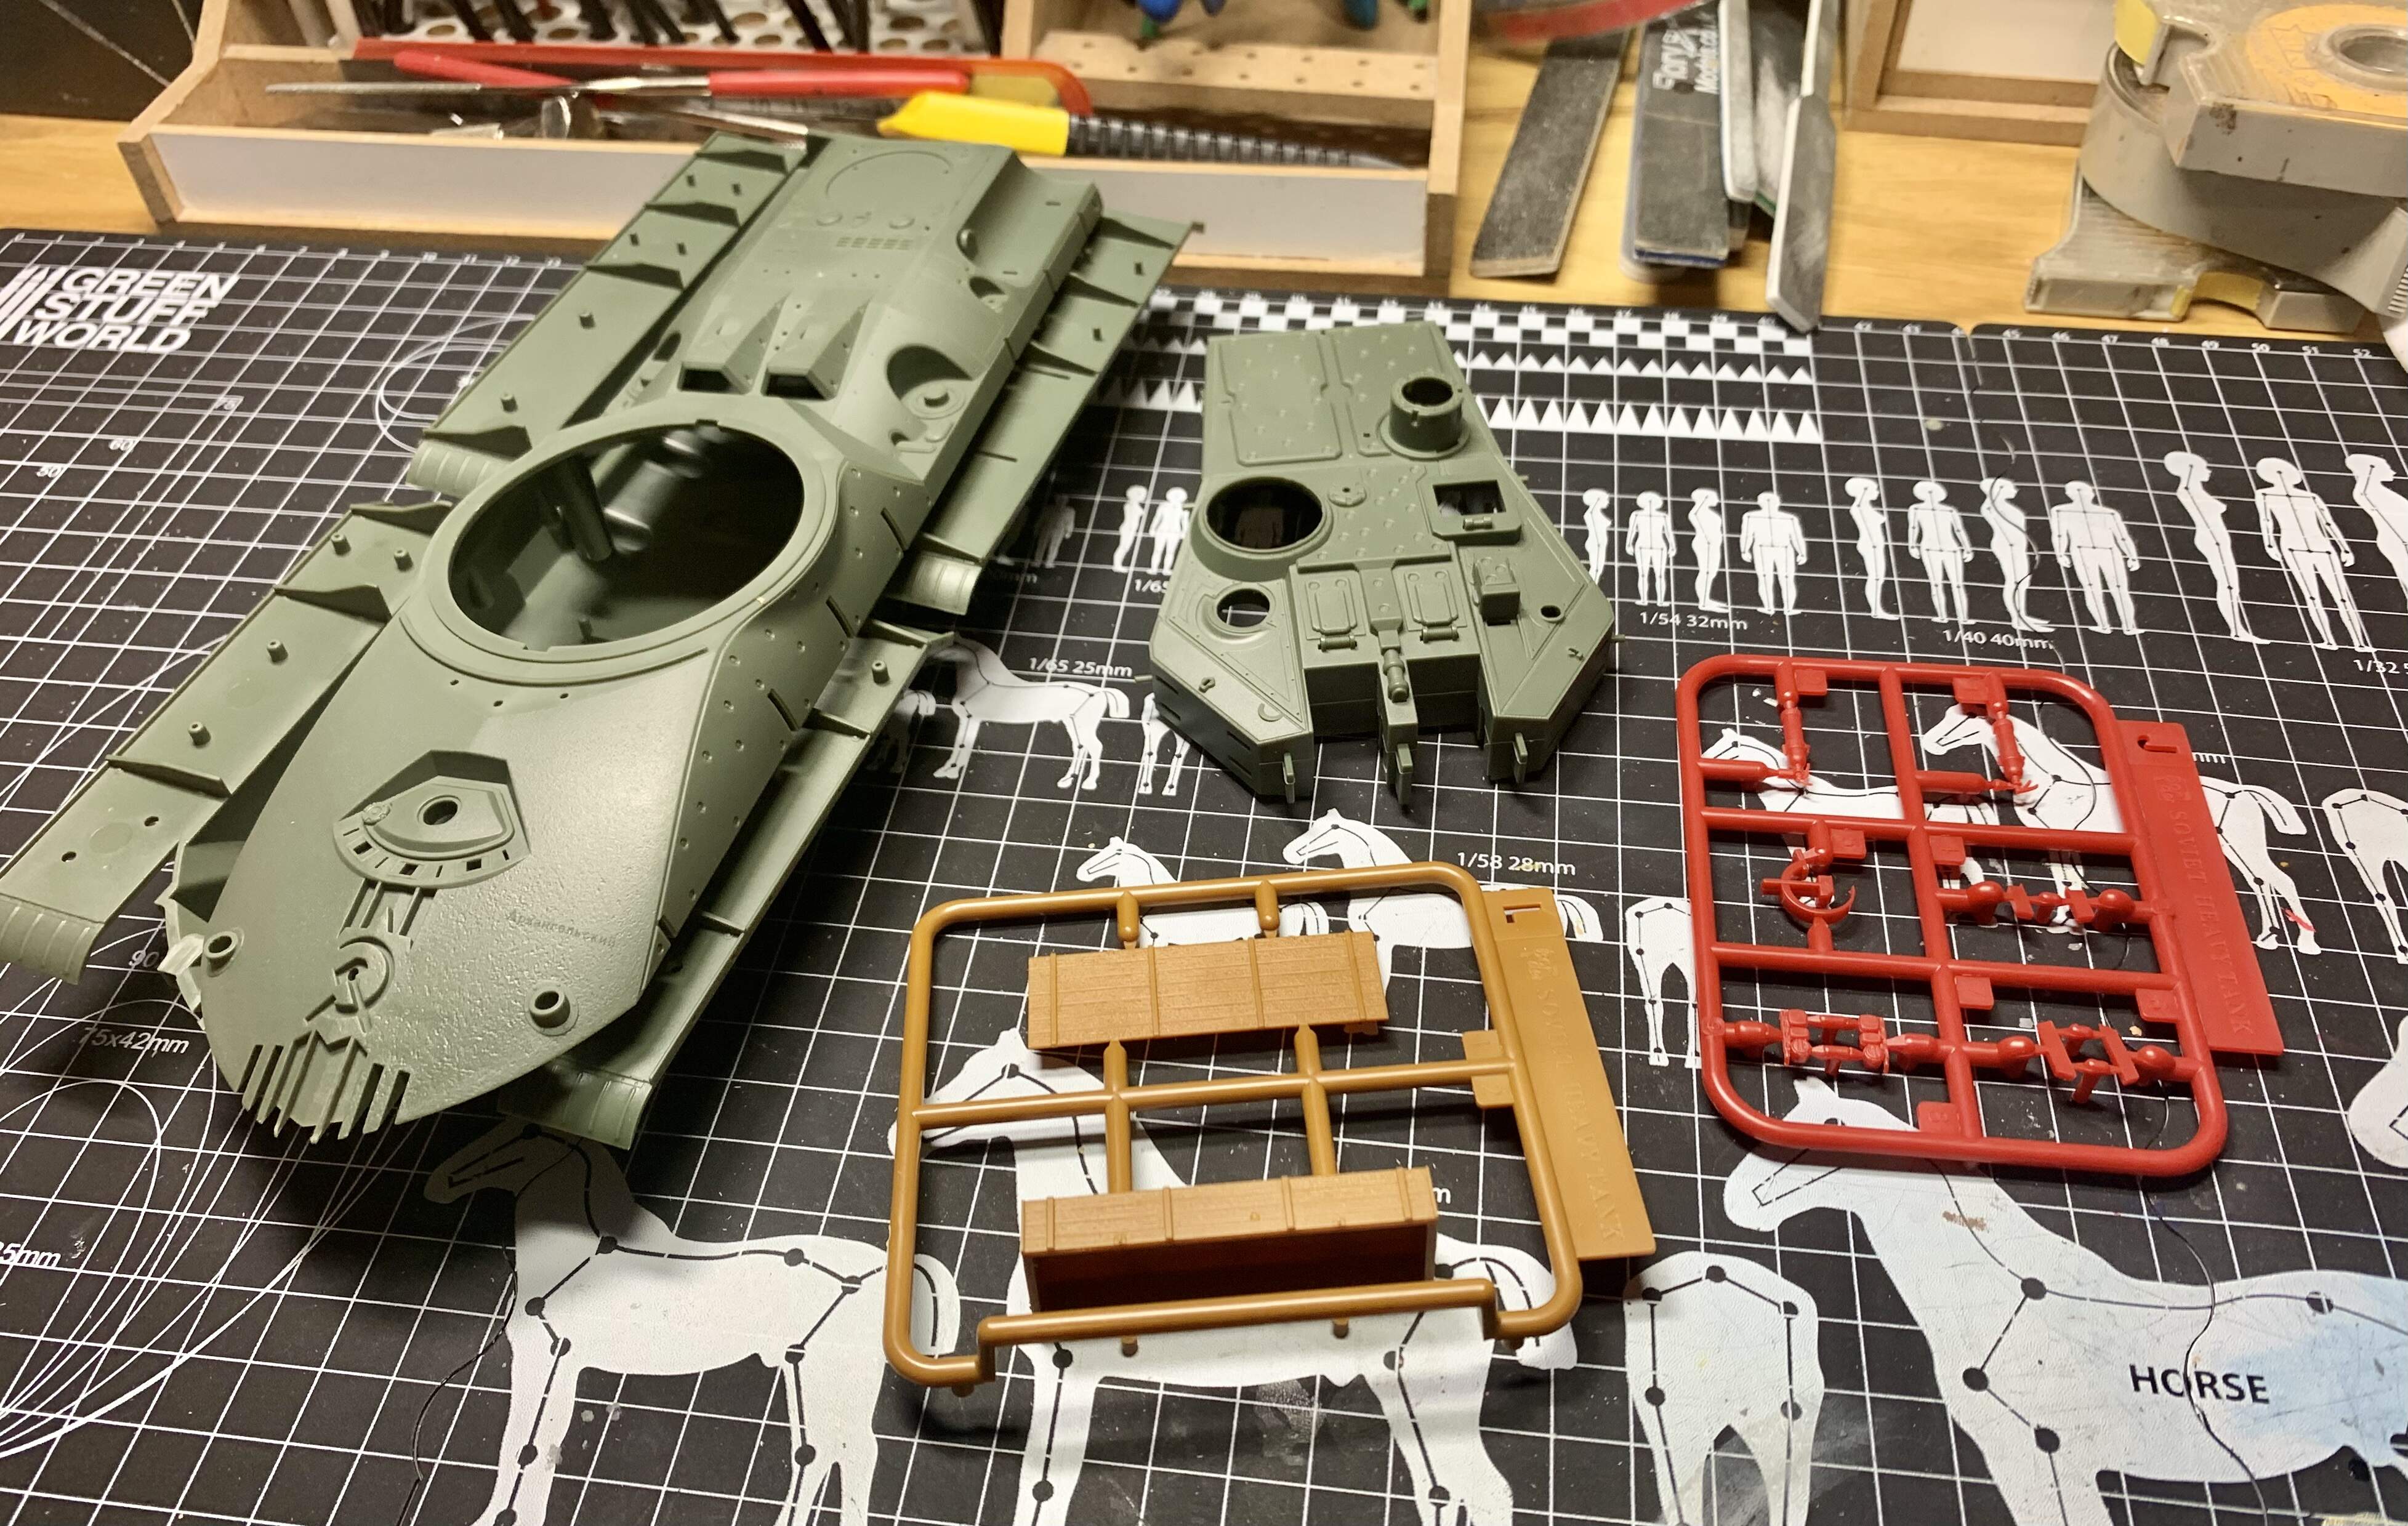
Here you can see the coloured sprues out of the box.

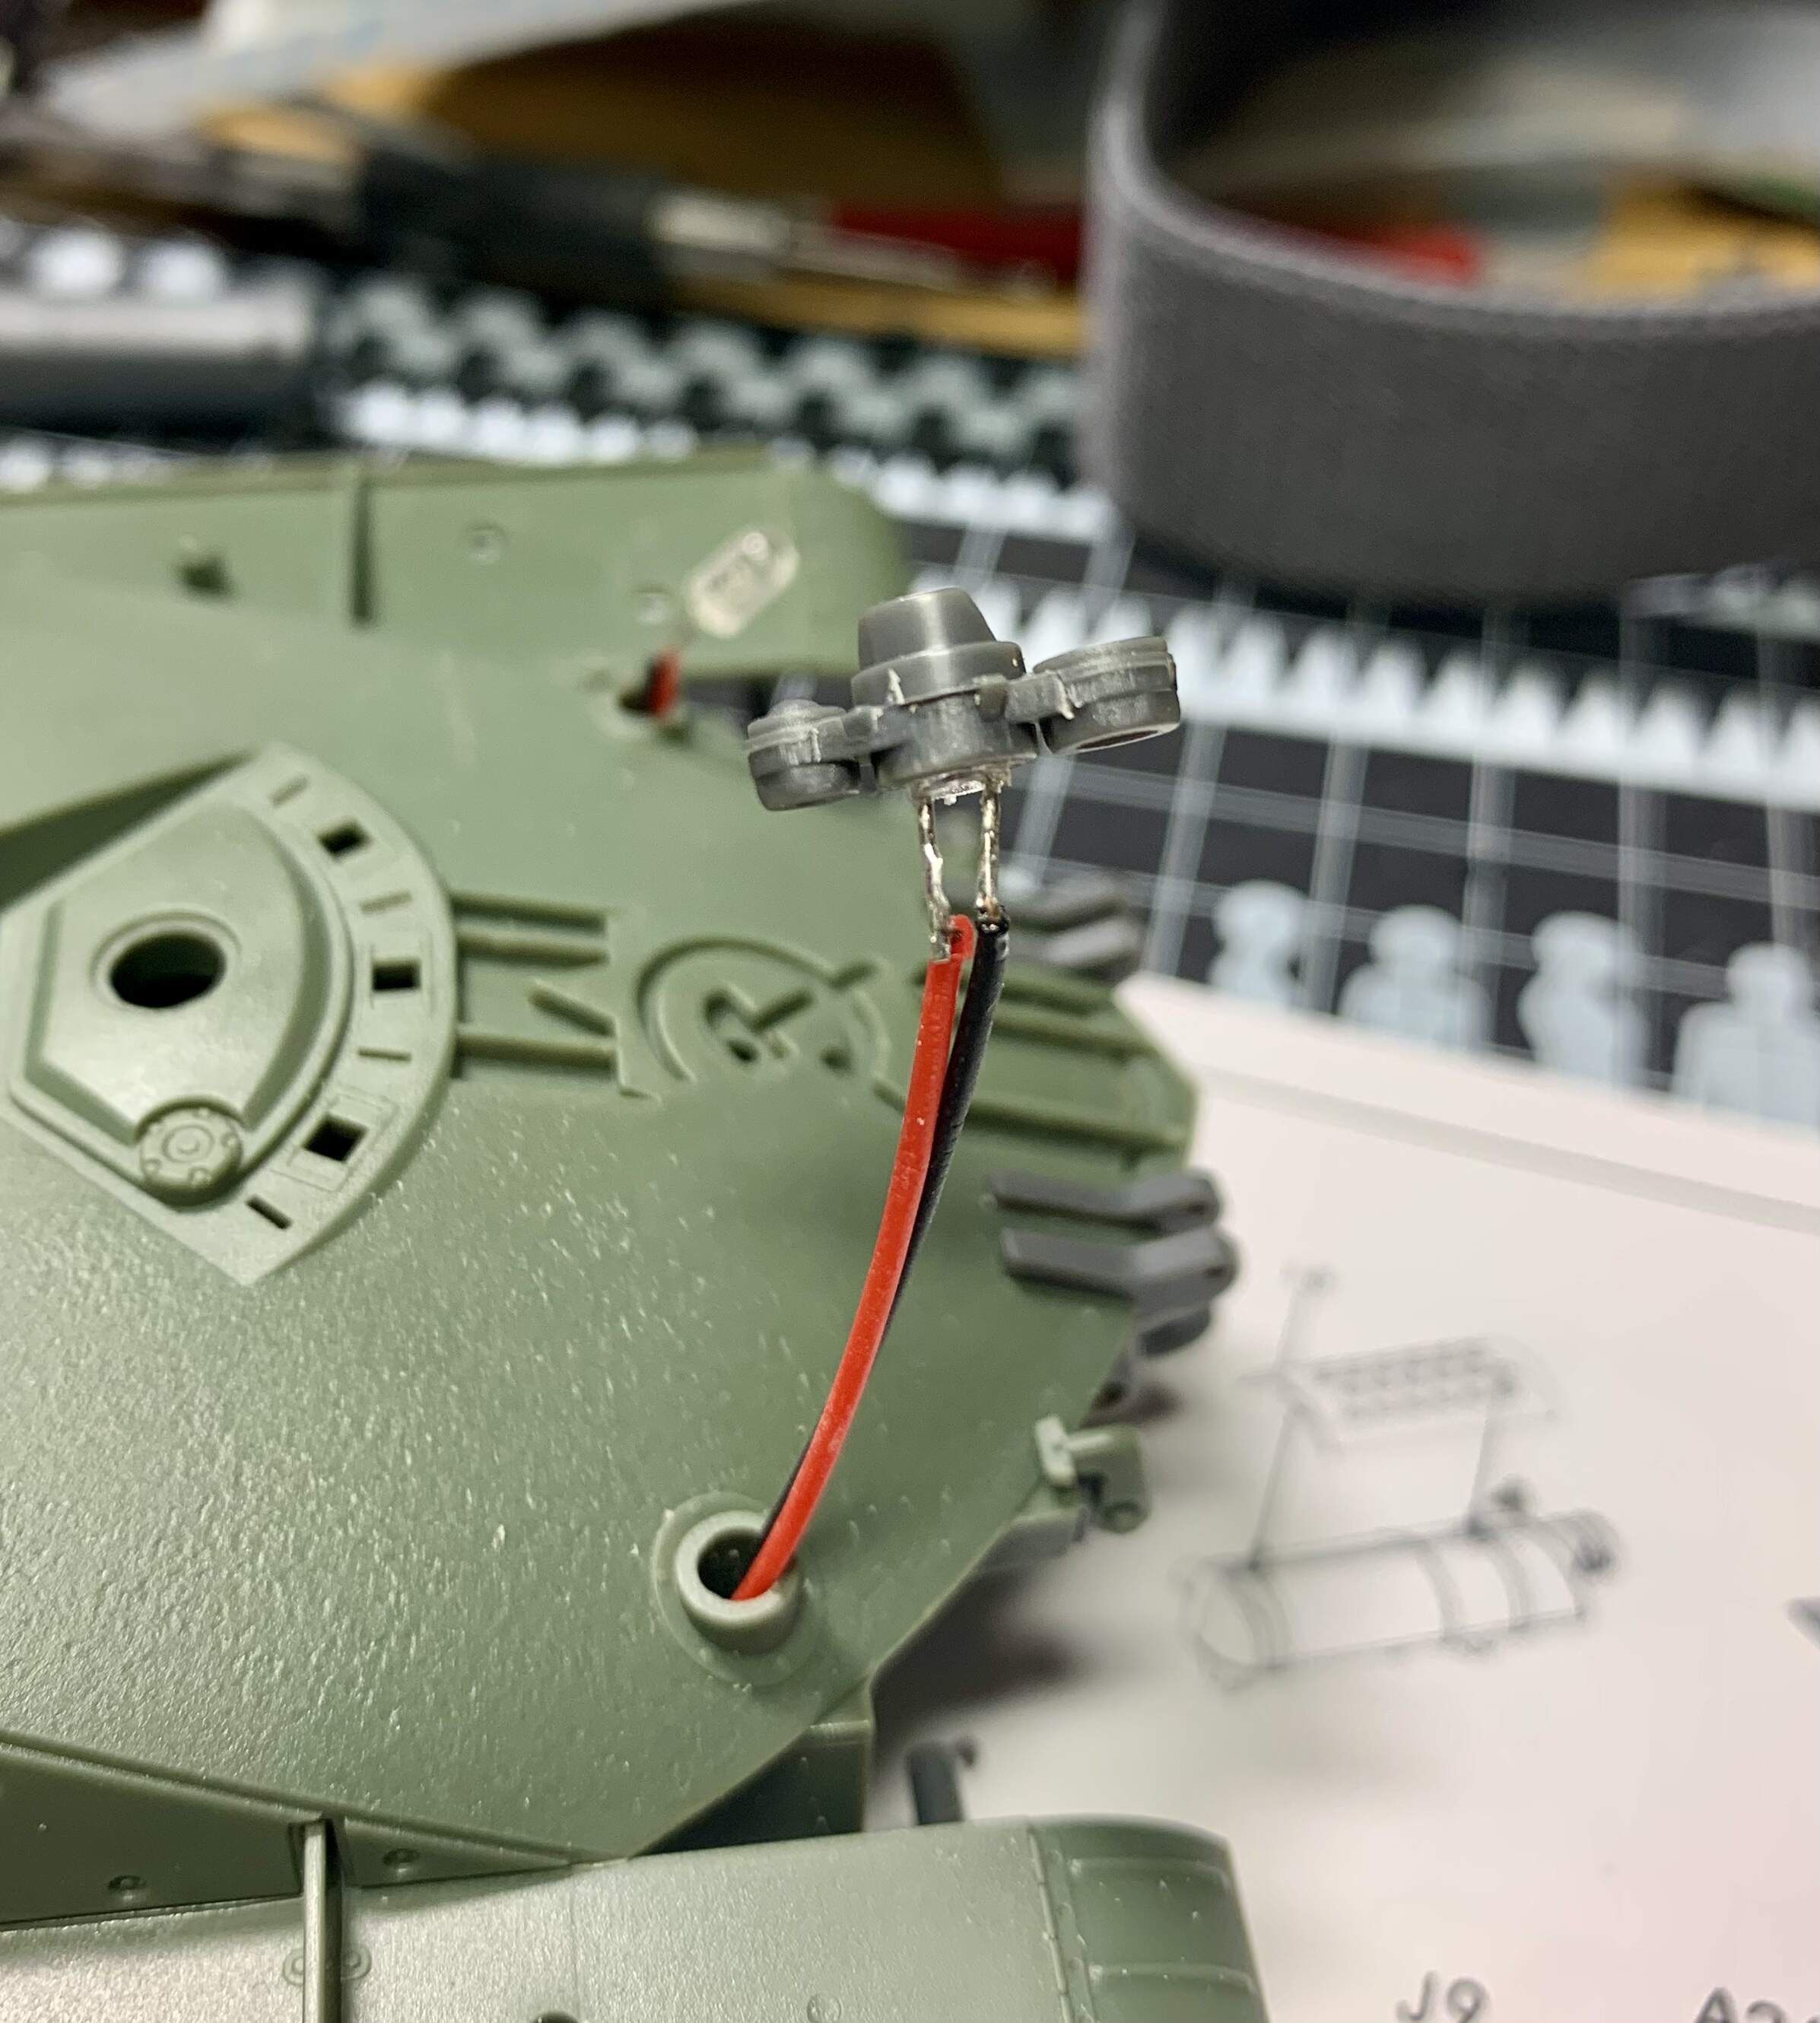
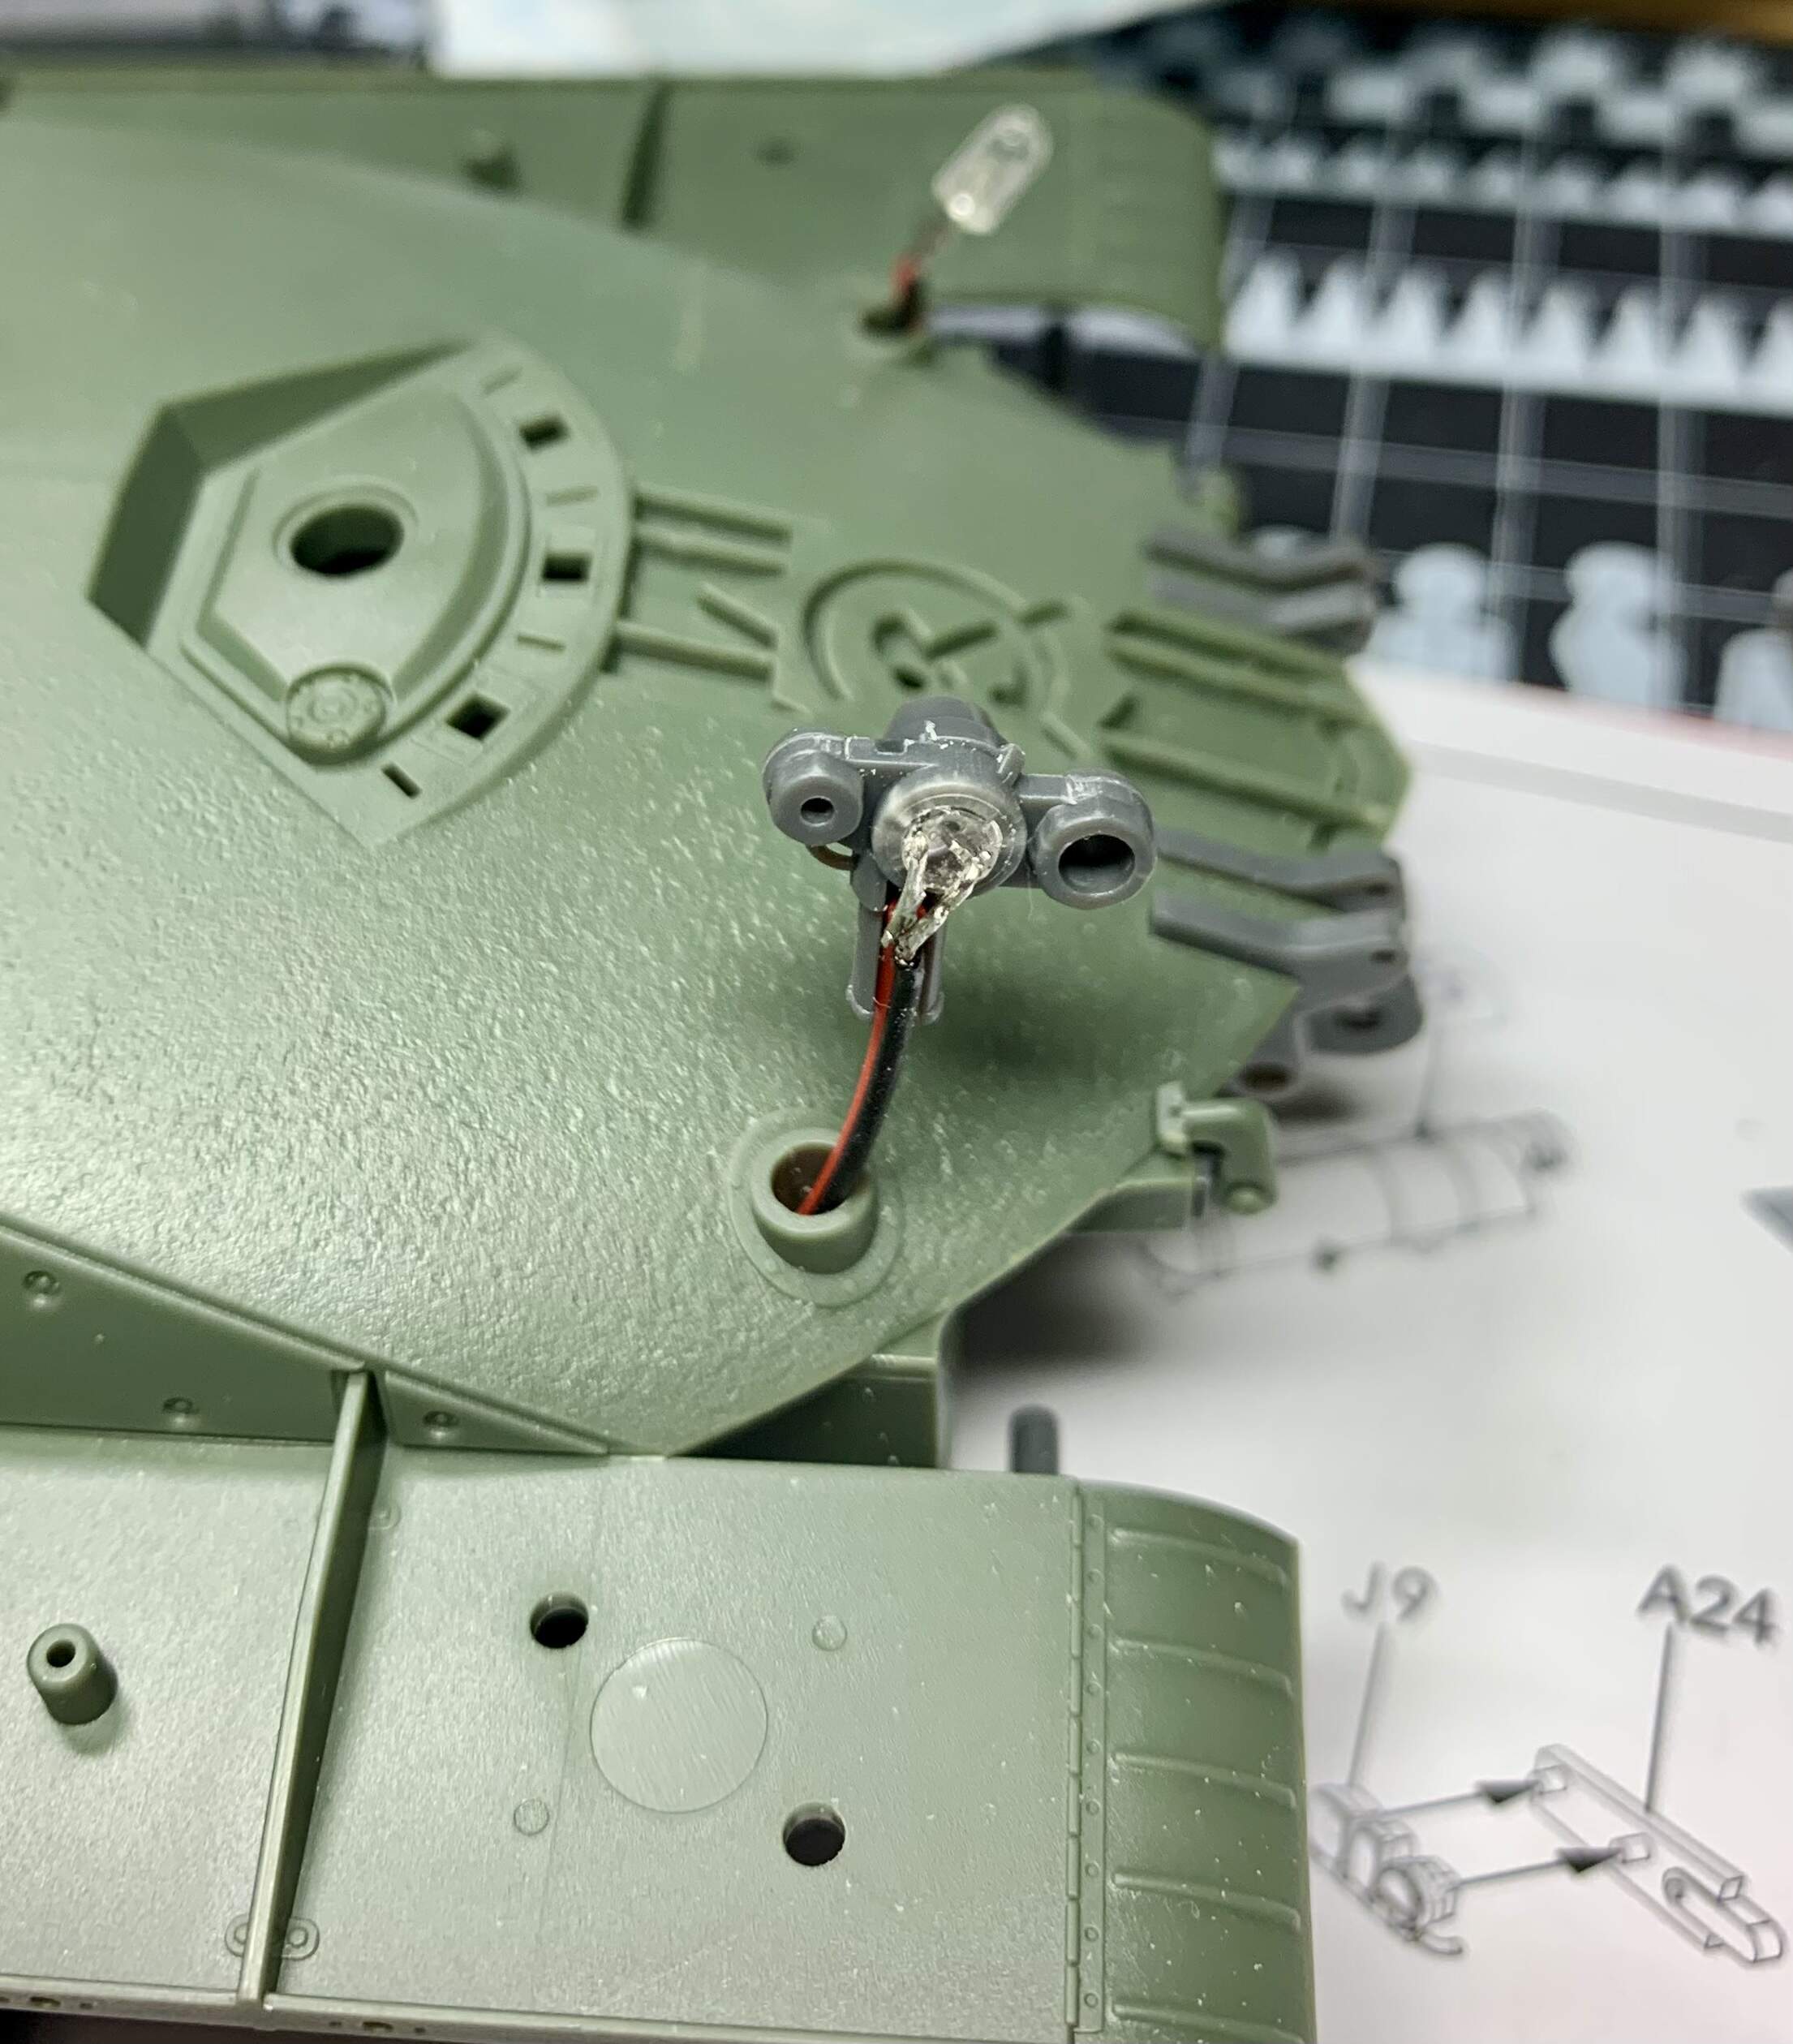
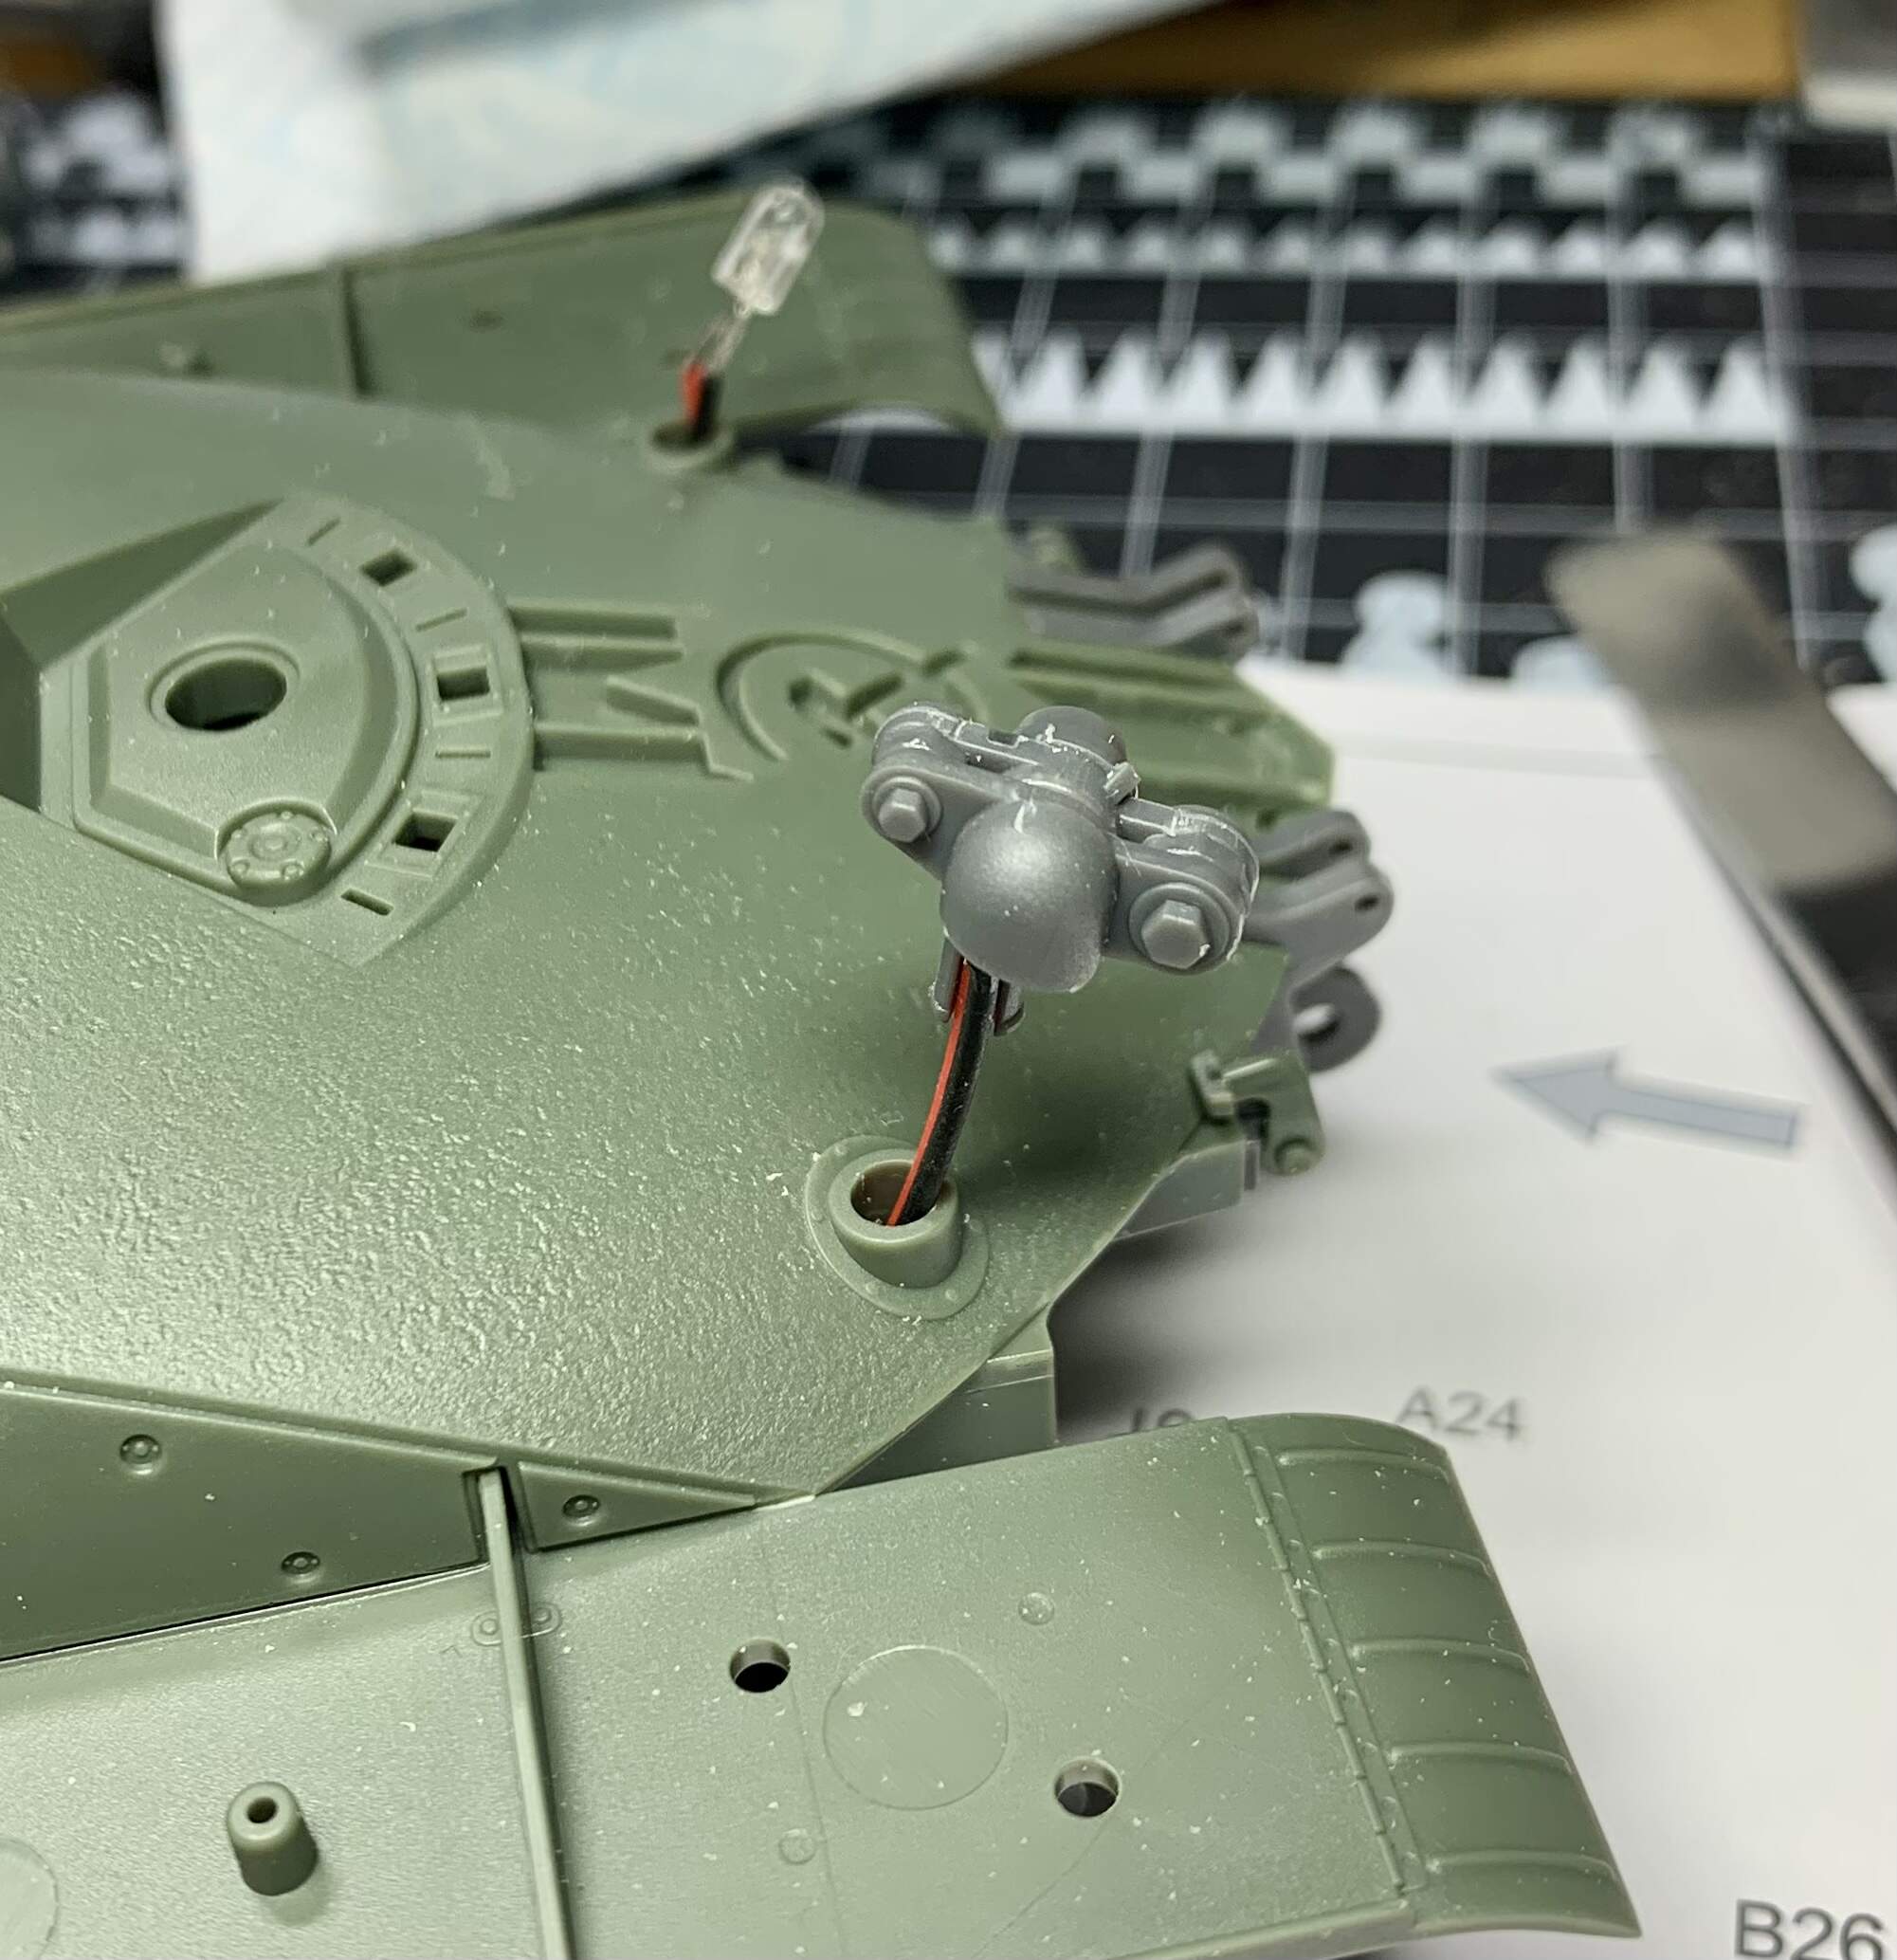
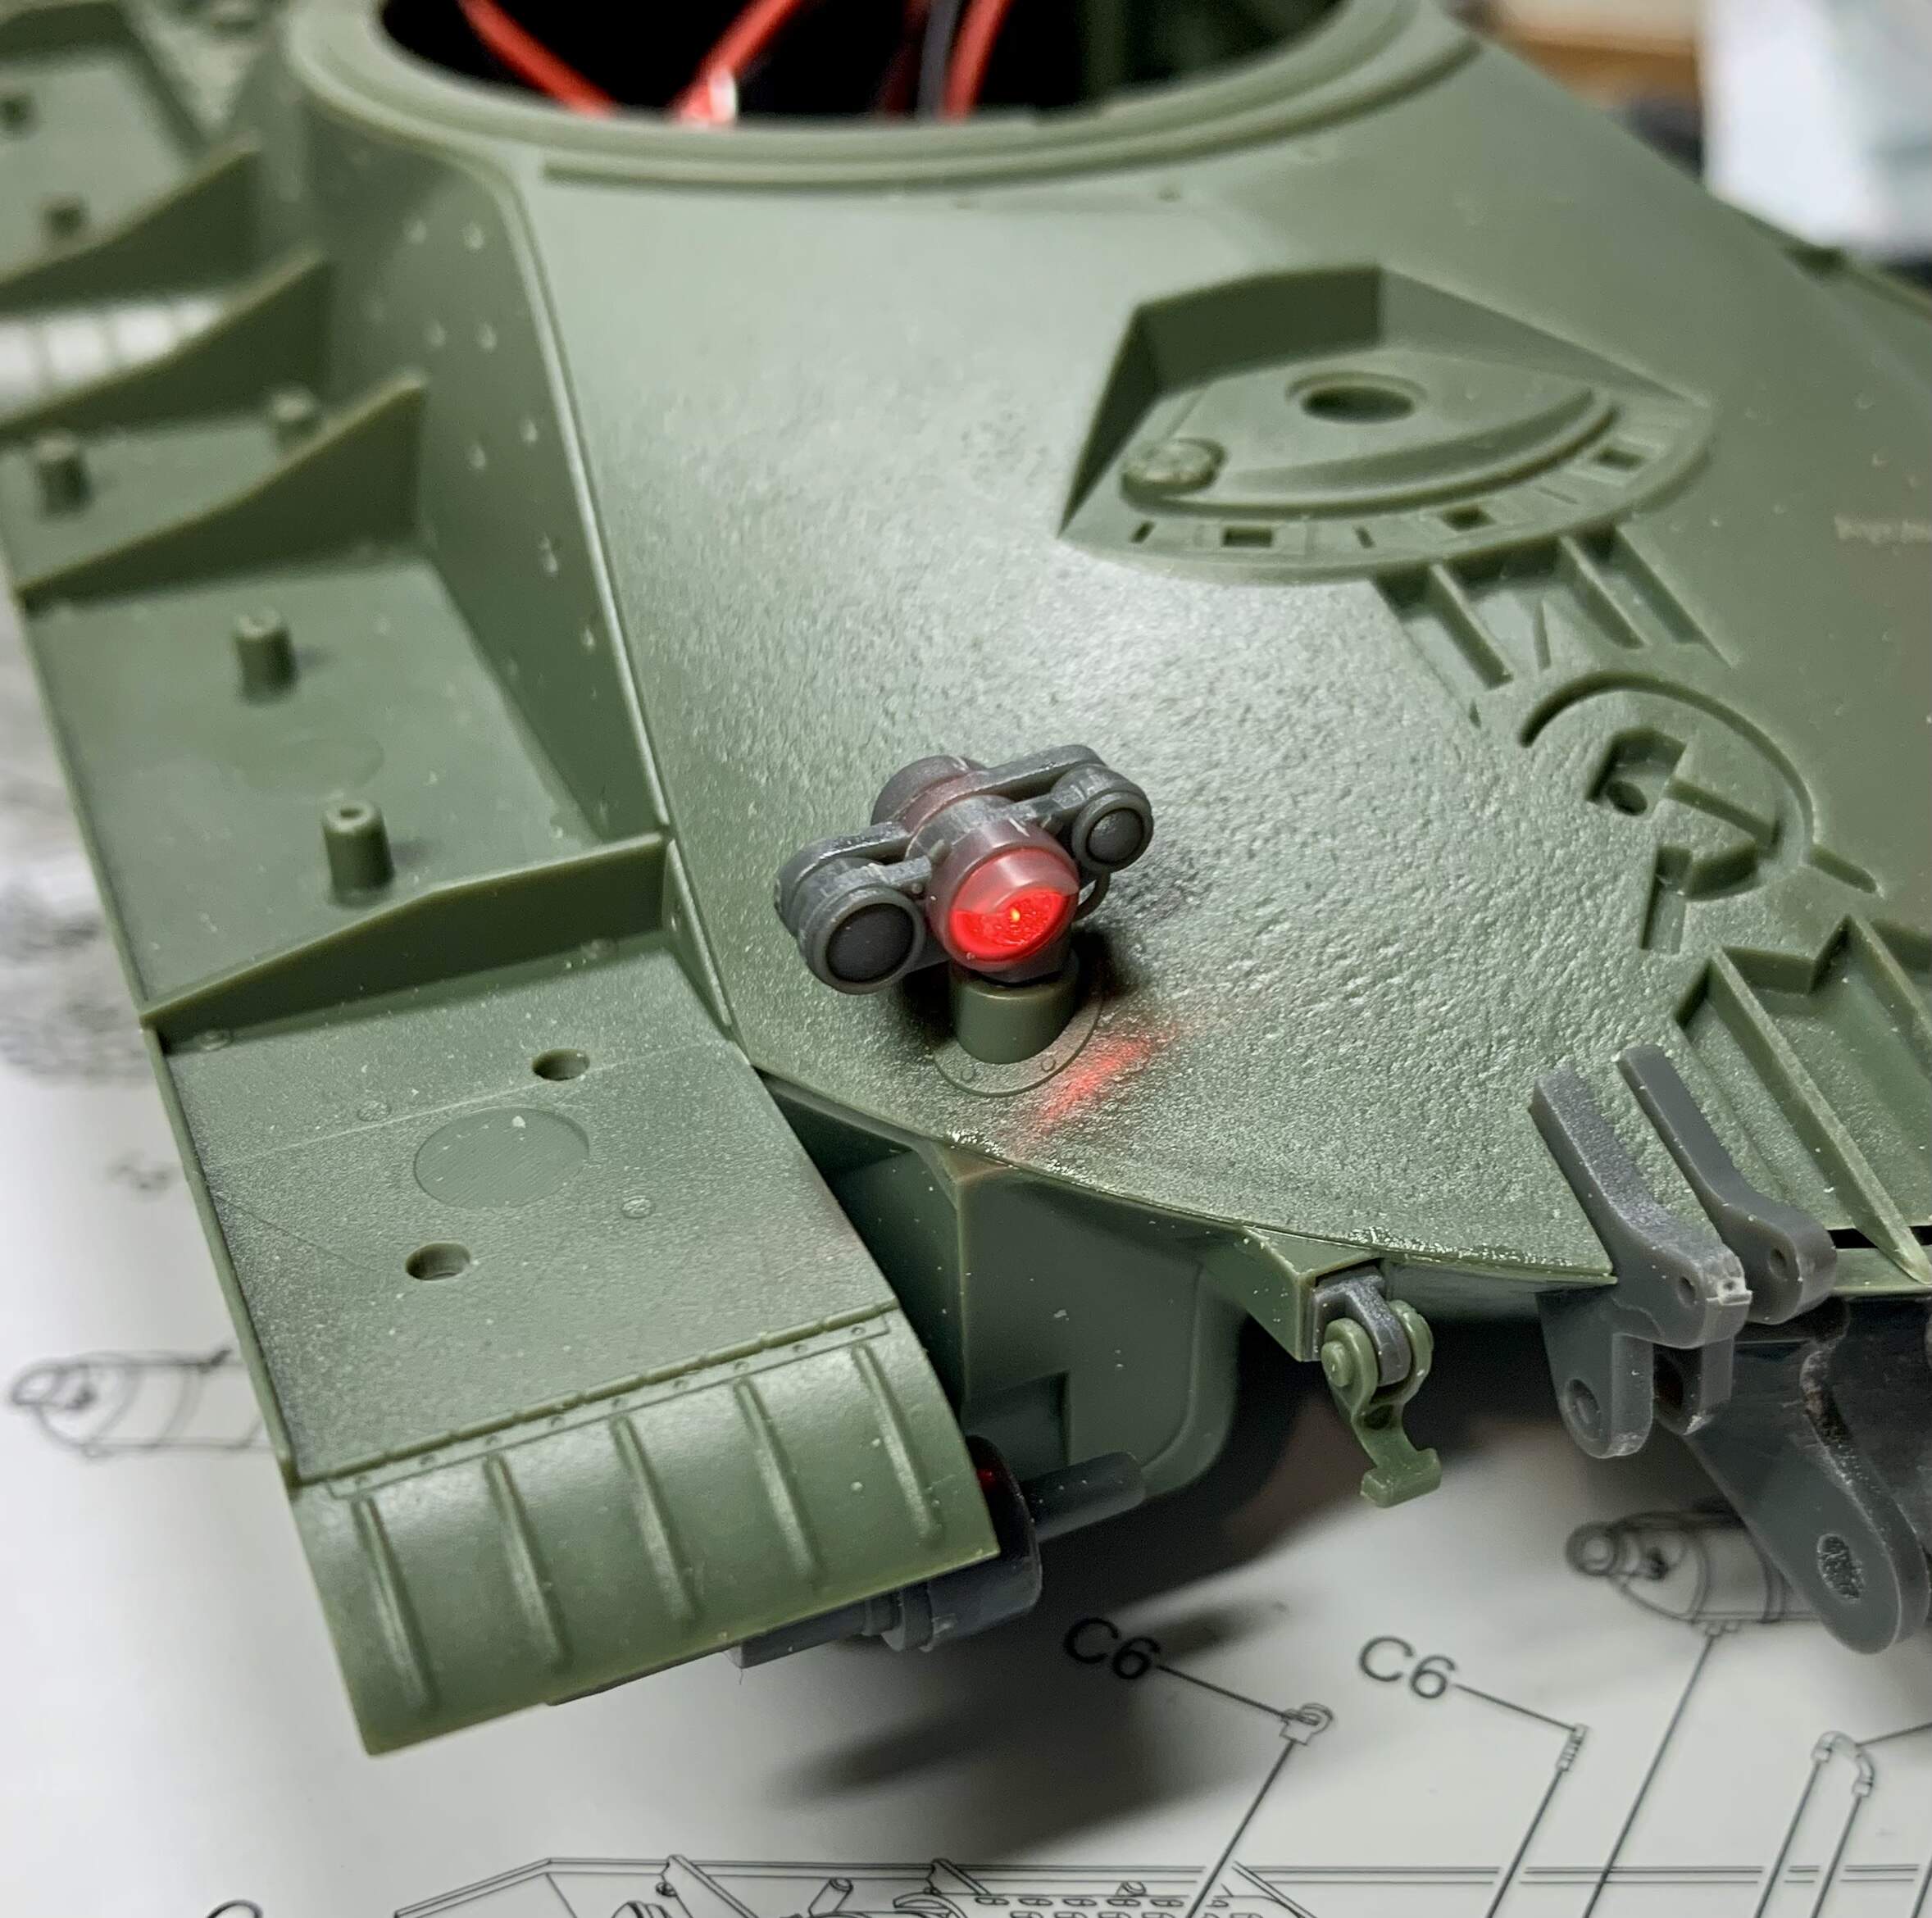
I can only guess the ‘no paint or glue needed’ is to perhaps interest fans of the game who have maybe never modelled before. Again, I have to applaud Border for the innovation but I’ll be both gluing and painting mine (ye olde fashioned way-e).

As you can see the moulds are bright but for me the bare plastic just doesn’t look right.

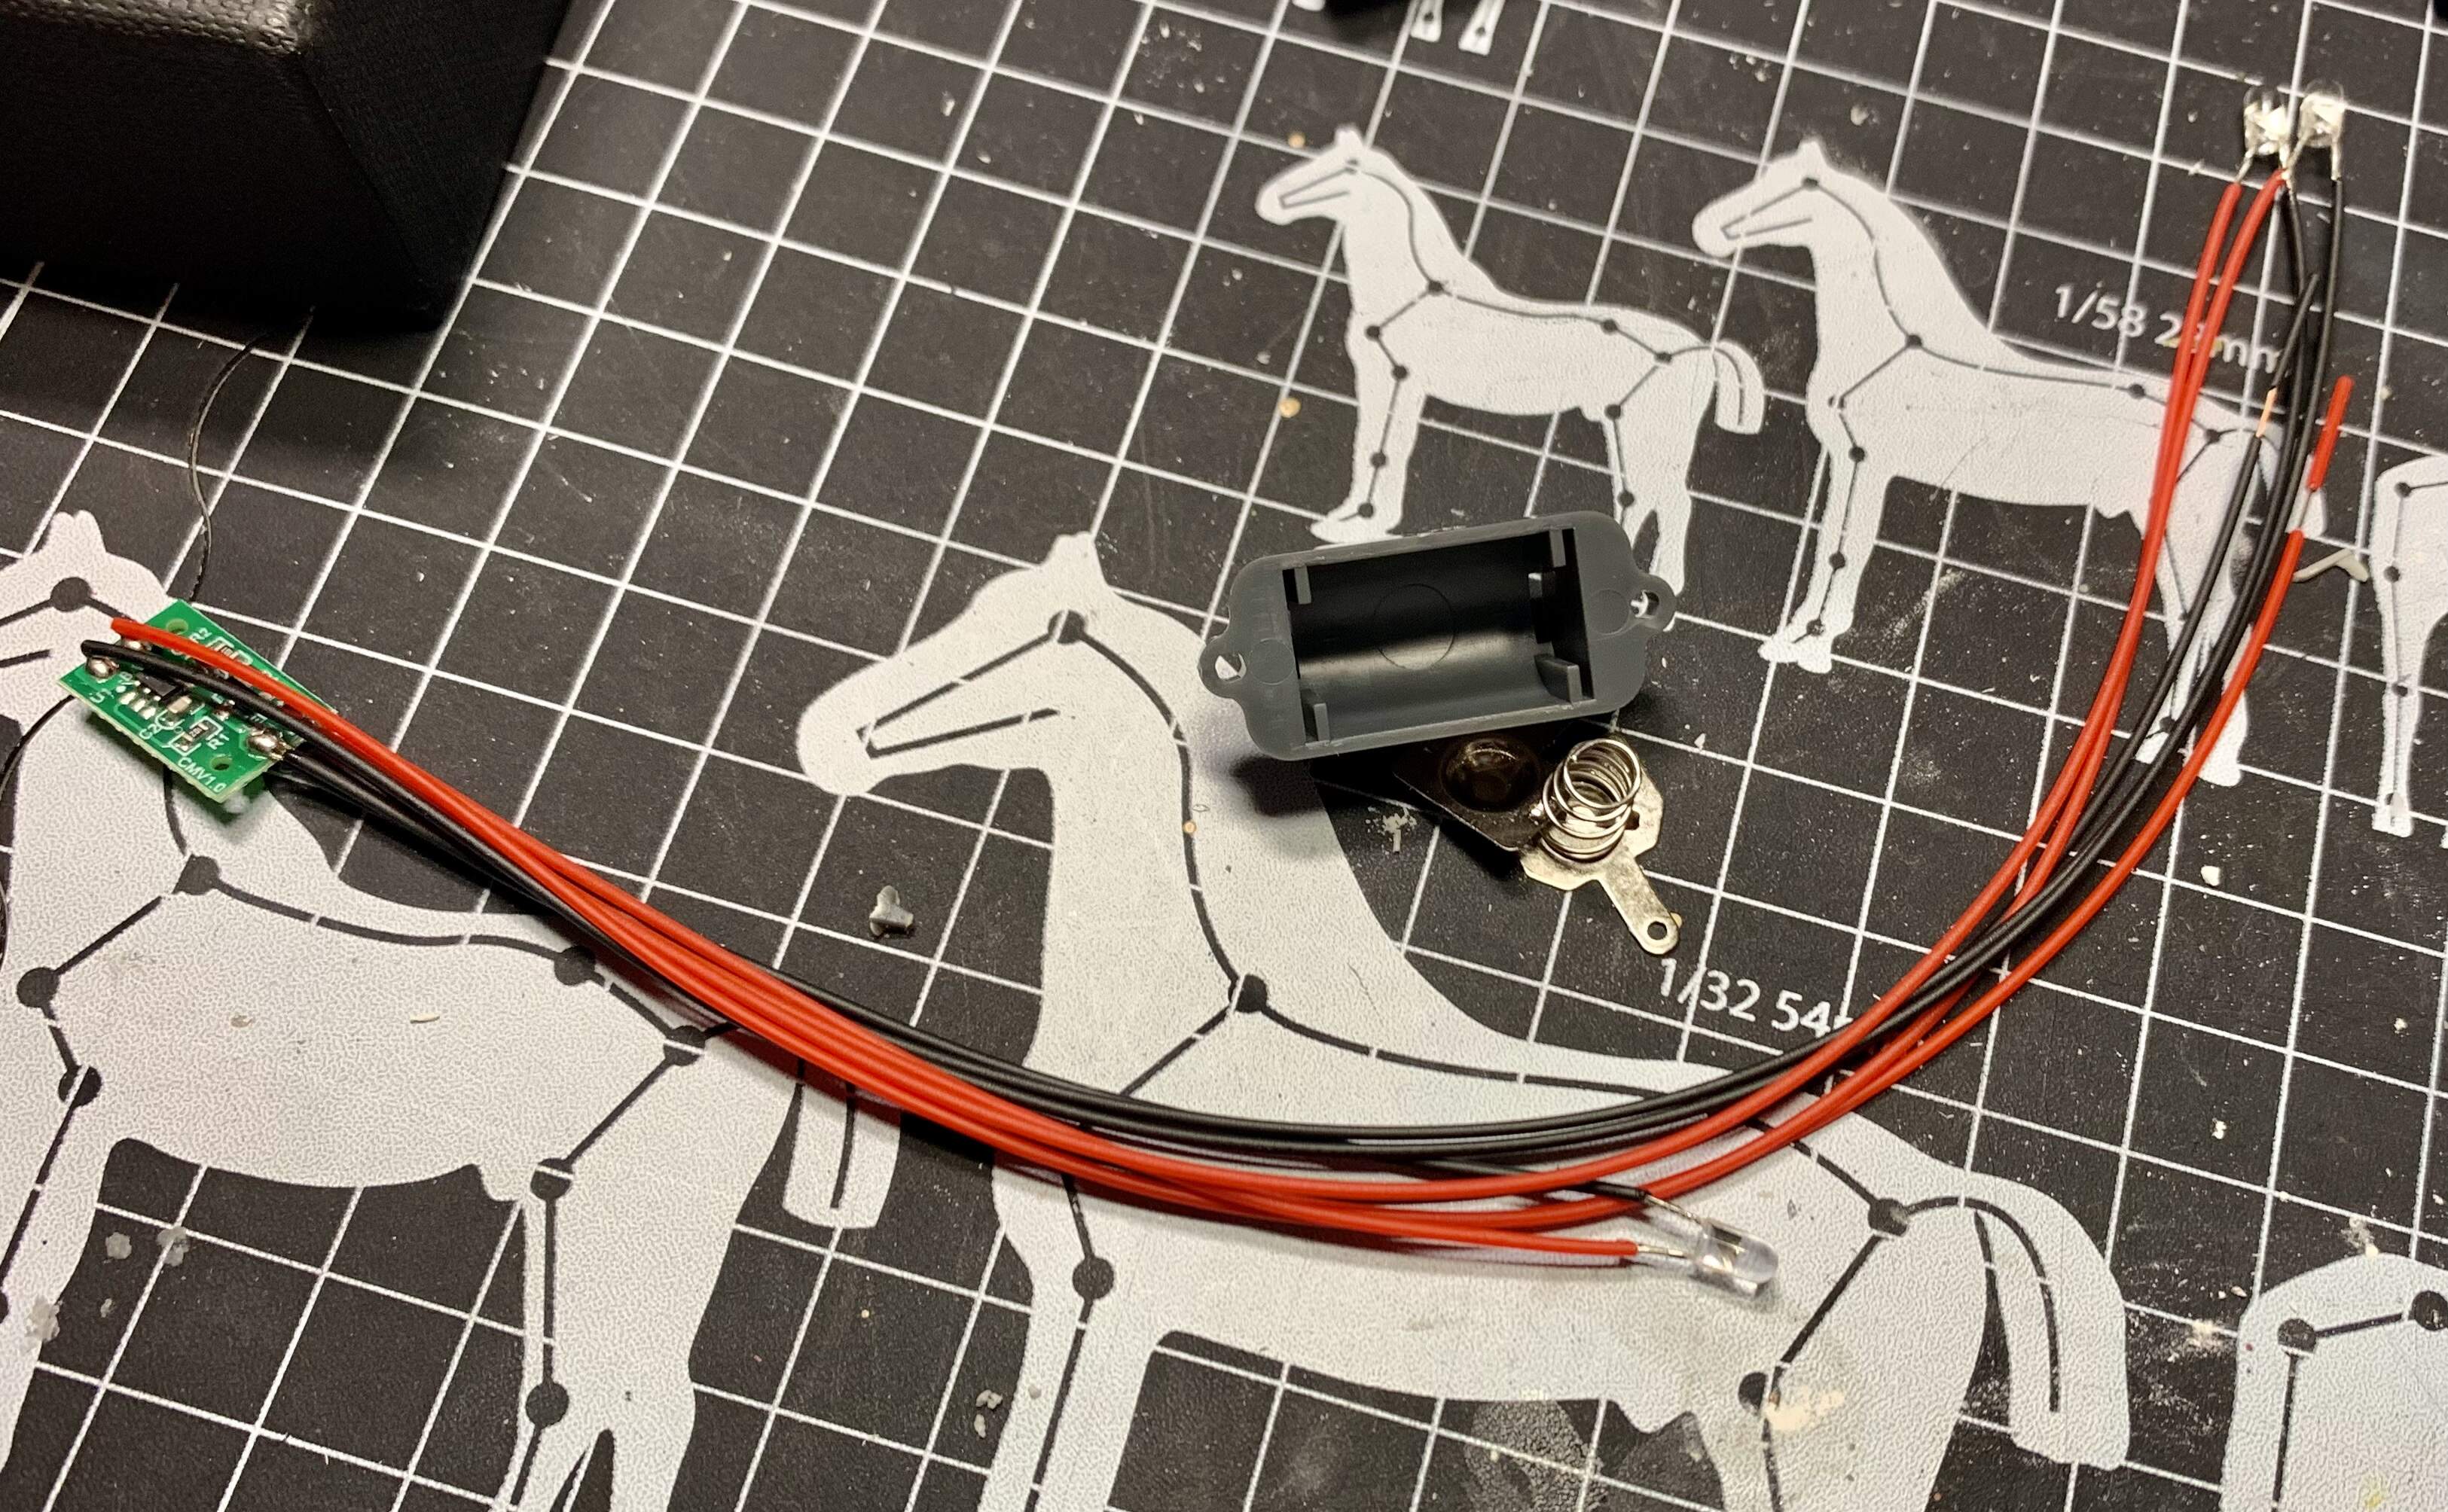
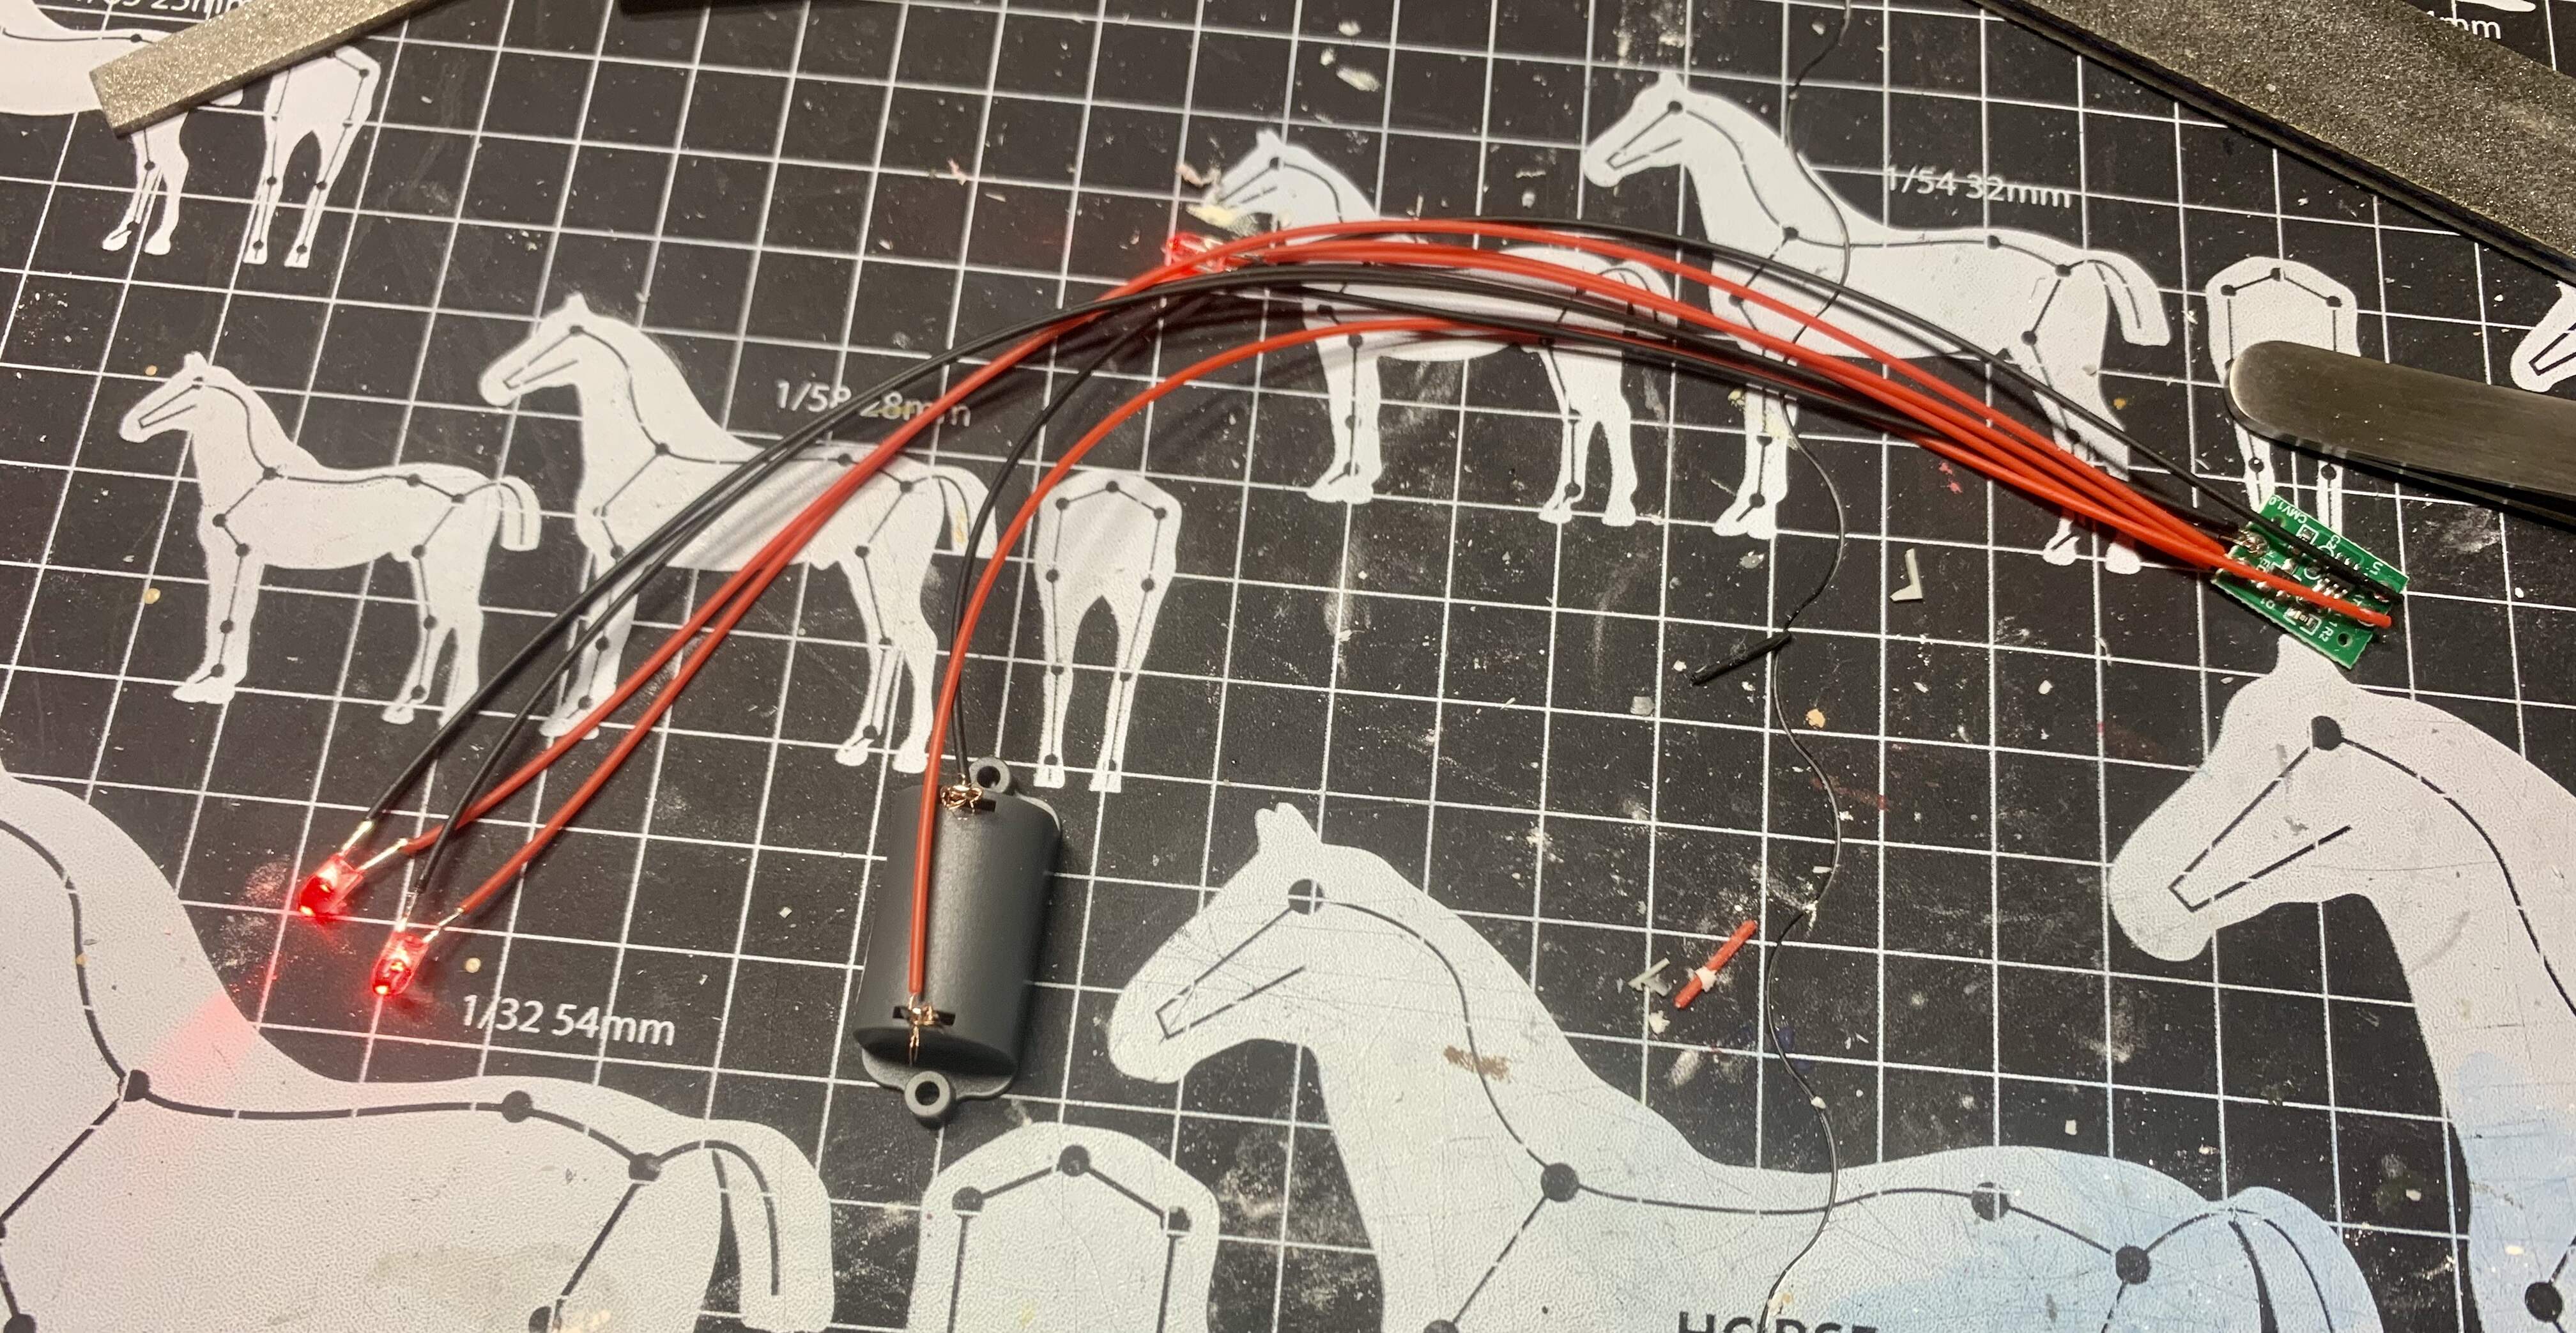
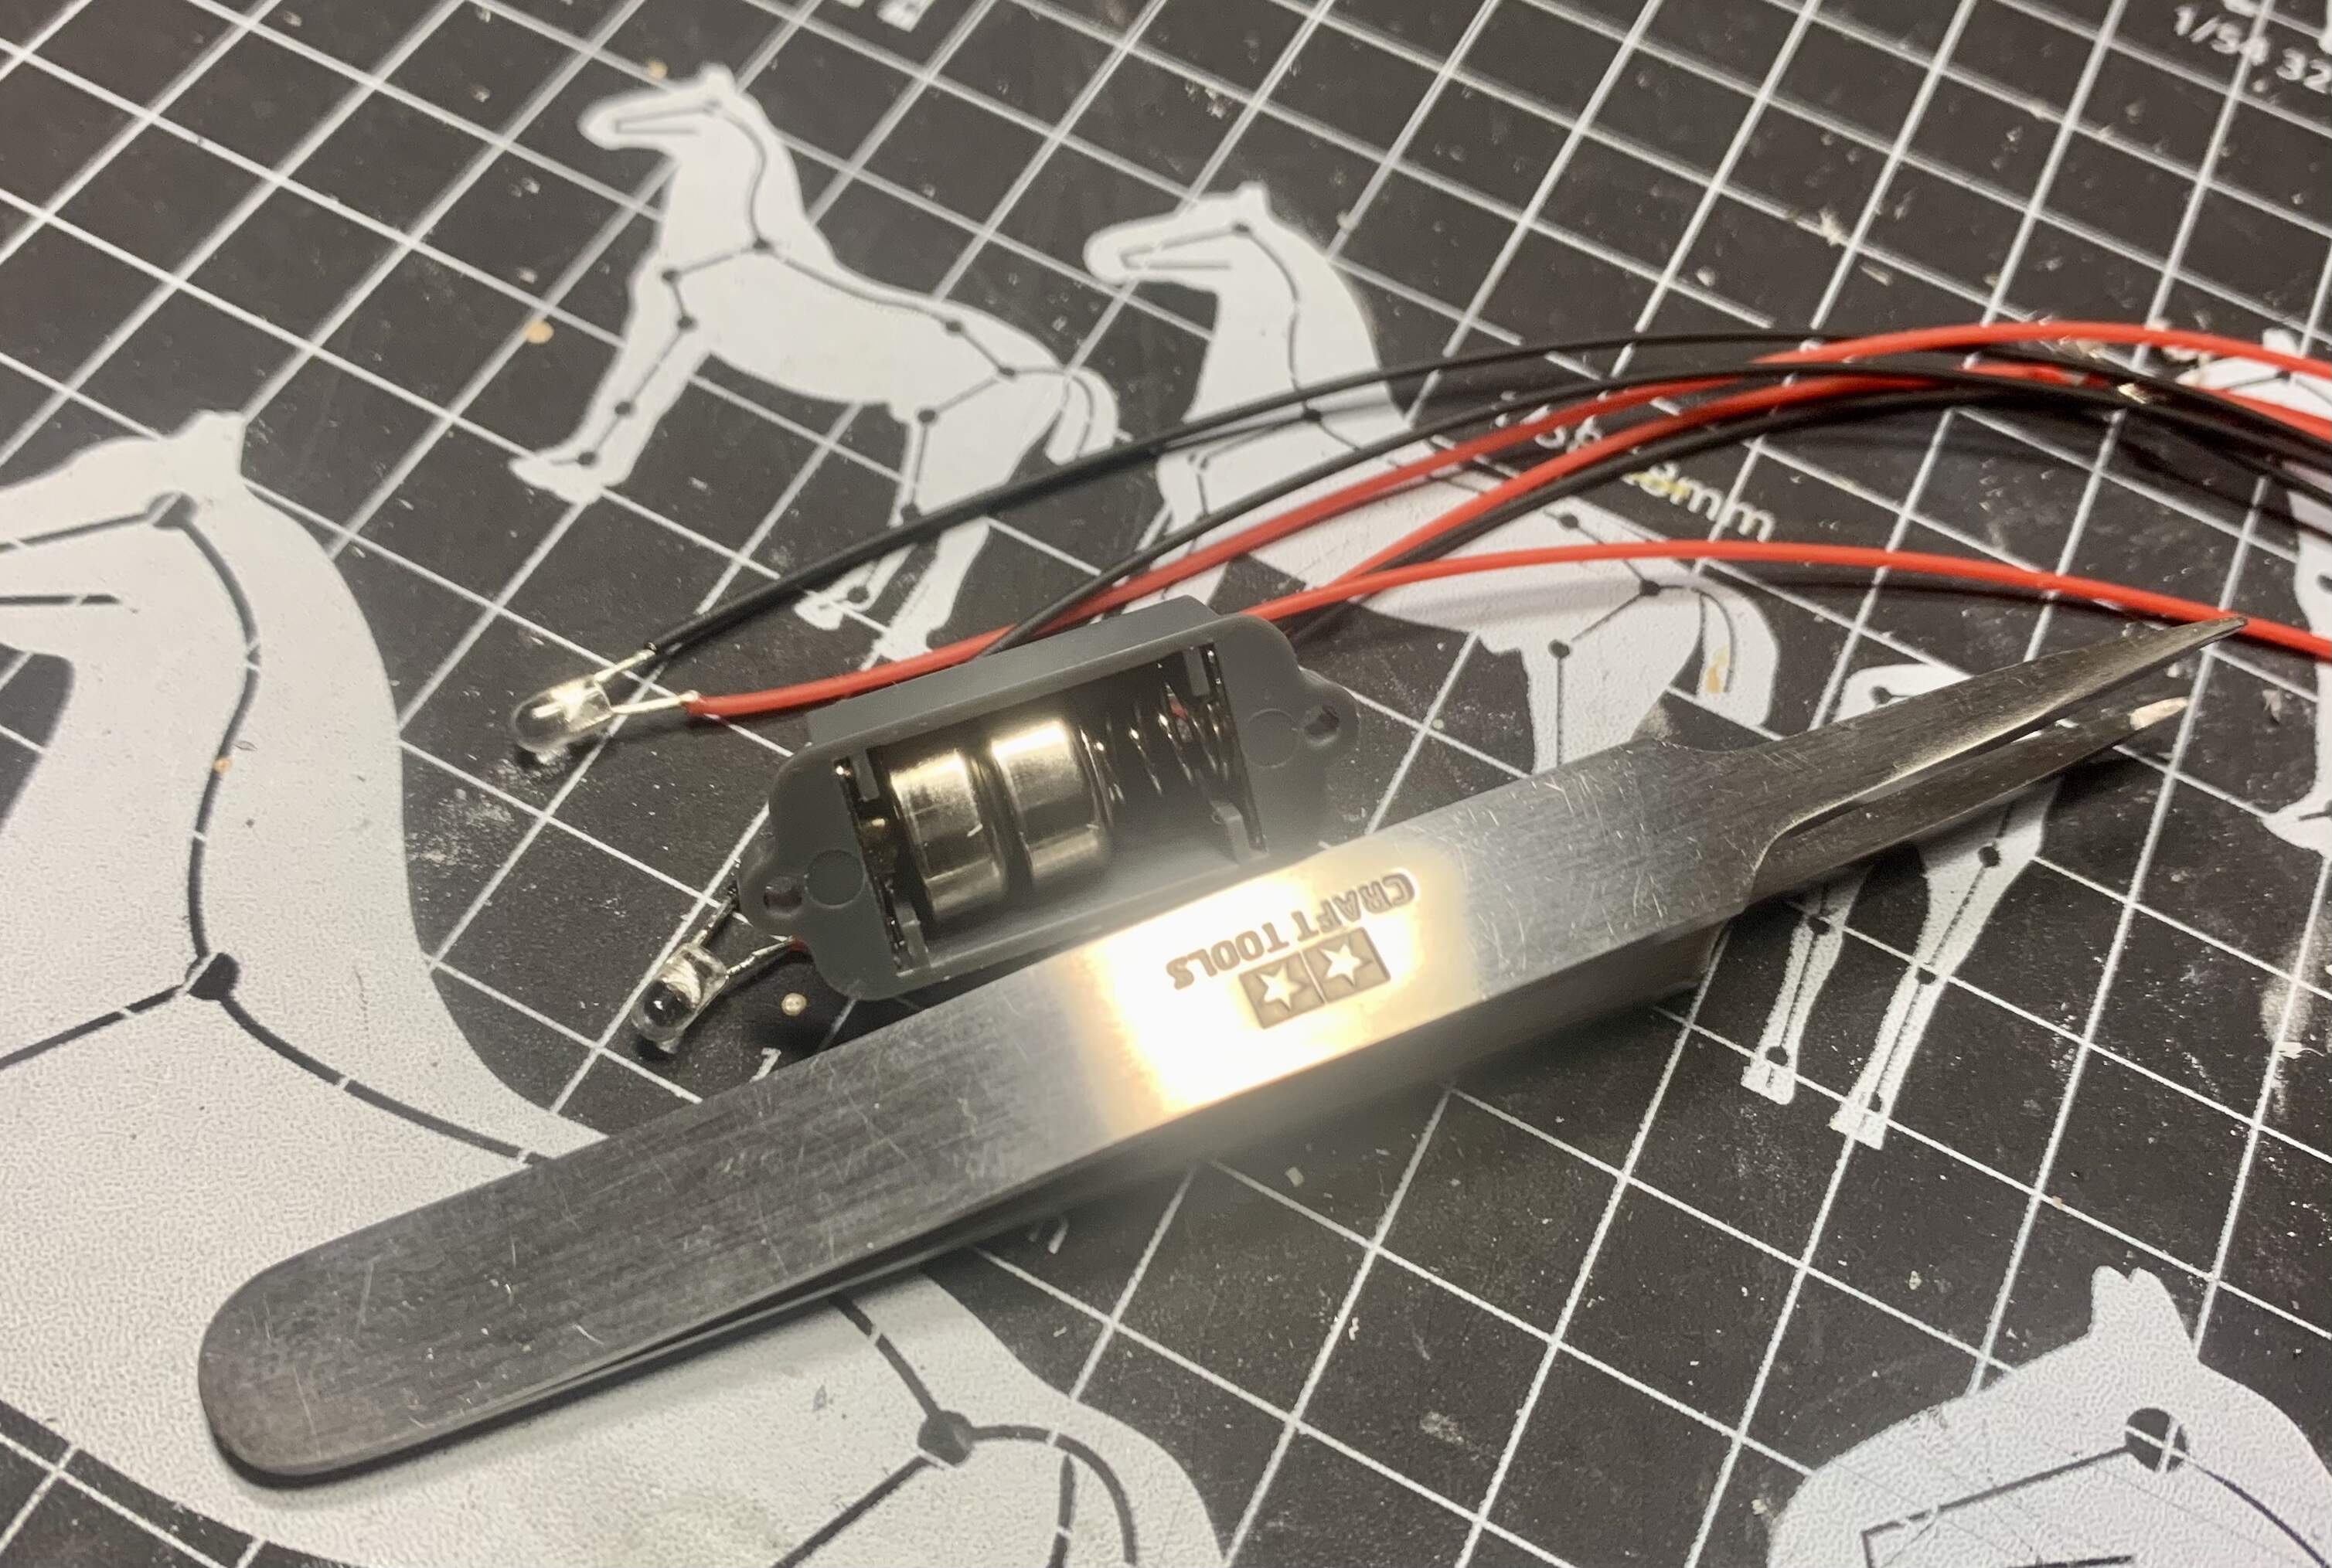
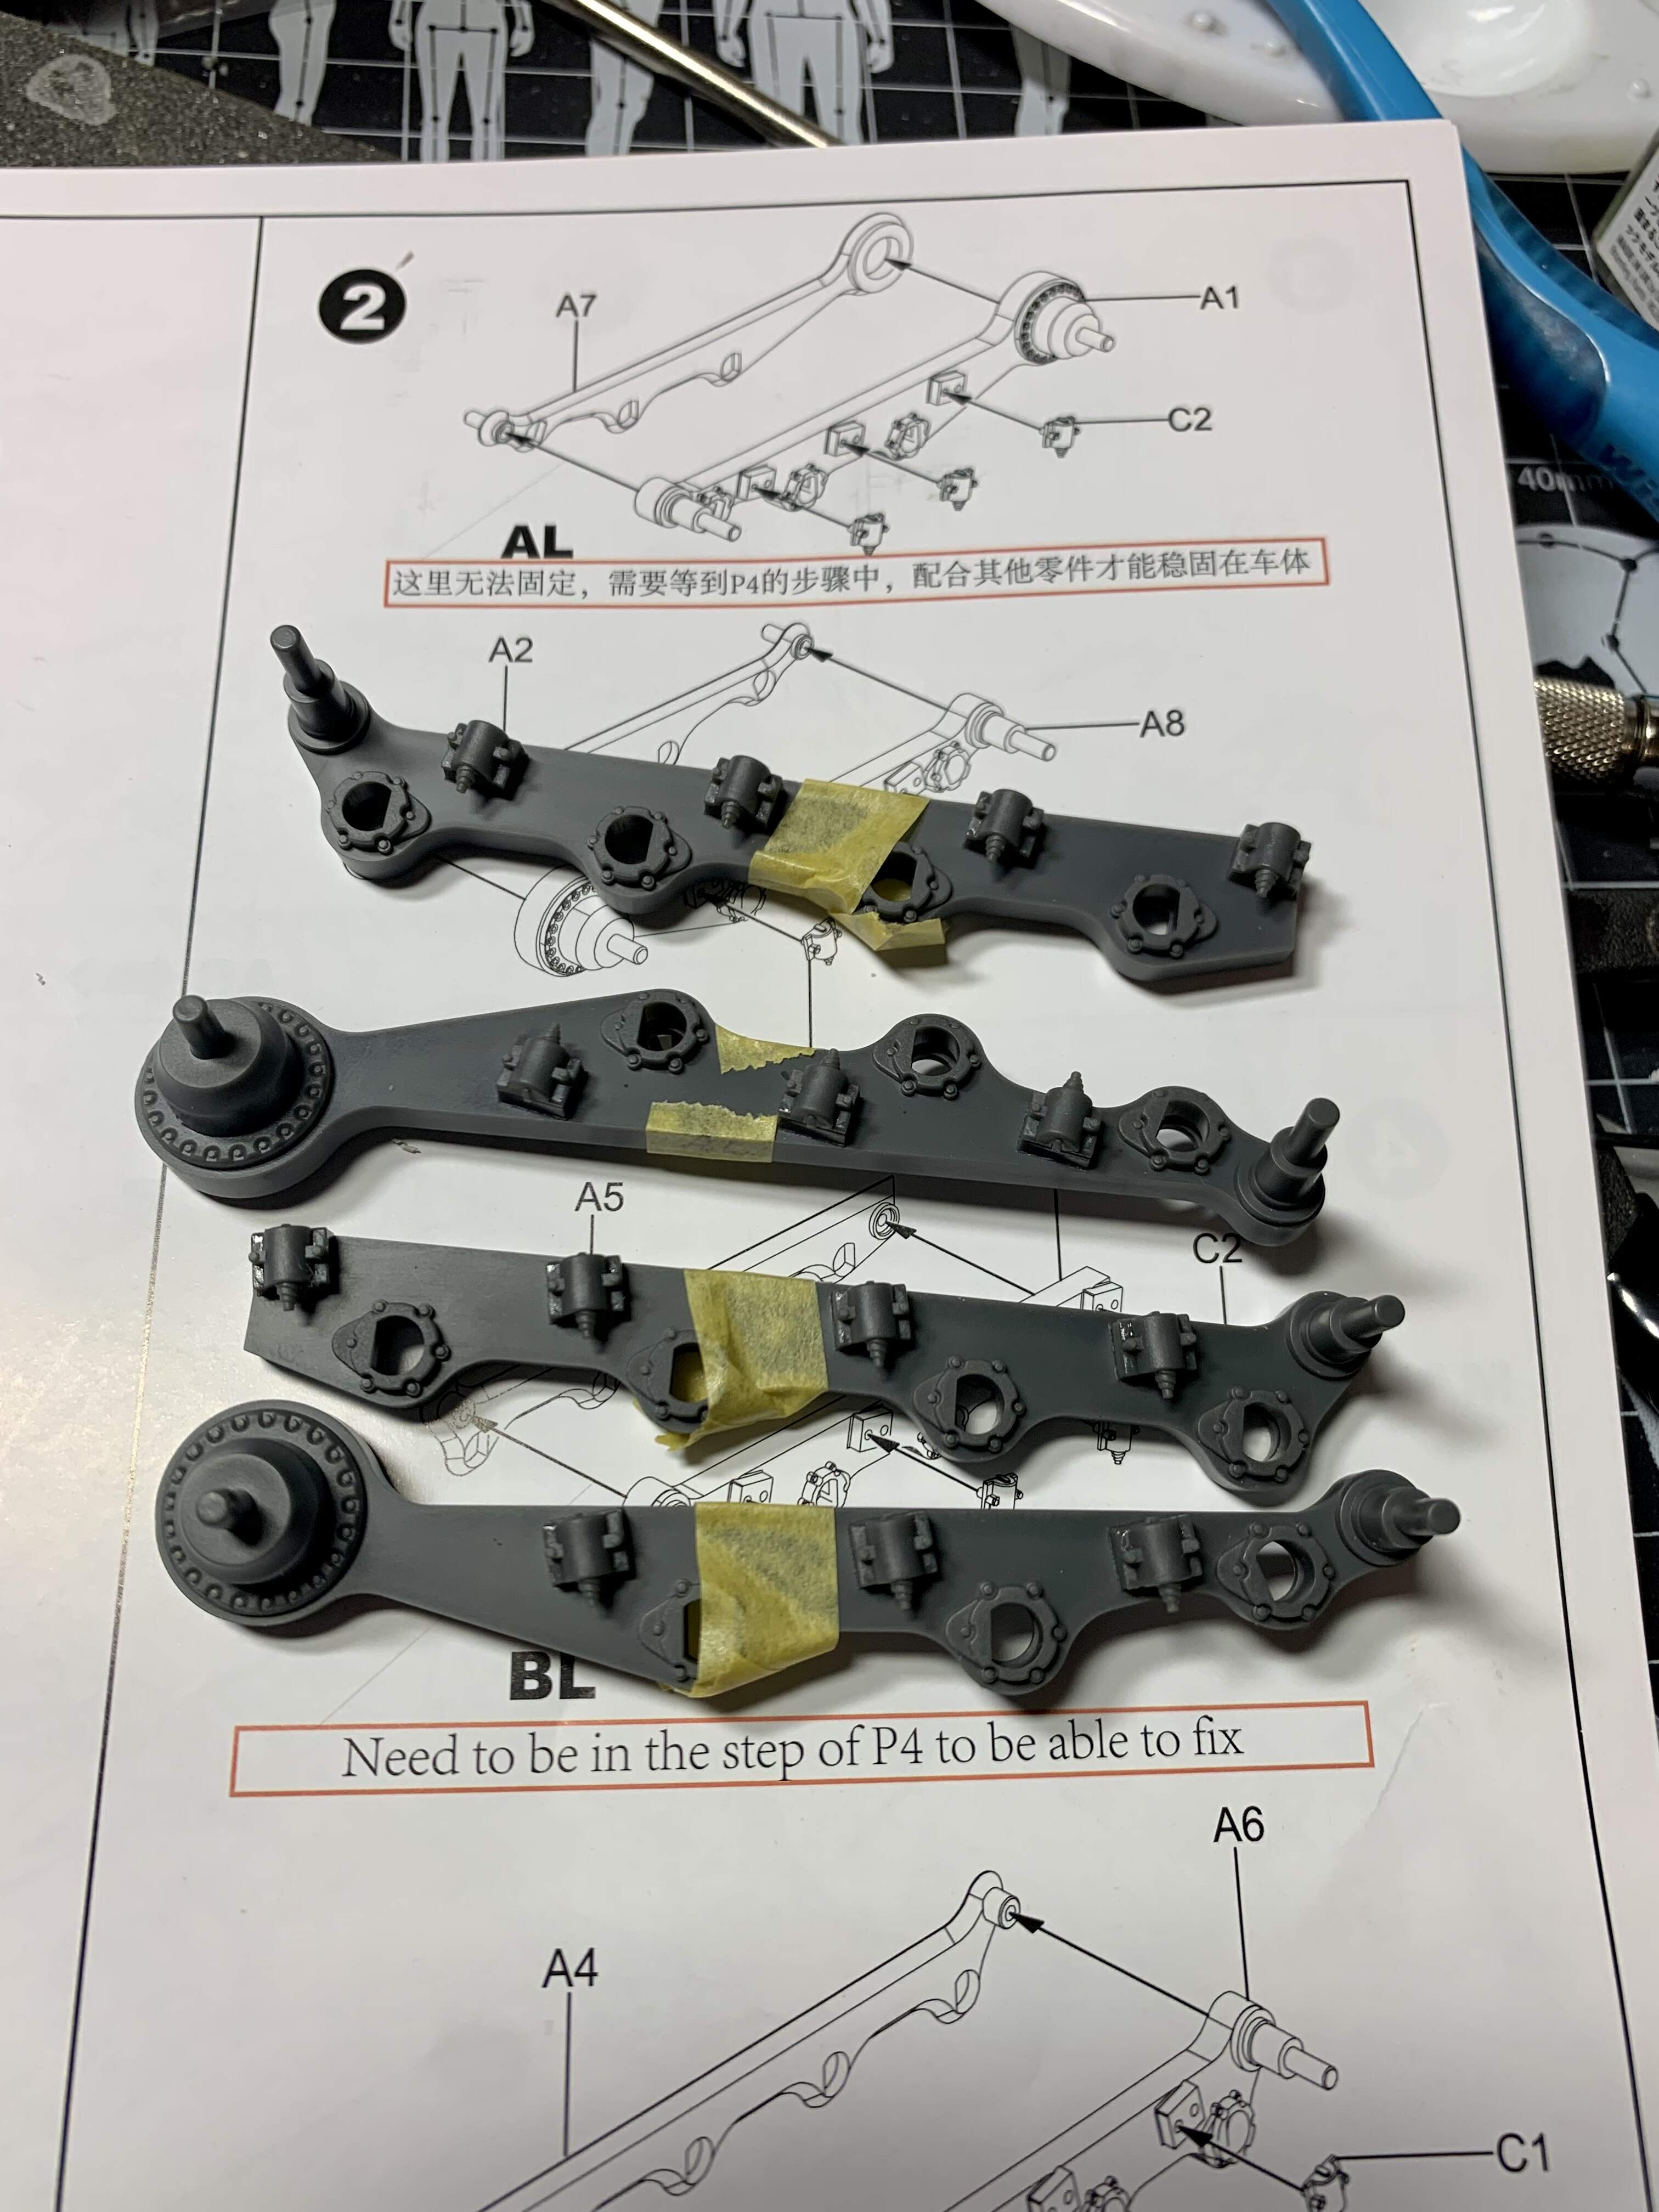
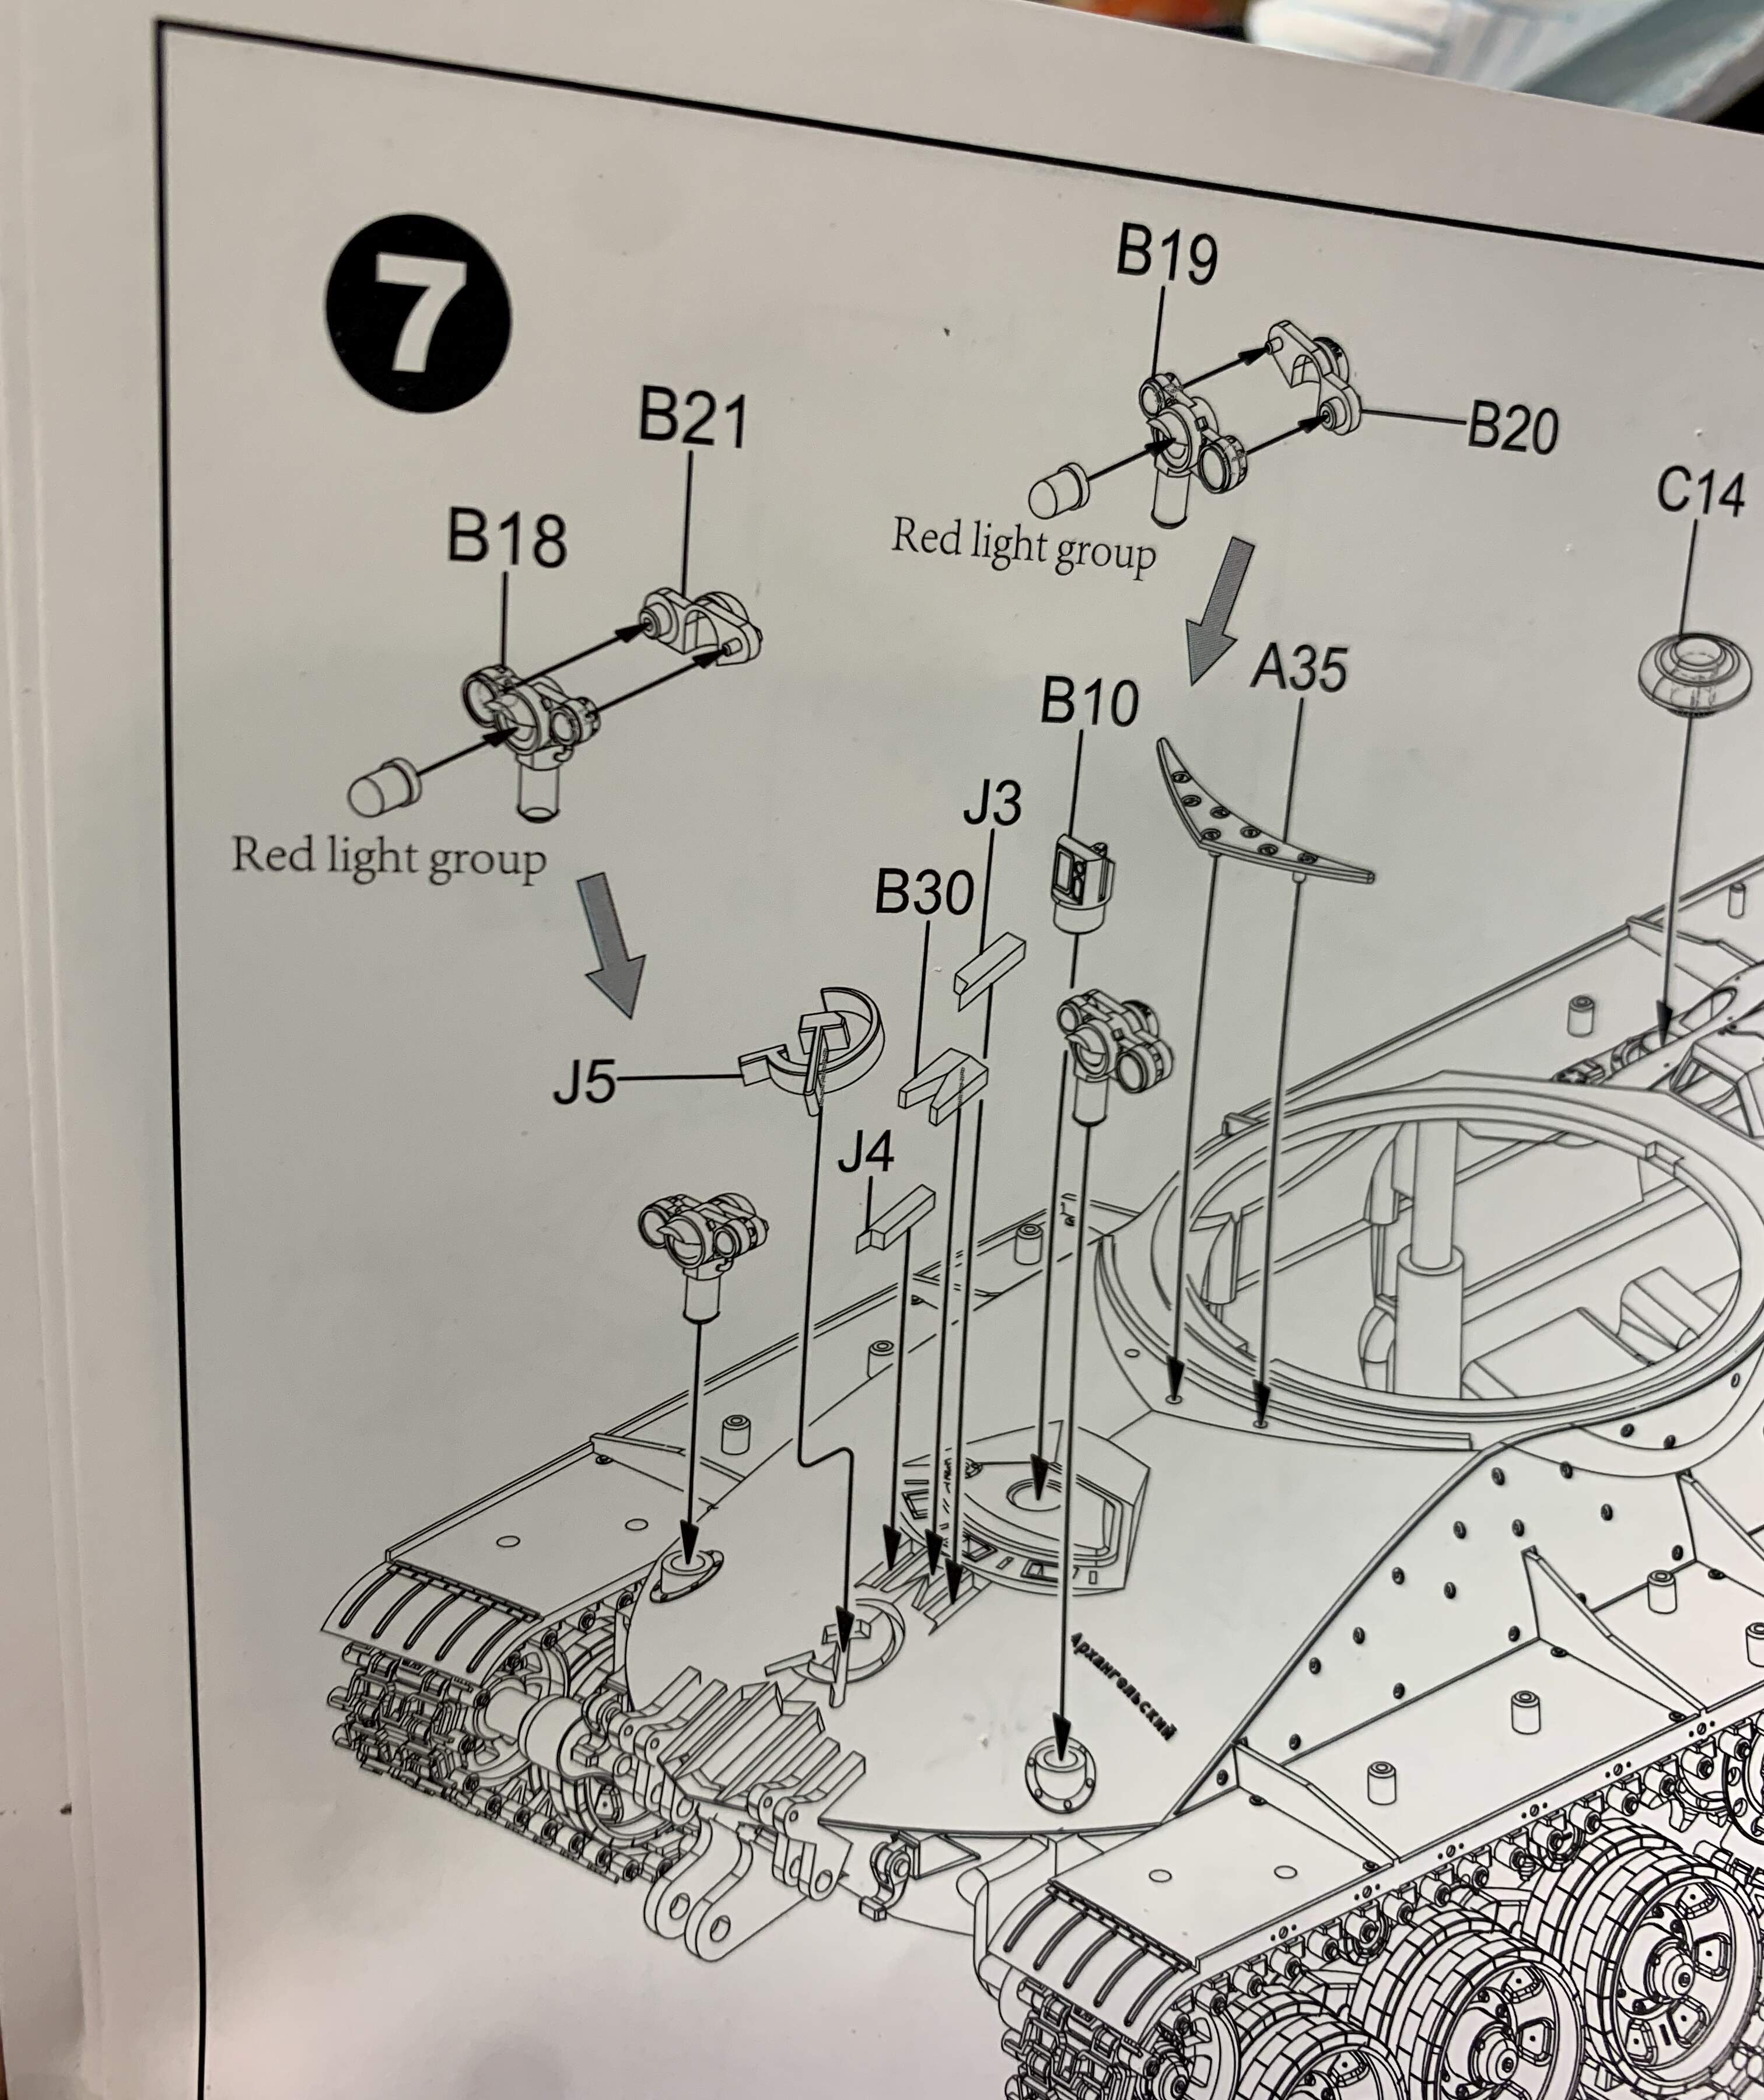
First issue I encountered was in the instructions where a battery specified on page 1 disagrees with that specified on page2.

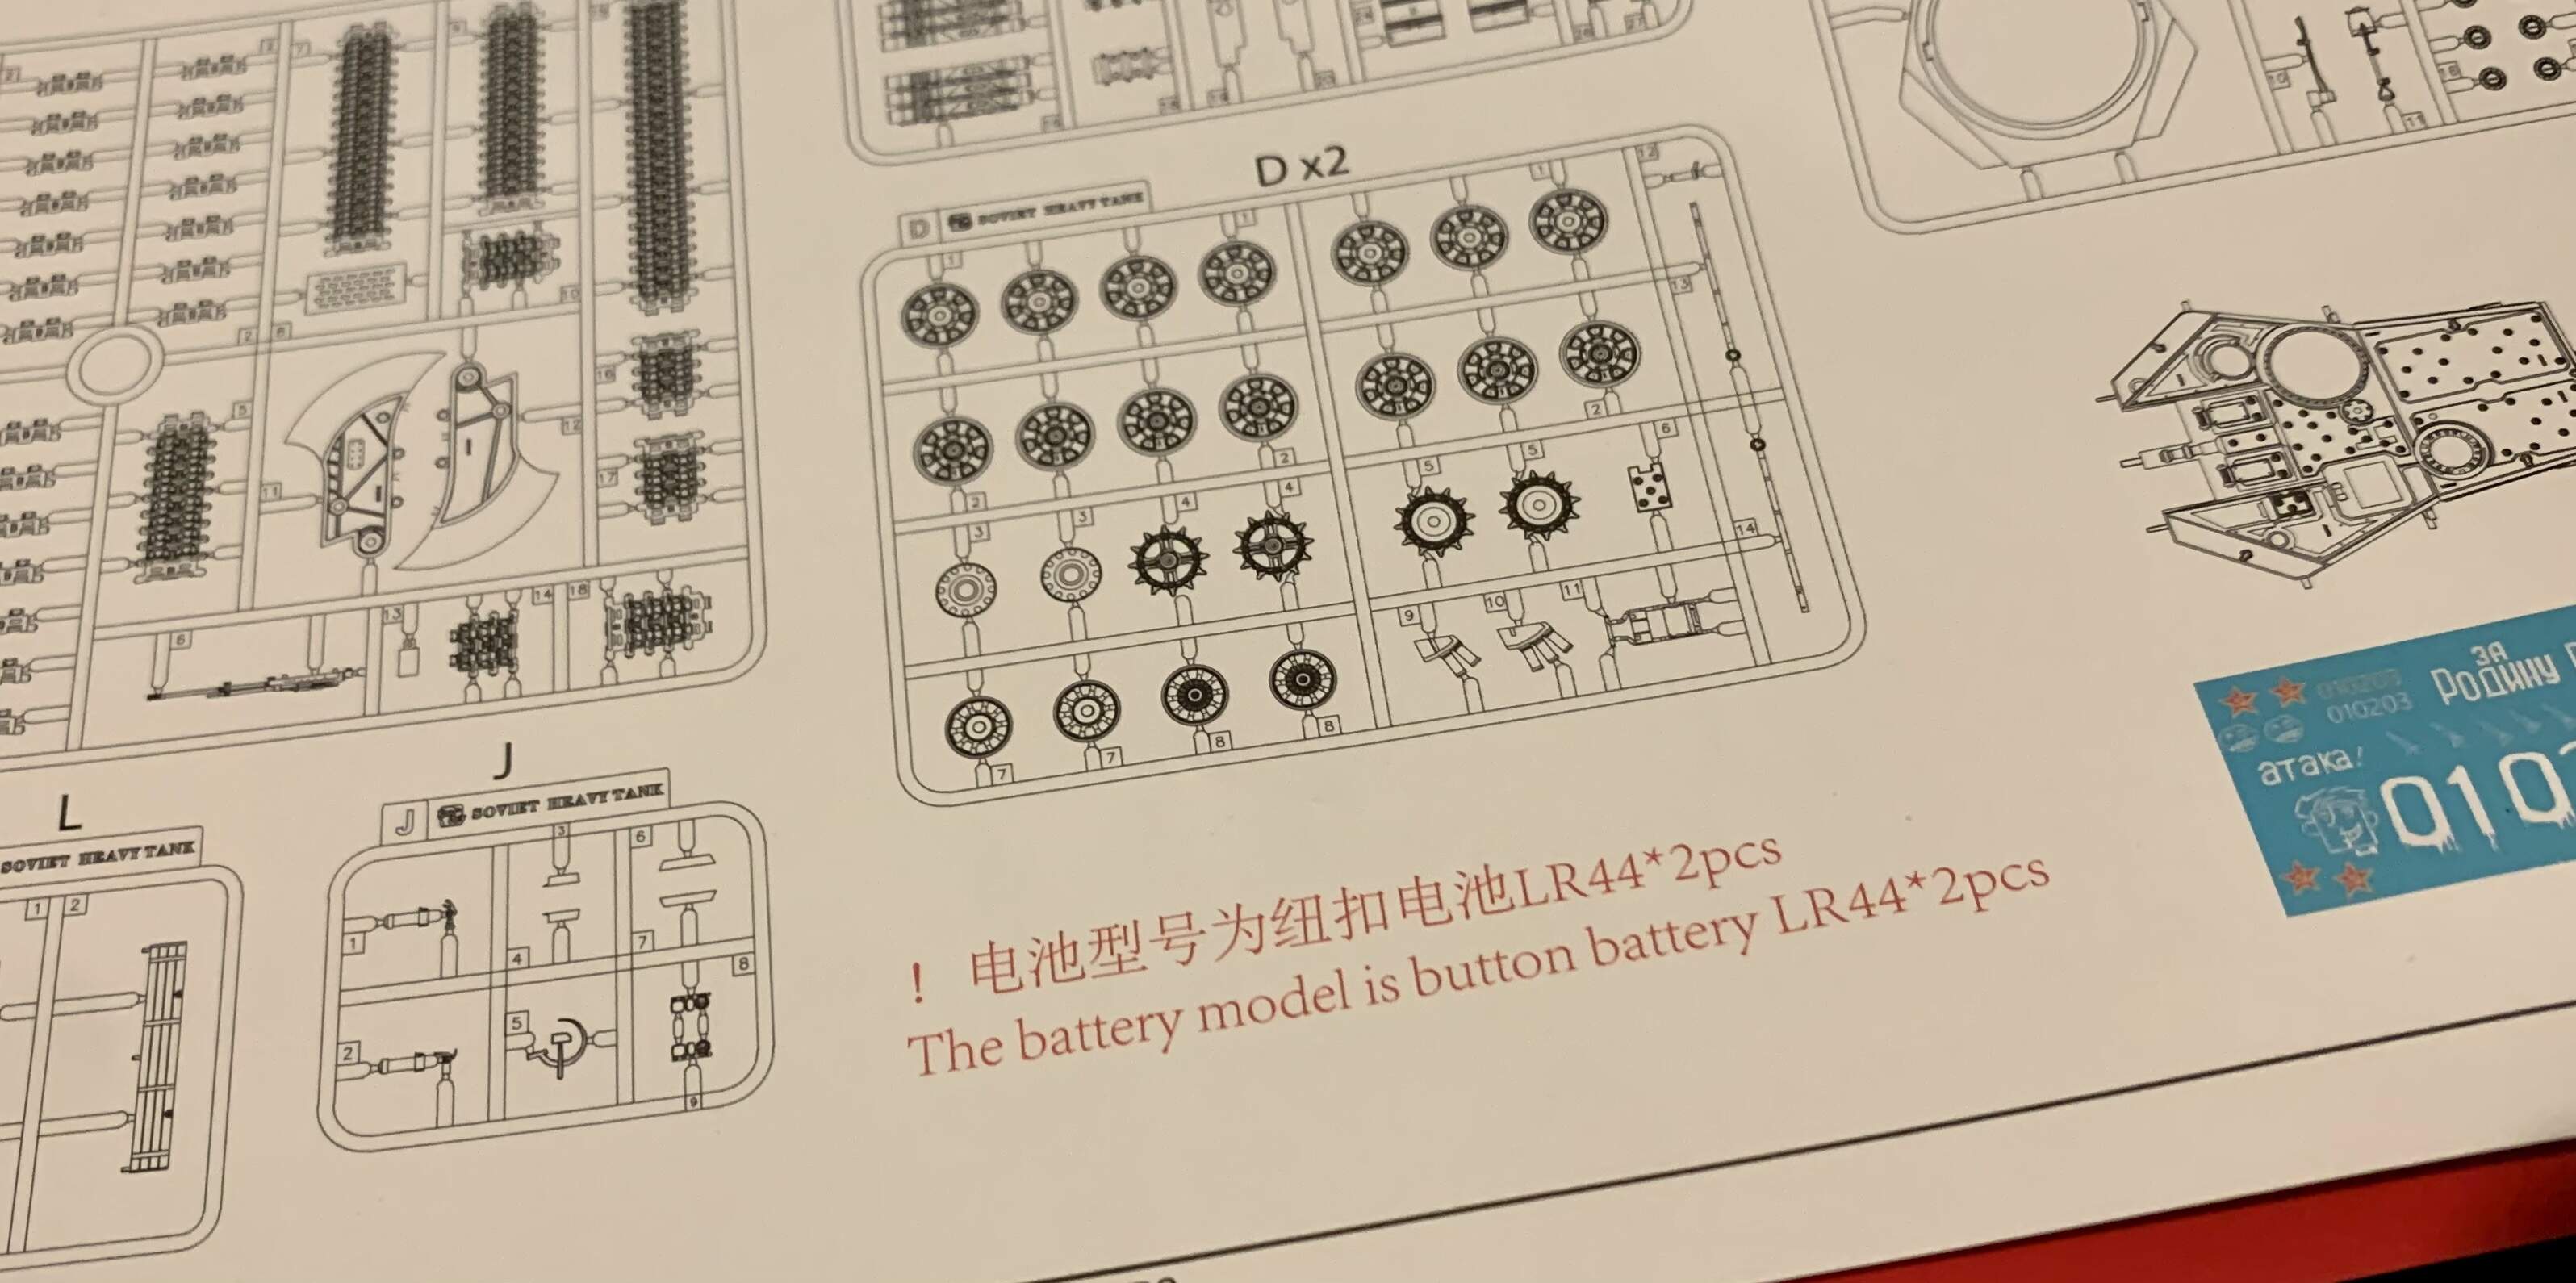
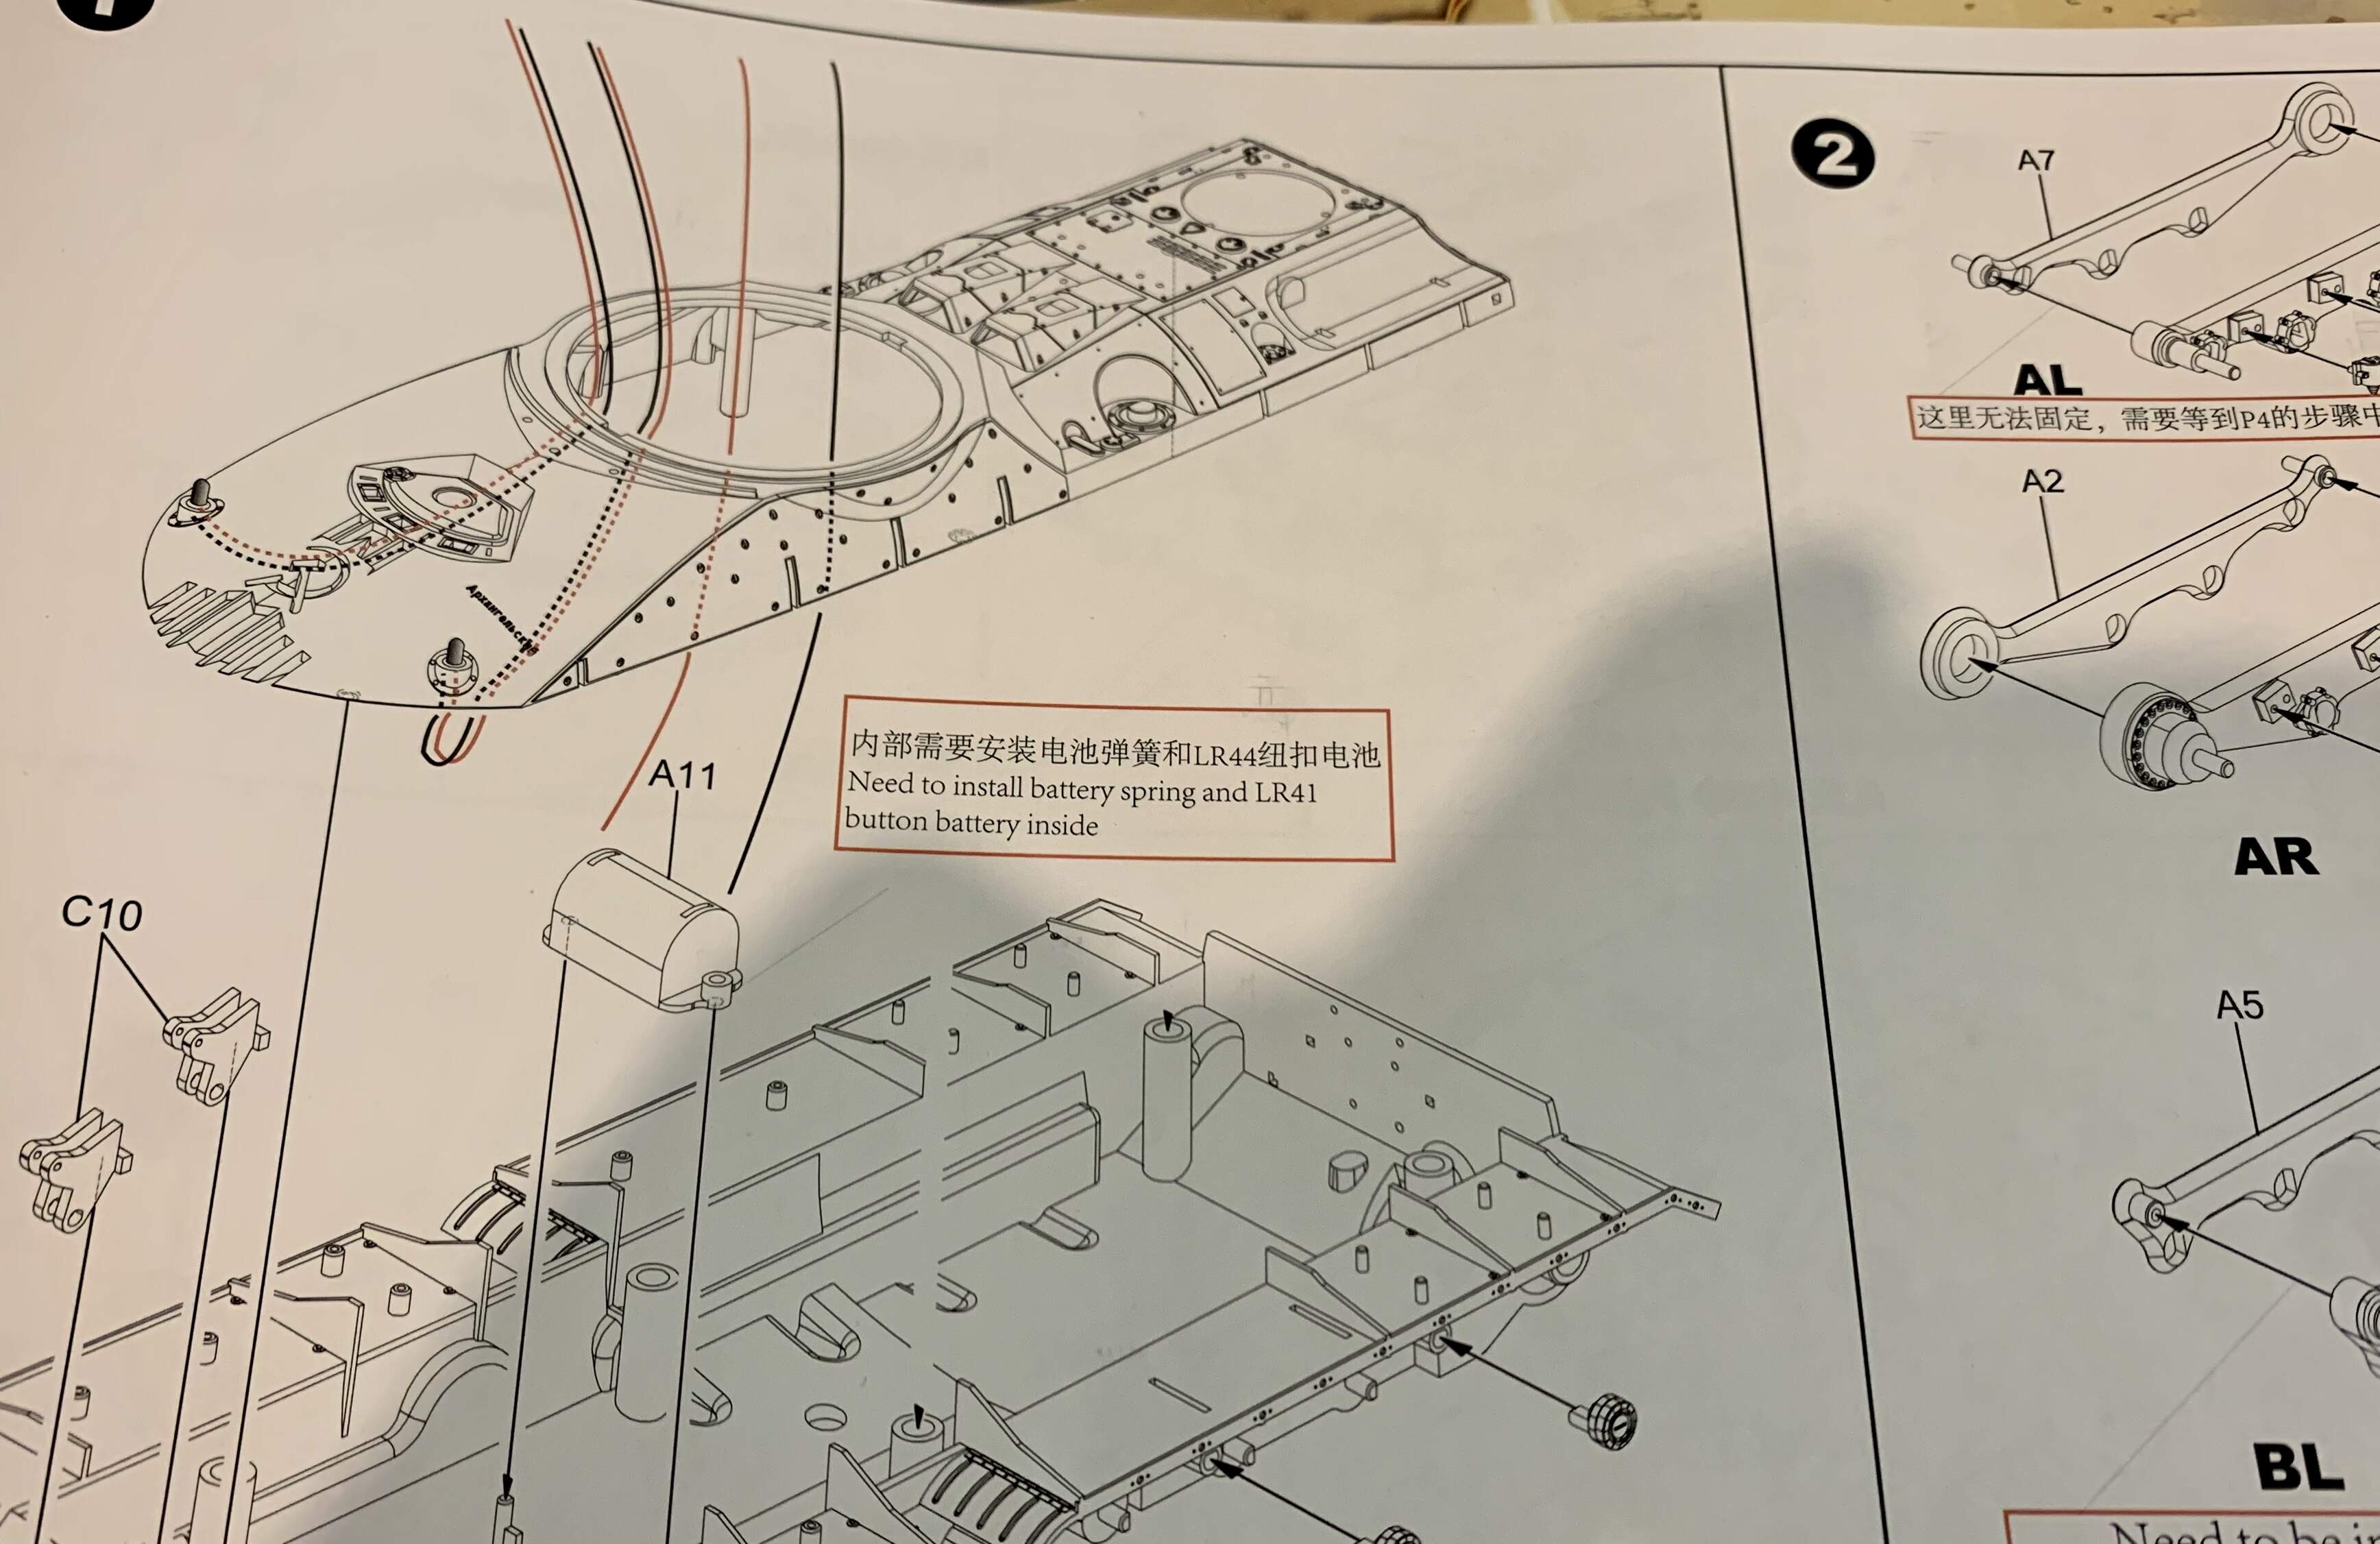
So I guess I’ll be looking out for mistakes in the instructions then!

As I go through this build I will share some more pics of the tank from the game’s ‘FMV sequences’, as they were called back then - the ‘live action bits’ is what they are referred to now. These sequences and the actual ‘in-game’ model of the tank differ in color to the box art so I will explain my plan for the colors.

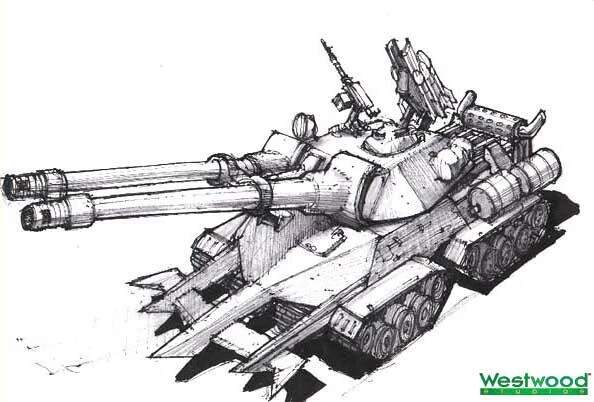
I’m also trying to find some of the tank’s concept art which was shown during the time it took to install the cd’s on a computer. These are quite impressive and interesting. I will also hopefully talk about where I think the inspiration for the
design and features of the tank came from.

I must also mention that I’m doing this as my build for the Sci-Fi and Alternative History Campaign IX Group Build which will be ongoing until later this year. Plenty of time to sign up if you’re interested and be sure to check out the innovative and interesting builds going on there.

I must also mention that I have been consulting with Yuri.

And have decided to deploy the psychic beacon.

image

You will enjoy this thread comrade!

:grin: :grin:!

Thanks for reading!

10 Likes

I just ordered this kit yesterday!

Looking forward to your build so I can follow along and get some tips for my build

1 Like

Definitely get in the Faraday Cage and charge it…wink

Following the build…

1 Like

I saw that kit a couple of weeks ago and thought “what in the world?”.
Now I know.

1 Like

@JohnnyO - thanks mate, glad to have you along for the build. I’d love to hear what you think of the kit when you get around to building it.

@Armor_Buff - Cheers Wade :+1:!

@rfbaer- I understand some people might have wondered what it was- glad I could clear it all up!

2 Likes

One of the first tasks of the kit is setting up the lighting circuit. Not much in the way of instructions but it’s straightforward.

The spring goes into the minus labelled side on the battery housing and the other metal part on the plus side. I just kind of wrapped the exposed wire ends around the corresponding terminal loops.

First batteries I tried were LR44 and they fitted perfectly.

You just touch the circuit board to turn the lights on or off. I did not glue the housing to the lower hull because I need to be able to remove it if I want to change the batteries.

The LEDs fit very precisely in the front mounts- the remaining one is for the turret later in the build.

The whole ‘no glue necessary’ thing is just parts that are ‘push to fit’. Simple and easy to do. I just brush a bit of glue along the joins and move on.

The whole upper and lower goes together beautifully with no glue. Both pics below show the fit without glue- the join is about 2mm above the Tamiya tape on the rear bulkhead.

I really like the scalloped shape of the glacis plate and the way the upper hull swoops up to a relatively level rear deck- slightly reminiscent of the M48 MBT.

Of course this old Soviet beast also had a scalloped glacis too!

The track guards are also quite like the T-54/55.

Already I can appreciate how both game and kit designers have taken inspiration from various designs of the past.

Ahem, yes—yes- back to the model! So the suspension arm mounts in stage 2 have a notice that you can see below.

Not sure what this means since there is nothing in stage 4 that would merit fixing these parts at that point- stage 4 is about the road wheels.

The tape you see is holding the back of these parts on- they don’t push to fit until you mount them to the lower hull- though I fixed them with glue prior to doing that.

As I said in the first post I would post some of the concept art of the Apocalypse tank which gives a more interesting perspective than the rather out-dated in-game graphics can provide.

image

Next time I will be talking about the tracks and running gear which I am currently building.

Thanks for reading.

9 Likes

In terms of the ‘push to fit’ parts the suspension arms go on very nicely with no glue needed.

Once they are done it’s on to the tracks. I really don’t like doing tank tracks and running gear so I wasn’t looking forward to doing four sets of tracks instead of the usual two.

My initial build of a front track set went well but when I test fitted them they seemed off by one link as each end wouldn’t link up.

Assuming I’d made a mistake I assembled the other small run and they met fine so yeap, my fault and easily sorted.

The ‘push to fit’ is not great on the tracks- I found most needed glue to stay together. Luckily the area to mate the links is well away from the pivot so they will stay workable if you apply the glue carefully.

I have also tried to find the best place to mate the tracks after painting them- below the idler is the area I found easiest to get at. Mating them up is simply a matter of adding a top link half.

(My tweezers in the photo below are just holding the ends together while I take the photo.)

All in all, the tracks were not the PITA I was expecting- they turned out to be straightforward and they put up with a decent bit of manipulation.

Below is the road wheels, sprockets and idlers.

I thought the road wheels look a little like those used on the T-72.

image

Thanks for reading.

6 Likes

I’m start to build mine, so I following this with attention.

1 Like

Welcome along Edson- I hope you enjoy building the kit :+1:!

1 Like

After the tracks were all built up it was time to deal with the rest of the hull. I wanted to start with the front lights which I had pulled up so they were sitting neatly in the little holes on the hull where I assumed the headlights would go- presumably on top so the light would shine up and illuminate them.

But noooooo. Turns out Border model have a lot of faith in their flimsy little circuit board. Honestly I felt a grip slightly over ‘feather-light’ would break this thing but what they want you to do is:

Pull both LED’s up through the very tight hull openings.

Push it into the also very tight light housing.

Pull the wire terminals together.

Fold the wires down to put the back of the light on.

Squeeze the wires into a sort of down pipe.

Ram the whole lot back down the bit in the hull you pulled it through.

Repeat on the other side.

And hope it still works.

I honestly had such little faith in the wiring durability that I said to myself when I saw what they wanted (well more like worked out what they meant from the vague instructions), ‘no way- no way they want me to do that. It’ll never work!’

But after checking several times and carefully examining the shape of the parts and the attachment points it became clear what was required, as written above.

(You can see in the instructions that they have the LED itself pictured with no wires going backward into the front of the light housing. Obviously with the wires attached that is not possible. Hence why you kind of have to work out the way to do it.)

Most surprising thing of all was that it actually worked!

Below you can see a few of the stages which should make the process clearer than the instructions.

Next up will be some work on the back and front of the hull.

Thanks for reading.

7 Likes

Interesting looking build. Following with interest.

:beer:

1 Like

Cheers Mark, good to have you following the build log!

With the tricky bits of the lights done the rest of the hull was straightforward by comparison. I’ve glued on some things and kept others off to make painting a little easier. The simple ‘push to fit’ connections make it easy to do sub-assemblies for some items.

One thing puzzled me though- the brown wooden box can be filled with clear items resembling wine bottles- not really sure what they are thinking with this. Bottles = Molotov cocktails maybe? Only thing is no units in Red Alert 2 use them. A mystery!

You can see the influence of the T54/55 tanks in the design of the track guards, as I mentioned earlier.

Then it was perhaps the gnarliest looking bit of the kit- the mine plough! Influence for this, I think, has to lie with the menacing looking Abrams mine plough with a bit of the Assault Breacher thrown in.

I’ll be keeping this separate too for painting.

Thanks for reading.

5 Likes

Those bottles are vodka. I painted mine as Smirnov No.21. Of course I had to get an actual bottle . . . . as research mind you . . . . so it would be accurate.

8 Likes

Very good … any other images of the whole beast ?

2 Likes

The electronics and ‘mine plough’ is enough to convince me to buy this kit :robot:

Your build is really shaping up :+1:t3:

2 Likes

Ah now that is awesome! Would love to see some more pics of your build too- would be interested to know what you thought of the kit too?

1 Like

Hey Karl187, I didn’t mean to hijack your thread with my build but since you asked I think the kit is pretty good overall however I had some of the same issues you did. The LED lights were really tough to install and the tracks were a bit too tight/short but can be adjusted. Also, I had to enlarge some of the attachment holes and slots to get some parts installed. I actually did very little gluing and almost no seam filling. The touch switch does work - kinda surprised at that. Anyway, here are a few photos of the finished model. I’m sure yours will turn out better than mine.

5 Likes

Cool looking build :+1:

1 Like

That’s an excellent build you’ve got there Rick, thank you for sharing it. I’m glad you got the touch switch all rigged up okay- I’ve yet to tackle getting it mounted in the turret as I’m keeping it and the hull separate for painting. Fingers crossed it’ll still be working after I get it painted! I have to say I’ve been pleasantly surprised at the lack of glue needed for most parts- I’ve used very little and only really to stop the odd bit getting knocked off when I’m handling it.

1 Like