Apocalypse Tank from CnC Red Alert 2

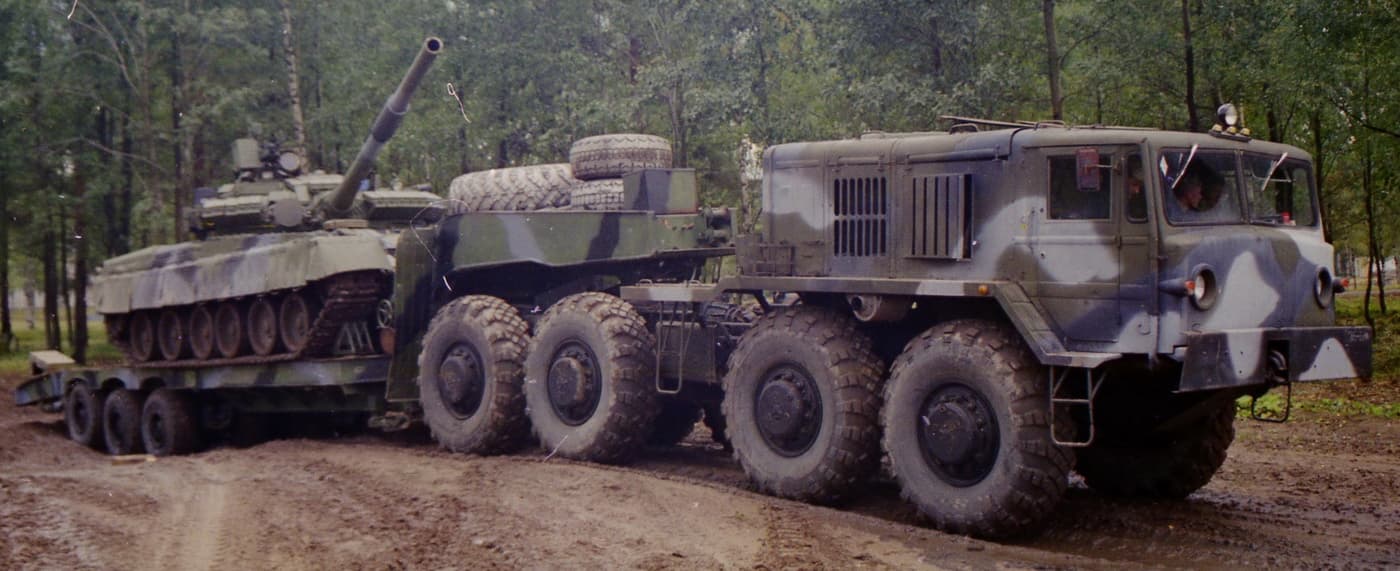
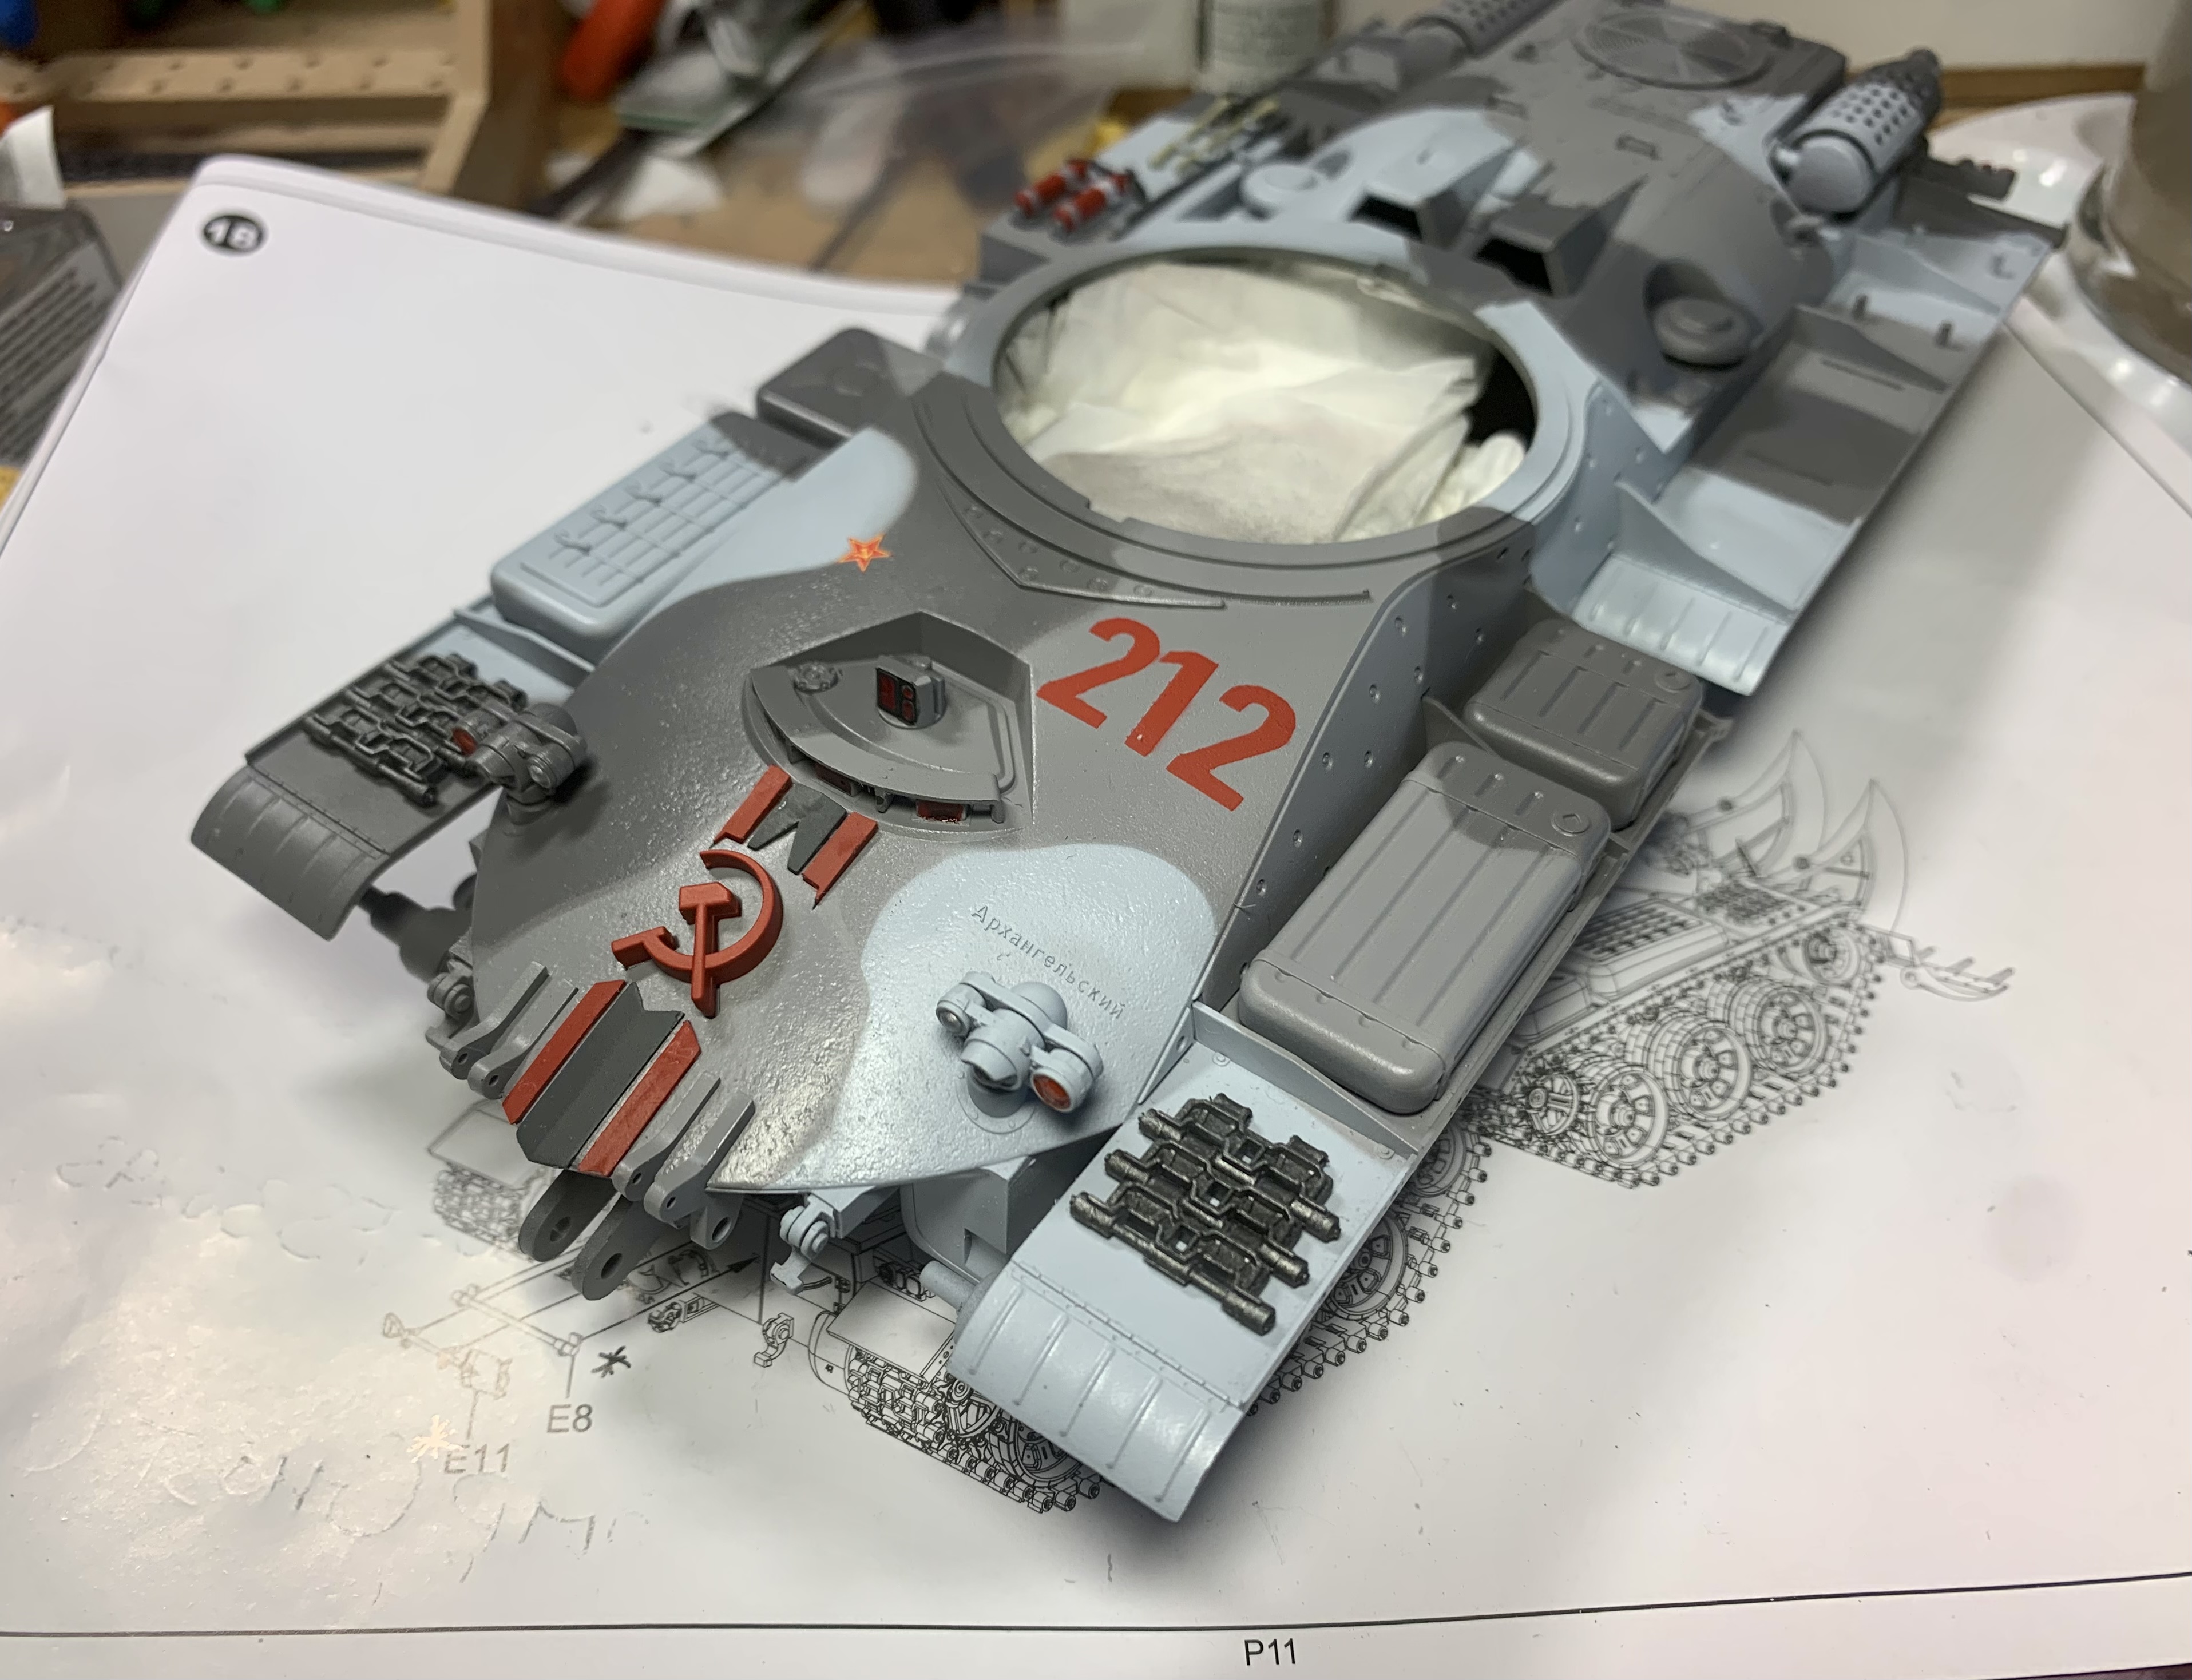
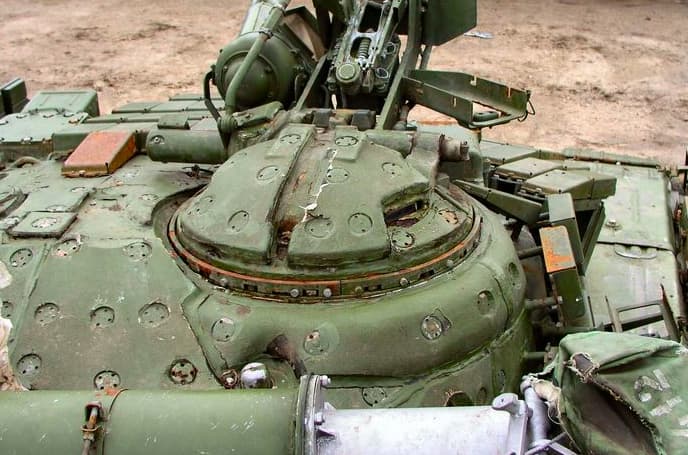
One of the first things I noticed about the turret in this kit is the shape- very much like the basic shape of the turret in T-90 kits (without the additional armor).

It also has shapes on it reminiscent of the anti-radiation cladding on the T-72.

image

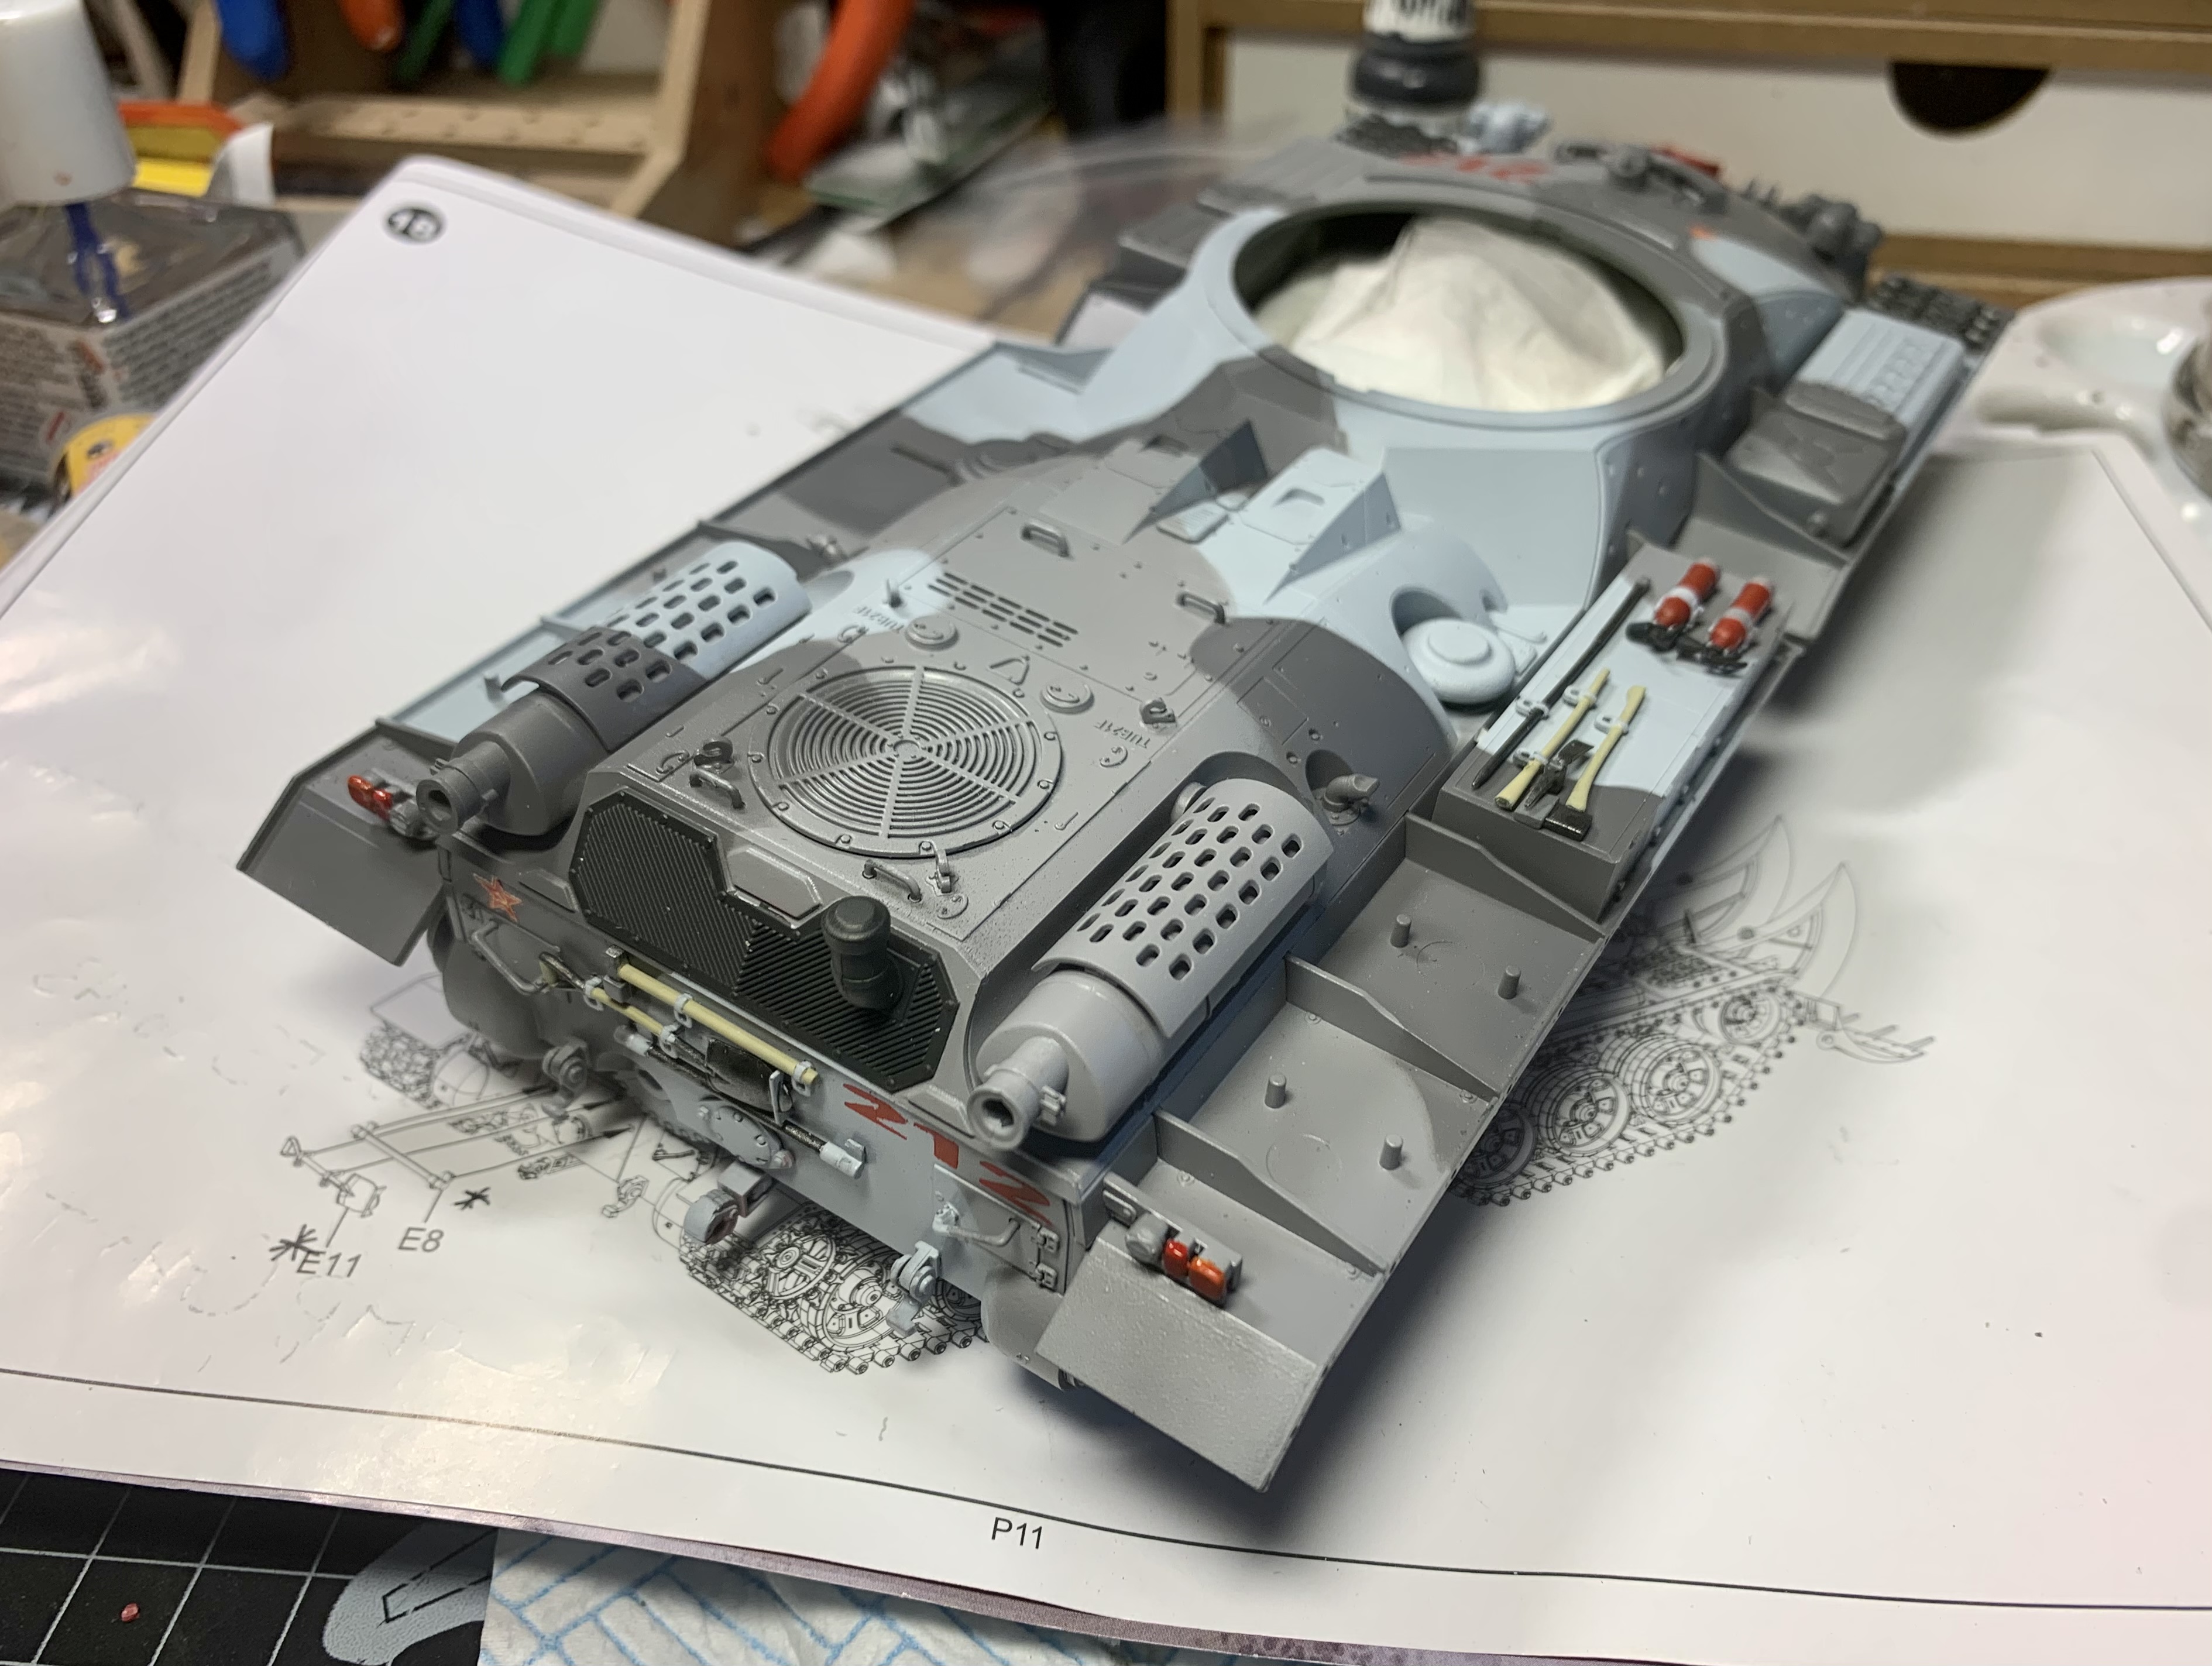
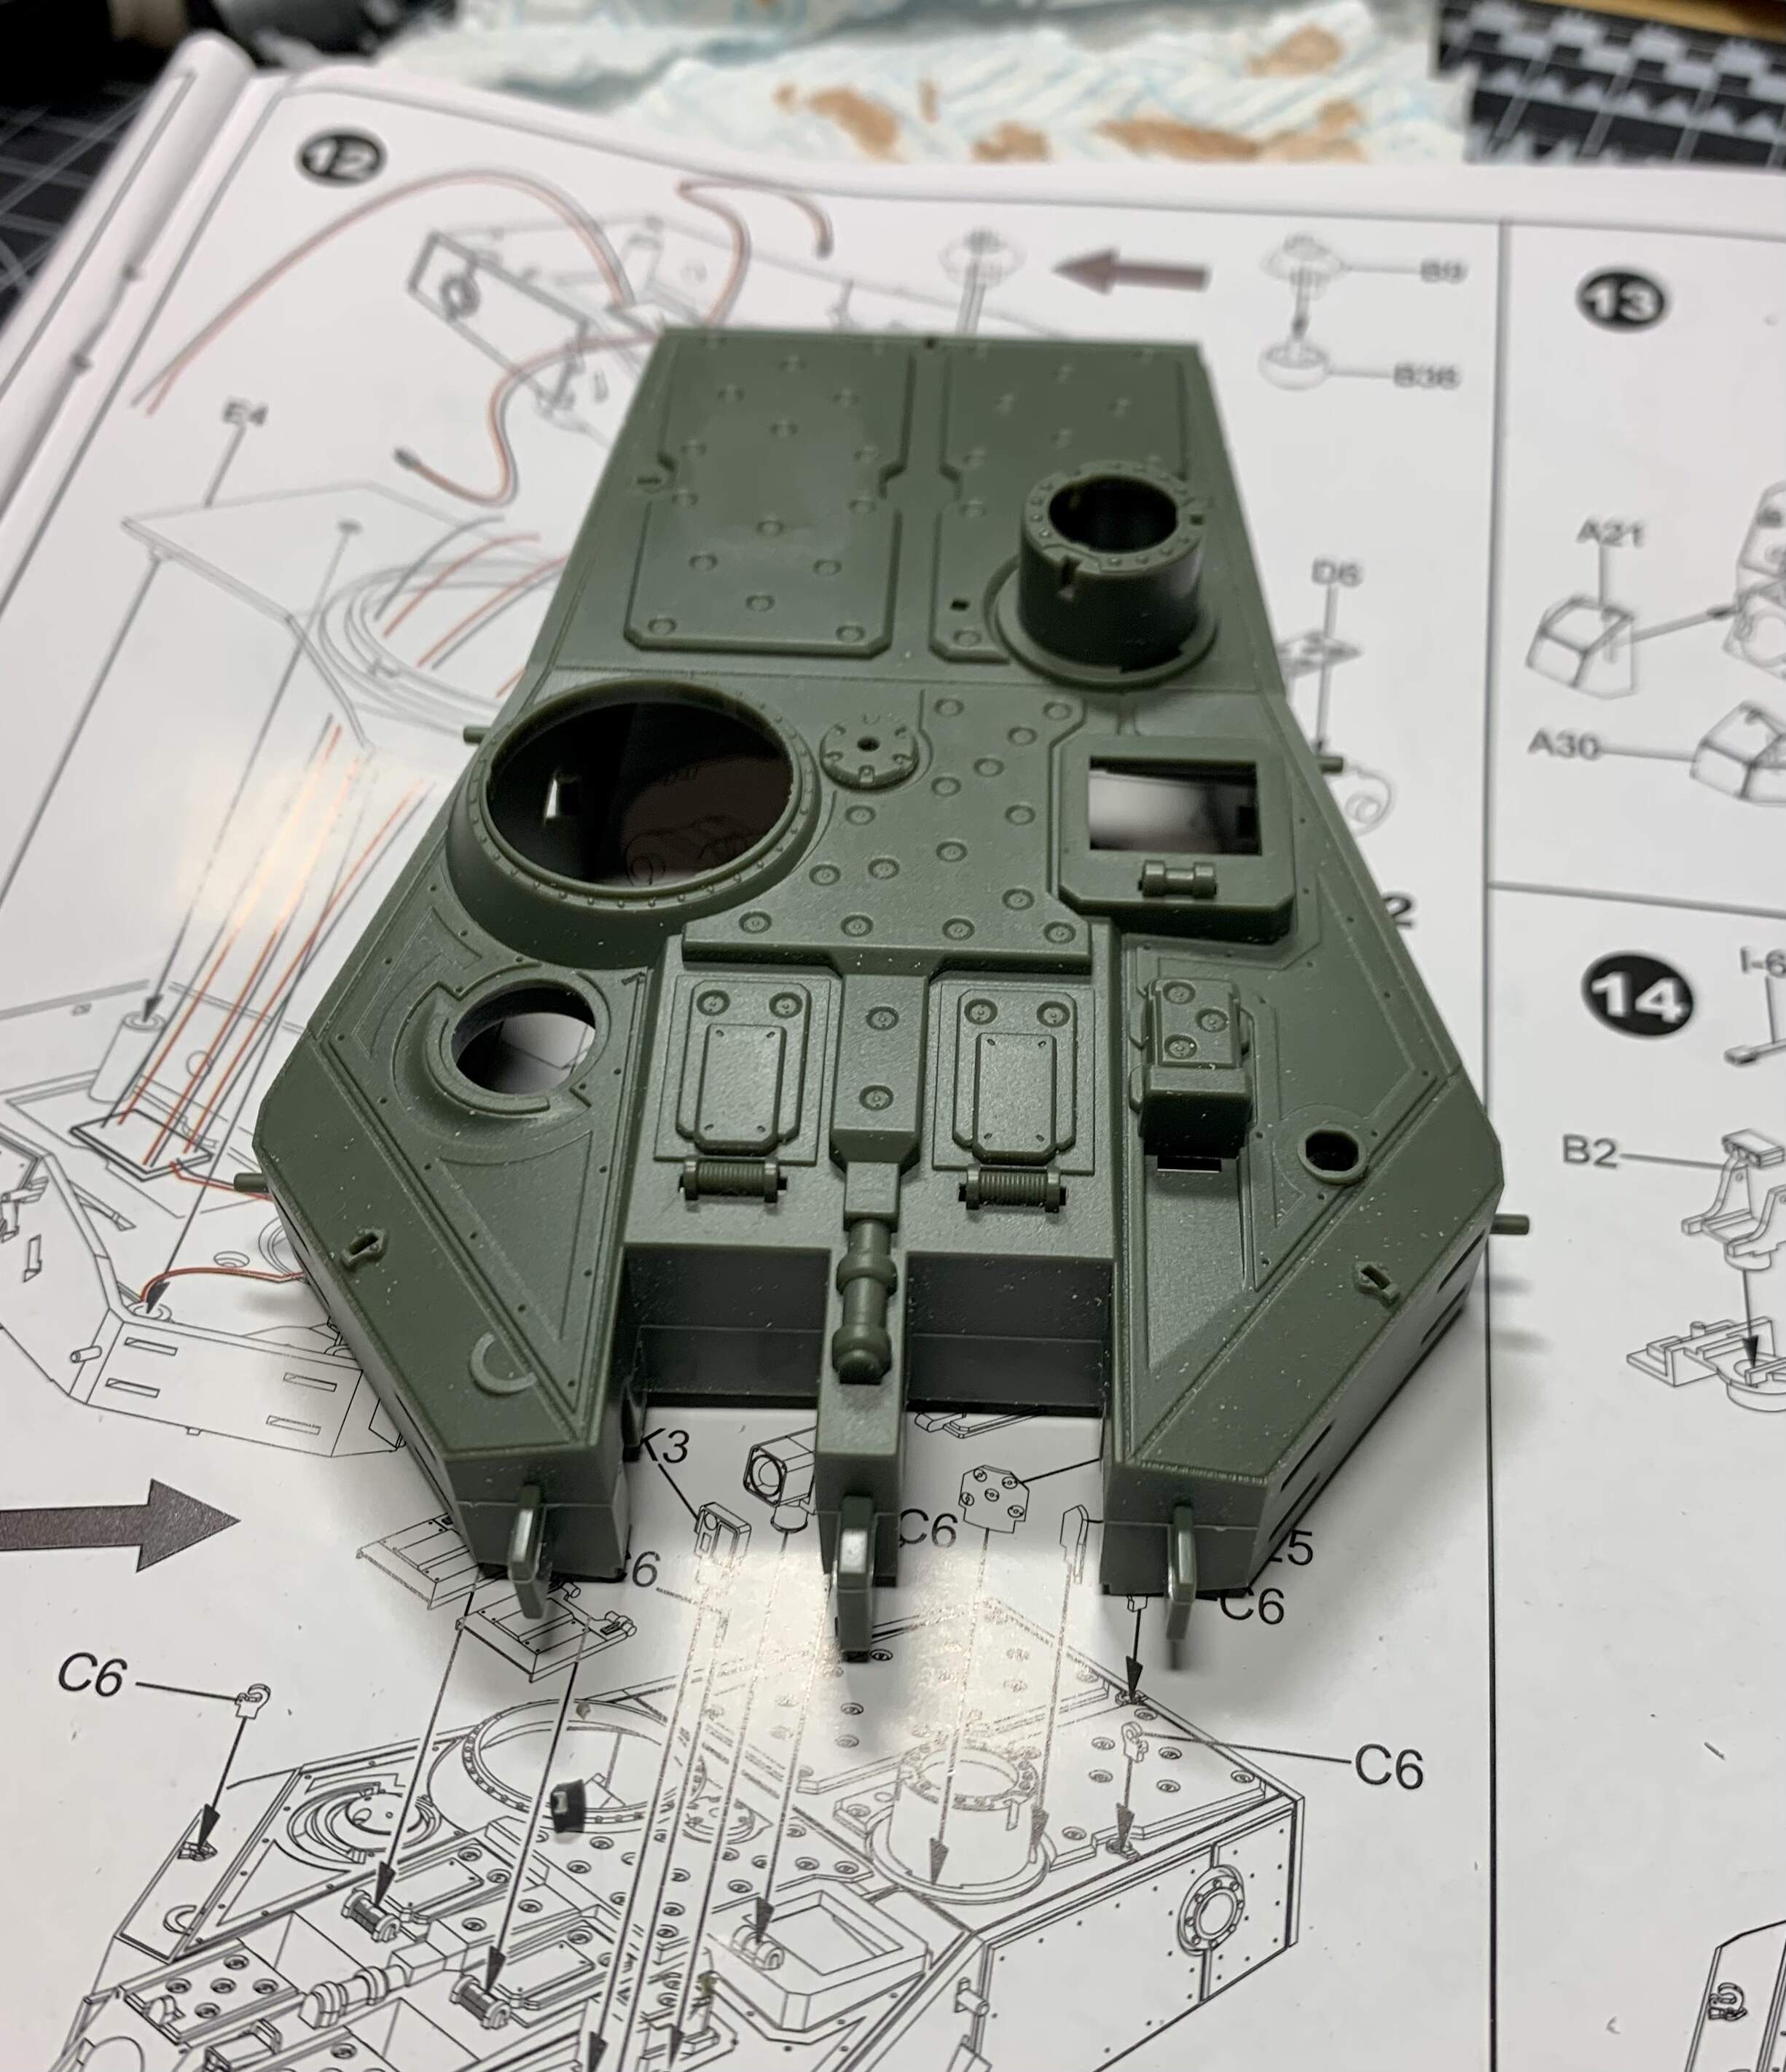
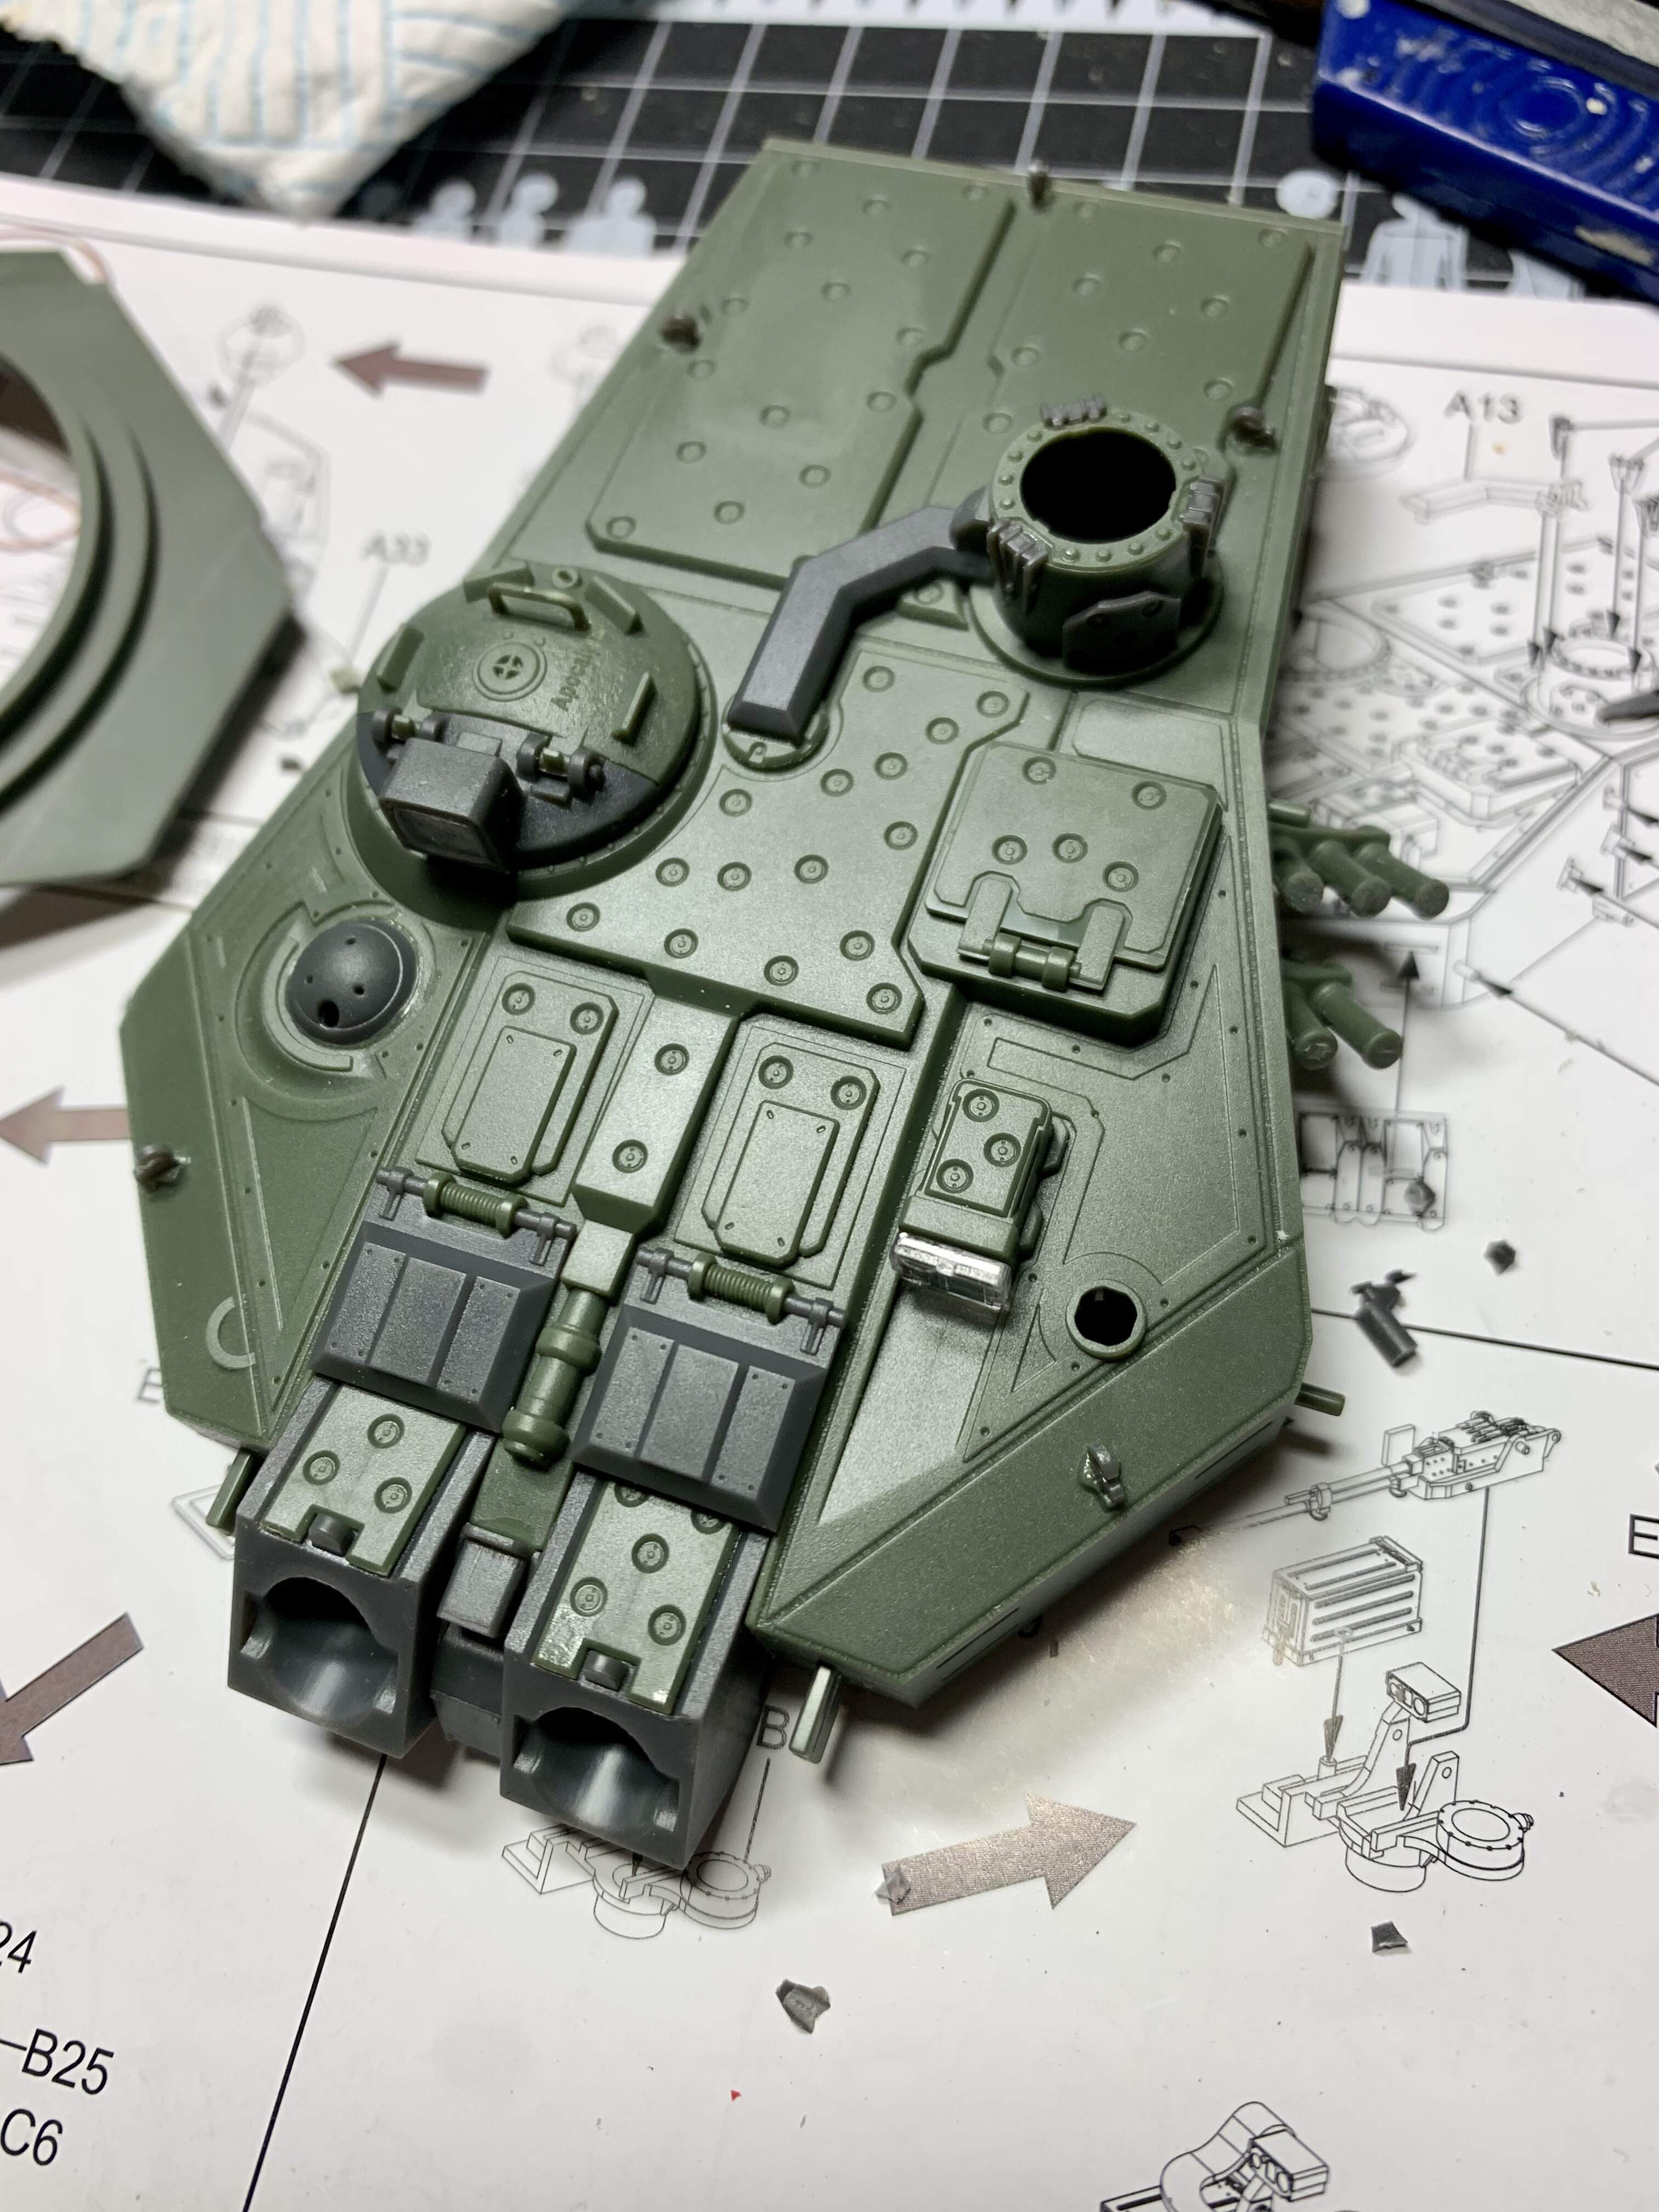
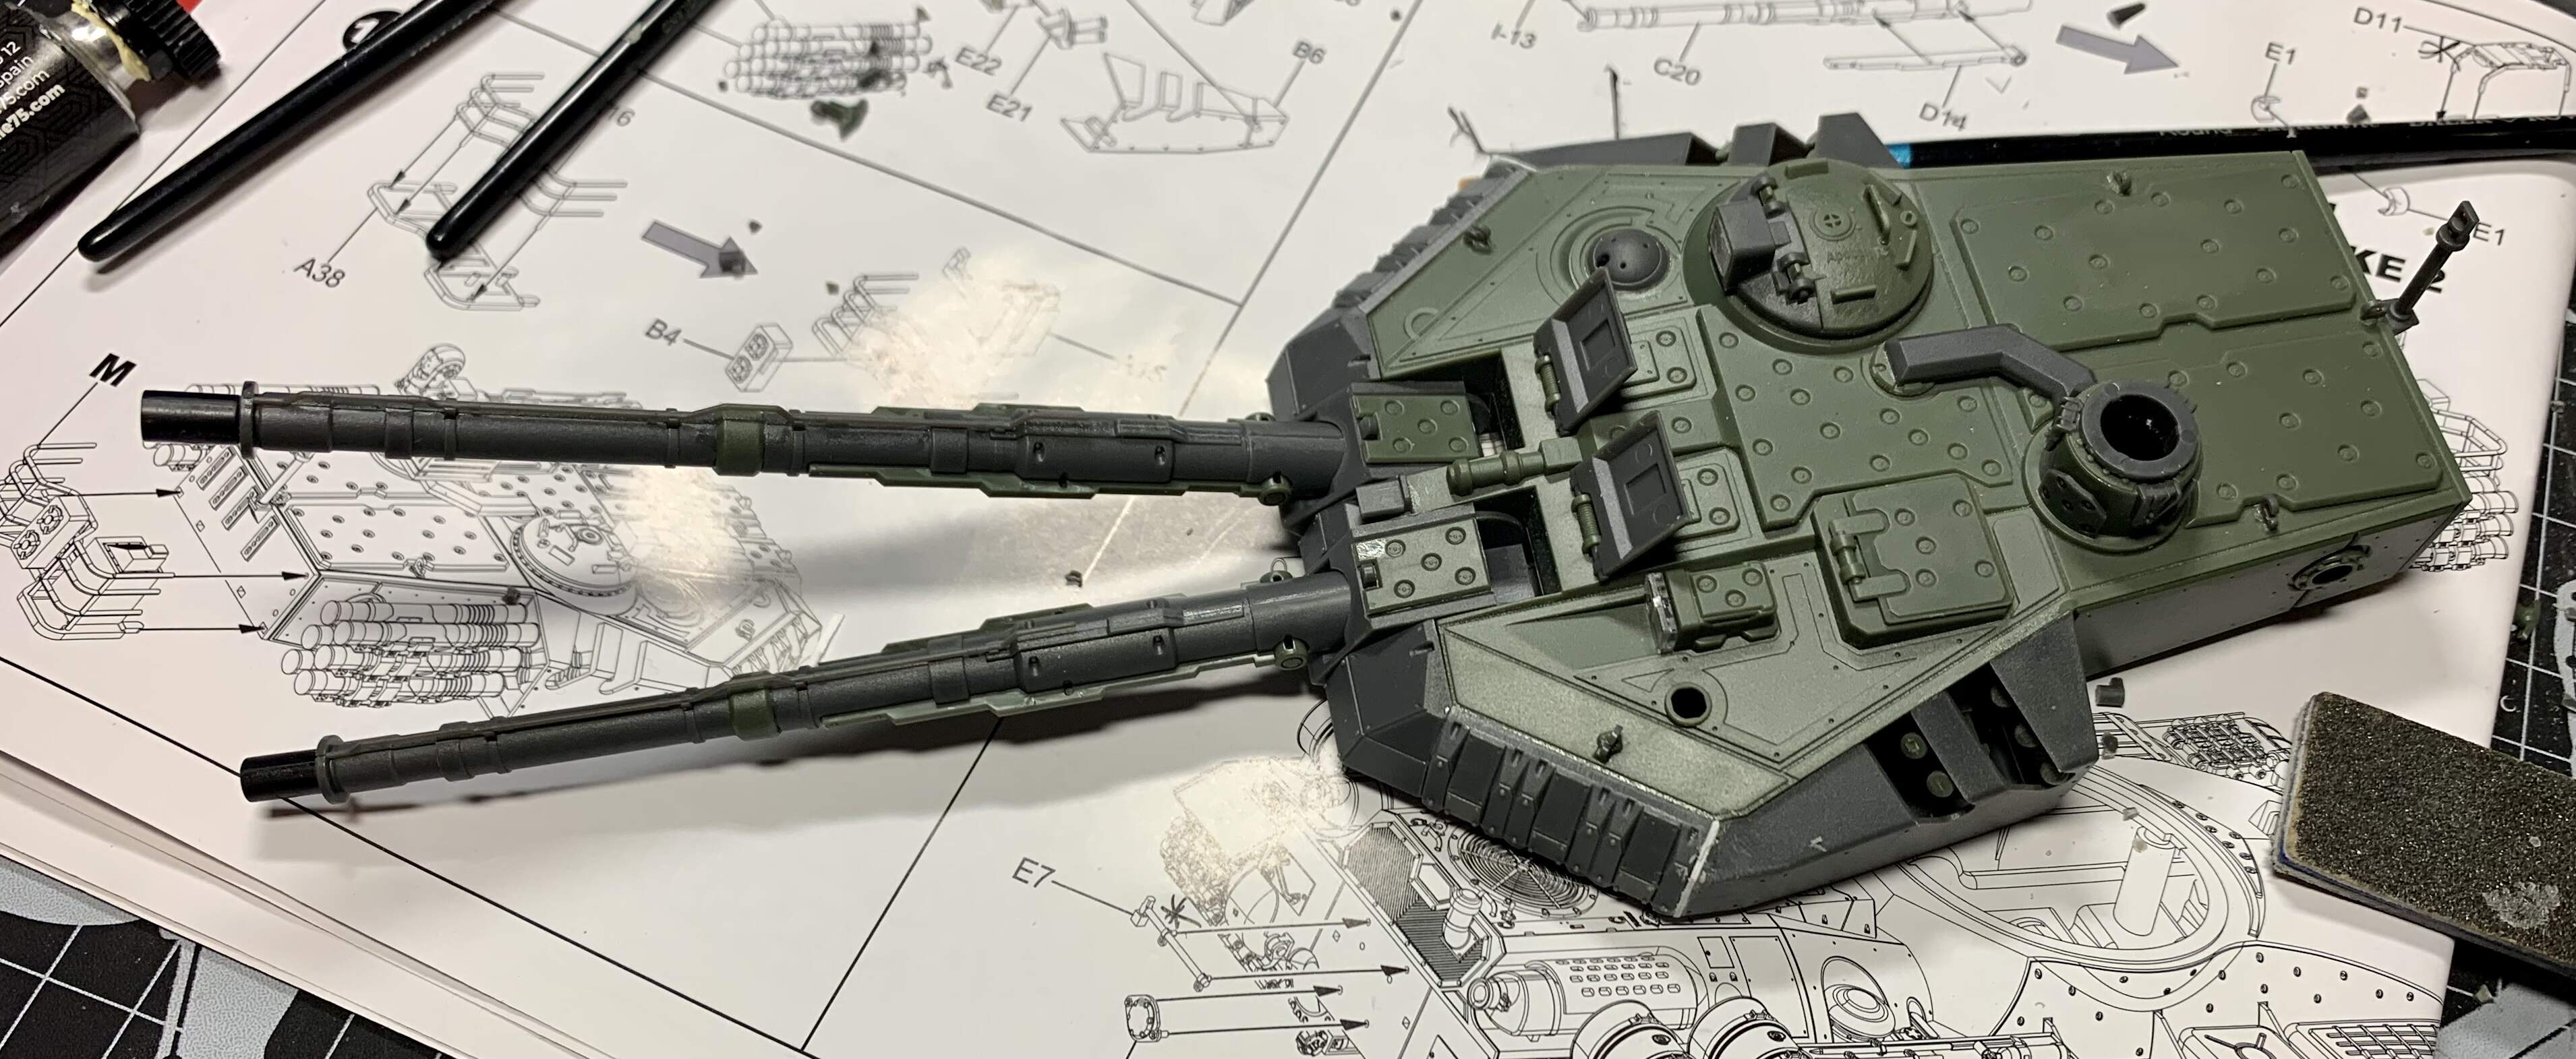
For some reason the turret looks a lot busier than it actually is- there are only a few stages to the construction and it’s very straightforward but certainly not lacking in interest.

I should note here that I am keeping the bottom of the turret off for now as I have yet to put the lighting circuit in place and I need access to the inner surface of the upper turret. Luckily doing this doesn’t interfere with the build- the barrel cradles can fall out but they are easily put back in. The bottom of the turret will sandwich them in place and allow the barrels to move up and down.

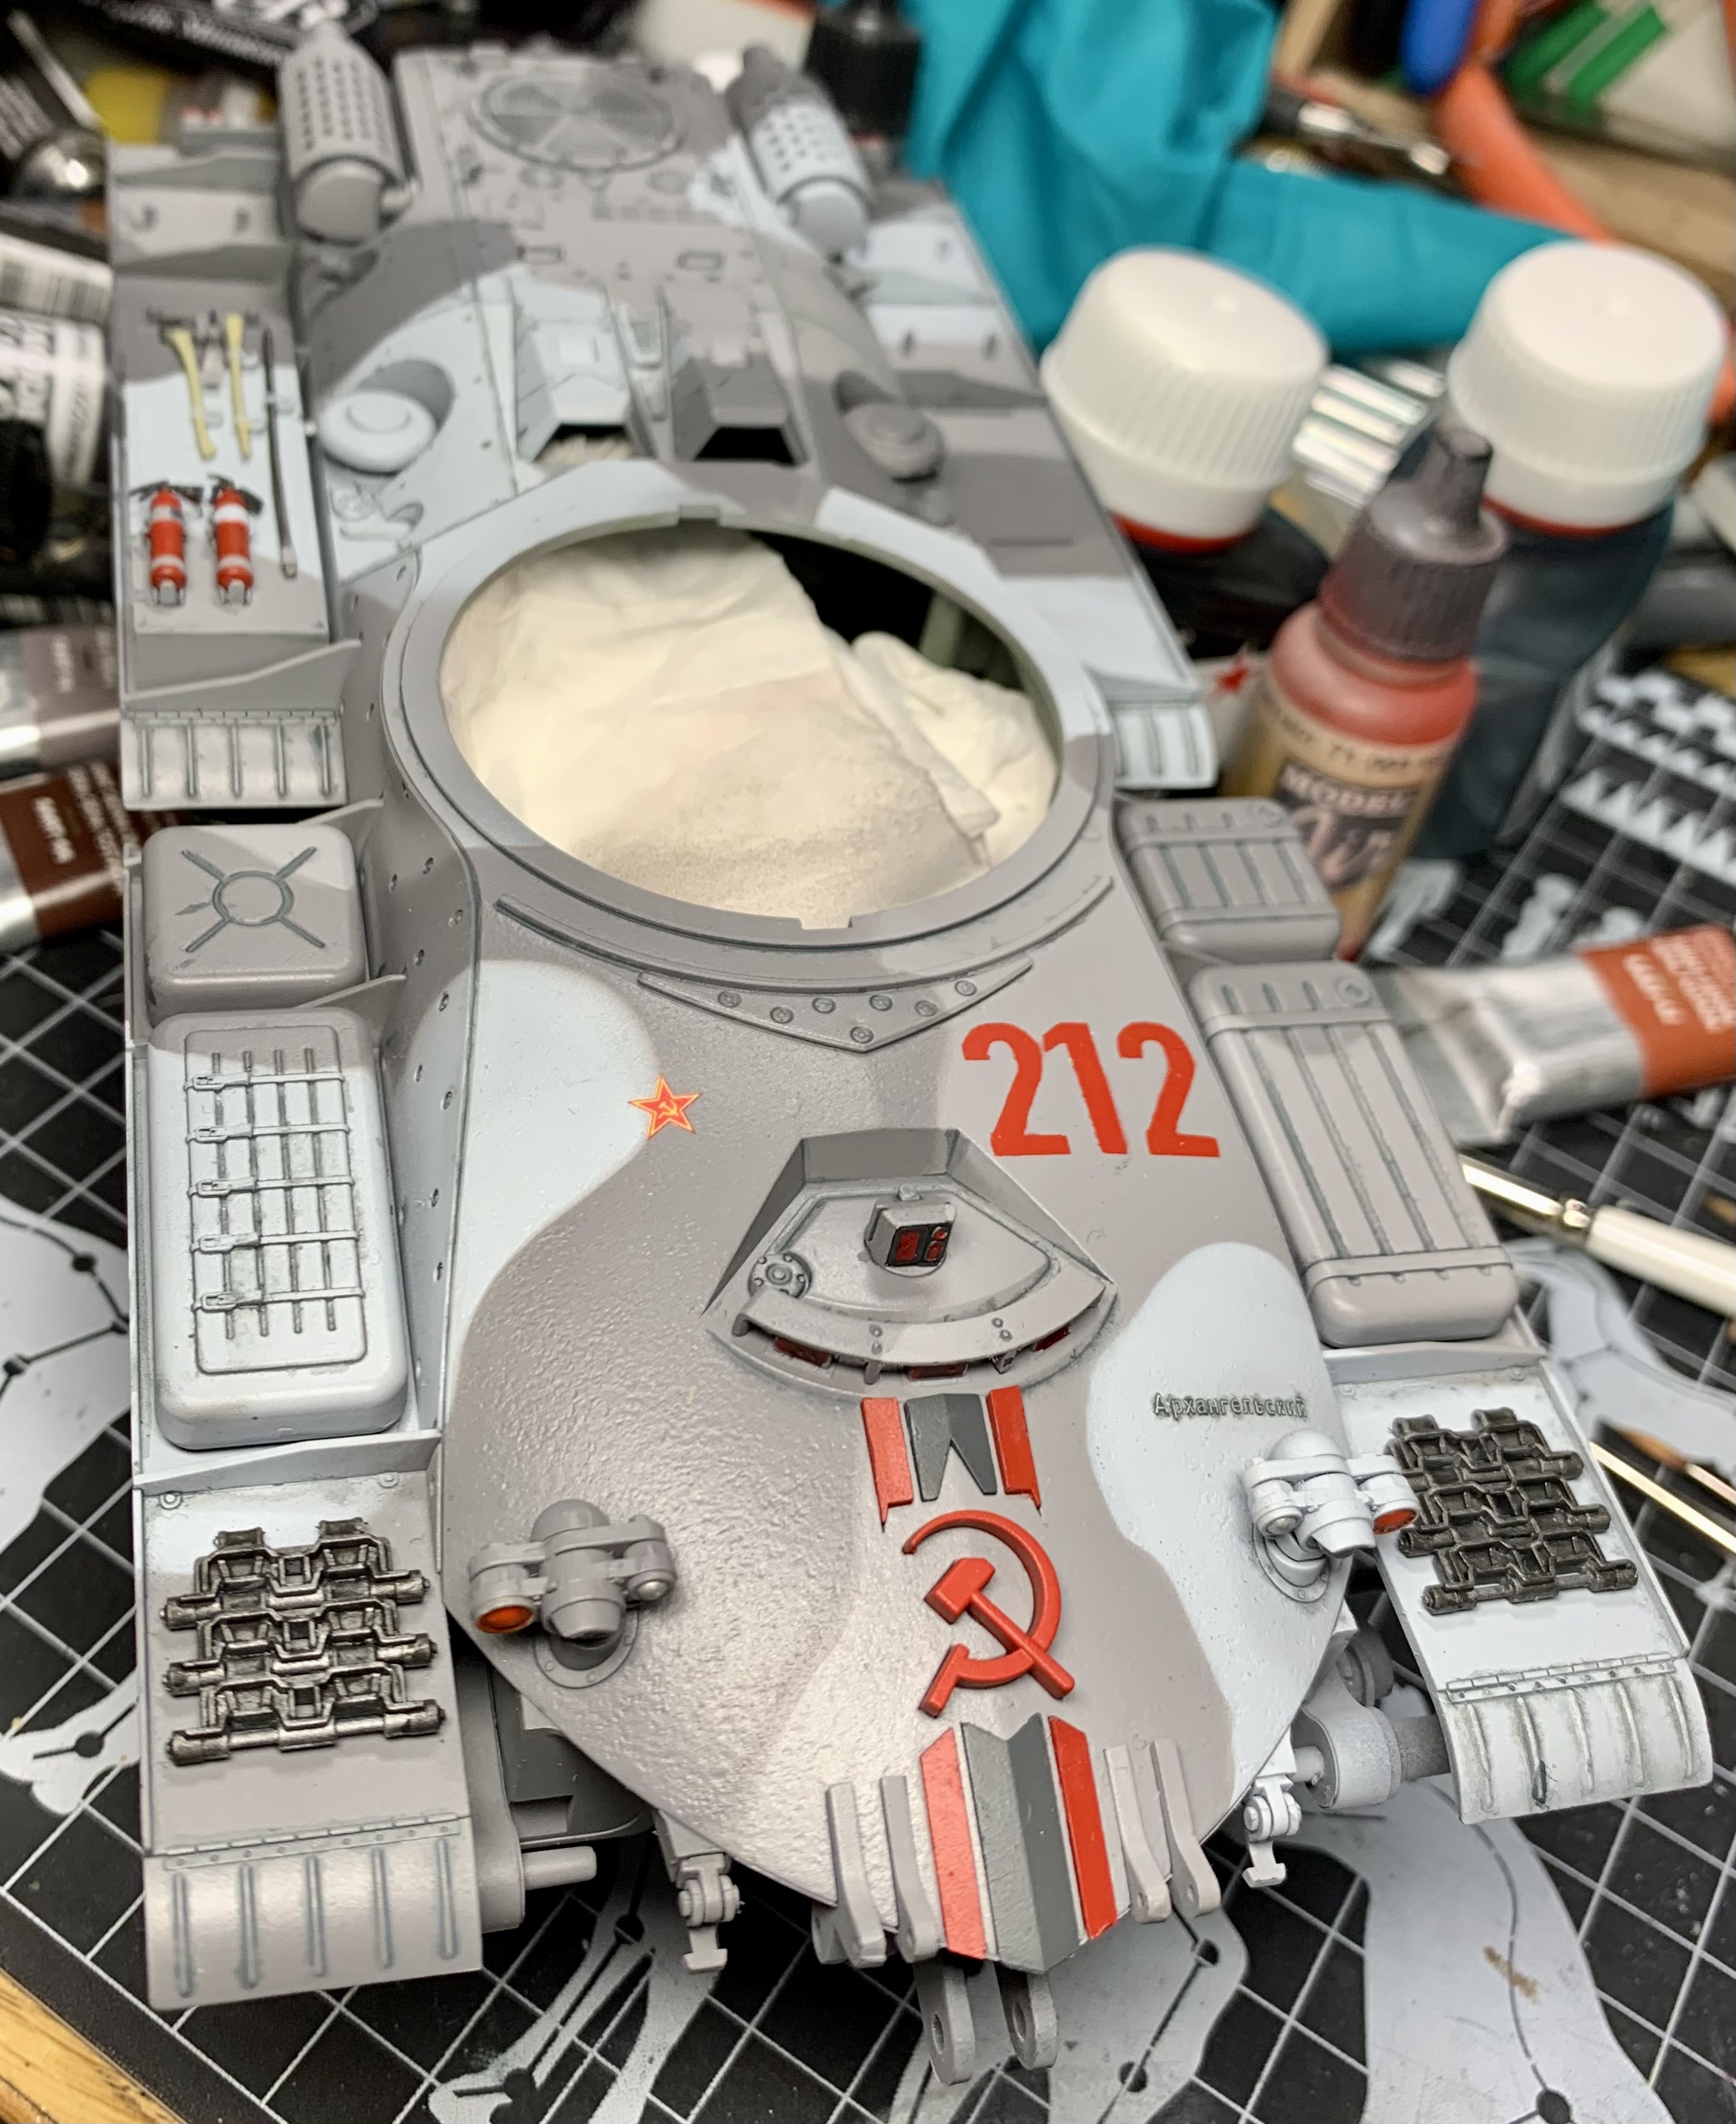
In the game the turret is pretty featureless on top apart from a hatch and the SAM launchers. In concept art and 3d FMV sequences in the game there is a machine gun on the turret and usually the SAM launchers are revolver cylinder shaped. Some have smoke grenade launchers on the front sides.

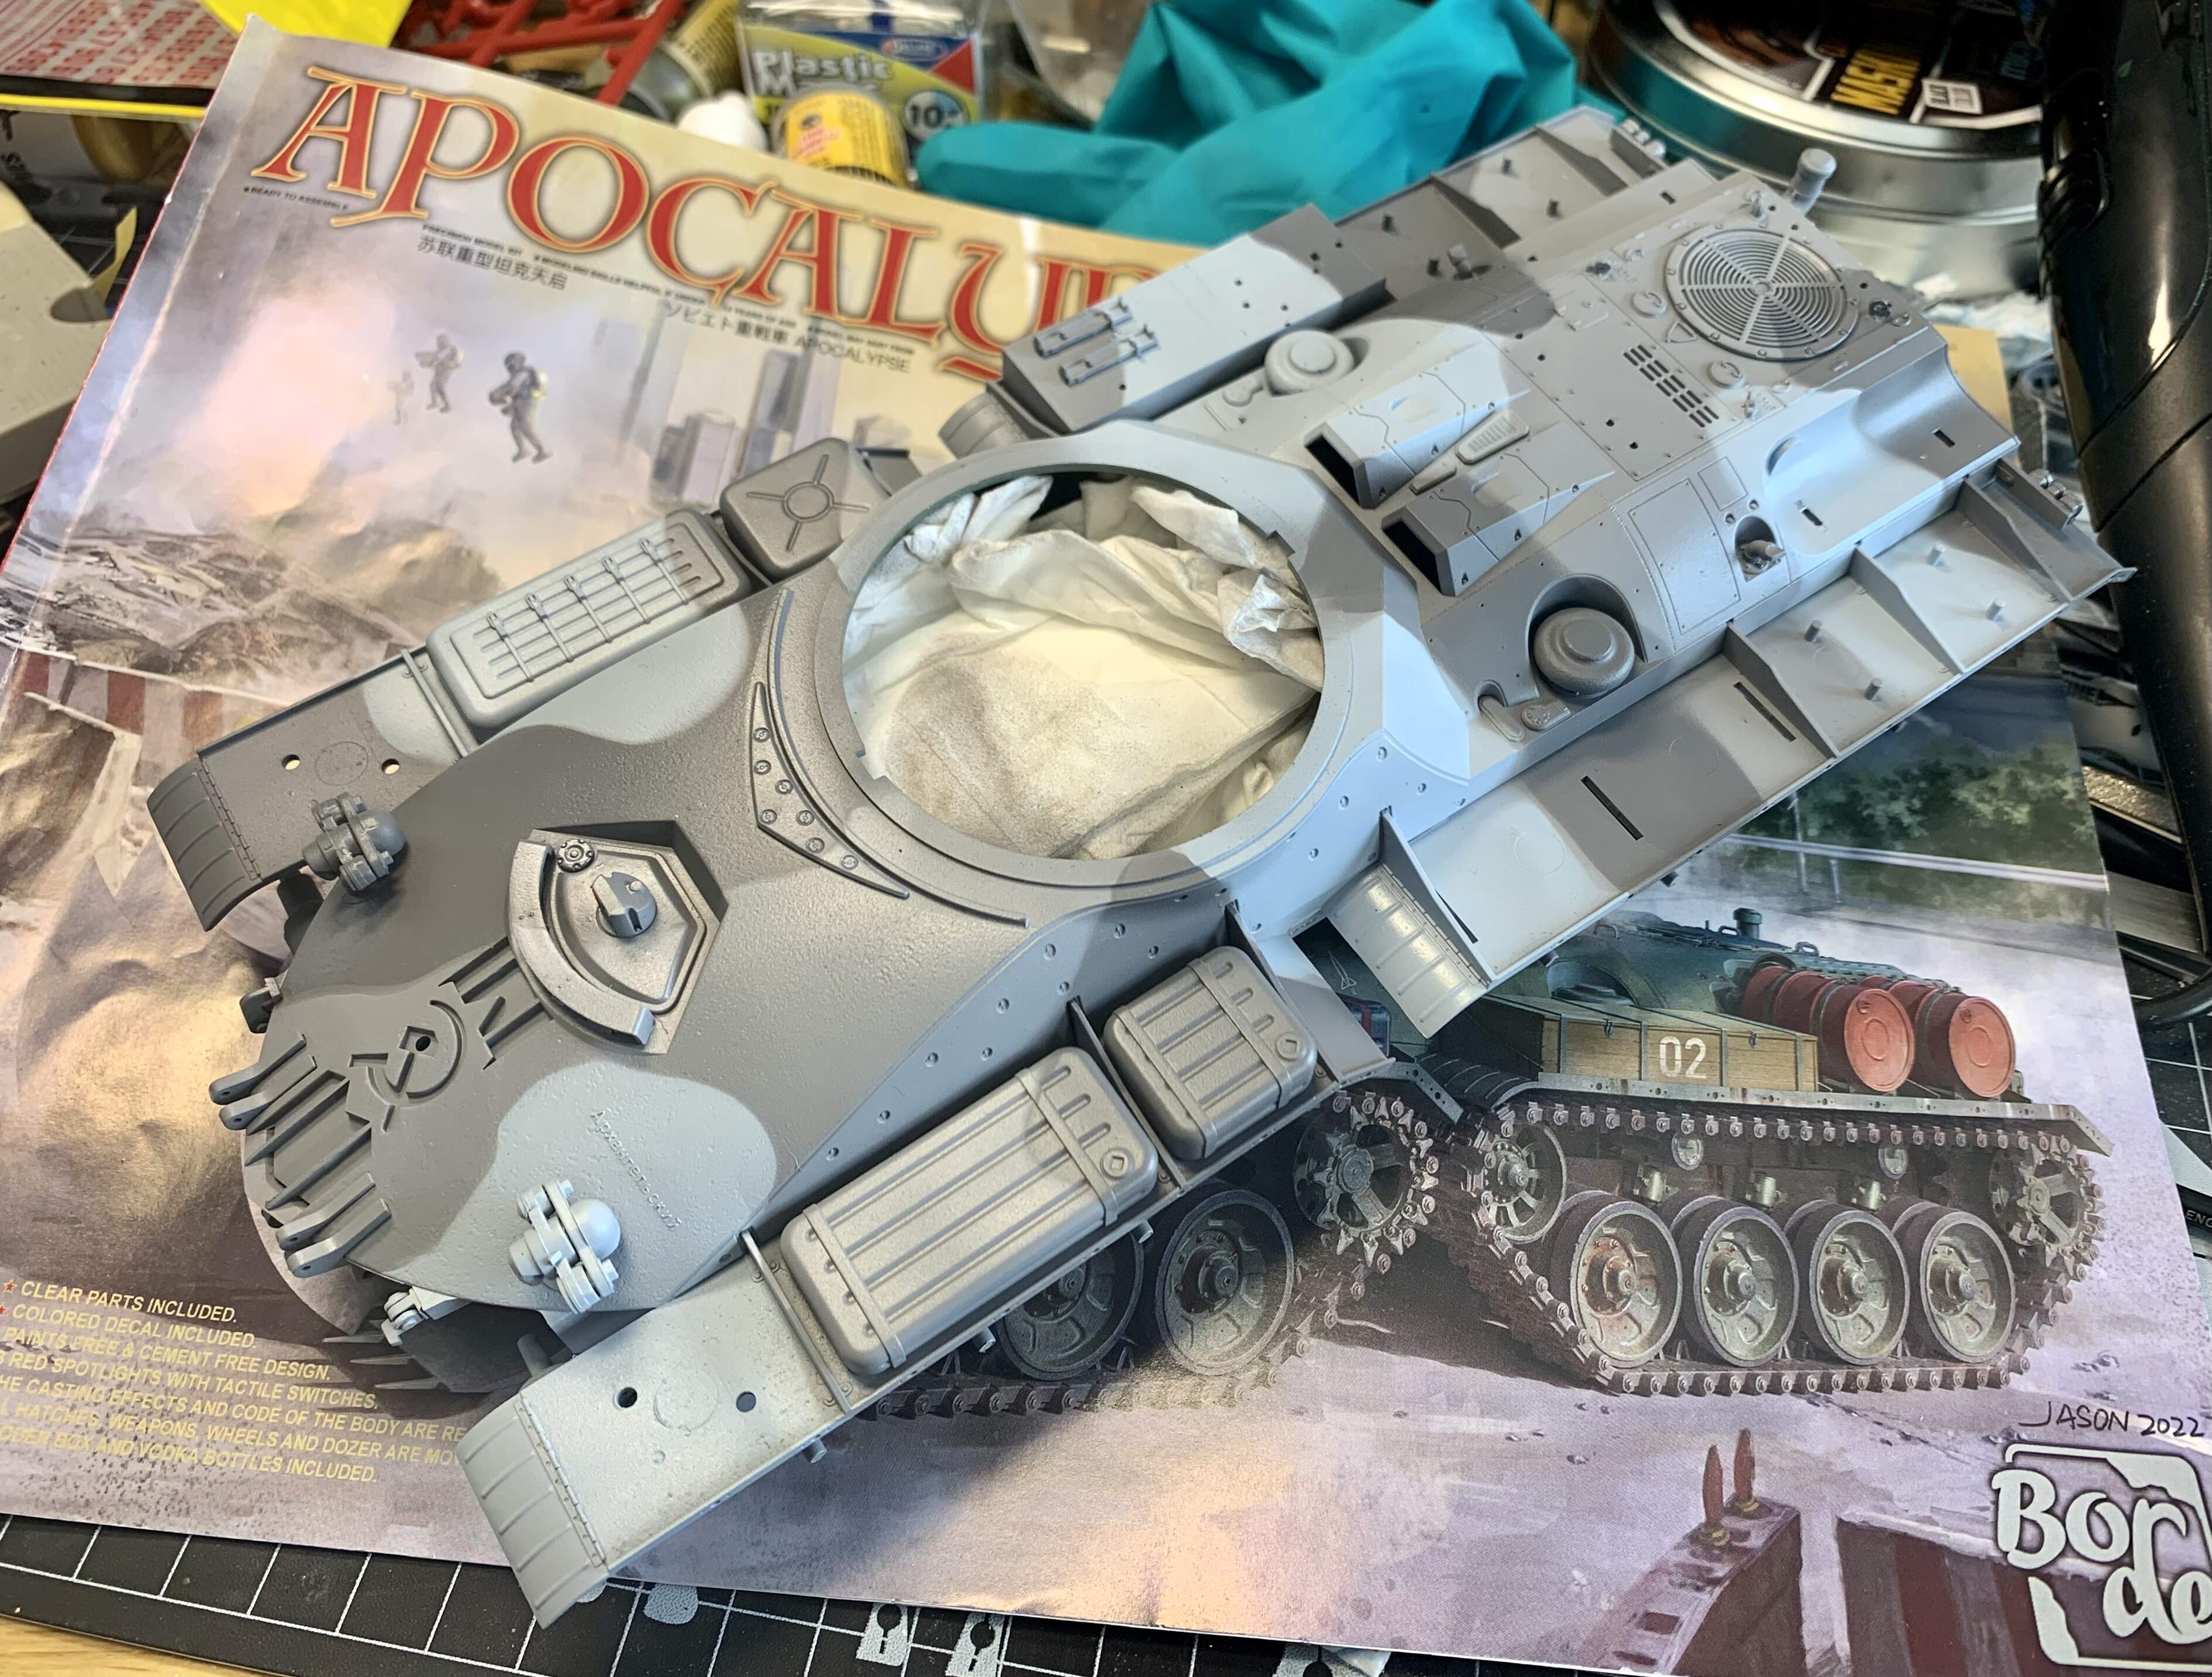
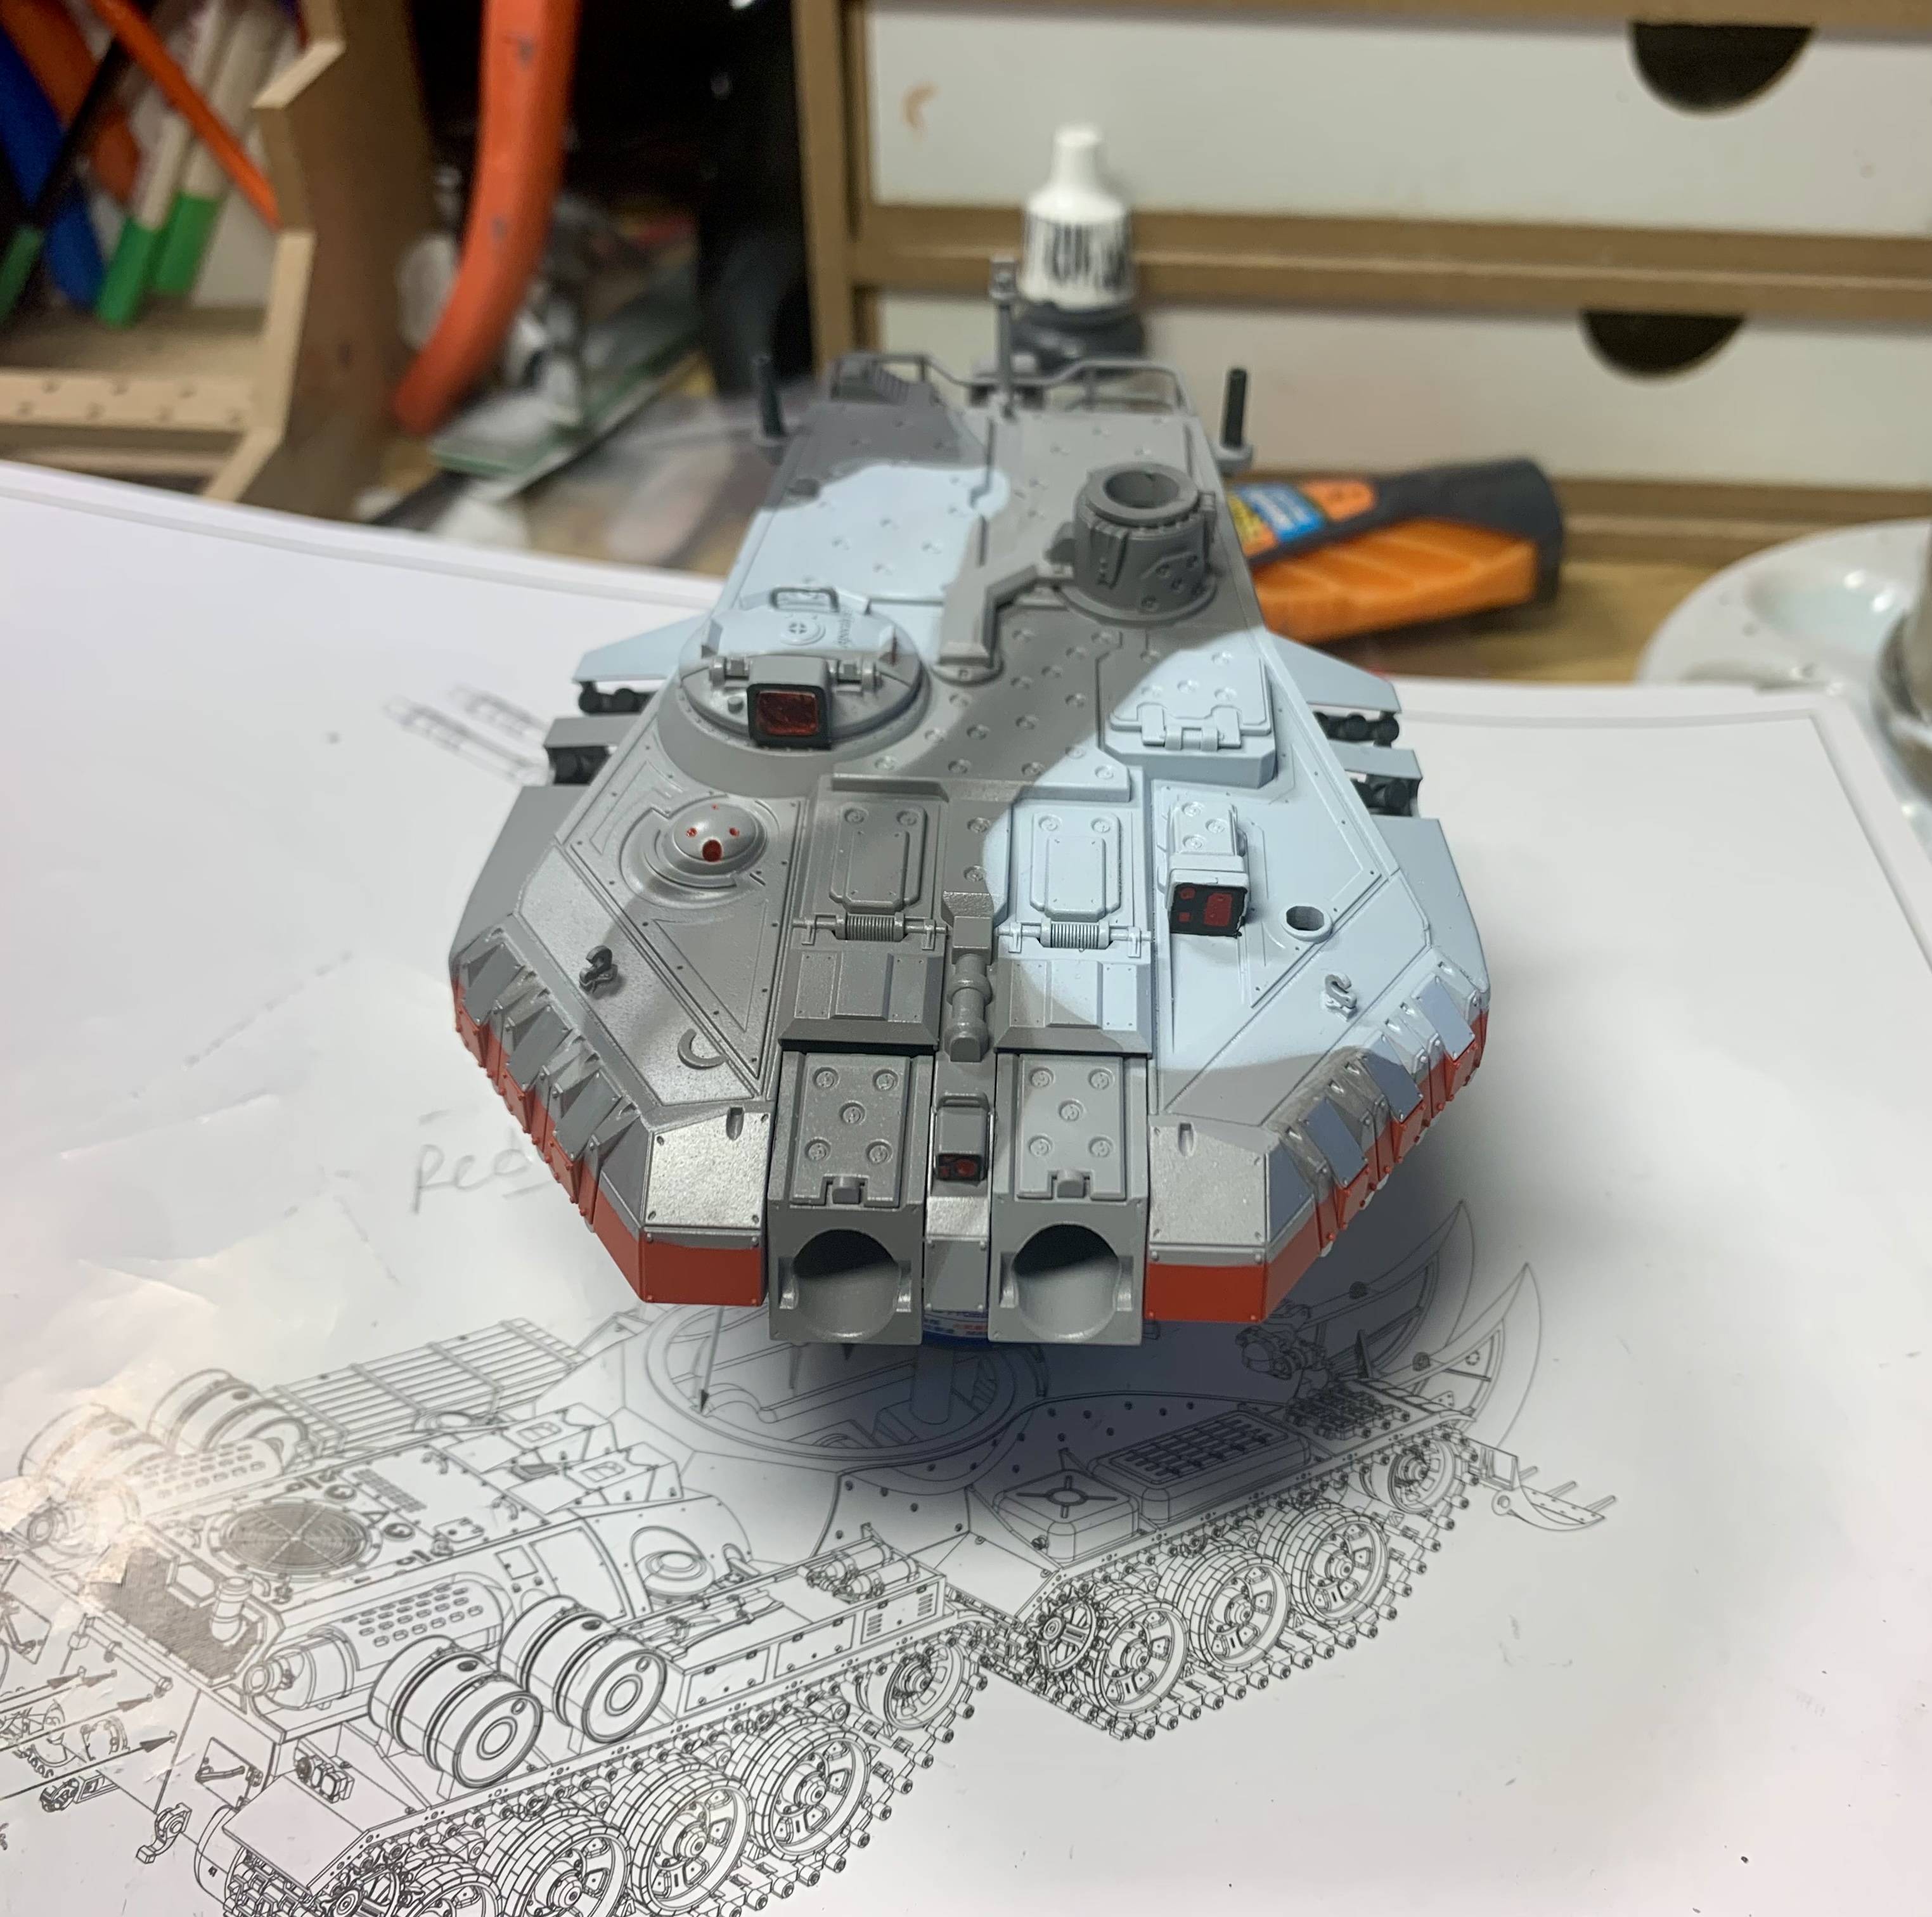
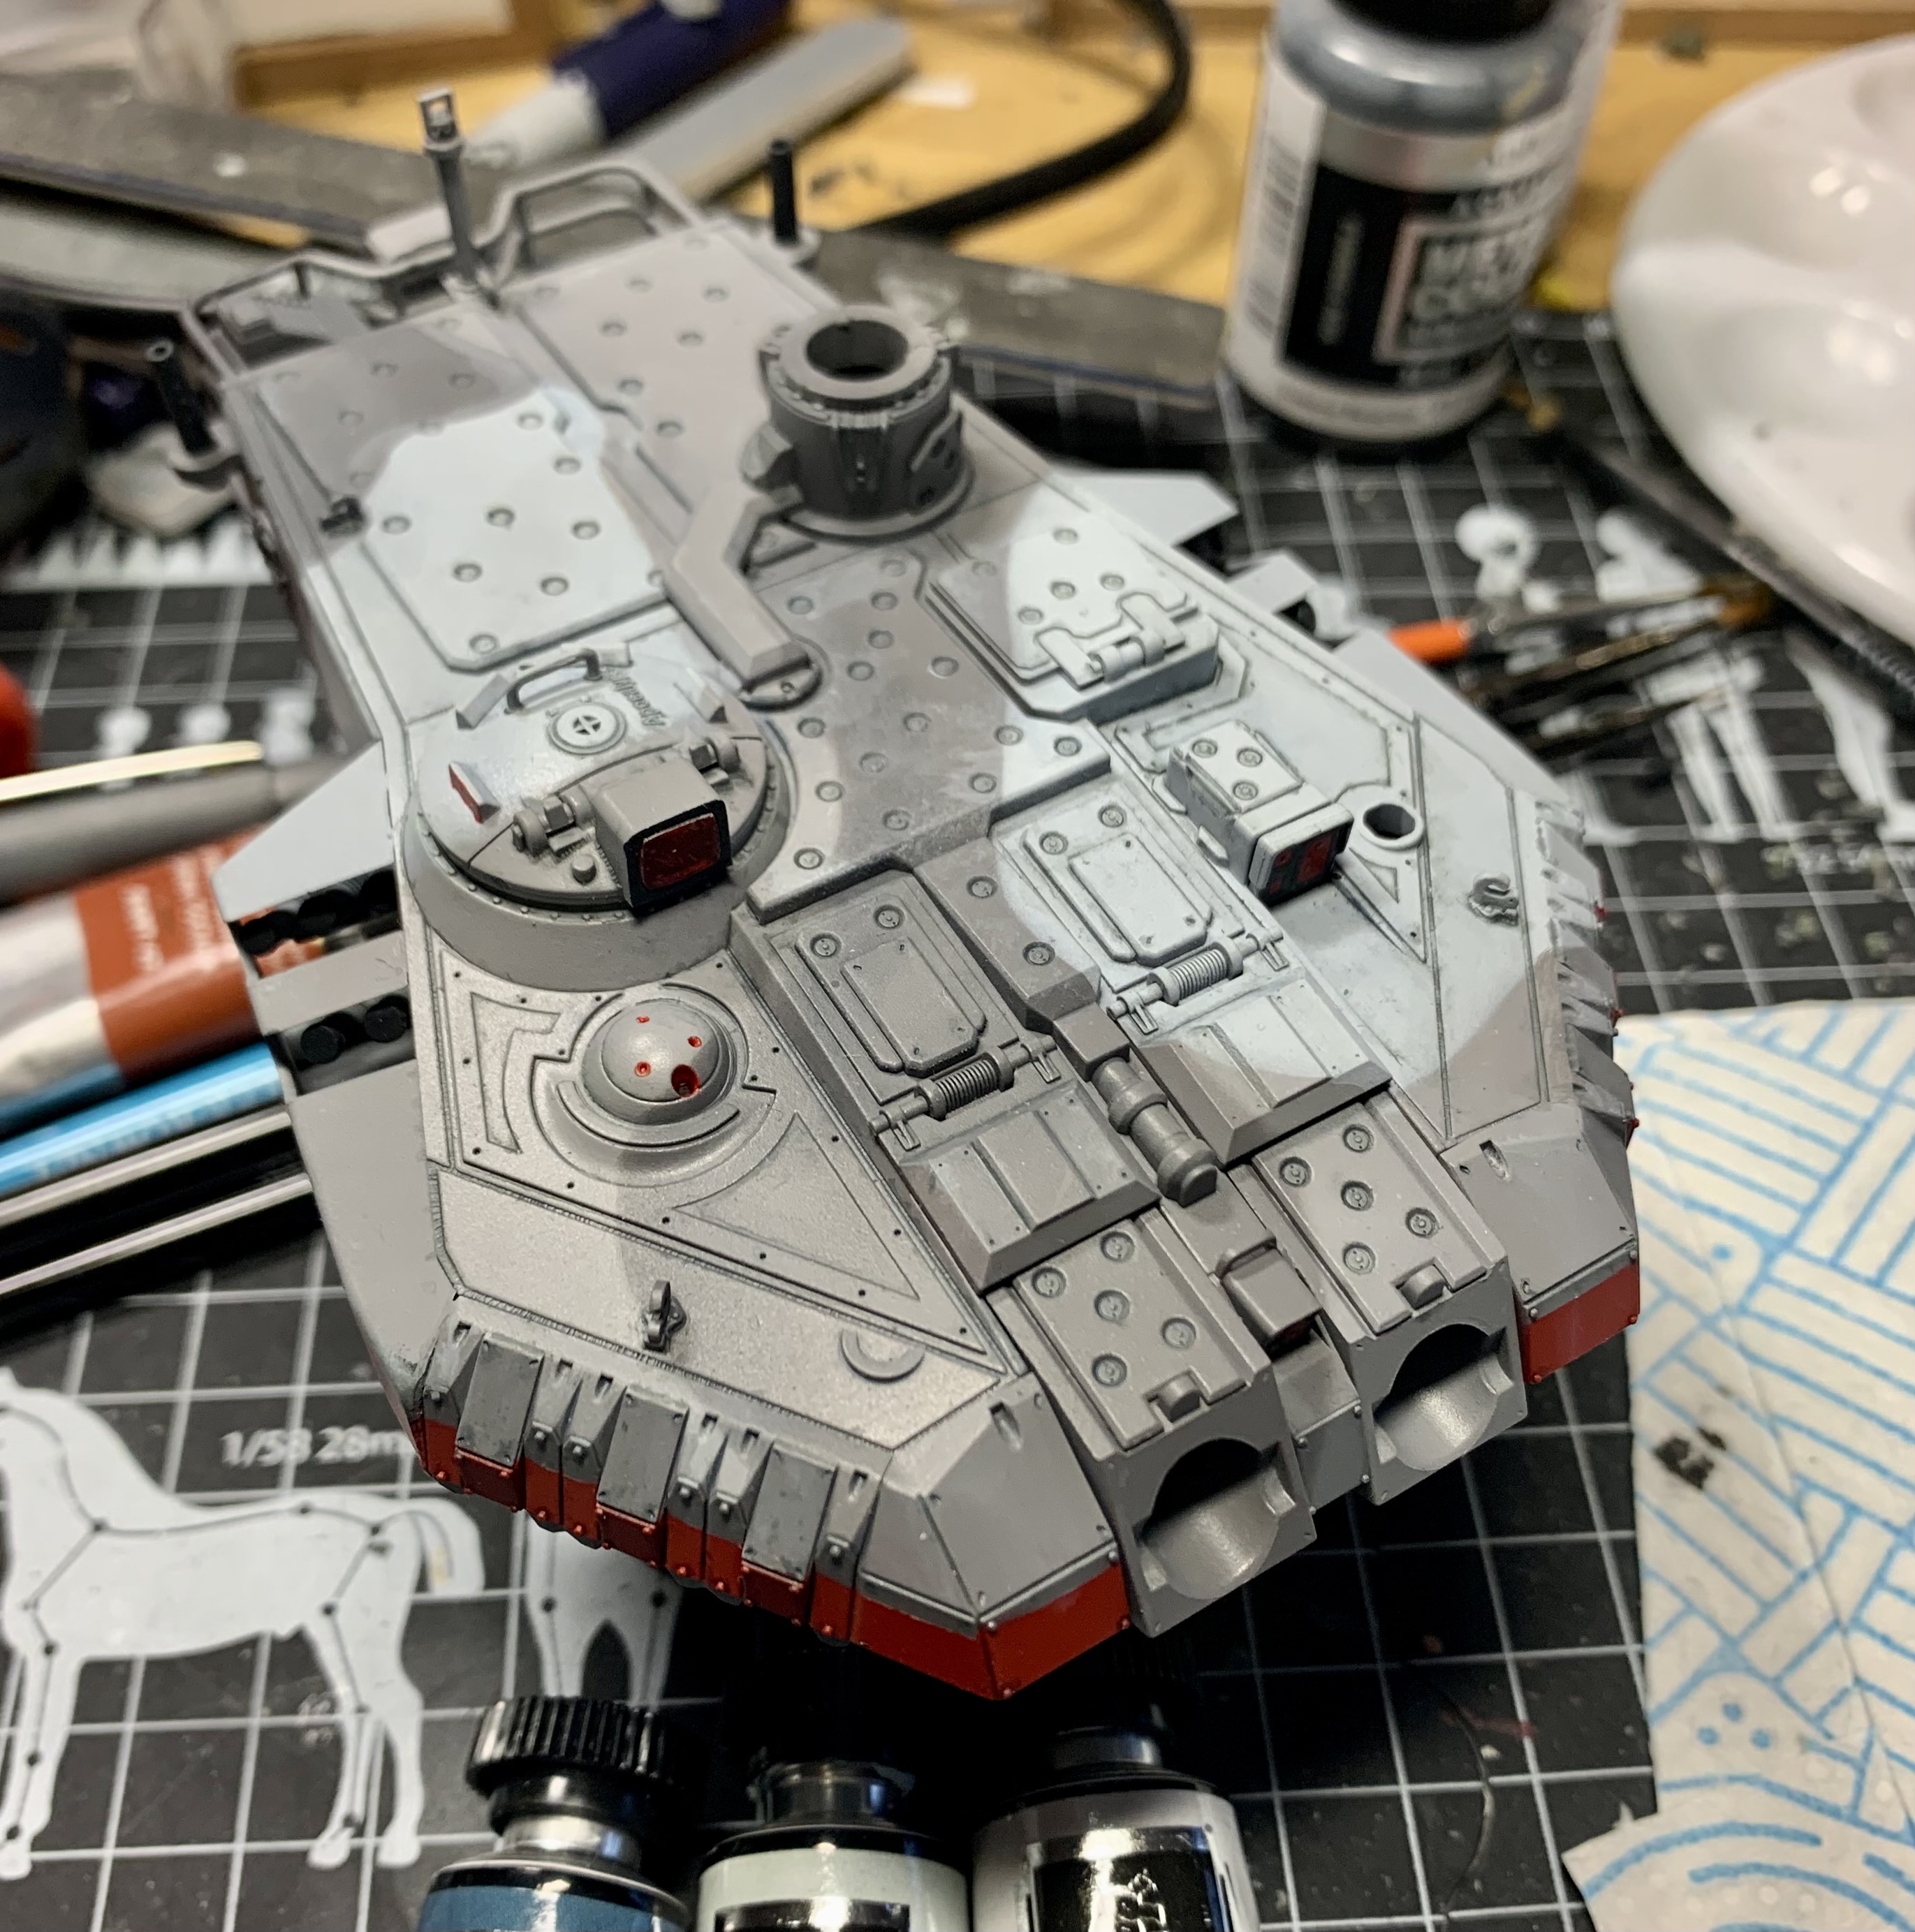
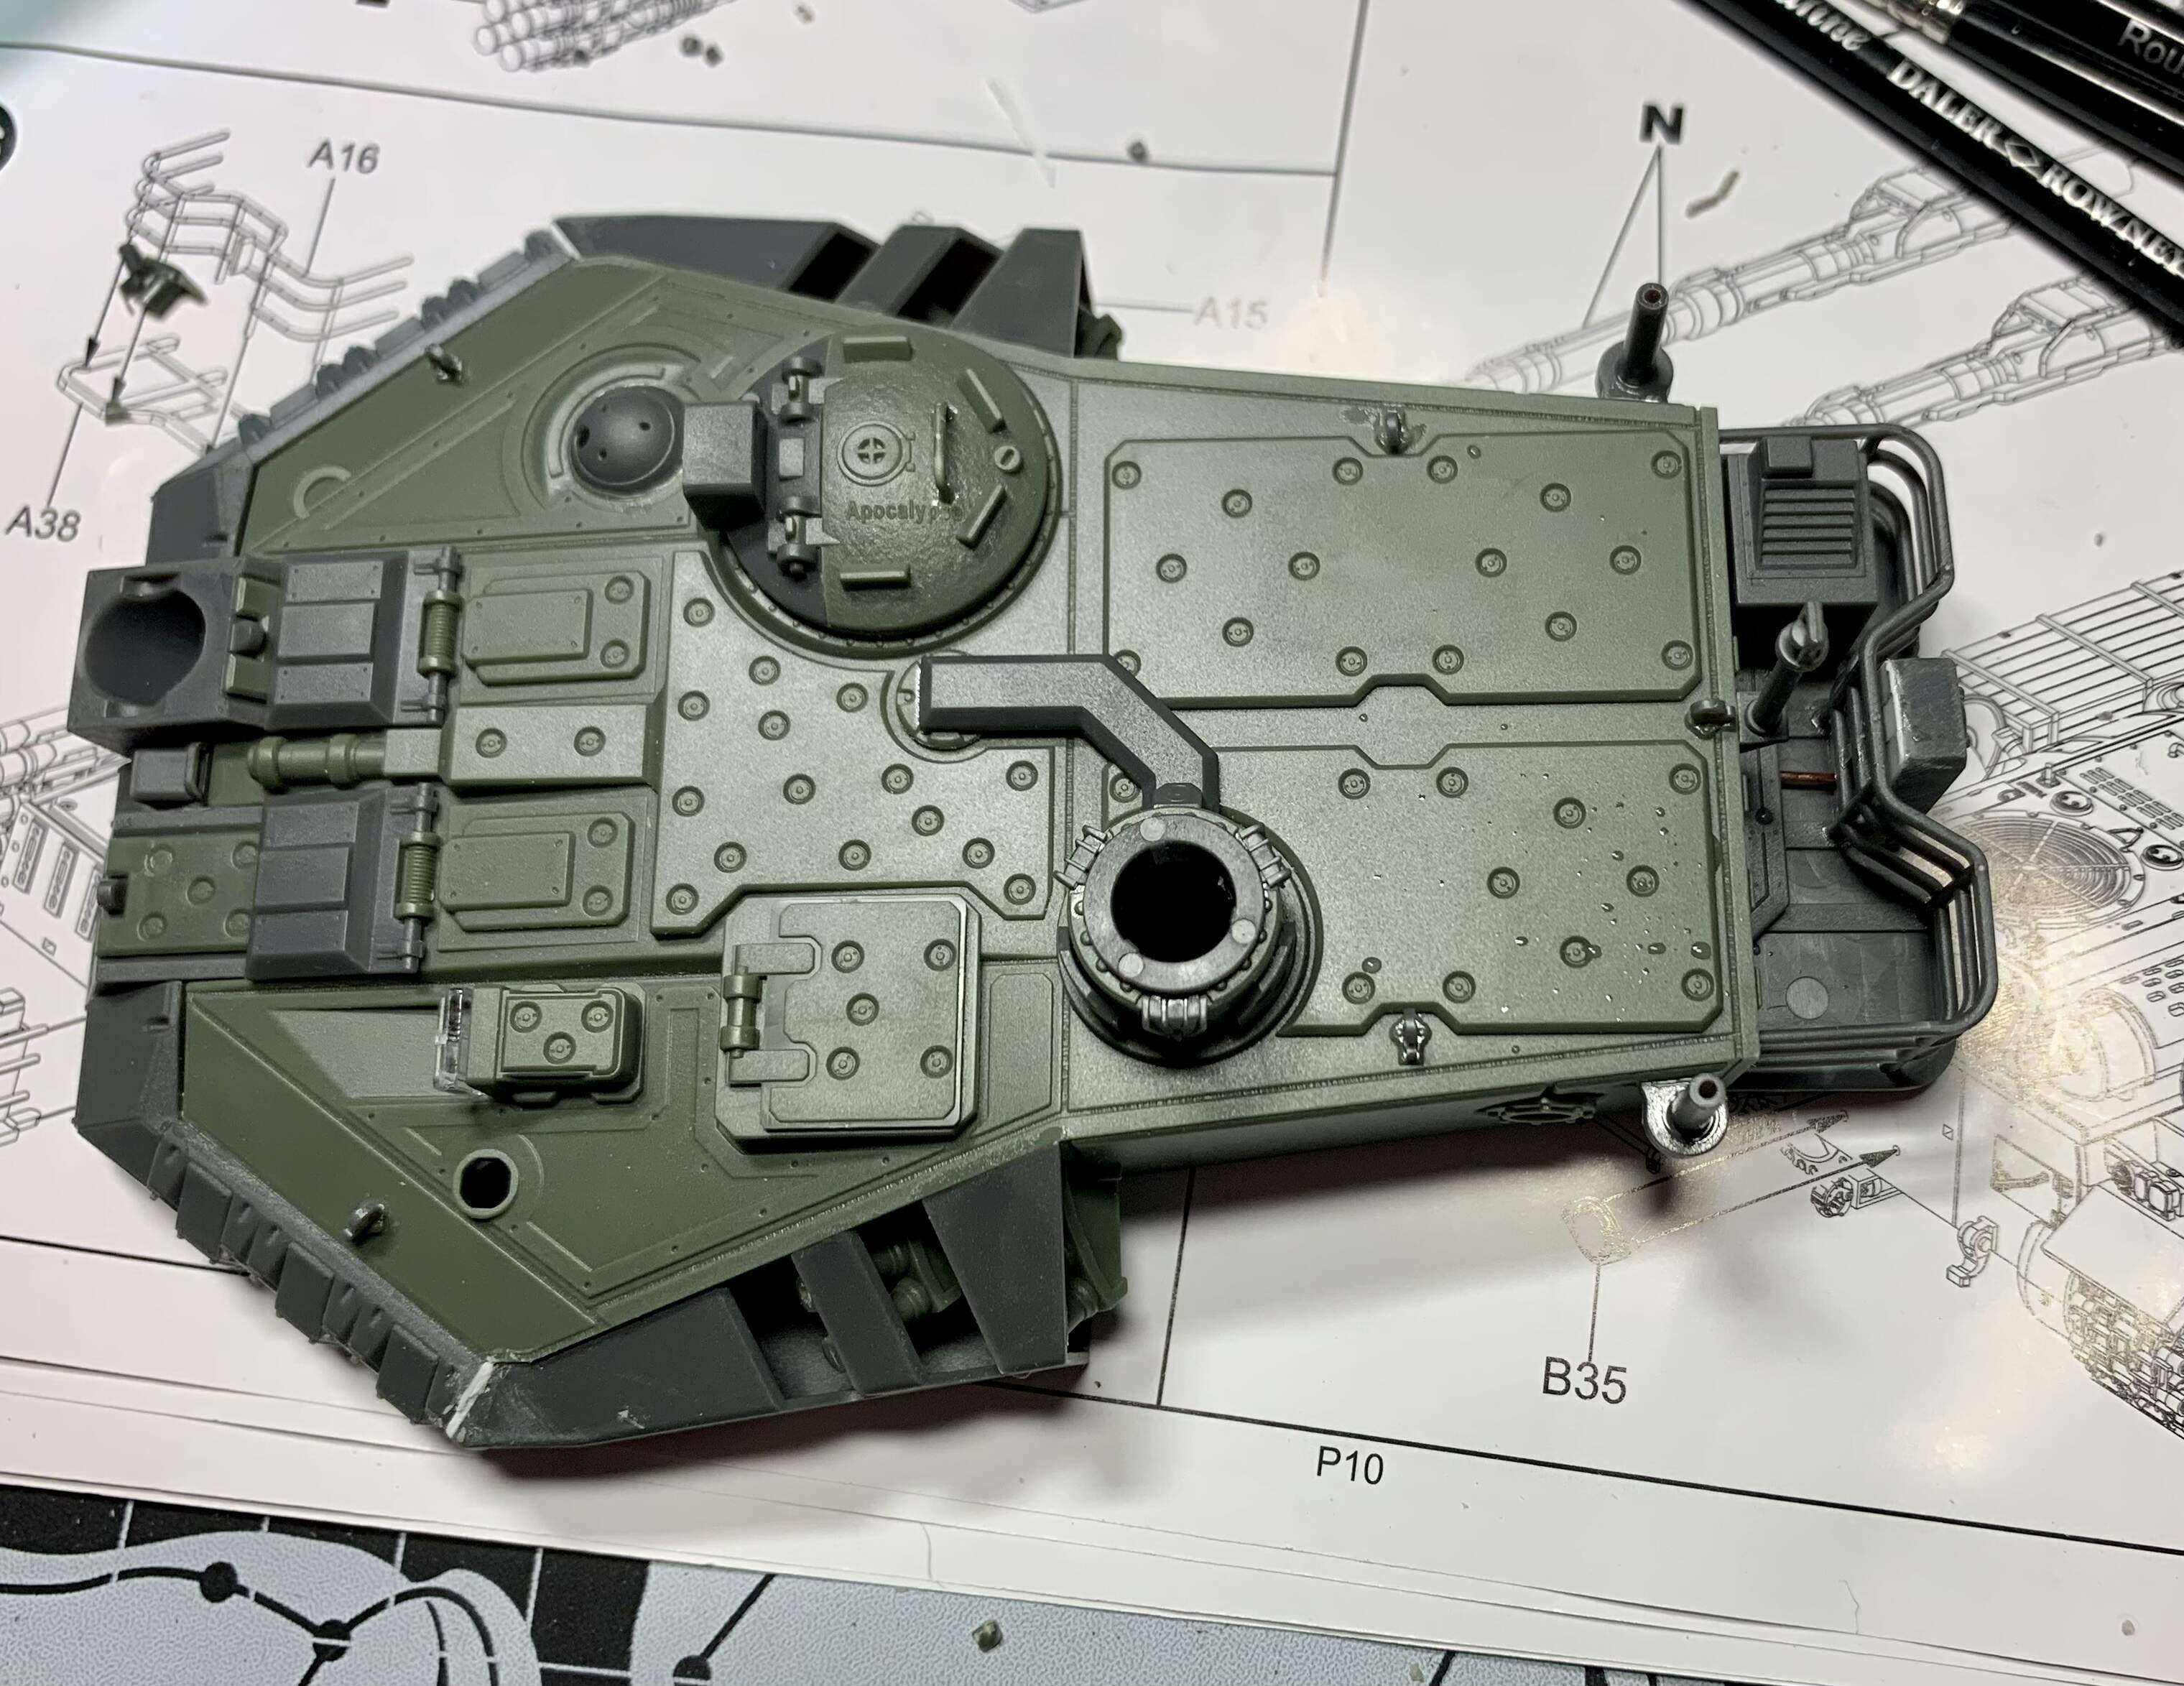
So the kit differs by having 3 double vertical stacked SAM launchers, a Gunner and Commander’s hatch, a RWS, a ‘droid’ shaped thing on the right, a rear bustle rack and a sighting device on the left as well as recessed smoke grenade launchers just forward of the SAM launchers.

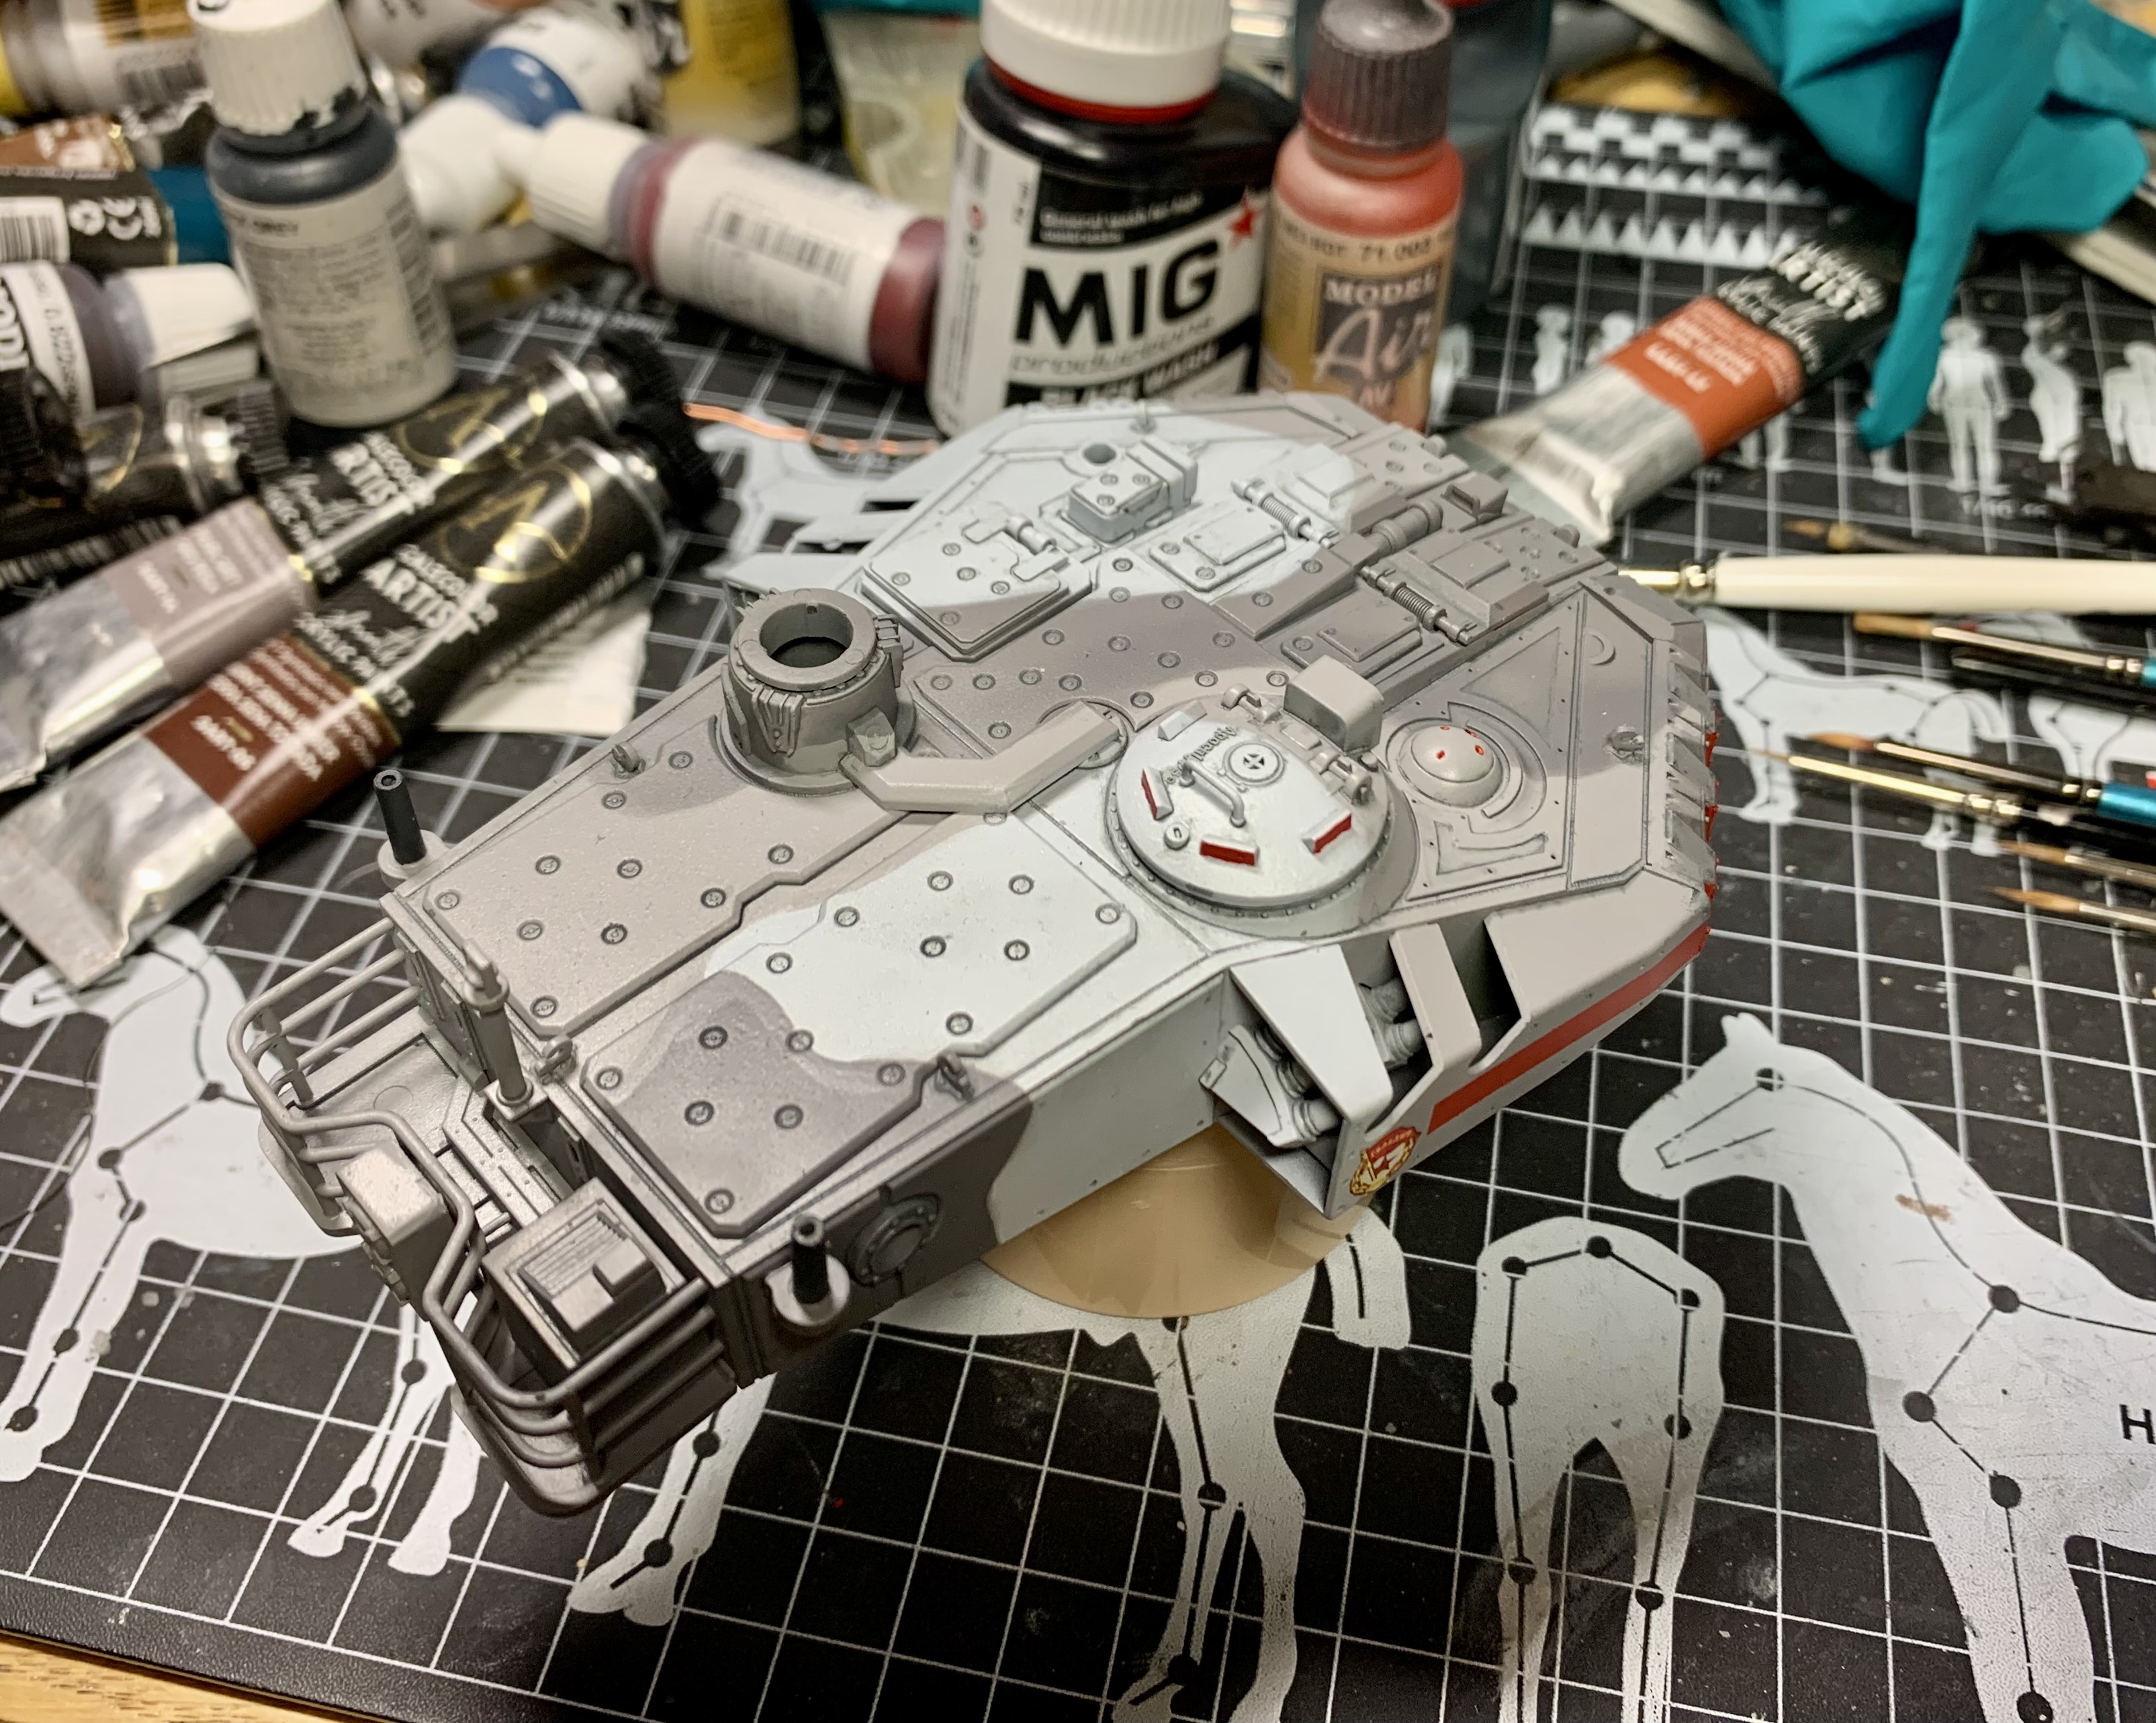
One problem arose where the frontal armor meets the side armor on the turret- there’s a visible gap on both sides that I plugged with plastic card.

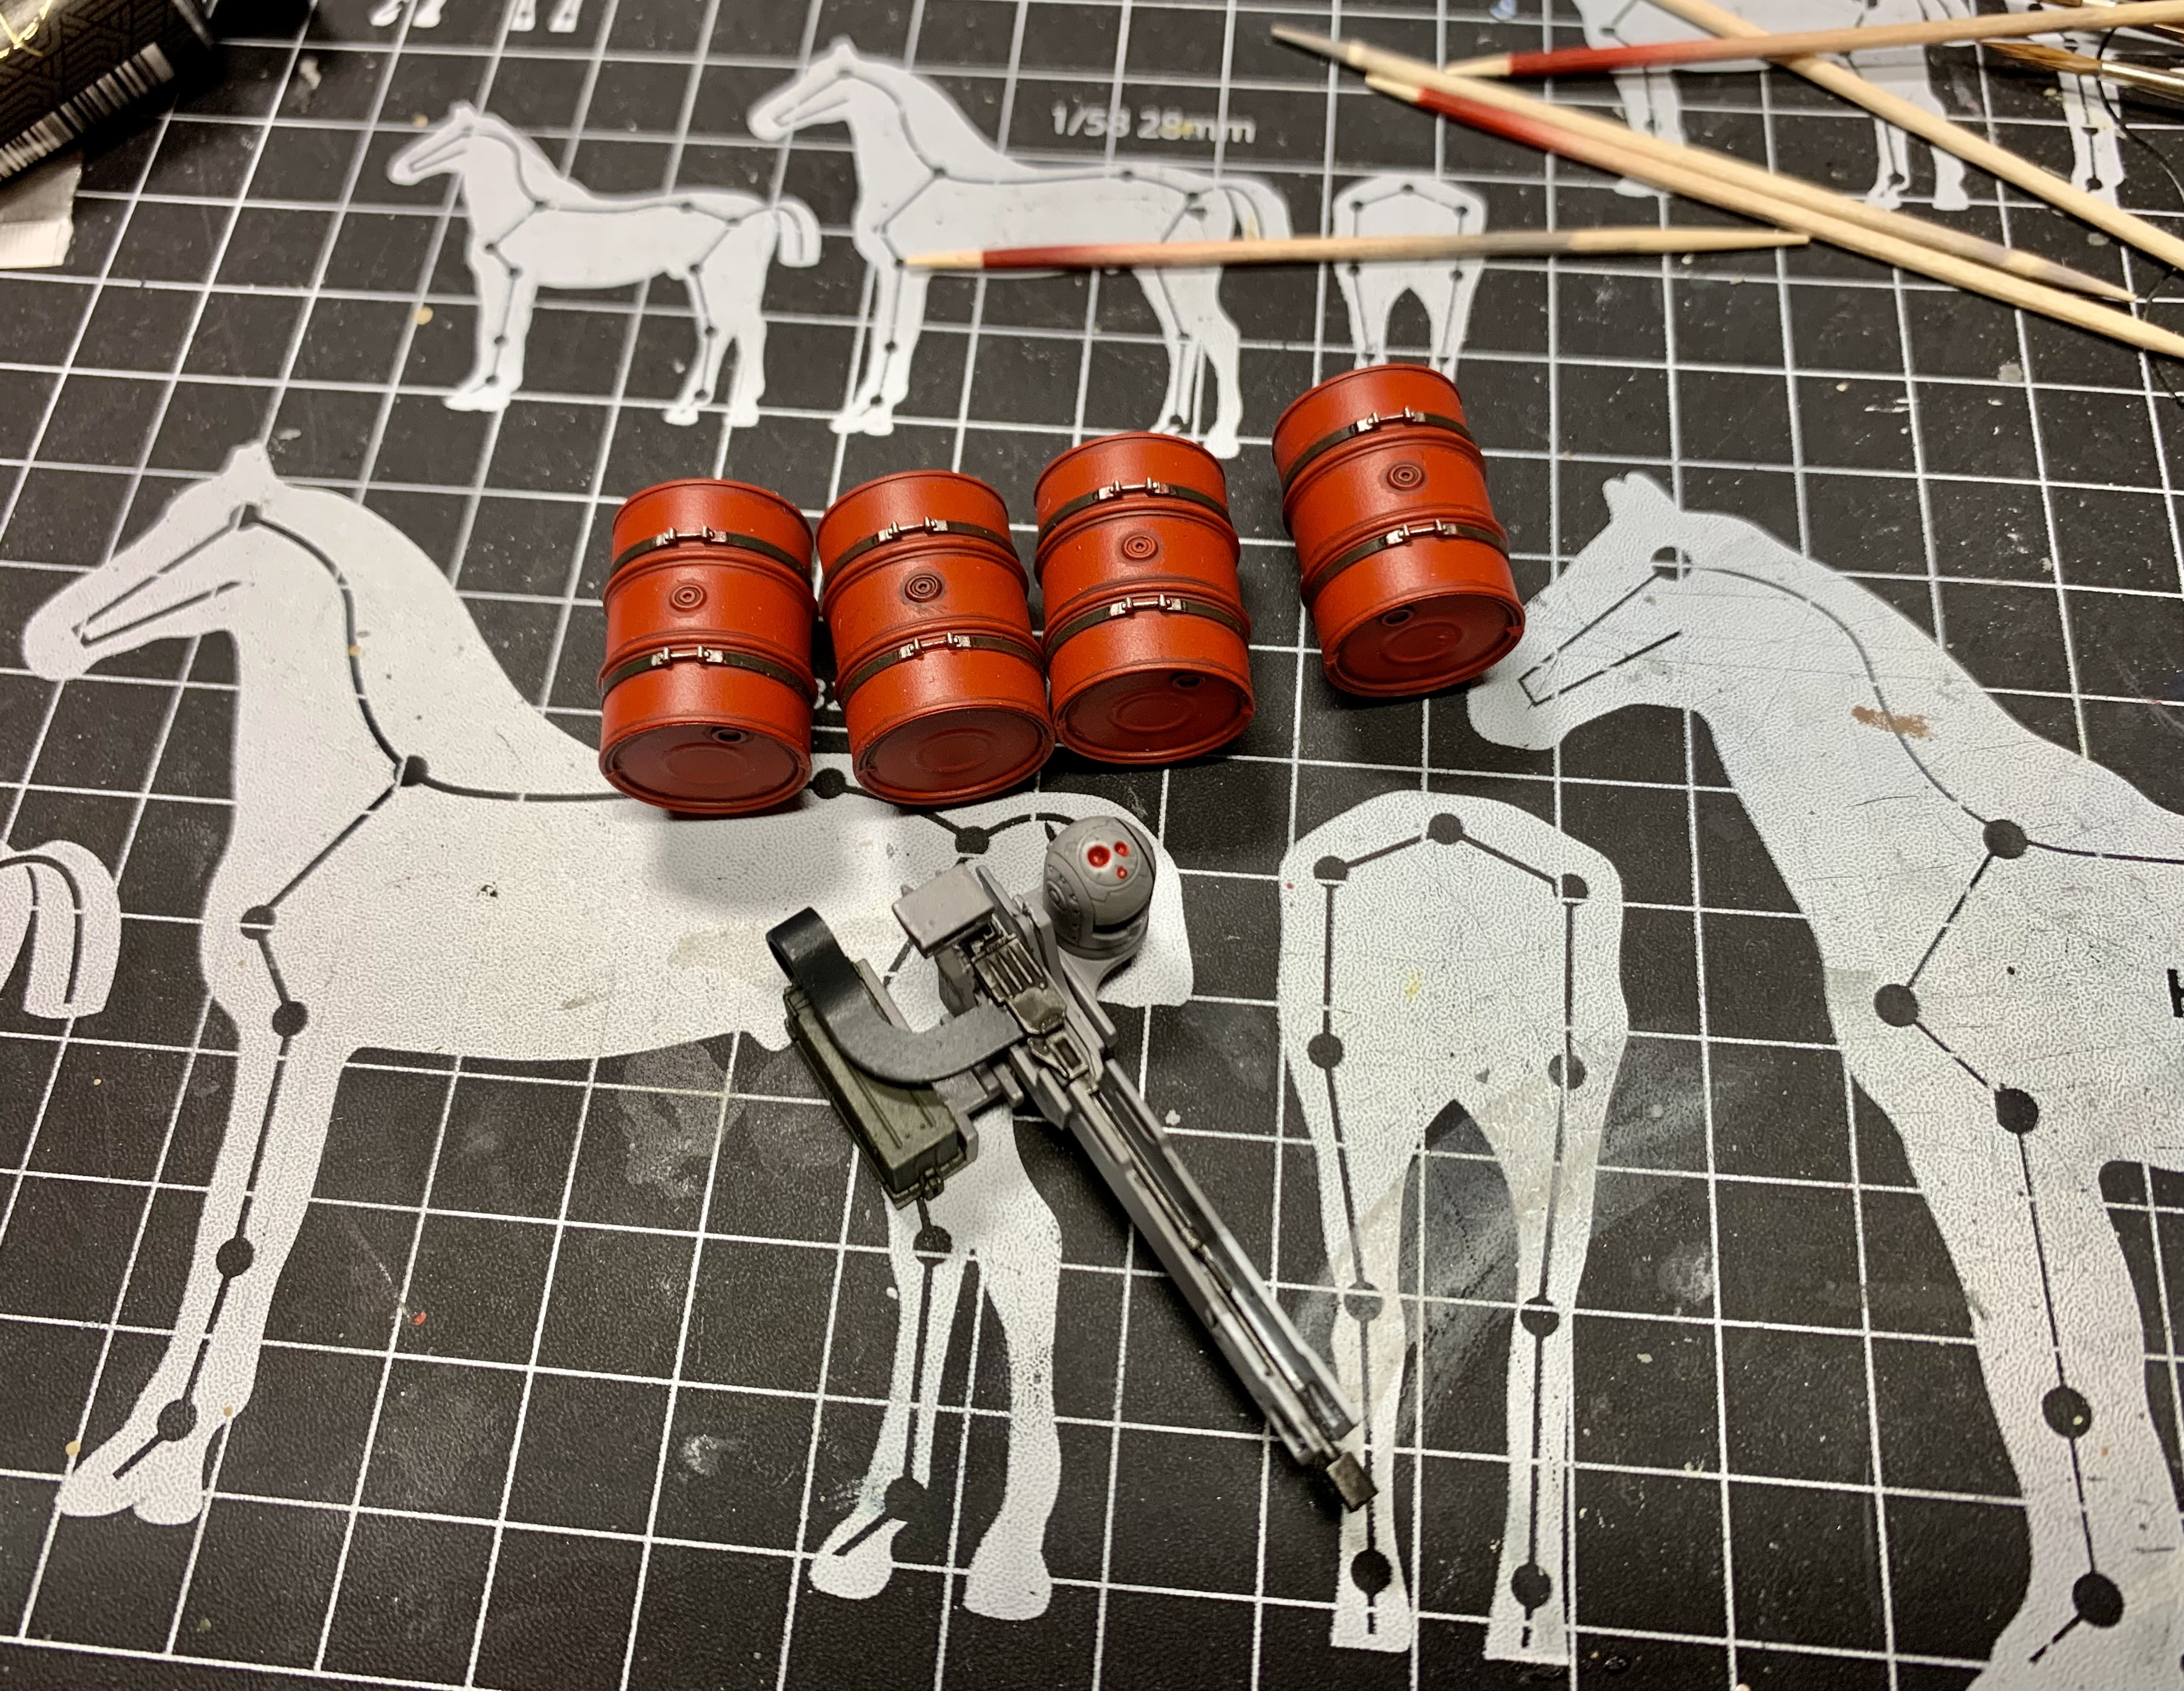
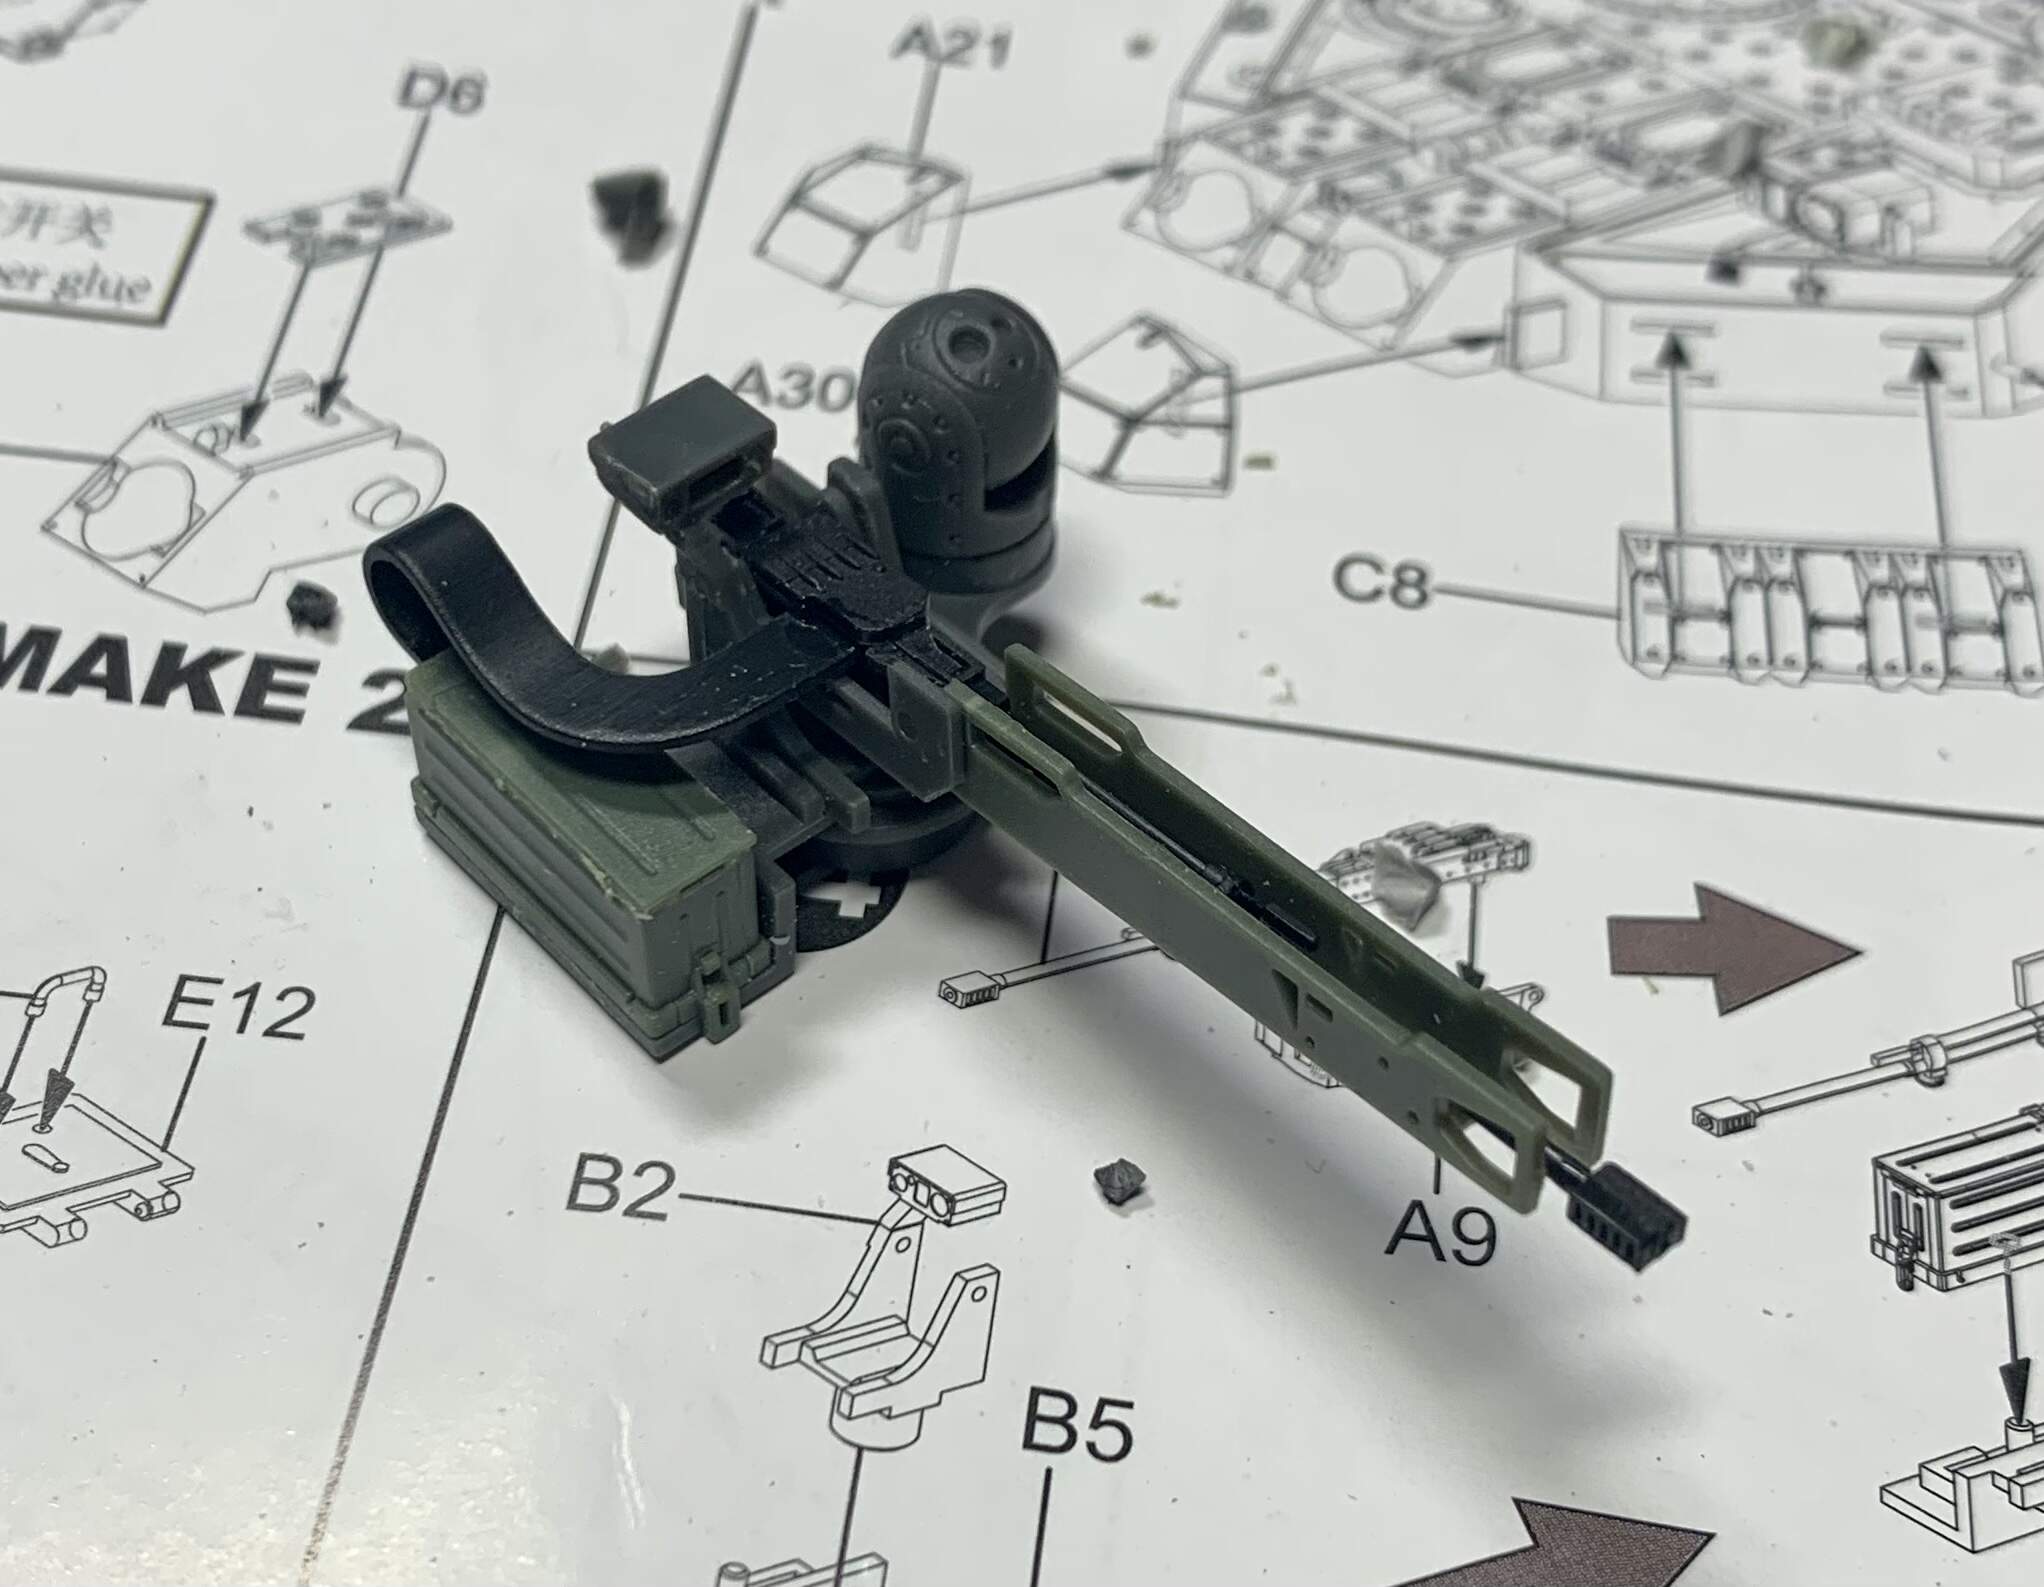
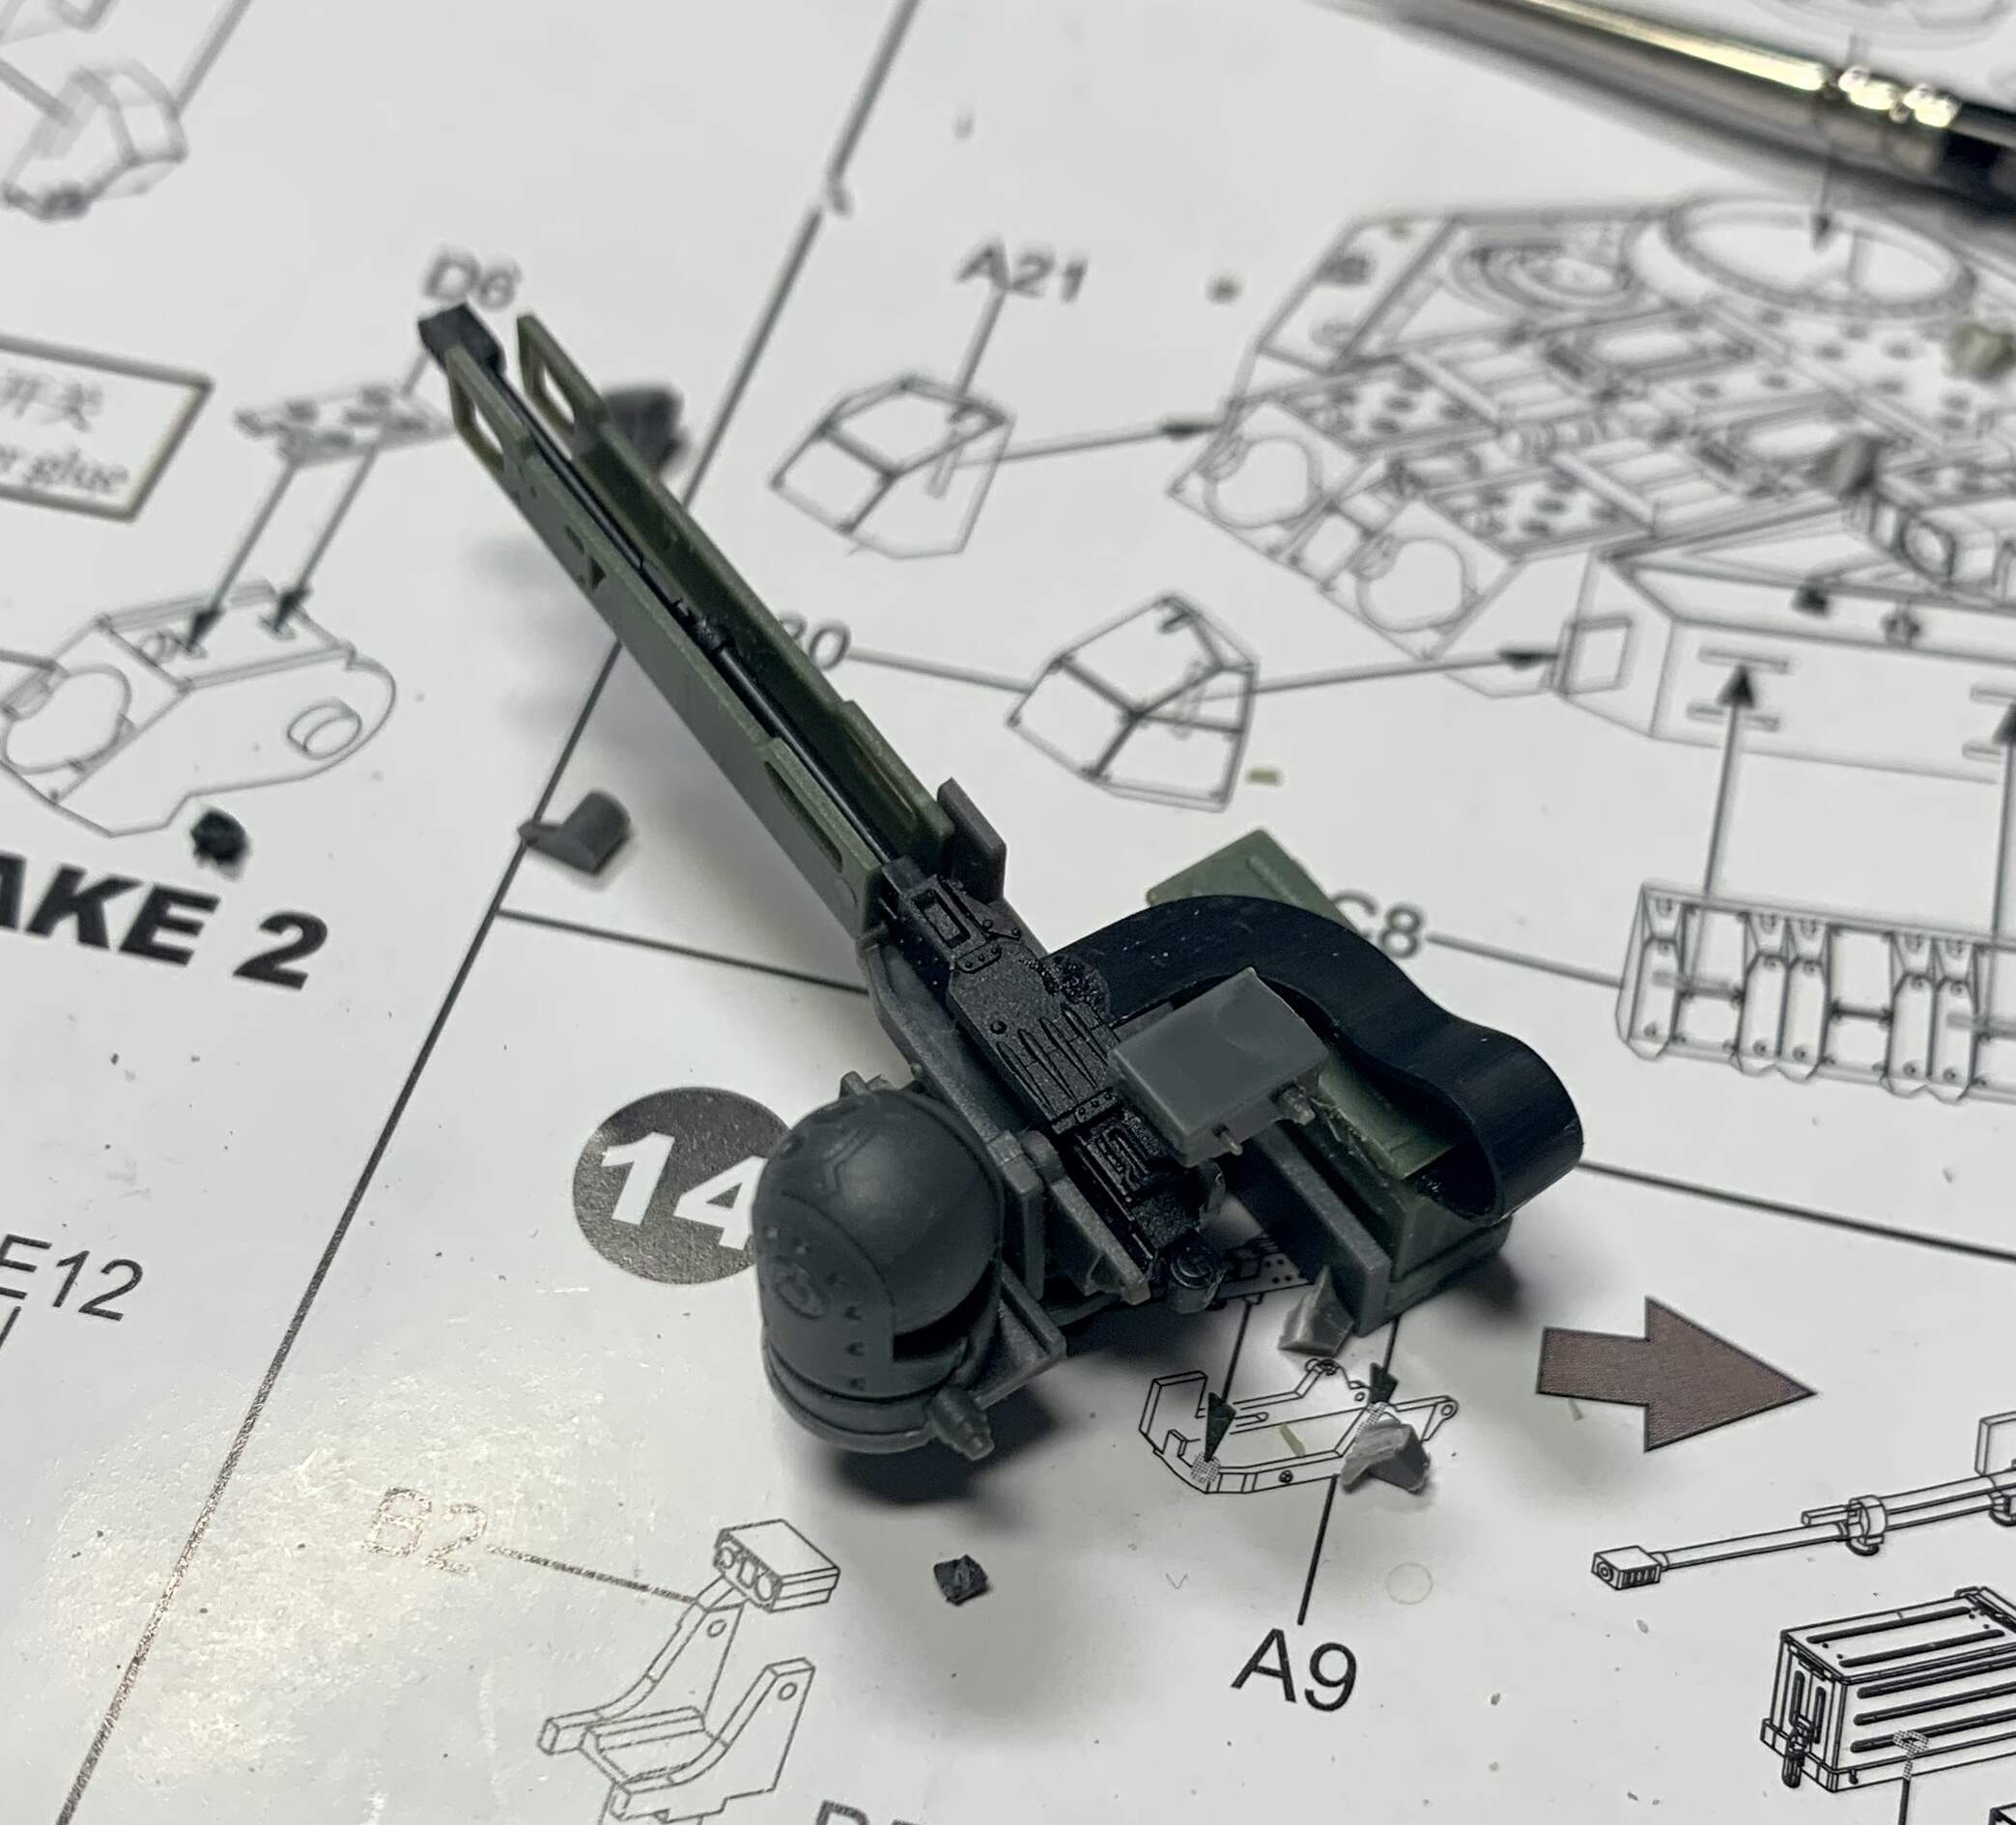
A particular highlight is the MG mounted just behind the Gunner’s hatch- it’s very detailed and looks like an RWS of sorts.

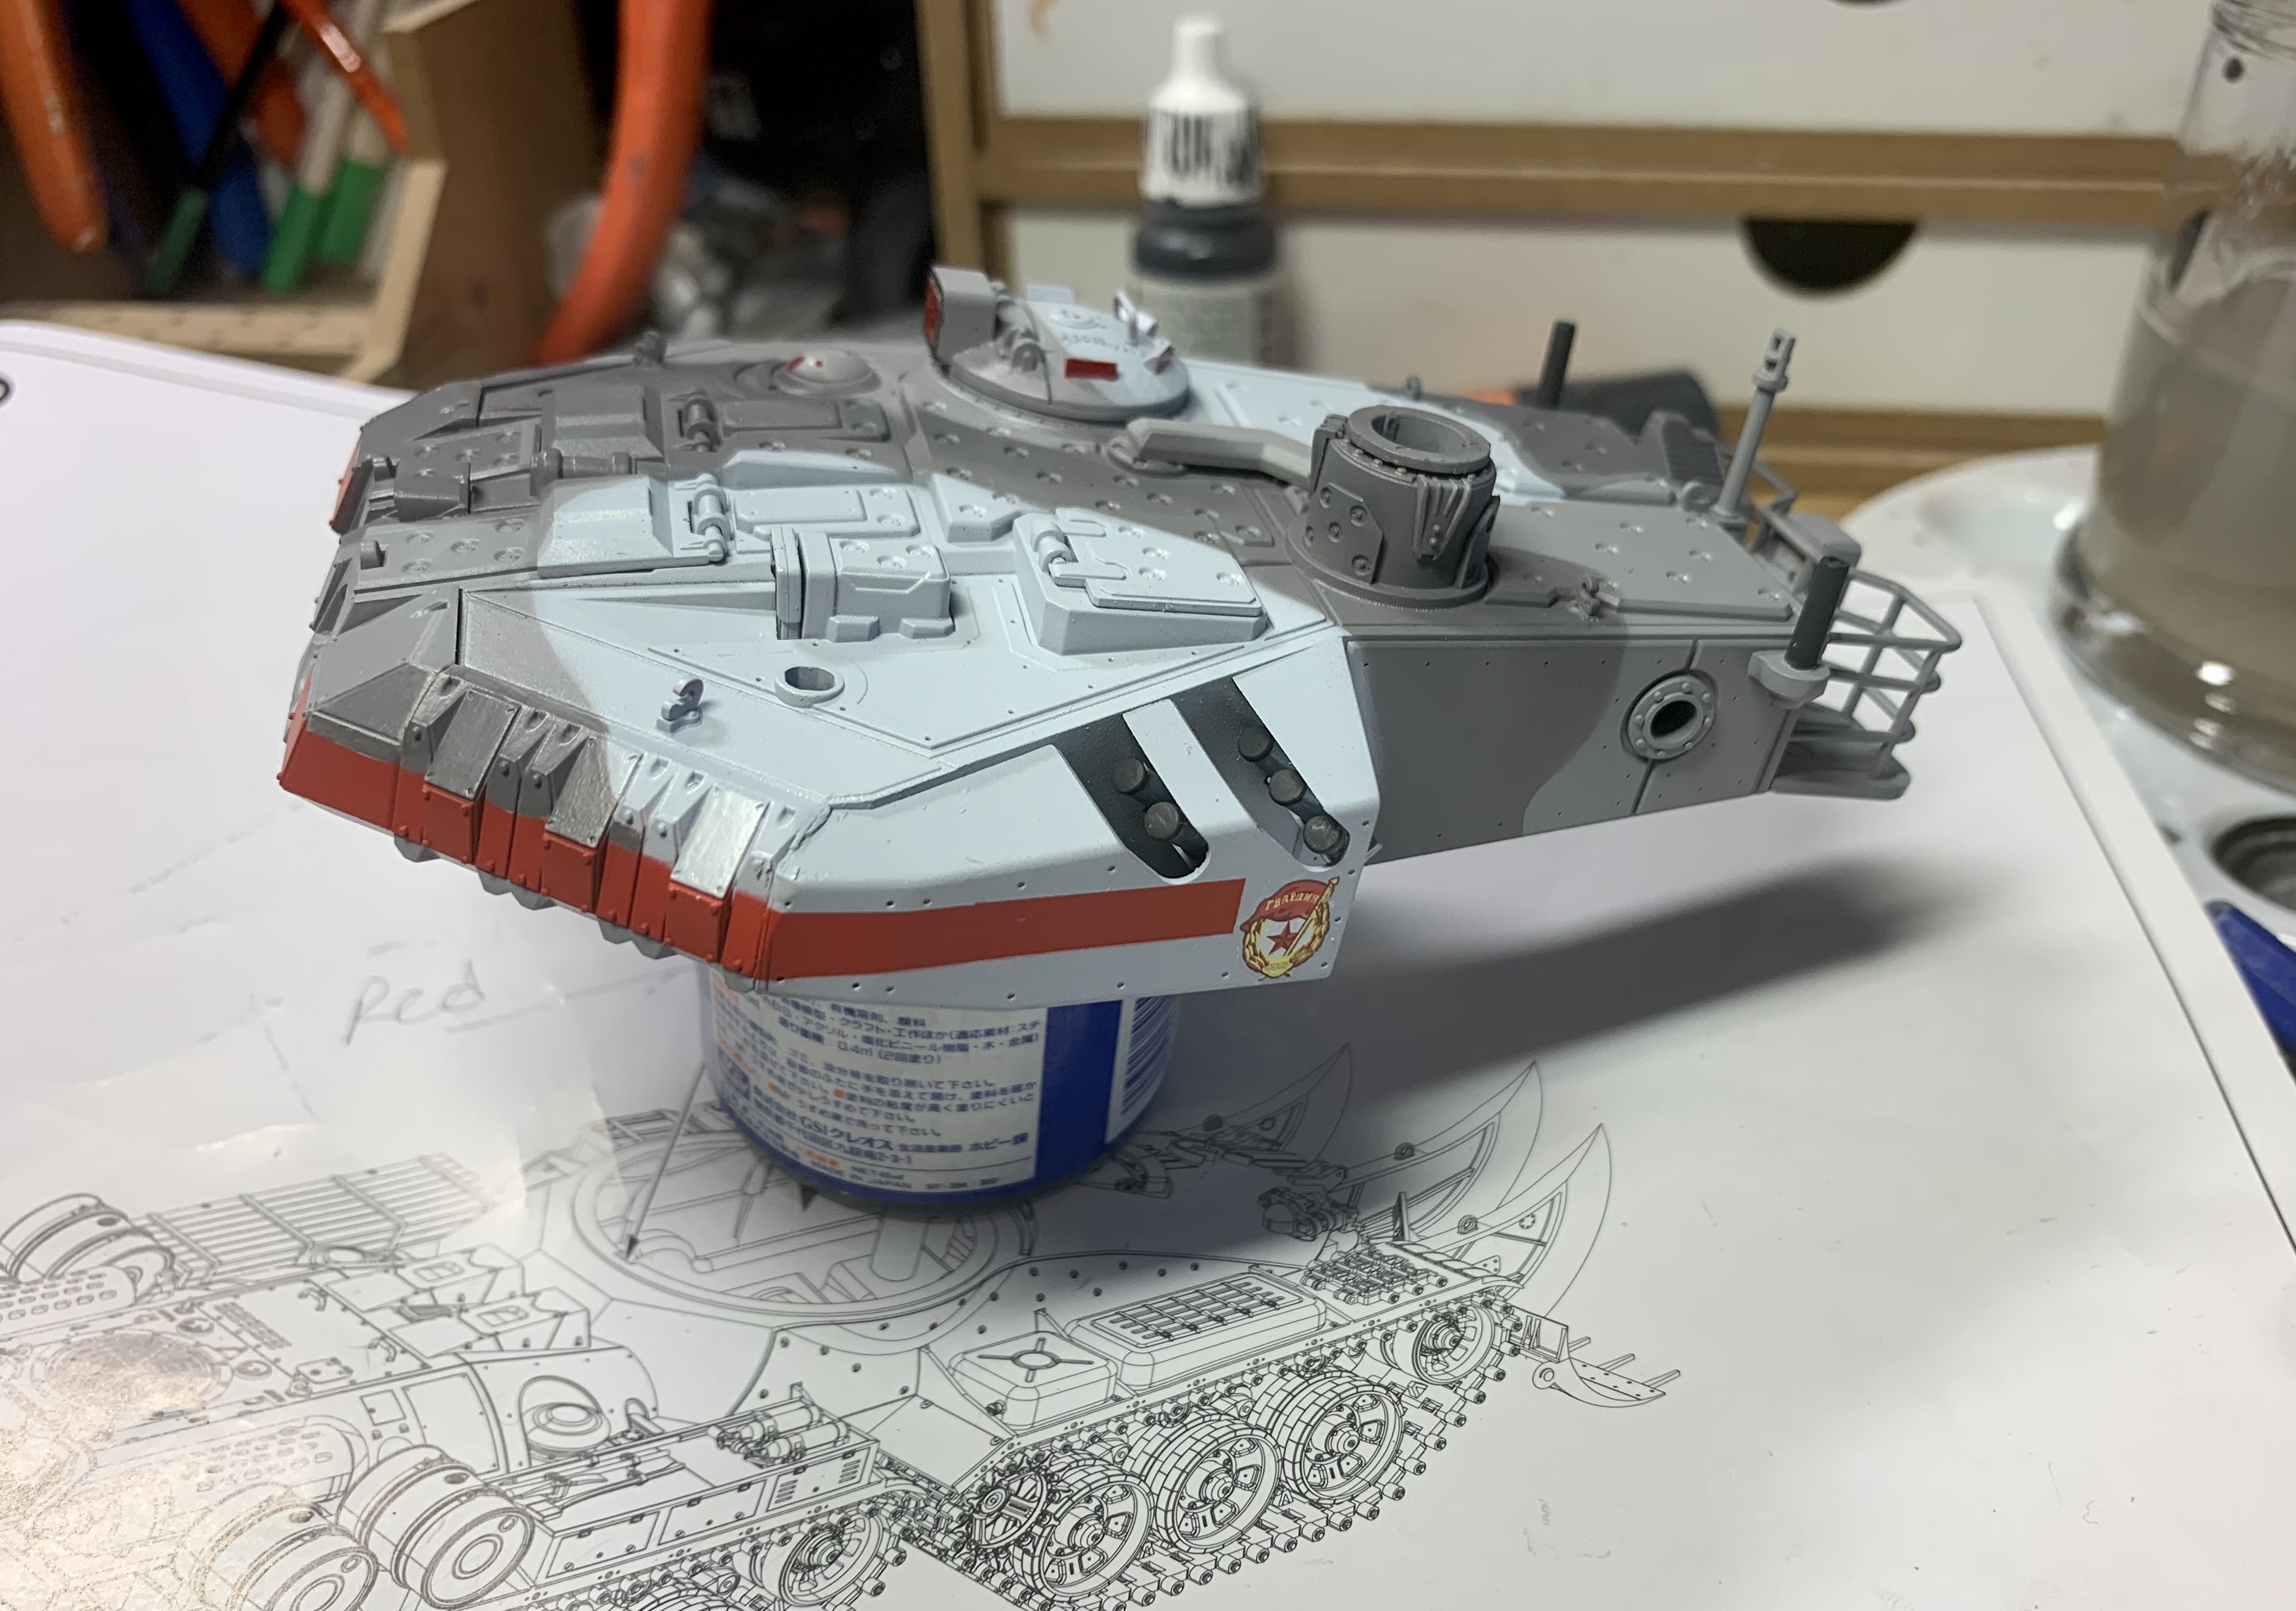
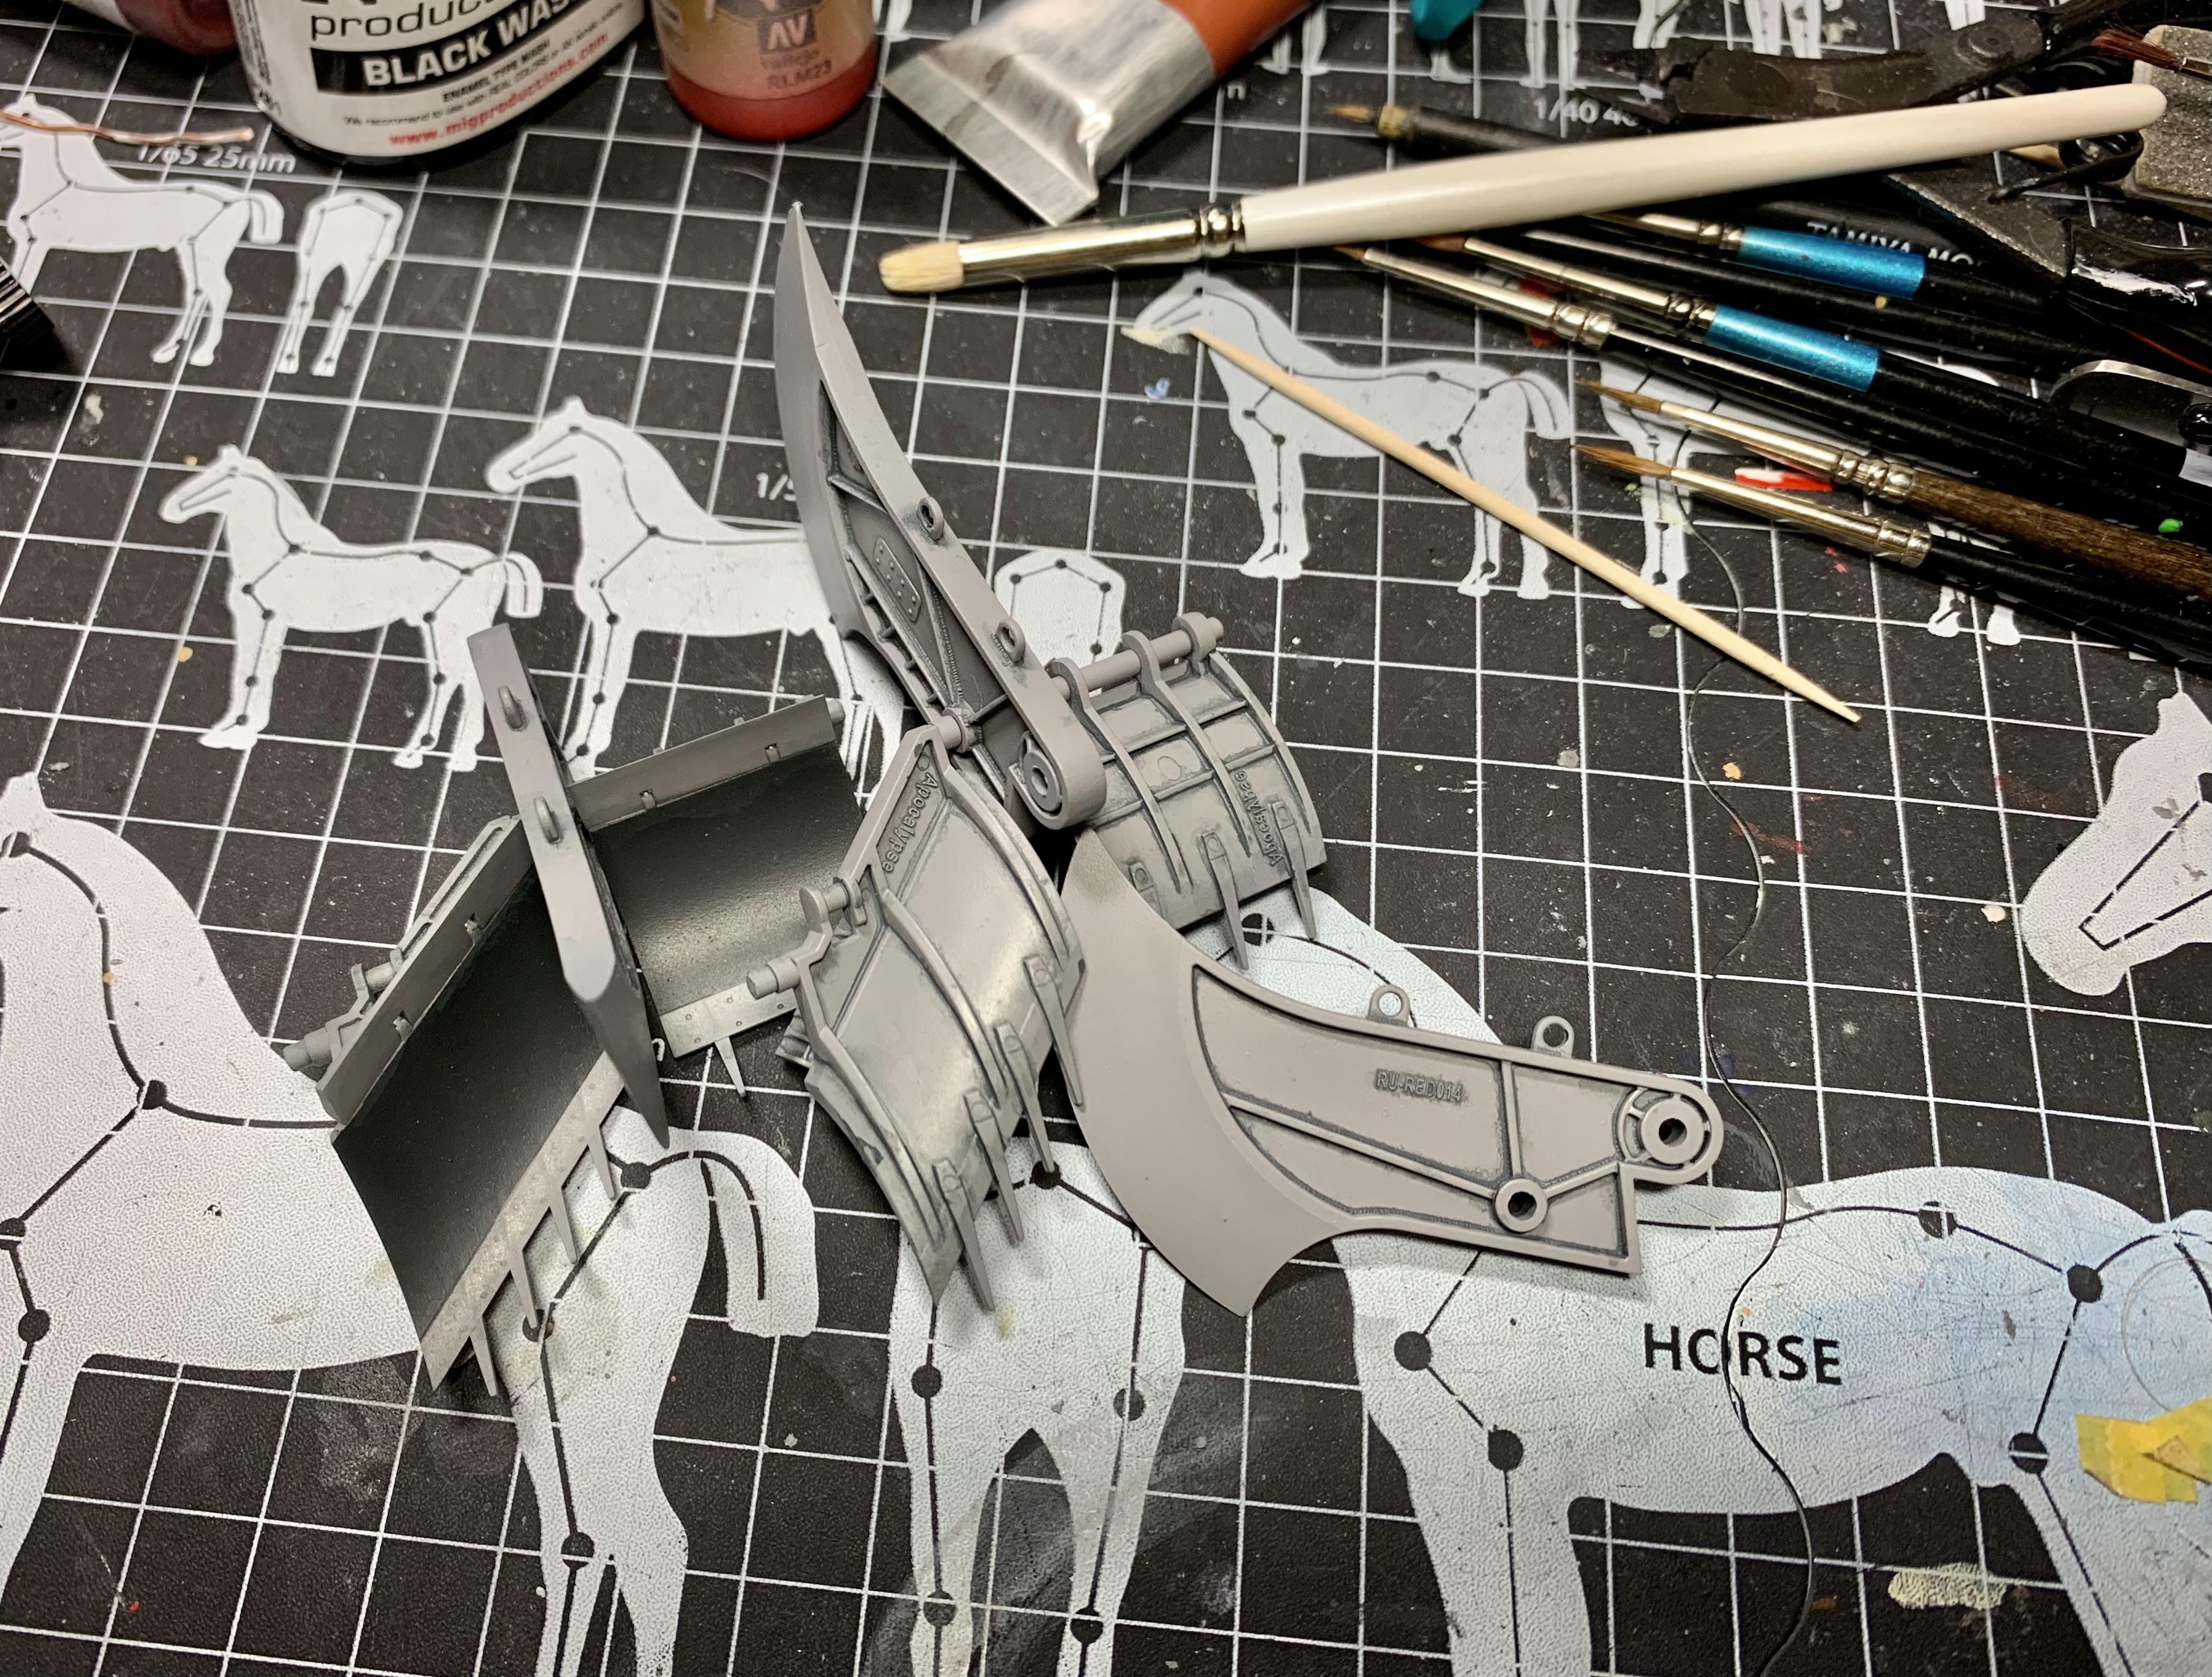
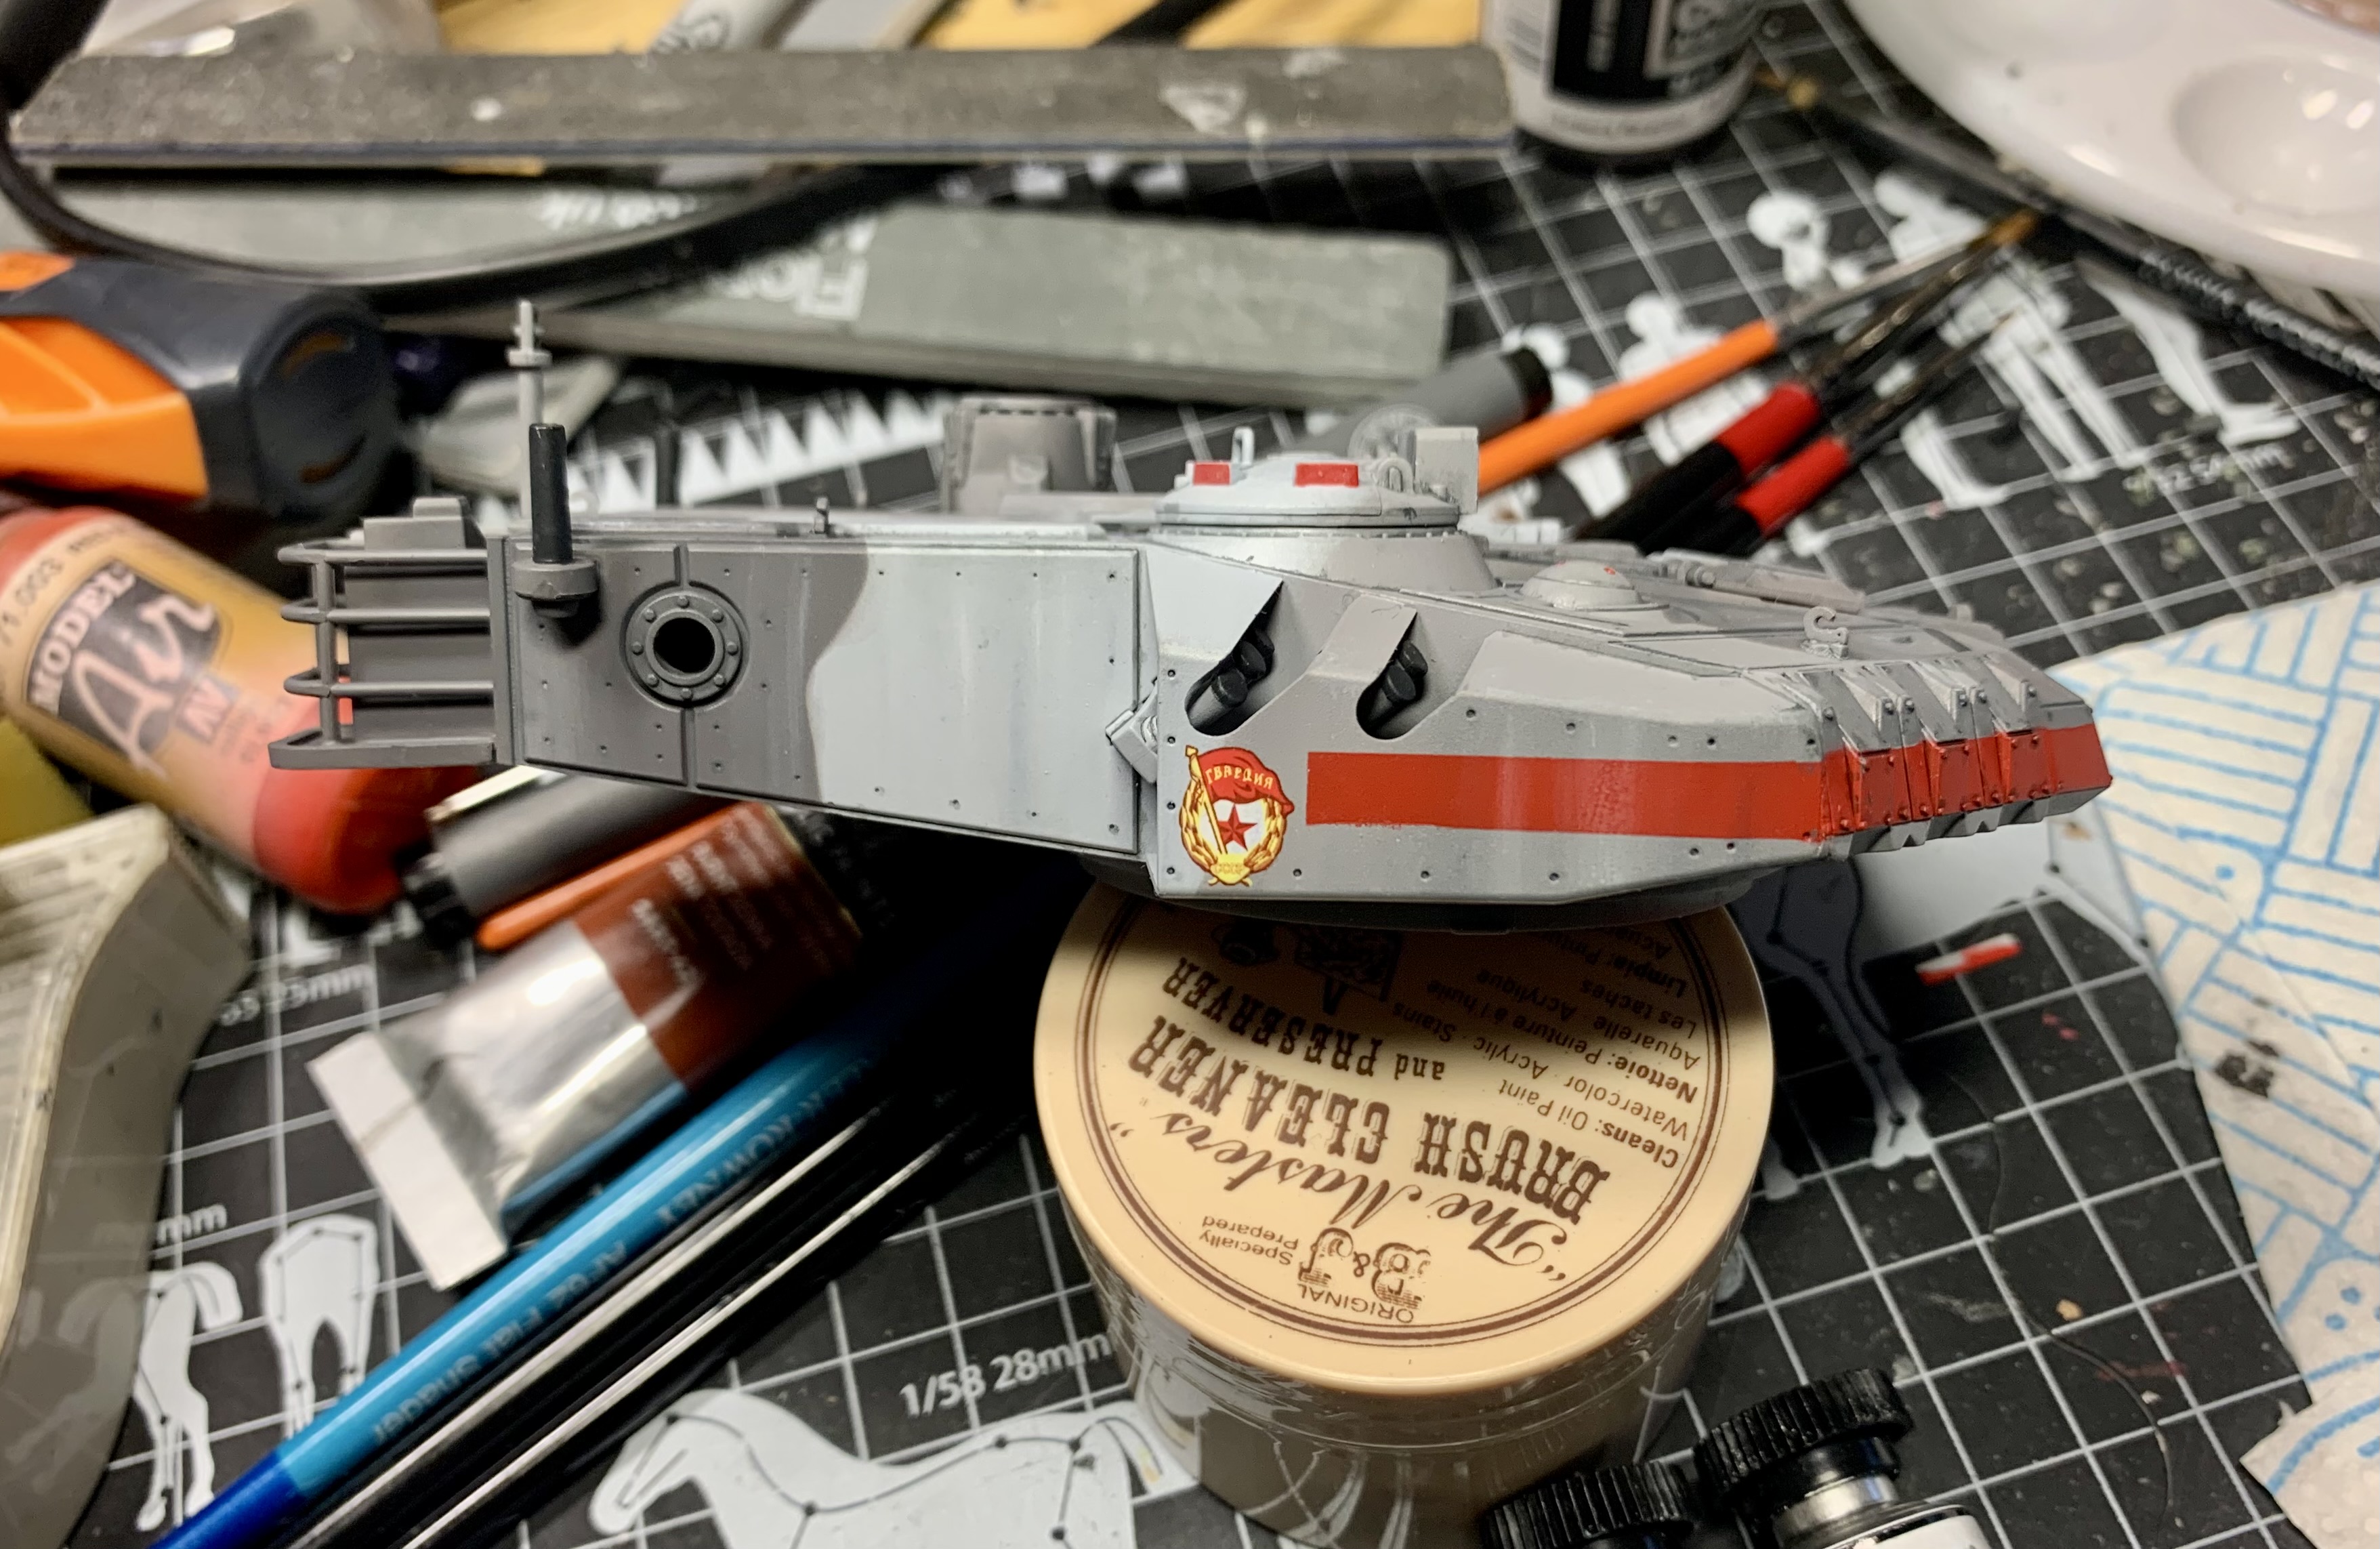
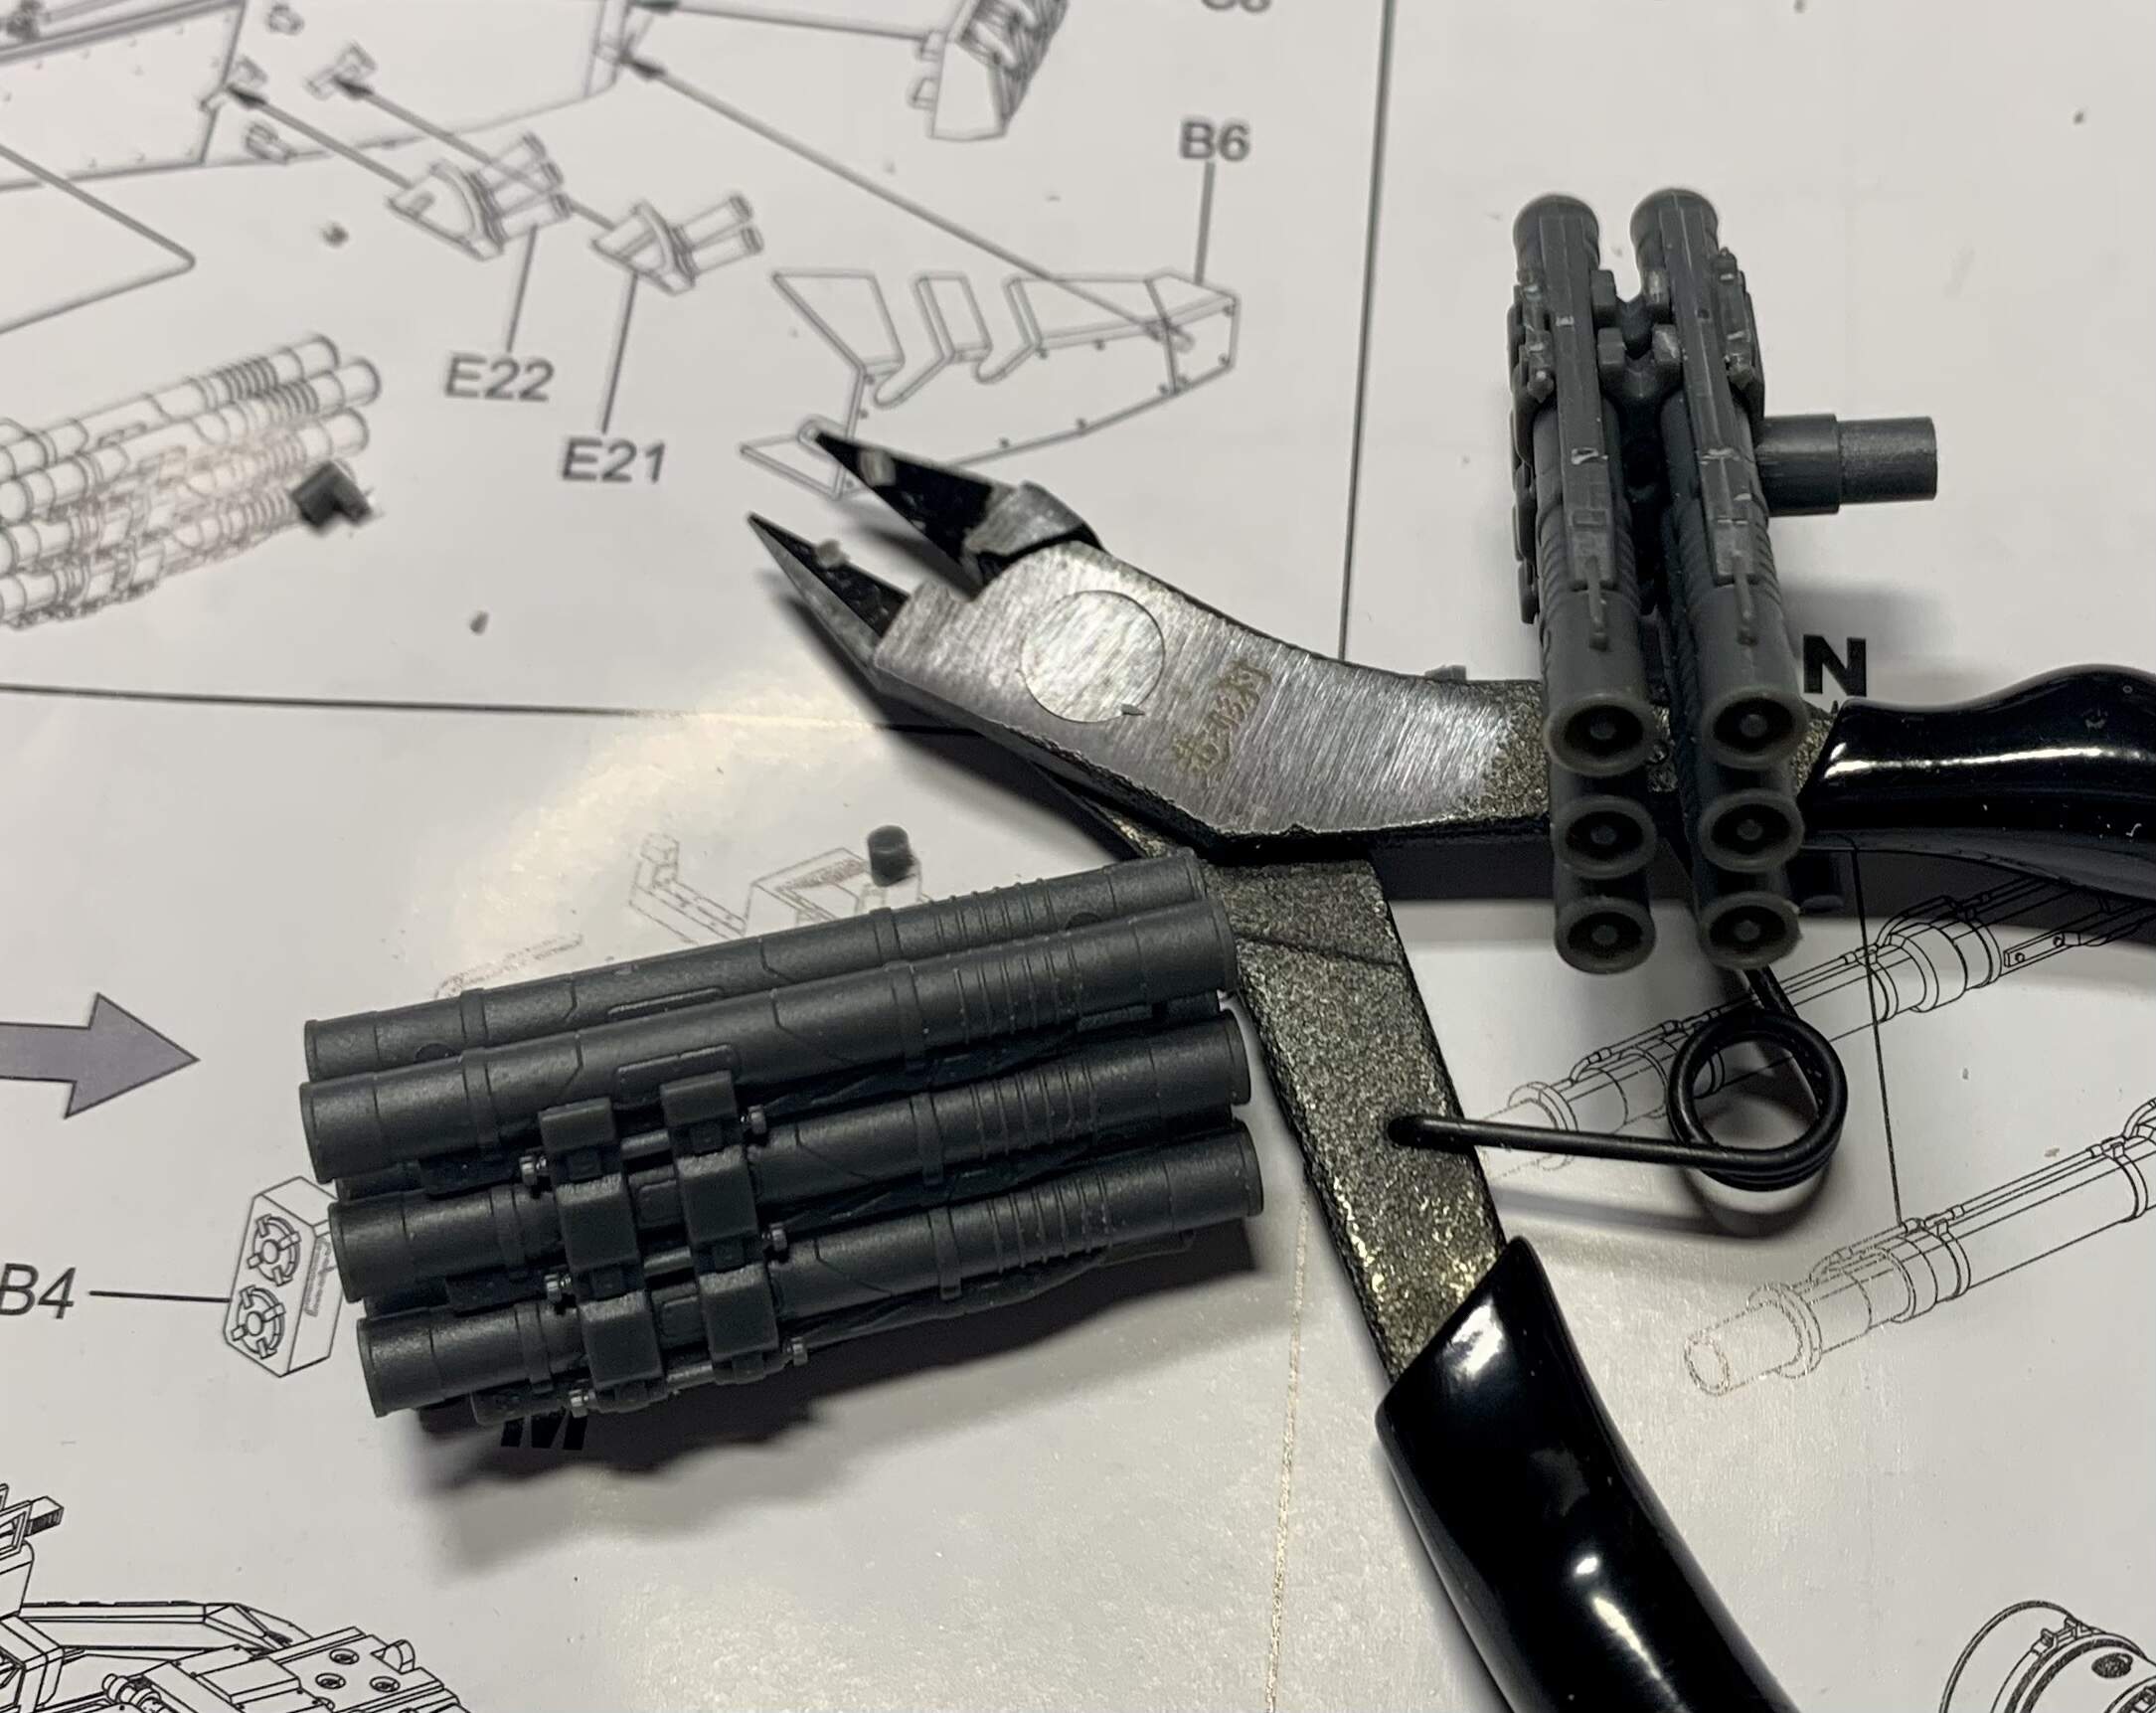
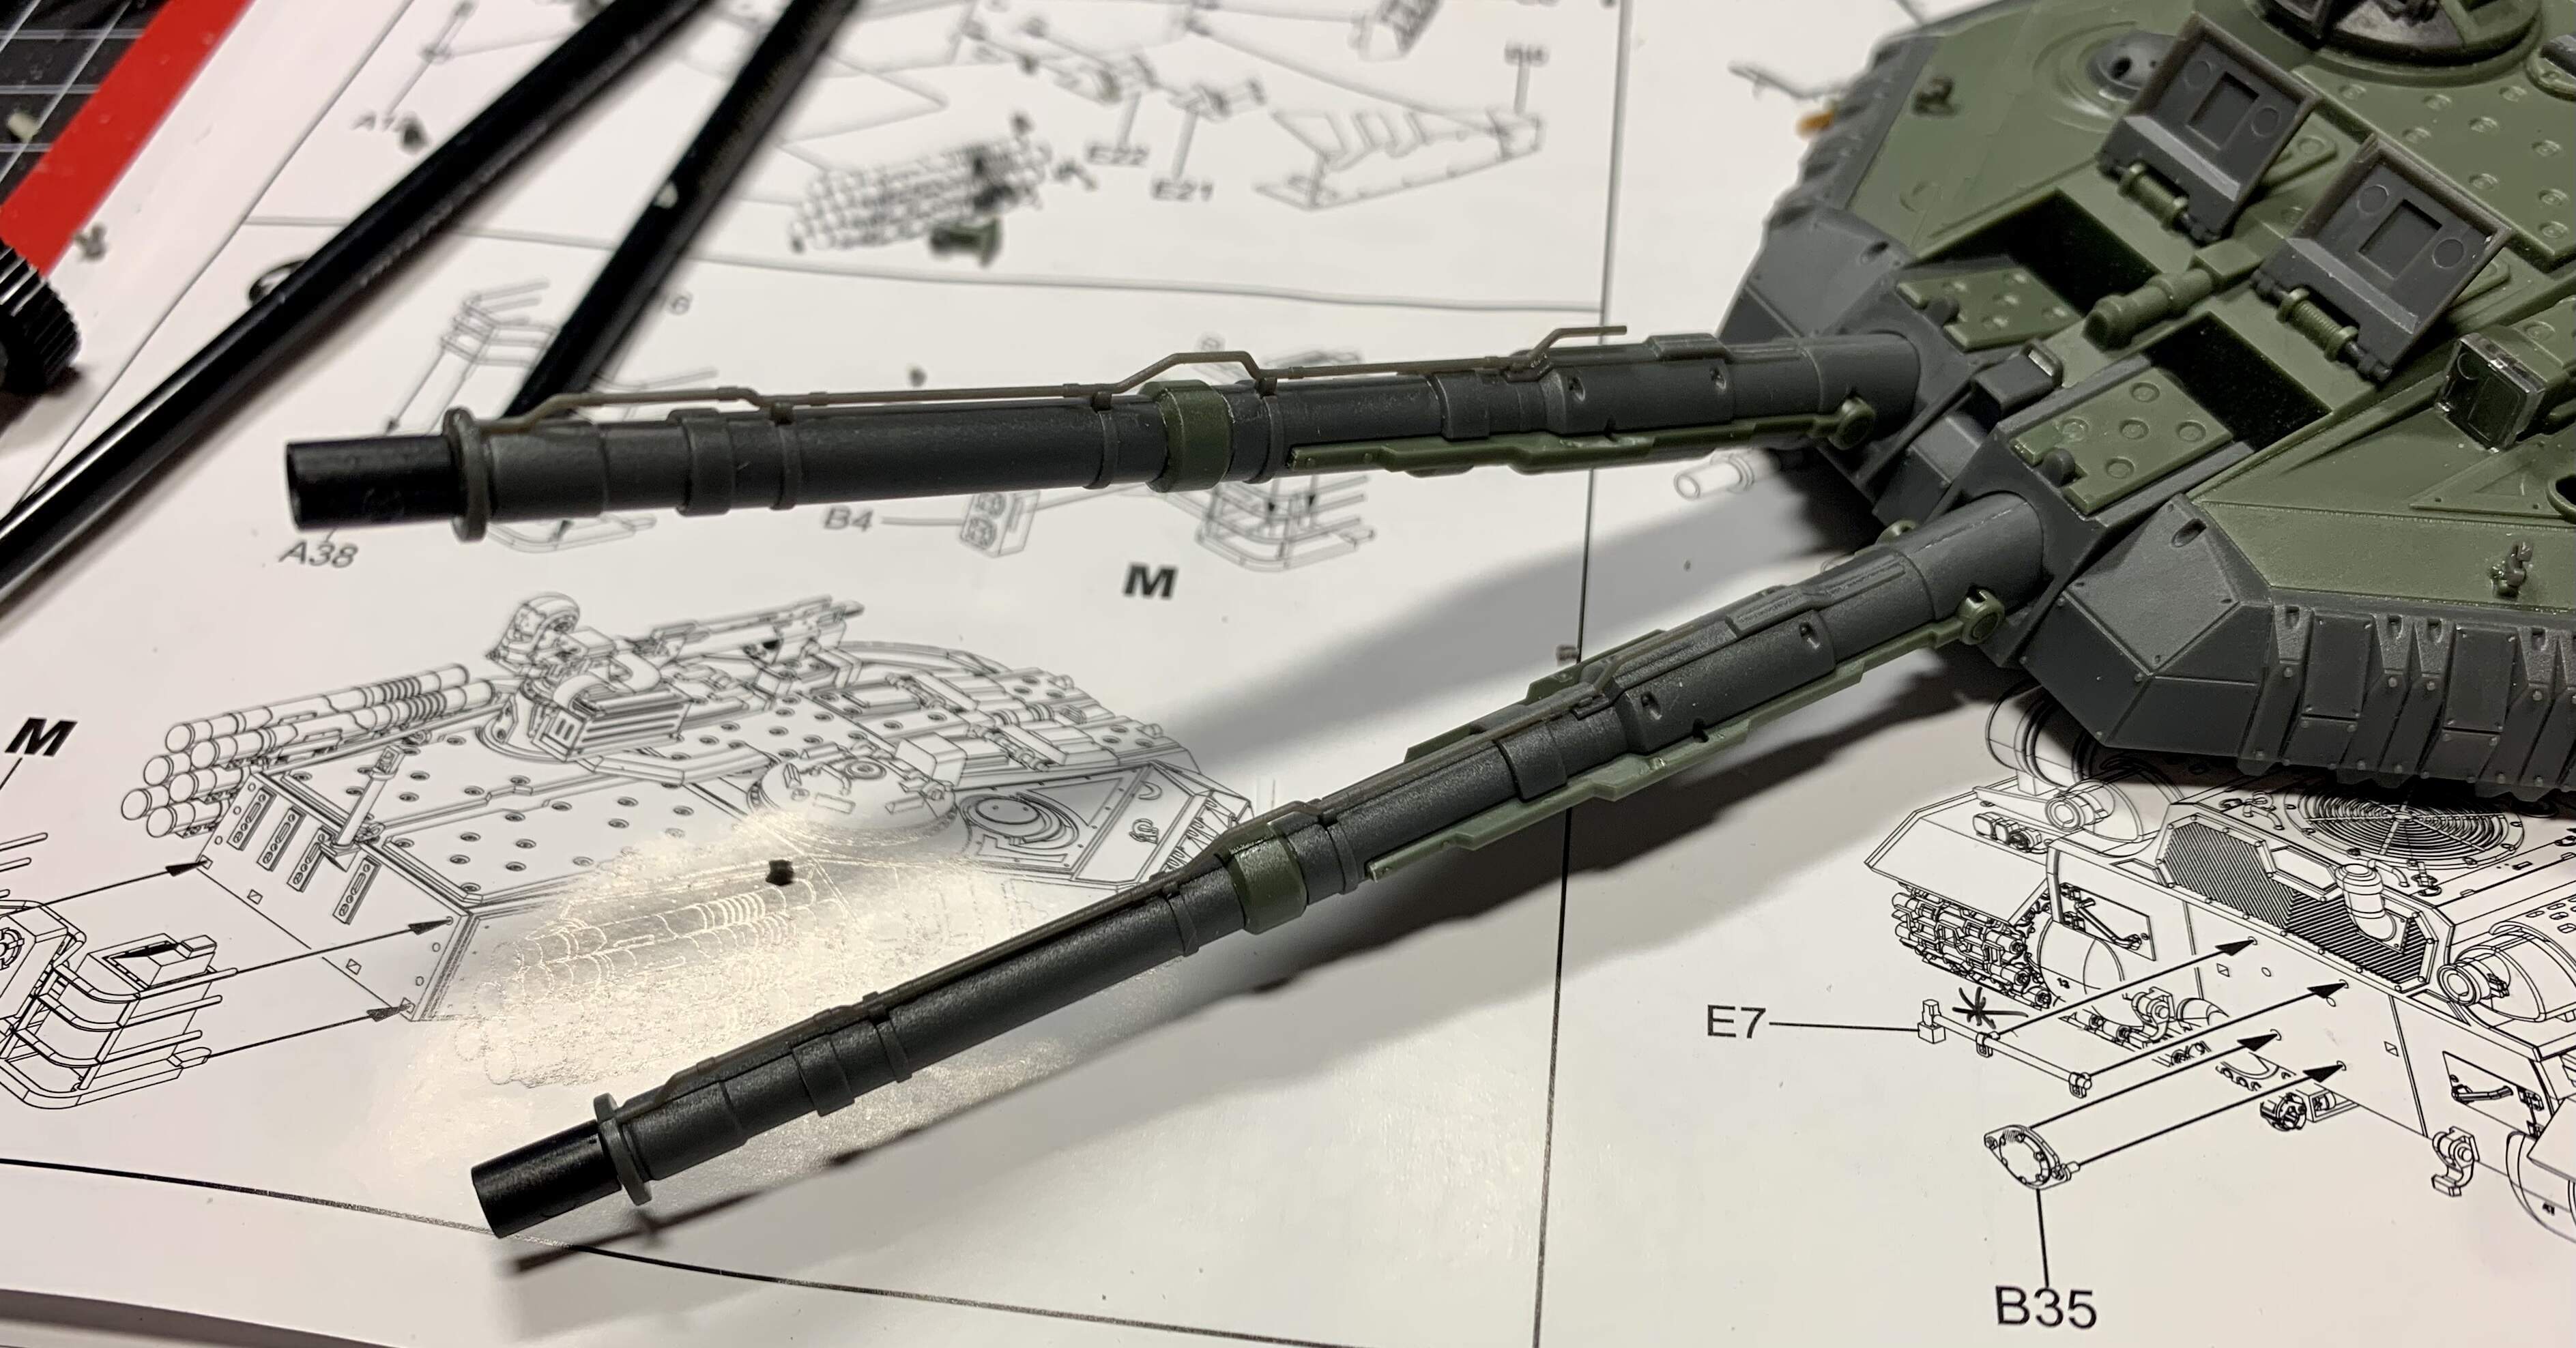
The main guns look awesome too. A multi part affair for each barrel neatly hides the seam joins for each half though the fit is perfect even where you can see the seam.

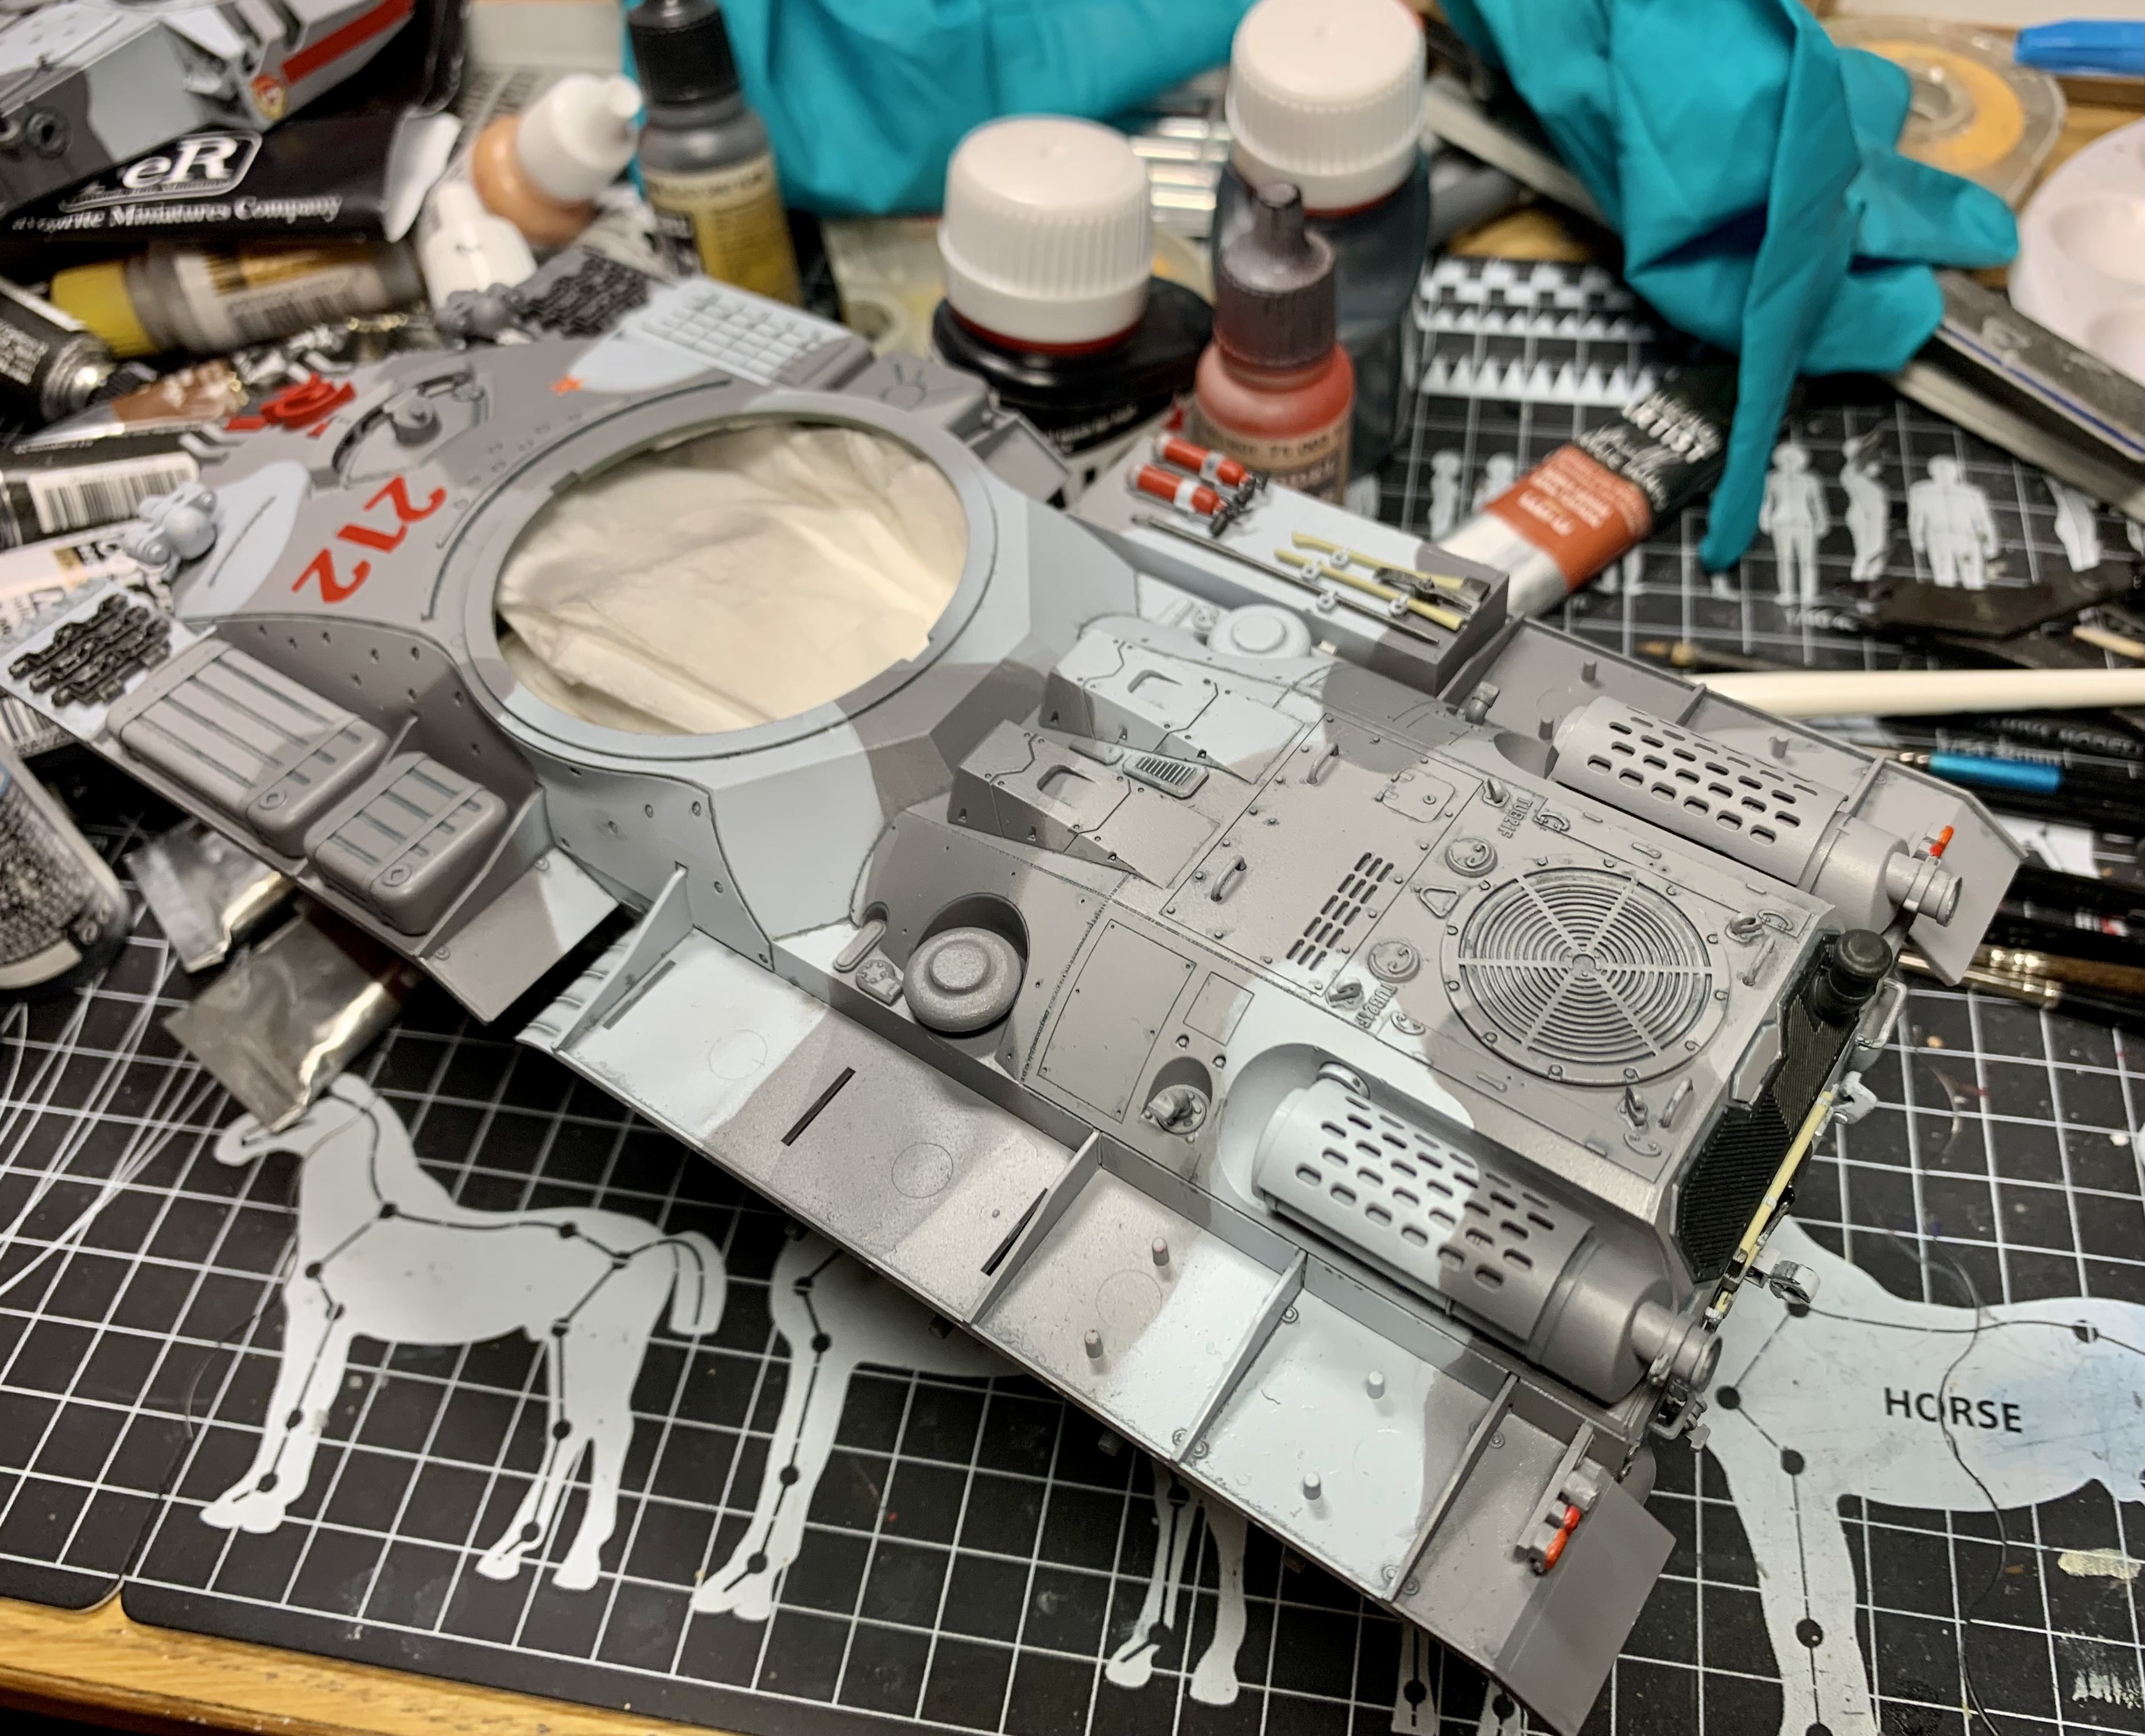
I feel like the bustle rack is a bit of a letdown though- a weird shape with a slightly under-detailed APU-ish looking thing and a sort of fan device in the middle that has a hollow inner face that I filled. I also used a small piece of brass wire to connect this part to the conduit running across the bottom of the rack from the turret into the APU.

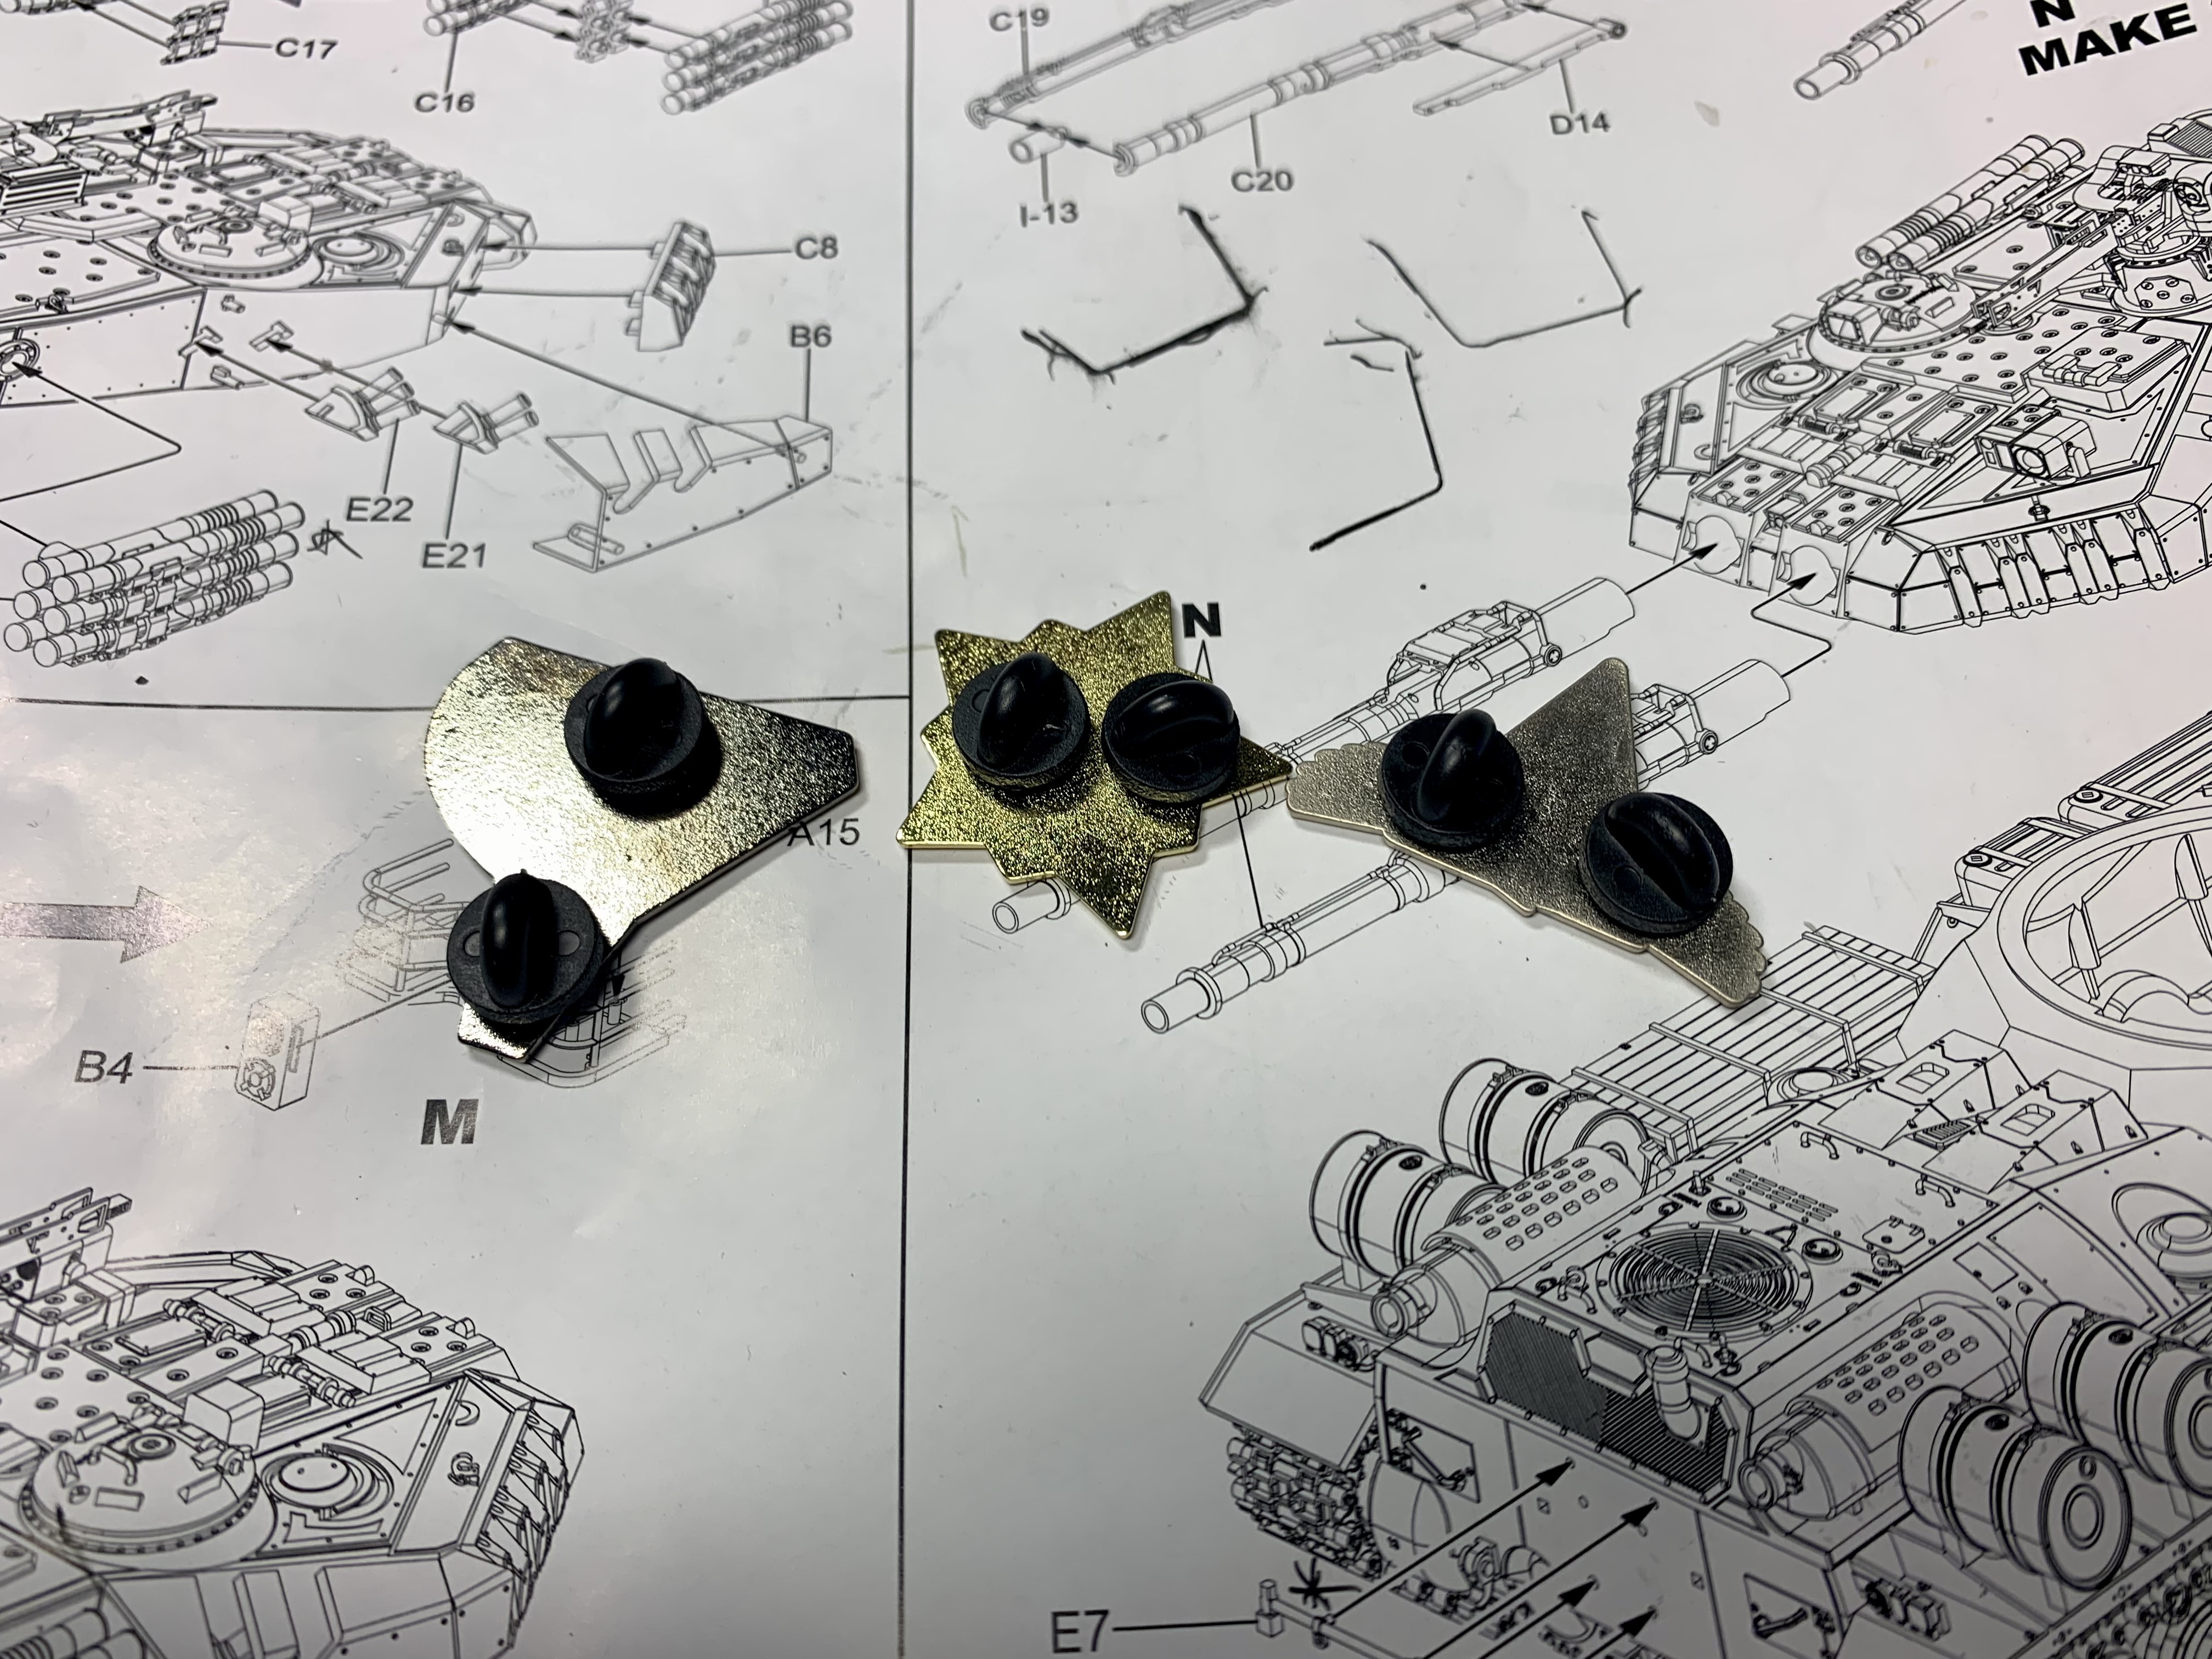
Using a leftover pair of suspension arms I cut two sections off to create antenna bases for the sides of the turret.

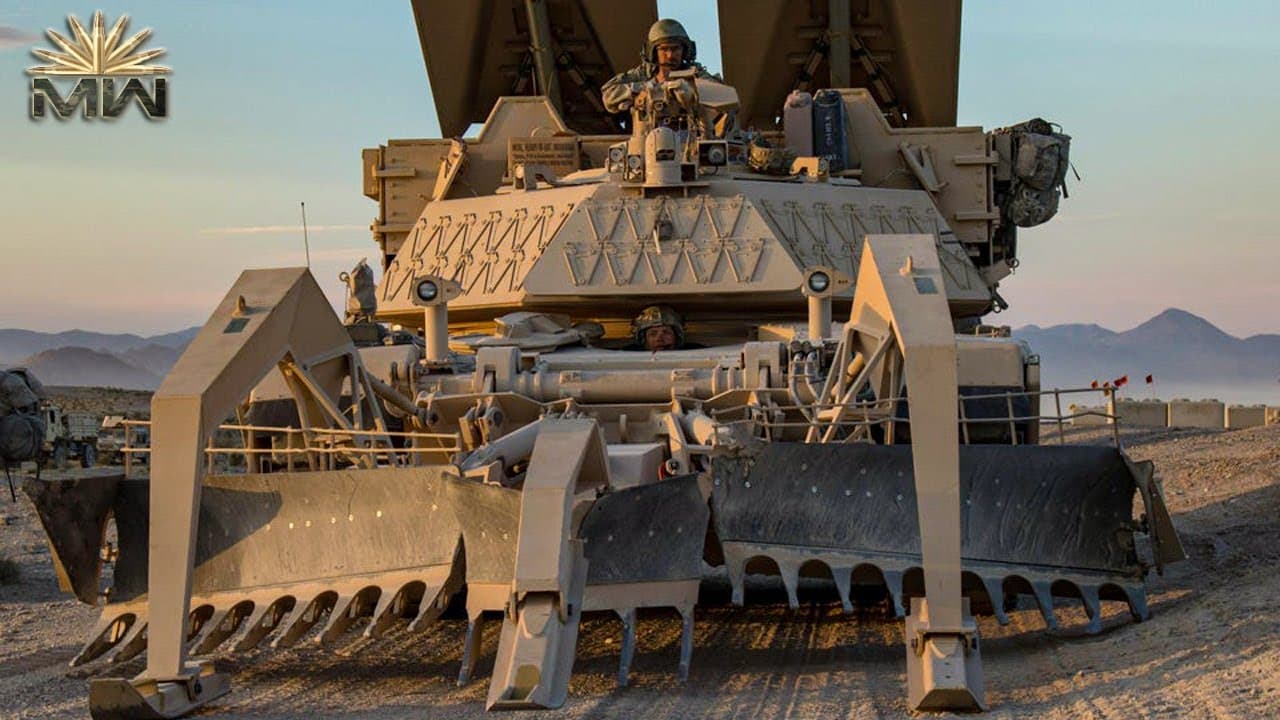
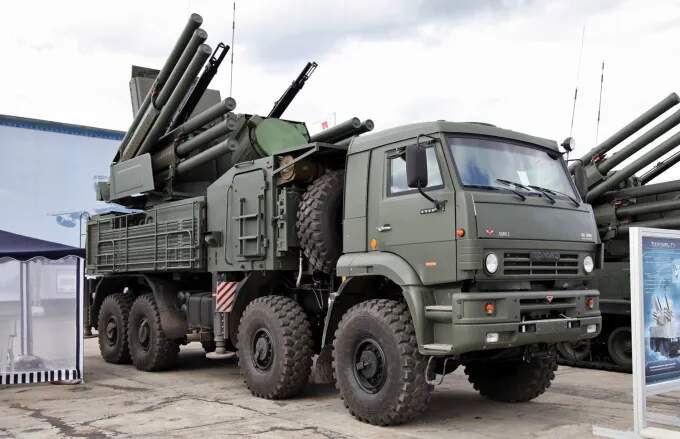
In terms of design, the turret has features that are present (there or thereabouts) on various AFV’s. The AA missiles resemble those on the Pantsir S1.

image

The bustle rack and APU at the rear and the twin panels behind the turret hatches are quite Abrams-y.

Thanks for reading.

5 Likes

I like the idea of this and it does look a fun build, and as you point out Karl and have done, there are lots of areas it could be improved on. Whenever I look at the kit on the sprues and with the various parts built up, it does look toy like, do you think thats the market they were looking for ?

2 Likes

Yeap- I reckon they were aiming it kind of between actual modellers and fans of the game who had perhaps not built a model- something that went together like Lego with no extra tools required. And its not a bad idea- the build is enjoyable, fairly simple and quick- something I do appreciate from time to time.

3 Likes

True, and I supposed all it takes are a few extra add ons by the modeller and a coat of grey primer and you can leave your own mark on it then … :+1:

2 Likes

Absolutely love all this - fantastic (in the true sense of the word) - but some really spot on modelling and a very informative “as-you-go” thread. Brilliant!

1 Like

I appreciate that Brian, thanks!

1 Like

The Apocalypse Tank you see on screen in RA2 is mostly a light grey with red bits. Not hugely realistic, although grey hues have been used on tanks over the years.

Border model have gone for a more realistic color- mostly green and black with some bits in red and grey.

What I want to do is aim for a kind of kid-point between those two approaches- remaining fairly faithful to the game but adding a little realism too.

For this approach it was good to get a look at the tank in the video game’s FMV sequences- namely in the intro video where there are three shots of it.

A remastered 4K version of the video played at 0.25 speed gave me plenty of time to see some detail.

The main points from doing this was seeing that the color is a mottled grey and the red bits on the turret are confined to a stripe.

My inspiration came from a few sources. One was this urban pattern of camo that I’m sure most of you have seen.

image

(And if not go immediately and watch a Sabaton music vid!)

Looking at some color scenes on Russian tanks and vehicles also helped, notably the scheme pictured below which has a kind of duck egg blue color in it. I found a T-80UD color instruction sheet on scalemates that had this scheme and that helped me map out the camo a bit.

Another bit of inspiration was remembering a thread from while ago where @Mrclark7 used hydrodipping on an M1 Abrams kit in this thread.

Mig AMMO colors were my choice for this with Light Ghost Grey, FS36293 and Dark Grey AMT-12 being the chosen three tones.

That was the easy part. Border have no color/markings guide in the box- having the usual front/sides/rear/top you find in most kits these days would have been nice as I could have drawn my scheme over it, helping me plan it.

As it was there is a top view on the red back page of the instructions which I did a bit of doodling on for a rough idea and then just got out the silly putty/panzer putty and got down to business.

As it stands now there are a few areas to tidy and finesse. There is also a decent amount of detail painting to be done. And that is not including the various other sub-assemblies in various stages of painting. So progress is definitely a bit slow at the minute!

Thanks for reading.

7 Likes

Only just caught up with this Karl (having been a bit preoccupied with the Conqueror project) but there’s some good stuff going on here; you’ve certainly done it credit - fantastic looking beast.

1 Like

Really like how that cam scheme is shaping up … that’s really going to give it the look :+1:

2 Likes

@BootsDMS and @Johnnych01 - many thanks for the kind words fellas- and thinks to all you guys that left a like and had a look :+1:!

1 Like

The Red March continues comrades!

I’ve been pondering the markings for this build for a while. The ones in the box are not bad at all.
But it wasn’t until I had the camo on that I realised white bort markings would not be much use- they’d be pretty hard to see! Now I could have used the yellow ones from the sheet but part of the fun of this kit was having no fixed idea of how it needs to look. No marking scheme in the instructions, vague ideas from the actual game and obviously no photos of any real ones!

So, since I’ve been at the red paint I thought why not do the markings in red? At least they’d be nice and obvious!

To the People’s Cricut!

This little device and it’s software is very easy to use to make masks and designs of various kinds. Through trial and error you can easily get the hang of it. Cutting things this small I would recommend Scotch Blue ‘Sharp Lines Multi Surface’ tape.

The next bits I went at like a Stakhanovite shock worker- toiling at a coal face of sub-assemblies, detail parts and even more red bits! (Apocalypse Tank- now with 30% more red bits!) I’ve also used a couple of the in box decals and two spare Guards decals.

In the above photo you can see the rear mounted spade tool- I had to re mount this as the kit fixing meant it was covering part of my marking in the upper right corner.

Below are a few of the sub-assemblies.

You can see on the front dozer blade the colors I have gone for. This is roughly in line with how the blades are coloured on the M1150 Breacher.

I was also looking at Mike Rinaldi’s tank art book- seeing how he had tackled modern exhausts- when I saw the AMX-30 exhausts which are nearly identical in design to this kit.

My thoughts have also turned to how to display this kit. I’ve used insignia, badges and flag lapel pins for displays in the past. The odd time back in the days when you bought an actual physical game CD you would sometimes get key rings or other merchandise- particularly if you pre-ordered.

I found pretty much nothing online but my search resulted in one of Bob Ross’ ‘happy little accidents’ wherein I came across these on Etsy.

From right these are the insignia of the ‘Allies’, ‘Soviet’s’, and ‘Yuri’s Forces’ from the sequel- ‘Red Alert 2: Yuri’s Revenge’. Now I just need Border Model to do the kits…! I hope to use the Soviet insignia somewhere in the display of the kit but I’m still thinking about a base etc.

In recent days I’ve managed to get a satin varnish all sorted and am just starting a pin-wash. More updates soon.

Thanks for reading.

7 Likes

Looking so much better with your paint on it … great fun build

3 Likes

This has turned into such a fantastic build Karl! I don’t play video games but this has really caught my eye. The camo looks wonderful, but your judicious use of red really makes this model come alive. Excellent work.

3 Likes

That’s totally awesome! I storyboarded the cut scenes for that game on location in Las Vegas. It’s the only time my artwork was not returned to me.

6 Likes

@Johnnych01 - Than you mate- I’m glad you said that as I want it to be a fun sort of build- after all the game was fun for me and so I wanted to bring a bit of that spirit into the build. I have to say I’m having a ball building and painting it!

@SSGToms - I’m happy that as someone who didn’t play the game you can still enjoy the build. Using a really bright, vibrant color like red on a tank seems strange at first but it quickly becomes fun working out what bits here and there would look good with it.

@chukw1 - Oh man that is incredible that you actually worked on the game. The cut scenes for all three Red Alerts are the stuff of gaming legend- what you helped make has given enjoyment to millions of gamers over the years- it is very much appreciated that you’ve taken the time to check in on my build!

3 Likes

Well it’s been a while since the last update but I’ve been working away on the tank- just slowly in a few places- plus I’ve got a bust on the bench that requires a little time too!

Doing a pin wash meant choosing a few colors for the various parts. I went with a dark grey wash from AK’s Mig line for the majority of the tank. For the SAM launchers I used black from the same range. The red bits and the wooden box were done with acrylic colors.

The pin wash brought the nicely moulded detail which, in some places, was a little hidden by the grey paint tones.

Thanks for reading!

13 Likes

I just love that camo’ scheme, and the red details set it off nicely. Fantastic, and thanks for sharing!

4 Likes

Thank you my friend. This was easily the most enjoyable paint job I’ve done in a while!

3 Likes

So here we are at the oil stage and the big ol’ slowdown begins! Not that I want to slow down a build but I find the nature of oils can require it.

My first stage is dealing with the camouflage colors- creating some areas of wear and tear and paint fading etc.

This is stage one of the weathering process and I’ve been fairly restrained, hoping to add a bit of life and interest to the paintwork.

So that’s the first stage of the oils. The second stage deals with things like mud, dust and dirt etc.

Thanks for reading.

8 Likes

The washes are adding mood and depth AND popping the details. Your build is seriously tempting me to buy this kit

2 Likes