I promised another member to build this little kit and provide my opinions about it.
This was prompted by a build blog/review where the kit received some negative comments: The Modelling News: Dual video & build guide: Takom's 35th scale M29 Weasel.
I had to try it myself to compare my experience with the build blog/review.
This may take some time (in short supply nowadays …).
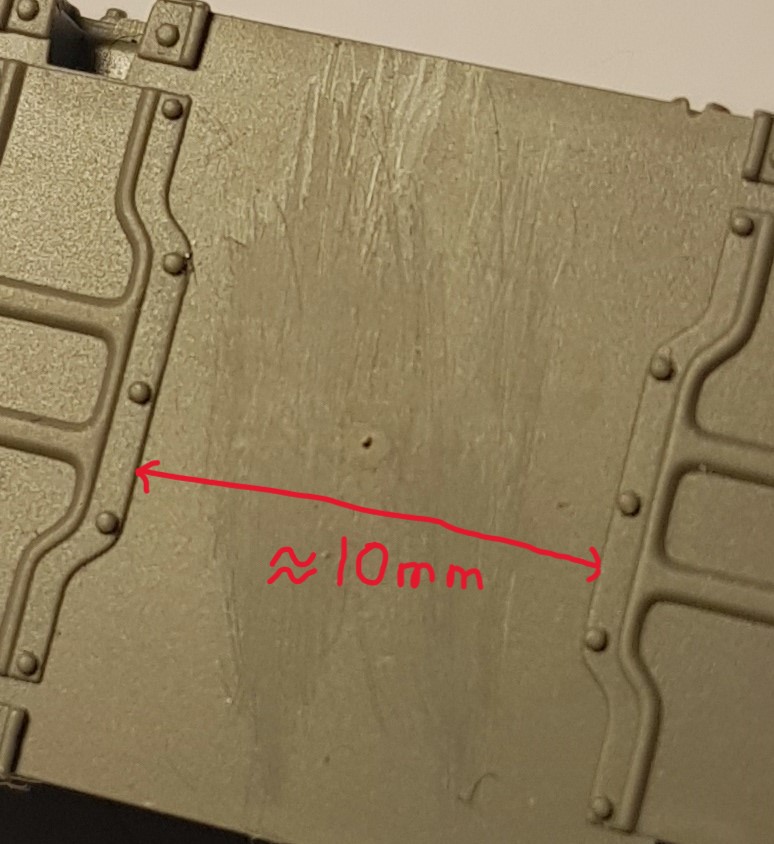
Mouldings are crisp. The hull tub did not have any flash, there is one small hole/dimple on the bottom where the injection gate used to be.
Dark spot a few mm above the red line, the scratch marks are from filing down the raised burrs around the hole. They look horrible but can’t be detected when scratching a fingernail across them.
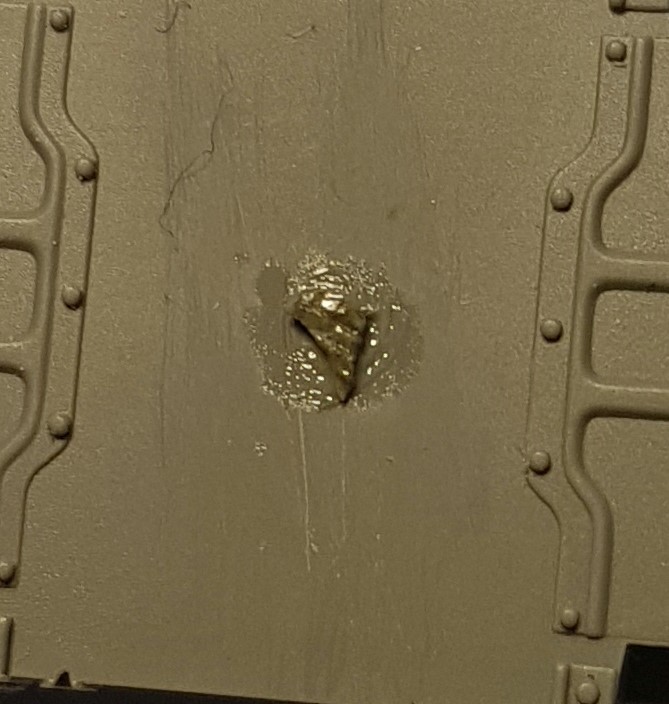
Hole filled with a small sliver of styrene cut from a sprue. Glueing with ethyl acetate, pure solvent, slightly more aggressive than Thahmiya Super thin. Sliver pressed in place to force softened styrene to flow and fill the hole completely.
Looks ugly but it will be fine once it is filed down.
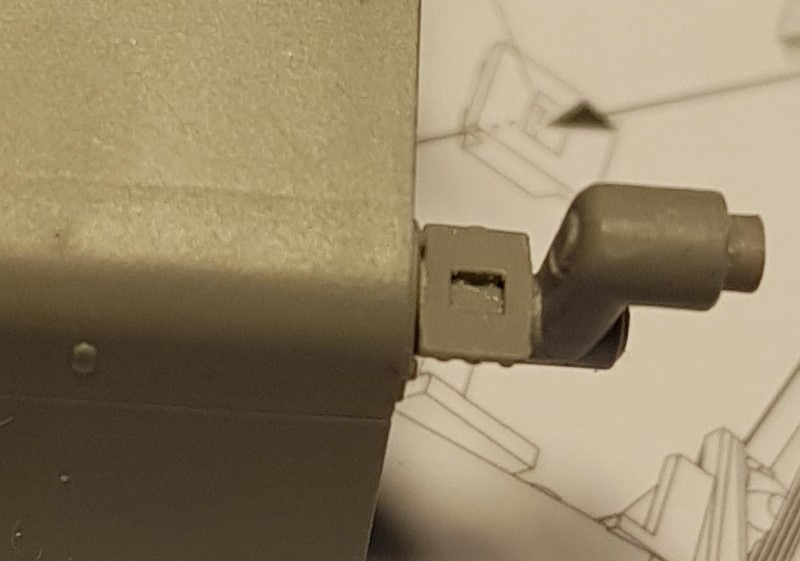
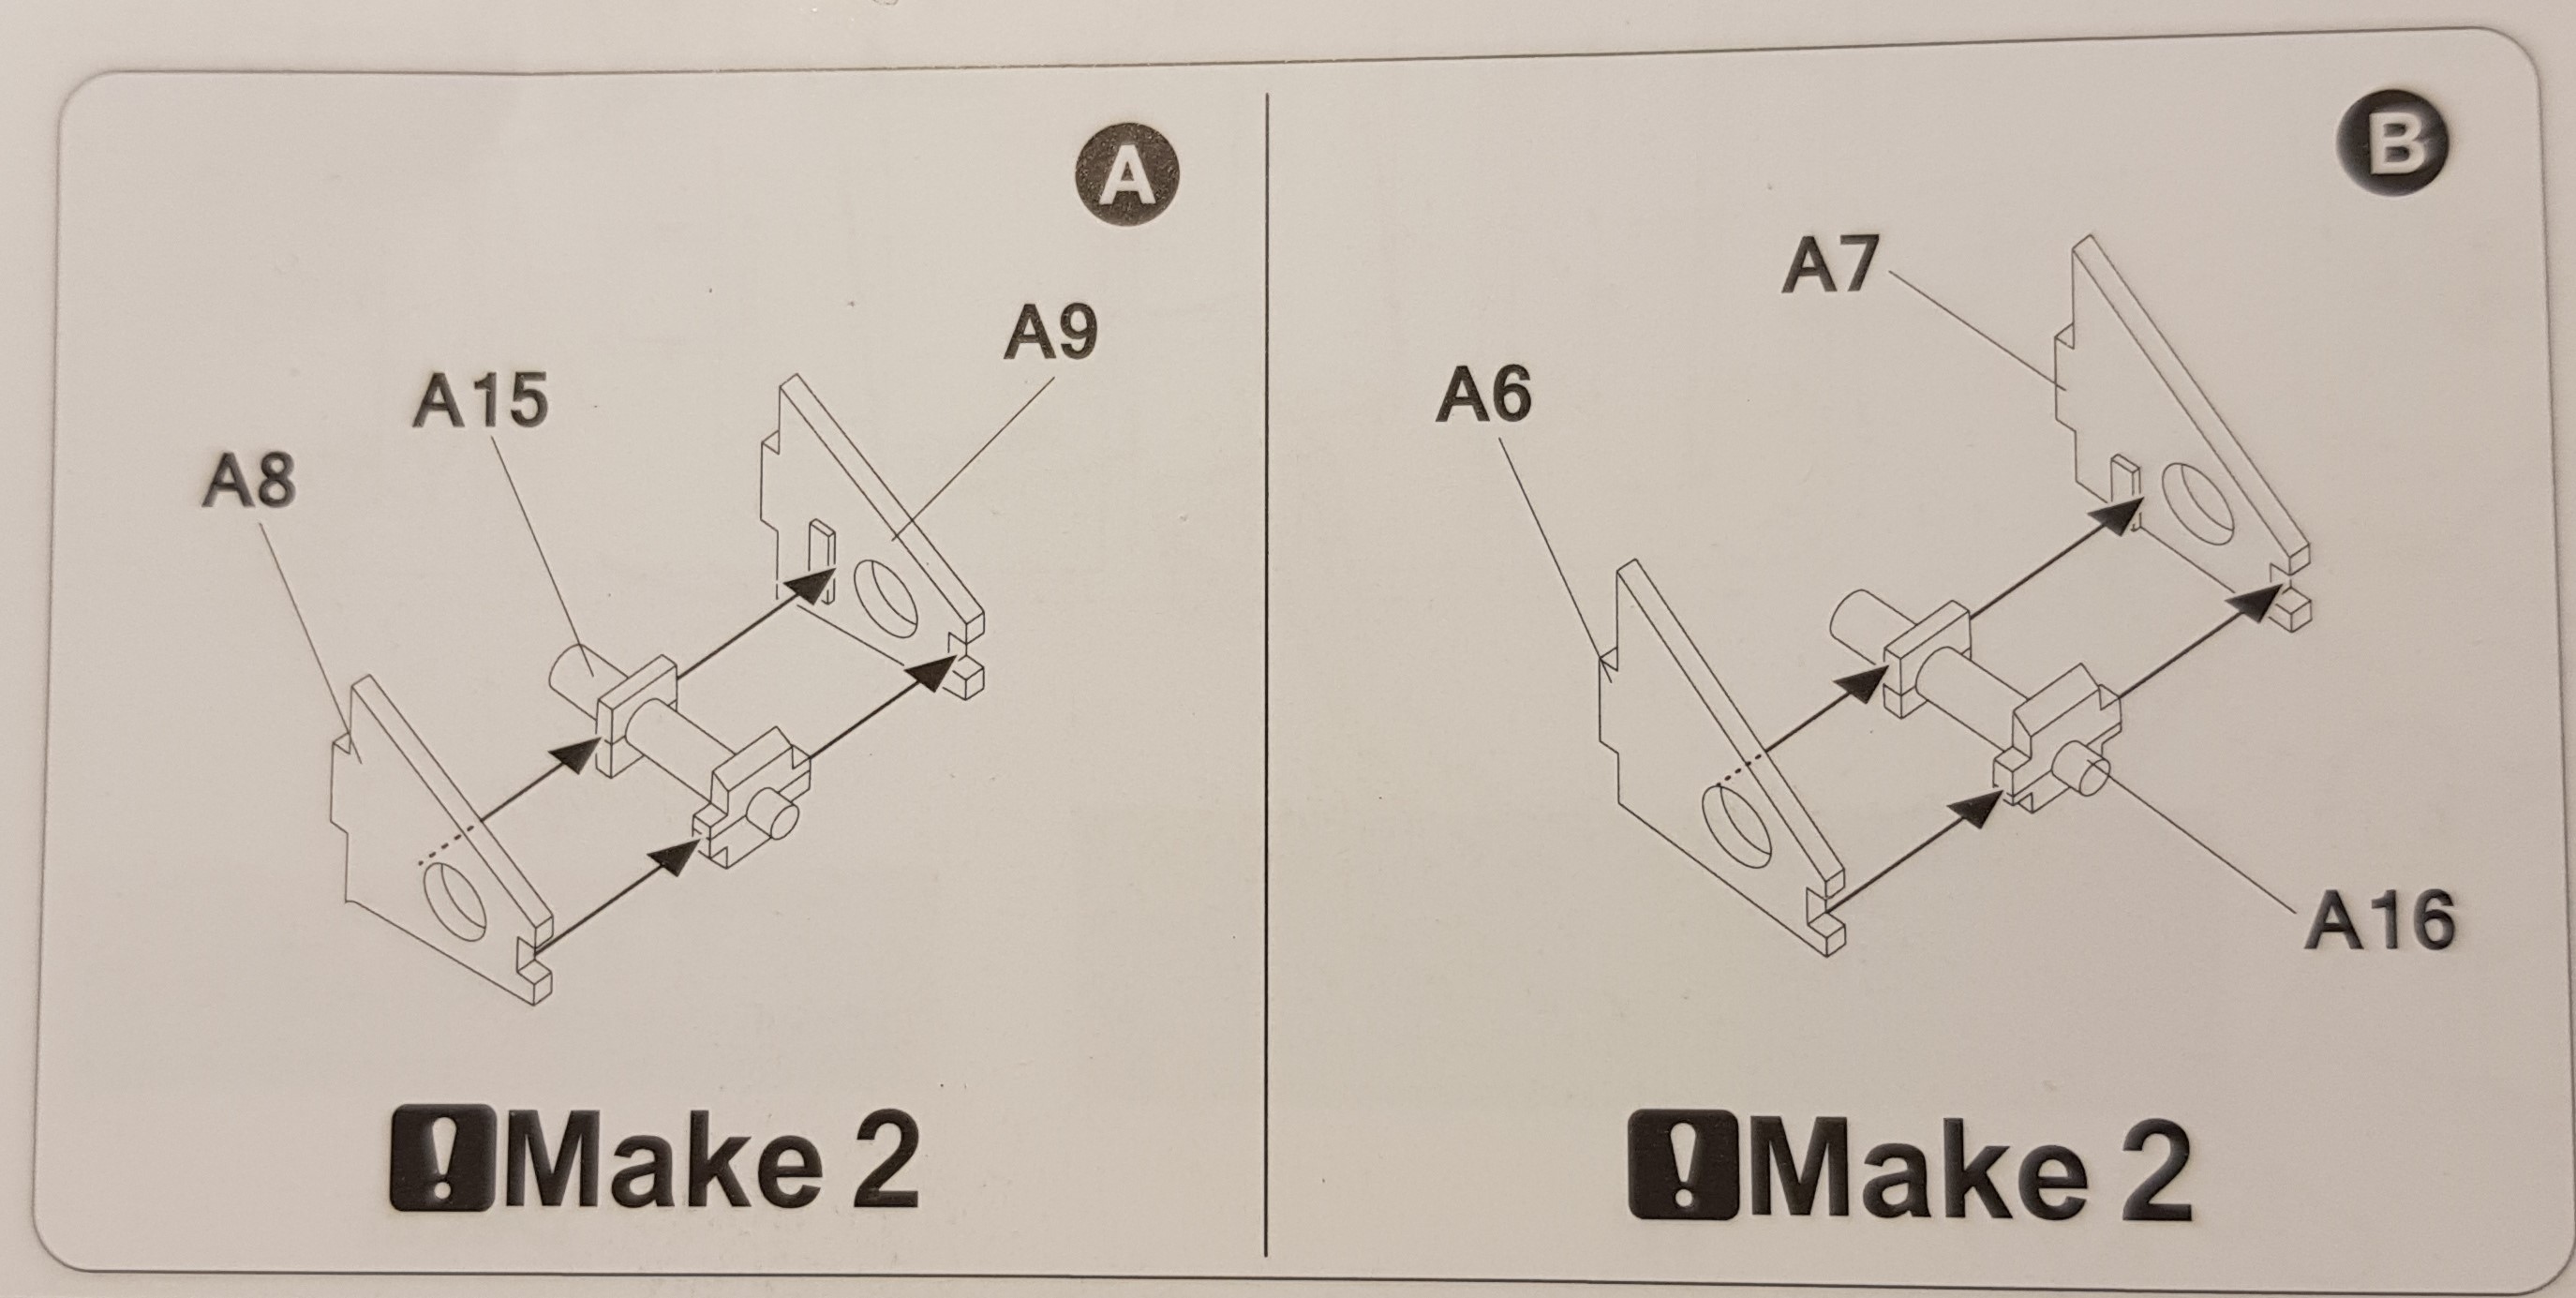
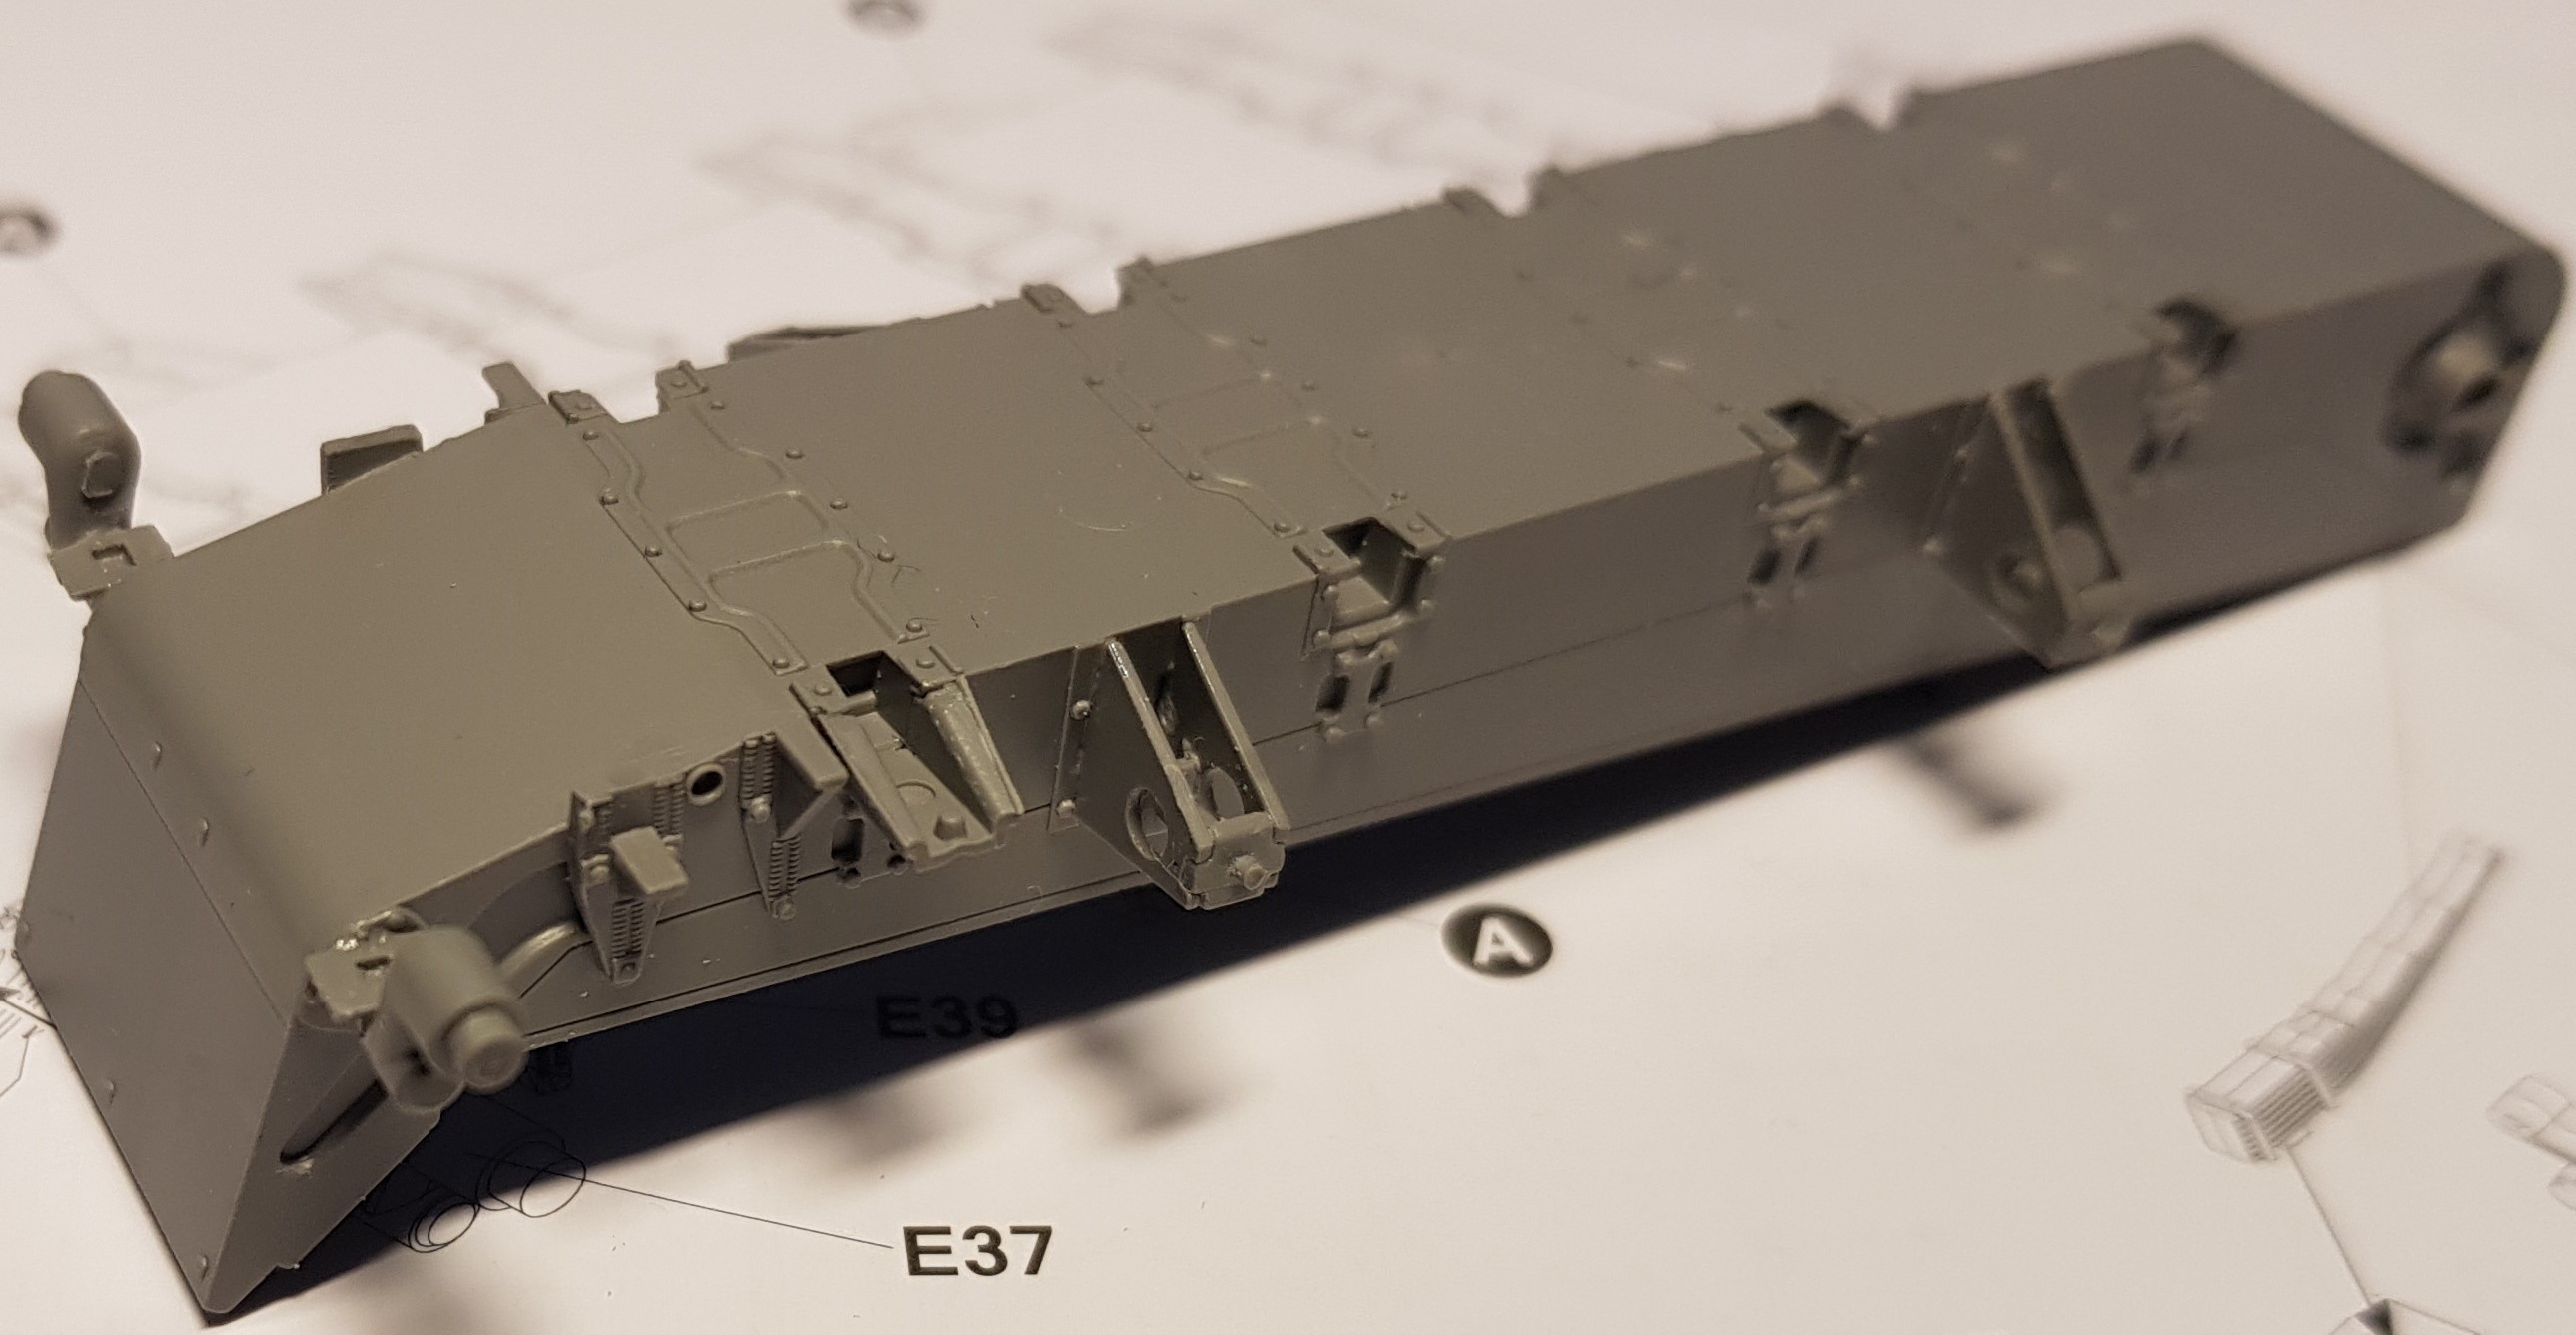
The first part I chose to fit is E37, axle for the right side idler wheel. There are mold lines which need to be filed down to ensure the proper fit. The fit was slightly wobbly which prompted me to fit part A17 to E37 before fitting both to the hull tub. First two parts and I am already deviating from the instructions (I see them as suggestions about what goes where, I make the decisions about the order). The fit of E37+A17 to the hull was more distinct than with only E37. The parts have not been glued yet, the fit was tight enough to make them hang in place for the photo.
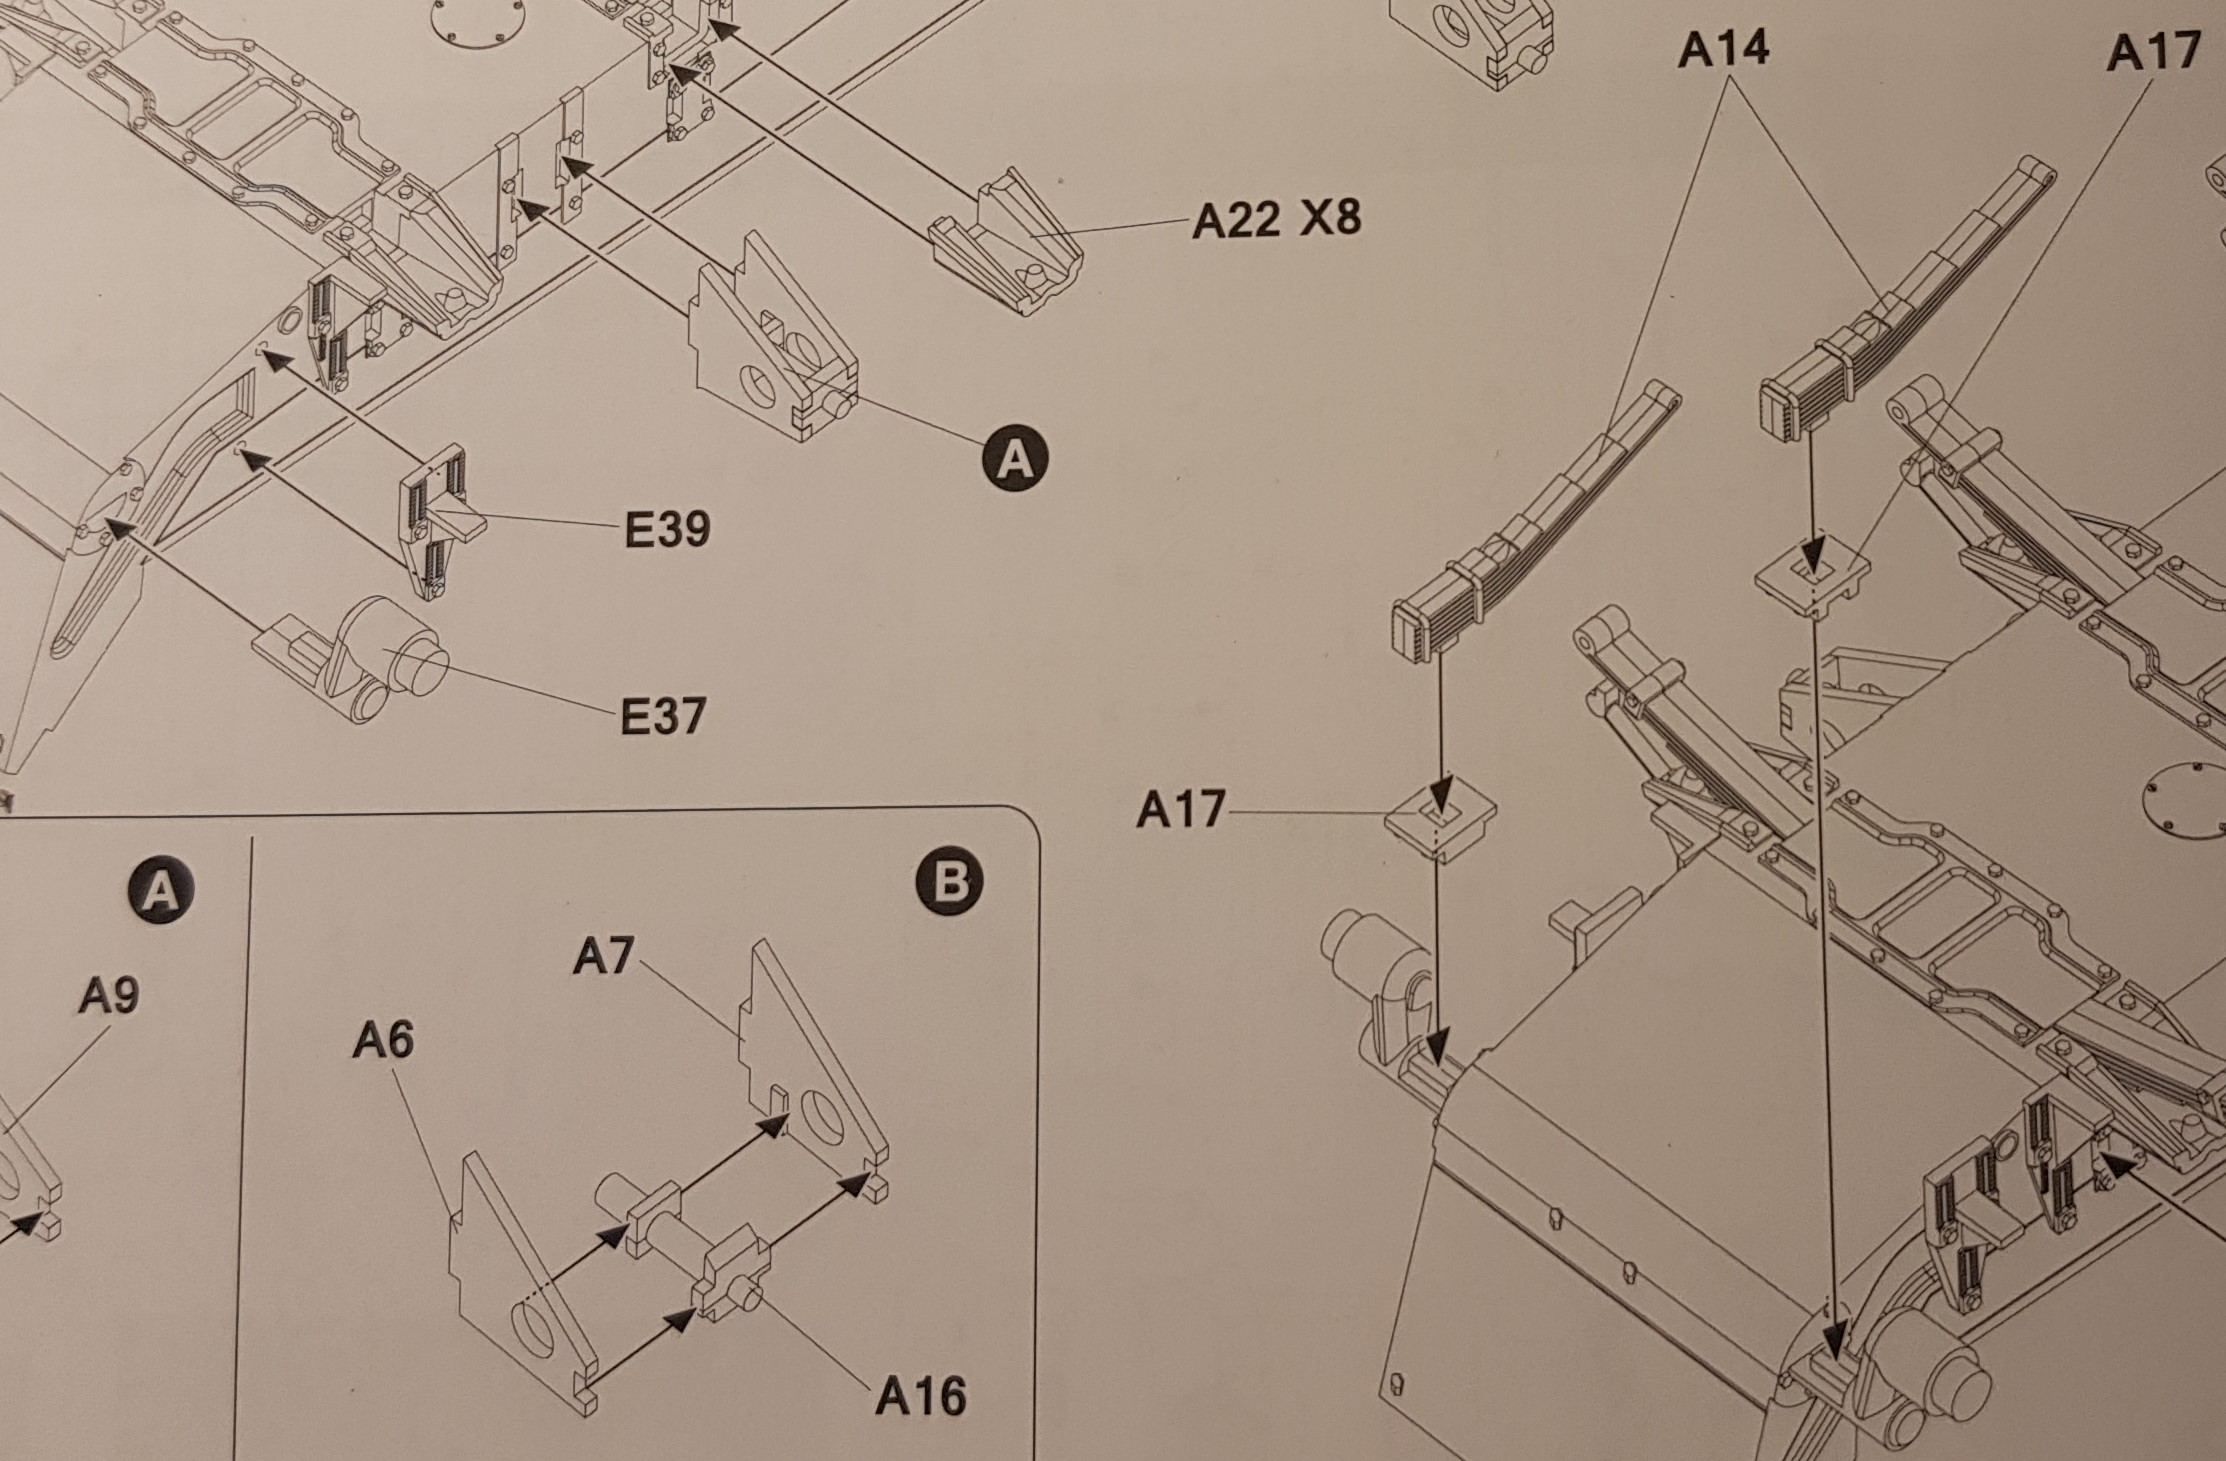
Photo showing how the instructions want us to do it.
Trying to get A17 in place with E37 in place on the hull would have driven me nuts.
Doing it before aided the positioning of E37 instead of having a fiddly fight.
Lol… well that’s pretty cynical to say. Although I suppose if Amazon or someone else is scanning a page for potential keywords it might have some affect on their algorithms.
No it’s just a set of keyword phrases that were manually entered into the forums software to help key tag posts so people could find similar topics, etc. Revenues were never part of that intent.
Or a perfectly reasonable supposition. The site is run as a business (at least in part, and certainly as a way to cover costs) so it would be understandable if the effort to create and list keywords facilitated a revenue stream. It’s not shameful or a crime for a business to attempt to earn money.
Filled with punched out discs of thin styrene (recycled dessert containers)
The angles of these consoles are different, don’t get them mixed up.
The ejection marks can be used to identify them, the small marks belong together.
Only removing one pair at the time from the sprue also helps.
I don’t know if those ejection pin marks would ever be visible, probably not, but I filled them now to prevent regrets later …
Consoles in position, I also got one of the 8 A22 parts in position.
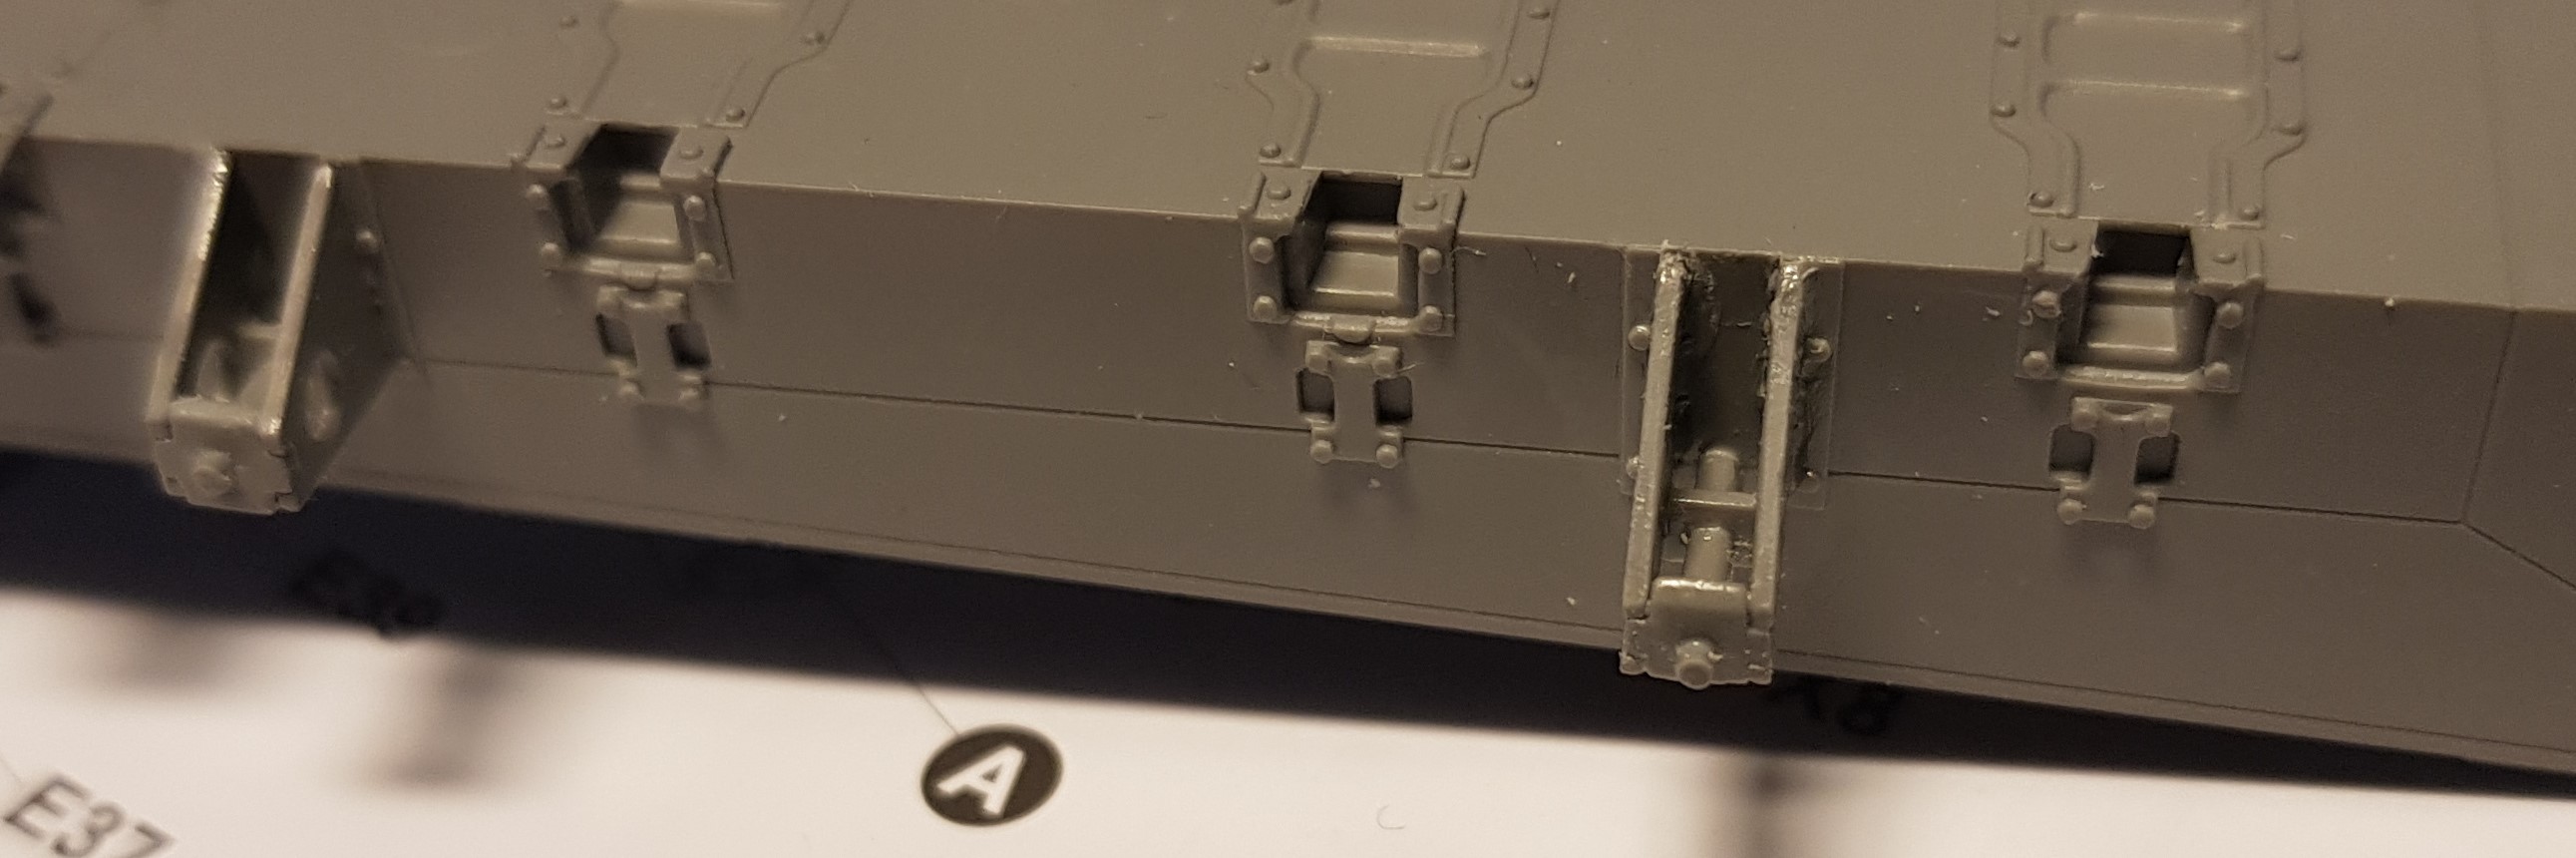
Fit is good as long as all molding edges, flash and injection gates are trimmed smooth.
Thanks Uncle Heavy for doing this! My instruction booklet is starting to be filled with notes& warnings from your tips! Keep up the good work and am looking forward to the moment you cross the finish lie on this little gem!