Australian Centurion Vietnam - Build and Info

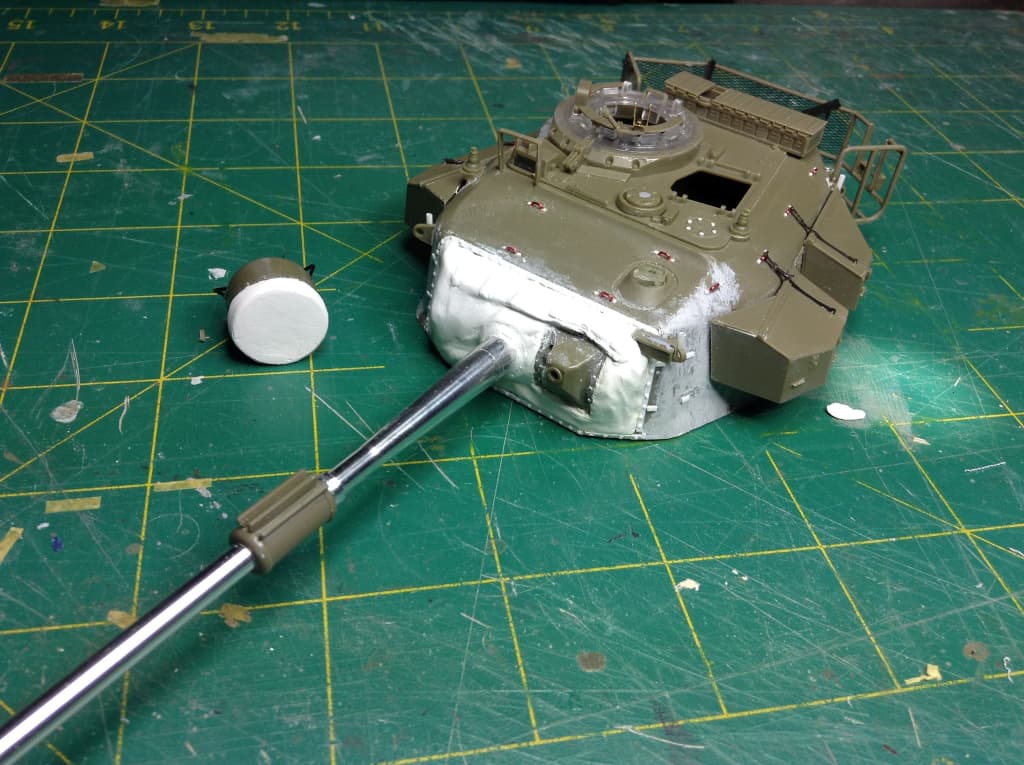
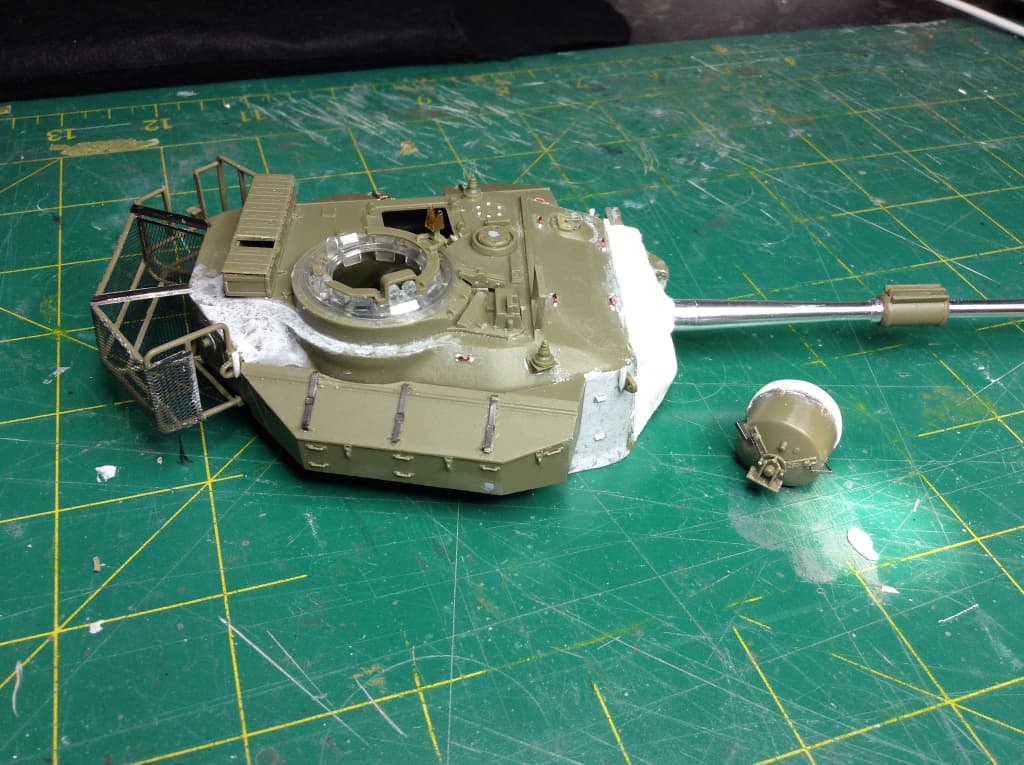
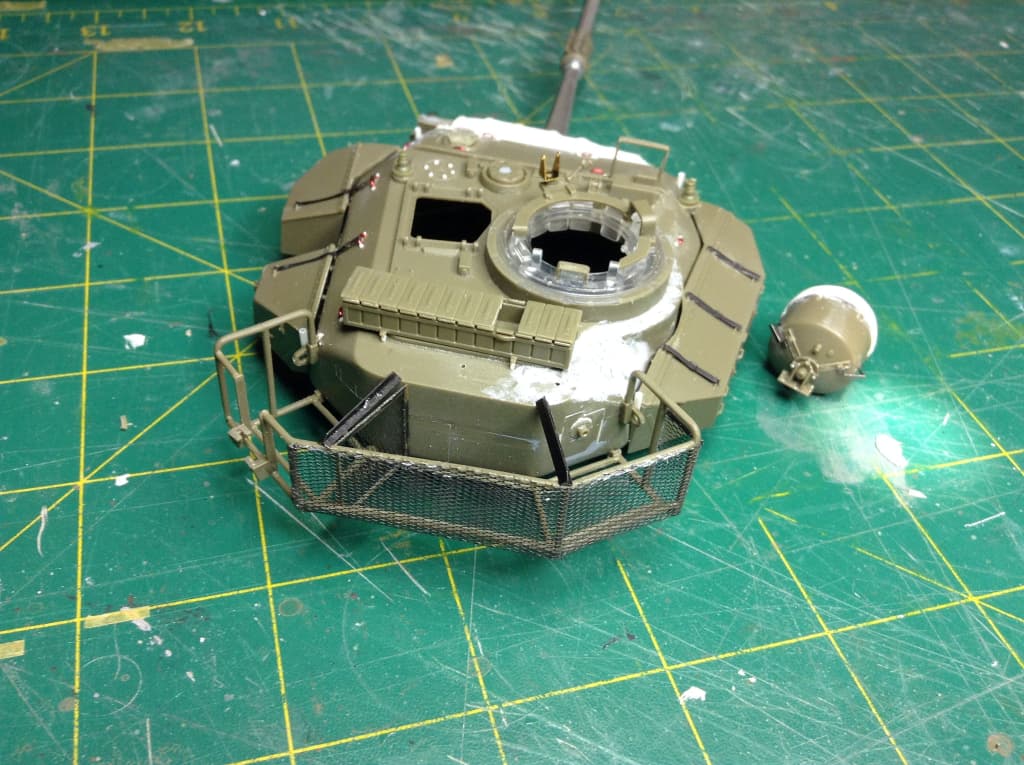
Okay, I thought I would try this sub thread process and flesh out my Centurion build with info on the modifications needed to make a true Vietnam Era Australian Centurion to match the decal options AFV Club give you, especially the more ‘colourfully’ named ones…

The marking options are, as listed on the PMMS site.
AFV Club AF35100 Centurion Mk.5/1 RAAC Vietnam Version (perthmilitarymodelling.com)

    1. 169083 A Squadron, 1 Armd Regt, Vietnam 1970
    1. 169066 C Squadron, 1 Armd Regt, Vietnam 1968
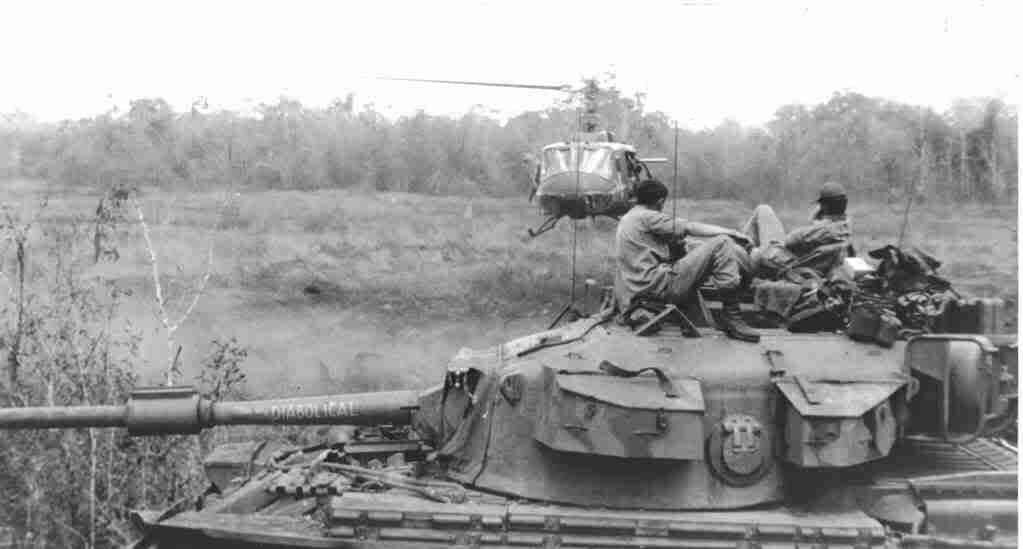
    1. 169108 “The Very Diabolical” C Squadron, 1 Armd Regt, Vietnam 1971
    1. 169030 *********** C Squadron, 1 Armd Regt, Vietnam 1971
    1. 169039 *********** C Squadron, 1 Armd Regt, Vietnam 1971

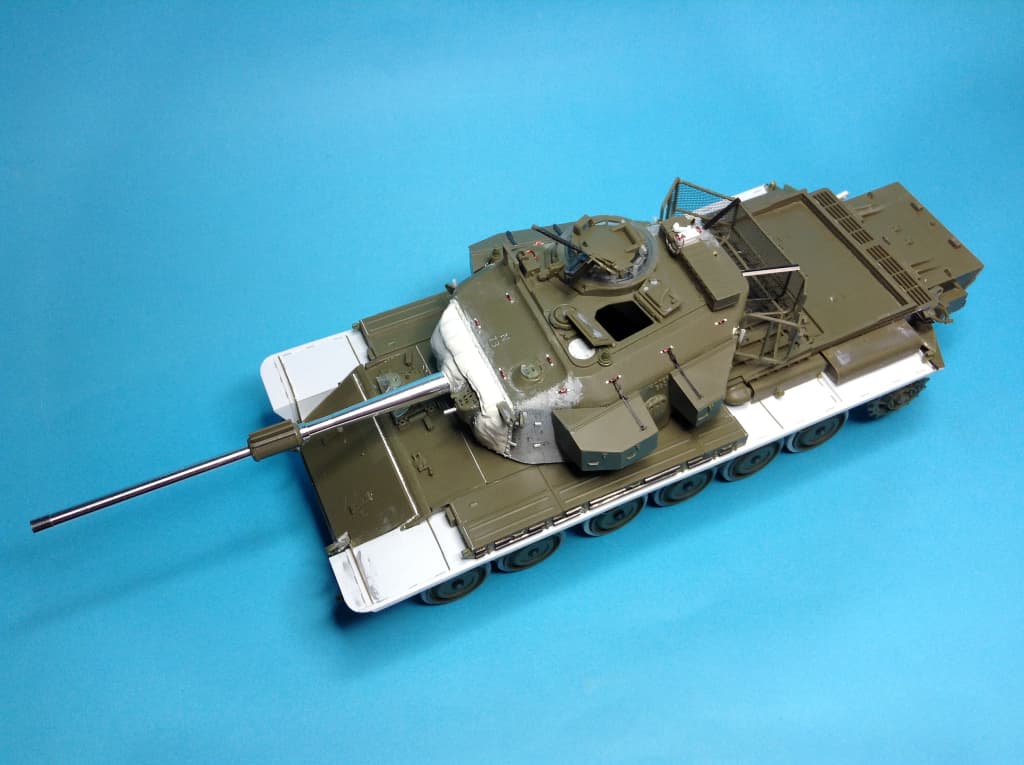
As stated previously in the main thread, these decal markings in the AFV Club kit do not match the vehicle characteristics of the kit if made OOB. To explain:

Australia received their Centurions both factory fresh and with some transfers from British Hong Kong based vehicles or NZ vehicles. These were delivered over several years. The first 111 factory fresh were in 2 main batches:

  • The first 60 vehicles, Australian Registration Number (ARN) 169000-059 Were all Mark 3 Centurions, which were upgraded to Mark 5 then 5/1 standard. Kit options 4 & 5 were from this batch.
  • The second group of 51, ARN 169060-210 were Mk 5, then upgraded to 5/1. Kit options 1,2 & 3 were in this batch.

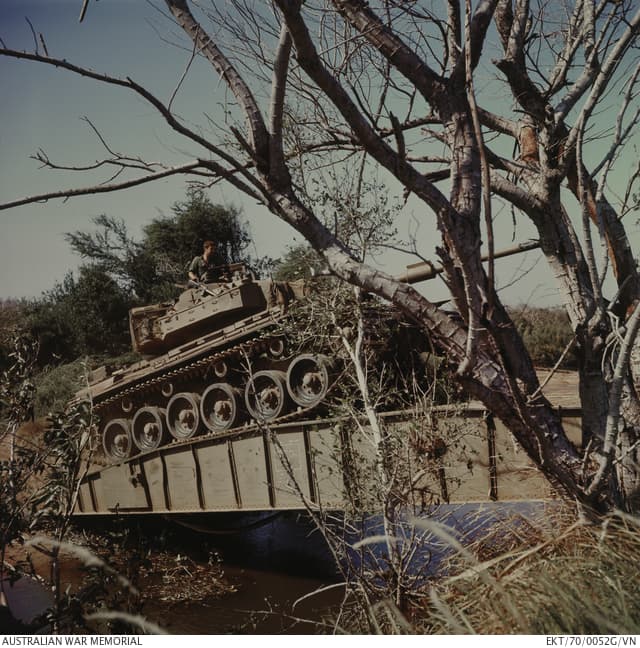
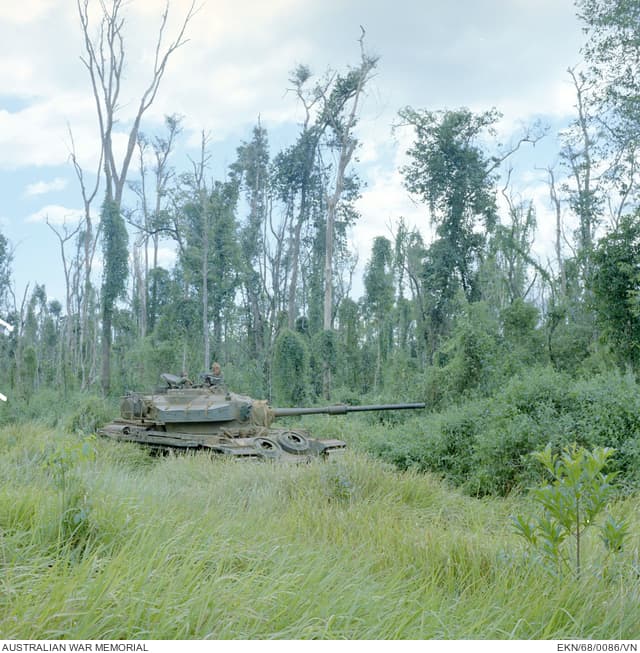
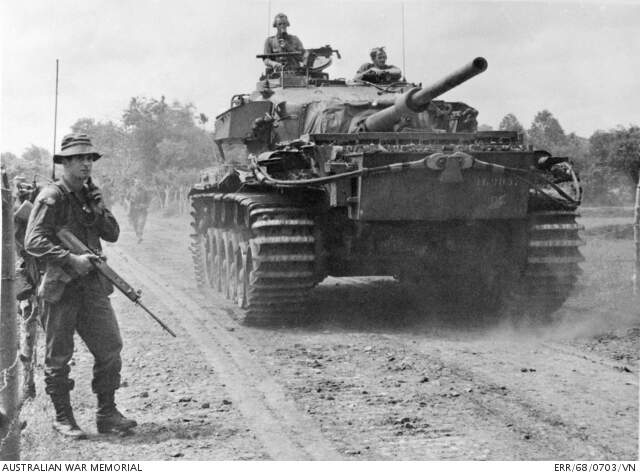
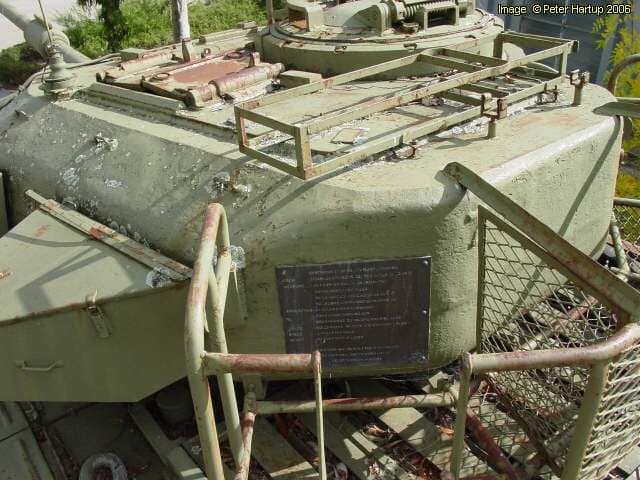
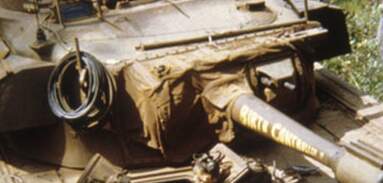
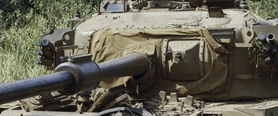
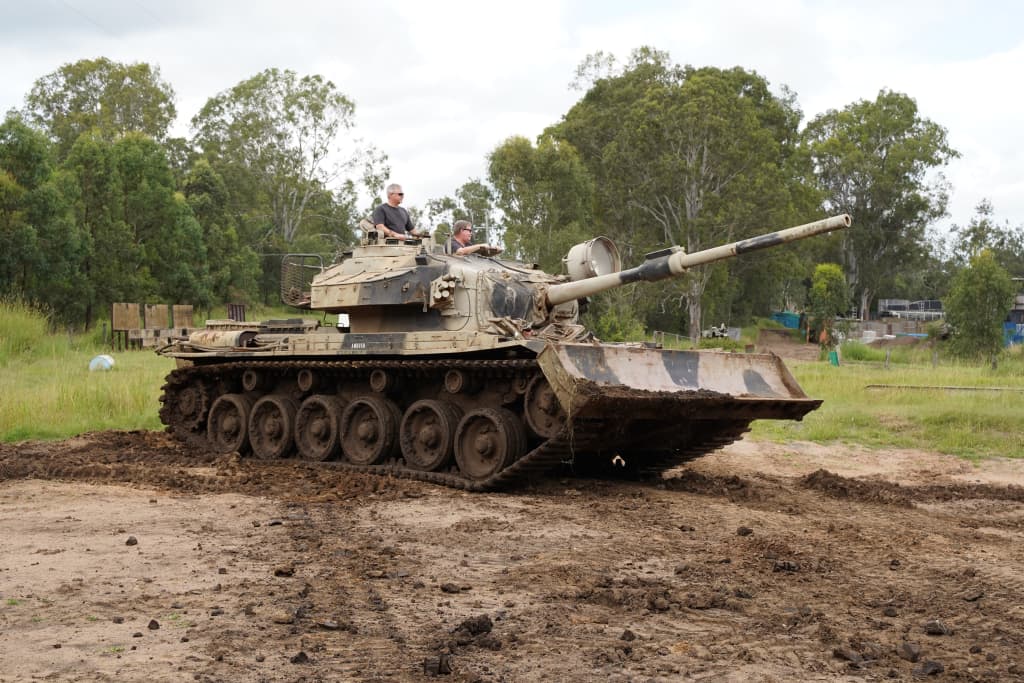
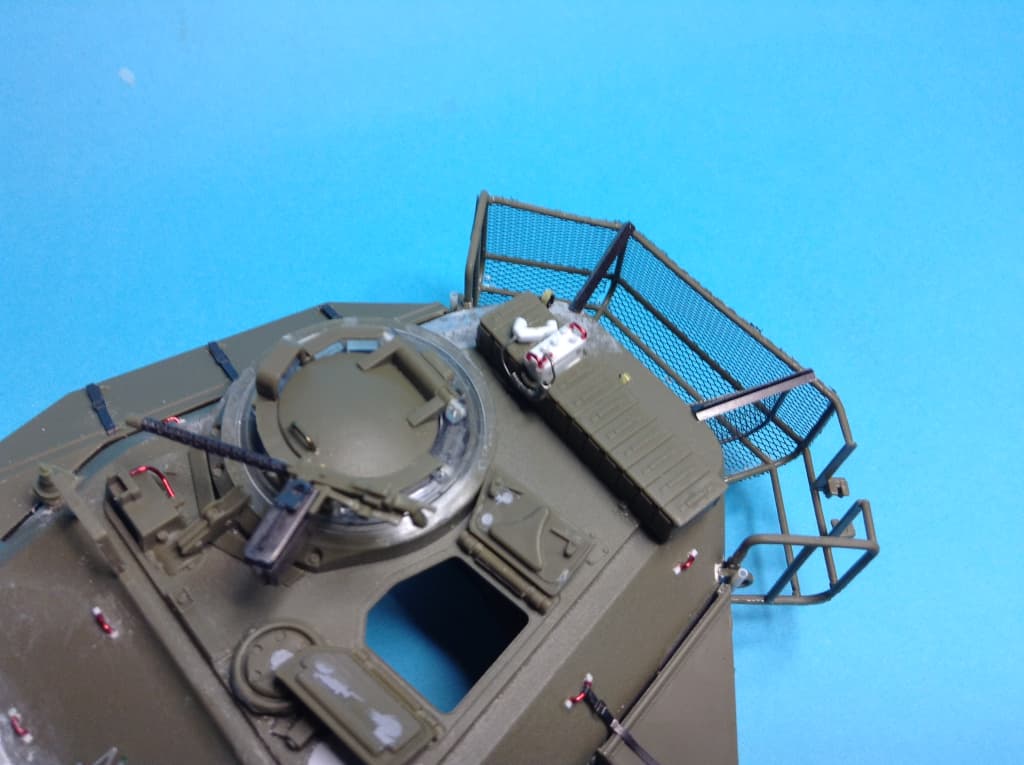
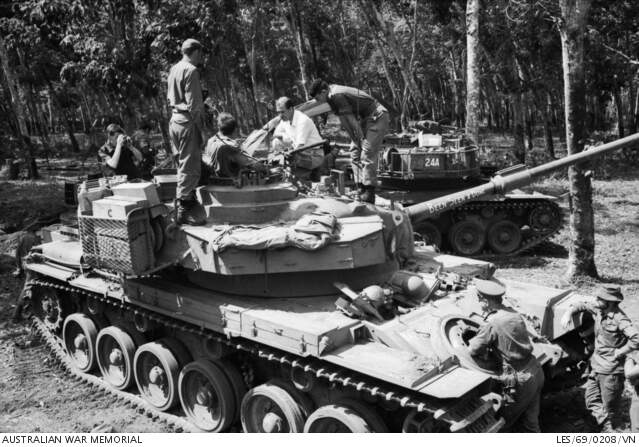
When Australia first sent Centurions to Vietnam in 1968, they were “British Standard”. Fitted with headlights, side armour, smoke greanade launchers, etc. A pic of a cent in Phouc Tuy:

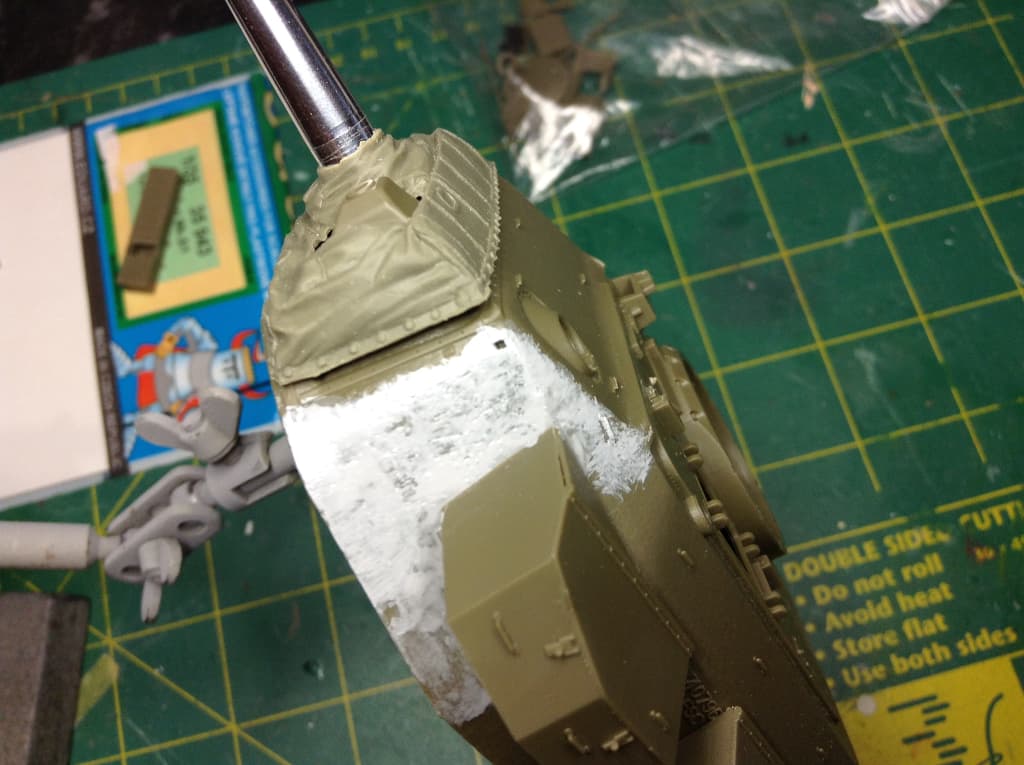
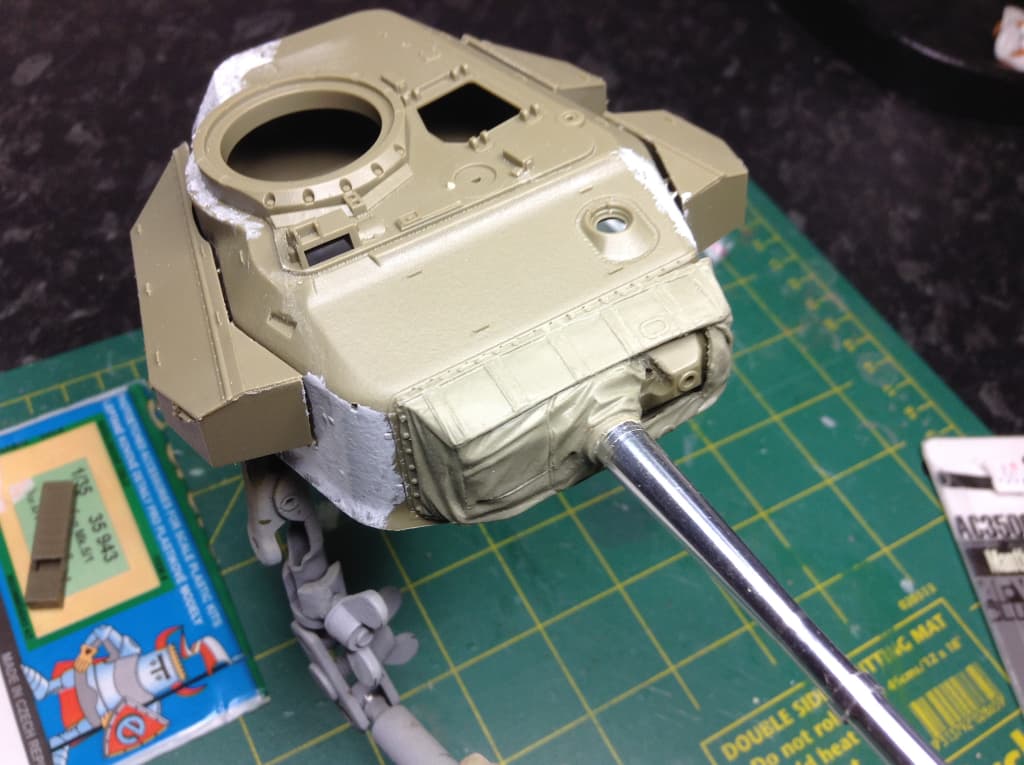
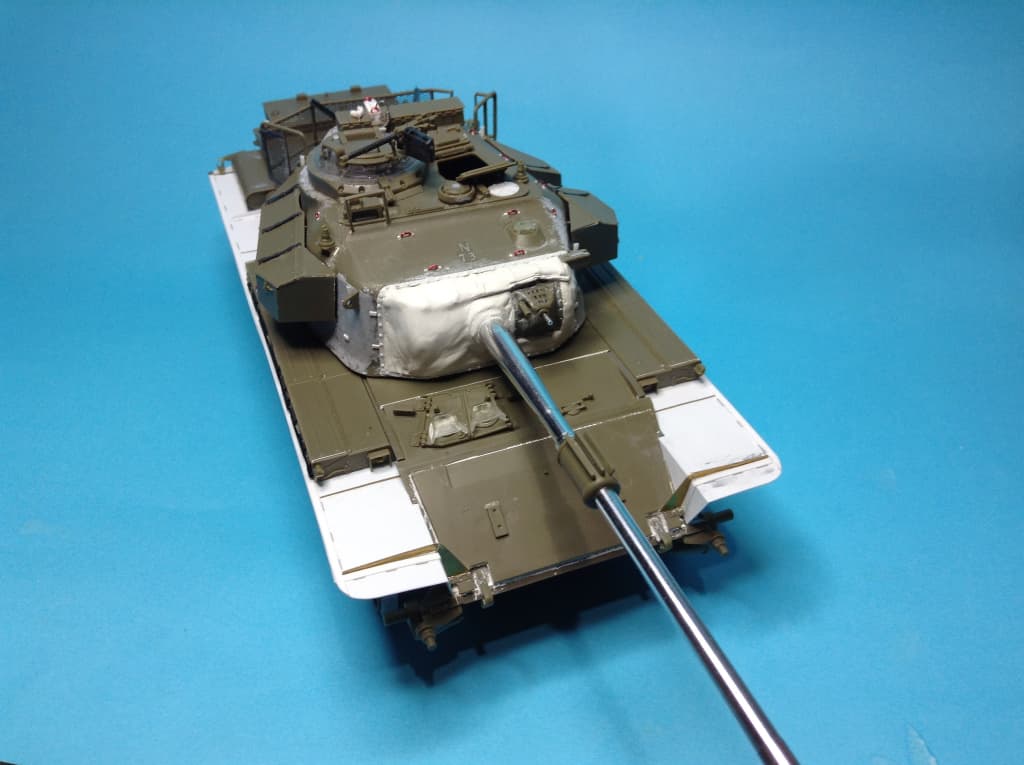
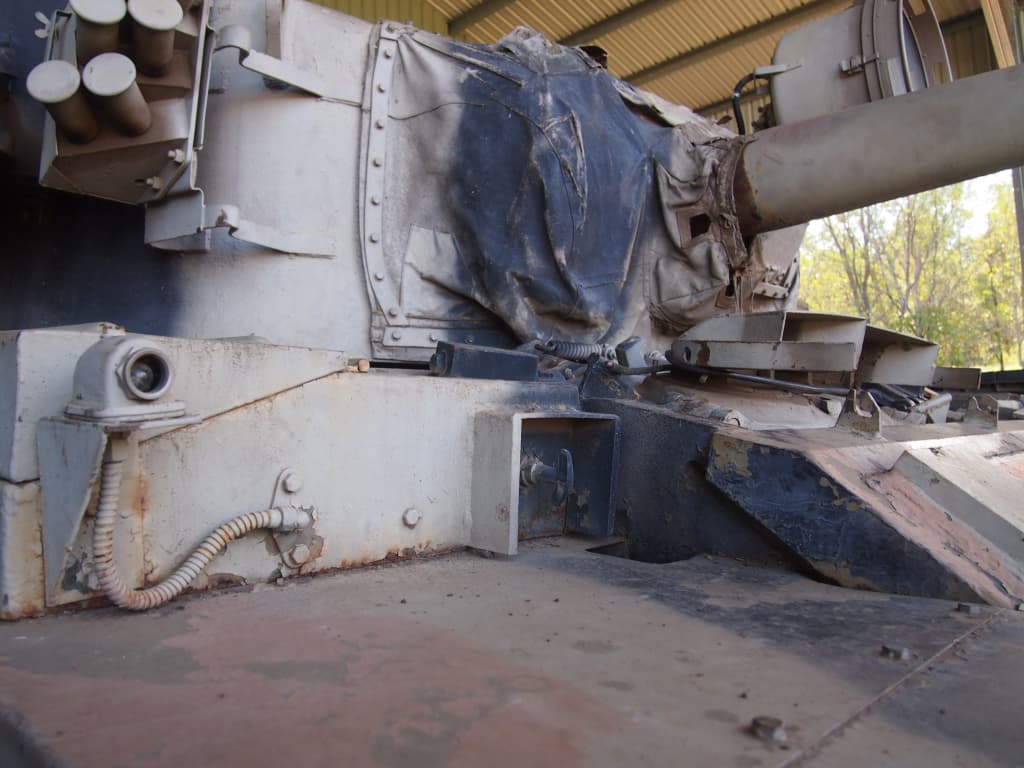
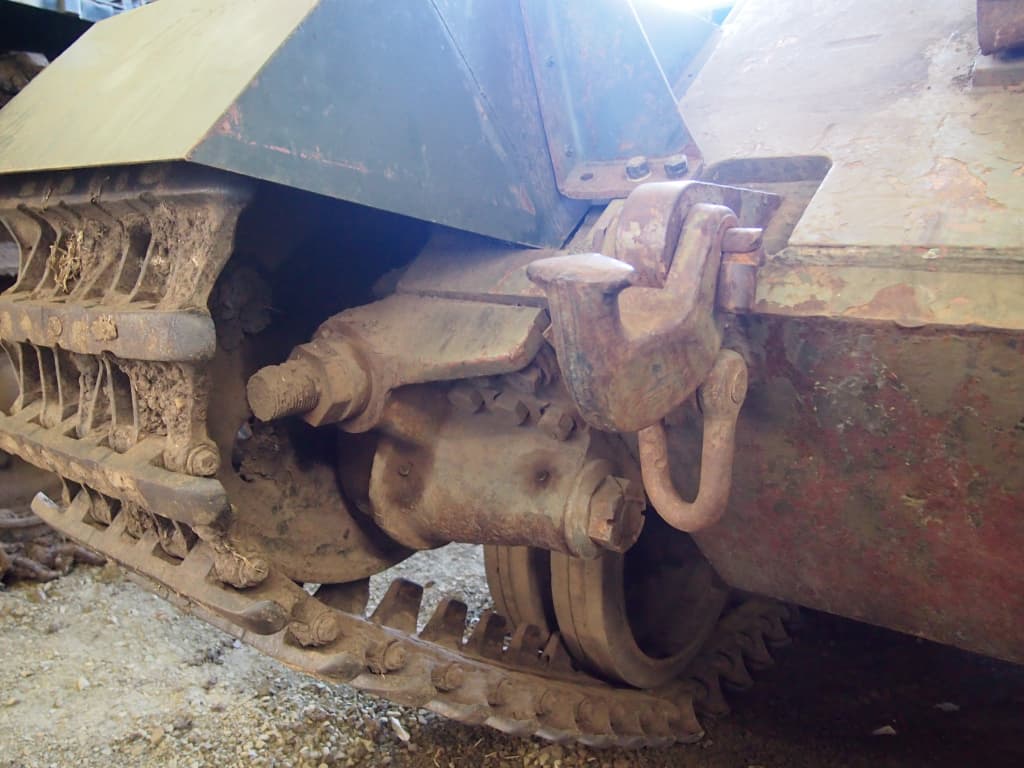
In theatre operations soon saw these items removed. The side plates were just unsuitable as they collected mud and debris. The lights, launchers and often turret bins were quickly removed by vegetation. Then, to upgrade to 5/1 standard, armour plate was fitted to the glacis. The lights were never replaced in position after that.

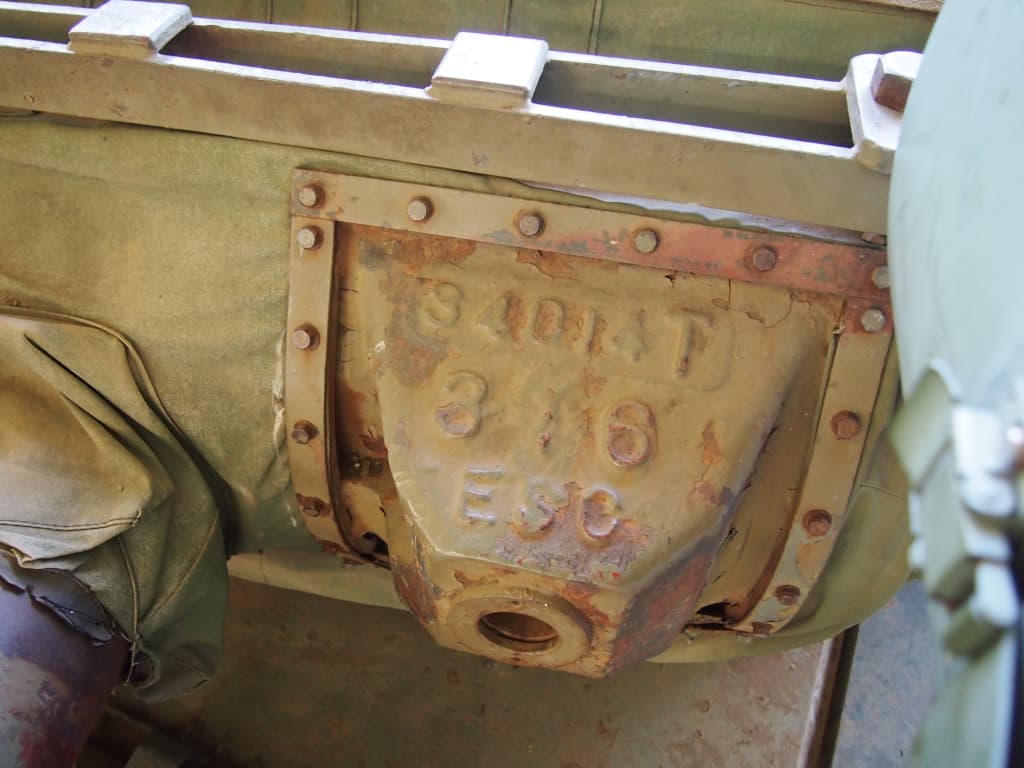
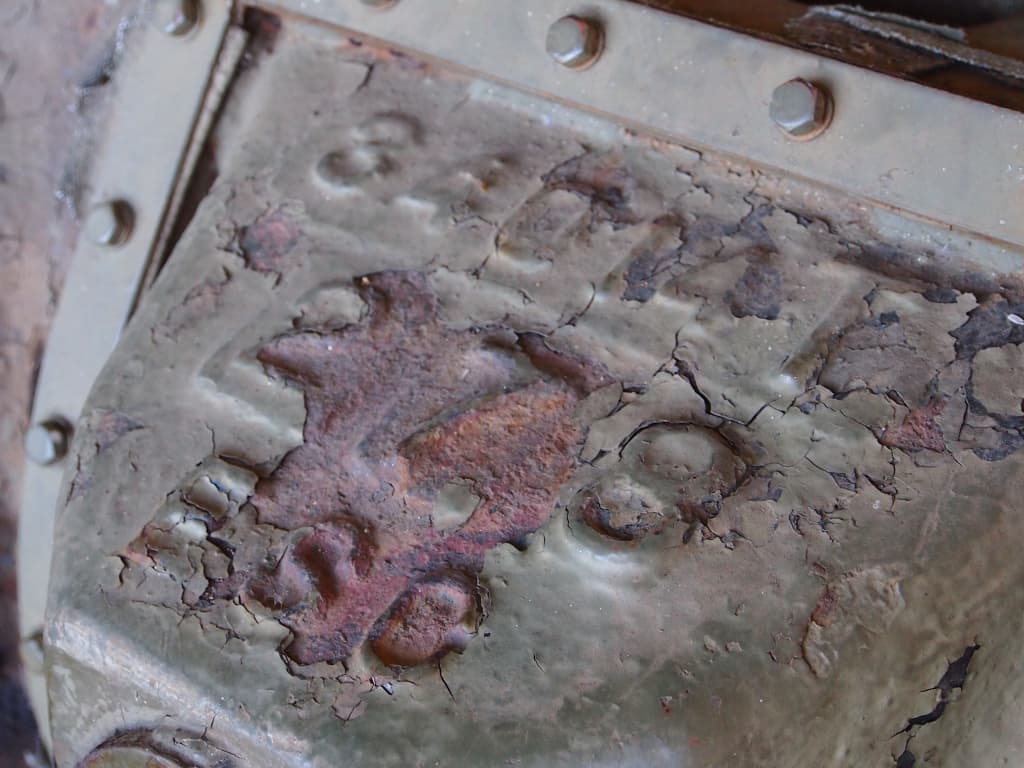
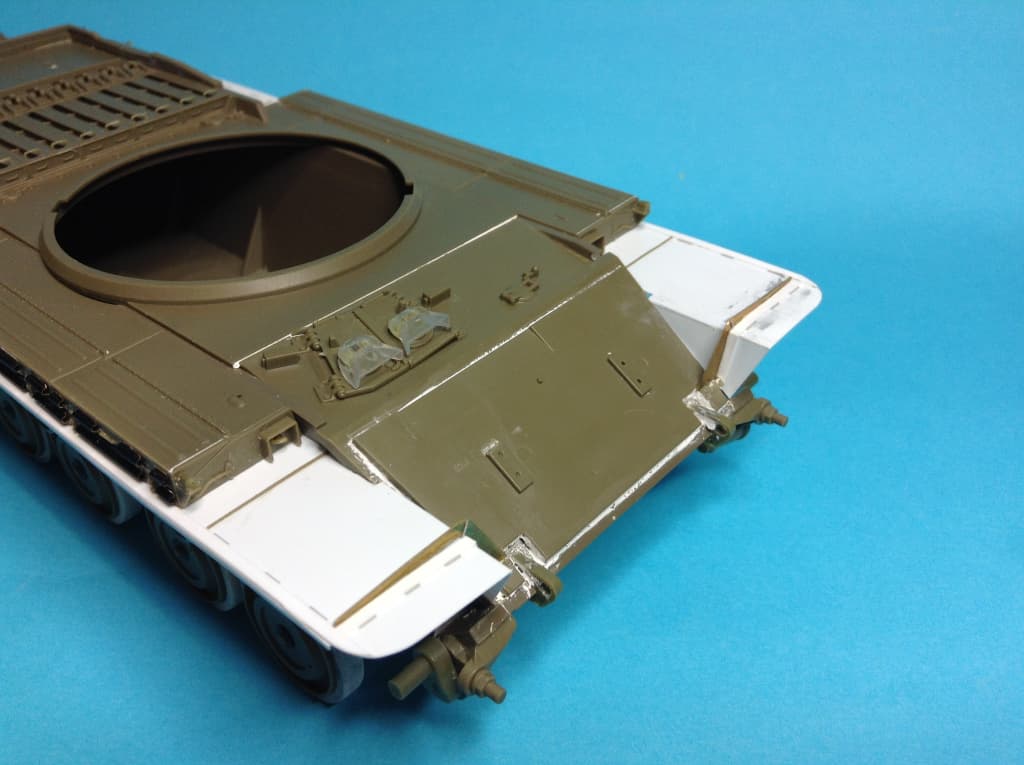
Then the fenders were replaced with 5/16 inch steel plate as the originals were very flimsy and easily damaged, often flexing enough to also pop the side stowage bins. This pic from April 1969 shows the replaced fenders with a square cut corner:
image
where later it was rounded - August 1969:
image
and March 1970

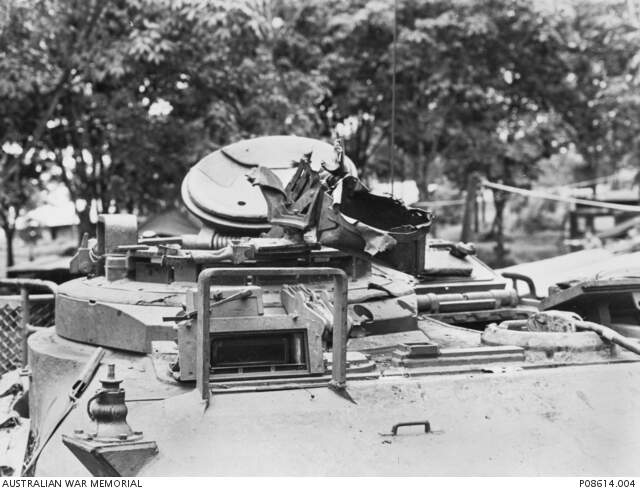
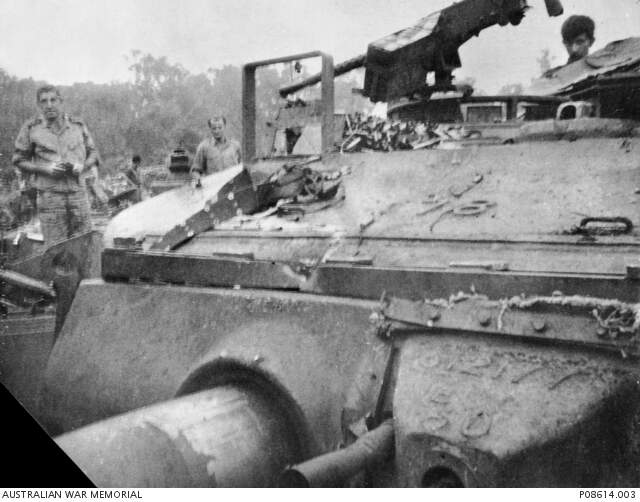
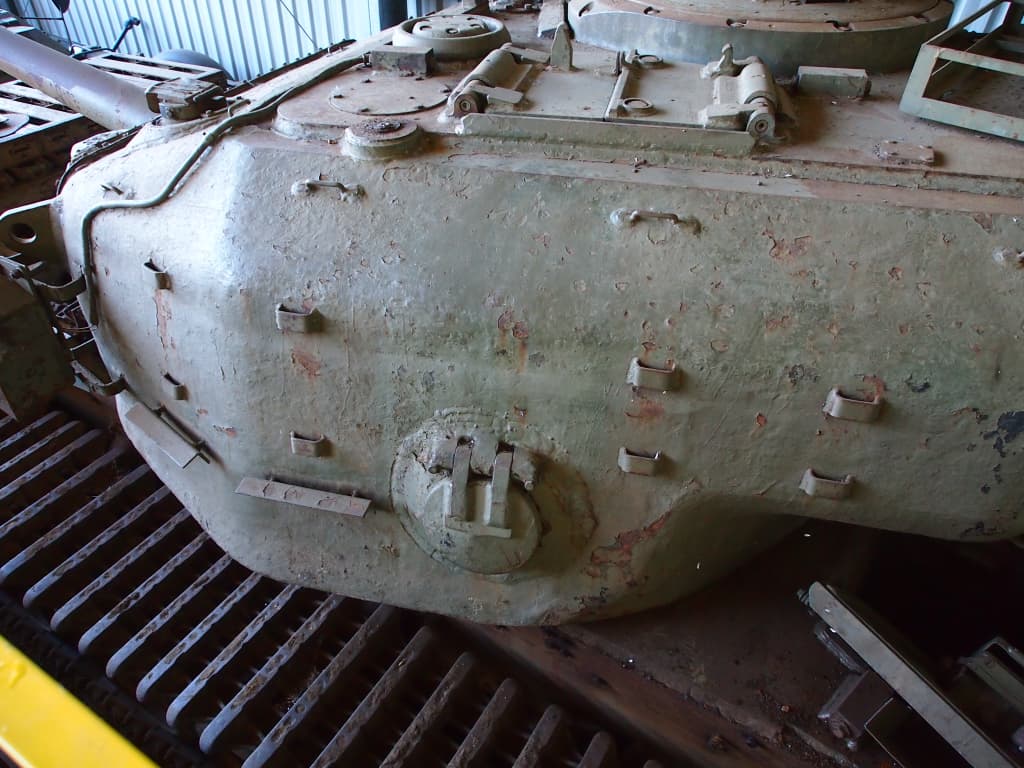
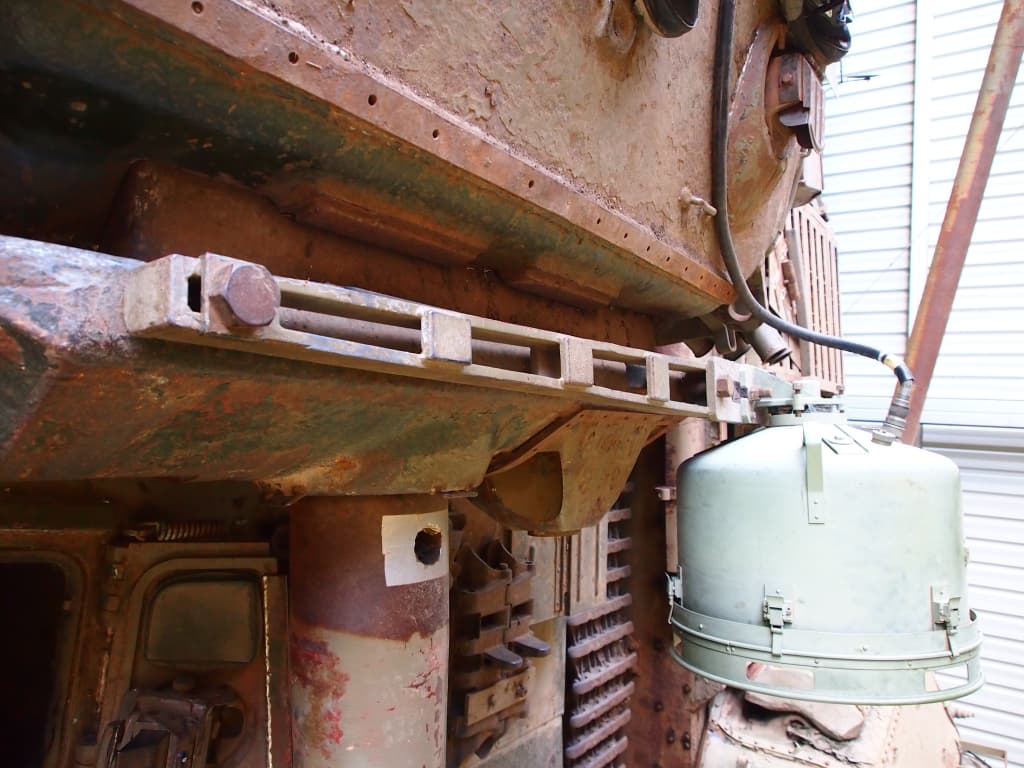
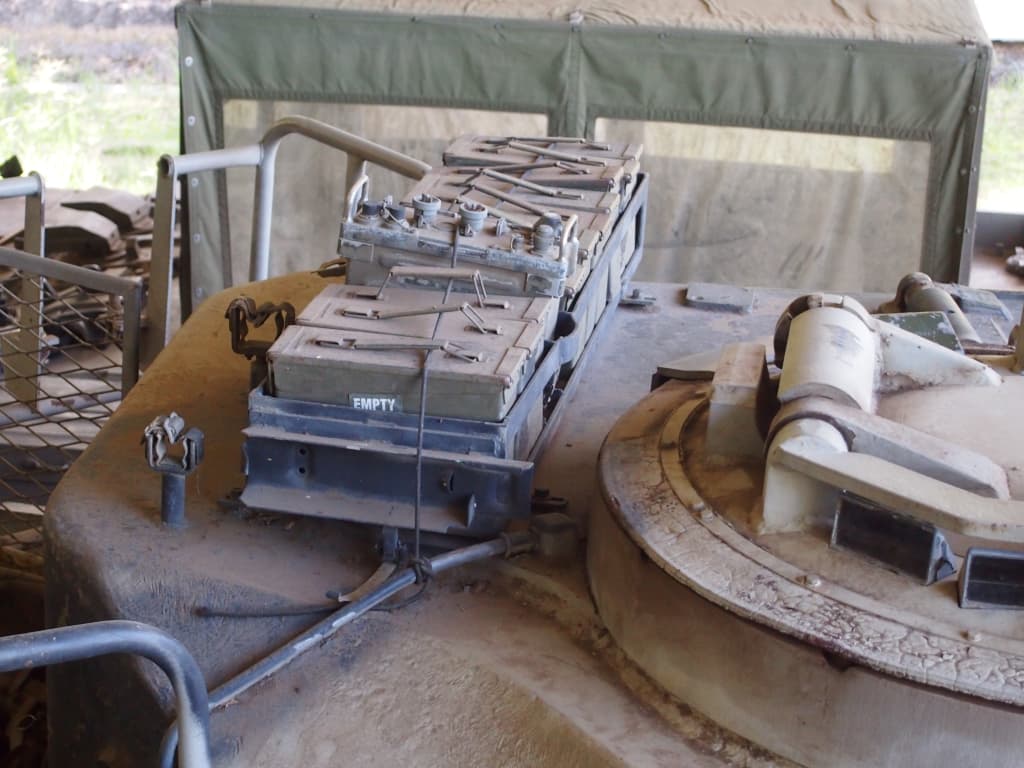
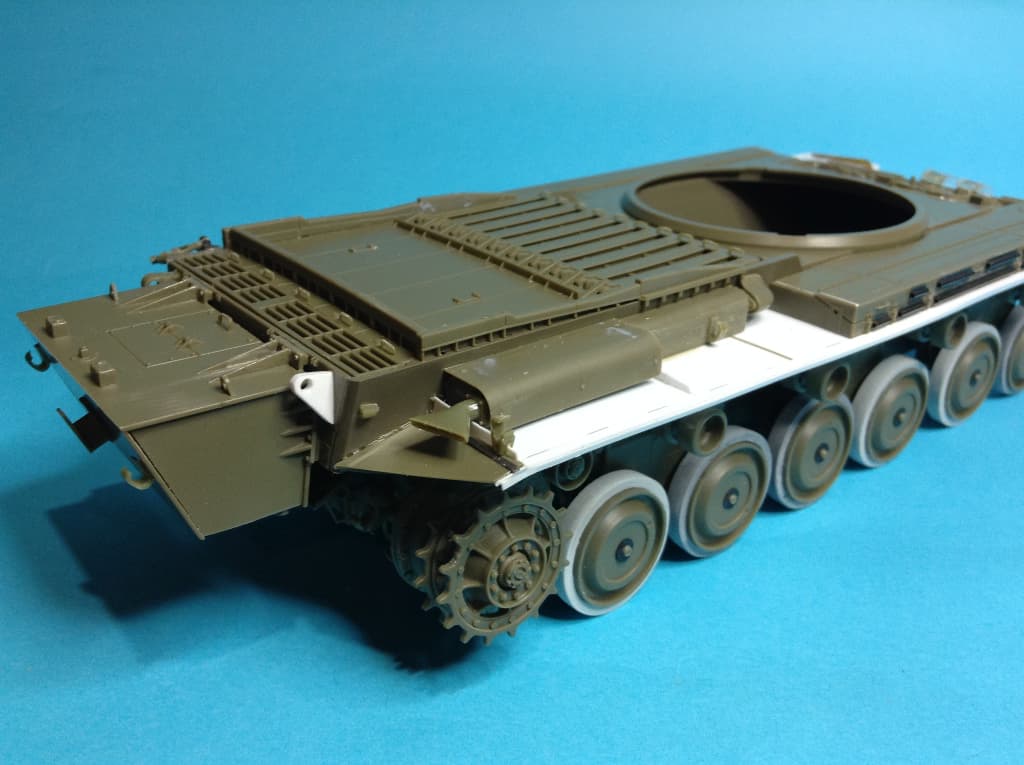
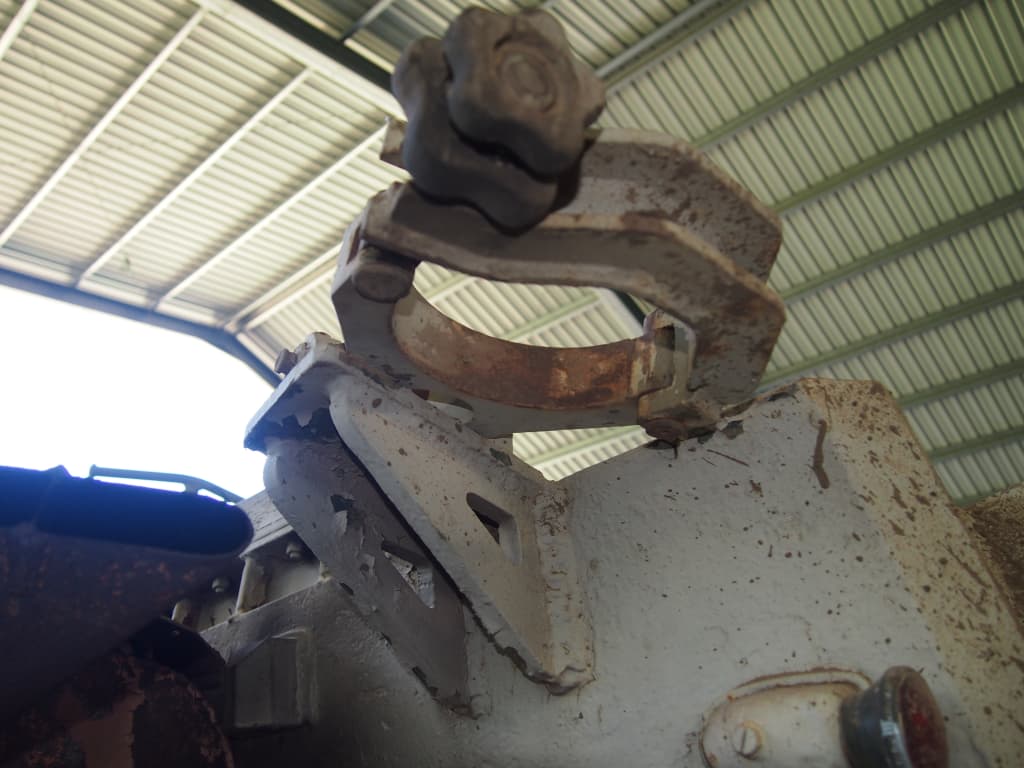
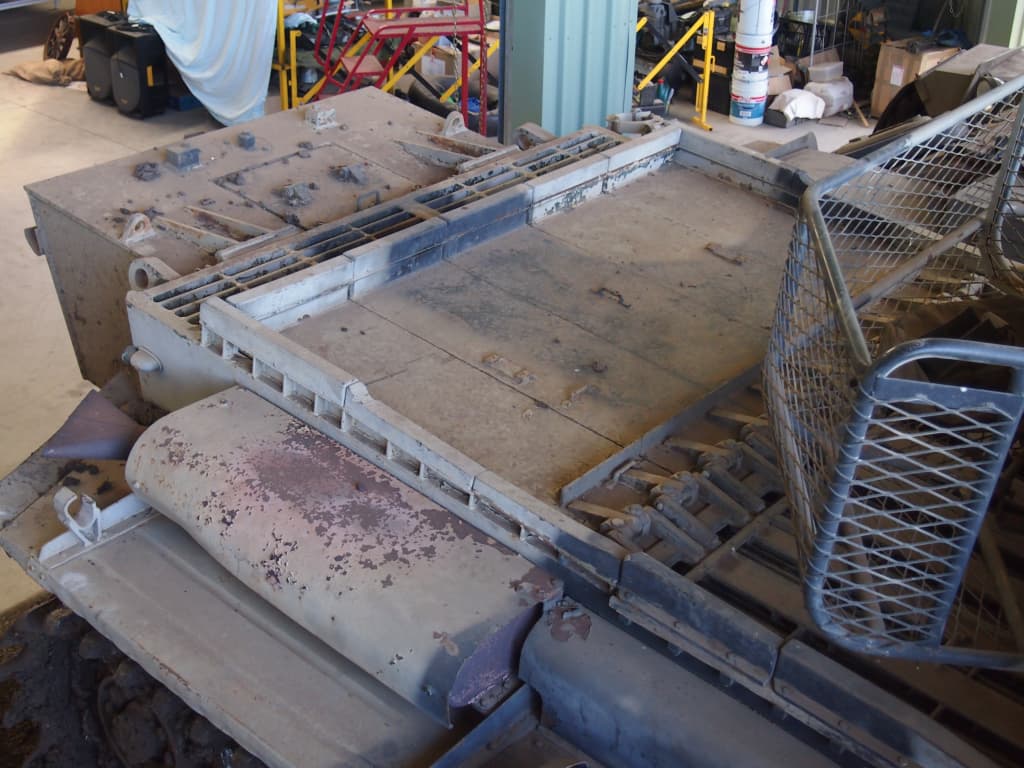
The issues with the bins were not satisfactorily resolved, so these were reinforced by welding sections of corrugaed steel to the front of the boxes to make them more rigid. This pic from July 1970 shows these reinforced bins and the plate steel fenders:


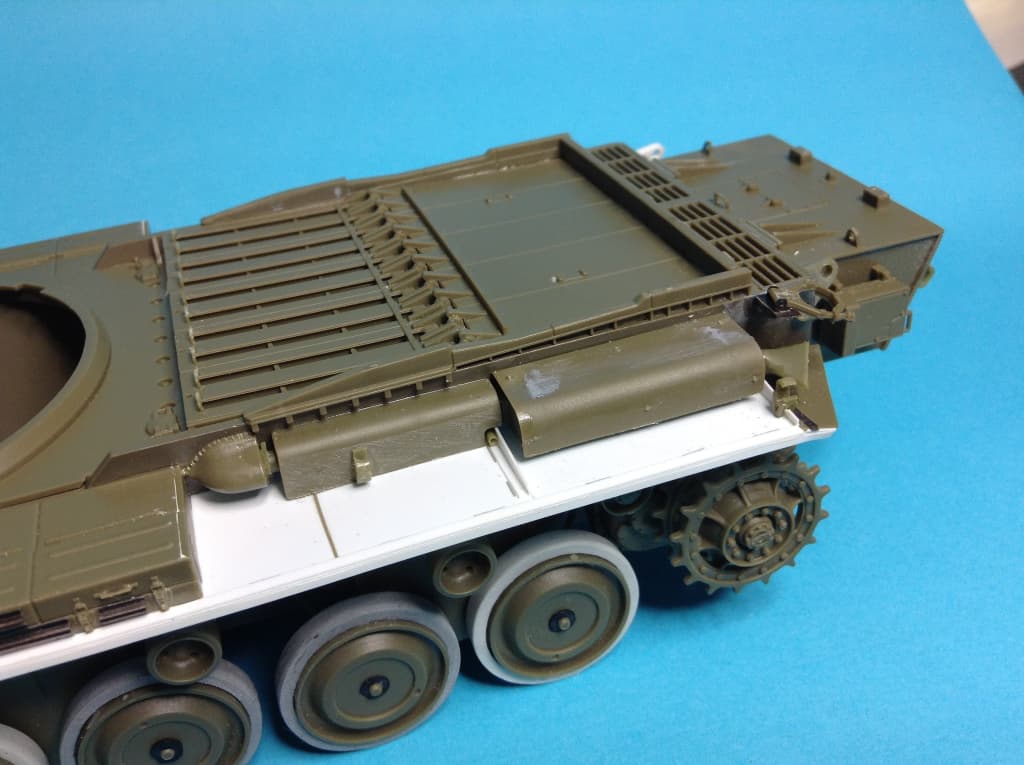
This picture showing the reinforcements in more detail.

These reinforment modifications were not identical between vehicles. The above pic shows them attached from one end of the box to the other, however this vehicle has fewer:
image

and this different again…

6 Likes

Nice info for anyone building one of these . :+1:

The naughty words filter reacted to the posting.
I assume it misunderstood p-ss- to refer to something else than cute cats.
I approved the post since I didn’t think of anything else than cats.

2 Likes

Back to this pic.

This photo is of “The Very Diabolical” (soldier slang for Venereal Disease) is a kit decal option. However at the time the name was applied, after the vehicle had arrived in 1970, the vehicle had been modified greatly from what is in the AFV Club Kit - all in line with all the previous upgrades and in theatre modifications:

  • Fenders replaced with thicker steel plate
  • Smoke Grenade Launchers on turret sides removed
  • No aperture for roof top bomb launcher
  • Stowage bin reinforcements added
  • Reinforcing added to rear turret basket
  • PRC 25 Radio fitted into the ammo liner rack on the turret rear (AFV Club have the curved section in the rack rail, but have an ammo box in its lace).
    Hence it is not appropriate markings for what is in the kit.

The same goes for any markings other than option “2” as all those vehicles were active post 1968/69 and all had mods either before leaving Australia or as soon as they arrived in theatre. So, all this leaves marking option 2 as the only viable option for the kit OOB, but even then, it is missing the 1st Armoured red and yellow tactical sign and the ARN for the rear of the fuel tank. Look closely and the red and yellow tac sign applicable is visible, seen over the fender bracket, in this pic.

Then we come to the modeller’s nightmare of Australian Centurion turrets. There were 3, and possibly 4, different turrets fitted to the vehicles Australia obtained, as modifications being made to British production were introduced into the Australian production orders.

This webpage (from the Sydney sister club of my Brisbane club) gives a concise overview of the issues in trying to sort out turrets.

Australian Centurions in a Nutshell | Australian Military Modelling Society (ammssydney.com)

ARN 169037, one of the first Mark 3 delivery batch, had this turret - possibly a ‘Late’ - note the RPG damaged 30 cal ammo box:
image
image

However, ARN 169017 also from the first batch, has a turret with casting details on the front suggesting a ‘Mid’:

Another great example - 4 Cents being sent back to Australia, the two at the rear have armoured collars for the pressure valve, the front two don’t!
image
(Barrels and engine decks were sent home on another ship due to this one’s crane capacity limitations)

Where does all this leave me? This vehicle, the only pic of 169039 I am aware of:
image
With no identifiable pics but this, I have some leeway on the turret, but not the hull.

So on we go.

2 Likes

Ooops, forgot to censor… there was supposed to be a link to PMMS, not the text…

There are people that do not appreciate their feline as food…

Vegetarians?

2 Likes

Catching up. This was my start post from the main thread. What I have assembled for the build.

Firestorm resin tyres to replace the AFV Club vinyl:


The kit tyres do not fit well with a space between it and the rim on the rear. I also have an aversion to vinyl. The Firestorm resin replacements are excellent and include the internal ribs that many other replacement wheels do not.

Hull underway. Front fender section is dry fit, they will be removed before the panel is glued:

As you see from the start pic, I had a few Eduard etch sets… First problem - the ammo liner rack… yes size does matter…


Anyone contemplating the Eduard set, don’t waste your money. I will go with the kit version, modified to take the radio.

The real deal:
image

2 Likes

Next issue. The AFV Club mantlet cover… it does not fit:

… nor is it really the correct shape as that folded section on top is way too sharp and pronounced:


image
image

2 Likes

I’ll be watching.
Two things that have put me off on buying the AFV kits are the vinal roadwheels and the lack of mantlet cover.

Where I am with the turret. There is a well published issue with the AFV Club’s Fume extractor not fitting over the barrel end and I took the remedial method of cutting the barrel in two, adding a plastic disc the width of the saw blade to one cut end, then jointing the barrel inside the extractor. Firstly I used a permanent marker to draw a line along the barrel so I could line up the sections later and avoid any twist if the cut was not perfect.

Resolved the poor fitting AFV Club canvas cover by making my own from superfine Milliput. Also made the cover for the search light at the same time.

Fortunately, the other Eduard set is not as badly sized as the ammo liner rack. The mesh for the stowage basket is very thin and fine and really is light years ahead of the fabric mesh in the kit.

Note the turret top tie downs have been replaced with wire and styrene ‘feet’. The ones on the turret top are way too short in the kit. The others I just undercut as the rectangular blob is unsightly. Got carried away on one which needs to be replaced now. Also note, I scribed the circular plate and added bolts to represent the plated over the bomb thrower on this one. I also added the armoured pressure valve as well - suggesting a ‘Mid’ turret for the build. Unsure if I will bother replacing the casting numbers on the side…


In this pic you can also see the addition of the canopy support tubes on the turret lifting rings. These were tubes with the bottom section squeezed closed. A rod was inserted in the tube and the canvas canopy fitted to those.

A Call out to anyone building this kit. There is an error in the instructions. They tell you to fit D4, the periscope cover directly to the turret - Wrong:
image

You first need to add part B28 to the hull, like you do for other scopes, then the cover or it will not fit properly. An extra is in the kit:
image

Note part F17 in the first instruction image. Look at the pics above and you will see this is sometimes fitted in the armour collar for the pressure valve.

5 Likes

Great start Peter :+1:,I’ll be following with much interest. :nerd_face:

1 Like

Great start Peter. Will you be doing all the mods you showed in the above pics ? or as one would of looked as it rolled off the transports ?

The easy way or the hard way?.. You should know me better than to ask that! :crazy_face:

1 Like

lol …fair one :+1:

Some reference pics for you Detail Freaks. All my pics, please do not share:

Turret from an Australian Mk 3 Centurion (stated to be ARN 169058) (Note pressure valve and plated over bomb thrower)

Periscope wiper motor wiring:


Gunners hatch interior:

Cupola and 30 cal cupola mount:


Casting detail:
Mk 5


MK 3

Searchlight and mount:


Turret Basket:


30 Cal ammo rack and radio (not also 30 cal stowage clips…almost never used in 'Nam):

As always, I cannot state whether these are original to the vehicle or added by previous civilian owners…

1 Like

I also got to play Tank Commander… :sunglasses:

2 Likes

Okay turret pretty much done. I have left off the Fire extinguishers and Periscope face for separate painting.

Mantlet MG part reshaped to correct profile and the .30 cal aperture was filled and then a new hole drilled a bit higher than the .50 cal opening (looks a lot higher in the pic than it is). Added casting numbers too - Archer for the black ones, stretched sprue for the grey ones.

Replaced the tie down on the bin side and added the 30. cal supports behind the ammo rack. Also added the strap to the commander’s hatch.

added the .30 cal and the cover over the bomb thrower aperture. Noticed that it sits on top and not flush in the recess like I had done it before.

Hatches all move so I can paint easier. Just the PRC 25 Radio to go and the turret is done.

Also assembled both track runs keeping the workable nature of the AFV Club after market indy link set. More on that when I finish the hull assembly.

4 Likes

Wife was spending time with her mother over the weekend, so two solid days to myself. Made good use of the time and completed the build phase on the Aussie Cent.

PRC 25 scratched and added to the turret. Not perfect but ‘good enough for government work’ as some of you are wont to say.

Front Fender detail. The brackets and reinforcing strip was welded in places. Stretched sprue used to replicate. Also added the weld bead on the extra armour plate on the glacis:

Side view including the Eduard Etch stowage box reinforcements. A lot easier to shape than I thought, but the set is short some if you want to do the full length reinforced version.

Lost the rear tow hook mount to the Carpet Monster’s evil cousin, the Tile Monster. How something so big, and green, could be lost on cream coloured tiles is beyond me…

Rear fender close up. Note the weld bead from hull to fender strip and the short welds along the side strip. Cut out the section of the AFV CLUB tow cable hooks so they would slip over the fender bracket not fitted in a notch like the kit fenders are.


Note also the filler in the sink marks. Would not be an AFV Club kit without a few of these issues.

Overall view:


Next stop a bath then primer.

6 Likes

Some more detail pics. The barrel lock in the AFV club kit is a solid triangular lump, not at all like the real thing:

Rear Fender Tow cable hook over fender bracket:

Stowage box ends and drivers scopes… just realised I forgot the side extensions on my kit!

Weld bead detail on the armour plate, plus front tow mount and hook:

One of the spare track holders. I will add these after painting:

And lastly one I forgot earlier - The underside of the searchlight mount and the zip in the canvas mantlet cover for it:

3 Likes

Beautiful build!

1 Like