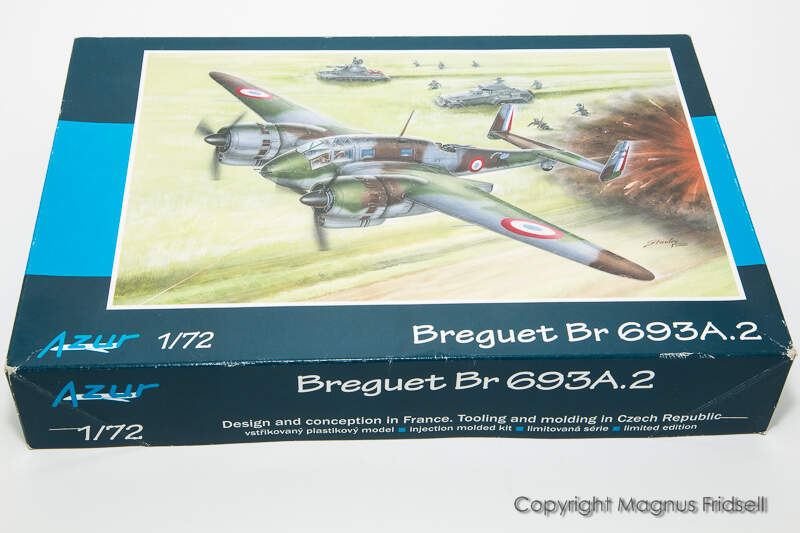
Let’s go Mud Movin’ the French way - Faire déplacer la boue en façon Francais! 
While holidaying in Nice in 1996, I picked up the French modelling magazine “Replic” and saw this fascinating plane for the first time. Since then, I’ve planned on building one, even making a false start on the ancient Heller kit, complete with a HiTech upgrade kit. It got a bit too tedious to do something useful out of it and just a few years later Azur released a modern, albeit short run, kit of this machine that was immediately bought and put in the stash! In the stash it stayed for a decade but the Mud Movers Campaign was an excellent reason for starting it! (I’ve intended to do a Typhoon but since I have some loose plans to make 2021 “the year of the twins” it felt like a good warm-up  )
)
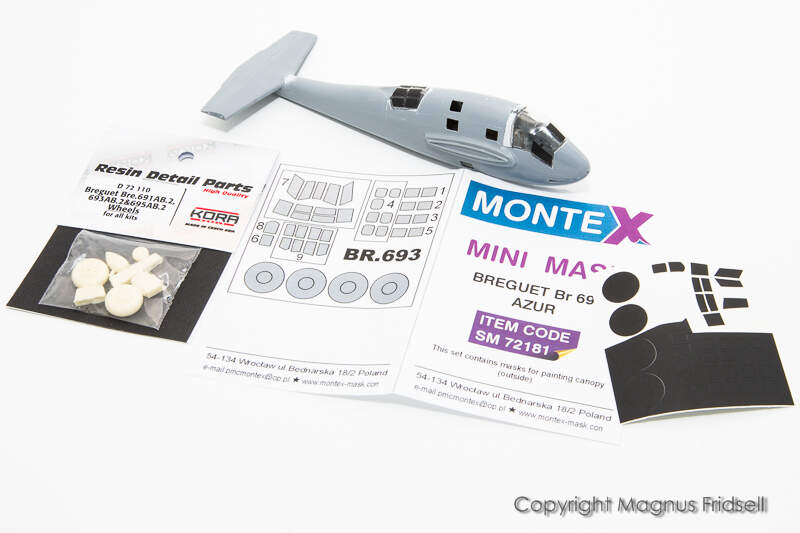
Some very nice and speedy box art!
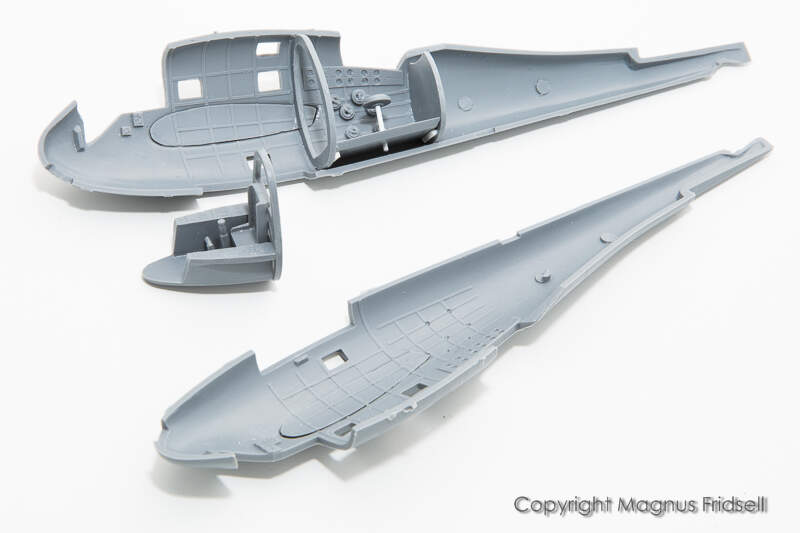
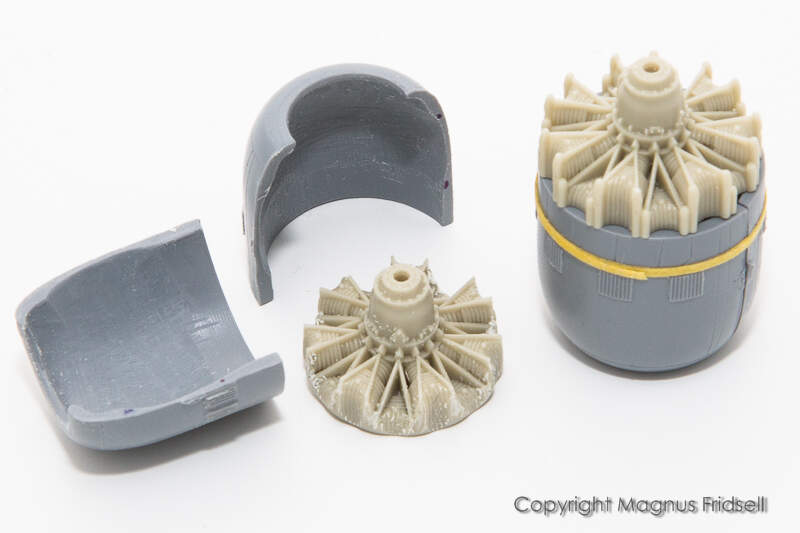
This is short run but for being such, fairly good actually! Only resin parts are the engine and the dorsal gun.
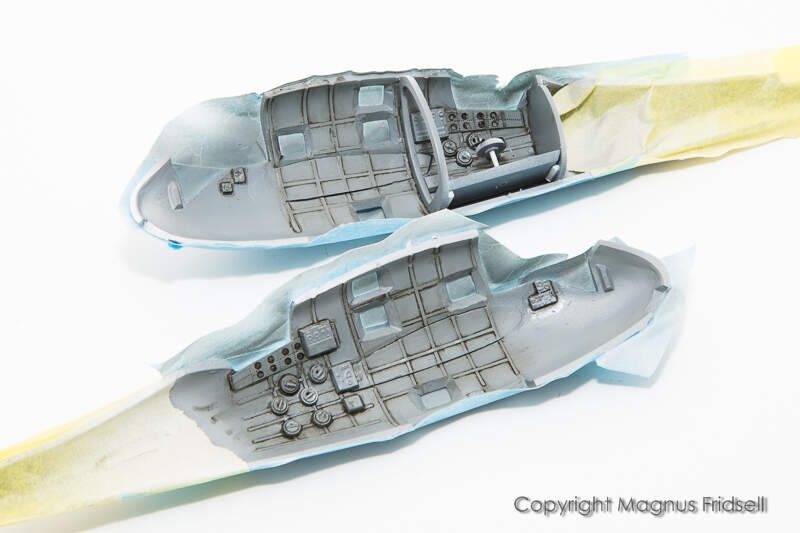
I couldn’t resist… Cockpit done and some of the internal parts glued into the fuselage halves!
Some more internals and an unpleasant looking little French bomb with photo etched fins. There are six of them that require crosswise grooves to be sawed in order to attach the fins. And most probably nothing of them will be seen after closing up the fuselage! As I said earlier, the model is rather nice but the plastic is thick. I’ve thinned the fuselage around the window openings, it ruins the internal details but I don’t think it will be too noticeable.

Magnus
4 Likes
So, here we go! With the 209 safely into the display cabinet let’s get this one rolling!
A bit of primer on this and the fuselage halves, then painting can start! I’m sure there will be some more sanding to be done but it builds fairly well I think!
Magnus
2 Likes
Moving on, making the most out of the holiday season!
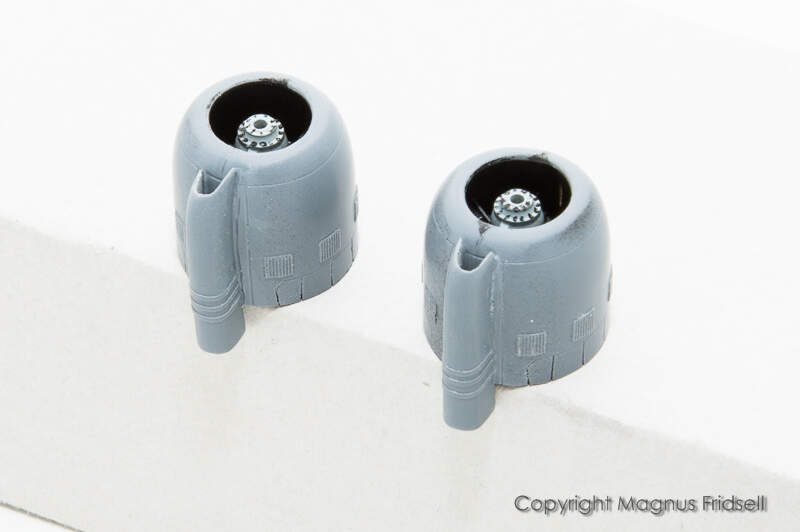
Such a short run classic! Note how the very nicely cast engine has exactly the same outer diameter as the cowling meaning there is now way of enclosing it the way it is shown in the instructions. To get it in, you have to both thin the cowling parts (boring and messy and somewhat hazardous with a scalpel) and cut off the rocker covers from the engine (really disturbing considering the beauty of the castings). A Dremel would have helped but I can’t find mine, I might even have given it away! Considering how tightly cowled the engines were, the surgery won’t be seen but it has to be done anyway…
This looks messy, I have to find a better method to do shadows around shallow detail. Oh well, another thing that won’t be seen after the model is buttoned up!

Magnus
2 Likes
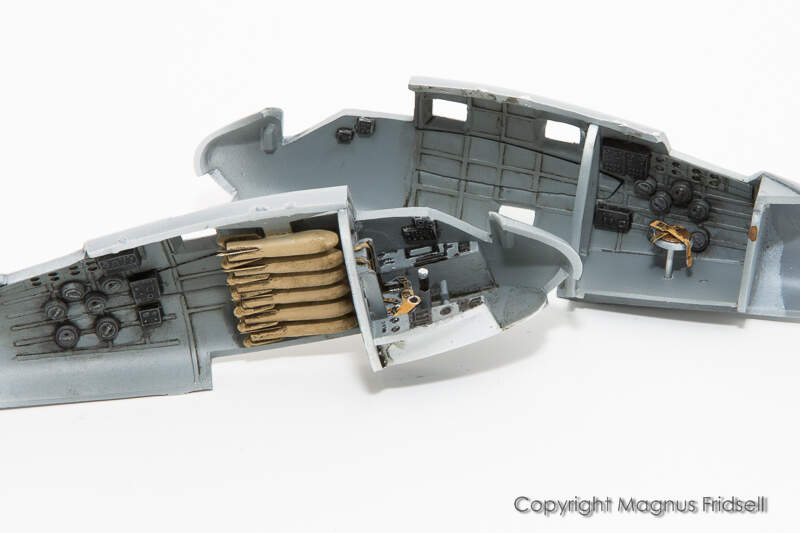
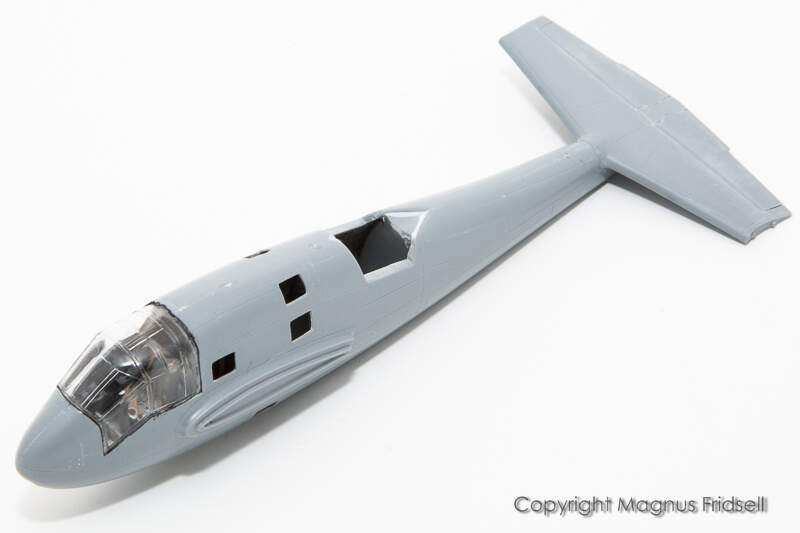
Just about ready to close the fuselage!
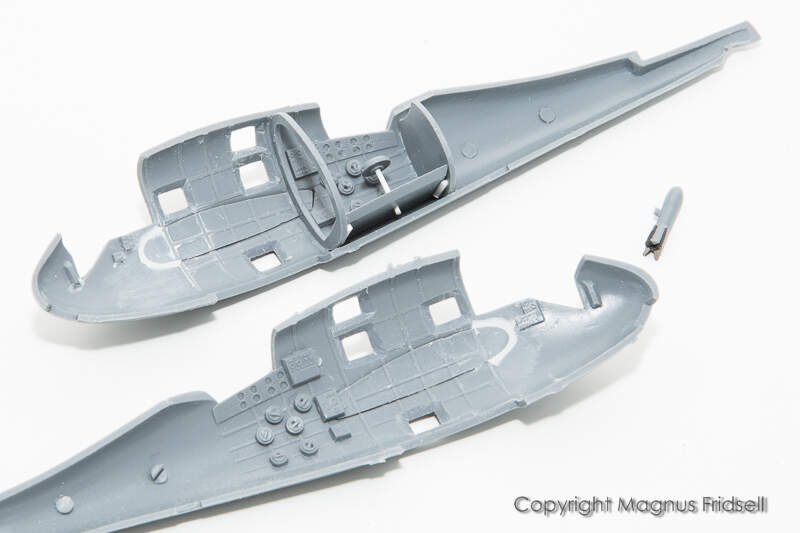
This will result in a nice busy-look through windows and canopy. Still I wonder about the design choices with a fairly well detailed bomb compartment that will be very difficult to see while the floor and rear bulkhead in the open gunner´s position are absolutely blank? While writing this, I suddenly realise that the amount of work (and fantasy) needed to do something about it is minuscule and I’ve already missed that chance. Oh well…
Magnus
3 Likes
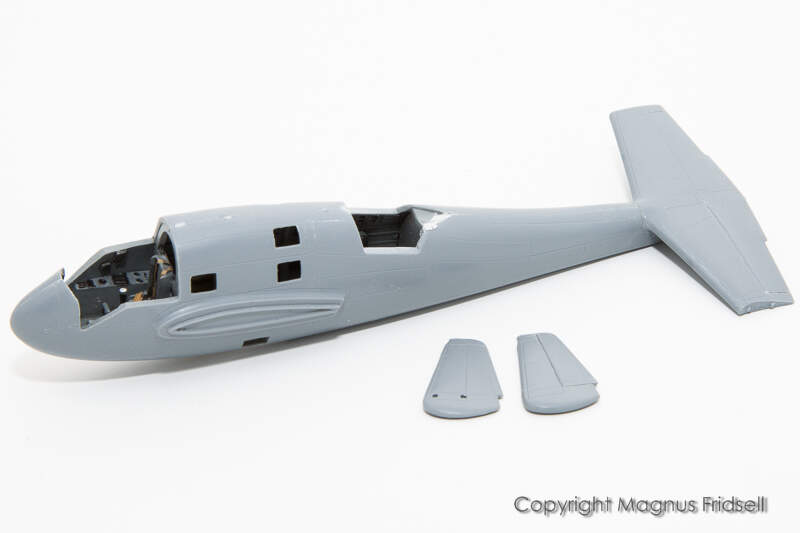
One final update of 2020!
Fuselage glued and stabiliser in place. My daughter think it looks like a fish. she might have a point…
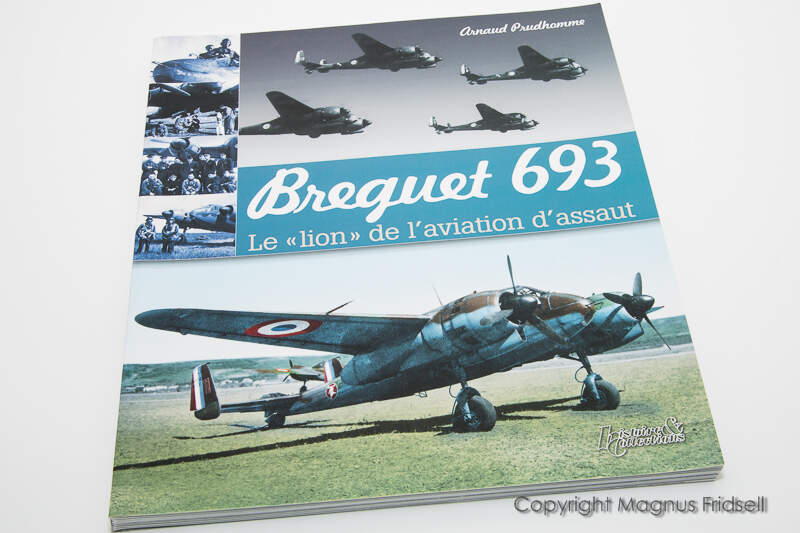
Found this one the other day. Very nice book with lots of clear photos and some very nice profile drawings, highly recommended and at a reasonable price!
Magnus
3 Likes
Wow! Magnus! You sure have a penchant for choosing unusual subjects!
As per usual, I’ll be following along 
1 Like
@Russelle Considering what I have in my stash, this one is fairly mainstream  !
!
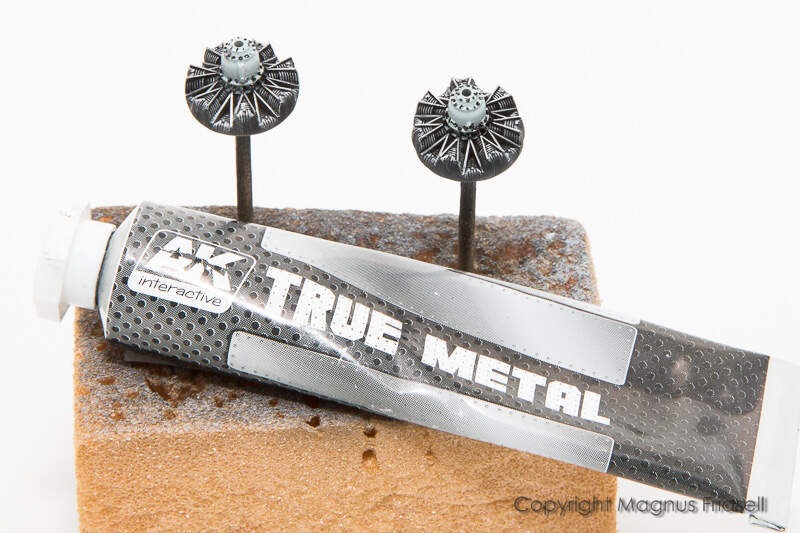
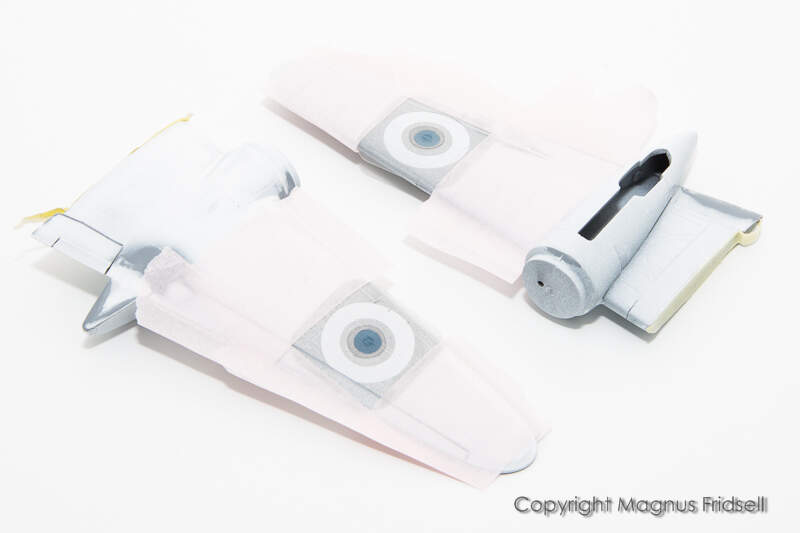
Engines ready for mounting inside the cowlings. The castings are incredibly sharp and a true joy to paint, much more can be done but not much will be seen considering the very tight cowlings! I primed using black, cut a circular tape mask to paint the grey and then I finished with a careful drybrush using MiG´s “True Metal”. It is a waxy paste that can be used over large areas and then polished afterwards, much like I presume “rub´n buff” (that I’ve never seen but heard of) was/is. Comes in a variety of metal colours.
Clear parts glued. A major worry on this kind of model and ideally they should have been dry fitted carefully before gluing the fuselage together, that way I could have thinned or shimmed the fuselage if needed. I didn’t do that but being lucky was enough this time
!
Magnus
5 Likes
@magnusf I know what you mean Magnus! I’ve built the Heller kit, simplistic with no engine or interior detail to speak of. I then searched for and found the Azur kit and promptly bought one and in the stash it has stayed! There is something about the lines of this particular aircraft that just catches my imagination. I agree with your daughter, it certainly is quite streamlined. I think thats what appeals to me that sleek and purposeful look. I’ll be watching with interest so I can see what the kit will bring when I build mine. Love the progress so far my friend! 
Chris
The shape at this point reminds me of a dolphin.
@c4willy Only really tricky operation yet was centering the engines in the cowlings, nothing there to locate them since I had to sand down the outer diameter of the engines and scrape off a lot of plastic from the interiors of the cowling halves, see below! Still have my old Heller project somewhere, I won’t build it but I don’t mind having a look at it for nostalgia reasons. It is however “wintered in” in my stash - the stash is a bit like Mount Everest, easier to access during summer time (we store a bunch of things that are outside in the summer but get stored indoors during winter time and they all end up stacked in front of my model storage shelves).
@TopSmith I’ve checked with my daughter and she approves of the likeness to a dolphin as well !
I didn’t dare to glue the engine to one of the cowling halves before closing them up (wasn’t sure to get the centering and forward/aft position right) so I glued the cowlings with the engine loose inside. I finally fixed the engine temporarily using a kind of wax used by miniaturists to fix furniture and other loose stuff in dolls houses, this way I could adjust it and finally fix it permanently using drops of super glue! Glad I’m over with it, now I just need to tidy up the interface to the intakes.
Magnus
2 Likes
Hi Magnus!!!
Will be another cracker from your workbench…looking forward to the result!!! 
Horrido
Stefan 
Friends! Thanks a lot for following along!
Updates are few and far between for the time being but I promise, I spend some time almost every day but still progress is slow. The majority of the time spent during the last two weeks has been fitting the transparencies. The fit is OK but filling and sanding is necessary with all the extra work polishing parts and so on. And no matter how careful I am, imperfections turn up after the first coat of paint anyway! Oh well, I gotta have something to keep me busy tonight anyway… Apart from that, I knew when I started that the fun part of this build will be the camo, not the transparencies !
I bought a set of masks that really come in handy with the multitude of individual glass panes on this one. I also bought a set of wheels, I am usually not a big fan of Kora since most of the stuff I’ve bought from them have been rather bland (decals and detail parts) but the wheel are a great improvement over the kit parts!
Masks in place and some extra tape to keep paint dust out of the interior. No way of getting in there for any cleanup so this is a major worry right now!
I also did some riveting to make things a bit more interesting. I found a good drawing in the “Ailes de Gloire”-book that was perfect to follow. I instinctively back away from riveting but it is really a fairly simple and fast process!
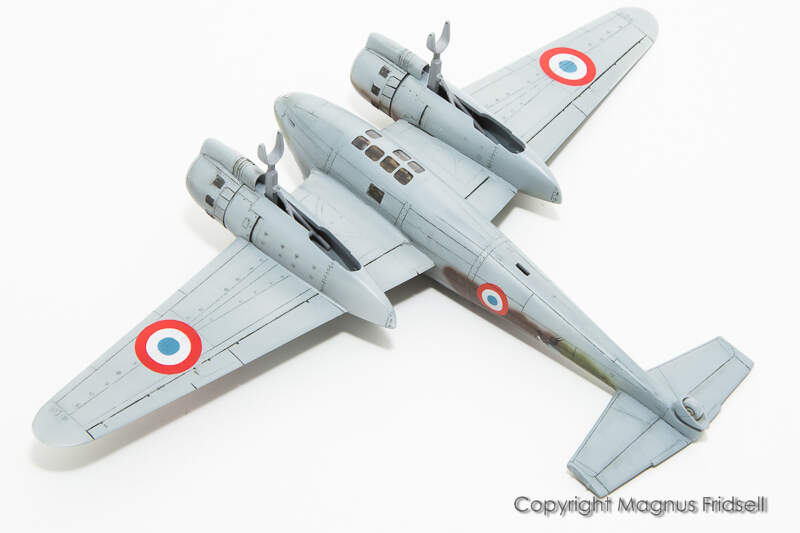
To do SOMETHING fun at least while stuck in Canopy-Hades I did the roundels on the wings.
The outer red ring is a bit wide, I have a mask with the correct diameter I’ll put over it when doing the camo. This way I can avoid the narrow line of primer shining through around the perimeter that I have had earlier on some builds when the masks don´t fit 100% (you just need a very tiny discrepancy or mismatch when attaching it to get it).
Hälsningar
Magnus
4 Likes
Looking good so far, Magnus! And it sure looks a bit like Flipper at the moment … 
Nice to see the big fish moving along Magnus
I finally bit the bullet and added the wings, what minor blemishes there are around the fuselage seams and canopy areas can either be handled anyway or left well alone…
This was also kind of a tricky operation, there will be a bit of putty and sanding work around here. For my next build, I think I will treat myself to something that is NOT short run
! In case you wonder, fuselage openings were filled with Micro Mask that will be removed and refilled, probably with either UV Glue or ClearFix when all is finished.
Magnus
1 Like
Progress feels a bit slow but there is a lot going on behind the scenes. More sanding for instance !
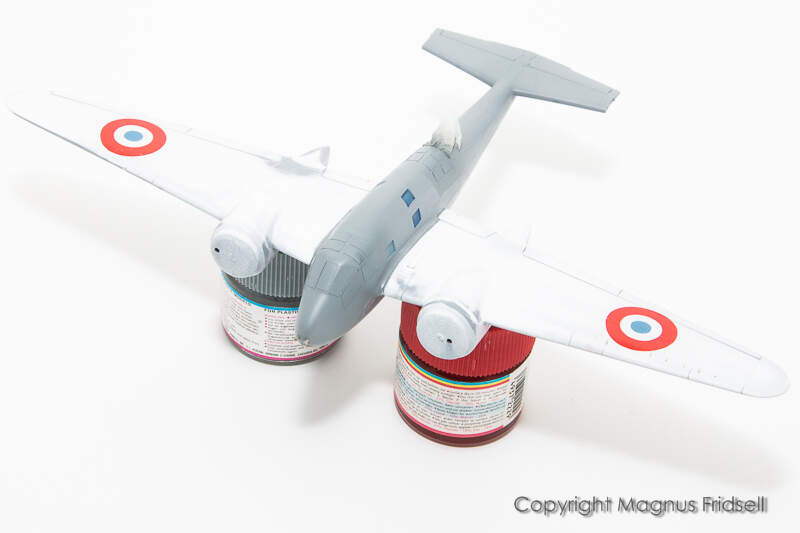
Finally ready for paint!
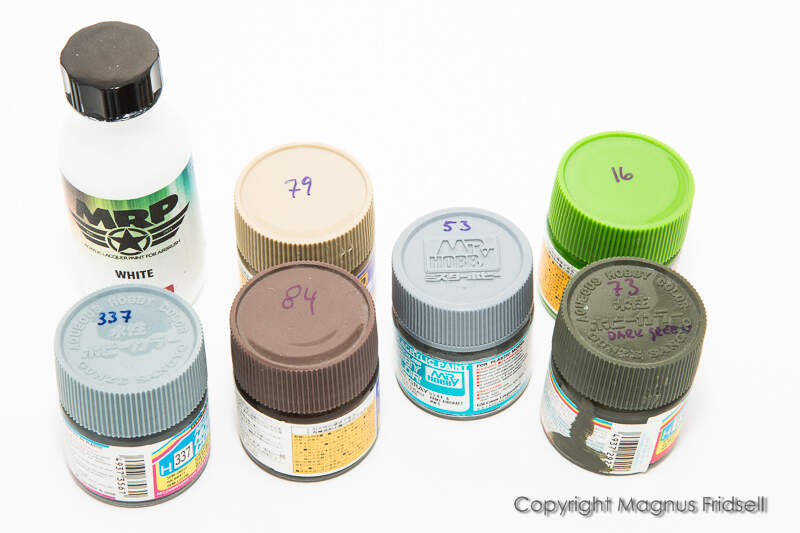
I did a bit of testing to get a colour combination that I liked. These are the mixes!
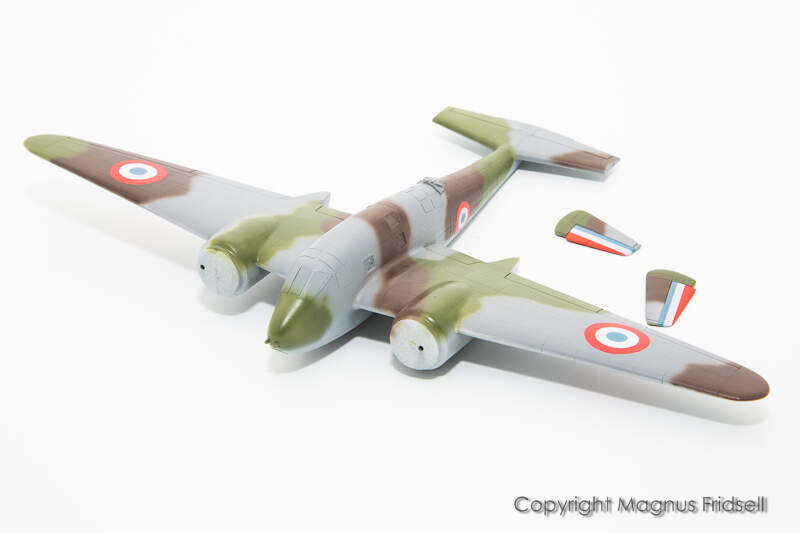
It seems like all aircraft had their own pattern, checking photos they differ wildly between each plane. I have a colour profile, two B/W photos and Special Hobby’s instructions and none of them agree, not even the two photos
! So I ended up going for a “General French Look” and had lots of fun doing the scheme free hand with the airbrush.
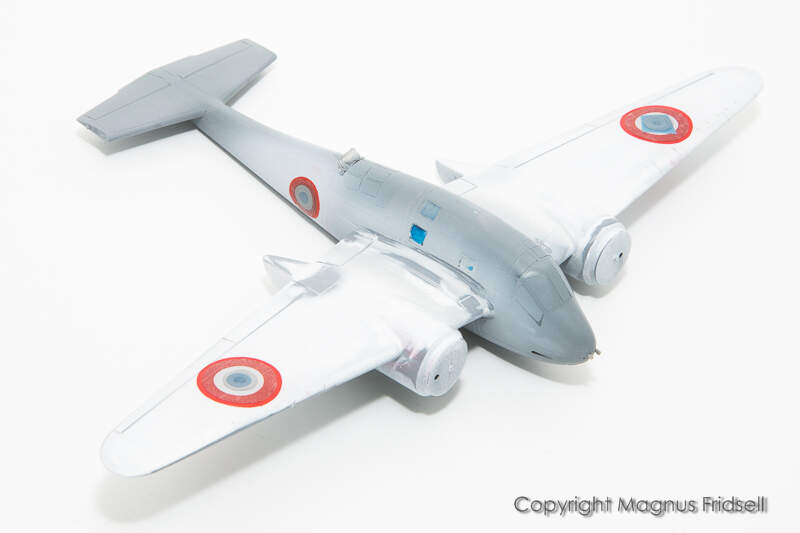
Lower surfaces turned out remarkably boring! I’ll breathe some life into it with a wash!
Magnus
4 Likes
Ahh, sanding… that dreaded word 
Well done on the camo, Magnus! French colours are not easy to get, there are only a few companies which have them. Mixing is the only choice and nailed them perfect!
But I think you mixed up something here, because General French was a british Field Marshall during WW1 … 
Torsten 
@Russelle We never get away from it, do we ?
@BlackWidow I know General French very well, he comes over once in a while, we have a few beers and discuss modelling !
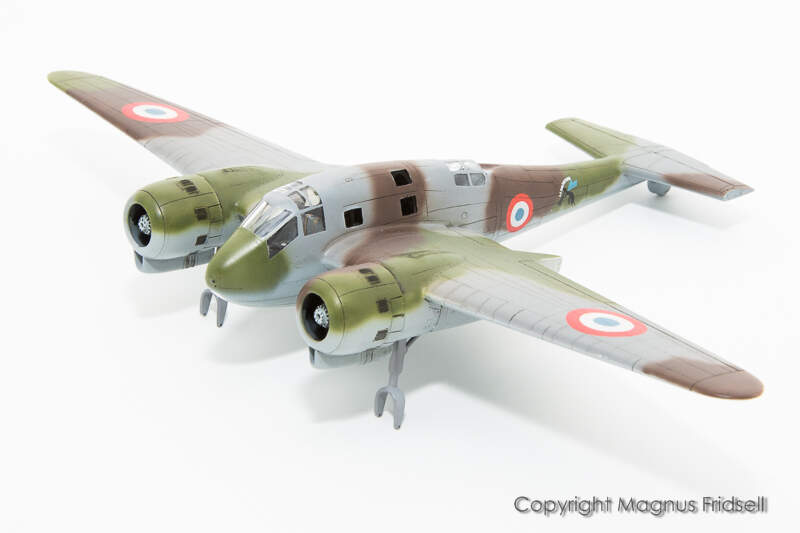
A wash brings the lower surfaces to life…
…while riveting the upper surfaces was totally worth it. Even if it isn’t very visible in the photos, it brings the surfaces to life in a nice way!
I ended up in trouble with the fuselage windows: I planned on using UV glue for them but it didn’t work as well as I had hoped. And the glue attacks the paint. I’ve ordered a bottle of Kristal Kleer that I hope will solve the problem. And with hindsight I should have handled these as I did the canopy: using the original parts and sanding and polishing them…
Just a few details left, with a bit of luck I’ll be finished with this one this week!
Magnus
4 Likes